X-Morph: Defense

X-Morph: Defense

44 ratings
Hard Gold - Gold medal on all levels on Hard difficulty [no ready upgrades from previous run, all vanilla}
By Ejl
This is my take on getting gold on every level on hard difficulty + some tips that i found to be helpful on every level.
   
Award
Favorite
Favorited
Unfavorite
General tips and strategies
I have found myself using these strategies on every level:


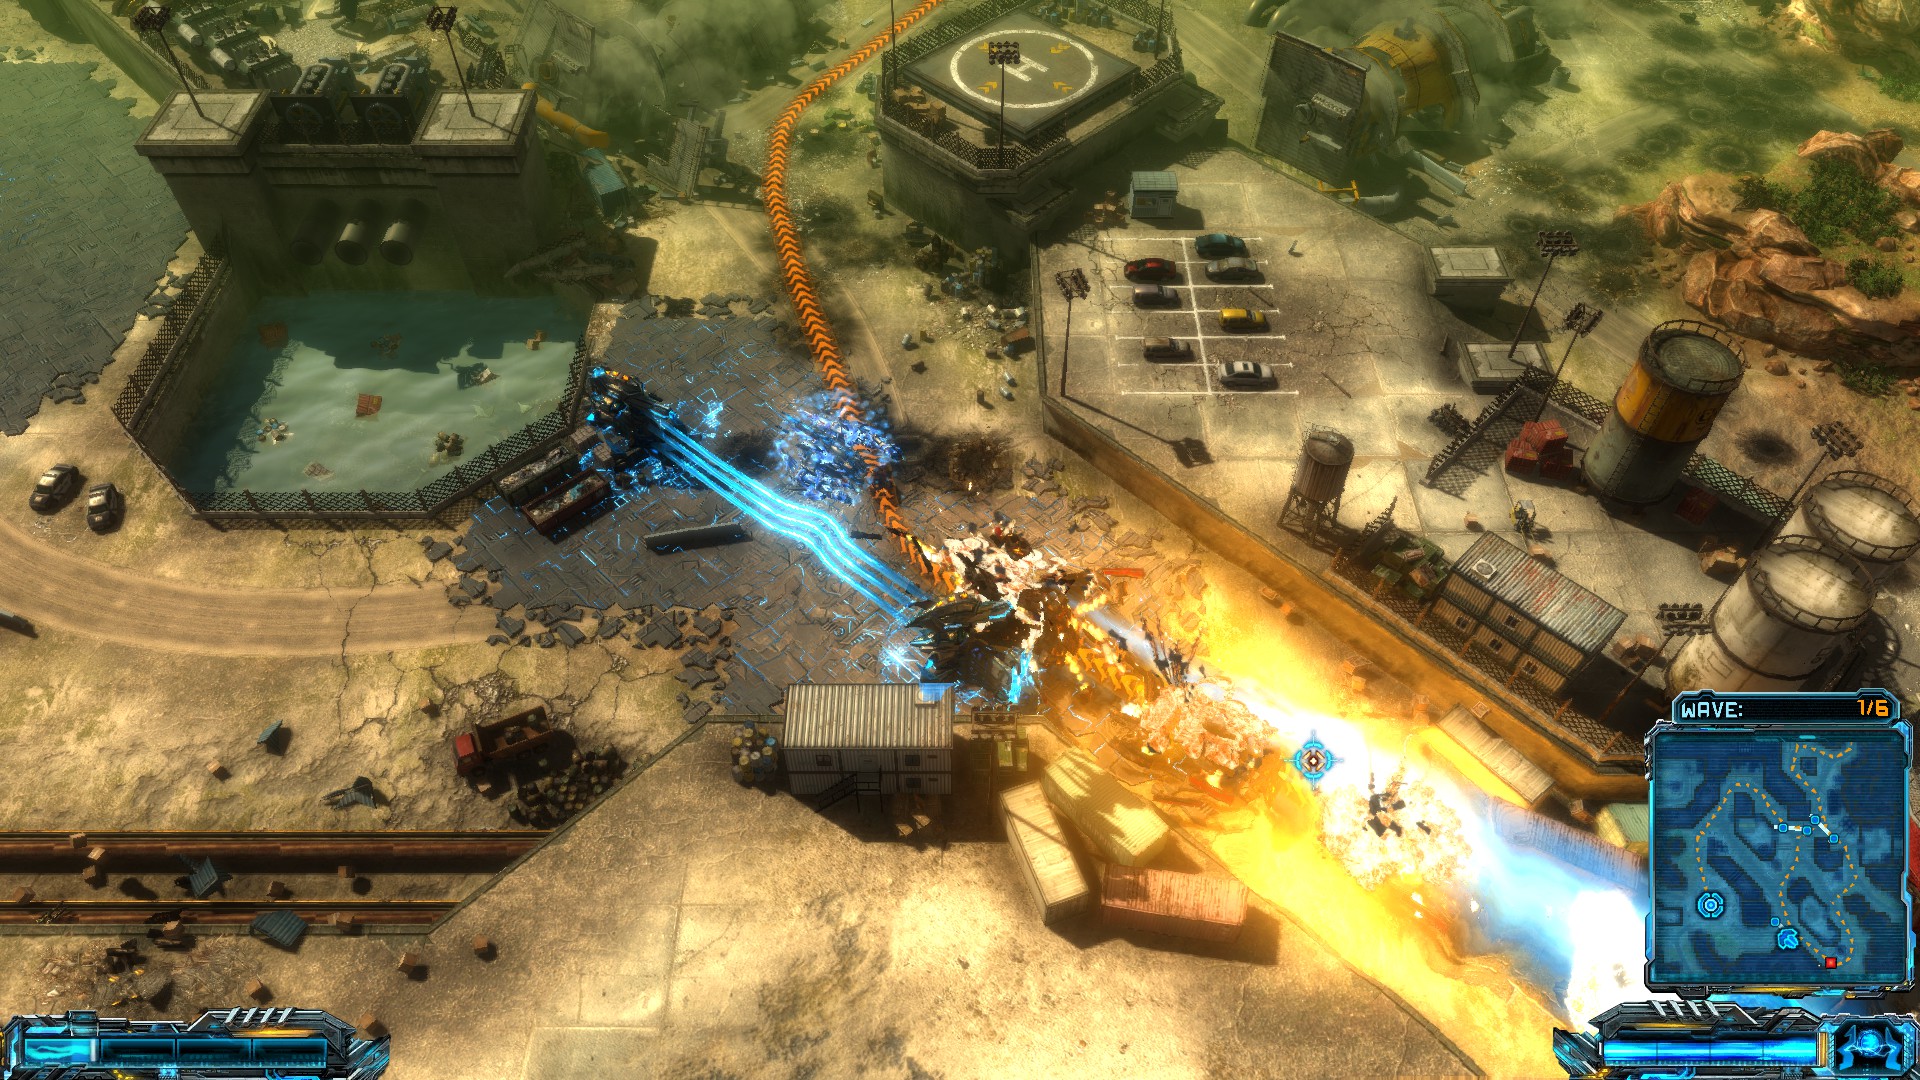
- Plasma (weapon 1) is pretty useless in every situation, but the plasma charge itself is great on long straights. Especially with the shield that makes it charge faster, it shatters many vehicles very quickly. Like seen in the picture below, it shatter's a good amount of tanks at one hit. I mainly used this skill on mob suntil i got the singularity (Laser's special skill). After the first few levels, i didn't find any use for the plasma weapon.


-I prefer to use bombs (weapon 4) as a normal attack before gaining access to laser, after unlocking laser i use them both pretty 50/50. Bomb eliminates all fast units/infantry on one strike. Plus the special attack (Dark Matter) is quickly thrown in to the battlefield and creattes good opening on enemy chains to give some breathing space
Bombs are also great to softening up the enemies. Shoot everyone on a big chain of enemies to weaken them and let towers finish them off. Especially healing tanks in between other enemies are weak against bombs and shuold be dealed with as soon as possible.


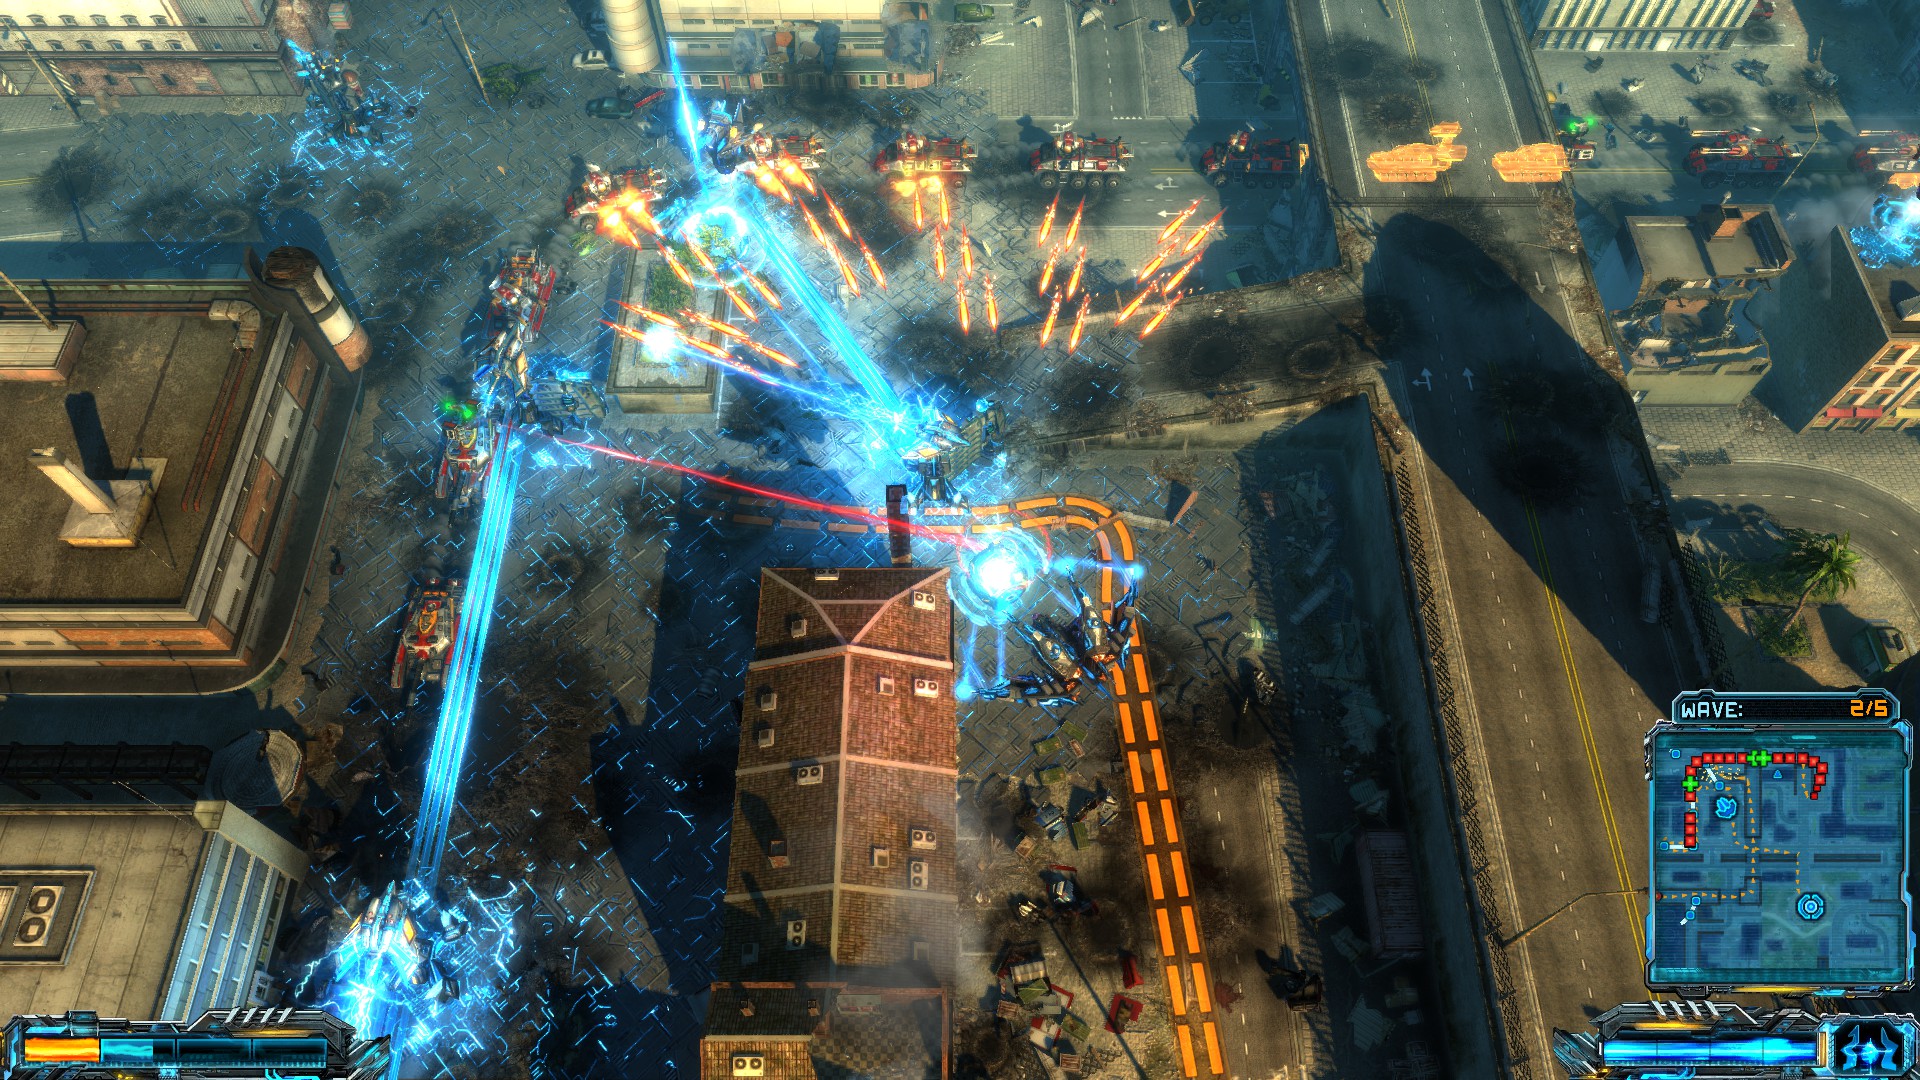
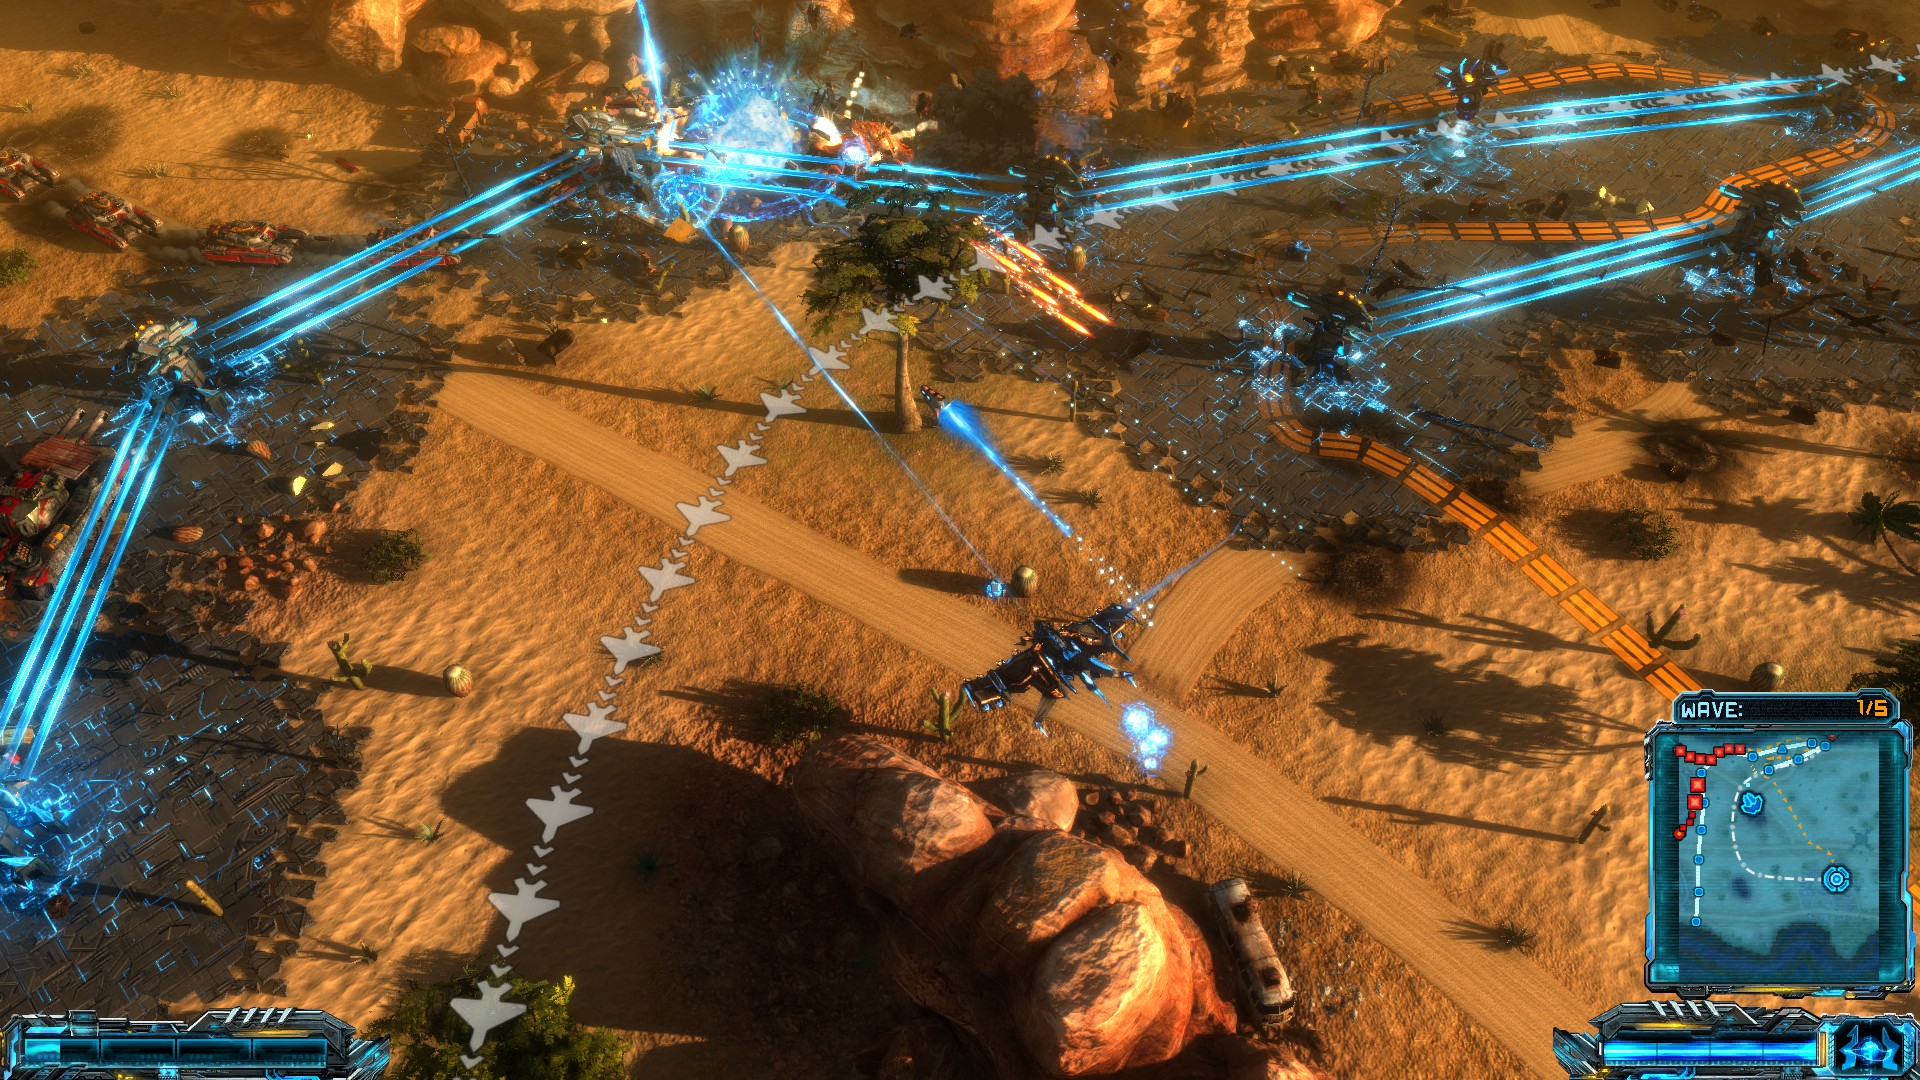
-Ghost mode: use it, all the time. Especially when softening up enemy chains. Shoot a couple bombs => dodge the missiles and bullets by going into ghost mode => position yourself => switch back and fire up a couple of bombs. While you're dodging, you can collect the debris at the same time. As seen in the picture below, it's a wise choice to keep your finger on the ghost button all the time!.


Air units: I preferred to let my AA-towers handle air units while i'm concentrating on softening up the ground forces and to collect debris. I just kept an eye out on the minimap to see if any air unit got past my towers and then supported them. Those moments were really rare.

Distance: KEEP YOUR DISTANCE! The enemies attack much less when you're keeping your distance. i don't know is it a bug or what. But makes life a lot easier, your bombs still wreak havoc among enemies.


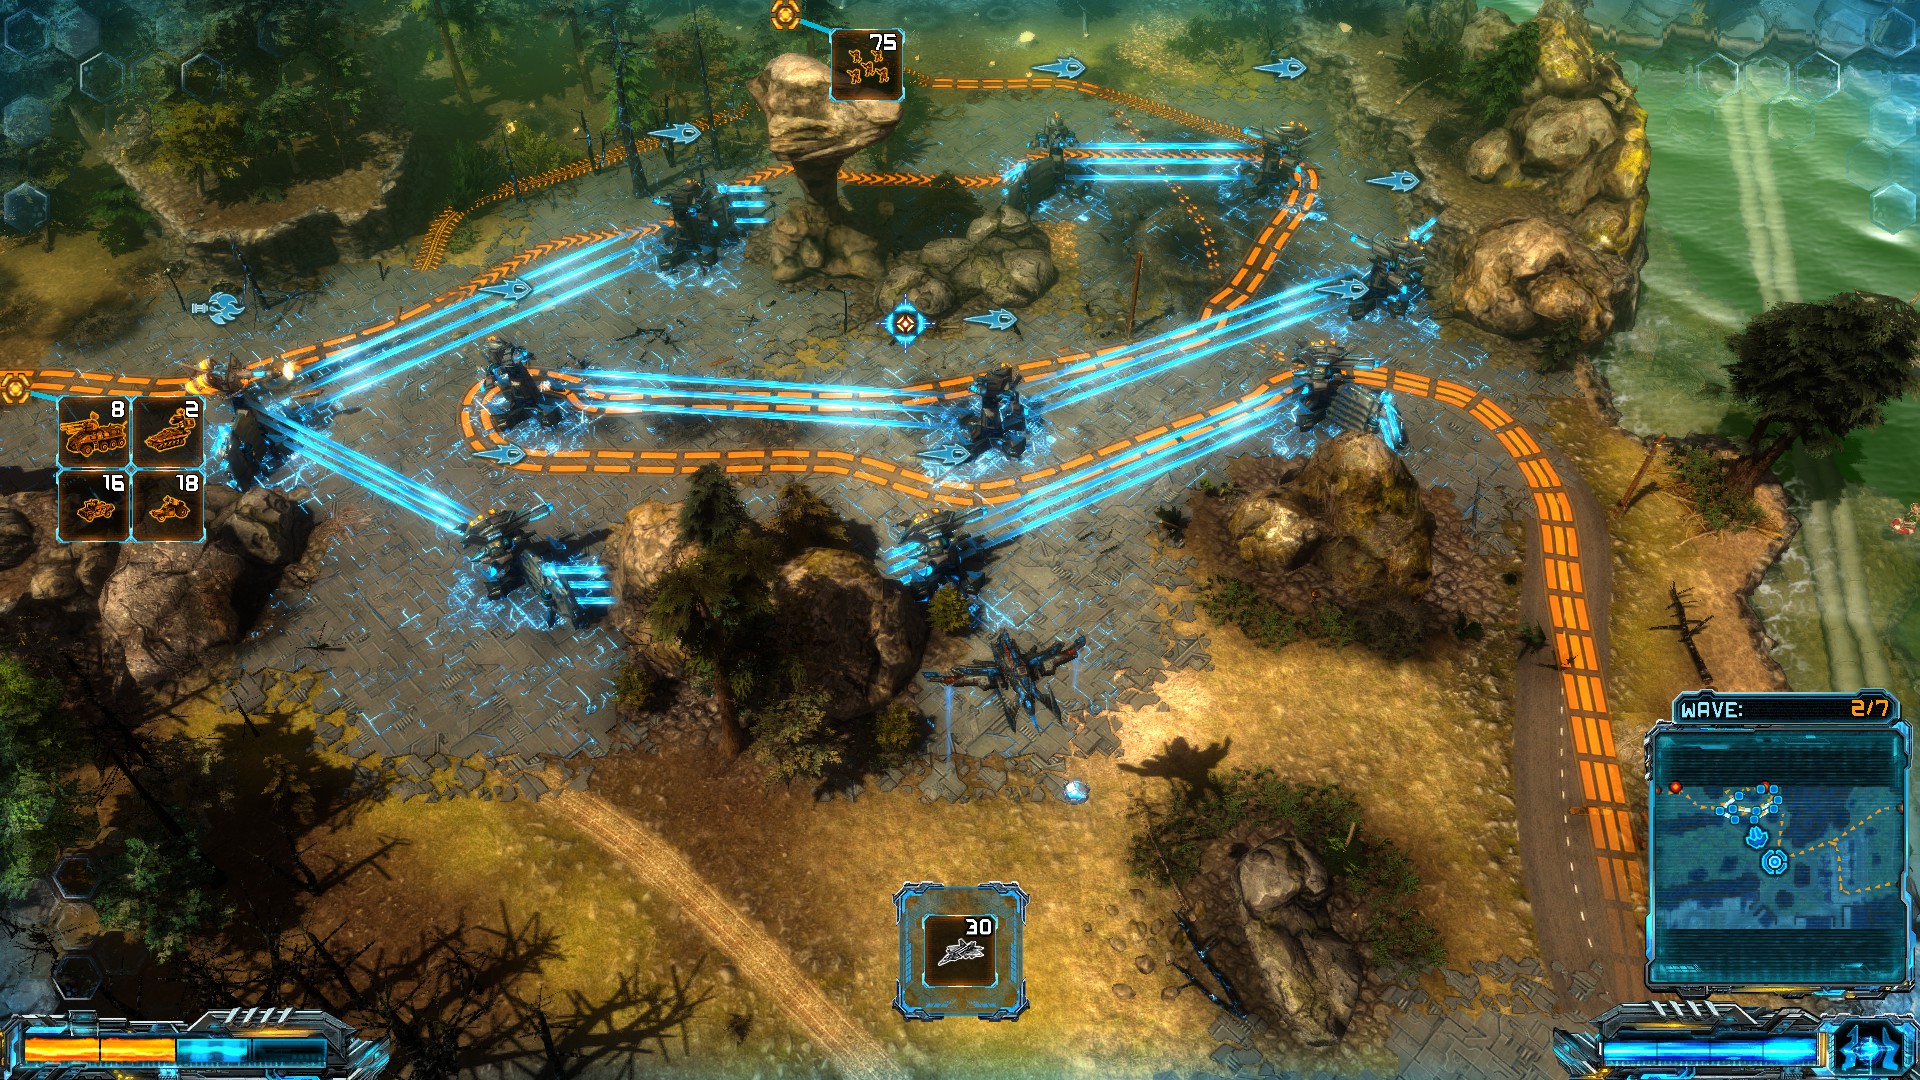
This game is very generous in tower strategies. Lot of options to lead the enemy through massive loops. Most paths can circle the enemies twice by placing the tower in the middle of the path. This is 50% more time to let the towers crunch on them and you to come helping them. Sometimes it's much more useful to build a longer route of level 1 towers than making short paths with powerful towers.


1. South Africa

This level is very straightforward. Lead every enemy to the intersection, keep your distance and just bomb them. After every route is closed and the enemies come to the intersection, start filling it with towers just for fun. When to boss comes, just shoot him, dodge the big laser with a ghost mode and circling around him, when he stops, put up towers to deal some extra damage.
2. Canada

This is a good practice on building the mazes. There are lot of options to make the enemies spend a lot of time between the towers. The park area for example at the wast side of the map is great, easy to throw a dark matter bomb which hurts both lines at the same time.

When the south route opens up, guide them both through the park. Take extra care with the super heavy bulldogs tank, they need some punishment! Concentrate on them and fly over to help your towers with them. The upper area where the right side path makes a turn, is a great place to shoot at the enemies coming from the park. Just station yourself at the middle and kep blasting both ways.
3. Great Britain

Wave 1 - 0:50

Block the south-west path with 4 towers and the north-east with 4 towers. Handle the middle path on your own.

Wave 2 - 03:10

Air attacks! The two lover towers at the NW path are just fine as a AA protection. Take care of the AA-protection at the SE path and also block the final way to the castle yard with towers.

Wave 3 - 07:40

Bombers! Move the towers away from their range, and build a maze from the house's corner onward. Also, put up the first tower on the middle path!

Wave 4 - 13:00

Make changes on the automatically built tower placement. 2 AA's is enough to prevent the troop transport landing, take the one "extra tower" and place it at the middle path.

wave 5 - 19:08

Bridges are out! make the necessary adjustments Rest of the level is pretty easy.

Wave 6 - 26:25

Nothing much to see in here. Pretty straightforward.
4. Argentina

Wave 1: 00:52

Demolish the three pipes or whatever they are (And tyr to do a better job in demolishing the third one than i did...)! and block the remaining holes with towers to force the enemies on a long walk. This wave is a walk in the park.

Wave 2: 04:45

Jumpers incoming! AA-towers also attack these guys, so use that as an advantage. A thing that i found out later in this video... As with all infantry bombs work extremely well on these guys. They go straight, so i found that parking behind the fence at east of the core is a good spot to use bombs. tanks and infantry both pass there.

Wave 3: 08:13

New route opens up. Block the obvious path and demolish an obstacle o the middle path. It gives a few seconds more time to deal with the wave and put the additional towers south of that first fence also. Lenghten the "original" routes on nthe east side of the map as much as you can. Put up a few falme towers just in case for the infantry if you don't have time to deal with them all. Better safe than sorry!

Wave 4: 12:50

Lot of extra resources at play here so reinforce the middle as much as you can. Block the paths on the west side, TAKE EXTRA CARE WITH THE TWO PIPES, DON'T MESS IT UP LIKE I DID!. They shuold fall in to the middle, reload if they don't. Otherwise it eats resources when they have to be blocked with towers later Jumpers are dangerous on this level so i wanted to make as sure as possible that they're damaged. I concentrated a lot my towers on them, it's possible to survive on less concentration on them.

Wave 5: 19:25

South side opens up! These jumpers are the second most dangerous jumpers on this level. The most dangerous ones come from the south-east. They have to be dealt with on your own. Just bomb them! As seen on the video, i was a tad bit late so my core took couple hits. Be faster!

Wave 6: 24:50

So many resources now that tthis last wave is going to be a breeze. Just reinforce and make the paths longer, notice the heavy air units. No air laser yet, so they'll need your attention.

5. Germany

Things are getting a bit more challenging! Most levels have been a breeze until now, but the super heavy bulldog tanks and that one bridge route that can't be guided anywhere gives a bit of trouble.

First wave: 00:56

-Start building the long path from the middle pathway. Fast units on the bridge are handled by an flame tower.
Support as needed.

Second wave 03:55

-Continue building the path. Transfer the two artillery towers from the south to save some resources.
Also upgrade a couple new artillery towers to help you.
Support the flamer on the bridge when needed and try to collect as much debris from fast and air units as possible.

Third wave 08:33

- Again, make the main path longer and do more artillery towers. I also suggest to block the middle path to the center.
Those towers can shoot to the bridge as well. Collect all the debris you can at the bridge, that's where the money is!

Fourth wave 11:25

- Now is the time to connect the leftmost path into the main route. This takes resources.
In my video, there's a bit bad placements at the rightmost corner where i could had freed one tower to other position. For some reason, i didn't notice it back then.

Fifth wave: 14:10

- Continue building the main route, upgrade the flamer near the bridge to an artillery, since enemies send artillery also from the bridge, and do another flamer just in case for the fast ones.
Concentrate on the bulldog tanks coming from the bridge, with the laser unavailable, they take a beating.

Sixth wave: 17:45

- Air units mess up the placements a bit, nothing drastic! But the amount of the air units is surprisingly big.
New path opens from the south, connect it to the main route as much as possible, this process needs a few bigger adjustments to the paths.
You need to support your AA-towers on this assault. Also changing tower types in the middle of the mission is needed.
After the initial chaos has been dealt with. Focus the attention on the bulldog tanks at the bridge. Take extra care with the healing tanks among them. They're a priority.

Seventh wave:

- Destroy the bosses main cannon asap when ever it's active. When the missiles are launched. intercept them with your AA-weapon.
Throw in the dark matter bomb on the boss and keep blasting it with your bombs intercepting the missiles whenever needed. This is easy.
6. Australia
7. Russia
8. USA
9. Nigeria
10. Mexico
11. Hawaiji
12. Egypt
13. China
14. Japan
10 Comments
Lanosa 16 May, 2024 @ 4:55am 
You should make another guide showing how you can get gold in hard starting the campaign (spoiler alert: I did it). I mean, without anything but weapon 1 and tier 1 turrets.
AVBG 2 May, 2024 @ 10:21am 
Many thanks to the author of this guide, it was only thanks to him that I received all the medals and even went through a solo co-op (as shown are path building schemes, some tower tricks, and the mechanics of a boss battle in Japan).
Kladovhik Skyka 10 Jan, 2022 @ 11:32pm 
Есть живые?хочу попробывать кооператив в игре X-Morph: Defense ,пишите и добавтесь в любое время:):steamhappy:
NCS ENG 22 Feb, 2021 @ 1:59pm 
Trying to get Gold on the DLC missions on the other hand.... I find it to be a whole other level of difficulty. I can't any better than a Bronze on most of them.
NCS ENG 15 Feb, 2021 @ 7:19am 
Yes, taking excessive time in between waves will impact your score as shown on the score screen at the end of the level, but there doesn't seem to be any prompts or indicators in the game that tells you what the time thresholds are. You will get a countdown in between waves in survival mode, but I personally have never been able to get setup fast enough to start the next wave before the countdown ends, and I still got Gold/Silver most of the time.
Claytonic 26 Sep, 2020 @ 6:34pm 
Is time spent preparing for the next wave heavily impacting score? Do I need to be as quick as possible between waves?
Rough Remi 21 Aug, 2020 @ 8:58am 
Thank you for your videos. 1 question: I notice that the multiplier on hard is in your videos 1,5. When I finish a level on hard, the multiplier is just 1. Did they change the multiplier over time? Otherwise these scores never can be reached again :)
Ejl  [author] 8 Dec, 2019 @ 6:42am 
@nantes

I like building towers more and fighting as straight as possible. If i absolutely have to use tricks, like for example lowering skyscraper, i do but i personally like to avoid them.
Nantes 27 Nov, 2019 @ 7:02am 
Thank you for making this. Skimming the Canada video, I'm surprised you didn't knock down the skyscrapers to block paths without you having to build towers for it. Do you remember why you chose to go this way?
OMG My Profile Name Does Not Fi 11 Mar, 2019 @ 7:28pm 
Thanks for this!