HellSign

HellSign

69 ratings
HellSign Basics
By DarkXuin
Basics guide for Hellsign. Covers early game and game concepts.
7
   
Award
Favorite
Favorited
Unfavorite
Intro
Edit: This guide is outdated, although some of it remains relevant. Please check out your necronomicon in game as well for useful information!

Hello everyone! This is my first guide and I hope you find it helpful! I'll start off with character creation, then cover some gameplay concepts, specifics on scouting paranormal signs, some general info on scouting/sweeping/hunting, and finish it off with tips&tricks. This guide is current as of v0.0.0.1 and I hope to continue updating it with the game! I tried to keep the guide, so it can be read in any order so feel free to jump around the sections.

I'll be adding the tutorial walkthrough later after the game has had a bit to develop.

Changelog:
11/11/18 - Guide created.
11/14/18 - Spelling/grammar check.
11/15/18 - Merged "Scouting" intro with "Hunting, Sweeping" into "Scouting, Hunting, Sweeping", Changed "Scouting" section to "Paranormal Signs/Journal", Added tip, Updated "Intro" to reflect lack of tutorial walkthrough.
8/4/19 - There's been a lot of updates so i'm going to replay the game and then go through and update the guide, check for future changes in the changelog.
Character Creation
First things first character creation! The left panel is where you'll edit your character and the right panel displays your starting inventory based on your chosen class. As you scroll through the classes you can hover over the skill icons to get more information on each skill. The classes only determine your starting skills and don't lock you out of any other skills so feel free to choose whichever class sounds best to you. Here's an overview of each class:

Archeologist: Starts out at level 3 with the skills Treasure Hunting and Artifact Crafting as well as a starting schematic. Treasure Hunting can give a decent boost to income and artifacts can be pretty powerful. The only drawback is you have to spend 3 skill points (you get 1 skill point per level) before you can use accessories so, don’t expect to be crafting stuff off the bat. As for equipment they get sneakers which are a nice little armour+stability boost and a Magnilight which is the tier 2 flashlight (less flickering, longer range).

Breacher: Starts out at level 3 with the skills Heavy Armor and First Aid. This class along with the field medic is a good starting class. The First Aid skill allows you to use bandages without a speed penalty and unlocks first aid kits for use (Bandages and first aid kits are reusable healing items). Heavy Armor has higher armor and stability then regular armor at the sacrifice of your dodge window/speed. This means you'll be doing more holding your ground and absorbing damage rather than avoiding it. I would choose this class if you're better at aiming then dodging. Inventory wise you start out with a heavy coat and sneakers which'll give you a lot of protection against the initial critters.

Detective: Starts out at level 3 with the skills Audiophile and Pathology. Audiophile is nice as the extended range makes it easier to find signals through walls and doors. Pathology is something you're not going to use until late game (it allows you find weaknesses in bosses). This class starts with a mic in their inventory which saves you $120.

Drifter: Base class starts at lvl 1 with only the bare bones equipment. This class can be a bit rough at the start especially money wise for all the equipment however, once your experienced with the game this class is a good choice for versatility.

Field Medic: Starts out at level 3 with the skills First Aid and Biochemistry. This is a nice starting class along with the breacher. First aid allows you to use bandages without a speed penalty and unlocks first aid kits for use (reusable healing items). Biochemistry increase your max hp by 10 which gives you a nice extra buffer from death. Equipment wise you start off with a first aid kit that can restore up to 120 hp (standard health is 100hp, this class starts with 130hp (+20 from first aid, +10 from biochemistry))

Stalker: Starts out at level 3 with the skills Trapper and Throwables. These are great mid game skills especially for dealing with the larger critters (traps) and larger groups (explosives). Inventory wise you get 3x bear traps and rotten meat which will make your first sweeper mission a lot easier. These items are finite and you have to purchase replacements. This class also starts with the rusty double-barreled instead of a pistol which can put out devasting damage in close quarters but, only has 2 shots before you have to reload. Also, you can't get shotgun proficiency until level 6 so reloading during fights is going to be tricky for a while unless you buy a pistol.

Mercenary: Starts out at level 2 with the skill Heavy Hitter. Heavy Hitter gives you some nice boosts to revolver and pistol damage/reload speed. Inventory wise you get a grease gun (a fast firing SMG) in addition to your pistol. However, you can't get SMG proficiency until level 6 so, you might want to stick with your pistol and reserve the SMG for special occasions.

Ninja: Starts out at level 3 with the skills Ninjutsu and Paranormal Peripherals. Ninjutsu allows you to use ninja foot ware that increases your dodge window/speed at the sacrifice of armor/stability. Paranormal Peripherals allows you to use specialized headwear that can give you certain advantages (like night vision goggles that make it easier to see shadow creatures). While the increase dodge window can make it easier for first time players you might find yourself dodging into obstacles more often than not in a panic. Go with this class if you're confident in your spacial awareness. Inventory wise you start out with Geta that give you a nice +15% dodge window and +20% dodge speed as well as night vision goggles that make it easier to spot shadow beasts (unfortunately your flashlight is better for just regular seeing).

Renegade: Starts out at level 3 with the skills Sleight of Hand and Throwables. Sleight of Hand gives you a 25% chance to get some of your money back when you lose a round of blackjack (I’ve observed it to be a 50% return but, I’ve done no serious testing) as well as increases your upper betting limit (which is based on your hunter reputation). Black Jack can be a good source of income with this skill although Kenny is a lucky little ♥♥♥♥♥ so don't go betting your cat! Throwables lets you use bait and grenades that'll help out in the mid game. For your starting equipment you get 5x impact grenades (tier 1) and a sec-9 compact (tier 2).
Tutorial Walkthrough
Gameplay Concepts
Here I’ll cover a couple gameplay concepts that should help with your mindset.

Dodging
Dodging in this game can be a bit tricky but, will save your life once you learn it. First, be aware that heavy armor will greatly reduce your dodge window and ninja Tabi will greatly increase it. All enemies have a "tell" that they're about to attack you (For example ghouls will make a snarl sound and spiderlings will pause for a second). You need to dodge at a specific time during the tell (based on how large your dodge window is, a larger dodge window can start as soon as the tell starts but a smaller dodge window has to start closer to the end of the tell) in order to successfully avoid damage. Personally, I’ve found dodging with no movement input to be the most successful (just pressing space with no WASD) as dodging into an attacker will still cause you to take damage (the attacks are longer then the I-frames). I highly recommend practicing dodging on scouting and sweeping missions a lot before jumping into a hunting mission.

Dude, where's my van?
Please remember where you parked. Running outside thinking you're home free only to realize your van is on the other side of the house is literally the worst feeling. If you're like me and keep forgetting, I have a post-it note with an arrow and I turn it the direction the van is at the start of the mission (For example: If the van is on the south side of the house I’ll turn the arrow to point down). Also, I’ll leave the door I entered the house with as the only open external door.

Breaching Doors
There are 4 ways you can open a door that I’ve found so far: #1 Open the door with nothing equipped (this is also the only way to close a door). #2 Kick the door open with a weapon equipped (This actually takes longer then opening the door by hand as an animation of you kicking the door will play). #3 Hold RMB and shoot the lock out of a locked door with your weapon (you have to aim at the lock on the door handle and stand fairly close). #4 Make a ghoul or other large creature open it for you (I can't find a way to prove that it works yet but, if I don't want to go to the shadow realm I’ll just have a low health ghoul breach my doors for me). The majority of the time I use option #2 as it breaches the room with my gun out letting me open fire on the fools within however, if you're running away you might want to consider putting your weapon away so you can get through doors quicker.

Having a weapon equipped will cause you to kick the door open.

Having nothing equipped will open the door like regular.

Some doors will be locked and require you to shoot out the lock before opening.

The 6 Ps
Proper Preparation Prevents Piss Poor Performance. It's been said many times, many different ways but, being prepared goes a long way in this game. Your first stop to prepare yourself is the journal which'll give you some basic information on the creatures you encounter and some tips on how to deal with them. You can buy additional pages for your journal from Redback in the bar. The next thing you can do is plan. About to breach a door? What's your plan for the 2 dozen blood crawlers on the other side? Use doorways as chokepoints, use hallways to limit their approach, retreat to larger rooms if the space is too cramped, have trapped checkpoints you can run too if you get overwhelmed. Also, I find reviewing my escape routes before breaching a door to be helpful for some of the more dangerous encounters.

When in doubt, get the ♥♥♥♥ out!
Best advice hands down: Do not overcome your fear, it will keep you alive. I walked into a room during a hunter mission once where a clock on the wall started chiming followed by a pool of blood forming on the floor. I was out of that house so fast you'd have sworn I was using no-clip. You can call me a coward but, I made an easy $2k that I wouldn't have gotten had I stayed. With that being said you should allow fear to be subdued with power. Eventually, you'll start one shotting spiderlings and taking next to no damage from critters so you can basically walk around with no fear on scouting missions. I think hit and run tactics really shine all the way up through the mid-game. Especially when you first start hunting missions as just 1 sign will net you more cash than an entire sweeping or scouting mission.
Paranormal Signs/Journal
There are four tools for finding paranormal signs:

Flashlight/Blacklight: The flashlight is your primary source of vision in the game, higher tier flashlights have slightly improved range and greater reliability (less flickering). Pressing F (default binding) will switch to your blacklight that allows you to follow blood trails. Blood trails can be splatters, runes, or tracks which can help differentiate which one you're following. The sign your looking for will be somewhere at the end of the trail. Some tips: You must click the sign with the blacklight equipped. Blood trails can hug walls pretty close and will occasionally disappear under large ground clutter. You may end up clicking on a bunch of stuff before finding the sign.

Blood trail in flashlight.

Blood trail in blacklight.

End of Blood trail.

EMF Meter: The EMF meter is a specialized tool for picking up EMF readings. Higher level EMF meters will have slightly improved range and greater reliability (lowers background EMF noise). Pressing 3 (default binding) will whip out your EMF reader. EMF sign is pretty straightforward, the reading is in the bottom left corner of your HUD and it reacts to your cursors current location (up to a specified range from your character). When you hover over the target sign (or get really close to it) a high-pitched noise will be added to feedback. EMF is the only sign I haven’t found a way of discovering without the actual tool so I walk around with it out most of the time.

EMF meter showing no reading.

EMF meter showing max reading (high pitched noise is playing).

Microphone: The directional microphone is a specialized tool for picking up audio signs. Higher level microphones will have slightly increased range and greater reliability (less background static). Pressing 4 (default binding) will bring out your mic. Audio sign can be detected without the microphone however, you need to use the mic to investigate it. There are a couple different audio cues that will play as you get close to an audio sign to let you know you need to bring this tool out. The meter displays in the bottom left and reacts to your cursors current location within a specified range of your character. As with the EMF reader when you hover over the target sign (or get really close to it) an additional audio sound will play letting you know you found it.

Mic with no reading.

Mic with mid-range reading (you can hear the sound without the mic equipped at this point).

Mic with max reading (additional sound is played, in this case a woman crying).

Thermal Reader: The thermal reader is a specialized tool for measuring the temperature of objects. Higher tier thermal readers will have slightly increased range and greater reliability (less static on screen). Pressing 5 (default binding) will equip your thermal reader. The meter displays over your cursor and will become snowy as you move it away from your character. Thermal sign can be detected by your characters breath. If you start seeing your character puff clouds then there's a thermal sign somewhere nearby. The range on the breath seems to be decently large as I’ve often seen it in hallways outside rooms containing thermal sign.

Character breath is visible indicating thermal sign is nearby.

Character breath shows up under the thermal reader.

Thermal sign found.

Cryptonomicon/Journal: The cryptonomicon is used to decipher signs to buff yourself, debuff enemies, identify poltergeists, and identify poltergeist weaknesses. Pressing J (default binding) will open the journal. You can drag evidence signs (red border) to evidence sign slots (red border) and clue signs (grey border) to clue sign slots (grey border). Each sign provides different buff/debuffs based on your skills (audiophile and keen sight) that can be observed by hovering over the sign and reading the description. Choosing buffs really only comes into play towards the end game when you're on the longer hunting missions. In the initial scouting missions, you can fill the slot with whatever is first available. Once you've added two signs in the book (2 evidence for the first tier investigation, 1 evidence+1 clue for the second tier) you can click on one of them to activate its buffs (You can select one for each tier of investigation you complete). When you go to identify the poltergeist, you will need to do a small bit of research. Select the tab on the upper right based on what the book tells you and then select the correct decipher based on the pictures. Note that your sign picture can be a rotated form of the decipher. In the screenshots below you can see there are 4 tiers of identification you can do, each tier adding more buffs/debuffs and further identifying the poltergeist’s weaknesses. The unleash button is used to fight the poltergeist in hunting missions.

Identifying the poltergeist based on a blood clue sign (sharp force).

Poltergeist is a Banshee.
Scouting, Sweeping, Hunting
Scouting
Scouting is the first thing you'll be doing in HellSign. Scouting consists of methodically searching through a site for paranormal sign using various tools. Specifically, on "scouting missions" you will run into minor resistance (possibly a few spiderlings with the most major threat being a blood crawler) however when applying scouting during hunting missions you will run into all sorts of fun and exciting creatures. Scouting missions seem to be meant to introduce you to the different paranormal signs and will be your main source of income during the early game. You keep all the signs you gather on this mission (even the ones you use to deduce the poltergeist) and they usually sell for about $100-$200 total (maybe more if you take the Counterfeit skill). Once you've collected all the signs and deduced the poltergeist a message will flash in the upper right corner saying the mission is complete and you can leave however, you can leave at any time during the mission for no penalty (I didn't complete a scouting mission until my 20th or so try). Note that you may not be able to get the 100% complete on these missions if you are missing detectors and some signs may be outside the house.

Sweeping
Sweeping involves going through a site and clearing out all the critters. Some critters will drop loot (such as ghoul flesh) that can be sold like a sign but, mostly you do sweeping for the EXP. Specifically in the "sweeping missions" you'll encounter moderate resistance from increased critter group sizes (4-6 spiderlings in a group, 2 blood crawlers in a group) and a new critter called a ghoul which has much more hp and a high damage attack. When applying sweeping in hunting missions however, you'll need to make a lot of preparations and planning in order to clear a site while remaining alive. Sweeping missions are where you'll practice your combat techniques and are the best source of exp in the early game. You're paid for every critter you kill so you can leave at any time and get paid for all that you completed to that point. When every critter is dead AND you've been inside every room on the site you'll get a message in the upper right corner saying the mission is complete and you can leave.

Hunting
Hunting is less a technique of its own and more a combination of scouting and sweeping. My standard hunting mission goes like this: 1) Check I’m all stocked on my gear, when the mission loads bolt for the nearest door as fast as possible. 2) Scout the house for my first 2-5 signs (depending on how lucky I get) then do the first tier in my cryptonomicon (this will get the buffs/debuffs going to make sweeping the house easier) 3) Slowly sweep the house scouting for signs as I go 4) Die or run away. Your first couple hunting missions you'll mostly be only grabbing 1-2 signs and running away but, you'll quickly be able to upgrade your gear with the money you'll be pulling in. Once your gear is upgraded you might want to go back and clear a couple sweeping missions (they should be a lot easier now) for the exp.
Tips & Tricks
This section will have some blatant spoilers on some of the more dangerous traps you can walk into. If you wish to figure this stuff out on your own I suggest not reading further.

TVs
In the hunting missions do not approach the TV set and if you see it flicker on GTFO of that house. The event will spawn 4-6 shadow beasts which can be very difficult to spot without night vison goggles and can devastate you quickly if you're not prepared. If you have a UV trap then I suggest setting it up as soon as you find the living/dining room area on a hunting mission.

Paranormal Attacks
You'll first encounter these on the scouting missions where all the doors will close, the lights will flicker and suddenly you're at half hp (or dead). In order to avoid the furniture being tossed at you (1-2 pieces in scouting/sweeping missions and 3+ in hunting missions) you'll want to listen closely for an audio tell that sounds like a metal pipe being picked up off concrete (best example I can give sorry) and then dodge. Also, early on before I discovered the tell I found that running and hiding works too depending on where the event starts.

Wall Tentacles
These guys are extremely annoying and almost always catch me off guard. Unless you're being extremely cautious you're just going to have to assume you'll lose hp to these guys in a hunting mission. Once you know where they are you can take them out by walking into the outermost part of their range, wait till you see a tentacle emerge, fire and dodge back. Alternatively, you can run in with the shotgun, shoot and dodge out. It's pretty tricky and you may just want to avoid them altogether.

Don't know who to talk to next?
It's been my expierience that the bartender will always point you in the right direction.
15 Comments
Bob Saget 30 Sep, 2019 @ 4:29pm 
Go over how to exorcize the scene.
Actually getting rid of poltergeists.

The trap, the system, the whole thangalang.
Thanks for the info though.
Pancadas 8 Aug, 2019 @ 7:37pm 
What does the presets in the trunk P! P2 P3? can't seem to find any usage
siscrocket21 28 Jun, 2019 @ 9:51pm 
Hello. Im currently at 4th lvl only 2 and half playing ingame need advice : i just bought parabolic microphone and tried first scouting mission (not the first one which drop player to shadow dimension) not very far from door entrance i suddenly got teleported to another room far from first entrance by blue glowing sphere; it is poltergeist ? I tried to escape but when im just entering open room suddenly i got hit by stuttering-visual disturbance; paused a moment then only single step and im died. It is supposed to happened after trying first scouting mission ? What should i do if i dont have enough money for buying trap ? Currently playing breacher with default first weapon, leather jacker, standard torch, emf reading, and standard parabolic microphone. Should i skipped this kind of mission until i can afford poltergeist trap ?
12 pfund gehacktes 4 Jan, 2019 @ 7:43am 
Oh, i see i still misunderstood the deduction bonus, its just dependant on having the skills then! At first i thought they would buff the bonus.
12 pfund gehacktes 4 Jan, 2019 @ 6:09am 
Thanks, very helpful! I didnt actually know you had to pick your bonus after deduction, i thought you got every one of those in the hover list! Silly me.
Also, that car-remembering trick is golden, I once died after just making it out a mission because tentacles hit me while i was wandering outside, looking for my ride :D
Boxxer 3 Dec, 2018 @ 9:05am 
How to use Toolbox? I have a one, but i cant open door with chains.
mie001 18 Nov, 2018 @ 11:44pm 
You missed several thing:
Blood pool with hands: show up suddenly with mubling, the only way to deal with it is to get away from it. It will stop spreading and soon dissaper.
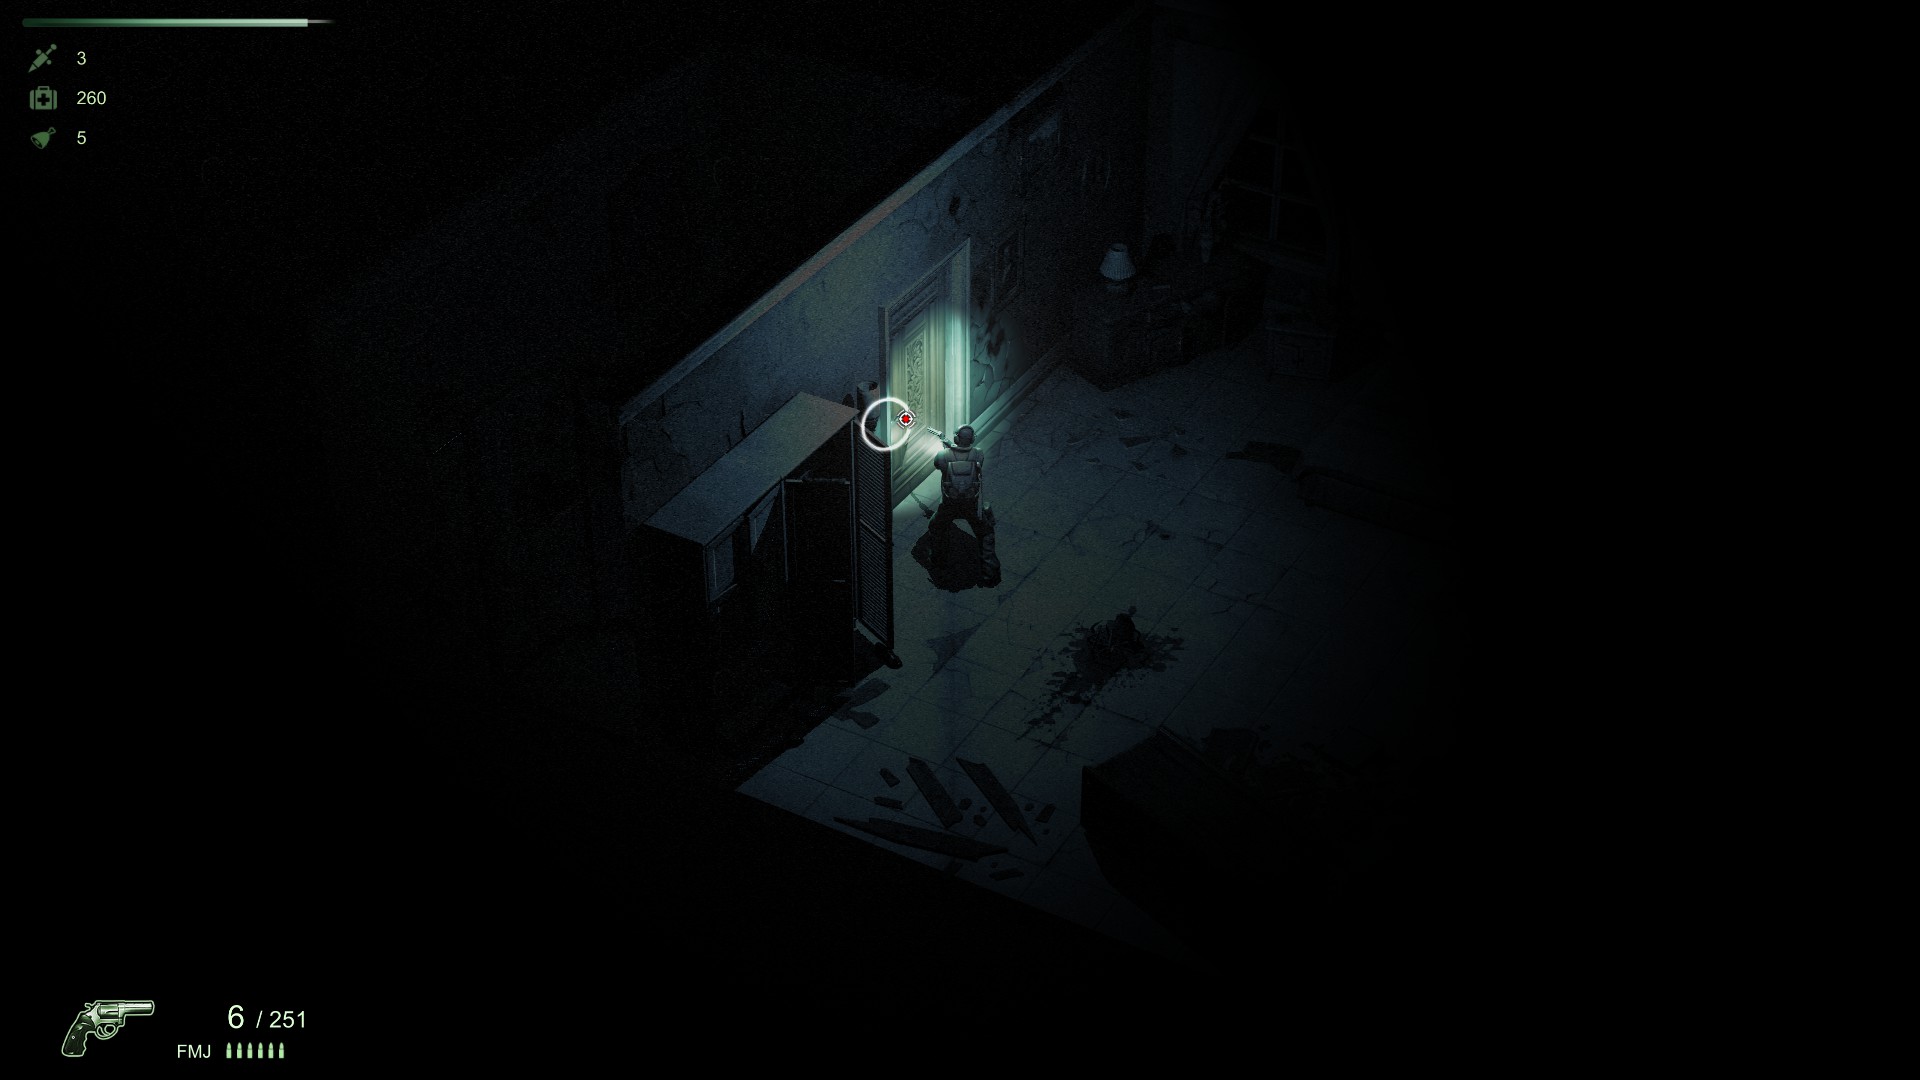
Mimic door: A door that possed by demon. It will reach out it's tongue to catch you. Best no getting too close to the door and prepear to dodge
Bell and Blood: You heard the bell ringings, with a clock on the wall leaking blood until there's blood pool. A lot of blood crawler will attracted to the room. SMG and bait will be recommanded. Or just run away.
💜~LemonDrop~💜 15 Nov, 2018 @ 7:51am 
Wall Tentacles have been such a pain and no idea how to deal with them, Cheers mate :cure:
Cpt. Jeff Gaybeard 14 Nov, 2018 @ 3:46am 
Hey @NotDarkXuin, i'm currently working on a guide for Poltergeist myself. If you wish to contribute and allow me to reference your guide, i will appreciate it. Thanks!
VII 14 Nov, 2018 @ 1:53am 
@ nicotine rep from what i can tell goes up quest spacific so you will have to do those mssions for people at the bar banjo.redback etc. if you are stuck with a rep of 7 i think and banjo has gone and you did your first failed sweeping mission for redback ask the bartender about work and he will point you to the bouncer