Epic Battle Fantasy 5

Epic Battle Fantasy 5

130 ratings
Hilariously Effective Combat Cheese
By Numbers
A quick set of tips for trivializing some tough fights and grinding out some of those damage achievements. Does not cause impotence in 68% of readers!
5
2
   
Award
Favorite
Favorited
Unfavorite
Foreword
Alright, we're all back for another rousing round of Epic Battle Fantasy. Now with even more hilarious possibilities for breaking the game entirely! Luckily, the entire game is based around hilarious game breakage, so don't feel bad about taking advantage of some silly exploits. There are plenty of legitimate challenges out there for you- especially in the bonus dungeons. But sometimes, you just have to crank up the silliness to a whole new level and make a mockery of your enemies.

Let's get to how.

Oh, and for those of you wondering, no, there is no actual cheese. Cheese is a euphamism for making a complete mockery of the intended game strategies. MOVING ON.
The Basics
Enchantment and Invisibility.

These two new status effects change a disturbing amount about the game. They're simple in concept- each negates one type of damage, but doubles the other type of damage. So Enchantment will negate magic damage, but double physical damage. And Invisibility will negate physical damage, but double magic damage. Easy enough, right?

Some armors give Enchantment or Invisibility when you defend, and summons can give those effects to a single enemy, or your entire party. Those summons can save your life, and frequently *do* in high-level encounters, but the main thing to see here is that 'invis/enchant on defend' property. It is stupid good. And the reason why is simple.

Because of the Target Badge and the Angry Faic badge.

The Target Badge is a neat little trinket that will buff accuracy passively, but its true power comes at level 3: It inflicts the Target status on a wearer who defends. The Angry Faic badge does this too, but without needing up upgrade first. Admittedly Target has been nerfed in the v2 version of the game, making it so that hits will burn stacks of Target, but the concept stands.

There are other things you can do to boost survivability that I'll touch on next section, but choosing which character your enemies are allowed to attack gives you a big advantage against most encounters, even bosses. Especially if you know whether they use physical or magical attacks in advance.

This here will kill just about half the things you fight in the game.

Hunting for Parts
Now, the concept is simple enough, but you have to assemble all the bits to make it work. And unfortunately, you won't be finding enough pieces to make a true gamebreaker until just after the Iron Fortress. But even that's no guarantee that you'll find everything you need to make it work. So, let's talk locations!


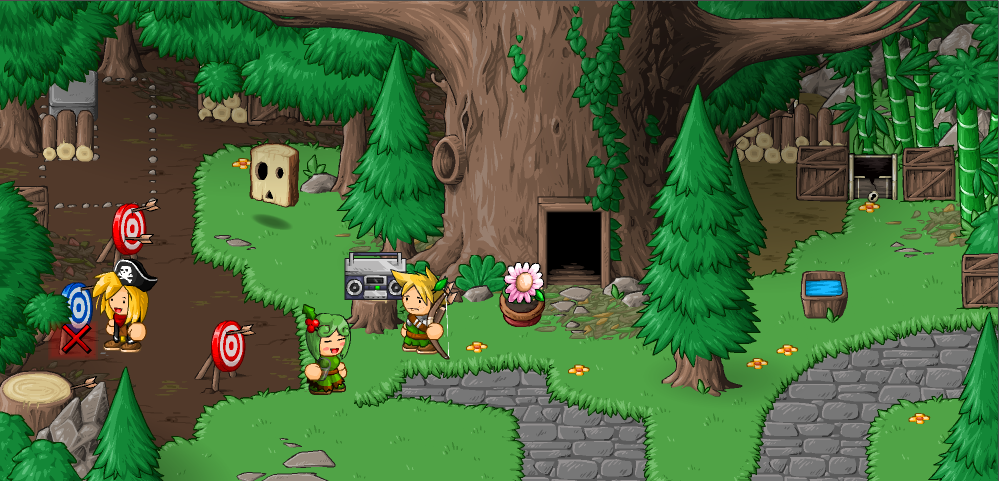
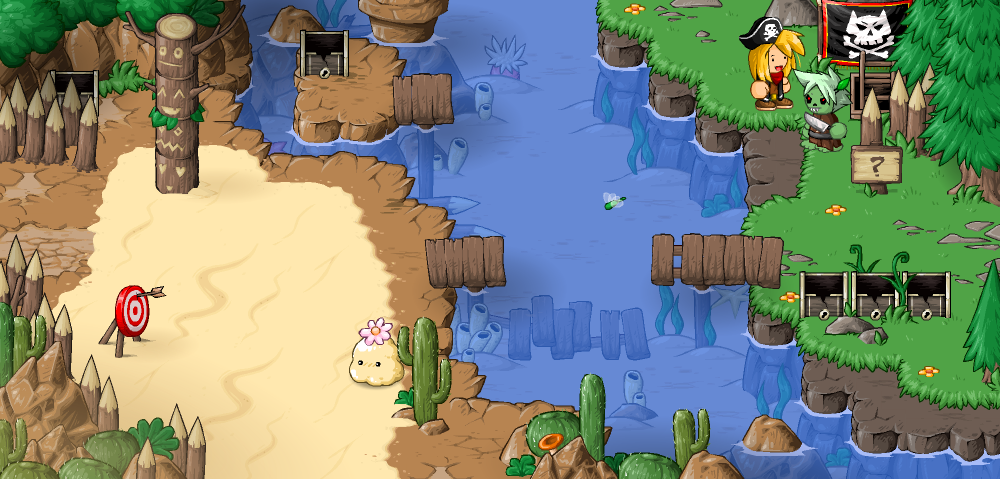
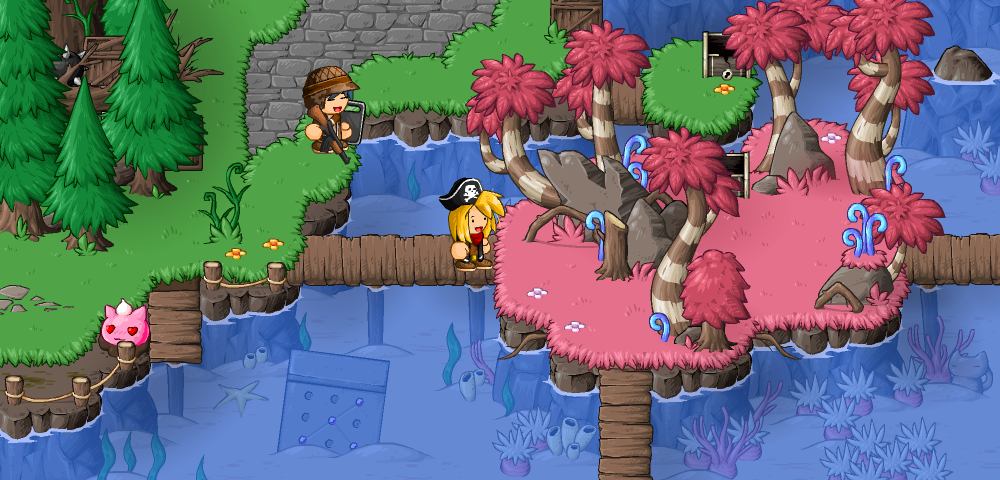
This is where the Target Badge is, in Greenwood. It's hidden in the blue target. Nab it and upgrade it!


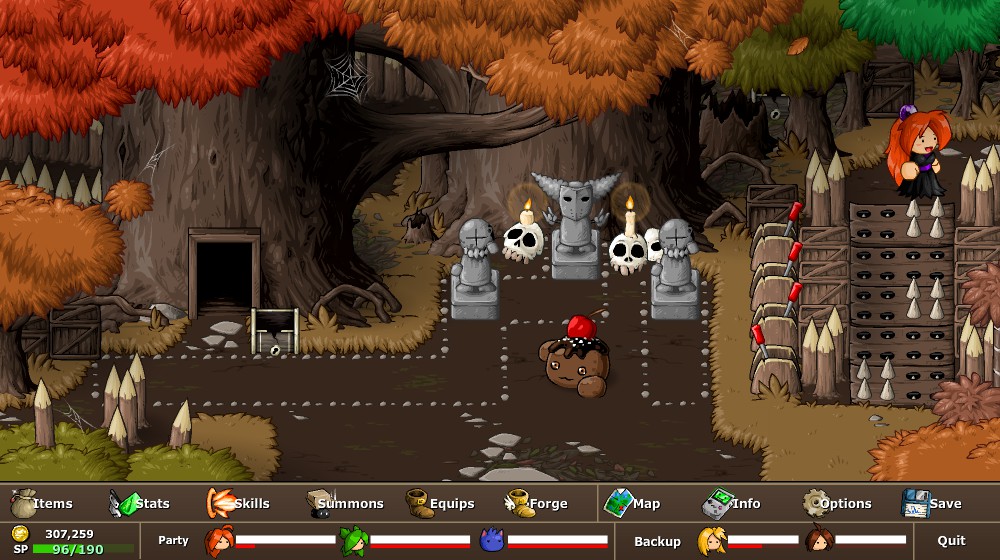
This is where the Angry Faic badge is, in the Mystic Woods. You just need to fiddle with these switches until the spikes retract, then scoot over to the right and pop open the chests. I didn't really use the Angry Faic badge, but that's because I'm a creature of habit. Props to Lyoko13 for that one.


This is where the Ninja Skirt is- it's a reward for the quest which requires capturing three kinds of slimes. You've been catching them, right? The Ninja Skirt gives Invisiblity on defending for female characters.


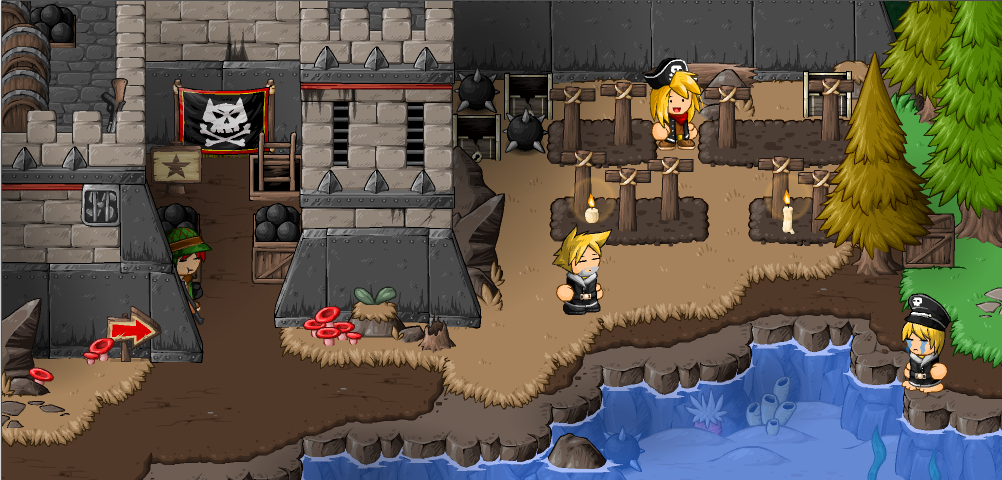
This is where the Ninja Gear is. It's in one of the chests in the cemetary, only accessible once you've beaten up Lance and taken his lunch money. Grab it! The Ninja Gear gives Invisibility on defending for male characters.


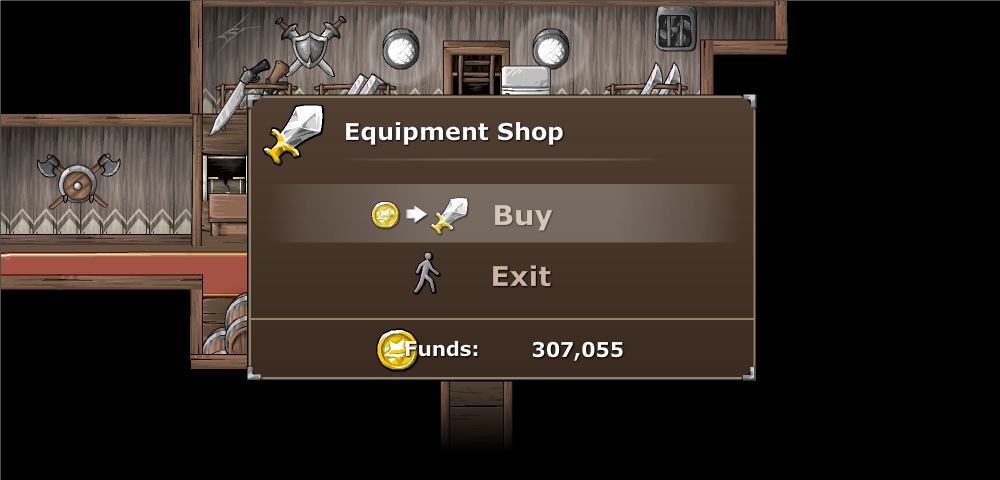
This is where the Bubble Dress is sold. It's on sale for a fair amount at the equip shops. Save up and buy it! The Bubble Dress gives Enchantment on defending for female characters.


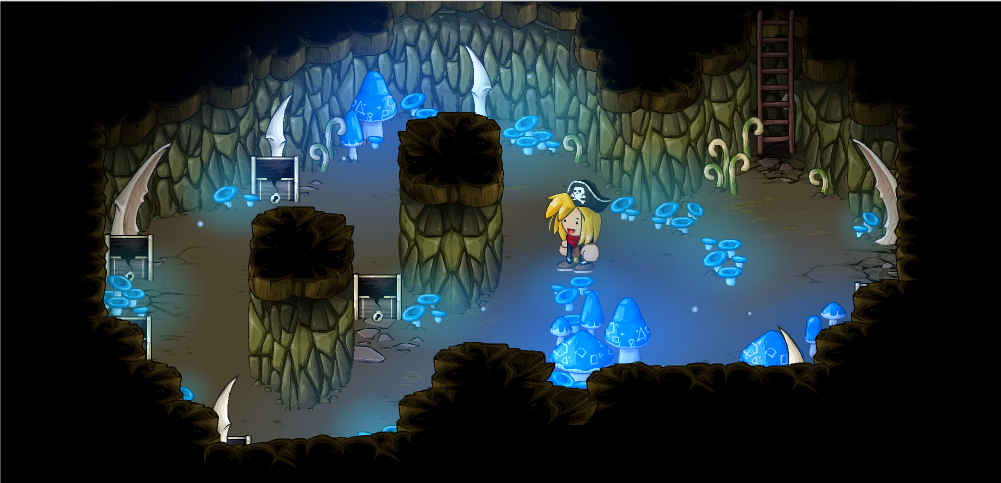
Down here is where you will find the Shell Armor. It's a reward for beating the Zombie bonus dungeon, Deathly Hollows, and killing/capturing the boss, Telperion. Ask me, it's more trouble than it's worth, but hey, gotta have the full set! The Shell Armor gives Enchantment on defending for male characters.

And that's the lot! But there is a bit more to get. Part of having a proper null-tank is having coverage for that one attack that slips through and snipes you. Which means having a couple of support items- the Green Cross and the Fairy. With them, defending will give you Invisible/Enchanted, Target, Autolife, AND Regen. Which basically means that no enemy in the game can keep you down (except a few bosses who will give you a brief lesson in humility). Here's the location for those, too.


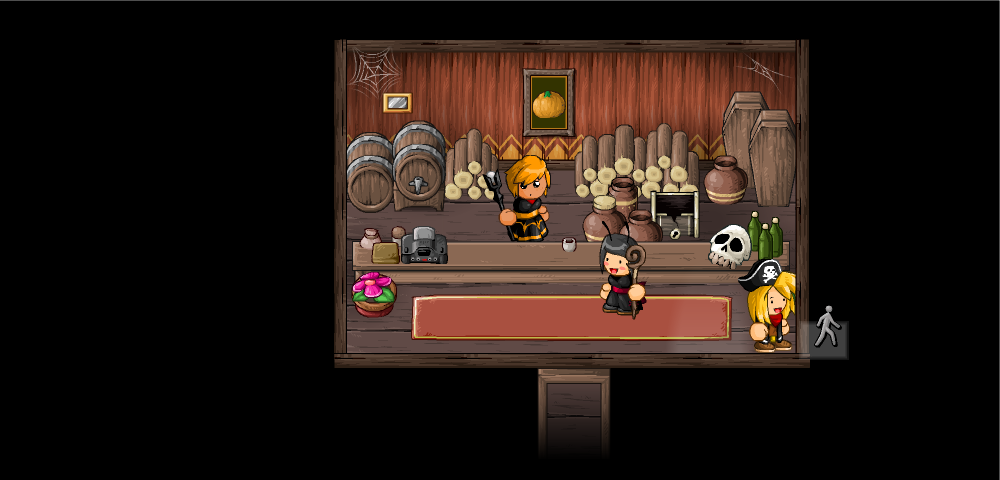
This is the stealing spot for the Green Cross. Just walk through this false wall, up and around, and rob the shopkeeper blind! Yoink! The Green Cross provides Regen on defending once fully upgraded.


Aaaaand this is the general area of the Fairy. Sorry, I don't quite know where it lives, since I got it forever ago. Point is, she's hiding in a chest around this screen or the one below. The Fairy gives you Autolife on defending at maximum level (you'll need a lot of butterfly wings).
Profit


Once you have enough pieces and upgrades to begin the cheese, the cheesing does not stop. This strategy is simple, but it works on a lot of enemies- even some bosses.

Choosing your tanking equipment is important. Physical and magical counters for specific enemies, yes, but you also need to consider what other buffs you're getting when you hit defend. And try to pick a weapon that gives you extra turns every now and then, like Matt's Dragon Feather, Natz's Paper Fan, Lance's Accelerator, and NoLeg's Bandit Blade. But note: DO NOT put the Encore skill on the tank! Chances are they won't be able to spare their turn... cause they'll be tanking!

Also, if you're using Matt as a dedicated tank instead of the COMBAT GOD he aspires to be, you are Matt-ing wrong. Just saying. (I mean, he is a great tank, but come on!)

For armor, try swapping in some things other than just the invis/enchant armor. The Turtle Gi hasn't ever really impressed me on defense, but it works. Scottish Armor and the Space Suit are also decent options, giving other buffs on defending.

For headgear, equip some stuff that boosts survivability more, or gives you some other defense buff. I'm a fan of the Bunny Ears equip, because it boosts Natz's dodge to crazy levels. The Dark Bobble also works if you want to switch to magic sniping at a moment's notice. Curly Horns give killer defense with a Bubble Dress, mitigating the physical weakness, and the Amber Bobble's passive morale summon can save you in a pinch.
On the male end, there's the Headband, which gives a stupid good magic defense buff for an invisiblity combo, Genji Helm, which gives good luck, the Spartan Helm which buffs health, and the Scottish Cap, which gives Blessed. Army Helm also works just fine for passive heals and stun resist.

For accessories, the Tank should always have the Target or Agnry Faic badge, but the others are more flexible. I like the regen from the green cross, but there's also a very compelling argument for the Companion Cube and the Fairy to combo for full revives- turn a brutal attack into a free full heal! There's a couple of others that give you bonuses on reviving, but as with the turtle gi, I've never seen those outshine having a good status effect like regen.

On the weapon end, you want stuff that provides good defense, or something with a passive ability that can proc even when you don't attack. No weapons have a defense-triggered ability, so don't bother looking- but as said, extra turns are very useful (paper fan, dragon feather, bandit blade, accelerator), and some weapons (like Soul Eater) can launch a life-draining counter attack.

That's that! Enjoy making a mockery of most enemy encounters.
BONUS: Nuking for fun and achievements
Alright, alright, so you want something more offensive, eh? Well, here's the one-stop guide to nuking a thing so hard that you kill its entire family.

Buckle up, this is going to be wild.

For starters, in order to proc the achievements, you're going to want a level in the thirties or so. You'll also need a few summons, and preferably some well-kept equips. I'll specify what's important, don't you worry.

Your opponent today will be... the Nigh Immortal Practice Slimes!


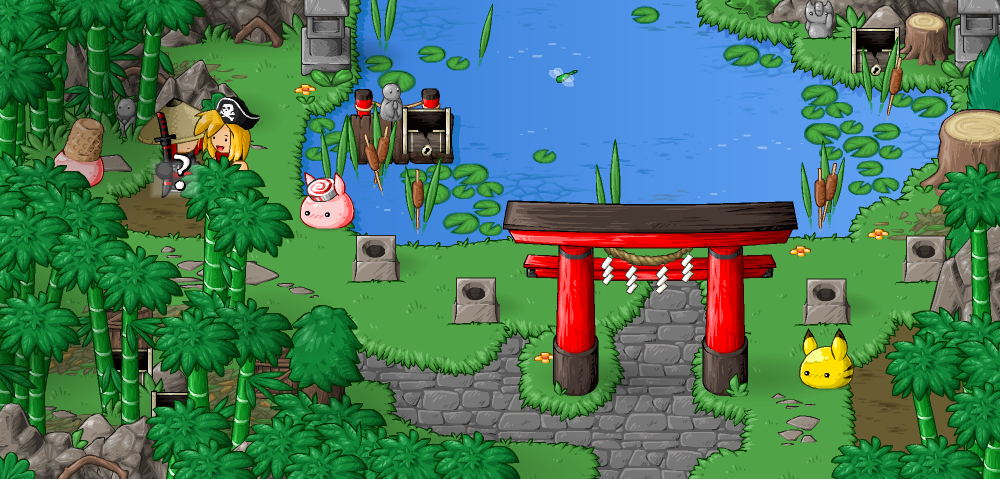
Remember this place? Well, once you complete the quest, three slime enemies with astronomical amounts of health will appear. Go after the bunny slimes. They can't hurt you, so it's super simple to set up the Combo of Death. Their maxed HP won't save them.

Your Destroyer of Worlds today will be Natz. Everyone say hello to the Natz of Death.


Hiii, Natz of Death!
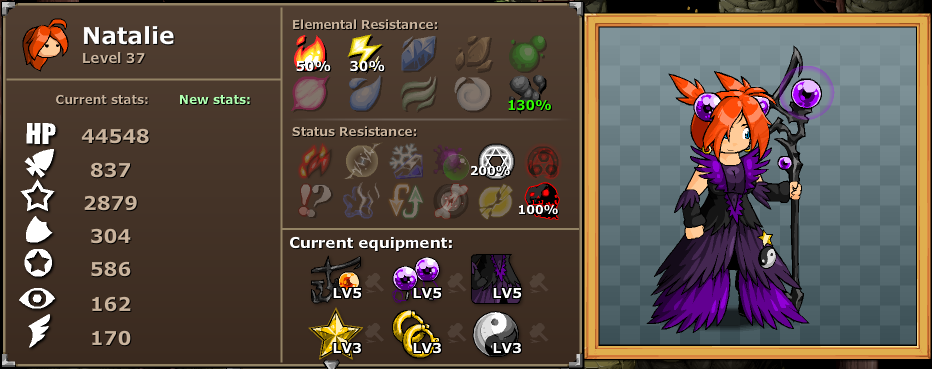
Everything here is about making Natz as gallingly, nut-bustingly powerful as humanly possible. That's two equips that boost her Dark damage, and all three have the best magic stats in the game. Matt can technically edge her out in raw power, but his equip set doesn't boost a particular element as much, so his damage ends up lagging far behind the sheer overwhelming power of Natz of Death.

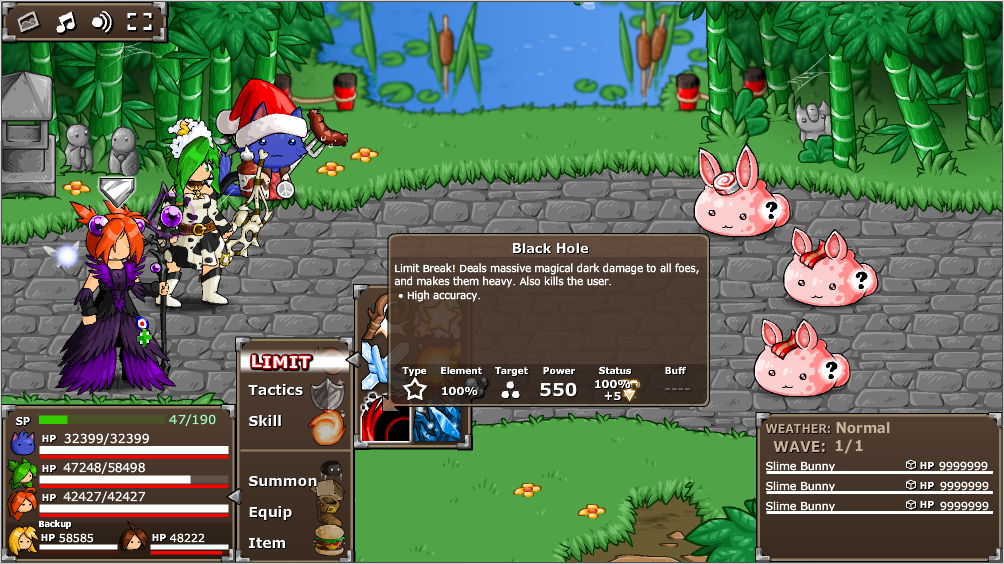
Before we start, we need to assign roles. Natz will be the Natz of Death, and she will need the skill Black Hole, and optionally Lock On. A non-Natz person will take Enfeeble, thus making them the Debuffer. Another person will adopt the role of pack monkey, throwing buff items wildly at your party. They will be the Item Buffer. A final person will be the Hastemonkey, and will be given the ability Encore, along with a Haste-giving weapon and the Timepiece flair. I recommend Natz as your Natz of Death, Anna as your Debuffer, Nolegs as your Item buffer, and Lance as your Hastemonkey.

Let's do some math and see how crazy this is going to get. That's the Obsidian Staff, Dark Bobble, and Dark Dress, with the Gold Star, Hoop Earrings and Balance Badge, for a total magic boost of 215%, and a double boost to Dark attacks. It's probably not necessary to have them all fully upgraded, but damn do I love me some overkill.
That double boost is going to add at least another 60% to the damage by the way. So, at present, we've got at least a 504% attack power. It's only going up from here.

Next. We buff up magic attack. We're going to be doing this with Cola, not Natz's Star Power. Natz is going to be attacking, so best we not rely on her having to use multiple actions on the critical turn- you'd need three actions to optimize it anyway, and ain't nobody got time for that. Or the viking monoliths. We're going to need to be careful with SP anyway. You can also use the Natz doll, if you're lazy, but since you're here, we're going hardcore. Use Matt or Nolegs equipped with the Hockey Stick or Dog Sausage, respectively, along with the Hipster Shirt and the Santa Hat (set your clock to december and visit the portal zone to snag that one). Then, ready a Cola for Natz to give her a 90% Magic Attack boost. We are now at 958% power.

Next is debuffing magic defense on the enemy. And weirdly, debuffing defense is FAR more effective than buffing offense. Things gets crazy, quick. A 50% defense debuff results in a DOUBLING in damage dealt. And we're cranking it to the max, here. Equip your debuffer with as many equips as you can to enhance the effect. For Lance, that's Spine Snapper, Cardboard Box, and Coat of Teeth (seasonal, october). For Anna, that's The Deceased, Rubber Duck, and Cow Costume. This will result, with a fully-upgraded Enfeeble, with an 80% defense debuff. Also known as you deal five times the freaking damage with magic attacks on the target. For those of you keeping track at home, that's 4788% power. Hooboy. And we're not even on status effects yet.

First, let's talk Criticals. Critical Hits deal 1.5x the damage of the original attack. Any attack can become a critical hit, unless it's against a Brave target. Brave will also boost your crit rate, and Stagger will guarantee a critical hit (unless they're also Brave). Stacking a Brave attack and a Staggered opponent can result in a doublecrit, which deals 2.25x damage. We're going to be staggering our poor, helpless victim, and applying a Brave buff to Natz, so we'll definitely crit, and have a good chance of doublecritting. To do this, just cast Temper on Natz. Staggering is a bit more complicated due to other shenanigans, we're going to be relying on our three summons to help us out, there.

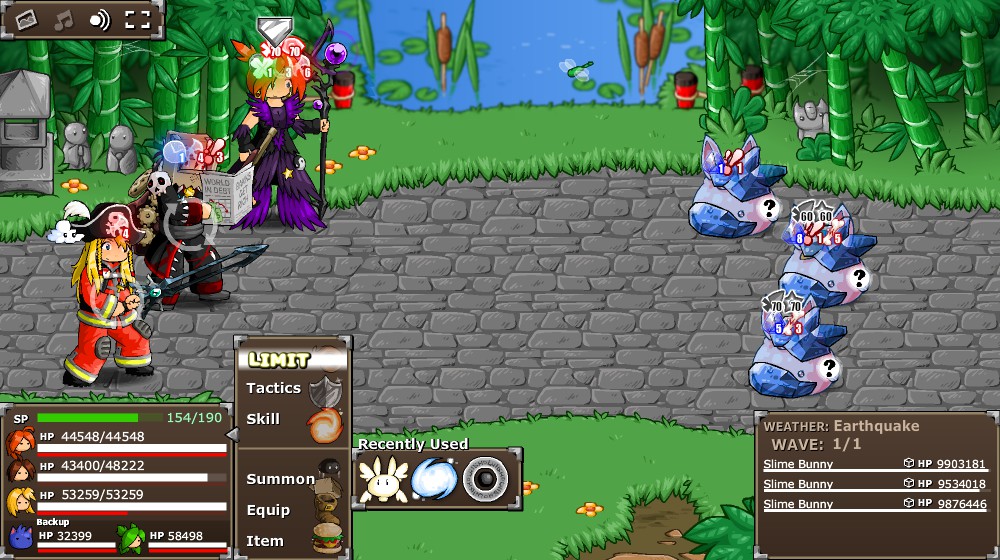
That first guy, the earth sprite, is who we want. He changes the weather to Earthquake, which randomly staggers allies and enemies between turns. And it's the only source of Stagger that doesn't do damage, too. And with a guaranteed crit, we're up to 7182% attack power, potentially as high as 10773%. Having fun yet?

Next. Weaken. Bunny slimes are immune to Curse, but can be Weakened easily. Weaken decreases attack power (irrelevant), but its second property is far more interesting- Dark damage is boosted by 50%. You can apply it easily by using Anna's Blessed Barrage or Natz's Holy Light. Or both, it stacks easy, so just keep throwing it on there. Now, even without the doublecrit, we're up to 10773% power. But we can keep going- just one more step!

FREEZE. Freezing prevents the frozen person from acting, and also doubles the next non-fire damage aimed at them. Doubles! Hohohooo boy. Freezing is easy enough to provide- Anna's got some nice Frost Flurry arrows that can do the job. But we need something that will last so Earthquake can do its work. So, we need to do a little comboing. See, Freeze can also be made out of a Chilled and Wet status effect. And if both are applied at once (in an attack that deals damage), it will Freeze the target for the duration of the status applied second.
Did you know Anna's water arrows wet the targets for nine turns?
Have Matt use Iceberg, or someone else use Snow Bunnies to apply some stacks of Chilled to your opponent, then have Anna nail them for a devestating 9-turn freeze. It's stupid good. And it boosts our damage to our not-quite-final total- 21546% power.

But now, you didn't forget about Invisible already, did you? Slap that on before you strike using the Chunky Gloop summon and you've got yet another double in power. 43092%.

Oh. And elemental weaknesses. So slap another 80% on there, because Bunny Slimes are 80% weak to Dark. That's 77566% power, or 116348% on a doublecrit. Absolutely ♥♥♥♥♥♥♥♥♥ incredible. We will be hitting this poor creature for over a thousand times base damage, with the most powerful spell in the game.

Now, let us combine all the ingredients piece by piece.

You poor, condemned fools.
Nuking part 2: Nuke Harder
We're all gathered up for the show, let's hit the road.

Step 1: Make sure the damn slimes don't muck up your plan. They can't do any damage to you or apply any status effects to you, but they CAN give themselves the Bless status, or clear the statuses of any other slime on the field. You can either kill two of the three slimes, or you can do what I did. Which is use the 9-turn freeze trick with anna to shut the suckers down ASAP. You can also use Syphon to keep them from using their Cleanse skill, which is the entire problem, so it also works. It just doesn't last as long. Berzerk even works! You've got options, is what I'm saying. You can also use that Marble Boulder to syphon them for a while, too. Just don't use it more than once, you need that SP.

Step 2: Start applying Weak to the target slime, and Brave to Natalie. No point in wasting the opportunity, right? Matt uses Temper on natz, with a few apple slices to speed it up. Anna uses Blessed Barrage and Natz uses Holy Light. One weakened slime.

Step 3: Freeze the slime for a long time. Use the 9-turn freeze trick to make sure that slime goes nowhere. Once the freeze takes effect, immediately summon your Earth Sprite to start the quakes, and transition to...

Step 4. The waiting game. You need a specific set of circumstances to pull this off. You need your Item Buffer (nolegs, in my case), and your Debuffer, and your Natz of Death, and one additional action. This is why you brought the Hastemonkey. Have the Hastemonkey and any combination of the others out, and wait for the perfect time- when the Haste triggers, and you have the necessary number of actions, AND your target is Staggered by the earthquake. While you wait, top off Natz's buffs- Temper and Lock On will provide bonuses to her crit rate, so stack them on there. Finally, when you have all the conditions met, it's time to go!


Step 5. The act! When the circumstances are right, and your target has Freeze, Weaken, AND stagger on them ALL AT ONCE, AND you have someone Hasted on your side, it's nuke time. Have whoever is Hasted call up the Chunky Gloop and Invisible your target. Then, swap out for whoever's absent, and start the final process- Item Buffer uses Cola on Natz, Debuffer uses Enfeeble on the enemy... And Natz lets all hell break loose.

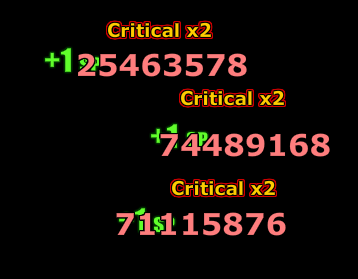
It is a glorious, glorious sight to see that you've blown the damn achievement right the hell out of the water. I actually surpassed it by an order of magnitude when I took a stab at it. That's right- ONE HUNDRED million damage in one attack (with a buttload of setup). Hope you find it as fun as I did to nuke those little turds into oblivion!


Dramatic recreation for sweet, sweet justice.
55 Comments
Numbers  [author] 9 Oct, 2023 @ 9:50pm 
Heyy, glad to help! Glad people are still using these guides, too! It's been a while.
Weaponized Autism 9 Oct, 2023 @ 12:59pm 
Thanks for this guide! Following this managed to get me the 1m and 10m medals I was missing!
Numbers  [author] 5 Dec, 2022 @ 11:08am 
Appreciated!
Virusstalling was basically how I killed God the first time around.
lvpprimary 5 Dec, 2022 @ 9:48am 
btw steam appears to have blocked the link to Lunas, the guy with the examples of boss 1TK's, just search 'lunas ebf5' on youtube and you'll find it
lvpprimary 5 Dec, 2022 @ 9:45am 
also i just thought of one more strat

Virusstalling (best paired with t-tanking)

Inflict Virus on the enemies, whether it be through Fuzzy Worm (summmon), Beholding Eye (staff), Tentacle (flair), or any other method. Just get the virus on the enemies. Then, equip Surgical Mask on the tanker in replacement of Target Badge, and let the rest of your party die. If there are any stacks of Virus on the tanker, use garlic to clear them. Set up an autoclicker (to automatically defend every turn), leave, and come back to a won battle*.

*This strategy will not work if there are multiple waves, or if any of the enemies have >=100% poison/virus resistance.

You may also just throw t-tanking out the window and play extremely defensively whilee the field melts into dust.


P.S. Fairy is accessible in a "compartment" at the top left corner of the screen with the rainbow river slime cat, that can be reached by going through the top right corner of the screen to the left.
lvpprimary 5 Dec, 2022 @ 9:22am 
oh no problem :D
Numbers  [author] 4 Dec, 2022 @ 11:19pm 
@Ivpprimary thanks for the feedback! I've incorporated some of your advice into my tanking guide (along with updating it to be less 'this will break the game').

Might update it later with the stuff about setting up nukes and stunlocks, but I think that might be outside the scope of my guide. Honestly I just made the thing for fun- but I'm glad people are still seeing it!
lvpprimary 4 Dec, 2022 @ 6:36pm 
Bonus Strat: Stunlocking, or debufflocking (also known as WTC or Weaken Tired Curse)

For stunlocking, on Anna, equip Thor's Hammer, Blue Elephant, and Red Dress, and for flairs, just equip whatever buffs accuracy, and spam Arrow Rain.

For WTC, (on Anna), equip Alchemist's Bow, Blue Elephant, and Red Dress, with Crossbone Pin as a flair, and Gaia Blossom as a skill for setup, and just cycle between Blessed Barrage, Gaia Blossom, and Arrow Rain. 3/3
lvpprimary 4 Dec, 2022 @ 6:36pm 
Strat 2: Damage stacking (nuking)


I don't really have much to say here, but I still have a couple of things to add:

The most important things to use and keep in mind are the following:

Enchant/Invisible on enemies doubles your damage output and costs only SP.

EQUIPMENT IS IMPORTANT. The best piece of equipment is ABSOLUTELY Death Mask (or Soul Eater)... (or Honjo Masamune)...

Survivability is very important. If you find yourself or one of your party members while setting the nuke up, cast barrier or protect, or set up some defensive measures.

The best limit breaks for nuking on a [turn] budget are, ranked from best to worst:

Seven Swords
Cleaver
Oblivion (can be used for both stagger inflict and damage)
The Destroyer
The Creator
Nuke
Hidden Power

Of course, black hole is the best for sheer highest damage, but I find these to be the most practical.

For some examples of boss damage stacking, see Lunas on youtube: [ https://www.youtube.com/@lunas442 ]
lvpprimary 4 Dec, 2022 @ 6:35pm 
Some improvements and feedback:

Strat 1: Target tanking


Matt > Natalie for target tanking, and invistanking has been killed by v2

Flairs:
Fairy
Target Badge
Companion Cube (when coupled with fairy, is much more powerful than regen flair ime)

Armor:
Turtle Gi is incredibly helpful for free buffing, but Spartan Curiass (for defense buffs) or Space Ace (for regen) can be substituted.

Hat: Scottish Cap is what I would recommend, but other options are: Spartan Helmet (HP buffs + passive morale), Genji Helmet (good luck), and Headband (magic defense buffs).

Sword: Dragon's Feather (occasional haste), or Soul Eater (chip damage via counterattacks + healing via lifesteal via counterattacks).

If in 1Player mode, replace Target badge with any of the following, ranked from best to worst:
Green Cross
Lucky Clover (do not use if also using Scottish Cap)
The Tr*force
Hoop Earrings
Battle Paint

1/3