Garry's Mod

Garry's Mod

114 ratings
Garry's Mod - Save Making 101 [WIP]
By Drunk Headcrab and 3 collaborators
Welcome to the Garry's Mod - Save Making 101 guide. Here, you will learn how to construct a save, create events, design levels, polish saves, and more. This guide also assumes you have all Half Life 2 content (Half Life 2 Episode 1 and Half Life 2 Episode 2).
2
   
Award
Favorite
Favorited
Unfavorite
The Absolute Basics [WIP]
If you're looking to turn gm_flatgrass into a Half-Life 2 campaign or something other, welcome. Welcome to the GMod saves guide. You have chosen or been chosen to create the finest quality content for the GMod workshop. This section is meant for newbies, so if you downloaded the game 2 hours ago, I'd suggest reading this section. Otherwise, skip it.

You have just entered the wonderful yet irritating world of developing in the source engine. It's not quite Hammer SDK, but it'll work, right?

The Absolute Basics:
https://www.youtube.com/watch?v=N9N63OhRPjU

The Developer Console:
What the hell is a "developer console" anyway? The developer console is, well, a console that lets you execute commands. The console can also print important information. In order to open the console, press the tilda (~) key on your keyboard. The tilda key should be located in the upper left corner of your keyboard, right below ESC. Certain keyboards may have a different setup, however. If the developer console isn't opening, you probably haven't enabled it yet. Follow the picture guide below in order to enable console:


Hint: if you are in the main menu, you can hold the tilda down for a few seconds in order to open the console. If you are in-game, you can simply press it.

Errors and Hotfixes:
This guide here details the effects of errors and how to fix them.
[BELOW IS A W.I.P. SEGMENT]
Lots of errors or missing features are also caused by simply not having certain games mounted, such as Counter Strike: Source. See this guide if you want to safely and legally mount CSS' content, assuming you haven't already.
Tool Gun and Physics Gun Training [WIP]
[W.I.P.]
Vehicles [WIP]
The Jeep
The buggy used in the Highway 17 chapter of Half-Life 2. The jeep has an infinite SMG ammo crate on the back. You can also attach a tau cannon onto the front. The tau cannon can charge a shot for extra damage, much like Half-Life 1's tau cannon.

The Airboat
The boat used in the Water Hazard chapter of Half-Life 2. Can float on water and all props, even no-collided ones. You can attach an airboat gun, which can be used to destroy combine aircraft. The airboat gun has to recharge its ammo between bursts.

The Jalopy
The all American muscle car seen in Half-Life 2: Episode 2. You can attach a radar that detects Half-Life 2 tools item crates with the little blue trackers on them. While it doesn't possess any mounted weapons, it is possible to attach Magnusson devices to the back of the car using the gravity gun.

Pod
This vehicle has a nice looking exit animation, but cannot be entered from anywhere on the map like normal seats can.

Standard Seats
Your normal, run of the mill seat. You can force players to sit in them from anywhere on the map with a Wiremod user.
Basic Lighting [WIP]
Lighting in a save could either make or break it visually, but the lighting itself is also a fragile beast. Overdo it and your map becomes a hard to see mess. Underdo it and the save becomes harder and less fun to navigate!

If you're dealing with fire, then lighting is ESSENTIAL to making it feel right! I can't tell you what's best, but I CAN tell you what I like to do!

Hobo-fire and Contained fire
I usually tend to get an orange soft-focus lamp and put it on top of the fire. Maybe a light in the fire itself if I got the resources. The results are not only light-weight (with proper optimization) but it looks pretty good!

Random burning object
These are the types that can be created naturally through gameplay occurrences. If you have Dynamic Fire Glow installed, this type of fire will emit light.

General lighting
It is good to place generic lights in order to create atmosphere. For example, if you wanted a zombie infested alley way, you may want to use fire and orange lights. In other cases, you may want to place invisible lights on/near props in order to enhance the effects of any glowing texture (such as monitor screens).
Detailed Geometry (Indoors) [WIP]
Building an interior that doesn't look like total trash may seem hard, but if you consider these simple tips, your interior can go from a 8x4 cube to a decent looking building!

*Avoid perfect cubes as much as possible!
Add some shape! Add a part of the room that goes in/out a little, decorate the walls, put some vents or pipes in, anything! Floor height can vary in old or uneven buildings!

*Change the room height occasionally!
The roof and floors don't have to ALWAYS remain at the same height! Give your roof some diversity. Raise it up a bit sometimes! Add a staircase to go down sometimes! Make the height change every now and then!

*Not EVERY doorway has to be a door!
Sprinkle some doorways in! Doors don't have to be everywhere! This is common in many building interiors!

*Sometimes, rooms can just be attachments to hallways!
Offices in particular, sometimes a "room" will be there, but there are no walls between it and the hallway. This is very specific, but just keep it in mind!
Detailed Geometry (Outdoors) [WIP]
Now I know that, at least to some of you, outdoors scene building may seem intimidating. Nature is not limited to the blocky corridors of 90s FPS games. What's important to keep in mind when building outdoor scenes is that nothing is uniform. Nature is random and unpredictable. Placement of land and fauna is absolutely random. Of course, since we're making a save and not designing a forest that means it can't be all random, there has to be some form of linearity. But since things don't have to be blocky anymore, you can just bend the landscape to your liking according to the actual playable part of the level.

Let's start off with a forest environment, ala HL2 EP2. Forests are lush. Grass, bushes, plants, and trees grow everywhere. This makes it easier for us, because we don't have to spend too much time placing specific trees in specific spots, we can just sprinkle them in. With some practice, building environments like this:
becomes relatively simple.

"I want to make a specific rock formation/cliff, but I don't have an exact prop like that, what do I do?"

Simple, you make your own prop. And by that I don't mean open up Blender and start modeling brand new rock models. By this I mean start constructing your cliff/rock/whatever like a puzzle using lots of rock props.
For example, HL2 EP2 has some nice big rock props that when no-collided and put into each other, blend pretty much seamlessly, making it seem as if everything is just 1 big prop.


You can do this exact formation in the span of like 30 seconds or less. Unlike blocky architectural man-made objects, the rock props and many other nature props blend together really well, even if they are clipping through one another. This is really useful to keep in mind if you don't have an exact prop at hand.

Now let's spice up our little scene here, let's start adding some trees. Make sure not to place 2 trees of the exact same size next to each other if you can avoid it, or else things will start to look repetitive. The human brain is very good at noticing patterns. Avoid those.

Our scene is starting to look like something, let's keep adding more details, let's add grass, bushes, plants, small rocks, etc. to spice up things even more.

Not half-bad, this could really turn into something good. Now let's add a BIG cherry on top. Let's light this sucker up. We're going to be using the Soft Lamps tool, as it allows you to make lamp distances reaaaaally long and lets you set a big FOV.

"Why would I want to light the save up? There already is lighting."

Flatgrass is not actually all that well lit, and if you don't light props they will look quite dull and monotone. Lamps add a little contrast to this and make the props really pop out. HL2 EP2 props look especially good when lit by a lamp.

So let's say we want some overcast weather.
We make the lamp color white/grayish, and we set the FOV to something high. When the weather is cloudy, light disperses differently, giving everything a much softer look that is bright and the shadows are barely visible. The reason we set the FOV high is that as we increase it, the shadows become lower res and to compensate for that the engine blurs them to make the shadow pixels not noticeable.

As you can see, this already looks miles better than the previous screenshot. Proper lighting is key to making a save look appealing. Of course, we shouldn't forget about performance, though. Casting low FOV sharp shadows on lots of small dense grass props will really eat performance. If you're going to be using soft lamps, I recommend 1 per save. If you're going to be using smaller lamps for small scale illumination, I suggest you wire them up with Wiremod to only activate when the player is near them.

For placing grass, I recommend the EGS tool, as placing grass props manually by hand is tedious.
Again though, consider performance, lots of grass will eat FPS.
You can make your outdoor saves look even better if you fiddle with the VFX editor (not recommended) addon, but I'll cover that in the Post Processing section.

Just to show you how good you can make a nature save look, I've changed the scene's weather to a more dusk-like appearance.

I've lowered the lamp's FOV, changed the colors of the lamp, the fog, and the sky. Never make your lamps full white, full black, full red, etc. Choosing a shade made out of white and your desired color will always be more aesthetically pleasing. Making the FOV lower also means that you'll have to place the lamp farther away.

Effect Resizer

The Effect Resizer tool is one of the most useful tools I've been playing around with recently. It allows me to squeeze out all the potential a certain effect prop has to add detail to my save. There are tons of possibilities with this tool, for example:


A thick fog that covers the whole map? Sure, you can do that.
Here I've taken a clouds prop from CSS' de_port props, made it extremely large, squished its Z-axis and colored it. Then I duplicated it a few times and stacked them under each other to give it kind of a fade effect.


You can also use the tool quite effectively if your save is going for a more overgrown, "reclaimed by nature" theme. It also saves time, as instead of spending tons of time filling a spot with effects, you can just cover it with 3-4 big effects, which also saves on performance.

These are just 2 examples, but I'm sure you can come up with more ideas.

I may update this section with more stuff in the future. - GIGA
Decoration and Polish [WIP]
Your maps can be fairly plain. You don't have to spend ages on decorating them, you just have to make them feel authentic. The atmosphere is what your main focus should be on. Now, don't get me wrong, small details are nice, but don't stress it if you have a good atmosphere and architecture. Lastly, we don't want to spam debris and foliage, as that just makes your save look lazy and unnatural.

Physics Props
Now, you're probably going to have some physics props such as boxes, vending machines, tables, etc. The thing to remember when placing them is that they should never be perfectly aligned with the wall. Have your props at a small angle so that the world feels more natural, unless it's meant to be connected to a surface and can be broken off. Small props, breakable props, and any props on top of or connected to breakable props should be unfrozen. Some breakable props can stay frozen though, like wooden boards, as if they were nailed or welded on. Physics props should have correct collisions, meaning that you shouldn't have to put any invisible props inside it. But, if you really have to, only do one invisible collision per prop, otherwise you might face some performance issues.

Effects
Effects are best used in the 3D skybox and unplayable areas, although you CAN use them in the playable area. Just treat them like decals if you do so. If you want to use them as a prop-like decoration, be sure to put an invisible box on them so the player can collide with it. You can make it like a physics prop if you weld the invisible prop and the effect together and unfreeze them. You may want to choose an invisible prop with an appropriate weight, or else it may seem like a feather.

Static Props
They are frozen physics props and cannot be moved around. They are the building blocks of your save, but in this case they add more detail to the save (things like foliage, rocks, debris, etc.). If the prop has something involved with nature (trees, rocks, abandoned things) then they should never be perfectly aligned with the ground and should be at least slightly buried. If it's grass or other flat things, then none of it should be floating off the ground. If your prop has bad collisions (inaccurate, some parts missing, etc.) then you can take a prop and set its color to "0 0 0 0" (first 3 being RGB, 4th being alpha) and then place it in the missing collision part. If the prop has too bad collisions (offset, glitchy, or other wacky stuff) then you should disable its collisions completely and replace it with your own "collision model".

Placement
Custom Props and How to Use Them
What do you do when you desperately need a prop, but none of the required games have it and you're not willing to change requirements? Make your own out of a combination of other props, of course!

If you're going to be making a custom prop:
Then I HIGHLY recommend using the underrated
https://steamhost.cn/steamcommunity_com/sharedfiles/filedetails/?id=217376234
Collision Resizer! This allows you to add extraordinary amounts of detail to your props and even make some props which you can barely tell are custom! Like this example I made:


*Use custom props in moderation:
Custom props are great and can add a lot to a save... But sometimes too literally. Custom props will drain FPS pretty quickly if you over-use them, so try to avoid that! I suggest a 5-6 custom prop limit per save.
The Skybox
1. The Size
The simplest part of the skybox. This simply represents how high/far you can go when making a save. gm_construct and gm_flatgrass offer reasonably sizeable skyboxes, although Flatgrass has an all-around bigger one.


2. Color of the Sky
The second simplest and most known part of the skybox. The color encompasses the sun's intensity, color of the sky, fade bias, dusk intensity, and stars (or clouds).


The color of the sky can make or break the atmosphere of a save, so be sure to finely tune your sky editor.


3. Fog
Much like the color and intensity of the sky, fog can make or break the atmosphere. Too much fog is annoying, too little fog makes the distance look weird. The thickness of the fog should be fine-tuned to match the theme as well. If you're outside and the sky is blue, there should be thin blue fog way off in the distance.


If you're in a HL2 Beta themed toxic city, then somewhat thicker, green/yellow fog up close is appropriate.


You can also make the map darker by using fog at a distance of 0, thickness of 0.95-0.99 and color of 0, 0, 0. Beware, fog hides blood decals and obscures most other effects such as particles!


4. Sun Position
You can edit the sun's position using the sun editor. Simply point the sun editor in the direction that you want the sun to be.


If the editor is frozen, the sun's position will not change upon loading your save. In order to fix this, use invisible ropes with the RIGID setting enabled and attach them from the editor to the ground. Use a lot, because we want the editor to be stable when it's unfrozen.


5. The 3D Skybox
This part can be somewhat tricky. The 3D skybox is a non-playable background that can add extra detail to your saves. The 3D skybox can be edited by going outside the map and finding the small box or area with tiny versions of buildings, trees, hills, etc. This is where you can place your own props, effects, etc. The things you place there will show up in the non-playable background, usually 16 times larger.


On gm_construct, you can find the 3D skybox's area by noclipping straight up.


On gm_flatgrass, you can find the 3D skybox's area by noclipping straight down. On some other maps, they may also be found on the side.
NPCs and AI Part 1
(Valve Developer Community information that has been modified to fit saves)

Zombie Placement
To start off, Zombies should:

- Be at a disadvantage, (Height, Flames, Small numbers, etc.)
- Be very maneuverable.
- NOT appear in a place that the player can directly see.
Of course, you can always make engagements with zombies very difficult by giving the player little to no advantage, especially when dealing with a "horde."

The Art of Spawning:
The player should never be able to directly see where the zombie came into existence. Another good idea is to use something eye-catching to make the player look the wrong way. Zombies, when used best, come unexpectedly to the player, but you should still give small hints: a blood decal or the odd moan, coming from around a corner.


Lighting:
Lighting can always be used to tell the player that something's wrong. But you should always give the player a rest. Safe areas are normally well lit with yellowy lights. Whereas gloomy areas which contain zombies should use blue, red, or even total darkness. Orange light from fire is also very fitting for zombies.


Disadvantages:
When confronted with a horde of zombies, the player needs an edge, be it height or an area blocked off by fire. Sometimes the best disadvantage can even be in the form of a door or drainpipe. Creating choke points that feed zombies to the player one at a time, making it a lot more manageable. Other options include giving the players physics props such as sawblades to throw at the zombies, or other props such as the flares from Half-Life 2: Episode 1. The point is to not offer the player a battle which they have no chance of winning, backed into a tight hallway with 1 pistol bullet left and no escape routes.


Maneuverability
Zombies are always at their best when they can leap around. It adds to the experience if you come up against zombies crawling across drainpipes, and leaping from one building to another. Think about Left 4 Dead. The hunter is always pouncing from high rooftops towards his prey. Just remember, you don't want too may fast zombies pouncing on the player, it's easy to get overwhelmed!


Turrets
Ceiling Turret

Rarely used in Half-Life 2, this turret deploys from the ceiling. Not to be confused with its cousin npc_combine_camera, or its siblings: npc_turret_ground and npc_turret_floor. For an example of its use, see the tripwire laser room in d3_c17_10b.

WARNING! This turret is really strong, and when it dies, the sound sometimes stays. The turret also has near-perfect accuracy. The issue is that it was never meant to be beaten, and was only made for an insta-kill room in Half-Life 2.

Floor Turret
It is unstable and falls over easily, but cannot be destroyed by conventional means. It scans a 90 degree area, and will lock on to and fire at a target until that target is out of range or can't be seen. Using addons such as Minor NPC Tweaks will allow the turret to be killed by explosive damage.

When knocked over, the turret will fire randomly for a few seconds and then disable (much like the floor turret from Portal). However, unlike the Portal turret, it will switch on again after being placed upright.

Placement Tip: If used in combat situations, this NPC can add variety to a firefight and upgrade an enemy force's firepower. Be warned, the turret is prone to falling over upon loading your save unless welded, entrenched, propped up, or otherwise locked in place in some way.

Combine Gunship
A flying Combine NPC with one main gun and the ability to track and shoot down incoming RPG rockets.

Note: you can create an info_target_gunshipcrash entity to force the gunship to crash at a specific location upon death instead of instantly exploding, much like the attic gunship boss in Half-Life 2 Episode 1.

Hunter-Chopper
A Combine helicopter, (also called a "Hunter-Chopper") armed with a machine gun and capable of dropping mines. The mines are buoyant, and their timer only activates when they collide with the environment. Upon touching an NPC or object, they detonate instantly. They can be dropped one at a time, or when triggered the helicopter can rush a target dropping a massive amount of mines.

- Placement Tip 1: Hunter-Choppers are used mainly in the Half-Life 2 series as chase vehicles, hence the name.
- Placement Tip 2: Helicopter battles require the player to be very mobile, and have some cover available to them. Just one can present a great challenge, so like striders, use them sparingly.

Note: you can create an info_target_helicopter_crash entity which will force the helicopter to fall and crash at that point upon death instead of instantly exploding. The helicopter will have to be manually removed with the NPC spawn platforms "despawn" option, though, as the helicopter does not remove itself for some reason.

Strider
Striders are the largest known creatures in the Combine arsenal. Simply parading a Strider down a street can be enough to give players a sense of unease, but they are unwieldy and should be used only after great care and consideration. A Strider on every street corner is a great way to destroy their effect!

A Strider has three forms of attack: its Pulse turret, which will slowly strafe across targets, its Warpspace cannon that will evaporate all dynamic entities it touches (but needs to be triggered by the mapper), and its legs, which in the right circumstances can stomp down on NPCs and 'impale' or skewer them.

A Strider is a Flying NPC that uses info_node_air_hint of type "Strider Node" for navigation. It can only move in straight lines between these entities (though it can turn freely).

It is also very large, and requires plenty of space in order to move around. They need at least 300 units to fit on the ground and around 540 to stand upright. Striders do not require open terrain, however, as their long legs allow them to cross over nearly anything up to a certain height.

Scanners can be used to extend a Strider's line of sight when properly flagged. Every time they take a photo, the location of the target NPC/player is transmitted to nearby Striders through an entity called bullseye_strider_focus, which they will then hate.
In Episode One, Striders have a new attack. They're capable of firing much faster and accurately than they could in Half-Life 2. They are better at tracking the player's movements as well.
NPCs and AI Part 2
Headcrab Canisters

The canister is a mortar shell containing a payload of headcrabs. The mortar shell inflicts damage within a radius of where it lands and releases headcrabs after impact. Inputs and keyvalues offer control over impact damage and when the headcrabs are released, among other options.

For an example of their use, see the shantytown in d1_canals_05.

Combine Sniper

This Combine soldier is wielding a sniper rifle with a blue laser sight, making it capable of extreme accuracy at long range.

The npc_sniper does not actually have its own model - rather, it uses a Combine soldier model in-game (if its Hidden flag is not set) playing its idle animation, with the rifle's laser coming from the center of the hull. Only explosions and burning damage can hurt the sniper.

The sniper doesn't turn on its laser until after they see the player or an NPC within an acceptable range and angle, and will turn it off again after they are done. They will prioritize the player over any other target. If they lose track of the player, they will get frustrated and shoot three rounds at the area where the player was last seen, often targeting smaller prop_physics (like soda cans, melons, melon chunks, cinder blocks, etc.) but not large prop_physics (like soda machines). They will then resume to targeting any other visible targets.

Combine Soldier
https://www.youtube.com/watch?v=VVlS2vI5b3A
They are the grunts of the Combine Overwatch. They will attack the player and their allies with no mercy!

npc_combine_s is one of the most common enemies in Half-Life 2, serving as the Combine's primary military force. As opposed to npc_metropolice, npc_combine_s is a strong NPC that can utilize a wide variety of equipment, ranging from Pulse-Rifles to frag grenades.

Their AI uses Blitzkrieg-style tactics. They will advance rapidly to flank, throw grenades to flush the player out, ignore attacks and suppress, or charge ahead to force an enemy back. In squads, they coordinate their actions and take turns attacking an opponent. They can also use tactical variants that are more aggressive or defensive.
Placement Tip: Only two soldiers in a squad can attack at a time, so big squads may be highly ineffective, although this can be largely negated by Enhanced Sandbox NPCs.
A variant of npc_combine_s, the Combine Elite, has more health and can use the AR2's secondary firing ability.

Another variant, the Nova Prospekt Soldier, is purely visual and has no additional effects.


In Episode One, Episode Two, and the Orange Box version of Half-Life 2, Combine soldiers with shotguns automatically have a different skin. Regular soldiers become dark orange and the eyes of Nova Prospekt soldiers turn red. Elites are unaffected.


They appear throughout Half-Life 2 as the Combine's transhuman soldiers, a step up from the unmodified Civil Protection. Nova Prospekt soldiers completely replace regular soldiers in the Nova Prospekt chapters and Elite soldiers appear sparingly, only being introduced at the end of Nova Prospekt and appearing either among regular soldiers or in squads of their own. In Episode Two, all soldiers have dirt on their uniforms, suggesting they've marched a long way from City 17 due to the collapse of the Combine's military and cities.


Notice: If an elite with grenade slots is carrying a weapon other than the AR2, they will occasionally try to fire an energy ball at their enemy. The charging sound effect will play, but nothing will fire.

Dropships

The dropship is an unkillable flying NPC that is meant to carry containers and drop them off. In saves, however, this function cannot be done with the NPC. Instead, try to emulate it with props and contraptions.
NPCs and AI Part 3
Drones
City Scanner

A Combine scanner. The default model is used for surveillance and scouting, while the shield scanner model has more military applications, like enemy distraction (through blinding) and bounding mine deployment. When the Scanner photographs a character, their location is reported to nearby Combine forces.

Shield Scanner

The Claw/Shield Scanner is commonly used by Combine forces to drop Hopper Mines in combat areas and is equipped with a large pincer arm which is kept concealed behind an armored plate.

Manhack

Essentially an aggressive, flying sawblade. It can be carried and thrown by Metrocops. Best used when the player is vulnerable.

Hopper Mines

The Hopper Mine is an anti-personnel proximity mine that hops into the air towards the target before exploding, much like a bouncing betty. These mines are carried and deployed by Claw Scanners. In terms of saves, you'll need to make your own hopper mine if you want to deploy it onto a prop. Otherwise, you can use the standard entity on a map surface.

- This entity may also use bounce_bomb or combine_bouncemine for the classname.

Other Combine Units
Metropolice

They serve as City 17's primary police force. They will beat citizens, deliver verdicts (bullets), and pursue the player.

npc_metropolice is a Combine peace officer with a small arsenal of weapons and little tactical judgement, designed for Half-Life 2's authoritarian atmosphere. npc_combine_s serves as the Combine's actual soldiers.

The gordon_precriminal global state makes all npc_metropolice neutral to the player and citizens, pushing the player away when they get too close and chasing them when provoked. This is used throughout the Half-Life 2 chapter Point Insertion and works best with stunsticks.

In Half-Life 2, they serve as the Combine's thought police, collectively known as Civil Protection, and mainly use stunsticks to brutally police the citizens of City 17. They are the player's main opponent throughout the first few chapters of Half-Life 2, using explosive barrels and mounted guns to their advantage and disadvantage. They're eventually replaced with combine soldiers and disappear until the chapter Anticitizen One, where they again function as the main Combine enemies for most of the chapter.

Stalker

A Combine worker. The product of extreme, brutal Synth engineering by the Combine, a Stalker is a human who has been drastically altered both physically and mentally. The stalker can shoot lasers from their eyes. By default, stalkers are neutral to the player, citizens, and zombies. Rebels will attack stalkers. Stalkers hate antlions for some reason and will attack them.

Hunter

It is a three-legged synth that is large enough to be imposing, but small enough to enter buildings. It has 360° vision thanks to the antennae mounted on its back.

Hunters are armed with flechette cannons, which fire bursts of needle-like projectiles that cause damage both on impact and when they explode a few moments later. They can also lash out with one of their front legs or impale with their mandibles (seen beneath the "eyes").

Hunters appear similar to Half-Life 1's Houndeye monsters, and the legacy DoPhysicsBlast input further supports the idea that they are a derivation.

Advisor

It's the sluggy, evil, worm-like things that are known as Combine Advisors. They are capable of using telekinesis to levitate multiple objects and throw them at the player, inflicting damage. Objects are first "staged" by being flung to one of several pre-determined positions, then flung at the player one at a time, or all at once.

Camera

A ceiling-mounted camera. This is the more popular cousin of npc_turret_ceiling. A "glow" sprite, initially green, is attached to the rotating camera portion, and changes colors if it detects enemies within its radius. By default, it will stare at the player/citizens with an orange light. If the camera is set to hostile/notify mode, it will take pictures and the light will be red.

Rollermine

Basically an artificially intelligent prop_physics, the rollermine will roll itself at the player or at any NPC (excluding Combine NPCs). Upon hitting its target, the rollermine will electrify, damage what it is touching, and bounce off. They will attach themselves to Gordon's tau-equipped buggy from the Highway 17 section of Half-Life 2. If an explosion occurs near them, they will briefly fly into the air before disintegrating.

In Half-Life 2: Episode One, Alyx can reprogram rollermines to make them friendly to the player and fight against enemies.

Placement Tip: These rolling metal terrors can give the player quite a fright if they come up behind them and attack. They are manufactured and used by the Combine, so remember that when placing. A rollermine bounces pretty far after hurting a target, so be aware that they may accidentally fly into an area that could easily kill them or possibly cause them to be stuck.
NPCs and AI Part 4
Headcrabs and Zombies
Classic Headcrab

These are the classic, slow-moving headcrabs. They attack by jumping at the player's head and inflict a nominal amount of damage. Almost any weapon can dispatch them easily. With Headcrab's plus, however, headcrabs can really do some damage to players and NPCs alike. Getting attacked from behind results in an instant kill. When a headcrab successfully kills an entity, that entity will turn into a zombie.

Commonly found attached to a zombie host body, they will detach if that host is sufficiently damaged below the head.

There are several other headcrab variants and associated zombie types.

See also env_headcrabcanister which is a mortar shell containing a payload of headcrabs.

Placement Tip 1: Classic headcrabs can be paired with their fast-moving or poisonous relatives to make it more interesting.
Placement Tip 2: Avoid the cliche of placing headcrabs in vents; they would likely be more of an annoyance than an improvement on gameplay. It's ok to do on rare occasions, however.

Fast Headcrab

This headcrab variant is much faster than the average headcrab. Since the headcrabs move and attack so quickly, they can be thought of as a substitute for the notorious snark of Half-Life 1. It is best to place them in small groups to rush the player.

Poison Headcrab

Black headcrabs, also known as poison headcrabs, are a headcrab variant. Upon biting the player, this NPC temporarily reduces the player's health to 1 (unless you have Headcrab's Plus, which can result in automatic instant kills from poison headcrabs). They are best used in tandem with other melee NPCs like regular headcrabs to make fighting more intense. However, it is risky to group them near NPCs with ranged attacks, as the player will die very easily. In fact, many players are conditioned to kill black headcrabs first because of the threat they pose compared to other enemies.

Commonly found in groups covering a single host poison zombie which hurls its parasite cargo towards the player, they can make a formidable foe so should be placed carefully. Killing the poison zombie will not necessarily kill any of the headcrabs it is carrying, much less all of them (the sole exception may be AR2 secondary fire energy balls). They are also quite resistant to fire and will attack while burning.

Classic Zombie

These "classic" zombies, being wonderfully slow and stupid, are best used in groups to swarm the player. While it is unlikely the player will view them as a real threat, they are a great way to add tension and benefit from working with other zombie types, such as the fast zombie or the poison zombie. In fact, some Ravenholm areas used as many as 4-5 of these zombies at a time.

When advancing upon the player, zombies will knock small physics props that are blocking them at the player with surprising force.

If the zombie's host body is sufficiently damaged, the controlling headcrab may detach and attack on its own.

Zombies may become their torso variant if they were sliced by a physics prop.

Zombie Torso

This entity shares the same class as npc_zombie, but is initialized with a smaller hull and different model.

Combine Zombie

This zombie variant is a Combine soldier that has been taken over by a Headcrab.

Also known as the zombine, it will roam about aimlessly until it sees a hostile, at which point it will walk or sprint (or a mixture of both) into melee range, at some point possibly pulling out a live grenade and holding it over its head until detonation. The grenade can be shot out of the zombine's hand by the player, or pulled out with the Gravity Gun.

Fast Zombie

Fast zombies (as their name implies) are a zombie variant that move and attack very quickly. They can easily overwhelm the player, so consider pacing their attacks. In Ravenholm, the player usually encountered 1-2 fast zombies at a time, although several could be heard climbing gutters to help the player plan better.

If the zombie's human host body is sufficiently damaged, the controlling fast headcrab may detach and attack on its own.

If fast zombies are having difficulty jumping over obstacles, check to see if any props are touching the zombie, even if no-collide is enabled.

Fast Torso

This entity is the torso variant of the fast zombie. Like other zombie torso variants, it can be created when a zombie is cut in half by a physics object. It remains hostile and will crawl towards the player.

Poison Zombie

Poison zombies, unlike other zombie types, serve as hosts for 1-4 nesting black headcrabs at a time. They usually attack by throwing headcrabs at their target.

Killing a poison zombie does NOT necessarily result in the deaths of the poison headcrabs it is carrying, even if the zombie is killed with an explosive weapon. A hit with the AR2 secondary fire will sometimes eliminate both the zombie and the headcrabs in one blow.

Placement Tip: Players usually encounter 1 poison zombie at a time. Try to avoid placing more than that unless the situation really calls for it.

Humans+Resistance
Citizen

They are the downtrodden citizens of City 17. They will pick up weapons, fight the Combine, and join the player's squad if they see him. The refugee and rebel NPCs are exactly the same as the citizen, just with different models. The medic variant can heal others.

Alyx

Alyx Vance is the deuteragonist of Half-Life 2 and its episodes, serving as Gordon's beloved companion and Eli's daughter. She is considered a vital ally and therefore will regenerate health overtime. She is one of the few NPCs that have weapon holster/unholster animations and the ability to use the Alyxgun. Her original Half-Life 2 appearance features few special abilities beyond that, but In Half-Life 2: Episode One and Half-Life 2: Episode Two, she has been given many more abilities, including Dynamic interactions, more comments, enemy counting, and more. Use this E2 to get Alyx to follow the player.

Barney

Barney Calhoun, a former security guard at Black Mesa. He owes you a beer.

Father Grigori

Father Grigori, a benevolent monk who is the last remaining human in Ravenholm. He keeps to the rooftops and uses an old rifle to send his zombified former friends to a peaceful death.

Vortigaunt

The vortigaunt can shoot electric beams at enemies. Vortigaunts can headshot with this attack. Additionally, the vortigaunt is capable of charging the player's armor to a maximum of 15. If you have an episodic model fixer, then the vortigaunt will gain:
- A new idle animation.
- Faster main attacks.
- An area of effect attack that activates when surrounded by enemies. It doesn't work reliably though.
NPCs and AI Part 5
Scenic NPCs

G-Man

The G-Man, Gordon's mysterious "employer" working for an unknown third party. Controls time and teleports from place to place. Can be seen in the background, watching Freeman as he (unknowingly) does G-Man's bidding.

Breen

Dr. Wallace Breen, "evil" controller of City 17. This character has multiple models, one of them a torso-only version for monitors.

Dog

Dog is one of the main characters introduced in Half-Life 2. Dog can play fetch and pick up things.

Dog does not have any battle AI, and therefore will simply run away when faced with enemies. All of Dog's battle scenes in Half-Life 2 were scripted. The Improved Dog NPC will give Dog combat capabilities, although it is not recommended as he will throw physics props no matter what, even if they are frozen and/or huge.

Crow

A simple ambient crow that flies away when it hears gunfire or anything gets too close to it.

Pigeon

It is a pigeon. A nice touch to city maps.

Seagull

A seagull. Can be seen pooping on the jeep in Half-Life 2, but this function may be lost in GMod. You can always use Unofficial Wiremod's painter to put seagull poop on the jeep, though.

Fisherman

The fisherman is the sole non-enemy NPC in Half-Life 2: Lost Coast. He was coded into the game before Lost Coast was released, with the model "models/ati_2004/fisherman.mdl". You will need Lost Coast mounted in order to use/see him, though.

Eli

Dr. Eli Vance, one of the leaders of the resistance. He resides at Black Mesa East (at least until Gordon shows up). Eli Vance has had direct contact with the G-Man. Lastly, Eli supports a possible romantic relationship between Gordon and Alyx by saying, "...now that the suppression field is down... we all have to do our part. Can you blame an old man for wanting grandkids?"

Kleiner

Dr. Kleiner is one of the survivors from Black Mesa, leading the fight against the Combine. Kleiner is also responsible for developing the resistance's teleportation technology.

Ichthyosaur

The Ichthyosaur is a large man-eating "fish" of probable Xen origin. First seen in Half-Life. This Source rendition appeared once, during Half-Life 2's opening, and can only be implemented with scripts.

Mossman

Dr. Judith Mossman, double agent of the resistance. It's highly likely that Breen persuaded her into believing the Combine's cause, but she regained her senses and freed Gordon, Eli, and Alyx in the Citadel.

Mortar Synth

The Mortar Synth is an incomplete Half-Life 2 aerial enemy only glimpsed towards the end of the game in the Citadel on a conveyor belt along with the Crab Synth, during Gordon Freeman's second pod ride.

Crab Synth

A Crabsynth. Not actually in the game but it was going to be. The model is visible in the last pod ride on the citadel.

Magnusson

Dr. Magnusson is one of the survivors from Black Mesa. Gordon Freeman ruined his meal in Half-Life. Additionally, he has a short temper and is quite rude. Lastly, he leads the rebel base at White Forest.

Aliens
Barnacle

It is a stationary, ceiling-mounted 'fishing' monster that tries to eat anything its tongue touches.

Barnacles were originally devised in Half-Life as a simple way to limit movement in levels, and their function remains relatively the same in Half-Life 2.

Placement Tip: Most players will prefer not to get caught by a barnacle, and prefer avoiding it altogether, so unless it would be part of a puzzle, you might want to provide a way to get past the barnacle without killing it.

Antlion

It is a weak NPC that can burrow and "fly" by jumping. The player can command them, provided that the correct env_global variable is set and weapon_bugbait is equipped, otherwise they are hostile. Their most common role in level design is that of cannon fodder. Antlions are blind, and navigate entirely by sound and smell.

Episode Two's acid-spitting Antlion Workers have a different health value than regular antlions.


Tip: To repel Antlions from a chosen place, use a thumper.

Antlion Guard

The Antlion guard is a much larger and more dangerous form of antlion. The guard has a significant amount of health, and can fling physics objects at the player.

The antlion guardian variant functions exactly like a standard antlion guard, except it deals poison damage, much like a poison headcrab.

Antlion Grub

An Antlion grub is a larvae-stage antlion. It emits a faint light and drops a health-nugget upon death.

Other
Generic Actor

generic_actor is a point entity available in all Source games. It is a generic NPC purely made for scripted sequence work. Animated props tool can spawn in customizable generic actors.
NPC Usage and Formations 1
NPCs are typically used only as simple enemies or friendly cannon fodder in GMod saves. This is the part where I tell you they're are meant for more than that.

1. Tactical Gunfights
Most gunfights in GMod tend to be fast-paced rushes with enemies and allies who have IQs of 2. Not to mention the extremely low weapon damage. I have a few addons which will turn these types of battles into fun and challenging experiences where every decision counts.
https://steamhost.cn/steamcommunity_com/sharedfiles/filedetails/?id=1517689437
https://steamhost.cn/steamcommunity_com/sharedfiles/filedetails/?id=1489377853
https://steamhost.cn/steamcommunity_com/sharedfiles/filedetails/?id=897111094&searchtext=Headcrabs
https://steamhost.cn/steamcommunity_com/sharedfiles/filedetails/?id=1156777490
https://steamhost.cn/steamcommunity_com/sharedfiles/filedetails/?id=111335690
https://steamhost.cn/steamcommunity_com/sharedfiles/filedetails/?id=351603470
https://steamhost.cn/steamcommunity_com/sharedfiles/filedetails/?id=488470325
https://steamhost.cn/steamcommunity_com/sharedfiles/filedetails/?id=1254018810

2. Enemy Placement
In order for NPCs to reach their maximum potential, they must be placed in the right locations. Make sure the places you put them work story and gameplay wise. A zombie out in the open will be no problem, but zombies in corridors will.

3. Health Values
When you're using addons such as enhanced damage 2.0 and Half-Life 2 Settings, you might want to edit the health values of NPCs through either SK commands or spawn platforms. Wiremod E2 is a good way to do this. Simply type "cvarlist sk_" in the console and a full list of editable NPC values will pop up.

4. NPC Accuracy
NPCs, by default, have terrible accuracy. Make sure to use NPC spawn platforms to give all NPCs perfect (4) accuracy. The only exception to this is citizens, who have little to no combat training. Refugees and rebels may have perfect accuracy, however.
NPC Usage and Formations 2
Using advanced Wiremod skills, you can manipulate NPCs. This is very useful for just about anything, ranging from GMan sightings to calm scenes with rebels. There are also some more NPC addons which go great with everything mentioned already.
https://steamhost.cn/steamcommunity_com/sharedfiles/filedetails/?id=1950660824
https://steamhost.cn/steamcommunity_com/sharedfiles/filedetails/?id=1263156680
https://steamhost.cn/steamcommunity_com/sharedfiles/filedetails/?id=1095903501
https://steamhost.cn/steamcommunity_com/sharedfiles/filedetails/?id=785842418
https://steamhost.cn/steamcommunity_com/sharedfiles/filedetails/?id=182901638
https://steamhost.cn/steamcommunity_com/sharedfiles/filedetails/?id=959875982
https://steamhost.cn/steamcommunity_com/sharedfiles/filedetails/?id=1435940050
https://steamhost.cn/steamcommunity_com/sharedfiles/filedetails/?id=761110978
https://steamhost.cn/steamcommunity_com/sharedfiles/filedetails/?id=283275984


Here are some tricks and formations you can do with various NPCs:

COMBINE SOLDIERS:
- Basic cover. This allows soldiers to hide behind objects and take less damage while crouching or reloading. You can still flush them out with explosives.
- Hardpoint. This is a heavily fortified combine position which usually harbors some kind of heavy emplacement and lots of cover. Sometimes mappers will place explosive objects here to offer the player an alternate means of defeating the hardpoint.
- Barricade. Some roads and walk ways will be blocked by large combine barricades. Some barricades have doors which open to let combine soldiers out in order to attack rebels (and the player). Some extremely fortified barricades may even have a forcefield in front of this door in order to stop the player from getting in during an attack. Barricades also allow soldiers to shoot from within their forts, as they have walk ways on top.
- Door camping. This is when soldiers get into a defensive position facing the nearest door(s). AR2 units point at the door and shotgun units point next to the area of the door where a player would be if he came through. Be sure to use this sparingly.
- Elevation. Have soldiers on a roof or other tall structure. This can sometimes allow the soldiers to get the drop on the player. This may also give them a slight advantage. Having shotgun soldiers rappel down at this time is also a good idea.
- Rappel ambush. This allows soldiers to get the drop on the player and basically spawn on top of them. It can be especially deadly with shotgun soldiers.
- Distraction. A few SMG soldiers will go out to distract and harm the player, then AR2/Shotgun soldiers will flank behind the player, usually killing them.
- Dropships. A few dropships may fly in and spawn combine soldiers. Now, this is tricky, but what I like to do is have animated props with collision boxes as the dropships and then weld a container to them. Adding a little combine turret to the container is a good idea. Then, you can add spawn platforms on the dropship OR where it will land. This will instantly spawn 5 soldiers at the target location. Getting the dropship out of there is the hard part. Maybe try using sliders connected to something destructible, then break that prop so the dropship falls down (and hopefully out of sight). You can add sound with Wiremod.
- Traps. Combine soldiers might set up traps such as hopper mines, trip mines, manhacks in a hole/box, and burrowed roller mines. Personally the most interesting method is booby trapping supply crates. Now there are two ways of doing this. You can simply attach an explosive to the crate that blows up shortly after breaking it, or have a huge pile of supply crates with explosive barrels right outside of the player's eye, then throw a grenade through a vent or something and lock the door behind them. Too intense traps can kill the player.
- Blitzkrieg. A huge squad of soldiers rush the target position.
- Breach. Have a door explode and combine soldiers come through it. Best done with combine locked doors, so players know that the door is about to be breached.
- Forcefields. Combine can go through, but rebels cannot.

REBELS:
- Basic cover. This allows rebels to hide behind objects and take less damage while crouching or reloading.
- Barricade. Usually used to keep zombies and other unarmed NPCs out.
- Door camping. This usually happens when a player tries to exit a room, but all of his squadmates just set up a tent in the doorway.
- Elevation. Rebels are good at running across roof bridges and harassing soldiers.
- Distraction. The purpose your rebel friends usually serve.
- Traps. Trip mines, mostly. Don't forget about our boy Father Grigori though. He is the real rebel trap master.
- RPGs. Rebels have access to RPGs. Thanks to an update, rebels can actually aim with the RPG. If you set the strider's health to something like 75, rebels will be able to kill them quite effectively.
- Support. Rebels offer support to the player. Some give the player ammo, some give the player medkits, and some are great as cannon fodder.
- Don't forget to reload, Dr. Freeman! Rebels are great for talking and cutscenes, due to their amazing in-game dialogue. Sometimes, I dreeeeam about cheeese.
- Death scenes. Rebels are good for setting the "you're in for a bad time" mood when their limp corpses fly out of a hallway and a hunter runs out. This is objectively terrifying.

ZOMBIES:
- Setting the mood. Zombies and blood are a great mix and really set the mood. It can be cheesy if you do it too much, though.
- Invisible tutorial. Zombies are effective at demonstrating a weapon or obstacle to the player.
- Wake ambush. A bunch of zombies on the floor. At first, one may think this is decoration, but it is actually an ambush! this is especially good when done in water.
- Breaking barricades and doors. This not only looks cool, but it also surprises the player because saves in GMod typically do not have such events.
NPC Usage and Formations 3
SPECIAL COMPANIONS:
- All special companions have high health and regenerating capabilities (except vortigaunts and dog, who can't regenerate health) in order to prevent constantly losing.
- Vortigaunts. These guys are great for going through mines, powering generators, and reviving injured allies (in story, not gameplay). Additionally, vorts can charge your armor (albeit minimally, unless altered with SK commands). The vortigaunt's attacks are also pretty powerful and can stun antlions. If a vortigaunt gets surrounded, he can do an area of effect energy blast at the ground which harms all nearby enemies.
- Alyx Vance. She can ride in the jalopy with you and she has a few console commands to her name. Her dialogue options are also pretty vast, spanning across all Half-Life 2 games. She also has an EMP device which lets her mess with combine technology such as rollermines and doors.
- Barney Calhoun. A rebel leader of sorts. If you're going to use him, I'd suggest making him a second in command type of guy. Rebels would probably follow him. If YOU play as a rebel, consider making him a waypoint that can be followed. Barney also has access to combine tech due to his civil protection status.
- Dog. Not much of a combat NPC (at least not in-game) but you can play fetch with him. Perhaps he could throw explosive barrels?
- Father Grigori. Basically a rebel marksman on steroids. He doesn't have much story application aside from Ravenholm stuff. Good at making traps.

OTHER:
- Barnacle (ambush). Use a field generator to damage the barnacle a little bit, then turn it off. The barnacle's tongue will now come down just when you want it to.
- Burrowed NPCs (headcrabs, antlions, antlion guards). Use a field generator to damage the NPC a little bit, then turn it off. This will force the NPC to unburrow and attack.
- Sleeping zombies. This was covered earlier, but as you could probably guess, the way to do it is to use a field generator, bla bla bla, you get the idea.
- Antlion guard debug. You can use animated props (which are just invincible generic_actors) to line walls and other points to prevent the antlion guard from phasing through walls when he charges. If you want the guard to break something by charging into it, you can use an invisible GMan with 1 health.
Advanced Level Design
THE GOLDEN RULE:
Gameplay ALWAYS comes before visuals (but that's not to say visuals aren't important). Your save can be the prettiest thing in existence, but if it doesn't have good gameplay, then nobody will care (unless it's a scene/pose). Below, I have some advice that will help you craft better gameplay.

I also feel that it's important to address the fact that not all saves must be in the Half-Life 2 universe or follow Half-Life 2 design philosophy. You can do whatever you'd like.

Story:
The story should be explained through the world, not through text. If you want to give who you are, where you are and why in the description, you can. Just don't have objectives popping up with text during the save (unless you're doing a Zombie Survival objective style map). Additionally, you should avoid giving tutorials and hints through pop up text. If the text is a sign that fits in the world, that's ok. If you're short on voice actors and need to use some text to represent talking, that's also ok. Furthermore, it's ok to use text at the very beginning for the purpose of stating the map's name, like a HL2 chapter. You can also use text at the very end to restate the chapter name, say who the map was made by, and give thanks to the player for playing your map. This is more of a gripe than anything, but trust me, it WILL improve the quality of your save.

Combat:
With a variety of enemies and hitscan guns, combat can be hard to balance, but some general rules of thumb are in place:

1. Combine soldiers should be placed far away from the player. They have guns, not claws!

2. Vertical combat is great for combine soldiers. If the player has the high ground, the combine soldiers cannot charge, but they can throw grenades. If the combine has the high ground, they won't be able to charge the player, but they can surprise the player.

3. Shotgun soldiers always need a route to the player, but they should still be placed far away.

4. Enemies should be balanced. If the player shoots a zombie in the head and that's the only taste of combat for the whole map, then that is too easy and thus boring. If the player is getting destroyed by 20 shotgun soldiers, then that is too hard and thus infuriating. There should be a balance between these two, which will offer maximum combat enjoyment.

5. Hard maps are fine, but there is a right way and a wrong way to make a difficult map. The right way to make a difficult map is to strain resources (don't give constant supplies) and equalize the battlefield. That is to say, the player and all NPCs should have high damage output and low to medium levels of health. Anything that is an unfair advantage should be fixed. For example, the player's shotgun does 16 damage per pellet, whereas the NPC shotgun only does 9 per pellet. Either increase NPC shotgun damage or decrease player shotgun damage.


Direction:
The player should always know where to go, even if the "how" is unclear. For example, the player could see a door with a wire leading up to a window and a grenade crate nearby. The player knows they must go through that door to progress. This is where puzzles come in.

Puzzles:
Much like combat, puzzles shouldn't be too easy or too hard. If the player feels like they're being treated like a baby, they will quit. If the player feels like the puzzle is impossible, the player will also quit. Hints are a great tool to help players solve puzzles. Having a grenade blow a door open can be hard to figure out, but having glass that shows the player explosive barrels behind the door and a clear way to get a grenade there? Now that's a good hint. Or you could do a very subtle hint. Got an open vent in a corner you think is kind of hidden? Put the vent cover in an open area next to it. The player will investigate and then see the open vent. However, you should avoid using text hints (unless the text is meant to be someone talking). Even if you do use the "talking character" method of hint, do not give them commands! If you have a puzzle where you need to break something, don't make the character say "GO BREAK THAT," instead make them say, "that thing over there looks fragile."

Foreshadowing:
Foreshadowing in maps is typically done by showing the player an area they'll be in soon, or where they will be in the end. For example, the citadel serves as foreshadowing, as you can see it from the very beginning and go inside it in the end. Or in Half-Life 2: Episode 2, there is a map where you overlook a large industrial complex from a high ledge. Later, you go through this complex and get the jalopy. It's a full loop and Alyx joins you from the high ledge.


Efficient Use of Space (A.K.A. Backtracking):
Maps can get laggy if they get too big. If you don't want to split your save up into several parts, then I'd suggest making use of space. You could have one small map but long play time if you set it up right. For example, you could have two halls, a locked door, four rooms, and an elevator. If you fight zombies, go to one room, avoid trip mines, press a button, unlock the door, go to another room, fall into a room, fight a boss, go up the elevator, press a button, go to the exit, and that's the end, then you just made efficient use of space. If you set it up to where you went to one room, unlocked a door, pressed a button, went into an exit and THAT's the end, then you did NOT make efficient use of space.


Enemy Direction:
Enemies shouldn't always be facing the player. For example, have two metrocops talking to each other or have a combine soldier typing on a console. This is not only more realistic but it also allows the player to plan their attack instead of rushing head-on. It's ok to have enemies facing the player if they know the player is there, but you generally want NPCs doing something else when they're idle.


Supplies:
Supplies, much like puzzles and combat, must also be balanced very finely. Too many supplies and the save becomes too easy, not to mention how unnatural it becomes. Too little supplies and the player may feel like they are not being rewarded. It's always good to hide secret caches around the map for attentive players who like to explore. If your map has scarce ammo, that's fine, as long as the difficulty is balanced with low ammo in mind. Take Ravenholm, for example, which offers low ammo but introduces you to prop killing. Not to mention the usage of close range NPCs like zombies. Another neat trick is making the player do a puzzle or fight an enemy in order to get supplies. This will make the player feel like they earned the supplies, rather than mindlessly walking over a pile of ammo.

How NOT to make a map
1. Cheap difficulty.
This means spamming enemies (there should never be more than 10 enemies at a time unless they are decorative or the player has a MASSIVE advantage) or making enemies overly bullet-spongy. If you want to go the extra mile, make them constantly respawn so that it's impossible to clear the level!


2. Supplies literally everywhere.
This makes exploration useless and your map mind-numbing to play. Spamming supplies (ESPECIALLY on the main path) also makes combat WAY less tense and lags the game. The player will have so much sh*t that they thought isn't even required, and they know there is just going to be an entire damn armory in the next room anyway. This completely removes any tension that might have been felt otherwise. It may be OK to have a large amount of supplies very occasionally (for example, one of the supply rooms in Surface Tension from Half Life 1 that a security officer unlocks), but just don't put it all in a giant pile.
I, somefoolouthere, made this mistake in my "Street War" save.


3. NOT optimizing the level.
Whenever you have a prop with lots of ropes, lots of lights on at once, many NPCs active, or whatever else, it will cause lag. There are many ways to optimize a level. If the player has 1 frame per second the entire time, you're doing something wrong.


4. Misdirection.
If there is somewhere the player can go, but it doesn't lead anywhere or have any supplies, a good idea is to just leave it dark and uninteresting. If you place lights in these areas, the player may think that it is the way to proceed.


EXAMPLE OF WHAT YOU SHOULD NOT DO: https://steamhost.cn/steamcommunity_com/sharedfiles/filedetails/?id=2013229257
Addons
Some addons go great with saves, but be sure to watch your addon count. People don't like downloading 50 addons that nobody uses, ESPECIALLY if your method of listing required addons sucks (such as putting the names in the description rather than using proper listing tools). If you're willing to sacrifice some players (as you already will with the use of EP1 and EP2), then use 50 addons. It isn't too detrimental if done right. Some addons may be better than others for 3 main reasons:

1. Compatibility (Does it work well with other addons?)
2. Rarity (Do most people already have this addon?)
3. Practicality (How much does this addon really change the gameplay or experience?)

Generally, you want to stay away from cosmetic addons. However, some exceptions can be made, especially if your save already has a low addon count. As far as cosmetic addons go, I personally find music and NPC materials to be the best. Keep in mind, cosmetic addons (except for model packs) should be recommended, not required (unless using the collection method). Reskins should always be in the recommended section. Some themes will require more cosmetic addons than others for the sake of detail. The most reliable and least costly theme to go with is Half-Life 2. It should be noted that, if you're using a collection to list your required addons, you can afford to use more addons due to the way collections work. 50 addons? It doesn't matter, you can install/uninstall everything with one button.

Here's a list of the main addons I use for my saves:
https://steamhost.cn/steamcommunity_com/sharedfiles/filedetails/?id=242776816
https://steamhost.cn/steamcommunity_com/sharedfiles/filedetails/?id=2408809152
https://steamhost.cn/steamcommunity_com/sharedfiles/filedetails/?id=120629004
https://steamhost.cn/steamcommunity_com/sharedfiles/filedetails/?id=3118788923
https://steamhost.cn/steamcommunity_com/sharedfiles/filedetails/?id=160250458
https://steamhost.cn/steamcommunity_com/sharedfiles/filedetails/?id=104605598
https://steamhost.cn/steamcommunity_com/sharedfiles/filedetails/?id=3048881178
https://steamhost.cn/steamcommunity_com/sharedfiles/filedetails/?id=107821465
https://steamhost.cn/steamcommunity_com/sharedfiles/filedetails/?id=140687545
https://steamhost.cn/steamcommunity_com/sharedfiles/filedetails/?id=708225419
Developmental Resources
So, you want to put some extra detail and functionality into your save, eh? Then you might find this collection of dupes quite useful. You can also make modifications to better fit your save. Some of these devices include: lowering your weapon, disabling the kill feed or the HUD, having the screen fade to black (or fade out of black), playing sounds globally, making metrocops non-lethal, making the player invulnerable, and much more! But that's not all! There are also preset skyboxes, textures, and props that you can use! Here's the collection made by Drunk Headcrab that will assist you in your save making endeavours.
https://steamhost.cn/steamcommunity_com/sharedfiles/filedetails/?id=1532276080
WARNING! E2 chips must be welded to a button or some type of surface, otherwise they will disappear upon loading the save! Also, be warned that if you spawn too many E2 chips (of differing code), it will spam the console with Cbuf_AddText: buffer overflow, which will cause lag on steroids. Make sure you only have a few E2s that hold almost every function the map will need.
Advanced Lighting [WIP]
Lighting plays a key part in making your save look appealing. It can be the difference between this:


and this:


Light Bounce
Light in real life bounces around the environment, and the Source engine tries to replicate that with its static baked lighting. But how do we do that with our save?
Let's take this lamp pointed at this metal blast door, for example.

Realistically, the red light here should bounce off the door and hit the other doors and the ground as well.
A simple solution to this is to calculate how the light would bounce in your head and place some lights around using the light tool accordingly.

This is just an example. With some tweaking, it could probably look even better.
Now let's hide those lamps and lights.

Voila, we've created bootleg indirect lighting. Be careful with this as it does slightly impact performance.

Removing those ugly default shadows
By default, Source uses these ugly ass Render-to-Texture shadows, that are basically just a black transparent sheet under the models. They don't react to flashlights or lamps, and they will not be cast on top of props, so if you stack say 10 boxes on top of each other, the ground below will be almost pitch black, if not fully.

By default, on Flatgrass, these shadows will manifest themselves directly under the model, which just looks terrible.

So to get rid of these abominations (and when I say get rid of, I really mean make them pure white so that they can't be seen) we enter the command "r_shadowcolor 255 255 255"
If you want to automate this for your save, you could make an E2 chip that runs the console command when it's activated.
If for some god forsaken reason you want them back, the default values are "128 128 128"
A faster and more efficient alternative is to use the command "r_shadows_gamecontrol 0." Set it to 1 to put them back.
It's only recommended to have ugly shadows on when lamps drop FPS too much and you have to fall back to the ugly shadows (but you probably won't have to because of optimization).


Volumetric Fog/Lighting
Warning! This effect is very expensive and will eat up your FPS.
Requires a moderately beefy PC to use. If you're going to use this effect, make it optional.
Make it be toggled by a PAC event. You can then use E2 to toggle it with no input required by the player.


First off, this effect will require this addon:
https://steamhost.cn/steamcommunity_com/sharedfiles/filedetails/?id=1778436716


PAC version only as of now. I'll probably make an E2 version soon.
As of right now it only works with the player's front and it doesn't work in first person which is why I placed a Camera part in the PAC. Might be doable in first person if you set the PAC owner to gmod_hands, haven't tried it tho.
The fog prop must be lit by a lamp or else the effect won't work. Also, looking to the side relatively to the lamp, the effect will slowly disappear as you turn. I'm currently trying to make a workaround for this and will update the section if I fix it.
And yes, it does take the lamp color into account.
Here's the PAC code:
[1] = { ["children"] = { [1] = { ["children"] = { }, ["self"] = { ["DrawOrder"] = 0, ["UniqueID"] = "1426851665", ["FOV"] = -1, ["OwnerName"] = "self", ["AimPartName"] = "", ["FarZ"] = -1, ["Bone"] = "eyes", ["BlendMode"] = "", ["NearZ"] = -1, ["AngleOffset"] = Angle(0, 0, 0), ["DrawViewModel"] = false, ["Position"] = Vector(0, 0, 0), ["AimPartUID"] = "", ["Angles"] = Angle(0, 0, 0), ["Hide"] = false, ["Name"] = "", ["IgnoreZ"] = false, ["EyeAnglesLerp"] = 1, ["NoTextureFiltering"] = false, ["EditorExpand"] = false, ["PositionOffset"] = Vector(0, 0, 0), ["IsDisturbing"] = false, ["ClassName"] = "camera", ["EyeAngles"] = false, ["Translucent"] = false, }, }, [2] = { ["children"] = { [1] = { ["children"] = { }, ["self"] = { ["Skin"] = 0, ["Invert"] = false, ["LightBlend"] = 1, ["CellShade"] = 0, ["OwnerName"] = "self", ["AimPartName"] = "", ["IgnoreZ"] = false, ["AimPartUID"] = "", ["Passes"] = 1, ["Name"] = "", ["NoTextureFiltering"] = false, ["DoubleFace"] = true, ["PositionOffset"] = Vector(0, 0, 0), ["IsDisturbing"] = false, ["Fullbright"] = false, ["EyeAngles"] = false, ["DrawOrder"] = 0, ["TintColor"] = Vector(0, 0, 0), ["UniqueID"] = "2378055263", ["Translucent"] = false, ["LodOverride"] = -1, ["BlurSpacing"] = 0, ["Alpha"] = 0.025, ["Material"] = "", ["UseWeaponColor"] = false, ["UsePlayerColor"] = false, ["UseLegacyScale"] = false, ["Bone"] = "none", ["Color"] = Vector(143, 143, 143), ["Brightness"] = 1, ["BoneMerge"] = false, ["BlurLength"] = 0, ["Position"] = Vector(1123.6037597656, -0.0063247680664063, 50.1962890625), ["AngleOffset"] = Angle(0, 0, 0), ["AlternativeScaling"] = false, ["Hide"] = false, ["OwnerEntity"] = false, ["Scale"] = Vector(4.3000001907349, 6, 70), ["ClassName"] = "model", ["EditorExpand"] = false, ["Size"] = 1, ["ModelFallback"] = "", ["Angles"] = Angle(-89.790634155273, 179.99983215332, -180), ["TextureFilter"] = 3, ["Model"] = "models/fogeffects/ground_fog_flat.mdl", ["BlendMode"] = "", }, }, }, ["self"] = { ["AffectChildrenOnly"] = true, ["Invert"] = true, ["RootOwner"] = true, ["OwnerName"] = "self", ["AimPartUID"] = "", ["TargetPartUID"] = "", ["Hide"] = false, ["Name"] = "", ["EditorExpand"] = true, ["Arguments"] = "volfog", ["Event"] = "command", ["ClassName"] = "event", ["ZeroEyePitch"] = false, ["IsDisturbing"] = false, ["Operator"] = "find simple", ["UniqueID"] = "3404722899", ["TargetPartName"] = "", }, }, }, ["self"] = { ["DrawOrder"] = 0, ["UniqueID"] = "1534611160", ["AimPartUID"] = "", ["Hide"] = false, ["Duplicate"] = false, ["ClassName"] = "group", ["OwnerName"] = "self", ["IsDisturbing"] = false, ["Name"] = "my outfit", ["EditorExpand"] = true, }, },
Make a .txt file inside the GMOD data/pac3 folder and put the code inside.
(I'll cover loading PAC outfits with E2 in another section soon.)
You can play around with the scale of the fog prop to change the distance of the effect and etc.

And here's an E2 chip that lets you toggle the effect on and off.
@name volfog @inputs On Off if(On) {concmd("pac_event volfog 1")} elseif(Off) {concmd("pac_event volfog 0")}
Have fun with the effect! It can look really good.


Post Processing Effects
Post Processing effects are visual touches to your save that can help set a certain mood and make a save just look overall better.
These effects can be found in the Post Process tab on the top of the spawnmenu.

Color Correction
Good color correction should strive to give a certain mood to your save
without making the player's eyes hurt.
Let's start off by adjusting the brightness and contrast.
NEVER have too much brightness or too much contrast, your saves could end up looking like this:
or this
What we're looking for with color correction is balance.
I want my save to be bright and colorful, so I'll adjust the brightness and contrast up a bit
just enough that it doesn't look like the player has had bleach poured on their eyes.
If you want to preserve pure whites when darkening the colors, remember that contrast should always be 1 minus twice the brightness. For example, if brightness is -0.15, contrast should be 1.3. For just plain brightening the image, only increase the contrast. Increasing brightness will lighten pure blacks.

Now let's play around with the actual colors.

This is way too flat and dull for my liking, I want to see more colors, I want things to pop out, I don't want to feel depressed because the whole map is just different shades of gray.
So let's up the color multiplier.

woah shłt fuçk i overdid it ♥♥♥♥♥♥♥♥ I fuçking did it again
That's too much. The colors are waaaay too bright.
Again, what we're looking for is balance. We want it to look a certain way, but we also want it to be easy on the eyes.

We've toned down the color multiplier and things look much better. Things are just colorful enough.
You could also have a Noir-themed save that's black and white, which is very easy to do.
If you play around a bit, you could have only a certain color shown while the rest is B&W.


Bloom
Simply explained, bloom makes the colors of the world bleed into each other.
Strive for balance. Even small amounts can make a big difference too.
With no bloom, there's an inherent flatness to the lighting.
So let's enable it and play around with it a bit. Use bloom in moderation or it WILL look awful.
Playing around with Bloom's vertical and Horizontal blur can somewhat emulate the look of
indirect lighting cast by light rays bouncing around and it helps with reducing lighting flatness.

It's easy to get carried away with bloom as it doesn't take much for it to
make your screen be covered in bright white blobs. With tweaking, bloom can actually look nice despite the flak directed towards it back in the day. Just don't make it look like this unless it's intentional in the context of the save.
If you're looking for a realistic look, it may be a good idea to set multiplier and darken amount to 0.5 and keep it circular.


How do I make this work in my save?
You could use the VFX editor to save the color correction... but I don't recommend it as it will break all other effects in the post process tab. Things like Bloom, Sharpen, etc. won't work at all if you're using the VFX editor.
What you should do instead is make a simple Wiremod E2 chip that executes the commands needed to enable these enhancements.
Here's a basic template so you don't have to type the commands in every time:
concmd("pp_bloom 1") concmd("pp_bloom_color_b 255") concmd("pp_bloom_color_g 255") concmd("pp_bloom_color_r 255") concmd("pp_bloom_darken 0.17") concmd("pp_bloom_multiply 0.41") concmd("pp_bloom_passes 12") concmd("pp_bloom_sizex 3.79") concmd("pp_bloom_sizey 3.68") concmd("pp_colormod 1") concmd("pp_colormod_addb 1") concmd("pp_colormod_addg 0") concmd("pp_colormod_addr 0") concmd("pp_colormod_brightness 0.06") concmd("pp_colormod_color 2.08") concmd("pp_colormod_contrast 1.00") concmd("pp_colormod_mulb 0") concmd("pp_colormod_mulg 0") concmd("pp_colormod_mulr 0")
This will enable the color correction effect when the save is loaded and the parameters you've set.
Be sure to change the settings for your save.
You can also have these enabled and edited manually via a button or whatever, here's an example chip.
@inputs A B if(A) {concmd("pp_colormod 1")} else {concmd("pp_colormod 0")} #This will enable color correction when activated, just wire A to whatever you want (e.g a button) if(B) {concmd("pp_colormod_contrast 5"} else {concmd("pp_colormod_contrast -5"} #This will change the contrast of the CC effect to 5 when activated and -5 when not activated.
Optimization
Making your save run well is almost as important as the save itself! Sure, you can have a save which is stunning in almost every department: But if it runs at 5 FPS, who would want to play it?

Here are some basic tips to making your save run as good as it looks:


*Turn lights and lamps off if the player can't see them
This is important: If your save has a lot of lighting, shut it off if the player can't even see that lamp! It may seem like a good deal of work, but it will pay off when you save AT LEAST 30 frames in the end!

*Despawn NPC's if the player can't even get to them anymore!
NPC Spawn Platforms have an option to "Remove NPCs," use it when the player has entered a completely different part of the map and can't even get back to the NPC's anymore!

*Use commands to hide the skybox!
Use this machine here to hide the 3D skybox and water. It will reduce lag somewhat and is great to use if the player is underground or indoors with no windows.

*Encourage the player to get a FPS Booster/Optimize their game
Just link a good FPS booster in the description/required items and the problem just kinda fixes itself! I mean, it's lazy, but it works!
ALTERNATIVELY, you could implement an E2 optimization system which enables the following commands:
concmd("gmod_mcore_test 1") concmd("mat_queue_mode -1") concmd("r_queued_ropes 1") concmd("cl_threaded_bone_setup 1") concmd("cl_threaded_client_leaf_system 1") concmd("r_threaded_renderables 1") concmd("r_threaded_particles 1") concmd("studio_queue_mode 1")
Note that this only works for multicore systems, but the chances of having a singlecore one is very rare nowadays. You might have to remove line 4 because it can break certain animations, but it's still included because the chances are rare.

*Make use of gm_construct's (and other maps) rendering system.
gm_construct has built-in world portals which will hide entities, such as props, as long as the player is in that world portal. This reduces lag significantly and can make your map much longer. I believe one world portal is located in the dark room.


*Create custom "world portals" using E2
Expression 2 is capable of a lot of things, and creating world portals is one of them. A "world portal" is an area which, when entered by the player, stops rendering all outside areas. Doing something similar to this with E2 is quite simple. This E2 chip will stop rendering all physics props in a box area defined by you when the input A is fired. This is not the only way to do "world portal" optimization, and can be done in various other ways if you have the E2 knowledge.

@name prop rendering optimization @inputs A B ###Wire A and/or B to the button, trigger, etc. of your choice. ###You can use the Wire GPS tool to get vectors for the box corners. You can also use the entity ###inspector tool. if(A) {findIncludeClass("prop_physics") findInBox(Box Corner 1 vector here, Box Corner 2 vector here) Result = findToArray() foreach(K,V:entity=Result) {V:propDraw(0)} } ###Same thing but enables rendering of the props in the box. if(B) {findIncludeClass("prop_physics") findInBox(Box Corner 1 vector here, Box Corner 2 vector here) Result = findToArray() foreach(K,V:entity=Result) {V:propDraw(1)} }

Bonus tip: You can also use a similar simple code to hide the white phx cubes created by triggers when you load a save. No longer will you have to hide your triggers.
@name hide trigger cubes if(first() | duped()) {findByModel("models/hunter/blocks/cube025x025x025.mdl") Result = findToArray() foreach(K,V:entity=Result) {V:propDraw(0)} }
Simply spawn a chip with this code or put it in your master chip containing all the code for your save, and it will automatically hide the cubes.

*Disable collisions for objects that don't interact with anything
It's as simple as using the no-collide tool or context menu's disable collisions. If you want to go a step further, make it no-collide with the world. It won't do that much to FPS, but it does when there are many props, even when they're not moving. If the player is able to grab it (with the Gravity Gun), it's highly recommended to keep its collisions enabled. If it's an effect or a very distant object, then you should disable its collisions. The only exception is if it's something that an NPC will stand on or holds objects, then you must keep its collisions enabled. It's also a good idea to disable collisions for small objects (ONLY if it's something that can't be picked up.)
Publishing and Presentation of your Save
When you publish your save, you want it to look good. Here's a template that you can use for your first save.
------------------------------------------------------------------------------------------------------------------------

START WITH NO WEAPONS

[Put description of your save here]

This save requires [games that you need mounted to play the save go here]

------------------------------------------------------------------------------------------------------------------------
That is all for the description template. Now, for some advice:

- Put the extra time in!
When you're making a save, you don't want to just place corridors full of enemies everywhere and be done in a day. You should work on it for a while, really put the detail in and revise it until it's near perfect. Spend a week or two on just one save. Maybe even three. Hell, that's enough time to make an entire Ville entry on RunThinkShootLive!

- Remember to play test your save several times before release!
If you want to go the extra mile, make a friends-only release of your save and have some friends play test it for you. Pick people of varying types. Bad PC, good PC, good at puzzles, good at combat, no idea what Half-Life is, Half-Life veteran, etc. These people will help you make your save far better as they have no product bias. If something is wrong, they'll tell you.

- Don't release betas, demos, or alphas. Only release fully complete saves to the workshop
It may seem like a good idea to build up hype, but trust me, the finished product will make people a LOT happier! Just focus on your main project, unless you're making something huge and can easily take a small part of your current build to release as a demo. Context is key.

- Make a good description. Don't give the whole story away.
We want to be like Half-Life 2 and follow the "show, don't tell" rule. If you have a very story driven save, you can put where you are, who you are, and what you did or are about to do, but keep it somewhat vague and leave out the small details. We want the player to play your save, so they can learn more about it and have fun, not read a short story! Also, it may be a good idea to put technical details such as troubleshooting, developer notes, or other things such as "this is my first save, please give me feedback in the comments!"

- Don't be afraid to make an intro cutscene!
A camera pointing at a rebel running away from something is ok if you just loaded the save. If you are in the middle of the save, though, cutscenes can distract from the Half-Life 2 immersion that makes it so great.

- If you want your intro to stay true to the Half-Life method
then have the player in a room that hints at what they were doing before you loaded the save. It could be a room with a radio in it and combine outside, or a train that has derailed. Just about anything works.

- Put screenshots on the save's upload page
but don't reveal too much about your save through the screenshots. I would put about 2-3 screenshots maximum.

- Make sure you pick a good title.
NEVER put something like "alpha" in the title! Nobody wants to play a low quality or unfinished save. People are attracted to cool sounding titles. Think of a nice name.

- Replace the thumbnail
Follow this guide to learn how to do that. The thumbnail should show the best looking place from your save. Avoid stuff like bland hallways, the default picture, MS Paint drawings, or a screenshot of you shooting at enemies.
Crigence's Tips for a Compelling Item
So, you finally published that save you've been working on for 5 days straight? Well you've just finally published it... And no-one cares! Well, I will tell you how to make something people will ACTUALLY give a sh*t about!


*Add a custom thumbnail
This is the easiest step: Just make a 100% square picture and switch it out! This works wonders in attracting people to your save. As a side note, the dimensions for save thumbnails are 512x512. Now let's take a look at these two pictures:


Which would you play first?


*Add text
Doesn't really matter what it is, although the name of the save is typically used, it's just that readable text REALLY catches the eye!

*Make your title/descriptions formulaic:
Add something that makes it so people can easily recognize when a save is your doing! This eliminates any possibility that the thing that caught someone's eye will be misconstrued as something else and will then be ignored again! It also helps people follow your work!

*Make it stand out
Add something unique to the picture. Colors such as red, yellow, and orange are great for catching the eye. If your background is really dark, use bright colors. If the background is really bright, use dark colors. Contrast colors work wonders for thumbnails.

*Put it in a collection, share the success!
This one is kinda unnecessary, but you should put your save/dupe into a collection of other save/dupes so then those will share some of the success one gets to the other! Not much, but still some!
Gege's Originality Tips
If you're really itching to make a save, you could make something like a simple Kill Breen save, but that won't exactly be turning any heads, as there are way too many to count from, as you can see in this PSA:
https://steamhost.cn/steamcommunity_com/sharedfiles/filedetails/?id=1799650477
My point is that creating a save with a goal that's been done to death usually isn't going to win you any rewards. The key is to be creative. Of course, I can't really tell you how to be creative or give you direct ideas for the player's motivation, but I sure as frick-frack-tackity-tack can give you places to look for inspiration.
  • You can replicate other games' gamemodes as a save. The Counter-Strike series is a good place to look for inspiration, because it has plenty of gamemodes that can be easily replicated and still be fun.
  • Stealth games have amazing goals and settings, specifically Hitman 2016 and Hitman 2.
  • You don't HAVE to use the Half Life 2 universe/assets in your save. There's a workshop full of addons and Steam has plenty of games that can be mounted onto GMod (of course, you shouldn't rely on too many addons or games, people don't want to buy an entire game or install a bunch of addons they won't use again).
Wiremod - Spawning and Controlling NPCs [WIP]
Wiremod can be used with NPC spawn platforms to spawn, wire, and edit NPCs.

Function Override
NPCs from Combine Units +PLUS+ or Random Combine will override the spawn platform's weapon selection, so be sure to use an E2 to set the NPC's weapon manually or just roll with whatever weapon the NPC spawns with. Additionally, Combine Units +PLUS+ NPCs cannot have their health modified (or be linked to any wire mechanisms).

Activating a Platform
SR-Latch Method
NPCs will spawn when the Latch has been activated by the trigger. The Latch will never deactivate itself unless specified.
https://www.youtube.com/watch?v=7jWMg4YBKRk


E2 NPC Control
https://www.youtube.com/watch?v=ODAhclAd5Nw
Wiremod - Holograms [WIP]
HoloAnim
If you've ever wanted to use an animated model in a save that animates only when you want it to then you know that's a pain in the ass if not impossible with the tools we have...
Unless you use E2, in which case there's a simple way to do controlled animation.
THE HOLO AND HOLOANIM EXTENSION MUST BE ENABLED FOR THIS TO WORK!
To do this you can either type this in the console (can be activated with a concmd E2):
wire_expression2_extension_enable holo
wire_expression2_extension_enable holoanim
or find the E2 extensions category in the Utilities tab in the spawnmenu and enable them from there.

I'll give you a simple template chip and explain what each function does.
@name Simple holoAnim @inputs CreateHolo Animate DeleteHolo if(CreateHolo) {holoCreate(1)} holoModel(1, "models/Humans/Group02/male_07.mdl") holoPos(1, vec(698.806,-176.749,-143.719)) holoAng(1, ang(0,180,0)) if(Animate) {holoAnim(1, "cower")} else {holoAnim(1, "lineidle01")} if(DeleteHolo) {holoDelete(1)}

Let's start off with the creation of the holo itself.
Drunk Headcrab has informed me that if you save while there's a holo present in the save, the whole thing will break and it may ♥♥♥♥ up your save. I haven't tested this myself but just in case we'll create the holo only after the save is loaded. To do this we've made an input titled CreateHolo that will create a holo with an ID of 1 when the input is fired (button is pressed or w/ever).
The ID is very important to have if you're using multiple holos in a save. Each has its own number.
holoModel is the model that the holo will use. For this example, I've selected one of the male HL2 citizens. You can change the model to whatever you like. The model must always be a string (it must have quotation marks around it).
holoPos is where the holo will be spawned, to get an exact position you can use Wiremod's GPS tool as I've done here. If you remove the holoPos line from the code, the holo will be spawned ontop of the chip.
You can remove the GPS afterwards as you won't need it.
holoAng is where the model will be facing. You should play around with this until you get the desired angle, things are on an XYZ basis so if you understand that then it should be pretty easy.
If you remove the holoAng line from the code, the holo will be angled based on the chip's angle.

The if-then-else statement I've created will make it so that the model plays the animation "cower" when the input Animate is activated, or play "lineidle01" if it is not activated.
You can remove the else line out of the code entirely and the model will just revert to its default animation when the input is not activated (in this case, a T-Pose).
To find the animation you need you can right click on the prop in the spawnmenu and press "Edit icon". This will let you view all of the model's animations.

And lastly, if you ever do need to delete the holo there's a DeleteHolo input which will delete the holo with the specified ID when activated (holo number 1 in this case).

Holos can be used in more advanced ways of course but this is just to help you get the gist of it.
Wiremod - Audio
Audio can be played by using Wiremod sound emitters or Expression2 chips.
First, let's take a look at the Wiremod sound emitter. The sound emitter is located in the "other" folder under "sound."

Once spawned in, you will need to wire it up. There are quite a few inputs which we will be taking a look at.


1. A - This will play the sound as long as the emitter input is active. For instance, holding down a button and letting go midway will stop the sound, but pressing the button again will replay the sound.

2. Toggle - This functions identically to "play."

3. Volume - Changes volume based upon any number from 1 to 0.

4. Play - Plays the sound in its entirety. Cannot be stopped unless using the "stop" input.

5. Stop - Stops the sound.

6. PitchRelative - The pitch of the sound. Anything below 1 is deeper, anything above 1 is higher, and 1 is default.

7. Sample - Ignore this option.

8. SampleName [STRING] - Ignore this option.

Now, let's take a look at a few E2 chips.

@name Soundscape Loop @inputs Playsound if (Playsound){ owner():soundPlay(1,0,"ambient/atmosphere/town_ambience.wav") soundVolume(1,0.5) soundPitch(1,100) } else {soundStop(1,2)}
The code above will play a wind sound at half volume and fade out when turned off. Perfect for looping ambient sounds.

@name Soundscape @inputs Playsound @persist SoundList:array #Feel free to add more sounds to the list SoundList = array( "ambient/levels/city/citadel_cloudhit4.wav", "ambient/levels/city/citadel_cloudhit5.wav", "ambient/levels/city/citadel_cloudhit3.wav", "ambient/levels/city/citadel_cloudhit2.wav", "ambient/levels/city/citadel_cloudhit1.wav" ) if(Playsound) { interval(random(10000,30000)) owner():soundPlay("RandomSound", 0, SoundList[randint(1, SoundList:count()), string]) soundVolume("RandomSound", random(0.30,0.60)) soundPitch("RandomSound", randint(95,105)) }
The code above will play random sounds from a specified library at random intervals, volume, and pitch. Intervals are in milliseconds, so if you want a range between 10 and 30 seconds like the code above, then you'll need to set the interval to 10000, 30000. Good for soundscapes.

@name Playsound @inputs Playsound if (Playsound){ owner():soundPlay(1,0,"music/hl2_song31.mp3") soundVolume(1,100) soundPitch(1,100) } else {soundStop(1,0)}
The code above will play a single sound at full volume. The sound will instantly stop if turned off. Good for music.
Note: if you want the music to fade out when stopped, simply replace "soundStop(1,0)" with "soundStop(1,4)"


BONUS 1:
You know that annoying bird chirping soundscape on gm_construct? You can completely remove it without cheats. In fact, you can remove ANY unwanted soundscape on ANY map by using the Expression2 code below:

@name ent_remove env_soundscape @inputs Remove if (Remove){ concmd("ent_remove_all env_soundscape") concmd("stopsoundscape") concmd("stopsound") }


BONUS 2:
There's this kickass addon https://steamhost.cn/steamcommunity_com/sharedfiles/filedetails/?id=442653157 that allows you to play stuff from the internet. It is EXTREMELY useful to add custom stuff without much of a cost. I have two preset codes, one for music and one for voicelines (aka one plays globally and one plays from a designated entity).

@name StreamCore (Music) @inputs Playsound if (Playsound){ owner():streamStart(1,100,"https://vgmdownloads.com/soundtracks/half-life-original-soundtrack/qjuqtyrq/11.%20Nepal%20Monastery.mp3") streamRadius(1,9999) streamDisable3D(1) } else {streamStop(1)}

@name StreamCore (Voiceline) @inputs Playsound Ent:entity if (Playsound){ Ent:streamStart(1,100,"http://overwikifiles.com/files/Citizen/Drainage_doug.ogg") streamRadius(1,99999) streamDisable3D(1) } else {streamStop(1)}
Wiremod - Render Target
See this pure black texture right here? models/rendertarget? It may seem like a simple pure black texture, but you'd be wrong. Using this mod you can create a render target (RT) camera.
The RT camera will allow access to the magical properties of "models/rendertarget." With it, you can make some pretty cool stuff, such as TV screens, security cameras, combine super portals, framed photos, or even custom textures! But remember, you'll have to activate the RT camera first!


npc_strider (Advanced)
The strider, despite seeming like a simple heavy unit, is actually quite complex. In order to use the strider to its fullest extent, you will need to know how it works.

BEHAVIORS
At its core, the strider simply stands and shoots. However, under certain circumstances, the strider may walk or crouch down in order to kill enemies. In some cases, the strider will even crouch walk, making it very hard to hit. The strider is immune to bullet damage, but will take damage from any explosive source. If you have mods like Combine Units +PLUS+ or Enhanced Sandbox NPCs the strider will be able to use its devastating warp cannon. The warp cannon inflicts explosive damage and vaporizes NPCs.


ENT_FIRE COMMANDS

1. SetMinigunTime (Number) - Sets how long strider minigun pulses are. Good if you want the strider to lay down constant fire (just put something like 100 in).

2. Crouch - Makes the strider crouch down.

3. CrouchInstantly - Makes the strider crouch down VERY quickly. Good for when the strider is out of sight and needs to come in crouched.

4. Stand - If the strider is crouching, then this will make it stand up.

5. DisableCrouch - Prevents the strider from crouching. If you force the strider to crouch with the crouch command, it will not crouch and will instead print the following message into the console, "TELL WEDGE I'M TRYING TO CROUCH!"

6. DisableMoveToLOS - Seems to prevent the strider from pursuing any enemies out of its line of sight. Instead, it just moves on a set track of strider nodes and shoots any enemies that come across its path.

7. Explode - Instantly kills the strider with a loud bang.

8. DisableMinigun - Prevents the strider from shooting his main gun

9. EnableMinigun - Re-enables the strider's main gun (if DisableMinigun was already on).

10. DisableCrouchWalk - Prevents the strider from crouch walking.

11. EnableCrouchWalk - Re-enables the strider's ability to crouch walk (if DisableCrouchWalk was already on).

12. EnableAggressiveBehavior - Makes the strider's minigun fire a lot faster and may make the strider more inclined to pursue targets.

13. DisableAggressiveBehavior - Reverts strider to original state.


SK COMMANDS AND IMPORTANT NOTES

1. sk_strider_num_missiles1 (Number) - Sets how many player RPGs it takes to kill a strider. This number ONLY affects PLAYER rockets, nothing else. There are two other variants of this command, those being sk_strider_num_missiles2 and sk_strider_num_missiles3. Depending on what difficulty the game is on (can only be changed by addons or the "skill" console command), one of these will work. Only one will function out of the three, so try testing it out and pick the one that works.

2. sk_strider_health (Number) - Sets health of all spawned striders to a designated number. Make sure to set this to something low, like 75 or 100, so that rebels can kill it. This also makes other explosives, such as AR2 orbs and SMG grenades, much more useful. The player will still kill the strider in the same amount of designated hits as set by sk_strider_num_missiles.


YOUR ALLIES VS THE STRIDER

As aforementioned, if you set the strider's health to something low, then your allies will be able to kill it with RPGs. Any source of explosive damage is also enough to kill a strider. Beware, citizens with RPGs tend to run away from striders or take too long trying to find cover.
Advanced Wiremod
WARNING! E2 chips must be welded to a button or some type of surface, otherwise they will disappear upon loading the save! Also, be warned that if you spawn too many E2 chips (of differing code), it will spam the console with Cbuf_AddText: buffer overflow, which will (possibly) cause lag on steroids. It is uncertain whether the Cbuf_AddText: buffer overflow console message is actually significant in terms of lag or disruption. It would still be a wise idea to avoid having too many E2 chips if you're really worried about lag. Additionally, the amount of times you save an E2 chip may be a factor of lag. If you want to stay on the safe side, only insert your E2s when you're completely finished. If you have E2s that directly affect an entity, refresh them on your final build.

Omni Ed: Garry's Mod has a great channel full of Wiremod tutorials. I would suggest checking him out. You can find two example videos below.

https://www.youtube.com/watch?v=Uv0ZkjVxkic&list=PLLAN7OC4G99Q38rRcEJRz5OKlHd456NCp
https://www.youtube.com/watch?v=yiF52QAu3B4&list=PLLAN7OC4G99QCxrnMzONk3VWz37tB5D94

Useful E2 codes
I'll be posting E2 codes I've made that I've deemed useful here so people can use them or learn from them. - GIGA

Simple Inventory System (Unfinished - no dropping of items or using yet)
A very simple prop-based inventory system that lets you pick up specific props you want. The food theme is because I started working on it for a food-related save that may be a bit too ambitious.
You can change every instance of ValidFood to something else and it would still work.
Press E on the specified props to pick them up. Press G to open your inventory and the arrow keys to scroll left and right.
You have to wire the HUD to an EGP processor which has the HUD setting if you want to see the inventory.
Requires the GIGACORE E2 extension to check if the thing you're trying to pick up is a physics prop. Remove "TR:entity():getClass() == "prop_physics" &" if you don't wanna use it.
@name VortChef @inputs HUD:wirelink @outputs @persist Inv:table Ply:entity ValidFood:table InInv Selection if(first()) { Ply = owner() runOnKeys(Ply, 1) ##Adding more items is really easy, just add more entries like these ones below, ##replace the model path and change the 2nd string, which is the fancy name that ##will show up in your inventory, with something you like. ValidFood["models/props_junk/garbage_milkcarton001a.mdl", string]="Milk" ValidFood["models/props_junk/garbage_milkcarton002a.mdl", string]="Milk" ValidFood["models/props_junk/garbage_plasticbottle001a.mdl", string]="Bleach" ValidFood["models/props_junk/garbage_plasticbottle002a.mdl", string]="Bleach" ValidFood["models/props_junk/watermelon01.mdl", string]="Watermelon" ValidFood["models/props_lab/cactus.mdl", string]="Cactus" ValidFood["models/props_junk/popcan01a.mdl", string]="Soda" ValidFood["models/props_junk/garbage_takeoutcarton001a.mdl", string]="Chinese" ValidFood["models/props_junk/gascan001a.mdl", string]="Gas" } ##This is the part of the code that lets you pick up stuff. It just runs a simple trace ## and some checks to determine if the prop is smth valid you can pick up. ##Default range is 64, you can change it if you want. if(Ply:keyUse() & keyClk()) { rangerFilter(Ply) local TR = rangerOffset(64, Ply:shootPos(), Ply:eye()) if (TR:entity():isValid() & TR:entity():getClass() == "prop_physics" & ValidFood:exists(TR:entity():model()) & Inv:count() < 10 ) { Inv:pushString(TR:entity():model()) TR:entity():propDelete() } } #Inventory and inventory open and scroll code if(Ply:keyPressed("G") & keyClk()) { switch(InInv) {case 0, InInv = 1 Ply:soundPlay(1,0,"items/ammo_pickup.wav") break case 1, InInv = 0 break } } if(InInv & $InInv) { for(I = 1, 10) { HUD:egpRoundedBox(I, vec2(egpScrW(Ply) * 0.2 + I * 100, egpScrH(Ply) * 0.1), vec2(100, 100)) HUD:egpColor(I, vec4(0, 0, 0, 128)) local NiceName = ValidFood[Inv[I,string] ,string] HUD:egpText(I + 10, NiceName, HUD:egpPos(I) - vec2(NiceName:length() * 5, 10) ) } Selection = clamp(Selection, 1, 10) HUD:egpRoundedBox(21, vec2(egpScrW(Ply) * 0.2 + Selection * 100, egpScrH(Ply) * 0.1), vec2(100, 100)) HUD:egpOrder(21,1) HUD:egpColor(21, vec4(255,0,0,128)) if(Ply:keyPressed("right") & keyClk() & Selection < 10) {Selection+=1 HUD:egpPos(21, vec2(egpScrW(Ply) * 0.2 + Selection * 100, egpScrH(Ply) * 0.1)) Ply:soundPlay(1,0,"buttons/lightswitch2.wav")} elseif(Ply:keyPressed("left") & keyClk() & Selection > 1) {Selection-=1 HUD:egpPos(21, vec2(egpScrW(Ply) * 0.2 + Selection * 100, egpScrH(Ply) * 0.1)) Ply:soundPlay(1,0,"buttons/lightswitch2.wav")} } else {HUD:egpClear()}
4-Step Save Making Process
World Building
The basic construction of the level. This includes the playable area, background, skybox, theme, story, and blueprints for the next stages. Don't forget to add clips (invisible barriers). The level will most likely spend a lot of time in this stage in order to fully flesh it out. Once ready, the level will move onto the next stage.

Scripting and Wiring
This stage covers the functionality of the save. This includes Wiremod integration, NPC placement, tool work, and writing new E2s if the situation calls for it. Previous work will be subject to change during this stage.

Play Testing
During this stage, the person in charge of wiring/scripting will play test the level to check for technical errors. After this, a friends-only build will be released and contributors/designated play testers will check the map for any flaws. Once testing is complete, the play testers will submit their feedback. Finally, the level will be given the go ahead or change previous elements until ready to proceed. Any necessary post-processing will also be done at this time.

Publishing
At this point, the level itself is finished. However, it must have a quality workshop page in order to be fully complete. A quality workshop page should contain proper formatting, links to all addons, pictures, and a good looking thumbnail. Additional polish is appreciated. (OPTIONAL) Once published, the item can be posted on the GMod Saves group.
Preventing Cheating
(This is a 100% optional read, but if you wish for your players to follow your rules than keep reading!)

Obviously, Garry's Mod is a game with almost no restrictions! This is great for players, but for us Save Creators... Ehhhhhhhhhhhh?

So here is a series of tips and tools to keep players in-check:


- This one's very complex, but hear me out: What if you put a trigger on every single wall than hook up that trigger to a E2 disconnect-er?... Am I alone on that idea?
- I (Crigence) highly suggest using CAC (Crigence Anti-Cheat) if you want a quick and convient way to stop cheating! https://steamhost.cn/steamcommunity_com/sharedfiles/filedetails/?id=1735300221

It should be noted that, after activating an anti-cheat device, you will be unable to change anything in the save unless you have a special code or route that allows you to disable the anti-cheat remotely.

I (Drunk Headcrab) propose a secondary method of anti-cheat. This is much more lightweight and lenient than CAC, but it does the job fairly well. Essentially, all you have to do is disable panic buttons that can be pushed out of reflex, such as the noclip button. You can simply disable noclip altogether which eliminates the biggest offender (this doesn't seem to work properly in practice, however, as the player is a super admin and bypasses the disabling of noclip). Unfortunately, it is impossible to prevent players from spawning stuff in through the Q menu.

It's recommended to add invisible barriers to prevent going out of the playable area (whether it's from a physics object sending you flying or simply crouch jumping). Spawn a prop that defines the clip's shape and size and set its color to "0, 0, 0, 0" (black and full transparency). Alternatively, you can set the model's material to "null" for complete invisibility.

The addon "Campaign Entities"
https://steamhost.cn/steamcommunity_com/sharedfiles/filedetails/?id=3048881178&searchtext=campaign+entities

Also includes a very useful set of tools, one of which is an anti-noclip entity. Use this for more serious campaigns.
Tips and Extra Information
This is the part with a bunch of miscellaneous information that wasn't included or doesn't fit in any of the specified sections. Feel free to skim and scan; you might find something useful.

- DON'T use the FPS Booster by Gmod life!
Using it *will* corrupt your saves! You'll thank me later.

- If you make a barnacle friendly towards an NPC, it won't pick it up when passing under its tongue.
Useful to prevent insta-deaths on special allies such as Alyx. Also, as a side note, if you make a barnacle friendly towards a player after it picks the player up, it WILL attack the player, but the attacks will not do any damage.

- Have you ever wanted flares on the ground during a fight?
Well, now you can! Introducing the env_flare entity! All you have to do is spawn it in using NPC spawn platforms. Keep in mind, you cannot spawn non-NPC entities with NPC spawn platforms until you have disabled the "Valid NPC Check" option.

- Allies can be damaged/killed by player vehicles.
You can use revengeful citizens in order to penalize this action.

- NPCs such as metrocops and citizens can use the revolver (.357 Magnum)
Make of this what you will.

- How to disable that annoying thing where you can't jump on an unfrozen physics prop:
sv_sticktoground 0
Where to share your save
Now that you've got your highly-detailed, well-designed, and (hopefully) well-optimized save, what do you do with it? Well, now you technically have three options:

The Garry's Mod workshop
The home of all saves, and the most obvious. Just go to a menu that features the save you want to post, hit the "publish" button, do all the bells and whistles you need to do there and boom - you're done. Just one issue: You just did the equivalent of throwing a bottle into the ocean and hoping it reaches someone. Only it's an ocean of ♥♥♥♥ and 90% of people can't receive the bottle because they've manually disabled their ability to see the bottles, somehow. Point is: Most Gmod players will never look at your save, and will probably never see it, as almost all players go to the workshop to find add-ons. Not saves, not usually even dupes, just add-ons. So your save will never get very much publicity via the workshop alone. So, where do you share it after you post it to the workshop?

The Garry's Mod Discord server
The Garry's Mod Discord server is a complete joke for save creators. As of writing this, there is no dedicated space anywhere in the official server for saves. There's one for dupes, but saves are completely ignored. So that's a no-go for sharing your saves, unless you want to throw it into the abyss that is #general.

The GMod Saves [Steam] group
The GMod Saves group was the initial home of the GMod Saves community, and due it being hosted by the only platform that Garry's Mod can be found on - Steam - it seemed like the ideal home for such a community. Though it isn't as active as it once was, there's nothing stopping you from posting your saves into the threads there, namely the "Feedback" thread.
https://steamhost.cn/steamcommunity_com/groups/gmod_saves/

The Garry's Mod Saves Community [Discord server]
The Garry's Mod Saves Community Discord server was founded in 2022 to create an environment where the save creators could be more social with one another, and share their saves in a place that facilitated convenient communication and more interactive save sharing. Since then, it has arguably become the primary hub for the Gmod saves community, largely fulfilling most of the group's roles, including acting as a host for saves. The server has a couple of dedicated rooms for sharing saves, but the one that you'll want to use if you're trying to get publicity for your own saves is the #your-saves room. There, you can give your save it's own dedicated thread, complete with screenshots, a description, and tags, where users can conveniently find and provide feedback for your saves.
https://discord.gg/rVESrmdmAv [Note: Link may become expired after raids. If it is, please contact Crigence and ask him to update it]
120 Comments
Bean's Bag Hot of Garbage 25 Jun @ 3:00pm 
Gentlements! How is this Save Called?: https://i.imgur.com/MqV18iK.jpeg? It is in gm_flatgrass.
Av 14 May @ 2:11pm 
Might be a dumb question but I am unable to save my work,
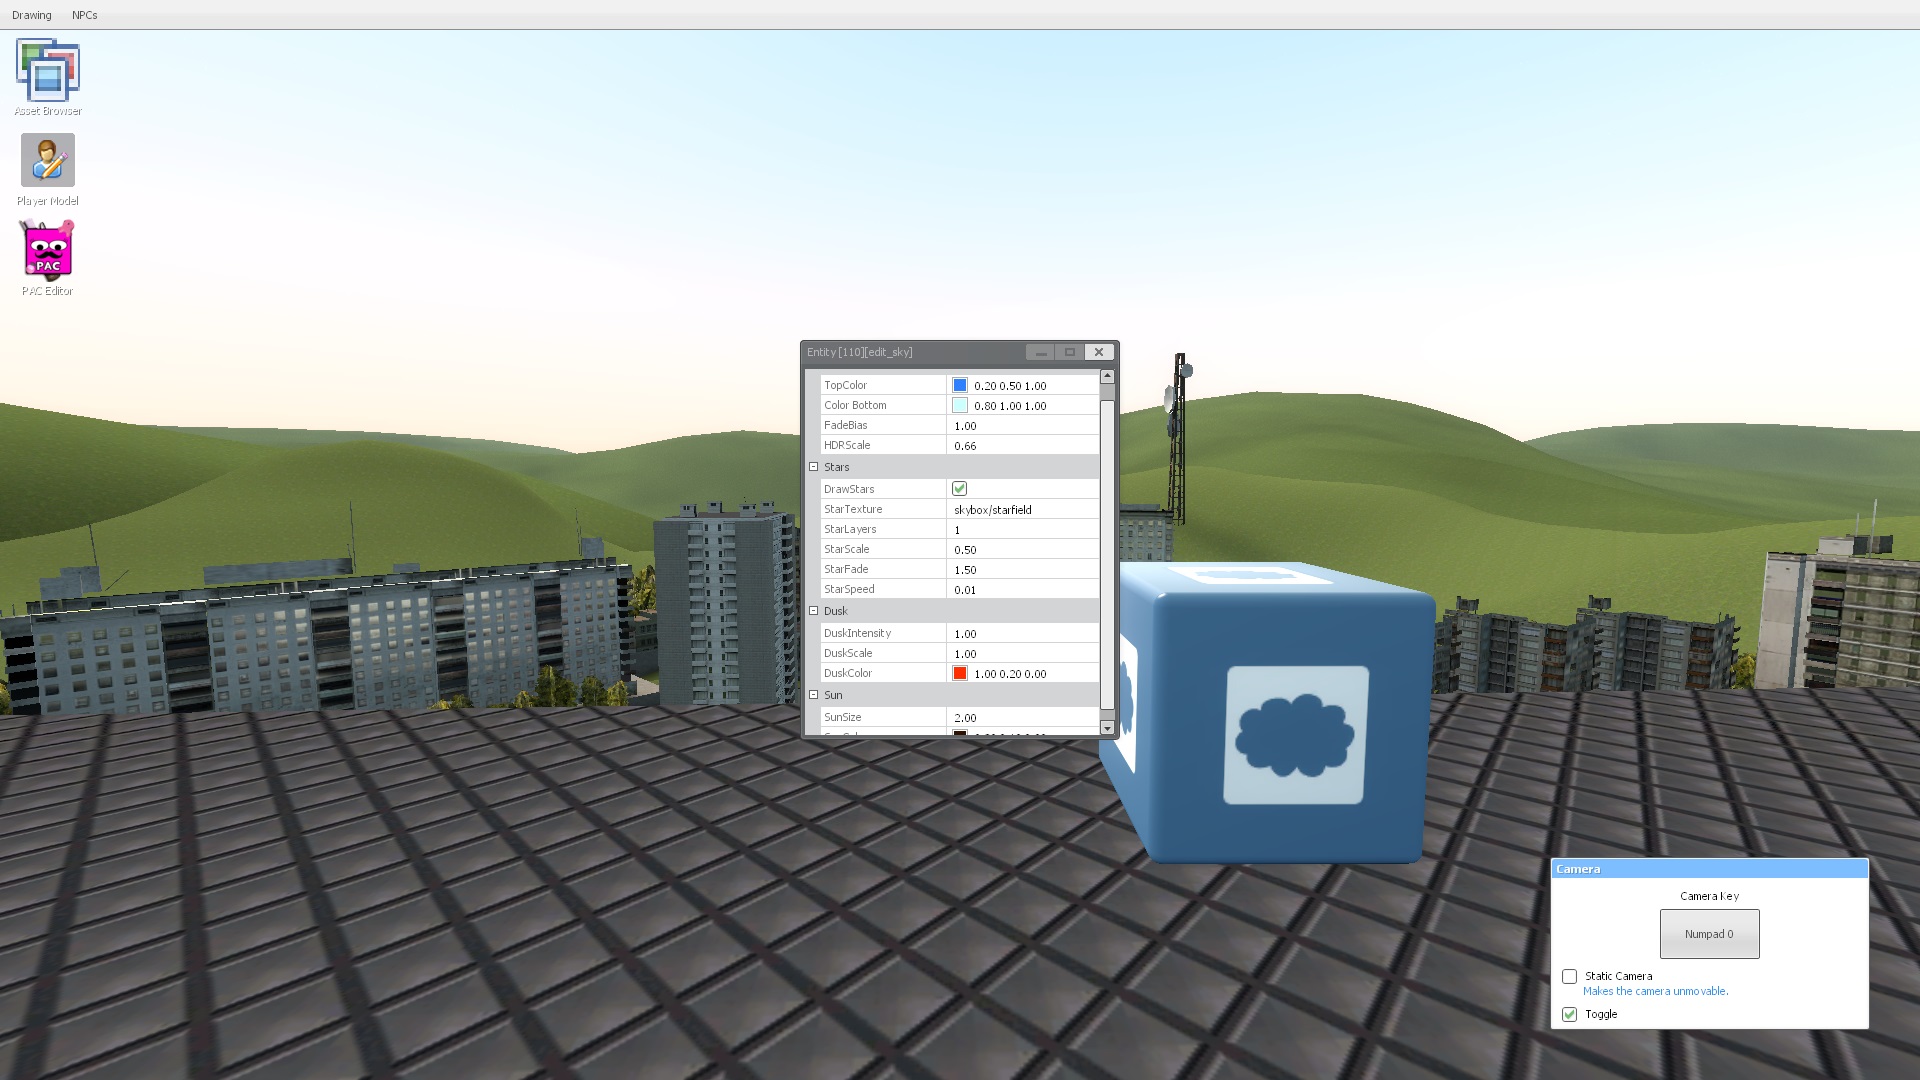
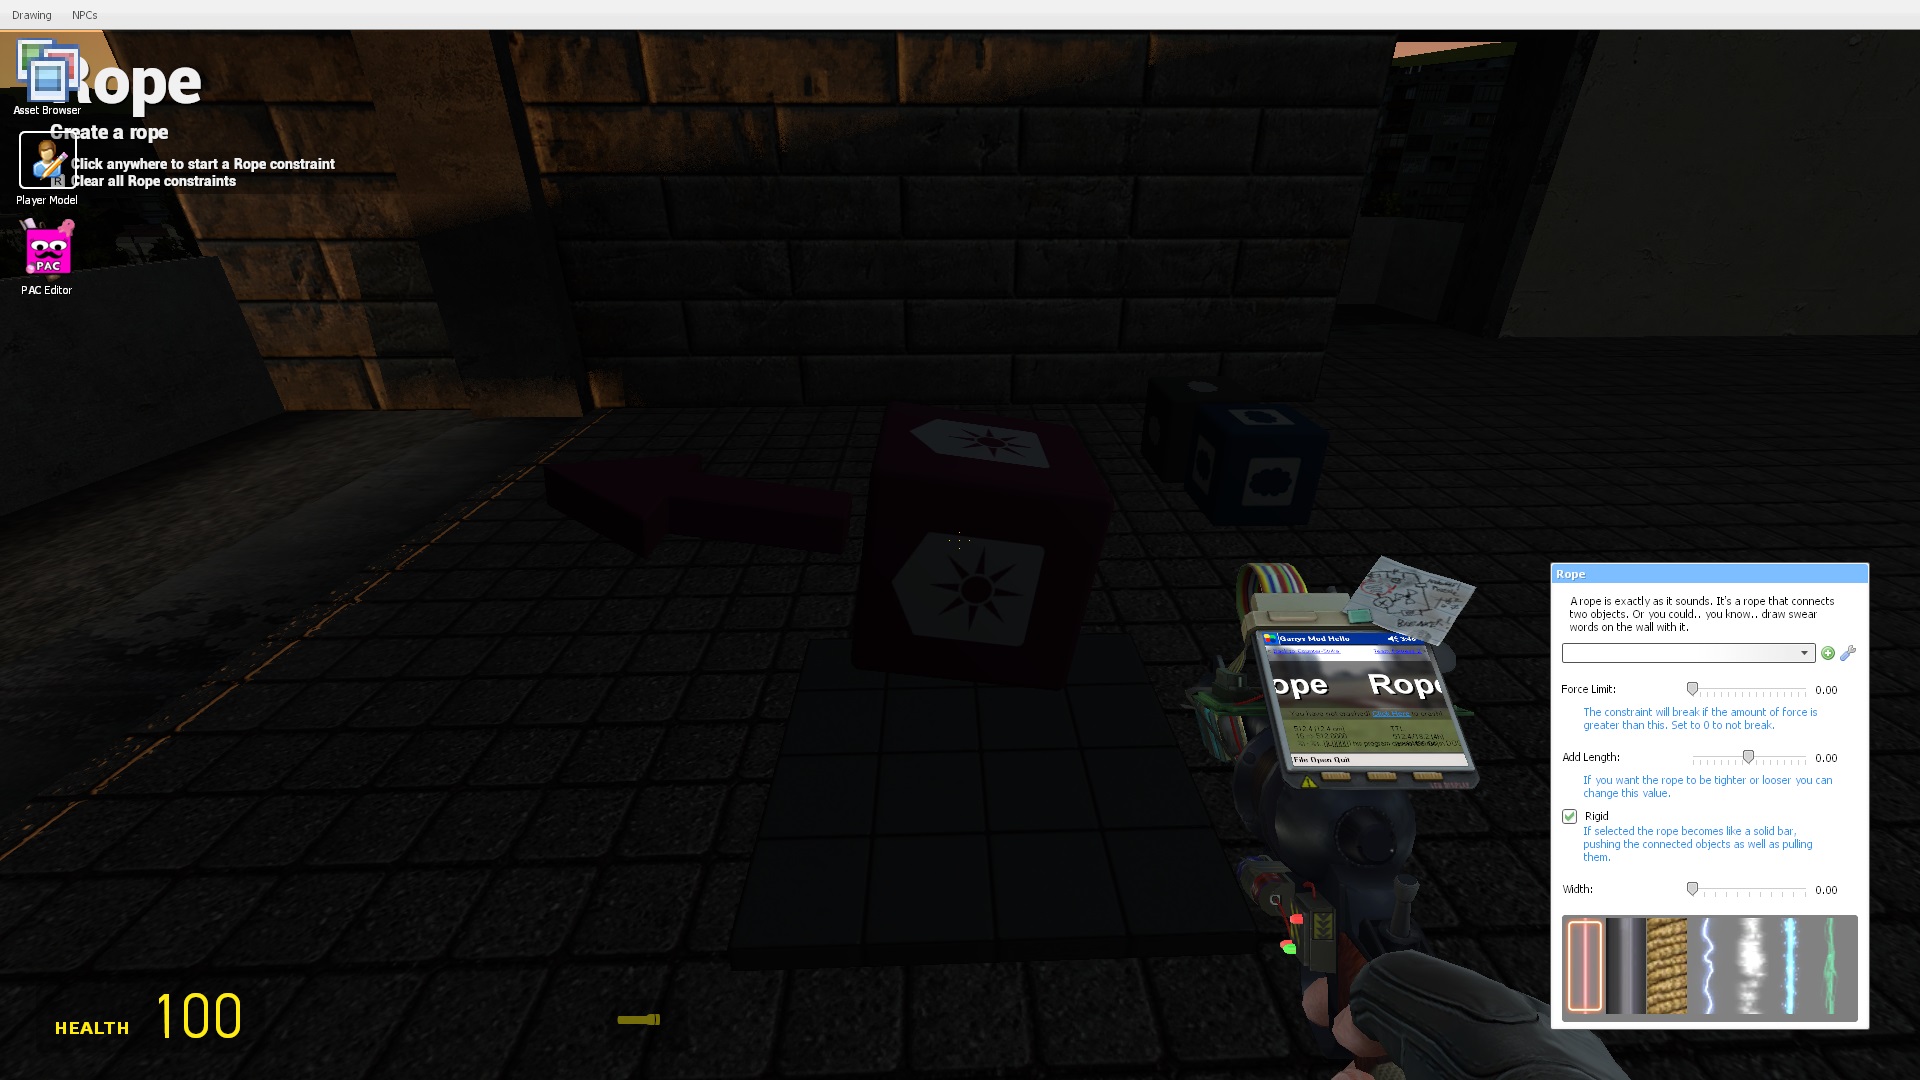
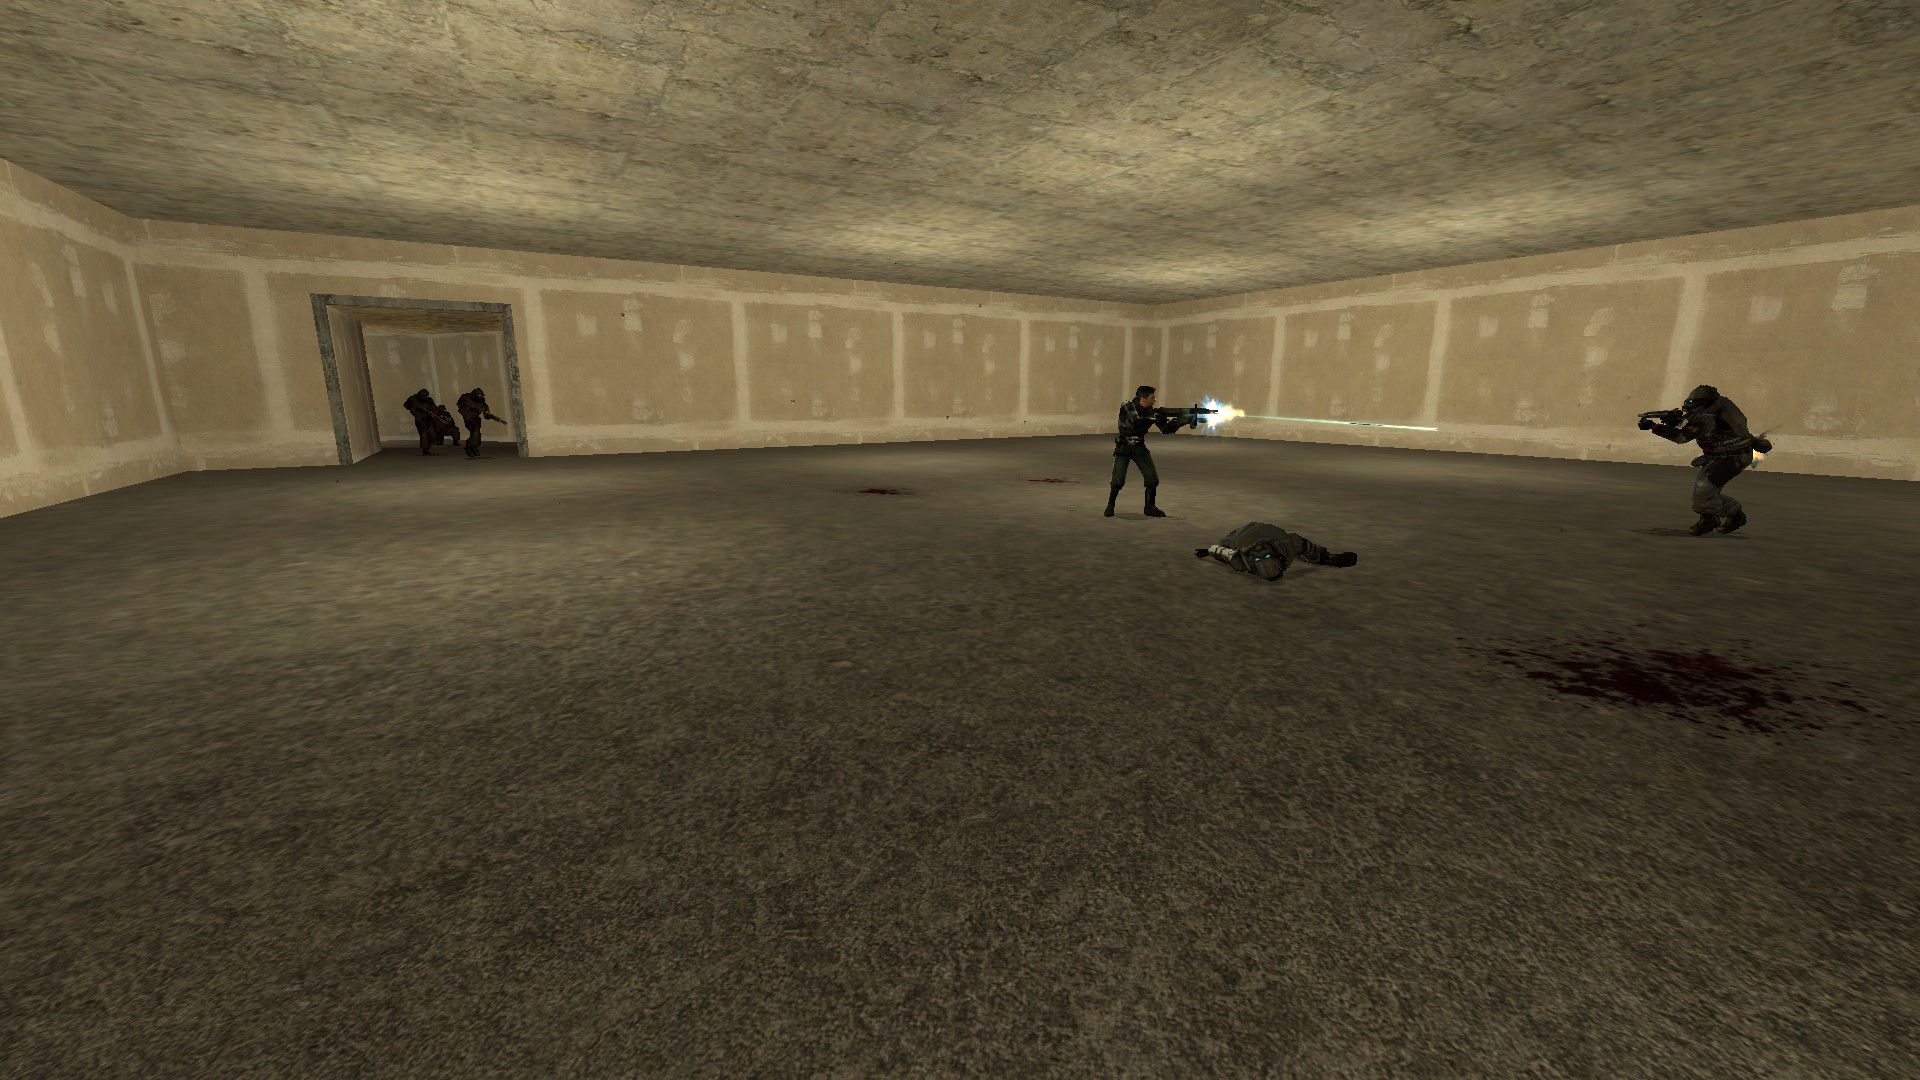
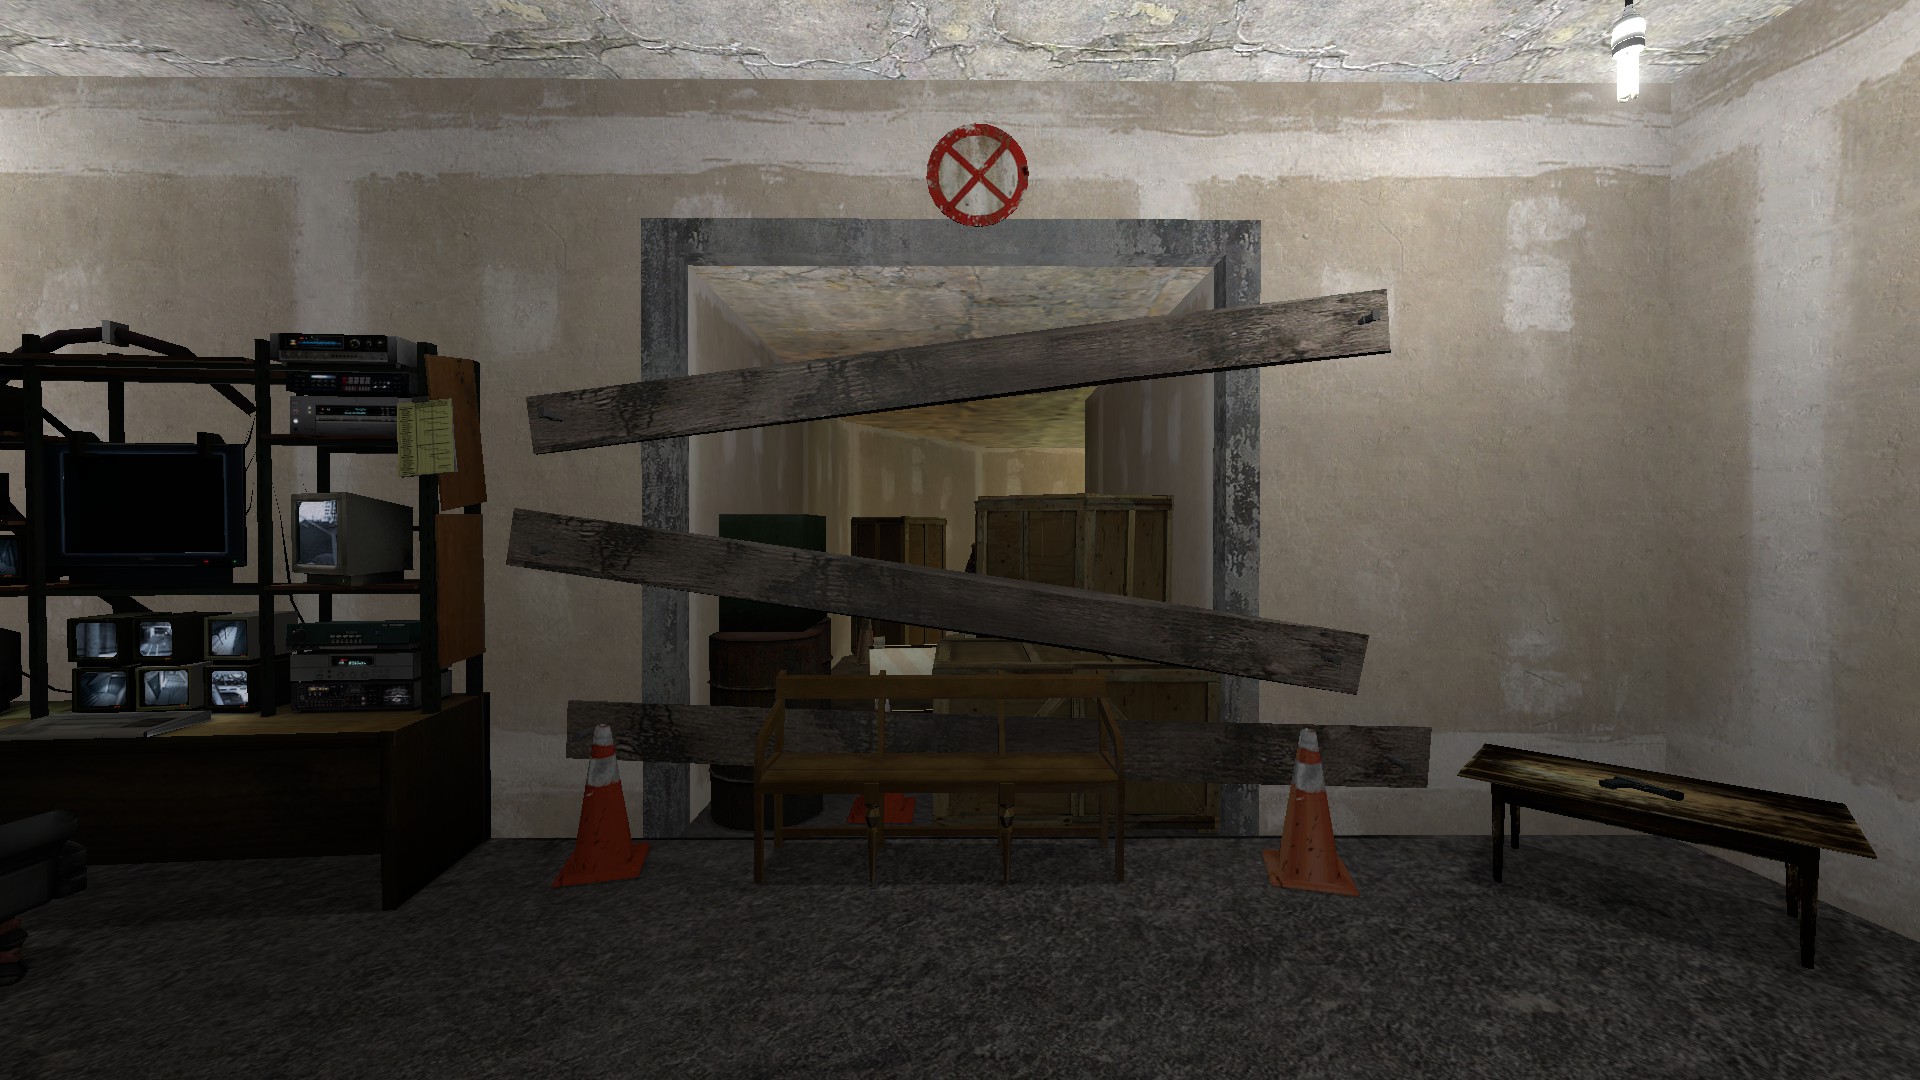
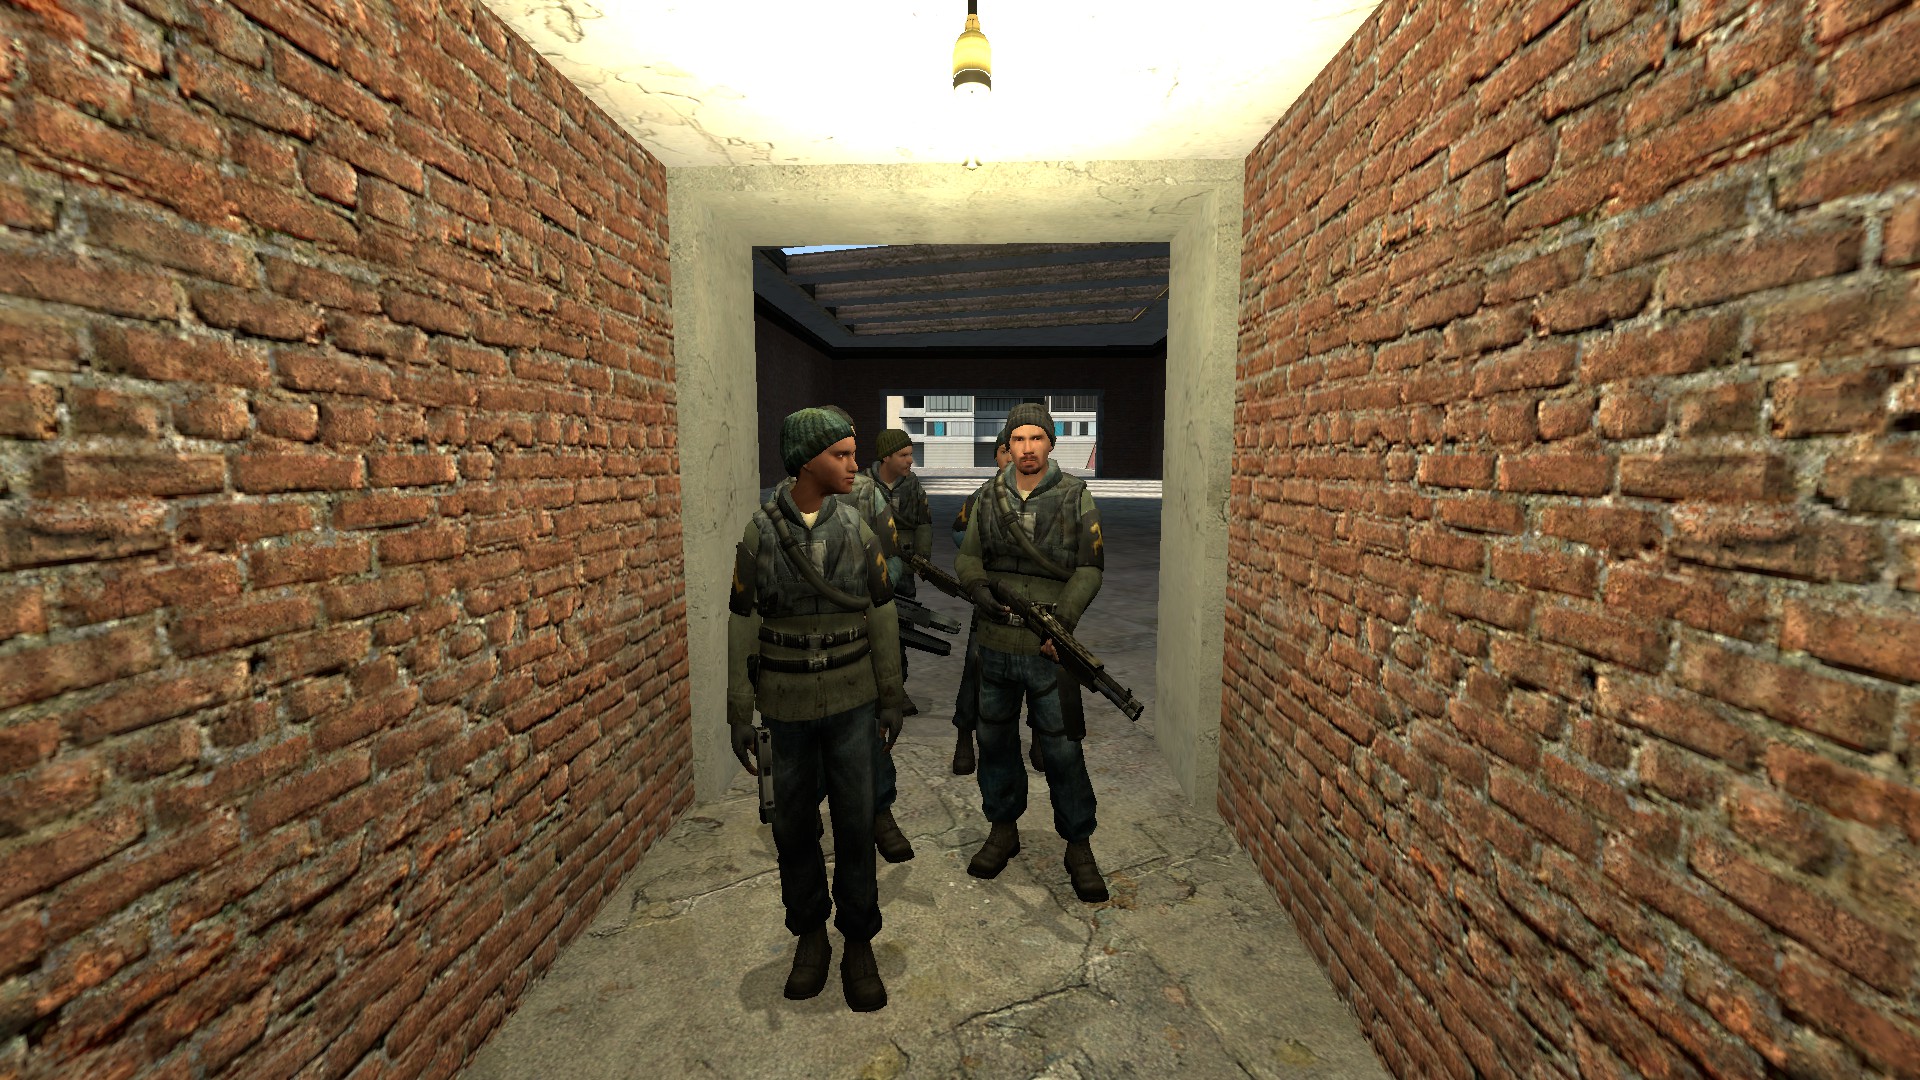
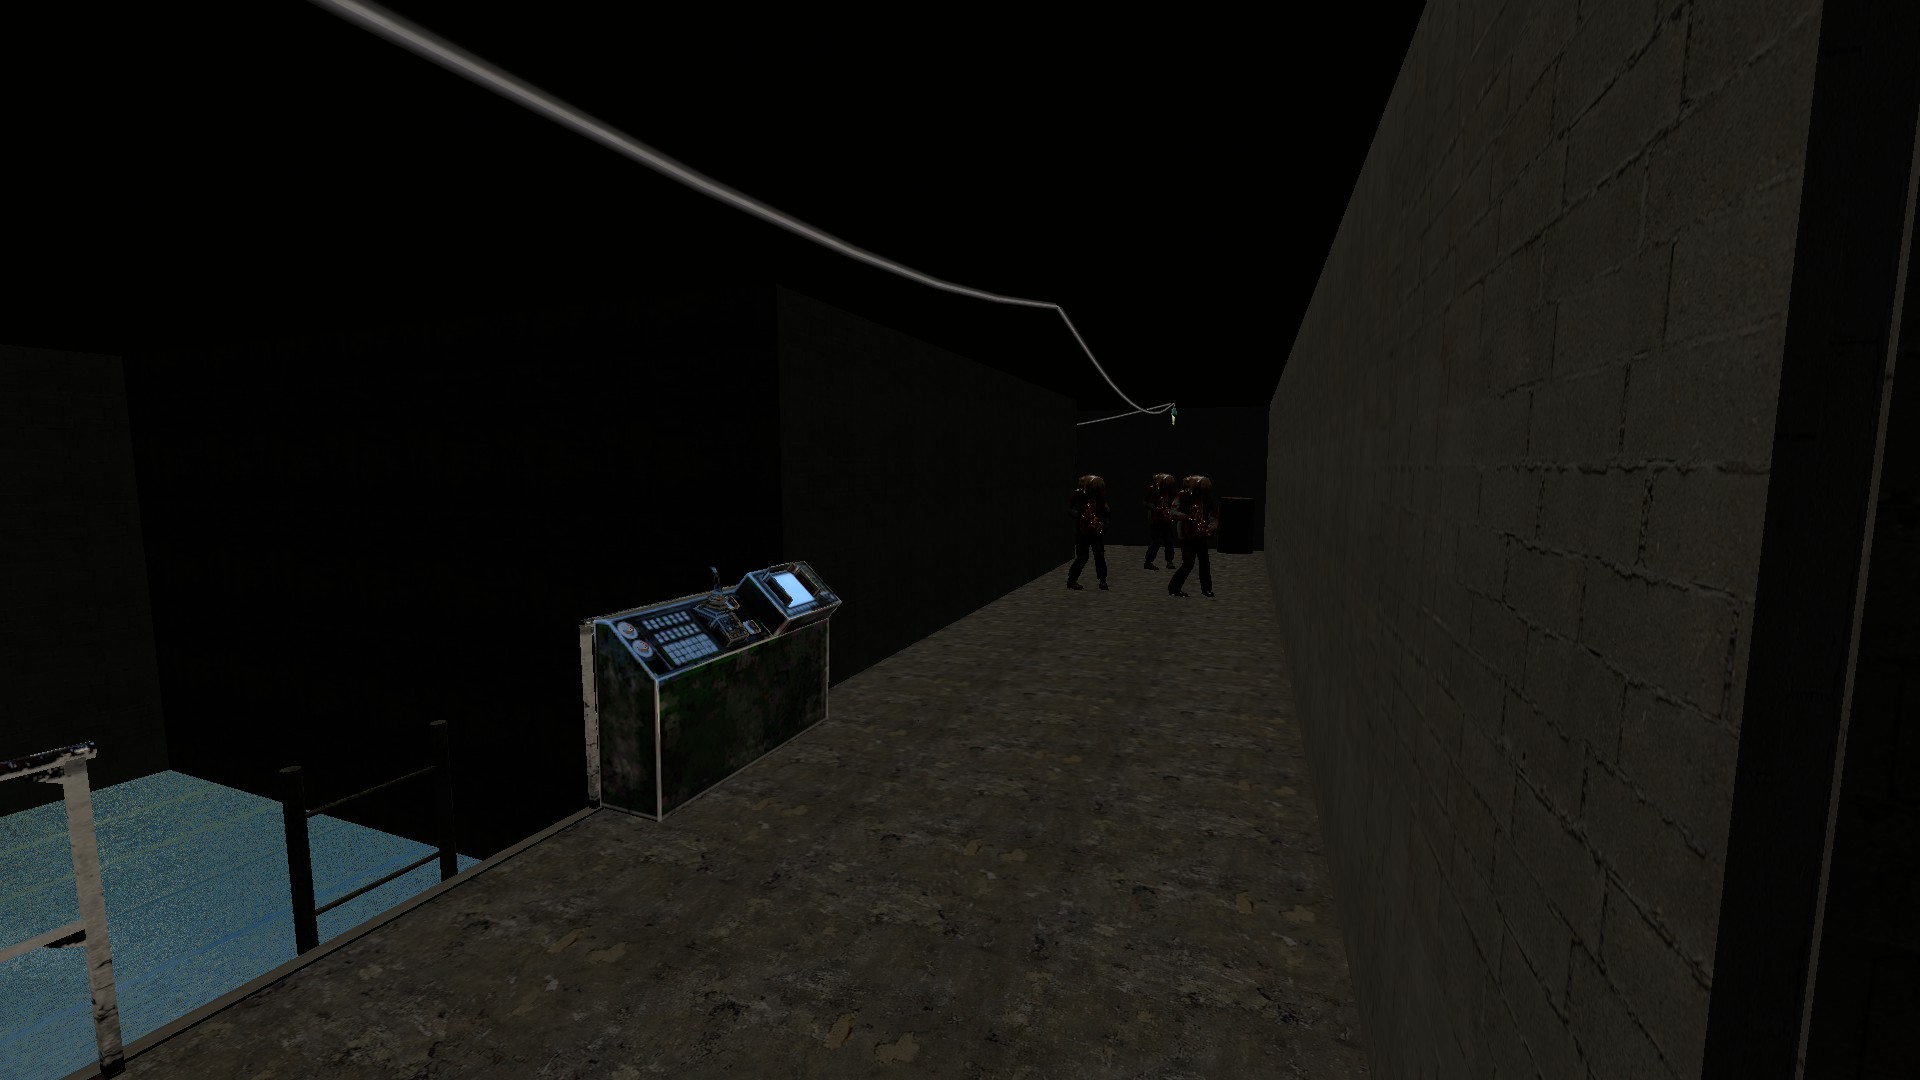
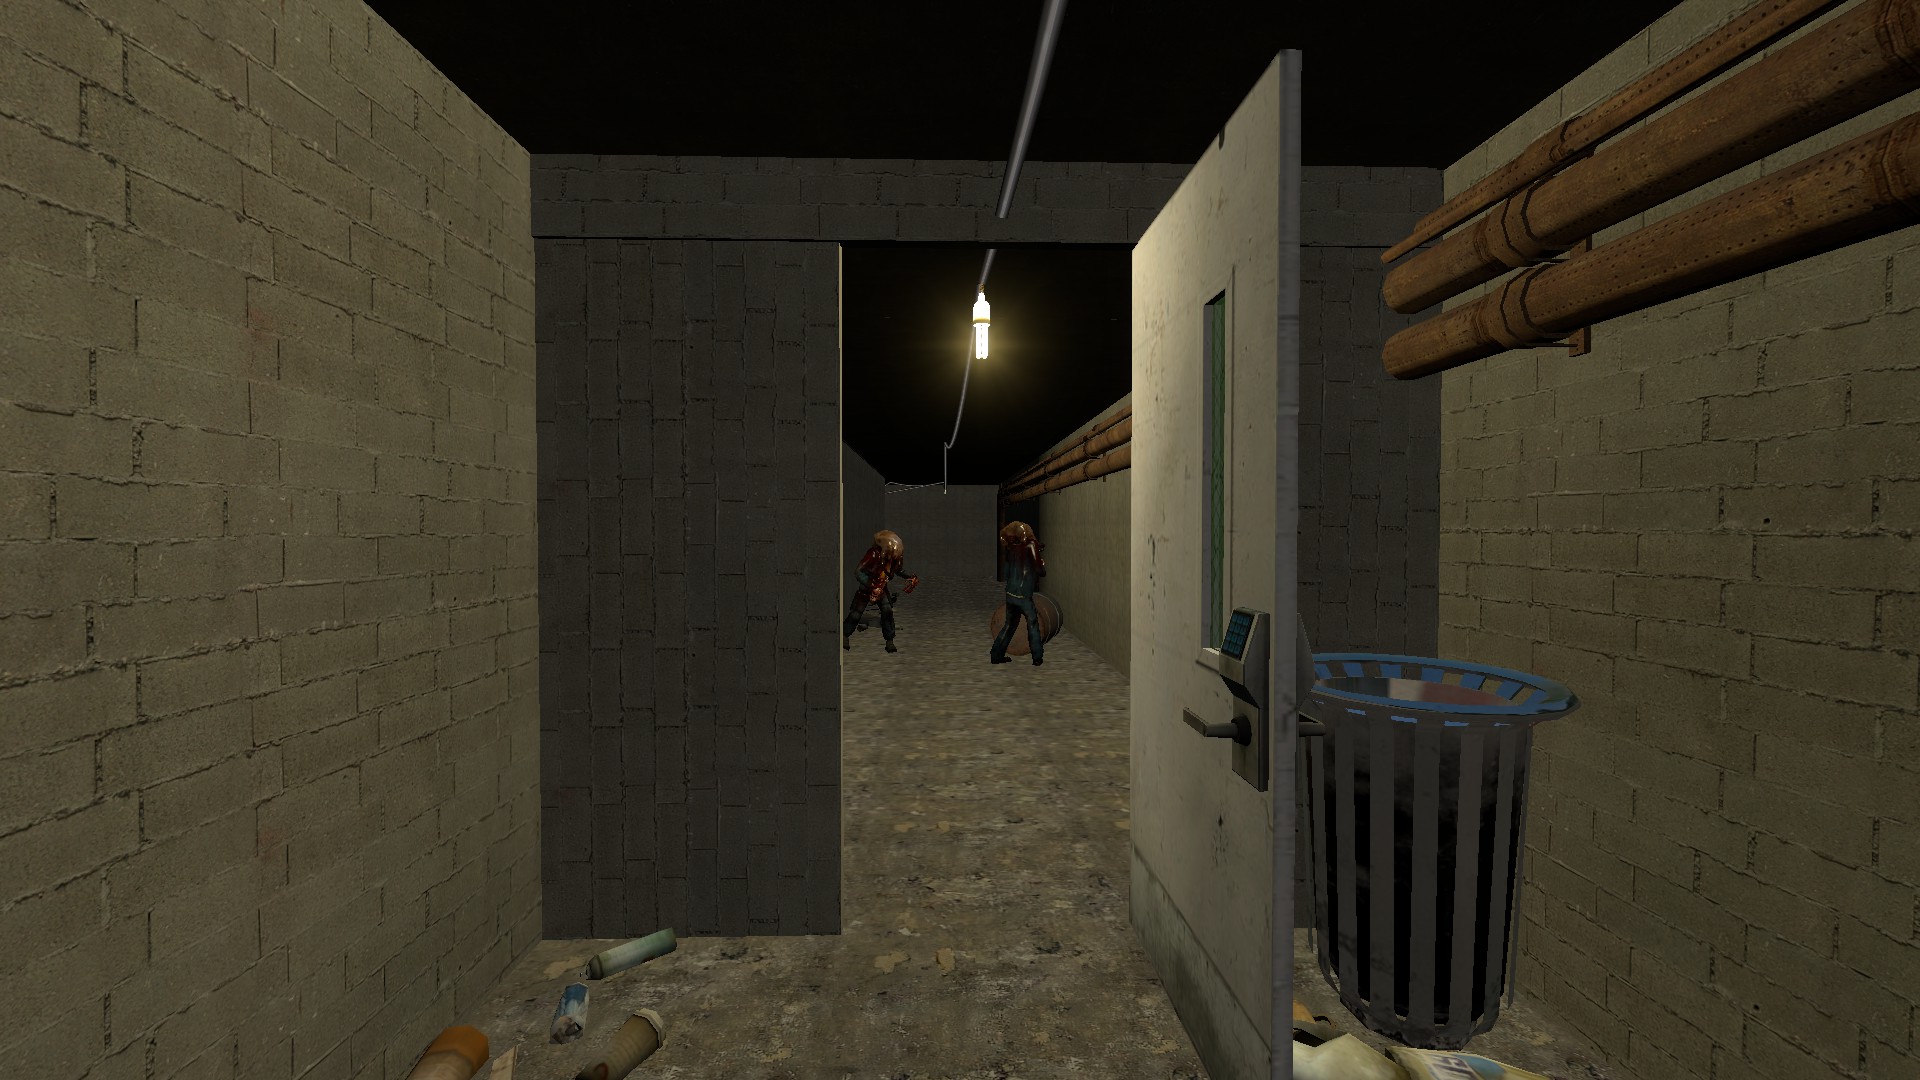
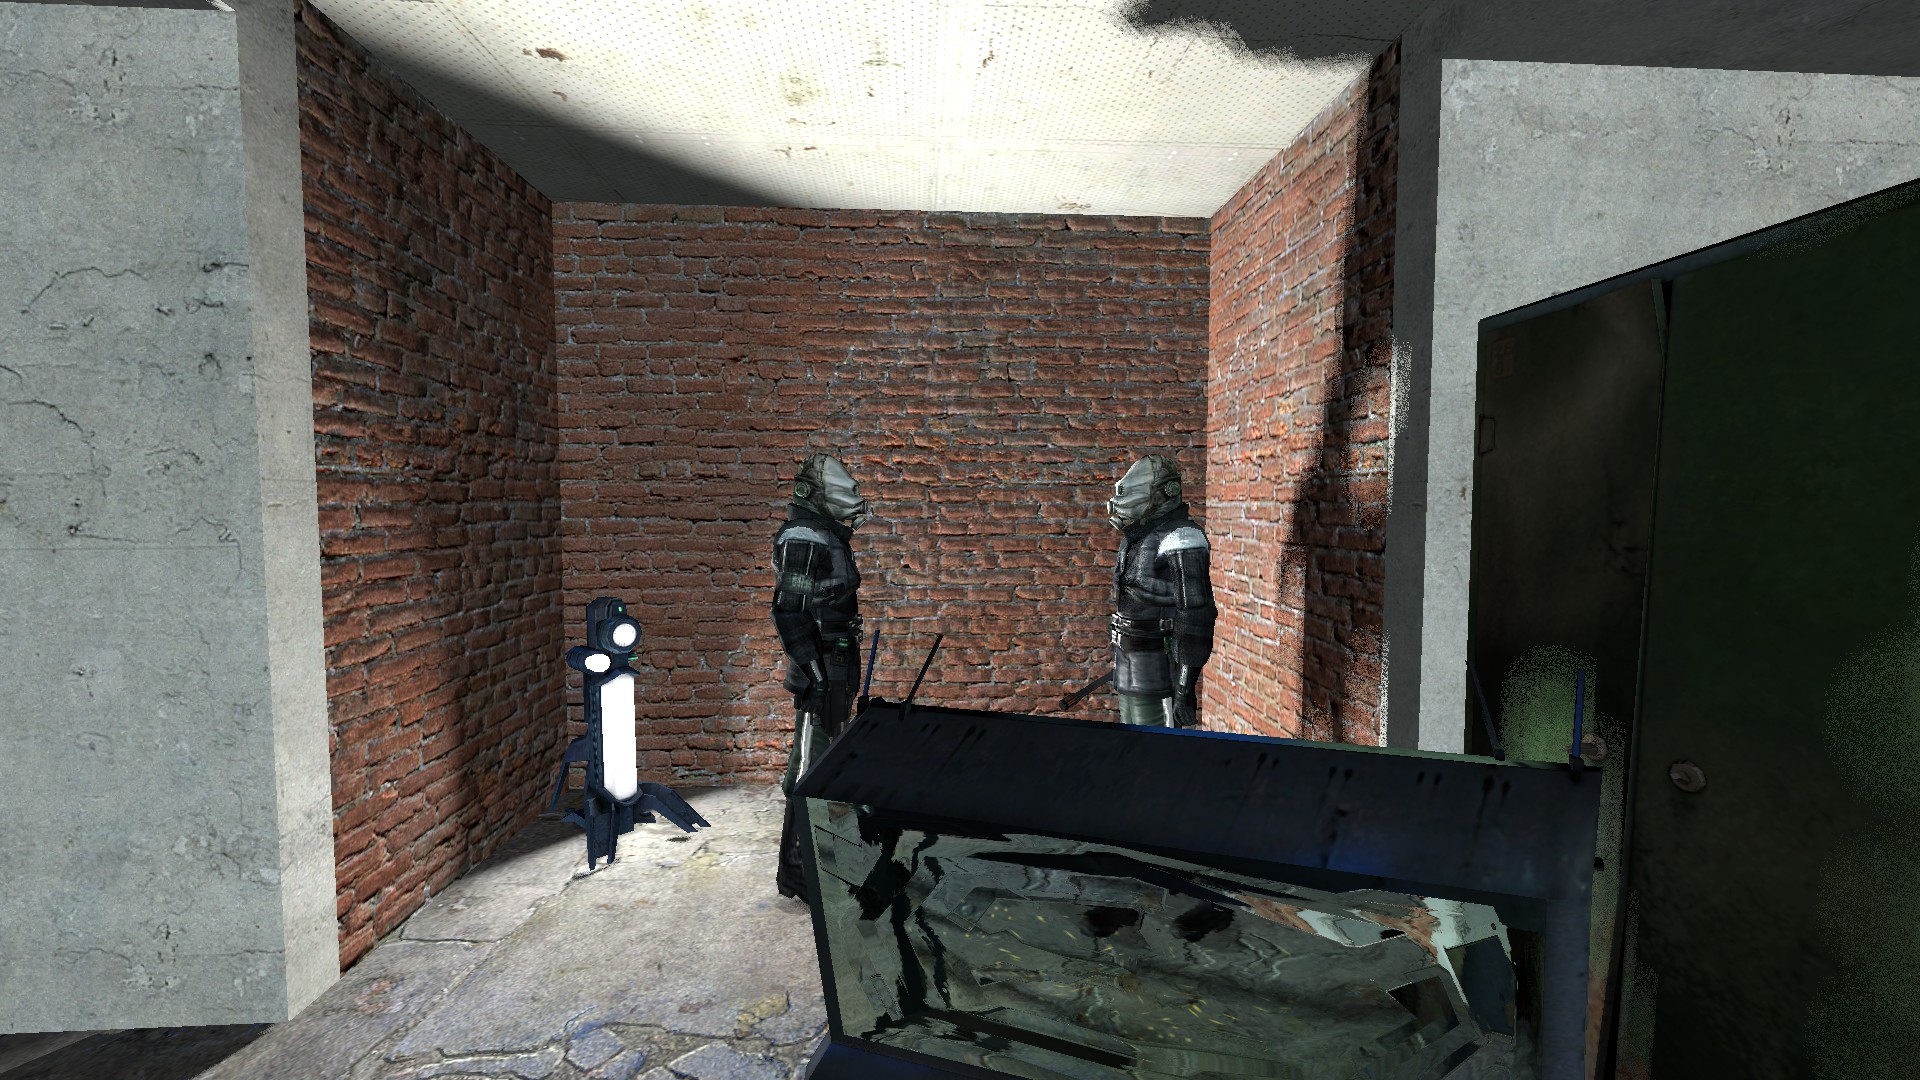
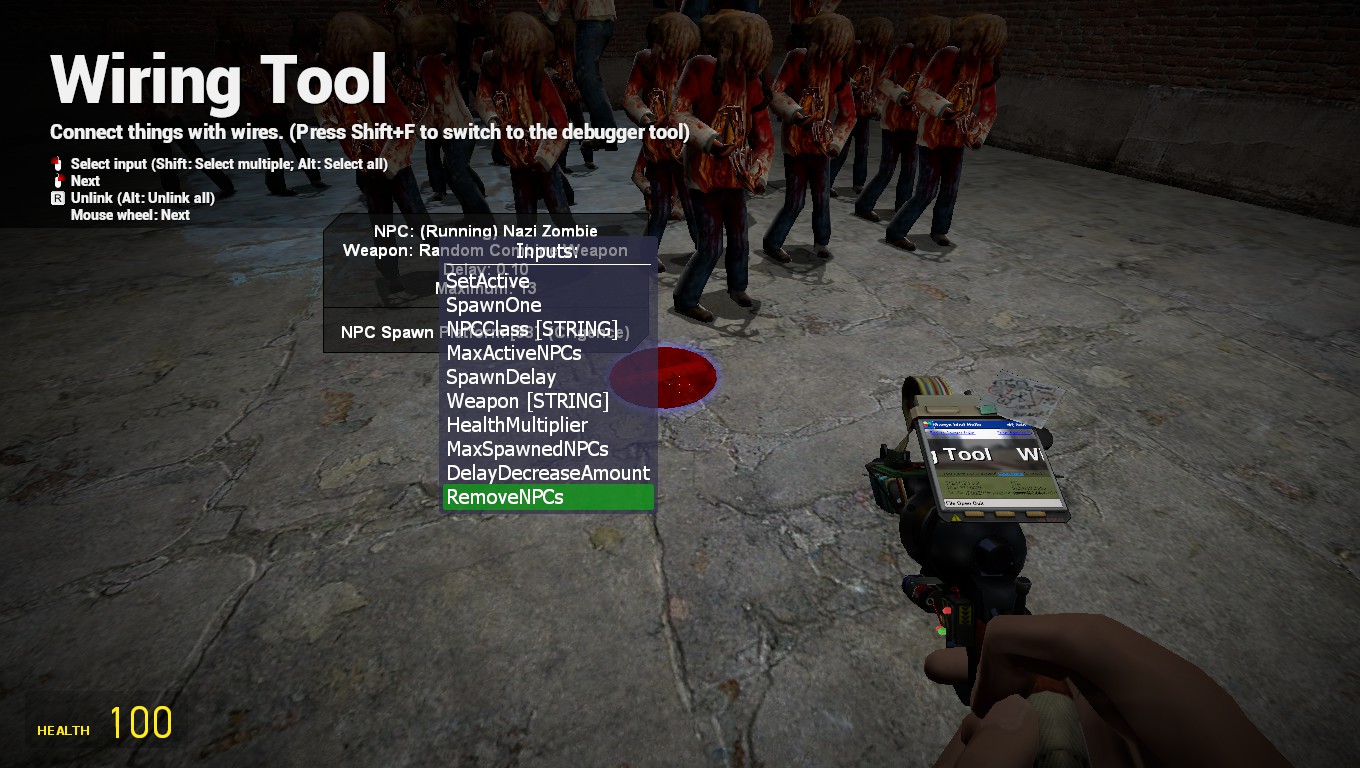
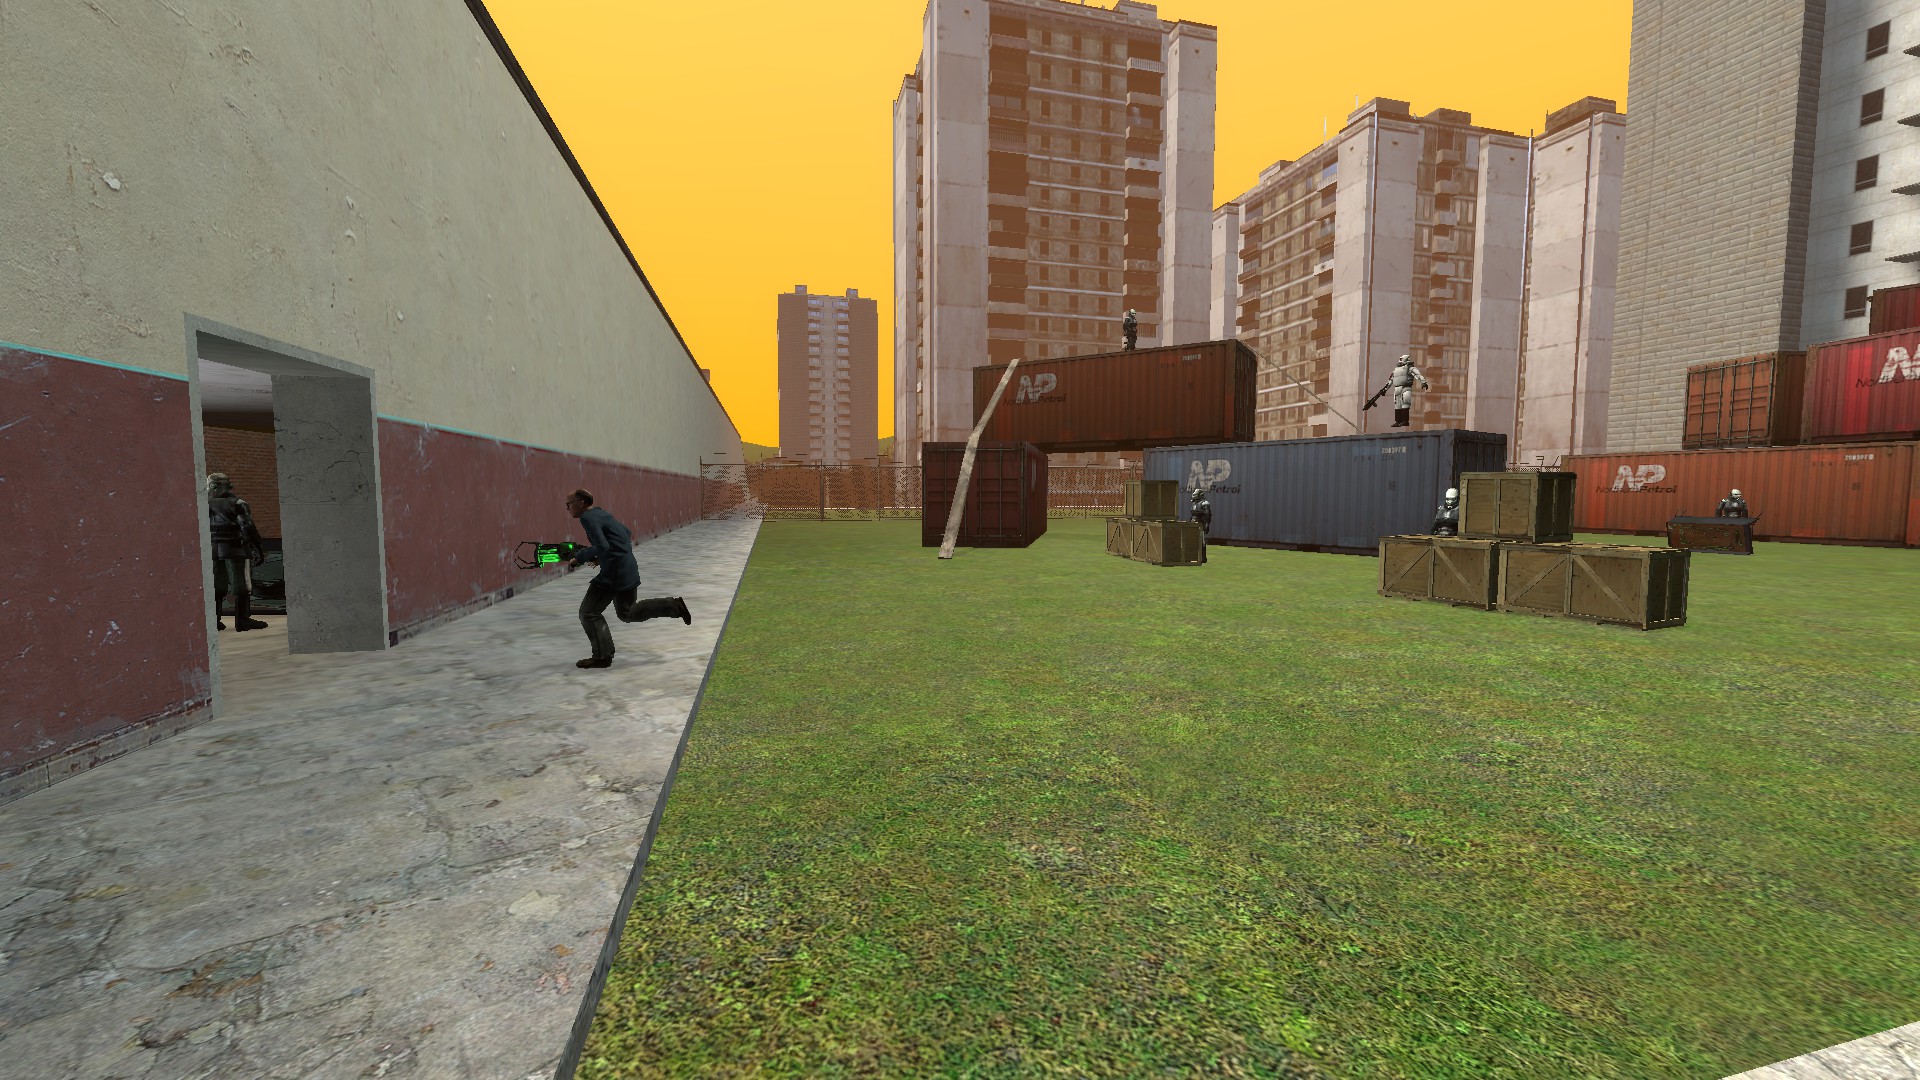
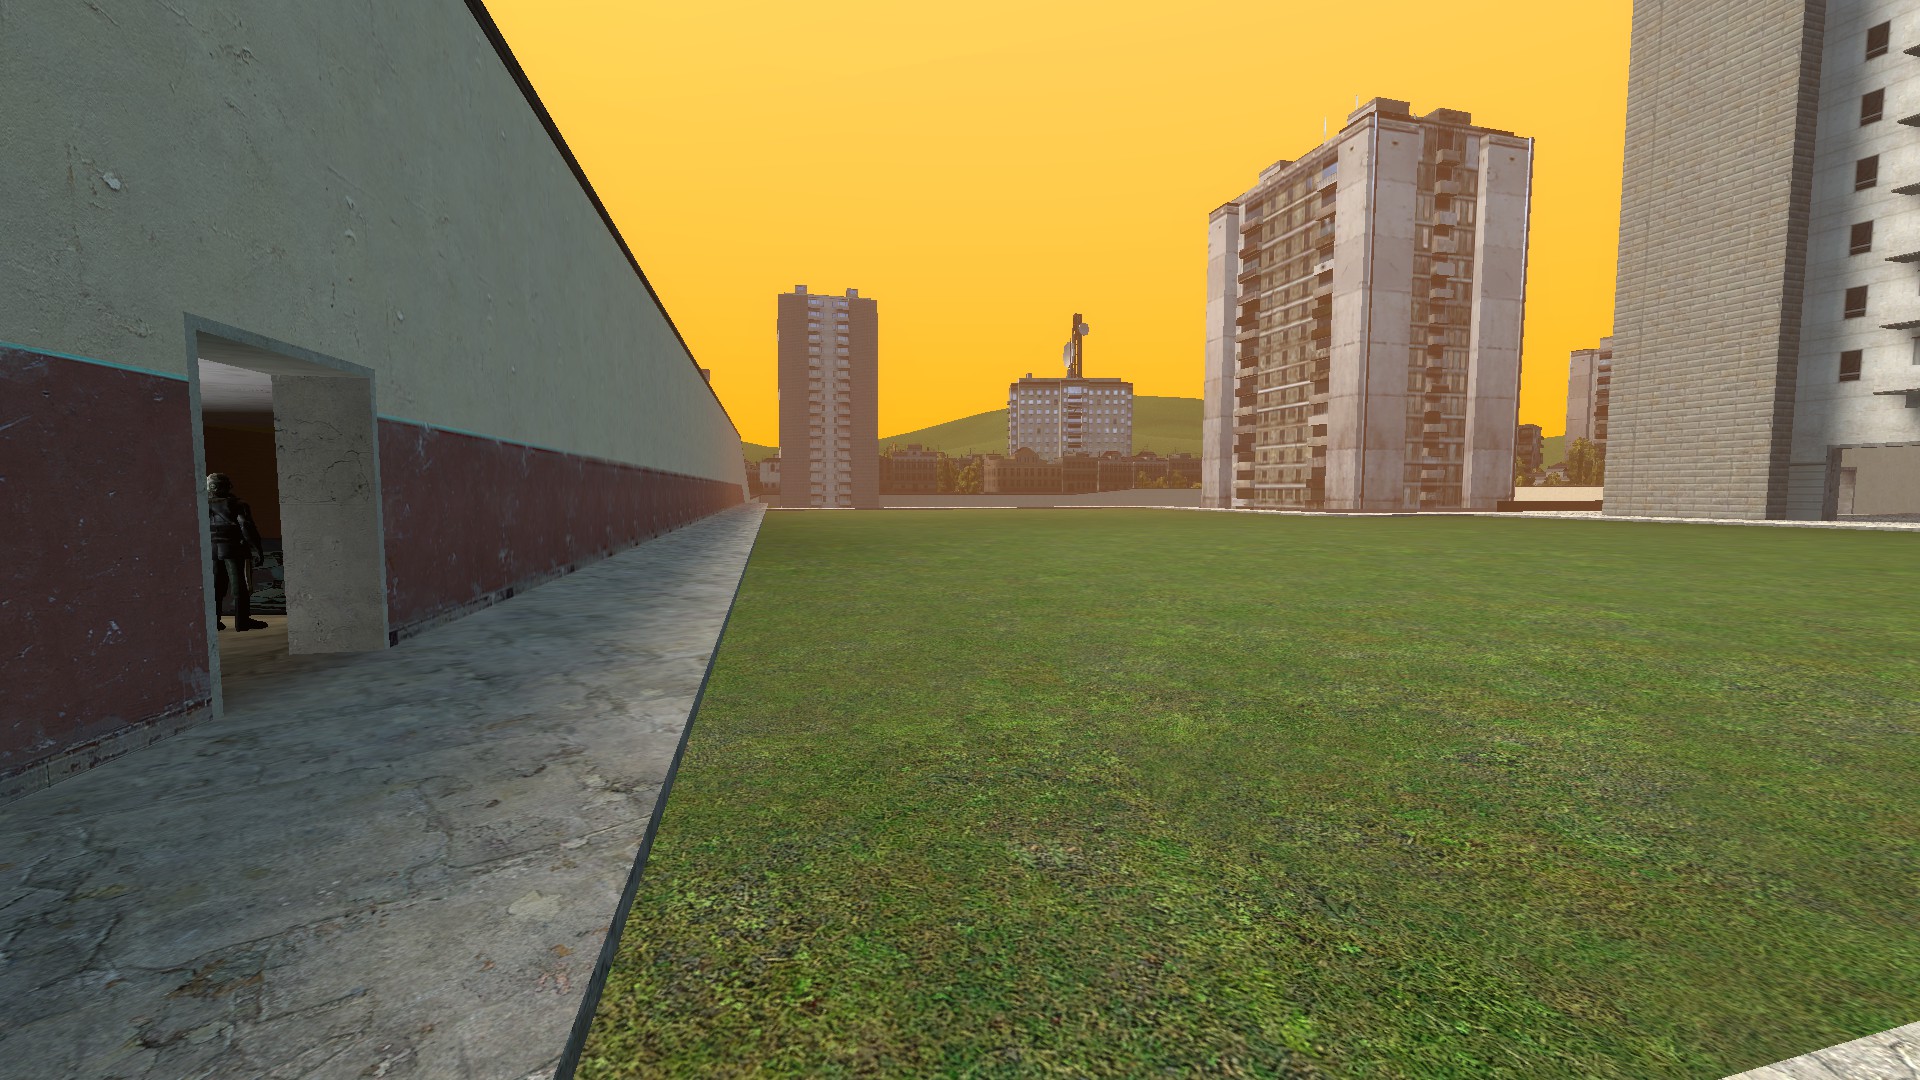
It happens when I put few simple props and npc's , no way to describe it better because there is no formula, no possibility of saving occurs randomly (does not depend on time that has passed or edits/objects added on map)
Random_Person 20 Aug, 2023 @ 1:25pm 
Very good :)
TMTx Demmon 5 Jan, 2023 @ 4:03am 
why barnacles crash my game?
80Hg 16 Jun, 2022 @ 10:31am 
There's an engine limit on the amount of decals allowed on a model, so it will just start deleting oldest ones. There's also the thing that deletes a decal if you try to place a new one on top of it.
Drunk Headcrab  [author] 16 Jun, 2022 @ 10:27am 
Fascinating. Would it be possible to extend the limit just to see what happens?
80Hg 16 Jun, 2022 @ 10:23am 
Looking at the paint tool code, it seems that it saves only the last 32 painted decals on an entity. That's probably an engine limit.
... 16 Jun, 2022 @ 10:01am 
k thanks.
Drunk Headcrab  [author] 16 Jun, 2022 @ 9:57am 
Decals are tricky because they can either not show up at all, get cleaned up, or reappear on their own near their original spot either on the spot you want them to (if you're lucky) or they'll just spatter themselves somewhere else for some reason (in other words, they are very unreliable to save). My method of getting around this is to use fake decals. Basically, get a plate prop and make its material that of blood, rather than using the actual decal tool. This way, you have way more control over how the "decal" will function and look.

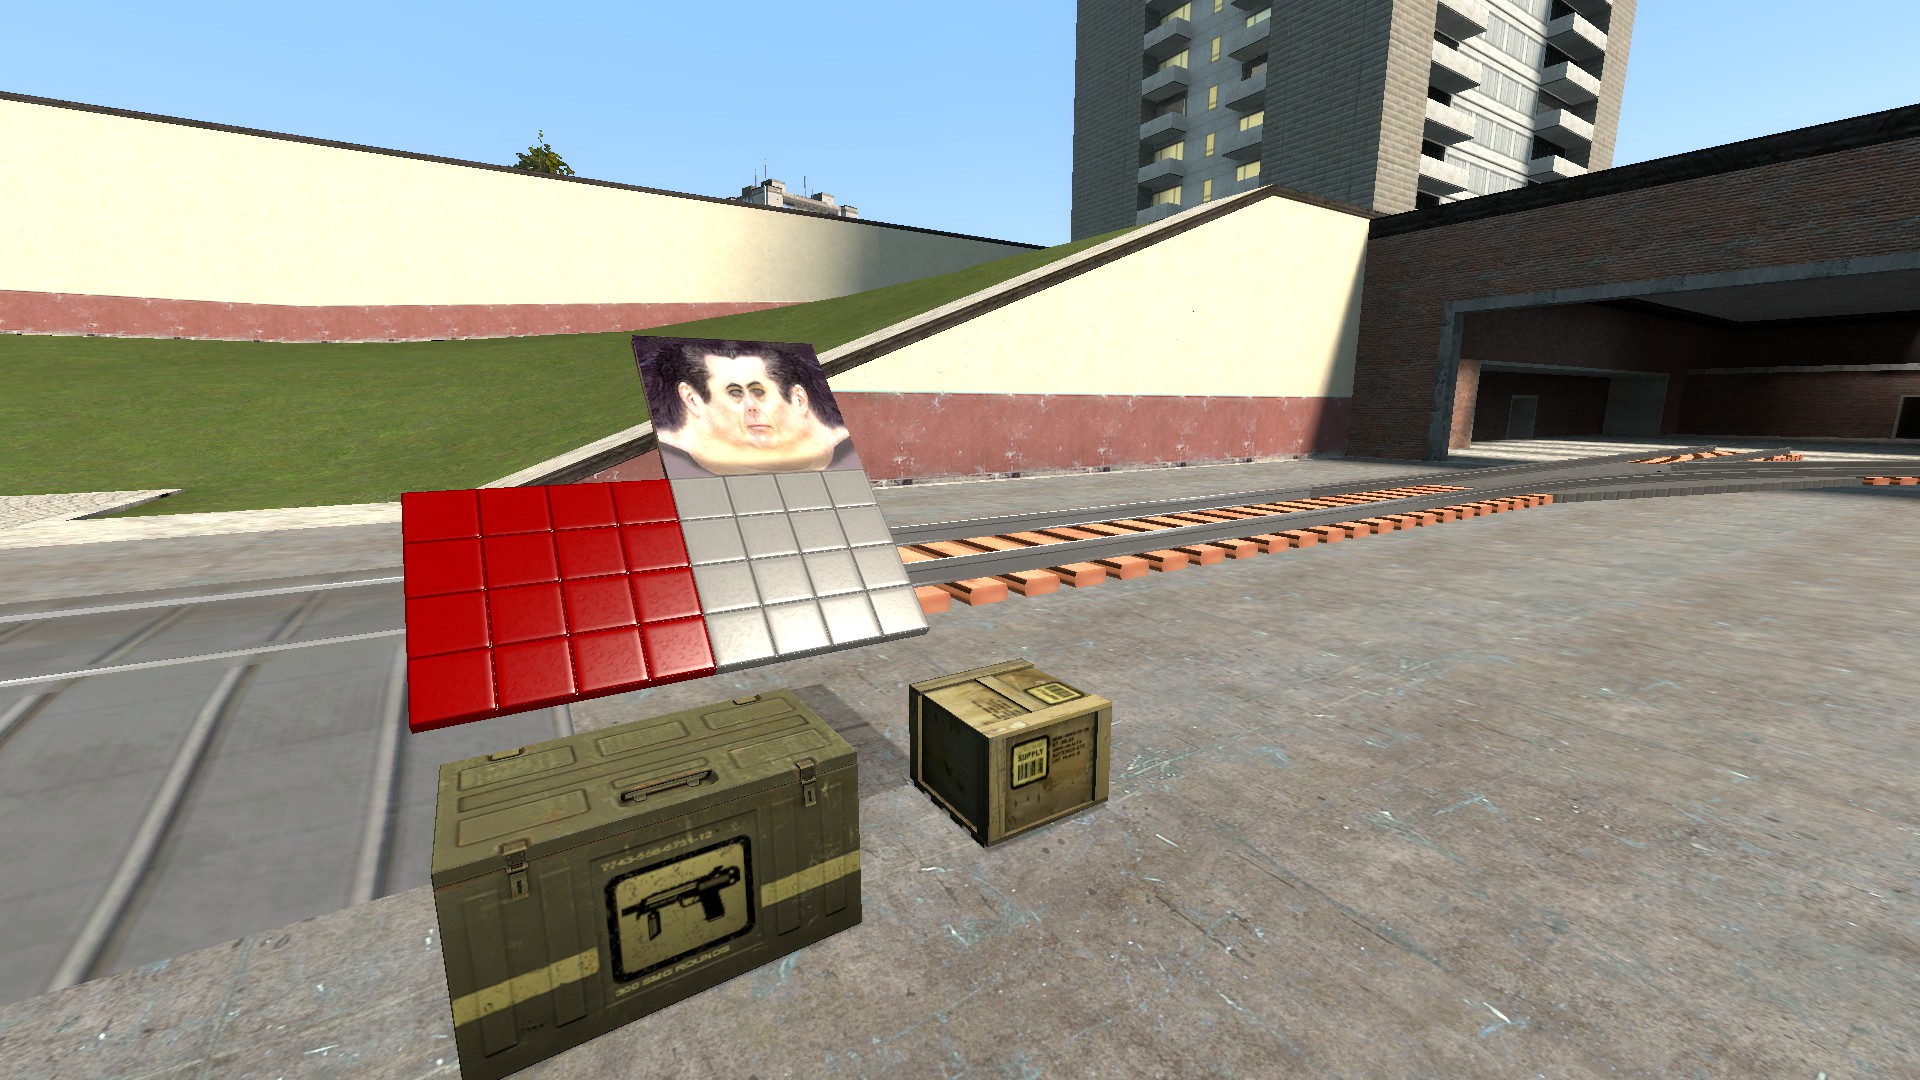
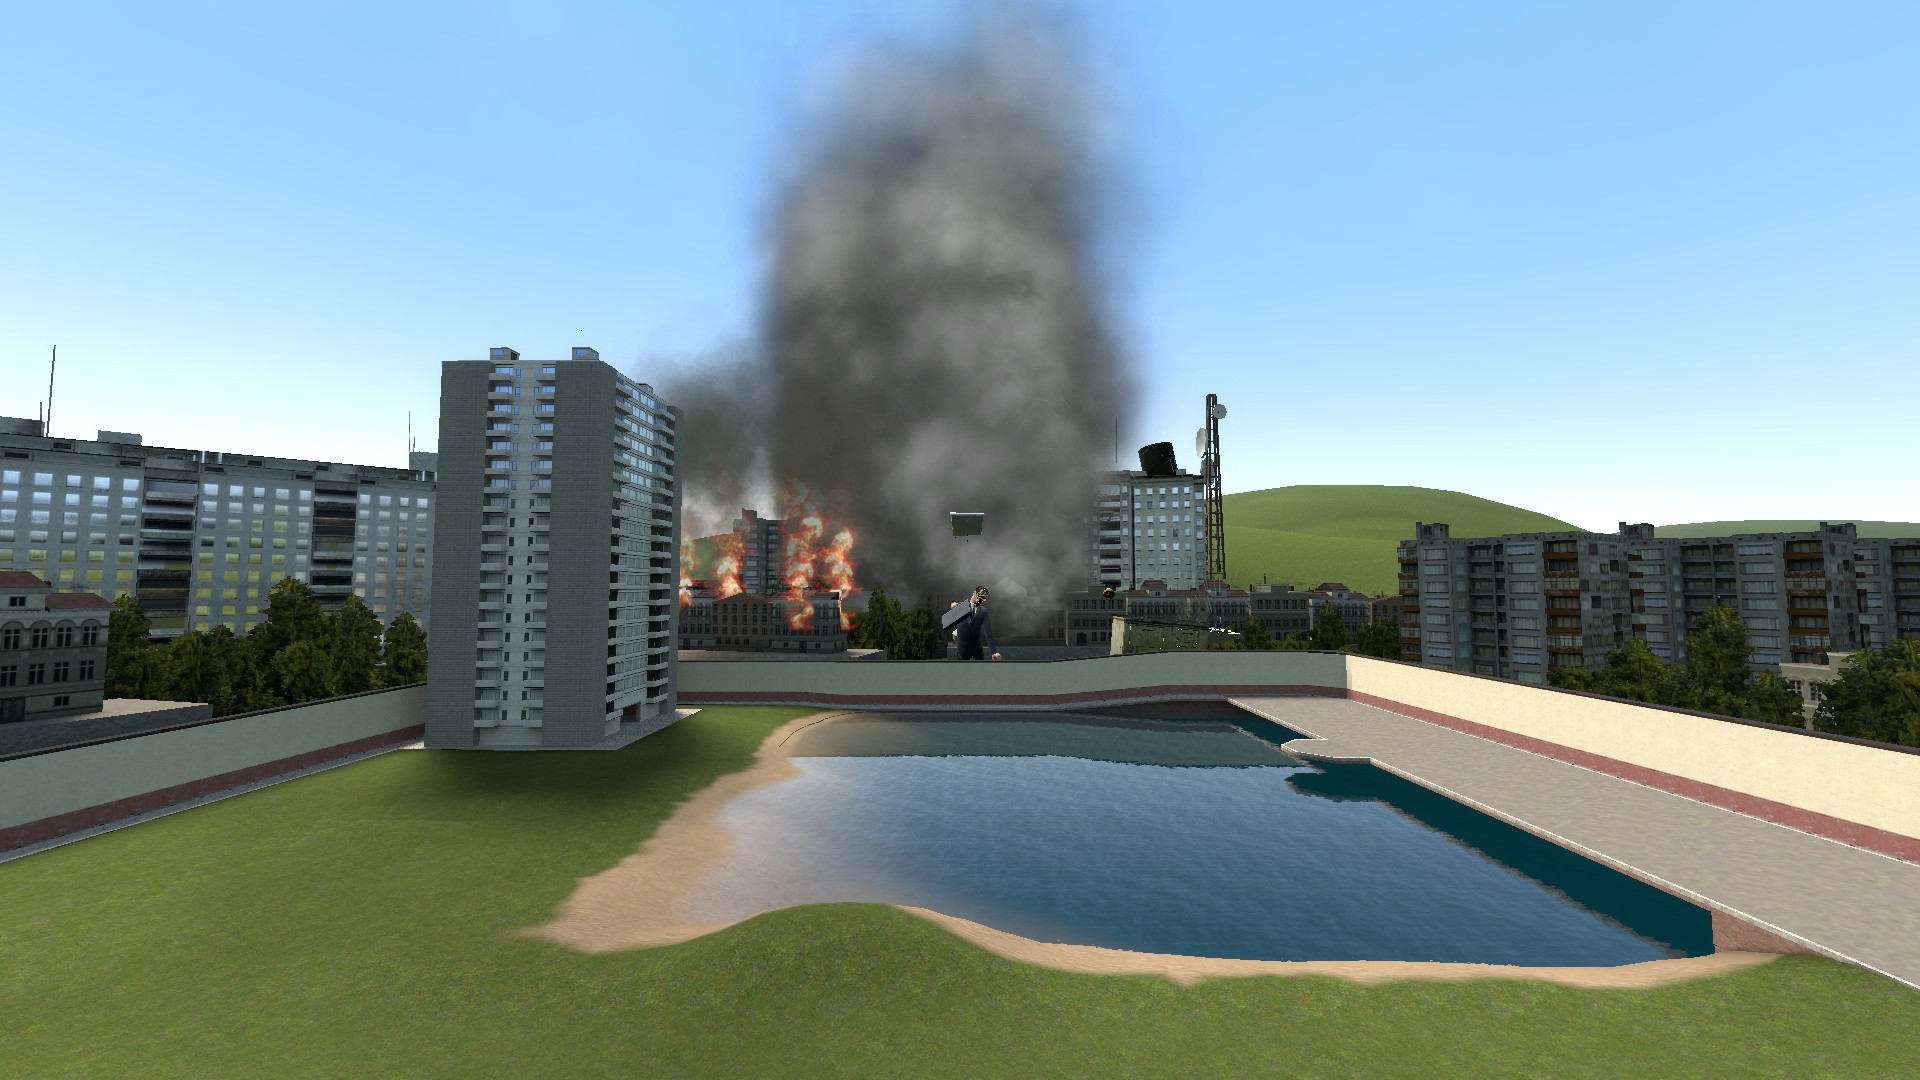
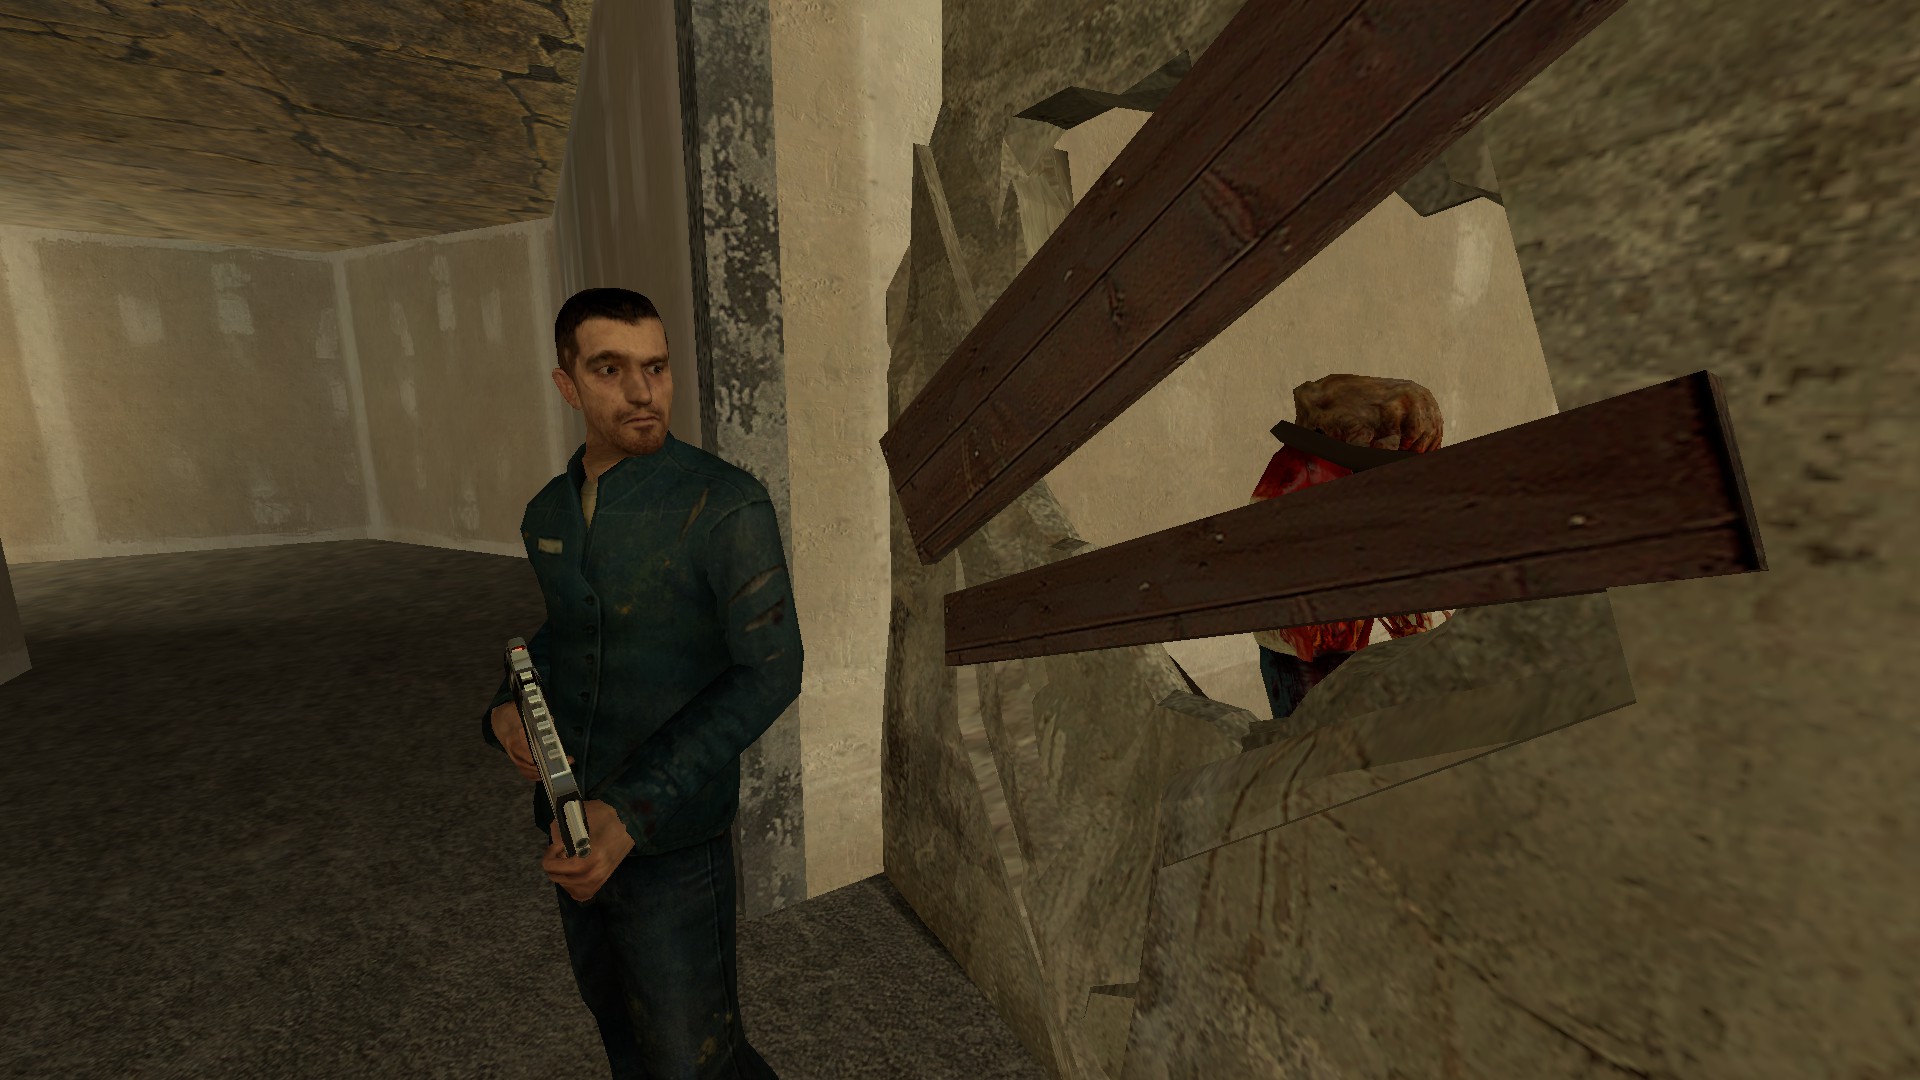
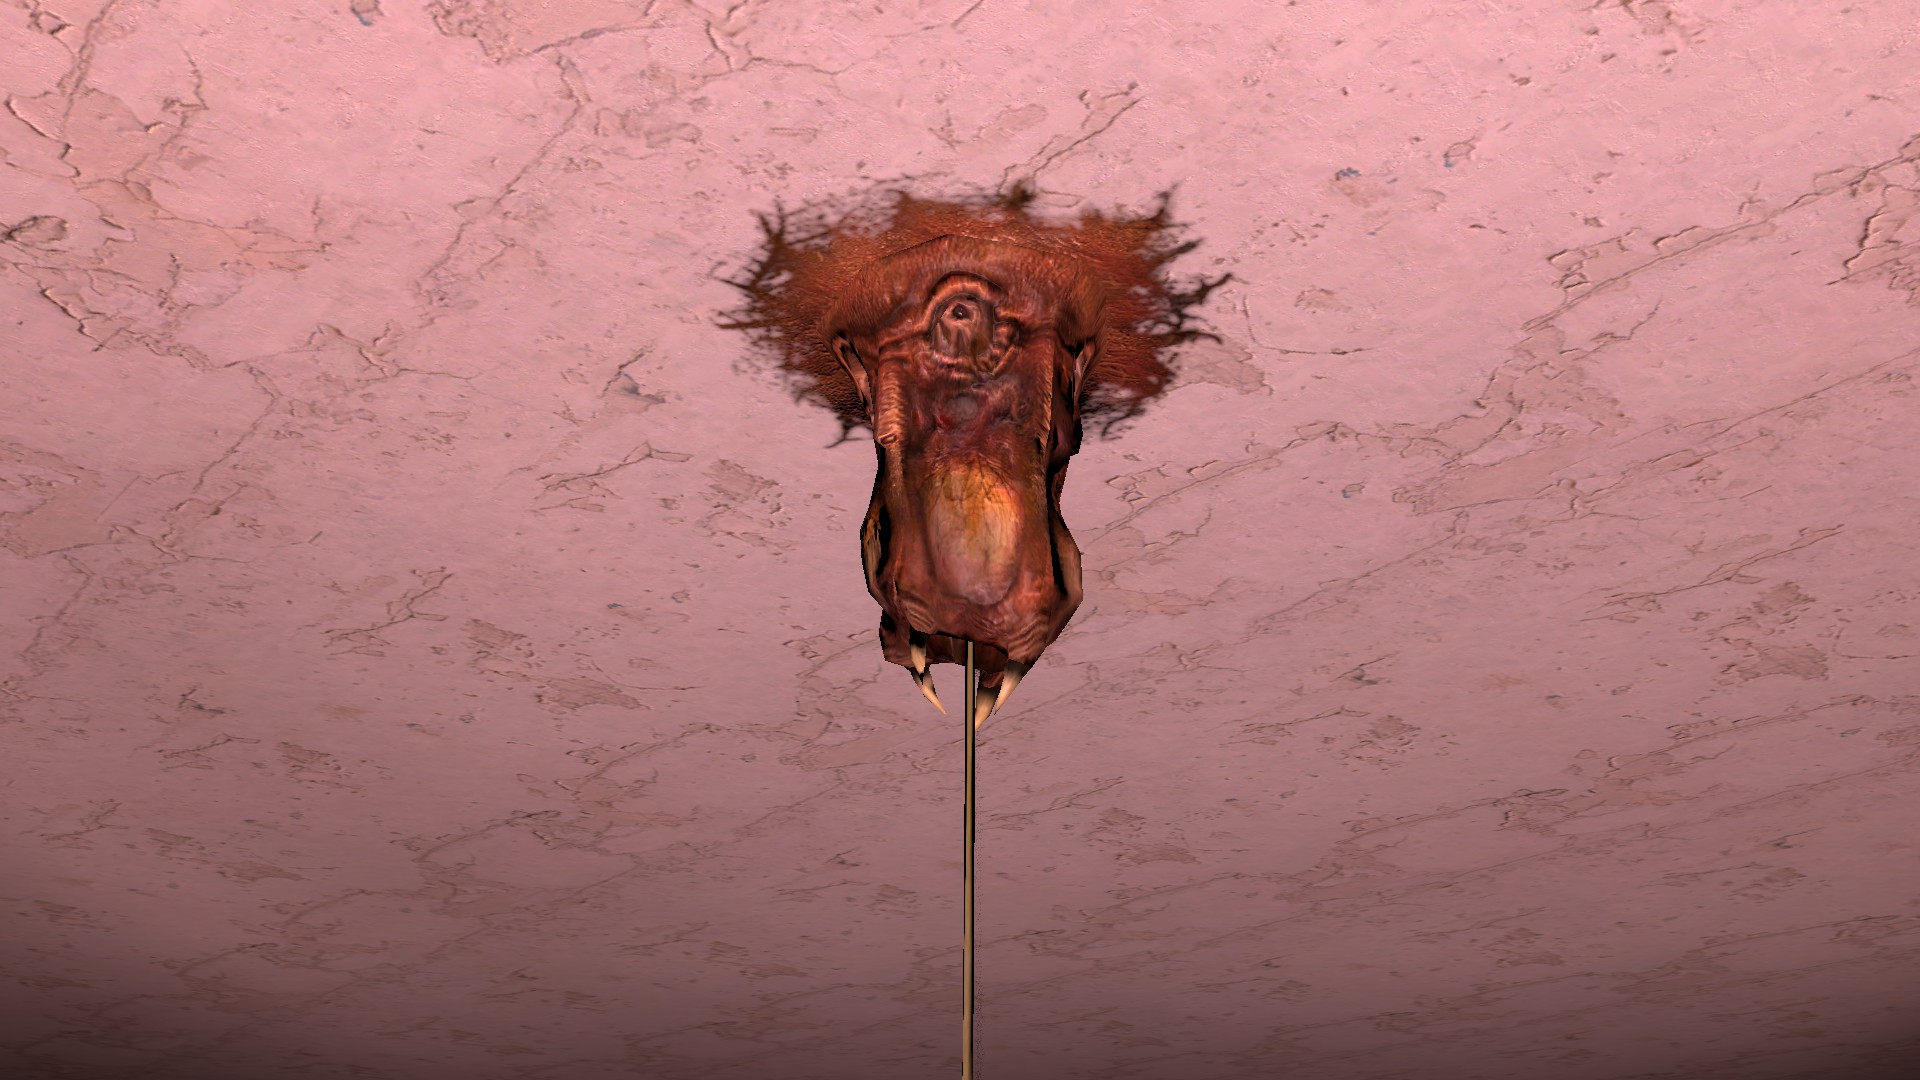
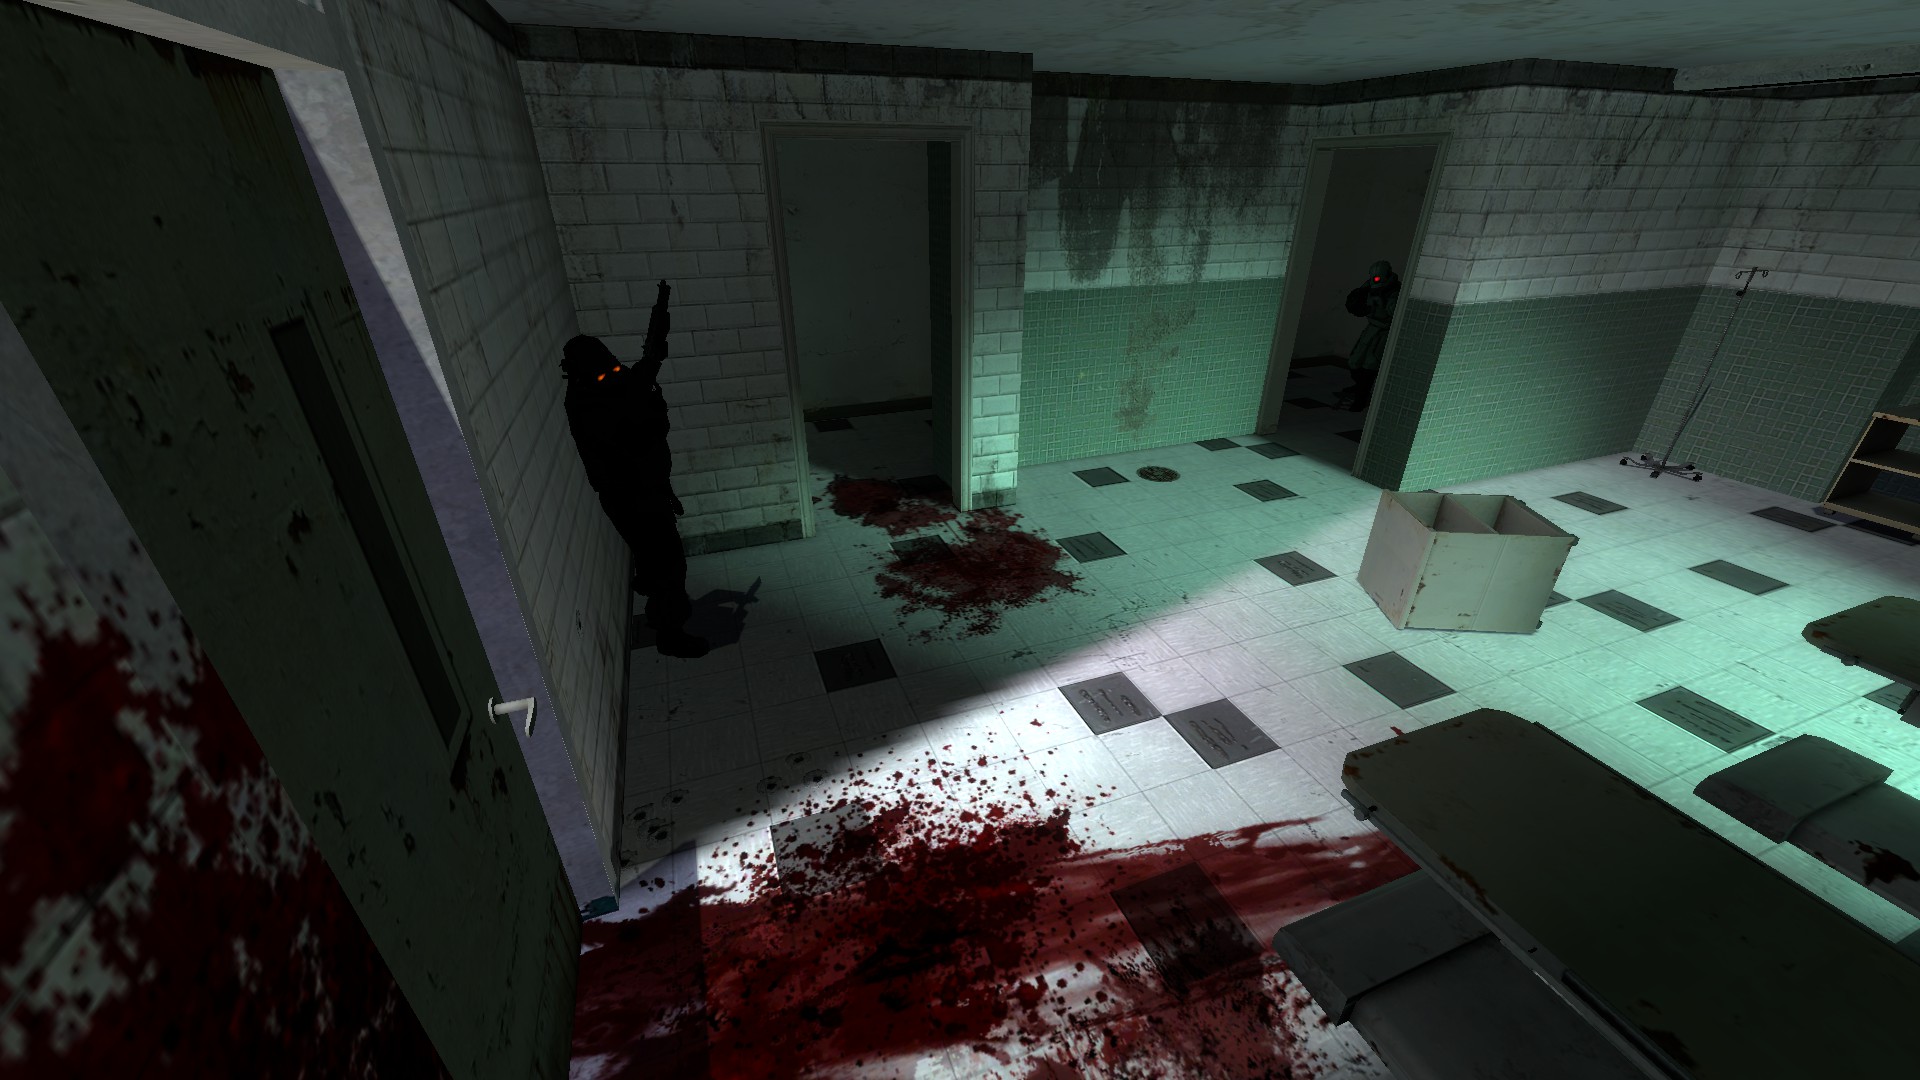
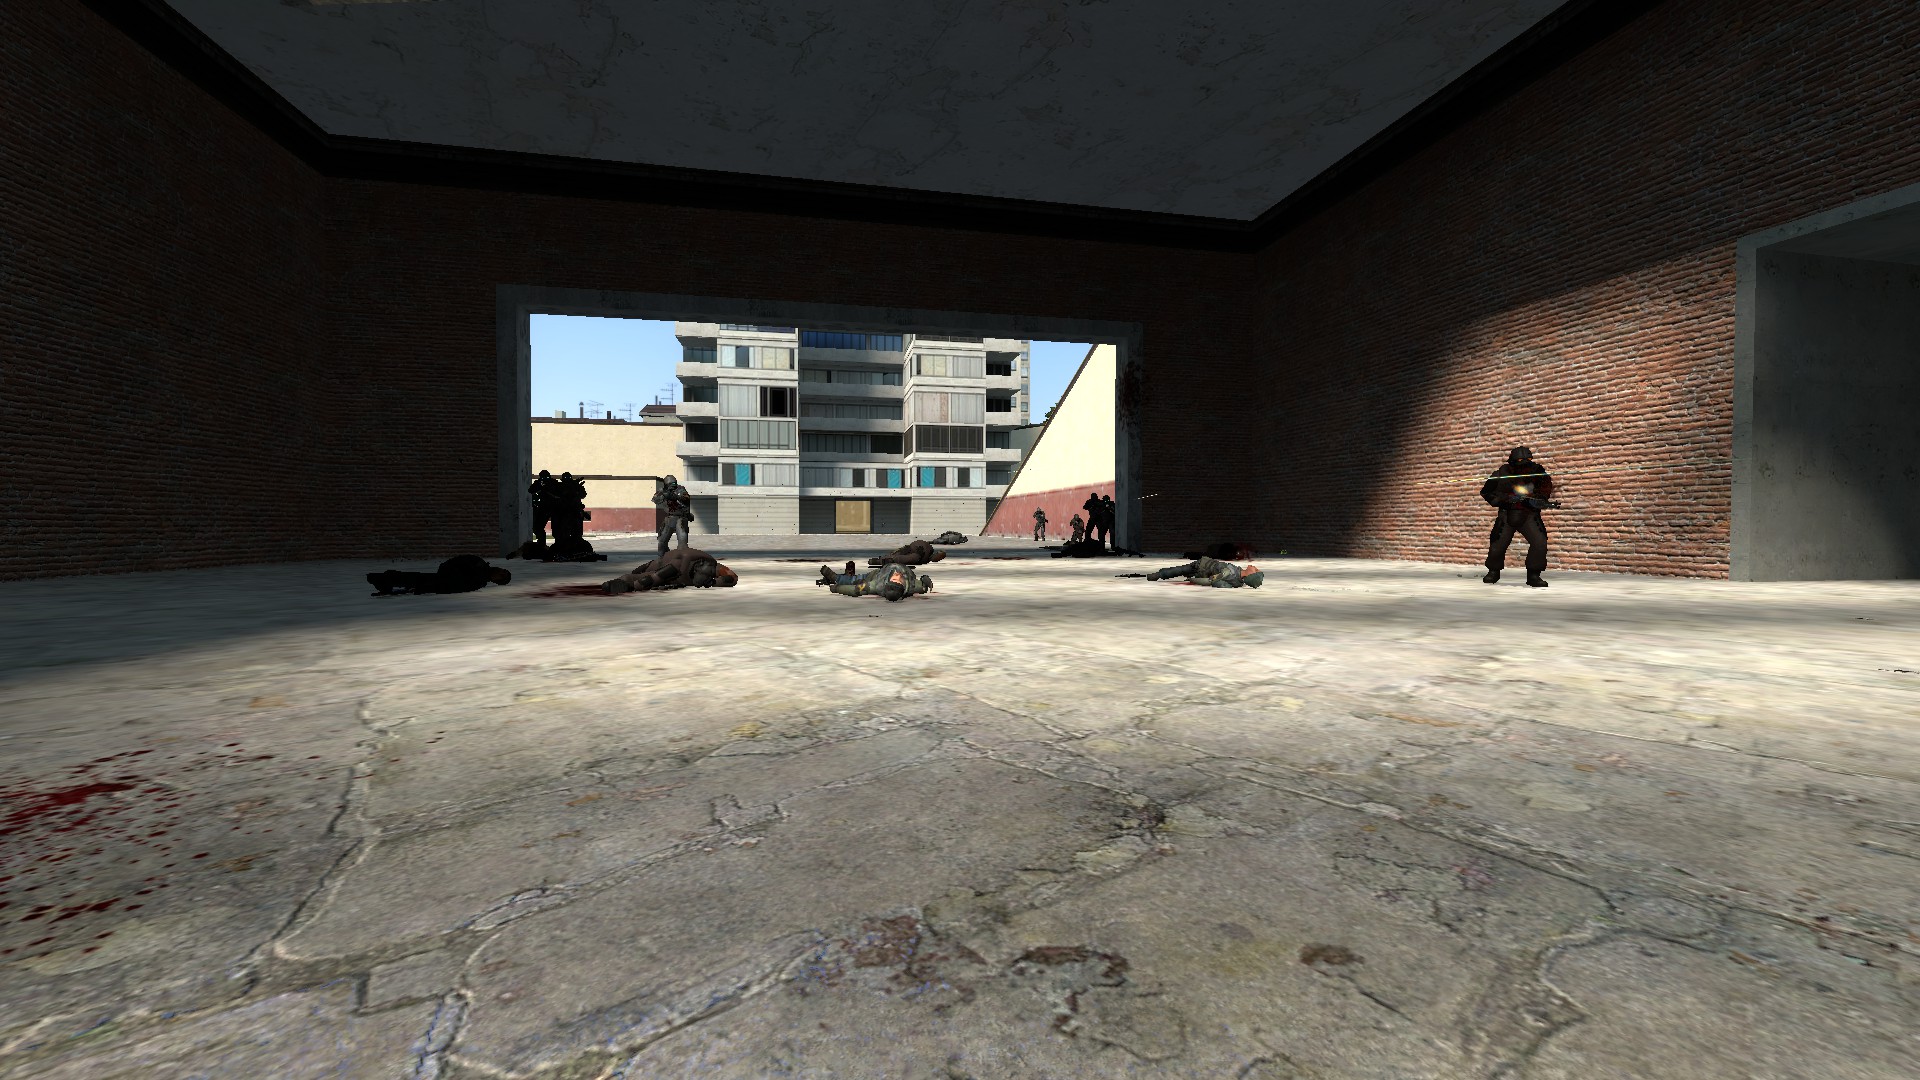
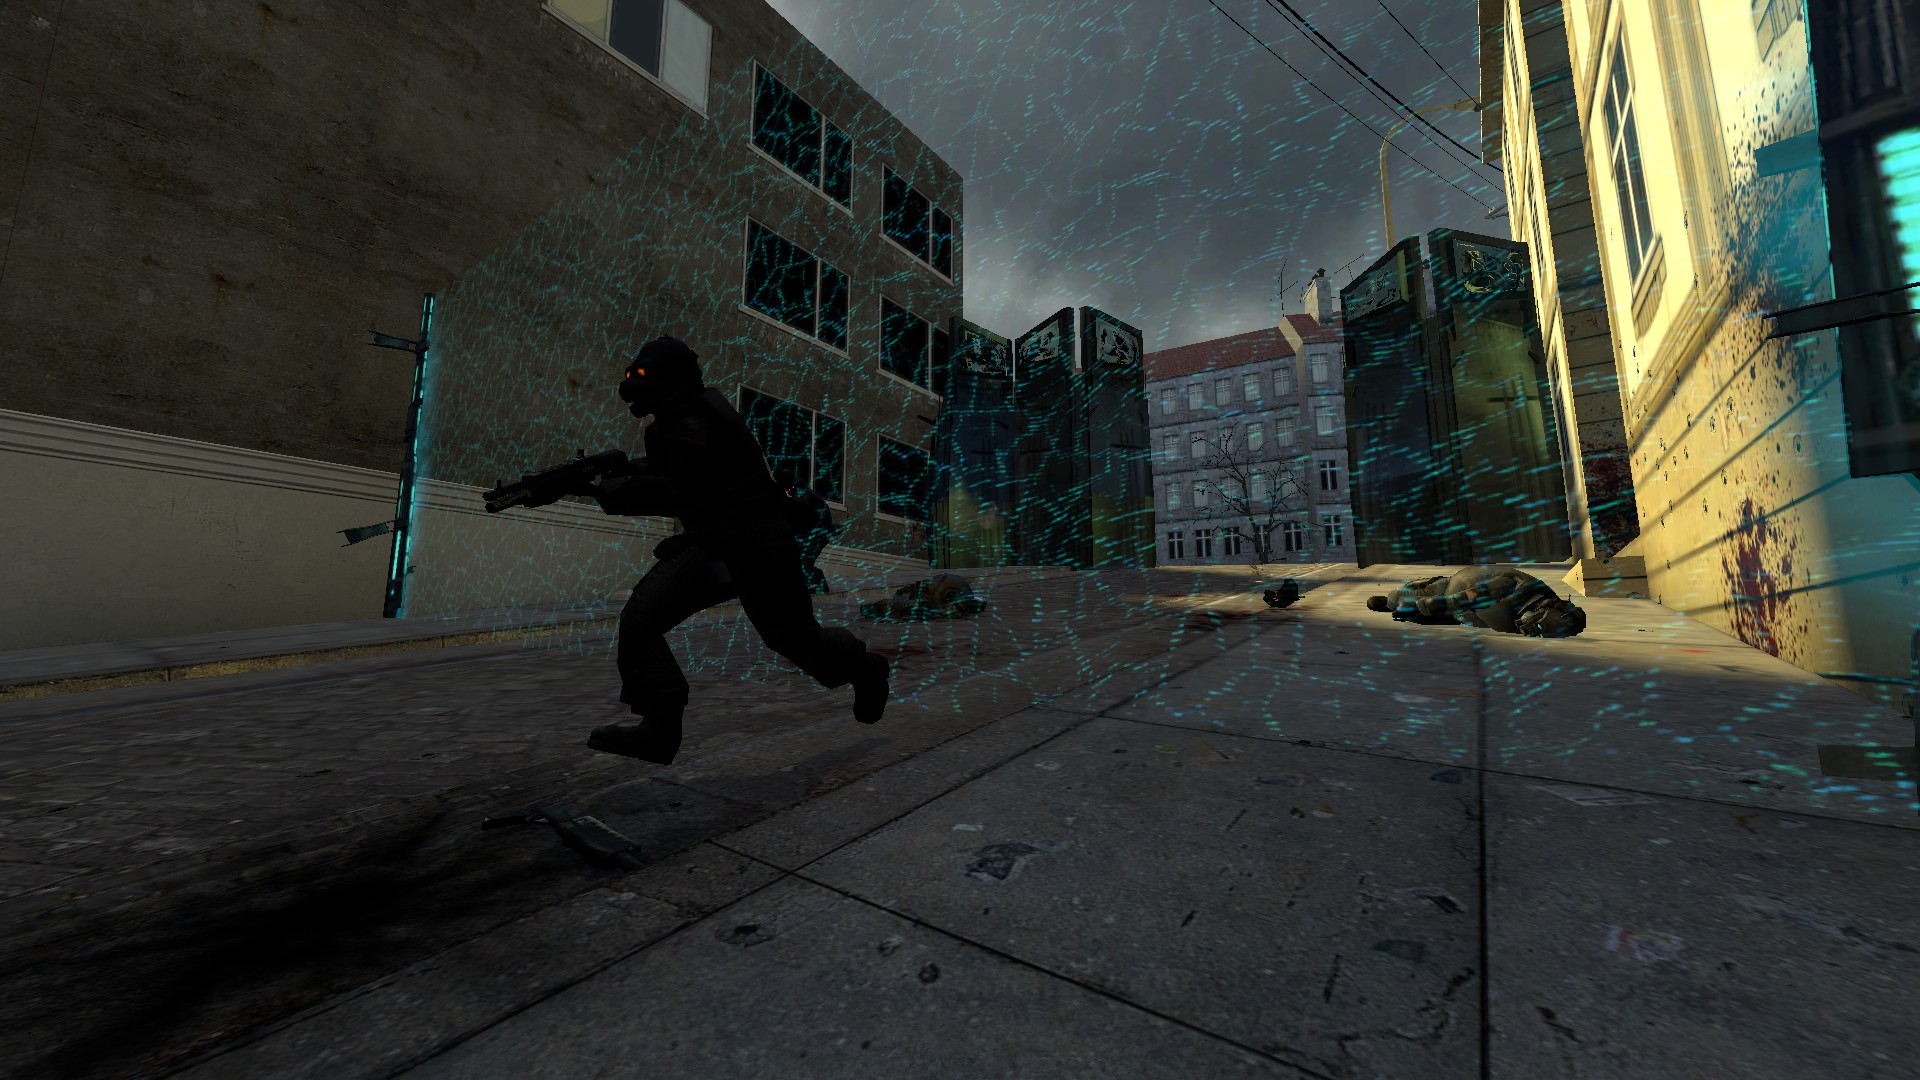
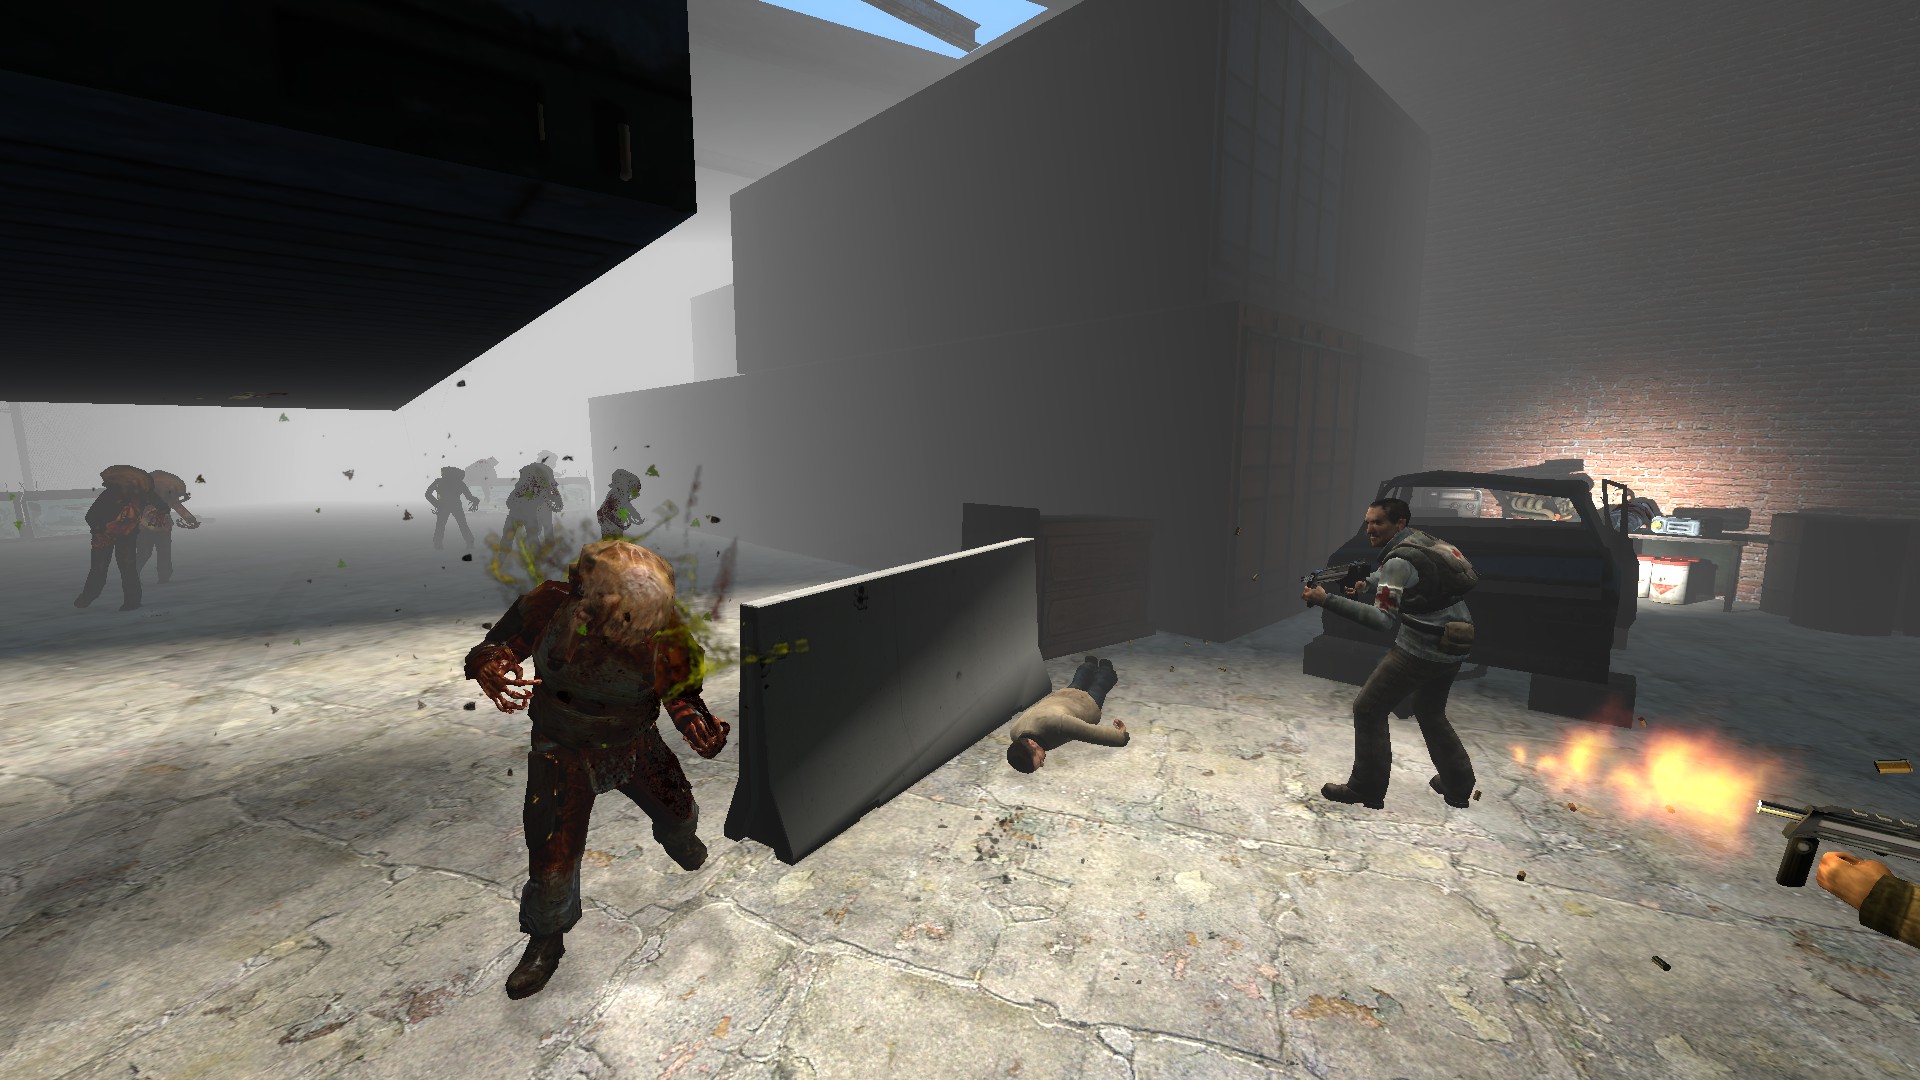
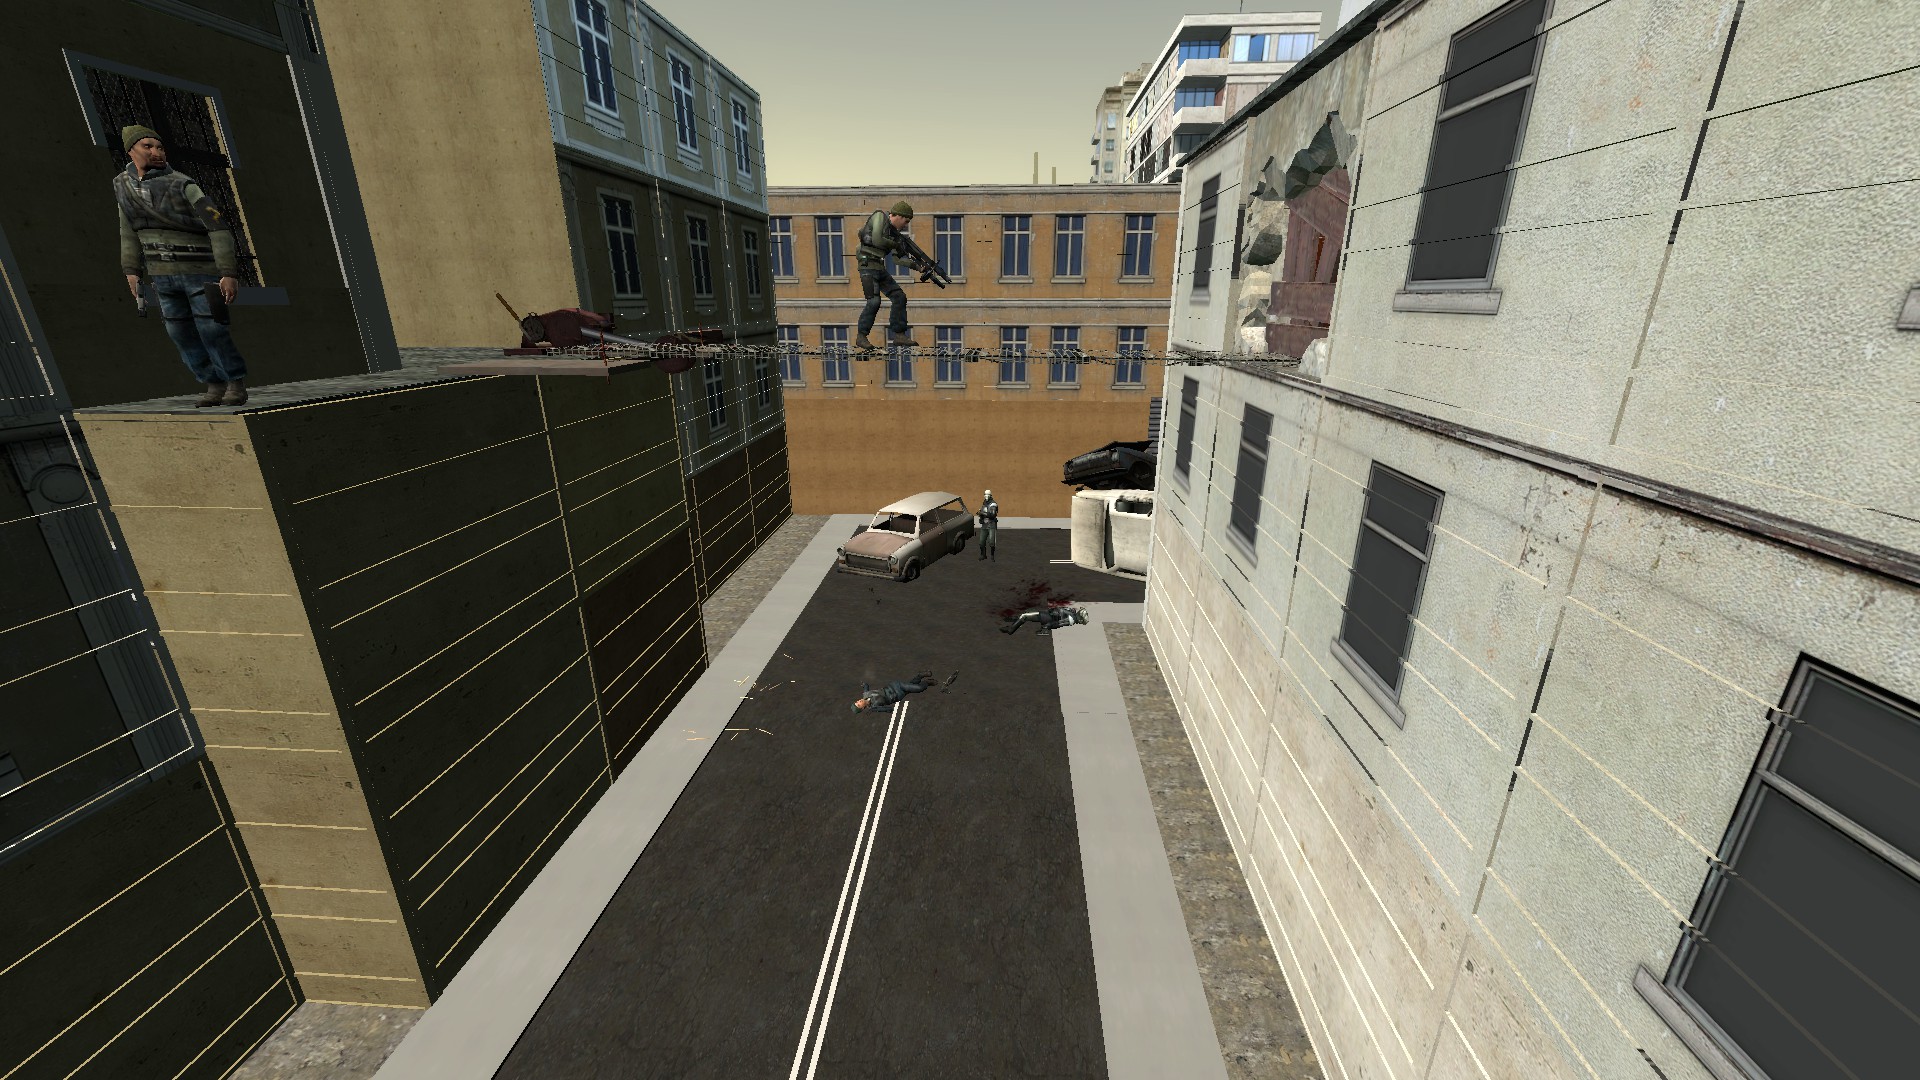
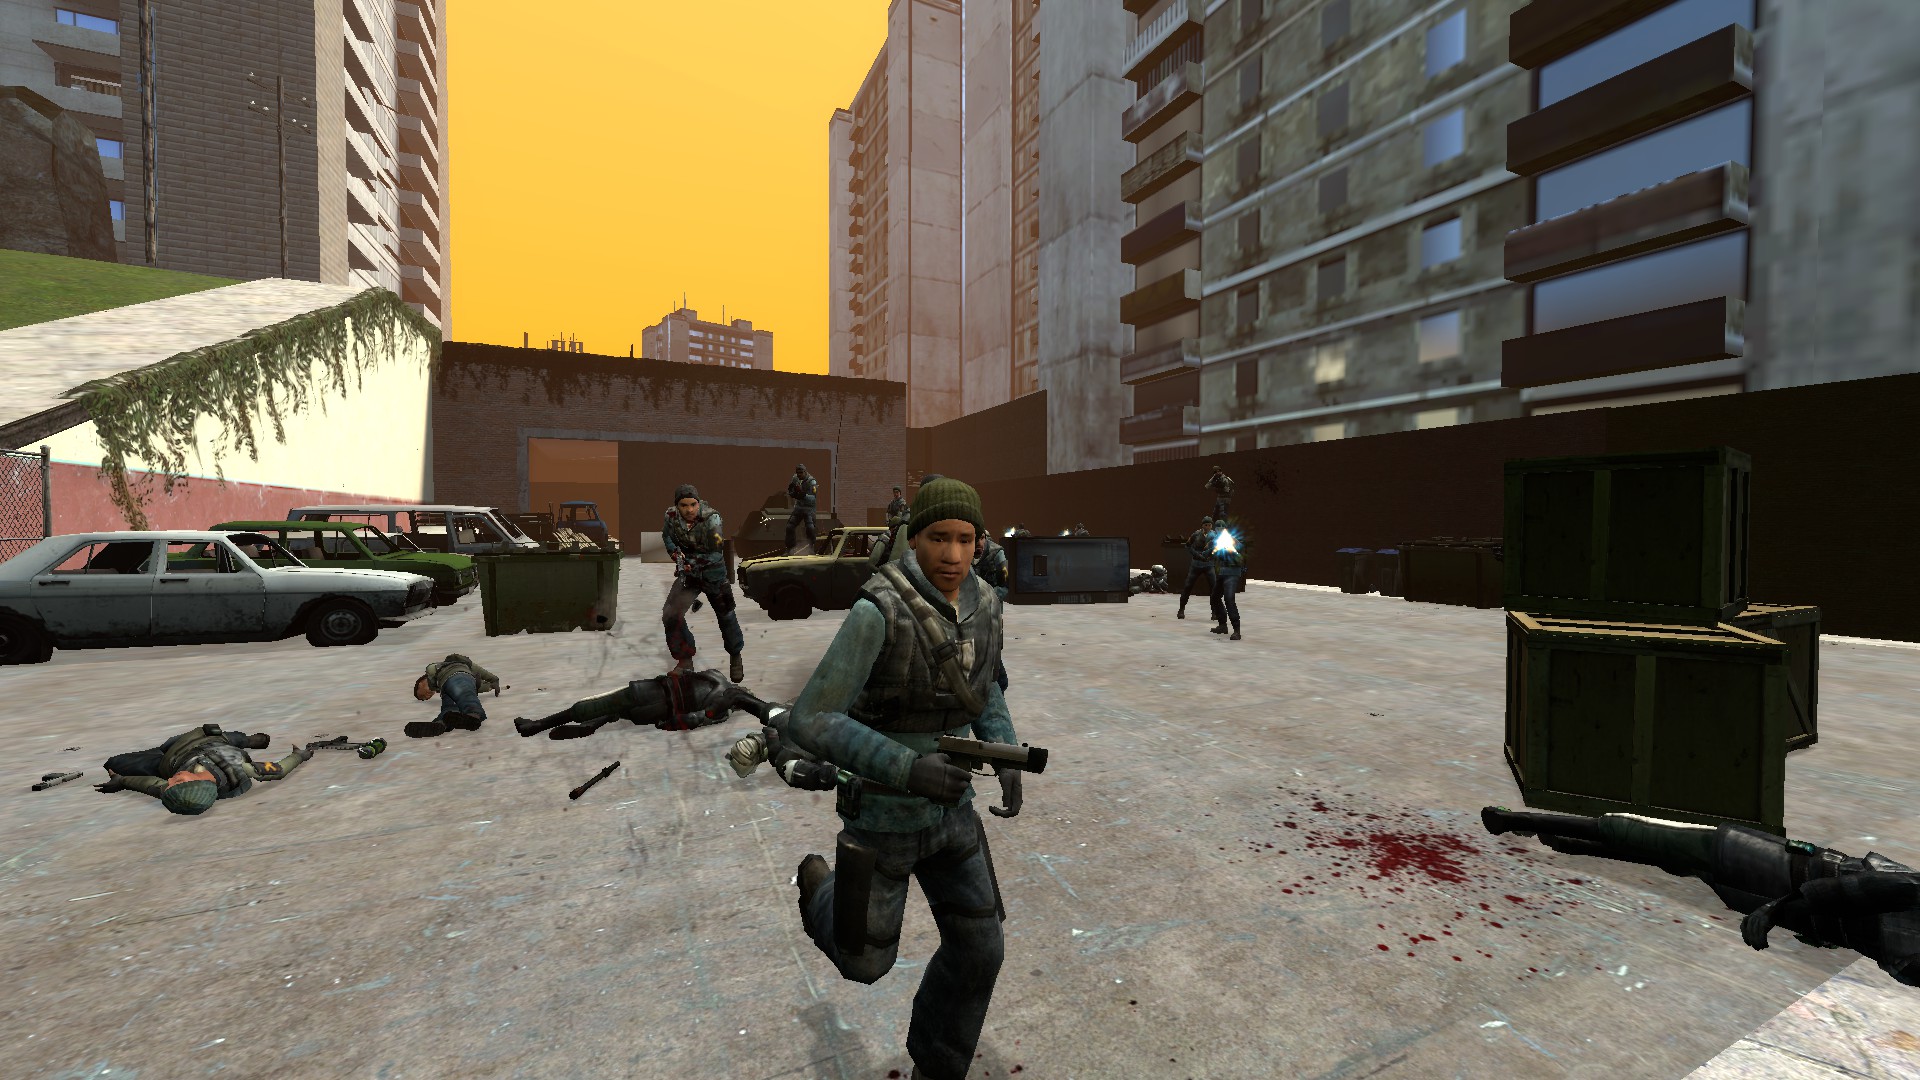
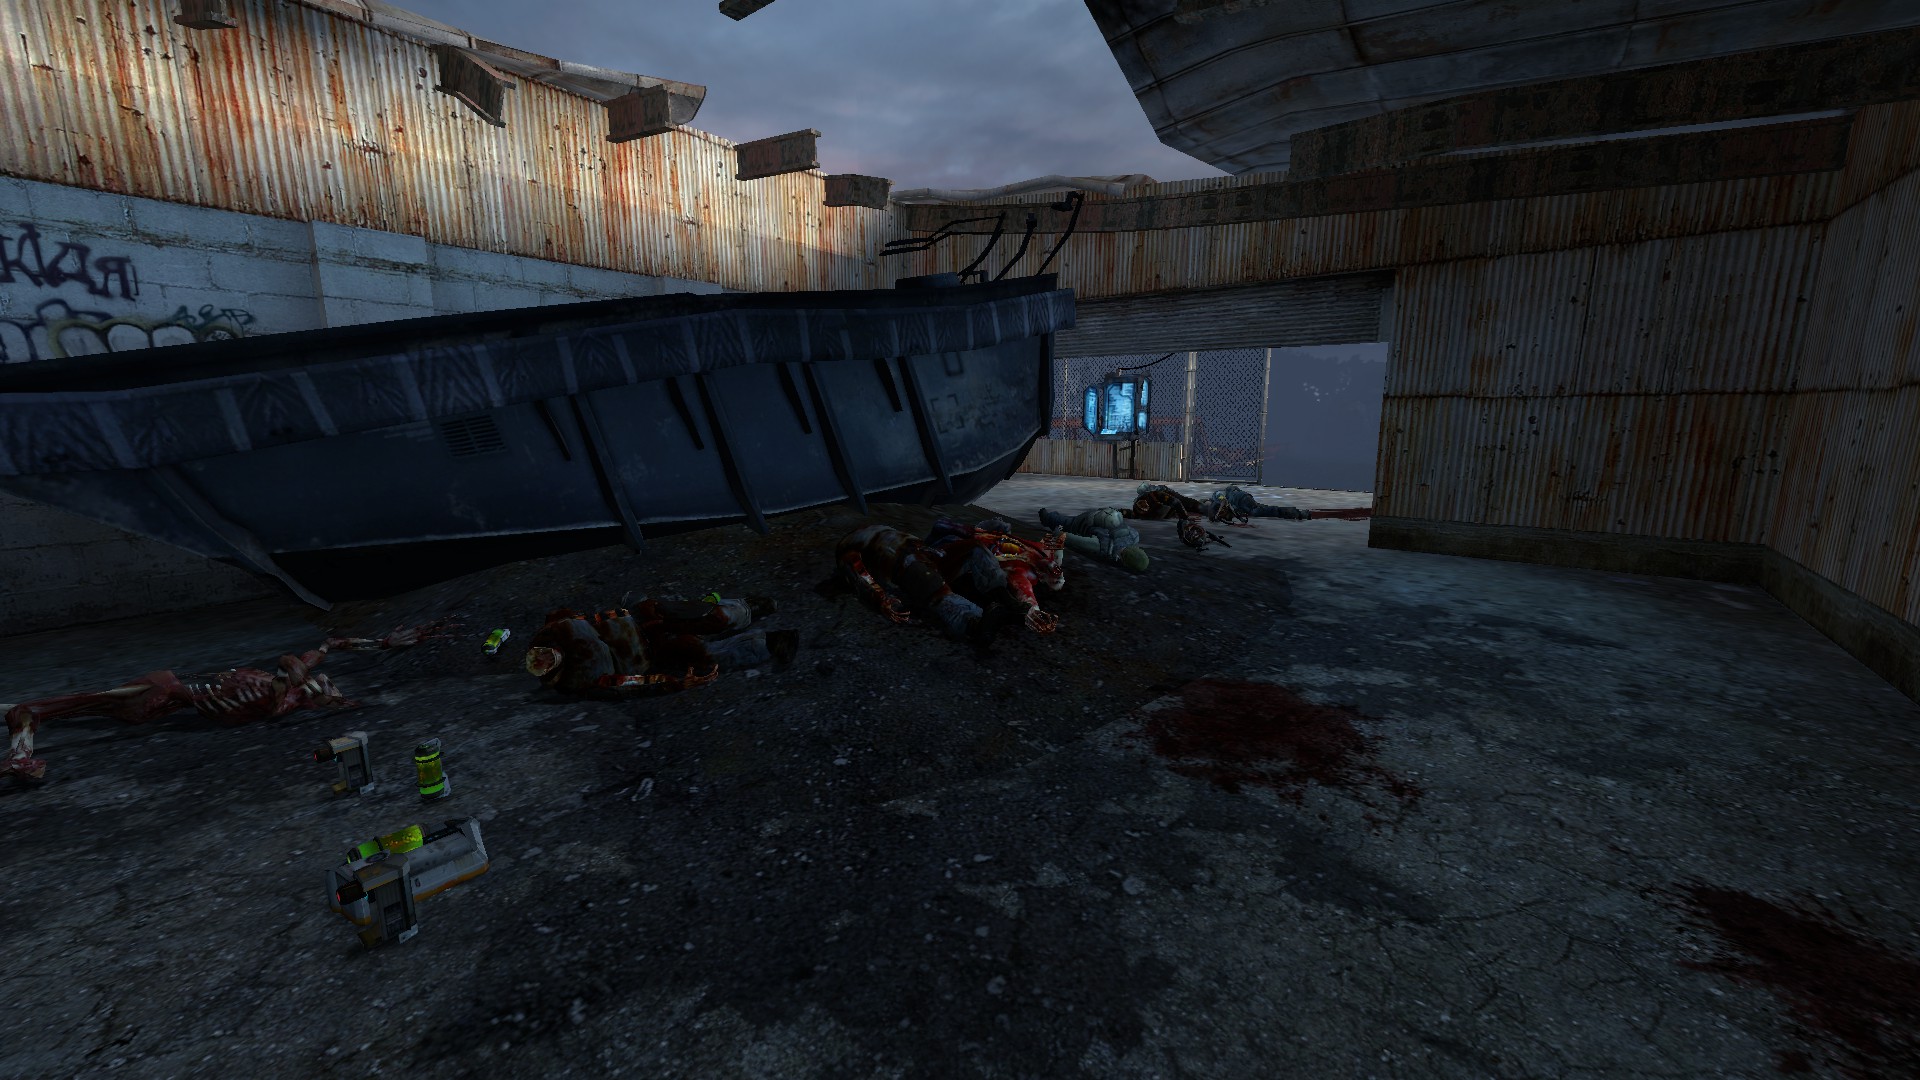
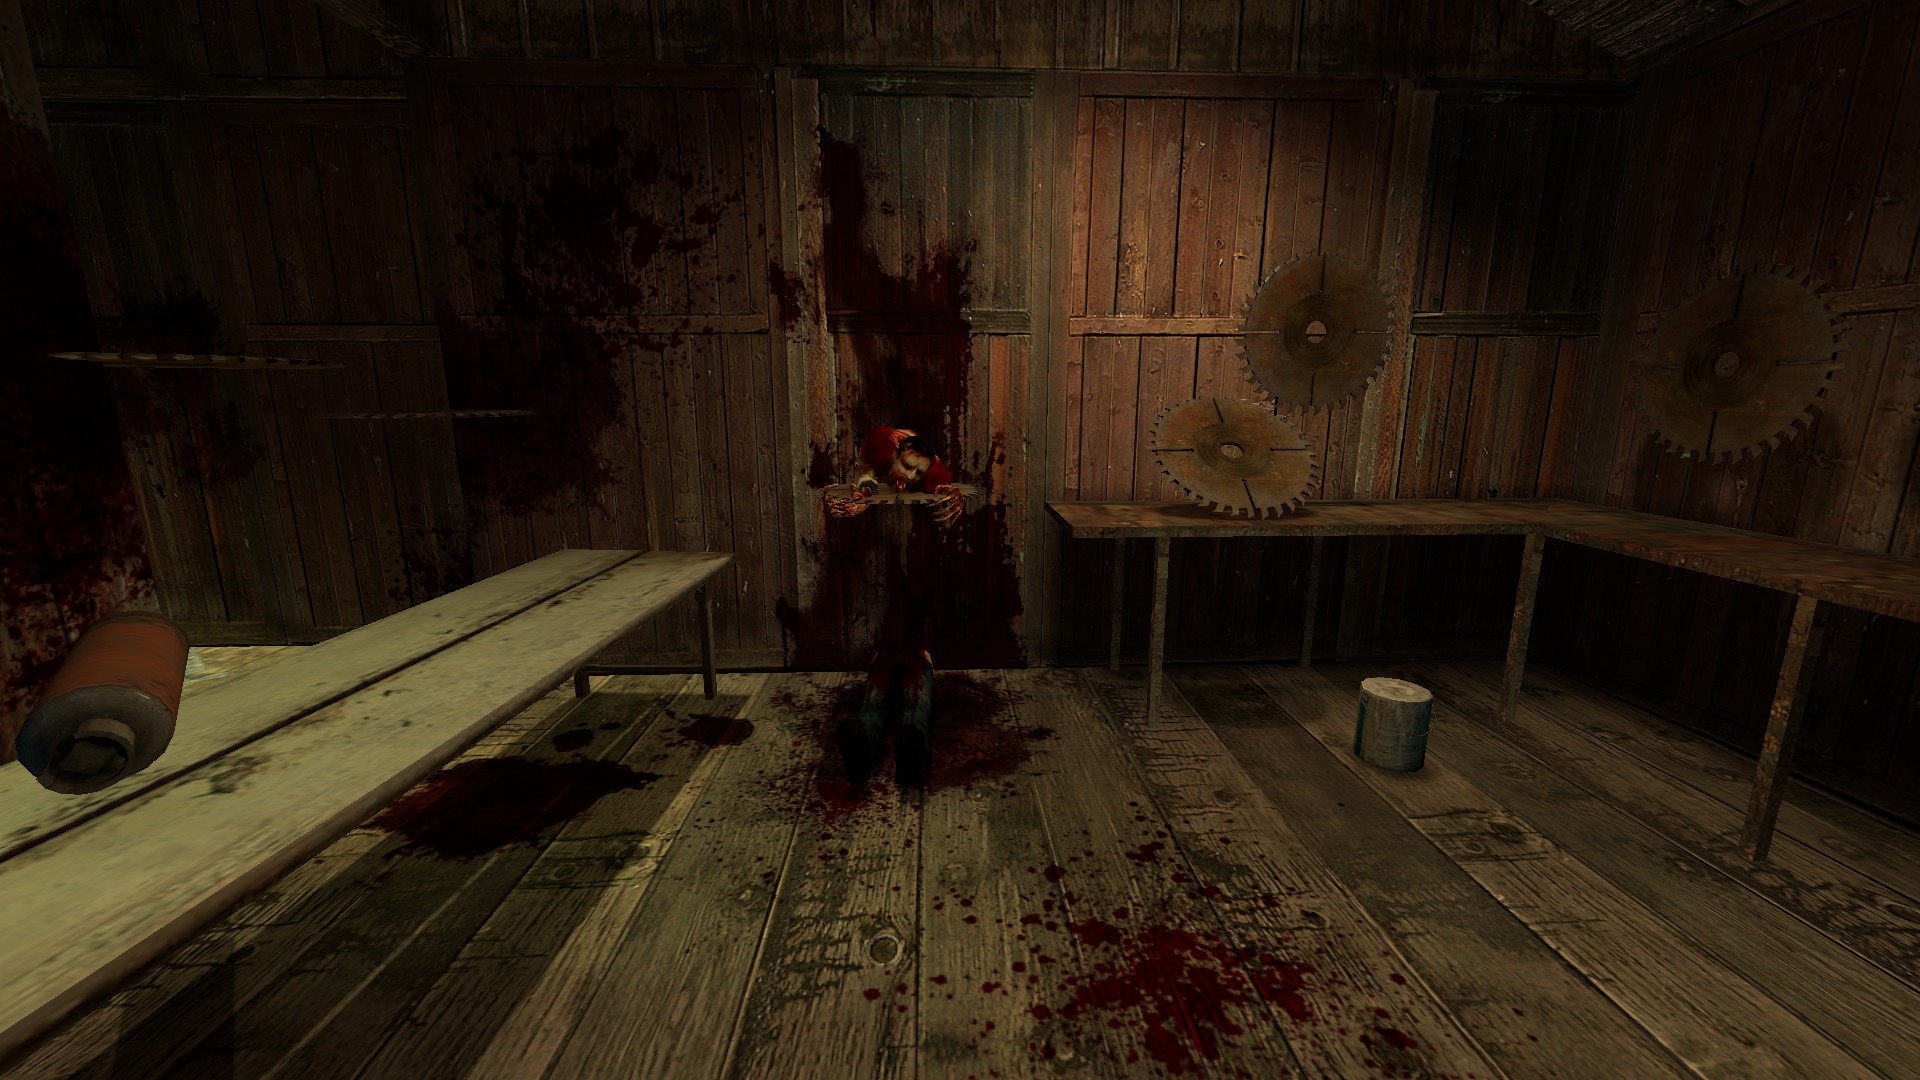
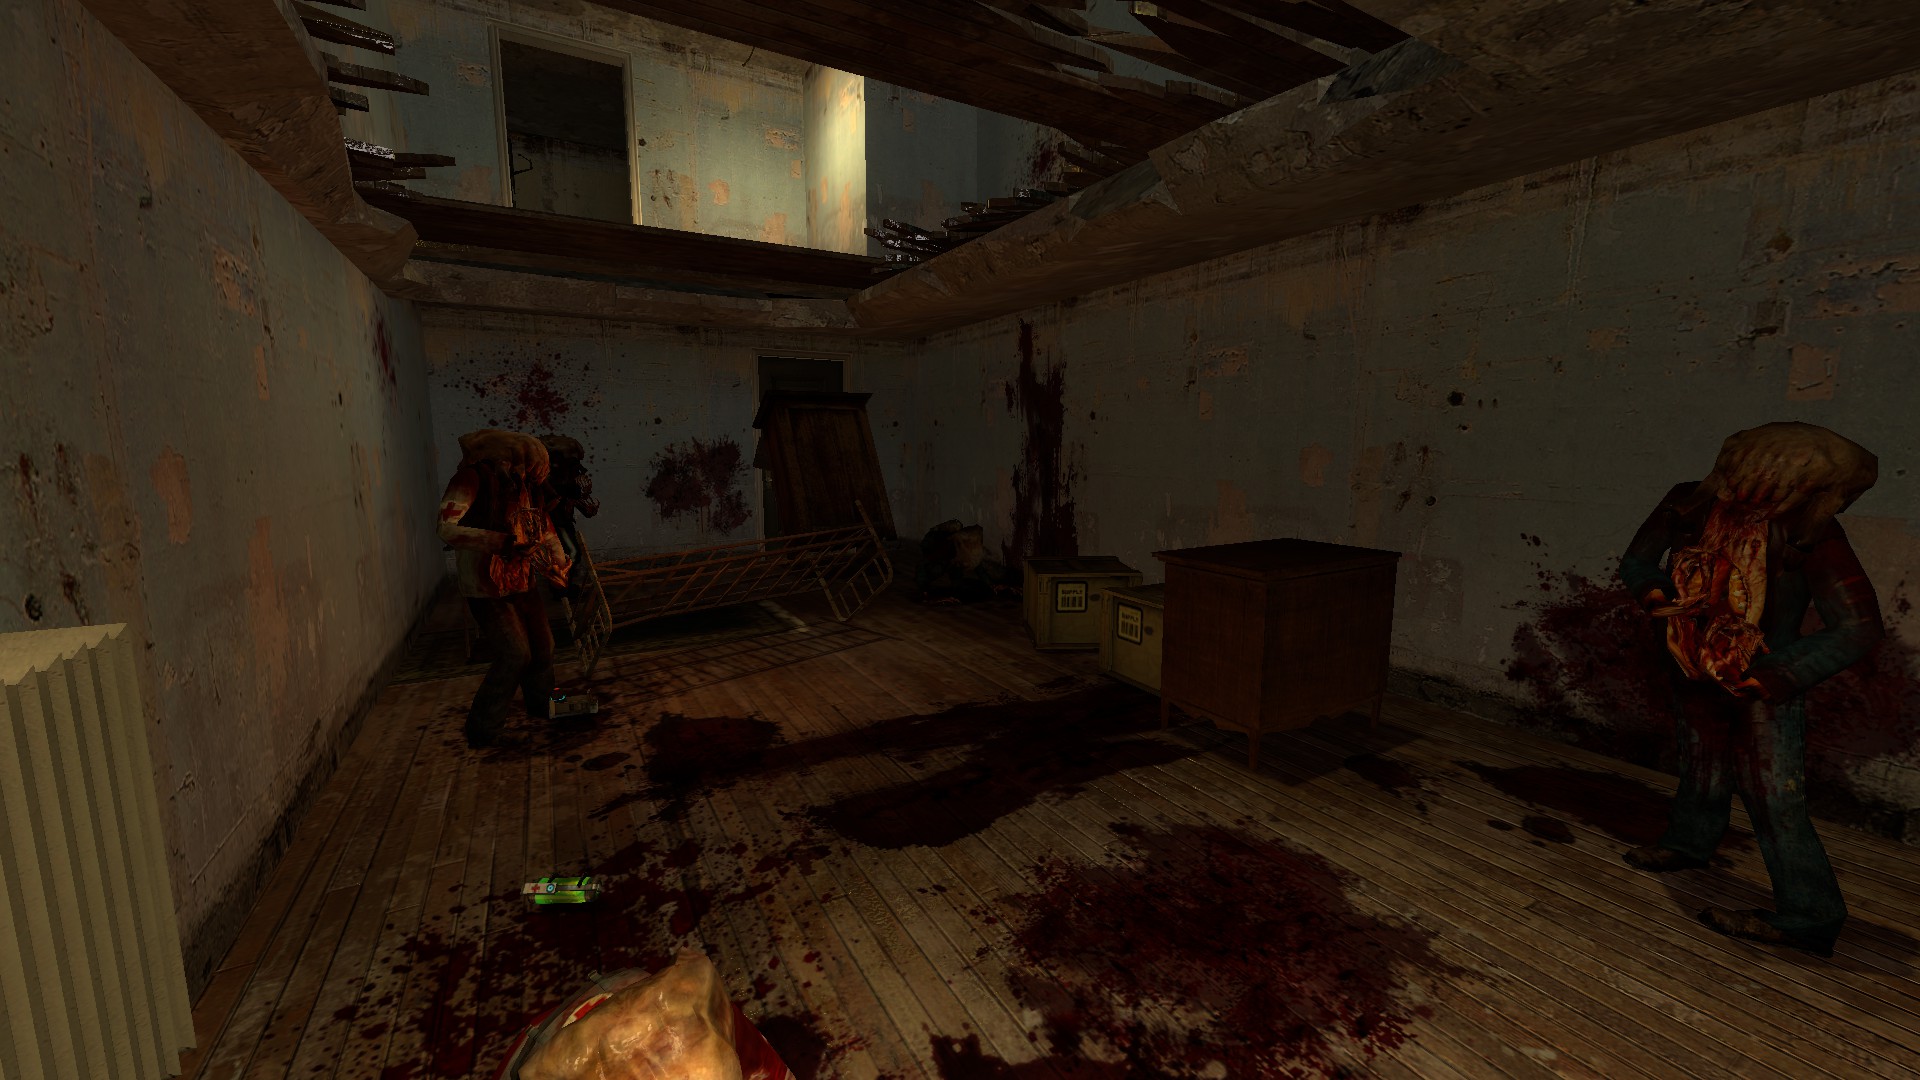
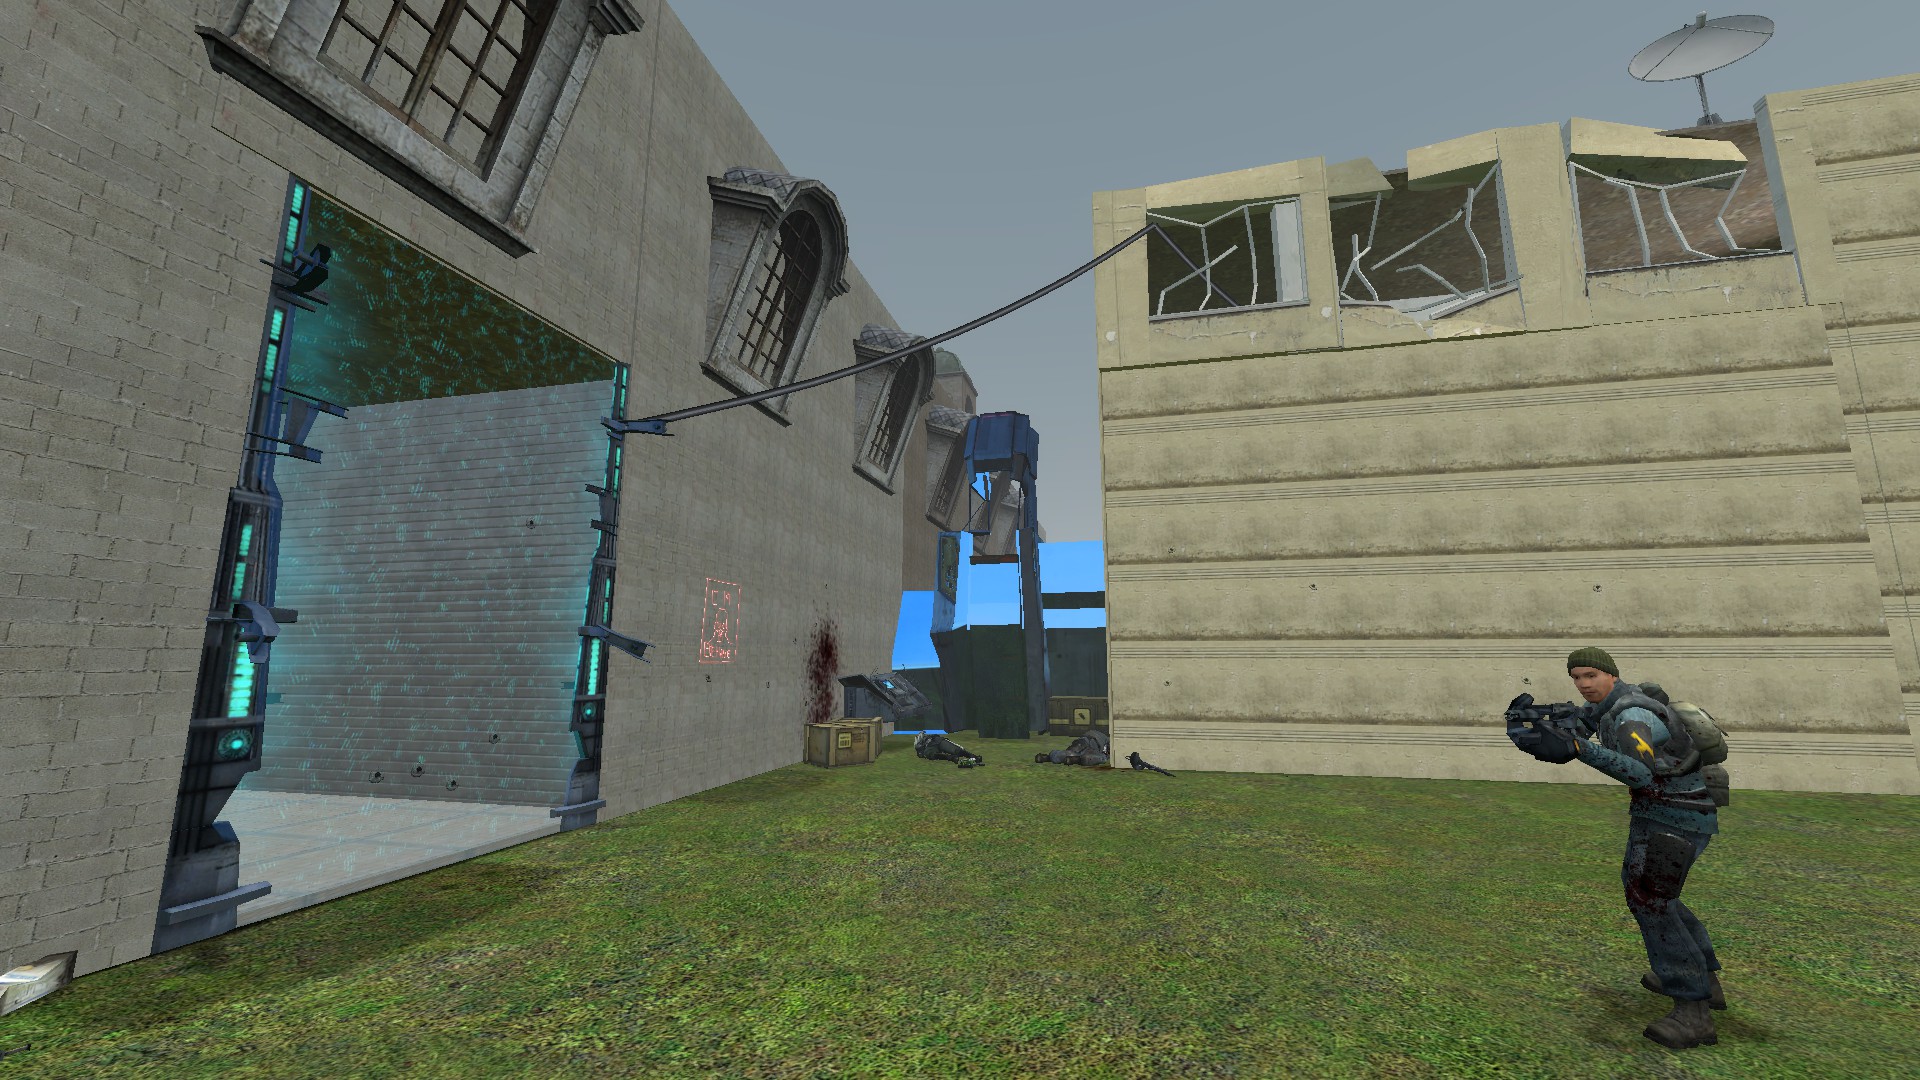
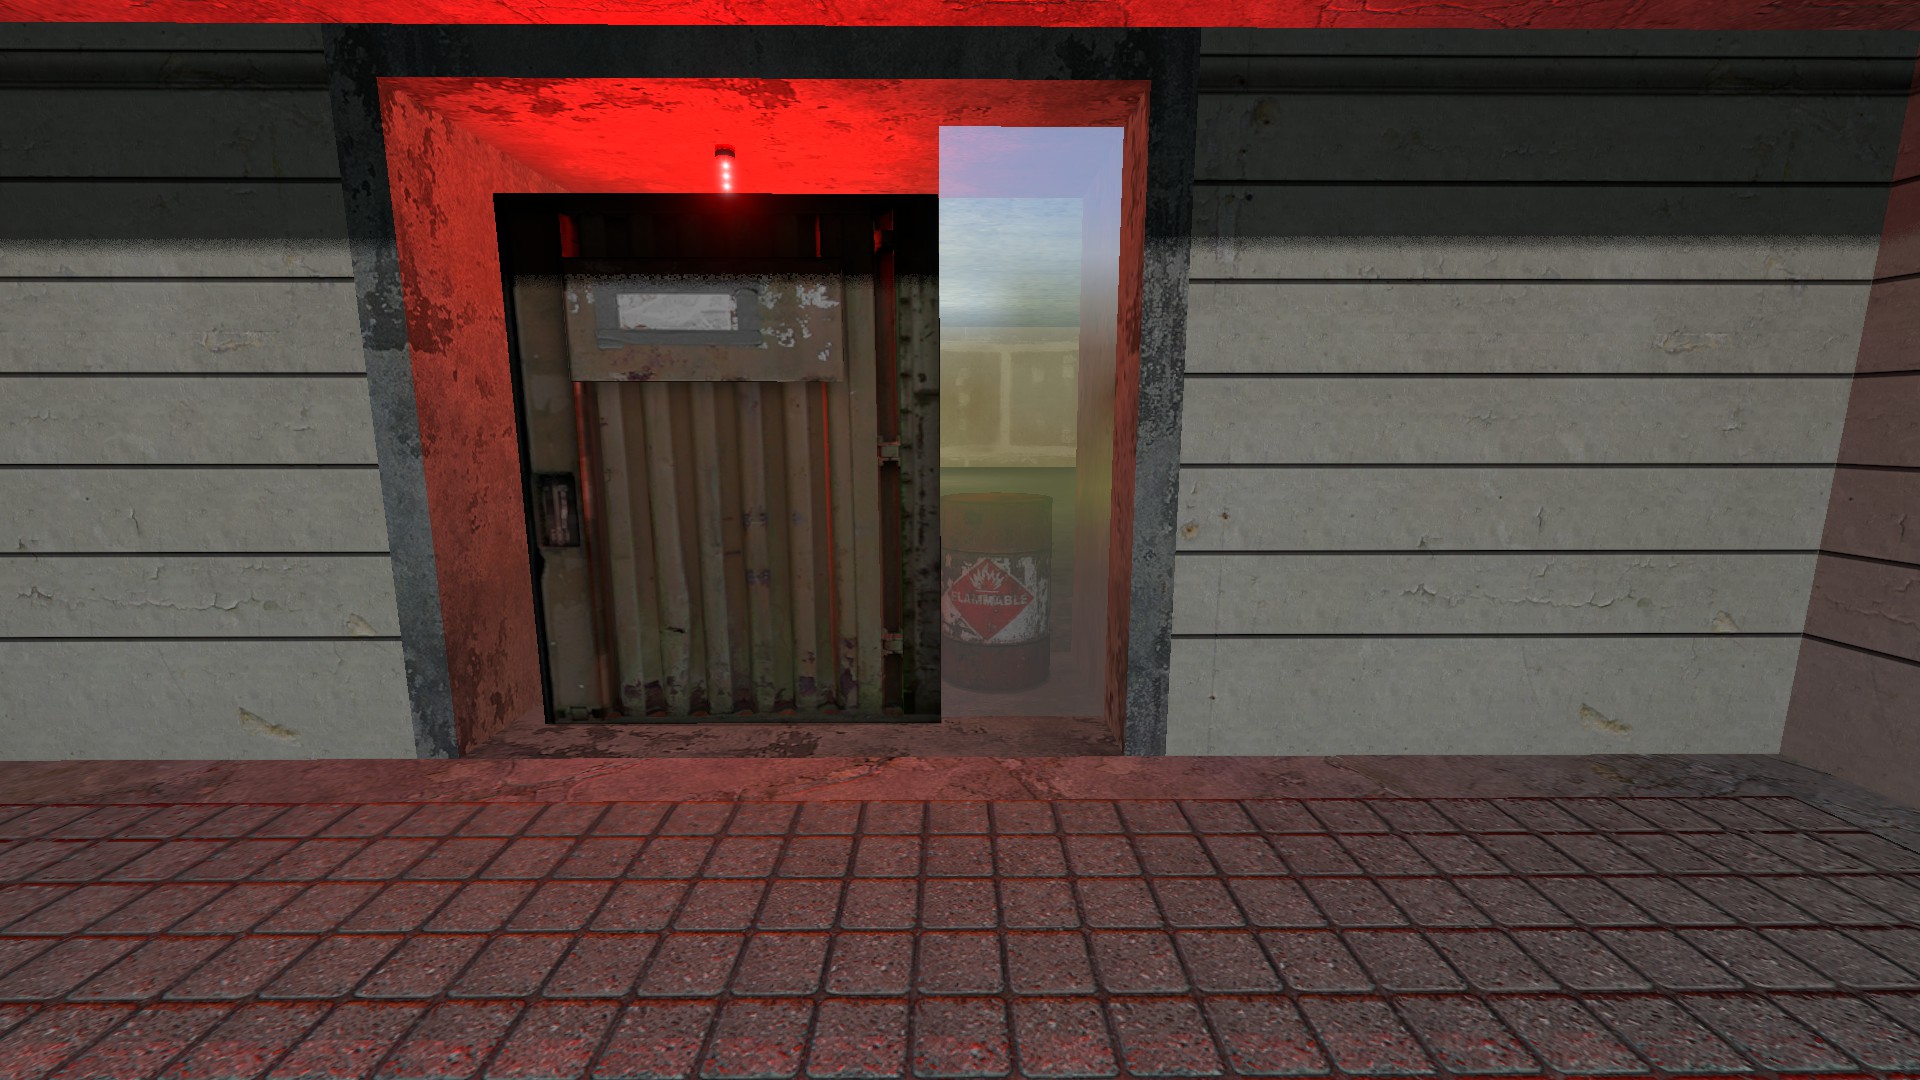
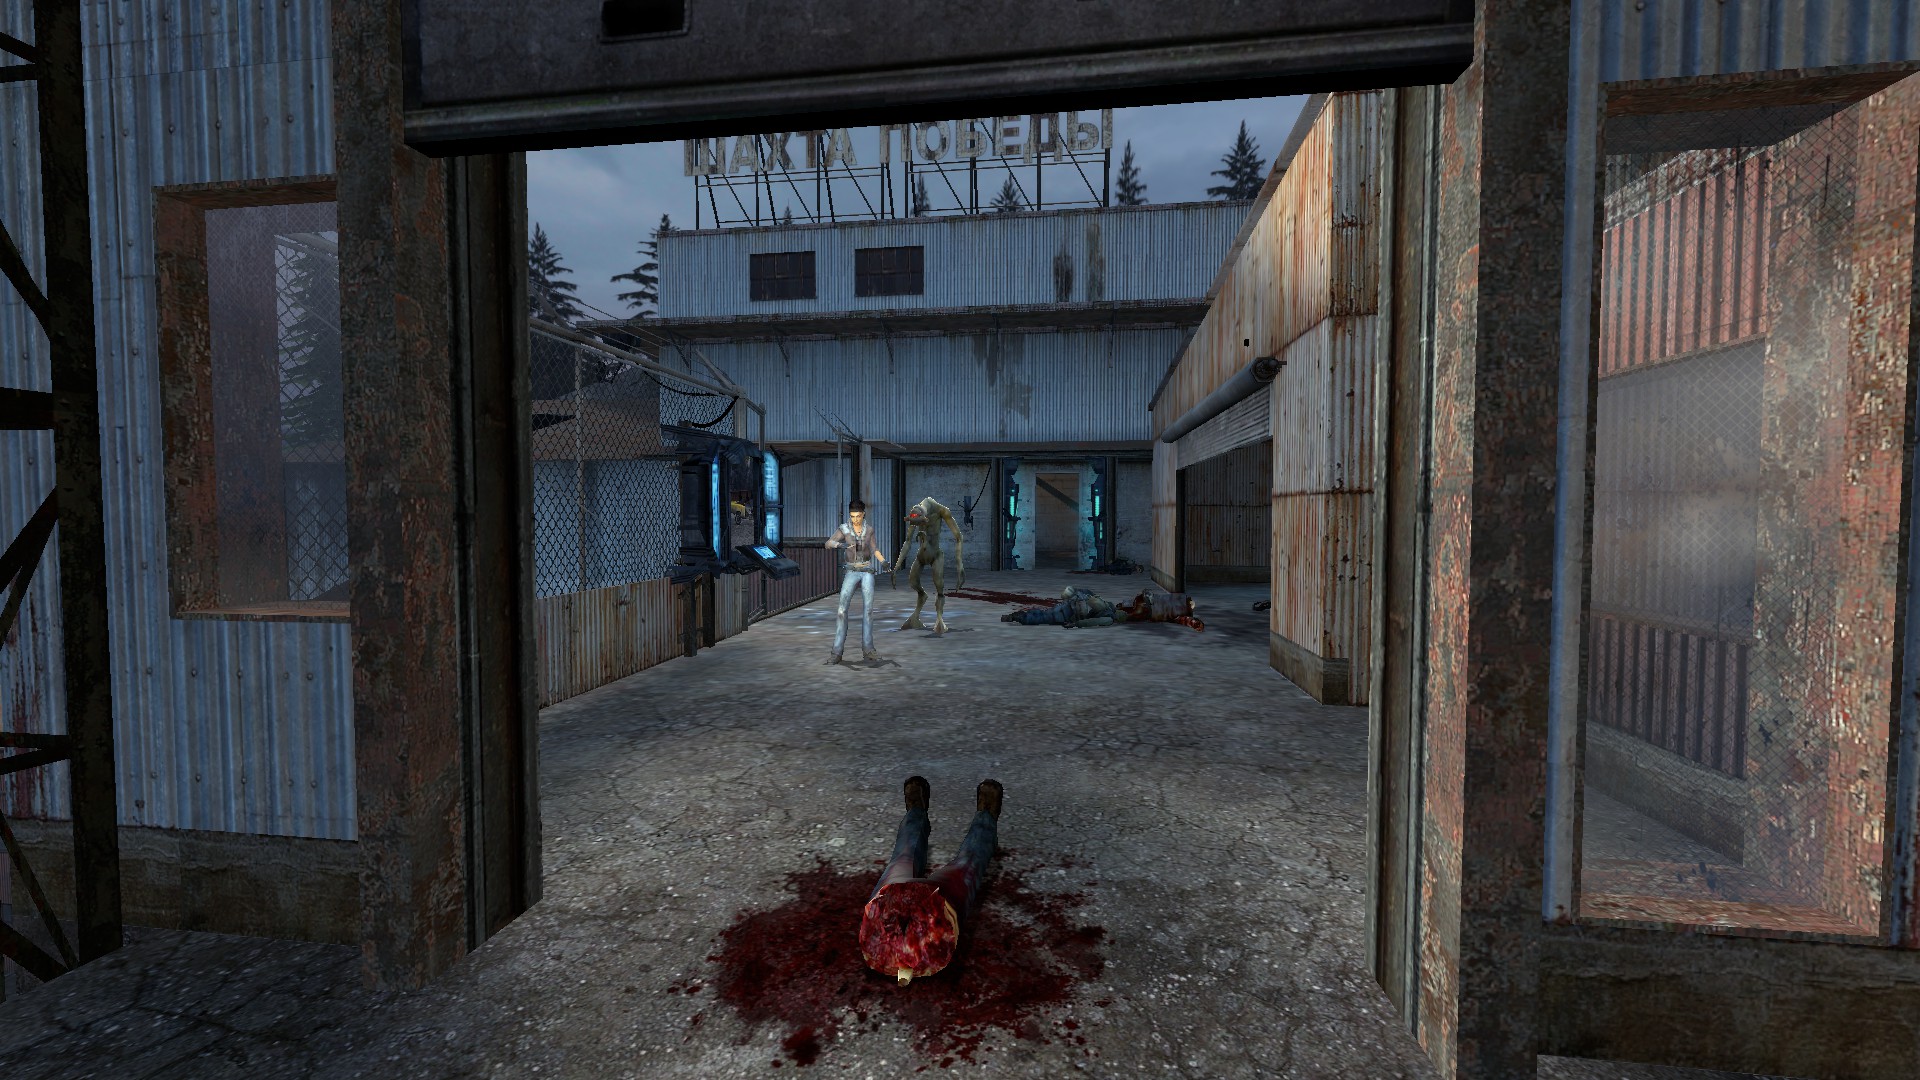
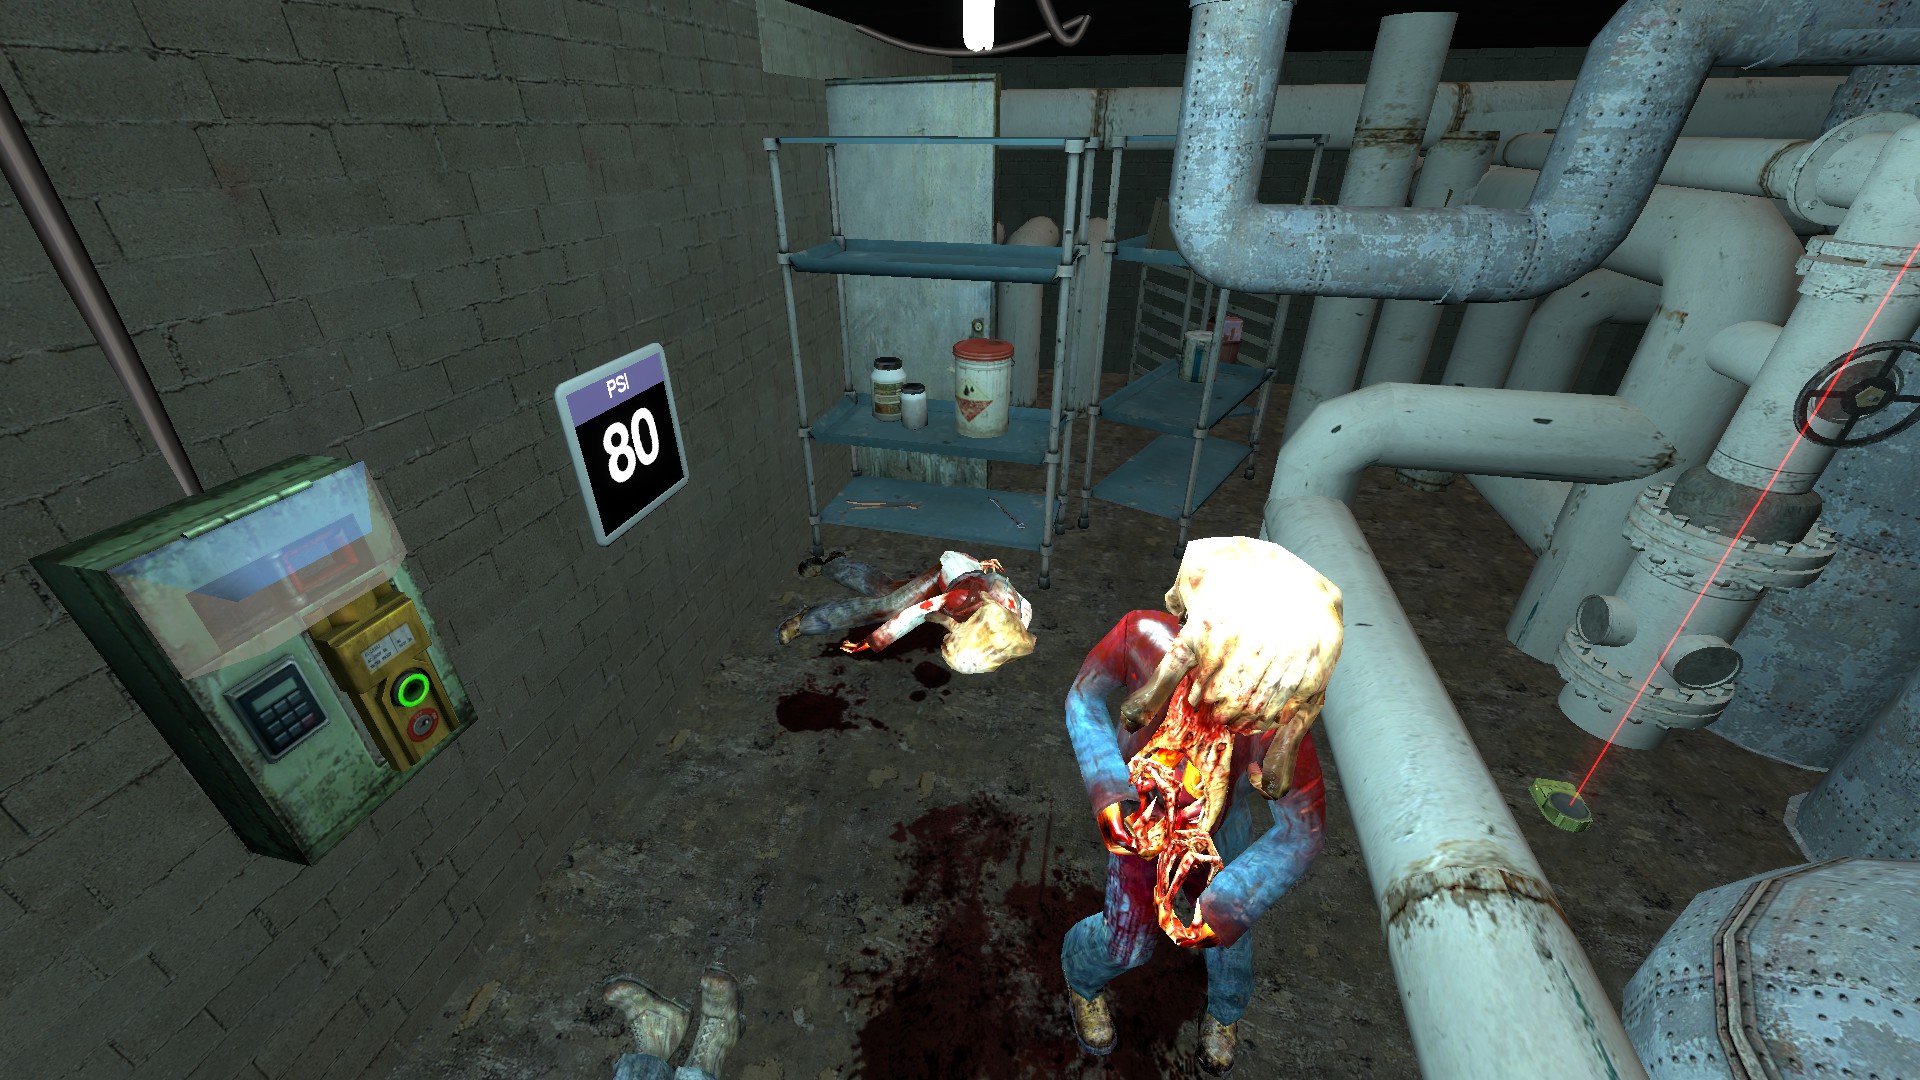
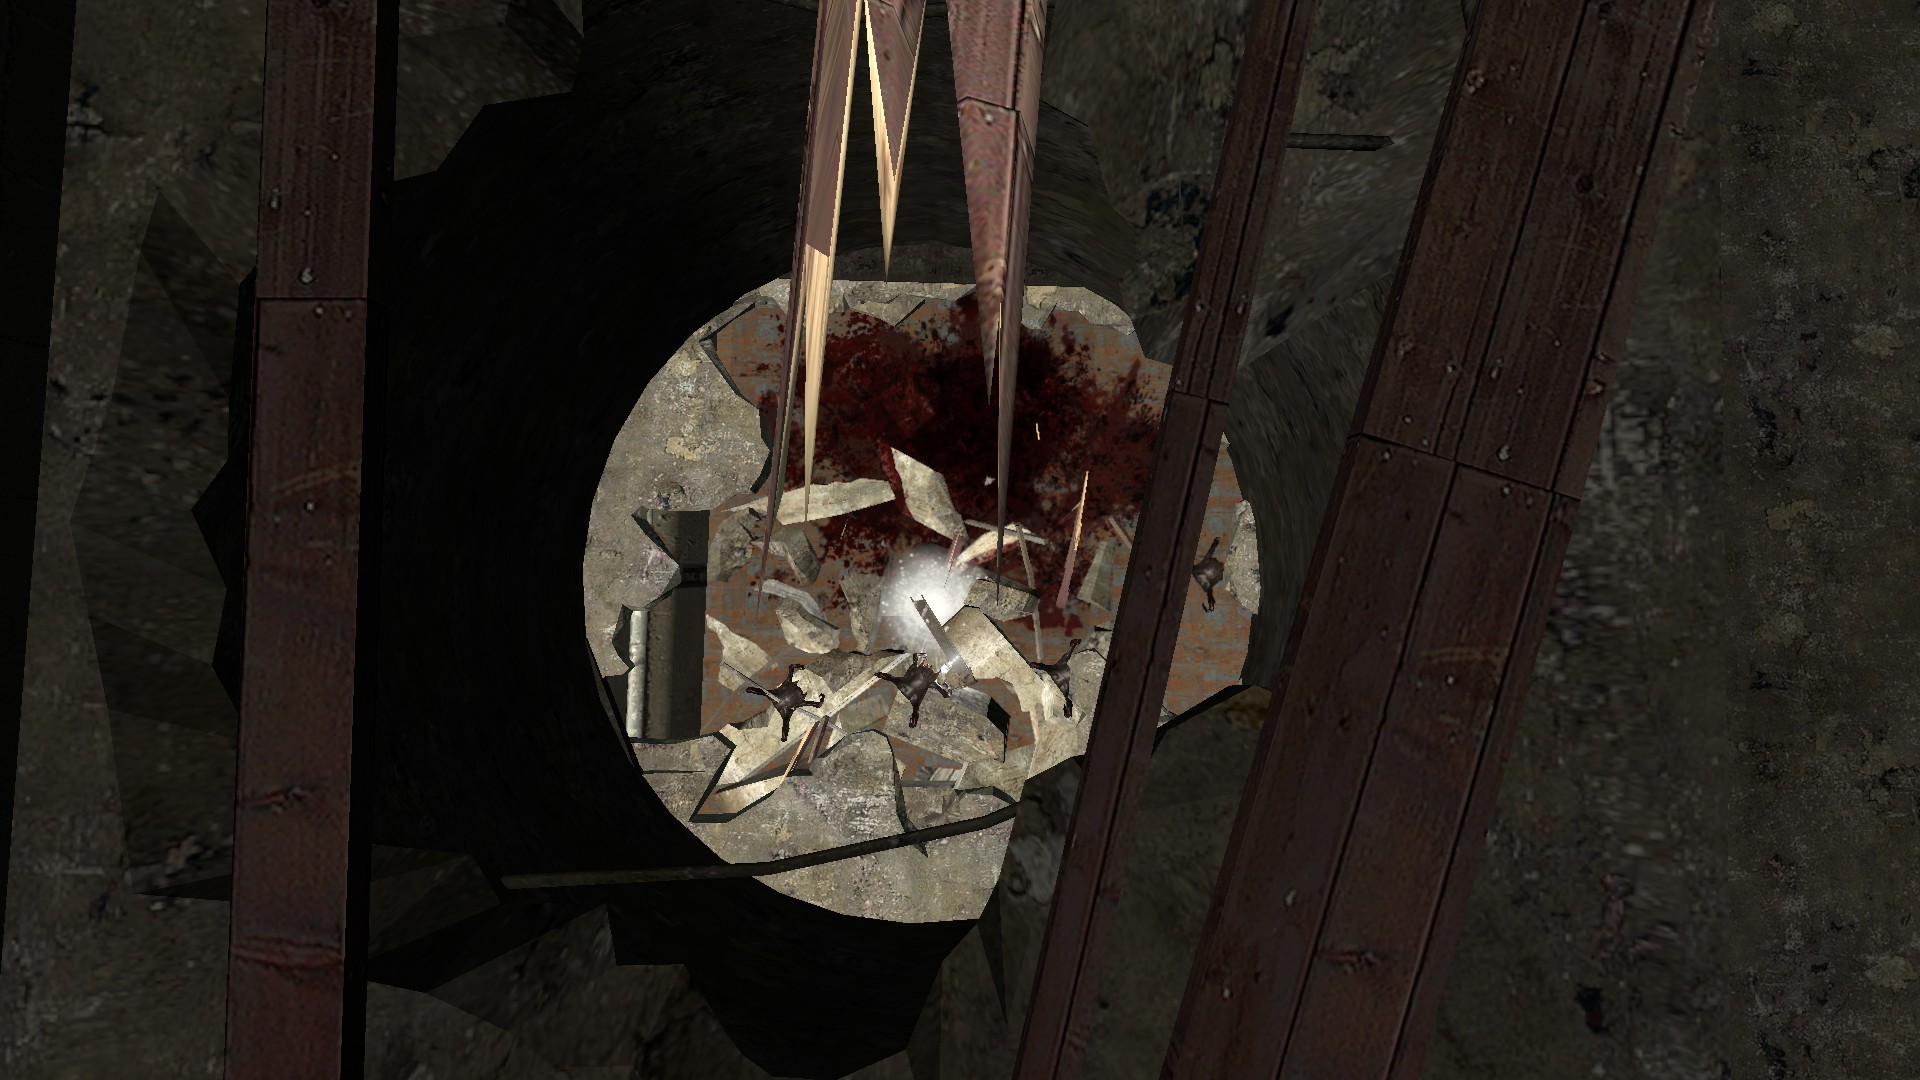
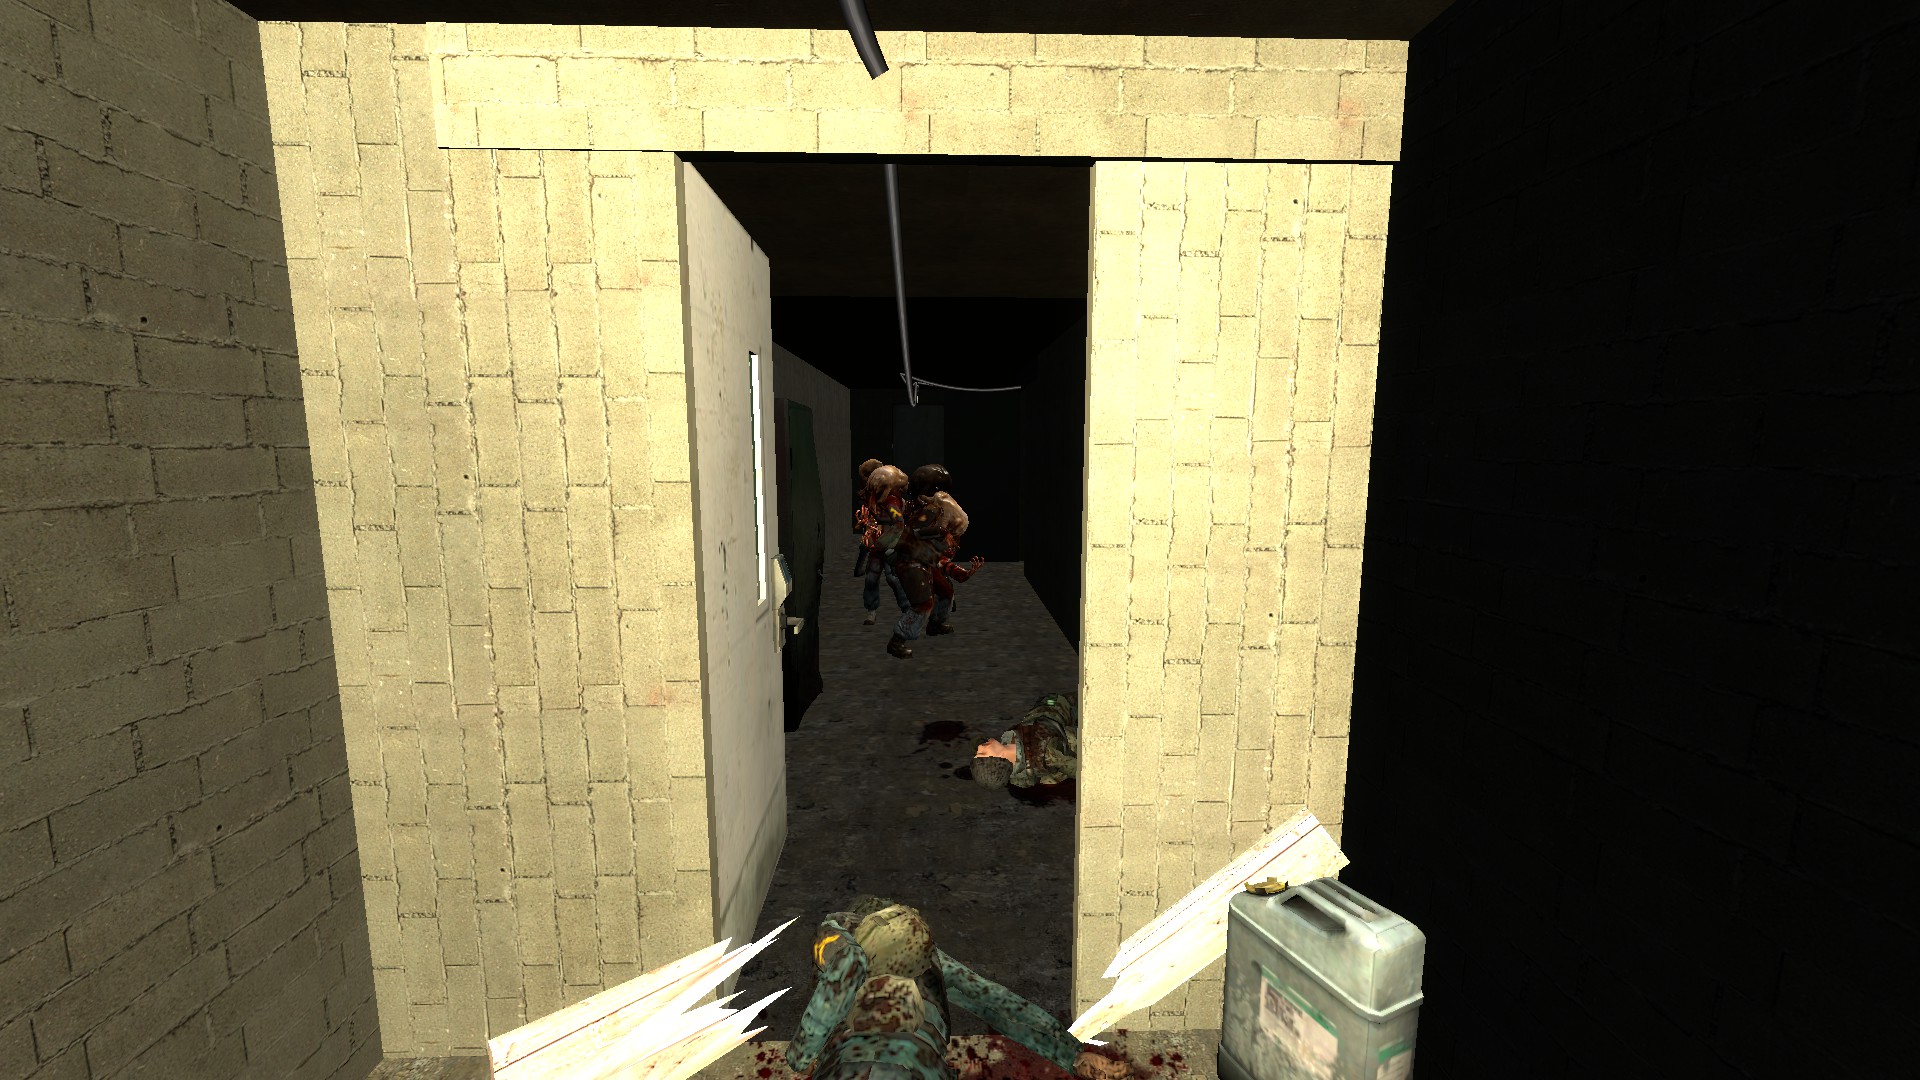
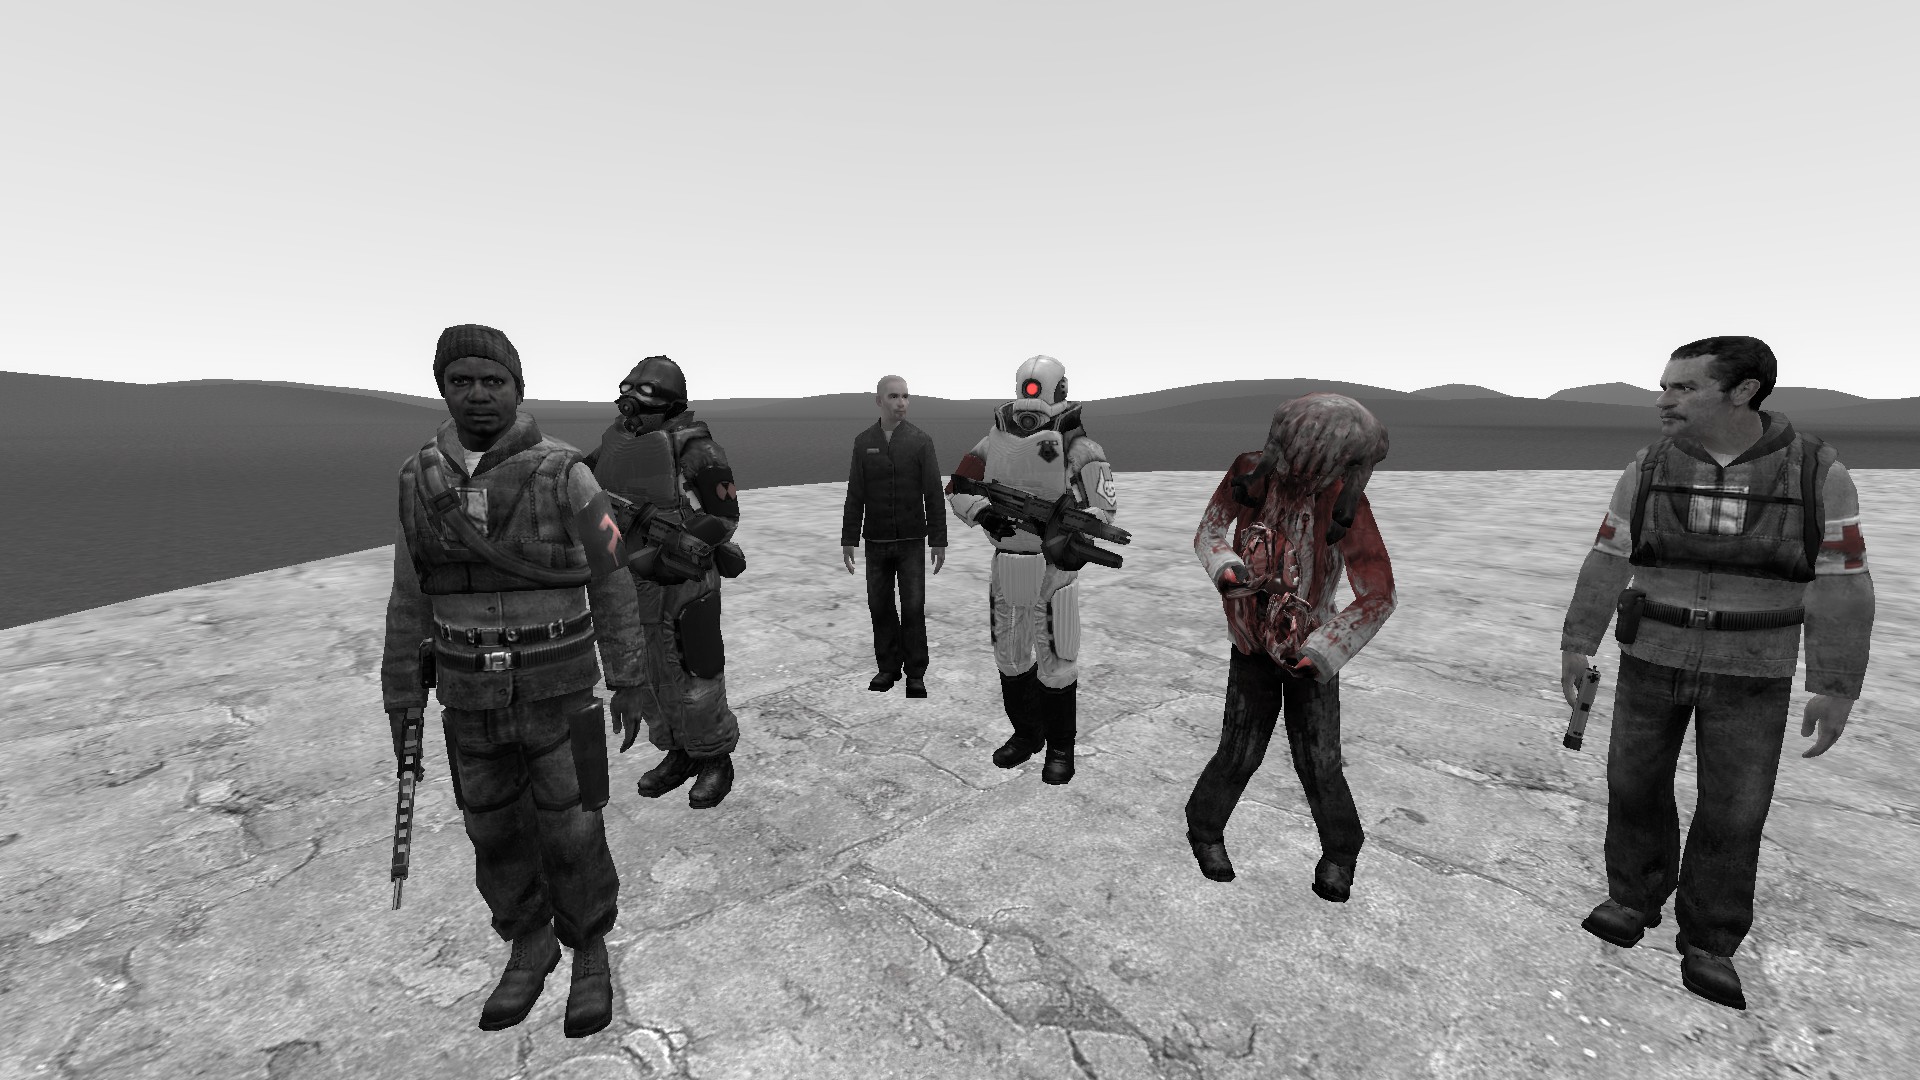
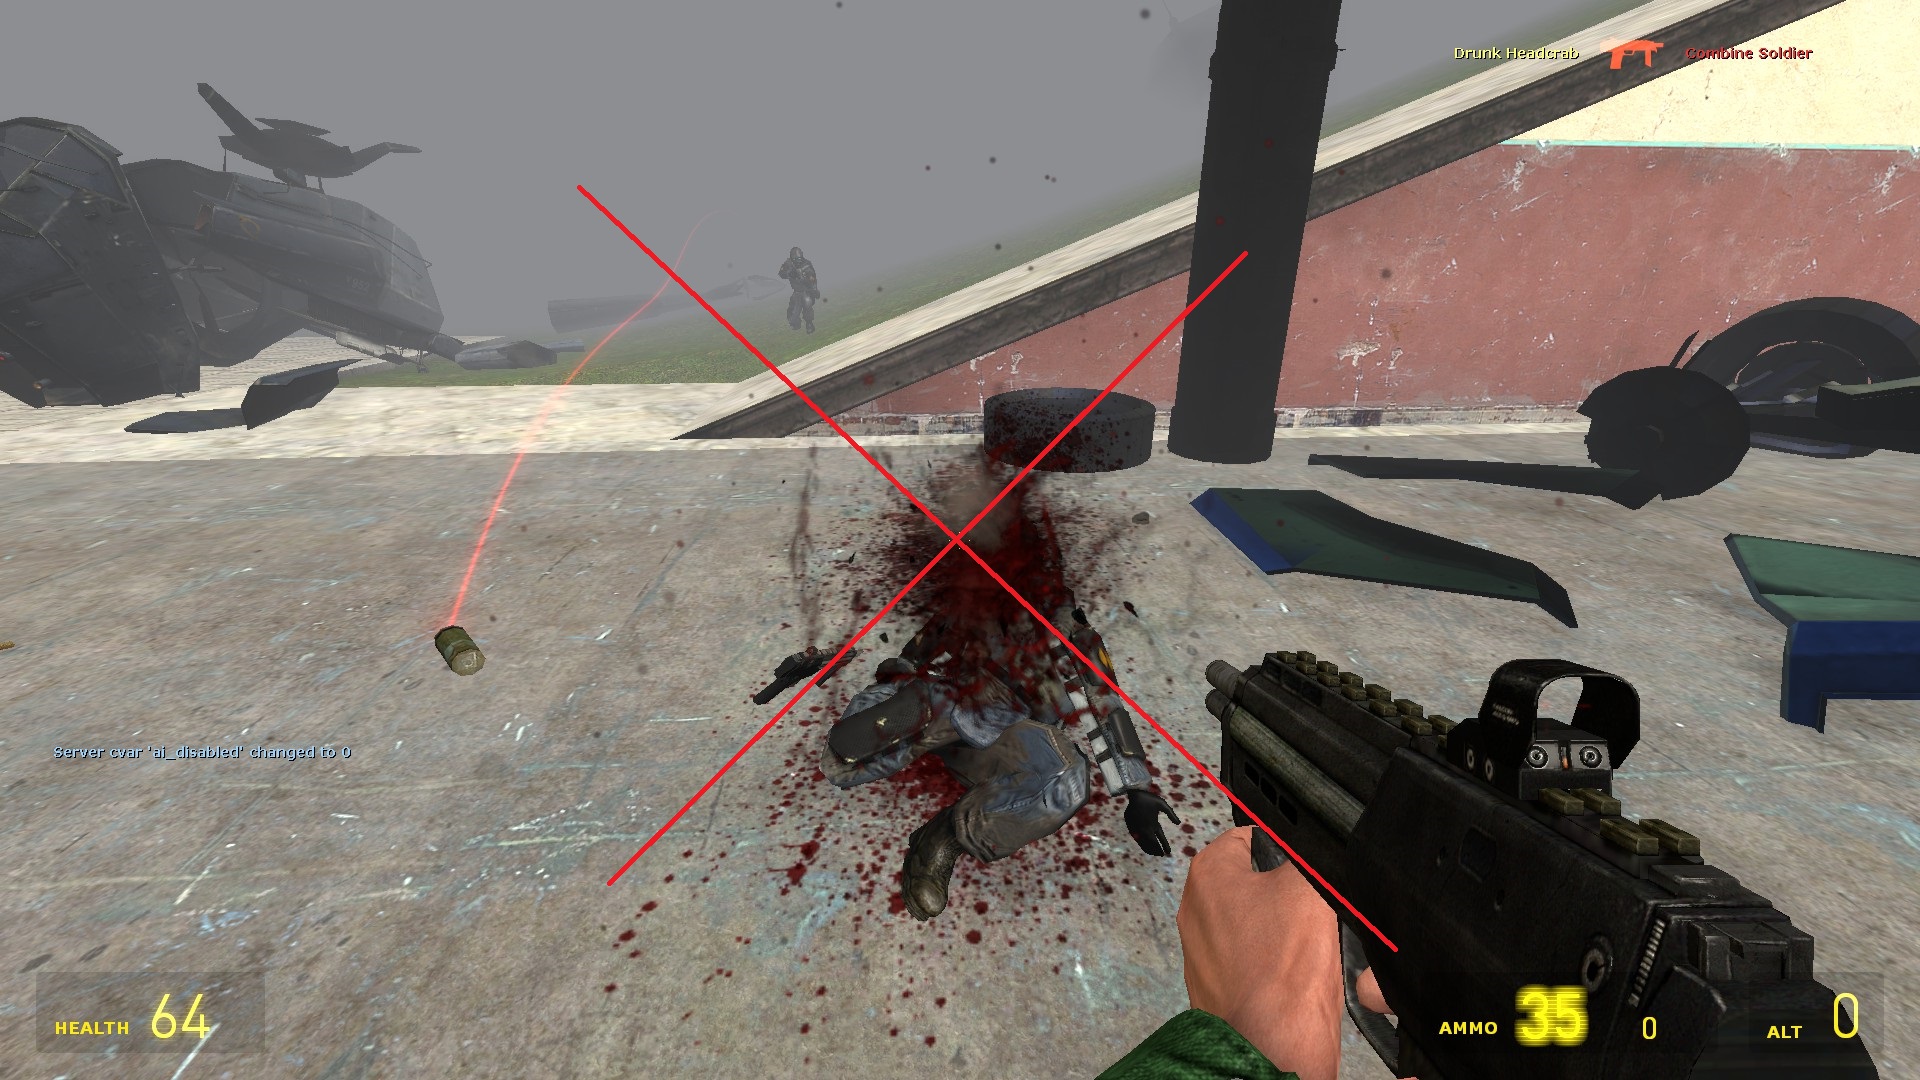
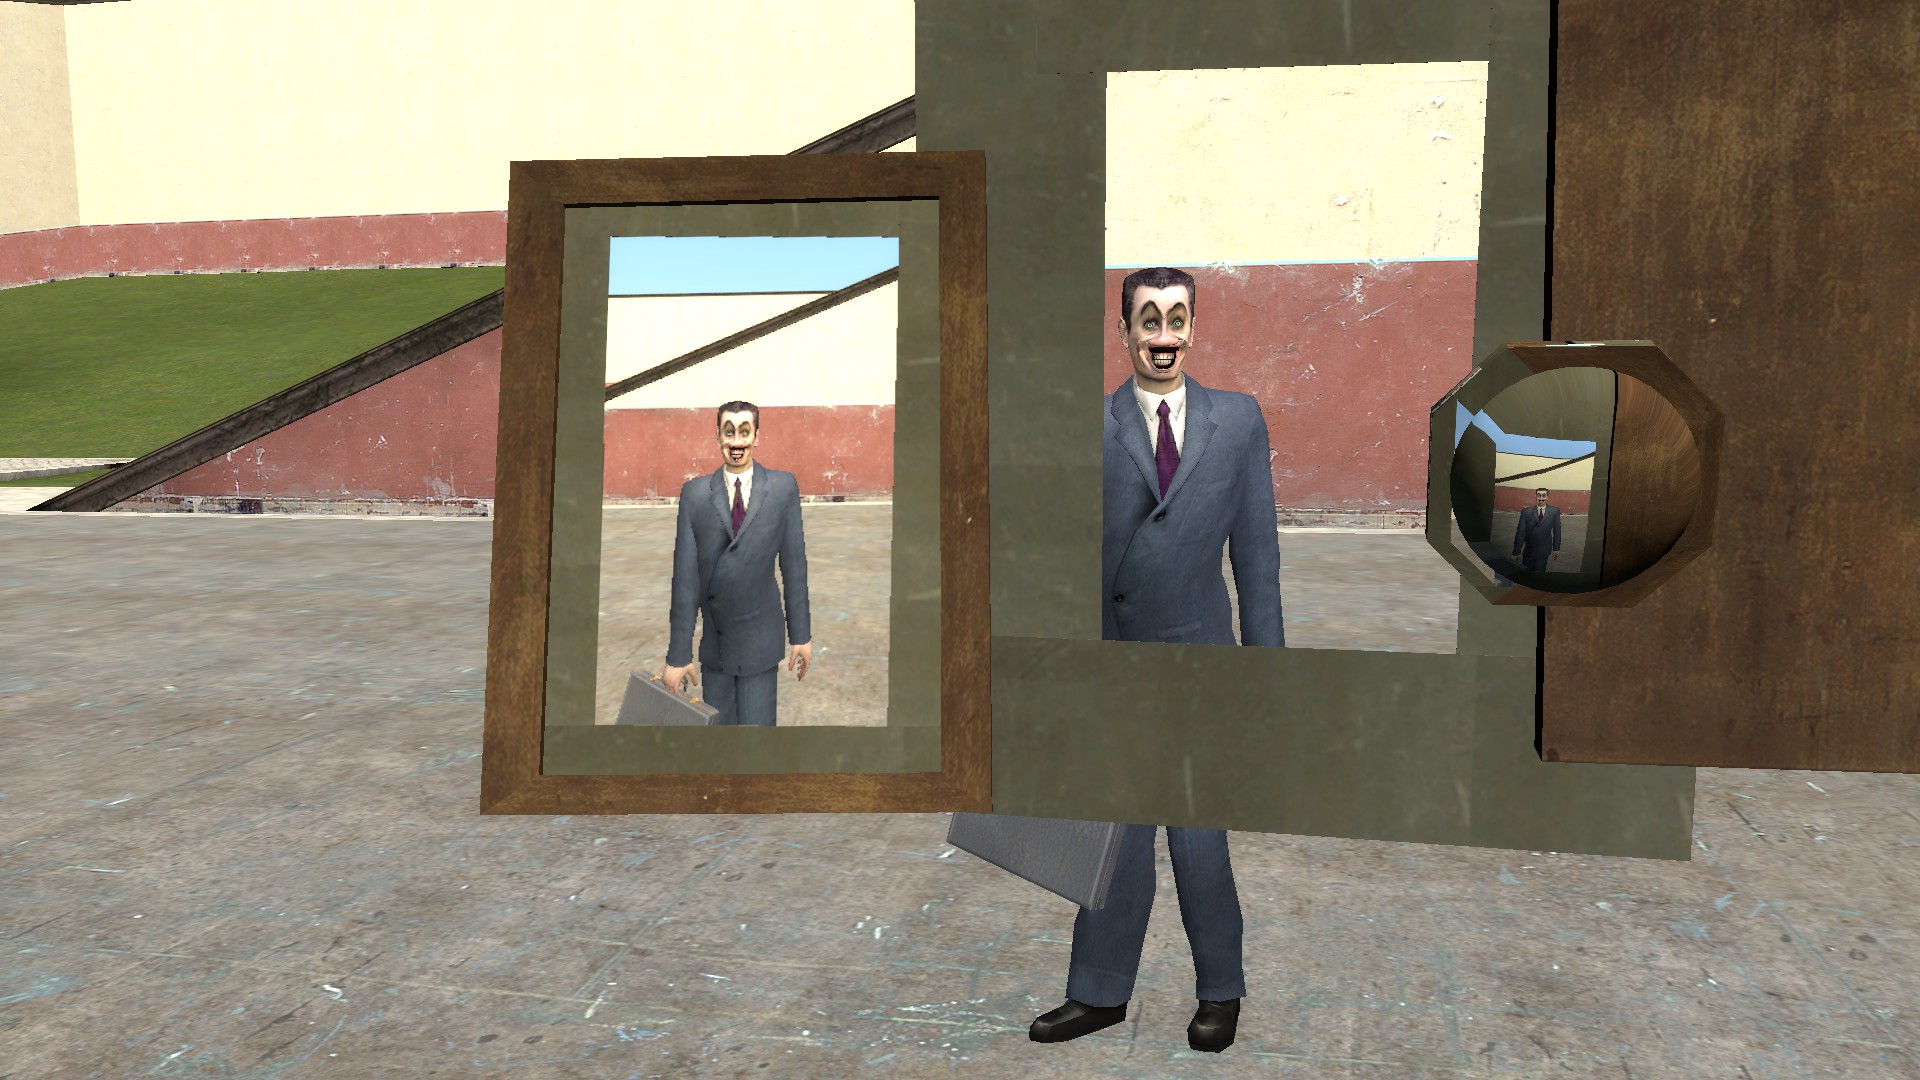
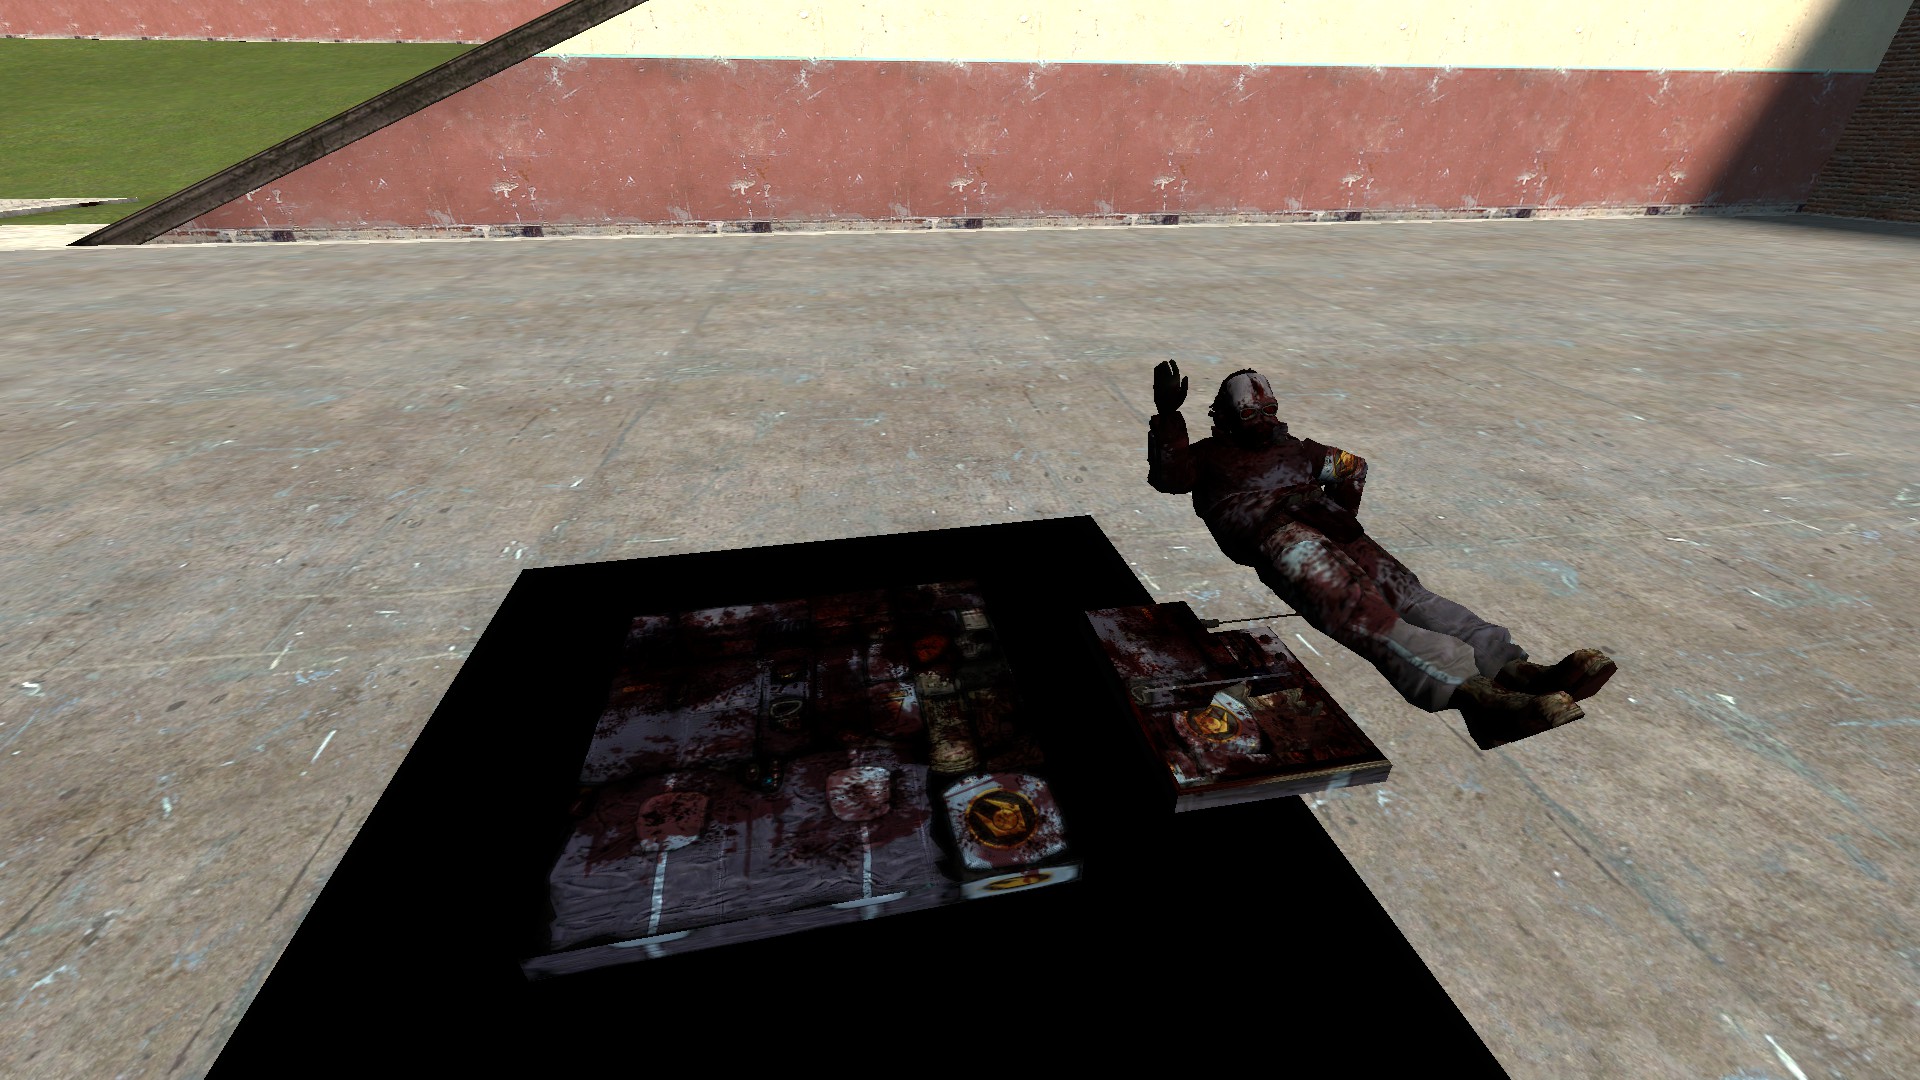
If you mean you explicitly WANT to use blood decals, then still don't rely on them too much, but maybe just sprinkle a few on a couple of props or dead bodies for added effect. They should never be used on walls though, because you should be using plates that look like blood for that instead.


TL;DR use materialized props rather than actual blood decals and don't rely too much on blood.
... 16 Jun, 2022 @ 9:51am 
do you know how to save decals like blood?