Spelunky

Spelunky

174 ratings
The Road To Speedlunky
By Admiral Tipsy
Need some tips for beating Spelunky in under 8 minutes? I think I got you covered, pal.
5
   
Award
Favorite
Favorited
Unfavorite
Introduction
Hello all! I decided to make this guide in order to aid each of you in your attempts to tackle one of the hardest achievements in Spelunky--speedrunning the game in under 8 minutes. Now, my best time with these skills at my disposal was around 6 and a half minutes, so this probably won’t lead to MLG-level gameplay, but I hope that these tips, tricks, and strategies will prove useful to you all. Enjoy, and let me know what you think, and what best times you’ve achieved!
Things You Should Know
Now before we get to any of the tips and tricks, there's a bit that you should know about Spelunky in general. Whether you've played the game for a while, or you're a bit less refined, it's always useful to keep the following things in your mind while attempting a speedrun. First off...

Know the obstacles of each level

This is the most obvious part of getting to a successful speedrun, and the crux of achieving it as well; there is nothing worse than getting to the temple quickly, only to come across an obstacle that you have no apparent way of completing. The best way to start a Speedlunky run is to go into it with a rough idea of what you’ll be facing, and a rough idea of how to combat it. Visit the worlds you feel uncomfortable with traversing, and simply try to get to the exit of each world. Soon enough you’ll start to see a pattern in all of the obstacles you’ll face on the path to each exit (such as a tiki trap next to an exit in the jungle, or a mummy in a tight corridor in the temple; these happen very frequently, and can be combated with the right strategy. Refer to the bottom of this guide for a few of these strategies). Also, I know it’s very difficult to get the temple shortcut open (3 bombs, 3 ropes, and the :Horse: ing key from the mines?!?) but if you want to practice the temple quickly and easily, it’s imperative that you complete this shortcut. The goal isn’t quite being able to complete each level flawlessly; you just need to feel somewhat comfortable with what you can and cannot do in each level. Now, on to the main obstacle of a speedrun…the speed…

Become well-acquainted with the time constraint

Now I know that upon initial glance of the achievement requirement, it seems like a nearly unachievable goal. In a game where runs average a half-hour each, how would one even go about completing the game in a measly 8 minutes? Well, it’s not nearly as threatening when you break it down into reasonable chunks. There are 16 levels in the base game, giving you an average of 30 seconds per level, including the Olmec fight. This seems like a ridiculous task, but when you take into account that no items are (technically) necessary to complete the game, and as a result gold becomes a rather useless thing to collect, that leaves you with 30 seconds to simply make a bee-line to the exit of each goal. Most levels can be traversed in this basic way very comfortably in around 20 seconds, with 30 seconds being a “worst-case scenario.” Don’t believe me? Try it out for yourself. Beat a level as safely as you can, with your only goal being to get to the end. You’ll be surprised at how quickly this can be done.

There are, however, two apparent problems with this approach. One; aren’t there at least some items that are required to beat the game? And two; how does one go about beating Olmec in such a short amount of time? Well, you’ll have to take my word on the Olmec fight for now; let’s start with the items first. To be that much closer to a successful speedrun, you’ll also need to…

Understand that your base items can get you through the entire game

It may not seem like four of each consumable is enough to traverse all 16 levels, but this relates back to gold-collecting. You really only use items to get more items, and that's also the only reason why you collect gold--if your only goal is to get to each exit, none of this collecting is required. The game is designed so that there is at least one route that can be traversed simply with platforming, no bombs or ropes required. Now, obviously this isn’t without fail; an arrow trap will get in your way, or a drop will be too far. Some of this is absolutely true--you’ll need to use the occasional rope or bomb to get out of a tricky situation, and once in a blue moon you’ll find that a level is impossible to beat without using a few bombs, but never will it occur so frequently that you’ll run dry of your resources. Take the seeming death-inducing drops, for example; a lot of them seem to only be survivable if a rope is used. In reality, it’s perfectly fine to drop distances that may seem to scream to your instincts “That will totally kill you.” This is a perfect example:


It certainly seems like a drop like that will result in damage, or at most you’ll only be safe if you land on those two tiny platforms. This is not the case; you’re able to land anywhere on that ground (minus the spikes of course) without taking a sliver of damage; when you’re looking down, the space between your character and that block-and-a-half rising from the floor is the absolute highest height that you can fall from.


Very very lenient. When speedrunning, this fact is absolutely imperative to both cutting down time, and saving ropes. I’ll include more resource-saving strategies at the end of this guide, but let’s touch on other item drops.

Some state that a compass is necessary to completing a speedrun, but in reality it’s more of a convenience than a necessity; it really only becomes valuable in the ice caves, but with a bit of practice in the ice caves, the exit becomes a predictable place to get to, and dead ends become really obvious. Again, you are perfectly able to get to the end of each level with just platforming virtually every time, and on top of that you have 2 (usable) ropes and all of your bombs at your disposal. Every other item is simply a luxury; if you find them in a crate that isn’t too far out of your reach, by all means go for them, but they are not required to beat the game. You really only need to take two ropes to the Olmec fight; why is this you ask? Well, allow me to explain; the Olmec fight may seem like a potential deal breaker to speedruns, especially with very few items at your disposal, but in reality…

Olmec is a ballerina

The Olmec fight can be a tough one; it is, after all, the final boss. The one thing standing between you and victory. However, there is one strategy that, when implemented correctly, can shave a buttload of time off of the fight, and a lot of headaches as well. Here is the strategy; when Olmec’s opening cutscene finishes, bait him into jumping towards you one or two times, full-length; whatever is most comfortable for you. The goal is to make him pounce (pausing, then dropping) while you’re standing right about here.


It doesn’t have to be in this spot per-se, but that’s why I’ve broken this up into its tiles. As you can see, my character is standing in a way that he’s taking up the whole middle brick of this tile, and is slightly covering the third closest to Olmec.


Footing like this should work perfectly each time. Simply stand here, and when Olmec pauses in the air, give him some distance so you’re not crushed. It should now leave you with a space just big enough so that you can get in without being crushed, but a majority of the enemies he spawns cannot.


The goal now is to get him farther down this hole; to do this without killing yourself, run under him as soon as he jumps, and run back to the safe spot as soon as he pauses in the air. You want him to stay the same distance away from you every time he crushes a layer of blocks. It helps to press up against him when he’s on the ground, quickly slip underneath him, and immediately press up against the wall once more as soon as he begins to pause, like so:

Things You Should Know (Pt. 2)
Now, once you’ve done this dance for a little while, he should be nearing the end. When he gets about three layers of block away from the lava, you’ll need to throw a rope--if the reason isn’t apparent, it will be soon. Make sure to throw it while he’s on the ground, and you’re all snug in your safe spot. Now, here comes the tricky part. Once Olmec hits the final layer of block, you’ll need to jump right onto his dome, and throw one more rope.


Now all you’ll have to do is climb up the two ropes, jump the resultant, relatively small gap, and claim your victory! And you only need to enter the fight with 2 ropes!


I’d like to note that this strategy isn’t entirely foolproof; it’s just how Spelunky works--there‘s always a random element to it. Sometimes a rogue spider will jump into your safe spot, and sometimes you’ll execute the final jump onto Olmec’s head only to find that some enemies have planted themselves on there as well. It’s all about the spacing of the gap between you and Olmec; it’s very very hard to get a perfect gap, but with a bit of practice, you should be able to execute this strategy well enough to feel confident about pulling it off in a speed run. I just recommend that you enter the Olmec fight with at least 2 health to buffer the end-enemies you may face. This leads me to the final bit of knowledge that you need to understand when attempting the speedlunky achievement, and that is…

You will definitely not pull this off for quite a while

I’ll simply explain this with a little story; I’ve had the concrete goal in my mind to get this achievement, and even with these skills at my disposal, it took a week of diligent play and around 500 deaths to actually pull it off. Spelunky is a difficult game. It’s not the kind of game where you can expect to complete each level reliably because there is constantly some element of luck involved. Sometimes it will seem like the game doesn’t want you to get to the end; sometimes it will throw every conceivable cheap shot at you in one run. Just roll with it; you’ll die a bunch, but if you stick with it for long enough, you’ll eventually come across a seed that is a perfect blend of both luck and your personal skill. You’ll make it eventually, don’t get discouraged. Now, let’s get to the meat-and-potatoes of this guide. I wasn’t entirely sure where these would fit in, but they’re absolutely necessary skills that you need to pull off a speed run. The skills are as follows:
Hot Tips! Cool Tricks!
1. Whipping an arrow trap (when possible):

Sometimes you’ll come across an arrow trap that isn’t possible to proc without a rope, and what a waste of resources! However, a lot of these traps can be easily combated without resources or loss of health by you. All you need to factor in when deciding to whip an arrow is *Speed* and *Distance*. You will NEVER be able to whip an arrow while right next to the trap. If you are approaching near terminal velocity (about one to two blocks from the maximum fall distance), you can whip an arrow with only one block of space between you and the trap. Practice it for a bit, and you’ll soon get a feel for what arrows you can and can’t whip. Take this trap, for example:


In this case, you’ll simply need to whip, then run past the gap to the line shown. The goal is to make your whip straighten out as soon as the arrow fires. When your whip straightens out, nearly everything it touches dies or gets pushed back, and this period of it straightening out lasts quite a while--around a fourth a second. Become well-acquainted with that fact.

2. Jumping past an arrow trap (when possible):

Distance and speed apply here as well, but they’re a bit more strict here. It really takes practice to know how the physics work behind the arrows, and how to work around them. Here’s a nice example of a dodge-able arrow trap.


Here, you’ll only need to jump, and drop within the space shown. This strategy is quite simple, but saves a bunch of time during a run. (Also note: an enemy hanging by an arrow trap will always get hit by it before you, so when a situation like that occurs, completely neglect that trap and go about your merry way.)

3. The swoop-and-hang:

If you’re like me, you’ll find that slowly crouch-walking to an edge to hang on is a horrible, obtrusive way of getting around; they even have the gall to make you drop your item when you pull it off! There is a much better way of hanging off a ledge, and it just takes (again) a little bit of practice. To swoop-and-hang, simply stand so that you’re at the very edge of a drop, just enough so that you don’t initiate a loss-of-balance animation.


Now, while holding the run button, simply flick away from the edge, then immediately towards the edge. The goal is to drop off of the edge, then hang on it. Bam, you just saved a few seconds, and saved a few item-drop-related headaches.

4. Looking down:

Now this just seems ridiculous to put on the list, but when speed running it becomes the first skill that pops out of your memory. It just takes so much time; nearly 2 seconds every time you need to look down. But trust me, those two seconds aren’t a big deal when it’s the difference between you landing safely and taking damage, or potentially dying. Remember, 30 seconds per level; you’re allowed to look down a few times.

Hot Tips! Cool Tricks! (Pt. 2)
5. Drop and whip bombs:

When you reach the temple, more often than not you’ll come across a situation exactly like this.


It’s just cruel how many times it happens. If you just drop a bomb, it will keep going, right past the mummy, and you’re not allowed to do that too many times. Instead, just get up to the very edge of the block, furthest away from the mummy, and plop down a bomb right next to you.


Now, just whip the bomb. The arc should be much tighter, and the landing should be right on target.


6. Pick up crates and damsels (but only when they’re not far out of reach):

Fairly self-explanatory; while these items aren’t quite necessary, you’re certainly better off with them than without them. Just keep in mind that the run isn’t ruined if you don’t receive a “necessary” item. When I completed my first speedrun, I picked up just one damsel, and that was that. No crates, no items. Keep your eye open for those luxuries, but don’t depend on their existence.

7. Gauge your run accurately:

Occasionally you’ll run into something that just makes your run impossible to complete (see “Run-Ruiners” below); lack of health is one of them. At the least, you should make it to the jungle with about 3 health. If you hit an unexpected arrow trap in the mines, it would be wise just to toss the run and start over, especially when a death like that will only waste about 20 seconds. Don’t spend too much time on a run that’s doomed to fail.

8. Never bother the shopkeepers:

This is quite simply the most important aspect of a successful speedrun; you shouldn’t go out of your way to buy an item from a shopkeeper, and you should never EVER kill or steal from one. Even if there’s a jetpack in one of the shops, the resultant time it would take to either scrounge up a few grand or deal with angry shopkeepers for the rest of the game will never compensate for it. If you’re an absolute master of dodging shopkeepers, then by all means take what you’d like, but to the rest of us it is almost guaranteed that an angry shopkeeper at any point of the game will end your run; you simply aren’t given enough time to adequately deal with them.

9. Hanging around:

This strategy is quite valuable just for shaving off a bit of time here and there; simply hang off a ledge, and when there’s a ledge of the same distance below you, drop. Touch nothing else on the controller, just drop and you should* hang onto the ledge below it automatically.


*Now, while this has given me more success than not, sometimes it just seems like it doesn’t work out. I think this is because I’m using a controller’s analog stick when dropping down, and a slightly skewed down-press means that you shift just a bit away from the edge. Hard to explain, but what I’m getting at is that it really has to be pixel perfect. I can’t say this enough, ONLY drop down and nothing else!
Hot Tips! Cool Tricks! (Pt. 3)
10. Don’t rush:

I know that the time limit is a little unforgiving, but there is a massive difference between running through a level and rushing through it. Get through a level speedily, but never allow yourself to run through potentially dangerous situations without properly analyzing them. Never be afraid to just stop for a second and note any hazards in your way; it’s only one second, and it can be the one thing that keeps your run going.

11. …But never take your finger off of the run button:

This can be a tough transition, but in order to speedrun the game well, you really should learn all of the little nuances with running in Spelunky. With yet more practice, you can easily learn to traverse levels while holding down the run-button.

12. Kill spiders and bats only when they’re an immediate concern:

In order to optimize your speedrun, you have to first know that bats and spiders are much slower than you. If you have enough space to run away from these enemies, choose to ignore them. This goes double for grand-father spiders, that--if you decide to kill them--can shave off a large chunk of your precious time. More often than not you can easily dodge the enemies you come across.

13. Never have faith in the game:

This goes specifically for enemies; when there is a pile of bones, never assume that it won’t come back to life. When a frog is below you and seems able to be jumped on from above, don’t assume that it won’t jump out of the way at the last possible second. The game will treat you horribly; you have to always stay cautious and skeptical.

14. If you start to feel angry, take a break:

Once you face a really disgusting death, or die during Olmec, just quickly flip off the game and take a ten-minute break. A bad state of mind like that will lead to rushing, and that means that your runs will suffer greatly. Just breathe, get a glass of water, and revisit it when you’re feeling confident again. On the opposite end of the spectrum, don’t take too long of a break. If you come back to it the next day, be prepared to start out a little salty, as your skill level will decrease a bit.

15. Do what you need to get into that flow-state:

When I got my first speedlunky run finished, it was while the game was in 720 windowed mode (on a fairly big monitor) with the audio muted and a nice laid-back CD playing in the background. Whatever helps you feel calmer and more confident about playing the game, go for it.
Run Ruiners
Now I’ll touch on all of the item and level conditions that will--virtually without fail--end your run. When you come across these, just start the run over.

1. Climbing gloves:

I know what you’re thinking; that’s crazy, climbing gloves are amazing! Especially on the ice caves! Well that’s true, but I’m thinking late-game; most specifically the Olmec fight. With the climbing gloves equipped, the strategy for beating Olmec that I’ve explained above becomes one-hundred times harder, and takes way longer. It’s simply how narrow the gap between you and Olmec is; whenever a layer disappears, you’ll stick to either the wall or (god forbid) Olmec’s body. If you’re attached to the wall and you IMMEDIATELY drop, you’ll be saved, but you can’t rely on that working flawlessly when your success hinges on that final fight. If you’re attached to Olmec, he’ll simply crush you against the wall, plain and simple. The climbing gloves are not worth the trouble.

2. Angered shopkeepers:

I’ve already touched on this, but it deserves reiteration. NEVER anger the shopkeepers, and if a period of bad luck causes a shopkeeper to agro, just save yourself the trouble and restart. It’s not worth the headaches.

3. Dark levels:

Now, this is a bit more lenient. If a dark level occurs on the mines, you can fairly reliably beat the level under the 30 second limit. On the temple, if you have 60 seconds of breathing room, go for it as well--otherwise restart. A jungle dark level is really the only one where I would recommend restarting without distinction, as this is a period where your success hinges on completing these levels in a speedy fashion, and jungle dark levels are particularly difficult to speed through.

4. Dead ends requiring more than two consumables to leave:

This relates back to resource management; if you find that you’ve hit a dead end that in any way prevents you from getting to the Olmec fight with two ropes, hit restart. You simply can’t rely on crates or shopkeepers with the time limit you’re given. Consumables are precious; you can’t just leave the mines with two bombs/ropes wasted. If you collect a crate with bombs or ropes, by all means, but work within your limitations.

5. “My skin is crawling…”

Spider levels are only worth traversing when you don’t have to deal with the cache of grand-father spiders found in the level. Once you hit that cache, it’s very likely that you’ll either lose health, or waste time. It’s a much better idea to restart while you’re in the early-game.
Sap and Plugs
And that’s about it! This is a bit of a copout to state, but it’s worth mentioning that this is my first guide; if I missed going over any important skills, or you’d like me to further elaborate on a subject, feel free to let me know in the comments. I’d also like to thank Northernlion (Youtube.com/northernlion), Rockleesmile (Youtube.com/rockleesmile), and Foxman (Youtube.com/michaelalfox), whose videos aided in my metamorphosis into the better-than-sub-par Spelunky player that I am today. :Horse: Cheers.
48 Comments
Mount Pinecone 28 Feb, 2024 @ 3:49pm 
yeah i got it my 69th try not even lying
broomus 12 Aug, 2023 @ 6:33pm 
That mummy situation can be solved if you jump across the mummy and bait it to spit the other way, and then use that time window to quickly escape, while being mindful of the flies.
breadboy3000 18 Sep, 2022 @ 8:55am 
well boys, i did it, i just beaten Spelunky in under 8 minutes, hell, i beaten it in under 6! it was the 2nd day i started speedrunning with the tips from this guide, turning on Lofi and just staying calm. Did a bit of risky plays this try, only going with 2 hp to olmec, a spider olmec spawned damaged me but i managed to get through it, and i am super happy now
breadboy3000 9 Sep, 2022 @ 12:01pm 
oh and one more thing, thoughts on Snake Pits? should i go for the pickaxe or just ignore it?
breadboy3000 9 Sep, 2022 @ 11:57am 
okay, read the guide again and got the most optimal way to not go babyrage because of a game
breadboy3000 9 Sep, 2022 @ 11:50am 
anyone knows how to keep yourself from chucking your pc out of the window from dying to Olmec
dzareg 12 Jul, 2022 @ 10:51am 
i got this achievement in around 100 deaths and 2 days, dunno why is it considered extremely hard just play carefully and dont rush yourself
SeanGotThis 3 Oct, 2021 @ 2:34am 
This is a very helpful guide to newer players just trying to seek out that speed-running achievement. I also want to point out that you can have auto-run on in settings as of today to anyone not knowing that.

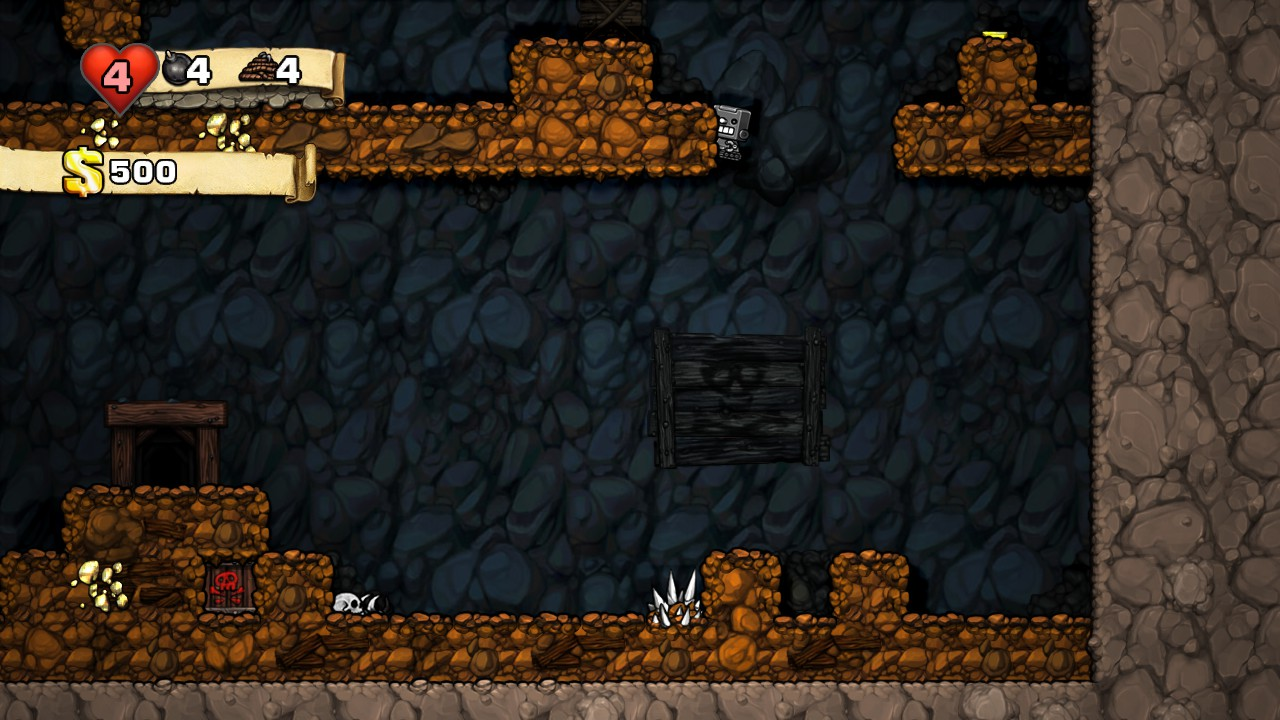
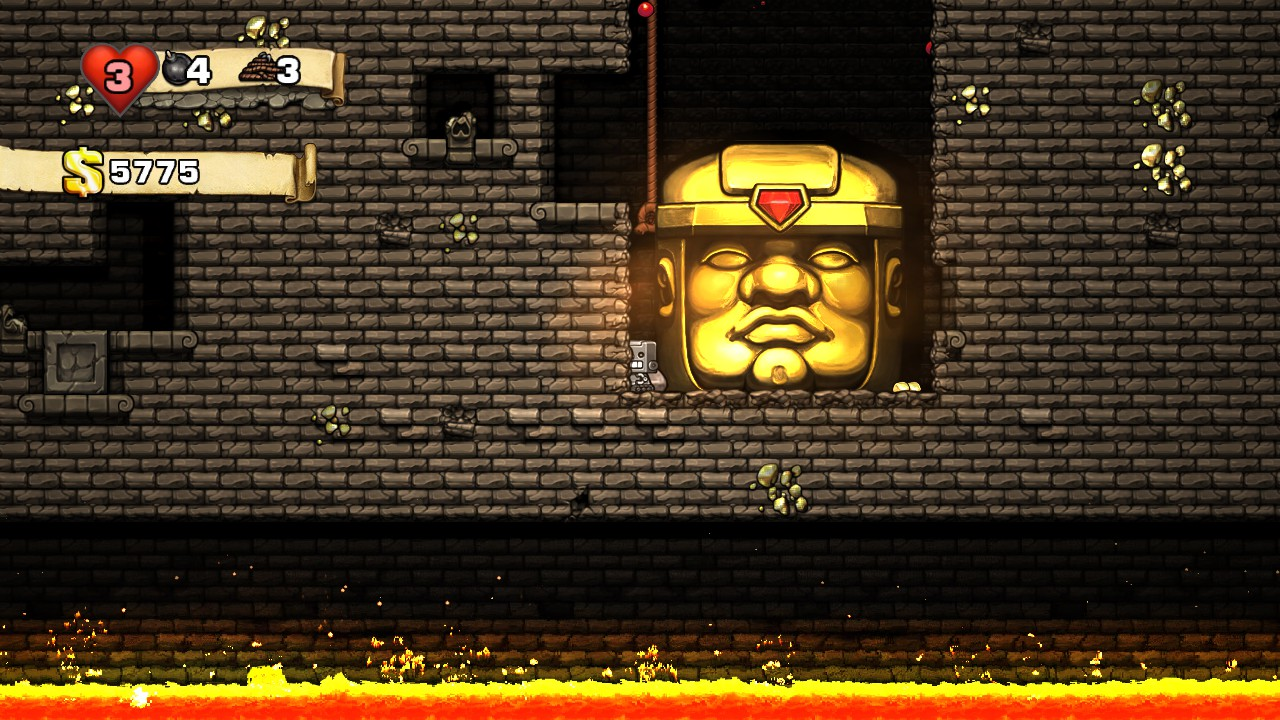
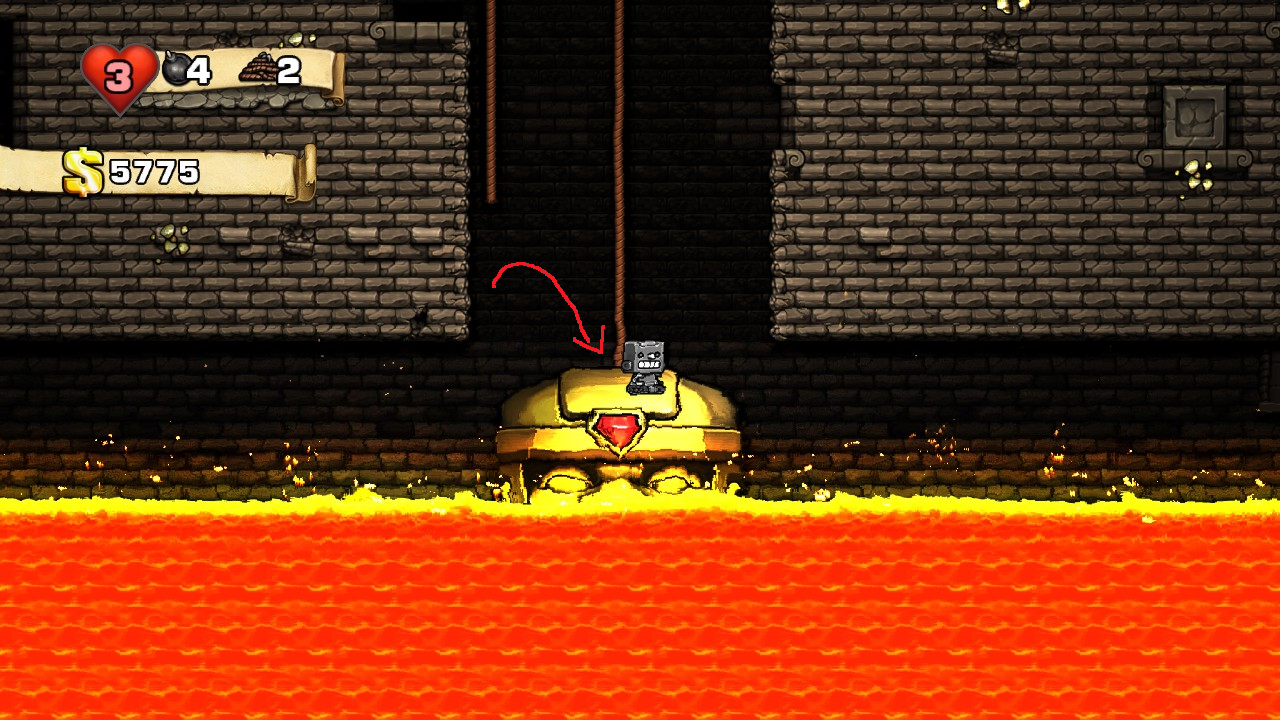
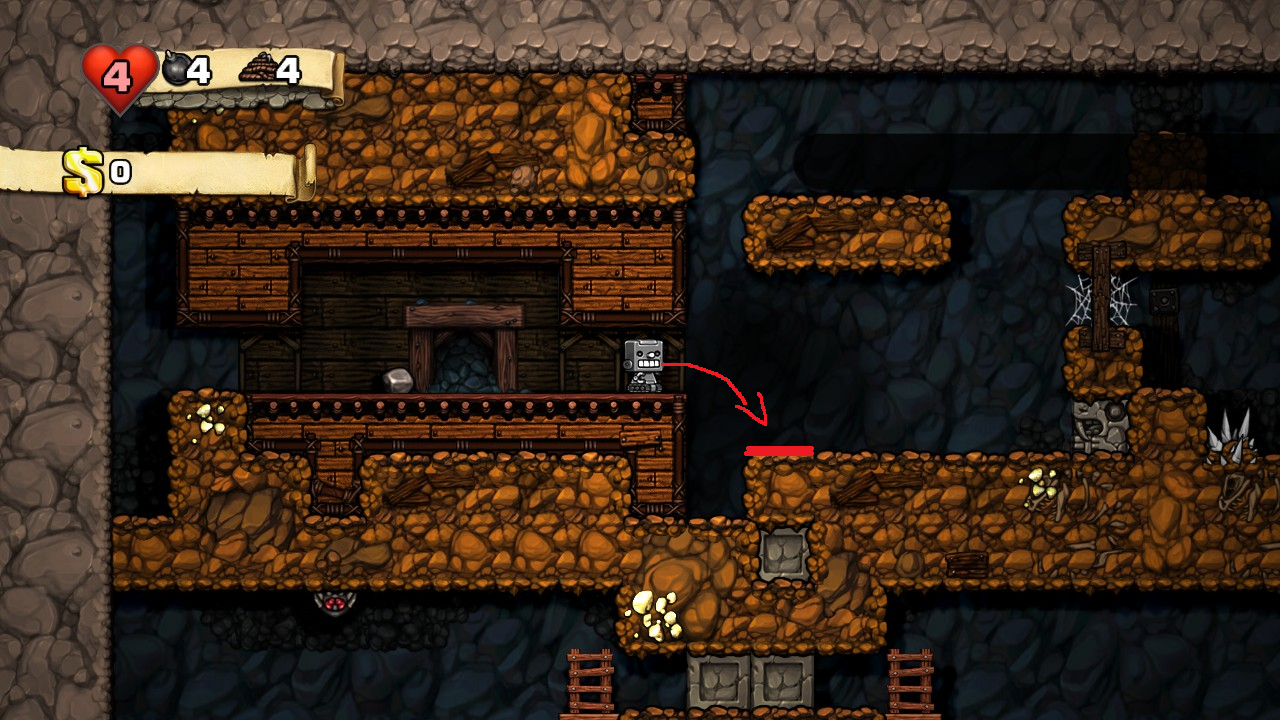
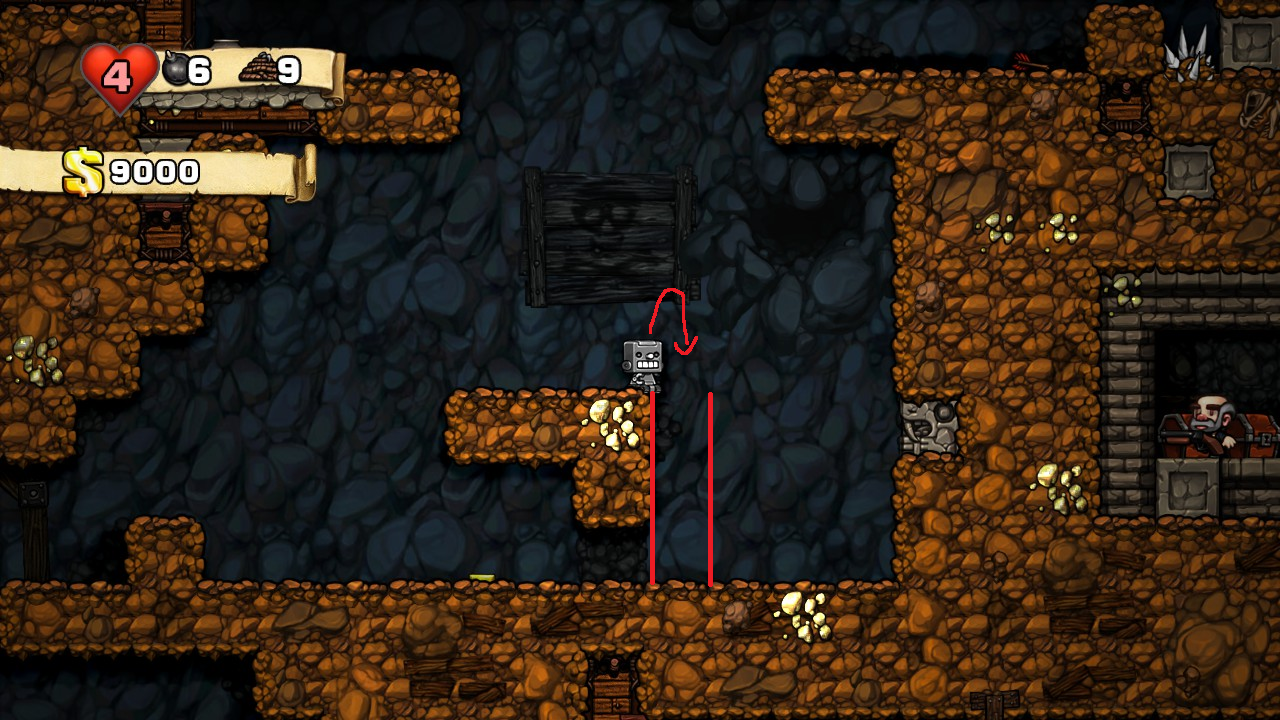
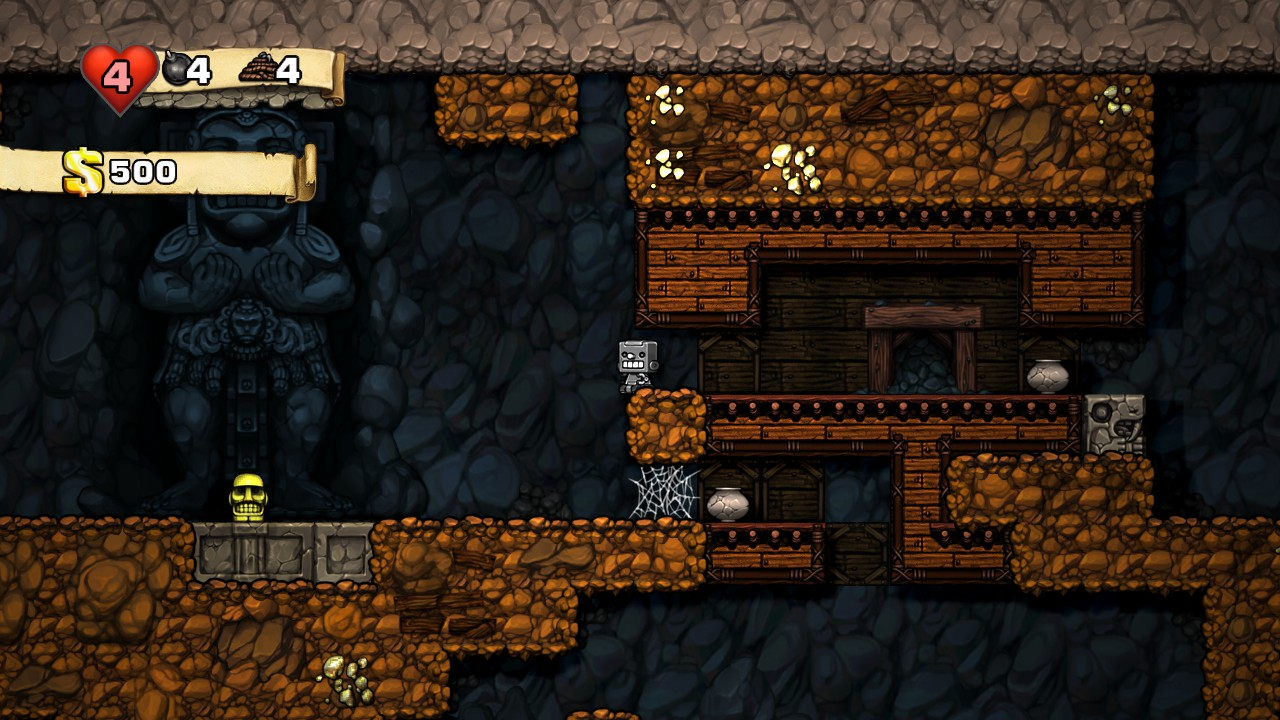
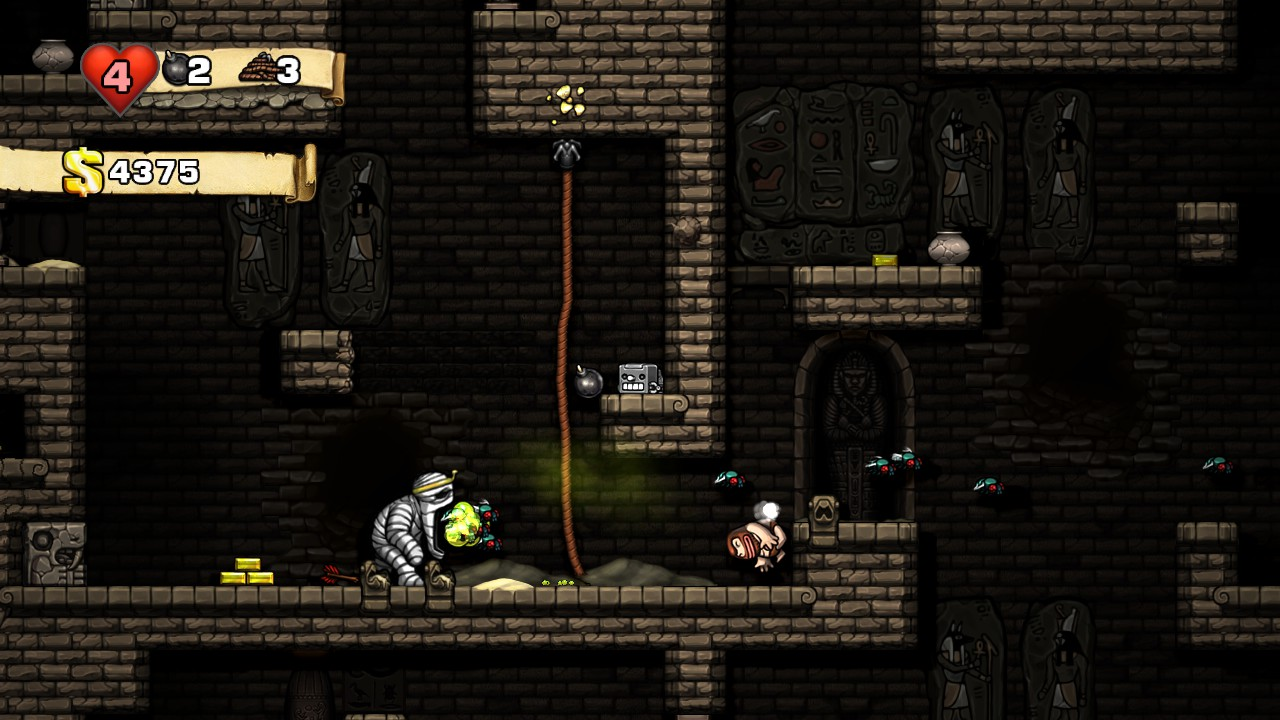
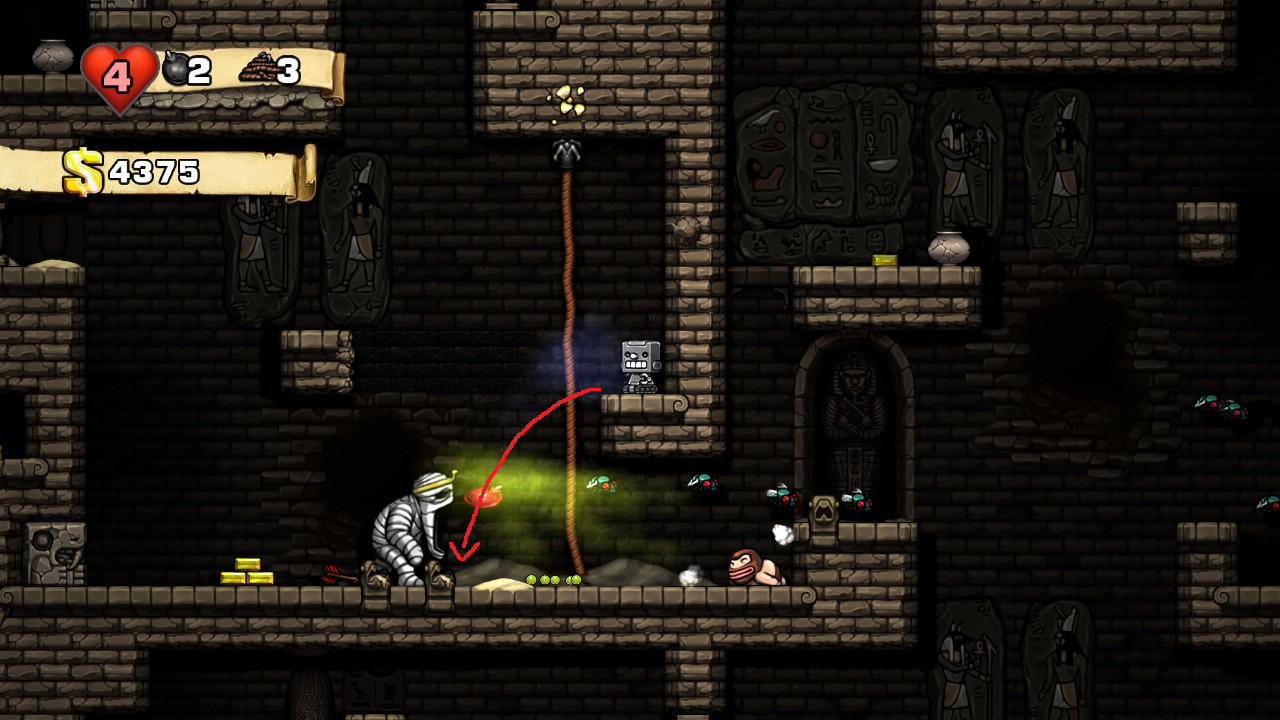
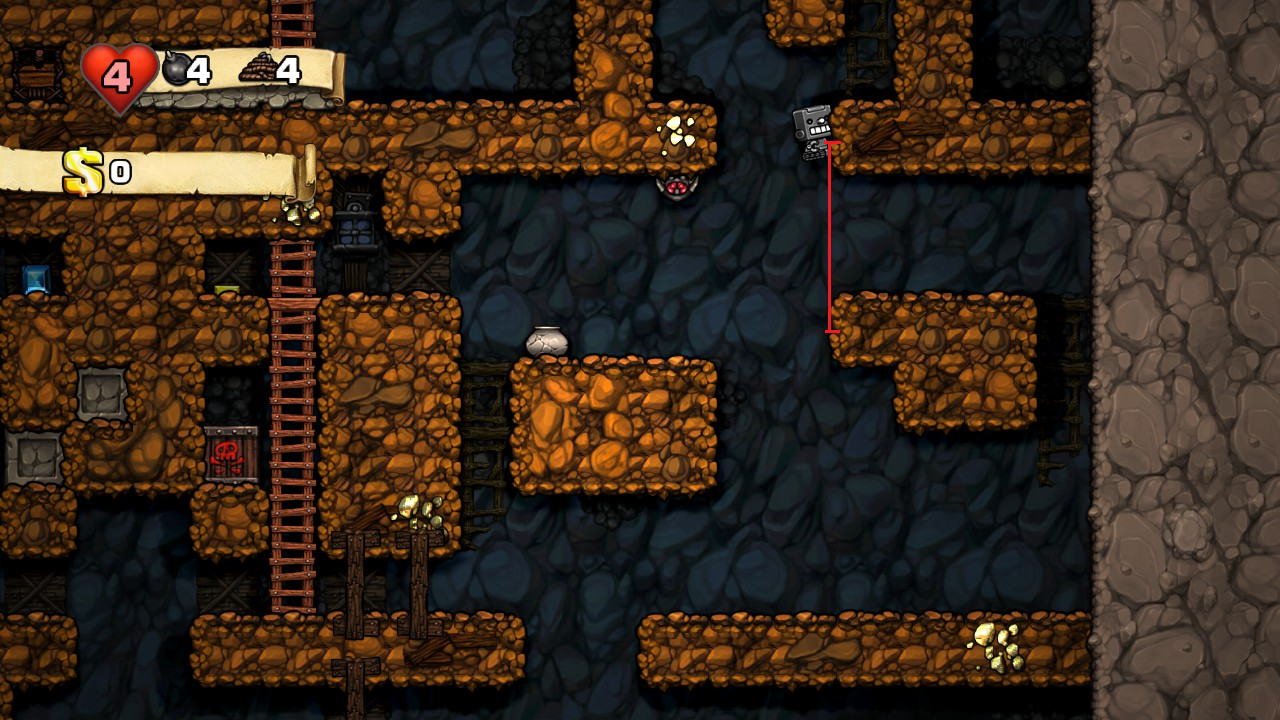
I way I saved a lot of time of certain levels was by jumping on enemies heads that are quite far below you that you can visibly see, but only do this when you're really confident in your skills. :angryshop:
Jack 15 Mar, 2021 @ 4:25am 
did it straight after reading this, thank you! :)
blebsmc99 13 Dec, 2020 @ 10:56am 
I managed to do it in 6 minutes or so, the Olmec fight was positively godawful, and I beat the run by stealing a jetpack from a shopkeeper and keeping a buncha stickybombs and a shotgun on me. Basically the best items you can get in a run, and I still managed to get past the bastard quickly enough and defeat Olmec in time.