GODS Remastered

GODS Remastered

31 ratings
Achievement Guide
By Hamakei
Guide to all achievements in GODS Remastered

Achievements are listed broadly in the order you'll encounter them in the game, not the order listed on Steam
3
   
Award
Favorite
Favorited
Unfavorite
Story achievements
These ones unlock as you play

Shopping
Buy an item in the shop
Buy anything from any shop. Okay, it's technically optional but the odds of making it through the game without buying ANYTHING are slim
The Centurion
Defeat the Centurion
Defeat the Level 1 boss. Easier with the Lightning Bolt, but a bonus chest is awarded if you don't pick the Bolt up
Elemental puzzle #1
Solve puzzle #1 with the elemental gems
Find all three gems in Level 2 World 1 and take them to the key room
Mosaic maestro
Repair the mosaic
picture
Complete the first part of Level 2 World 3
The Golden Dragon
Defeat the Golden Dragon
picture
Defeat the Level 2 boss. Easier if you drop the diamond in the left corner as he'll focus all his attention on that
Elemental puzzle #2
Solve puzzle #2 with the elemental gems
In Level 3 World 2 take all 3 gems to the exit room
The Minotaur
Defeat the Minotaur
picture
Defeat the Level 3 boss. No special items for this one
The Alchemist
Collect all tools for the alchemist
picture
Awarded near the end of Level 4 World 2 in the last room where you collect the World Key
The Skull of Eternity
Defeat the Skull of Eternity
picture
Defeat the Level 4 boss. Having the axes makes it much easier
Immortality
Complete the game
Awarded a few seconds after the previous achievement
Optional achievements
Survivor
Survive a boss fight with less than 10% health left
Easiest to do with the Level 1 boss. Let him reduce your health down as much as possible before killing him
Treasure hunter
Open 30 treasure chests
Thankfully this achievement stacks so they don't all have to be in a single playthrough. I'm not even sure the game HAS 30 chests!
Flawless
Complete a world without losing any health
Best tried with Level 1 World 1 due to it's brevity
Ice age
Use the freeze potion
This has to be bought from the shop - it can't be found in-game. Simply drop the item at any point and it'll be activated
Good ol' times
Play the game in classic mode
Press F10 at any point
I just can't get enough
Beat the game 3 times in a row
Doesn't have to be in one sitting - just keep using CONTINUE on your save - after each win the game will restart on level 1. You'll know you're making a contribution because the loading screen will display 1 or 2 skulls on the right to indicate the number of playthroughs done before
God in no time
Beat the game in less than 60 minutes
The description fails to mention that this ONLY applies to Speed Run mode - so even if you set a record time during a normal playthrough...doesn't count!

Impossible switch
Get to the unreachable switch
Level 1 World 1 - See section below
Secret passage #1
Find the secret passage #1
Level 1 World 1 - See section below
The rooftops
Find the giant jump potion to get to the rooftops
Level 1 World 1/2 - See section below
Time is up!
Wait so long that the game needs to help you
Level 1 World 3 - See section below
Secret passage #2
Find the secret passage #2
Level 1 World 3 - See section below
Wait for it...
Kill all stone gargoyles in level 1
picture
Notice how the gargoyles on the tower in Level 1 World 3 turn gold and come to life after a few seconds? Hang around for a while and kill them all
Diamonds are forever
Get to the diamond treasure
Level 1 World 3 - See section below
Electrified
Find the lightning bolt weapon
picture
You might find this anyway, it's on Level 1 World 3 and is in the top room of the tower - accessed through the door with the World Key outside. You get teleported here after falling down the trapdoor near the gargoyles
Cheers!
Collect all chalices
Level 2 World 2 - See section below
Snake tamer
Kill 100 small snakes
picture
Might unlock during a normal playthrough. If not, you'll probably get it on your second run through Level 2
Dragon's darling
Find the big diamond
Level 2 World 3 - See section below

Secret passage #3
Find the secret passage #3
picture
Level 3 World 1 - See section below
Beekeeper
Let a single beehive spawn at least 10 bees
Works on any beehive in Level 3. Just be patient
Batcave
Survive the bat room
picture
In the 3-lever room of Level 3 World 1, the left lever teleports you to a room full of bats. Simply don't die!
The Big deal
Find the big treasure chest
Level 3 World 2/3 - See section below

First aid
Get the unreachable health potion
picture
Level 4 World 1 - See section below
Birdman
Get the familiar in a level
Level 4 World 2 - See section below
Lumberjack
Pick up the axe in a level
picture
Level 4 World 3 - See section below
Extravagance
Reach the end with at least 10 lives left
You probably won't get this on your first run, but if you're heading towards "I Just can't get enough" you might unlock it on the second completion, as extra lives are carried over to successive playthroughs
Treasure rooms
Treasure room #1
Find treasure room #1
picture
Level 2 World 1 - See section below
Treasure room #2
Find treasure room #2
picture
Level 2 World 1 - See section below
Treasure room #3
Find treasure room #3
picture
Level 2 World 2 - See section below
Treasure room #4
Find treasure room #4
Level 2 World 3b - See section below
Treasure room #5
Find treasure room #5
picture
Level 2 World 3b - See section below
Treasure room #6
Find treasure room #6
picture
Level 3 World 1 - See section below
Treasure room #7
Find treasure room #7
Level 3 World 2 - See section below
Treasure room #8
Find treasure room #8
picture
Level 3 World 3 - See section below
Treasure room #9
Find treasure room #9
Level 4 World 2 - See section below
Treasure room #10
Find treasure room #10
Level 4 World 3 - See section below
Impossible Button
Okay, first of all this entire thing has to be done in less than two minutes, and you must have two lives and 100% health at the end. If nothing happens when you hit the final switch, you were too slow, or you did something you shouldn't have done, or you didn't do something you shouldn't have done, or you got hit.

If you reset an extra switch, or flick something in the wrong order, or pick up the Treasure Key, it will not work, AFAIK
First of all, pick up the knife.

Then, flick this switch to destroy the traps, and reset it

Progress round and flick this switch to destroy the traps, but DO NOT reset it

When you get here, flick the middle switch to destroy the traps. DO NOT reset it

Backtrack to the right switch and flick it to spawn the chest. DO NOT reset it and don't open the chest.

NOW go and reset the middle switch

Flick the left switch, and you'll get a crystal if you're on track

Now go to the level end and flick the switch

The platform will roll out...

....Allowing you to reach the switch

It IS possible to do this and get the Secret Passage #1 achievement in the same playthrough...but you have to do all this to get to the button, and then double-back to the beginning. Resetting the switches before you press the button will stop the platform from moving
Secret Passage #1
Reset the first two switches after pulling them to reveal a hidden room underneath the Treasure Key. Note you must pick up the treasure key first

This is in the very first level

After flipping this switch, reset it

Flip this one, collect the key and then flip it back

This opens the passageway beneath you
The Rooftops
You must have pressed the Impossible Button (see previous chapter) to do this, otherwise the potion won't be released

First, go and get the Trapdoor key from underneath here, then come back
Then press the hidden button to release the Giant Jump potion
Now you can jump up here
And up to these items
If you jump off to the right here...
...you land on an invisible platform...
...and can then drop down to these items
Time Is Up!
To get this achievement, simply loiter in the first room of Level 1 World 3.

After approximately 3 minutes the game will drop a teleport crystal to get you out

Also useful if you squander your Giant Jump Potion.
Secret Passage #2
In Level 1 World 3, reach a particular point on the map within 140 seconds of starting

This is the place. If you arrive in time, at the 140 second mark the wall will slide up, and you can flick the switch to open the door....

...which leads to this nice little bonus room
Diamonds are Forever
Collect the diamond horde in Level 1 World 3

You know that collection of diamonds up there? You teleport here from the bottom door of the tower..but they don't release? Well, what you have to do is come here without using the teleport

What you have to do it get to this point, and then jump left into thin air

The moving platform will then appear underneath you, and you can jump over to the left...

...whereupon the diamonds drop
Treasure Room #1
Level 2 World 1

In the gem room, flick the switch up and down a few times to release the teleport crystal

Which takes you to the bonus room

Try not to die as if you do, you won't be able to come back here. But if you complete it and get the Giant Jump potion...

...You can do this and get the World Key having only found one crystal, and breeze to the exit
Treasure Room #2
Level 2 World 1

Start by going right and pressing this hidden switch
You'll need bait. So you can either grab this key (which will cause traps to appear throughout the world) or progress until you get another chest key or a crystal then double back
Then you can go down here and to the right
A thief will spawn, but he isn't interested in you...
...so give him space to work. He'll jump up and grab the shield, then wait up there
...so drop your bait, then kill him and get the shield
Jump up here and wait for the shield to wear off, then flip the switch
Move slightly left to spawn the thief, then move back against the wall out of his way
This one will grab the key then come back for you, so wait and then kill him so you can grab it. Go through the door
You'll appear up here, so grab the items and drop down. Then, proceed through the level as usual
However, when you get to the exit door, keep going right...
...and through this door...
...into the treasure room!
Cheers!
Collect all three Chalices in Level 2 World 2 and take them to the Ship Room in the upper-right corner of the map

The first one is near where you start, up the ladders and to the right
The second is underneath the area with the two trapdoors. Flick both the switches and drop down
The third is right outside the Ship Room
Taking all three of them inside gives you the Treasure Key
Treasure Room #3
Level 2 World 2

First, complete the "Cheers!" achievement to take the chalices to the Ship Room. This gives you your key
Then double back here (you can use the teleport crystal) and go through the door...
...to the treasure room
Treasure Room #4
Level 2 World 3 (part 2)

After going up to collect the candle, just before you go down to where the cross is, a door key will drop
This opens the door back here which leads to the treasure room
Dragon's Darling
To get the giant diamond, you have to take the cross to the chapel in Level 2 World 3. This is worth doing anyway as the diamond makes the Level 2 Boss much easier to deal with.

This is where the cross is, but there are three traps blocking it and not enough space to move between them

So what you have to do is reset these switches as you go

This destroys the traps as you approach them, allowing you to collect the cross

And taking the cross into the chapel releases the diamond

Then, at the beginning of the boss fight, drop the diamond in the corner. The dragon will focus on it, allowing you to stand here and attack. Just watch the stars from it's tail though
Treasure Room #5
Level 2 World 3 Part 2

First, complete the "Dragon's Darling" achievement. Whilst you don't NEED to get the diamond for this achievement, the two follow directly on from each other so it's more efficient

After the diamond drops, pick up one of the candles and step off the altar to the left
The room key will drop. Go out the door and up the ladder....
...and the treasure room is in here
Secret Passage #3
In Level 3 World 1, open the secret rooftop path

At the beginning of the level, proceed down to this point. The position which spawns the monster on the left is about right

Then return to the very beginning and this key will drop...

...then go forward to this point...

...and the wall above will open up together with a couple of monsters
Treasure Room #6
Level 3 World 1

The treasure room is through here, but to get the key you have to go around the map
First you need to come up to this part and go through the "Key room" teleport
Then once you've got the bowl, come back down the stairs and go through the door. The game will give you the key you need
And if you've been through the upper shortcut (Secret Passage #3) you'll pick up ANOTHER Treasure key, so that's two now that you're carrying
Now if you go back to the door and flip the switch, the game will give you the key for some reason
Be careful as there's a lot of monster down here. Grab the monster attract potion...
...and use it to bribe the thief with the key down here. The Treasure room is through the door

I don't know why you have to get the bowl and treasure key before the game will decide to give you the door key...seems a bit illogical, but whatever
Treasure Room #7
Level 3 World 2

The treasure room is located in a pit underneath the gem room

There are two ways to get to it..route two is a little more complicated but you have to go that way if you're after the big treasure chest in World 3

ROUTE ONE

Successfully reach the top of the ladder on full health. This is best achieved by jumping on to the ladder, killing the monsters then flipping the switch to receive a health potion, THEN climb up. If you die at any point you lose the chance.
The key will be awarded at the top
And the pit will open automatically when you enter the gem room

ROUTE TWO

In the room with the third gem, flipping the switches in the correct order will allow access to the corridor to the right
Flip the switch on the right, then the left. Pick up the shield, then flip the middle switch to lift the block
The door leads to the bottom of the pit. While you're down here, don't forget to press the button if you want to get the huge treasure chest in World 3

And don't forget to go back for the gem!
Treasure Room #8
Level 3 World 3

After climbing the tower, pick up the Treasure Key before jumping off
Then double back and go through this door, not the one on the right
This Treasure Room is also where the final button is for the giant treasure chest
The big deal
Find the massive hidden treasure chest in Level 3 World 3. As in other bonuses, this one crosses worlds so you need to start at World 2 and progress forwards.

To release the chest you have to press three hidden buttons.

The first is in World 2 and is on the way to Treasure Room 7 (see other section for details). Even if you get to TR7 through the full health/pit route, you'll still want to come this way to get to the button

The second is in World 3 in this rather dangerous place

And the third is in Treasure Room 8 in World 3. After collecting the treasure, push the button...

...the chest will drop down...

...and you get showered in jewels. You can try and pick up the chest and carry it with you, but the game doesn't seem to like that and you get no bonus for doing so, so just leave it alone
First Aid
Collect the health potion in the first room of Level 4 World 1

Actually, all you have to do is flick the door switch BEFORE you pick up the key, and it releases it. Easy.
Birdman
In Level 4 World 2, activate the Familiar

If you go into this Bonus Room....

...there is a lamp in the corner. Pick it up

Then, later on, if you are carrying the lamp when you pull this switch, the familiar will join you and you'll get the achievement

It is possible to BUY the familiar from Level 3 onwards, but I don't believe that counts as far as the achievement goes
Treasure Room #9
Level 4 World 2

After passing the Familiar switch, you come to an area with a lot of destructable blocks, and a ladder high up to the ceiling
You have to get onto that ladder before the flying monsters destroy all the blocks and make it inaccessible
Up at the top you'll find the key, but the room isn't until later on
When you get to this part, instead of flipping the switch and going down, press the hidden button to open the door to the left
This gives you access to the treasure room
Treasure Room #10
Level 4 World 3

When you get to this point, slow down and wait for the thief...

... to drop into the pit and retrieve the key

Then quickly kill it when it reaches the top, and grab the key

But where is the room?

Well, when you drop down the trapdoor underneath the mace, this door would normally teleport you back to the room where the cannons were

But instead it'll take you here

Going through the door puts you back on track
Lumberjack
Collect the axes in Level 4 World 3

During your playthrough of the final level you probably noticed these axes. But you can't get through the solid block, and the button doesn't do anything

Actually, it does. Once you've picked up the World Key here...

Instead of going up and right to the exit, double-back. The button now moves the blocks

...allowing you to destroy the blocks and collect the axes

While it is possible to buy axes from the shop, this doesn't count towards the achievement. They are certainly worth getting as it makes the final boss MUCH easier

Actually, you might want to have a mace to help you destroy the blocks. By this point you'll probably have spears and throwing stars. You can do it with throwing stars but it takes a long time.

You can get the thief here to bring you the mace. But you have to get rid of the key first so as to not distract him. You can either flick the left then middle switch to drop the key down the trapdoor, or flick the left twice and then the middle but be sure to grab it before the thief comes down otherwise the opportunity is lost

Then after the thief picks the mace up he'll come down for you. You don't need to bribe him
13 Comments
Hamakei  [author] 21 Jun @ 6:57am 
It's possible there are small differences with the PS4 version. I know there's small differences between the remaster and the original game, but nothing major that alters how puzzles are solved or how secrets are unlocked. Though I would have presumed all the remasters were compiled from the same code base
Nicholas 20 Jun @ 12:55pm 
I'm playing on PS4 and I can't reach the impossible switch in the second playthrough. Maybe I have less time...
Hamakei  [author] 7 Feb, 2022 @ 4:26am 
Yes, the game map completely resets between playthroughs. There are a few minor differences such as the value of pickups and the strength of monsters, but the actual map and puzzles are exactly the same
607й 6 Feb, 2022 @ 11:04am 
Is it possible to execute "Impossible Button" on the second playthrough? Such impression that it is impossible or the performed actions change. I completed "Impossible Button" the first passage, in speedrun mode works, but the second passage "Impossible Button" does not work. Strange.
DrPrime8 11 Aug, 2021 @ 5:54am 
Top notch guide! I'll be using this as I try to hoover up all the achievements. Thanks!
HammerHand 5 Aug, 2021 @ 1:05pm 
Oh, and if you want to get to the impossible switch in the intended way (under 2 minutes), all you gotta do is 2 things:
1. Destroy the barrier in front of the Treasure Key but DO NOT GRAB the Treasure Key and IGNORE the shortcut;
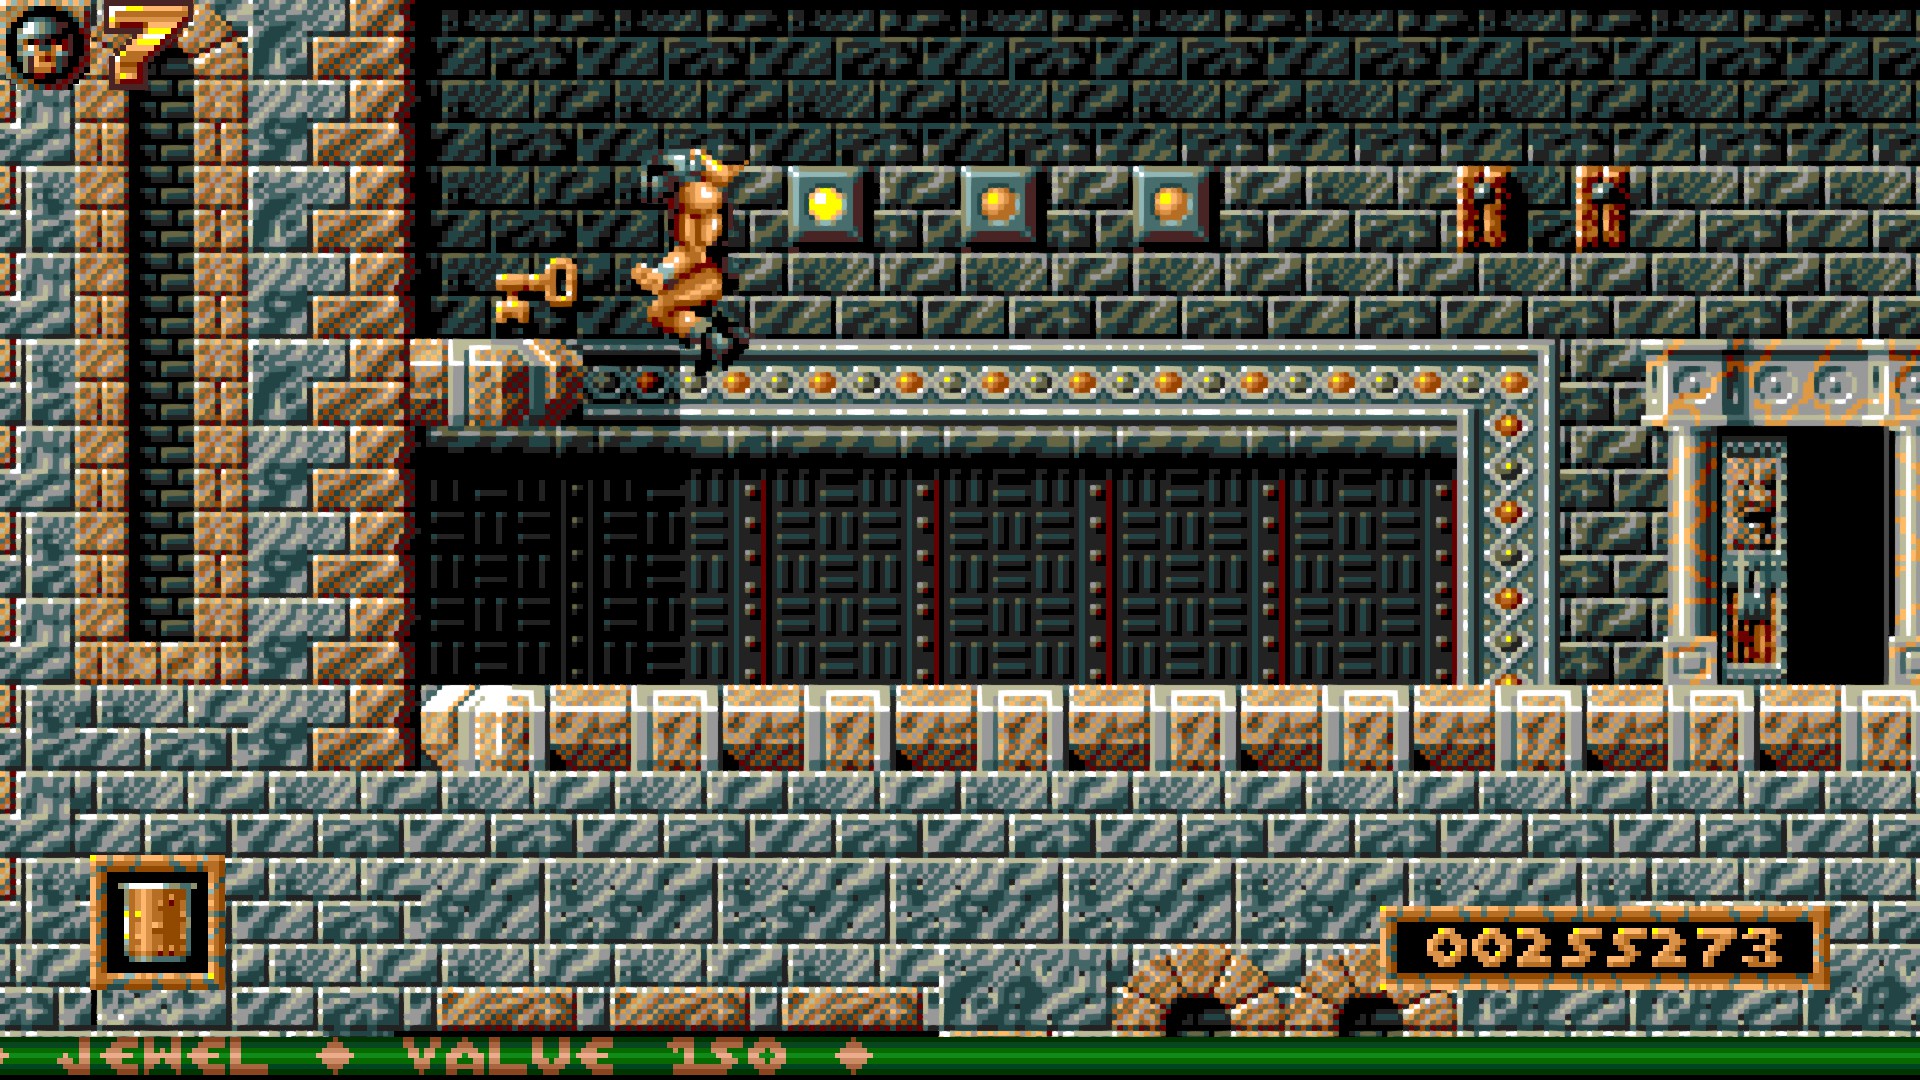
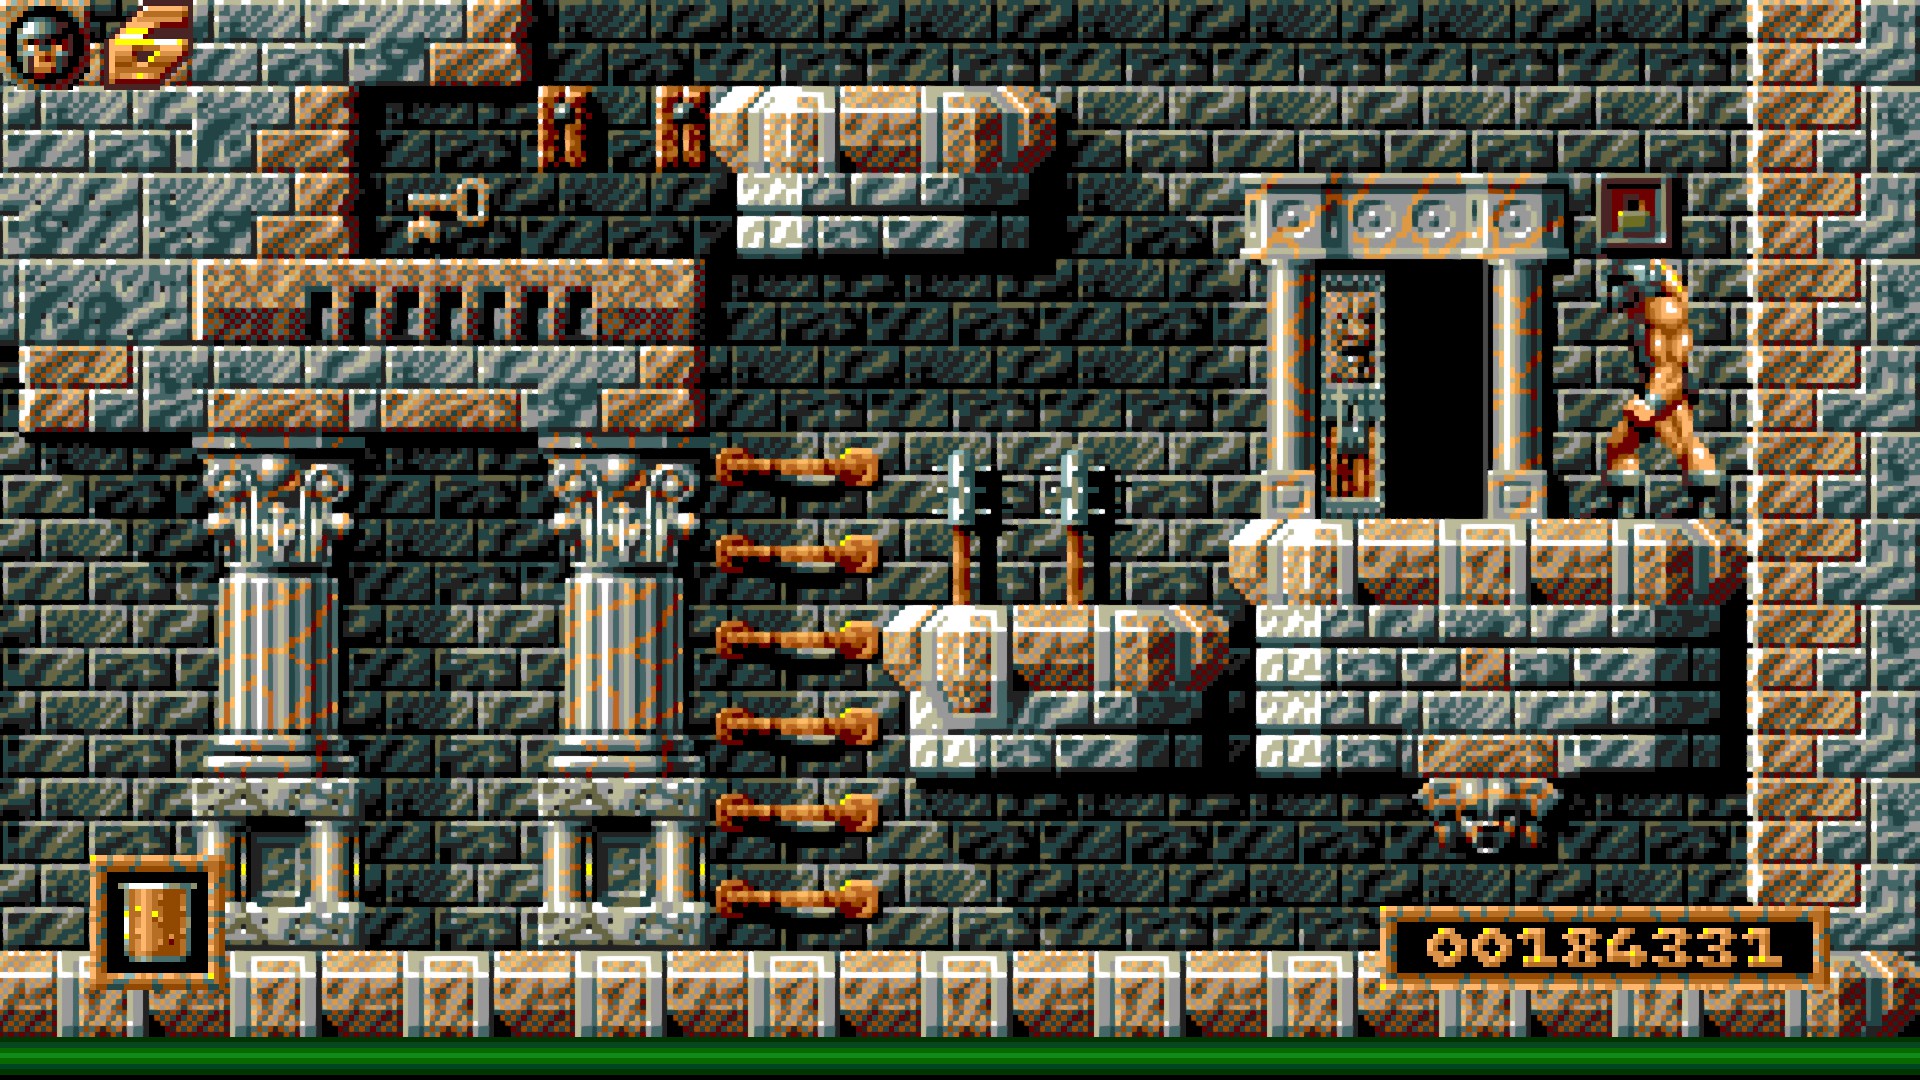
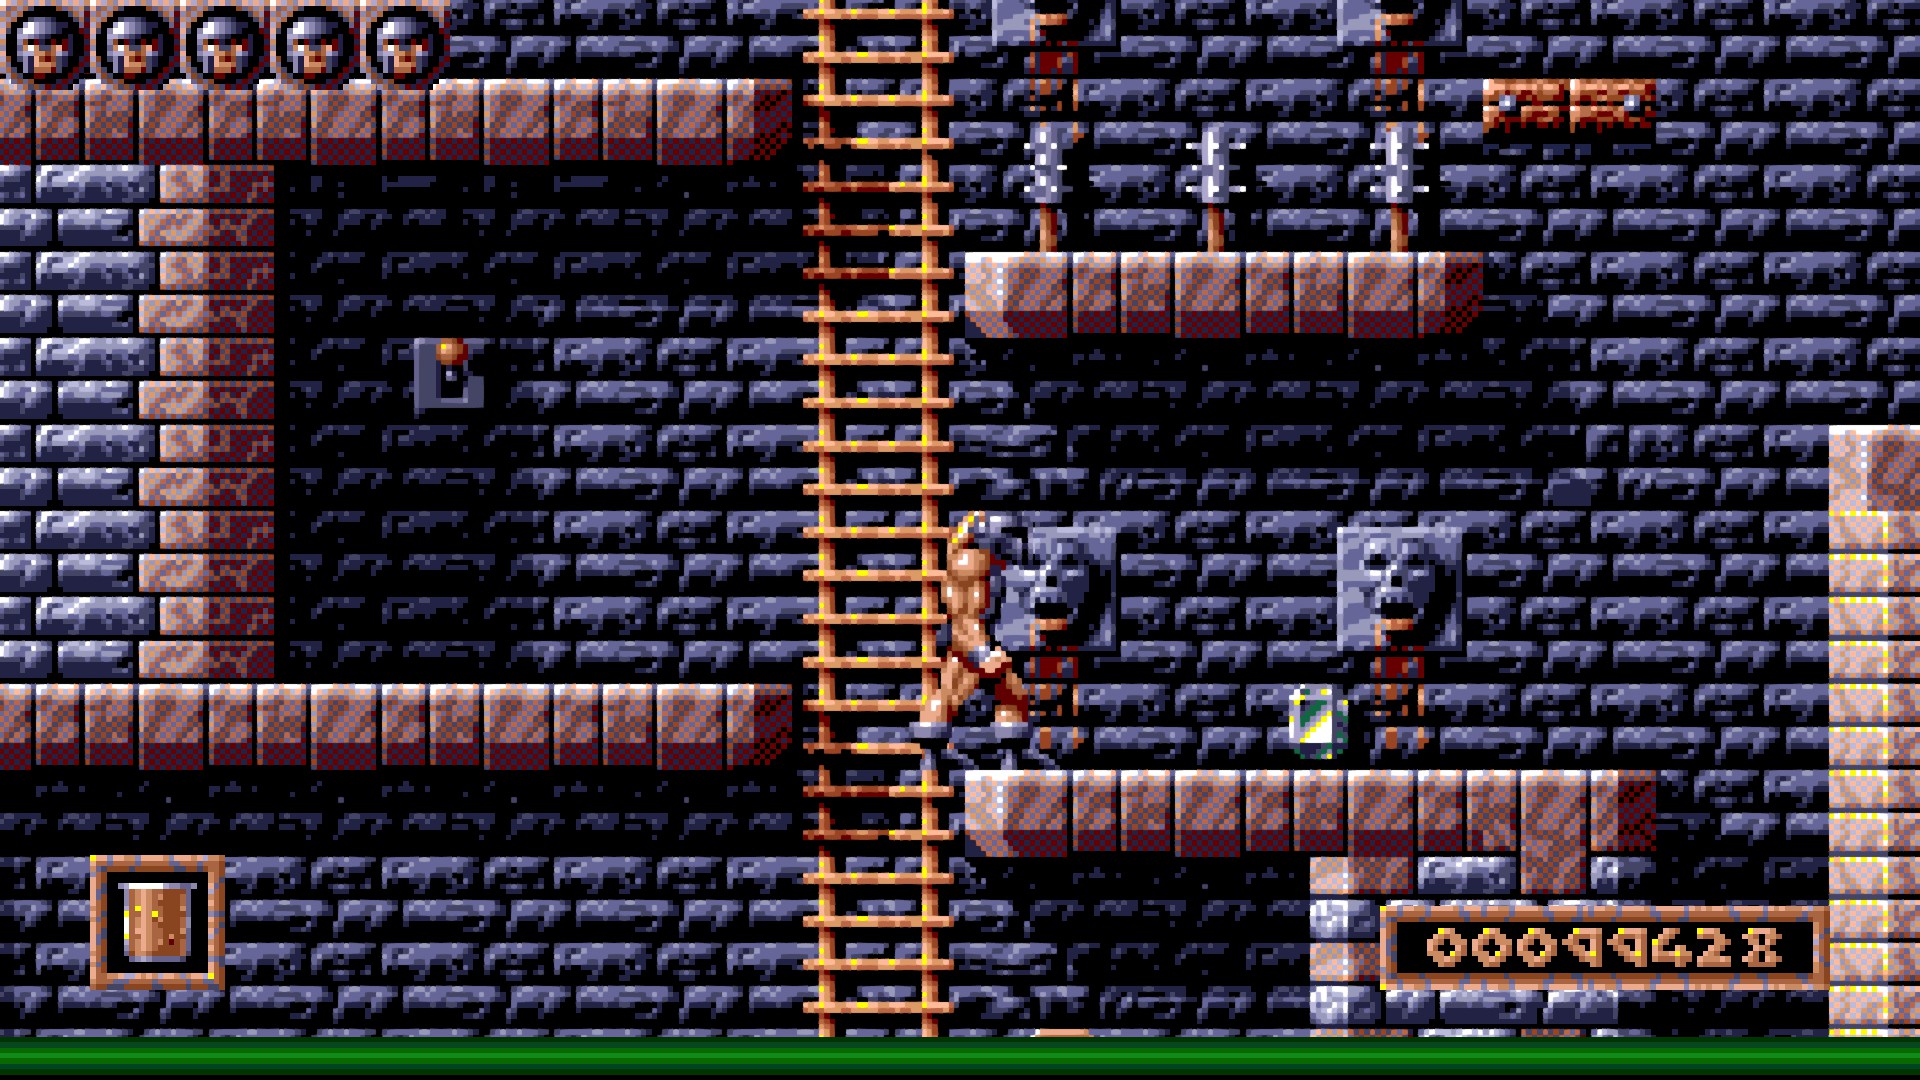
2. Solve all pieces of the 3-switch puzzle (destroy the barriers [middle switch down], release the small chest & its key [right switch down] but IGNORE them completely for now, get the fire crystal [reset middle switch to up + flick left switch down).

That's all. Now go and flip the switch at the very top (the one that lets you finish World 1) and the magical platform will appear if you've done everything in under 2 minutes.

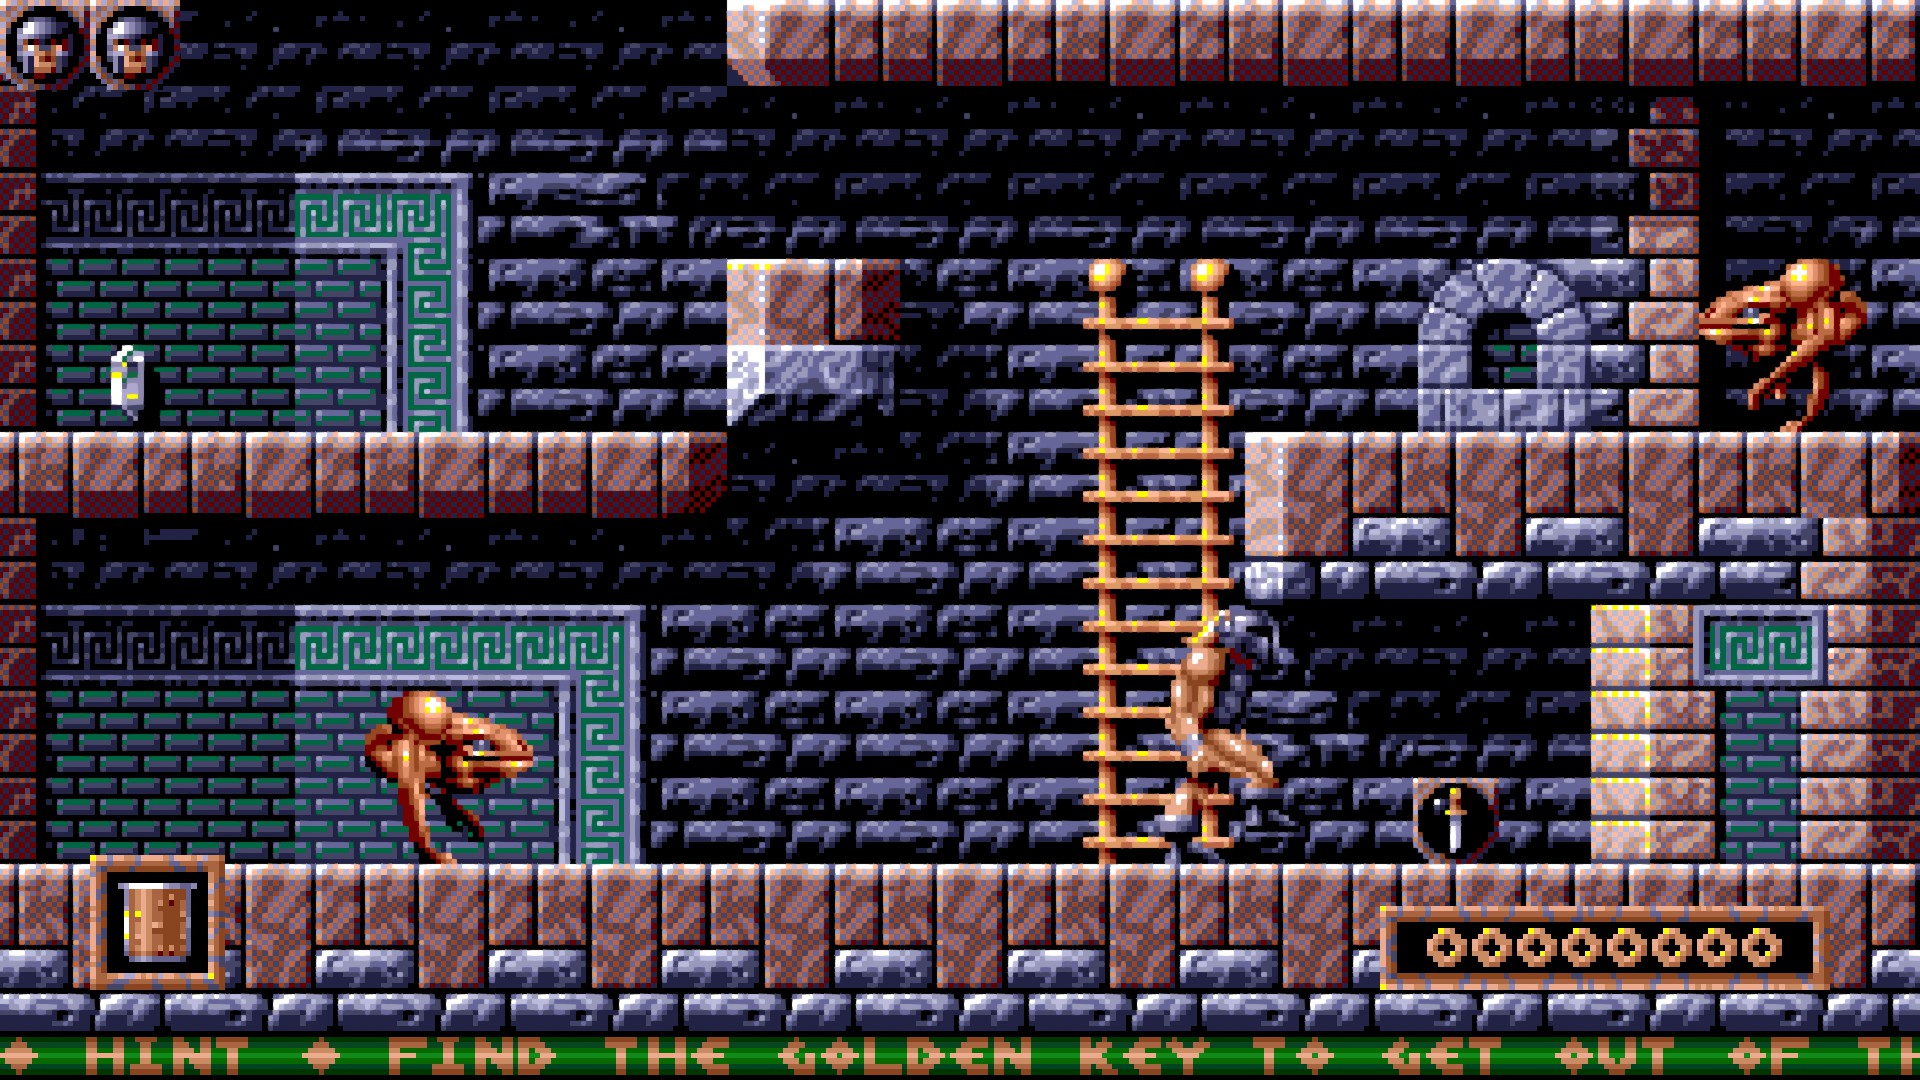
It does not matter in what position you leave any of the switches in this level to get to the impossible switch. :steamhappy:
HammerHand 5 Aug, 2021 @ 12:36pm 
I can confirm Fishtopher's method is a thing in the original Amiga game (haven't tried it in the remaster). I remember how proud I was when I discovered it as a 9 or 10 year-old boy. I also like his theory about why it works. :cozybethesda:
Hamakei  [author] 30 May, 2020 @ 8:53am 
I had heard of that trick in the original game but I could NEVER get it to work correctly... So I didn't put it in as it's not the "official" way to do it
Sparks 30 May, 2020 @ 8:31am 
There's an easier but weird method to get the impossible switch in world 1. It's how we used to do it in the original and it still works in the remake.

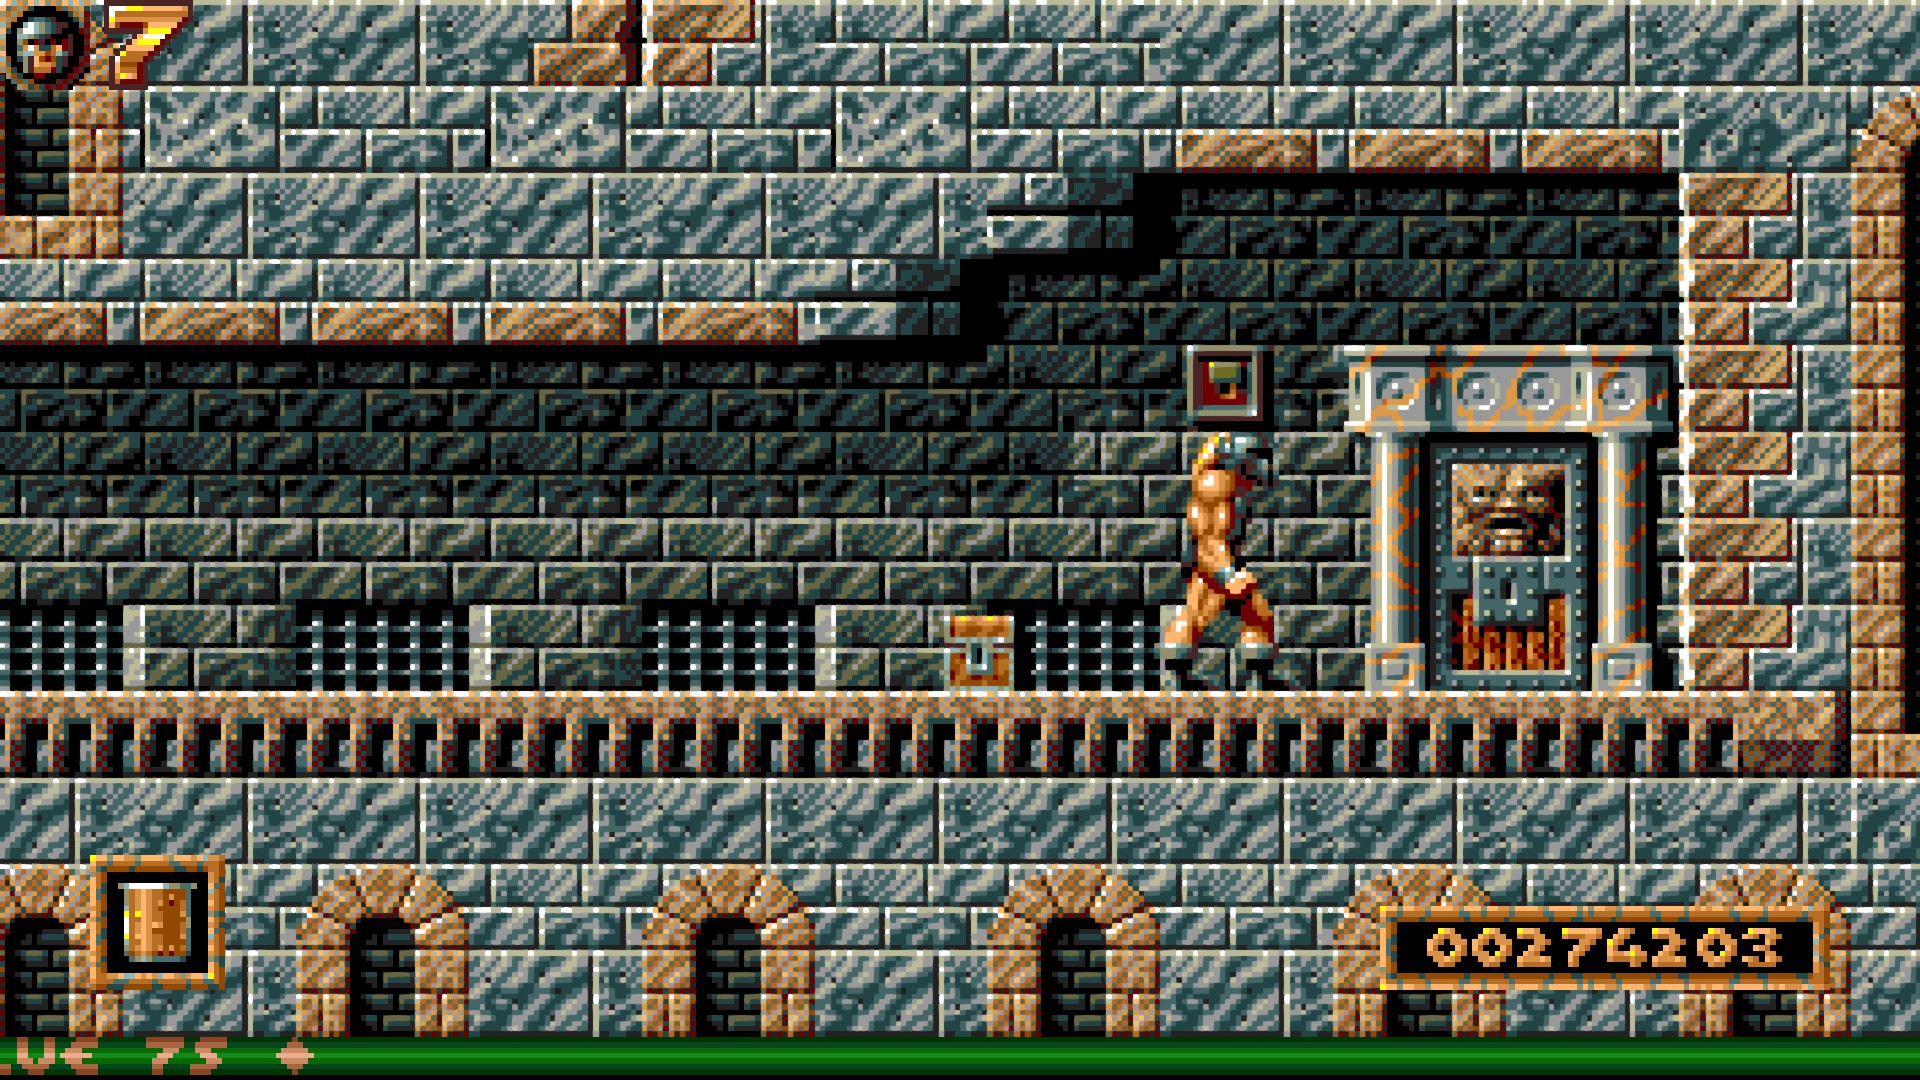
Finish the world as normal, opening the final door. What you want to do now is step out of the door but stop RIGHT before the boundary which triggers the start of the next level. If you play with retro graphics, stop with the fighter's back heel touching the door and take one more step.

If you've done this right, walk back into the first level. If the switch to open the door is down, the platform will pop out when you walk under the switch but if not, just press it.

I'm not sure why this works but I figure that stepping that far out of the level confuses the timer a little, possibly resetting it when you walk back.
tim.doherty 9 Jul, 2019 @ 1:58am 
I agree most can be solved from trial an error except for the more complicated ones where pull a wrong lever, or not and you've stuffed it up. This guide in terms of achievements is very useful.