Reventure

Reventure

137 ratings
The Hero Tool - Create your own heroes!
By Manostion
In this guide I'll explain how you can access the Hero Creator and how you can create your own heroes with it.
   
Award
Favorite
Favorited
Unfavorite
Unlocking the Hero Tool
Notes from the Author:
  • Don't forget the thumbs up. Creating this took a lot of effort!

  • Be sure to check back regularly, as I keep expanding and/or updating this guide.

  • If you spot any mistakes, know of missing tips and tricks or have some suggestions and/or questions, leave a comment and I'll get back to you and probably adjust this guide accordingly.

The Hero Tool is only available in version 1.1.0 or higher of the game and only if you have at least one save file that has all endings unlocked.

If automatic updates are enabled in your Steam application, the first condition shouldn't be a problem. To check your version, start the game and check the bottom left corner for the version number. If it says v1.1.0 or higher, you're good to go.


You'll find a button labelled as "Hero Tool" on your game's load screen and on your character selection screen.
External Software Guide
All you need to create your own characters (beside the Steam-version of the game) is any image editing software of your choice.

It is highly recommended to use Aseprite[www.aseprite.org] for several reasons:
  • Aseprite's default color palette ("DB32") happens to be the exact palette you should use to create pixel-art for this game (coincidence? I think not).

  • As a specialized program for animated sprites, Aseprite offers plenty of handy tools to work with your spritesheet, for example:
    • Onion Skins - see other frames as a reference for animating.

    • "Pixel-perfect" lines and curves. Aseprite has a handy tool that creates pixellated curves that look perfectly round instead of being round but looking janky. If you ever created a pixel curve in any image editing program and there were some thick or edgy bits in it, you'll know why this is super sexy.
       
    • Animation preview - pretty self-explanatory, right? See your sprite in motion!


Another great program that is highly recommended to use for pixel art (for many of the same reasons), is Piskel[www.piskelapp.com]. It comes with a lot of the same features that Aseprite has, such as Onion layering, real time results allowing you to see your animation as you edit the sprites, and many more.

Unlike Aseprite, Piskel doesn't cost any money but instead is a free online sprite editor that can be accessed from any modern web-browser with JavaScript support, meaning it also works on mobile phones. If you create a free account, you can save your projects to the server and seemlessly switch between browsers, however Piskel also comes as a portable executable for Windows so that you can run it offline.

Of course both of the above introduced programs are merely suggestions and you can feel free to use Photoshop, GIMP, Paint.net, Paint or whatever else you already have and are used to. Personally, I use Photoshop.
Creating a spritesheet
Creating your own Reventure character means drawing each frame of the character and compiling them in a so-called spritesheet. Each frame of animation is represented by one still image on the spritesheet.

When creating your own spritesheet, you need to make sure that it has the right dimensions.
  • Each frame is 12x12 pixels large.

  • The spritesheet can fit 6 frames per row and column, meaning it is 72x72 pixels large in total.


You also need to make sure to save your spritesheet with the PNG format / extension. Any image that is not a PNG and / or is not exactly 72x72 pixels large will be incompatible.

Important:
Note that each sprite should also have an outline (black usually with few exceptions). Taking that into account, each sprite can only be 10x10 + 1px outline!!
The color palette - "DB32"
Once your spritesheet has the right dimensions, you also need to make sure that you're using only accepted colors.

The palette consists of the following colors (32):

Color
Hex
RGB
Color
Hex
RGB
#000000
0, 0, 0
#222034
34, 32, 52
#45283c
69, 40, 60
#663931
102, 57, 49
#8f563b
143, 86, 59
#df7126
223, 113, 38
#d9a066
217, 160, 102
#eec39a
238, 195, 154
#fbf236
251, 242, 54
#99e550
153, 229, 80
#6abe30
106, 190, 48
#37946e
55, 148, 110
#4b692f
75, 105, 47
#524b24
82, 75, 36
#323c39
50, 60, 57
#3f3f74
63, 63, 116
#306082
48, 96, 130
#5b6ee1
91, 110, 225
#639bff
99, 155, 255
#5fcde4
95, 205, 228
#cbdbfc
203, 219, 252
#ffffff
255, 255, 255
#9badb7
155, 173, 183
#847e87
132, 126, 135
#696a6a
105, 106, 106
#595652
89, 86, 82
#76428a
118, 66, 138
#ac3232
172, 50, 50
#d95763
217, 87, 99
#d77bba
215, 123, 186
#8f974a
143, 151, 74
#8a6f30
138, 111, 48
Sprite-guide - Which frame does what?
So, knowing how to set up your canvas, what colors to use and how spritesheets work in general, you may still find yourself overwhelmed because you don't know what you need to create in order for the character to function.

A good place to start is the default skin. To get it you can either
  • navigate through the folder-inth:
    [Steam directory]
    \steamapps\common\Reventure\
    Reventure_Data\StreamingAssets\HeroCreator\
    herocreator_Data\StreamingAssets
or
  • Open the Hero Tool from within the game and then hit the little "Tim" button in the top right corner
(Both methods will take you to the folder which contains the DefaultSkin.png)

Using this spritesheet as a guideline, you can probably already guess some of the sprites' meanings but some are still a bit unclear, so let's clear them up...


  • 1 A
    Idle - this represents the hero standing still.
    This frame also determines the general position of the character. The game will look for the lowest "visible" pixel to align it with the ground. This prevents characters that aren't positioned exactly right from either hovering above or being sunk into the ground. If your character is supposed to hover above ground level (ghosts etc.), you can add an almost invisible (≥ 1% opacity) pixel below them within the Idle frame to offset them. That pixel will then be the lowest "visible" one and be aligned with the ground.

    On image: Almost invisible pixel
  • 1 B
    Jumping - This is a jumping hero as long as they're gaining altitude.
  • 1 C
    Ready to Hug - This hero wants to hug something (but nothing huggable is in sight).
  • 1 D
    Hugging / Opening - This is what you'll see when the hero is hugging someone or something or opening a chest.
  • 1 E
    Acquiring an item - Getting some gear from a chest, picking up a chicken or rescuing the princess (while looking under her dress?) will look like this.
  • 1 F
    Drop Kick - Wait, no! That's the "taking damage" one. Guess when it's used.
  • 2 A-E
    Walk cycle - These frames will be played in a loop whenever the hero is walking.
  • 3 A-B
    Falling - Walking off a cliff and/or losing altitude mid-jump will play this animation... look how Tim is flailing with his tiny arms - adorable.
  • 3 C-D
    Falling... in love? - This animation represents the hero jumping at someone or something huggable.
  • E 3
    Not the Electronic Entertainment Expo but the infamous faceplant - this is what tripping over a rock will do to a hero.
  • 4 A-D
    Swimming - just like the walk cycle but for movement in water.
  • 5 A-B
    Split personality - Being cut in half has never looked nicer. Note that only one half (5 A) has blood. That is because the other half (5 B) will be positioned on top of the first half even before the hero is cut. Adding blood to the second half will ruin the illusion.
  • 6 A
    Fishing - Even heroes need some time to relax every now and then, right...? Let minutes turn to hours and hours to years with this sprite.
  • 6 B-C
    Computing - This is a hero typing important stuff on an important machine that totally isn't an anachronism.
How to (properly) use the Hero Creation Tool
We already briefly introduced the Hero Tool above. If you've opened it once, you've already seen most of what it does:


  1. Tim Icon
    We've been over this. Clicking this button will open the folder that holds the default skin and where you should probably save your custom skins.

  2. Spritesheet
    Upon opening the Hero Tool, the default hero spritesheet ("Tim") will be visible here for reference. Clicking on this area will allow you to load up your custom hero spritesheet.

  3. Preview area
    This is where you can preview a few of the animations in motion. The displayed sprites are (top to bottom):
    1. Idle
    2. Walking
    3. Jumping and falling
    4. Swimming (note that in the game part of the sprite is hidden behind water)
    5. Jumping for a hug
    6. Computing
    Animations that are not previewed include taking damage, fishing, hugging the air (small heart above hero's head), opening a chest + picking up a sample item... pretty much all the animations that consist of Idle + one other frame. This area is very valuable for testing your jump, walk and swim cycles, though.
    Note that you can load up even unfinished spritesheets for testing - the Hero Tool will simply preview anything you already finished (technically it previews everything and some animations just happen to be invisible).

  4. Name
    This should be pretty self-explanatory. Enter the name of your hero here. I recommend avoiding copyrighted names and instead alluding to them. For example my Xenomorph (original design by H. R. Giger) is called "Gigermorph". The name you specify here will be displayed both in the Steam Workshop and in the game, so make sure to stick to both Valve's and Pixelatto's terms.

  5. Description
    Again, rather self-explanatory. Enter a short description for your hero. It will be shown in the Steam Workshop.
    Hint:
    The best descriptions I have seen and written try to emulate Pixelatto's kind of humor, so be creative. You can basically pitch your own Reventure Ending here.

  6. Hero Slots
    This is where all the heroes you already uploaded to the Workshop are stored. To edit an existing one, click its slot and make whatever changes are needed. To create a new one, click an empty slot ("+") and proceed like normal. You can, of course, create more than five heroes. Just use the arrows to navigate through an infinite amount of pages!

  7. The Submit Button
    This button will remain inactive until you "Fill the * fields". Note that the Spritesheet view is one of said required fields, even if you can see Tim there - he's merely a placeholder.
    Once all fields are filled, you can
    1. Publish to the Steam Workshop if it's a new character or
    2. Update your character if you made changes to an existing one.
    The corresponding Workshop page will be created/updated and open in your default browser.
    Important:
    Note that your hero will be invisible by default (even after each update you make), so no other players will be able to find it. You have to manually change the visibility from the Workshop page.
Getting community feedback
If you started working on your hero and are stuck, or even if you only have an idea for a cool and buffle hero and aren't sure whether or not it would work or has already been done, or if you don't feel like a pixel artist and want to pitch your idea to anyone willing and able, you should visit the Official Discord Server[discordapp.com].

Everyone here is friendly and very eager to create new content for the game. You get to show off your stuff to the actual developers of the game (who are very forgiving of the fact you may have killed them on your journeys and work hard on reacting to player feedback) and you can post your w.i.p.s (work in progress) and get some feedback on those as well.

How to unlock skins
Whether you created your own heroes or just want to use those that others have already made, you need to somehow get them in the game. There are two methods of unlocking skins:

  1. During the game you'll occasionally find cages hidden throughout the world of Reventure. Note that on each play-through there will only be one cage at max!
    If you already have the Map unlocked (After unlocking 66 Endings), it will show cages.


    Cutting the ropes of those cages will unlock a random skin from the Steam Workshop (including yours if you published them) by automatically subscribing to it.


    Standing next to that skin will trigger a dialogue in which the hero introduces themselves to you, including their name and the username of that skin's author. If you want to keep that skin, leave it where it is and unlock any ending (Harakiri! would be the quickest!) or end the game.

    If you don't like the skin, murder it and it will disappear (it might randomly re-appear in another cage, though).


  2. A more direct way to get certain skins would be to enter the Steam Workshop and subscribing to them. Subscribed skins will be unlocked in the game's Hero menu and the closet you unlock after Ending#45 - "Well Excuuuuse Me, Princess!".
    This method is especially useful when you want to test your heroes in-game, since
    1. You immediately have it available and
    2. You can publish unfinished skins and leave them invisible.
      That way you can subscribe to them but others won't see them, yet.
Known issues
As with any new feature, there are some kinks at first. Here's a quick overview of anything that hasn't yet been fixed:
  • Technically not a bug but sometimes, you won't free a new skin from a cage but discover "error" instead. This happens when subscribing to the skin in the workshop failed due to connection issues at the time of cutting the cage's rope.

    Warning:
    In some rare scenarios killing "error" will remove one of your already unlocked skins!

Notes from the Author:
(Yes, again. Don't tell me you haven't already forgotten about this)
  • Don't forget the thumbs up. Creating this took a lot of effort!

  • Be sure to check back regularly, as I keep expanding and/or updating this guide.

  • If you spot any mistakes, know of missing tips and tricks or have some suggestions and/or questions, leave a comment and I'll get back to you and probably adjust this guide accordingly.
13 Comments
Manostion  [author] 6 Jun, 2022 @ 11:47am 
Your achievements tell me that you haven't yet unlocked 100 Endings, Lil Dorito.
JUMMM 5 Jun, 2022 @ 9:52pm 
I can't find the hero creation tool, I already installed and uninstalled the game but nothing happened, it has something to do with my region, I'm from Peru (Latin America)
:p2aperture:
Undeemiss 17 Jan, 2022 @ 7:10pm 
I know this is old, but just in case anyone is looking at this guide today, be aware that Aesprite is actually free and open-source! The paid version is merely a convenience fee, and it is not only possible, but intended for users to compile it themselves for personal use! You can find the official source code at https://github.com/aseprite/aseprite , and there are tutorials online for how to compile it if you're unfamiliar with the process!
Aura 28 Mar, 2020 @ 12:16pm 
"Note that on each play-through there will only be one cage at max!" Isn't there up to three cages per play-through now
Manostion  [author] 18 Oct, 2019 @ 3:57pm 
So far it's an unlock. So no. You can try opening the Hero Tool from the game's directory on your hard drive but I don't think anything you do there will be linked to your account, then.

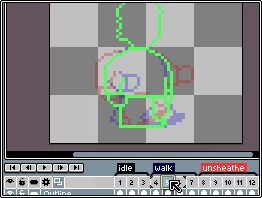
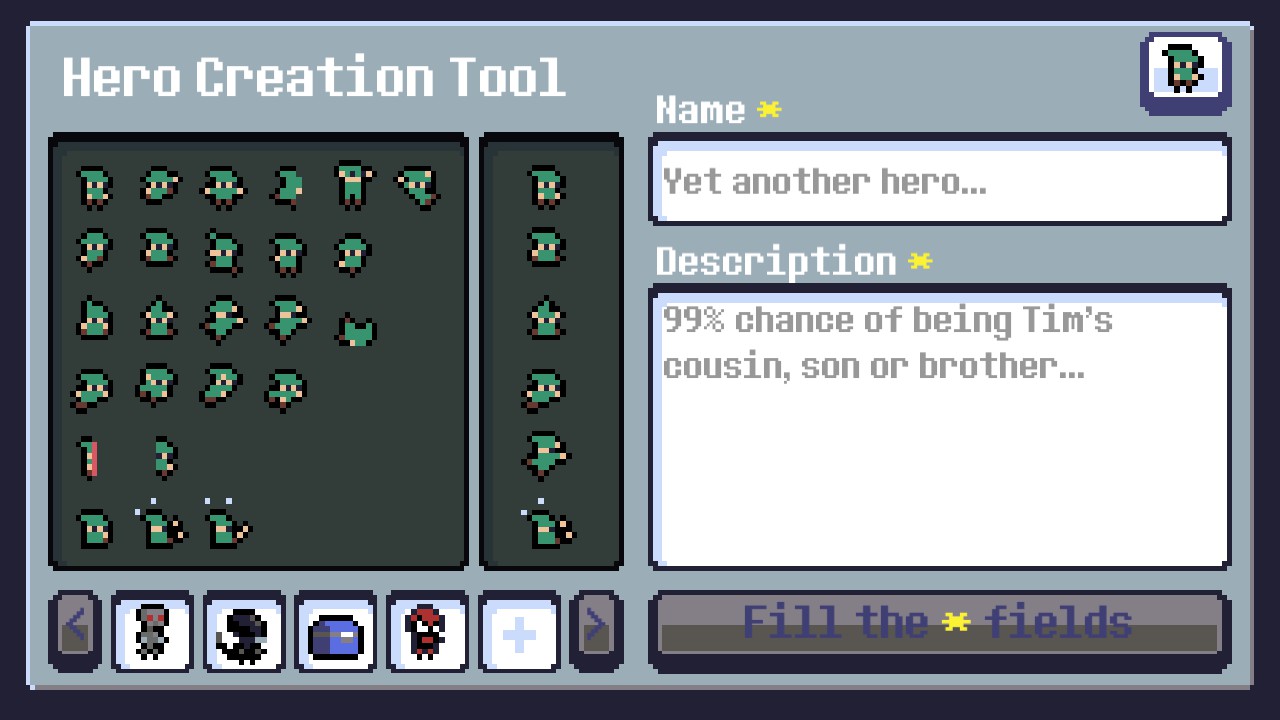
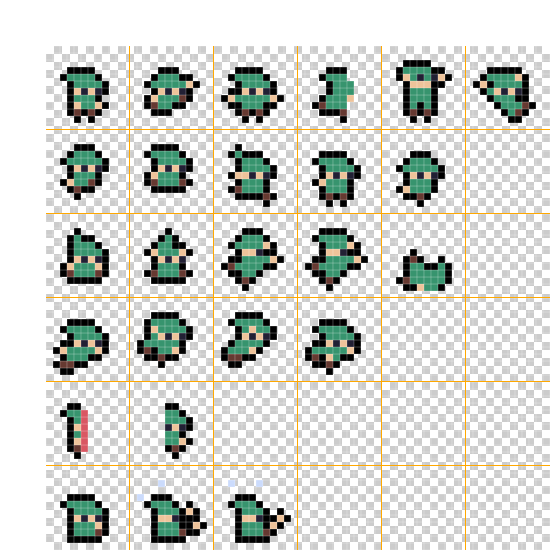
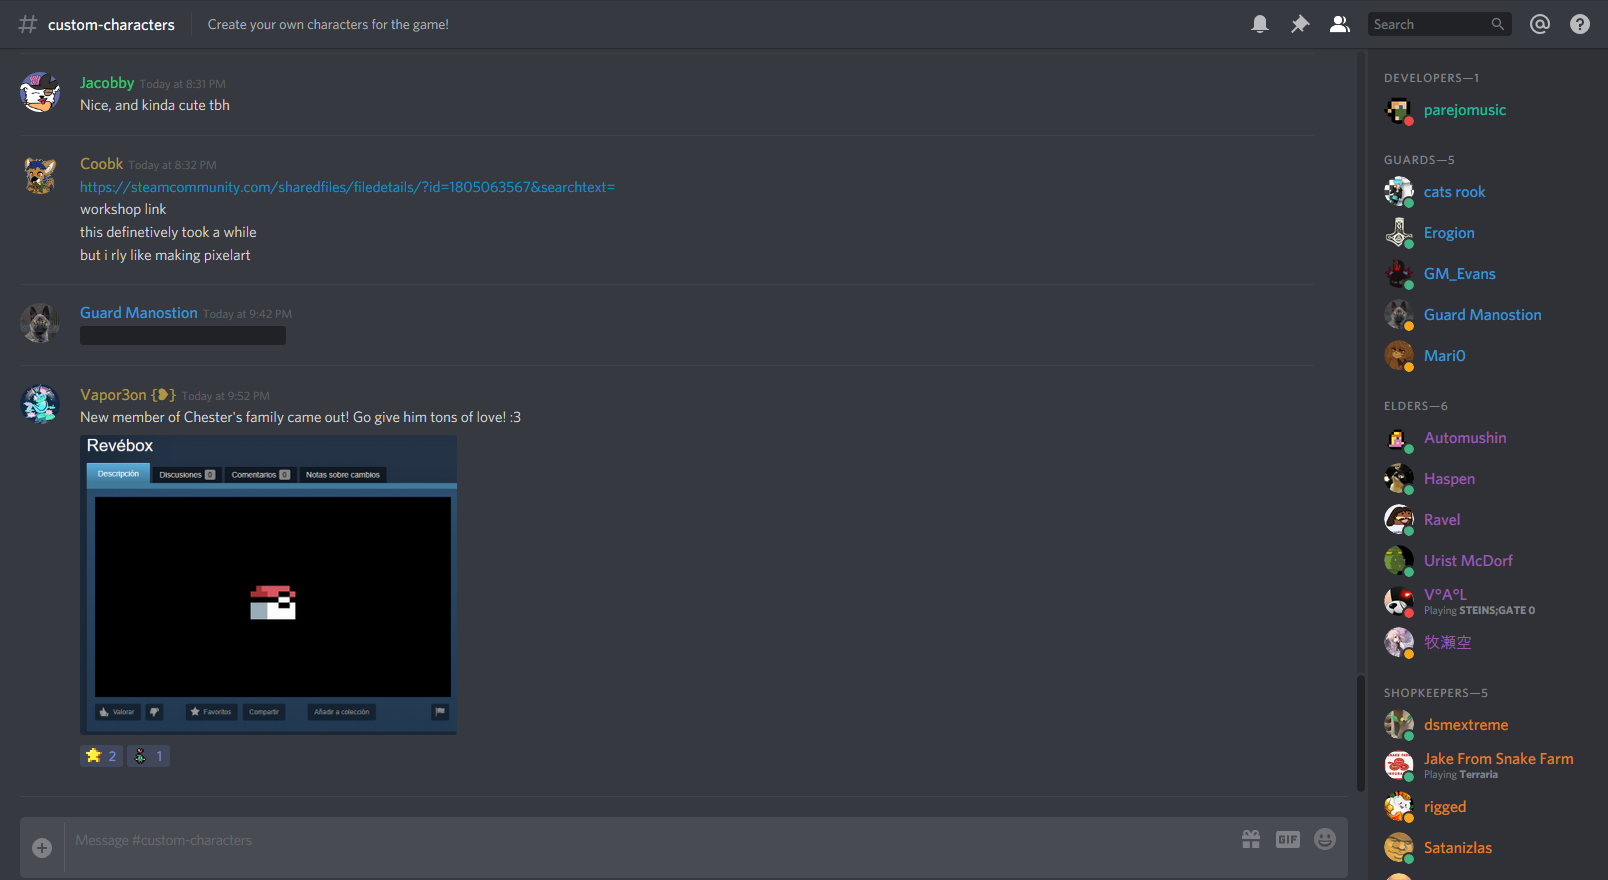
Alter actively you can send your spritesheet to someone who has cleared the game and ask them to publish them for you.
aj 13 Oct, 2019 @ 4:36pm 
any way to upload without getting all endings? seems like a grind. i just wanna make some bois :(
KissMyAsthma99 2 Aug, 2019 @ 11:25pm 
THANKS BRUH
Manostion  [author] 30 Jul, 2019 @ 11:59pm 
I'm also not 100% sure if removing one of your unlocked skins works, now that I think about it... error appears when you have no connection at the time of cutting the rope. Removing a skin means unsubscribing from it, so... if you still don't have internet at the time of murdering error, that shouldn't be possible either...

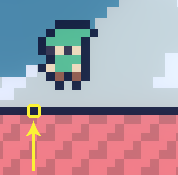
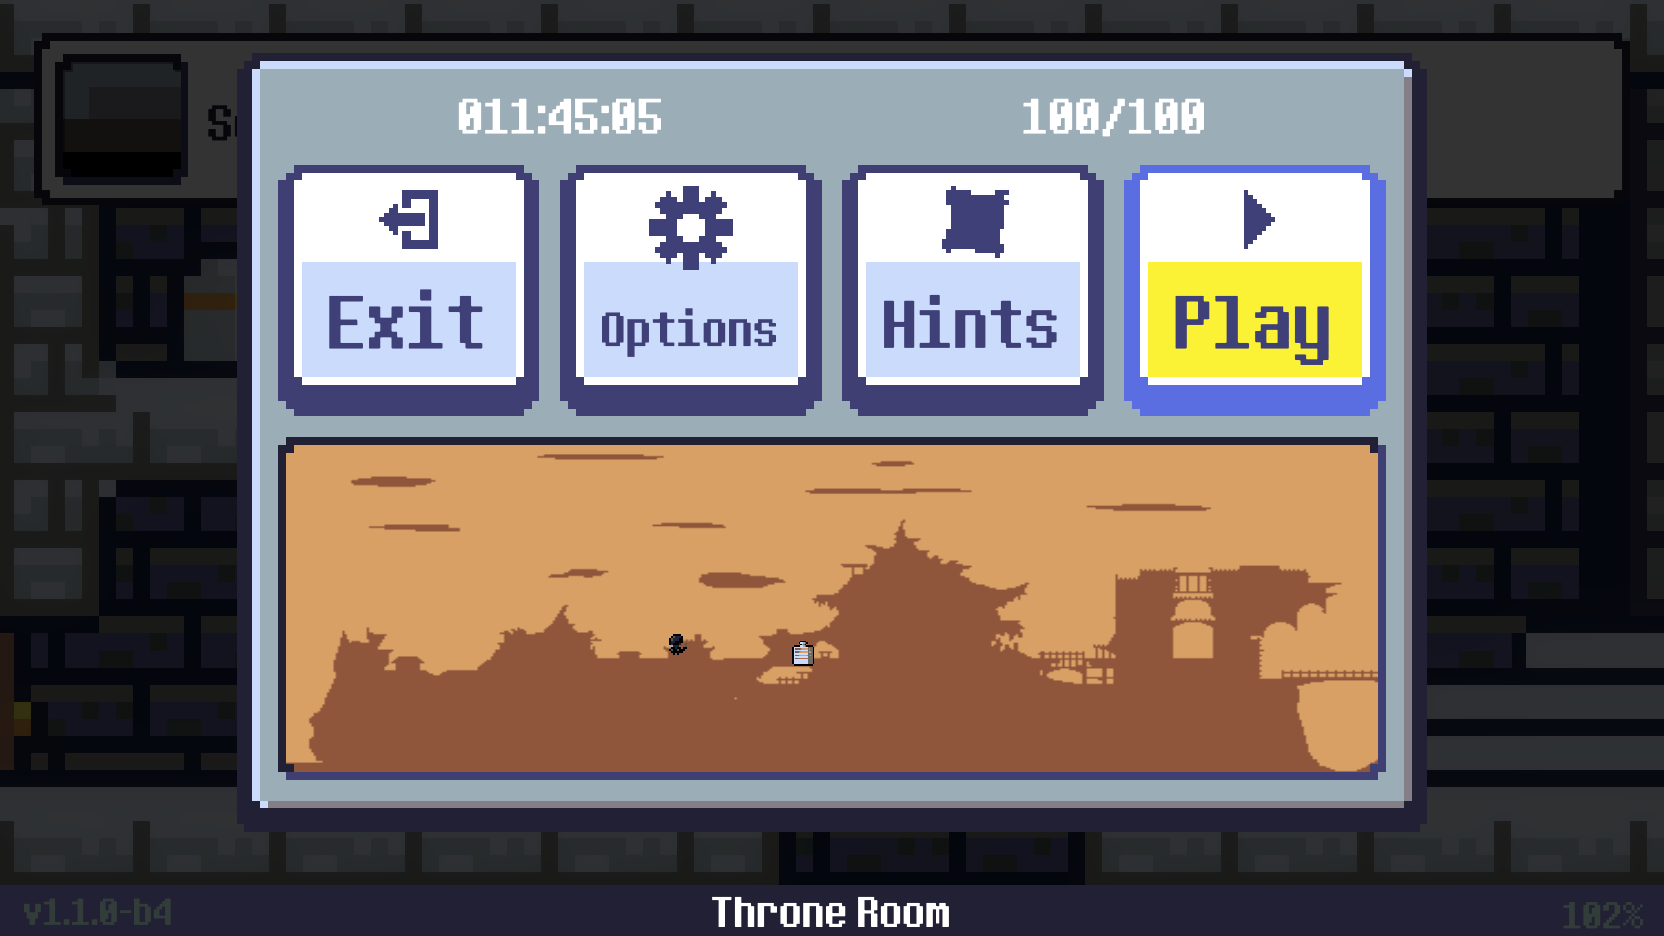
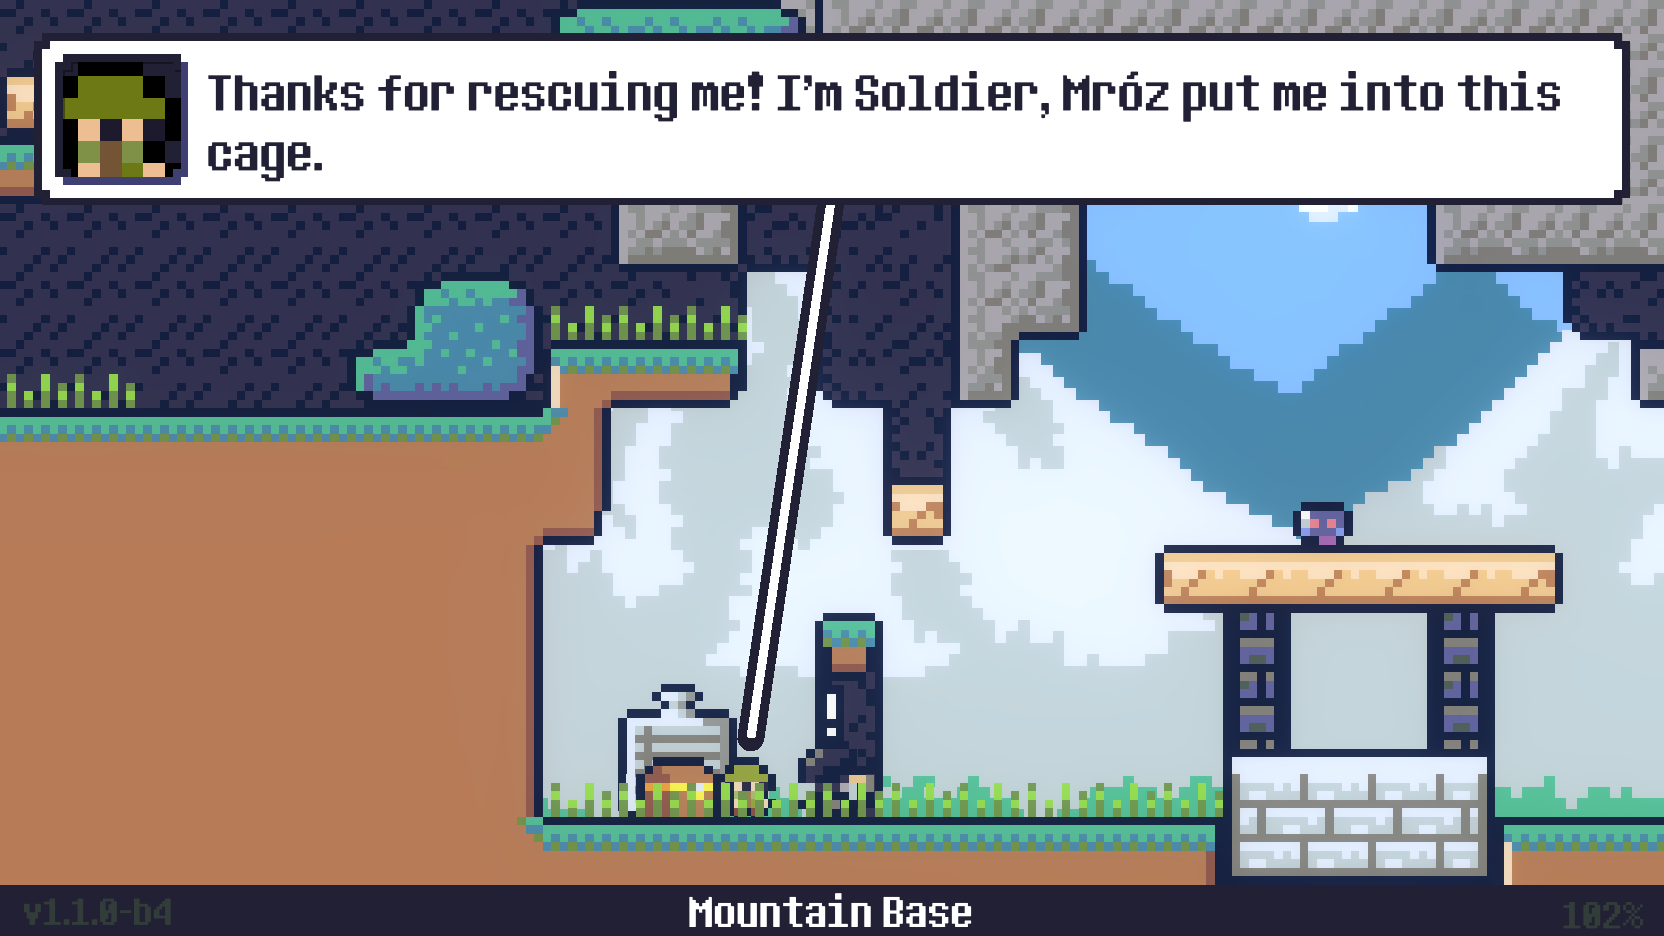
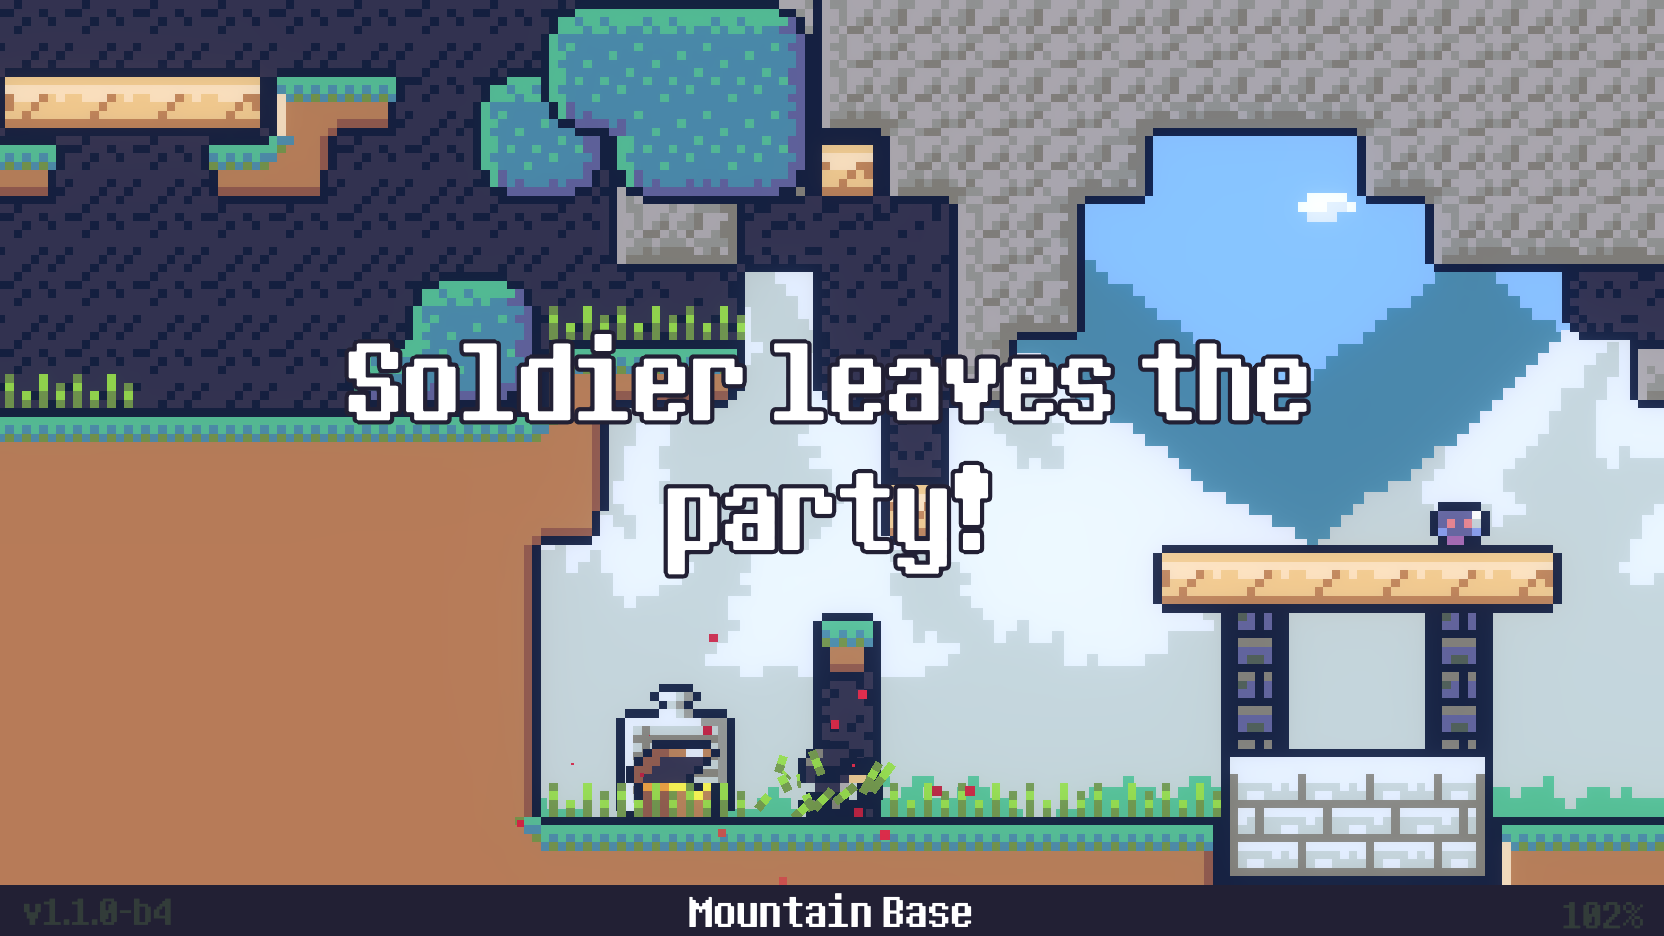
In the rare cases where you have internet when starting the game (cage appears), don't have internet when cutting the rope (error appears) and then do have internet when killing error, this might erase one of the characters you already had but not in any other scenario.
Manostion  [author] 30 Jul, 2019 @ 11:54pm 
It should've told you who "left the party". For me it was one of my already unlocked skins. If that isn't the case anymore, I'll need to adjust the guide... :DarkMinion:

Gonna do some testing later.
Arvo 30 Jul, 2019 @ 11:31pm 
"Attention: Killing "error" will remove one of your already unlocked skins!" Well that's good to know AFTER I've already done it once. still can't figure out which one was removed...