Space Engineers

Space Engineers

108 ratings
Building Automatic Ship Printing Pad in Survival
By Hellothere
Instructions for building my Automatic Ship Printing Pad in a survival world
   
Award
Favorite
Favorited
Unfavorite
1. Get the blueprints you need
The blueprint for the main platform can be found here: https://steamhost.cn/steamcommunity_com/sharedfiles/filedetails/?id=1873954757&tscn=1569718535
The blueprint for the button panel can be found here: https://steamhost.cn/steamcommunity_com/sharedfiles/filedetails/?id=1875788083
Subscribe to both.
2. Build the main platform from a projection
Make sure you don't forget the sensors. Especially the red one is really important.

Note that you can build the Programmable block and screens elsewhere, or fully leave them out.
They are not part of this build and instead belong to Juggenaut93's Projector2LCD script.
3. Extend the piston fully
If the piston doesn't move, check if the head might be stuck as a stationary grid due to being too close to voxel terrain.
4. Build a rotor head on top of the piston
Make sure the marking on the head is facing towards the welder pad, like in this image:
5. Take a small ship, and use it to project the button panel
I recommend attaching the projector to your ship like this:
That way the projection will already be loaded in the correct orientation.

The loaded blueprint should look something like this:
6. Weld the button panel
If you already have the welders attached to your conveyor system you can use them to do the printing for you. Just activate the "Welder Platform" group, then get in your ship and fly it into welding range above the pad.


Make sure not to forget deactivating the Welders again afterwards.
7. Get rid of the rotor head on the button panel
Either detach it, or grind it.
The underside of the button panel should now look like this:
8. Attach the button panel
For this you need to fly the ship above the rotor head on top of the piston. The side of the button panel with the sensor on it should face the welding pad.
Make sure you are oriented as correctly as possible. Once you attach the rotor, it will violently yank into position, so if you are rotated too far from the final postion you might get clang explosions.

Your orientation should look something like this:

If you can make a quicksave, do so now. If you oriented yourself correctly nothing bad should happen, but there is no harm in being extra save.

Then attach the rotor. It might take a few tries and a bit of wiggling to attach properly, so I recommend dragging the "attach" function of the rotor into your toolbar.
9. Grind the connection of the panel to your ship, then retract the piston manually.
10. Set up the safety sensor
The safety sensor is sitting on the ground on the opposite end of the welding pad as the button panel. It is used to deactivate the welders when a player gets close so you don't get hurt.

Due to a mistake on my part this sensor loses connection to the button panel if you build it manually. You need to fix that.

First make sure both the sensor and the welders are currently off.
Then enter the sensor menu, and put "Trigger Now" for "Timer WP Welders OnOff" in the first position.

It should look like this:
11. Finish Setup
Make sure the piston is fully retracted. Make sure the "Timer WP Retract End" is not currently running. If it is wait for it to run out, or simply hit "Trigger Now" once.
Then set the piston speed to the correct value for your welding speed world settings.

You can find a list of my recommended speeds on the main page here: https://steamhost.cn/steamcommunity_com/workshop/filedetails/?id=1873954757

You are now done and the system should be fully functional.
53 Comments
Alexis(Mssun21) 19 Apr, 2024 @ 8:50am 
When ever i press the Red button it make the Piston go down not up
Chocolate Pudding01 12 Apr, 2024 @ 4:59pm 
Update: Closing and re-opening the game fixed the stuck ship
Chocolate Pudding01 11 Apr, 2024 @ 7:23pm 
Did something change? Whenever I create this and attach it, the ship I use is stuck in place as though it is still attached to the button panel even after I detach it.

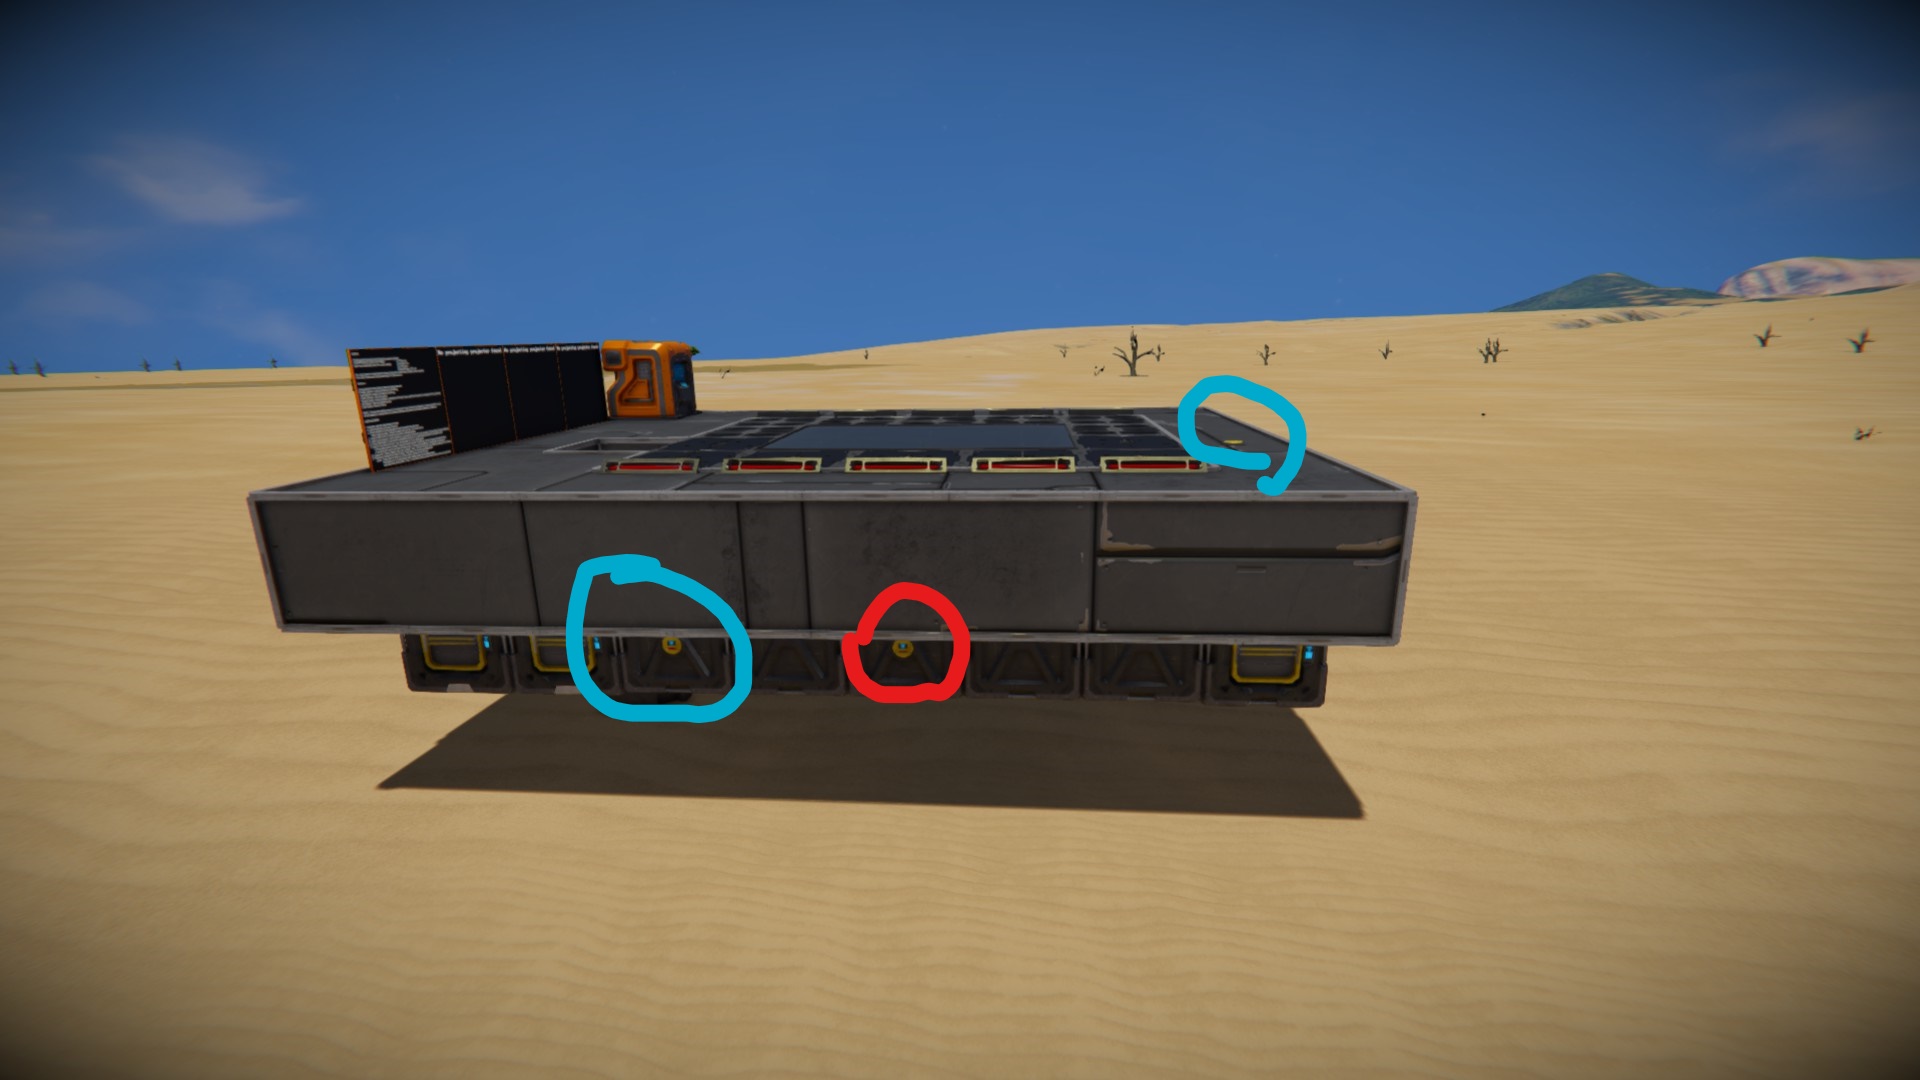
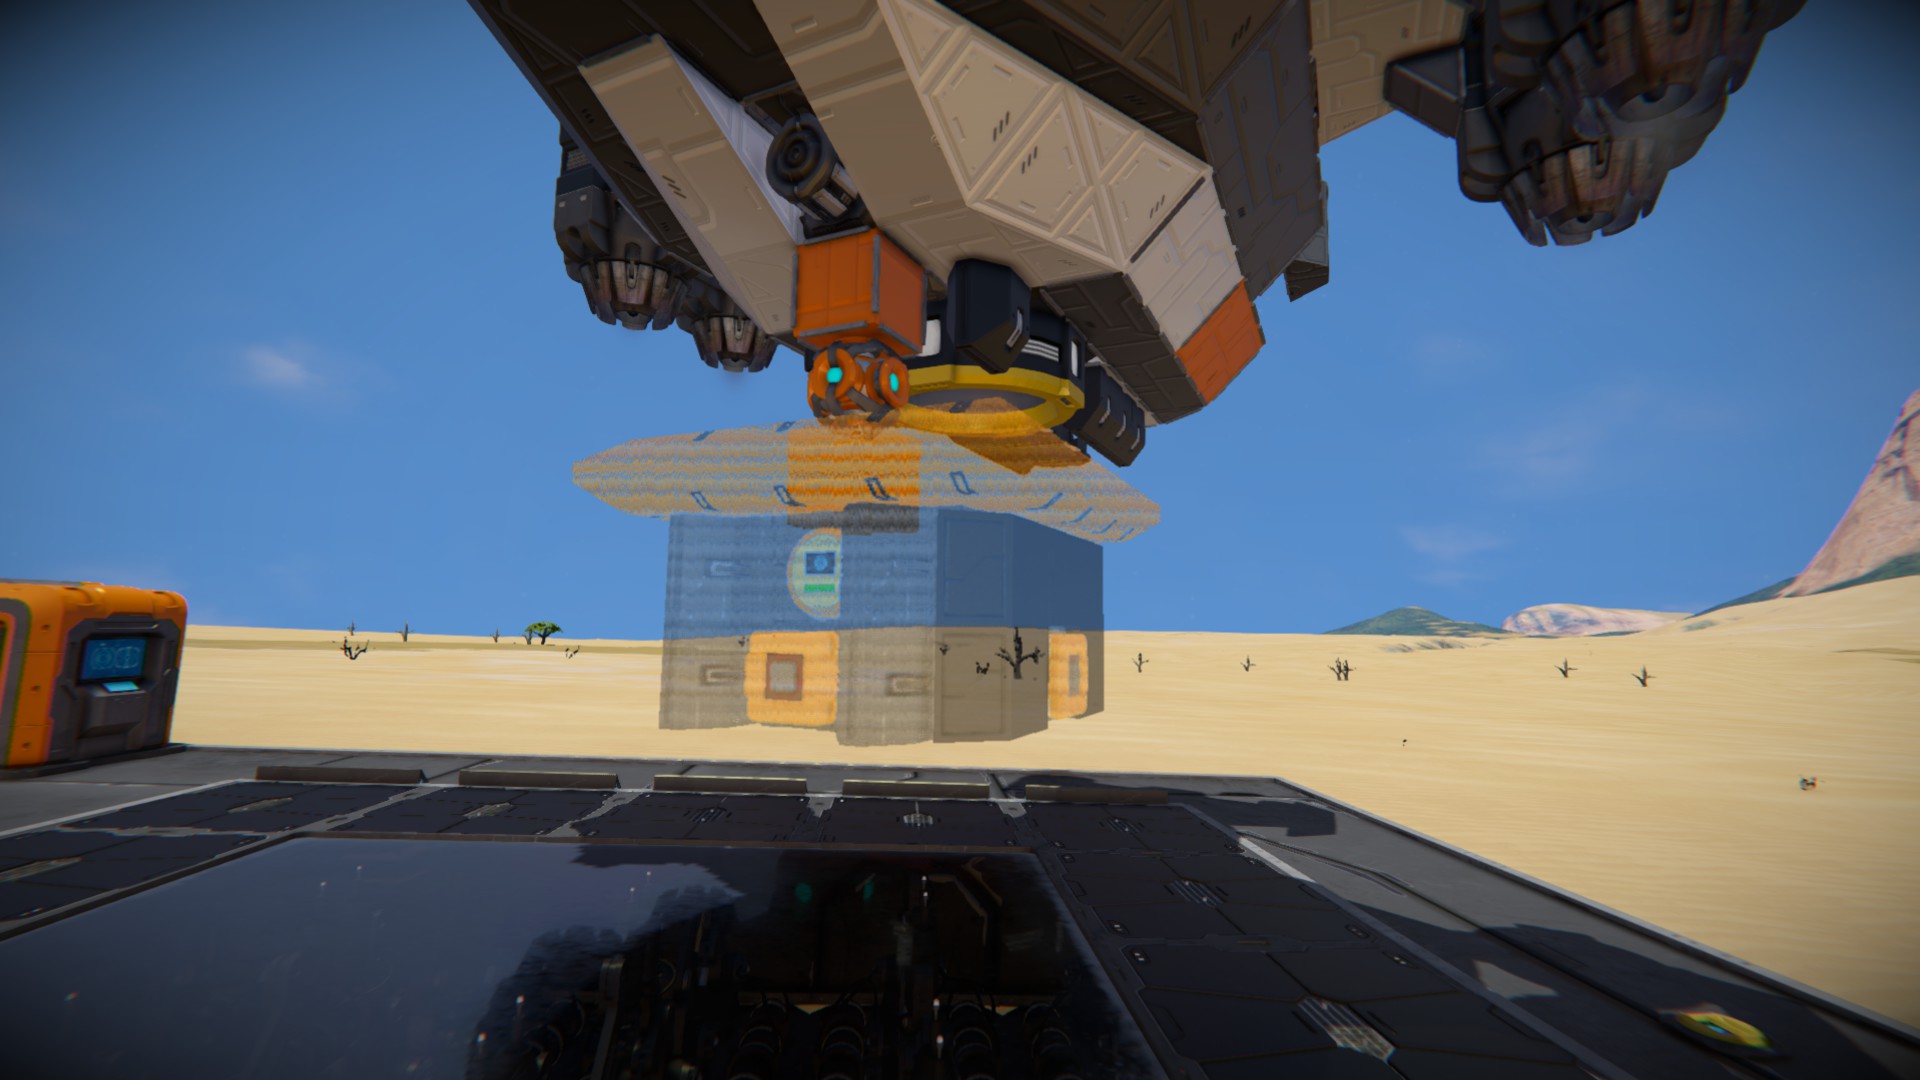
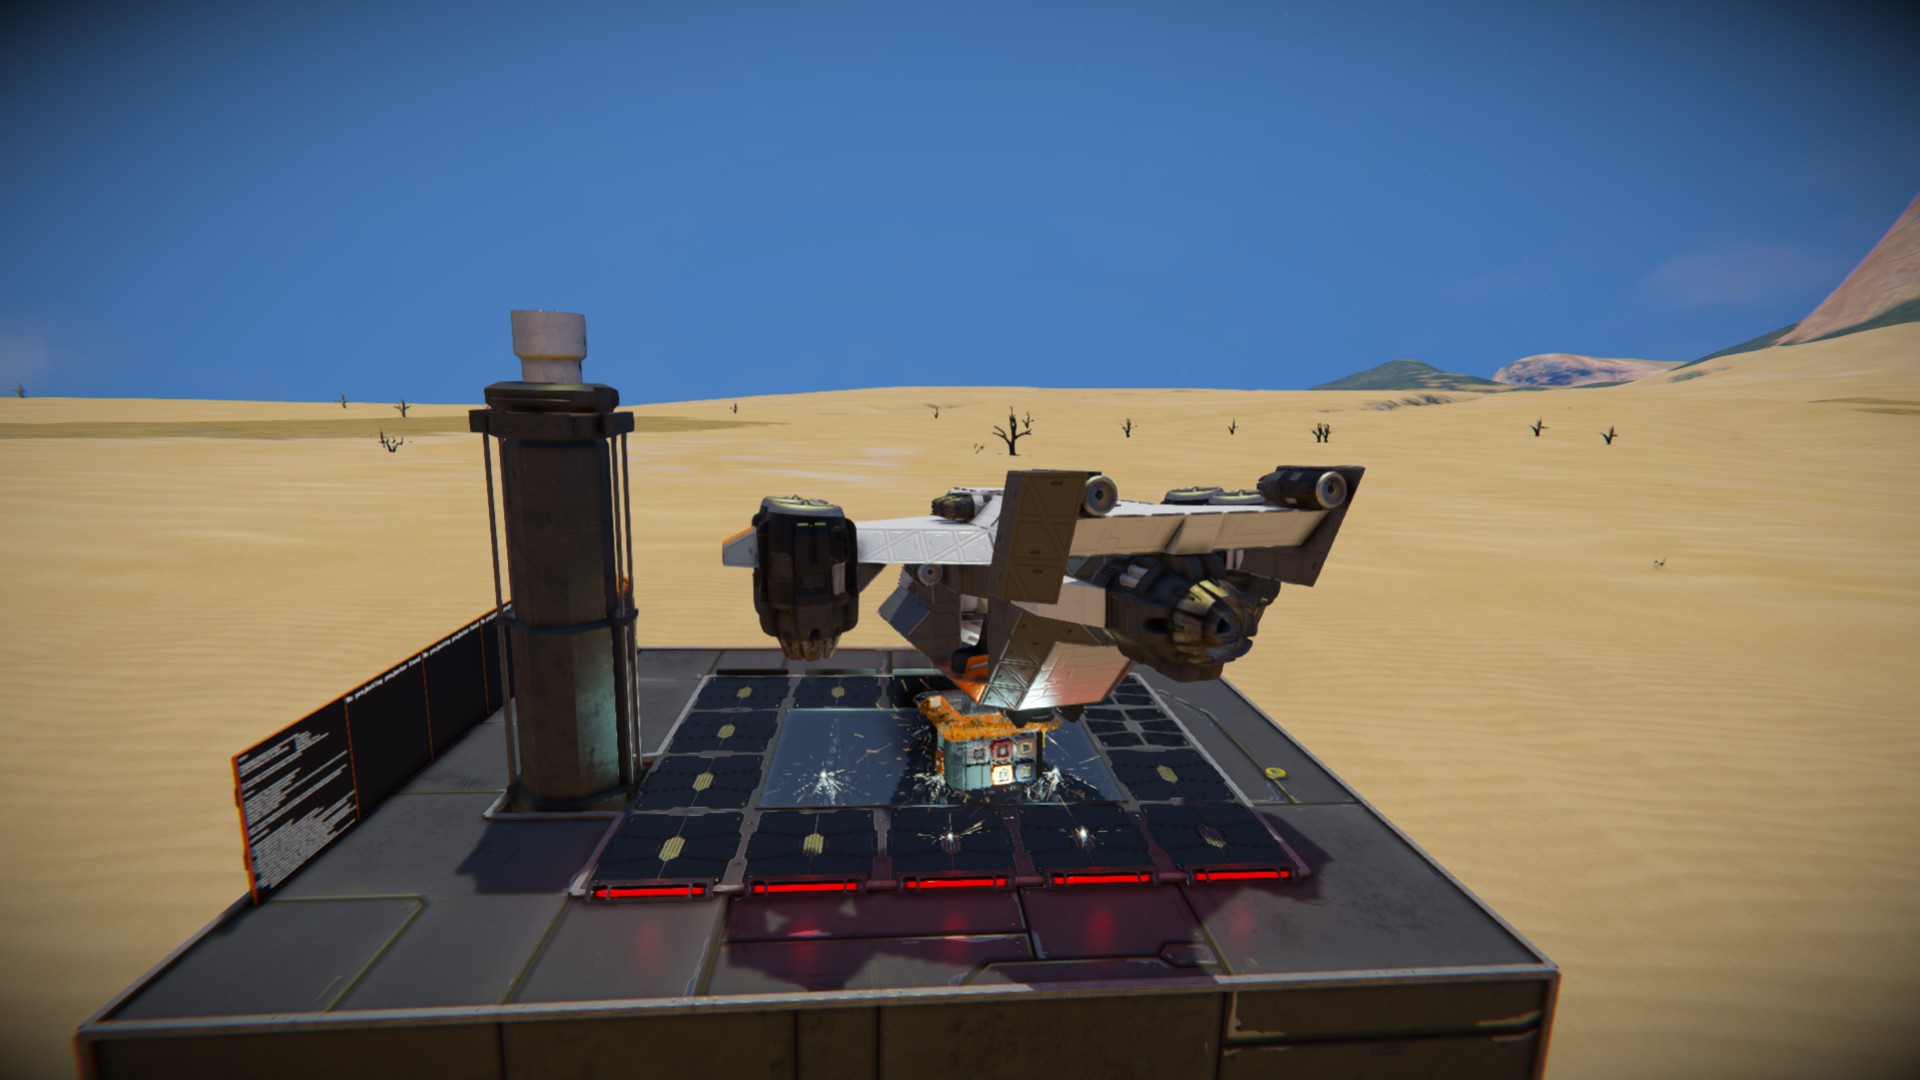
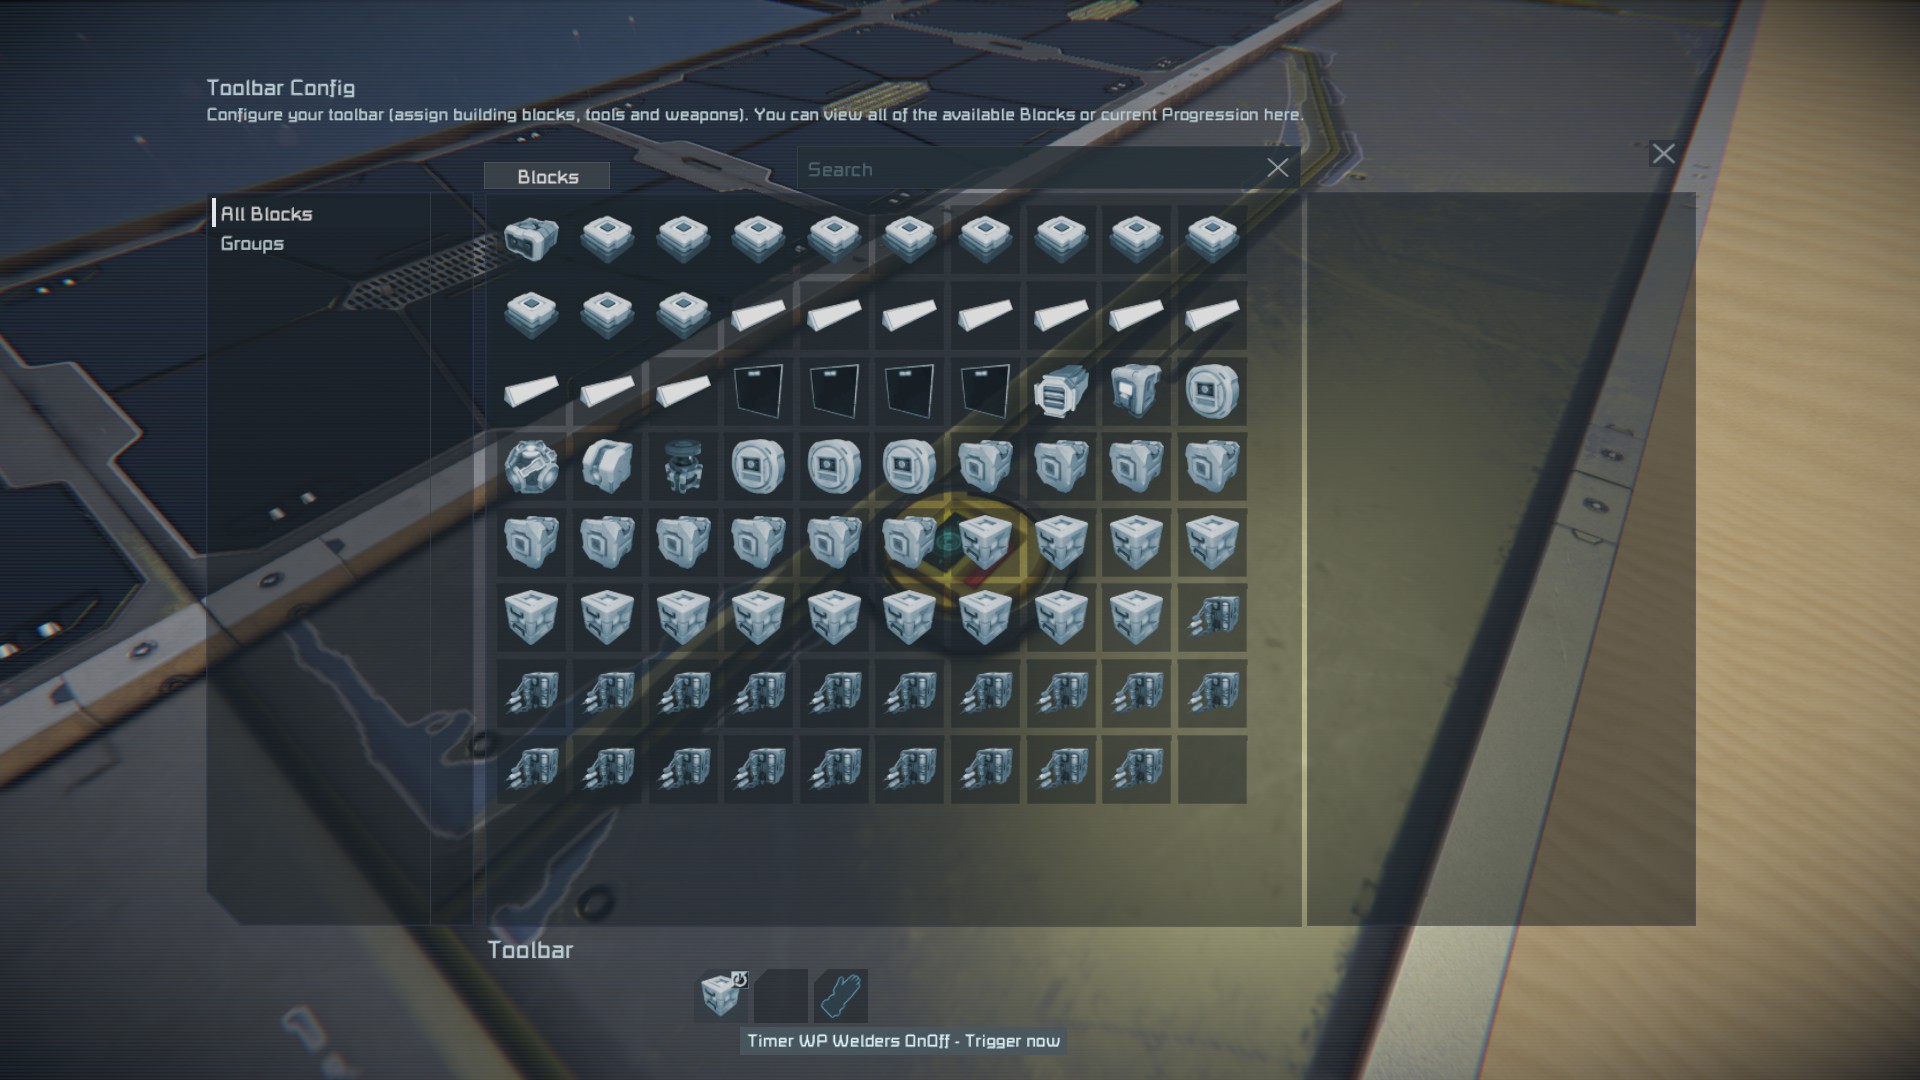
I currently have a small ship floating half an inch off of the welding platform, not supported by anything and completely out of battery power.
Craftymethod 4 Jun, 2023 @ 10:27am 
Re not being able to move the piston. I managed to get it loose by removing the closest welder.
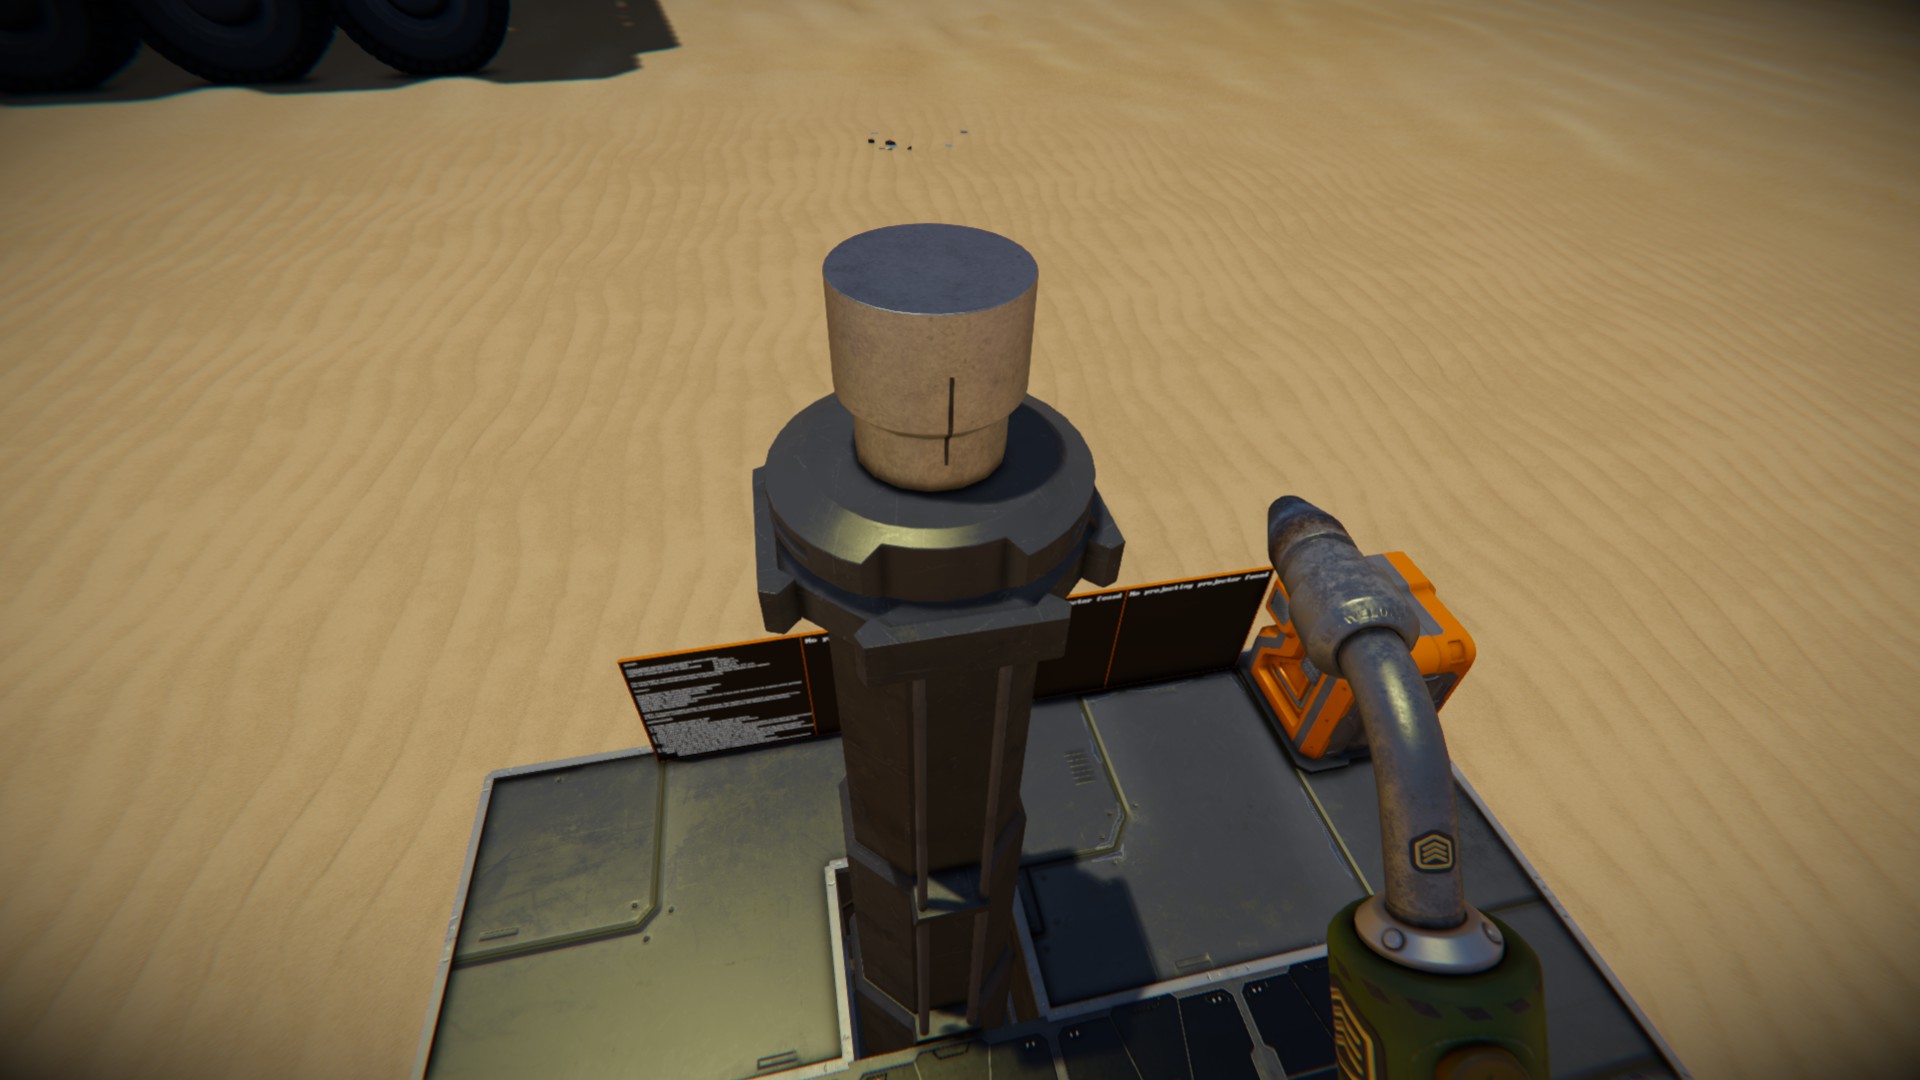
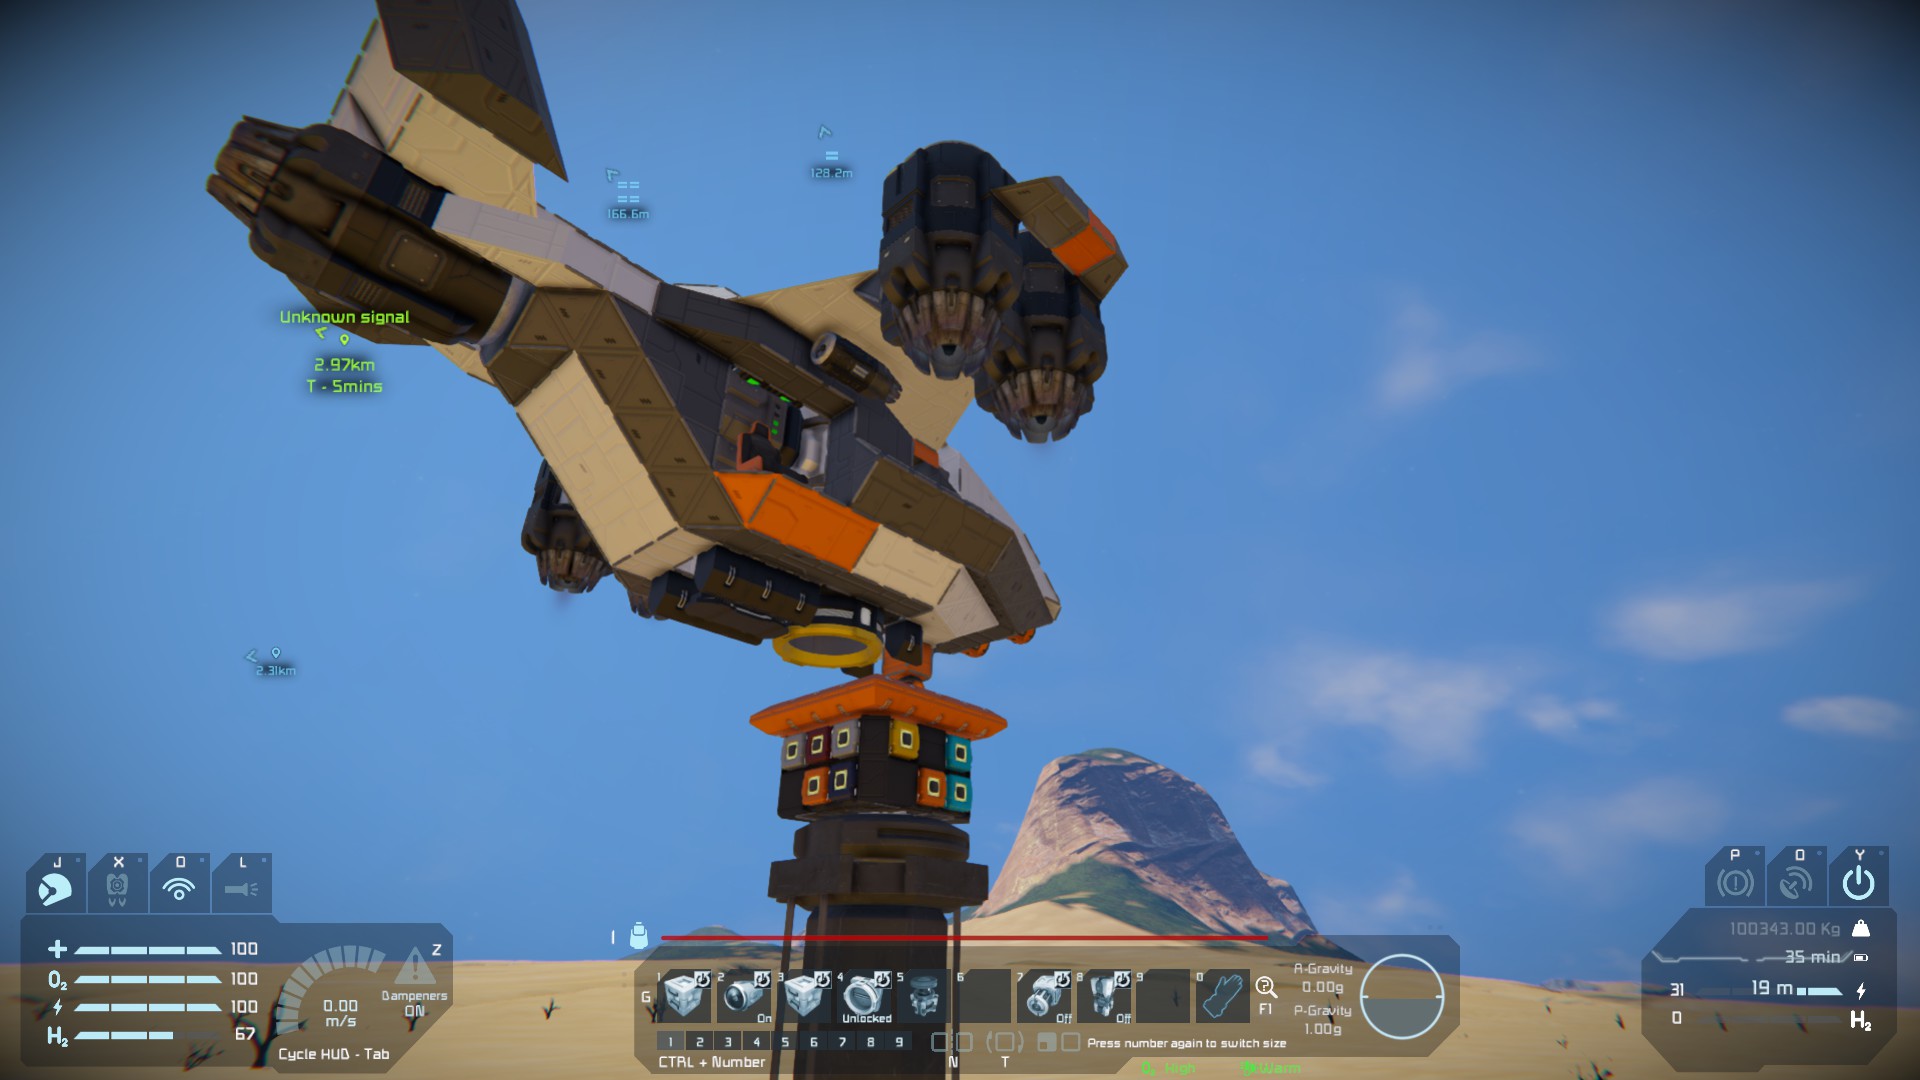
Once the piston was reversed to its extending high position i added the welder back and it was all good.
PvtClip 25 Jul, 2022 @ 1:33pm 
Timers and buttons and sensors were not setup correctly in Survival. I should say that some were and some were not. I got around this by starting a temporary creative save. Pasting this into it and then checking what the different Timers, buttons and sensors actions were set to. Some were complicated and some not. So I went in there and wrote down their settings and then went back to my survival build and set it up. I know thats a pita but it works in survival that way. I have some mods installed so it is possible that may have caused it. So when you push that top button and nothing happens, that is why.
adeep187 19 Apr, 2022 @ 1:05am 
Nevermind that last Message, I just tried and blew out half of the printer platform lol.
adeep187 19 Apr, 2022 @ 12:49am 
Does it make more sense to have the piston down and drop this into the slot in the base then attach? or is that asking for klang to destroy everything?
SgtKOnyx 30 Mar, 2022 @ 4:48pm 
Sorry, should have given more details. Despite changing the projected blueprint and being able to see the blueprint, the LCD's say the projector is not projecting.
SgtKOnyx 30 Mar, 2022 @ 4:43pm 
Trying to figure out why my projected blueprints aren't filling out the LCD screens?
wane 4 Mar, 2022 @ 9:56am 
Had an issue attaching the rotor which would cause it to flip 180 and face the wrong direction. Turned off rotor lock and it fixed my problem