Mechanic Miner

Mechanic Miner

Not enough ratings
Thinzy's Chips Mod: How2
By Thinzy
Use this guide to understand how to operate the items found within the Thinzy's Chips mod.
   
Award
Favorite
Favorited
Unfavorite
Set up
Before we begin coding little programs we'll need to setup the chips so that they will communicate with one another as well as the progscreen. You can skip this step and download the blueprint here however it's always helpful to understand how these chips work by doing this step yourself.
Also, if you haven't downloaded the mod yet, here's the link for that.

Connecting the THNPROM to the THNZYSYS001
Start by connecting the corresponding address pins from the THNPROM to the THNZYSYS001. The address pins are colour coded in light grey, the pin with a darker grey is the first address pin in the series.


Once that's done we can connect the corresponding digital pins from the THNPROM to the THNZYSYS001. These pins are colour coded in light blue, the pin with a darker blue is the first digital pin in the series. Make sure that the length between the two chips is enough so that we can add to the two pins that are left over on the THNZYSYS001. Also make sure that there is enough length on the digital pins so that we can connect the progscreen later.


At this stage you should have something roughly that looks like the image below. (All the address pins should be lit up whilst the digital pins should all be off).


Adding the power switch and reset button to the THNZYSYS001
The last two pins that we should have left over on the THNZYSYS001 is the manual reset pin and the start pin. The manual reset pin is colour coded in red and the start pin is colour coded in green.


For the manual reset pin we will want to hook it up to a button and for the start pin we will want to hook that up to a switch. The manual reset pin only requires to be used once to reset the address line. The start pin allows the THNZYSYS001 to cycle through address lines, by using a switch we can have it constantly cycling which allows for any scripts we feed it to function autonomously.

You should end up with something like the image below.


(OPTIONAL) Adding a step switch
This step is optional, if you plan on doing debugging you may want to hook up a step switch to your circuit. The step switch allows for precise wire pulses so that the THNZYSYS001 cycles only one address per press. You can hook this up by adding it to the start pin connection. It would look like the image below.


Adding a progscreen to the circuit
The programmable screen (progscreen) can be connected to our circuit by intercepting the digital pin connections that we have already made. Just like the other digital pins, the digital pins featured on the progscreen are colour coded light blue, the pin with the darker blue is the first digital pin in the series.


Once the digital pin wires have been extended and have been connected to the progscreen, the build should look something like this. I added a little platform as the progscreen is a bit high up.


Time to test that it works!
Now that everything has been connected, your wires have been exhausted and your mental state has dwindled let's test if this bad boy actually functions! Head on over to your reset button and press it, then flick the start switch; what you should see is a critter being drawn. If it doesn't resemble a critter then you have messed up configuring the wires.


If you've made it this far then congrats! You can finally move onto the fun stuff.
Finding the PROM bin folder
Now in order to start coding we're going to need to find the PROM's folder.

Firstly, navigate to your steamapps folder.

Click on workshop,

Click on content,

Click on 745010 and you should be in this folder (you may not have as many folders, I am a mod fanatic).


Click on the folder labelled 1932085287, if you do not have this folder you'll need to install my mod.

Within this folder there should be one labelled "THNPROM_bin", click on that one and you've reached your destination.

What I would do is create a shortcut to this folder to save the hassle of locating it if you want to make any changes.

Inside the THNPROM_bin folder should be another folder called "Examples" and also a text file named the same as the current directory; "THNPROM_bin.txt", this is the file that we can edit to allow the PROM send different commands to the microprocessor. If you want to try out an example from the examples folder you will need to rename it to "THNPROM_bin" so that it can be loaded into the PROM.

Here's a screenshot of what you should be seeing.
Creating scripts (Documentation)
Now that we have the THNPROM_bin text file we can begin to create our own little programs!

Now, this mod has a couple of functions that enables the microprocessor to do different things however it is a little bit fickle when processing, if you spam the start switch then the THNZYSYS001 will get confused and may jump a couple instructions which can damage the final output of what you wanted to do. Another thing to note is that a couple functions have limits which I will address when I am explaining them.

About Registers
The THNZYSYS001 contains 5 registers that can be written to and read from, these registers are labelled as; rX, rY, r1, r2, r3. The rX and rY registers are used to draw pixels to progscreens, when reading from they emit a certain frequency. r1, r2 and r3 can use emit any specified frequency, these can be used for retaining memory to be used alongside other functions.

About Addresses
The THNZYSYS001 features 16 address pins, when outputting in binary it can hold up to 65535 address lines allowing for a lot of scripting space, each address line allows for a single hexadecimal command to be processed from the 8 digital pins. I have made a little language called Floop# that allows for several address lines to be filled with commands simultaneously. You can still do this manually but honestly who has the time for that?

When the THNZYSYS001 starts, it begins from the end of the address space (at address line 65533) as the last couple address lines are used for a hardcoded goto command that brings it back to address line 1. If your script doesn't start straight away just remember that it the chip doesn't begin on address line 1 at the beginning as well as the fact it takes some time to process commands anyways.

About Floop#

It has nothing to do with c#, I just like the sound of it lol.
All you need to add to make a script work is add the function and that is all, this "language" is extremely simple as in reality its just a LUA script that reads each line and disassembles the information it understands.

Floop# places functions in accordance to the address lines, each function takes up a different amount of address lines. This means that the functions are read from top to bottom and are stored as such. In order to create more "complex" scripts you will need to use the goto function to bounce to further address lines and past functions.

Here's the list of Floop# functions (in order of what I think are the most important):

Function
Arguments
goto(a1)
a1 - A hexadecimal number between 0001 and FFFF, it must be hex signed two's complement
goto - Explained
The goto() function allows the microprocessor to go to a certain address line from (1 to 65535), it has to be converted to hexadecimal signed two's complement. Just use this converter tool[www.rapidtables.com] when you want to jump.

goto - Example
goto(01A4) - This will go to the address line; 420.


Function
Arguments
goto(a1, a2)
a1 - A hexadecimal number between 0001 and FFFF, it must be hex signed two's complement
a2 - boolean (true/false)
goto - Explained (extended)
There is a second optional argument for the goto() function, if this argument is set to "true" then the functions after this has been called will be placed on the new address line. Demonstration:

goto(AAAA, false)
write(rX, 1)

The above write() function will not execute as the goto command has jumped to a further address line.

goto(AAAA, true)
write(rX, 1)

The above write() function (and any functions after that) will execute as it has been placed at address AAAA.
goto - Example (extended)
goto(01A4, true) - This will go to the address line; 420. This will also update how the functions after this are processed.

Function
Arguments
write(a1, a2)
a1 - The specified register
a2 - A decimal number between 0 and 255
write - Explained
The write() function allows a specific register (rX, rY, r1, r2, r3) to be written to with a decimal number ranging from 0 to 255, it's limited to 255 as that is the maximum number the digital pins can produce. It is handy for holding information to be read or compared to.
write - Example
write(rX, 255) - This will write the decimal number 255 to the register rX.

Function
Arguments
read(a1)
a1 - The specified register
read - Explained
The read() function allows for a register to be output through the digital pins. If the rX or rY register was specified then a frequency of 333 (for rX) or 335 (for rY) will be used when transmitted through the digital pins. If any of the other registers were specified they will require a frequency to be set.
read - Example
read(r1) - This will transmit register 1's decimal number through the digital pins.

Function
Arguments
cfreq(a1)
a1 - A hexadecimal number between 0001 and 03E7, it must be hex signed two's complement
cfreq - Explained
The cfreq() function is short for Change Frequency. This function allows for the frequency that the digital pins output to be altered. The argument input is the same as the goto() function, just use the same converter tool[www.rapidtables.com]. Currently there is only a few frequencies that certain chips of my mod accept. I will update this list if I add anymore to it:
  • 333 - The progscreen uses this frequency for rX input for the X axis
  • 335 - The progscreen uses this frequency for rY input for the Y axis
  • 336 - The progscreen uses this frequency to clear all pixels drawn
  • 999 - The THNZYSYS001 uses this frequency to receive commands
cfreq - Example
cfreq(014D) - This will set the digital pin output to a frequency of 333.

Function
Arguments
reset()
N/A
reset - Explained
The reset() function is much alike pressing the reset button on the THNZYSYS001. It resets the address line back as well as any process variables. The registers such as rX and rY are kept in memory so that they can continue to be used.
reset - Example
reset() - That's all really, call it at the end of your script to loop.

Function
Arguments
incr(a1)
a1 - The specified register
incr - Explained
The incr() function is short for Increment. This function allows for a specified register to be incremented by 1. If the register is at 255 then nothing will happen.
incr - Example
incr(rX) - This will increment the register rX by 1 (if it were 200 then it will now be 201).


It seems I have ran out of space, the documentation continues
Creating scripts (Documentation) Cont.
Function
Arguments
decr(a1)
a1 - The specified register
decr - Explained
The decr() function is short for "Decrement". This function allows for a specified register to be decremented by 1. If the register is at 0 then nothing will happen.
decr - Example
decr(rX) - This will decrement the register rX by 1 (if it were 200 then it will now be 199).

Function
Arguments
draw(a1, a2)
a1 - A decimal number ranging from 0 to 9
a2 - A decimal number ranging from 0 to 8
draw - Explained
The draw() function contains several functions previously mentioned to allow the progscreen to be programmed. The draw() function requires an integer for the X and Y axis. The current argument explanations specified are solely for the current progscreen that is included with this mod.

Progscreen 1 (the current and only screen included with this mod) features a 10 x 9 screen allowing for tiny little pixel drawing to be made. The origin is in the bottom left corner of the screen, I was a little bit lazy with this so my apologies for it not being top left.
draw - Example
draw(9, 8) - This will draw a pixel in the top right corner of the progscreen.

Function
Arguments
sclear()
N/A
sclear - Explained
The sclear() function is short for Screen Clear. Once this has been called it will wipe the progscreen clear of any pixels.
sclear - Example
sclear() - That's it, it's best to be used after draw() functions have been called. And also at the start of the script.

The below functions are slightly more advanced

Function
Arguments
compare(a1, a2, a3)
a1 - The specified register
a2 - The specified register
a3 - A hexadecimal number between 0001 and FFFF, it must be hex signed two's complement
compare - Explained
The compare() function is very helpful though it requires a couple other functions to be used effectively (anchor() return()/areturn()). The compare function compares two registers with one another, if they are equal to one another then it will go to the address specified (argument 3). If used properly, the compare() function can work either as an if statement or an if else statement.
compare - Example
compare(rX, r1, AAAA) - This will compare register rX with r1, if they are equal then it will go to address line AAAA.

Function
Arguments
anchor(a1)
a1 - A hexadecimal number between 0001 and FFFF, it must be hex signed two's complement
anchor - Explained
The anchor() function can be used before or after a compare() function has been called. The anchor() function moves any functions after itself to the specified address line much like the goto() function set to true. This allows for functions to be written further on and can be called later via goto() or compare(). Once it has been used the return() and areturn() functions can be used afterwards to return to the previous address line.
anchor - Example
anchor(AAAA) - This will move any functions afterwards to address line AAAA.

Function
Arguments
return()
N/A
anchor - Explained
This return() function can only be used after an anchor() function as it returns the functions after itself to the previous address line. Demonstration:

anchor(AAAA)
draw(1, 1) <- First draw function
return()
draw(1, 5) <- Second draw function

This code will only call the second draw() function as the anchor() function moves the first draw() function to address line AAAA. The return() function brings the second draw() function back to address line 0001. If you were to go to address line AAAA it would draw the first draw() function but not the second (this is essentially an if else statement).
return - Example
return() - This is all, can only be used after an anchor() function has been used.

Function
Arguments
areturn()
N/A
areturn - Explained
The areturn() function is very similar to the return() function, it is short for Address Return. This can only be used after an anchor() function. The areturn() function is essentially a goto() function that returns to the previous address line (this essentially creates an if statement). Demonstration:

anchor(AAAA)
draw(1, 1) <- First draw function
areturn()
draw(1, 5) <- Second draw function

If we were to start from address line 0001 then the second draw() function would be called but not the first (as that is at address line AAAA due to the anchor() function).

However, if we started at address line AAAA then the first draw() function would be called and then the areturn() would fire a goto() function and bring us back to the second draw() function, allowing that to be called as well.
areturn - Example
areturn() - This is all, can only be used after an anchor() function has been used.

I heavily recommend using the examples found in the examples folder to get a deeper understanding on how to use compare(), anchor(), return() and areturn()
The two most helpful examples are: "If Else Example" and "If Example".

Function
Arguments
tdebug()
N/A
tdebug - Explained
The tdebug() function is short for Toggle Debug. This function is used to turn on and off the debug console. (You can enable the console in the launch options of Mechanic Miner type: -console). This is helpful if your script isn't working and you want to understand why.
tdebug - Example
tdebug() - This will turn on the debug console, it's best to have this at the beginning of your script.
To add tomorrow
I have a couple more bits to add to this guide, I'm gonna list them here so I don't forget:
  • Manual Programming
  • Debug Console Jargon
  • Additional information on chips

Thank you for reading my guide, if you notice any spelling mistakes or any mod bugs please feel free to comment below :)

[EDIT]

This guide has been discontinued, unfortunately the 1.0.1 update has changed the way connections work and as such the chips are no longer able to send frequencies that would have contained crucial data.
7 Comments
Thinzy  [author] 27 Dec, 2020 @ 3:35pm 
no problem, happy coding!
Zaxabock 22 Dec, 2020 @ 5:42pm 
Yay! That is very helpful, thank you thank you. :D
I feel comfy programming in general and know a bit about LUA.
The game documentation you linked is what I struggle to understand - but I will try to contact you or others on the discord group if I get started and have questions! ^_^
Thinzy  [author] 22 Dec, 2020 @ 1:06pm 
You can also feel free to download my mods and open them up locally to see how they work, I have no problems if you want to reupload one of my mods if you tweaked something. I think the only up to date one currently is the T-FlipFlop mod, it actually features the new wire connections that I struggled to get working, so that might be of help if you plan to make a mod that uses wire connections ;)

Hope this helps!
Thinzy  [author] 22 Dec, 2020 @ 1:06pm 
I'm glad that you liked this mod when it was usable :D

To start off, if you already know the programming fundamentals, you should familiarise yourself with the LUA scripting language if you haven't already. They have great documentation that you can find with a quick google search.

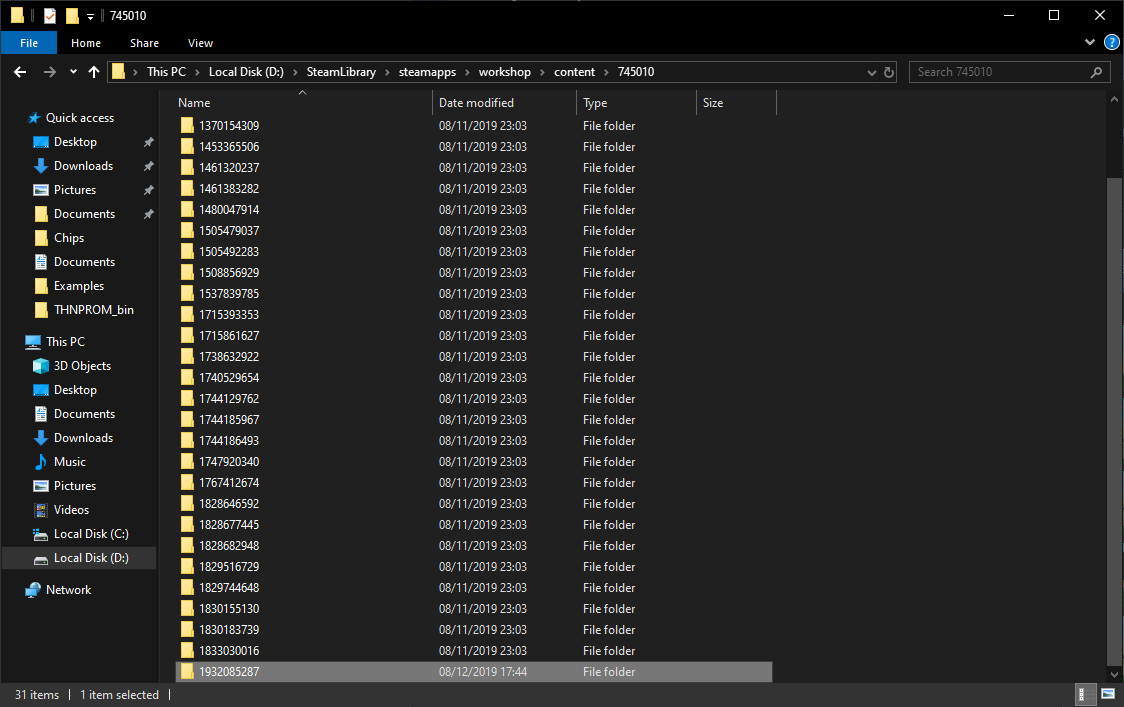
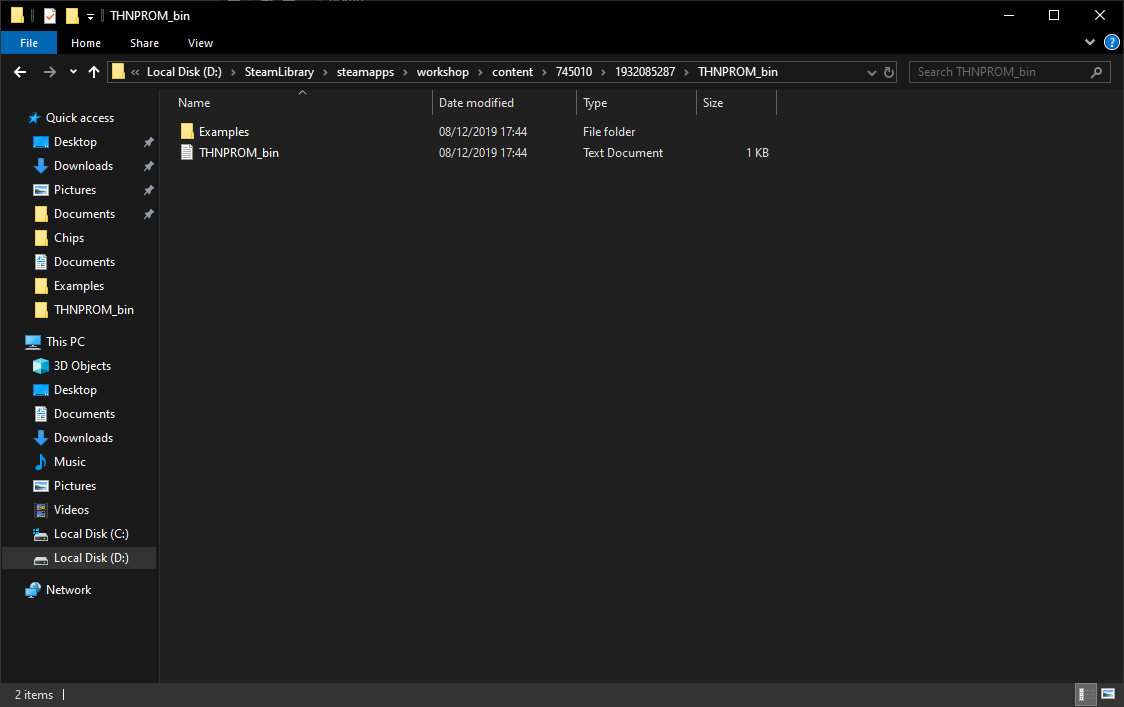
Once you've done that, you can create mods for Mechanic Miner by using their modding sdk documentation found here! [www.mechanicminer.com] This site also features a guide that should be useful. Unfortunately though the guide and docs can be vague in places, so you might need to do some experimenting to get things to work correctly. If you encounter any problems feel free to contact me on the Mechanic Miner discord [discord.gg]. My username is Thinzy#3306.
Zaxabock 21 Dec, 2020 @ 4:55pm 
Sad to see the game sort of dead and all. This was my favorite mod. :(
I have a lot of time but I don't know where to start, or how to mod this game.
You created something this awesome, got any tips guides or links for a newbie dev?
Thinzy  [author] 2 Feb, 2020 @ 8:56am 
lmao thank you :)
Lordly Cinder 13 Jan, 2020 @ 12:19pm 
Yup its official you are far smarter then I.. Then most... TY well done!