Nova Drift

Nova Drift

66 ratings
Achievement Guide: Turbo Tortoise, Filled with Determination
By Chrome
[v0.27.20] A guide to help you obtain the Nova Drift achievements Turbo Tortoise and Filled with Determination.
   
Award
Favorite
Favorited
Unfavorite
Introduction
Turbo Tortoise achievement:
Achieve a Bastion assembly time of 3.5 seconds or less

Filled with Determination achievement:
Score 200,000 points under the effects of Last Stand

[Note: I have *NOT* updated this guide following v0.29.8 going live (September 28, 2020) -- its patch notes make it seem like there are new ways to get boosts to body gear unique powers, so it may potentially be feasible to get Turbo Tortoise without having to tank your run in hopes of getting good RNG.]

As of v0.27.20 (April 29, 2020), getting the Turbo Tortoise achievement requires a very specific set of mods to push construct assembly time and shield cooldown time down low enough:
  • Bastion (of course)
  • Bravado (to boost Architect)
  • Elegant Construction
  • Overseer
  • Support Specialist
  • Shield Cooldown
  • Flash Shielding
  • Tempest Break
  • Architect
  • Hidden Power

It's also tricky to finish and finally get the achievement because you basically have to end your run to see if RNG is in your favor and will let you complete that very specific set of mods (by finding Architect and Hidden Power). I finally got the achievement today (May 12, 2020), so I'll outline my build with strategy and advice for how to achieve the achievable.

Update (May 12, 2020): I was also able to use a variation of the Turbo Tortoise build to achieve the Filled with Determination achievement, so I'm updating this guide to also include some information on that.
Turbo Tortoise -- Background / Previous Attempts
In trying to get the Turbo Tortoise achievement a few weeks back, I started by using the build and strategy outlined by Extremely Bisexual Otter and Abomination72 in this discussion thread: start as Engineer, go for Interceptor Allies with Splinter Grenades, and try to hold out long enough to assemble enough Rerolls and levels stockpiled to feel comfortable rolling the dice to try to get both Hidden Power and Architect.

After probably 20-30 attempts using this method, I was frustrated both two things:
  • not feeling capable of stockpiling enough Rerolls and levels, and
  • never seeing Bravado. I hadn't played Wild Meta too much, but it felt really strange to me that I literally never saw Bravado in any of those runs, whereas I was seeing the other Rare Wild Meta mods plenty of times. I thought that maybe this was because either
    • I had Elite Enemy enabled but not full Mayhem (I think I was doing all but Nemesis and Mayhem), or
    • I was playing as Engineer. I remember seeing a forum thread where someone pointed out that Bravado is terrible for Engineer because its "body gear unique powers" don't benefit at all from the 15% boost from Bravado. So, I wondered if maybe the developer took that feedback and tried to fix it by disabling Bravado from showing up if possessing the Engineer body.

So, after taking a break from Turbo Tortoise since then, I thought I'd mix it up a bit. I found through tinkering that a really effective construct build is Guardian Allies and maxed Turrets. (The Guardians keep the Turrets healed and alive, and the Turrets shred everything.) I also found how much more enjoyable it is to play Wild Meta with Research, given that you can use the limited number of Rerolls to actually reduce the huge Wild Meta mod pool down. I thought that, for Turbo Tortoise, where success seems to be based so much on luck in rerolling to get Hidden Power and Architect in the late game, starting with Research and using Rerolls to banish useless mods would really help improve late game chances. Also, Research can definitely get Bravado, and playtesting showed two Guardians and two Turrets was capable of getting to wave 100-120 on Mayhem.

I thought the build below was much more consistent in getting into the late game than the Interceptor-based one suggested earlier. I was really frustrated with myself because I had two runs where I was sitting fine and confident in wave 120 or later, stockpiling a few extra levels and Rerolls to make sure I would find Architect and Hidden Power, only to get taken out quickly to a stupid mistake before I could spend the levels and Rerolls. That said, those few times I got to wave 100 or even wave 120+ were a big improvement over anything else I had tried before. I think it took me about 20 or so tries in total with the build to get the achievement, and it's definitely possible I could have finished in 5 runs if I hadn't been too conservative in waiting for an extra level or Reroll.
Turbo Tortoise -- Build / Strategy
The build revolves around:
  • starting with the Research body to use Rerolls to narrow the mod pool, and
  • (fittingly) tortoising up with Guardian Allies and max Turrets in the middle of the map, then playing the waiting game to see if the mod pools and cargo trains wind up in your favor.

  1. Starting Gear
    • Weapon: your choice, since it won't be used for long due to Overseer. I found the most success with Grenade, closely followed by Flak and Salvo. I'm not a big fan of any of the other weapons.
    • Shield: Bastion
    • Body: Research
    • (Runs seemed to consistently make it past the early game after finding these three with at least 2 Rerolls remaining. Of course, any run in which you get a bunch of extra Rerolls from cargo trains stands a better chance, too.)

  2. Stockpile 4-6 upgrades in order to get Ataraxia. (You only need 4 for Ataraxia to show up, but avoiding spending Rerolls early is a good thing.) Ataraxia is great for ensuring that you pick up as many orbs as possible, and for the late game damage boost when you're stockpiling levels.

  3. Banish, never reroll. Banishing increases stats and reduces mod pool, meaning you'll be more likely to hit what you need moving into the late game. Get rid of anything not needed for the achievement:
    • All weapon mods, Mines, Candescence, Skirmish
    • All Wild Meta mods except for Bravado, Winnow, and maybe Chaotic Ambition (if you haven't gotten Bravado yet). Prefer banishing Common mods instead of Rare mods (see Unlocks screen) since Common mods show up more often.
    • Efficiency (doesn't help with achievement)
    • Any other mods not necessary for reducing Shield Cooldown: Kinetic Boost, Stabilization, Shield Effect Radius, Adaptive Armor
    • Last resorts: Drones, Hull Strength, Regeneration, Shield Durability (these are all good options to take if you run out of Rerolls and no necessary mods are available)

  4. One good thing to keep in mind is that, if you run out of Rerolls (and so can't banish) and you're faced with a set of mods with no necessary (or even truly beneficial) mods, it's best to take a tier 3 mod or, if no tier 3 mods are available, a tier 2 mod.
    • Generally, taking a tier 3 mod adds zero additional mods to the mod pool, so you're effectively performing a banish.
    • Taking a tier 2 mod should only add one mod to the mod pool, so you're not hurting yourself.
    • Taking a tier 1 mod will probably add two new mods to the mod pool, meaning you've got more mods to sort through than you did before picking it.

  5. Winnow is amazing: it's effectively 13 Rerolls (7 Rerolls plus 6 other current mods banished). Absolutely take it if you happen to get it with a group of absolutely-not-necessary other mods. (Chaotic Ambition is also decent for helping to find Bravado and for the free Reroll.)

  6. Bravado, given its rarity, is almost always the right choice if it's offered to you. I only ever skipped it on the couple of occasions it showed up within the first five mod pools, but, looking back at the few runs in which I reached the late game and did NOT have Bravado, it's probably preferable to take Bravado early and deal with the extra early game challenge rather than assume Bravado will show up again later on.

  7. Shoot ASAP for maxing Ally and then getting Guardian. Turret mods are never wasted, but getting to Guardian first is beneficial because having Guardian allows Turrets to stay alive indefinitely.

  8. I found it easiest to take all construct mods first. It's of course a good idea to, instead of spending a Reroll to banish to try to get another construct mod, take another necessary, non-construct mod (see below):
    • Max Turrets
    • Max Guardians
    • Elegant Construction > Shielded Constructs > Overseer [usually wait until after wave 40 boss]
    • Priority Zero > Overclock > Support Specialist
    • [Self Destruction, Tactical Link, and Drones aren't strictly necessary to win, but are good uses of upgrades if you can't take a necessary mod and don't have the Rerolls to banish an unneeded mod.]

  9. After getting the construct mods, work on remaining necessary mods:
    • Bravado
    • Shield Cooldown > Flash Shielding
    • Improved Thrusters > Streamline
    • Tempest Break
    • 3 other secondary damage mods (with Tempest Break as the 4th) in order to enable Hidden Power:
      • Volatile Shields (great with Tempest Break)
      • Deadly Wake
      • Galvanic Outburst
      • Scorching Wake
      • Discharge (works even with Overseer)
      • (if you've already had to take Shield Durability) Reflexive Shield.
      • [I'm not sure if Self Destruction counts, since it would seem to be against Hidden Power's theme of no constructs.]

  10. Remember to skip anything which increases shield cooldown or construct assembly time: Barrier, Radiant Shields, Energized Shield, Apex Machinery, all Wild Meta "Specialist" mods.

  11. Once you've gotten all of the necessary mods up to this point (Bravado, Elegant Construction, Overseer, Support Specialist, Shield Cooldown, Flash Shielding, Tempest Break), the last step is to find Hidden Power and Architect (whose benefits are boosted by Bravado).
    • As others have said, this will tank your run, given that Hidden Power removes all non-shield constructs and Shielded Constructs prevents Bastion from protecting you. So, given that you'll be left with no weapons, shields, or constructs after completing the search, you need to have all of the levels/upgrades and Rerolls needed to find Architect and Hidden Power stockpiled before you begin.
    • The exact number of upgrades and Rerolls you'll need is up to RNG, but having been Research for most of the game and getting rid of many mods means that hopefully Hidden Power won't be difficult to find. Architect will likely take a bit longer and more luck, but you're helped a bit by Overseer removing your weapon, meaning that you will sometimes (half the time?) see 2 bodies and 1 shield as gear options (if not 2 bodies/1 shield, then 1 body/2 shields -- never weapons).
    • With this build, I felt I could comfortably get to level 39-41 if I made it into the late game. Around level 41-43, things got hectic enough that I felt constantly a quarter second away from dying. So, if you're having a good run, I would probably suggest reaching level 41 before trying for Architect and Hidden Power.
Turbo Tortoise -- Screenshots
I was fairly lucky with cargo trains and mods/gear presented to me in this run in which I finally got the achievement. I had to take very few (only 3) non-necessary mods (Tactical Link and Self Destruction [both very useful, but not strictly necessary] and Propulsive Munitions [no negative impacts due to Overseer and no additional mods added]). I also got lucky with RNG in the end: I think I had 5-6 upgrades and a couple of Rerolls stockpiled once I hit level 40, and was able to hit both Hidden Power and Architect within 3 levels (taking useful Self Destruction first) and those few Rerolls. So, I was left with 4 unspent upgrades, but of course died immediately with no weapons, constructs, or shield.


Filled with Determination
After struggling across all of those runs to obtain the Turbo Tortoise achievement, I thought it would be a good idea to try for the Filled with Determination achievement, as well. Since this build was pretty effective at surviving into the late game, I thought that it should be relatively easy to get the Filled with Determination achievement: it seemed that it would be a lot easier to handle the survivability penalty of Last Stand as compared to the RNG of getting Architect and Hidden Power at the end of Turbo Tortoise attempts.

I'm happy to say that my intuition turned out to be correct! It wound up taking only about 5 runs to obtain Filled with Determination with the modified build, and I got the achievement on the first run in which I made it to level 30 or so and was able to see and take Last Stand. So, especially if you've played quite a few runs with the Guardians and Turrets build trying to get Turbo Tortoise, hopefully it won't take too much more of your time to also get Filled with Determination.

I won't go into as much depth here, given how much I wrote above. I'll just cover the build differences:
  • Do NOT enable Wild Meta (no need for Bravado, and no other mods are really helpful).
  • Do enable Mayhem (really important for quickly ramping up and then raking in the score once Last Stand is triggered).
  • Overall, instead of starting with Research and using it to minimize the mod pool, start with Engineer. Given that you can get to wave 120+ with two Guardians and two maxed Turrets (see Turbo Tortoise experience), it should be a lot easier to get there with four Guardians and four maxed Turrets (+1 advanced construct from Engineer, doubled by Overseer). Since we aren't doing Wild Meta and there isn't nearly as much restriction on mod choice compared to Turbo Tortoise runs, you should have plenty of Rerolls to find what you want/need.
  • Starting weapon is again up to personal preference.
  • Regarding shields:
    • My initial plan was to NOT get Shielded Constructs -- I thought that, even though only 20-25 shield points would be left after triggering Last Stand, 50 total shield/HP would be a lot easier to manage than 25 HP alone.
    • If NOT going Shielded Constructs, I thought the shield ability (not reduced by Last Stand) would be more helpful than the extra shield points from taking Reflect (110) instead of Shockwave (60), let's say. My choices were Shockwave or Temporal (to push away or to help avoid enemies and projectiles after Last Stand) or Halo (to destroy mines if having to venture out from the Guardian/Turrent bubble). I found Shockwave to be a fantastic choice during the run in which I eventually got the achievement.
    • All that said, on my achievement-achieving run, after triggering Last Stand, I found myself being forced out of the safety of the Guardian/Turret bubble more often by a couple of Turrets being destroyed, rather than due to projectiles or enemies making it into the bubble. This difference was noticeable because the Bastion protecting the Guardians and Turrets during the Turbo Tortoise runs made the Turrets much sturdier. So, one could definitely make the argument that it would be more beneficial to take Shielded Constructs (with Shockwave, Temporal, or Bastion) to keep your constructs alive as compared to keeping the shield for yourself.
  • As when trying for Turbo Tortoise, start by getting to Guardian. Then, max out Guardians and Turrets, get to Overseer, and get to Overclock.
  • Instead of mercilessly pursuing shield cooldown (Flash Shielding, Streamline, Tempest Break, etc.) after getting your Guardians and Turrets set up, you instead just have to work on getting the 10 mods tagged with Shield and/or Hull required for Last Stand.
    • It's good to remember that some construct mods are already tagged with Shield and/or Hull, so you won't have to grab a full 10 non-construct mods to get to Last Stand. (I can't say specifically since tags aren't shown in the Unlocks screen and I haven't gone back in-game to check all of the mods.)
    • Good mod cluster options are:
      • Hull Strength
      • Shield Durability
      • Shield Cooldown
      • Shield Effect Radius
      • Efficiency
    • (I didn't think Regeneration would be at all worth taking, given that it scales down post-Last Stand, so the +3 shields and +3 hull per second from the Point Defense Turrets will eclipse hull regeneration.)
  • I feel the best option is to (after setting up Guardians, Turrets, Overseer, and Overclock) take and TRIGGER LAST STAND AS EARLY AS POSSIBLE.
    • If you know you've already taken 10 Shield and/or Hull mods, it's a good idea to spend any Rerolls you've accumulated to find Last Stand.
    • Once you've taken Last Stand, if you know you've got a good number of waves as a buffer before the next boss (80, 100, 120, etc.), purposefully go out of the Guardian/Turret bubble and take damage so as to die. Luckily, your constructs won't disappear when you die, so you'll respawn with a screen cleared of enemies (due to the Last Stand explosion) and can just immediately return to the safety of the bubble.
    • During the run in which I got the achievement, I was able to take Last Stand around wave 97 (around level 29). I knew it wouldn't be smart to face the wave 100 boss with reduced shields/HP, so I held off on seeking death until after the boss went down. My score at the time of triggering Last Stand was around 306,000 -- I don't remember exactly when I hit 506,000 and got the achievement, but I'm thinking it took another 40 waves or so. I was able to make it to wave 200 and 923,220 before the blue Celestial Lance got me.
    • I found Drones to be incredibly useful post-Last Stand, given that they serve as a barrier against projectile damaging making it through to your shields and hull. I went full-on Defense Drones after triggering Last Stand, and was very happy with that decision.
  • I did wind up taking Support Specialist eventually. I was initially worried that the reductions from Support Specialist would stack with Last Stand, meaning I'd be left with -(75%+16%) = -91% shields/hull. Luckily, it seems that the Support Specialist penalty is taken out before the Last Stand penalty is applied, meaning the actual penalty from Support Specialist only winds up being 0.75*16% or 4% of original shields/hull (i.e., taking Support Specialist leaves you with 21% after Last Stand triggers instead of 25%).
  • One potentially useful pair of survivability mods for this would be Aegis and Emergency Systems (especially if you choose to take Flash Shielding and Tempest Break, meaning the Emergency Systems immunity lasts for a higher relative portion of your shield cooldown time). I didn't get a chance to use these in my final run because, unfortunately, Kinetic Boost was present when I took Regression (which I took as a pseudo-Winnow).
  • Another potentially useful mod would be Apotheosis, especially to avoid when big enemies or the "fireflies" charge into the middle of the Guardian/Turret bubble. Similar to the Aegis/Emergency Systems above, though, on my final run, I lost Kinetic Boost via Regression and thus was enable to try Apotheosis. I'm guessing that, similar to Support Specialist above, the -20% shields/hull penalty from Apotheosis would be figured in pre-Last Stand, so you'd only lose 5% of original post-Last Stand.
  • Finally, I think I would suggest saving up and taking Ataraxia as your first post-Body mod in the early game. While you probably won't be stockpiling upgrades as is necessary in a Turbo Tortoise run, not having Research means your orb pick-up radius is smaller, and orbs are often the primary reason to venture out of the Guardian/Turret bubble post-Last Stand. Taking Ataraxia means you'll get to collect more orbs while remaining closer to the bubble.


17 Comments
FatCatInc. 10 Jun, 2023 @ 3:39am 
As for filled with determination- try omni shield. It adds a flat +50 to your shield that actually gives you a bit of survivabiltiy. Add on overseer defense drones and guardian allies plus turrets for dmg and you're golden.
Sea's 20 Feb, 2023 @ 12:26pm 
I used the specter, railgun combo with apotheoses to get Filled with Determination.
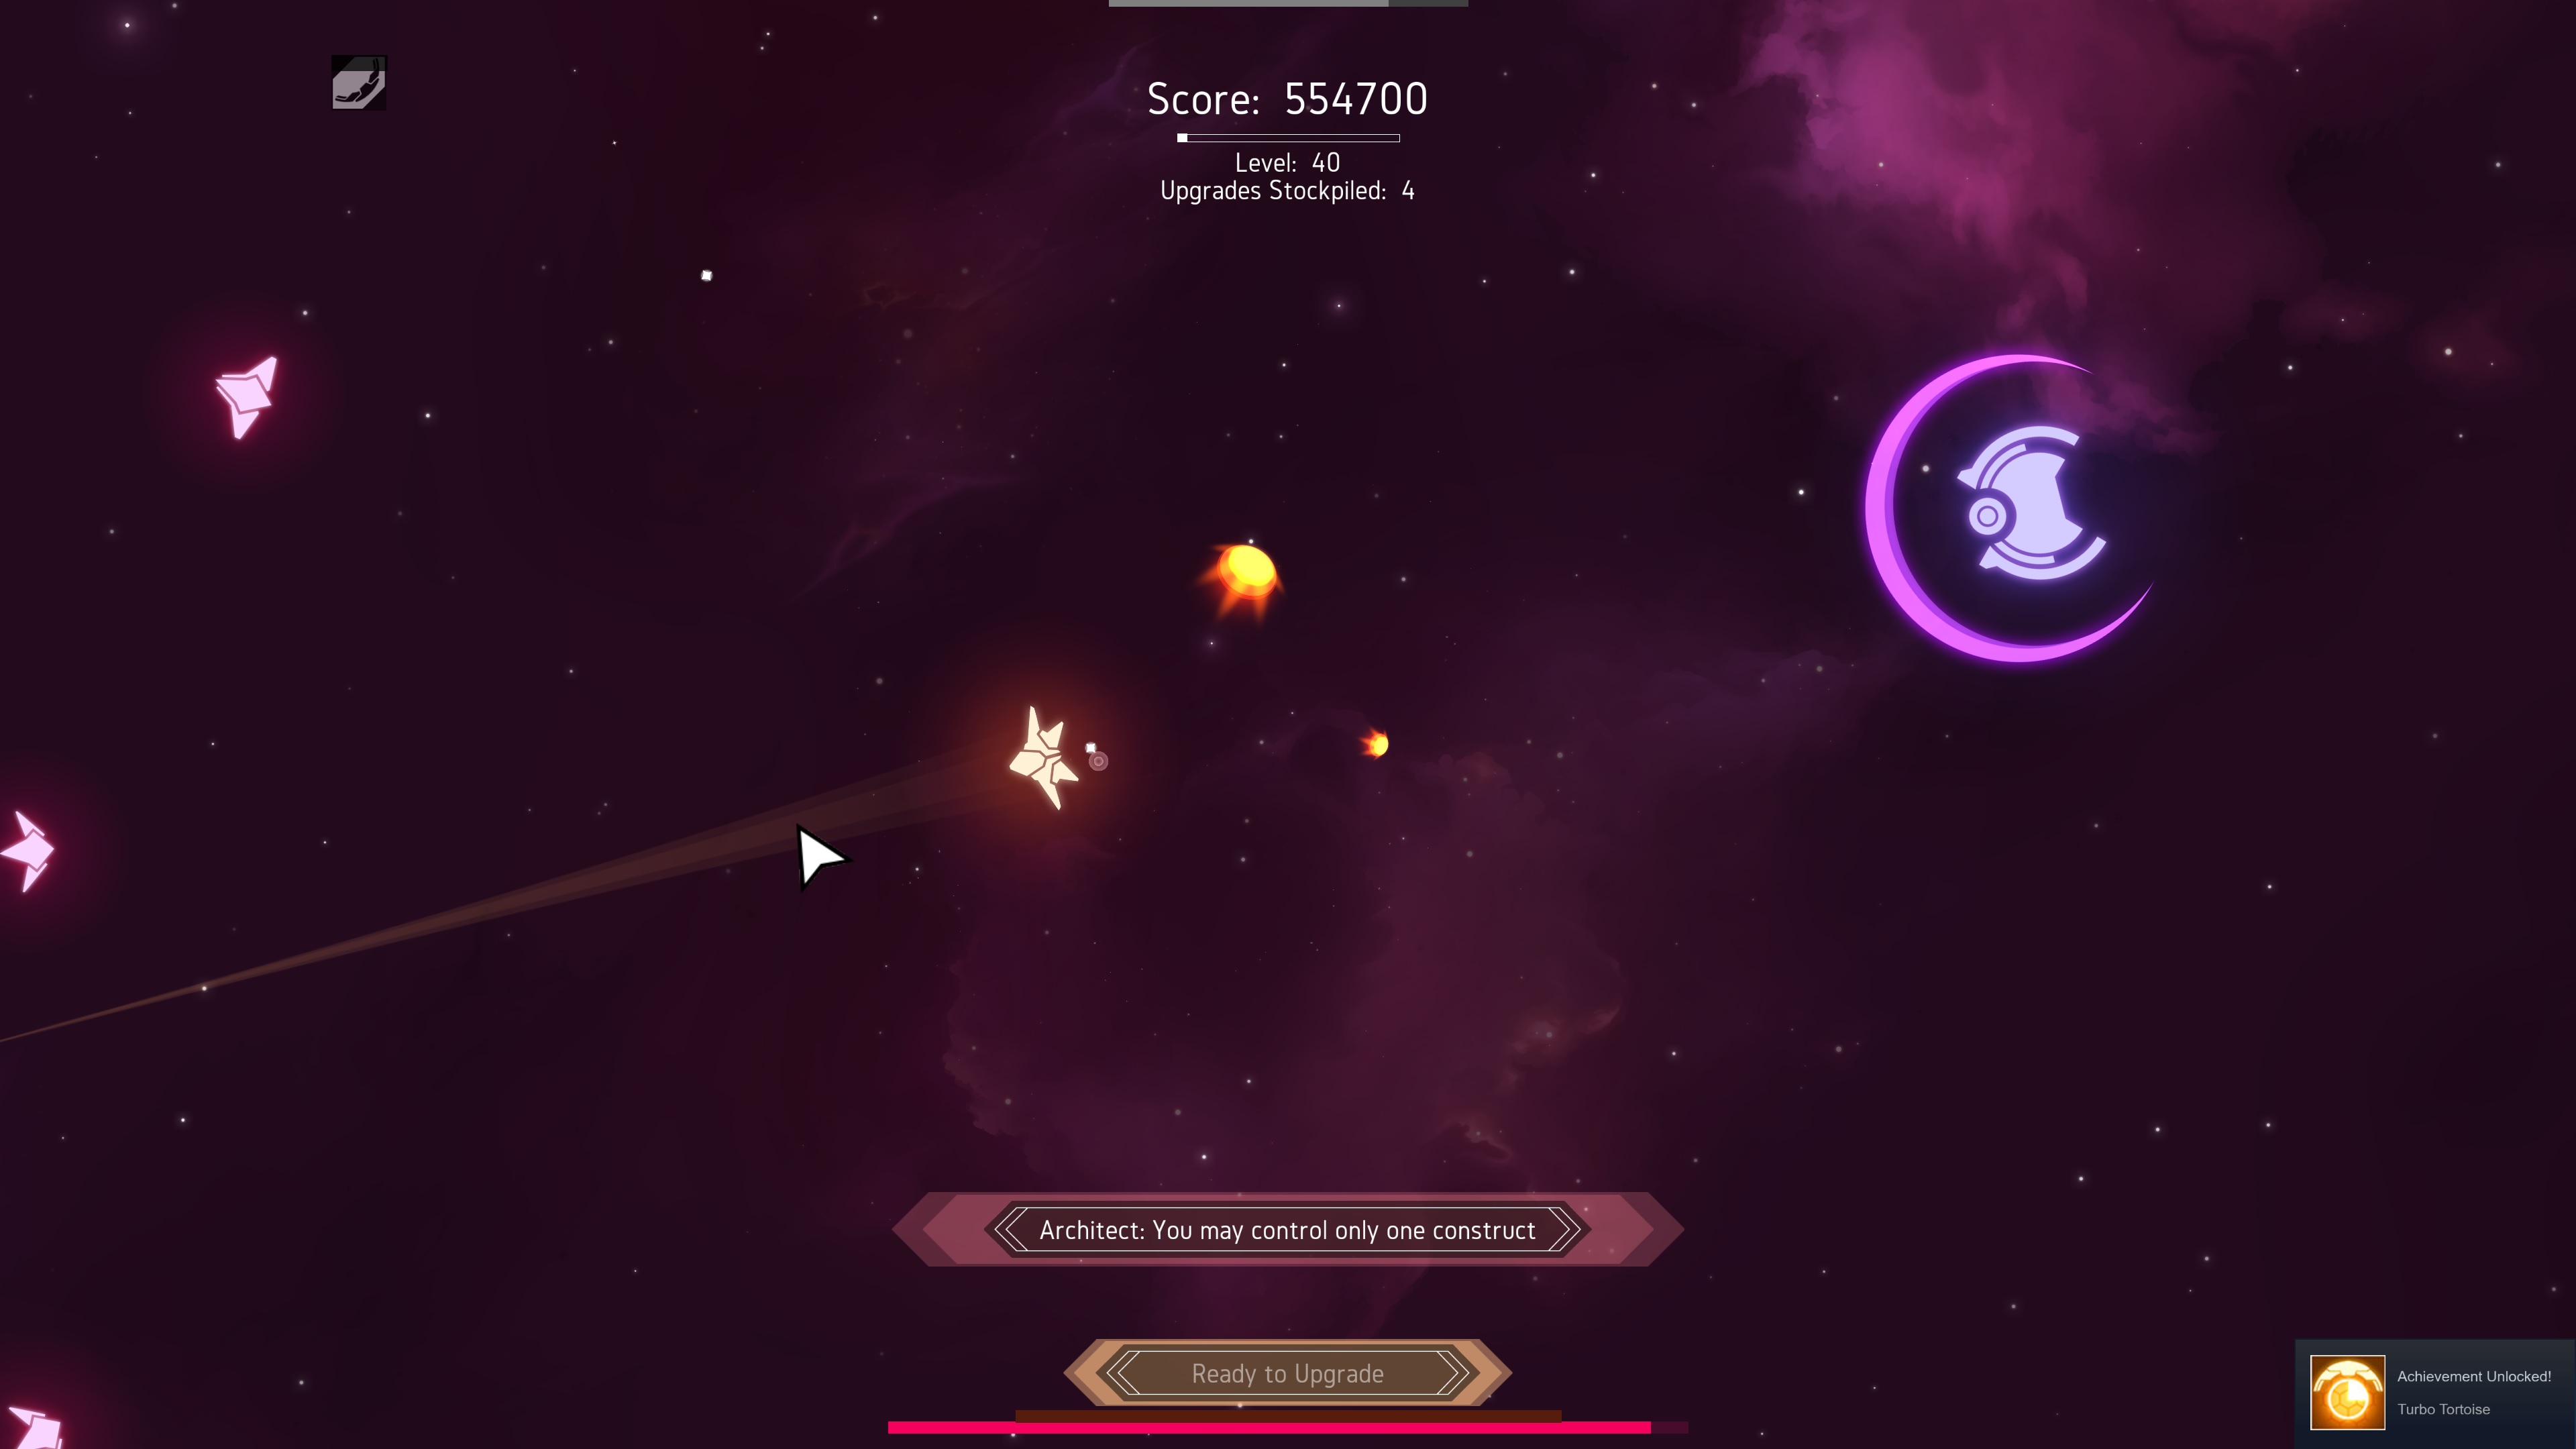
Apotheoses is really great with specter as you'll almost never have to worry about dodging enemy projectiles, you can ignore enemy mines and you can go matador with the ramming ships. Even the beetle boss won't be able to damage you with his charge.

Just make sure not to pick up too many (if any) burst fire mods as the shooting cooldown also delays when you can go invisible again and you can take your time to farm points
Red Armadura 17 Feb, 2023 @ 9:36pm 
Great guide, every time I think I've tried all the builds I learn about another one.
billyrupdike 17 Aug, 2022 @ 1:05pm 
Reflect is the best shield change my mind
HeraldOfOpera 14 Aug, 2022 @ 10:54am 
Over in the experimental branch, Draft made this achievement hilariously trivial. I could legit grab everything needed for the necessary construction time without having to actually fight. Also grabbed me Filled with Determination using your strategy, for similar reasons.
KinOfSin 11 Apr, 2022 @ 1:22am 
This achievement is absolute cancer. I've tried probably about 45-50 times to get this and I get towards the end and just get absolutely shredded. Turret upgrades never show up after getting guardian maxed and this is killing my spirit in obtaining the achievement.
KawaiiXD 29 Mar, 2022 @ 6:50pm 
I accidentally achieve this when I tried to get "The Best Defense" achievement, worth it.
GaviJa 12 Sep, 2021 @ 2:14pm 
This achievement bores me to death... I have a clean run and as soon as I have the reduced life I get some random bullshit like charge out of nowhere or some comets.
Droante 21 Mar, 2021 @ 3:23am 
thx, finally got this without bravado lol, then went on to a mil over a mil score just ramming things till my shield went boom, lol
Ju 15 Mar, 2021 @ 11:11am 
What about using the wild modifier reducing shild cooldown ?