
Steam 설치
로그인
|
언어
简体中文(중국어 간체)
繁體中文(중국어 번체)
日本語(일본어)
ไทย(태국어)
Български(불가리아어)
Čeština(체코어)
Dansk(덴마크어)
Deutsch(독일어)
English(영어)
Español - España(스페인어 - 스페인)
Español - Latinoamérica(스페인어 - 중남미)
Ελληνικά(그리스어)
Français(프랑스어)
Italiano(이탈리아어)
Bahasa Indonesia(인도네시아어)
Magyar(헝가리어)
Nederlands(네덜란드어)
Norsk(노르웨이어)
Polski(폴란드어)
Português(포르투갈어 - 포르투갈)
Português - Brasil(포르투갈어 - 브라질)
Română(루마니아어)
Русский(러시아어)
Suomi(핀란드어)
Svenska(스웨덴어)
Türkçe(튀르키예어)
Tiếng Việt(베트남어)
Українська(우크라이나어)
번역 관련 문제 보고


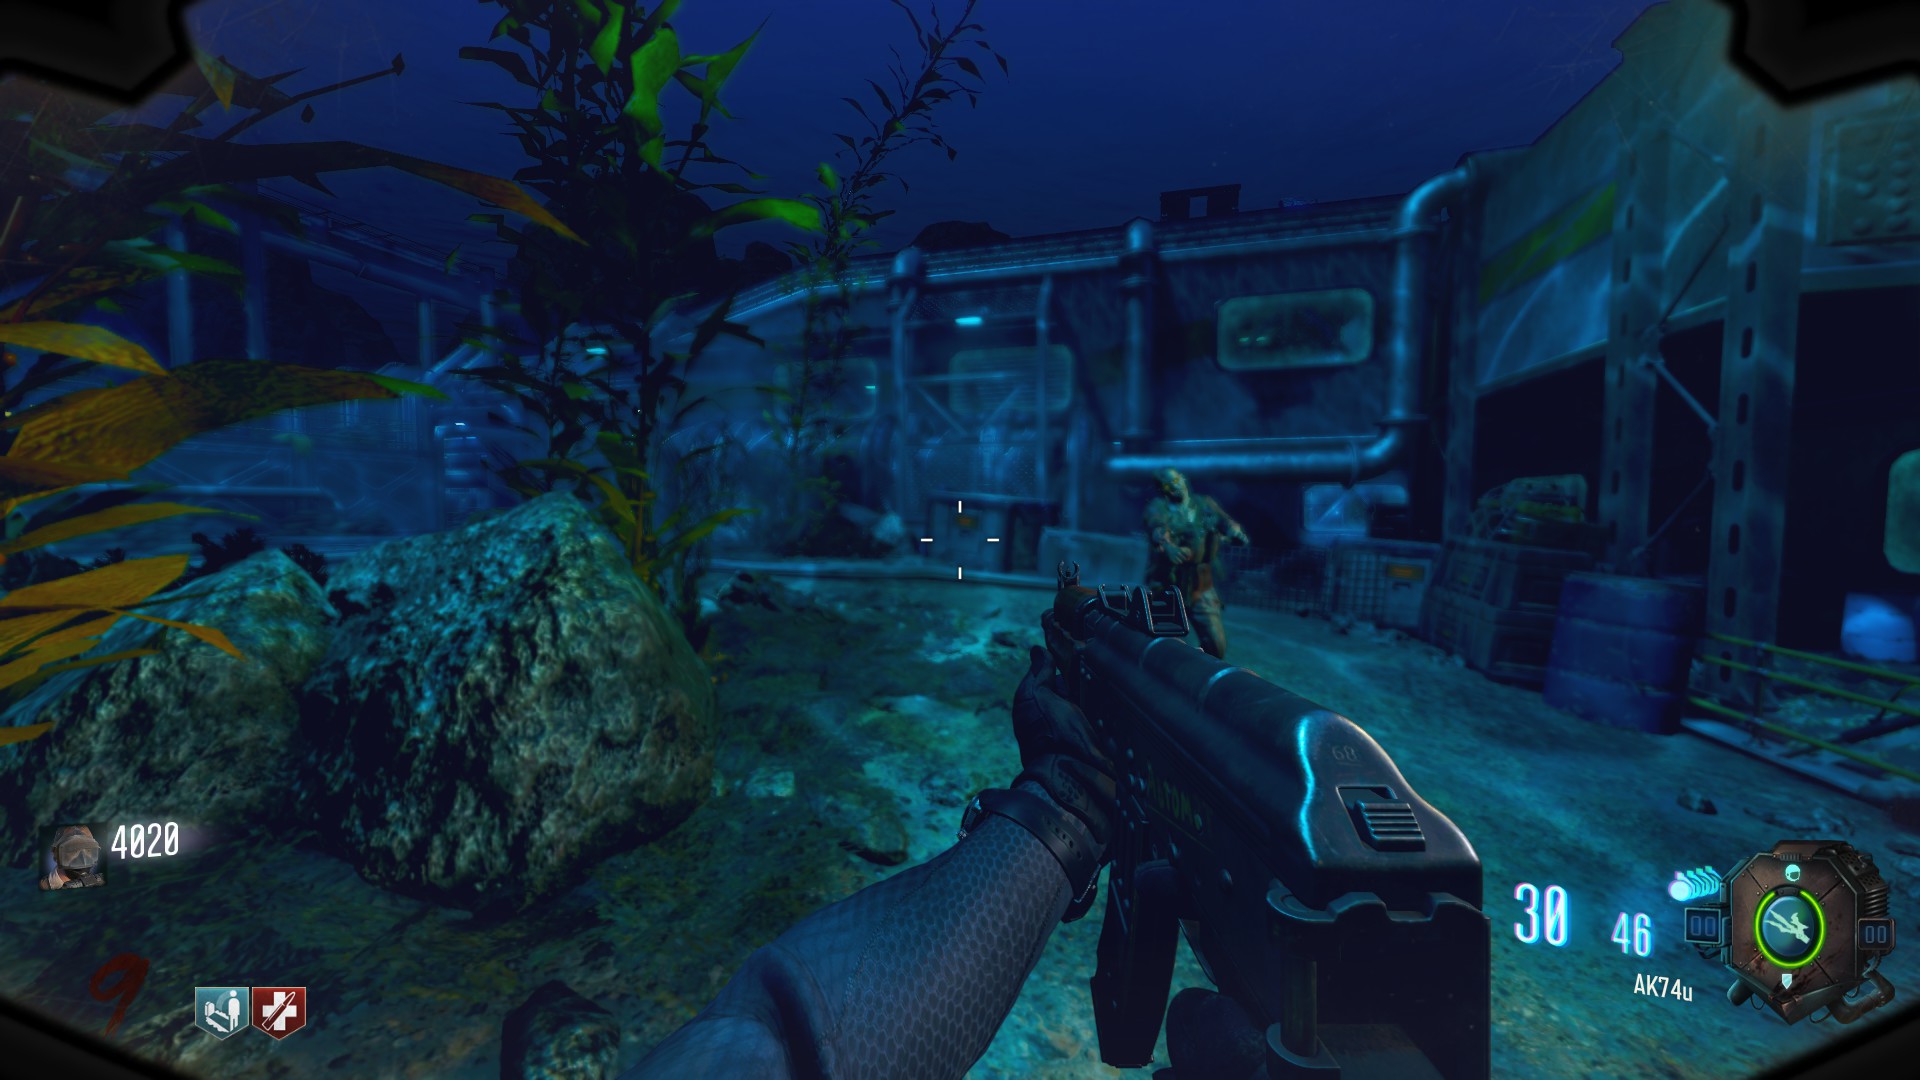


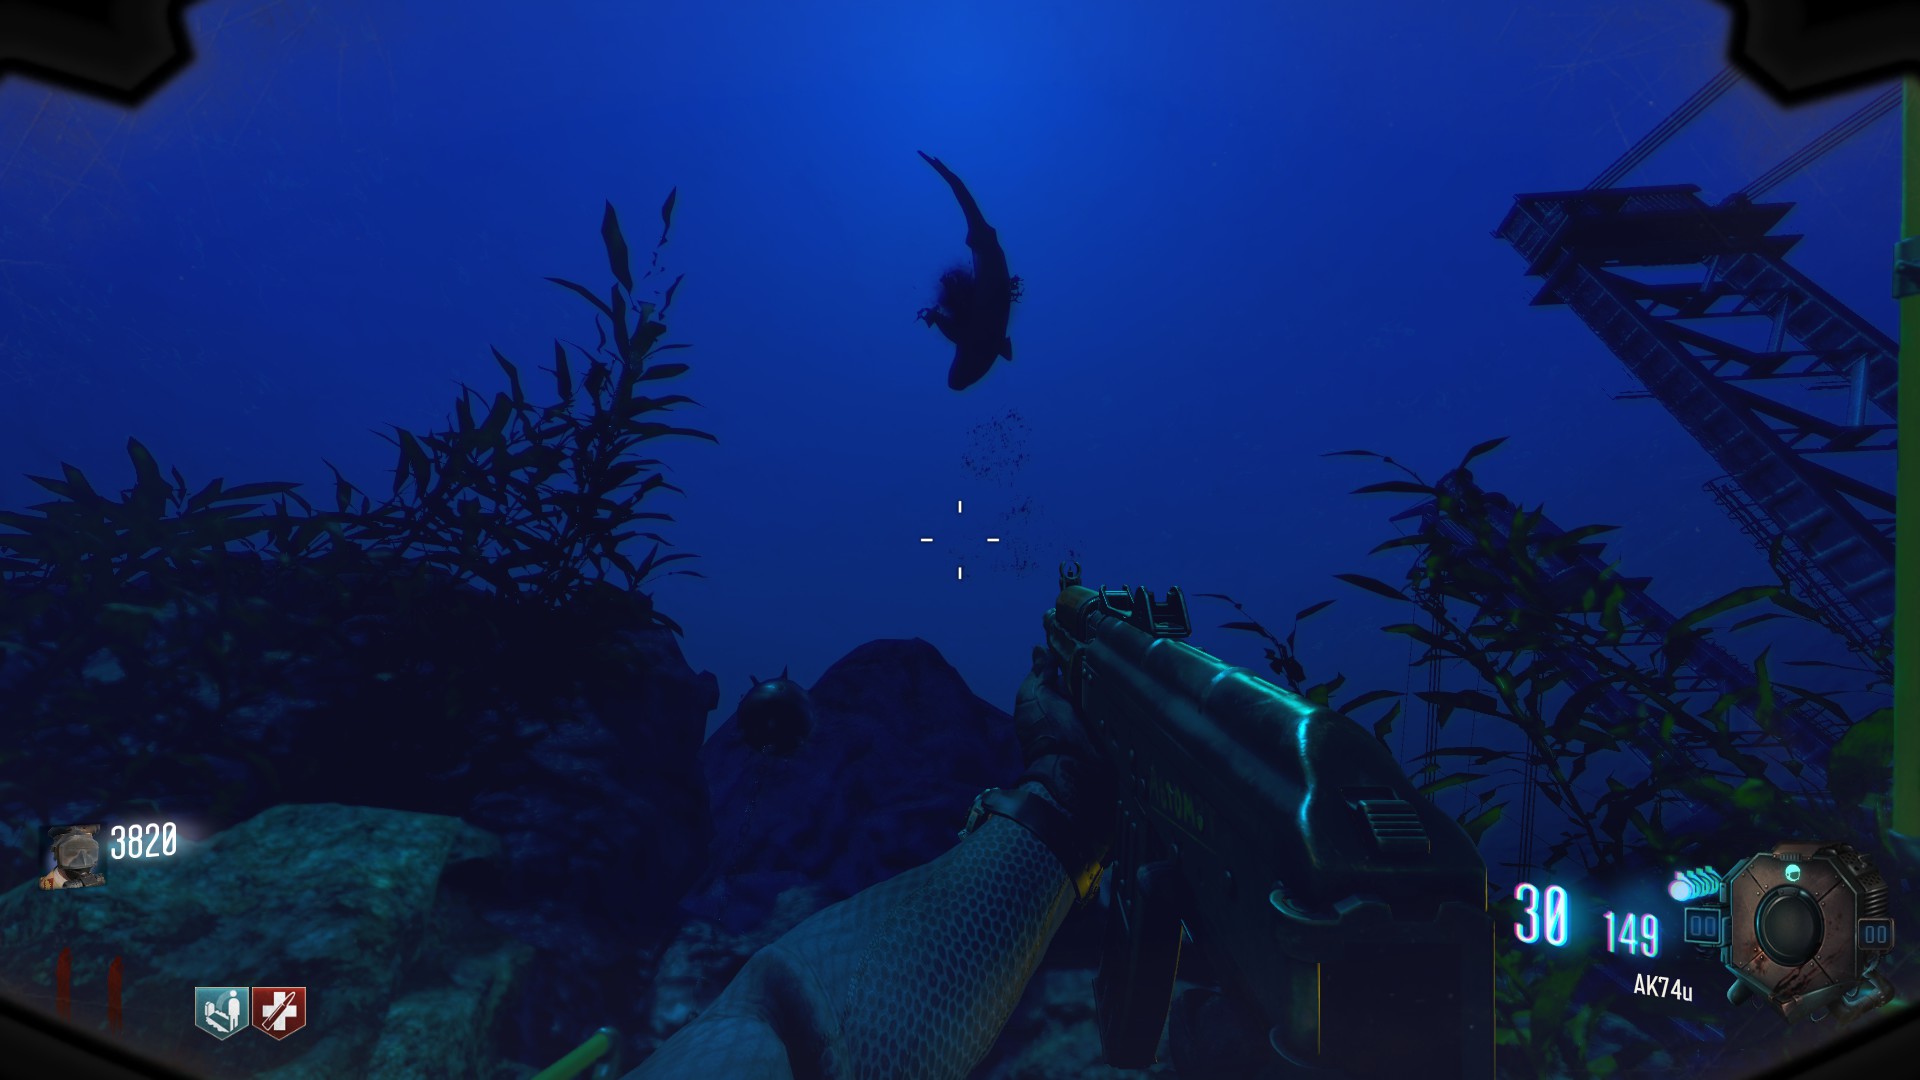

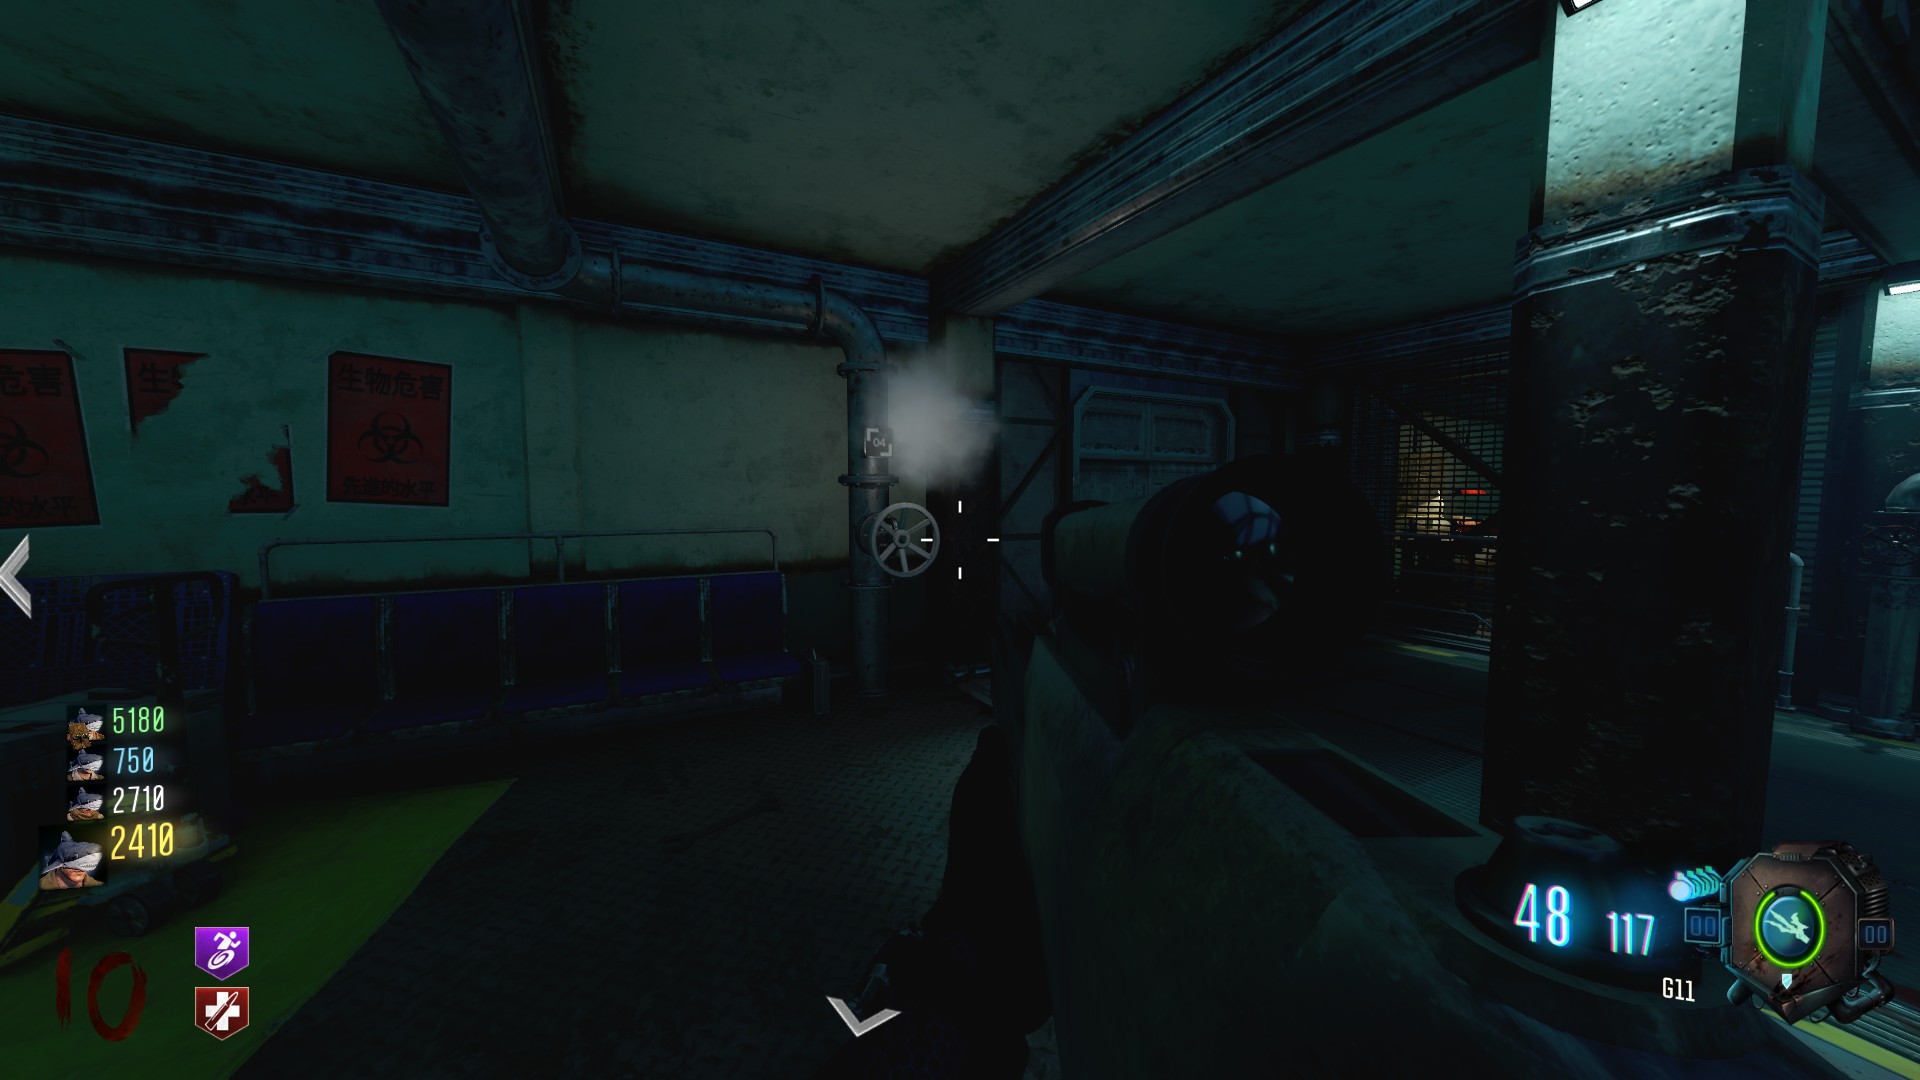


Shark mask - you need to kill a 6th shark kill which can be found roaming above tunnel 11 (the tunnel that connects cafeteria and the entrance of biodome)
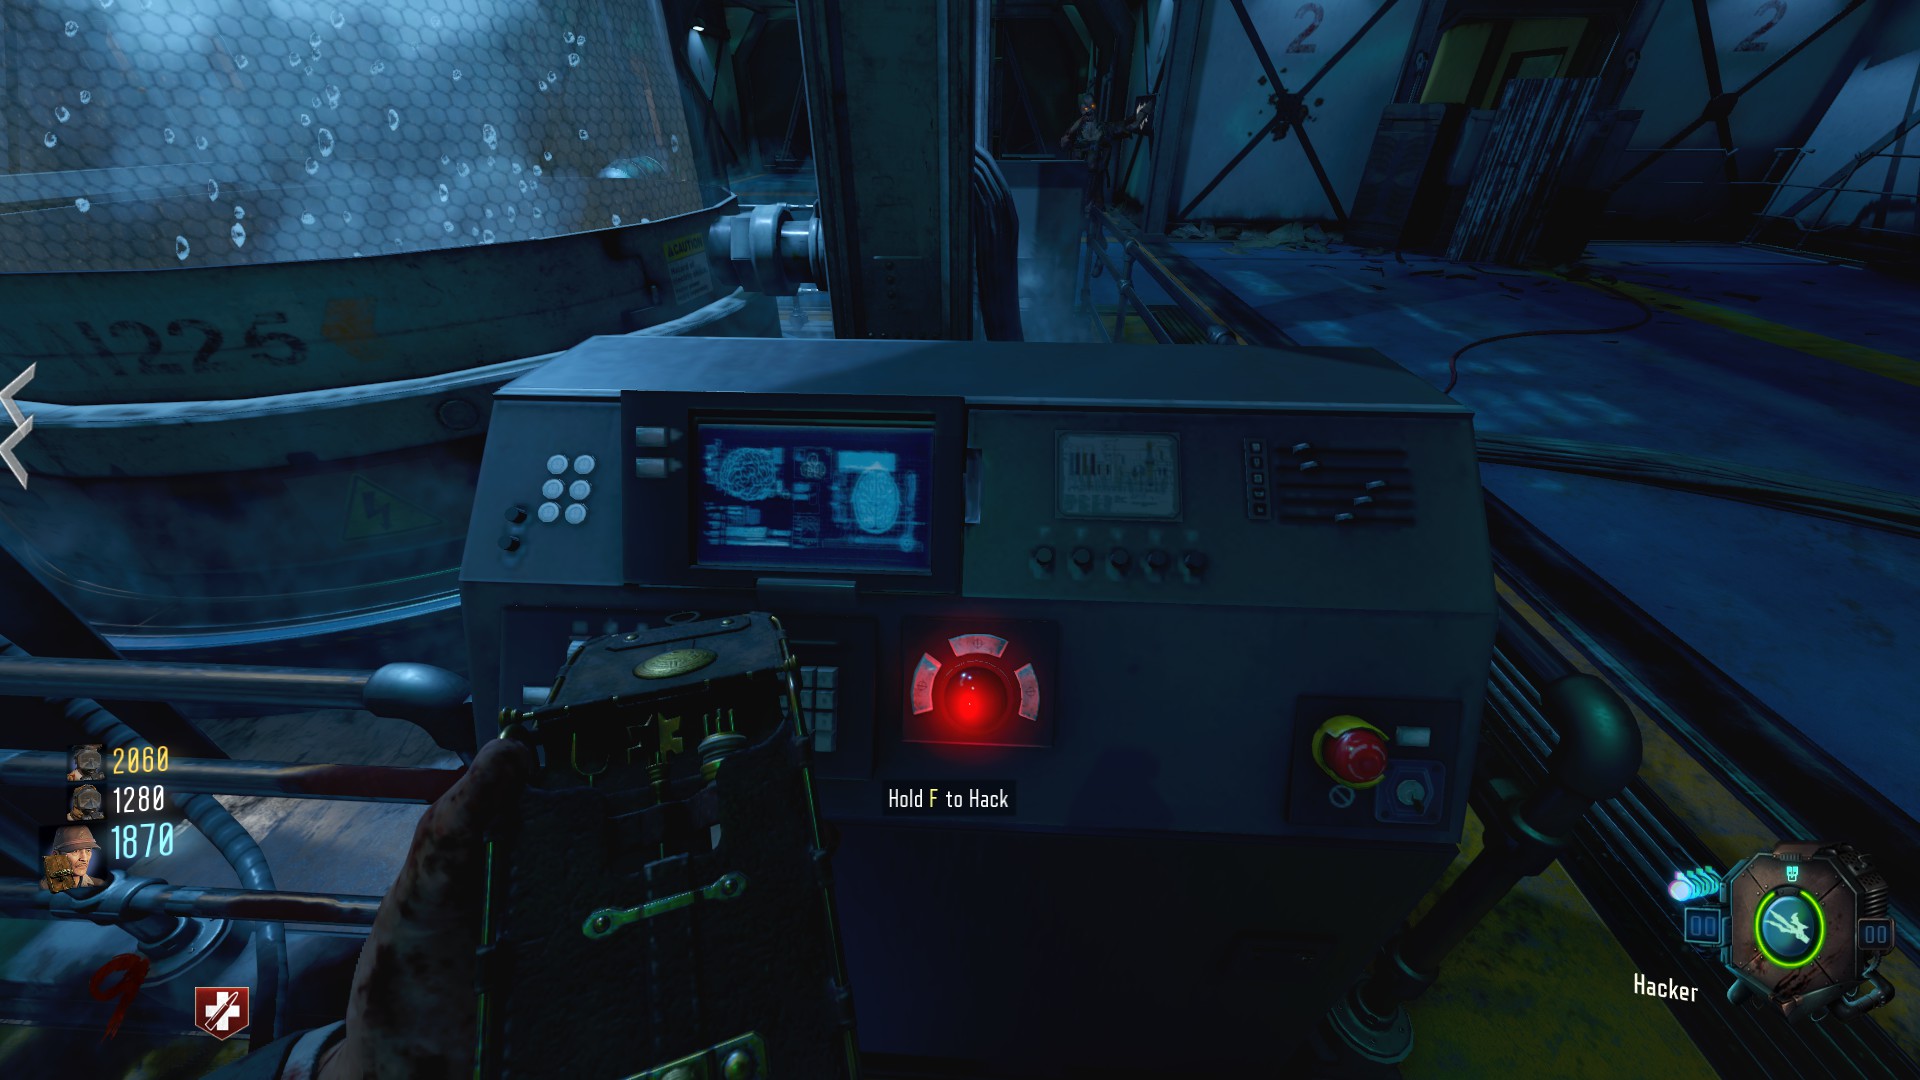
Bonefire sale code: 7225
good luck gang.
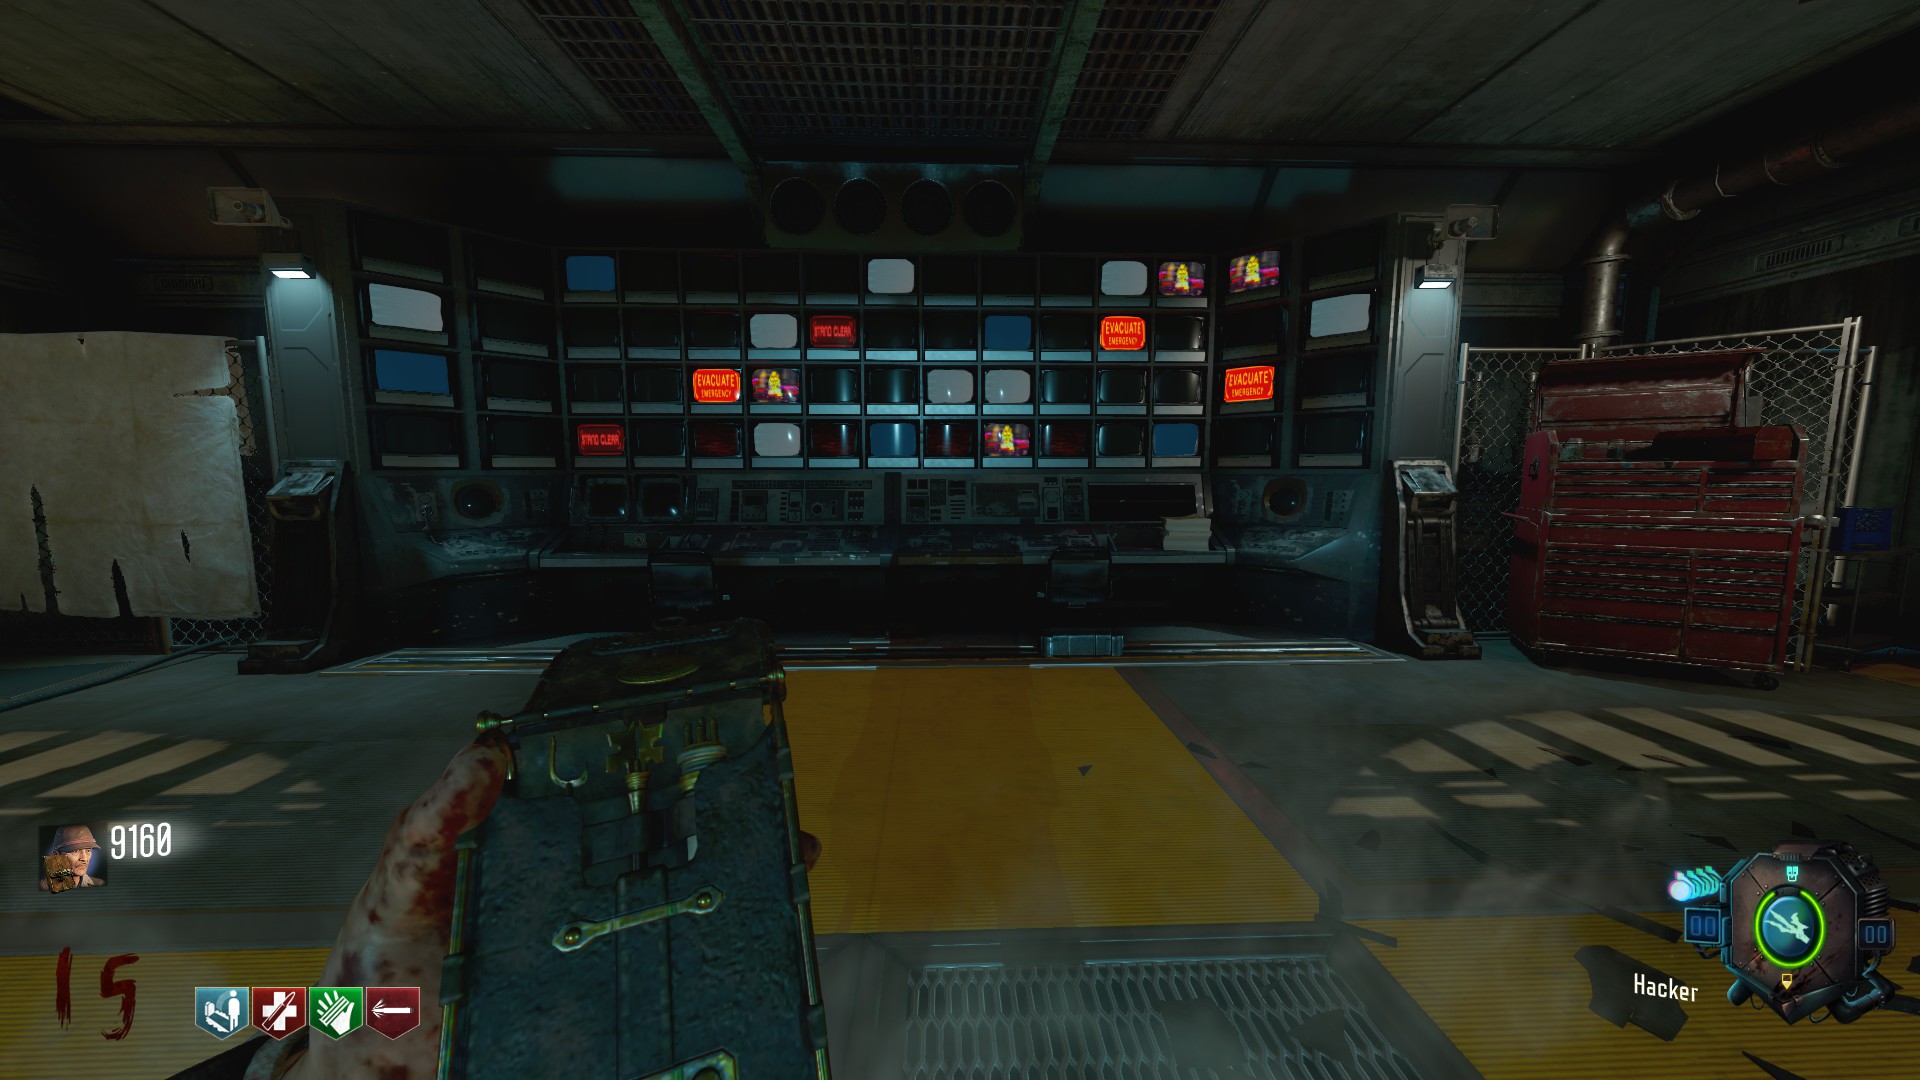
If for some reason you can't activate the backup power switch on the Lockdown step, it means you failed one of the lockdowns. The map gives zero feedback on if you fail besides a glitchy-sounding powering down sound, but you'll know you've successfully defended one of the terminals because one Jumping Jack will spawn after both the first and second, and a Diver boss spawns after the third. If they don't spawn when they're supposed to, you failed the lockdown, and the only way to try that one again is to proceed to the next round, however, any lockdown that was successful will stay that way, meaning you don't have to do them all in one round, if, for example, you need to grind for a Max first. Proceeding to the next round will 'restart' them, playing their audio cues again if they aren't done yet. The map isn't bugged, it's just bad at telling you if you fail or succeed.