
安装 Steam
登录
|
语言
繁體中文(繁体中文)
日本語(日语)
한국어(韩语)
ไทย(泰语)
български(保加利亚语)
Čeština(捷克语)
Dansk(丹麦语)
Deutsch(德语)
English(英语)
Español-España(西班牙语 - 西班牙)
Español - Latinoamérica(西班牙语 - 拉丁美洲)
Ελληνικά(希腊语)
Français(法语)
Italiano(意大利语)
Bahasa Indonesia(印度尼西亚语)
Magyar(匈牙利语)
Nederlands(荷兰语)
Norsk(挪威语)
Polski(波兰语)
Português(葡萄牙语 - 葡萄牙)
Português-Brasil(葡萄牙语 - 巴西)
Română(罗马尼亚语)
Русский(俄语)
Suomi(芬兰语)
Svenska(瑞典语)
Türkçe(土耳其语)
Tiếng Việt(越南语)
Українська(乌克兰语)
报告翻译问题


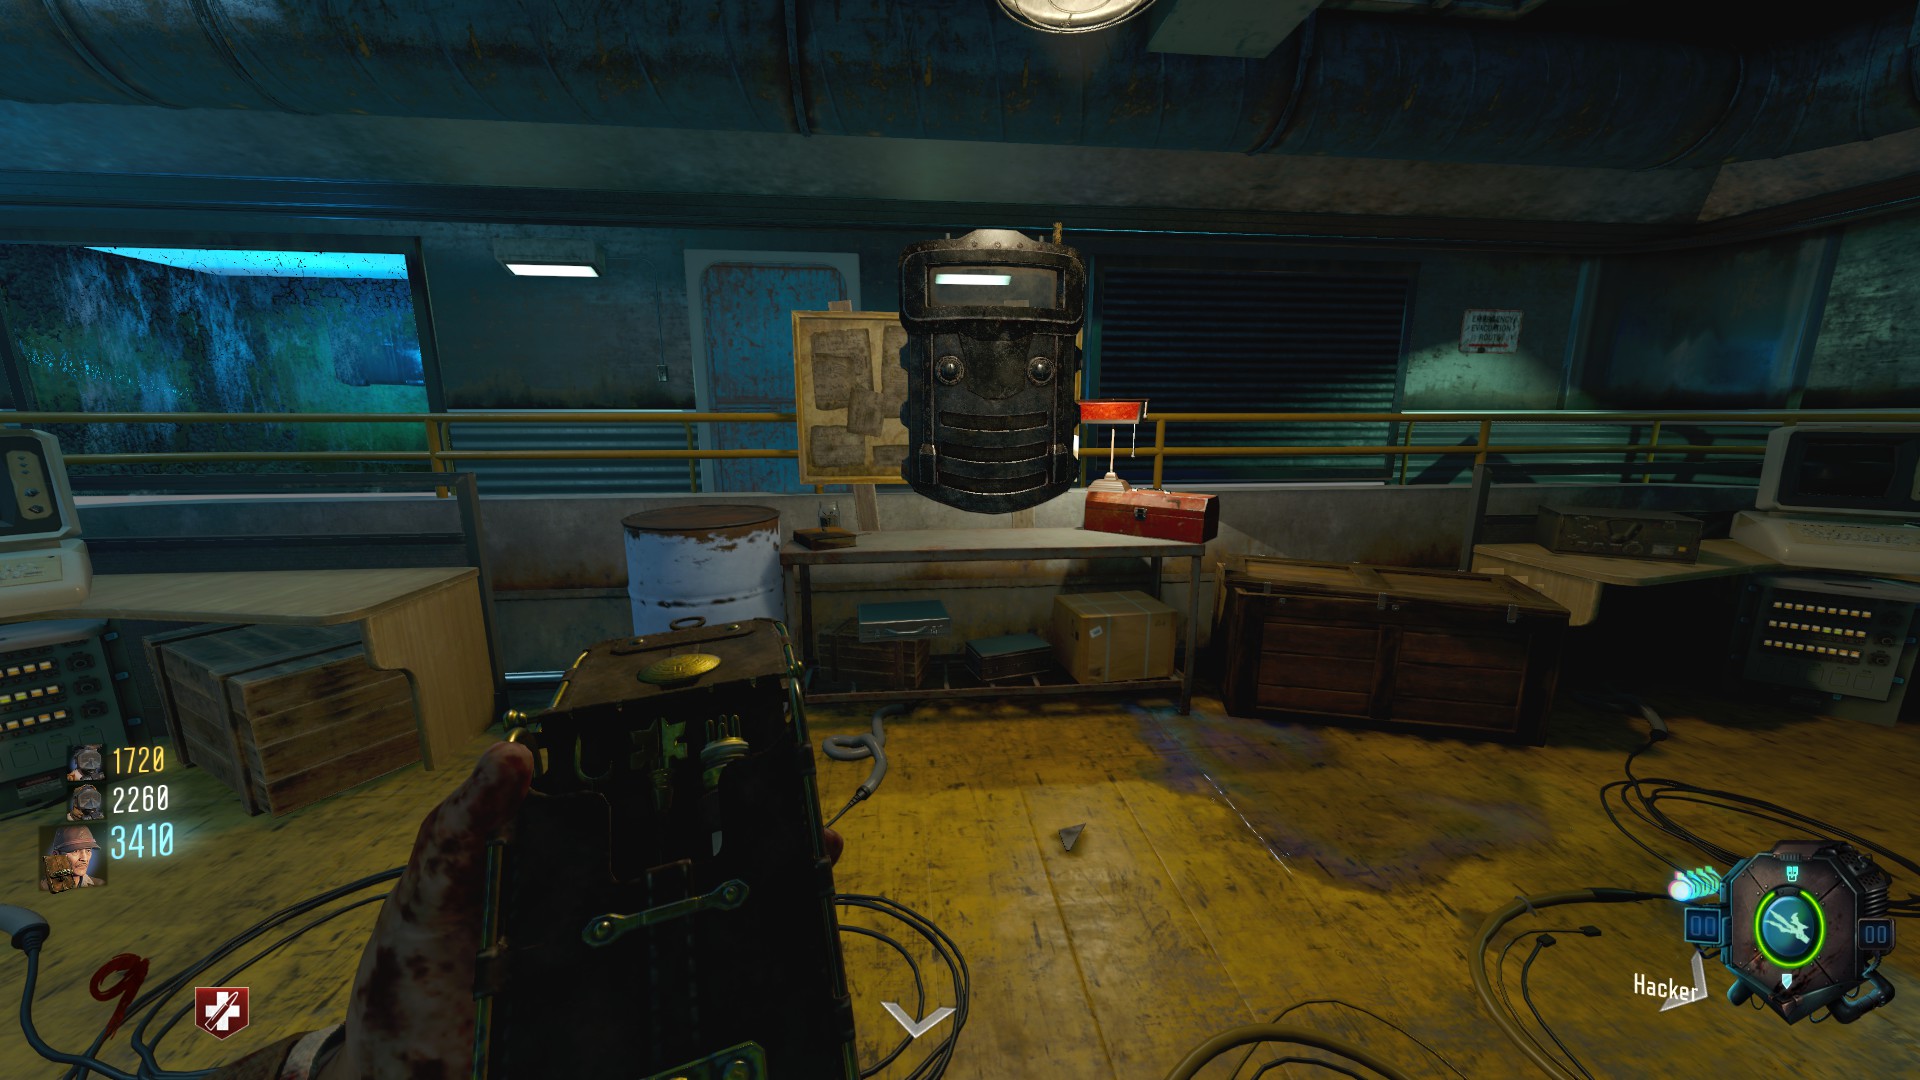
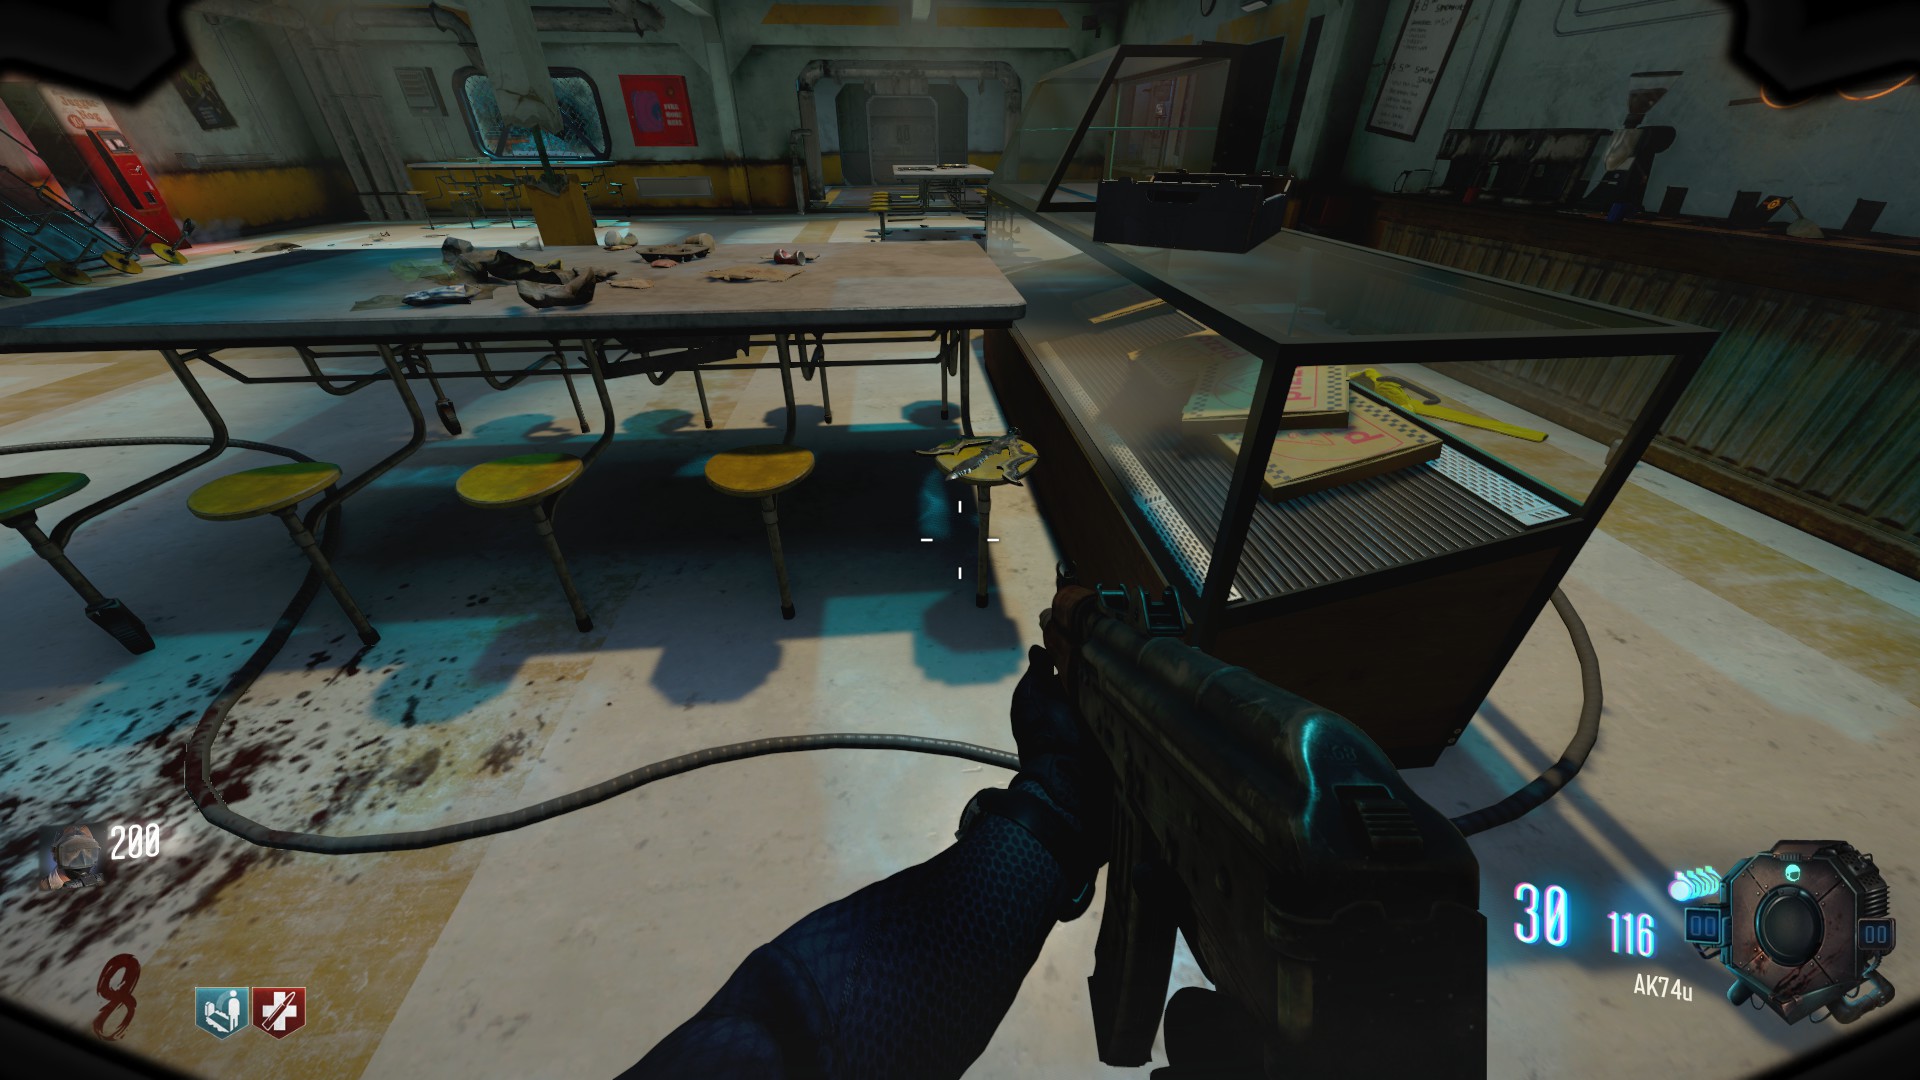


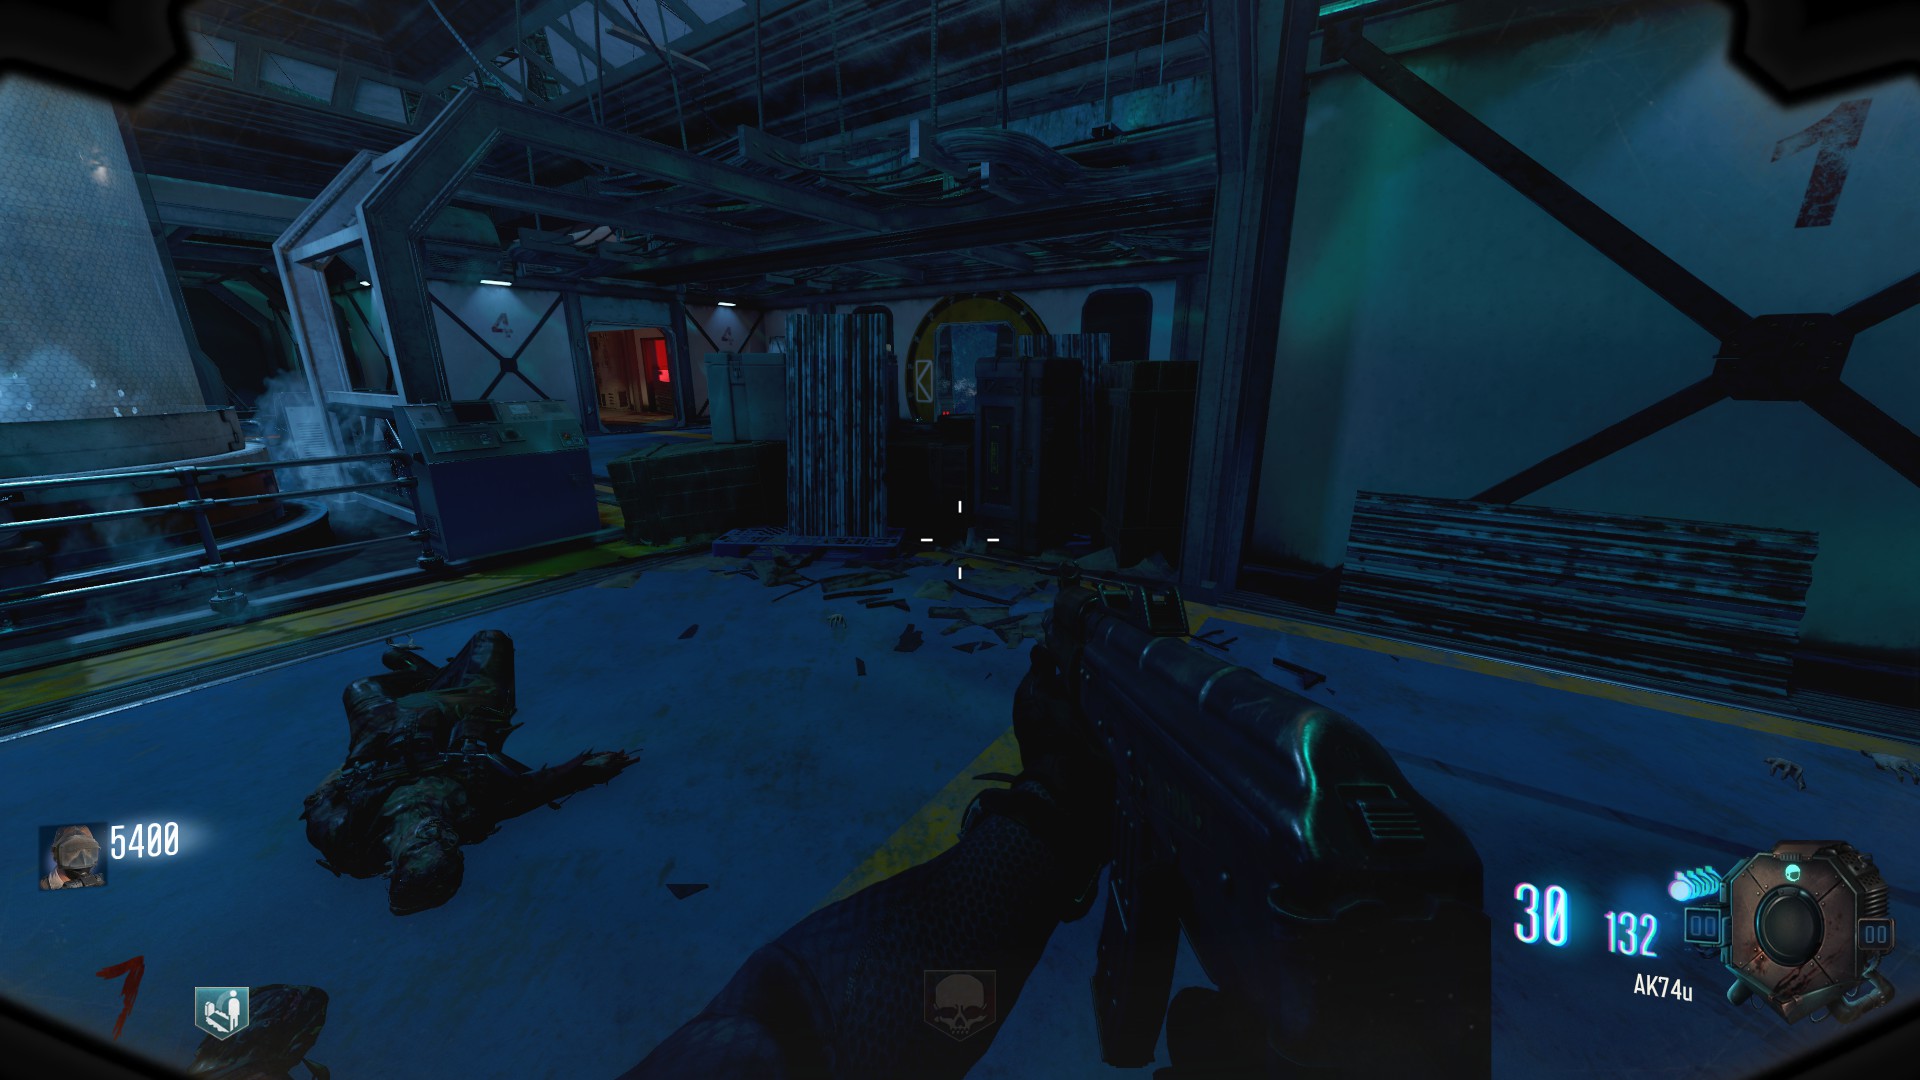
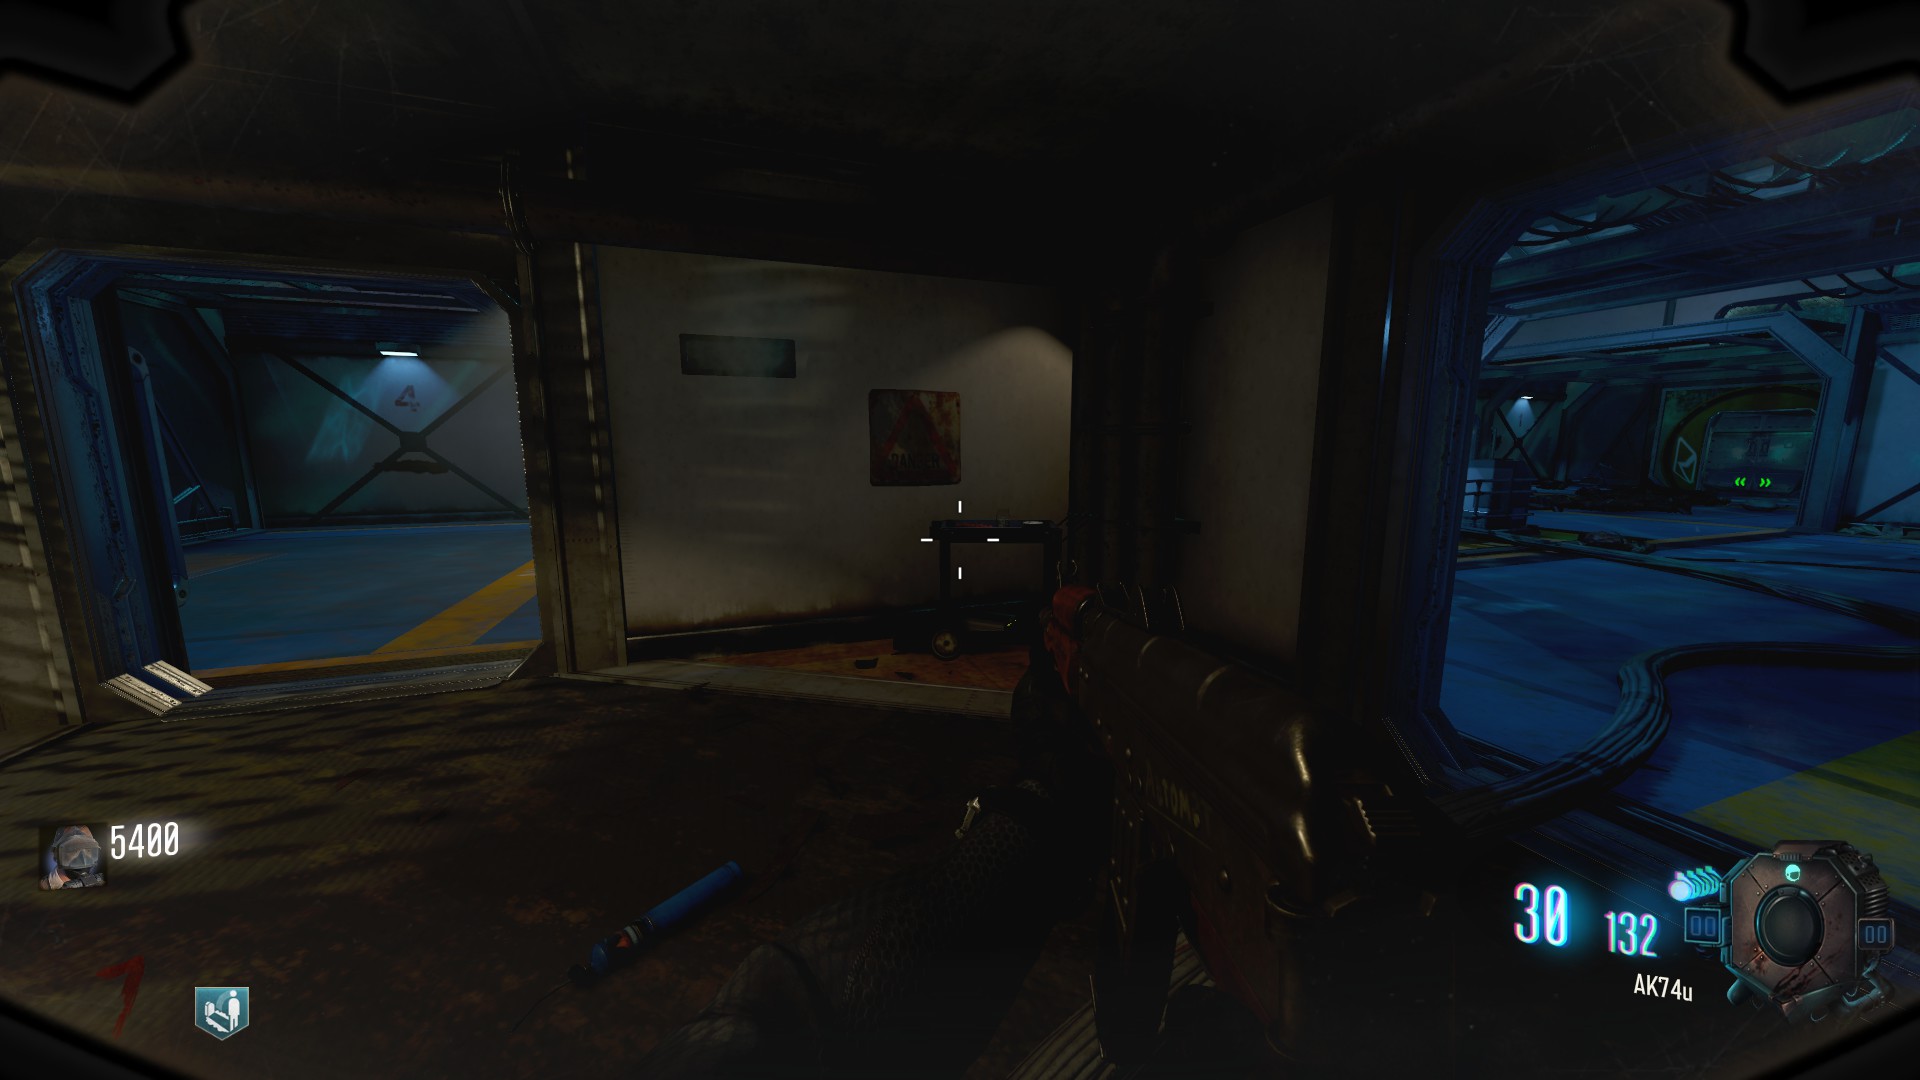

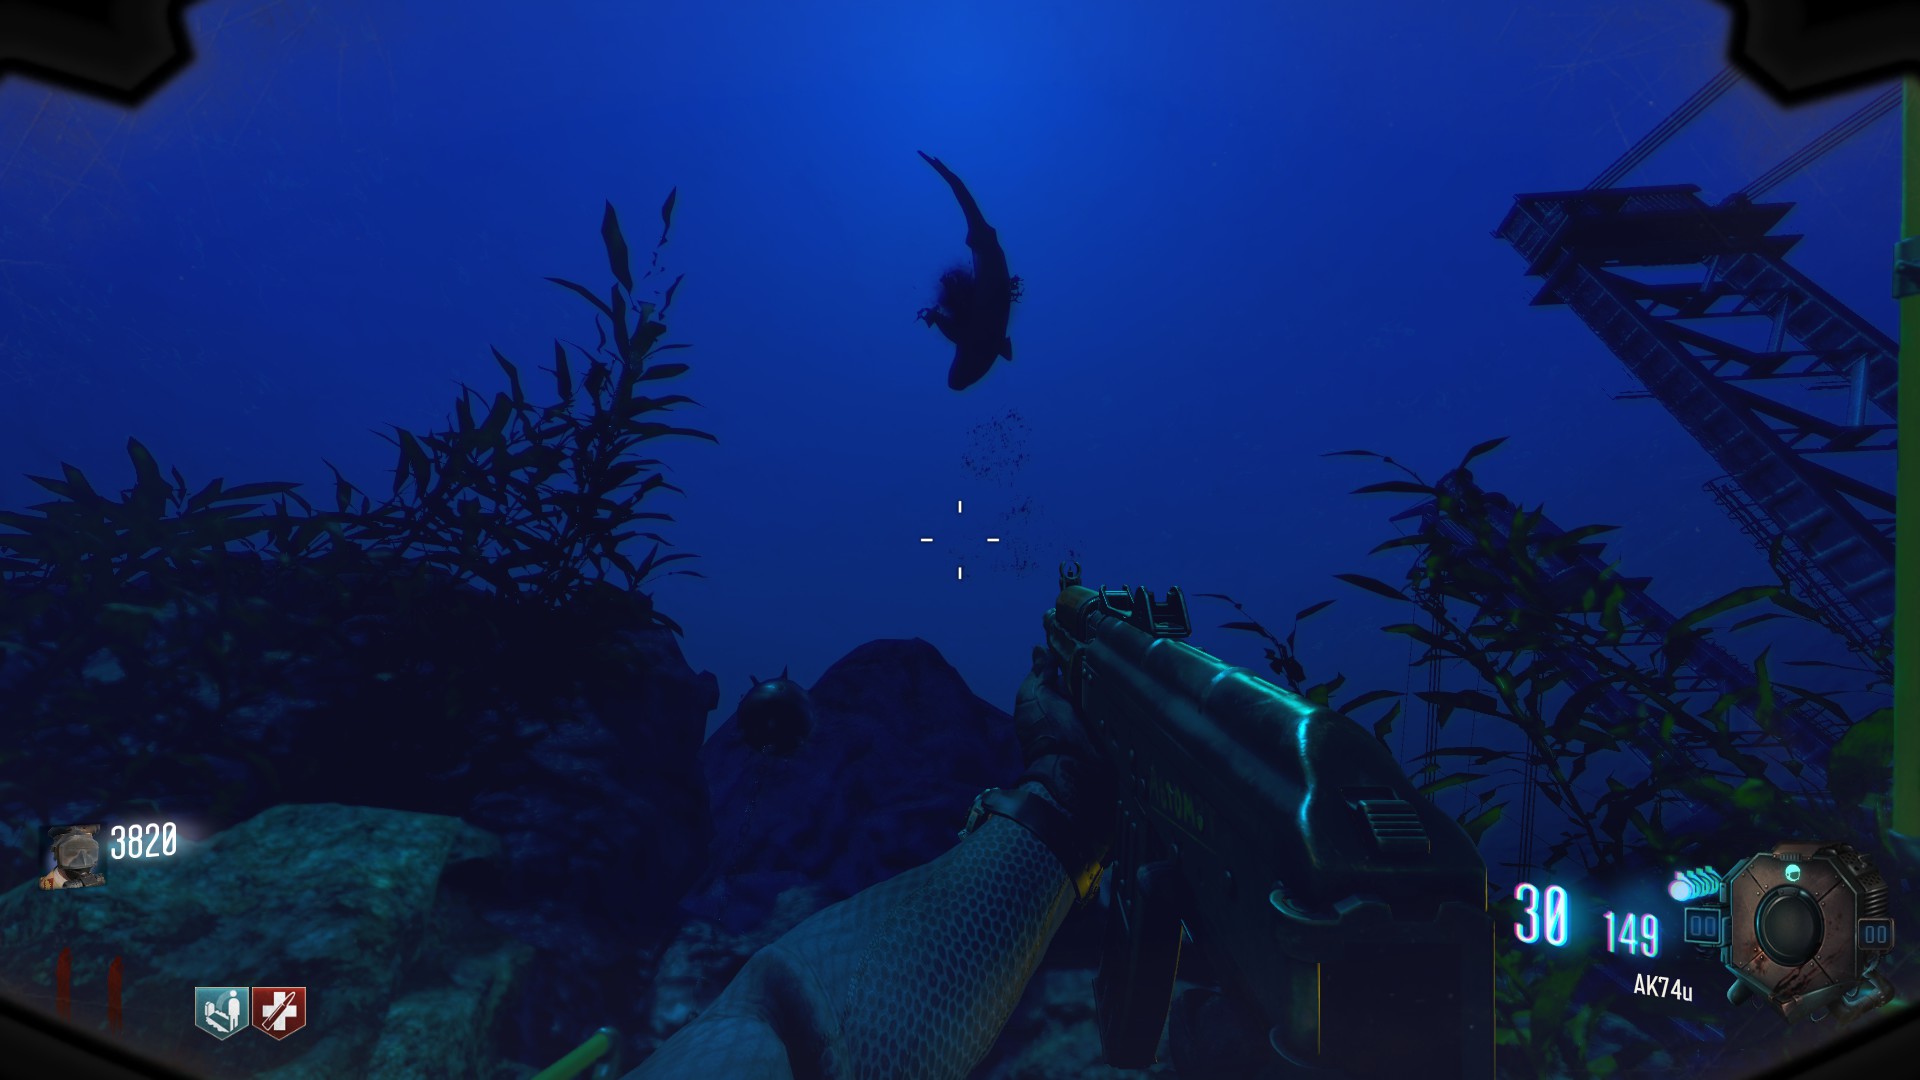

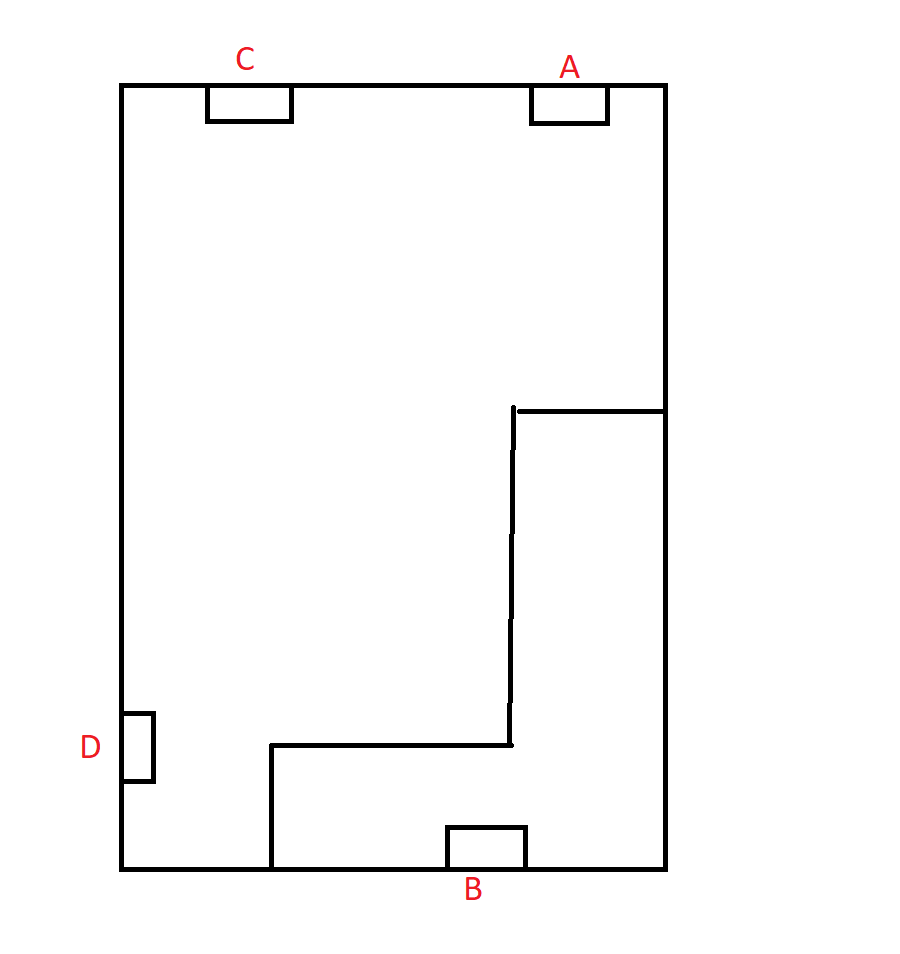
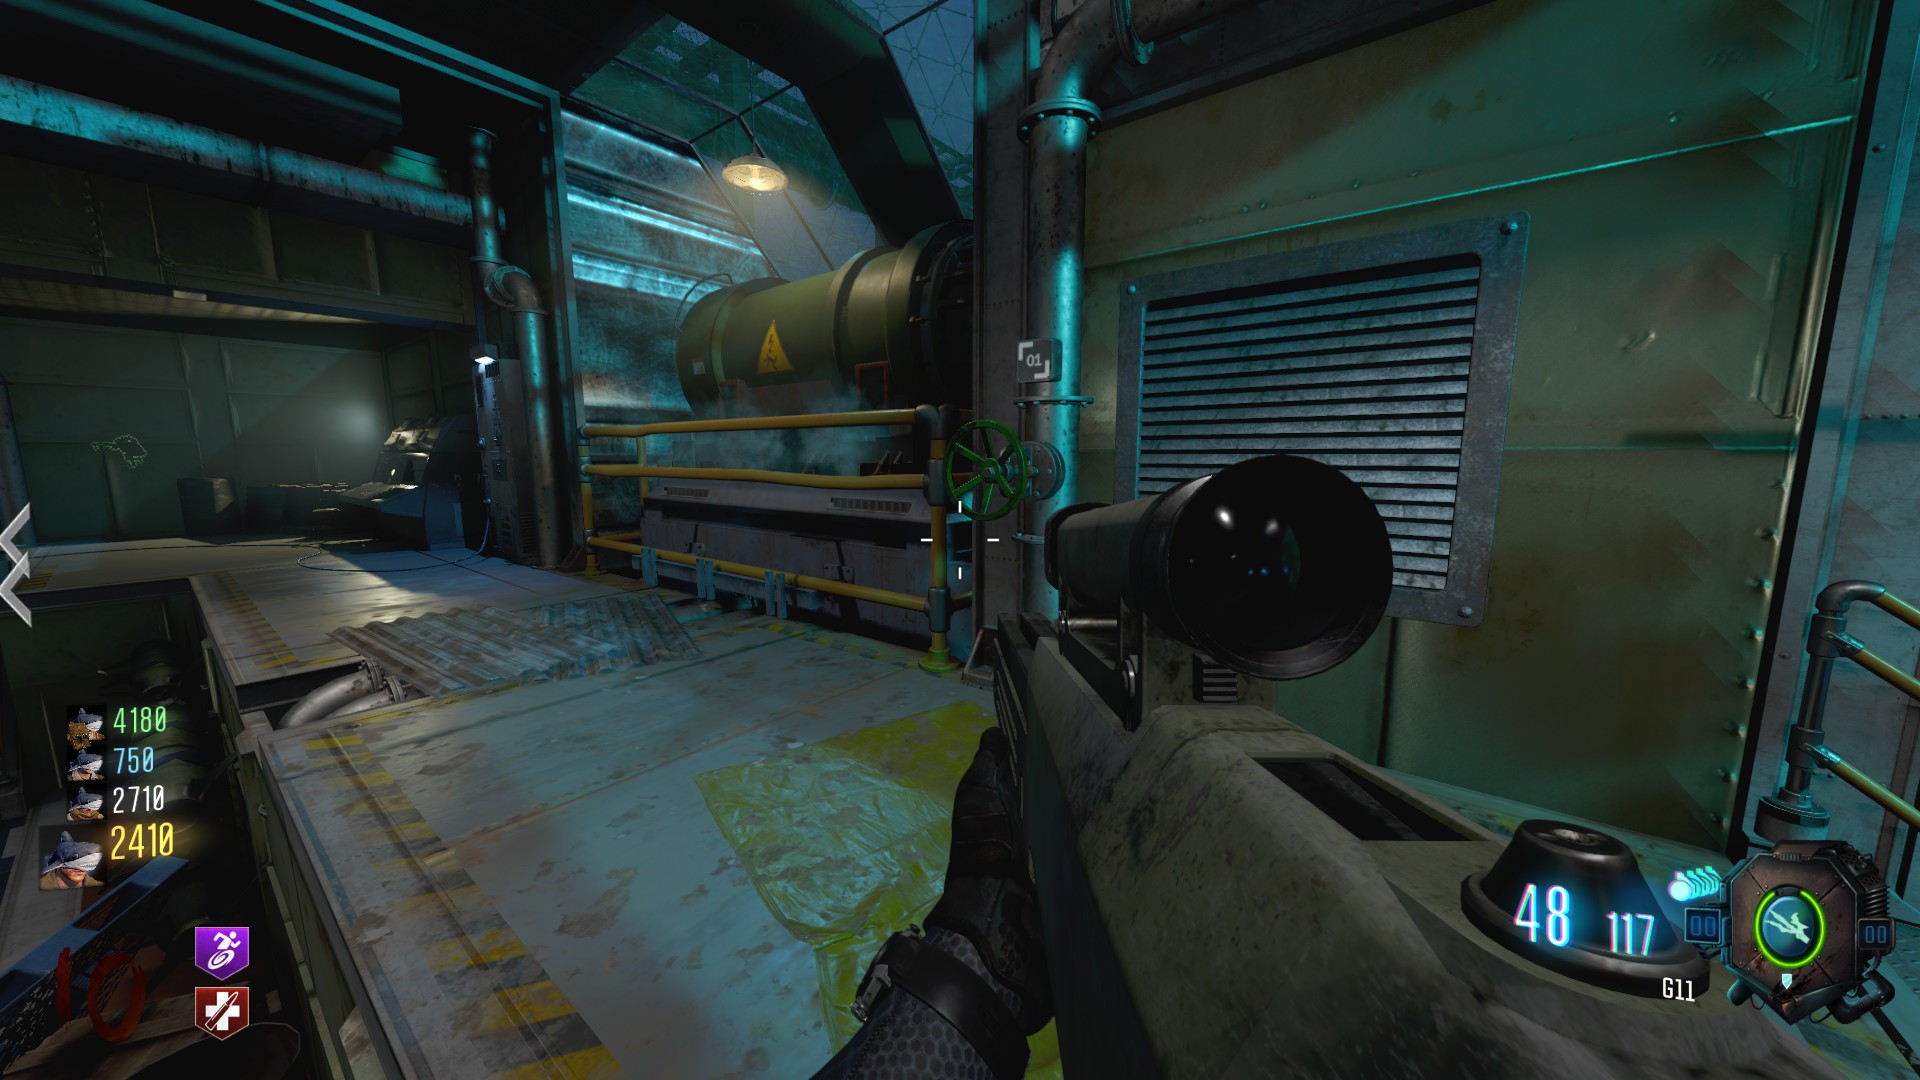
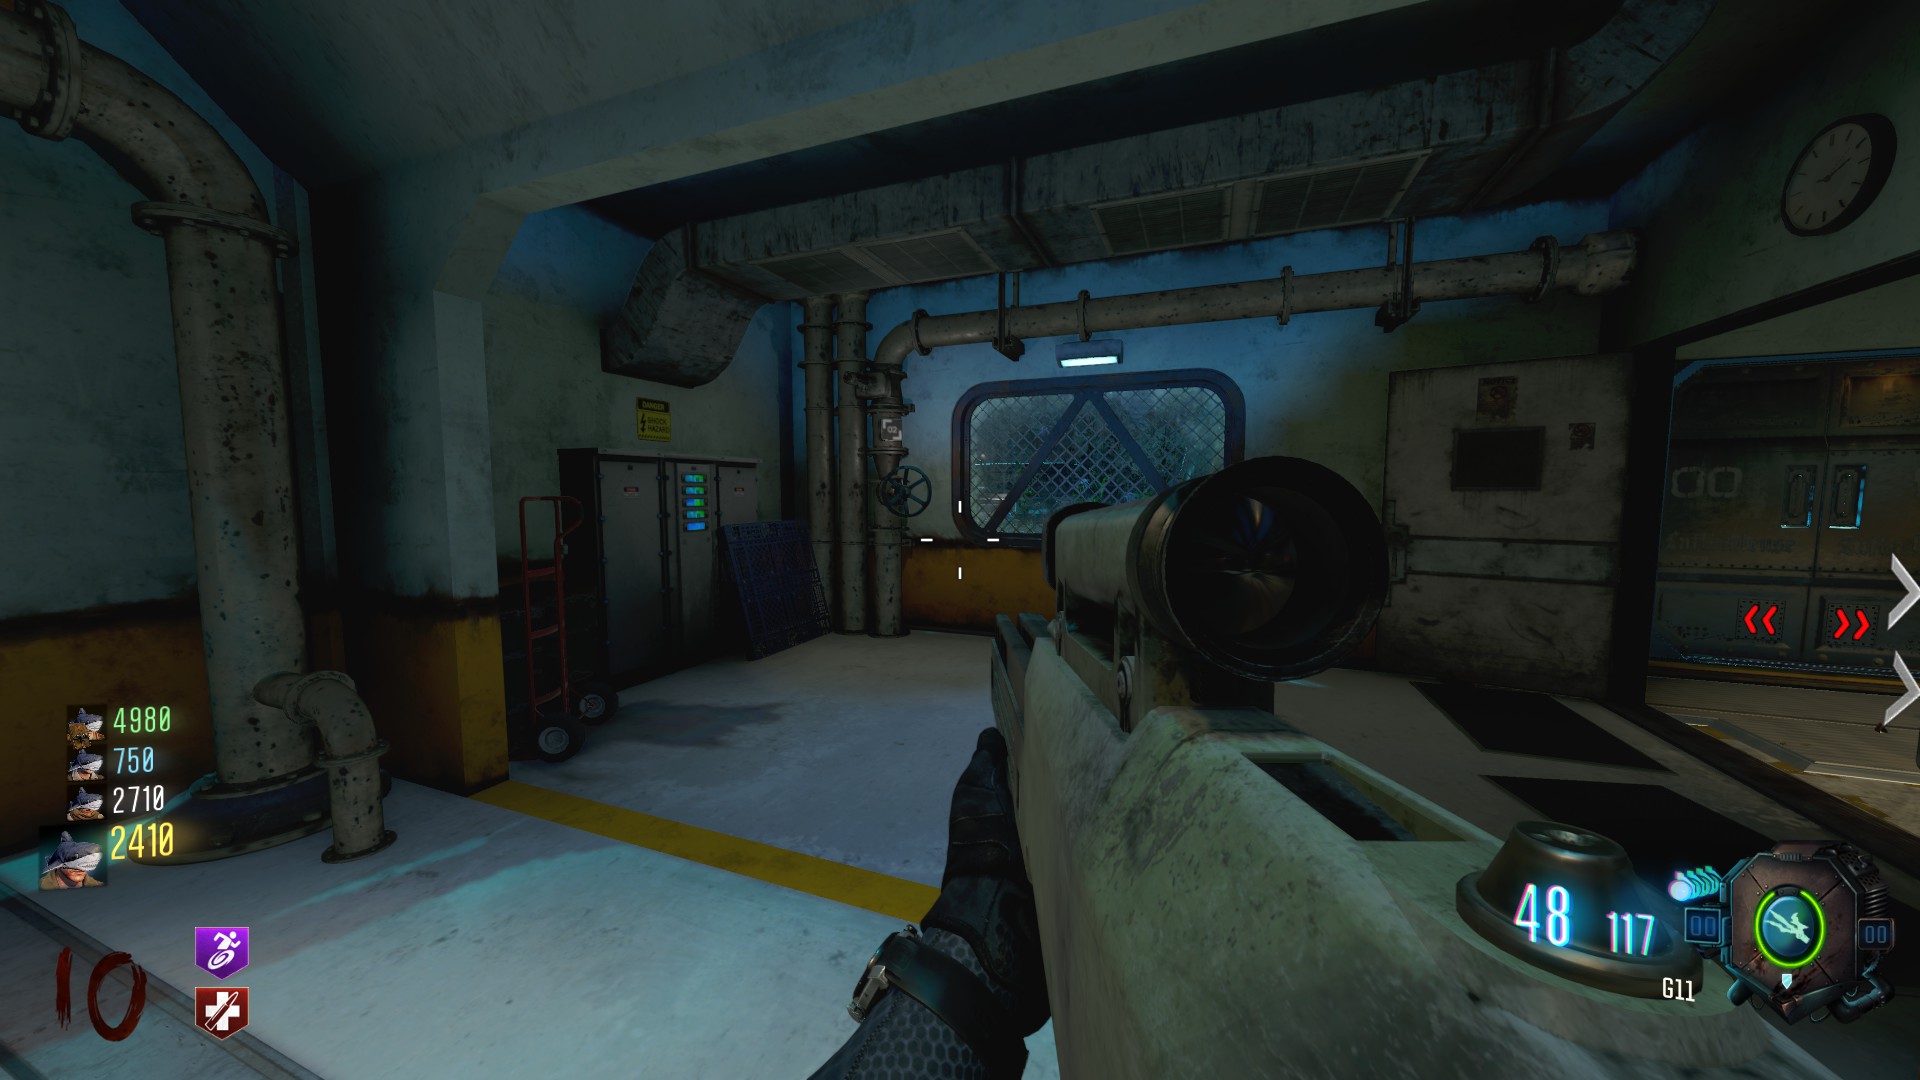
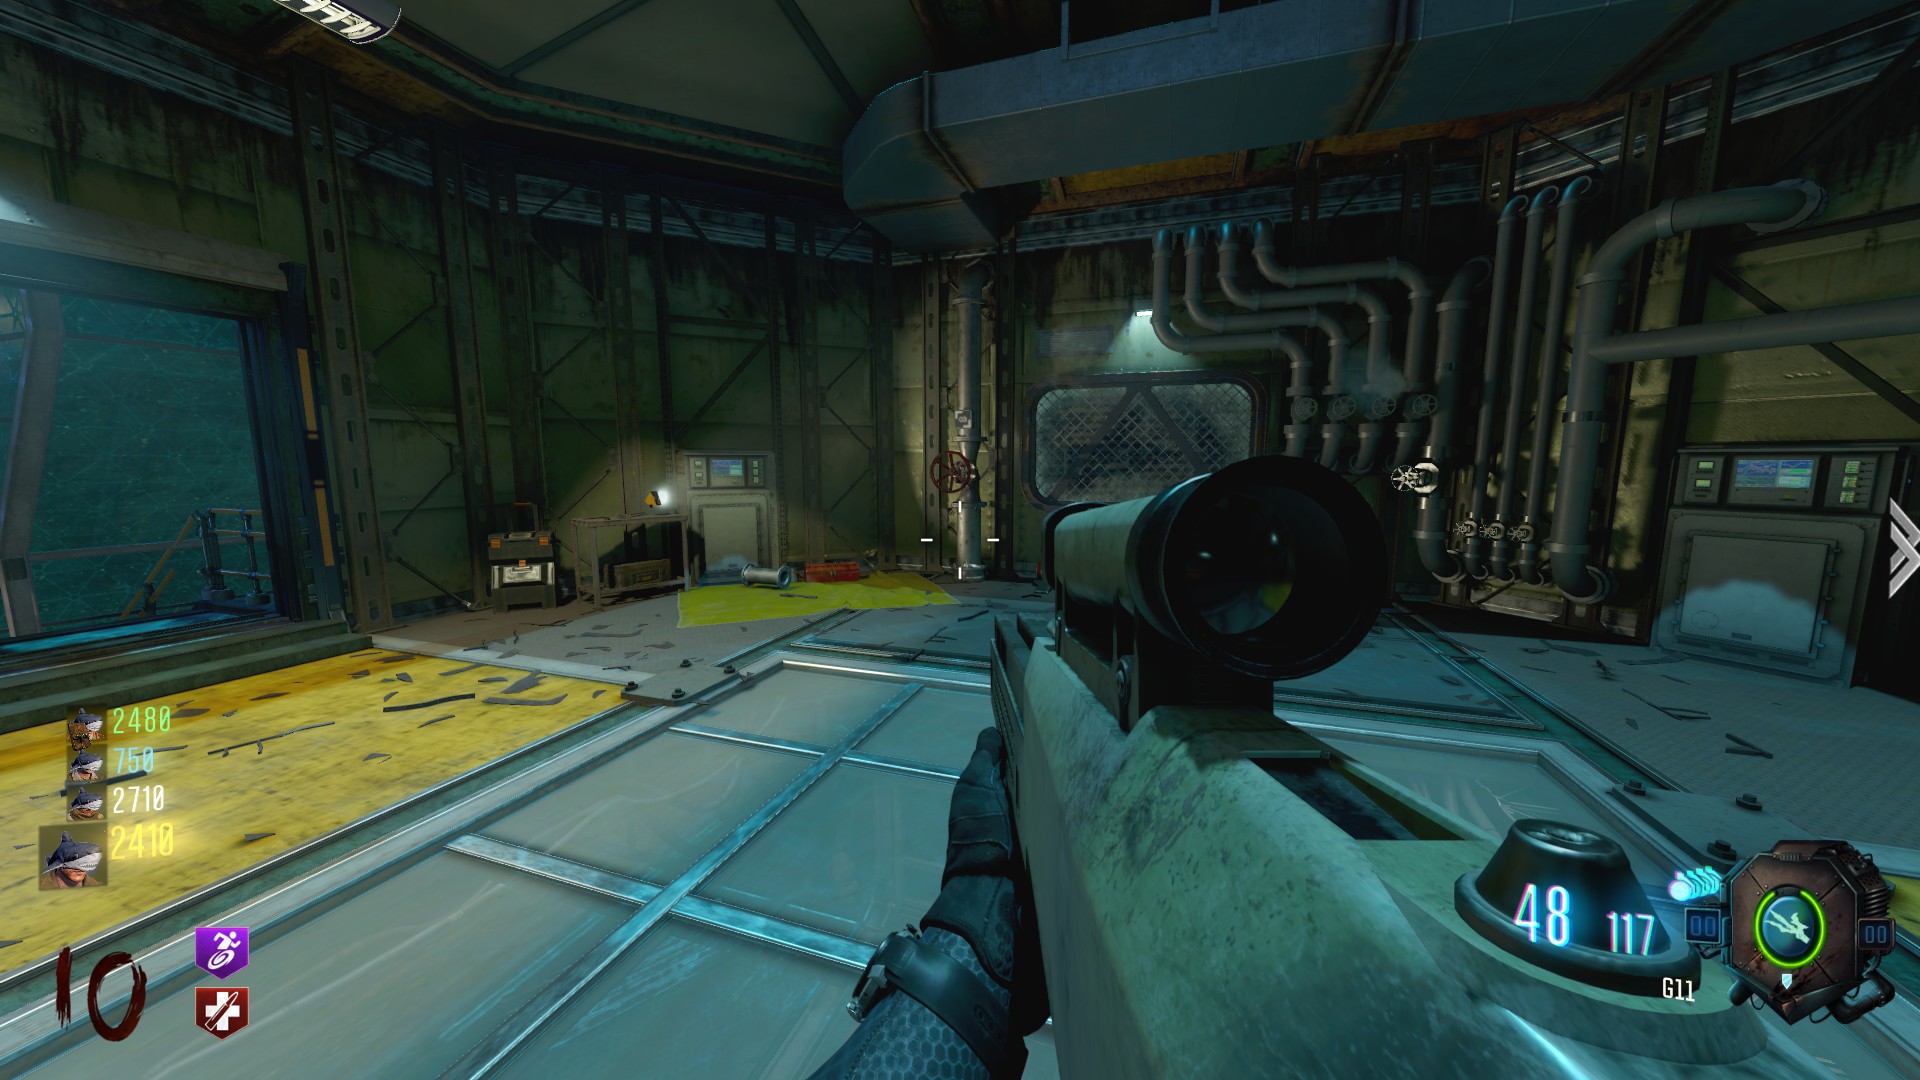
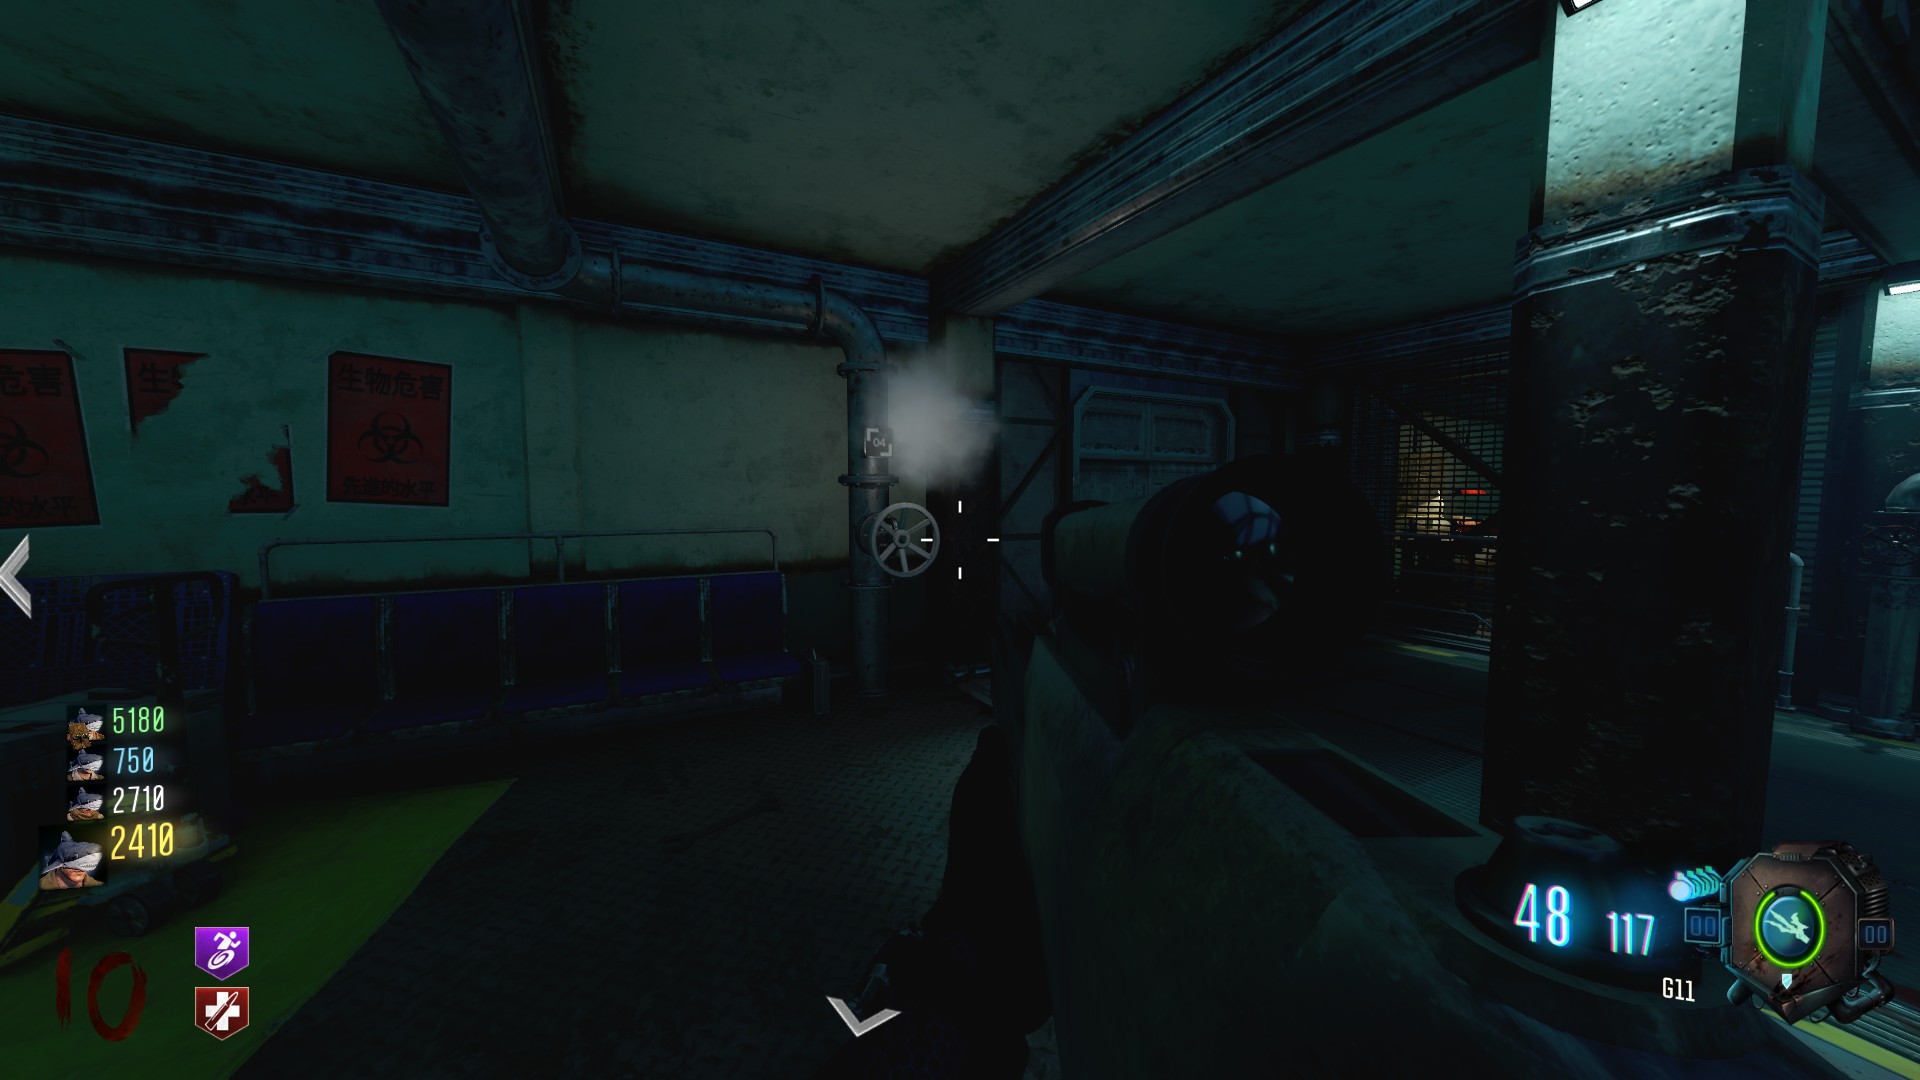
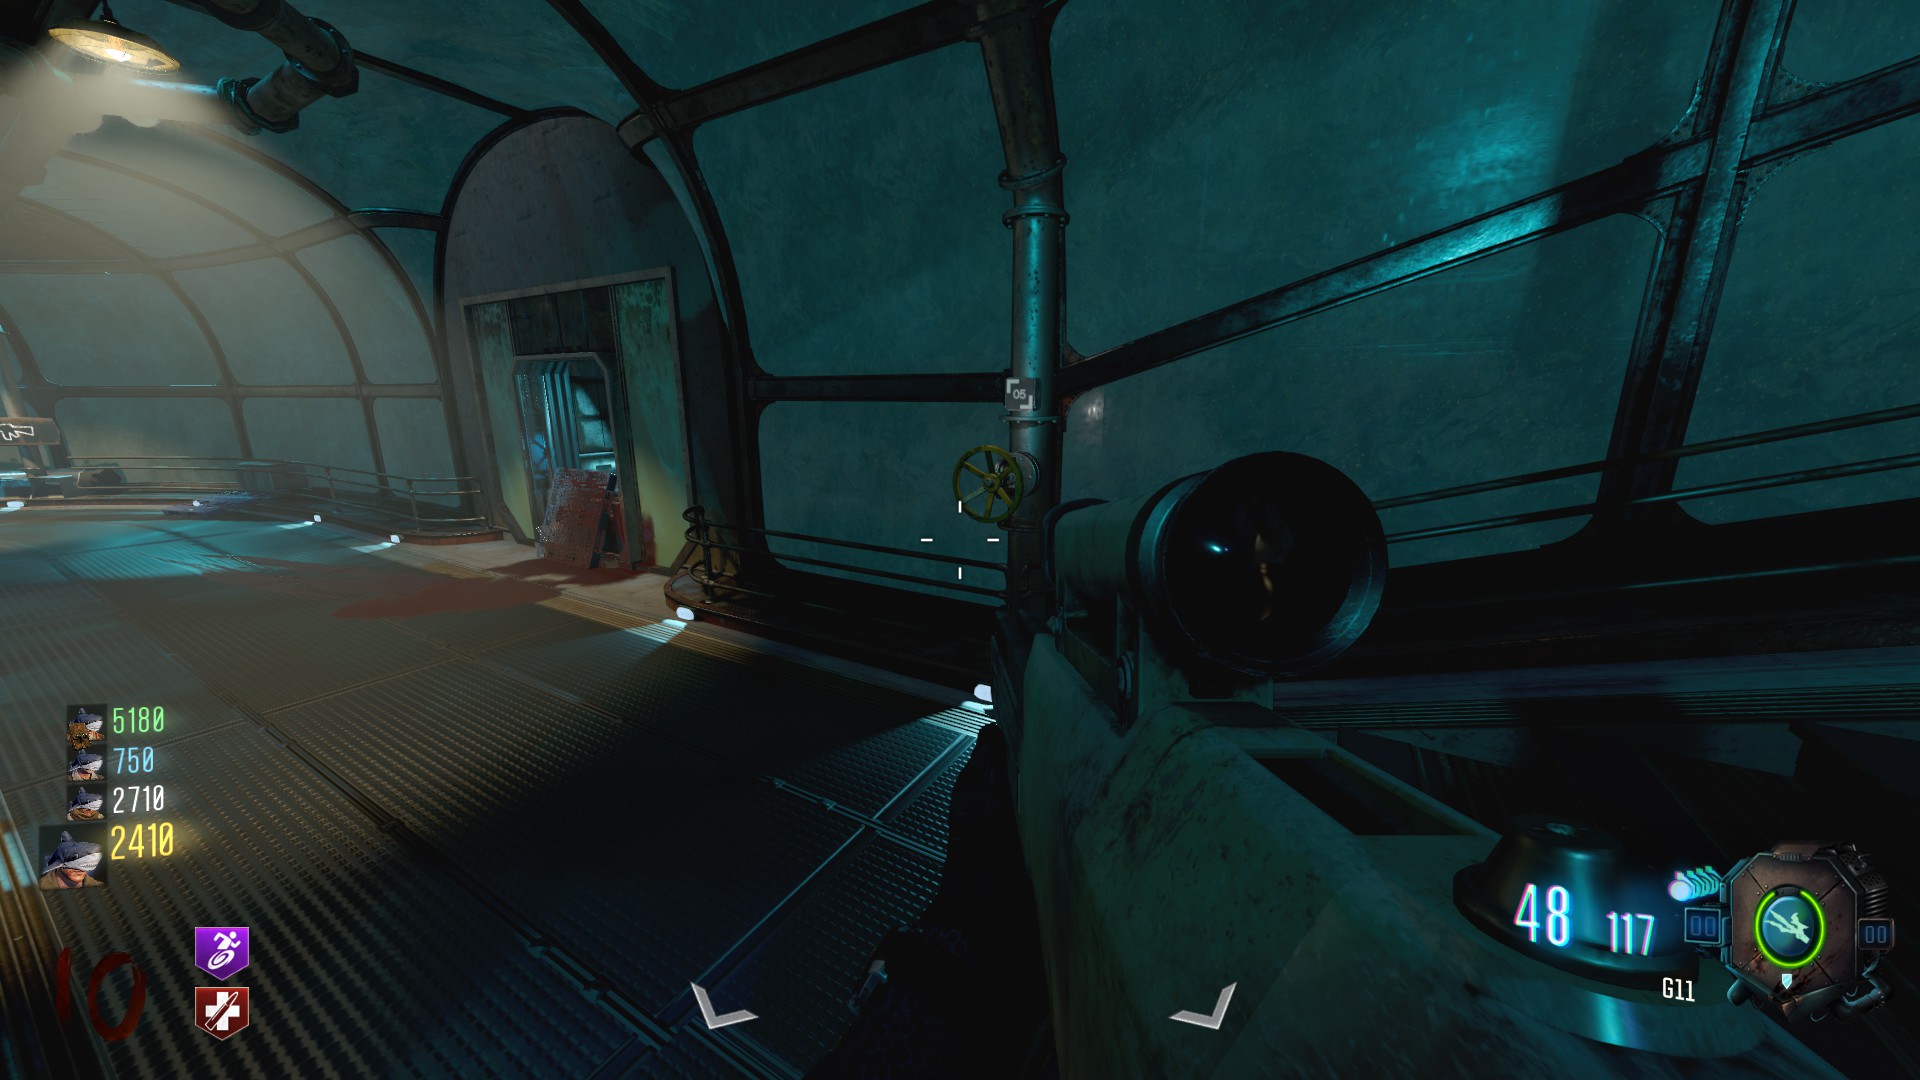
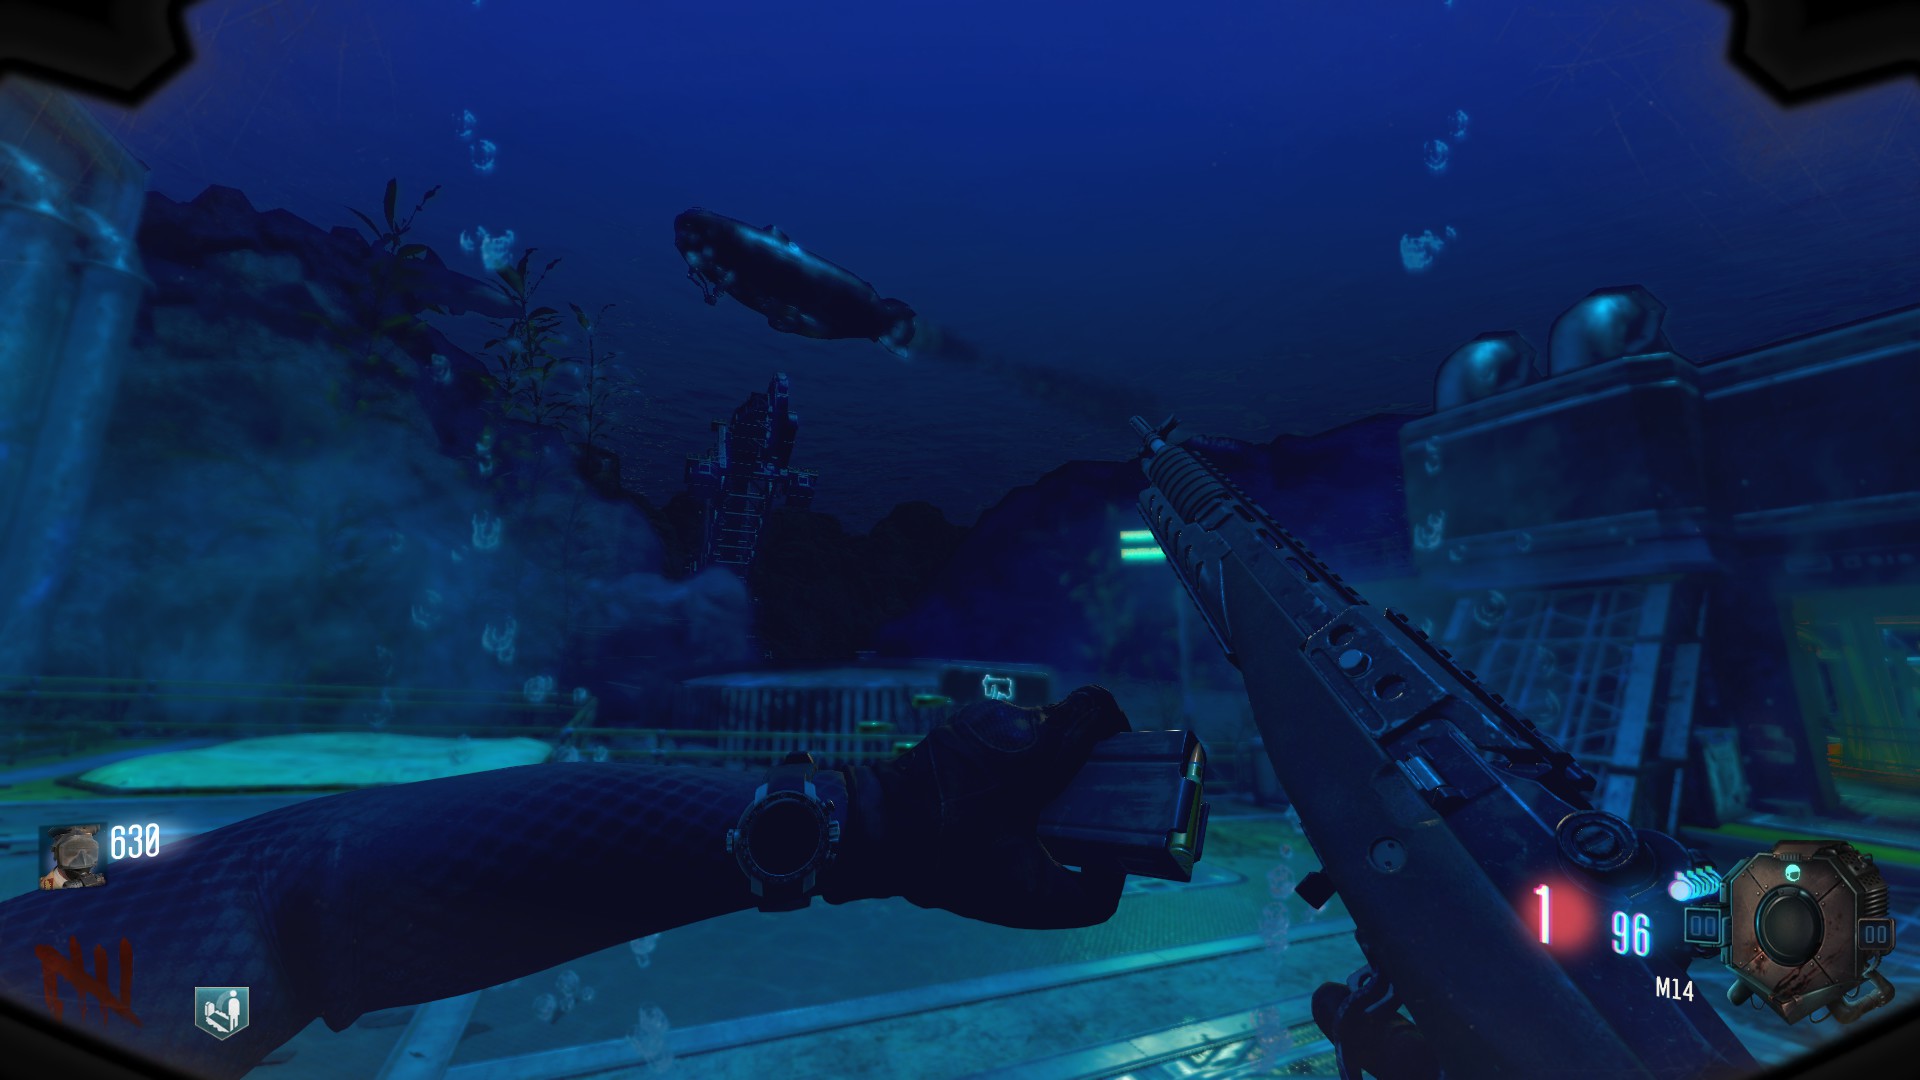


Shark mask - you need to kill a 6th shark kill which can be found roaming above tunnel 11 (the tunnel that connects cafeteria and the entrance of biodome)
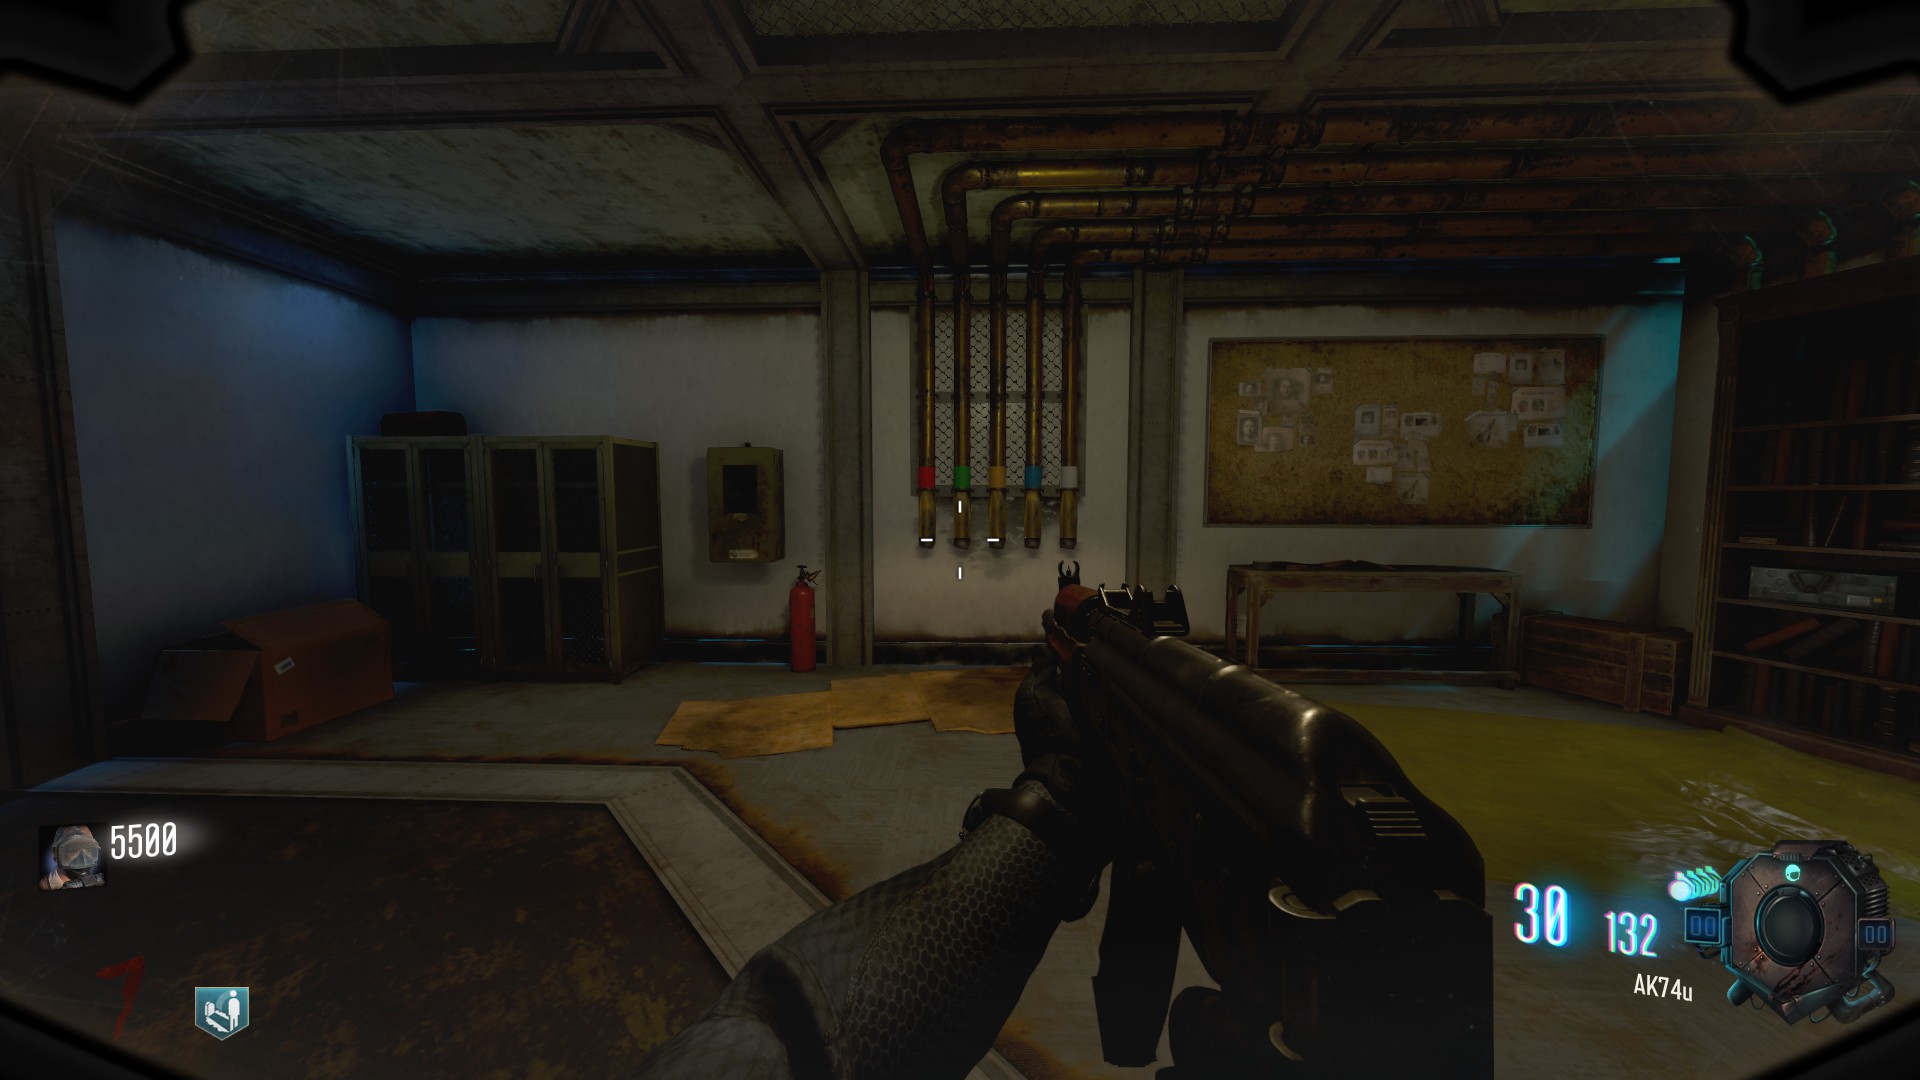
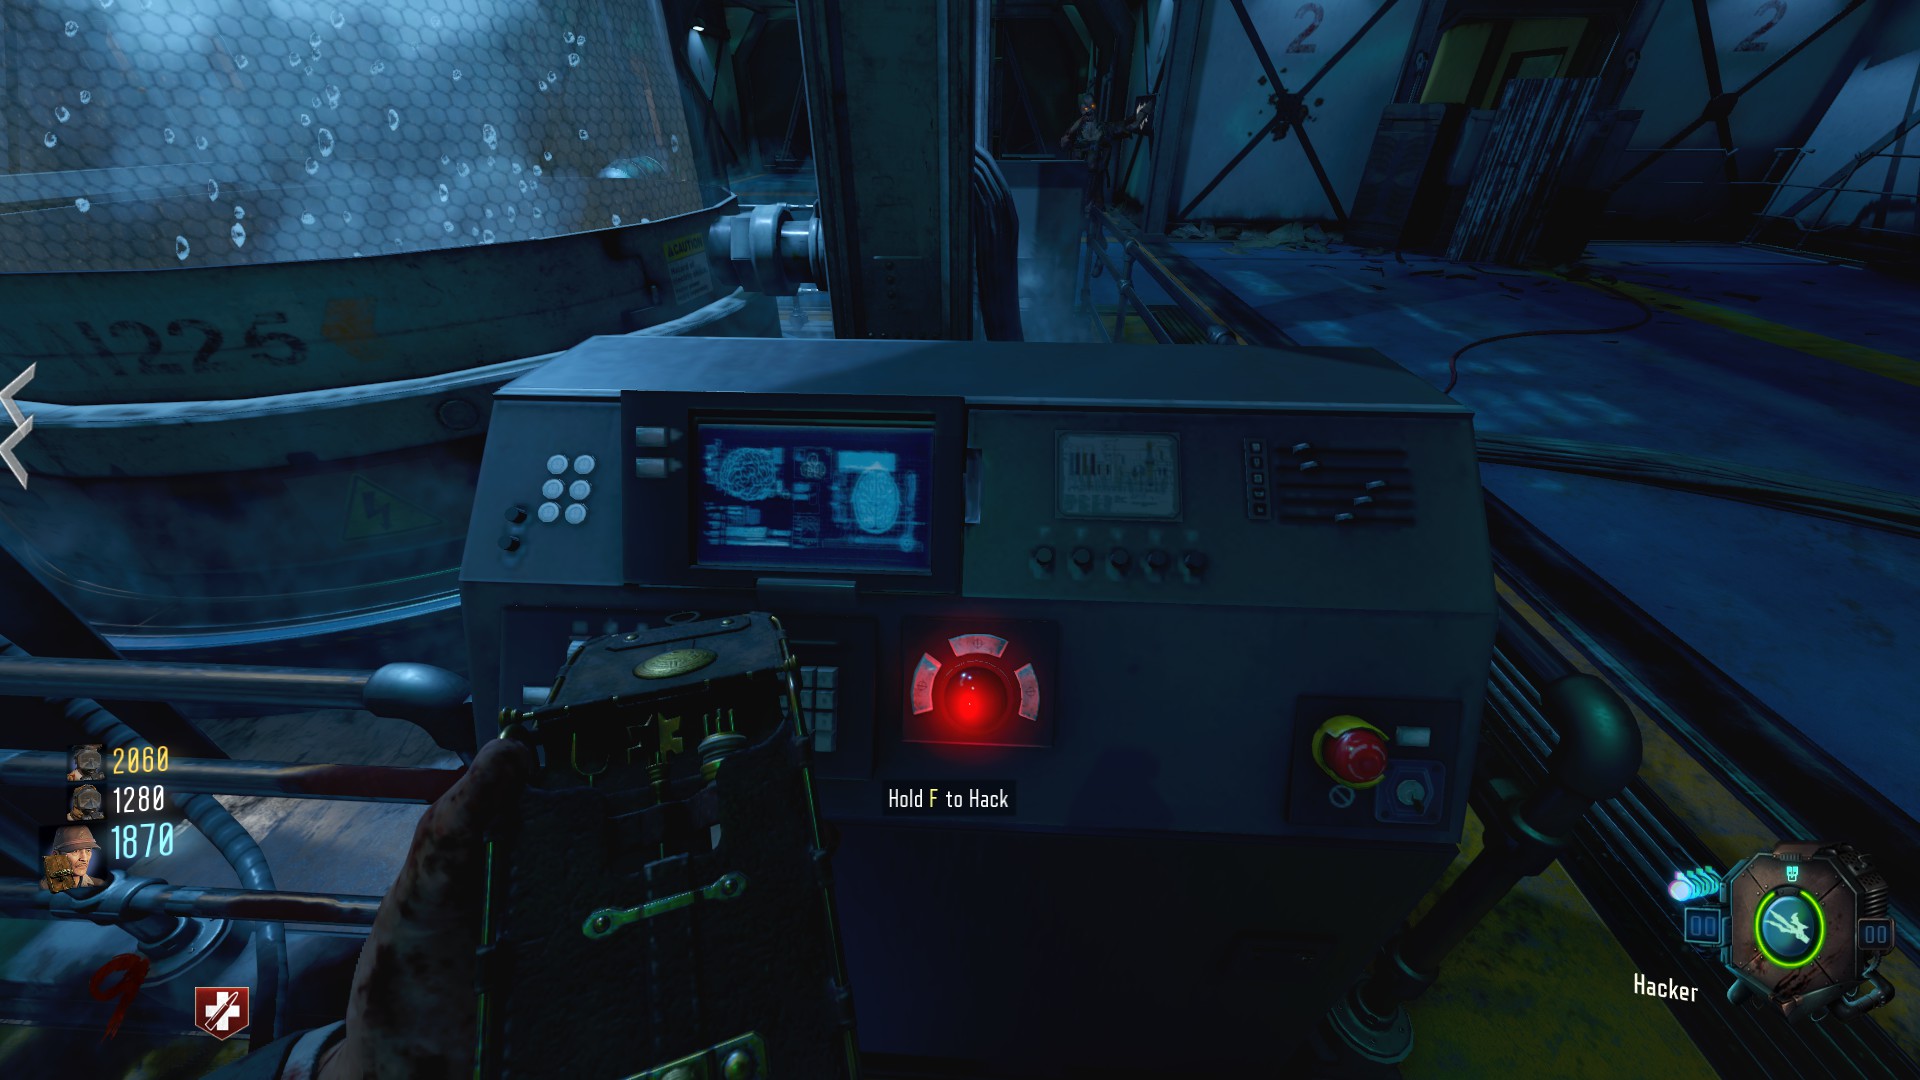
Bonefire sale code: 7225
good luck gang.
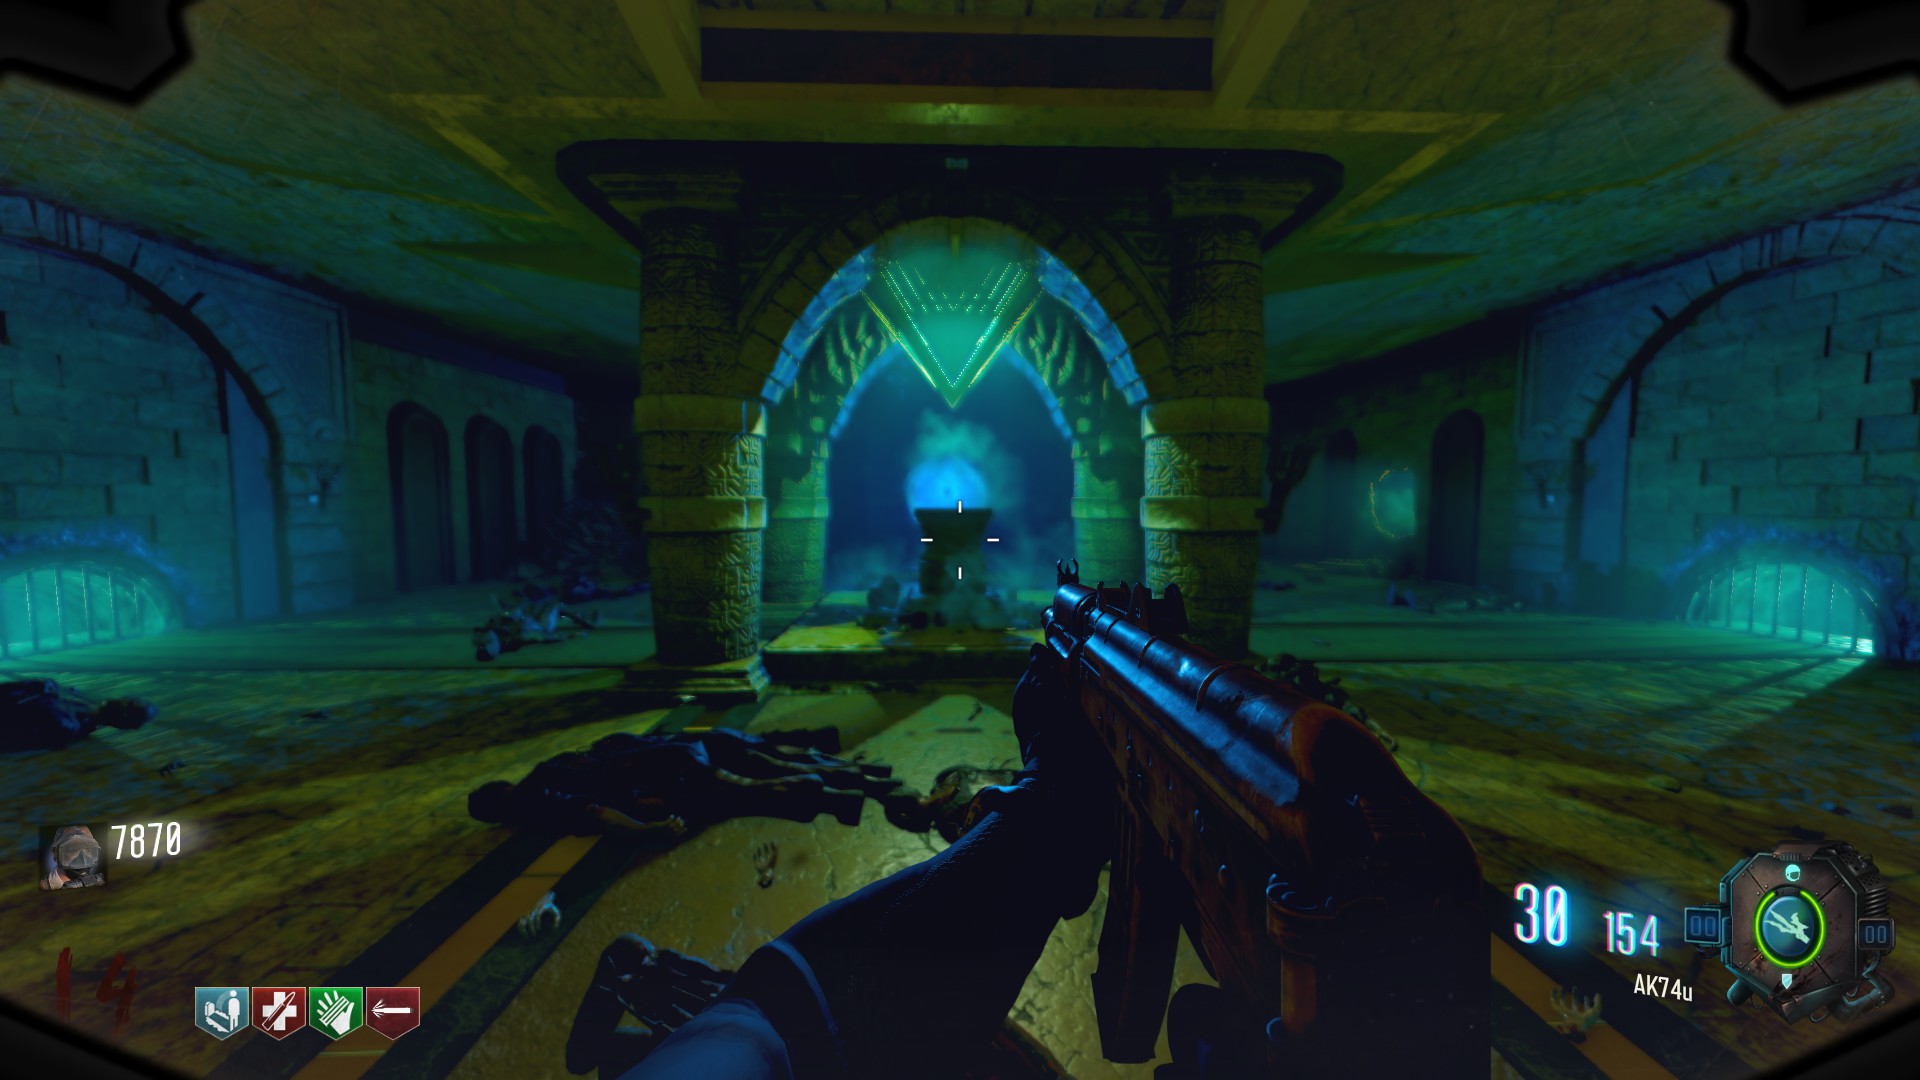
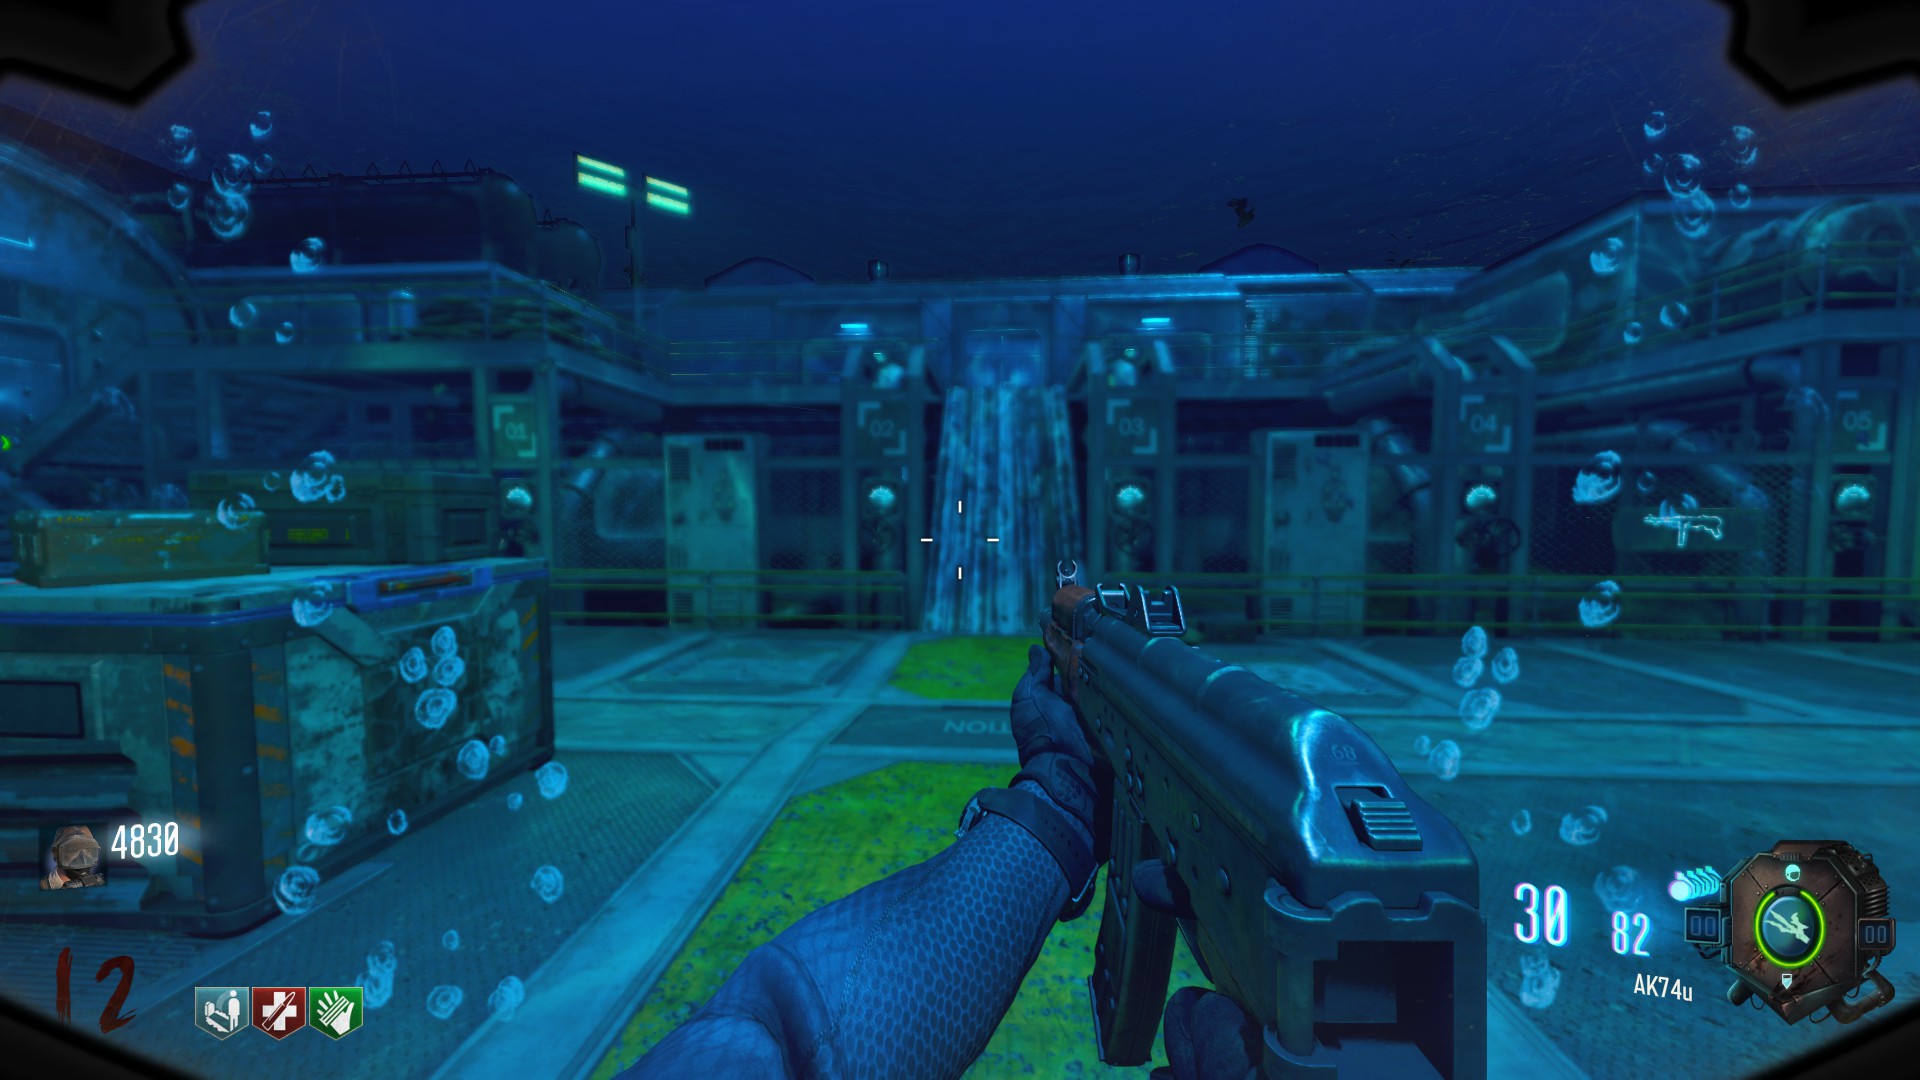
If for some reason you can't activate the backup power switch on the Lockdown step, it means you failed one of the lockdowns. The map gives zero feedback on if you fail besides a glitchy-sounding powering down sound, but you'll know you've successfully defended one of the terminals because one Jumping Jack will spawn after both the first and second, and a Diver boss spawns after the third. If they don't spawn when they're supposed to, you failed the lockdown, and the only way to try that one again is to proceed to the next round, however, any lockdown that was successful will stay that way, meaning you don't have to do them all in one round, if, for example, you need to grind for a Max first. Proceeding to the next round will 'restart' them, playing their audio cues again if they aren't done yet. The map isn't bugged, it's just bad at telling you if you fail or succeed.