
Install Steam
login
|
language
简体中文 (Simplified Chinese)
繁體中文 (Traditional Chinese)
日本語 (Japanese)
한국어 (Korean)
ไทย (Thai)
Български (Bulgarian)
Čeština (Czech)
Dansk (Danish)
Deutsch (German)
Español - España (Spanish - Spain)
Español - Latinoamérica (Spanish - Latin America)
Ελληνικά (Greek)
Français (French)
Italiano (Italian)
Bahasa Indonesia (Indonesian)
Magyar (Hungarian)
Nederlands (Dutch)
Norsk (Norwegian)
Polski (Polish)
Português (Portuguese - Portugal)
Português - Brasil (Portuguese - Brazil)
Română (Romanian)
Русский (Russian)
Suomi (Finnish)
Svenska (Swedish)
Türkçe (Turkish)
Tiếng Việt (Vietnamese)
Українська (Ukrainian)
Report a translation problem


You need to kill 30.
- Level 3:
The God of Passage
Pest Control
Clay Pigeons
No Soil for Big
Can't Handle This (can be completed in any level but it's easier here)
Stones No. 3
Invincible Runner
- Level 4:
Uber Butcher
Butcher
In Your Face!
The God of the Dull Rock
The Dark Passage
The God of the Vortex
Stones No. 4
Invincible Explorer
- Level 5:
Hot Feet
God of Darkness
Destroy the Destroyed
Stones No. 5
Gambler! (if you have find the others in the previous level)
Saw the Creatorers (if you have find the others in the previous level)
Invincible Ghosthunter
- Level 6:
Call Me Done!
Invincible Fighter
- Others:
Tape Afficionado
Mr Fizz
Mr Burst
Rubble Maker
Your Cutness
Your Burstness
The Boringness Continues
Here's the list if you're interested:
- Reality Boy (TM):
God of Machines
Oldschooler
- Level 1:
Stone Collector
High Ground
Bull's Eye
Pattern Recognition
The God of Trying
Stoney Fabric
Stones No. 1
Juke Boxing (can be completed in any level but it's easier here)
No Pull for Me, Sir! (can be completed in any level but it's easier here)
Fireangst (can be completed in any level but it's easier here)
Ueberpar (can be completed in any level but it's easier here)
Parlicious (can be completed in any level but it's easier here)
Invincible Pupil
- Level 2:
Göttersturz.
Join the Band
Hungry Hole
Fabulous Dentist
God of Ascension
Stones No. 2
Invincible Cliffhanger
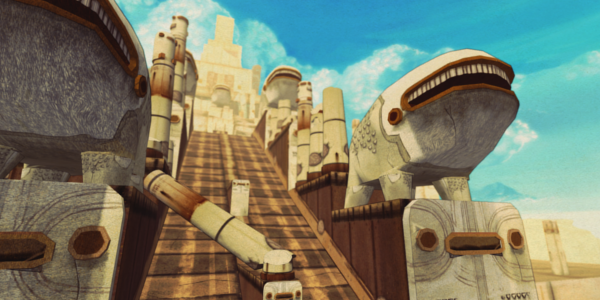
GETTING THERE: This game machine is very easily missed. In the 5th level after you walk across the bridge to the sacrifice area where you have to place the circle-shaped underwear platform in the hole, do not jump down. Instead, keep on walking straight to where the circle painting of the underwear-possessed creature is at and look left, there should be a game machine greeting you.
i thought the machine is located somewhere after you jump down so i spent hours to go to an area that has nothing in it.