
Install Steam
login
|
language
简体中文 (Simplified Chinese)
繁體中文 (Traditional Chinese)
日本語 (Japanese)
한국어 (Korean)
ไทย (Thai)
Български (Bulgarian)
Čeština (Czech)
Dansk (Danish)
Deutsch (German)
Español - España (Spanish - Spain)
Español - Latinoamérica (Spanish - Latin America)
Ελληνικά (Greek)
Français (French)
Italiano (Italian)
Bahasa Indonesia (Indonesian)
Magyar (Hungarian)
Nederlands (Dutch)
Norsk (Norwegian)
Polski (Polish)
Português (Portuguese - Portugal)
Português - Brasil (Portuguese - Brazil)
Română (Romanian)
Русский (Russian)
Suomi (Finnish)
Svenska (Swedish)
Türkçe (Turkish)
Tiếng Việt (Vietnamese)
Українська (Ukrainian)
Report a translation problem


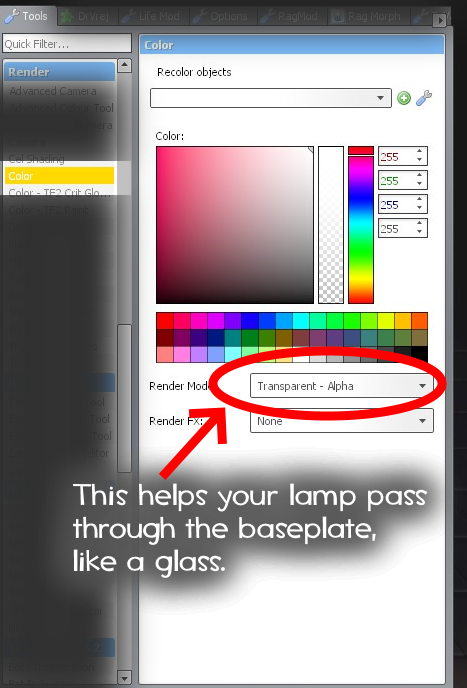

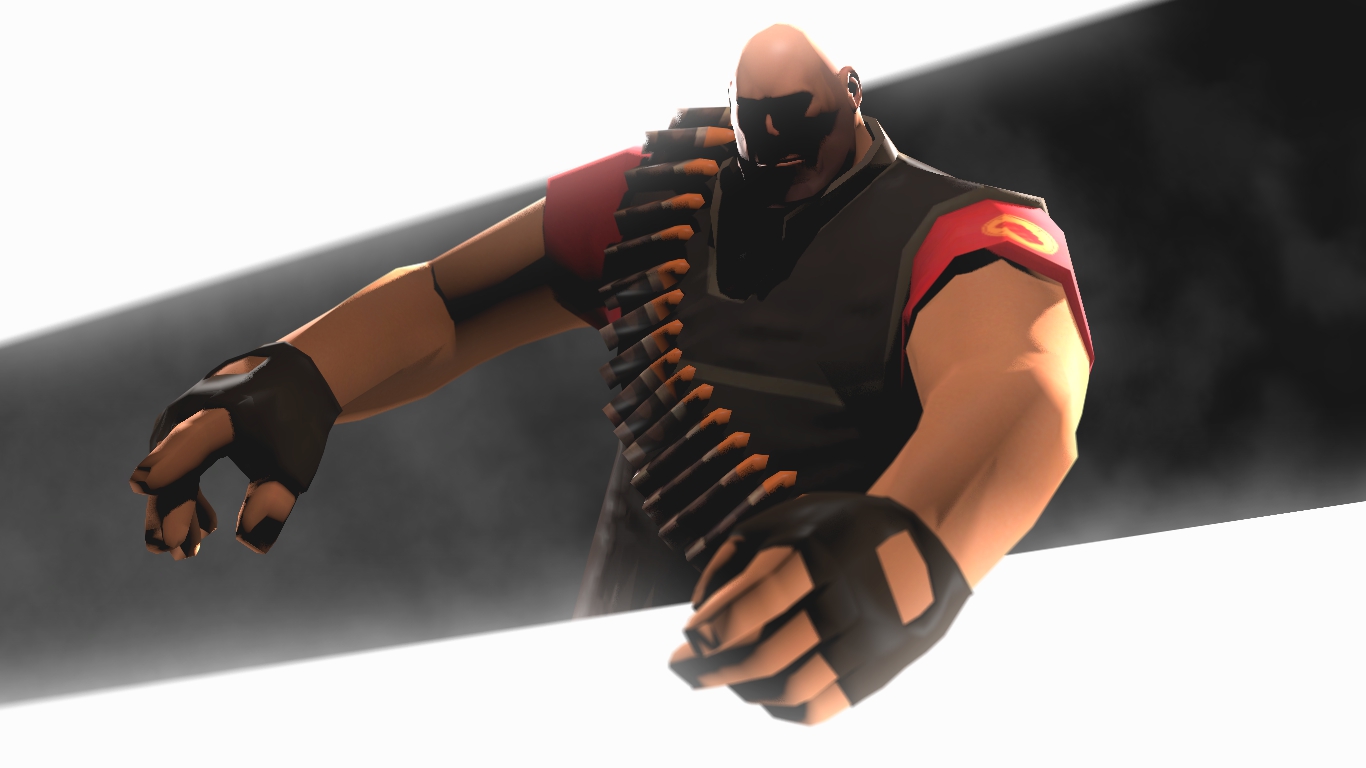
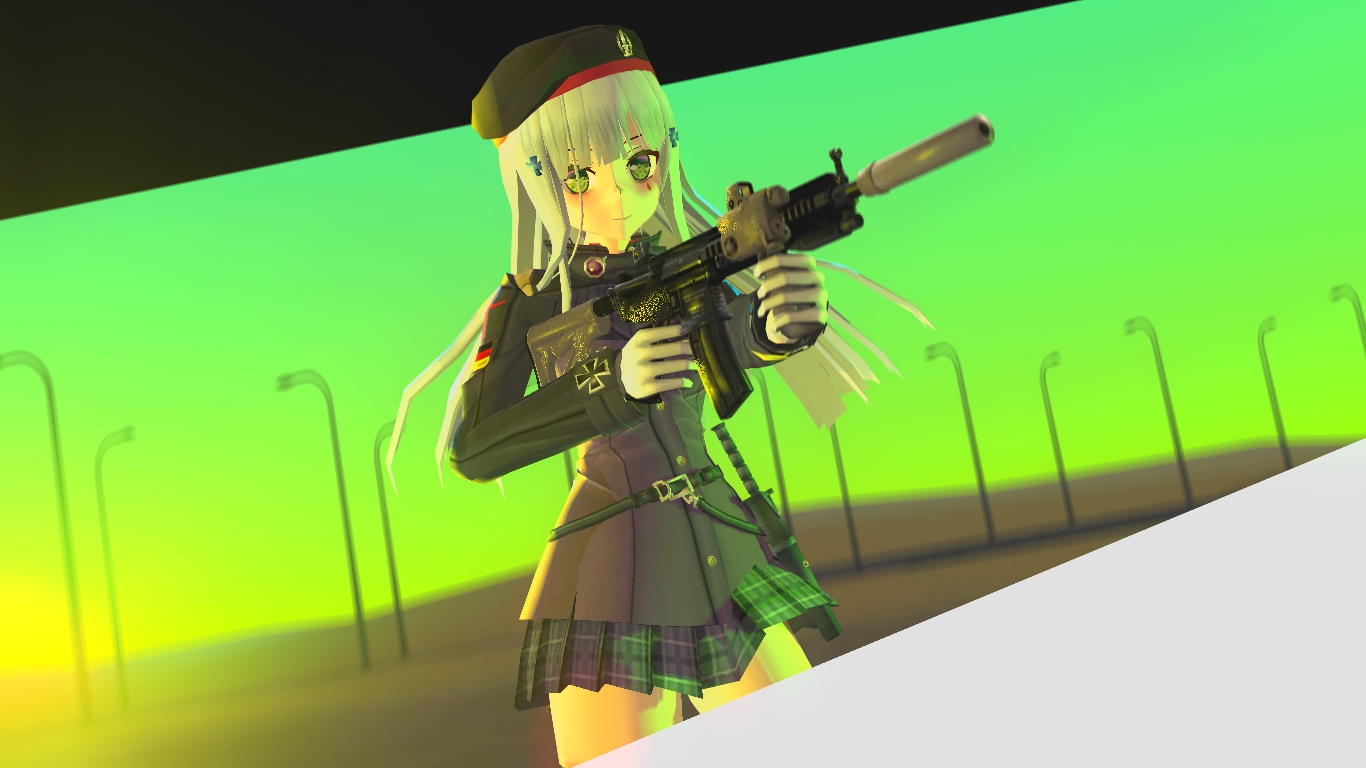


much good
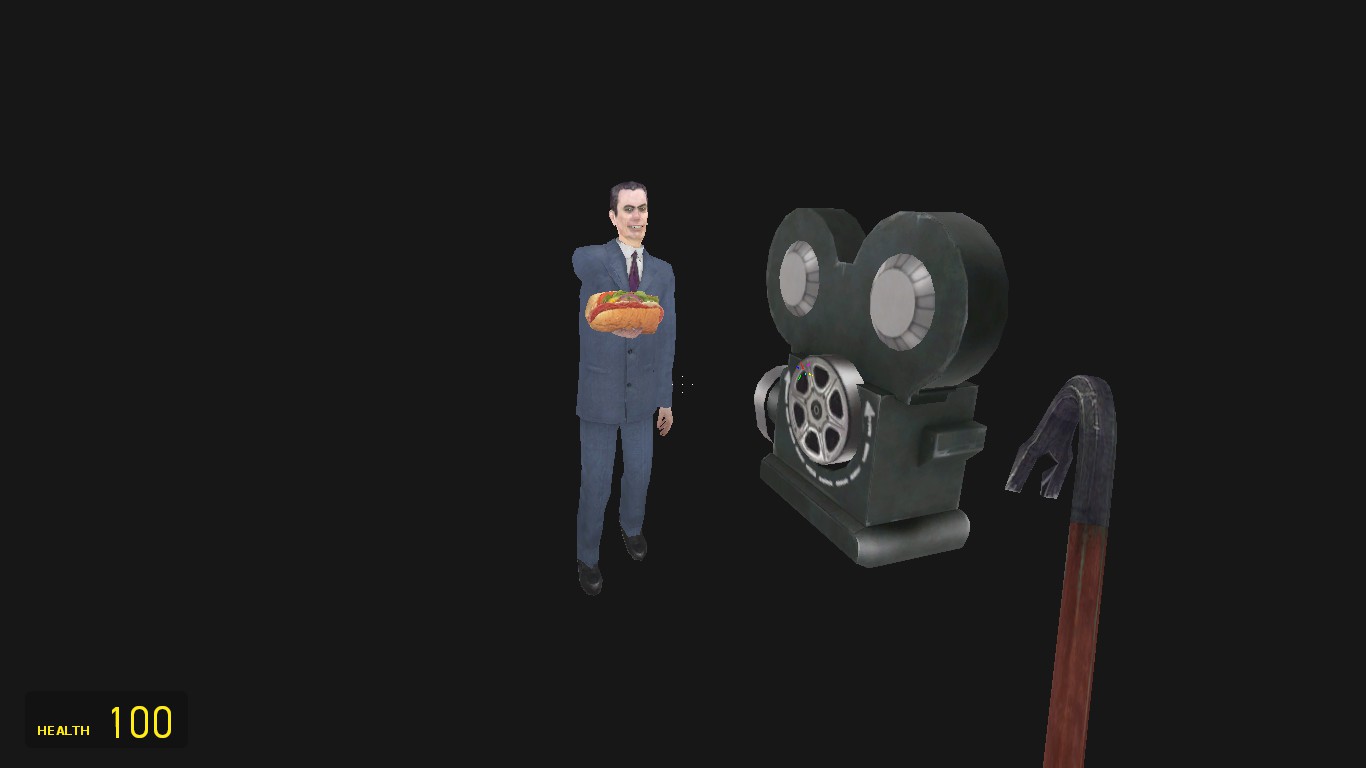
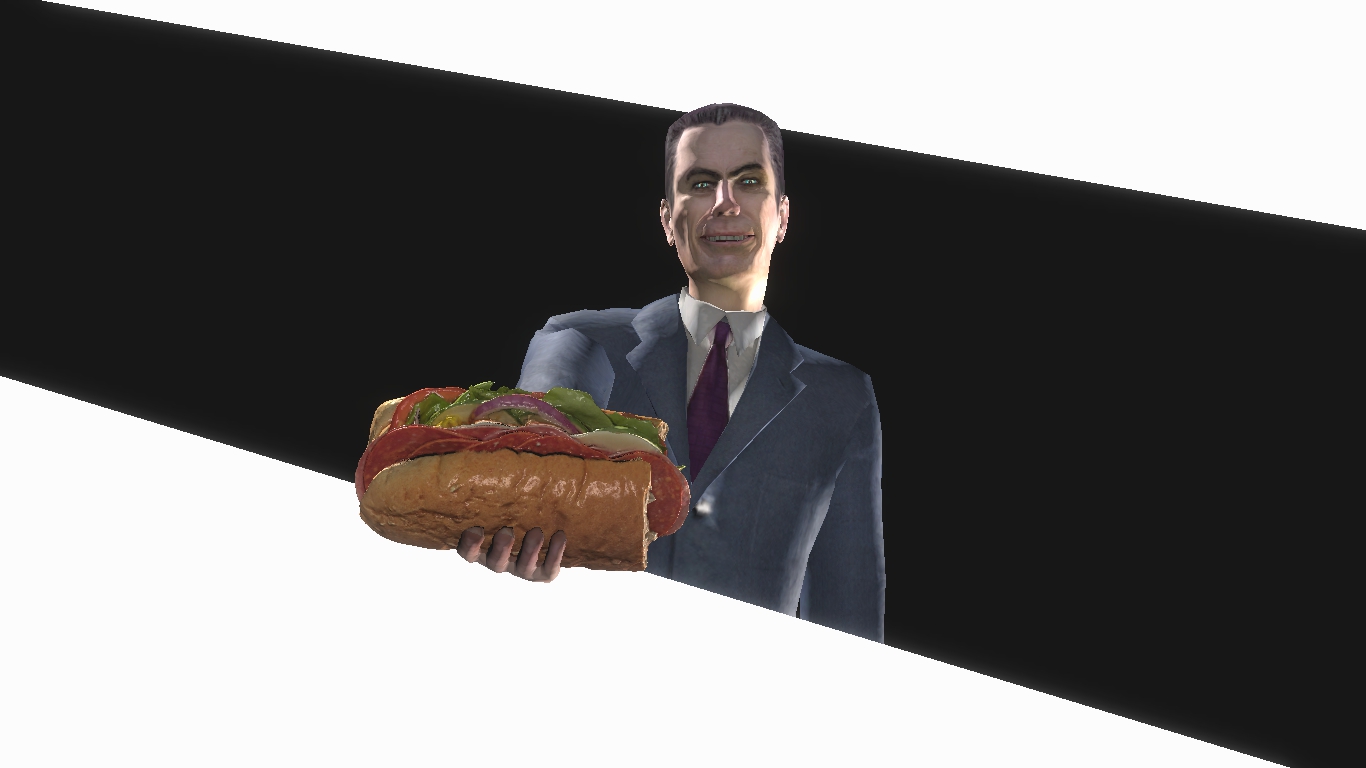
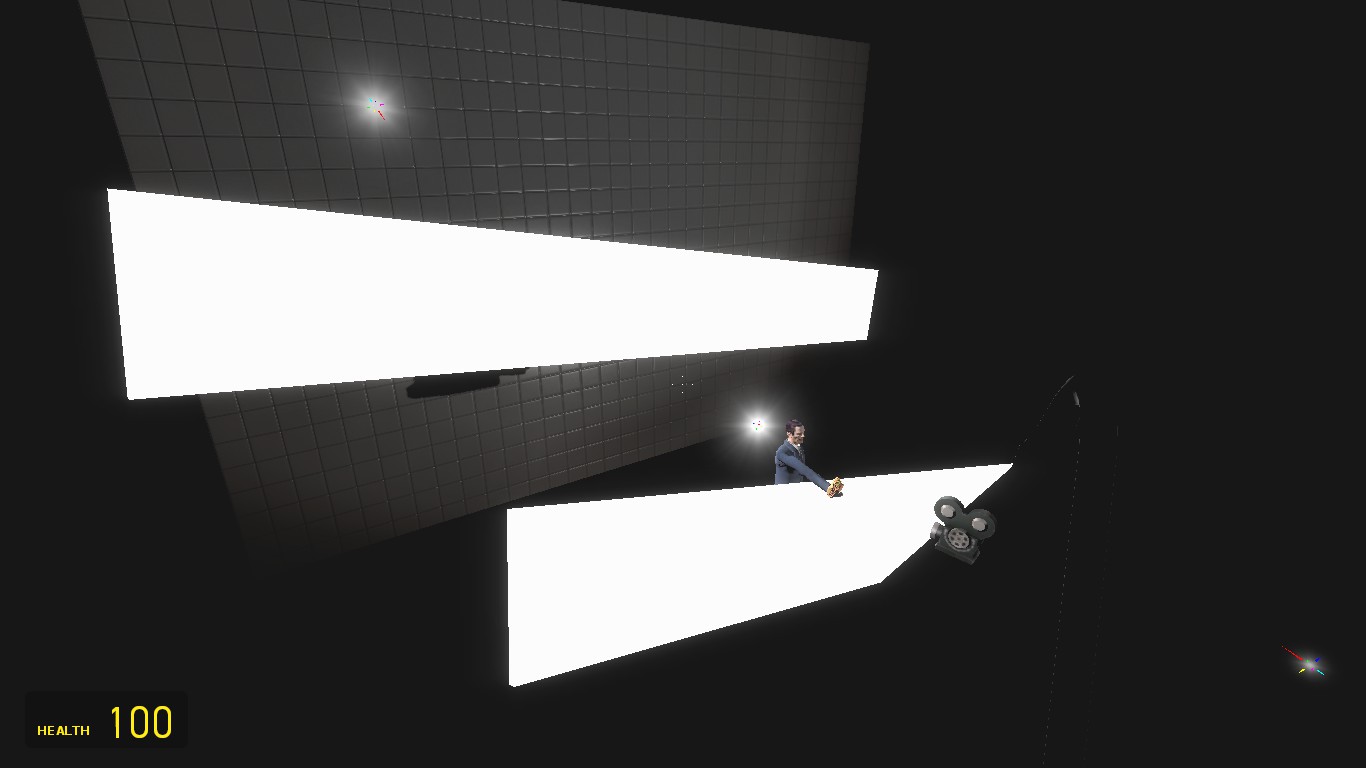
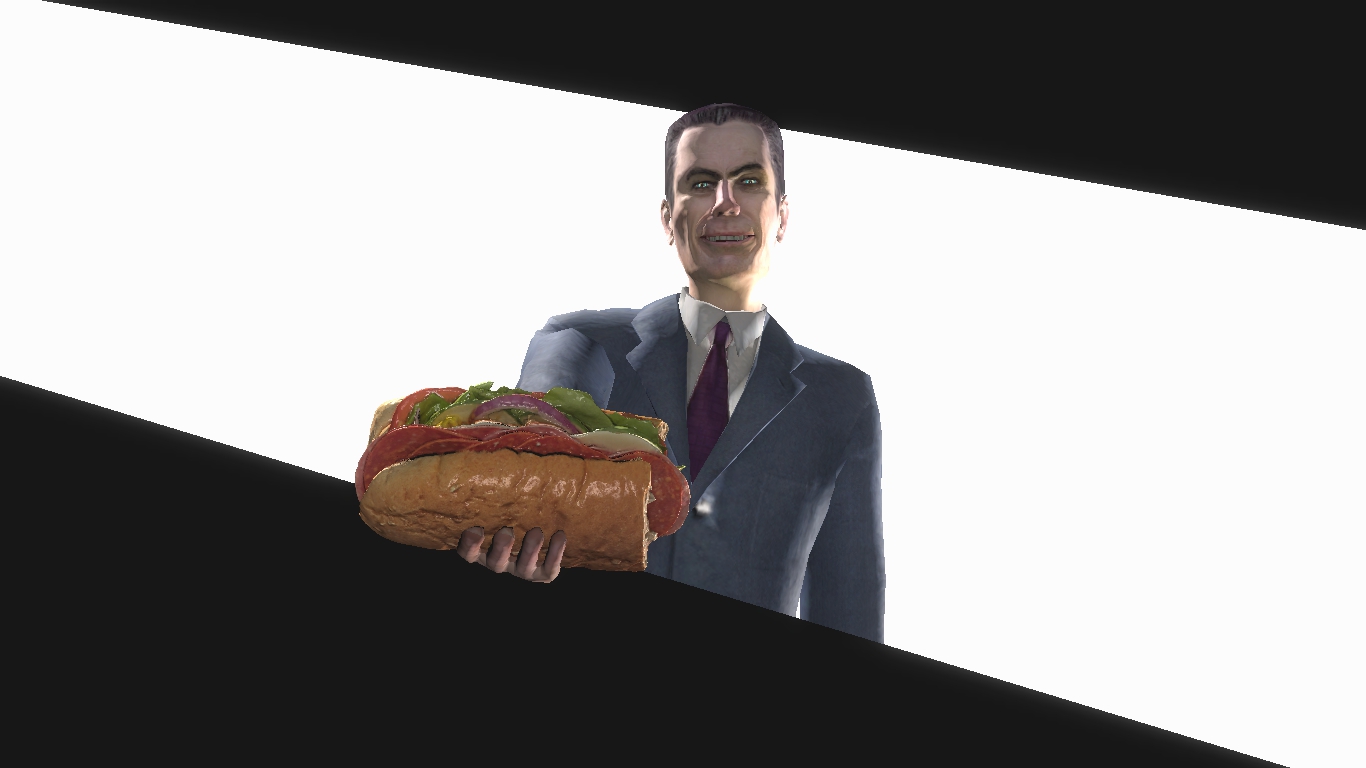
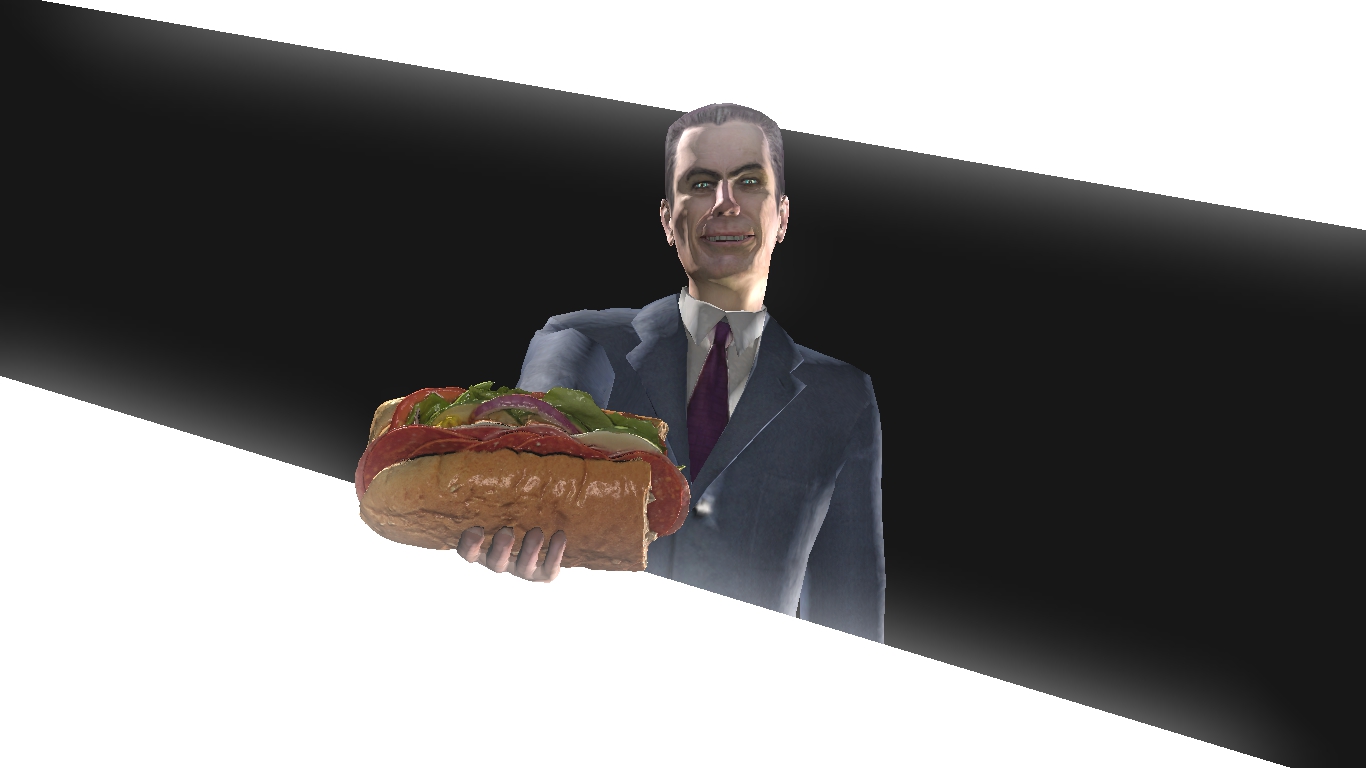
this cinematic bar thing is really cool
https://steamhost.cn/steamcommunity_com/sharedfiles/filedetails/?id=2464793810
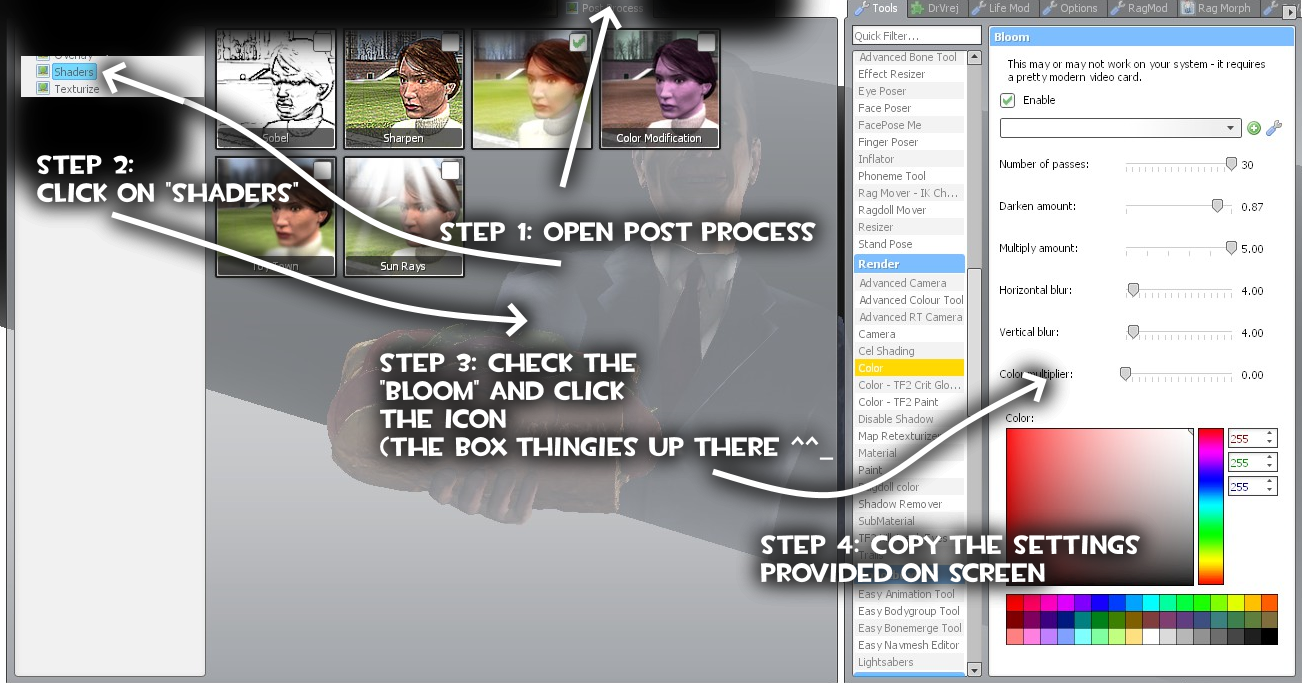
Hopefully these information should help you out
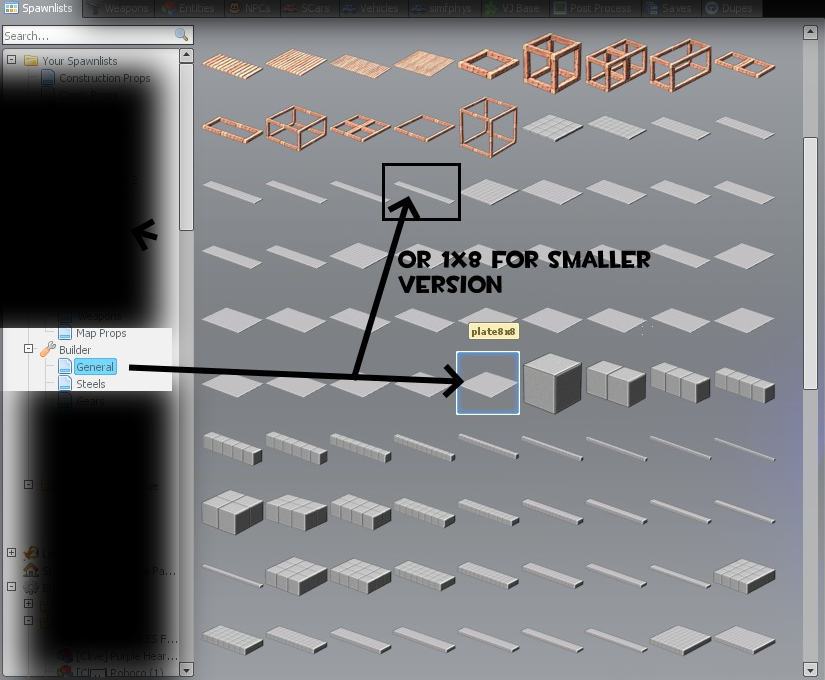
Open your spawn menu and navigate to the right side of your spawn menu and you should be able to find a list of tools there.
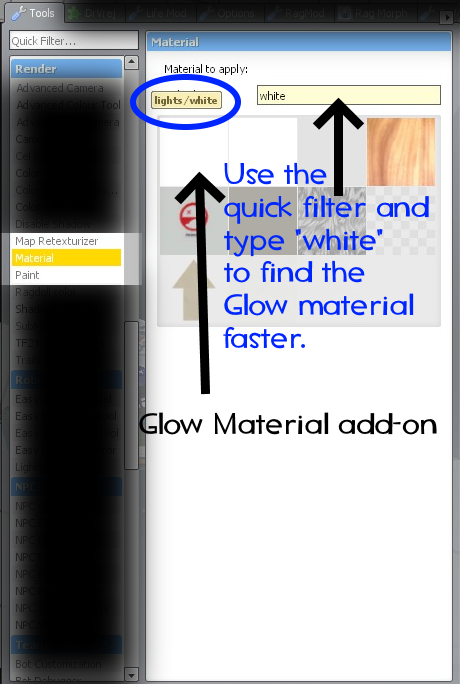
If you have the required camera add-on from the "Requirements" section of the guide, the tool should be located at the "Render" section of the tools and the tool name is "Advanced Camera"(You can also quick filter search it to find it faster)
Once you click on the "Advanced Camera" tool, there should be some settings displayed on the right side of the tools on your spawn menu with some settings like FOV, NearZ, FarZ, Roll etc.
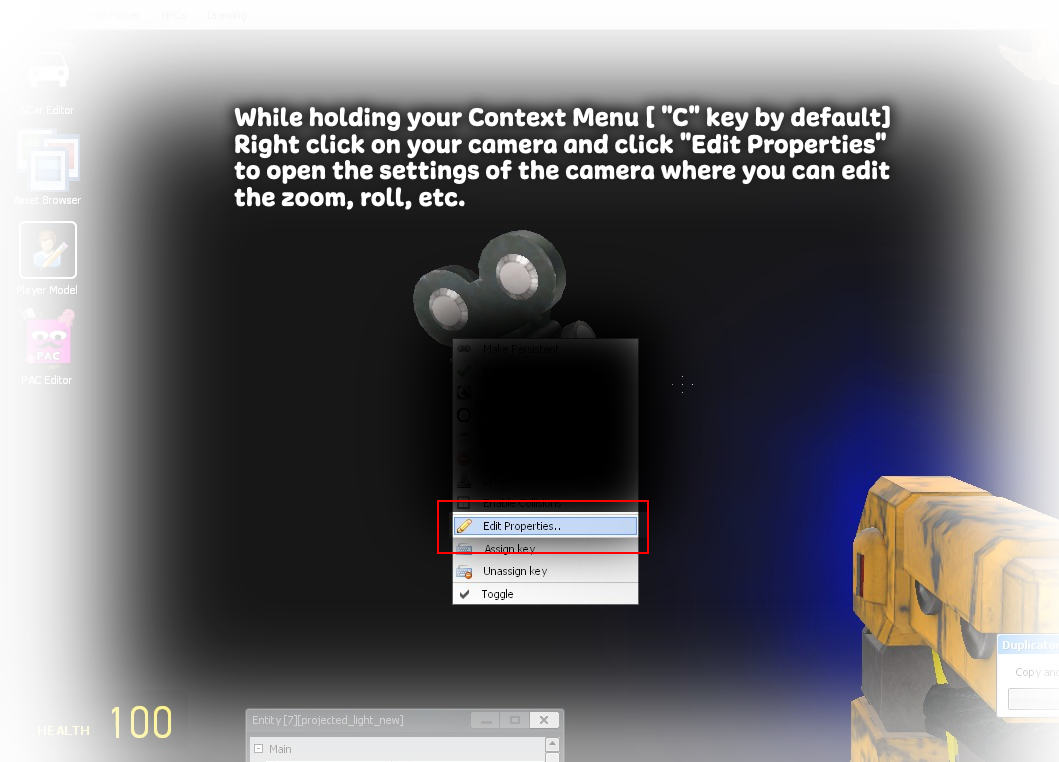
You can still edit your Advanced Camera if it's already placed
by looking at it and holding your "C" key and right-clicking the camera you placed and there should be an option that says "Edit Properties"
https://steamhost.cn/steamcommunity_com/sharedfiles/filedetails/?id=2147227194
https://steamhost.cn/steamcommunity_com/sharedfiles/filedetails/?id=2147227475