Banished

Banished

725 ratings
Effective City Building
By piper.spirit
The most important aspects for building better settlements.
10
9
50
4
6
5
2
4
3
3
3
2
   
Award
Favorite
Favorited
Unfavorite
Population Requirements
There are several essential things your population needs to be happy and productive in Banished. In order of importance, these are; food, firewood, tools and clothing.

Food
There are 4 types of food type in the game- protein/fruits/vegetables/grains (eggs and nuts are classed as protein). All citizens require access to each food type for a balanced diet and to maintain health. If diet is not varied, the well being of the population will suffer.

(Herbs acquired via the herbalist can be used to supplement a poor diet and increase well being)

Firewood
Without firewood, your population will slowly freeze to death in the winter

Tools
Tools are required by all your workers in their individual roles. If the tool supply runs out, the productivity of the worker will decrease significantly.

Clothing
Enables your citizens to maintain daily activities during the winter. Without adequate clothing, productivity is significantly decreased and freezing to death becomes a possibility for those outside.

Hubs- Gatherer/Hunter/Forester
An excellent way to fulfil most of the needs of your population is via the use of Hubs consisting of Gatherer's Huts, Hunter's Lodge and Forester's Cabin. The best locations for these Hubs are flat areas away from hills, rivers and all things urban eg buildings/roads.


Gatherer's Hut
are effective in densely forested areas, for the gathering of berries and vegetables. It directly benefits from the extra trees planted by the Forester's Lodge.

Hunter's Cabin
provide a location for the hunting of deer which produces venison(protein) and leather. They are effective in either a forest or plain area.

Forester's Lodge
specialise in the production of logs, which are used to make firewood and tools.

(The Herbalist must always be constructed away from the Forester's Lodge as mature trees are required for herb gathering.)

Connect Hubs via a single road.
Agriculture
Hubs are an effective means for providing a diverse food supply for your citizens, and the utilisation of space for wood production, however grains are lacking from the diet of your population. Without grains the nutrition of your inhabitants is not fully varied and their well being will suffer.


Agriculture is required to grow grains in the form of either corn or wheat. Crops are also a more productive method of food production than what can be achieved from the Gatherer/Hunter Hub.

Flat areas in between Hubs are ideal for agriculture. On average, the bigger the field the more efficient each worker is, however certain grid sizes are more cost effective per worker. Any field that averages 56 squares per farmer (area divided by number of workers) is most optimal. 15x15 is the most efficient size with each worker farming 56.25 squares.


Orchards
It is worth noting the optimal grid sizes for orchards are different from those of agricultural fields. Trees take longer to initially grow and harvest, but ultimately produce a higher yield per worker.

Storage Barns
The most important building in Banished is the Storage Barn. Food supplies can vary depending on the season and weather, and the ratio of your workers to population (adults/students/children) will change over time. There may be a surplus in some years and a deficit in others. Counter this by storing away enough supplies so your settlement can weather bad harvests, and any shortages that may occur during settlement expansion.


The best location for storage barns is on the outskirts of food production areas- workers have less distance to travel to deposit items. Remember not to put them within the radius of the Gather/Hunter/Forester Hubs. It is also advantageous to place storage barns closer to the market if possible.
Markets
Markets are an efficient way to distribute goods amongst your population.

As your settlement grows, production areas may be spread over quite some distance. A market provides a centralised area where inhabitants can go to collect all their supplies. Vendors employed at the market visit storage barns/stock piles and bulk transport supplies back to the market in wheel barrows. Citizens that live within the market radius, greatly benefit from a diverse diet, and can also get new tools/clothing faster.


Citizens that do not live within the market's radius will prefer to visit individual storage barns for the supplies they need. As a result, those inhabitants have a diet that is restricted to what is locally produced/stored. For "out of range" citizens, they may opt to visit a market, only if it is closer than a storage barn(s), or if they are passing one. On average, their inventories will be inferior to those who are regularly serviced by a market.

It is best to spread out your markets across your settlement and try to include as many houses within their radius's as possible. It is also worth noting production buildings (eg Blacksmith, Tailor etc) can pick up their supplies at the market too (the radius doesn't matter for them- the worker finds the nearest source wherever it is).

When collecting firewood, citizens always travel to the closet collection point either stockpile or market- the market radius has no bearing.


Position of Woodcutter/Blacksmith/Tailor
The Woodcutter, Blacksmith and Tailor are your 3 most important resource production buildings. It is best to position them close to where their raw material inputs are held.


Woodcutter
produces firewood from logs. It is best positioned near a stock pile, preferably close to some Forester Lodges.

Blacksmith
requires logs and iron to produce tools. It is best situated near a stock pile.

Tailor
requires leather and/or wool to produce clothes. It is best placed beside a storage barn nearby to where these raw materials are produced.

A market close to a production building can be a good way to provide the required materials in the absence of adequate stock piles or barns.
Houses
Houses should be positioned as close to areas of work as possible. The less walking, the more time is spent working and productivity is higher. Markets are key for distributing supplies around your settlement; build houses around them where ever possible.


Generally, it's a trade off between either building closer to the workplace and save on walking, or constructing houses around a market, with superior supply collection but a greater walking distance. The bulk of your houses within your settlement should lie within the market radius.

For houses that cannot be built within range of a market, ensure there are storage barns close by with a diverse local food production. Access to a full diet may be an issue for those households- well being will lower over time.
Happiness
Aside from the essential things of food/warmth, workers need to be happy in order to be fully effective. The lower the happiness level, the more idle and less productive a worker will be. All workers regardless of profession, who are not busy, will help transit finished goods around your settlement.

To maintain a high happiness level, Taverns, Cemeteries and Chapels are required within the settlement. These buildings service the extra needs of the population.


Wells, Trading Posts and Markets also have a positive effect on happiness.
Mines and Quarries lower the happiness of the population (trade for iron/coal/stone instead).
Education
A workforce that is educated, is far more productive than one which is not. In order to fully maximise the productivity of your workers you need to educate them. Over the long run, the benefits of education vastly outweigh the associated costs. Build schools early to ensure your entire population is properly educated.

Trading Post
The Trading Post gives you the ability to "trade" for hard to get or un-obtainable items. The most common items that are traded for are the raw commodities of Iron, Stone and Coal (these resources eventually run out on the map). Farm animals and new seeds can also be acquired at the Trading Post.

Firewood is an unlimited resource in the game, it is also valued highly; use it to trade for the items you need at the Trading Post.

It is also a good idea to have a large Stock Pile at your Trading Post to speed up the offloading and loading of materials.


In times of a disaster, where you are short of food, the Trading Post can be used to purchase supplies and feed your inhabitants. A large inventory of firewood at the Trading Post can be seen as an insurance policy against a potential famine.
Stone- When to upgrade?
Stone is a valuable resource in the game that should be used sparingly, until access to the Trading Post is obtained. Houses that are made from stone require less firewood to keep warm. Roads that are upgraded to stone allow your inhabitants to travel faster on them.


Mines/Quarries should be avoided as they adversely alter the map and increase unhappiness.
Town Hall Tools
Construction of the Town Hall provides valuable information on inventories, production/consumption rates and other data regarding the functioning of your settlement. It is helpful in identifying issues within your population for example lack of a food type, or potential problems that may soon arise.


The standard information windows of Overview, Professions and Event Log are essential in optimising your settlement. The pathway function is also useful in analysing the routes your population/workers take, for example areas that need more houses to reduce travel time.

Expanding too Fast
The most important thing in Banished is not to expand your settlement too fast. If a large amount of houses are built without the proper supplies stored and infrastructure, there will be a disaster in a couple of years when the food runs out.


Grow your settlement slowly, making sure there are ample storage barns and additional food sources to accompany new houses.

41 Comments
OwlRaider 12 Jun @ 10:36am 
Your farm and orchard size recommendations are all wrong. For farms 11x11 followed by 12x10 and 13x9 are ideal, orientation doesn't matter so 12x10 = 10x12. For orchards it's 15x4, orientation matters so 4x15 doesn't work, unlike for farms.
ore 21 May @ 5:17am 
The tipps for orchards and farms are not correctly.

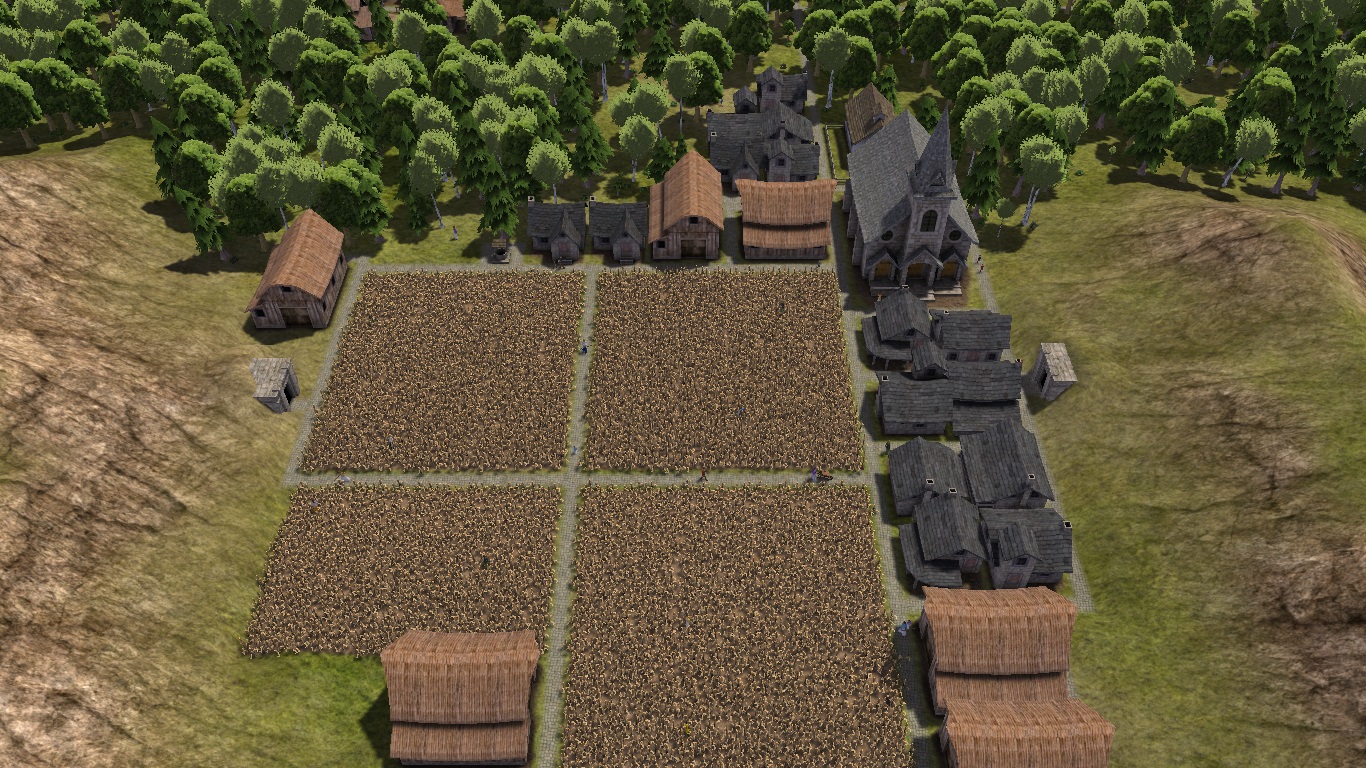
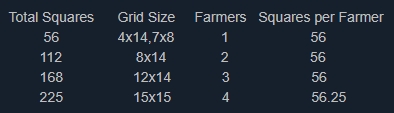
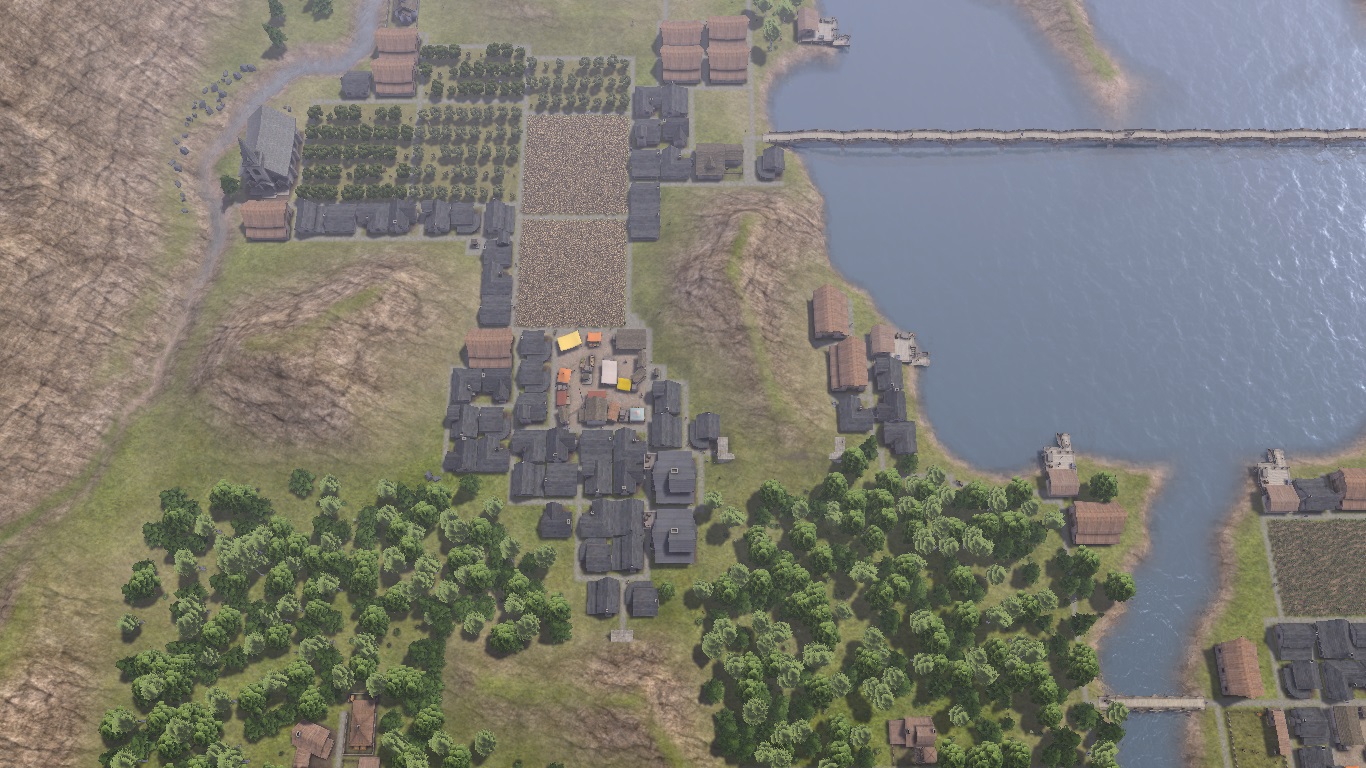
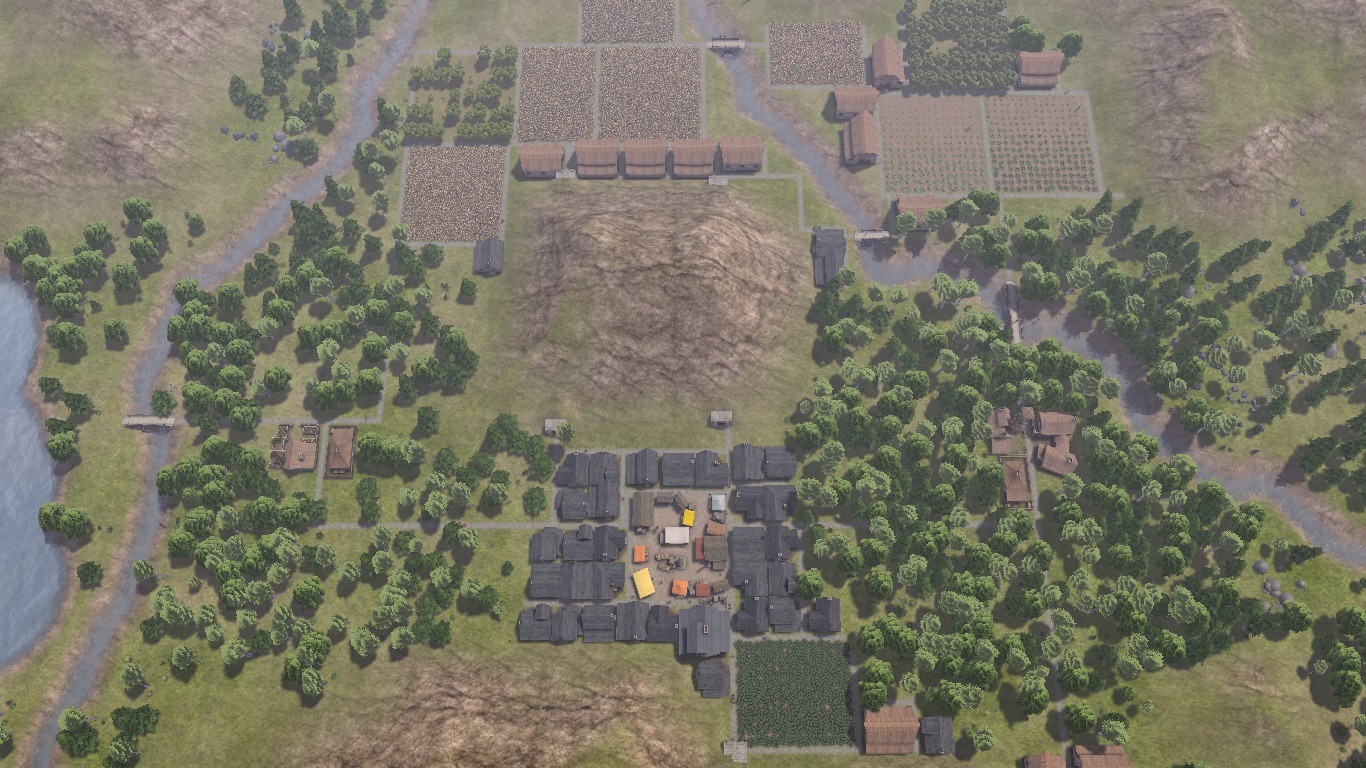
The best orchard size is 4x15, it houses 16 trees and can be worked by a single farmer. A 13x15 orchard would house only 40 trees, and would need 3 farmers. So with splitting in three 4x15 orchards you get 8 trees more on the same space.
14x15/15x15 don't give you any tree more than 13x15.

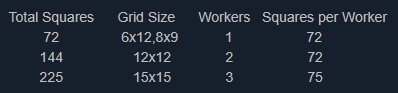
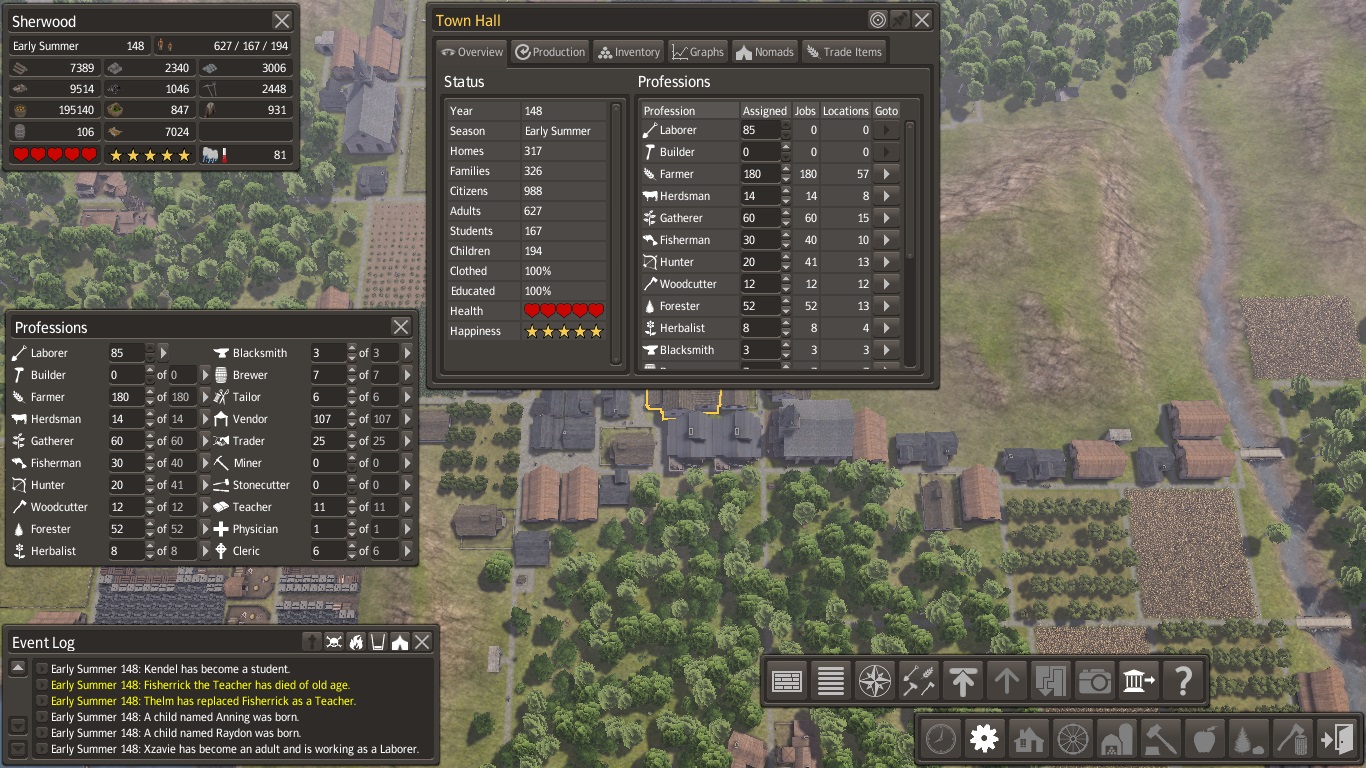
And for farming, with nearby house and barn a single farmer can work up to 125 tiles. so the best field size is actually 11x11 (121 tiles), as no other configuration comes any close to the max.
DangerBoy0422 1 May @ 12:13pm 
Very nice, very good
mickamiloslav 4 Jan @ 8:32pm 
Hi i like this game for middle time.. :) Can You help me please ? I am using mode for Czech and i canot do goals. For example 300 poeple... I have 320 and nothings done. :(( Why?? I using beta versinon.
Sol Lignum 27 Dec, 2024 @ 9:19am 
Hubs are kings! They also work alright even if you plant few houses, a herbalist, a woodcutter and a barn right there too. Not ideal, maybe, but they becomes a little self-sufficient hamlets then.
What about fish-houses though? Any tips on em?
Hety 18 Apr, 2024 @ 3:14am 
A little note regarding orchards. 13x15 orchard will have exactly the same number of trees as 15x15. So you can save youself some space
beholdbrandon 17 Apr, 2024 @ 3:03pm 
Also, for hunter lodges, you only need 1 worker and not 3. I think I read somewhere that hunters can only do 1 kill per 2 months or something like that. If someone in the same lodge gets a kill, all hunters in that lodge are locked out of getting a kill for 2 months.
beholdbrandon 17 Apr, 2024 @ 2:59pm 
For crop/orchard/pasture/cemetary size, I would include a link to this calculator in your guide.

https://banishedinfo.com/tools/size-calculator/crops

1 farmer can cover ~100-130 tiles. The game assigns too many farmers. I like to do 10 x 12, 9 x 13, 8 x 15 or 11x11 with 1 farmer assigned only. But if snow comes early in autumn you can lose some crop depending on the crop type.

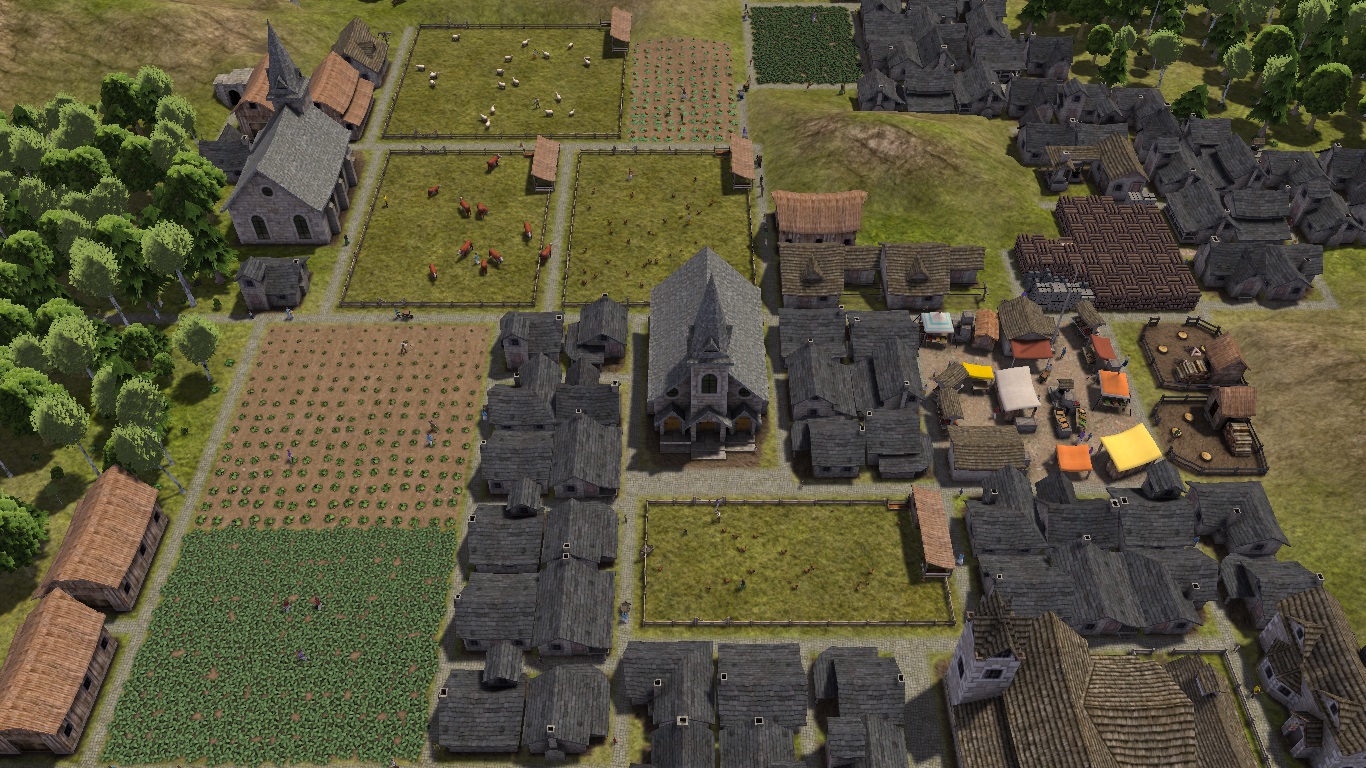
For orchards, 15 wide (west/east) and 4 tall (north/south) is best food per map tile with 1 farmer. The orientation matters.

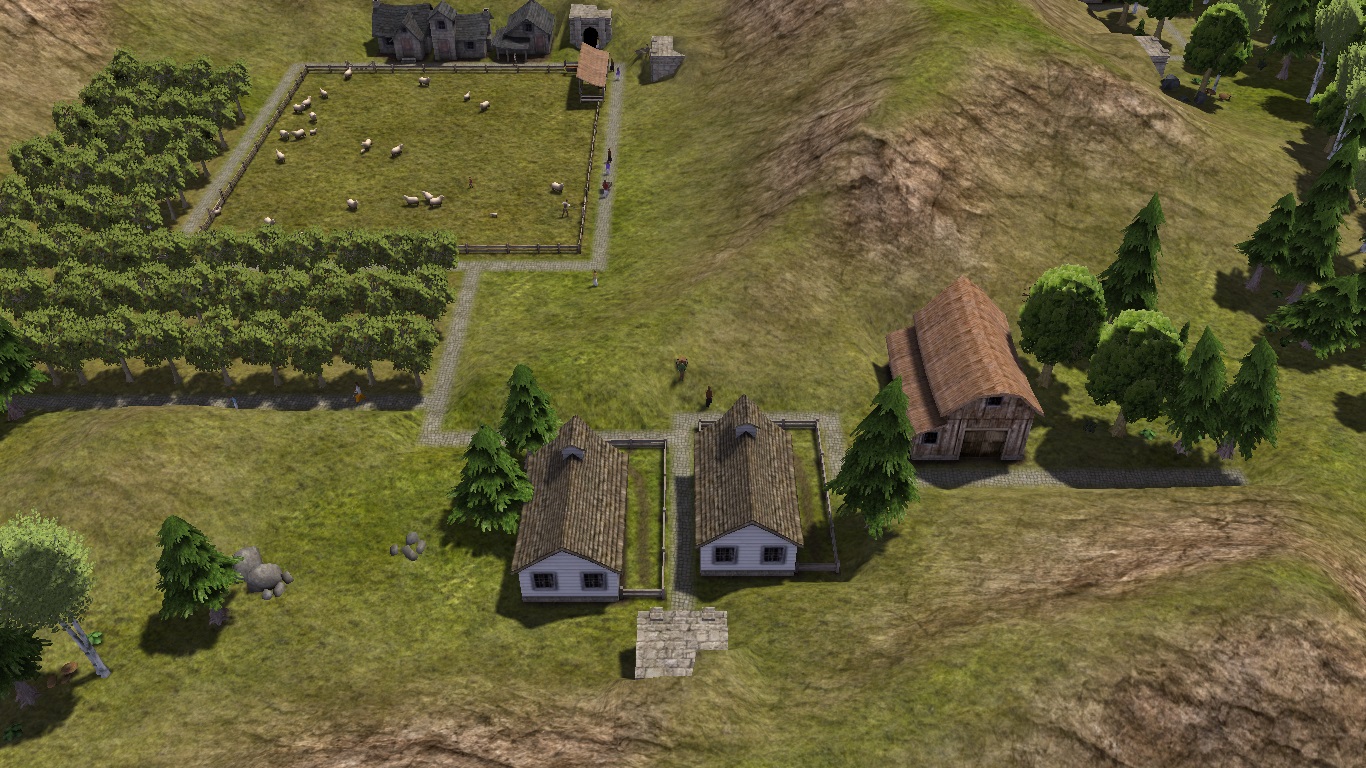
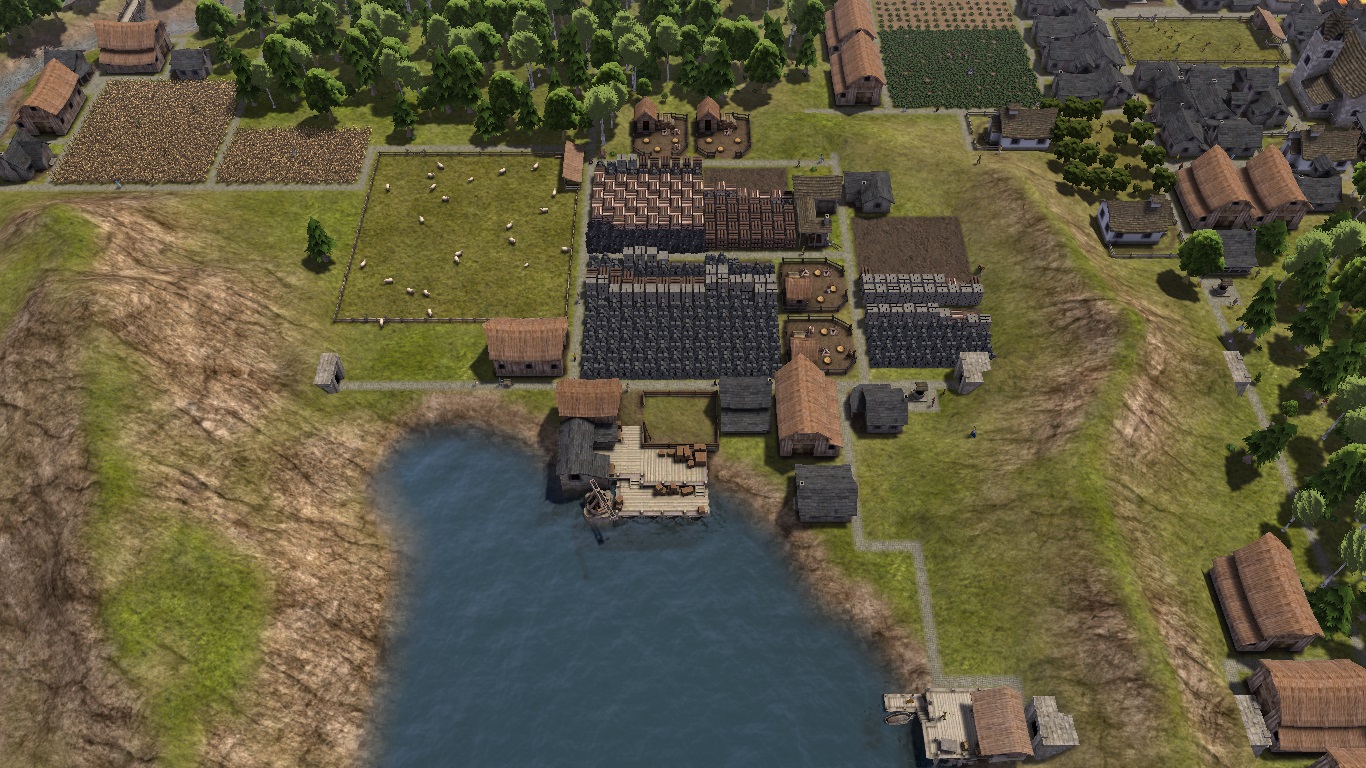
For pastures, no matter the size, it only needs 1 worker . Depending on the animal, different size pastures give better food/tile occupied.
Cows = (20 x XX).
Sheep = (16 x XX).
Chickens = (18 x XX or 12 x XX).

For cemetery, 20 wide (west-east only) x 19 tall (north-south only) gives the most graves per plot size. The orientation matters.
20 x 19 and 20 x 20 both give 144 graves, but 20x19 costs less space/stone.
The Giving One 16 Apr, 2024 @ 4:50pm 
Surprisingly, the cemetery is one of the most important buildings in the game, IMO. From what research I have done, if a bannie dies and there is no cemetery, then their descendants suffer a HUGE hit to happiness, equivalent to a half of one star rating, from what I have seen, due to not being able to visit the loved one in the cemetery. No amount of happiness-producing buildings or structures in the game will counter this, once they suffer that hit to happiness ----- they have that low happiness until their own death, from what I have seen. Undoubtedly, this means the cemetery is very important. I did see you mention the cemetery in your wonderful guide, and though I would add this as a comment if it helps. Thanks ! :steamthumbsup:
jwormald55 26 Mar, 2024 @ 5:03am 
Best Guide that I have read so far. If anything, I am certainly not building enough storage barns, my ratio is four fields per barn (not the 2 barns per field, as shown on your map).