
Install Steam
login
|
language
简体中文 (Simplified Chinese)
繁體中文 (Traditional Chinese)
日本語 (Japanese)
한국어 (Korean)
ไทย (Thai)
Български (Bulgarian)
Čeština (Czech)
Dansk (Danish)
Deutsch (German)
Español - España (Spanish - Spain)
Español - Latinoamérica (Spanish - Latin America)
Ελληνικά (Greek)
Français (French)
Italiano (Italian)
Bahasa Indonesia (Indonesian)
Magyar (Hungarian)
Nederlands (Dutch)
Norsk (Norwegian)
Polski (Polish)
Português (Portuguese - Portugal)
Português - Brasil (Portuguese - Brazil)
Română (Romanian)
Русский (Russian)
Suomi (Finnish)
Svenska (Swedish)
Türkçe (Turkish)
Tiếng Việt (Vietnamese)
Українська (Ukrainian)
Report a translation problem


//--
4. put all views into one texture file like this : https://i.postimg.cc/nzQ9jgT8/Screenshot-2022-02-16-220044.png you will also want to create a alpha version https://i.postimg.cc/VN2d84wK/Screenshot-2022-02-16-220155.png
5, drag this LOD texture into Sketchup, cut it up, and align each image to the correct direction https://i.postimg.cc/htjYF1pz/Screenshot-2022-02-16-220542.png I not gonna teach you how to align these stuff so go figure out yourself 🤣
6. next it just a matter of sampling these cutouts and paint it on to your LOD model.
//--
And I didn't even mention the use of any UV tools, because YOU DON'T NEED IT!
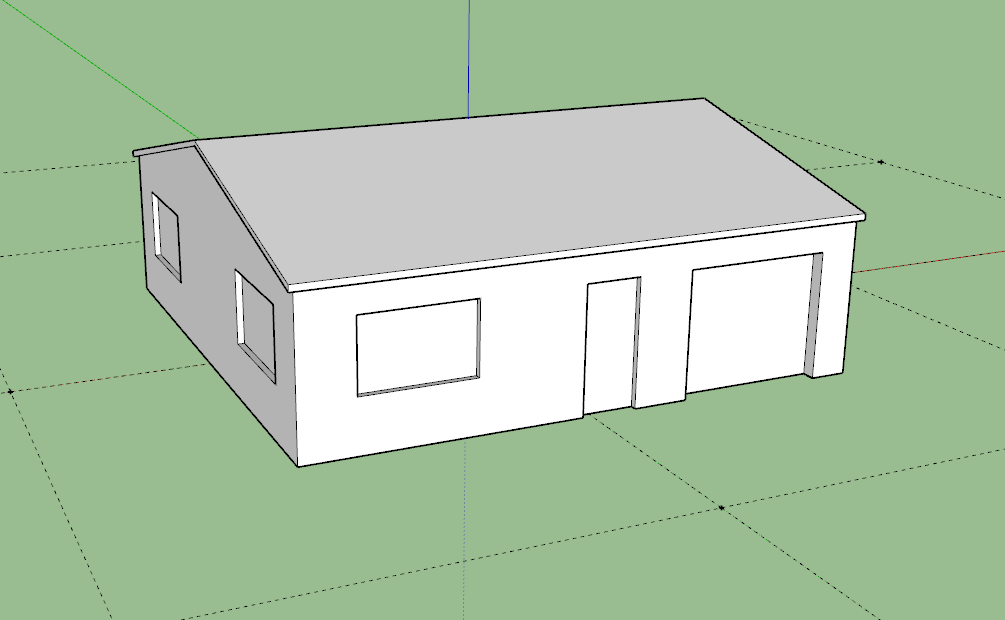
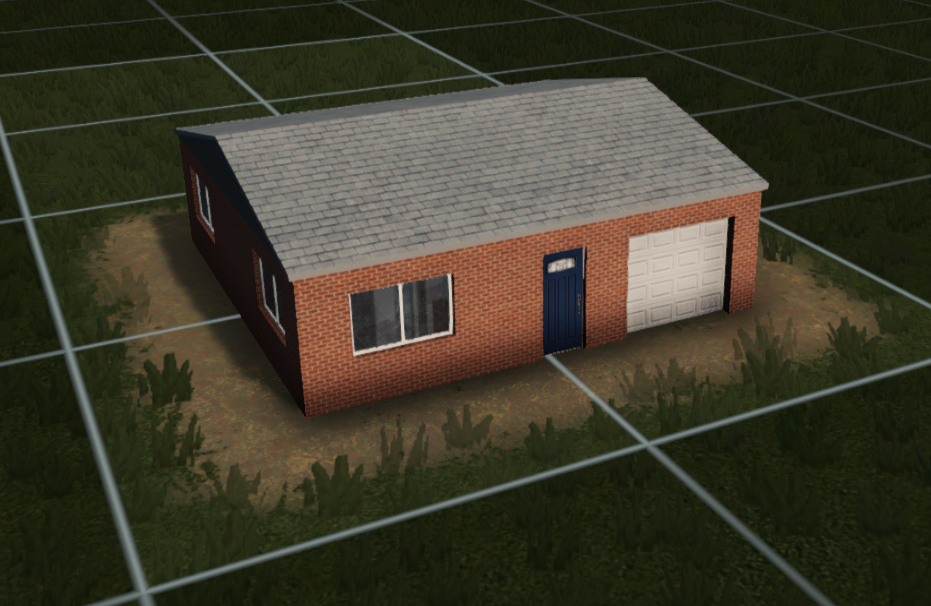
Of course you have to make a simplify LOD model first, but that step should be very easy. Your LOD model can be really rough, it doesn't need to be accurate at all.
//--
actually I had figured out an insanely easy way with native Sketchup function yeas ago. Though didn't really got the time / motivation to finish a full guide about it. Just gonna post a few quick notes here in case anyone wander into this page later:
//--
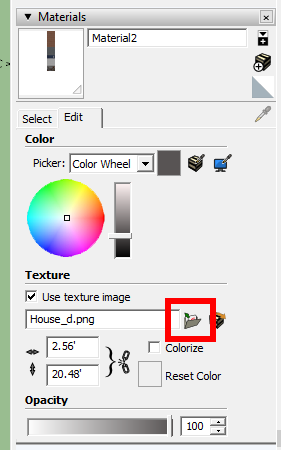
1. finish texture your main model, under the shadow panel (don't enable shadow) - just set lighting setting to "use sun for shading", light to 0 and dark to 80. What this does is render the model exactly identical as the texture color / lighting.
2. in the style panel, you want to turn of "sky" so whatever we export next are fully background transparent. In the view > edges styles > turn off everything so no lines visible at all
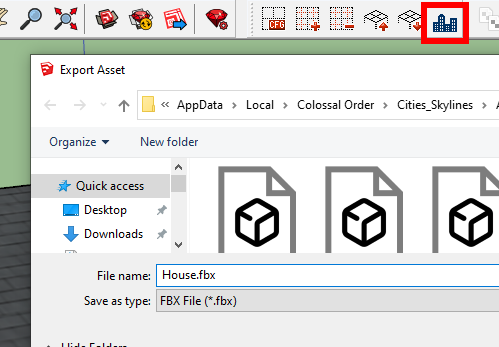
3. turn camera mode into parallel projection, then export views from every direction including top down view as PNG with transparent background.
... continue at next comment ...
Sketchup Textures [help.sketchup.com]
//--
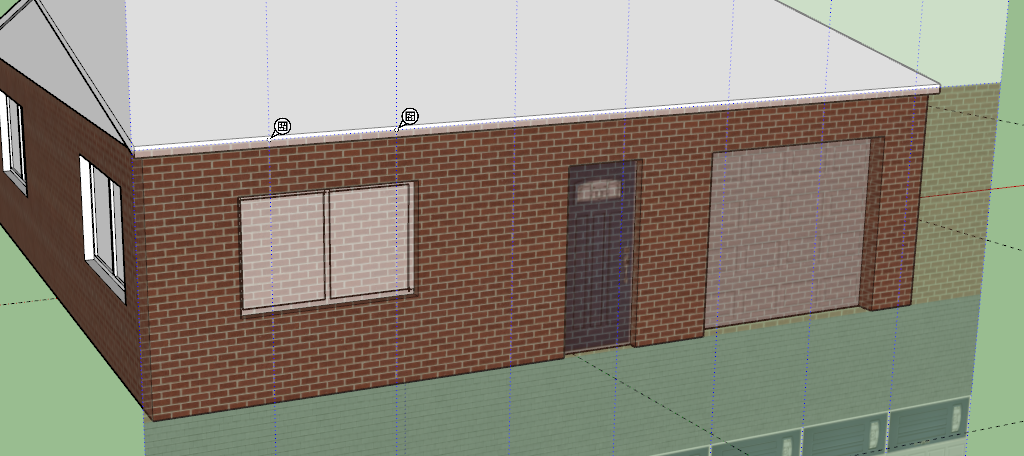
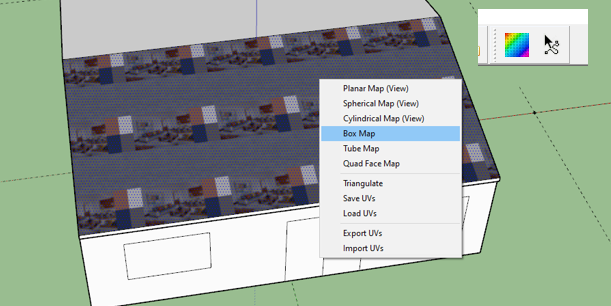
when you try to adjust texture position in Sketchup, you noticed the semi-transparent tiling preview, right? Well, only ONE tile of that is the REAL VALID texture tile for LOD. If the surface uses texture from the other WRONG TILE, your LOD texture for that surface will appear broken. //--
how do you find and use the right tile? You need this plugin : https://github.com/brotuser/Sketchup-UV-Viewer >> it just a viewer, but you can select a surface and hit "highlight selection" to check it's position, and make sure that texture is taken from the REAL TILE (the first tile shown when you first hit "Draw UV Map"). If it's not in the region of the original tile, then it's wrong.
//--
see this picture explanation : https://i.postimg.cc/63czy2Nn/Screenshot-2022-01-24-234420.png
//--
this also means LOD texture CANNOT REPEAT (tiling) like the normal mesh diffuse texture can. Everything must contain inside the one single REAL TILE.
//--
fixed the problem - LESSON LEARNT : DO NOT triangulate the mesh !!