Source Filmmaker

Source Filmmaker

42 ratings
Using The Left 4 Dead 2 Common Infected Shader Inside Of SFM (Wounds, Eyeglow ect.)
By The asdfghjkl
How to use the shader parameters that I know of for the Left 4 Dead 2 Infected Shader.
   
Award
Favorite
Favorited
Unfavorite
Overview
Hello and welcome to my first SFM guide!


NOTE:
I haven't proofread the guide, because I am currently in a rush. Feel free to leave any spelling mistakes or whatever in the comments.

Guide is currently complete (As in I finished what I know at the original making of the guide). But certain sections may be missing information, or be empty. If Anyone wishes to help me expand the guide, just contact me and we can work something out.

Any sections that exist, I have information for. If it's empty, I just haven't written the part for the section.

(Also if you discover something with the shader and wish to help with the guide, tell me in my comments, add me, and we can experiment with what you discovered before we add it to the guide.)


SFM was given full support for the Left 4 Dead 2 Infected shader when they released their free L4D SFM content pack.So when I heard about this, I experimented with the shader and saw what it could do inside of Source Filmmaker! This guide will go over the basics of what I was able to get working as of right now. The guide will be updated if I manage to mess with more of the shader's parameters.

Skin Tint, Clothes Tint, And Blood Maps.
Some of the less exciting but still very useful things in the L4D2 Infected Shader are the tint values and blood mappings. These allow you to change the skin color of the infected, the clothes color, and position the blood on the infected in different areas.

Here is a fully rendered example of the default model. No edits to the texture through the tools or to the file and no lights. Just a model and a particle. (Trust me, having lights will come up later on!)


Looks pretty boring to me. So let's edit the color of the skin and clothes. Maybe even change the location of the blood texture.

To do that first we go to the model we want to edit.Then we right click, show in element viewer, model. Look at the element viewer. There should be 3 parameters: infectedTextureIndex, infectedClothesTint, and infectedSkinTint. There should also be little numbers next to them. You can edit these numbers to change the skin tint, clothes tint, and blood masks. Once you edit those you can simply close the element viewer and enjoy!


Here's an example video if you need one:


Eyeglow
Now THIS is where it starts to get interesting (To me at least...) . Eyeglow is probaly the easiest thing that you can do with these models but there are a couple things you can customise with this.

Section 1: Adding Eyeglow


Adding eyeglow is the Easiest step here. And to prove it to you, I'll give you the steps.

  • Step 1: Add a light in front of your model

Thats it. I'm not joking if you just wanted the eyeglow to be there you are done.

Here is an example video of me adding a light and doing some other things just in case the list was too complex.


Some little extra things about adding eyeglow. First of all the intensity of your light DOES NOT MATTER (Which is why in the video I turn the intensity extremely low.) Second of all your light does need to be facing the eyes of the model. You can probably just lock a light to the head and forget about that. And the third and final thing, if you wanted to make the eye glow more or less intense, the easiest way is to use the use the bloomscale slider on the camera (Again, shown in the video.)


Section 2: Eye Glow Color


First thing I want to talk about is changing the color of the eye glow.

To do this First we need to go to our model, right click it and add override materials. After this, we right click our model, and we go to show in element viewer, and then click "model". Now go to the element viewer, and open the little section labeled "Materials". After you do that, find the texture for the head that you currently have on your model, and right click it. Then add an atribute. When selecting the attribute, select "color". After you do that, make sure that you name the attribute "$eyeglowcolor". Then you can edit the color and set it to whatever you want (

Another example video, this time of me editing the color of the eye-glow.


Section 3: Eye Glow Flashlight Boost


The last thing that I've done with Eye-Glow so far (and to me the most useful) is using the $eyeglowflashlightboost to change the intensity of the eyeglow without having to mess with bloom scale (Because at this point I feel like everybody knows that bloom in SFM is complete garbage).

To do this, first we need to make sure that we have override materials on our model. After this we right click our model, show in element viewer, model. Then open the materials tab, find the head texture your model is currently using, right click that, add an attribute, this time make it a "float". Name the attribute $eyeglowflashlightboost. You can then change the number to your heart's content.

Another example video, showing the same thing that I just explained.

Blood!!!
Another thing you can do with the models is edit the appearance of the blood. Some of the things you can edit are: the color of the blood, the specular of the blood, and the amount of blood.

Section 1: Blood Color

One of my favorite things that I found out you could do is change the color of the blood. Doing this is pretty simple. Just go over to the texture that you are using in the element viewer, add a new attribute, this time make it a "color". Name the float $bloodcolor. Then simply select the square next to your attribute and choose your color.

As usual, here is an example video.


Section 2: Blood Specular


You can also change the specular of the blood. This isn't as exciting as some of the other parameters but you can still use it if you want to. Basically this turns the blood from dry to (((( M O I S T )))
To do this you would go to the material for your model in the element viewer, and add a property. Make this a "float". Name the float $bloodspecboost and there ya go. The higher the number is, the higher the specular boost.

And here's the example video


Section 3: Blood Mask Range

The 3rd thing I found you could do with the blood is that you can change the range of the blood mask. You can do this by adding a float to your material and naming the float $bloodmaskrange. After that you just change the little number and there ya go.

Again, here is an example video.


Wounds (Still Very Experimental) *UNFINISHED SECTION,*
And now, my all time favorite part of the shader. Wounds *Insert Angelic Music Here* This is also the most tedious thing to mess with. So yeah, be prepared to spend 20 minutes fitting some ♥♥♥♥♥♥♥ digital ellipsoid to some digital guts literally no reason.

The first step to getting wounds on the model is to first, create the ellipsoid to fit the wound in. So to do this you need to go to the 2nd skin on your infected model (Skin 1). One of 2 things could happen. Either 1, (which isn't very likely) is that now there is a hole in your model. The second thing that could happen (which is probably what is going to happen) is that nothing changes. Obviously we want the hole so...let's fix that.

So to do that the first step is to go to where your infected textures are located. If you're using the l4d2 downloadable content for SFM (which is what you should be using.) then the materials you need to replace should be in

C:\Program Files (x86)\Steam\steamapps\common\SourceFilmmaker\game\left4dead2\materials\models\infected\common\l4d2

*NOTE: Letter for your drive could be different. (E.G. instead of C: it could be D: or F:)

So there are 2 things you can do here. Either go through every single texture and type the parameter yourself, or you could just copy and paste the files that I have conveniently uploaded to google drive which I have already edited one by one. Choose whichever you want it doesn't matter.

Anyways here is the link to the files: https://drive.google.com/drive/folders/1_urbamXsfIEj5wsNgymhD1pAFEBs_GMY?usp=sharing

So yeah. copy and paste those files (FILES not the folder.) to the specified location above to replace them.

After that you can reload SFM, set your infected skin to Skin 1 and woop-dee-doo you did the first step.


And now we move on to the second part. Locking the bones. This is obviously very simple. Just drag and drop your bone controls from the infected, to the wound of your choice, select the bones, drag the zero slider, and done. No more explanation needed.

And now...it is time...for literal hell (Well not yet, but very soon.) SO...You have your hole, your wound is in the right place, but now you're asking "Why is the ellipsoid so big? And why isn't it in the right spot?" And here is where I tell you...You need to edit all that...Are you ready?...No really, are you ready?....


MANUALY (Please play video for maximum immersion)


Ok, so how would you do that? First, go to the wounded version of the material for your infected. Then add the following parameters. Make them all vector 3s.

$ellipsoidcenter2
$ellipsoidup2 (Kind of broken. Maybe skip this one.)
$ellipsoidlookat2 (Also kind of broken. Maybe also skip this one)
$ellipsoidscale2

And now you just edit the numbers. I'm honestly not sure what all the numbers actually do I just edit them until it fits the wound I put.

Also I don't feel like finding the exact parameters for each wound in the game files for both the male and female variants of the wounds so yeah from here, you're on your own.

Anyways, here are two example images that use the exact same wound because I don't want to dedicate 30 minutes .


Overview...but at the end? (I don't know what to call this.)
Hopefully this guide isn't complete garbage and is at least somewhat useful to some people. Anyways, I hope you enjoyed. And...yeah that's kind of it.
14 Comments
MRcedaguy 28 Mar @ 11:38pm 
does this work in gmod?
Super Hot Sexy Man 29 Jan @ 7:25pm 
Do you also happen to know how to add more blood decals through infectedTextureIndexes?
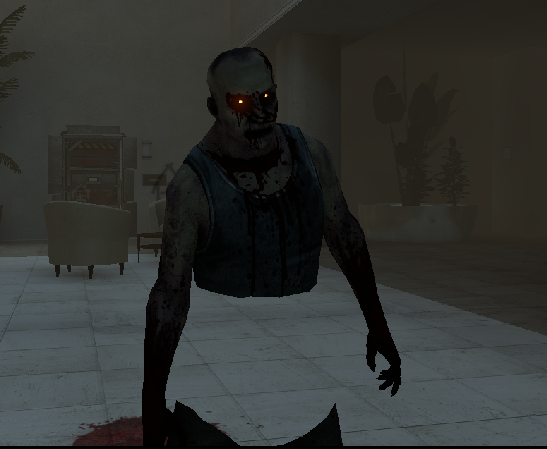
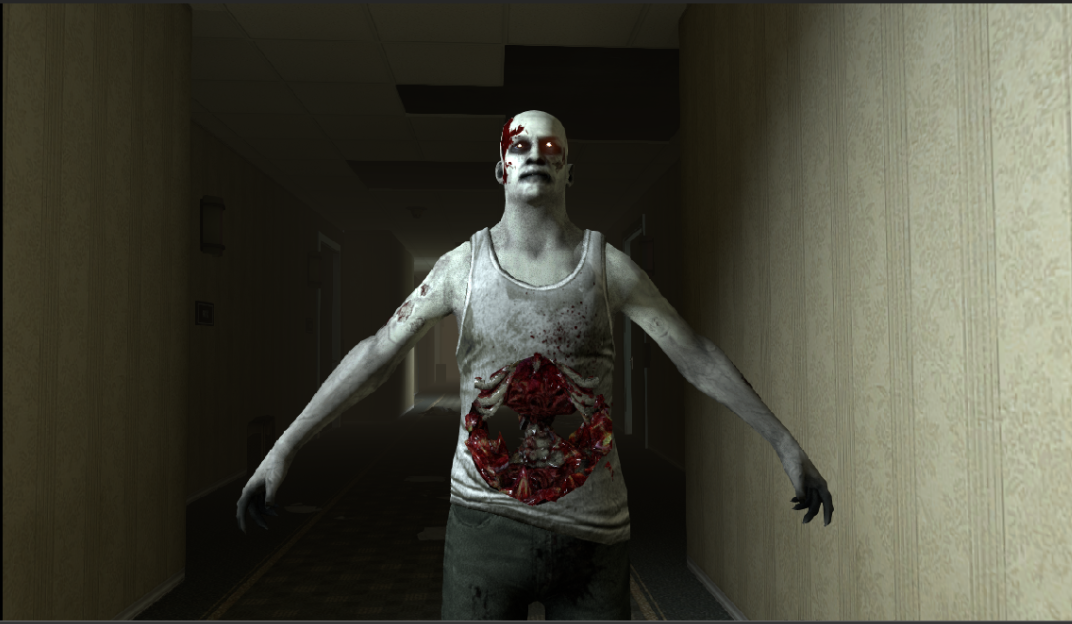
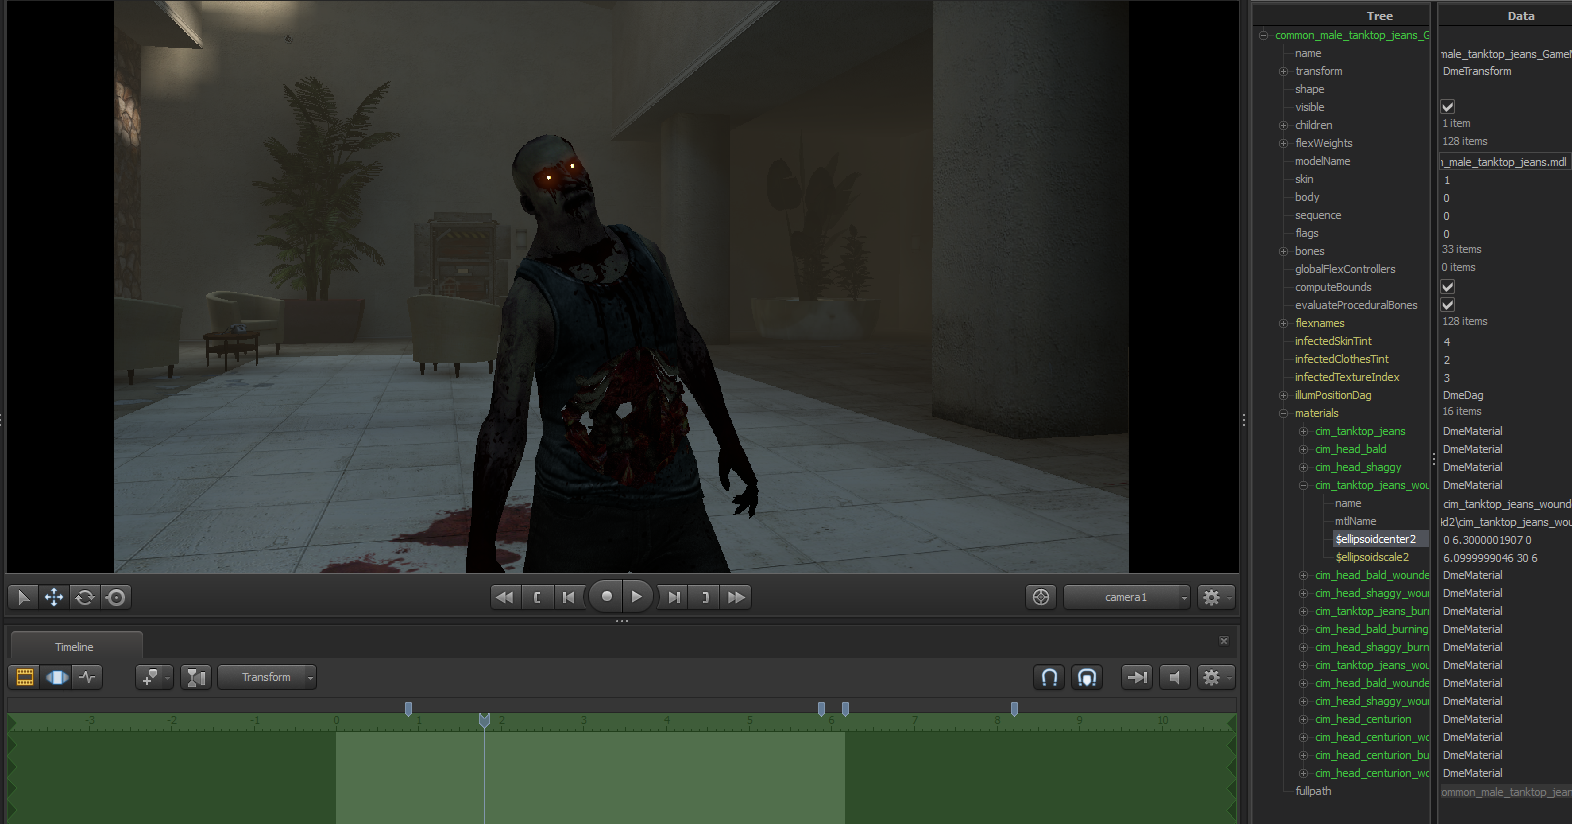
Or do you at least know which files target the necessary files for me to replicate this?
jad 28 Jul, 2024 @ 1:04pm 
YOU ARE A GOD THANK YOU FOR THE DISMEMBERMENT
Ry 30 Apr, 2023 @ 9:20am 
you, my friend, have solved a problem that i had given up for years. the l4d2_fixes was the issue. thanks a lot!
The asdfghjkl  [author] 30 Apr, 2023 @ 7:26am 
For me, eyeglow didn't work for the longest time because I made the mistake of using the L4D2_Fixes textures for the common infected, instead of their stock versions. For that I would recommend simply going into the materials and deleting the common infected material folders. Would you mind sharing perhaps a project file, or even just the model you're using?
Ry 30 Apr, 2023 @ 1:49am 
any ideas why eyeglow wouldn't work despite having lights?
The asdfghjkl  [author] 13 Jan, 2023 @ 3:29am 
https://steamhost.cn/steamcommunity_com/sharedfiles/filedetails/?id=2169460625 for the models and whatnot. Not my guide btw.

And for maps and materials me and multiple other people have posted these. (put these as a separate folder btw) https://steamhost.cn/steamcommunity_com/groups/OpenSourceFilmmaker/discussions/0/4048138220333359911/
Alcoholic Synonymous 12 Jan, 2023 @ 6:07pm 
Wow I'd like to use this guide it's very useful. JUST WISH I COULD ACTUALLY IMPORT L4D2 FILES.
The asdfghjkl  [author] 25 Jul, 2022 @ 8:54am 
Unfortunately the shader isn't available in GMod as far as I know.
The 25 Jul, 2022 @ 7:35am 
hey you got anything for gmod