
Install Steam
login
|
language
简体中文 (Simplified Chinese)
繁體中文 (Traditional Chinese)
日本語 (Japanese)
한국어 (Korean)
ไทย (Thai)
Български (Bulgarian)
Čeština (Czech)
Dansk (Danish)
Deutsch (German)
Español - España (Spanish - Spain)
Español - Latinoamérica (Spanish - Latin America)
Ελληνικά (Greek)
Français (French)
Italiano (Italian)
Bahasa Indonesia (Indonesian)
Magyar (Hungarian)
Nederlands (Dutch)
Norsk (Norwegian)
Polski (Polish)
Português (Portuguese - Portugal)
Português - Brasil (Portuguese - Brazil)
Română (Romanian)
Русский (Russian)
Suomi (Finnish)
Svenska (Swedish)
Türkçe (Turkish)
Tiếng Việt (Vietnamese)
Українська (Ukrainian)
Report a translation problem


Blender is a more up to date modelling program - but the texturing and exporting to Railworks procedure is convoluted and prone to many problems.
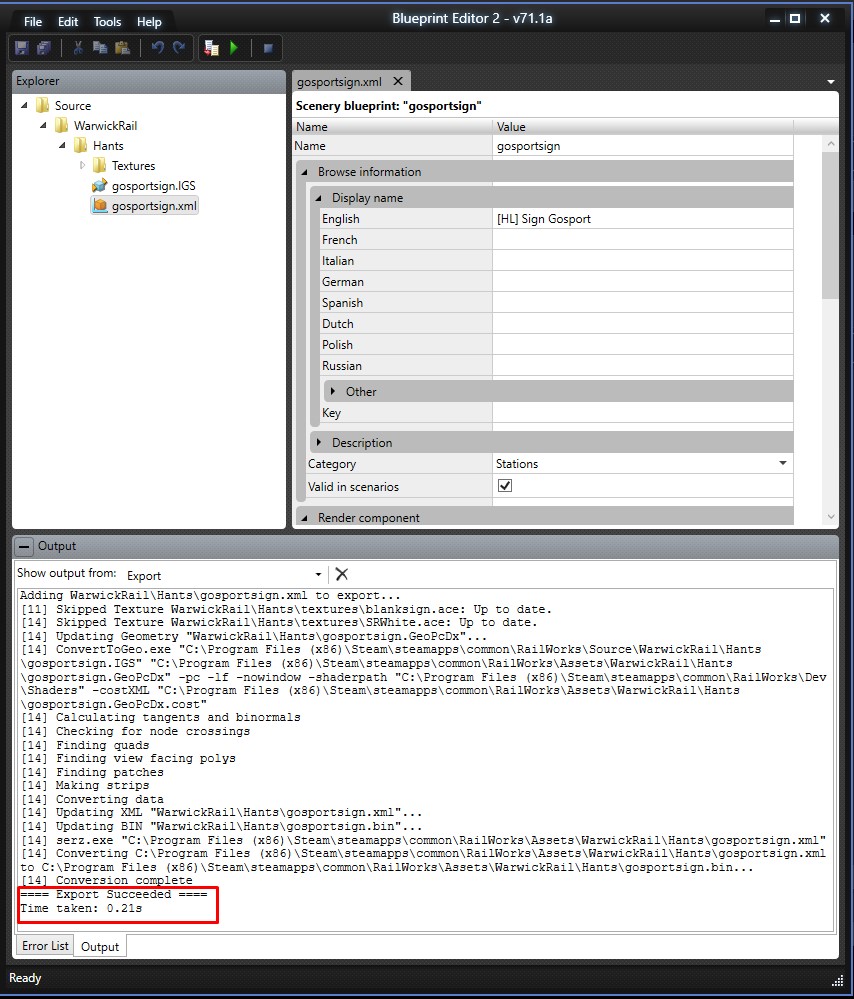
This tutorial should have anyone exporting to Train sim in an hour or so. After that, it's just practice and perseverance.
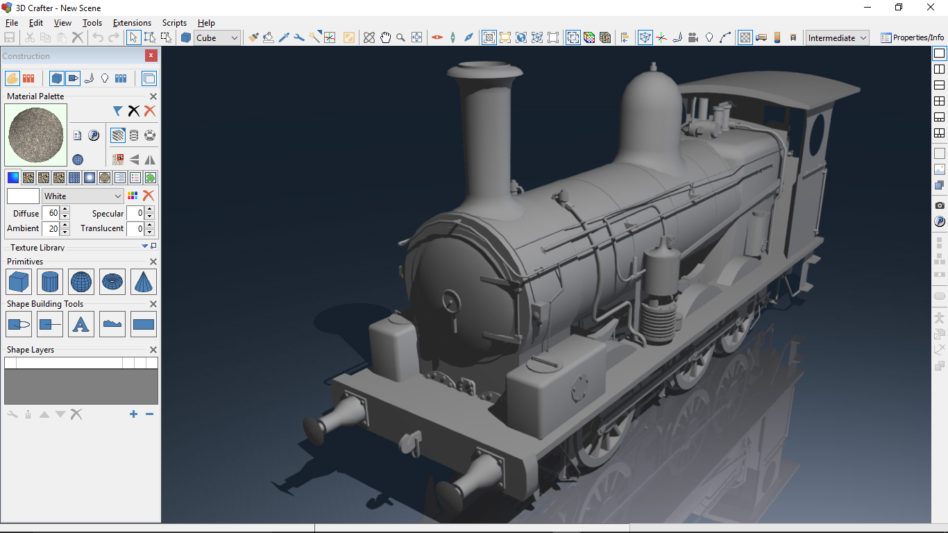
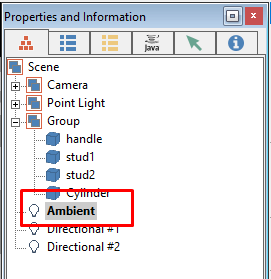
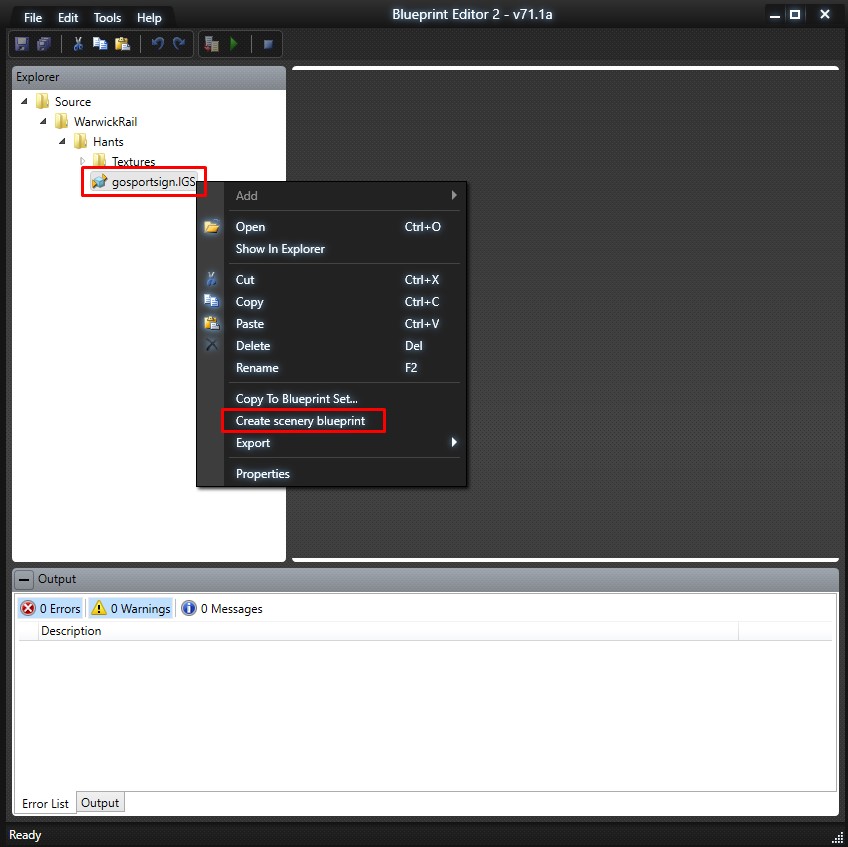
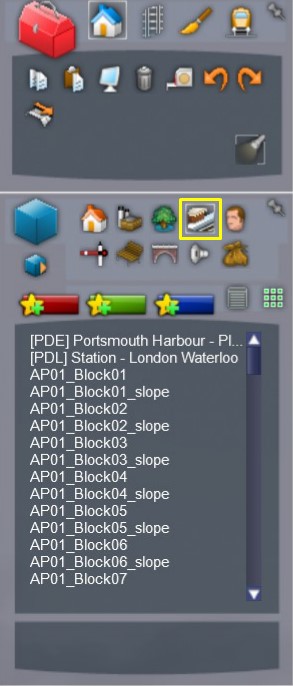
First: select the members of the group (textured board)
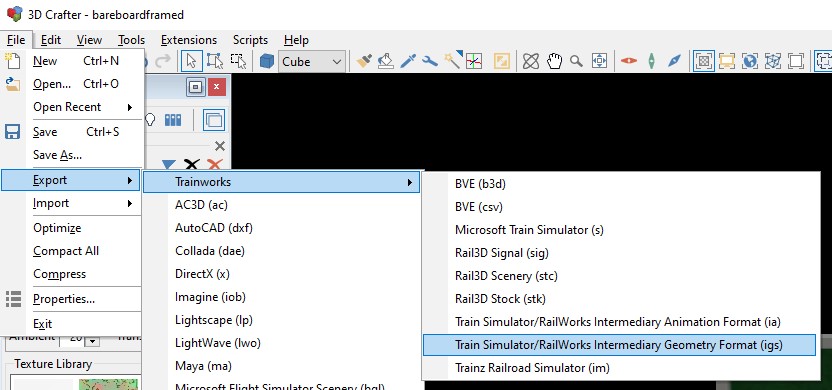
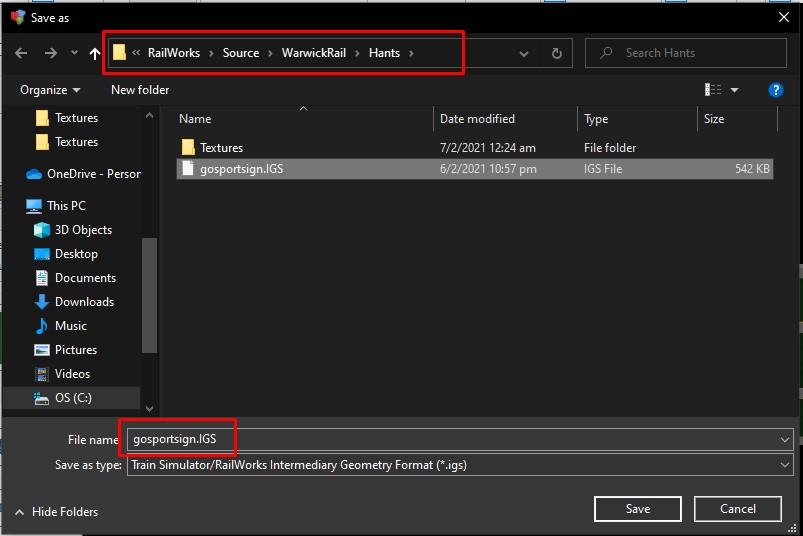
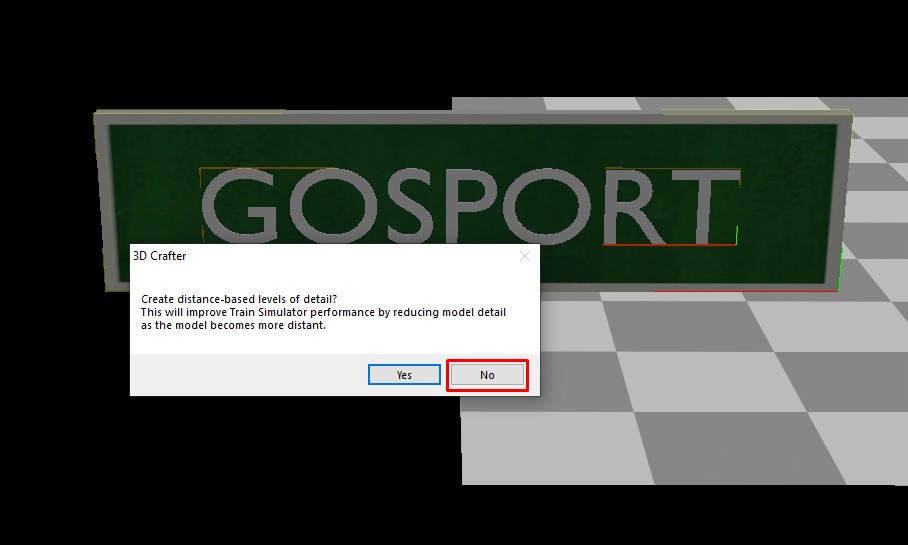
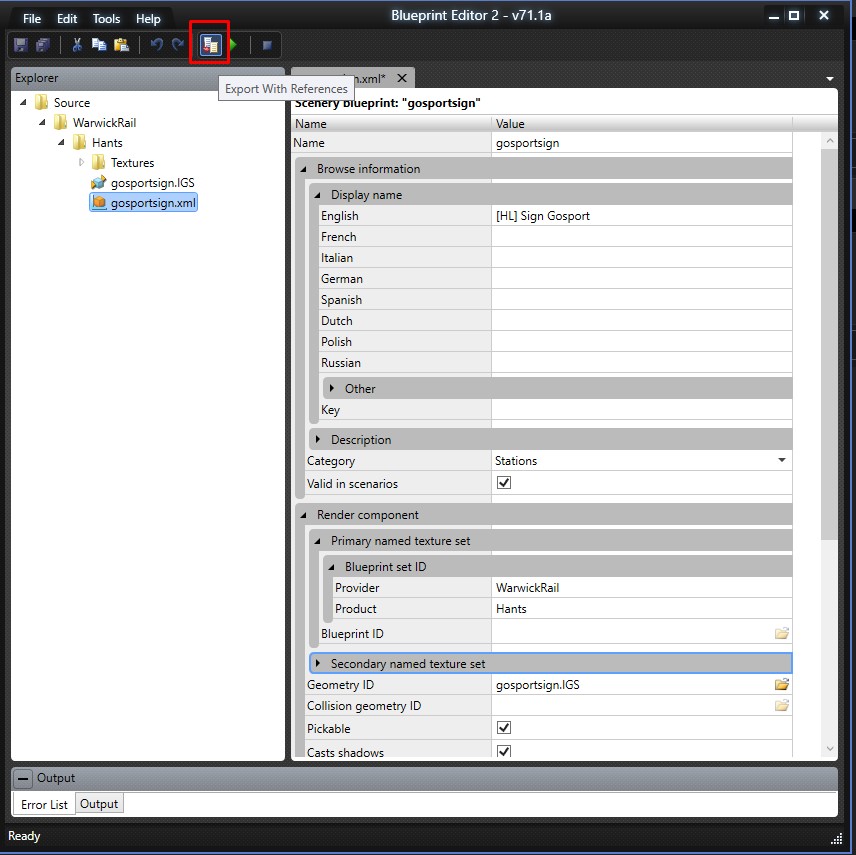
Second: use the top file menu to export the model as an .igs file.
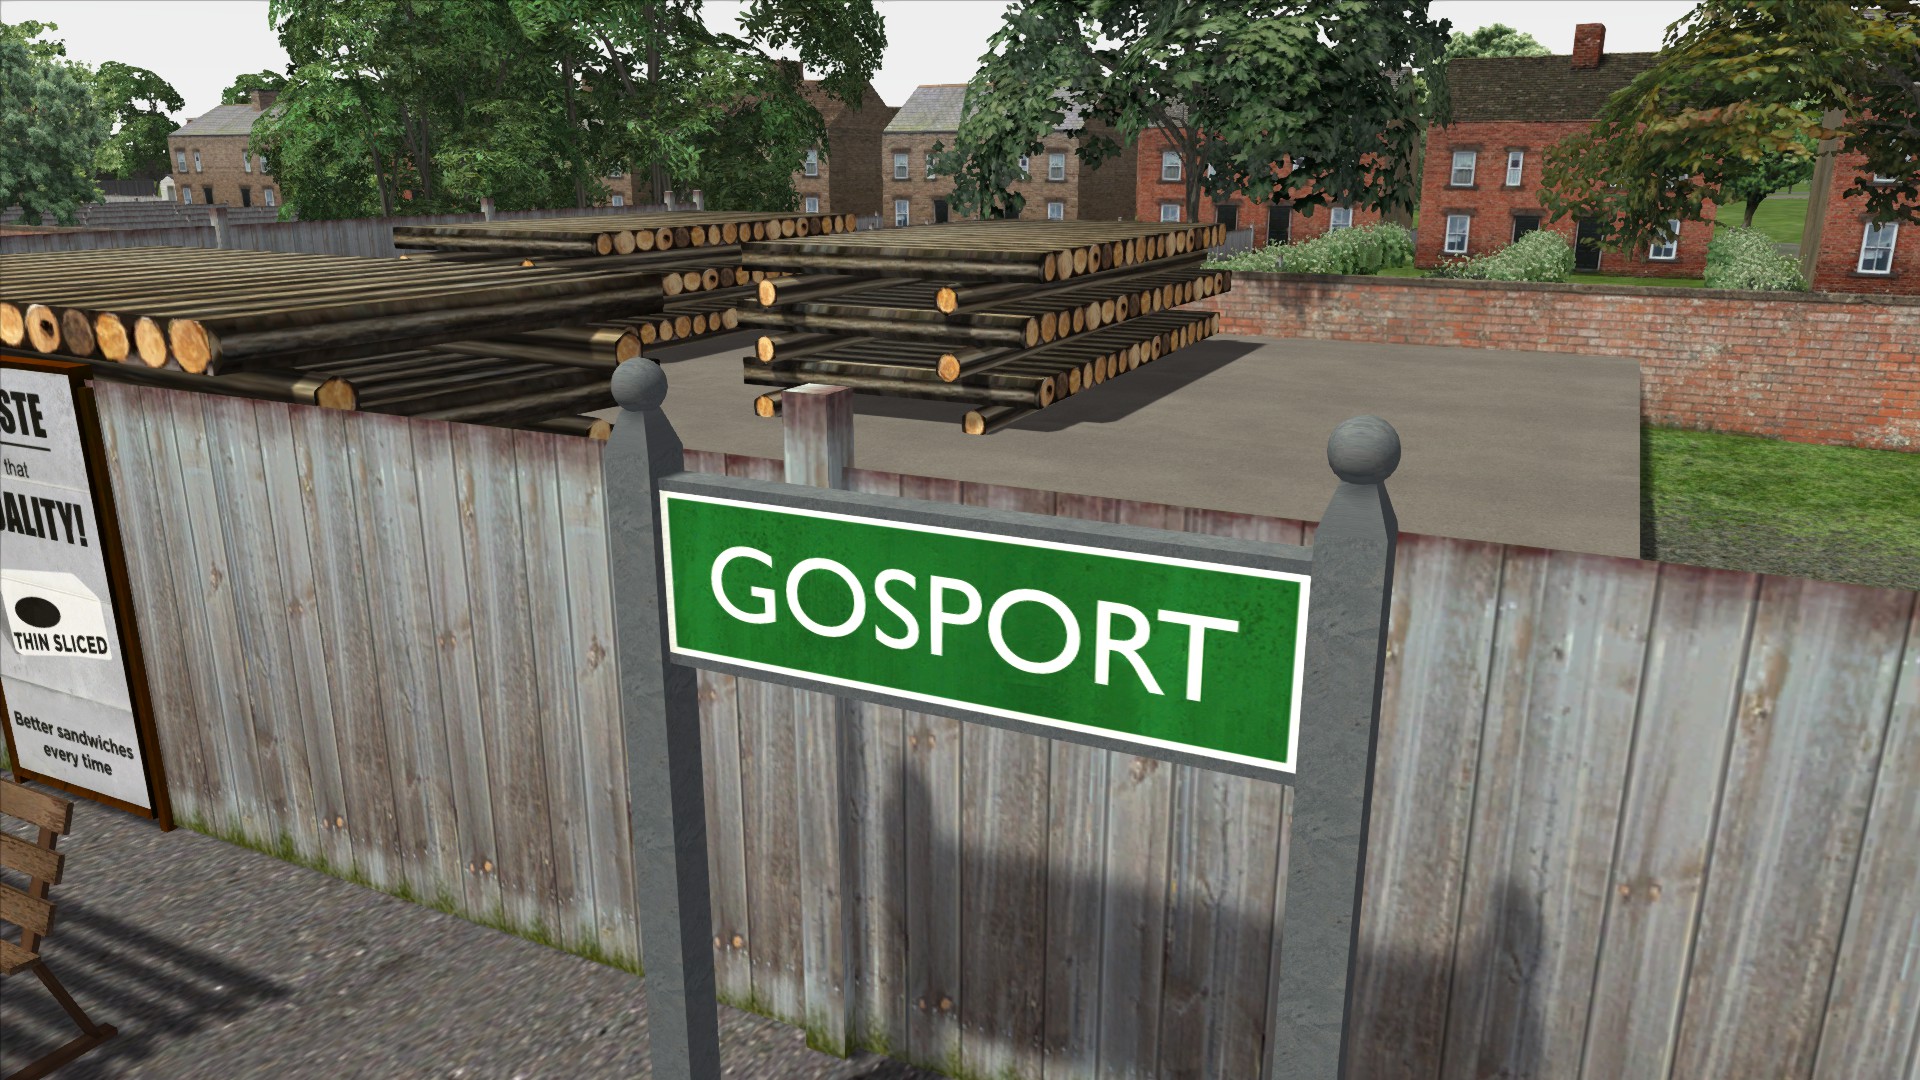
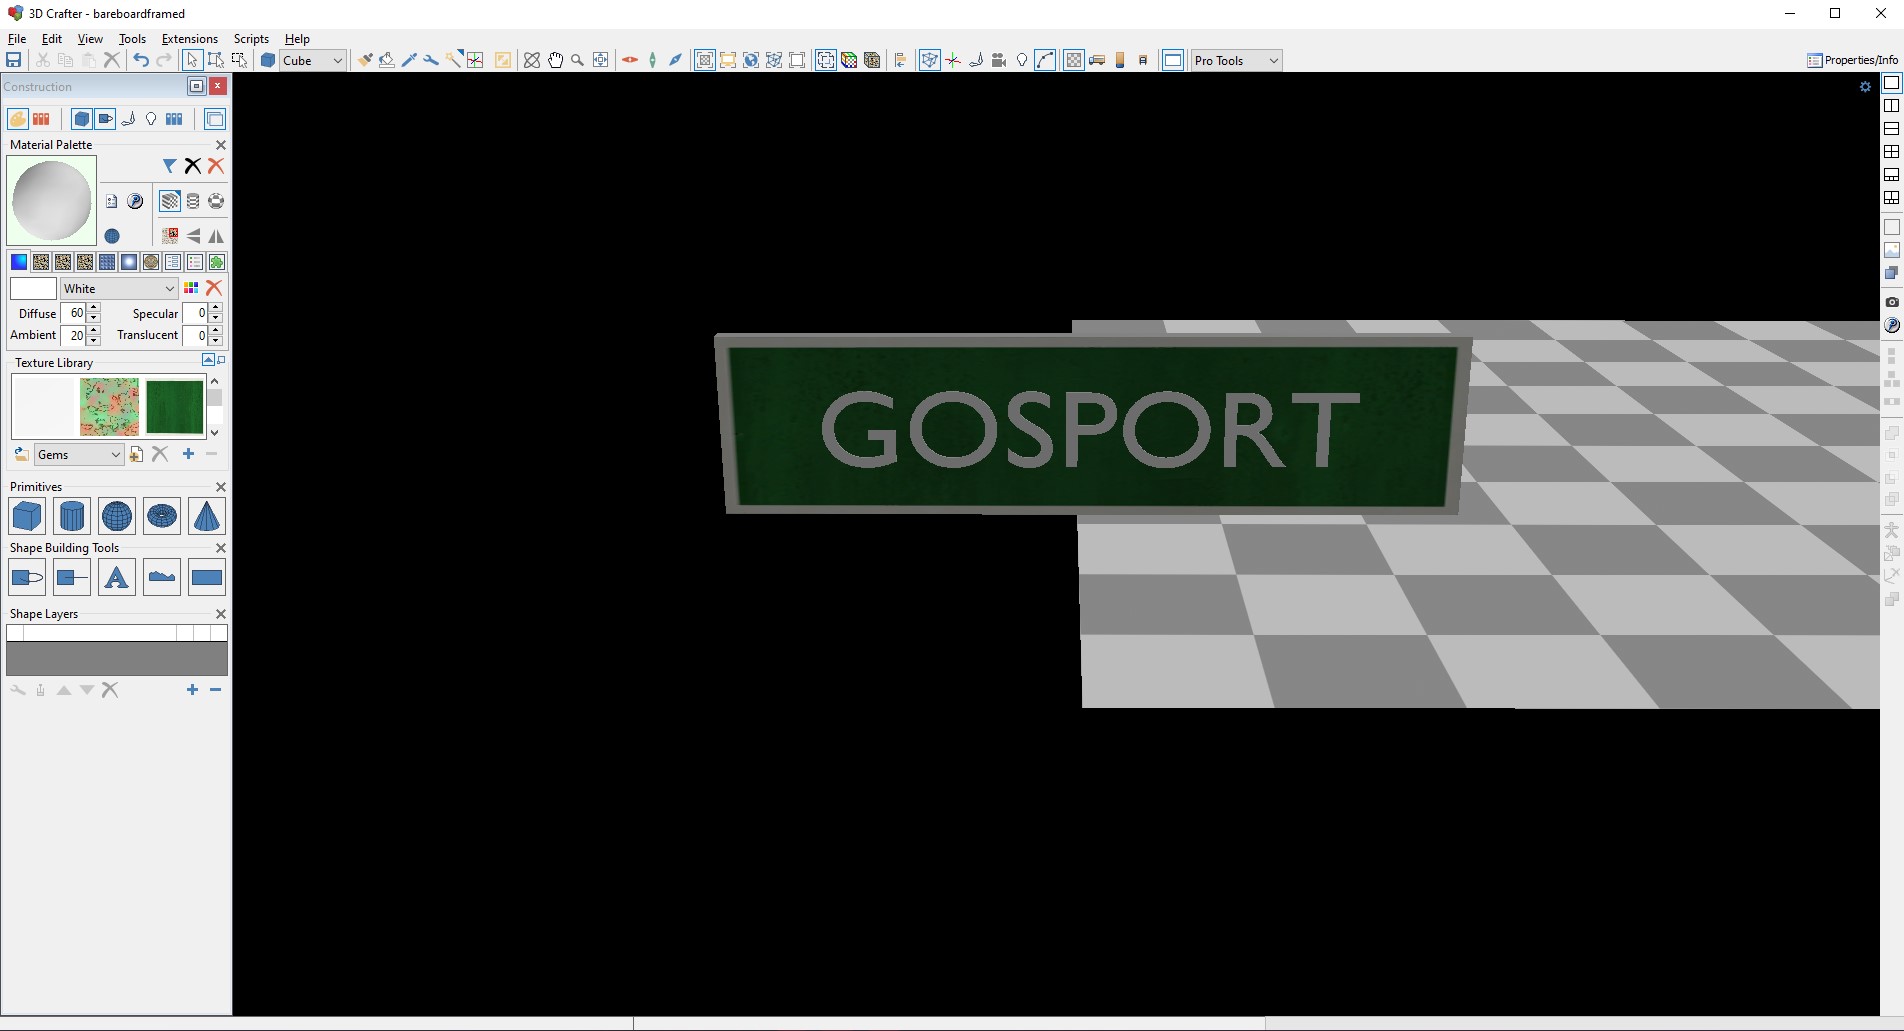
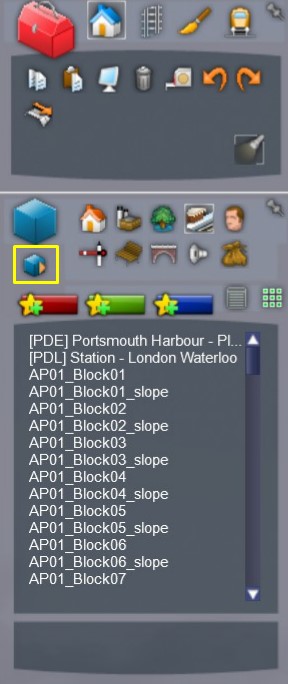
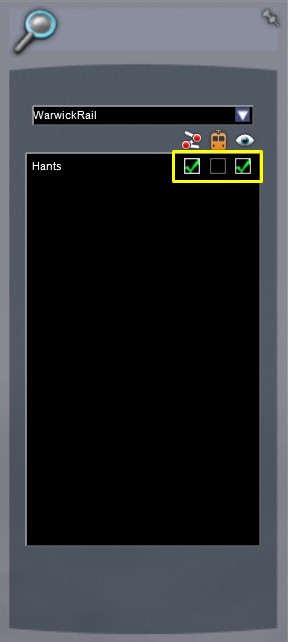
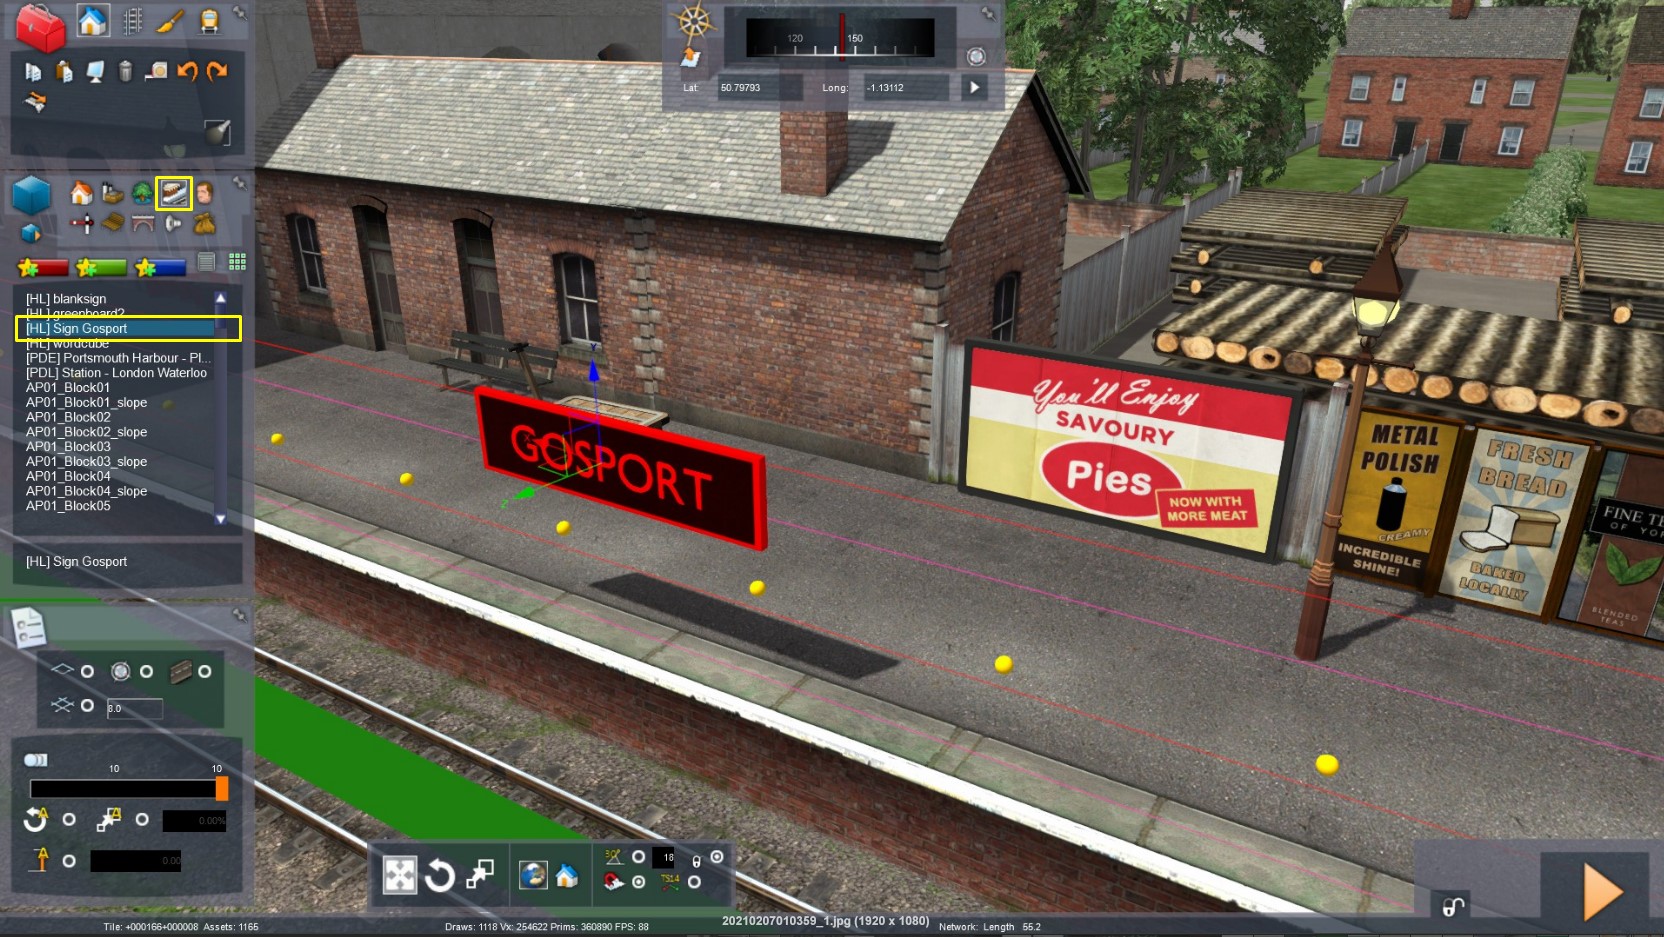
I got my sign to import it not the game but I can't select it after it's been placed. I have to select somewhere else. It is almost as if I am importing the entire environment from 3d crafter.
What exactly has to be selected to import ?
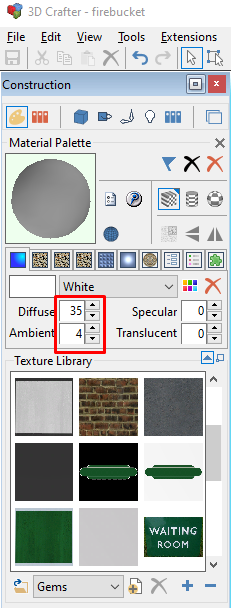
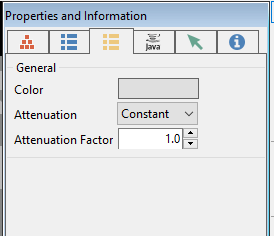
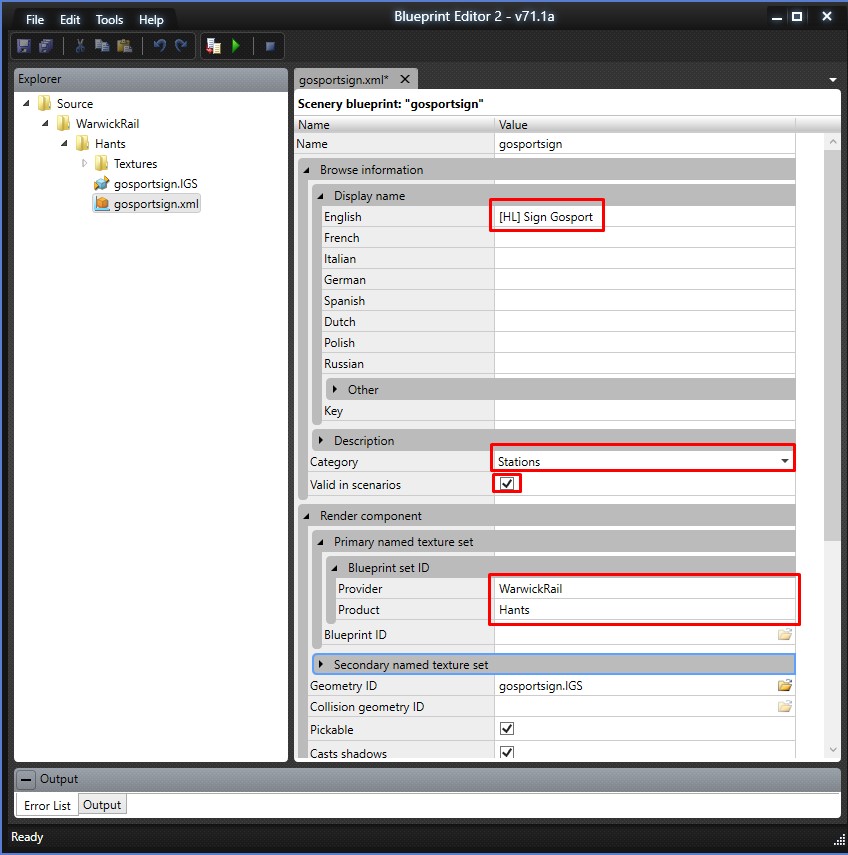
[Rail Sim] TrainBasicObjectDiffuse.fx [Tx Alpha] Transparency.
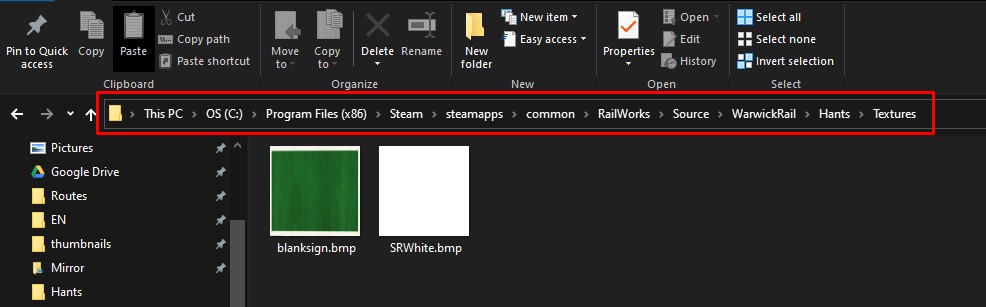
Leave the third blank. Now, texture your model, making sure you texture all faces, or delete those not needed. That's it.