
Install Steam
login
|
language
简体中文 (Simplified Chinese)
繁體中文 (Traditional Chinese)
日本語 (Japanese)
한국어 (Korean)
ไทย (Thai)
Български (Bulgarian)
Čeština (Czech)
Dansk (Danish)
Deutsch (German)
Español - España (Spanish - Spain)
Español - Latinoamérica (Spanish - Latin America)
Ελληνικά (Greek)
Français (French)
Italiano (Italian)
Bahasa Indonesia (Indonesian)
Magyar (Hungarian)
Nederlands (Dutch)
Norsk (Norwegian)
Polski (Polish)
Português (Portuguese - Portugal)
Português - Brasil (Portuguese - Brazil)
Română (Romanian)
Русский (Russian)
Suomi (Finnish)
Svenska (Swedish)
Türkçe (Turkish)
Tiếng Việt (Vietnamese)
Українська (Ukrainian)
Report a translation problem


Every time I write a walkthrough I wish I had a secretary (alternatively, more hands), switching between the guide and the game for every step can be a bit distracting.
This last part of the guide: Put SELF-ASSEMBLY TABLE in carpeted bandstand didn't work for me. I think you forgot to add the part where you need to use the HEX KEY on the SELF-ASSEMBLY TABLE before you can put it in the carpeted bandstand.
So, the steps should be:
Courtyard
Go left
Put DYED THROW in bandstand
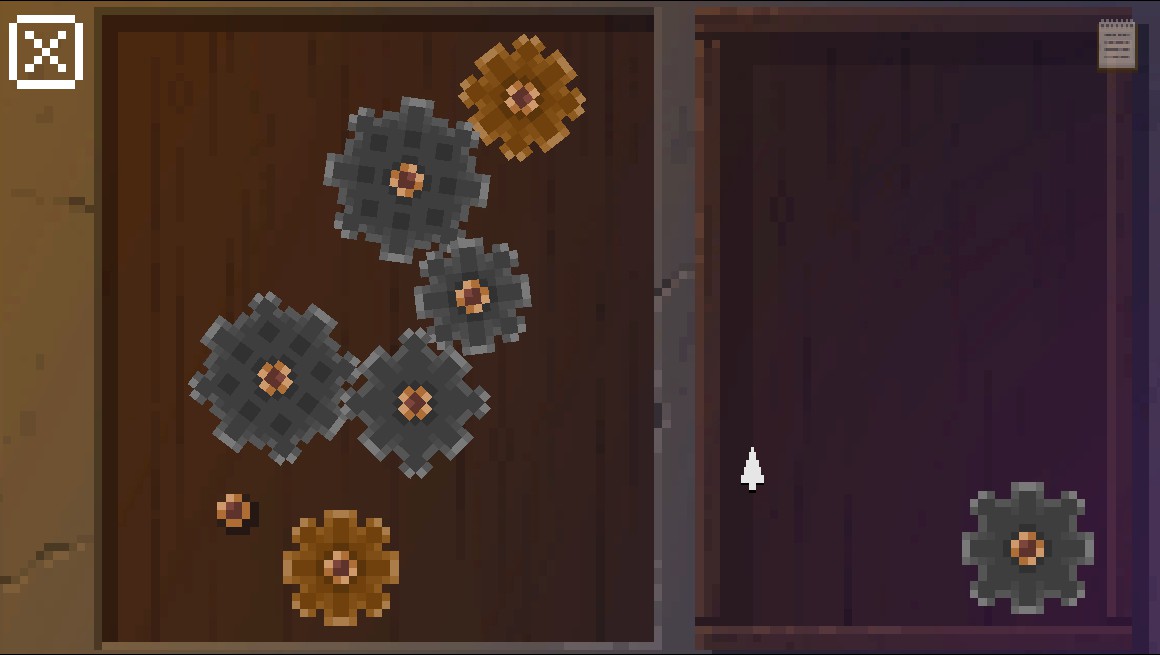
Use HEX KEY on SELF-ASSEMBLY TABLE
Assemble the SELF-ASSEMBLY TABLE by putting the parts in the right spots on the left, get BÖRKED TABLE
Combine GARLIC and SANDWICHES, get GARLIC SANDWICHES
Put CUPS OF TEA and GARLIC SANDWICHES on BÖRKED TABLE
I don't know if I'm the only one having this problem but would like to know your thoughts about this. Thanks!
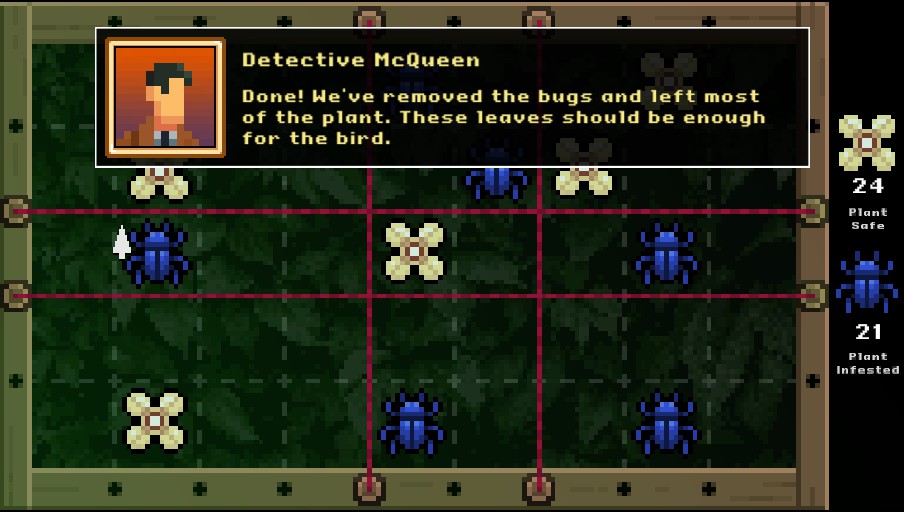
Well done!