NEBULOUS: Fleet Command

NEBULOUS: Fleet Command

306 ratings
Highscore's Better Guide to NEBULOUS: Fleet Command
By Highscore and 1 collaborators
Better than everyone else's, that is.

19
6
17
2
3
3
5
2
2
2
   
Award
Favorite
Favorited
Unfavorite
Note
This guide is up to date, recent as of the missile update recent as of the OSP update recent as of the carrier update.

Hi, I'm Highscore. I'll be your guide.

I recommend you read this guide after playing a bit. This should be medicine for your mental constipation.

Thank you to NotSoLoneWolf for proofing and editing.

If you need help with starter fleets, here's a guide for that. [/u]

If you're looking for help with missiles, there's a section just for you down below.

If you're looking for help with using carriers, I am sorry, and good luck.

If you're looking for help with killing carriers, I can help! There's a section below for this art.
Intro

Q: Why is your guide better?
A: Because it has more pictures, for one.

Q: Do you know what you're talking about?
A: I sure hope so.

Q: Is this up to date?
A:
Yes.
Edit on EA release: Yes.
Edit on Missile Update release: Yes.
Edit on OSP Update release: Yes.
Edit on Carrier Update release: Believe it or not, yes.

Q: Will this cover everything I need to know?
A: No, but it's the important stuff.

Q: What if I want to know more?
A: Go to the official discord[discord.gg] and ask.

Q: Is this an objective and factual guide?
A: Mostly.

Q: I've got more questions!
A: Write them down on a piece of paper and then burn it.

Q: Why this guide formatted like a children's storybook?
A: How else am I supposed to get through to you, knucklehead?

Q: Why should I believe you?
A: I have pretty pictures in my guide.
Useful Things to Know
- Hit space to toggle chessboard (AKA tactical) mode. Stay there.
- Hit tab to toggle UI. Keep it on. Except for cool screenshots.
- Hit CTRL + SHIFT + SPACE to flip the map perspective up side down (this is very useful and very secret magic).
- There are colorblind accessibility options in the settings.
- There are time slow-down settings for singleplayer matches if you want to pause or slow the game.
- You can set default AMM settings in the... settings.
- Use the ingame chat. When typing, tab changes if you're talking to the team or to everyone in the match. Entering a 4-digit number (AKA a ship track number) will turn it into a link that zooms in on the ship with that track. Use the chat to talk to allies. Use it to taunt the enemy. Use it to... taunt your allies? Use it to get community reported for being a big doo-doo (do not do this PLEASE I am tired of these ban appeals from people who think it's a good idea to talk hot hair at people).


In this guide, we'll be working with The Four Don'ts:
- Don't get spotted.
- Don't get shot at.
- Don't get hit.
- Don't die.

I came up with these before anyone told me about the survivability onion. Oh well.


Most of the time, I will be talking in the context of the game's first faction, the Alliance Navy (I will refer to them as the ANS). However, I will sometimes detour with a...
...Unless you are the OSP. The Outer System Protectorate has a very distinct playstyle and toolset, and when needed, I will use these interludes to give tips on OSP-specific gameplay.


Anyways, onto the pretty pictures.
Figuring Stuff Out

Nebulous, as it is now, shines best in PvP. PvE exists, in that you can fight AI, but it's the PvP that'll get you. And by get you, I mean with a heart attack.
Here's how I recommend you get into this game.

  • Open game for the first time.
  • Ignore the game's offer of a tutorial.
  • Hop into skirmish against the AI.
  • Feel the consequences of your hubris.
  • Do the tutorial in shame.
  • Play a few 3,000 point versus 3,000 point matches against some of the starting fleets. Make sure you can win against an AI fleet.
  • Go into the multiplayer lobby finder and find an unlocked match. Or go to the official discord[discord.gg] and see who's up for a PvP fight, preferably a 4v4, but a smaller fight is perfectly fine. Or fight your friends. Either way, you want to fight someone, not just the AI.

That last point is the star of this game. PvP is fantastic, exhilarating and interesting. It makes your hands shake and your adrenaline threaten your tender blood vessels. It's also the best way to learn - by doing.

If you don't understand why something happens, ask. If the match is too much, play at fewer points. If you keep getting your ass kicked, asked for a 2:1 point advantage, there's no shame in it.

PvP fights will teach you everything - I'm just here to help that along.

Also, avoid "mixed teams" lobbies. ANS vs ANS is good, OSP vs OSP is good, and ANS vs OSP is amazing. But mixing the factions together is not how the game is balanced and not likely to result in good games.
Seeing the Enemy (Don't Get Spotted)
Seeing the enemy is a massive part of winning, and it's harder than it sounds.

How far away you can see an enemy depends primarely on two things:
- Your sensors;
- Their hull profile;
- Any buffs their sig or your sensors might have.

The smaller the enemy ship, the harder it is to spot. The stronger your sensors, the easier you'll spot them.

Your fleet NEEDS either a Spyglass or a Parallax radar. Hopefully more than one. It fits into the smallest module slots, eats a lot of power, and makes it so you can see far. You can improve on that with Adaptive Radar Receivers.

There are 3 search radars:
  • Spyglass is the most powerful (and thus longest ranged) search radar, but it cannot burnthrough nor lock targets.
  • Parallax is not as good as the Spyglass for search power, but it can also burnthrough and lock targets. This one's the most universally powerful, right now, just for the burnthrough power to overcome jamming.
  • Frontline is cheap on both points and power. But its search power is absolute garbage, and even though it has the ability to burnthrough, that burn is much less powerful than the Parallax's. Bring this only as a backup on ships that intend to rely on other ships for their sensors.

There are two modifier Modules that you need to be aware of - and use.
  • Track Correlators (TC) make the uncertain, jumpy track of a radar become tighter and more focused, Not as much as a bullseye.
  • Adaptive Radar Receivers (ARR) increase how far away the radar can spot smaller stuff (up to its maximum range). It also slightly increases resistance to jamming.

A battleship with a spyglass and 4 TCs (along with a single ARR) can generate accurate tracks out to 10.5 km. Tracks accurate enough to shoot, without a bullseye lock, if the target is big enough (See: Line Ships, Oscellos). Use this.

Do not confuse Adaptive Radar Receivers and Actively Cooled Amplifiers.

You can also generate tracks with carrier-launched craft. I won't go into this, but don't be surprised if you're getting spotted by a fighter. Shoot that fighter down.


...Unless you're the OSP. In that case, you can either: - Bring those same radars on the Ocello heavy cruiser; - Use the cheap civilian radars; - Use the OSP's unique early warning radar (the R550), which has 18km of range but very bad track accuracy (meaning you'll miss if you shoot it with direct fire weapons, but at least you know something's there).


There's also a separate hardpoint item, the Bullseye, that lets you lock targets at much longer range than the Parallax can. An easy must-have for almost any (ANS) fleet. Target locks are somewhat resistant to jamming, but not immune. Locks also don't reach outside of 9 km for the Bullseye and quite a bit less than that for the Parallax, depending on the target's signature and any jamming present.

...Unless you're the OSP. You can bring the Bullseye on the Ocello, but you'll find yourself lacking good lock-on capabilities otherwise. The Pinpoint radar can get an equally strong lock... if you can close to 6.5km. Alternatively, the OSP's long range tracking radar (the R400) can provide decently good but not quite lock quality tracks from range.

You can reduce your hull profile, and make it harder for the enemy to spot you. See these buttons?
Specifically, the RADAR and COMM buttons? Consider turning both off. This will significantly reduce your hull profile.
Stealth: Achieved. Sneaking: Leveled up.
For a little while. Of course you're BLIND AND MUTE. You can't see, and you can't transmit data to allied ships when you have radar and comms off.

DON'T FORGET TO TURN THEM ON AGAIN.

At the top left of your screen, there's a list of your ships. Keep an eye out for this symbol:
This means an enemy, any enemy, can see your ship.

If you can't see the red contact of the enemy, but the enemy can see you, you're in trouble. It means they either have stronger sensors, or a smaller profile. Or both. And soon, your ship will start to take fire.

Or worse.

If your screen looks like this...
...You're being jammed. Let's talk about that.
Jamming
Nebulous has an intricate jamming system.

Starting with radar jamming. It works like this:


Radar jamming (the Blanket) disrupts enemy radar. It does not affect allies.
Enemies in the red cone shown above experience jamming, with effectiveness depending on their search radar's power and range, but only against your Allies in the blue square. They are effectively 'concealed' by the jamming, meaning they're harder to spot, lock, and track.

Radar jammers stack, with diminishing returns. Every subsequent jammer you apply to a target has less effect. Using the curve below, we can see that three jammers will give you not 300% jamming power, but 245% jamming power.
(1st) 100%, (2nd) 87%, (3rd) 58%, (4th) 30%, (5th) 12%, (6th) 3%, (7th+) negligible.

You can combat radar jamming by:
- Bringing a Bullseye to lock and maintain lock through jamming;
- Bringing Adaptive Radar Receivers to buff both Bullseye and search radars;
- Bringing a Parallax for the burnthrough capability, which will place stationary tracks where the pulse detects something. You can use this to jam or lock through jamming;
- Hiding behind a rock;
- Closing range until you're too close for the jamming to work.

...Unless you are the OSP. You can bring an Ocello carrying Alliance equipment, use some of the other techniques mentioned above... or you can use the R550 and R400 super-radars mentioned in the previous section to obtain tracks from far outside the jamming cone.

All of the above helps somewhat, but here's the major trick: having an enemy outside of your jamming cone spotting you will negate the effect - the unjammed ship will simply send its targeting data to the jammed ships, nullifying the effect. Similarly, if you get jammed, you can send a spotter out of the jamming cone. Or, if you're a smart cookie, have your ships already spread out before the engagement occurs.


To combat this, you want comms jammers. The Hangup, for example, isolates the jammed ship(s) from RECEIVING track data. It does NOT prevent the comms jammed ship from SENDING tracks to other allies. This allows you to counter an enemy that has spread out scouts to spot around Blanket jamming.

In practical existence, you need 2 hangups on target to effectively deafen it, unless it has a CR70 antenna or equivalent (these come integrated into Oscellos and Axfords, and as hardpoint items you can bring on anything else).

Beware that jamming shows its false tracks in your general direction - the enemy can tell where you approximately are, no matter how hard you jam. Conversely, you can always tell where the enemy is by what direction the false tracks are in.

Additionally, jamming can be generated by missiles (that have self-screening jammers on them), and fighters (that have jamming packages).

Whatever the case, you can't really keep jamming forever, eventually your equipment will go on cooldown or burn out. Eventually, you'll get spotted. Probably.
So let's deal with that.
Surviving (Don't Get Shot At)
If you get spotted, you can and will get shot at. On top of that, you can get:
- Jammed
- Flanked
- Pranked
You may even get tricked, backstabbed, and quite possibly, bamboozled.

Assume your enemy is better than you. Assume competence. Do not half-ass your responses to being spotted.


If the enemy if very far away, they can:
- Lob missiles at you
- Hit you with railguns
- Jam you

If the enemy is less far away, they can also:
- Lock you
- Hit you with capital cannons
- Hit you with stronger jamming

If the enemy is close:
- Fix bayonets.

"But Highscore," you say, "I don't want to get shot at!"
So you paid attention to The Four Don'ts. Fine. Here's what you do:


Keep moving. Motion is life. Don't stand still.

See the THRTL and MNVR buttons? Left or right clicking them will change modes. What do they do?

THRTL is speed, and guess what. You get FLANK SPEED. Your engines will take damage, but you will receive a MASSIVE speed boost.

MNVR can be set to evasive. This will make your small ships dance like cows on ice - slowly, not gracefully, and if the sniper is far away, they might even miss. This combines very well with Flank speed.

Remember those RADAR and COMM buttons? It's not too late to toggle those off. Keep an eye on the yellow 'spotted' indicator on your ship list - if it disappears, the enemy is far, and reducing your profile has made you invisible once more. No shooting you.
If that indicator remains, stop making yourself blind and mute. Turn them back on.
If you're locked, though, it's too late to do this.

Use cover. Rocks are cover. Use rocks. If there's a rock between you and the enemy, they can't shoot you with guns. Beware, though, that they CAN still curve missiles around the rock to hit you, so keep moving. Don't be near where they last saw you. Flank speed can help you get behind things faster, so use it.

Jam the enemy.
- A Blanket jammer will turn enemy screens into a seizure-inducing mess, and it will make you very hard to see... from that direction. From outside the jamming cone, you're still as visible and shootable as before.
- A Hangup jammer will make it so the affected ships can't receive tracks. THEY CAN STILL SEND TRACKS, just not receive them. Comms jam the sniper, not the spotter.

...Unless you are the OSP. The Ocello (sigh) can bring all of the above. But other OSP ships don't get the same jamming options. They still have a radar jammer (the Bellbird), but no directional comms jammer. Instead, they get an omni-directional radar jammer (the Lyrebird). They also have a one-of-a-kind optical jammer that can blind EO missiles! ...THIS MEANS YOU CAN MAKE THE OMNI SOFTKILL OCELLO! An Ocello can bring both ANS and OSP equipment, so you can bring omnidirectional radar, comms and EO jamming! Very powerful. The only thing that can get you now are wake-homing and radiation-seeking missiles - both can be countered by controlling your engines and emissions.

Finally, there's the one thing you can never overlook. If you're spotted, there's a ship nearby. That ship is spotting you.

KILL THAT SHIP.

Railguns. Missiles. Whatever it takes, do it. The moment you spot a ship, and you don't care about concealing your angle of attack, launch a few missiles at the enemy. If it has no PD, you'll hurt it. If it had PD, you'll see that PD firing and know what you're facing.
And if you manage this, or at least manage to destroy that ship's radar panels or guns, you won't get shot.

But what if that fails?
Surviving (Don't Get Hit)
DING DING DING
What's that noise? Is the toast ready? Is something in the oven? Are there guests at the door?

No, it's just 300 missile contacts appearing in your sensor range.

You've been spotted. And you're being shot at. This... is bad.

Now, don't get hit.


"Why not?" you ask? Questions like that is why I made a children's picture book instead of a guide.

A single missile hit can kill a ship. ANY SHIP. YOUR ship. Don't let that happen.

Point defense, what is it good for?
It's important, and as of the missile update you're going to want a decent amount of PDTs or AMMs. For more info on what each kind does, refer to the Missiles section later in this guide.

Don't try and kill all the missiles with your point-defense, though.

- Dodge sideways at flank speed.
- Bring and use chaff to draw some of the missiles away from your ships.
- Chaff.
- CHAFF MORE.
- Jam the missiles.
- Jam the ships guiding the missiles.
- Put a rock between yourselves and the missiles.

And only then, once the missiles lobbed are largely diverted, you can rely on your point-defense to take out the ones still coming after you.
Right.

But what about guns?

Cannons and railguns are very hard to dodge. You are either fast, or you are hit. Sometimes, you're both. Cover, evasion and jamming will only get you so far.

At some point, you'll start taking hits.
Fighting (Don't Die)
You're spotted. You're getting shot at. You're getting hit.
Don't die.

First, let's talk survival.

Defense

Here's how you can take hits better:
- Citadel CIC: To make taking out your command harder.
- CIC placement: Don't put it at the ship's center of mass.
- Armored Magazines: The first magazine is free, no matter the type.
- Damage Control: The more you have, the more you can fix.
- More ships: If you have 2 Spyglasses on 2 ships, you are twice as hard to blind.
- Armor: Heavy Cruisers and Battleships have a lot. It helps.

With larger, more armored ships, you can also perform some high skill manuevers known as armor angling.

The greater the angle of impact, the more effective your armor. A battleship can bounce railguns sometimes, cannons always. Use at your own consideration.

"THERE HAS TO BE A BETTER WAY!"
There is.

Kill the enemy before they kill you.


Attack

This is a battle that starts in the fleet editor.

Whatever weapon and tactic you choose - commit. You want corvettes? Bring ALL THE CORVETTES. You want missiles? 500 OF THEM. Battleship? BATTLESHIP. Guns? MAXIMUM TO THE GUNS.

If you try to multi-task, or jack-of-all-trade your fleet, you end up bad at everything. Not enough missiles and you fail to break enemy PD. Too much PD and ECM, and you lack guns and damage. You want a battleship but also other stuff? Your battleship ends up being too easy to kill if you invest too little into it.

The following are a few examples of fleet compositions have proven effective in PvP:

- Missile Carriers. Hulls with nothing BUT missile launchers. These work, these are BRUTAL, these traumatize, and if you mess up your missile allocation, you lose. It's very easy to ram 120 point monster missiles into a rock. If you can find them before they can fire on you, make sure to end them for their mistakes.

Nothing like getting hit by a swarm of 300 missiles. Counter with chaff, jamming, and cover. Aurora PD lasers help.


- Sniper + Spotter. Missiles or railguns sit ten kilometers clear of the battle, firing on targets provided by spotter ships. Very effective. If you're facing this, kill the spotters above all else. In larger fights, hunt the snipers down, as they're usually badly defended and not very durable. Picture of fleet could not be found.


- Corvette swarm. Not sure who decided to commit to them first, but I know most testers have tried them, and OfN is the one that got me into using them sometimes. These are corvettes with missile/torp launchers, ECM, PD, whatever. There are MANY of them, and they are SCARY. And also very squishy. Don't run into cannons. You can run around the map, capturing points and spotting. You can missile bigger targets and swarm smaller ones with 250mm cannons.


- CANNON BATTLESHIP. Alone. Expensive. Menacing. Murderous. You commit to building one REALLY good battleship. You can get our-flanked easily by corvettes. You can't capture more than one point. But you are the thing people try not to get in front of, because your cannons fire every 10 seconds and there are 11 of them.

- RAILGUN BATTLESHIP. You take the slowest, most durable hull in the game, and use it as a railgun platform. On one hand, nonsensical. On the other, you can fit 4 energy regulators, for a reload rate of 9 seconds, per each of your 7 railguns. Try it, and if you play it right, you might just get rushed by a swarm of torpedo corvettes or beam destroyers seeking revenge.

Speaking of beam destroyers.

- TF ASH. I made it as a meme. I don't know why it works. Starter Fleet - Ash is effective, despite not committing to a single damage output, and is, above all else, fun. How do you use it? Spot target. Jam it. Lock it. Missile it a bit. Close range. Beam it. Torpedo it. Cannon it. Beat on it till it dies. Repeat.


Then there's the OSP. I'm not going to give you any OSP fleet ideas. There are starter fleets (guide linked in introductory notes). Start with those.


The others? Figure them out on your own.
Fleet Considerations
Sniper+Spotter Combo
...Is the use of a stealthy spotter (Corvette or Frigate with a spyglass) to detect targets (without being spotted itself), so that artillery (missile or rail) 12+ KM away can fire on said targets without retribution. You know this is happening to you if that 'spotted' marker appears, and you start to receive fire from the edge of the map.
There are several ways to deal with this:
- Jam the spotter. Radar jamming will make it so the spotter can't spot. This requires detecting the spotter. Remember: You can only Comms Jam the receiver, not the sender. Only comms jam the sniper, not the spotter.
- Kill the spotter. A stealthy corvette or frigate are easy to kill with both guns and missiles. Fighters can be shot down with long range PD (Sarissas, SDMs).
- Lob missiles at the artillery. Active missiles don't need a track to be fired - simply blind-fire active missiles in the direction from which the shots are coming from, and the missile will seek out the tracks with their own radar.
- Charge the artillery. You'll take fire, but this bypassing having to look for the spotter.

Missile Scouting
...Is when you use very few active missiles and lob them across the map. Watch the missile, and if you see point-defense fire hitting it, look where it's coming from - that's the enemy. This is also useful for figuring out the point-defense capabilities of a target - if a track doesn't shoot your missile, you know what to do.

It's a good idea to lop a missile or two at capture points outside your normal reach, even if you don't see a target but see that a point is being captured - maybe you'll hit something!

This can be countered by:
- Turning off your point defense to prevent PD from exposing your location by shooting missiles that weren't going to hit you anyway.
- Being outside the areas where an enemy may think you are. Be careful when capturing points.

Battleships
...Are hard to kill. How do you do it? Two options.
- Missiles. Lots of them;
- Reactor overload;
- Focused 450mm fire from multiple ships;
- Plasma (if you are OSP);
- Bombers;
- Beams.

Corvettes

...Are shockingly low-profile. With radar and comms turned off, they can close without being spotted. A corvette with a spyglass or paralax is the ultimate spotting ship, because it's very hard to detect, even as it sees you. This also allows them to close and deliver torpedos before dying.

But if you get hit, you die fast.

That's the old sprinter. That's how it used to look like before we got the elegant model we got now!

Frigates
...Are not frontline combat ships. If you put guns on them and then go whining that you lost, or that frigates are weak, I will cry. Frigates die like flies if shot, but work great as missile and ECM carriers. Use them smartly. Don't throw them into brawls.

...Except you actually CAN throw them in brawls! HAHA! Here's what you do: Take a frigate, then take another frigate, then take a few more. Give them PD, missiles cannons, radars, jamming--- You've got everything, and while you're squishy and easy to kill if targeted, you also have the PD and ECM to survive - long enough to dunk on someone.

OSP

The OSP is not a faction you can play like the ANS. Don't even try.

"HURR DURR I'LL JUST BRING TWO OCELLOS!!" And you'll die.

Don't try to play the OSP like the ANS. Play the OSP like the OSP.
Missiles and Point Defence


The missile update makes it so I can't tell you about every missile in the game. I'll give outlines.

Before we go any further, I'd like to provide a TLDR summary on how to successfully attack with and defend against missiles. If you don't read the rest, read this. If you're struggling with missiles, this if for you. And if you don't do these things, don't be surprised at your ineffectiveness.


Attacking with missiles:
- Radar jam your target(s). This will reduce the range at which they detect your missiles, and the accuracy of their PD (both turrets and AMMs).
- Comms jam your target(s). This will interrupt command-guided AMMs, and prevent nearby unjammed ships from providing track data on the incoming missiles.
- You need to jam your targets. Again. Please. If you don't, there's your issue.
- Pre-damage the target. Several salvos from cannons or beams is likely to knock out some power, radar panels, AMM launchers, and PD. This is not always viable, but if you can't pre-damage, follow a teammate that can.
- Use terminal maneuvers on sprint stages - they'll help your 100 point missiles get through PD.
- Don't rely on an ARH (active radar homing) seeker to guide your expensive missile. It'll get chaffed, jammed, and pranked beyond belief. Don't cheap out on the seeker for your 40 point missile, please. Use something capable. ARH is only good for very cheap (4-point) suppression and support missiles, as well as AMMs.
- Fire from close range. Not for everyone, not for every fleet, but consider trying it. Ram a light cruiser full of short range murder missiles of every size, right into your enemy. It'll be fun, I promise.
- Fire from range, into a battle. Your ally engages the enemy in a brawl. Everyone involved is damaged. This is your time to shine - steal all the kills, end them while they're distracted beating on your ally. But remember - if you screw up by not following my advice, you'll look very stupid, and everyone will be watching you fail. Follow my advice.
- And for the love of the gods don't fire missiles without jamming, support, cover, preparation, or scouting, from distance, at a target with PD. You'd fail you stupid idiot, what did you expect?

Defending against missiles:
- To counter jamming, bring Adaptive Radar Receivers, Paralax(es), and if in doubt, burn through. This will help you break through the jamming and spot the missiles earlier.
- When jammed from far away, stop and back away! This is all the warning that you need. Change course, and head directly away from the jamming, preferably behind some cover of convenience. This will give your PD more time to intercept missiles, maybe get you into cover, give AMMs more time to reach incoming, and generally save your ass a lot of the time. Don't just keep advancing into the jamming. That's stupid. And if no missiles come, re-consider your options.
- Fire 120mm or 250mm HE-RPF at a loaded missile carrier. The constant, sustained, unending AOE delivered by the Range-Proximity rounds will destroy missiles as they launch. It's actually an incredible interaction. This missiles will leave the tube, and pop as an HE RPF round explodes nearby, before even igniting. Very challenging to achieve, but so, so rewaring.
- Consider asymmetrical HCs/BBs. Try it. It's ugly, but if you pay attention to your heading, you can keep one side of your ship covered in PD pointing at the enemy, and the other side of your ship with AMM/decoy launchers and Omni Jammers pointed away and clear of enemy fire.
- Jam the incoming missiles. Omnidirectional comms jammers will disable command-guided missiles, and radar jammers will cause ARH and SAH missiles to stage prematurely, or fail to lock on.
- Jam the launching ship. Radar and comms jamming a missile carrier will result in the missile carrier not being able to guide missiles, illuminate you, launch more missiles, or defend against counter-missiles.
- Bring a bit of everything. A couple flares, a few active decoys, a lot of chaff, some AMMs, maybe an Omni jammer, and lots of hardkill. The enemy missiles will be varied, and your defenses need to be just as varied.
- Hardkill is good. Don't cheap out on it. If you don't like softkill, bring PD turrets. Don't rely on Defenders. Bring Stonewalls/Rebounds, Auroras, and if you have something designed to sit just behind the brawlers, bring Sarissas. Also bring a lot of cheap (2-point) AMMs. And I mean a lot of them. They'll save you.
- If something's charging directly at you, run. And focus fire on that something. It's probably about to dump missiles at you at point blank range. You will die. Kill it faster than it can end you.


That's the most practical boil-down of what you need to know. But here's how missiles work, in a little more general detail.

You make missiles in the fleet editor. I'll leave that up to you to figure out, mostly. Here's what you need to know:
- Backup seekers activate if the primary seeker has no targets;
- Validators help the main seeker decide between multiple targets (such as chaff and ship);
- An S3H's sprinter stage can move at 1000 m/s;
- You can't run.

In a match, you will fire missiles at a rate determined by the missile size, and your ship's programming time and number of programming channels.


Programming channels can be viewed in the ship editor. They determine how many missiles you can program at once. This number can be increased with support modules. Most ships can only program one or two missiles at a time, meaning that your salvos will be very small and spaced, unless you bring those support modules.

Countering missiles is challenging. Almost every fleet requires hefty anti-missile defenses. To counter most missiles, you'll need both softkill and hardkill.


Softkill:
- Chaff;
- More chaff;
- Active decoys;
- Very few flares;
- Jammers;
- Cover.


Hardkill:
- Point defence turrets (PDTs);
- Anti-missile missiles (AMMs).

Each PDT destroys missiles differently.
  • Defender (BRRRRRT): Highest damage output of any PDT, fairly cheap and reliable. However it utterly falls apart when faced with evasive missiles. The best option against high-health threats like torpedoes and containers.
  • Rebound and Stonewall (Flak): Effective in large numbers, very good at destroying swarms of cheap missiles, but fast hybrid missiles can simply move faster than the flak and ride right through untouched.
  • Aurora (Laser Disco): Will 100% hit the target no matter how fast or evasive it is, but quite expensive and eat a lot of power. Their overall damage output is low, making them very bad against high-health threats.
  • Sarissa (Sandblaster): Longest ranged of any PDT. Extremely expensive, but can be used to cover allies from across the map. Deals very high damage per burst but wastes a lot of it on low-health targets, making it vulnerable to spam.

You can also make an infinite number of AMMs. These REQUIRE a blast-fragmentation warhead (not HE or HEKP). These can eliminate missiles with great cost efficiency, and S2 AMMs can do so from very far away. I've even seen S3 AMMs with a huge blast radius, fired manually at swaths of missiles.


There's an infinite number of tricks to fighting with and against missiles.

...And then there's the OSP. These people get MINES YES! I won't tell you how to place mines, but as the ANS, you need to simply be aware of the possibility of mines...

...And just remember: Always bring chaff.

Carriers
If you're coming here for advice on how to play carriers, I'm sorry. All I have for you is practical guidance on murdering carriers and fighters. You'll have to find someone else to teach you the other side of this contest.

Q: Do you hate carriers?
A: No, I just have a skill issue, and terminal shortage of APM. Find someone else to teach you how to use carriers.

So, here's how you deal with carriers and fighters.
Part 1: Kill the Carrier!
Carriers are lightly armored, poorly armed, and slow... usually. So, kill them!
  • Bomber strike the enemy carrier. If you can catch them undefended, a bomber wing can eliminate the carrier early on, effectively kill a huge chunk if their team.
  • Corvette strike the enemy carrier. A corvette or a shuttle can sneak around and rocket/missile the enemy carrier just as well as a bomber - while being resistant to anti-bomber countermeasures like escort fighters!
  • Park a PD escort on the enemy carrier. This is a dark and dangerous art, but a PD escort (Corvette or Frigate with a lot of PD) can park atop a carrier, and shoot off fighters just as they launch, murdering them while they are helpless.

Part 2: Kill the Fighters!
"A frigate with nothing but PD? What are you talking about Highscore, you're crazy!"
  • Bring a Raines covered in PD. My preference is a Sarissa Box. Raines, radar, and 4 Sarissa. This is effective versus missiles, helpful to nearby allies, and very scary to fighters within your sphere of violence.
  • Jam the fighters! Silence the fools and make them struggle to hit you!'
  • SDMs! There are special missile types dedicated to having the flight characteristics needed to reach out and hit fighters.
  • SGM-H2s! Bring manually fired, all-anti-missile warhead S2 hybrids. These can 2-shot bombers, but are expensive, so you want to only fire them when you really mean to.

Part 3: Kill the Missiles they launched!
See: Missiles. You want to kill the threat before they launch, but if they do launch, your usual countermeasures apply - chaff, flares, active decoys, omni jammers, directed jammers, evasion, PD. Do whatever you've got to do.
Forbidden Knowledge
- You can play with people that have mods, even if you don't have the same mods. There's a 'LOAD MODS' button in any lobby where someone has a mod you don't.

- Ships roll faster if they have no other motion commands (not trying to change heading, accelerating, turning). This is important if you're trying to turn your cannon battleship a bit faster.

- A beam destroyer will struggle to aim its spinal at a target that's closer than 2 or 3 KM. This means that countering a beam destroyer is, counterintuitively, often a matter of getting close to it.

- When loaded into a match, hit ' ~ ' to see the player list, friend them on steam, or block them.

- The host can kick players from the lobby. Kicking the same person twice prevents them from re-joining.

- 120mm cannons will automatically load HE-RPF and fire on inbound missiles, if ammo is available, making them decent backup PD.

- Firing 250mm HE-RPF on a ship attempting to launch missiles will result in the AOE of the HE-RPF destroying missiles as they launch, maybe even before they ignite. Use this to suppress missile carriers.

- Size 2 anti-missile-missiles set to destroy S3 missiles exclusively are a great anti-S3H counter, capable of destroying the target before it stages to deploy the 1000m/s telephone pole of death.

- Adaptive Radar Receivers slightly increase your resistance to radar jamming.

- The ES22 'Pinard' module does not require you to have radar on, but requires 'comms' to be on to participate in triangulating targets.

- The ES32 'Scryer' module identifies missiles, which means your ship will automatically deploy the correct countermeasures against inbound missiles.

- Drives are reactors, generate some power, and can overload. You can also bring several drives, however this doesn't increase speed on its own. Only the % buffs some drives have can stack.

- Reactor overloads produce vast AOE jamming, not just damage. This can break locks and let you escape.

- Missiles have 'fratricide' damage, meaning that when intercepted and destroyed, they deal 5 AOE damage to 'nearby' missiles.

- Why is the community operating on 3k fleets? Because...


More of the guide to be made. Soon.
43 Comments
Highscore  [author] 18 Feb @ 10:16pm 
A (relatively small) update for carriers. I sincerely regret not being able to give a proper guide on how to use them. But I can tell you how to deal with them.

If I find someone skilled in carriers to write that section, there will be another update. No, you are not that someone, do not DM me :V
PrinzIgor 13 Jan @ 1:49am 
Genuinly one of the best Nebulous guides, hope it gets updated for carriers cause i enjoy your writing style immensely ^^
hoovy man 10 Jan @ 5:41pm 
Hopefully this guide gets updated for the carriers update, I know it probably will, but you never know! (Please talk about the pods on small craft, no one else has and their not very descriptive...)
Superfreak 25 May, 2024 @ 4:58am 
Corvette swarms usually have a dedicated spotter (spyglass) or multiple auxiliary bullseye/parallax corvettes. Essentially if you kill just those ships in 1v1 combat (so allies can't provide tracking data) you'll neutralize the entire swarm. Furthermore, players often make corvette swarm formations in a symmetrical manner, so you can guess that the radar corvettes are most likely in the middle or front of the formation or on the sides.
Superfreak 25 May, 2024 @ 4:53am 
Probably should add a couple of notes for the following:
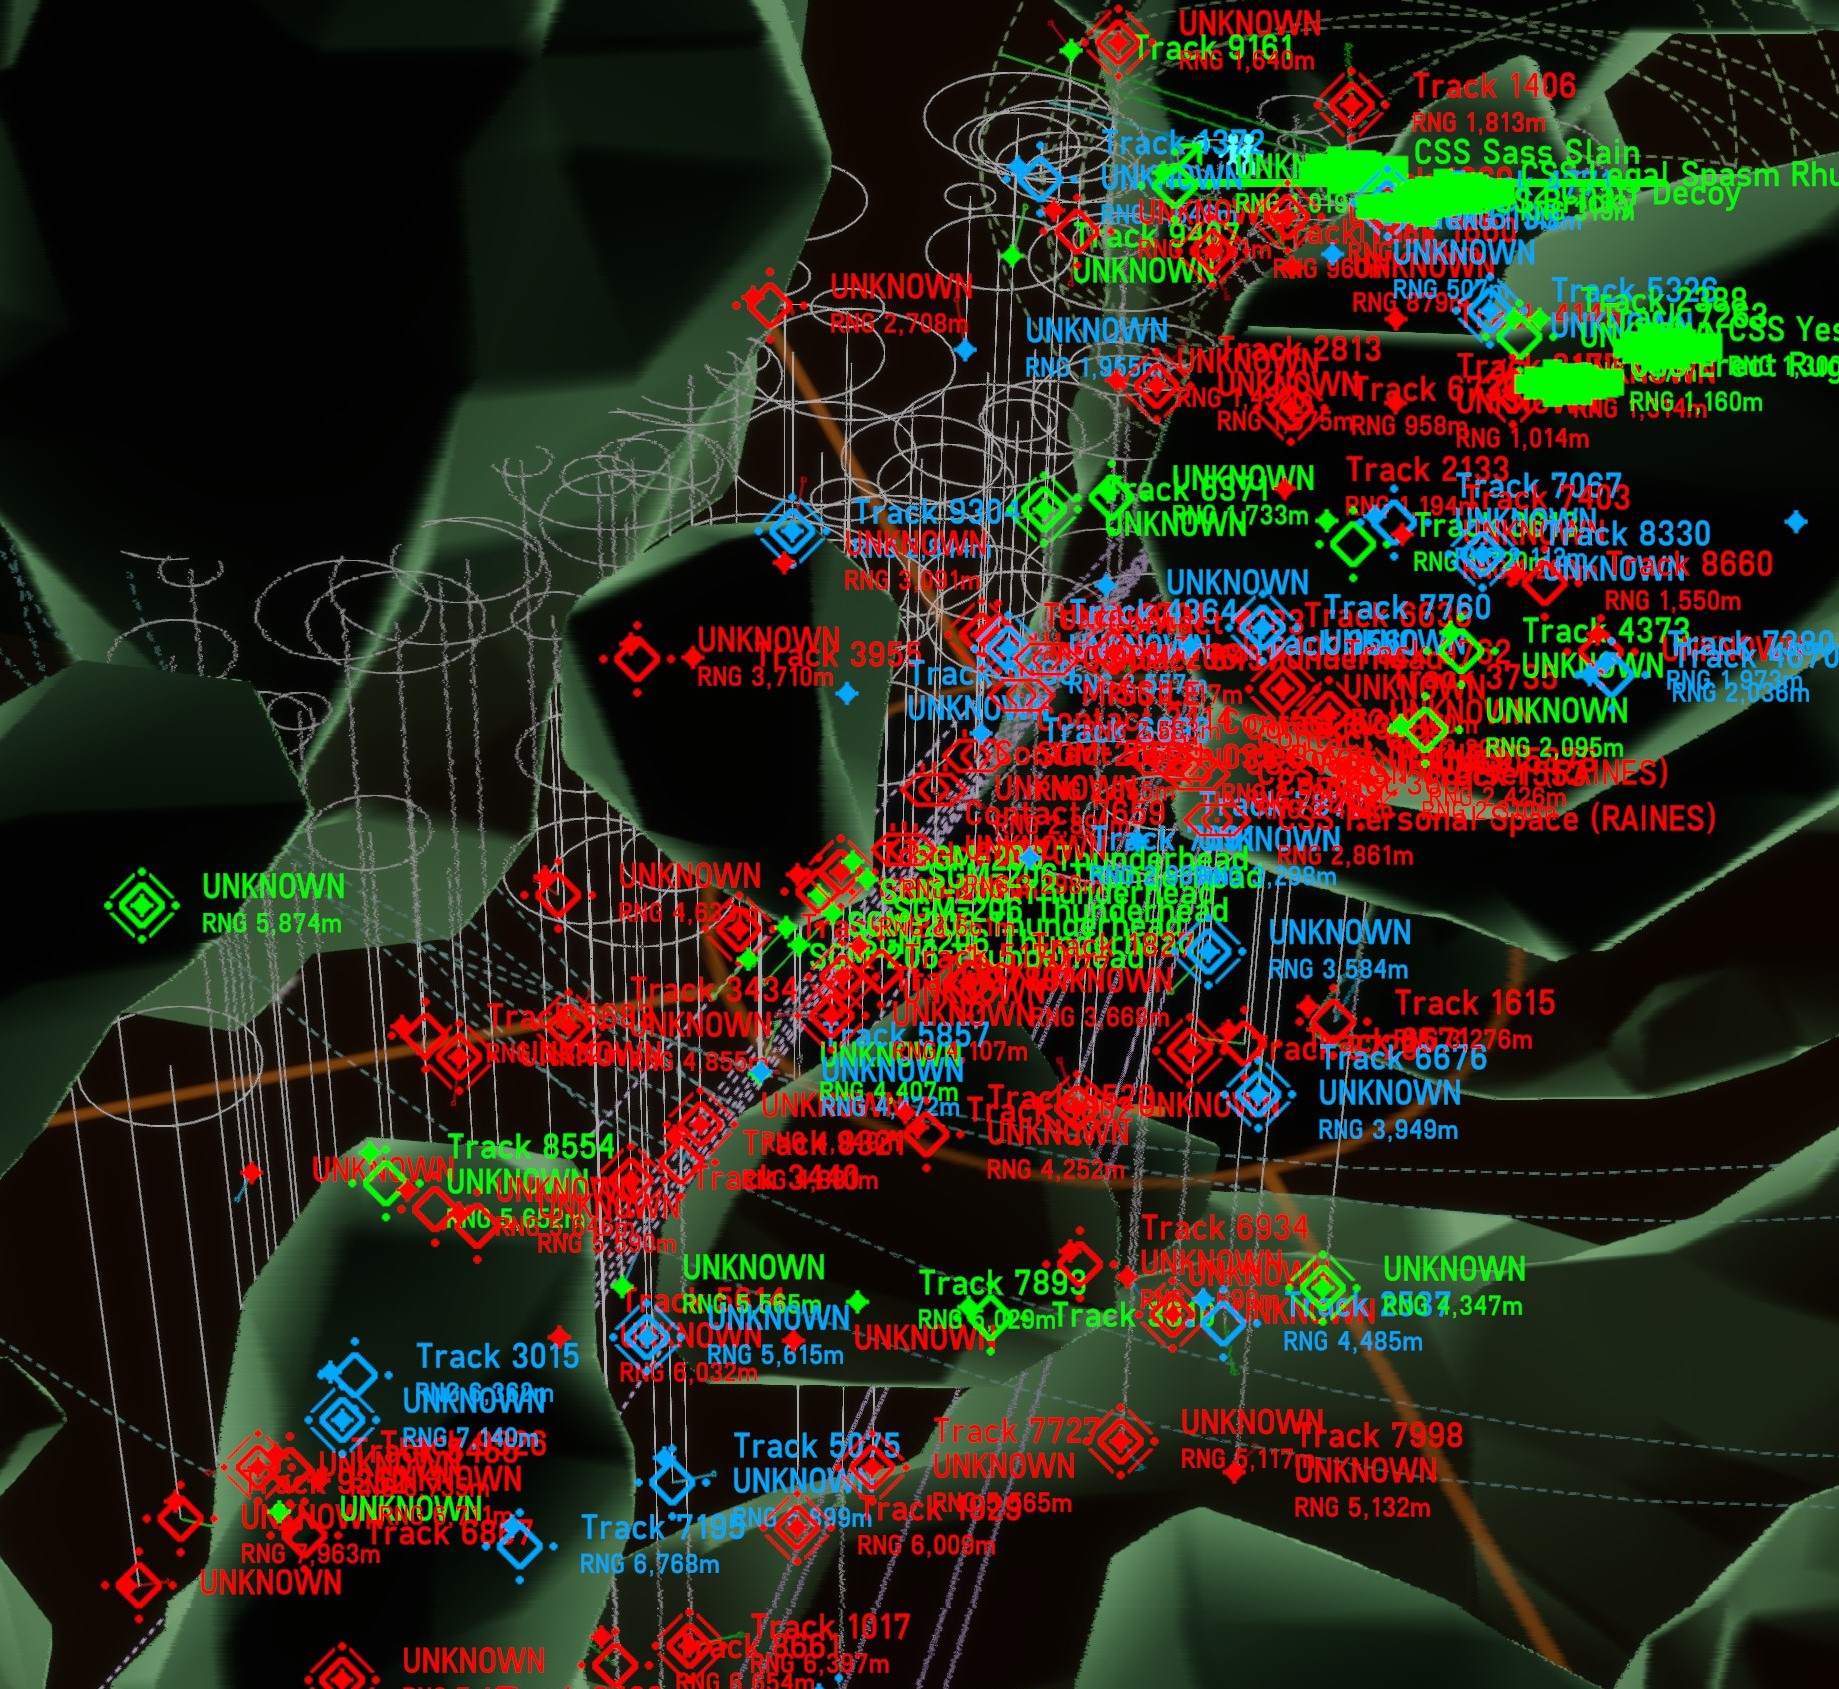
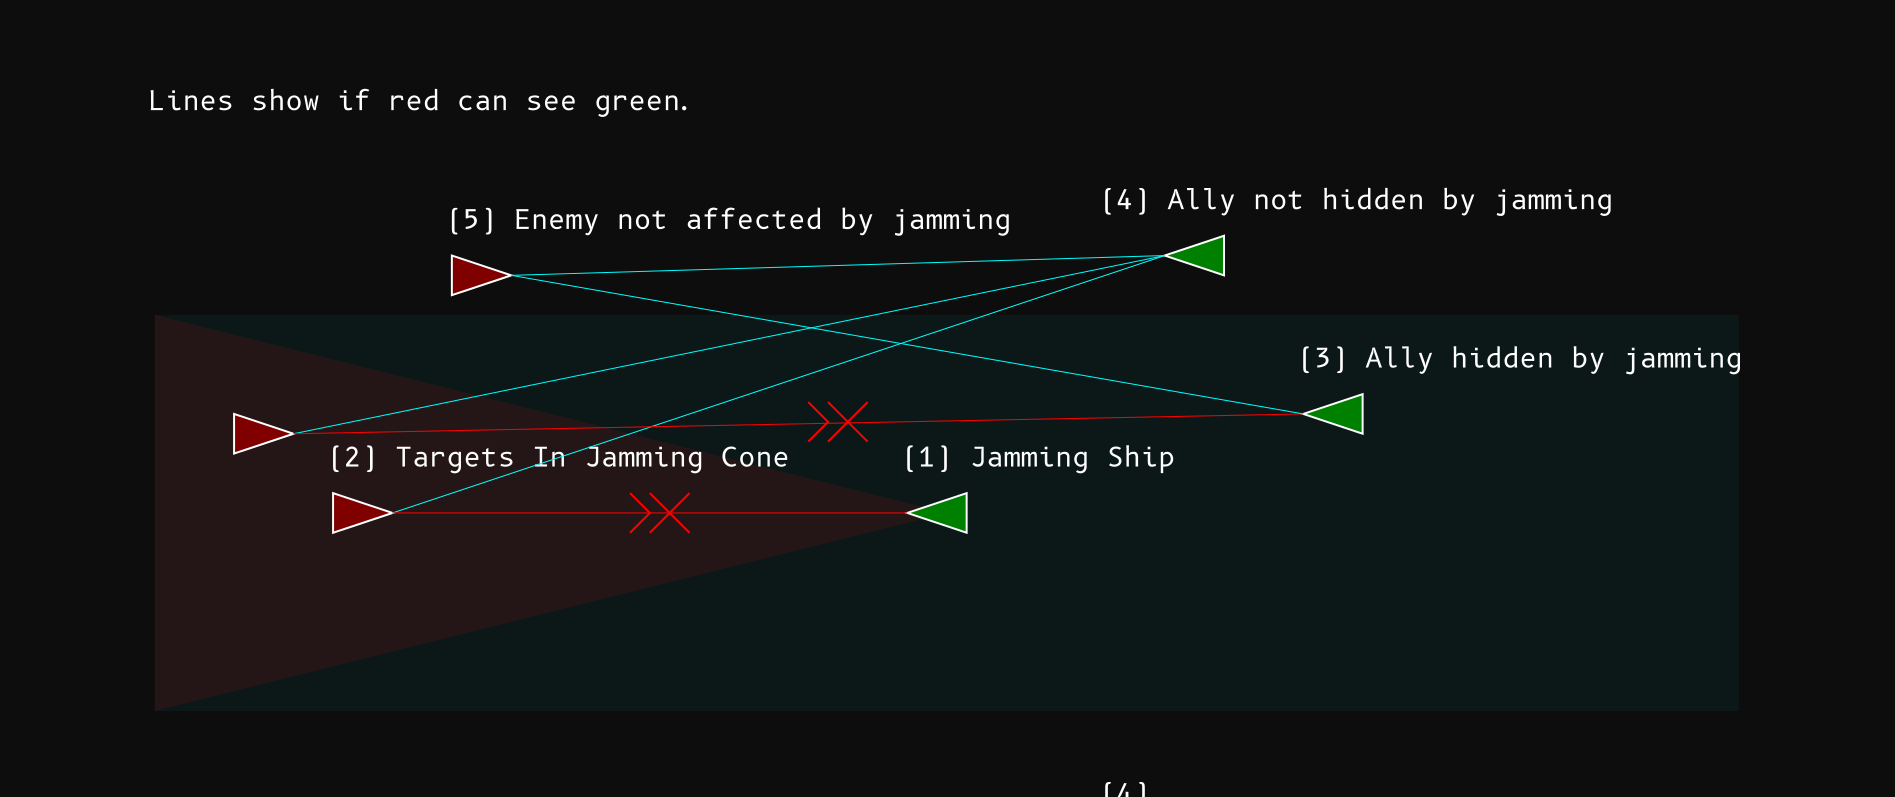
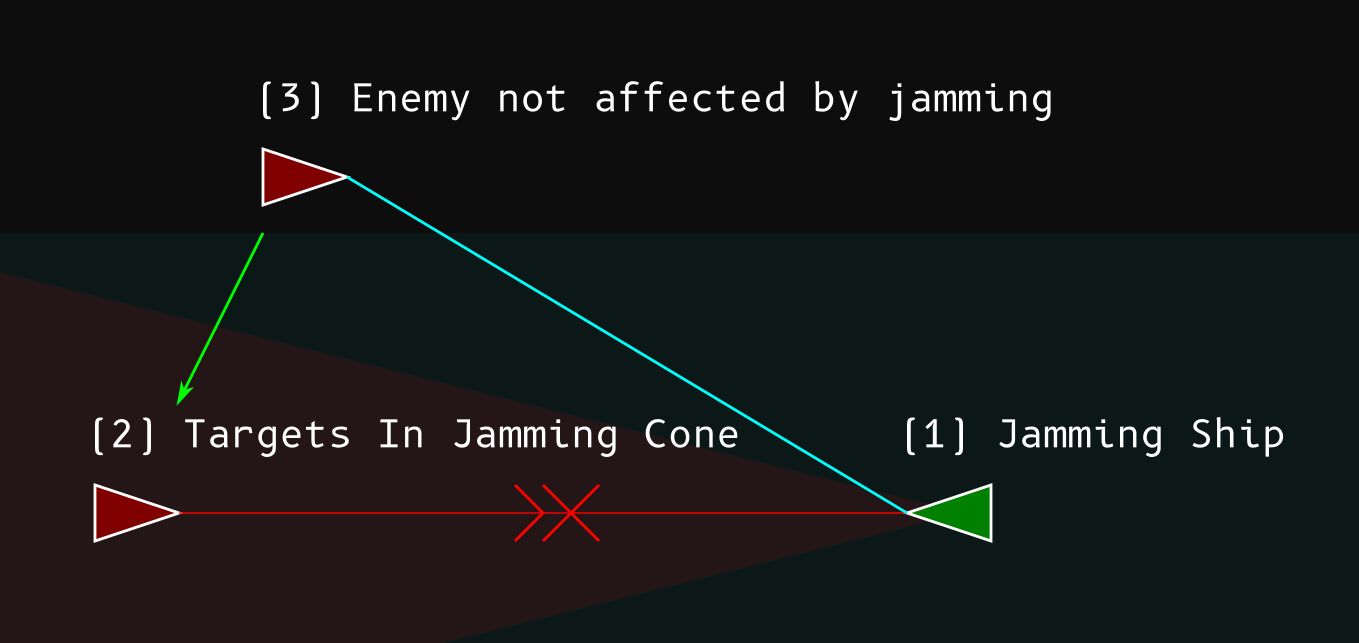
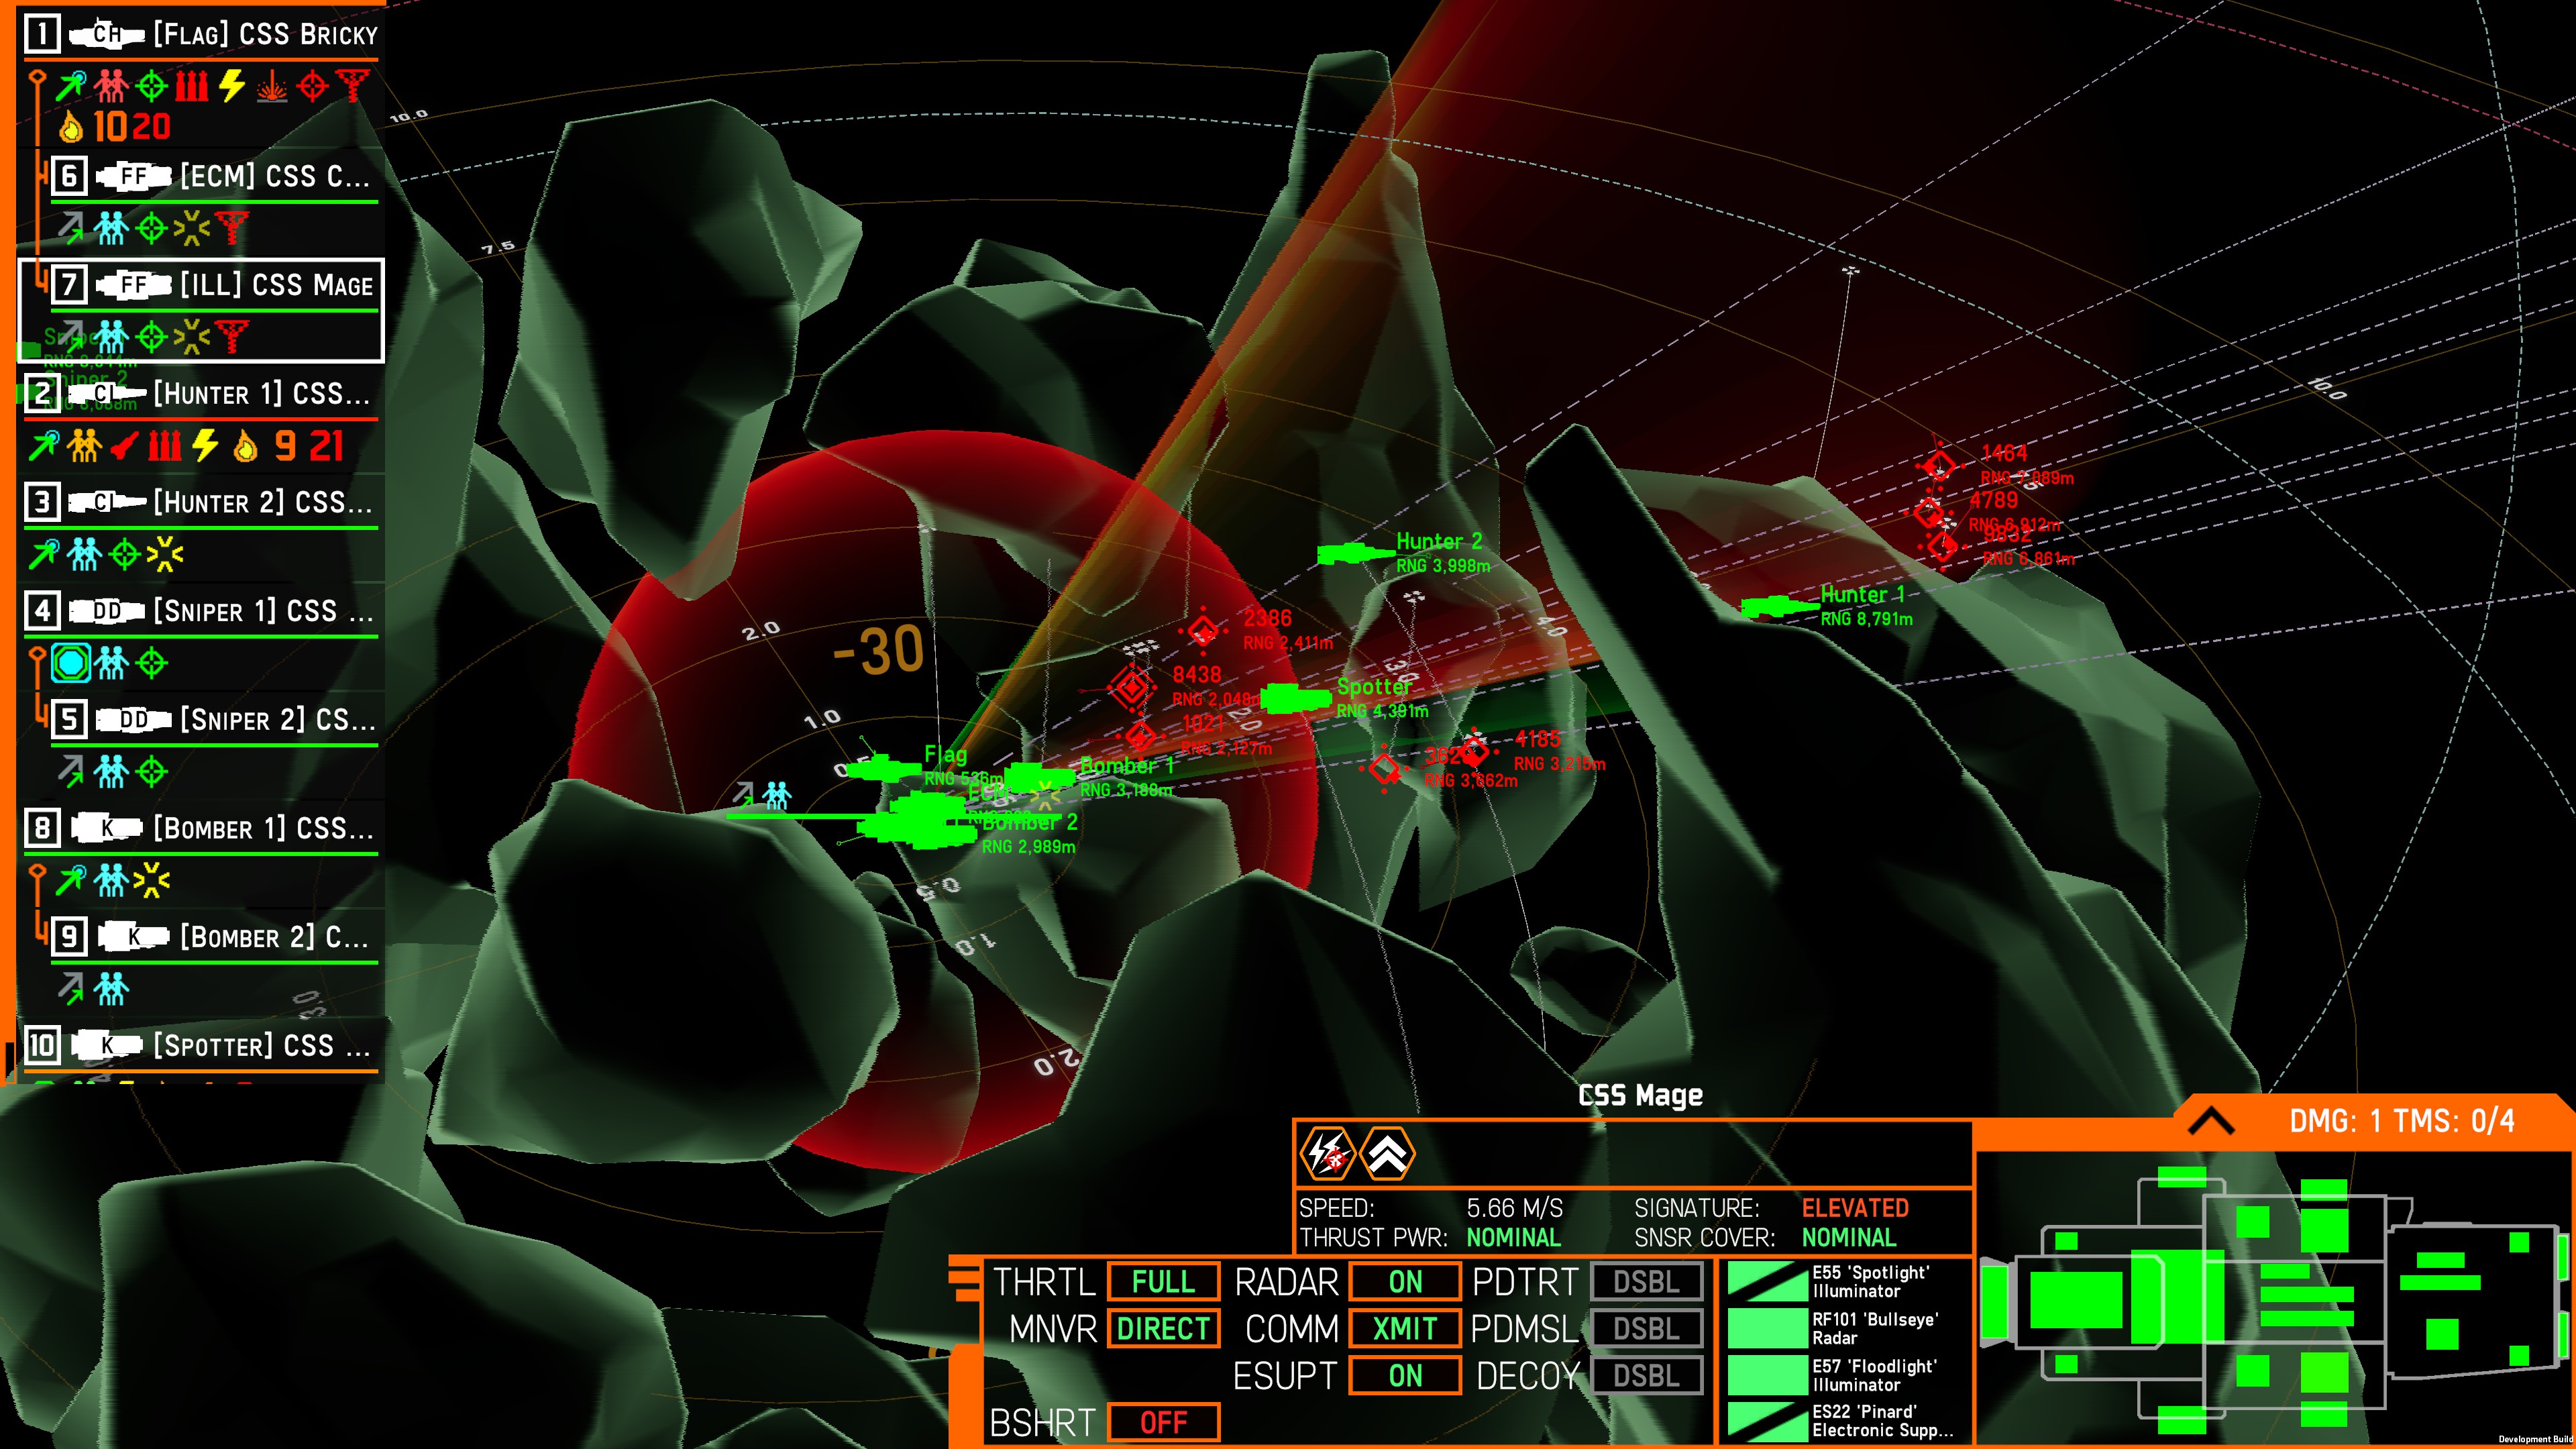
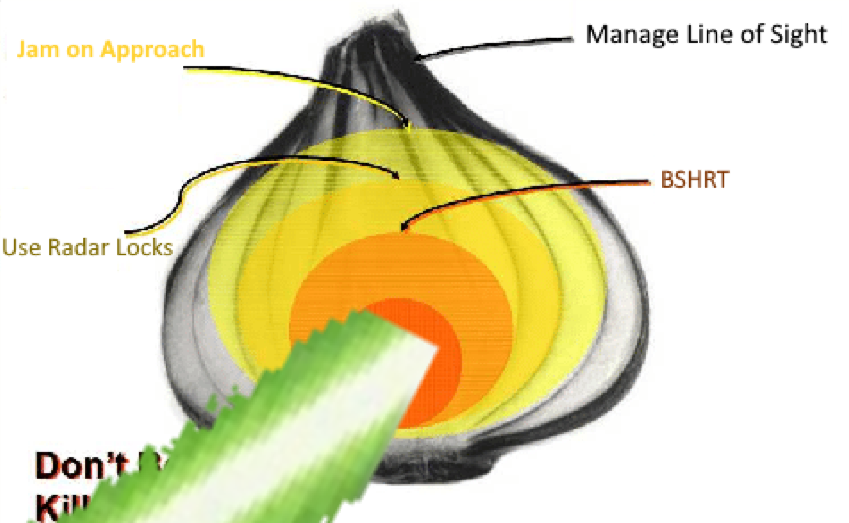
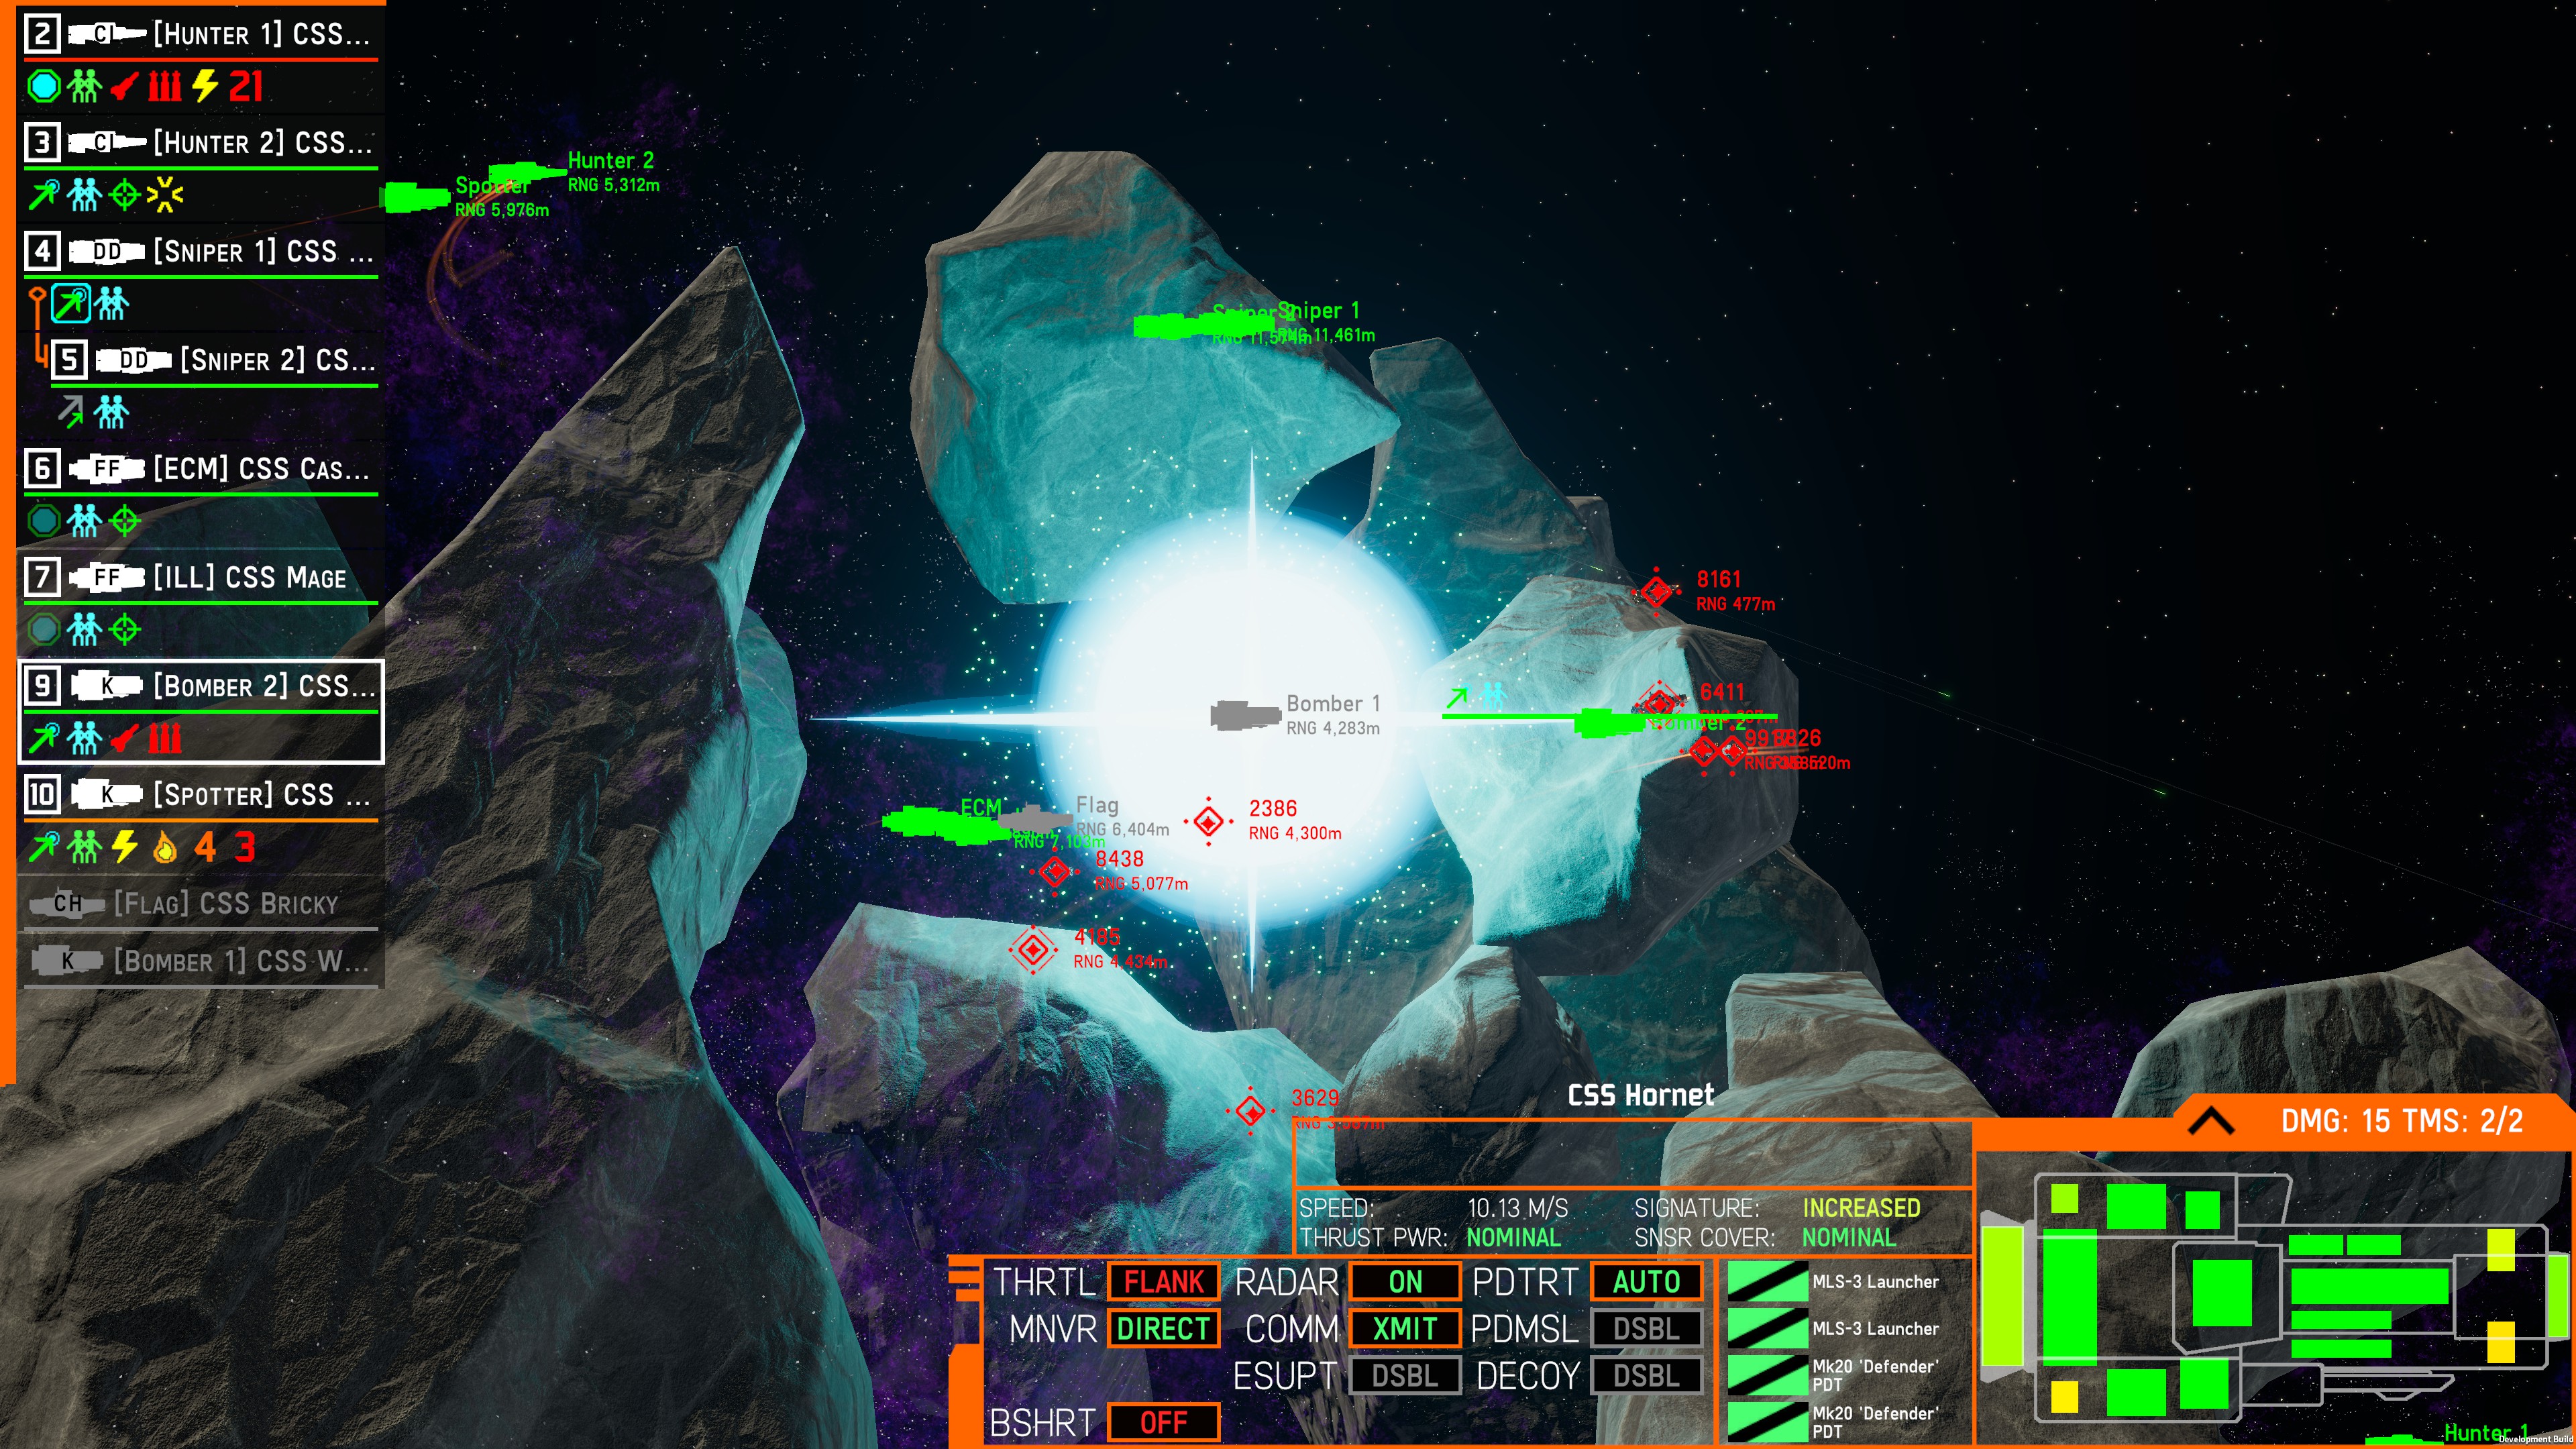
Sniper+Spotter. Spotters can be neutralized by running LC/FFL/FF fleets running directly at the spotter with no radar and comms, turning radar and comms midway through and then proceeding to jam, run down and kill the spotter. Also you can communicate with your teammates to block off escape routes for spotters.
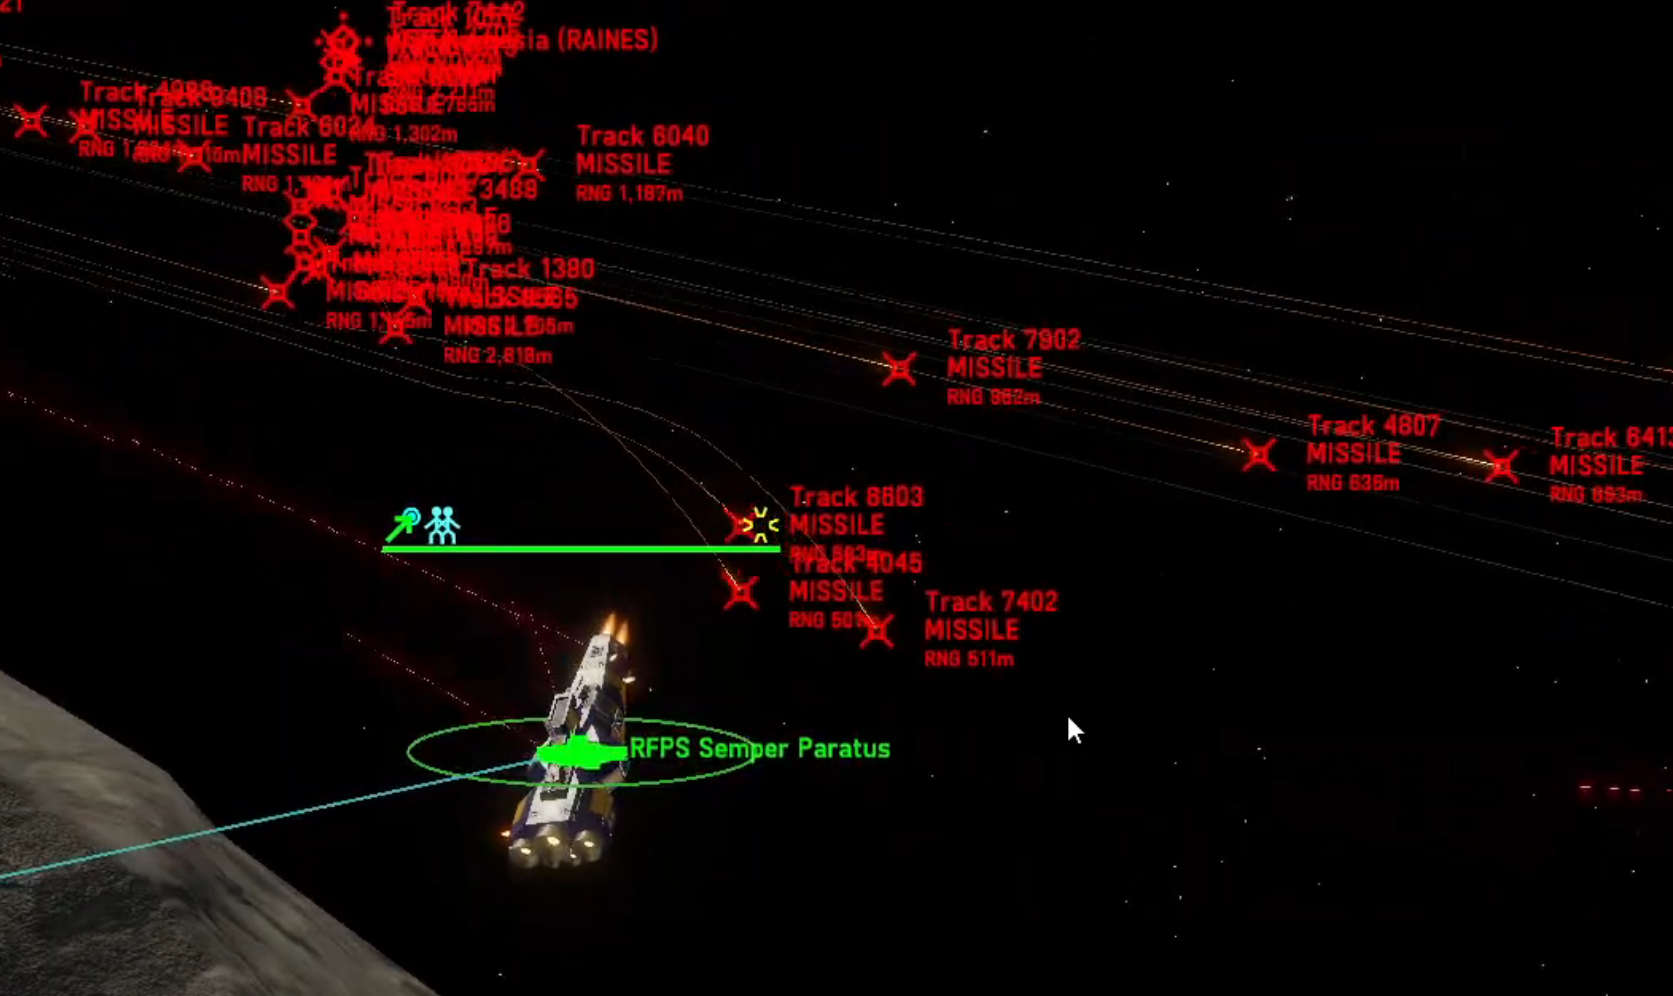
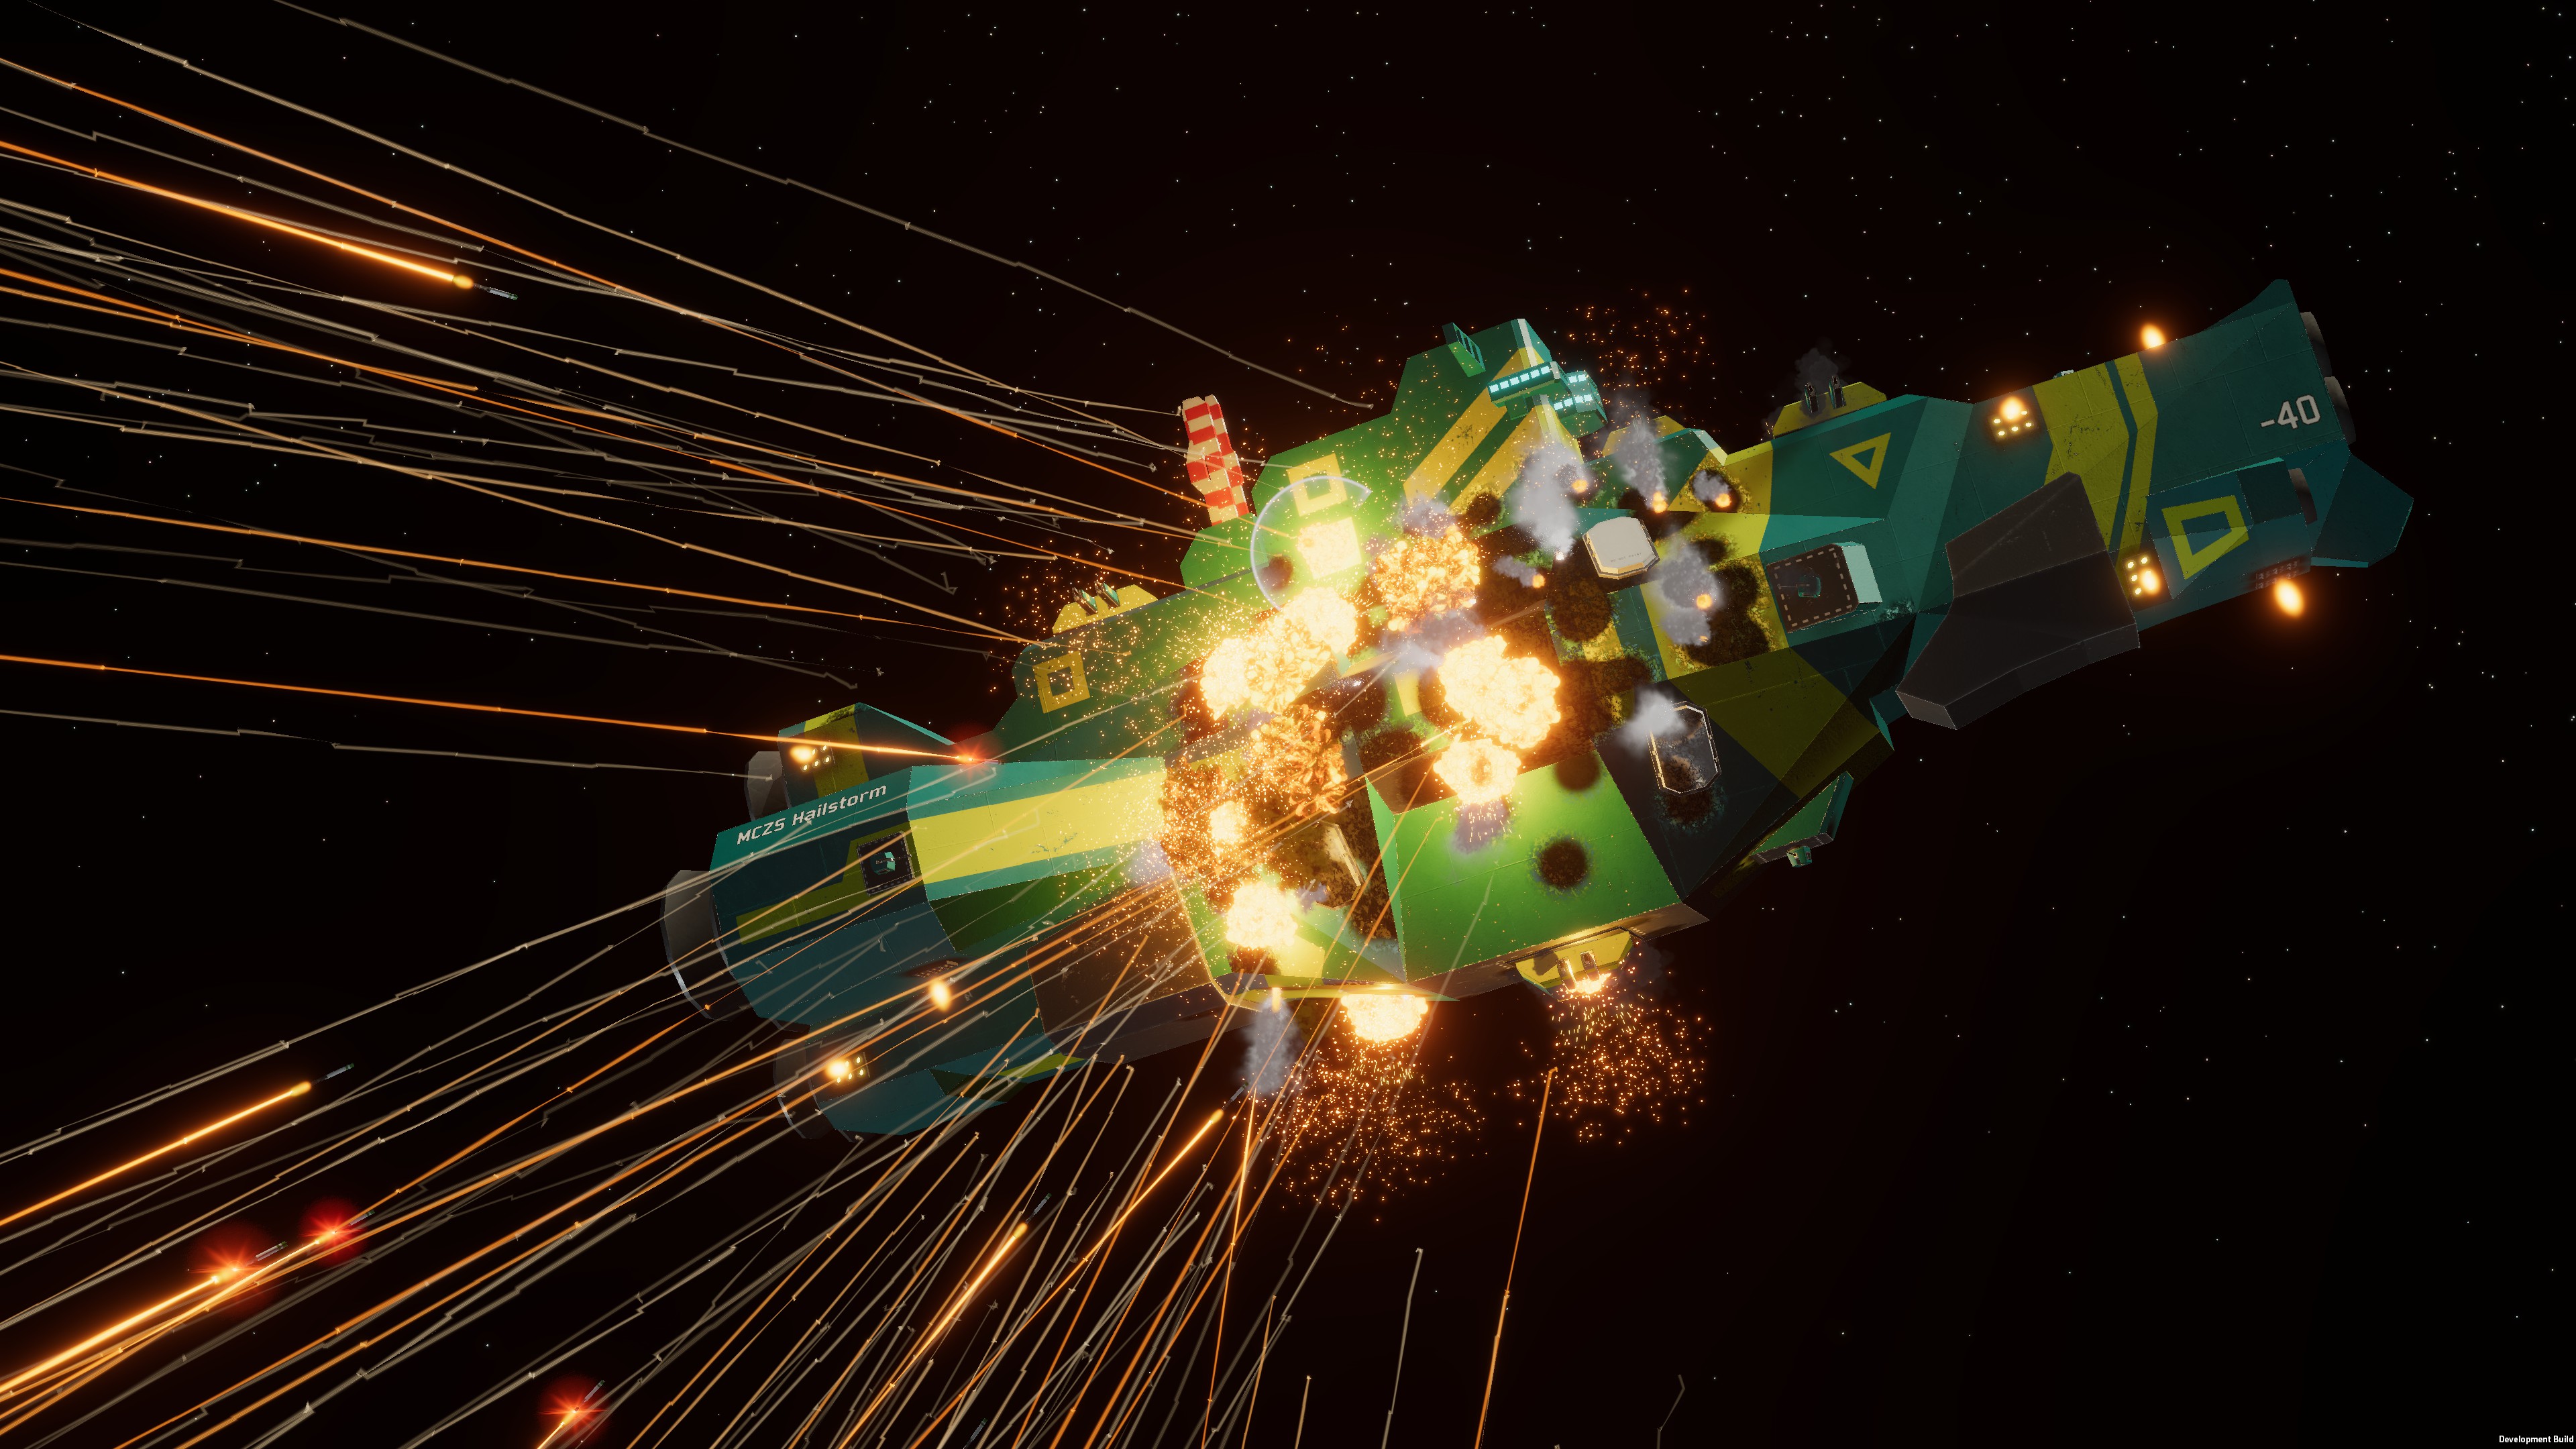
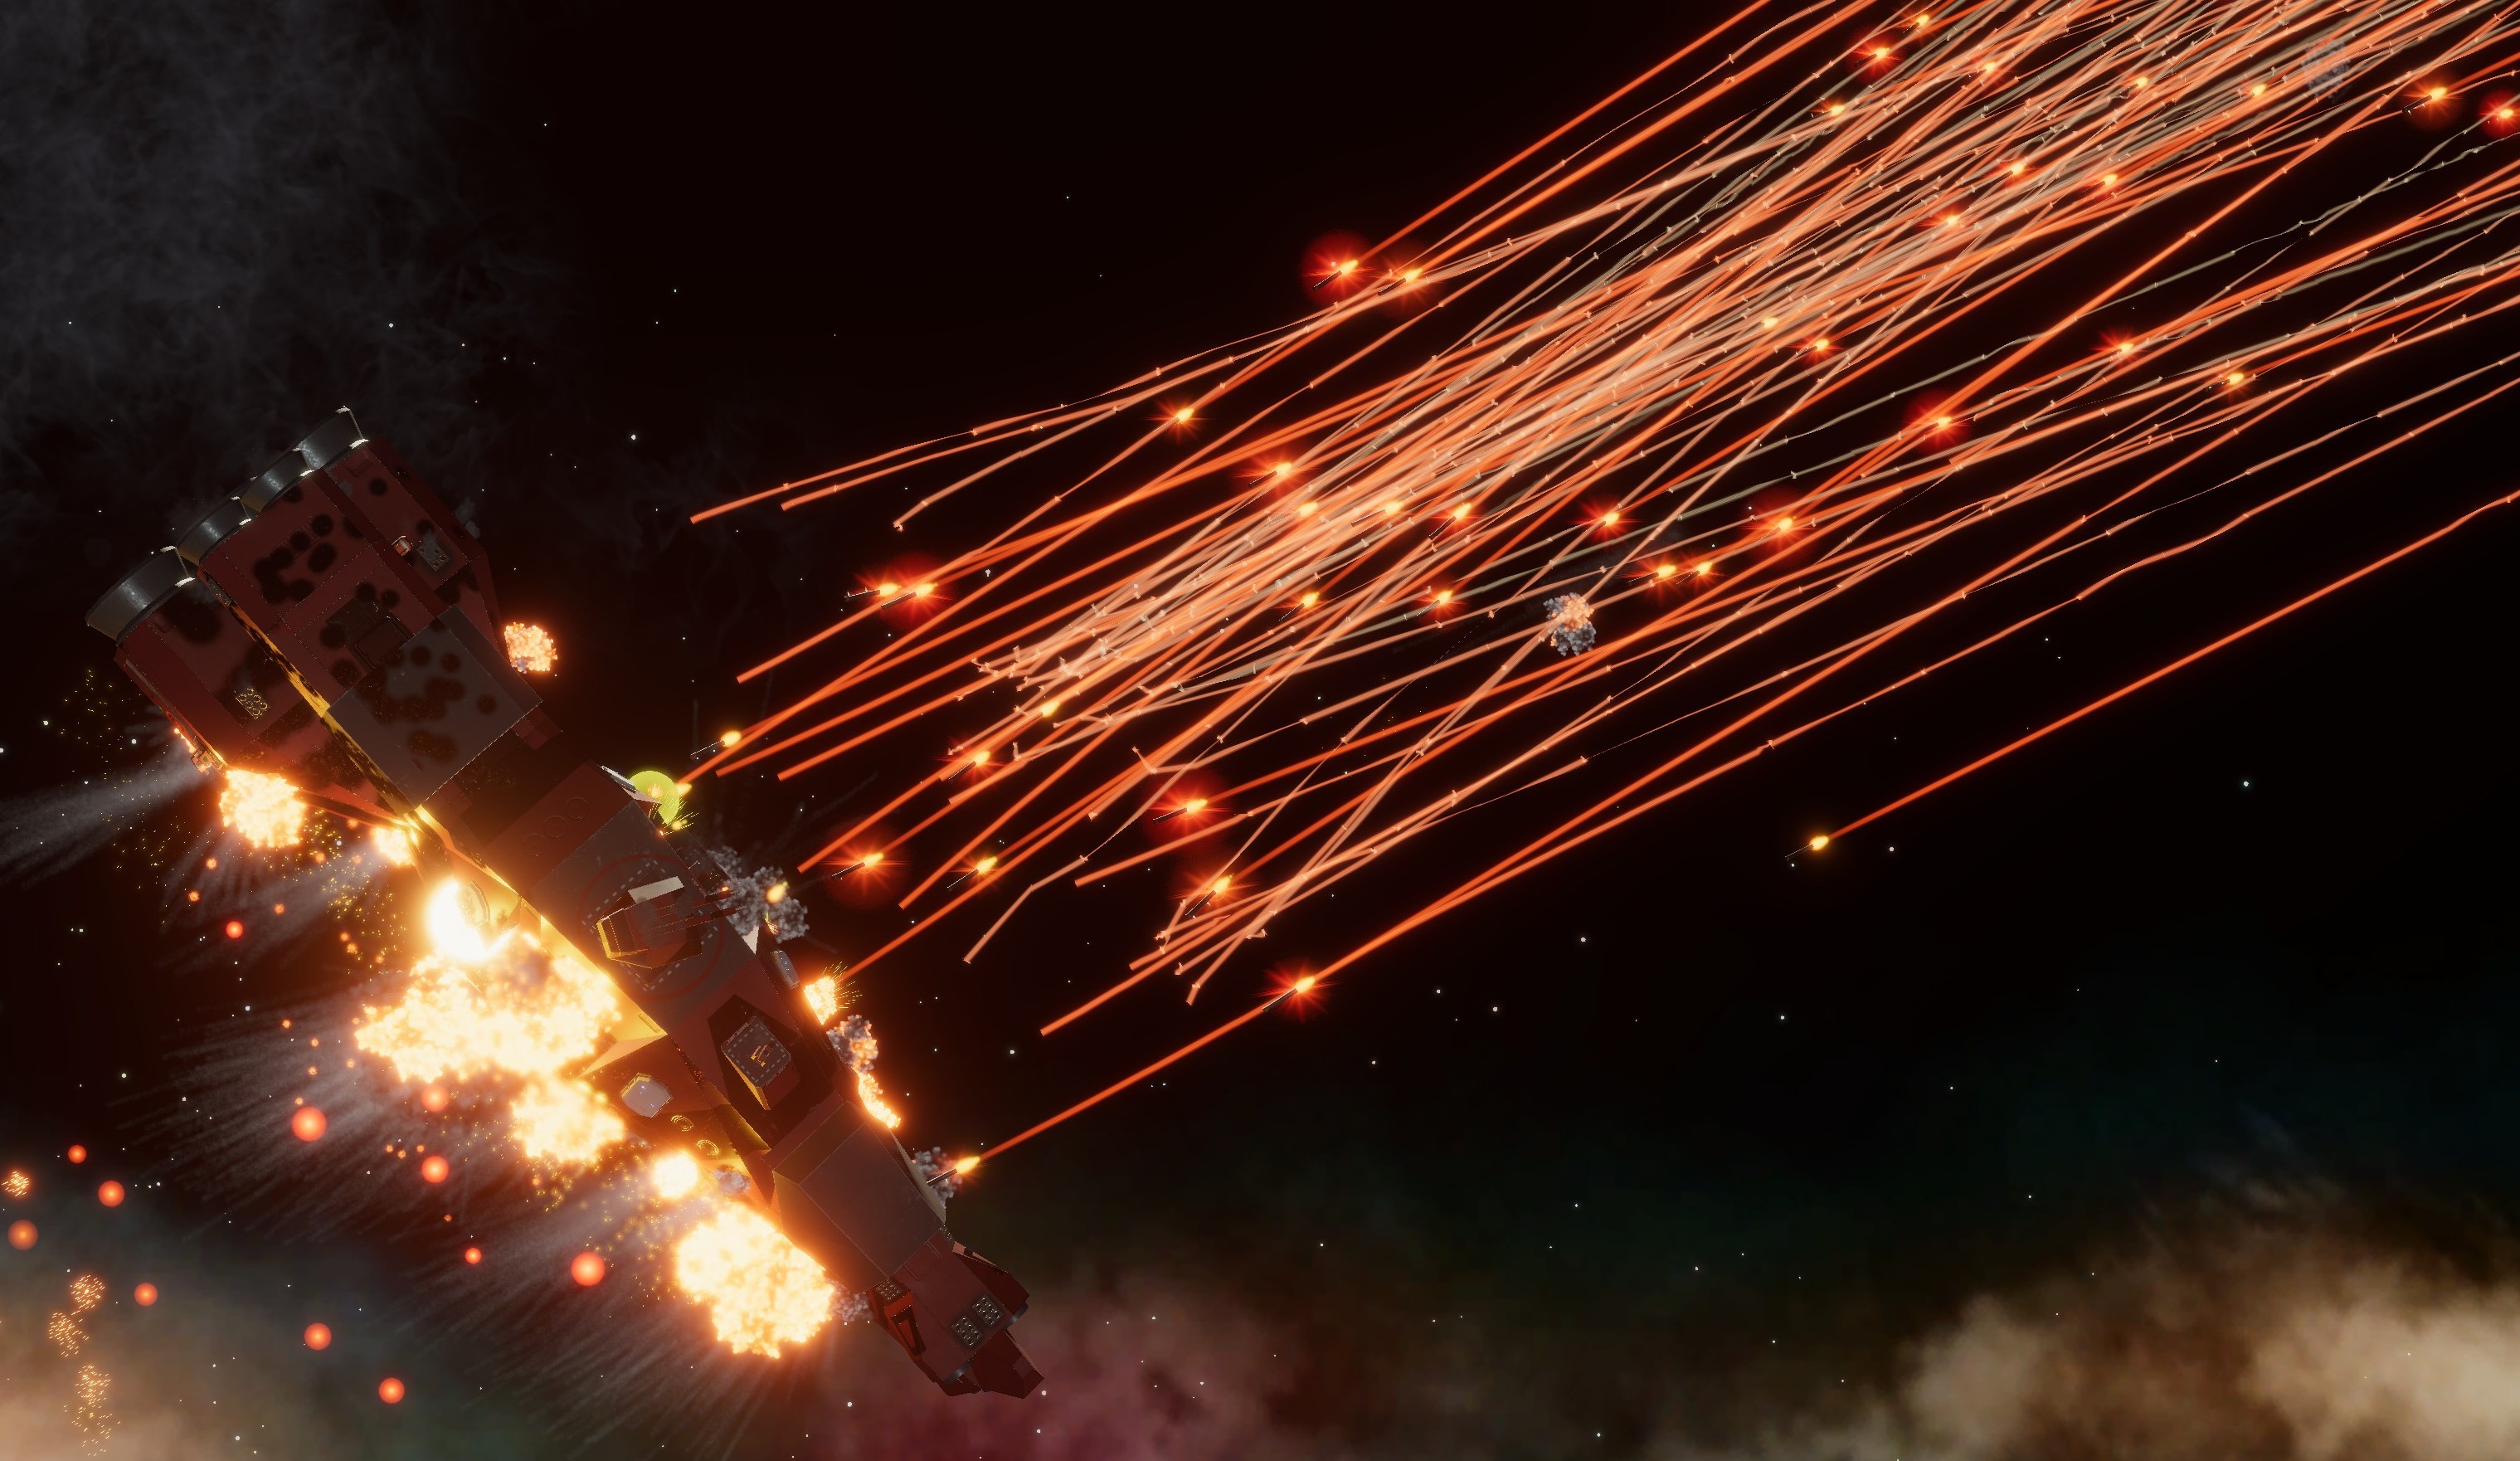
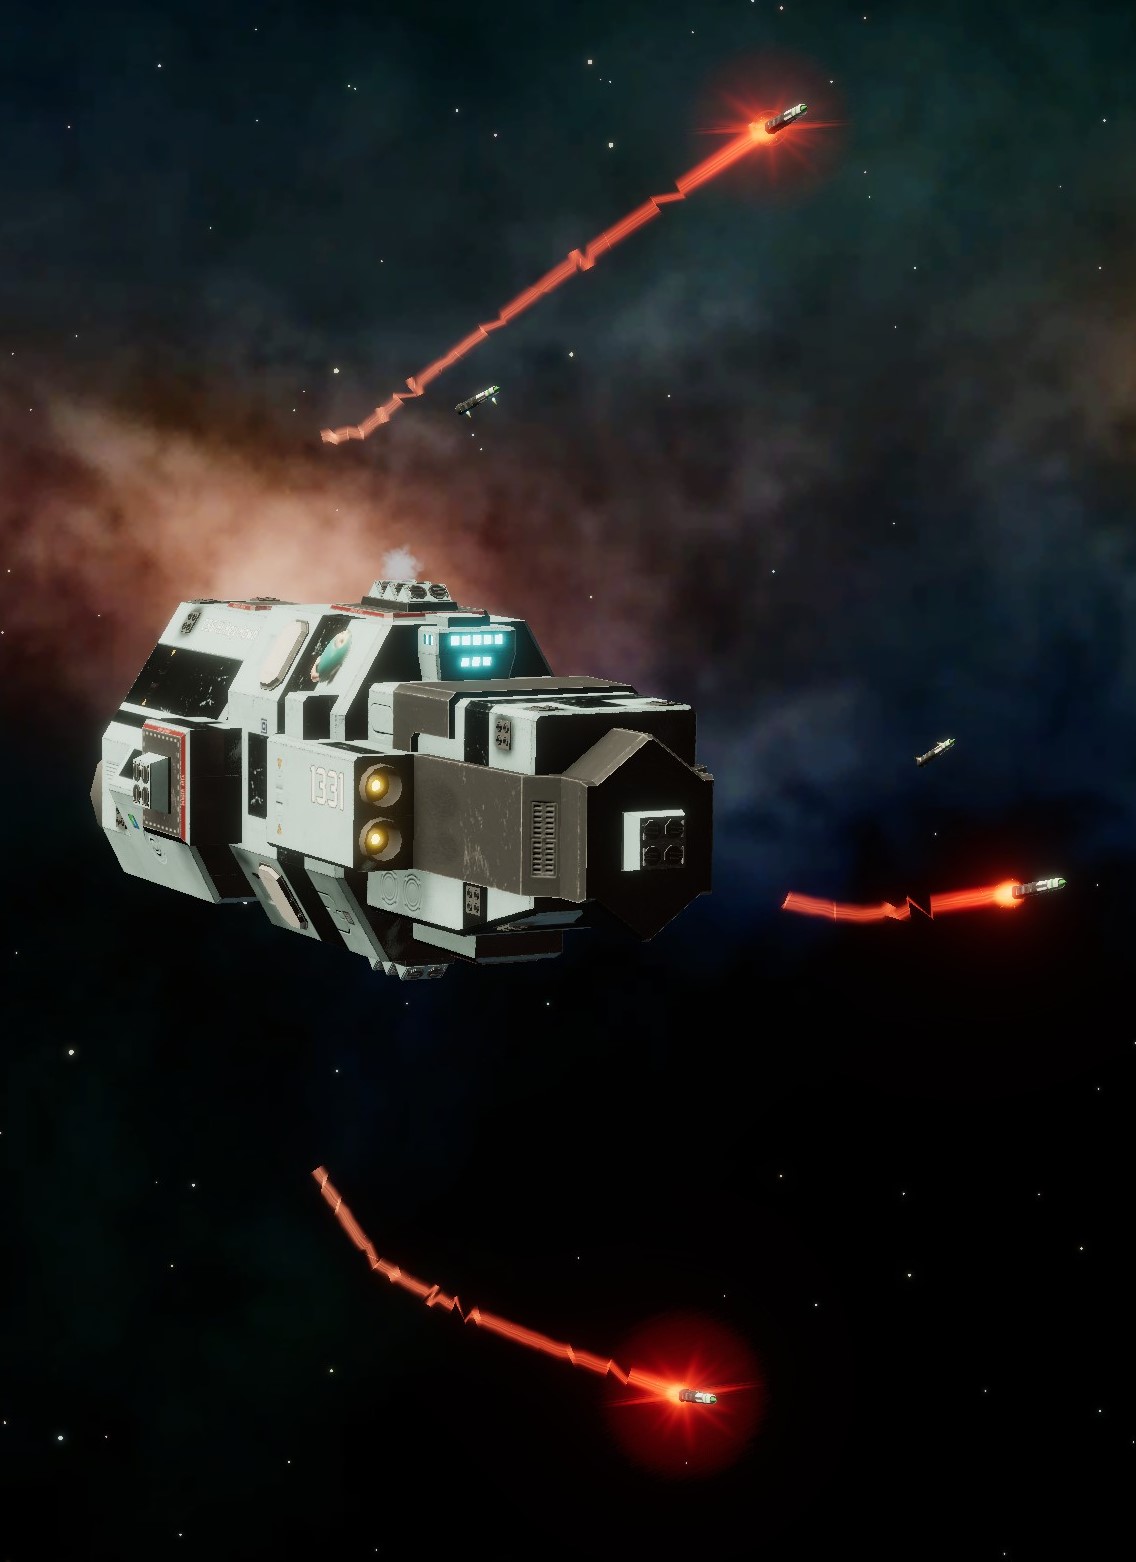
If you're playing with a S3H sniper some maps become unplayable due to the high degree of rock cover making it very likely your missile will lose track. S3Hs with command guidance activate at 4km which works when killing a single target, but multiple targets will reduce the distance at which enemy PDs fire at the missile due to: formations and allied fleets.
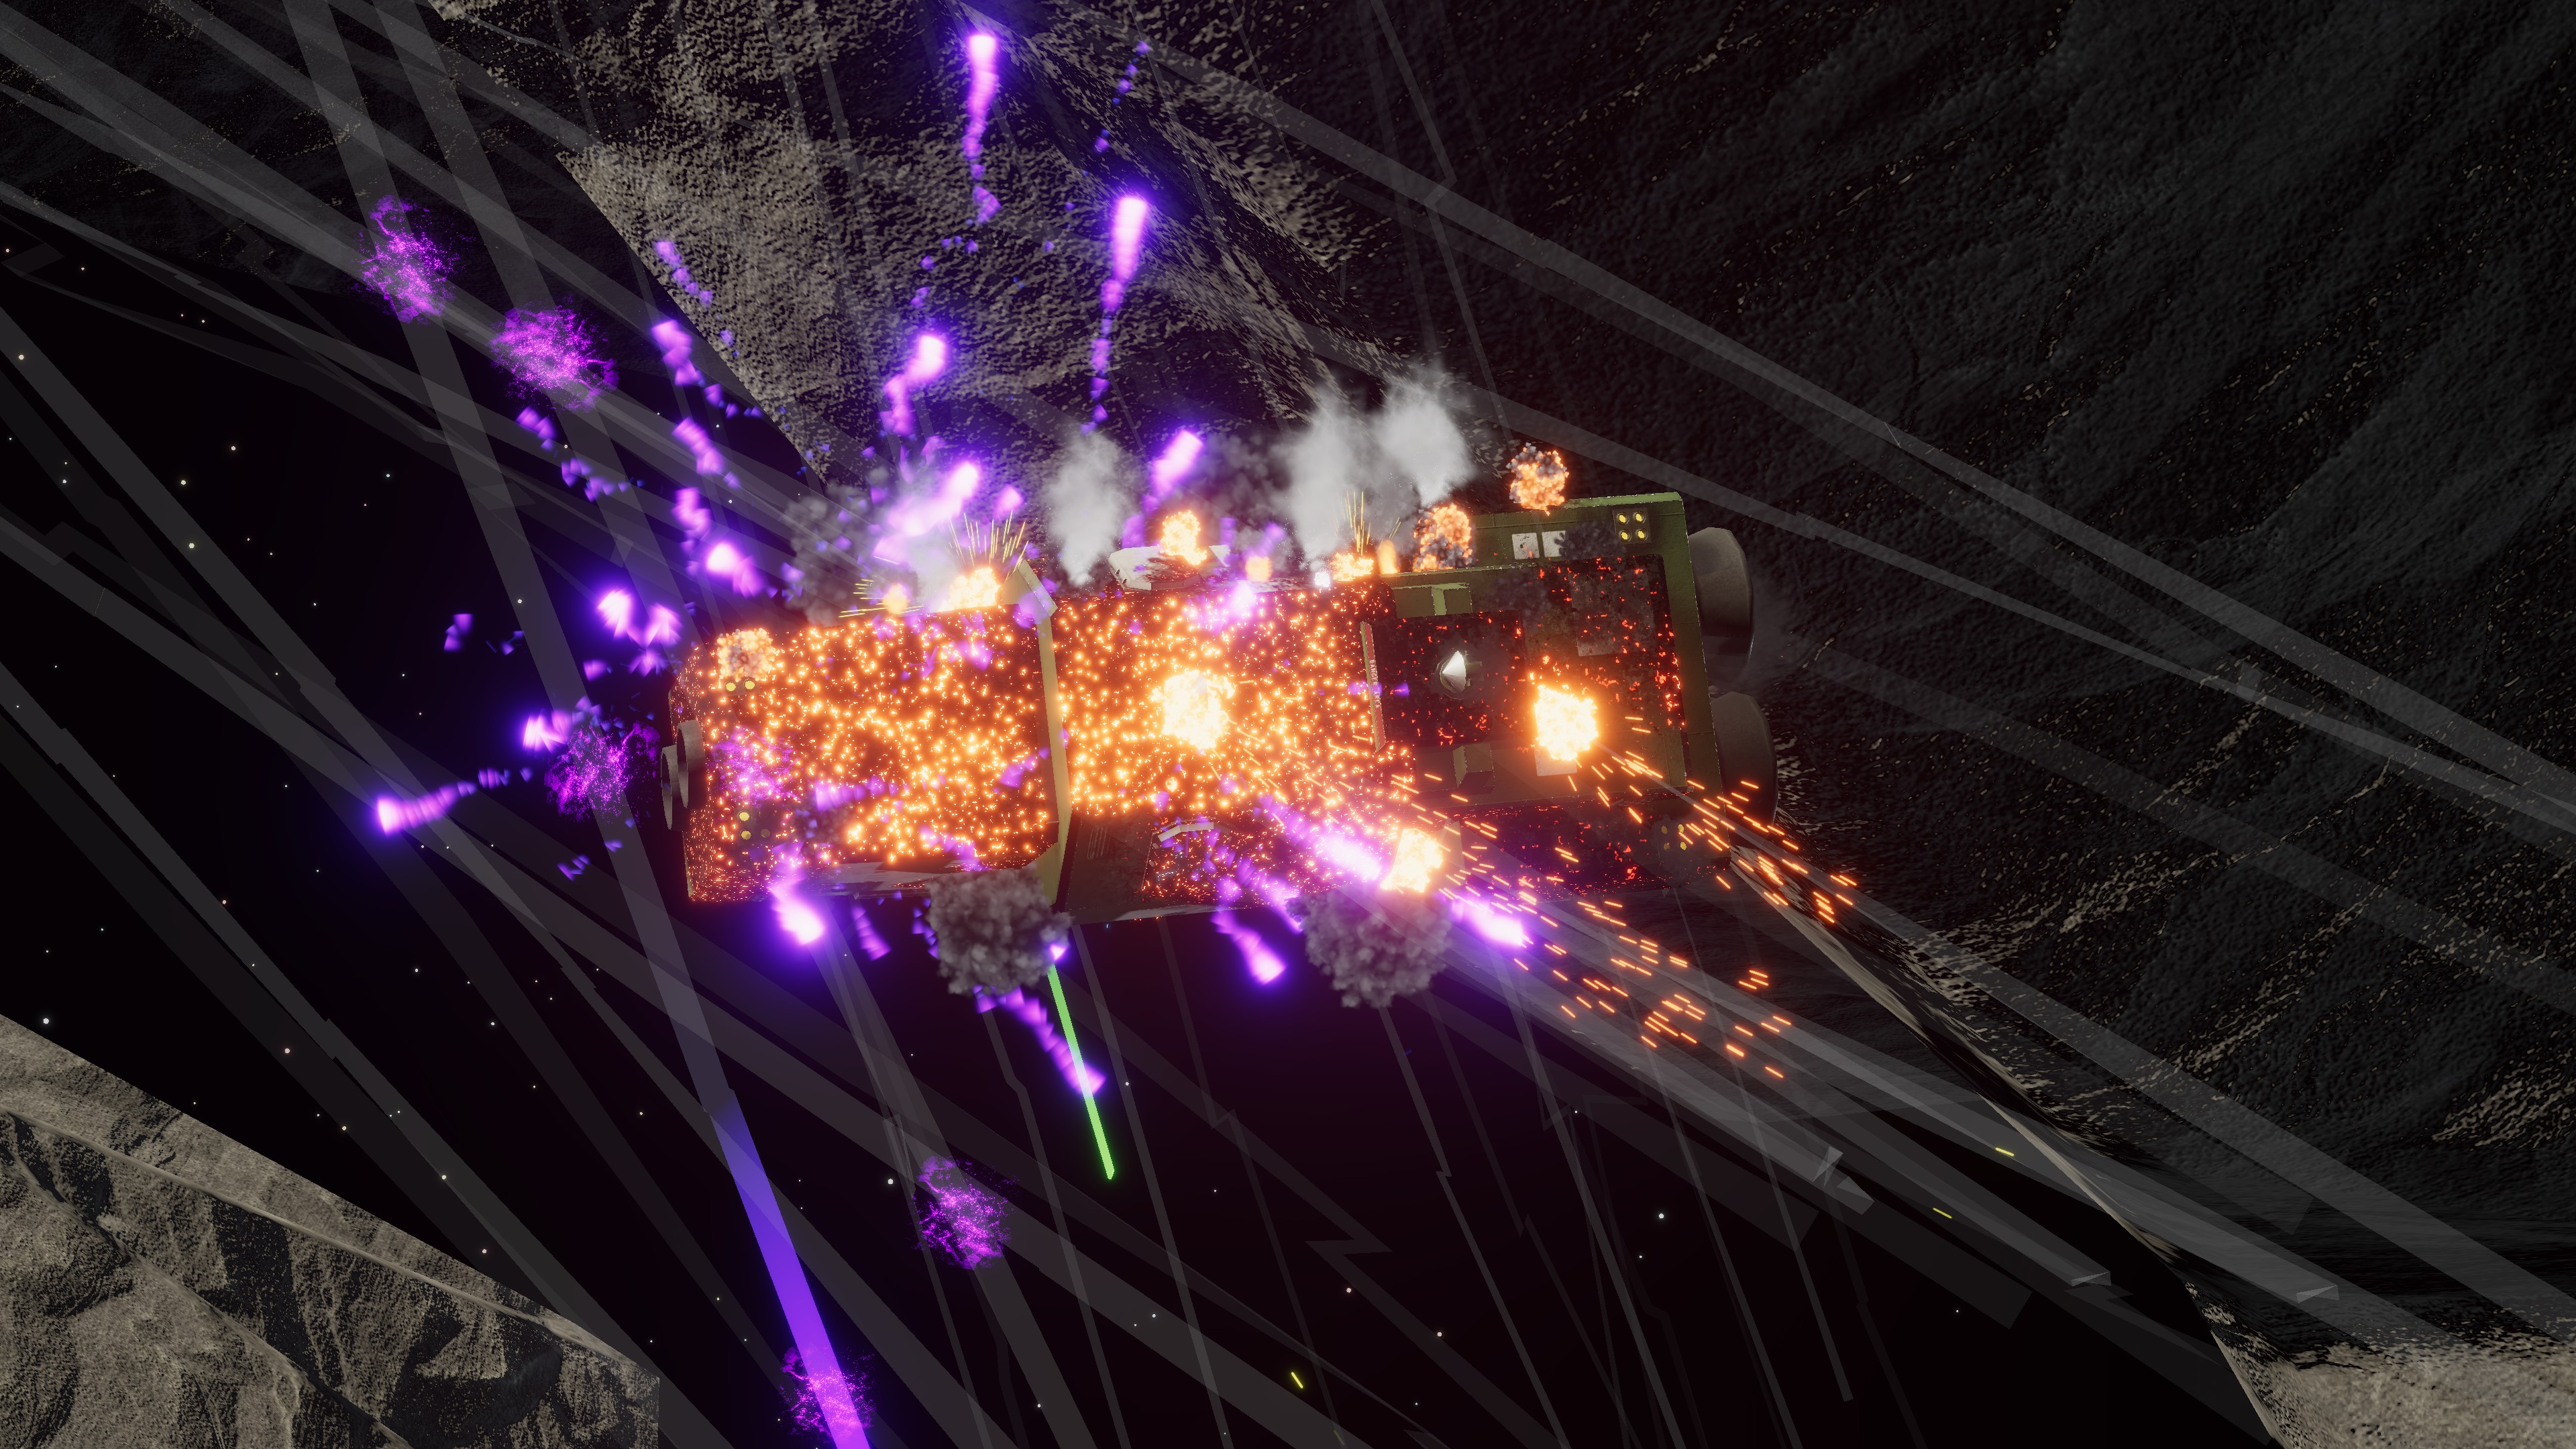
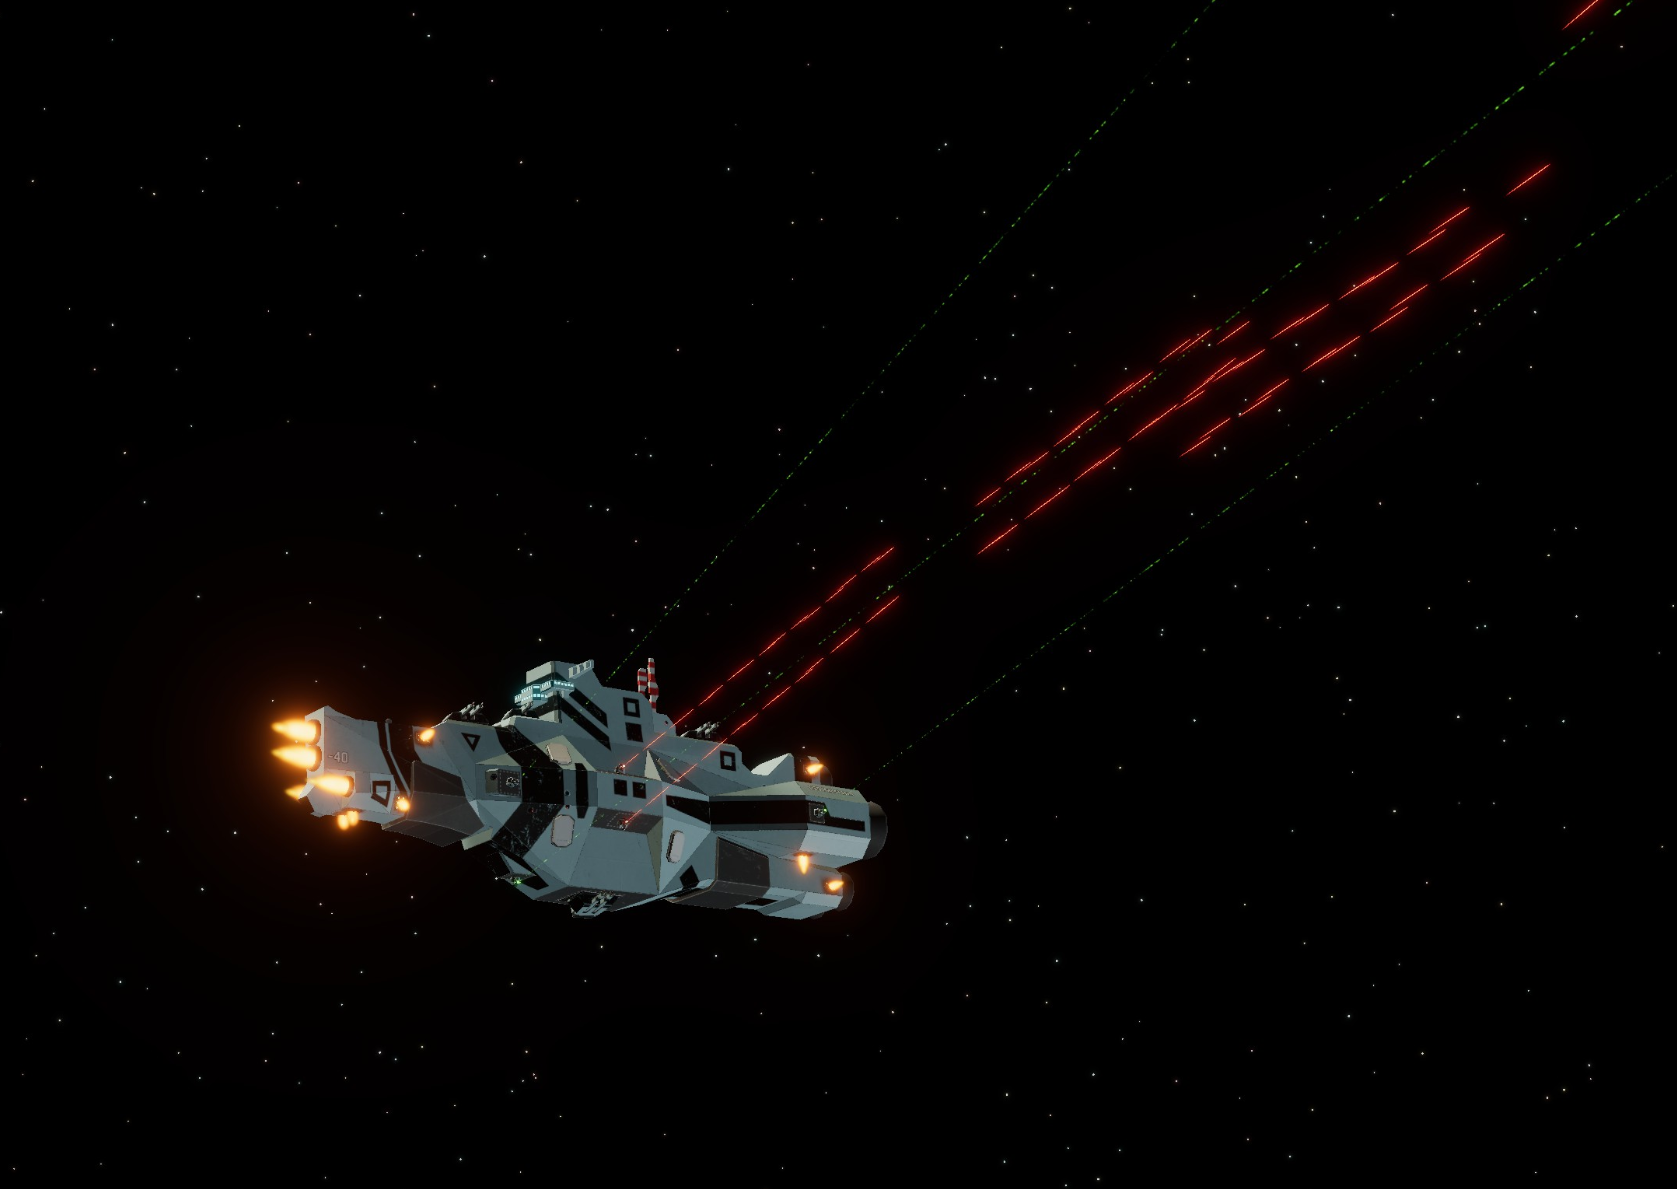
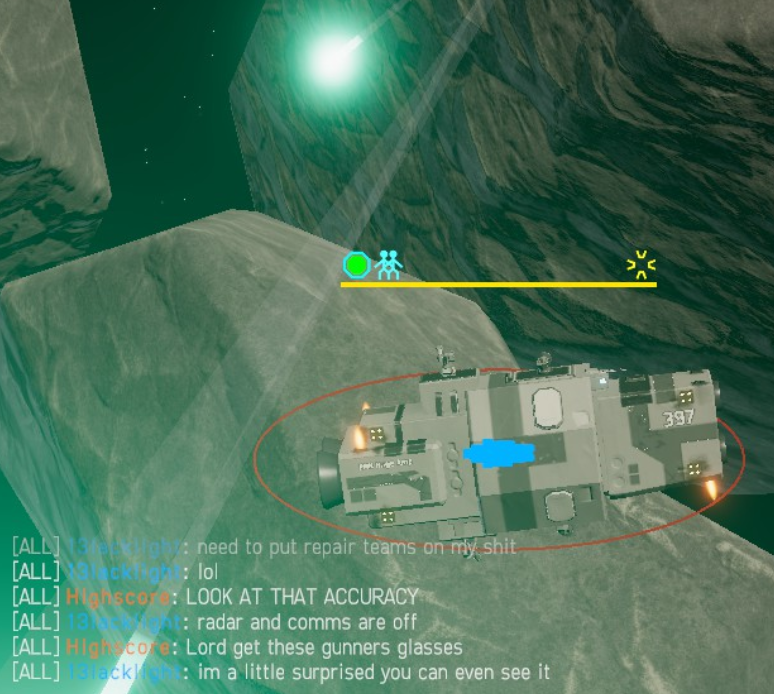
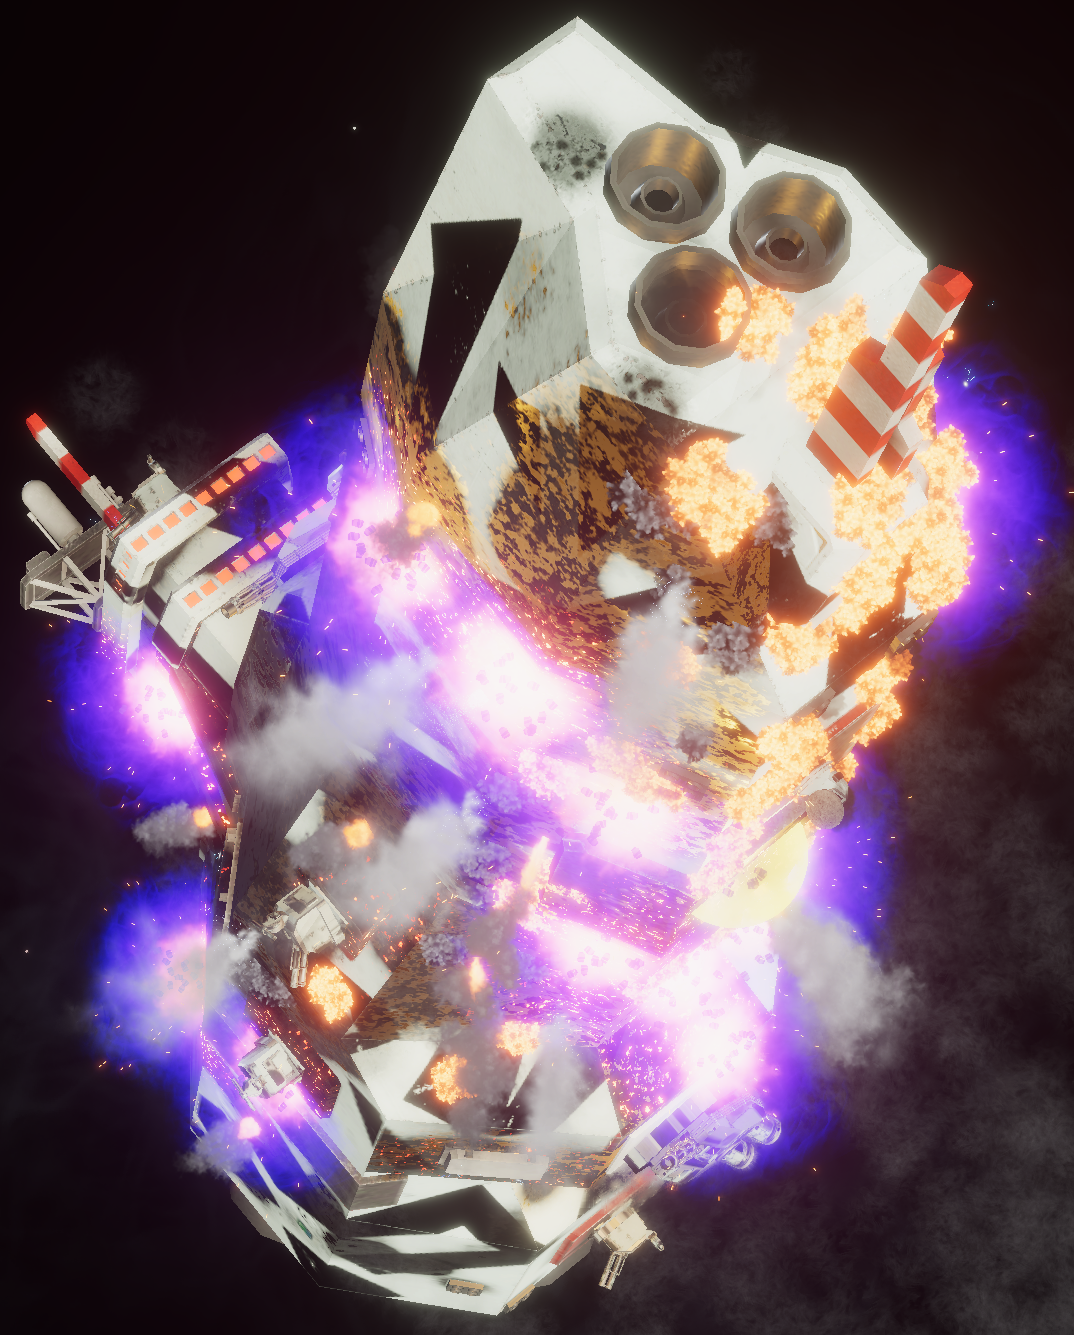
Railgun snipers have become unviable due to the railgun nerf and due to the sig-effect. I don't know why the devs decided to give railguns being fired a sig boost because before you could just look at where the rounds were being fired and comms-jam accordingly.
Highscore  [author] 13 Mar, 2024 @ 9:52pm 
Dragonion 13 Mar, 2024 @ 5:24pm 
Slight (not so) pro tip from a (most definitely not so, i can hardly beat TF-Oak) pro

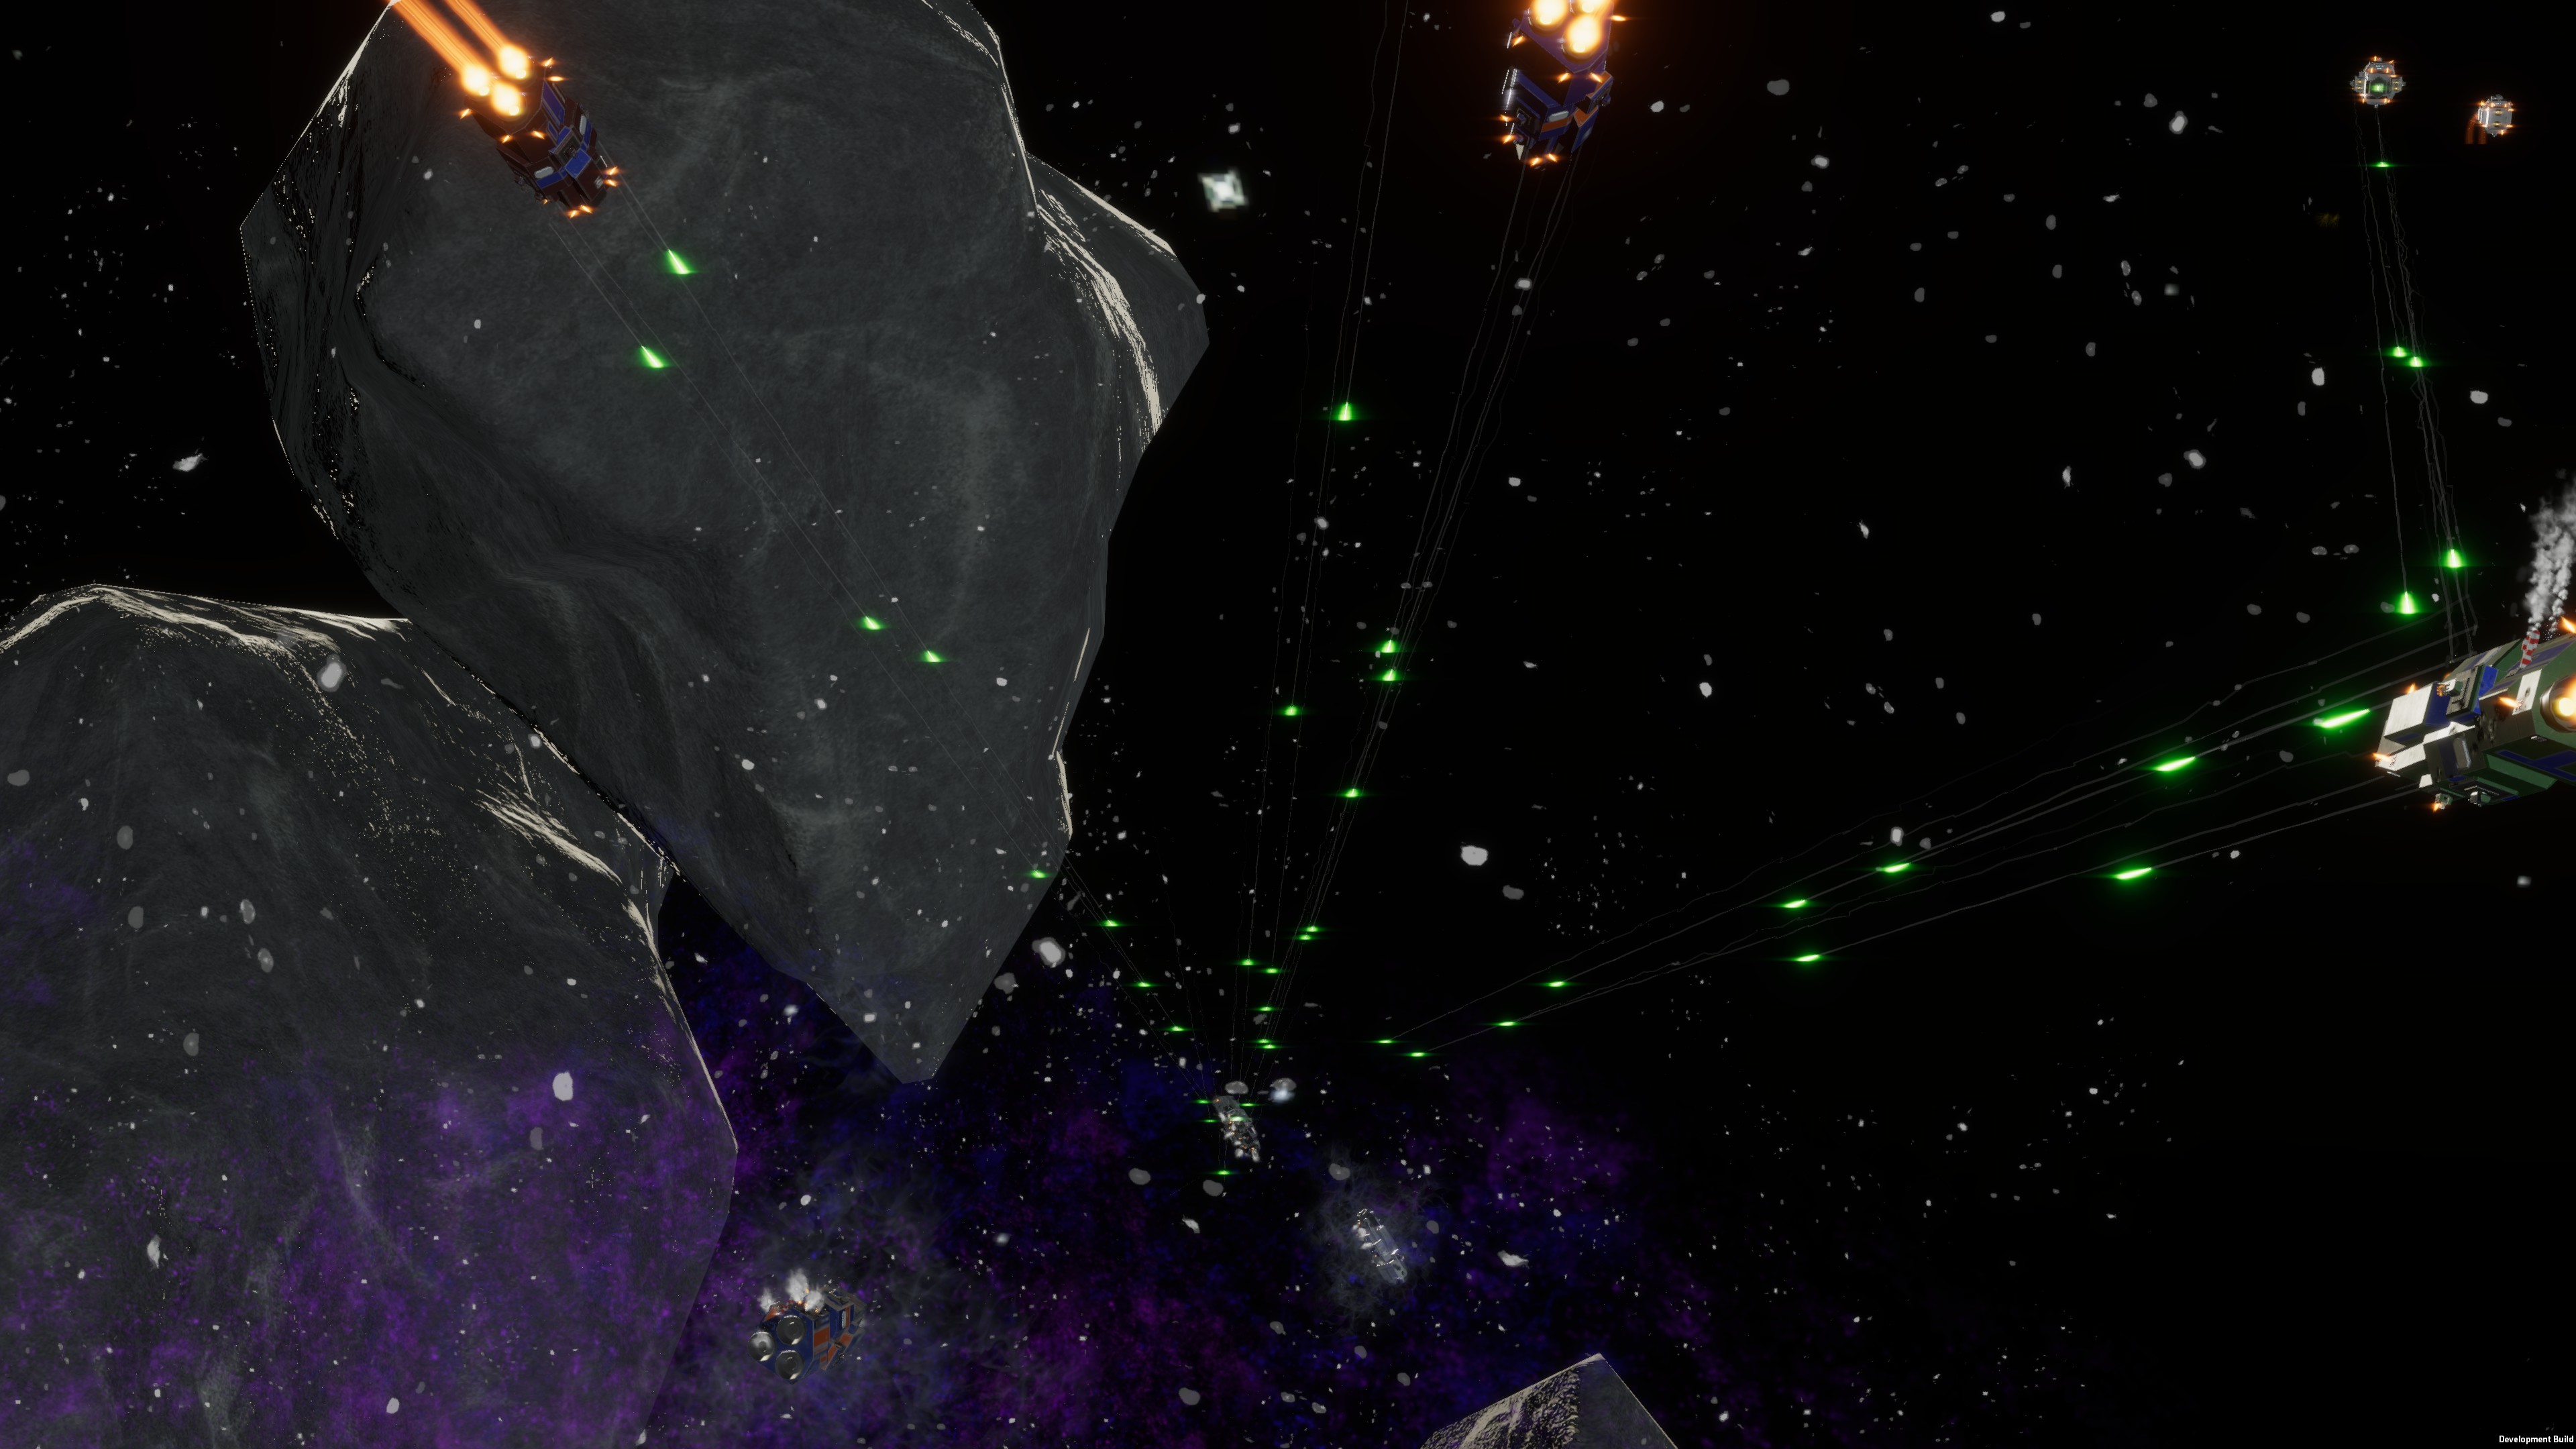
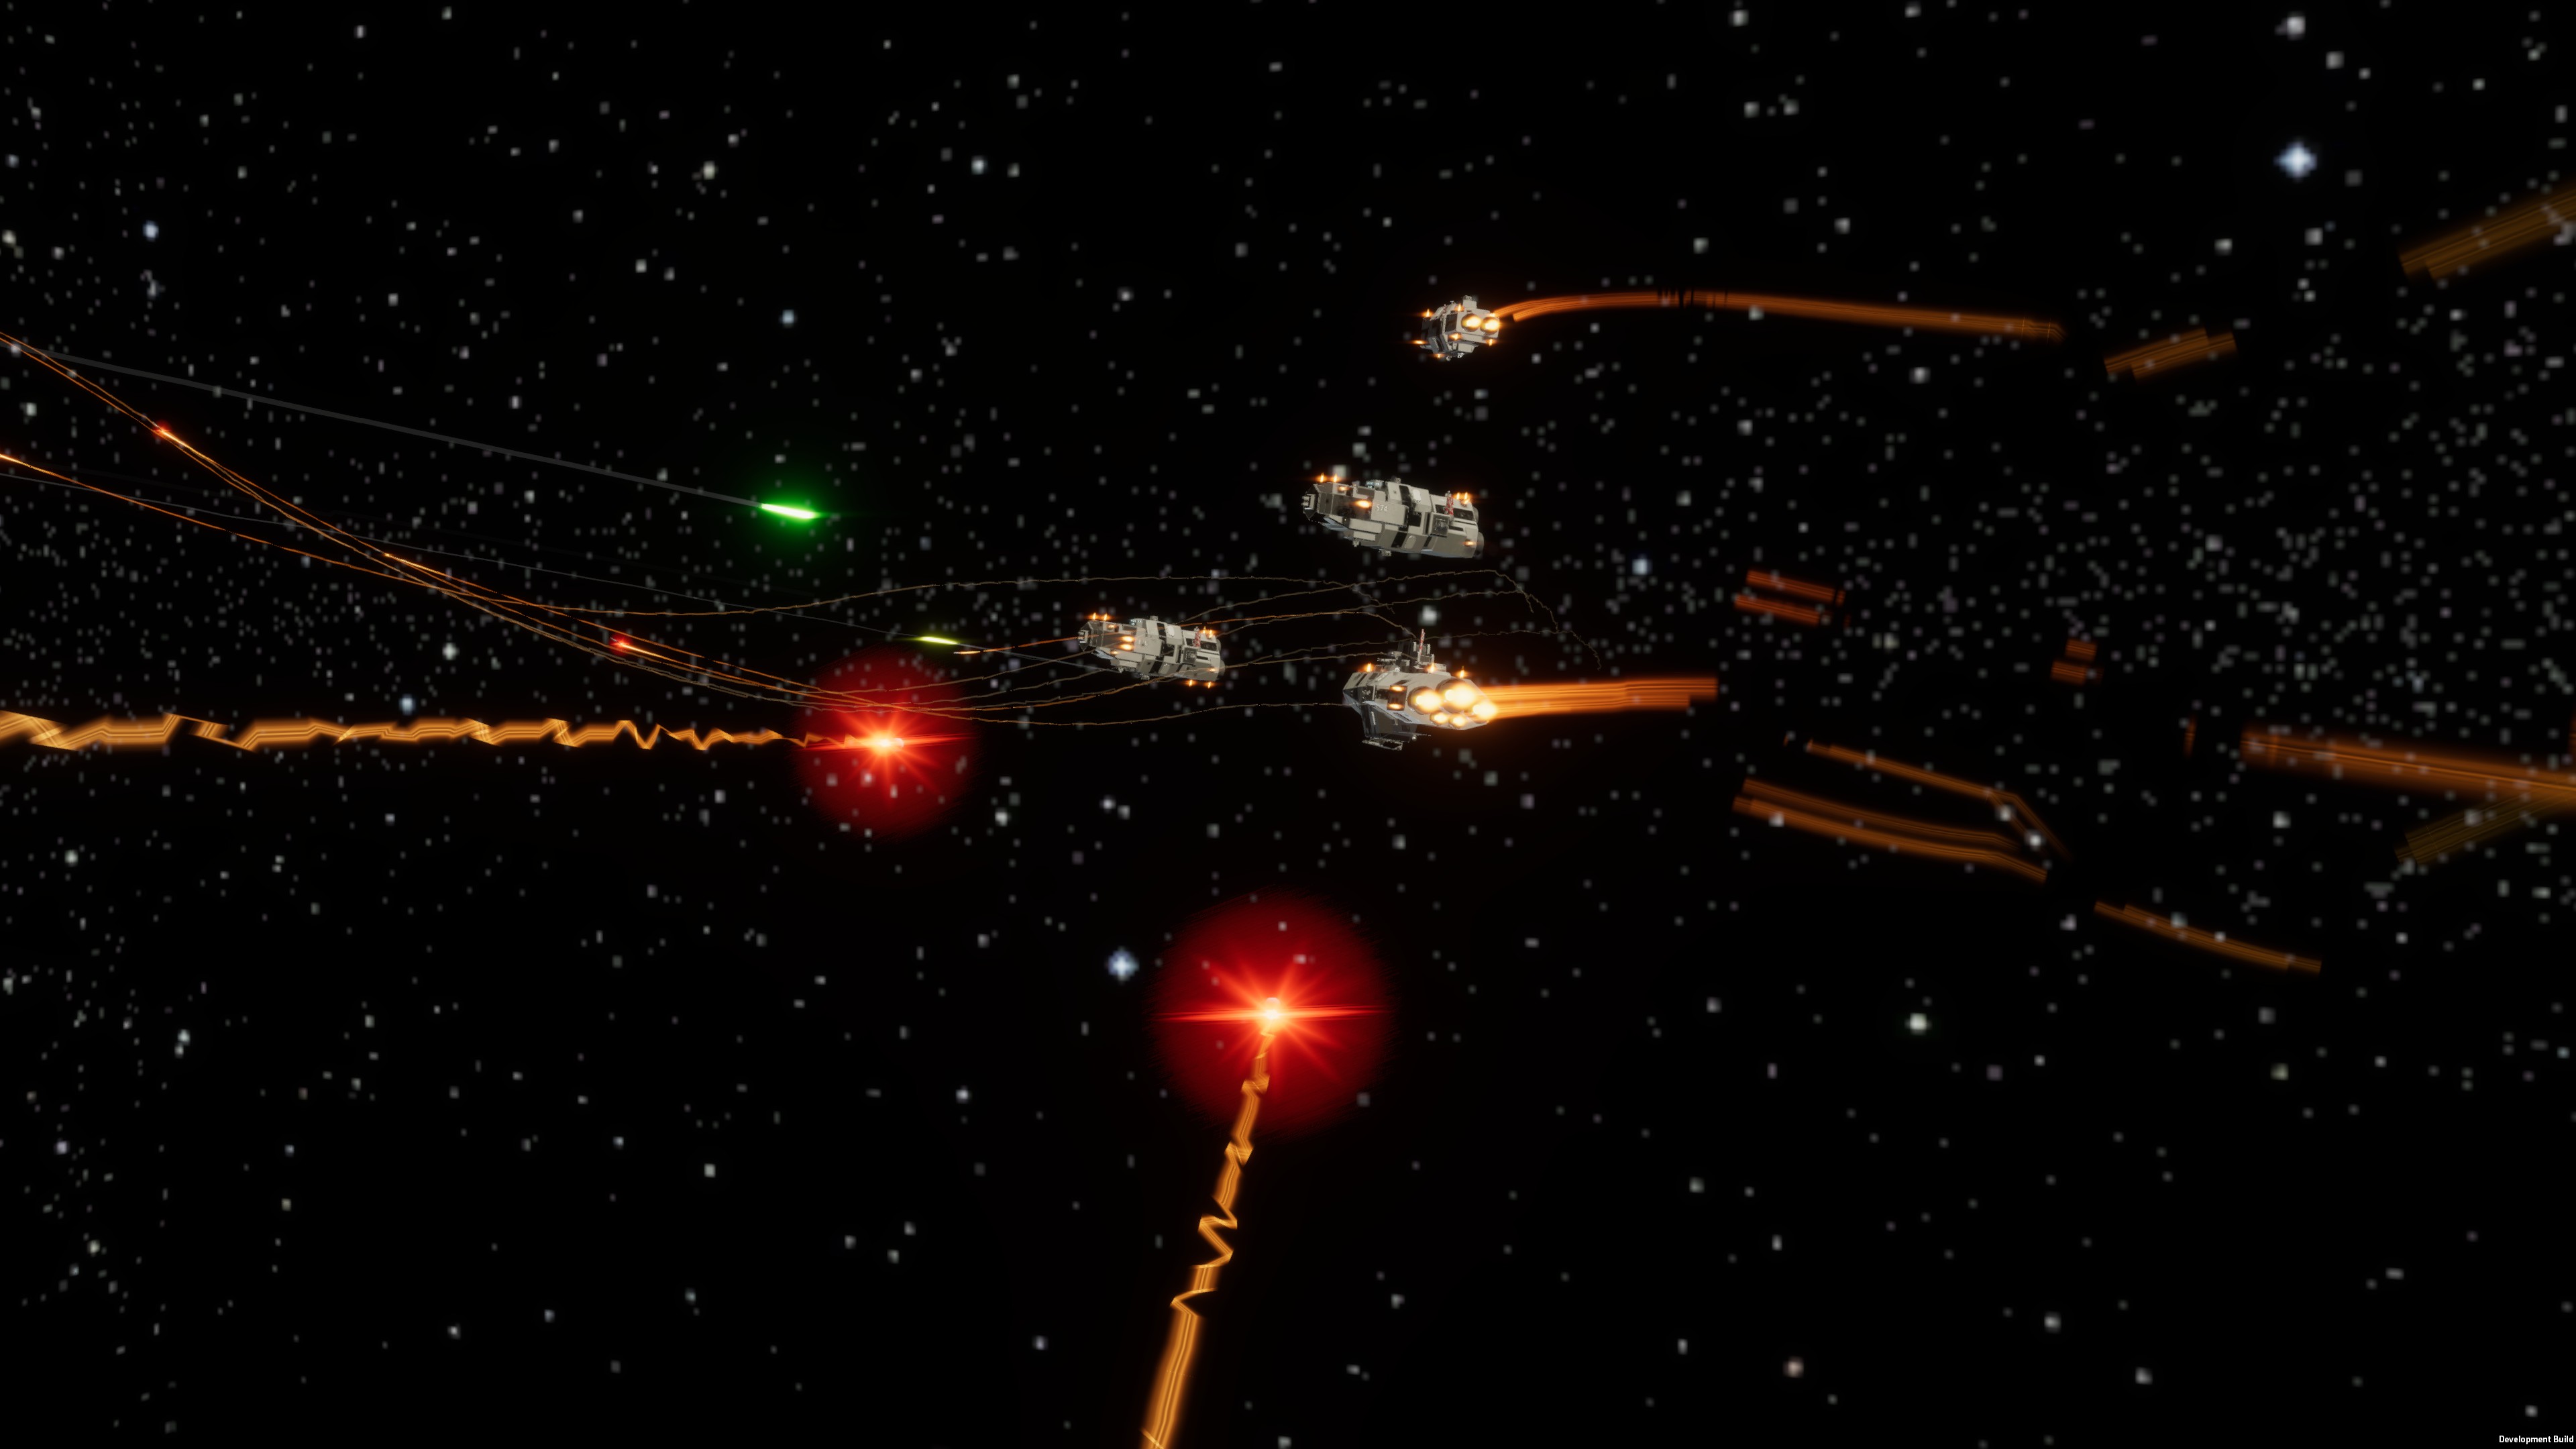
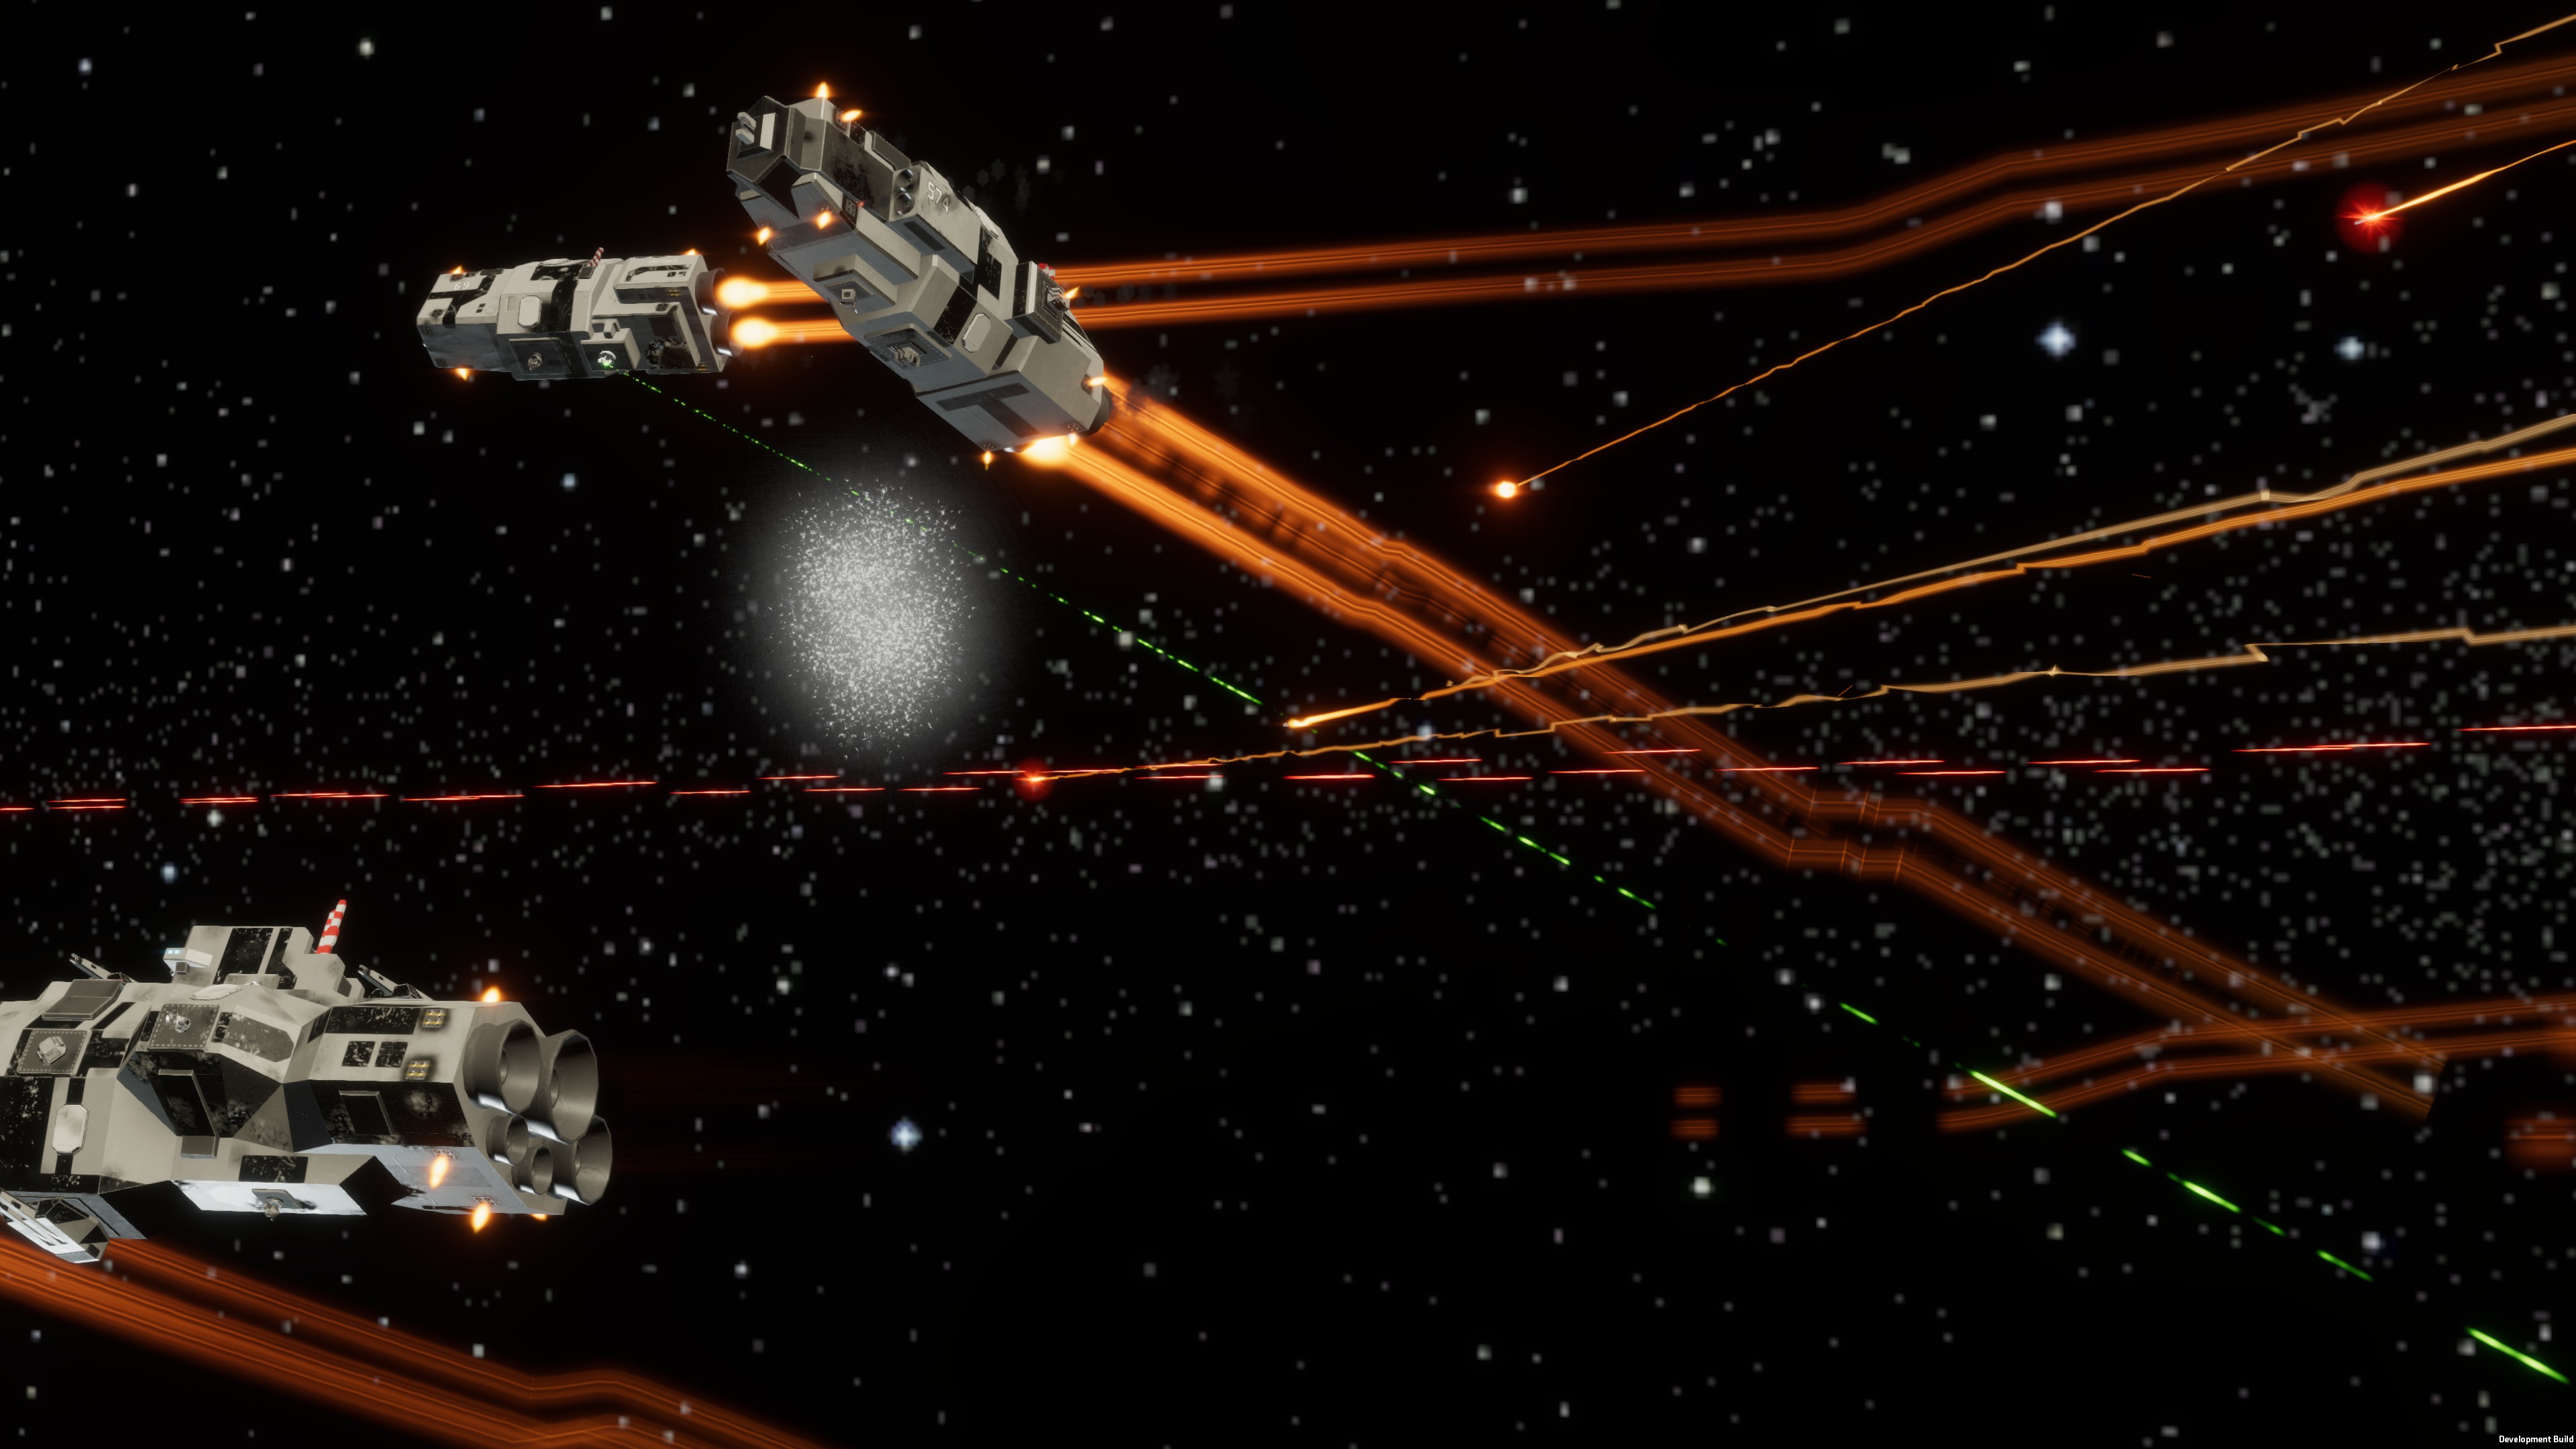
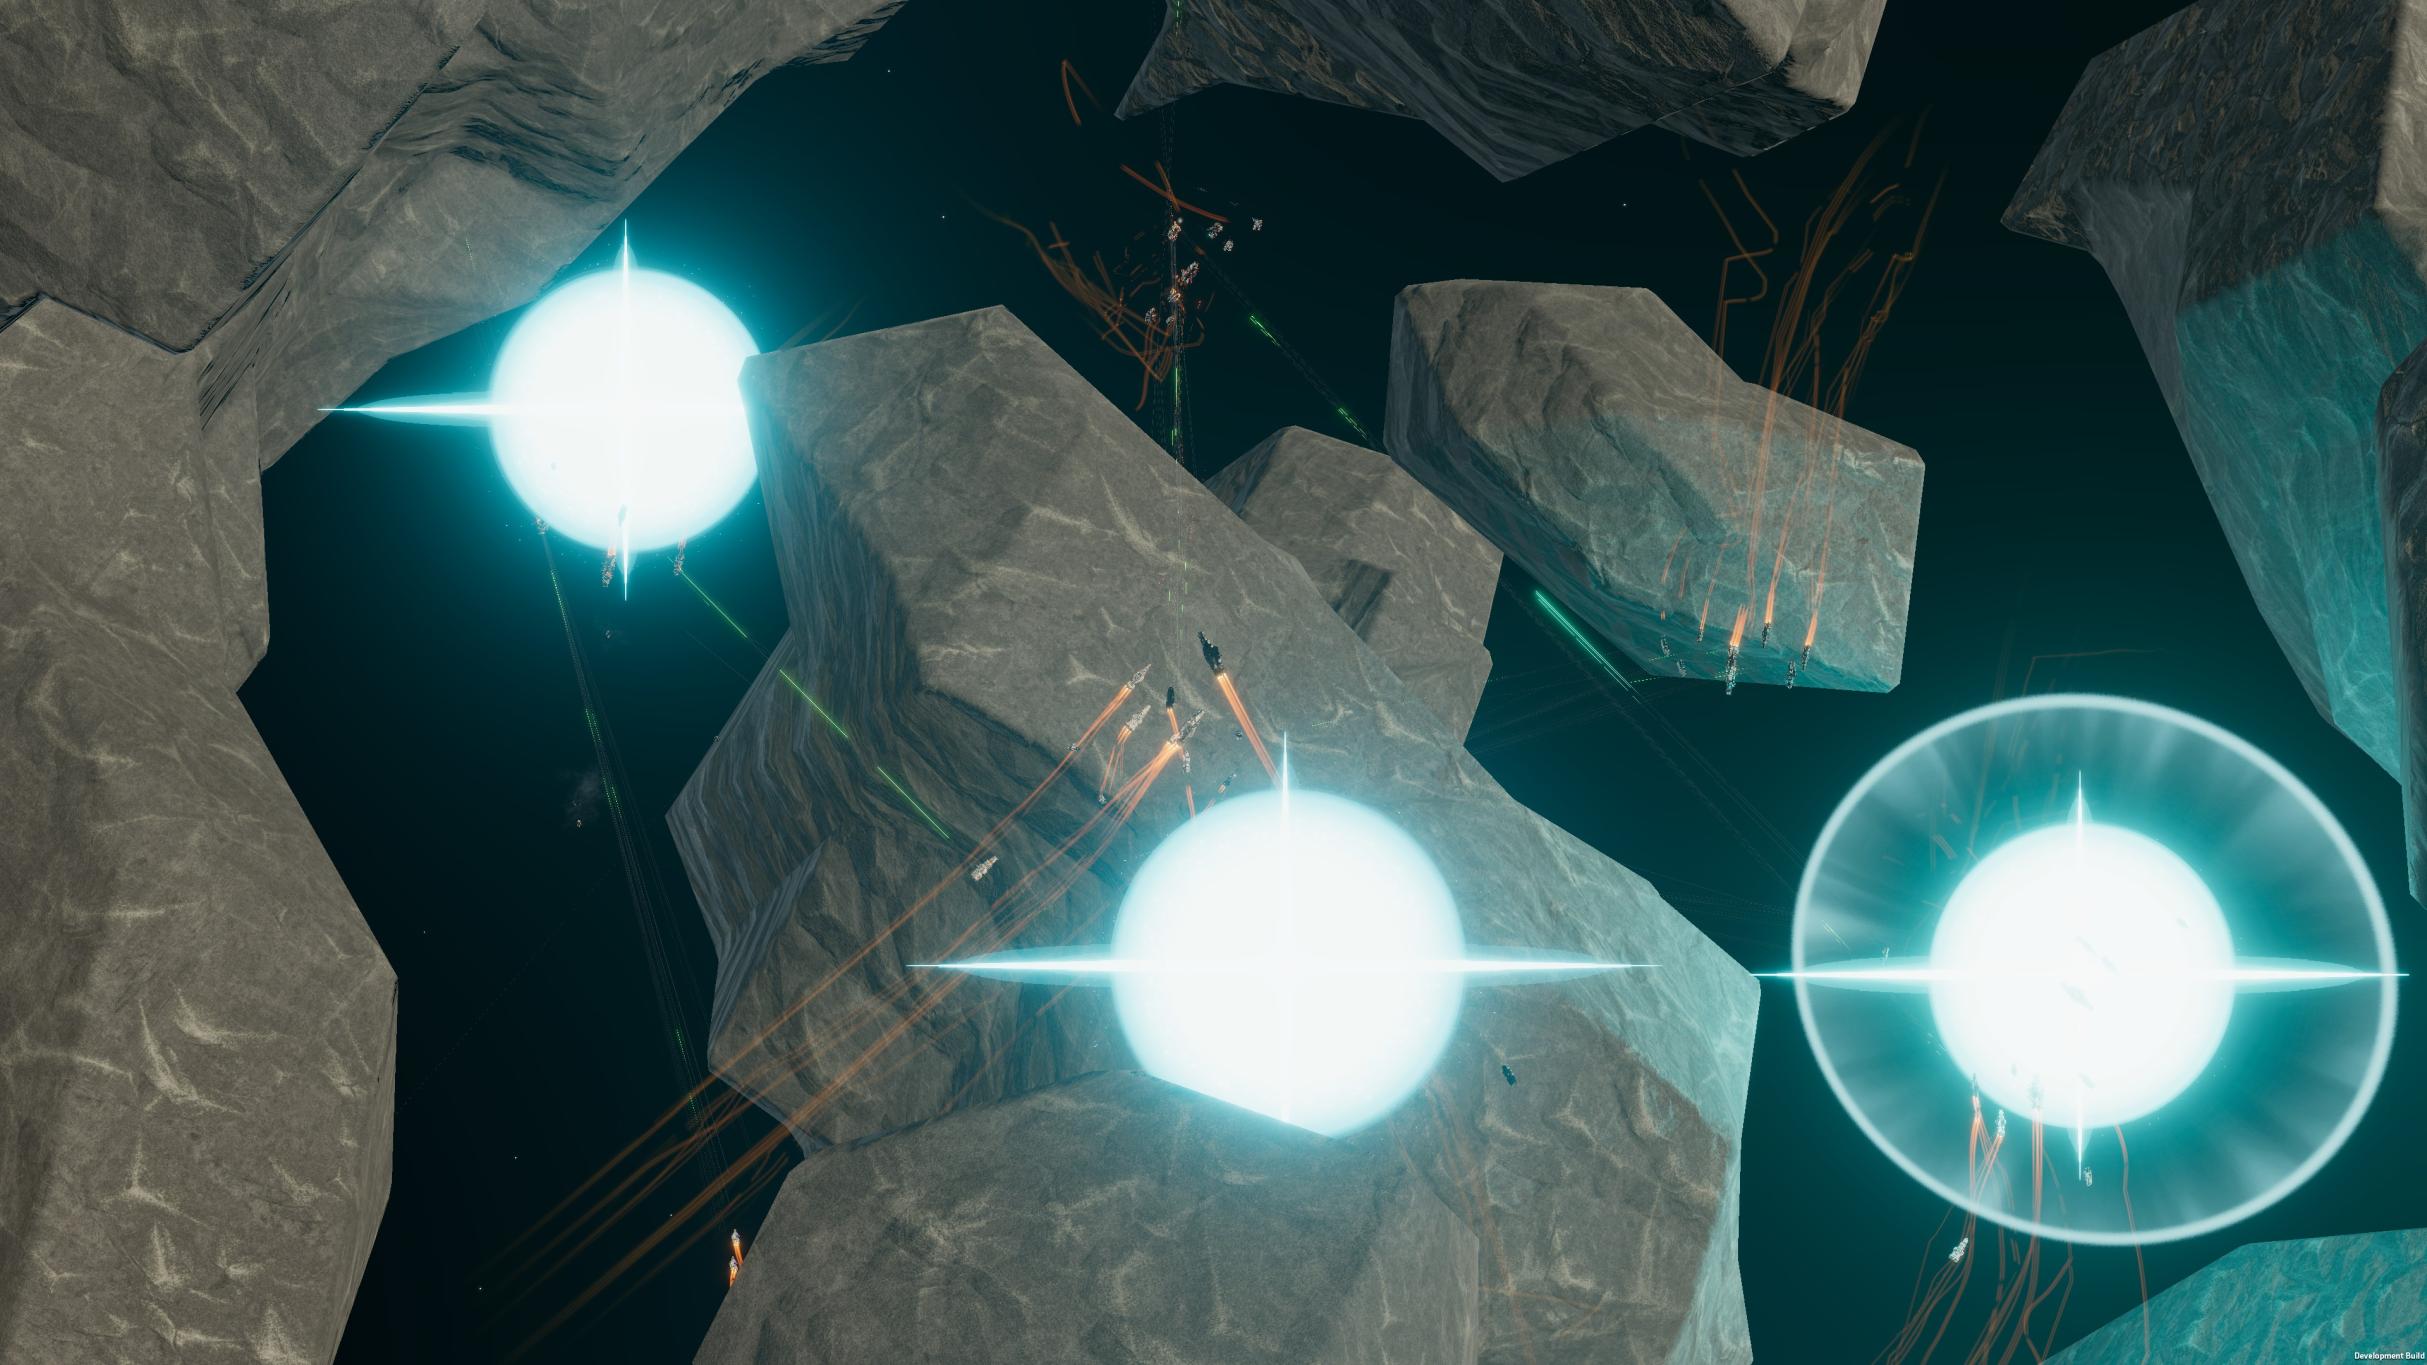
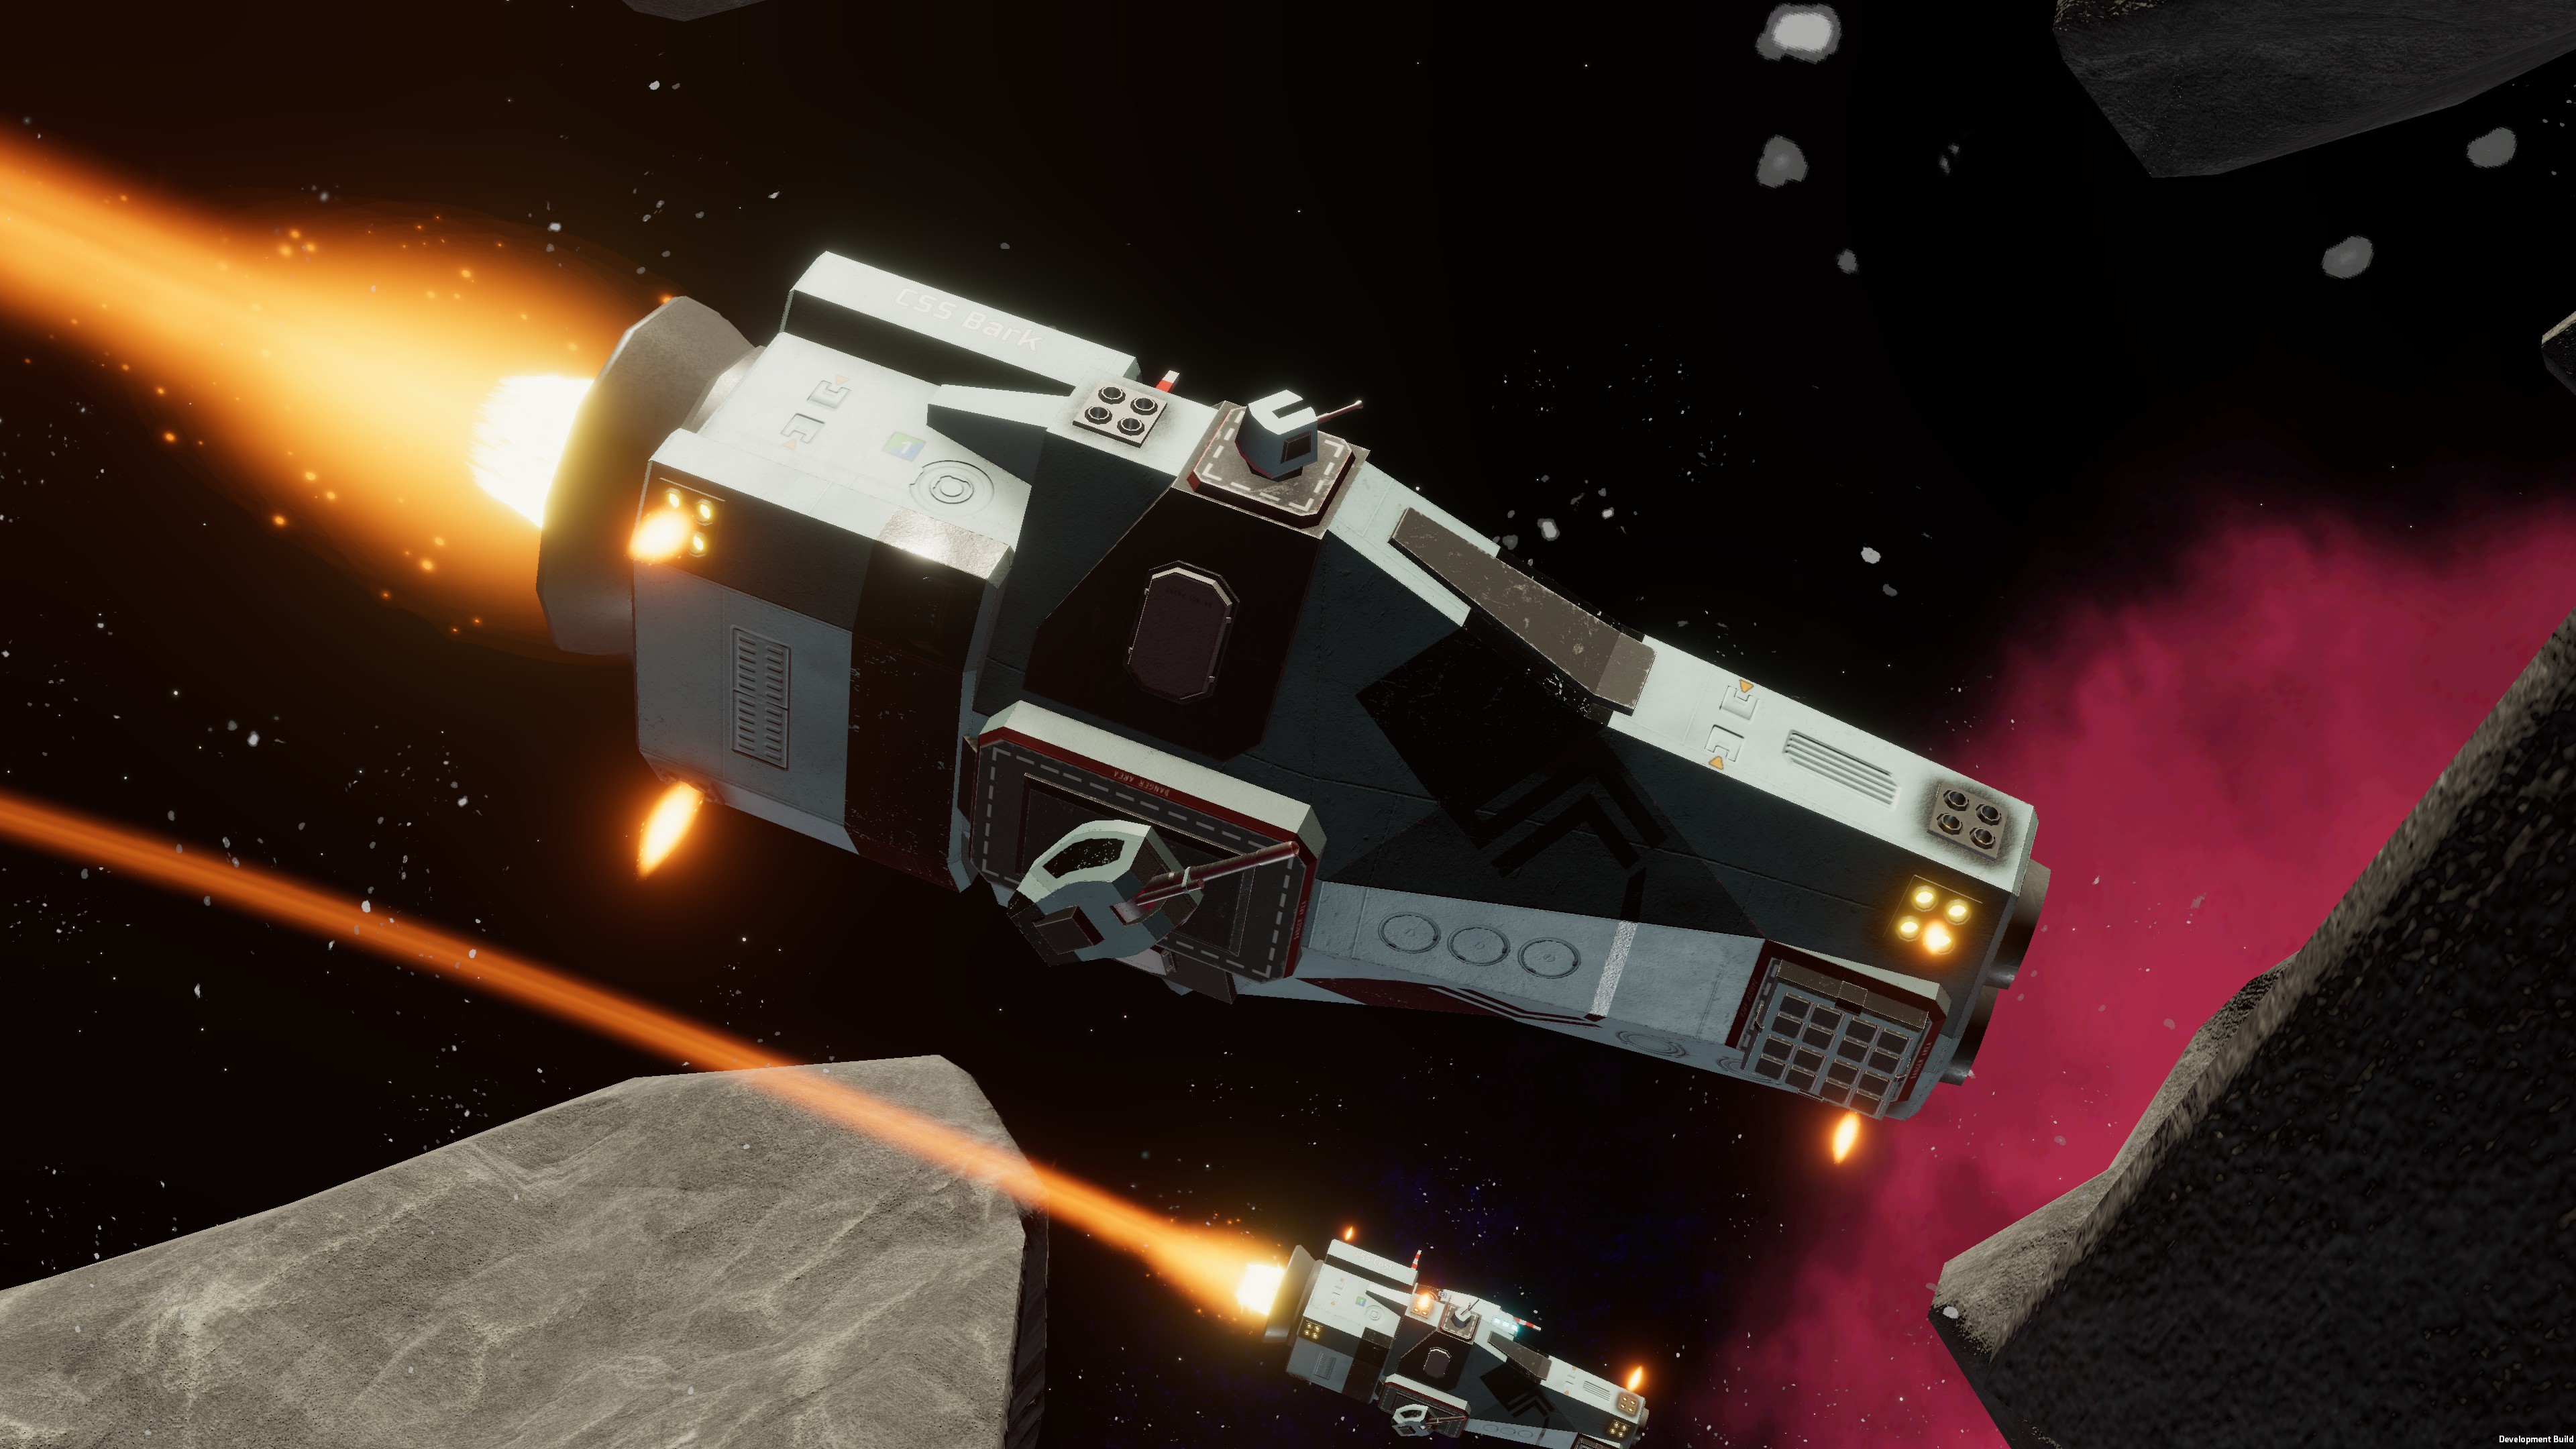
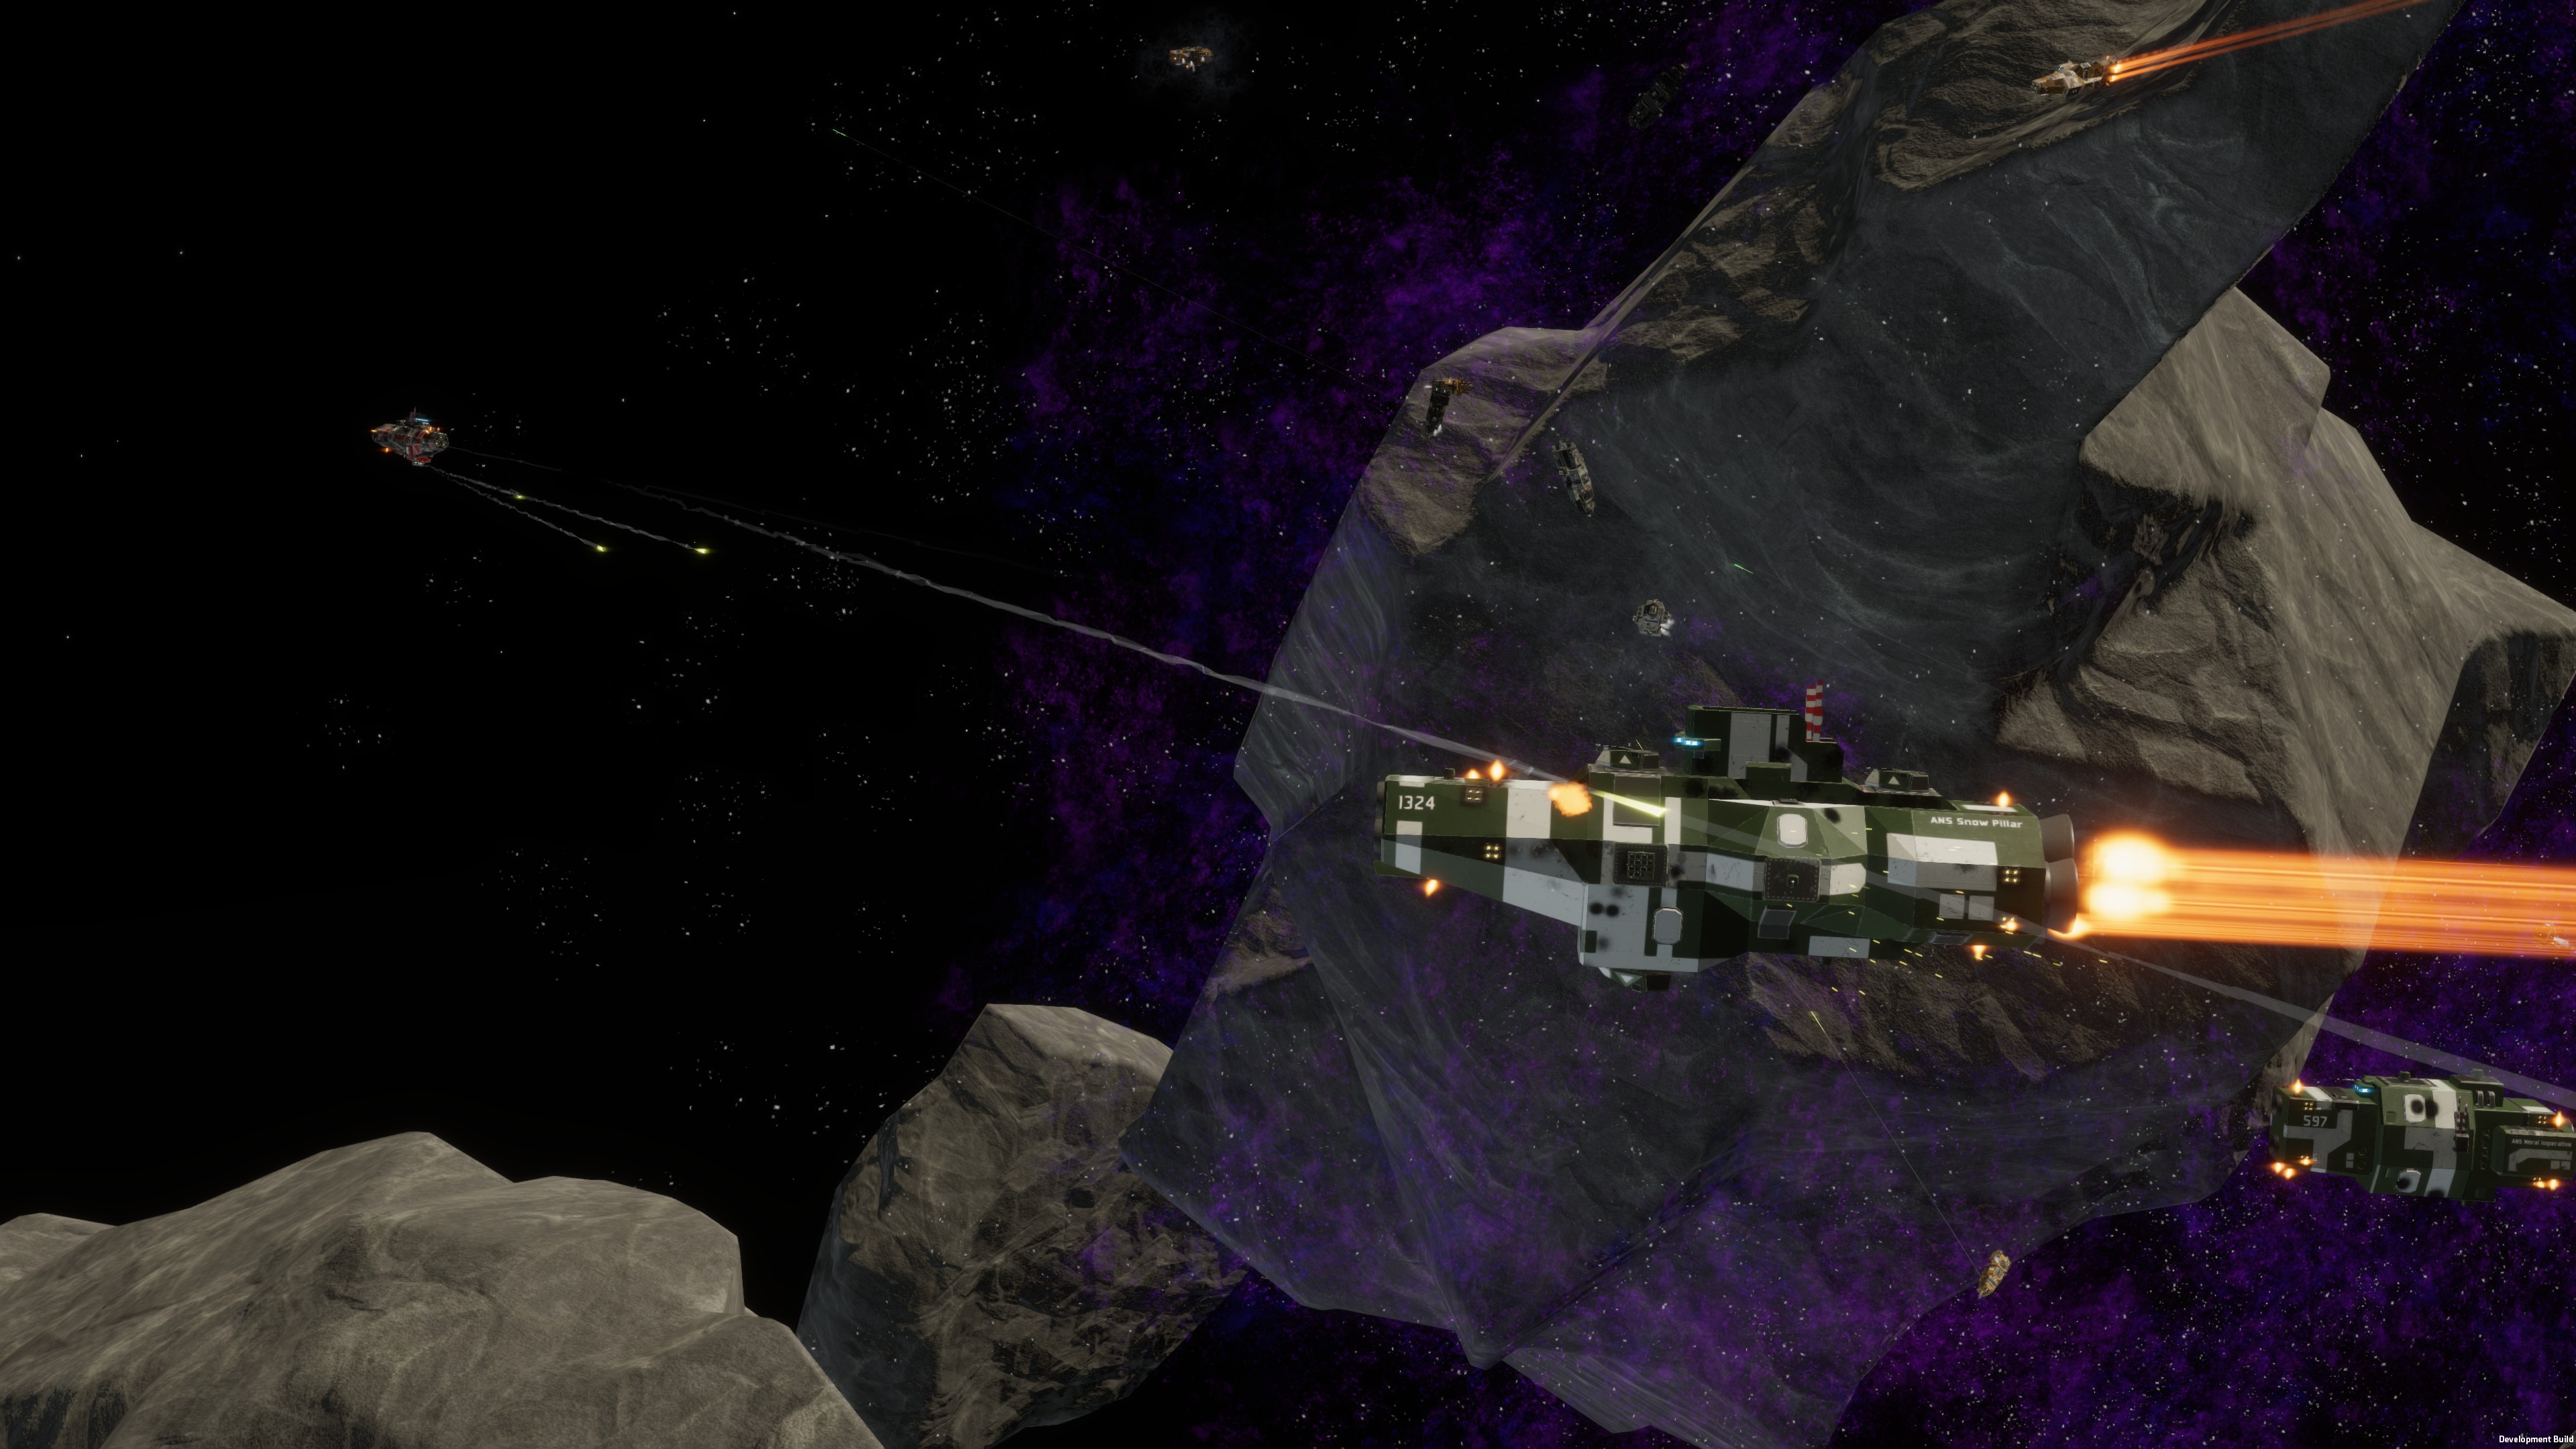
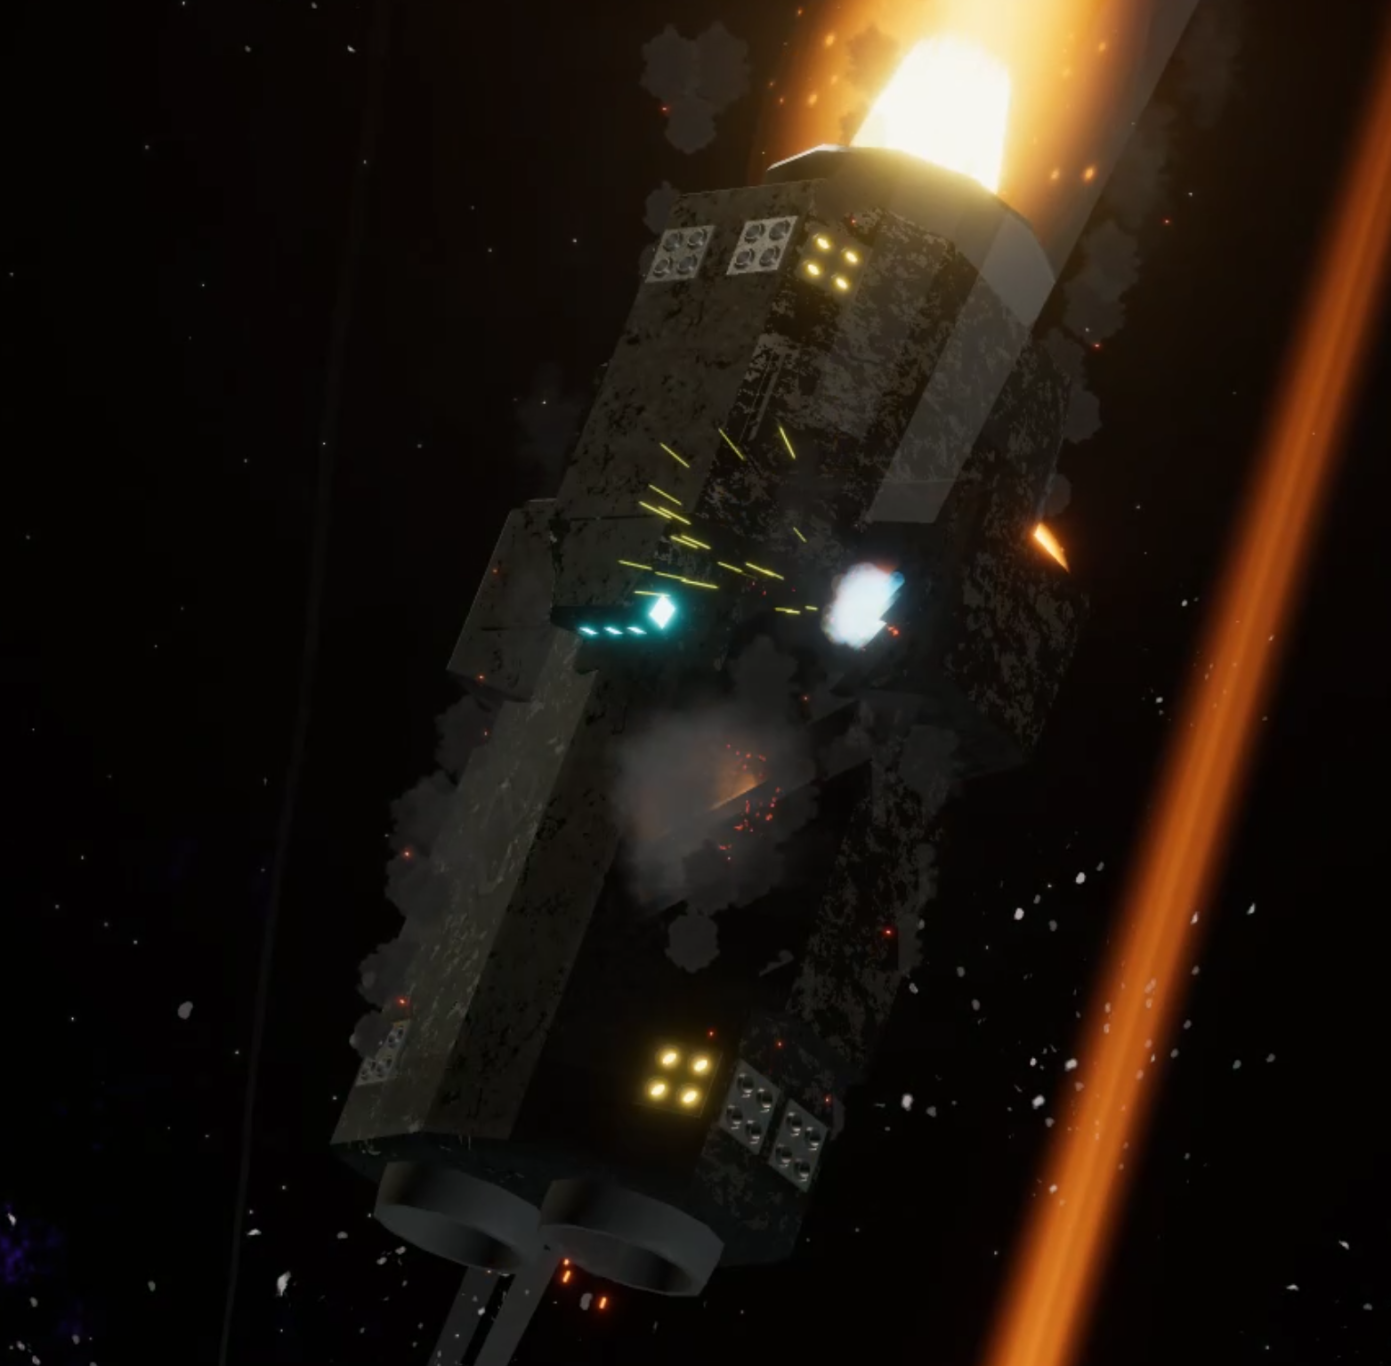
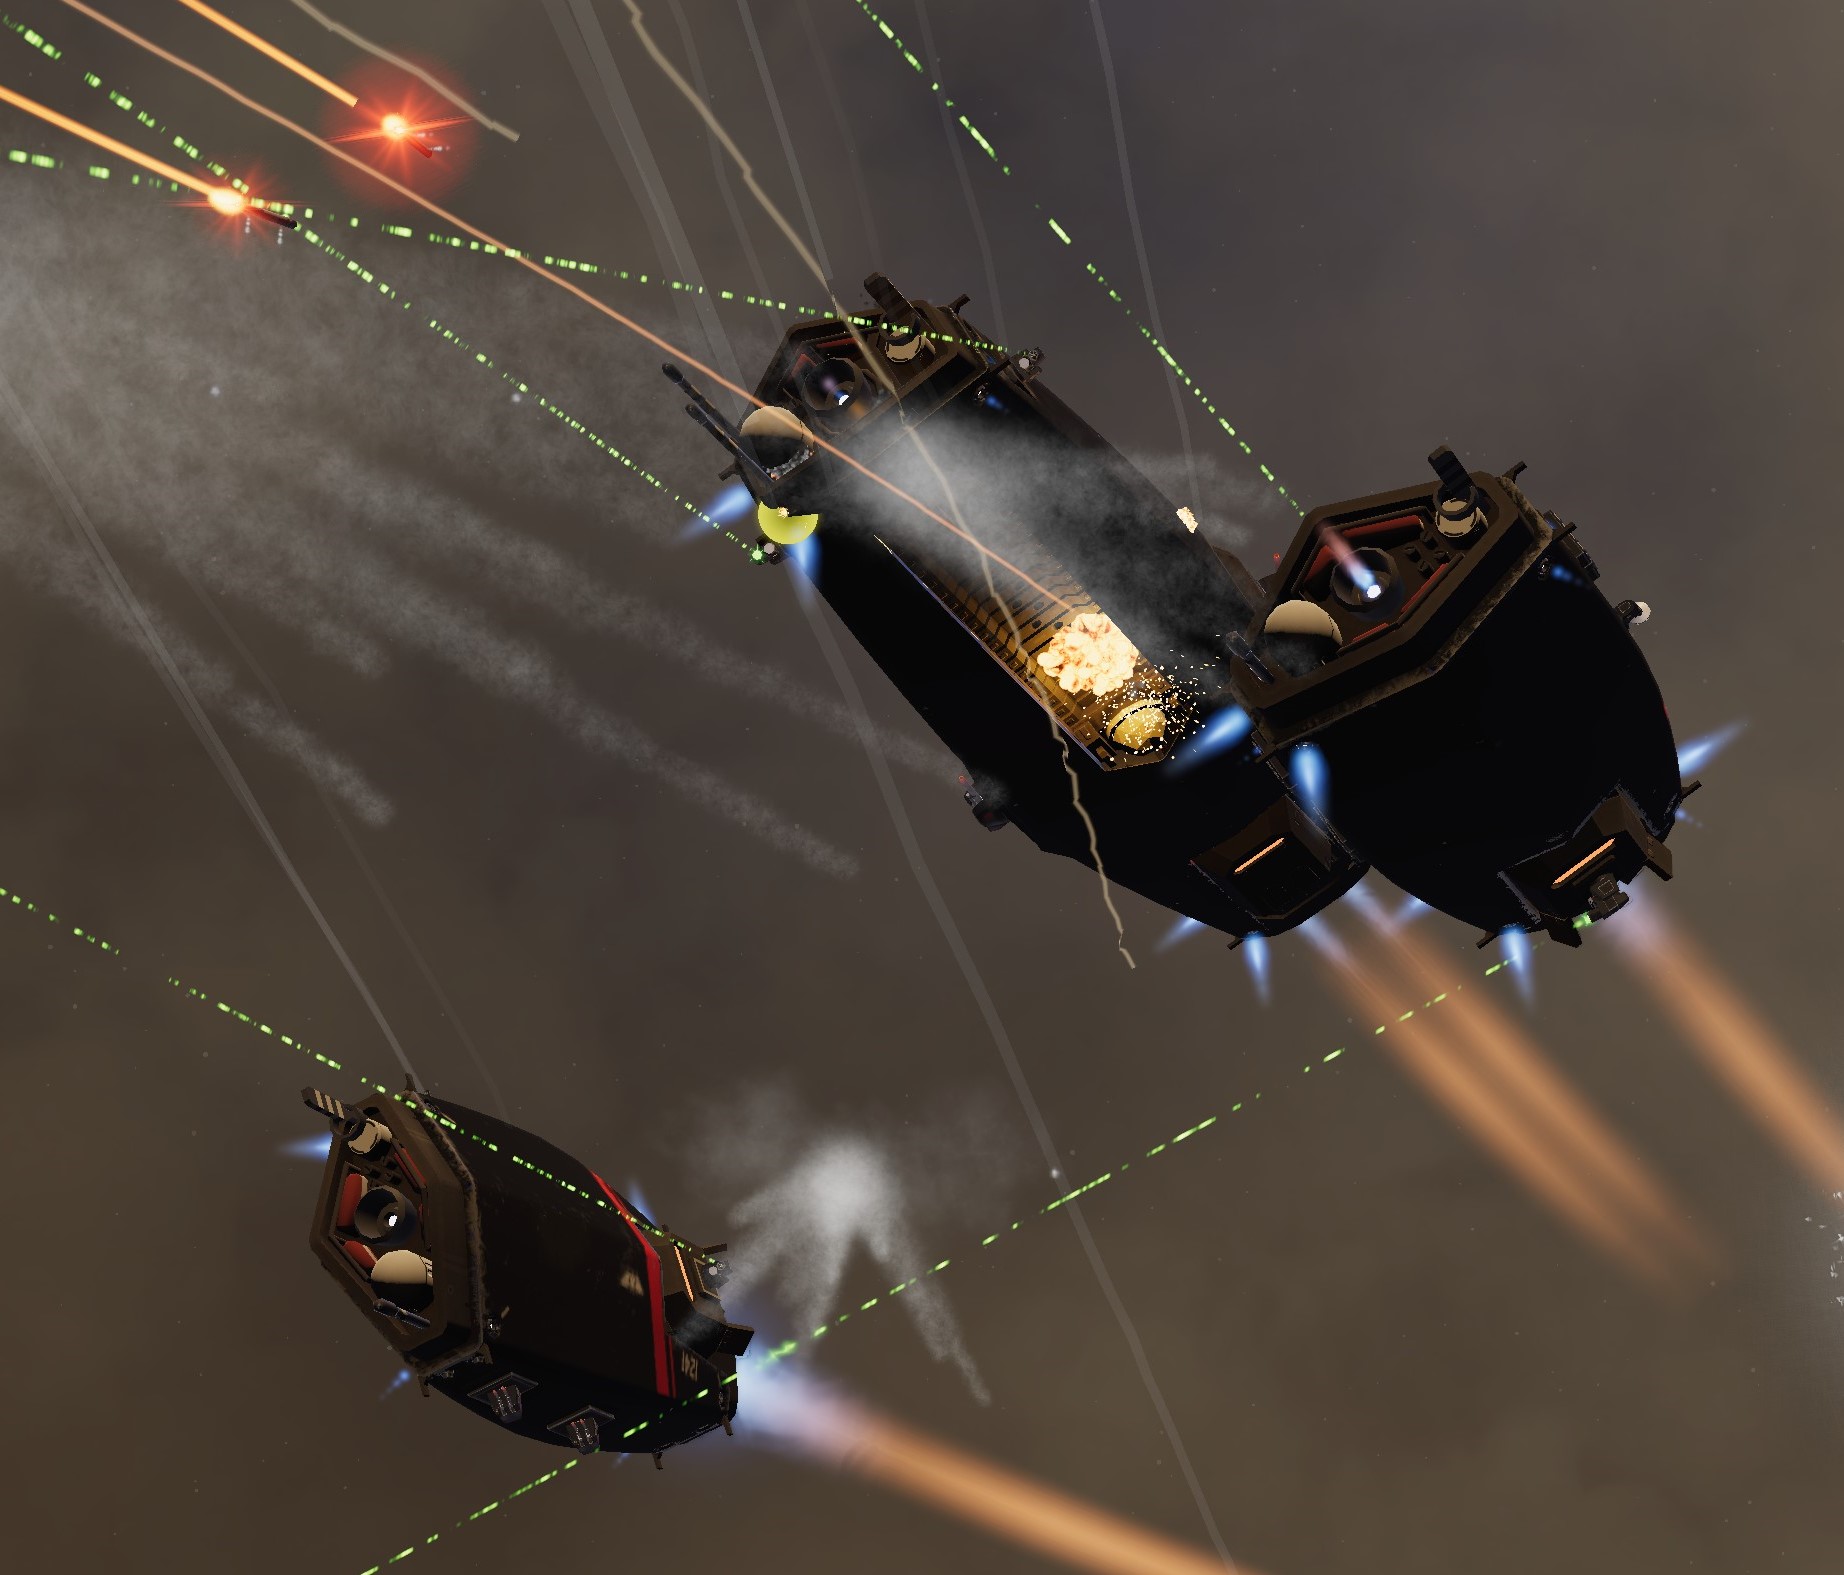
When starting a map, you can sometimes! (rarely) see enemy drive-flares, giving you basic information on what position they started the match on.
(WTH) Sosaille 22 Jan, 2024 @ 9:48am 
this game sounds like aurora 4x in 3D
Hex: Free Loot 5 Oct, 2023 @ 12:11pm 
Whats AMM? so I could think If I want to change default AMM :D
Desasunda 11 Aug, 2023 @ 12:34pm 
And for the love of God*