Halo: The Master Chief Collection

Halo: The Master Chief Collection

451 ratings
Golden Moa Location Guide
By Psychedelic Adventurer
An extension to my Halo 3 collectible guide. A complete guide to getting all the Golden Moa's.

12
8
16
2
2
2
   
Award
Favorite
Favorited
Unfavorite
Intro


This was going to be added into my original Halo 3 Guide. But I thought it easier for those who just want to do the weekly challenges to be able to just check into this guide, instead of having to scroll through the larger guide, just to get the Moa statues.

If you're looking for Halo 3's many Skulls, please orient yourself over here:
https://steamhost.cn/steamcommunity_com/sharedfiles/filedetails/?id=2098482099
This guide will help you find the new Golden Moa statues, introduced in Season 8, and will include all possible spawn locations.

Note: There seems to be a total of 3 Moa on 3 different levels, that are included in the game weekly, with a different selection rotated in and out. This guide will include all possible locations as them are released (we already know where they'll spawn, but they currently have no Moa there)
[Disclaimer]


As of the publishing of this guide, not all Moa statues have been released. The modding tools have shown where all possible spawn location can spawn, so far only the ones' included are actually attainable in-game.

Time will tell whether there is only a certain number that be included in the game at one time. If so, there almost certainly be a rotation of which Moa are spawned at any one time. This guide will include all possible locations.

If I have missed any spawns that definately have Moa in them, please tell me down below in the comments section.


ALSO: MAKE SURE YOU ARE ON THE RIGHT ROTATION ON THE RIGHT MAP. SCROLL THROUGH UNTIL YOU ARE ON THE CORRECT SET
Sierra 117
Rotation 1
Moa #1
The first Moa in the game. Easily enough to see. Just past where the Brute is beating the snot out of the marine. It will be up on a pipe to your right. Jump up on a boulder to your left and you'll be able to get a good shot.


Moa #2
Just after the Pelicans get shot down, you'll notice a large pipe outcropping, with the Moa hiding in it.


Moa #3
Right at the final stage in the mission. This one can be grabbed right at the start of the checkpoint. Just jump down onto the smashed house, look straight ahead, and you'll be able to see the Moa down at the bottom of the pipe.


Rotation 2
Moa #1
Just at the start of the mission, as you go past past a large felled tree. Just look inside the tree, as you go around it.


Moa #2
As you open out from the canyon, you'll see a Phantom go overhead. The Moa will be on the waterfall.


Moa #3
Literally at the same point as Moa #3, just after the Pelicans get blown out of the sky, look under a ramp at the very start of the check point. You'll find the Moa hiding under an alcove.


Rotation 3
Moa #1
Straight at the start of the level. Turn 180 and you'll see the Moa inside a tree.


Moa #2
Just as you begin your first combat encounter, the Moa is on the right, inside the fort building.


Moa #3
Right at the final stage in the mission. This one can be grabbed right at the start of the checkpoint. Just jump down onto the smashed house, look straight ahead, and you'll be able to see the Moa down at the bottom of the pipe.
Crow's Nest
Rotation #1
Moa #1
Right at the start of the level, jump down stairs, go through the door, and look right. The moa will be on the right side of the big room, underneath a weapon locker


Moa #2
When you first enter the hanger, drop down to the right, past the turret, and down into the red undercroft. The Moa will be at the far end of the hanger, behind some boxes.


Moa #3
Once you return to the main hanger with the Pelican, Brutes will ambush you. Kill them, then head up the stairs through a door which will open. Head up the stairs, into a control-room, and grab the Moa on the left.


Rotation #2
Moa #1
Straight where you spawn, up at the top of a balcony. You can either run and grab the skull to bonk it, or run to get a weapon.


Moa #2
Another easy one. Near the mid point of the level, you'll encounter a pack of Brutes lead a chieftain. As soon as you go through the door, look directly to your right. The Moa will be in the corner.

Moa #3
You can really miss this one. Near the end of the level, where the checkpoint tells you to rearm the bomb, run through a door, and the Moa will be by a dead Marine.


Rotation #3
Moa #1
After you've dealt with the Drones, continue on until you see a warthog get blown up, take a left down the corridor, until it reaches a dead end (with the Rooster teeth easter-egg. The moa is on a pipe above.


Moa #2
Much further on, you'll eventually come down to the part where jump down a shoot until a long corridor with intersecting shoots which drones pop out of. The Moa is in the 3rd shoot on the left.


Moa #3
Just after you kill the Brutes in the Marines' living space, you'll enter out into the bottom of the hanger. The Moa is hiding right at the back of it.
Tsavo Highway
Rotation #1
Moa #1
During the first driving section, drive over the small junction, and you'll find the Moa right behind the dam.


Moa #2
Right after you get the first Moa, you'll see a small antenna device. The Moa can be found right in the middle.


Moa #3
Right at the start of Rally point Bravo (remember, you can back out and restart at any point), you'll see a large complex. Go through the gate, and look directly to your left. You'll see the Moa on the left on an rampart.


Rotation #2
Moa #1
Just after you go straight through the first corridor, behind a warthog.


Moa #2
After you open the giant doors, just proceed a little down the tunnel and you'll see the Moa on the right. P.S. Don't get squashed by incoming warthogs. ( ͡° ͜ʖ ͡°)


Moa #3
After the first driving sequence, you'll get the first pitched battle between the UNSC and the Covenant, with a giant door shield. Look inside the second small building, and you'll find the Moa hiding in the darkest spot.


Rotation #3
Moa #1
After you drive out of the first door, drive all the way to the entrance, where there is a small skirmish going on. The Moa is on the top of the outpost.


Moa #2
Near the end of the first warthog section, drive through a pitched battle, up a slope and you'll find the Moa on a broken bridge on a piece of rebar.


Moa #3
Just past where you hop over the rebar to get to the next section, you'll meet a large battle between UNSC and Brutes. The Moa will be inside the building to the left at the back..
The Storm
Rotation #1
Moa #1
Straight after you get out of the Warthog, run round to the right. The Moa will be on a pipe round the corner of the ship-yard entrance.


Moa #2
Right down the first shooting gallery, you'll enter out into the first large outside fight. The Moa is just across from the door, on the backside of the peir.


Moa #3
After you finish off the Wraiths, proceed from the second complex arena, and enter into the next large arena, where the squad of Marine's on Mongoose's are. The Moa is just onto the sea bed , inside a pipe.


Rotation #2
Moa #1
Straight through the first door. Fight through the first area until you reach the tunnel to the first open area. In the tunnel, look inside an alcove. The moa is hiding in there.


Moa #2
After the first open area where you destroy the Wraiths, fight through the first area, and when you jump the ramp, you'll get hit by some Drones. You'll be able to grab the Moa in this area in the vent at the top.


Moa #3
Near the end of industrial section with the Hunters, look up at the top, and you'll see a large container. The Moa is hiding in there.
Floodgate

Rotation #1

Moa #1
After fighting through the first lot of Flood, past where the Marine gets infected at the door, and through the first large flood fight, you'll come to a complex with some stairs and a ramp. Before continuing on, look behind where you'd normally go, and you'll see a hanging container. The Moa will be inside it.


Moa #2
After you carry on from the last Moa, you'll go through a long winding corridor with Flood. You'll then enter out and a crazed Marine will be going coo-coo. Moa will be right be him.


Moa #3
After you've finished off the last Moa with the Marine, go through the door where, if you continue, you'll get a cutscene where the Elites come to help fight back the Flood. Immediately after going through the door, look to the left and you'll see the Moa.


Rotation #2

Moa #1
Just through the first area, just as the Flood jump down on the poor Marines, look to your right. The Moa will be in the corner.


Moa #2
After the first fight inside the complex, look directly to your right as you go through the large door. You'll see the Moa on your right.


Moa #3
Inside the Flood infested crashsite, carry on down the pathway, jump down; and just before you open in the area with Cortana, look up. You'll see the Moa at the top.
The Ark
Rotation #1

Moa #1
Right after shooting through a light vehicle section (Mongoose, Prowler, Ghost, etc), you'll enter into a huge arena. As soon as you go through the tunnel and enter into the area, turn right, and climb the cliff a little. You'll find the Moa behind a rock.


Moa #2
After fighting the Scarab, go to the left side of the tower. You'll see a long ramp, with the Moa at the top.


Moa #3
After entering the complex, you'll go through a couple of firing galleries, before going down some stairs. Once you reach the bottom, you'll need to clear out a room full of Brutes. After you've finished, pick up the Moa on the edge of an alcove.


Rotation #2

Moa #1
After you take out the Brutes and Grunts at the crashsite, grab a mongoose and head out. As you progress, you'll reach a large outcrop. Continue down to the left, and you'll see a large wall; with the Moa on the side.


Moa #2
After you fight the Scarab, continue up the large complex. The Moa is hiding on a ledge on the right.


Moa #3
After getting into the complex, and turning on the Cartographer, continue down the stairs until you reach the area with the Invisible Brutes. The Moa is on the 2nd level, inside a little alcove.
The Covenant
Rotation #1

Moa #1
Right as the mission starts, clear the drop-zone and look straight to the waterfall. There will be Moa on the top of it.


Moa #2
After you enter the first complex, go straight to the right, and as you're going down the corridor, look up. The Moa will be on an overhang, just before you see the upper-level.


Moa #3
During the Hornet fight, keep going all the way to when you need to take out the Anti-Air Wraiths, fly down to the right. There will be a broken tree, and inside that will be a Moa nestling in the bottom.


Rotation #2

Moa #1
Start of the level, just next to the AA wraith, inside the crashed Pelican.


Moa #2
When you grab your first vehicle, roll up past the defensive line and you'll get to a waterfall on a cliff. The Moa is in the waterfall.

Moa #3
As you enter the first complex and go up the lift, the Moa will be in the arena where the brute chiefton is, up on a colomn.
Cortana
Rotation #1
Moa #1
'Cortana' is quite difficult for collectibles, purely because of the fleshy texture throughout the level; everything looks the same. The first Moa will be near the start of the level, when you start to move down into the first encounter, with a large door shaped like a....you know. The Moa is just to the left, on a far-off outcropping.


Moa #2
This one is easy to miss if you're not paying attention. After you enter a large open area with Tank flood everywhere; you'll just have acquired an Energysword, run through the little opening, and before continuing on, look up and to the left. The Moa is hiding in a little alcove.


Moa #3
Again, quite an easy one to miss. As you head onwards after Moa #2, you'll see an fleshy overhang, with some Energysword's in a box. Continue on for a little bit longer, and look into a small hole in the side of the wall on the right. The one you're looking for is very dark, so just fire into it.


Rotation #2
Moa #1
After tyou enter in the blue room that isn't entirely Floodified, Cortana will start to laugh. The Moa will be on an alcove, just where the Skull is.


Moa #2
You can't miss this one. As you go past the last Moa, continue on and you'll enter into a open room with Flood swaming around. Continue on up the slope, and inside a little alcove will be the Moa, sitting on a hologram.


Moa #3
MISSING - I have absolutely no idea where this one is.
Halo
Rotation #1

Moa #1
Easy one. Straight behind the startpoint, inside the Pelican's hanger.

Moa #2
2/3 through the level (right at checkpoint Bravo), when you get to the top of the complex, look straight at the doors, then up and to the left. On a small outcropping, you'll see the Moa.


Moa #3
After you've dealt with our favourite Monitor, head out and into the Warthog. As you zoom down the first slope on your way to falling shards of Forerunner tech, look at the top of the rock. You'll be able to see it clearly as you go past as a lava spew will pull it into sharp relief.


Rotation #2

Moa #1
At the start of the level, just before you enter out in the main area, on a rampart, just before jumping down.


Moa #2
You can jump to the last two Moa from Rally Point Bravo. Just inside the main complex, hiding on ledge on the left, just inside the opening.


Moa #3
As you're escaping, down the first exit across the cliff, carry on down the tight corridor, and the Moa will be in the corner, before you go through another door.
Conclusion
So far, and as far as I know, this is all the Moa's that have been included on Week #1. I shall update this guide when the next cycle of Moa are rotated.

Until then, I hope this guide has helped you finish that challenge; and I'm sure I'll see you all again next week.
- Change Log
--14/10/21: Guide Published
Week #1 of Moa schedule included
--16/10/21: Moa #4 on Sierra117 found + Added some art.
--20/10/21: Week #2: The Storm, FloodGate, The Ark completed
--20/10/21: Week #3: The Covenant, Cortana, and Halo completed
--03/11/21: Rotation #2 started
--10/11/21: Rotation #2 levels: 'The storm', 'Floodgate', and 'The Ark'.
--17/11/21: Rotation #2 levels: 'The Covenant', 'Cortana', and 'Halo'.
--03/11/21: Rotation #3 started - Sierra117, Crows Nest, and Tsavo Highway
[Optional] Donate!


https://steamhost.cn/steamcommunity_com/tradeoffer/new/?partner=38602821&token=A3SrzMse

Donations are not needed, and are certainly not expected. However, they are highly appreciated none the less, and give me extra motivation to carry on supporting my hobby. If you feel like throwing something my way, just use the trade link found above.
233 Comments
Minos Prime 14 Jan, 2024 @ 8:02pm 
is there something wrong with my game i havent found one moa
Bizargh 7 Jan, 2023 @ 7:30am 
@Psychedelic Adventurer
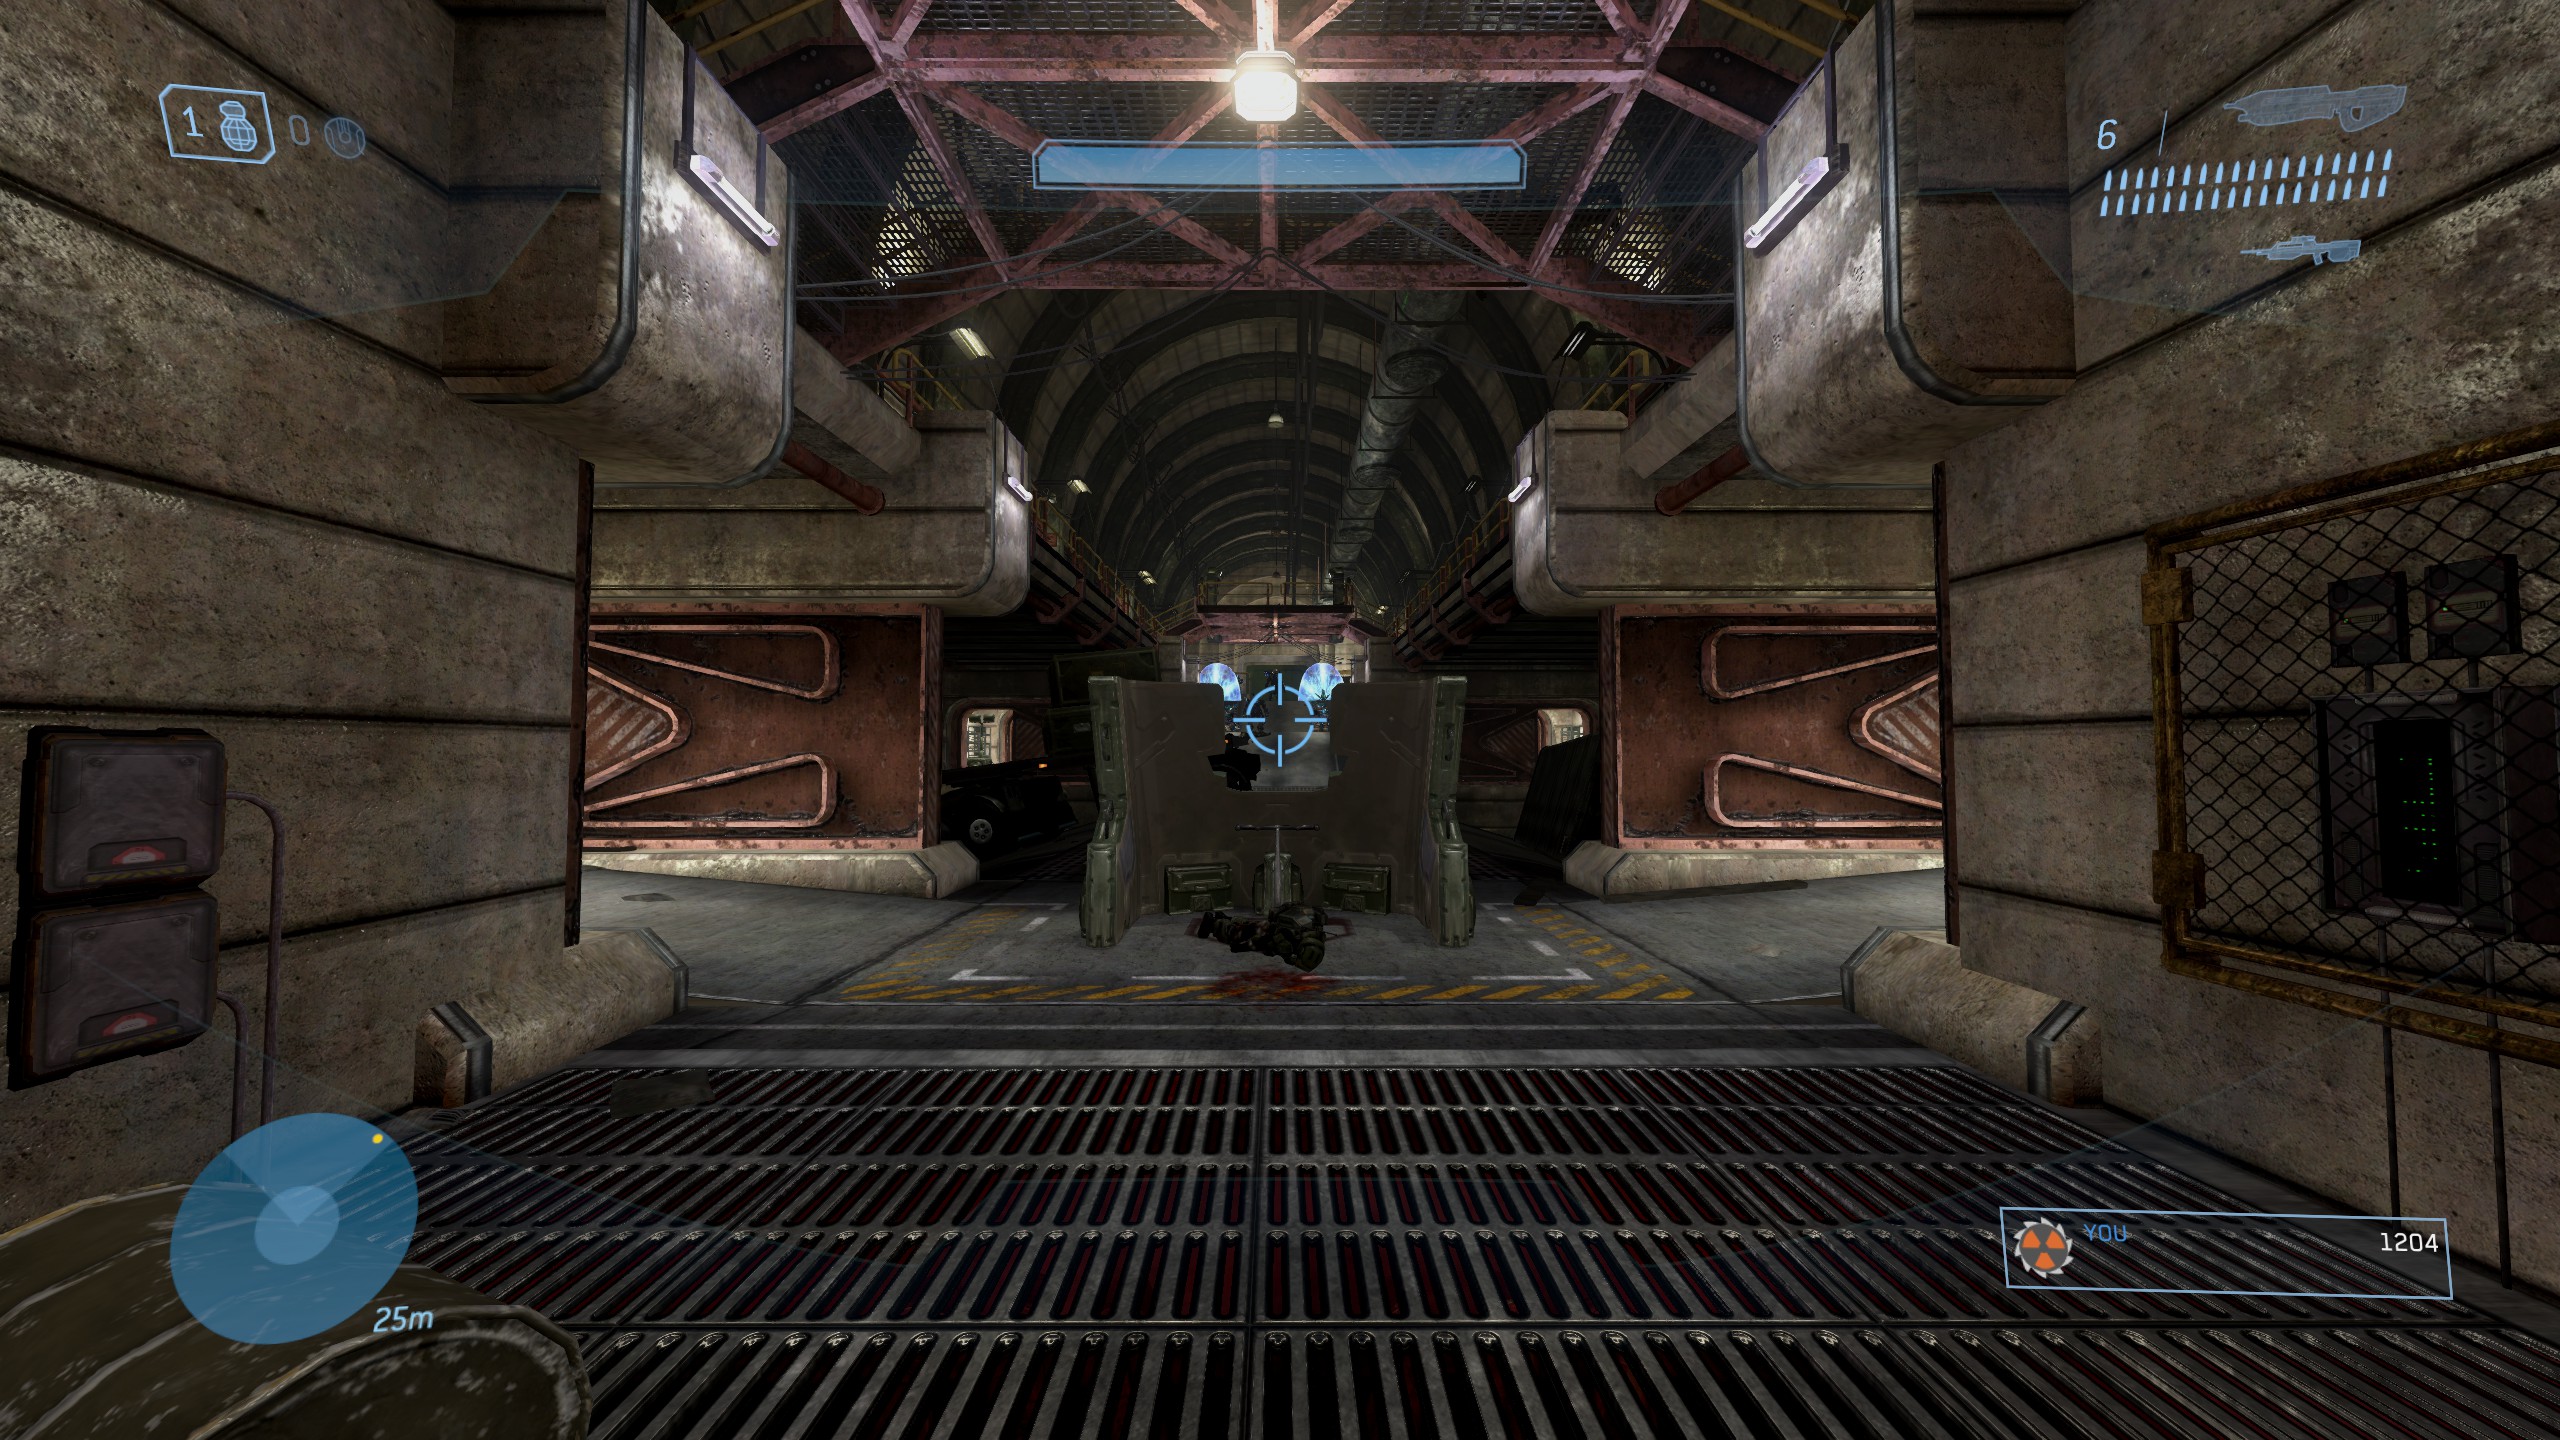
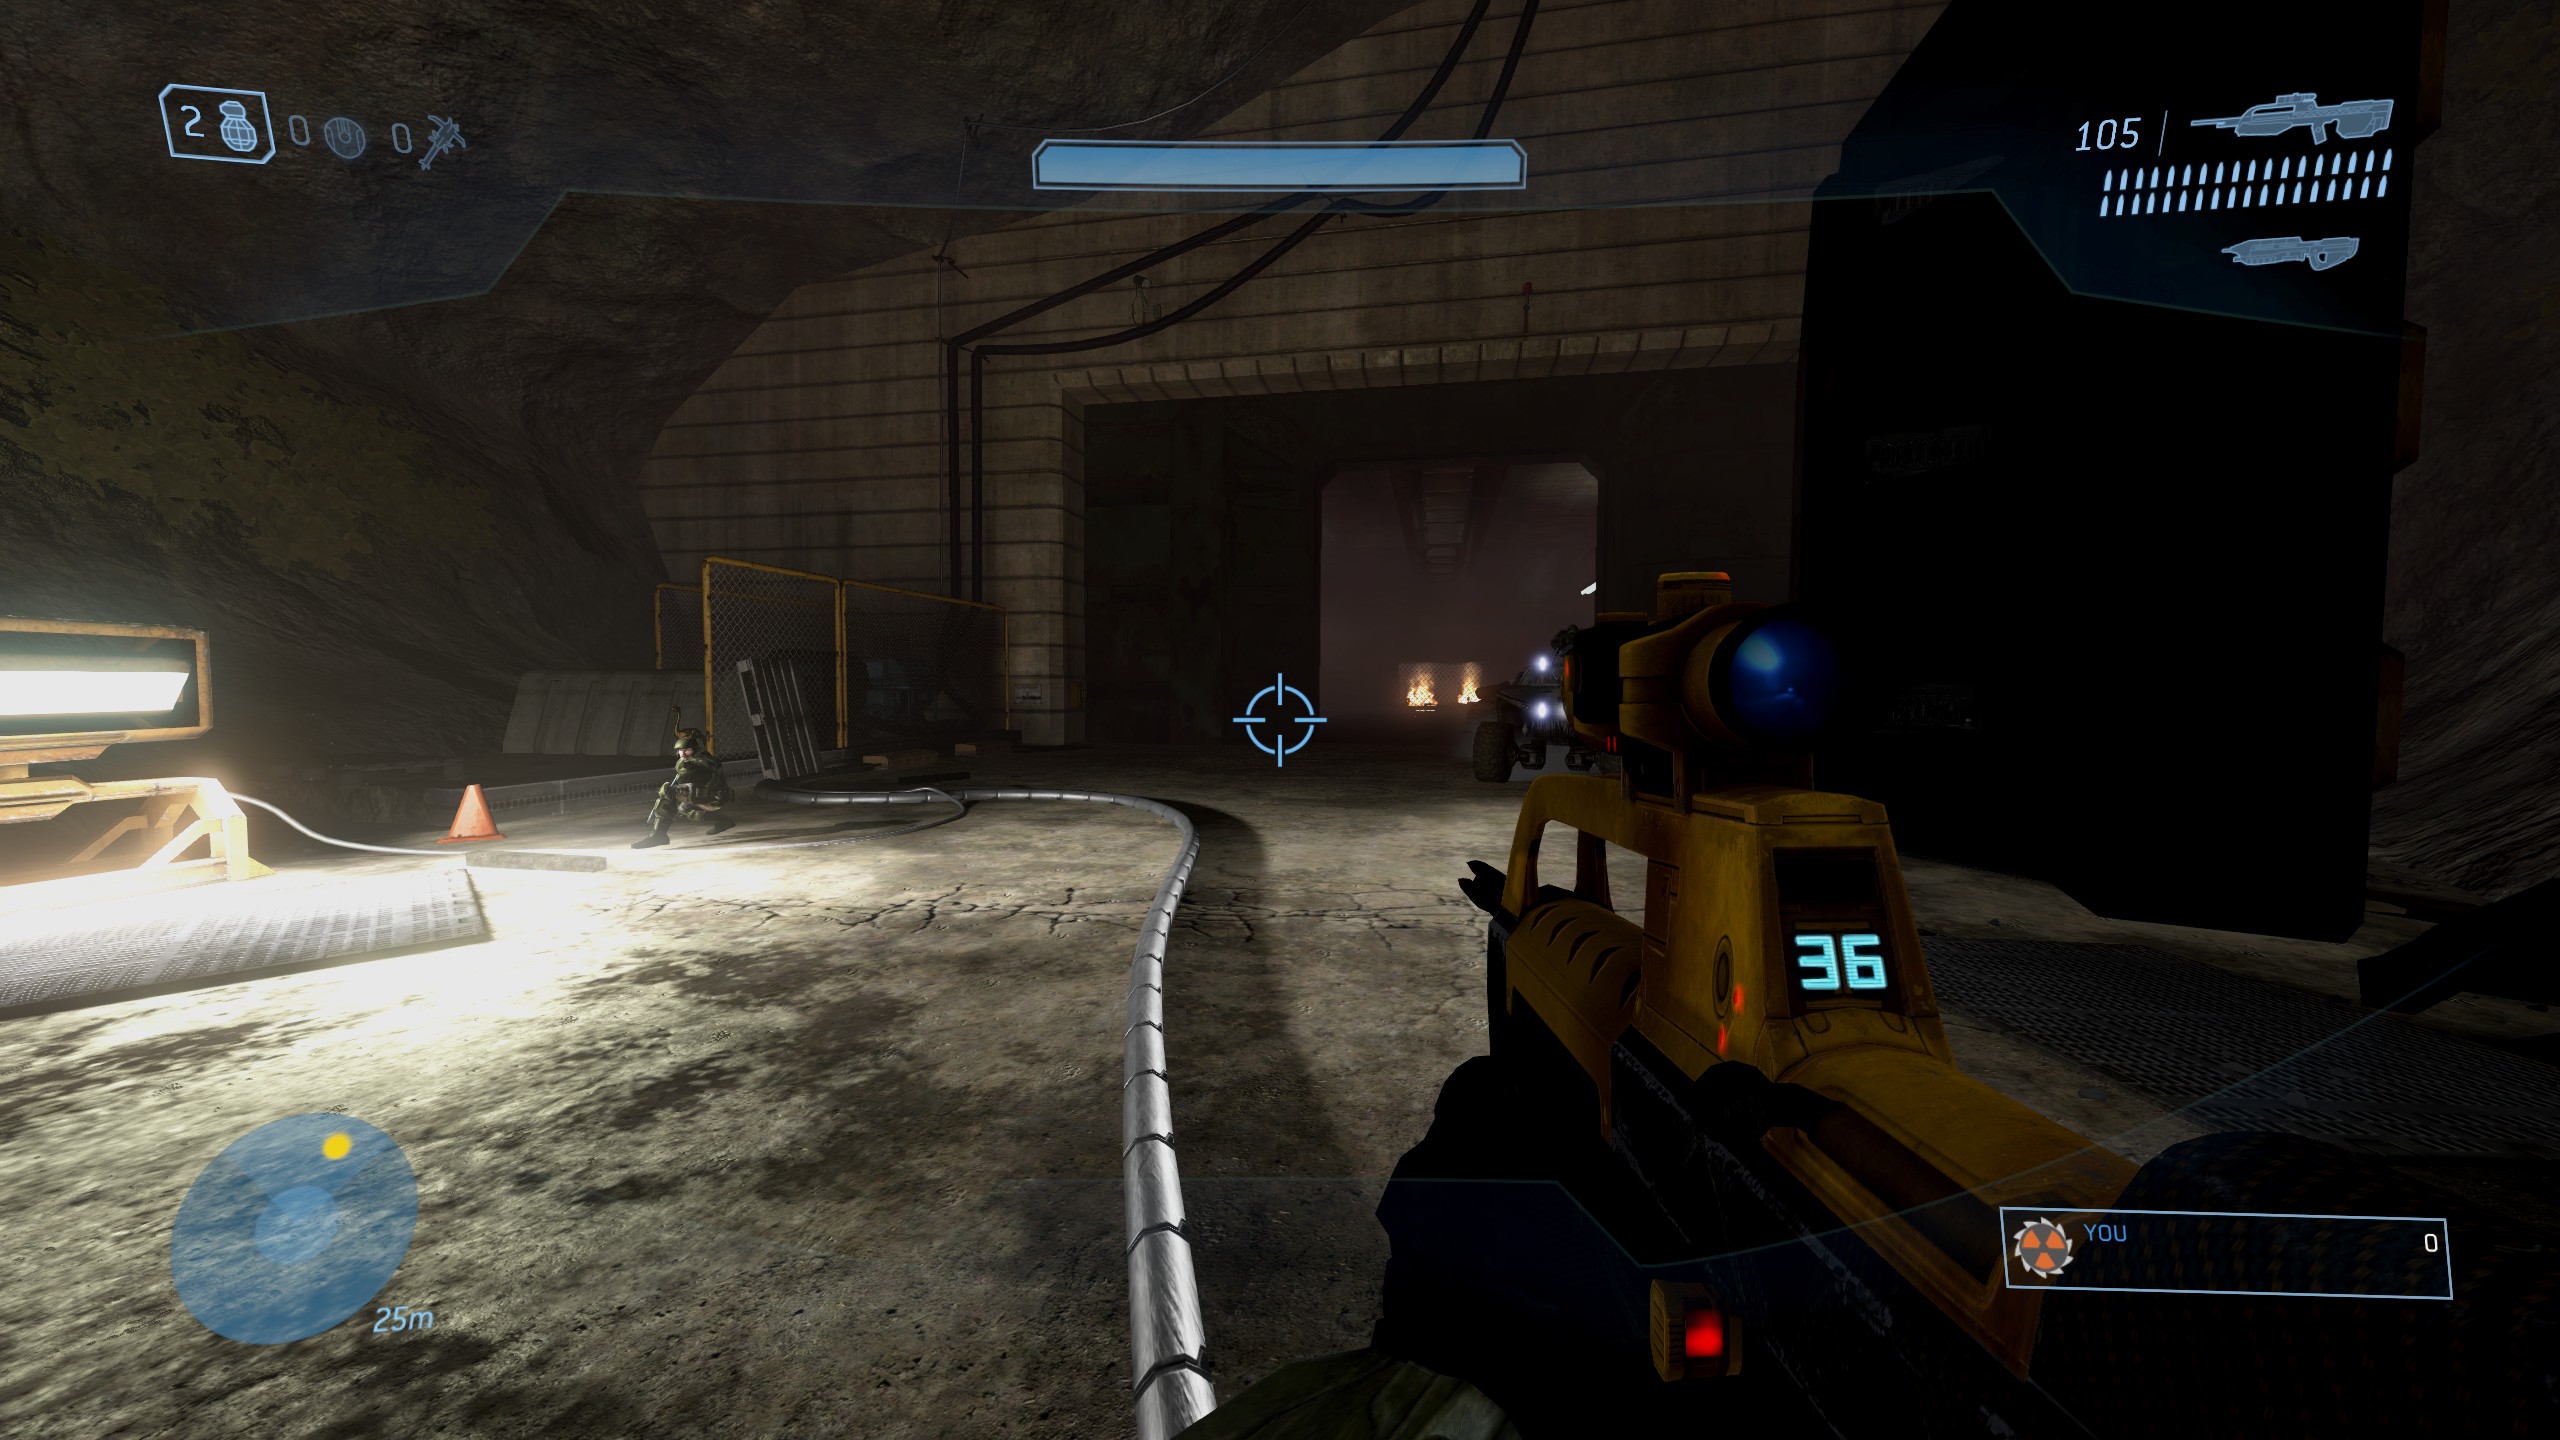
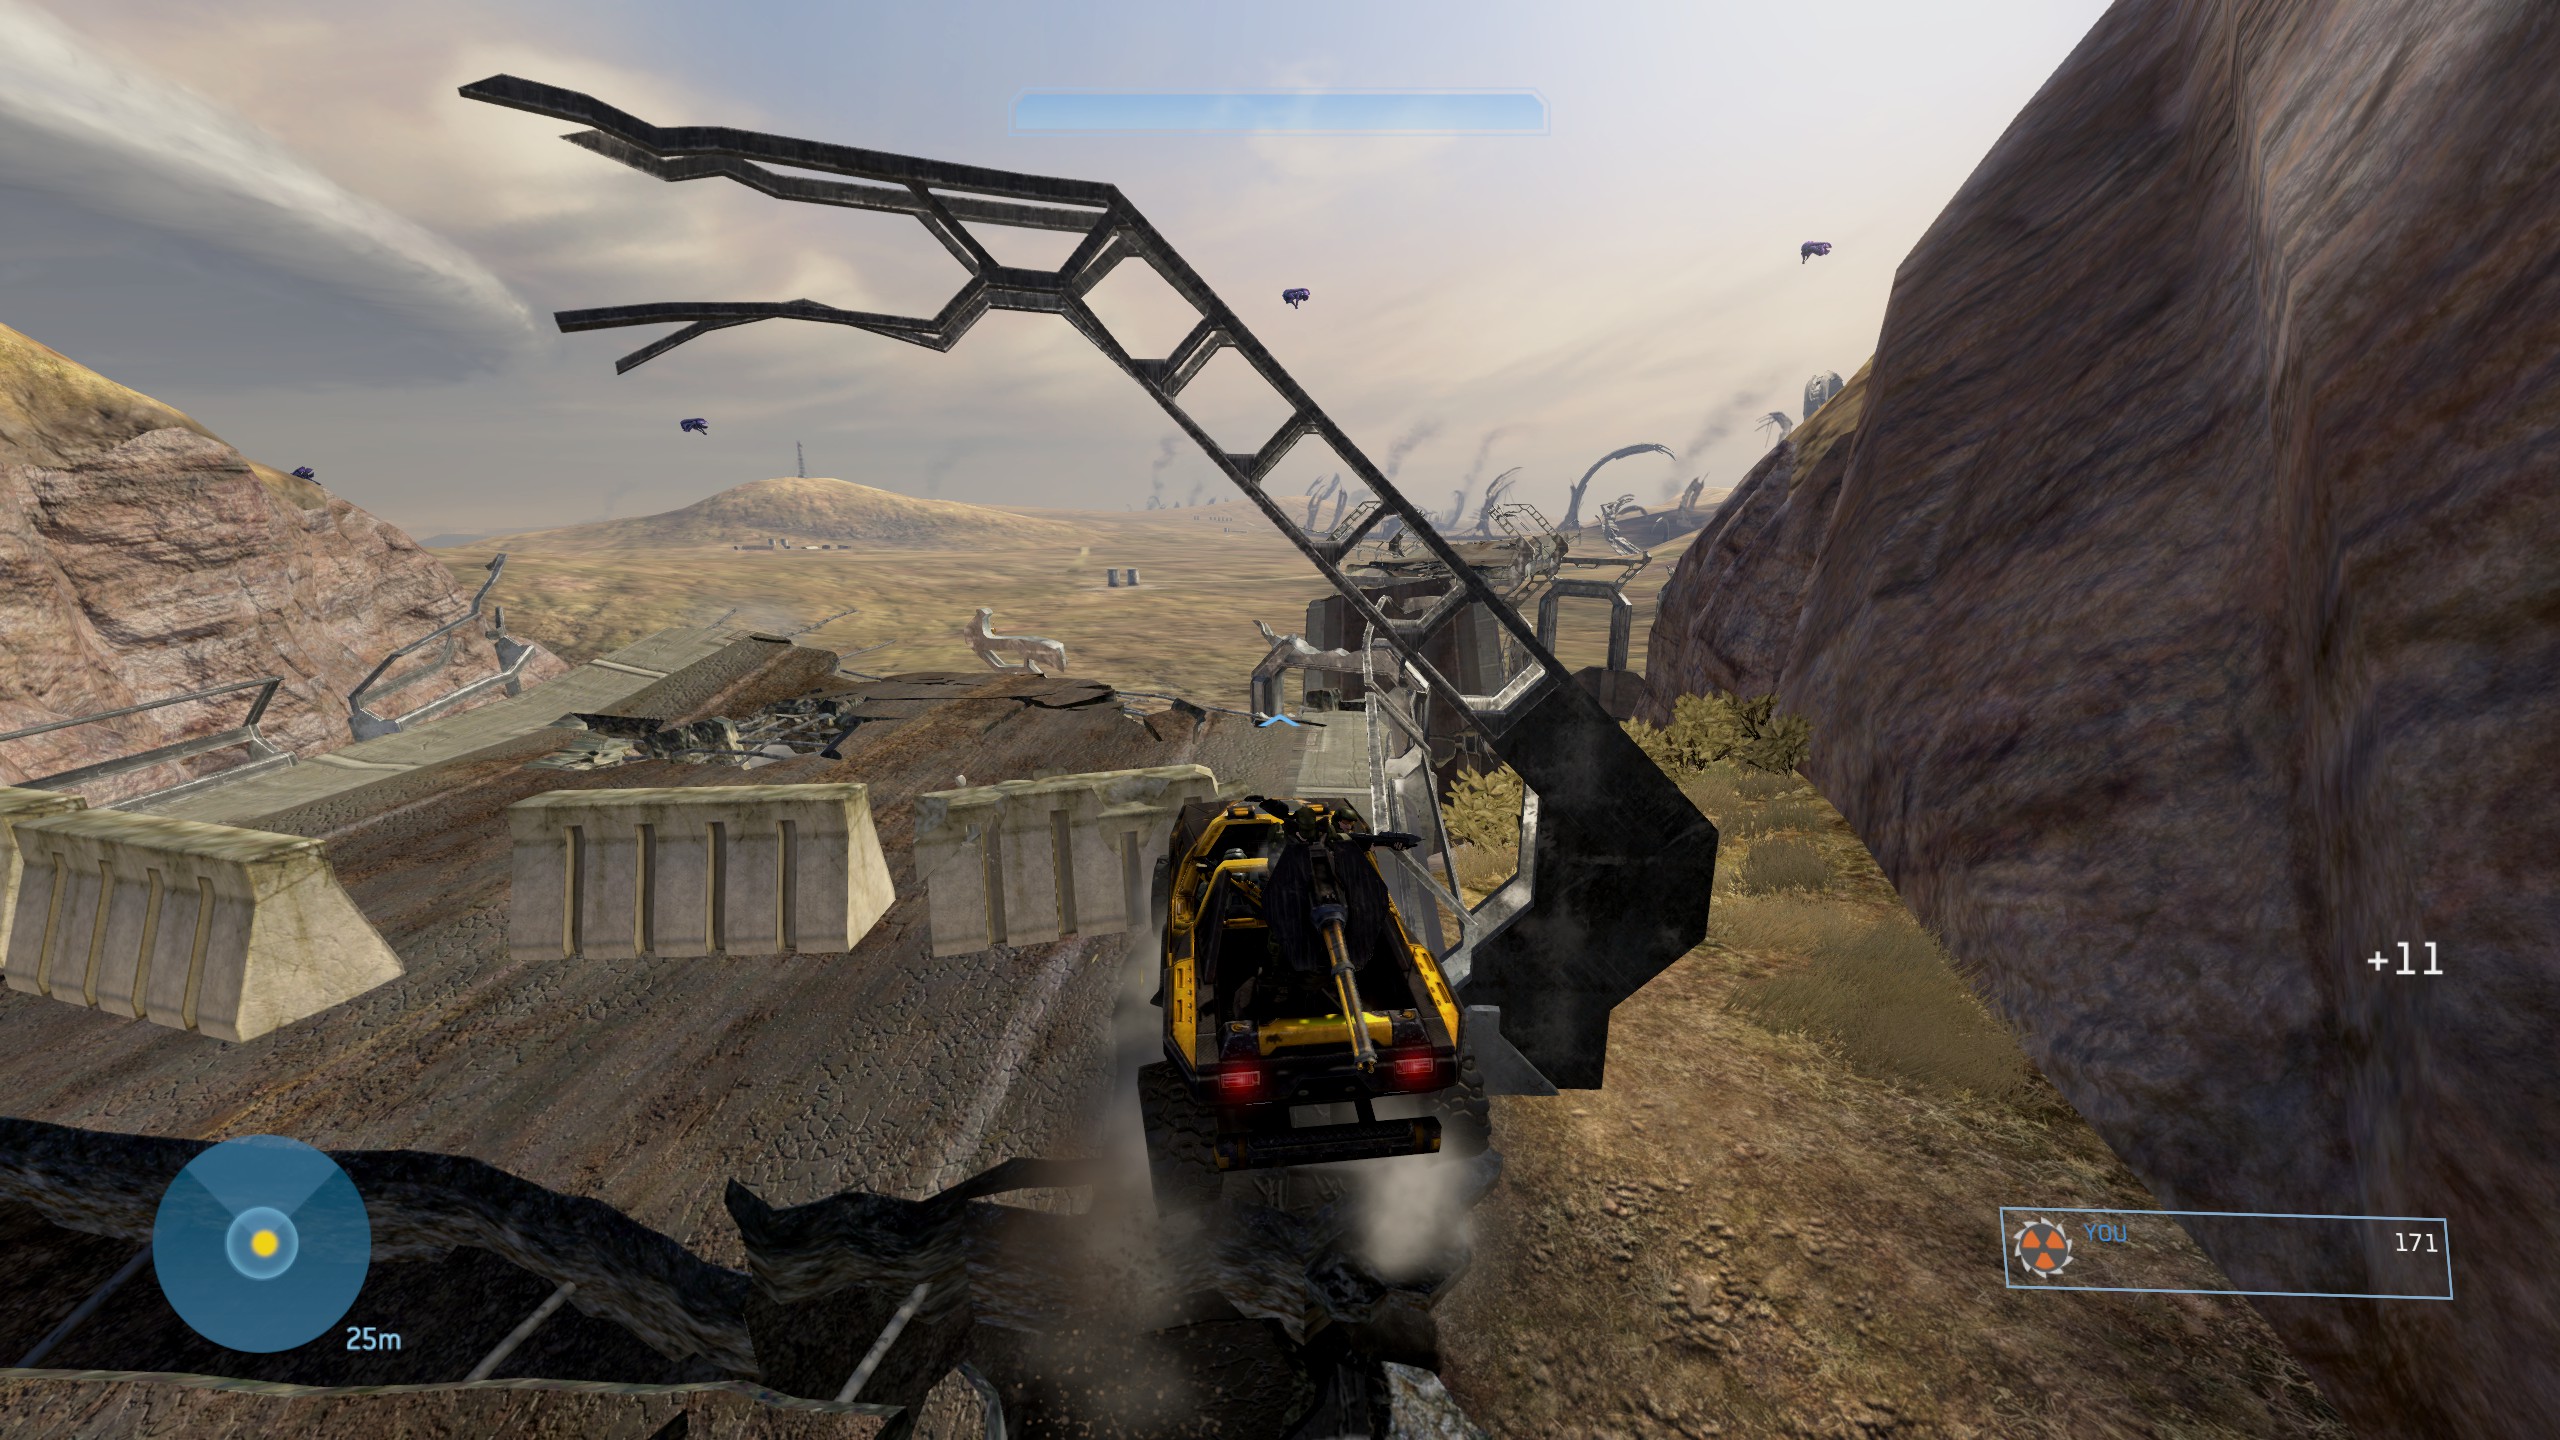
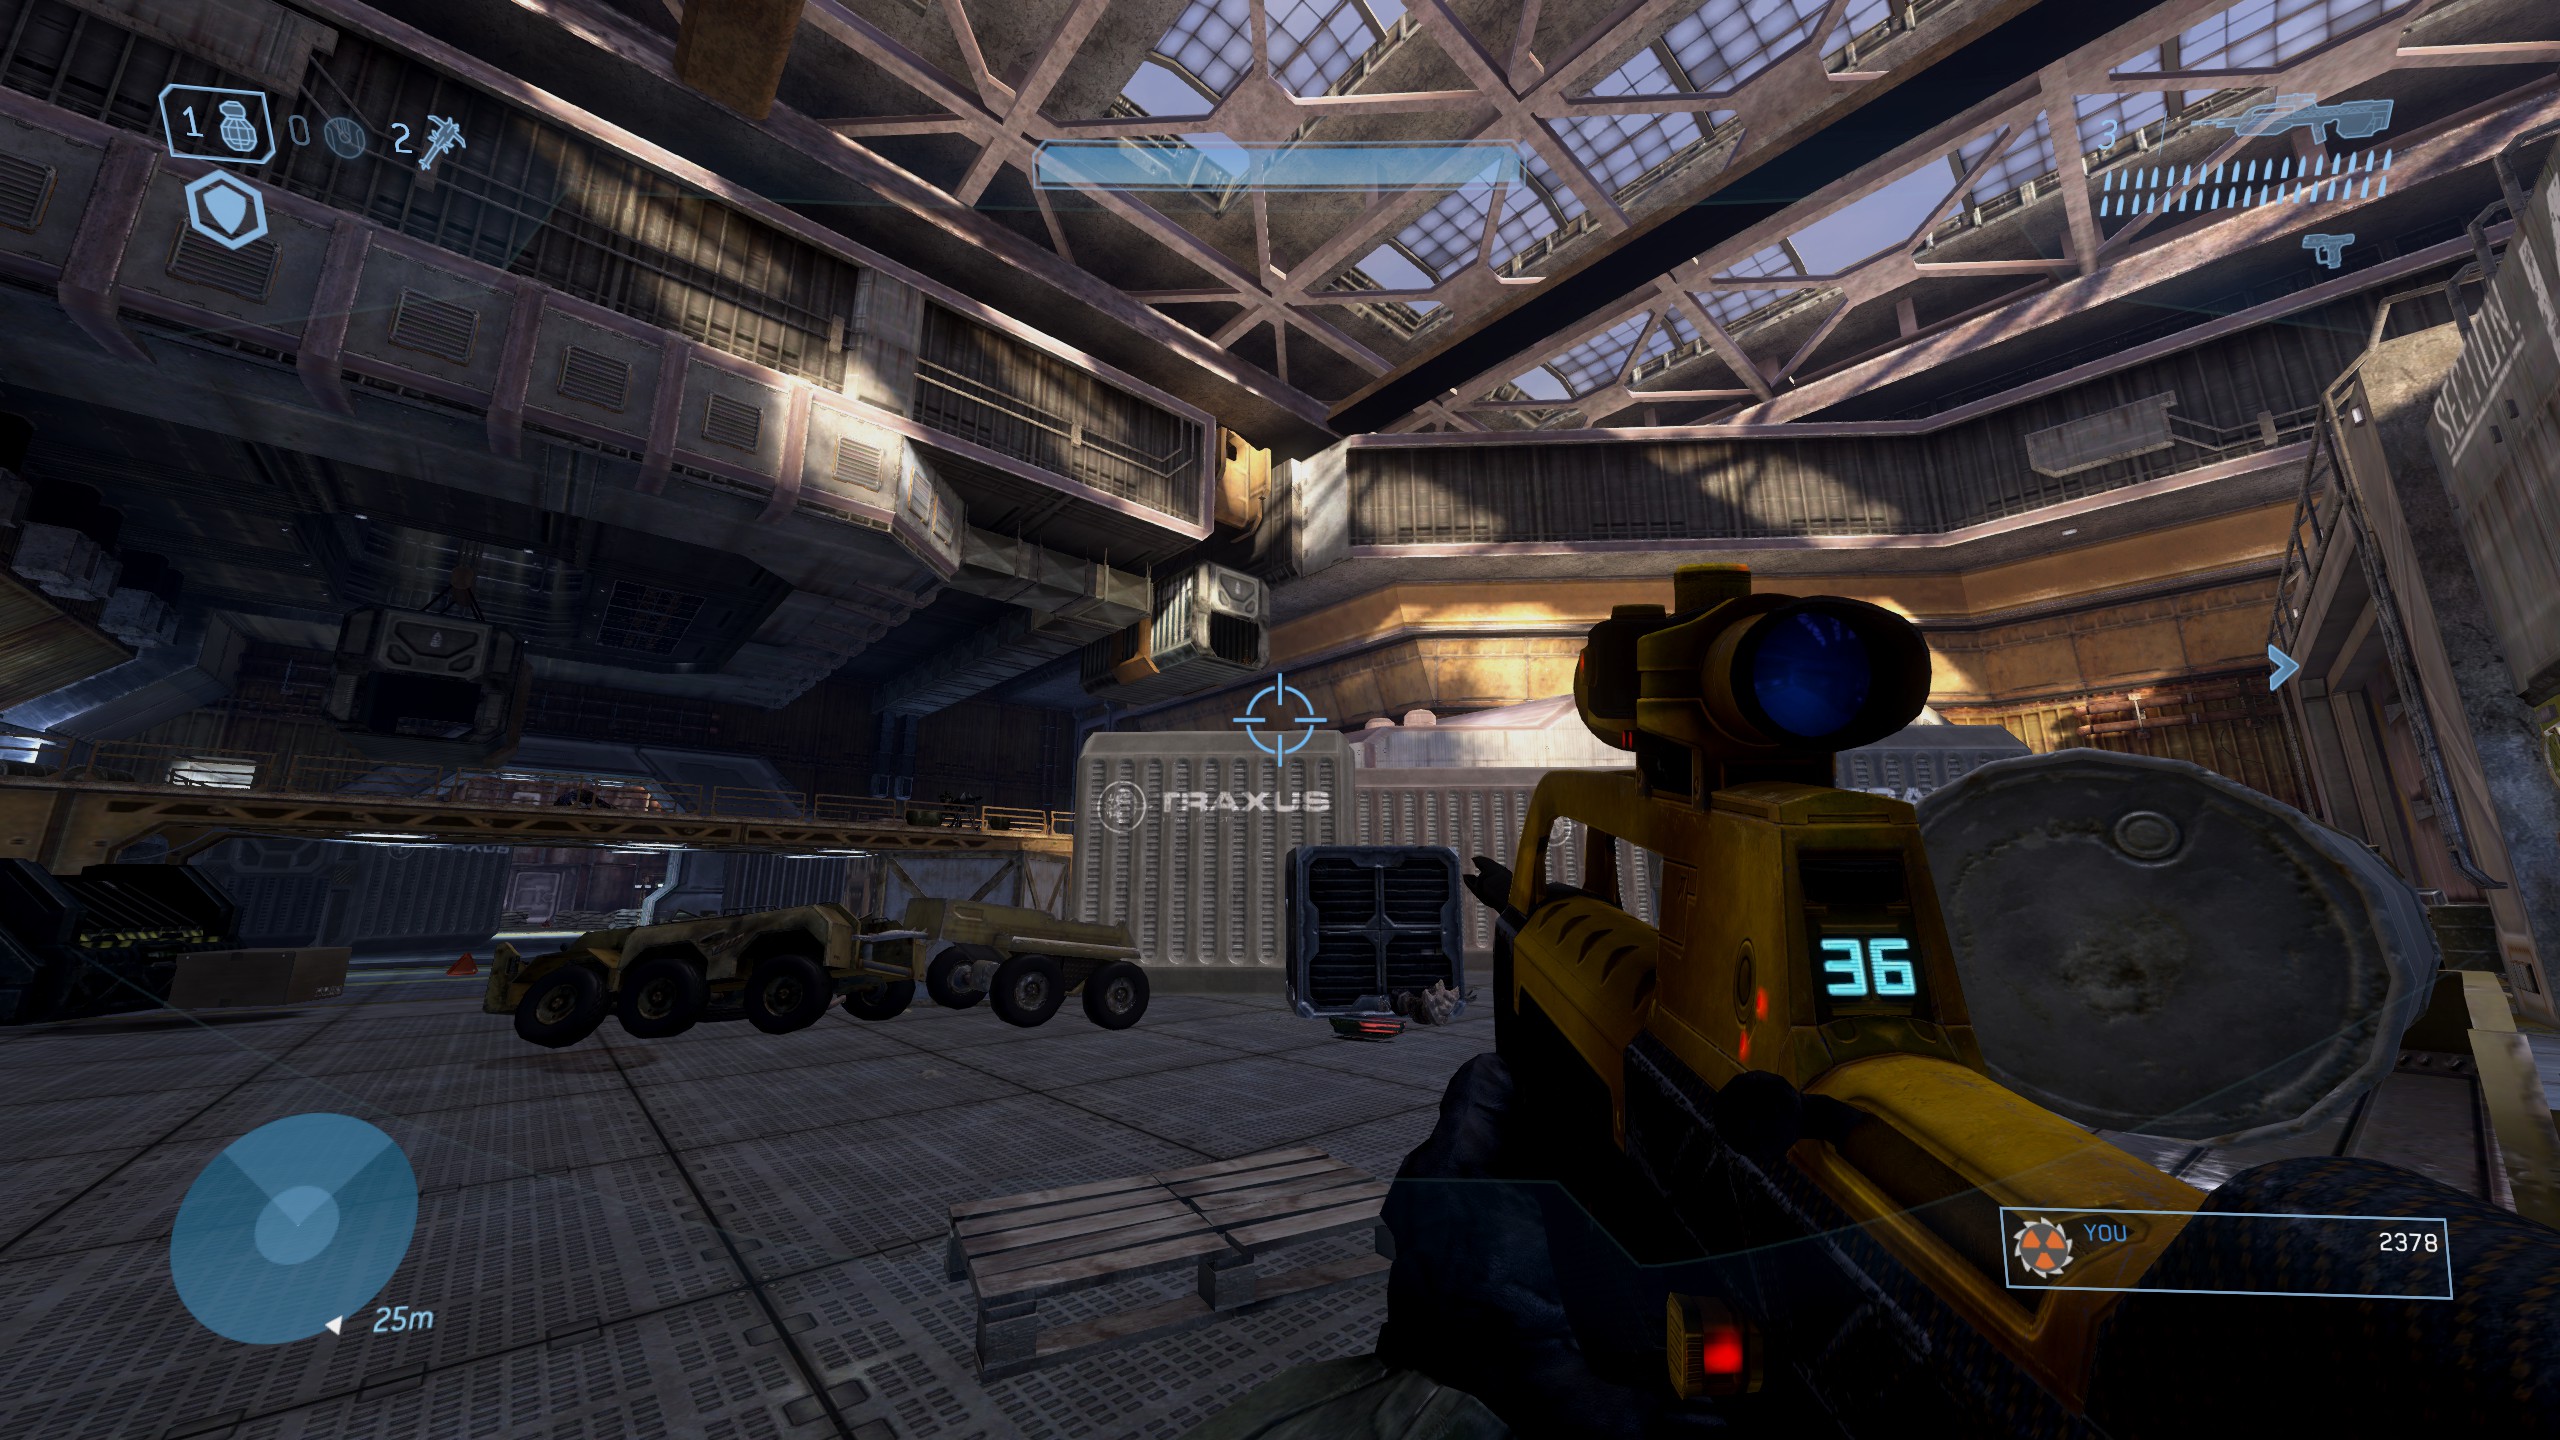
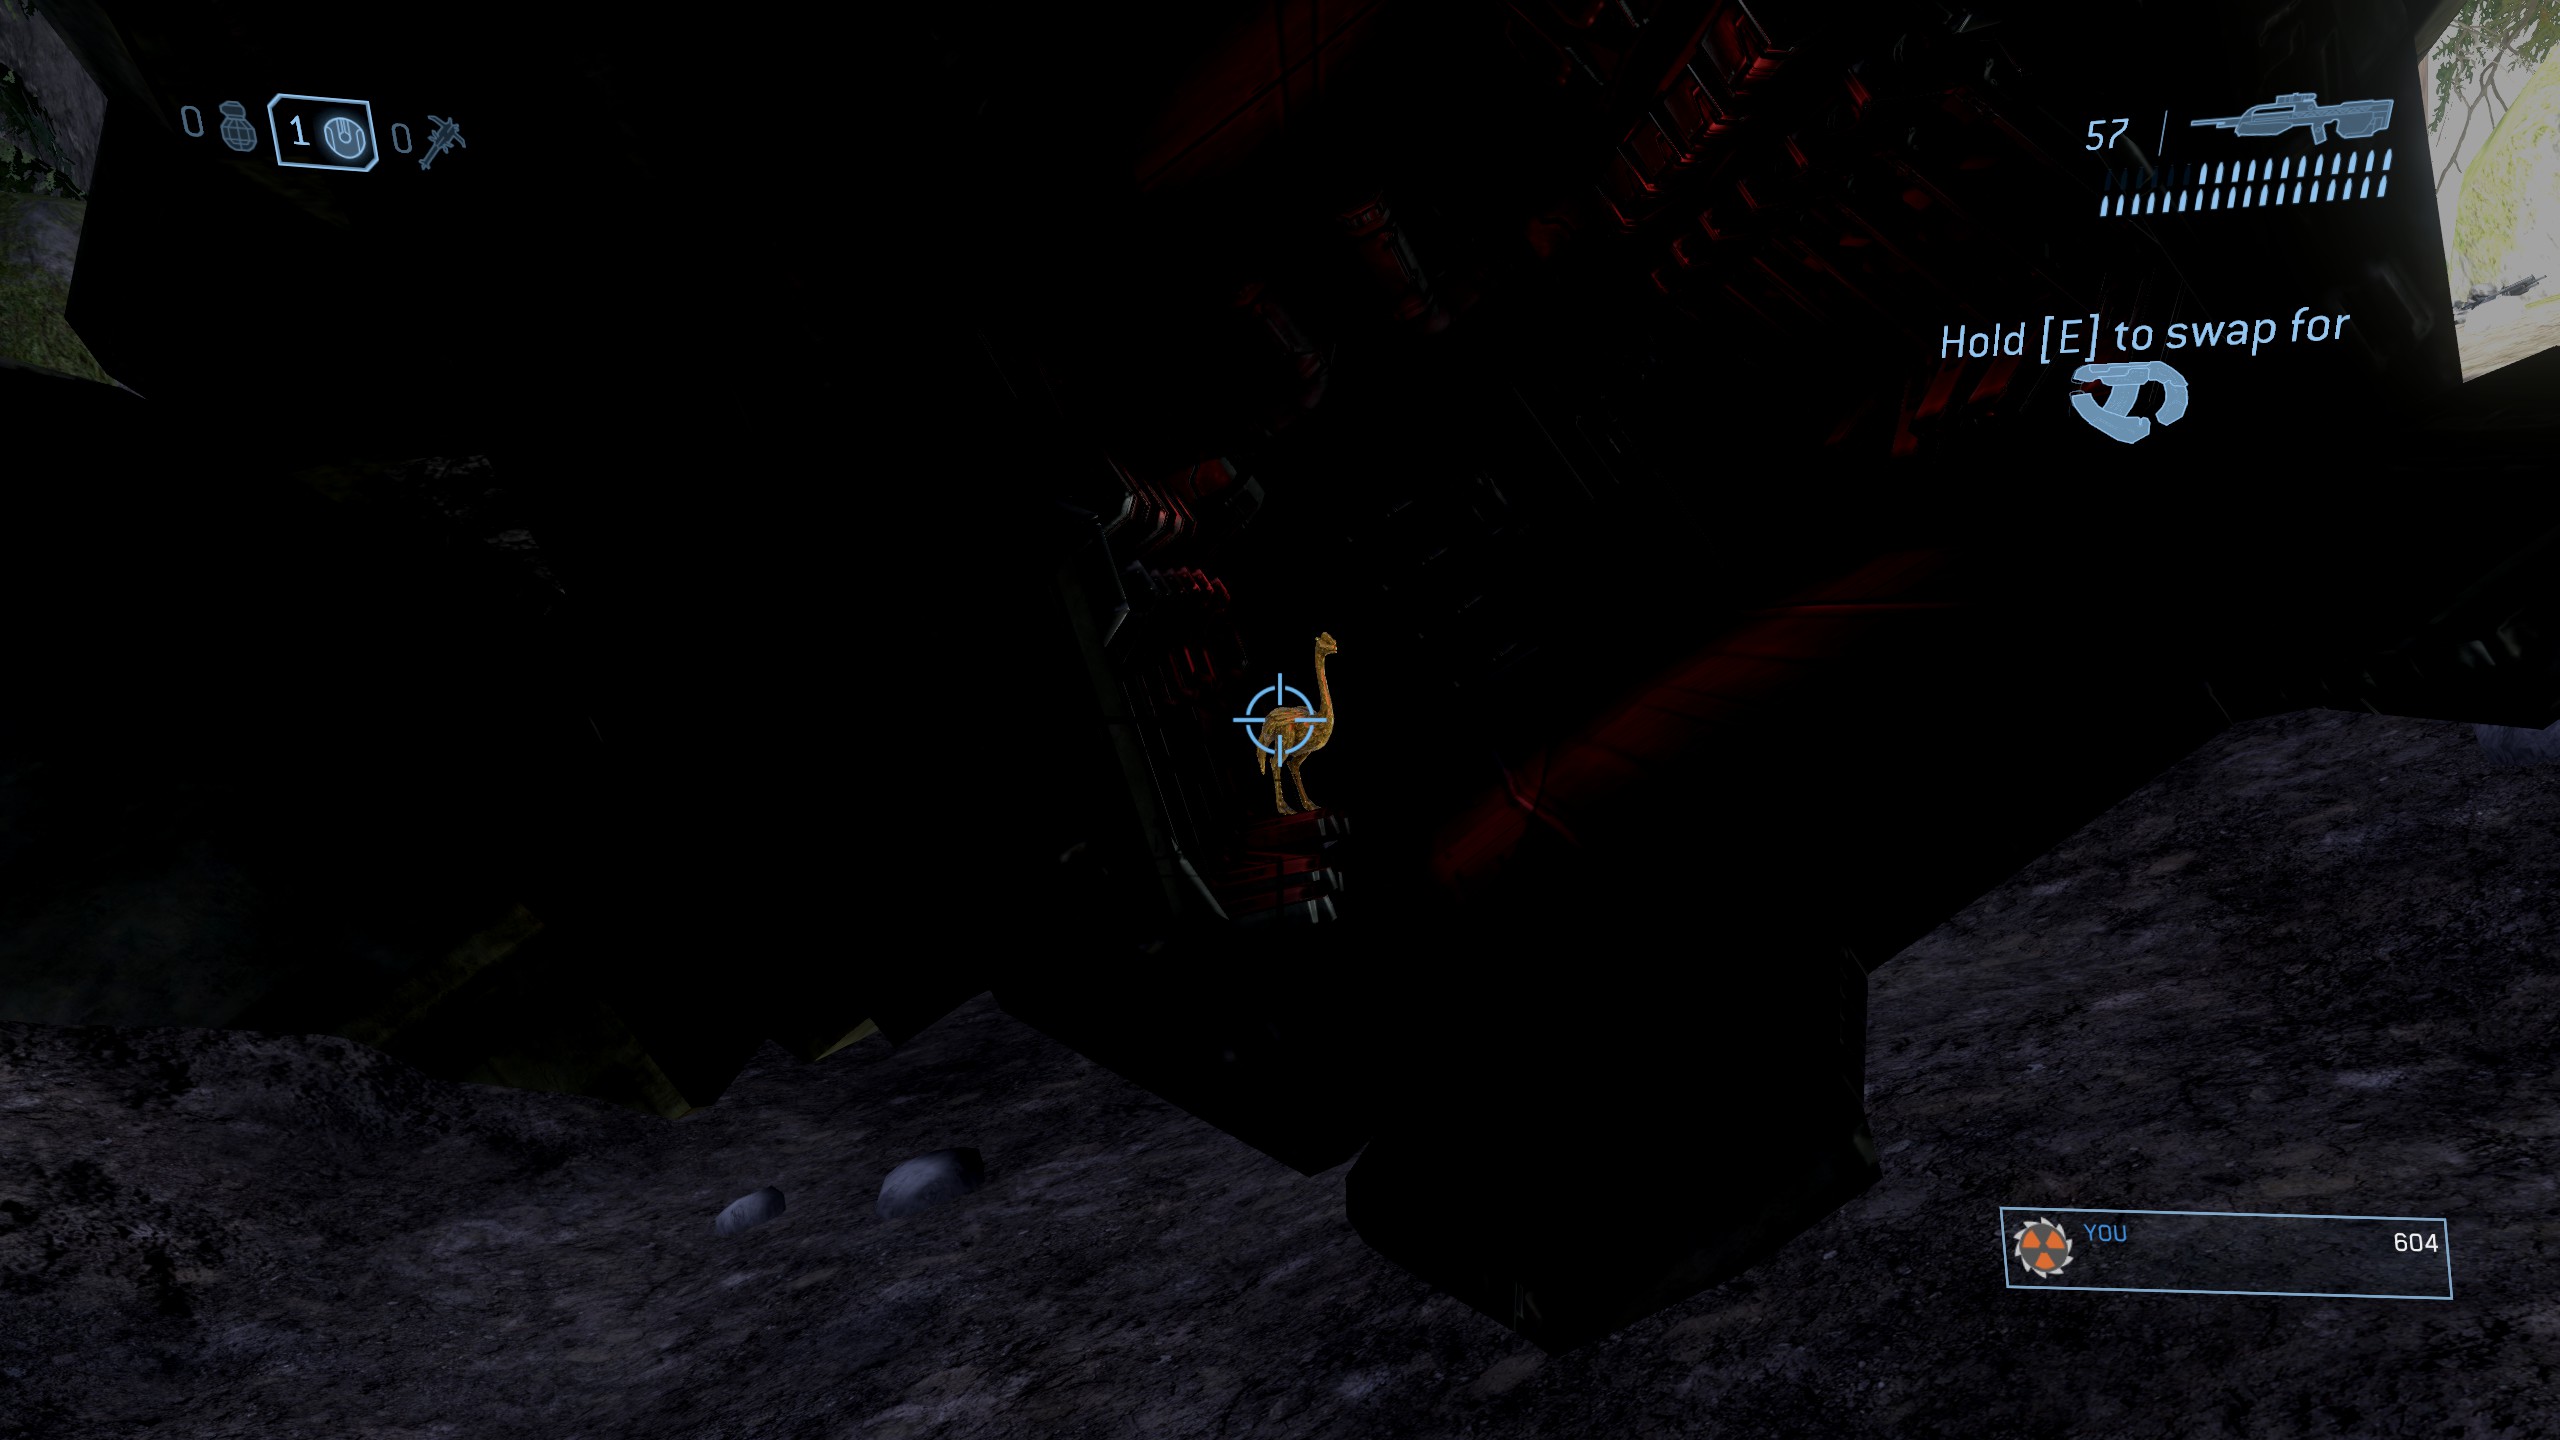
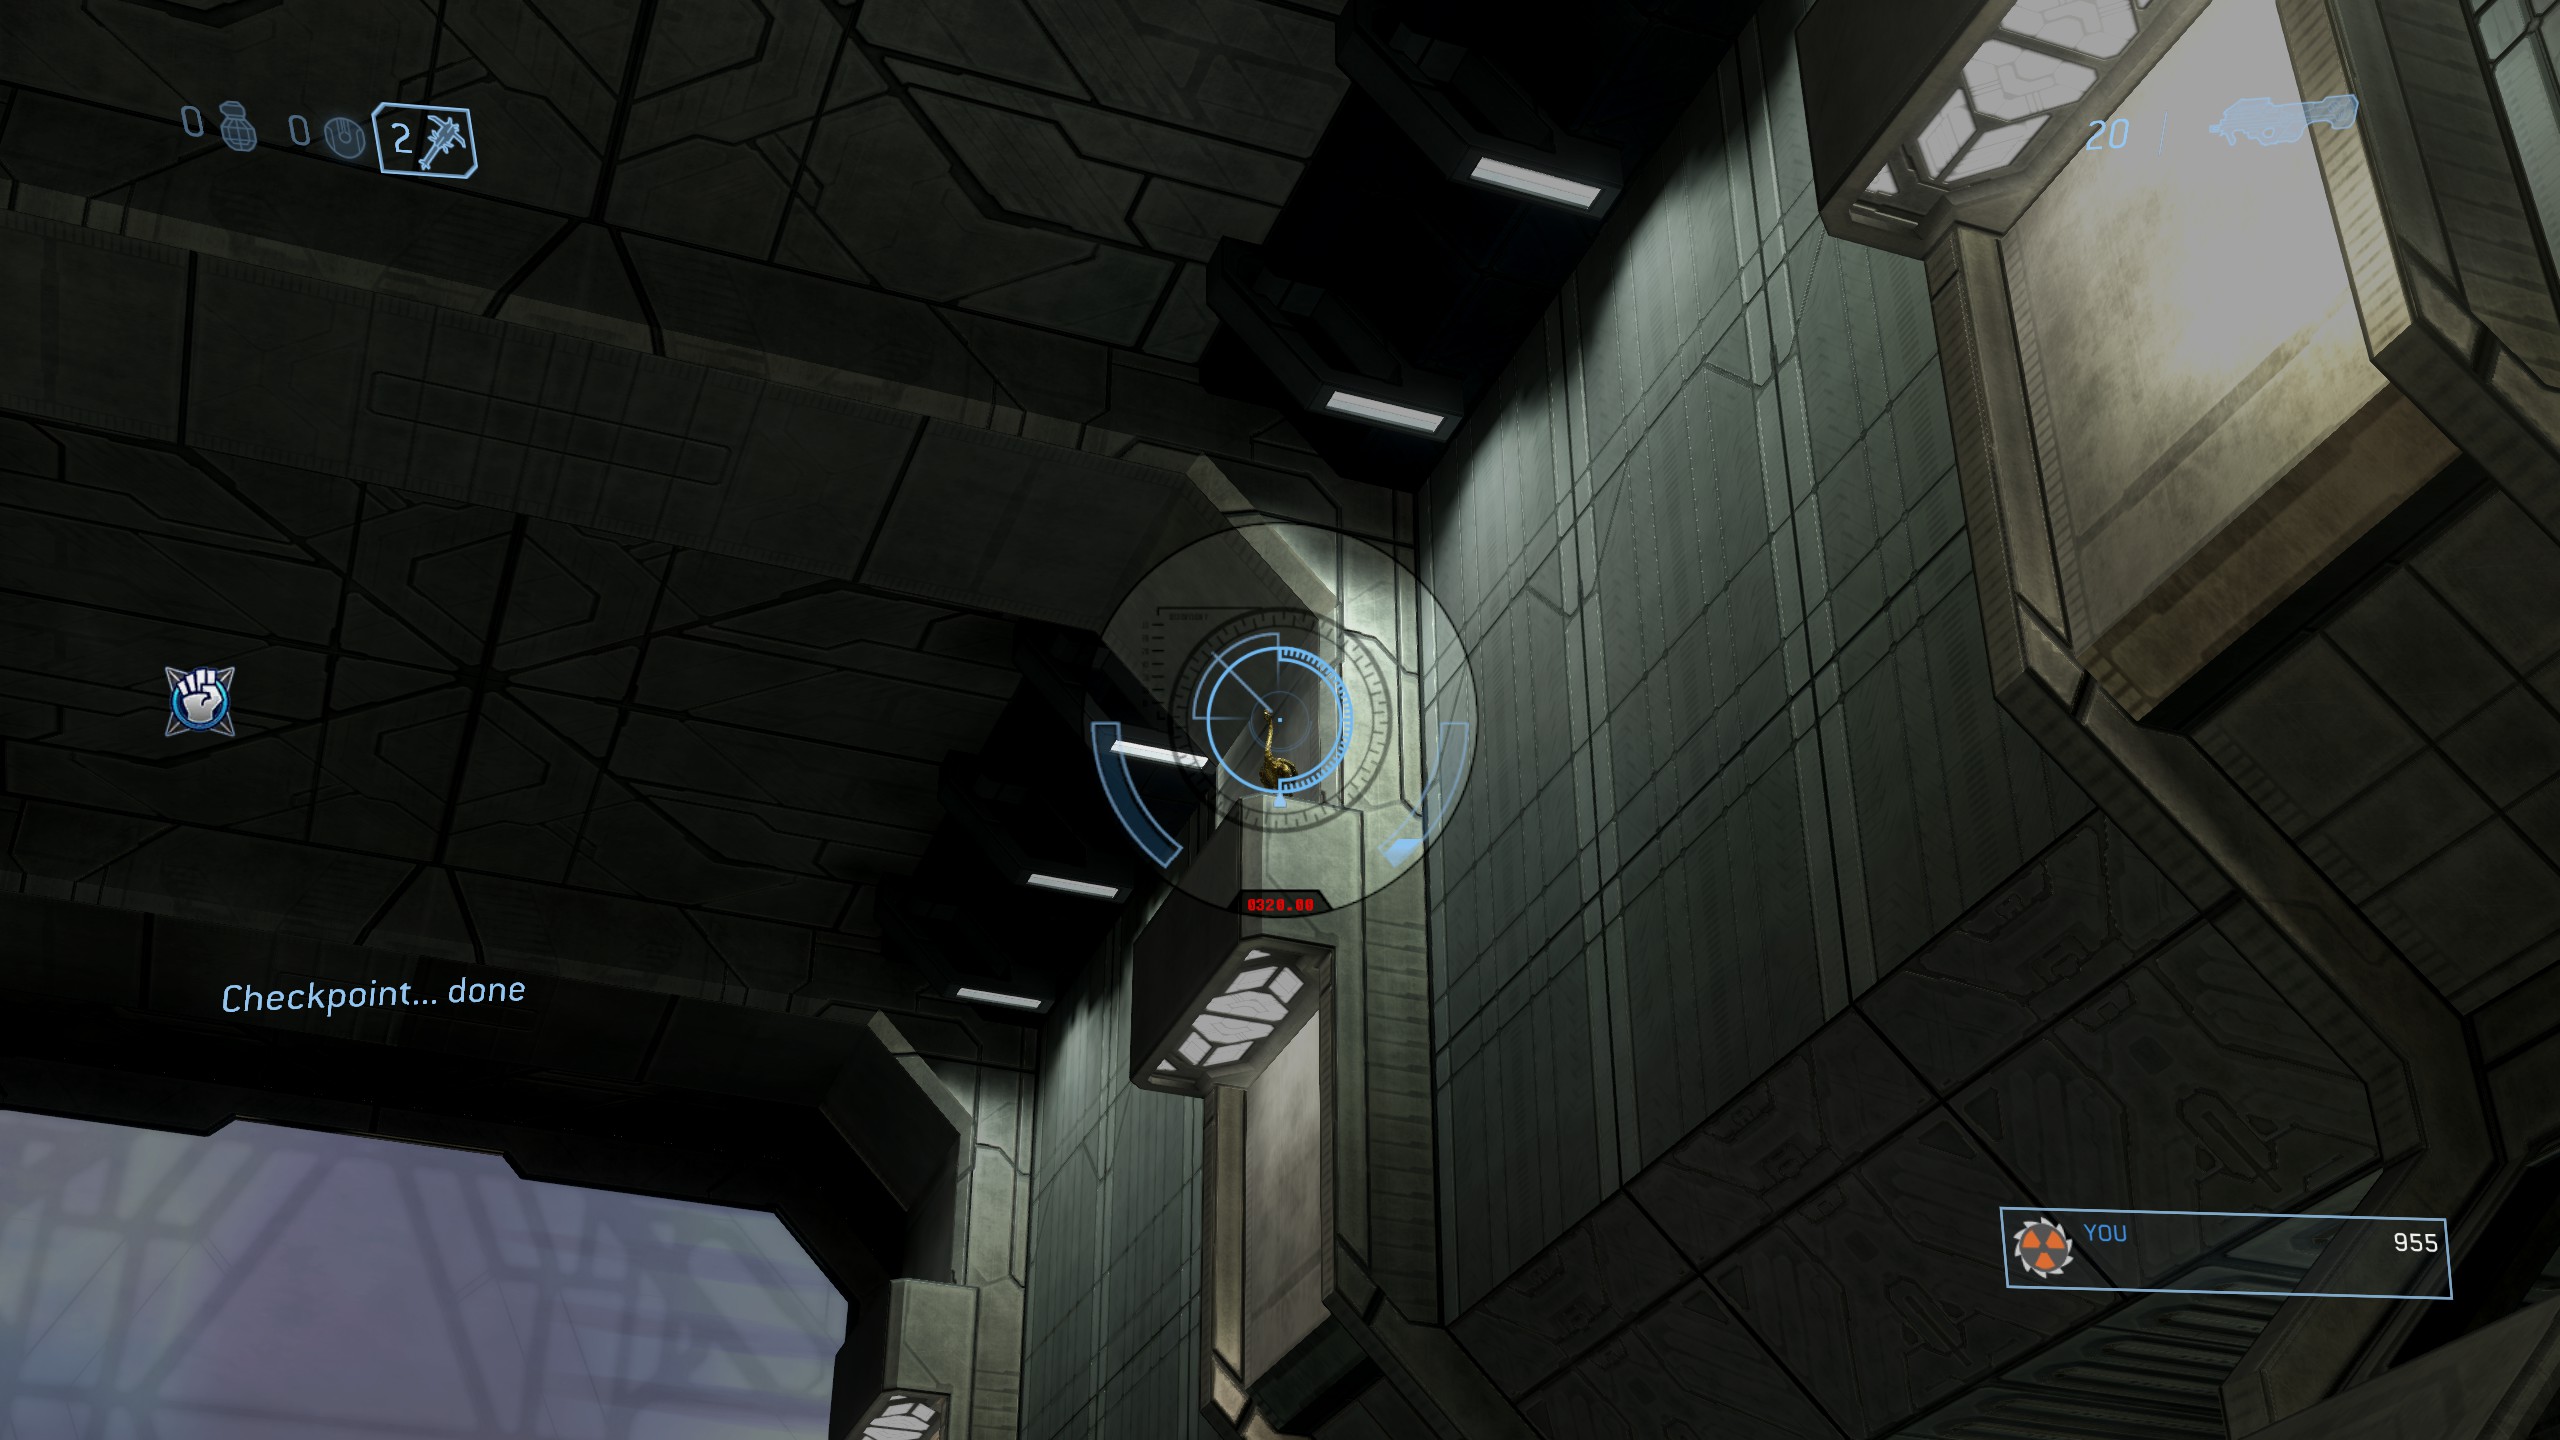
These days, this particular Steam guide has become fully prepared to tackle the challenge of watching out for the Golden Moa Statues across all games on a Weekly Basis: https://steamhost.cn/steamcommunity_com/sharedfiles/filedetails/?id=2794138853

It's not at all an enviable task to keep track of this Weekly collectable nonsense (I've never liked the Moa Statues, but 343i's sheer abuse of The Exchange did get me satiating their appetite for E N G A G E M E N T as they likely hoped), so although I largely gave up keeping track of "The Rotational Pattern" once the other games received the Statues & even provided persistent locations for their given week (Which I know ODST does for certain levels), glad I could be of help directing people towards ways of keeping track of it all.

The Vid-makers & Guide-writers such as yourself are the ones who earned the pat on the back. Cheers!
Psychedelic Adventurer  [author] 7 Jan, 2023 @ 4:49am 
@Bizargh

Thanks for keeping everyone in the loop. Eventually, trying to maintain all my Guides at the same time, especially this one one, got away from me. Well done all those youtubers and Guide makers who are still keeping everyone updated. :Corinthian:
Bizargh 16 Nov, 2022 @ 9:46am 
For anyone (Not "anything" like I previously said by mistake) still coming back here for their Moa Statue locations, I can confirm that any video guides for Feb. 2nd-9th 2022 or June 22nd-29th 2022 will serve you well for Halo 3 for this week of Nov. 16th-23rd 2022, such as this one:
https://www.youtube.com/watch?v=a7D481t52Jo

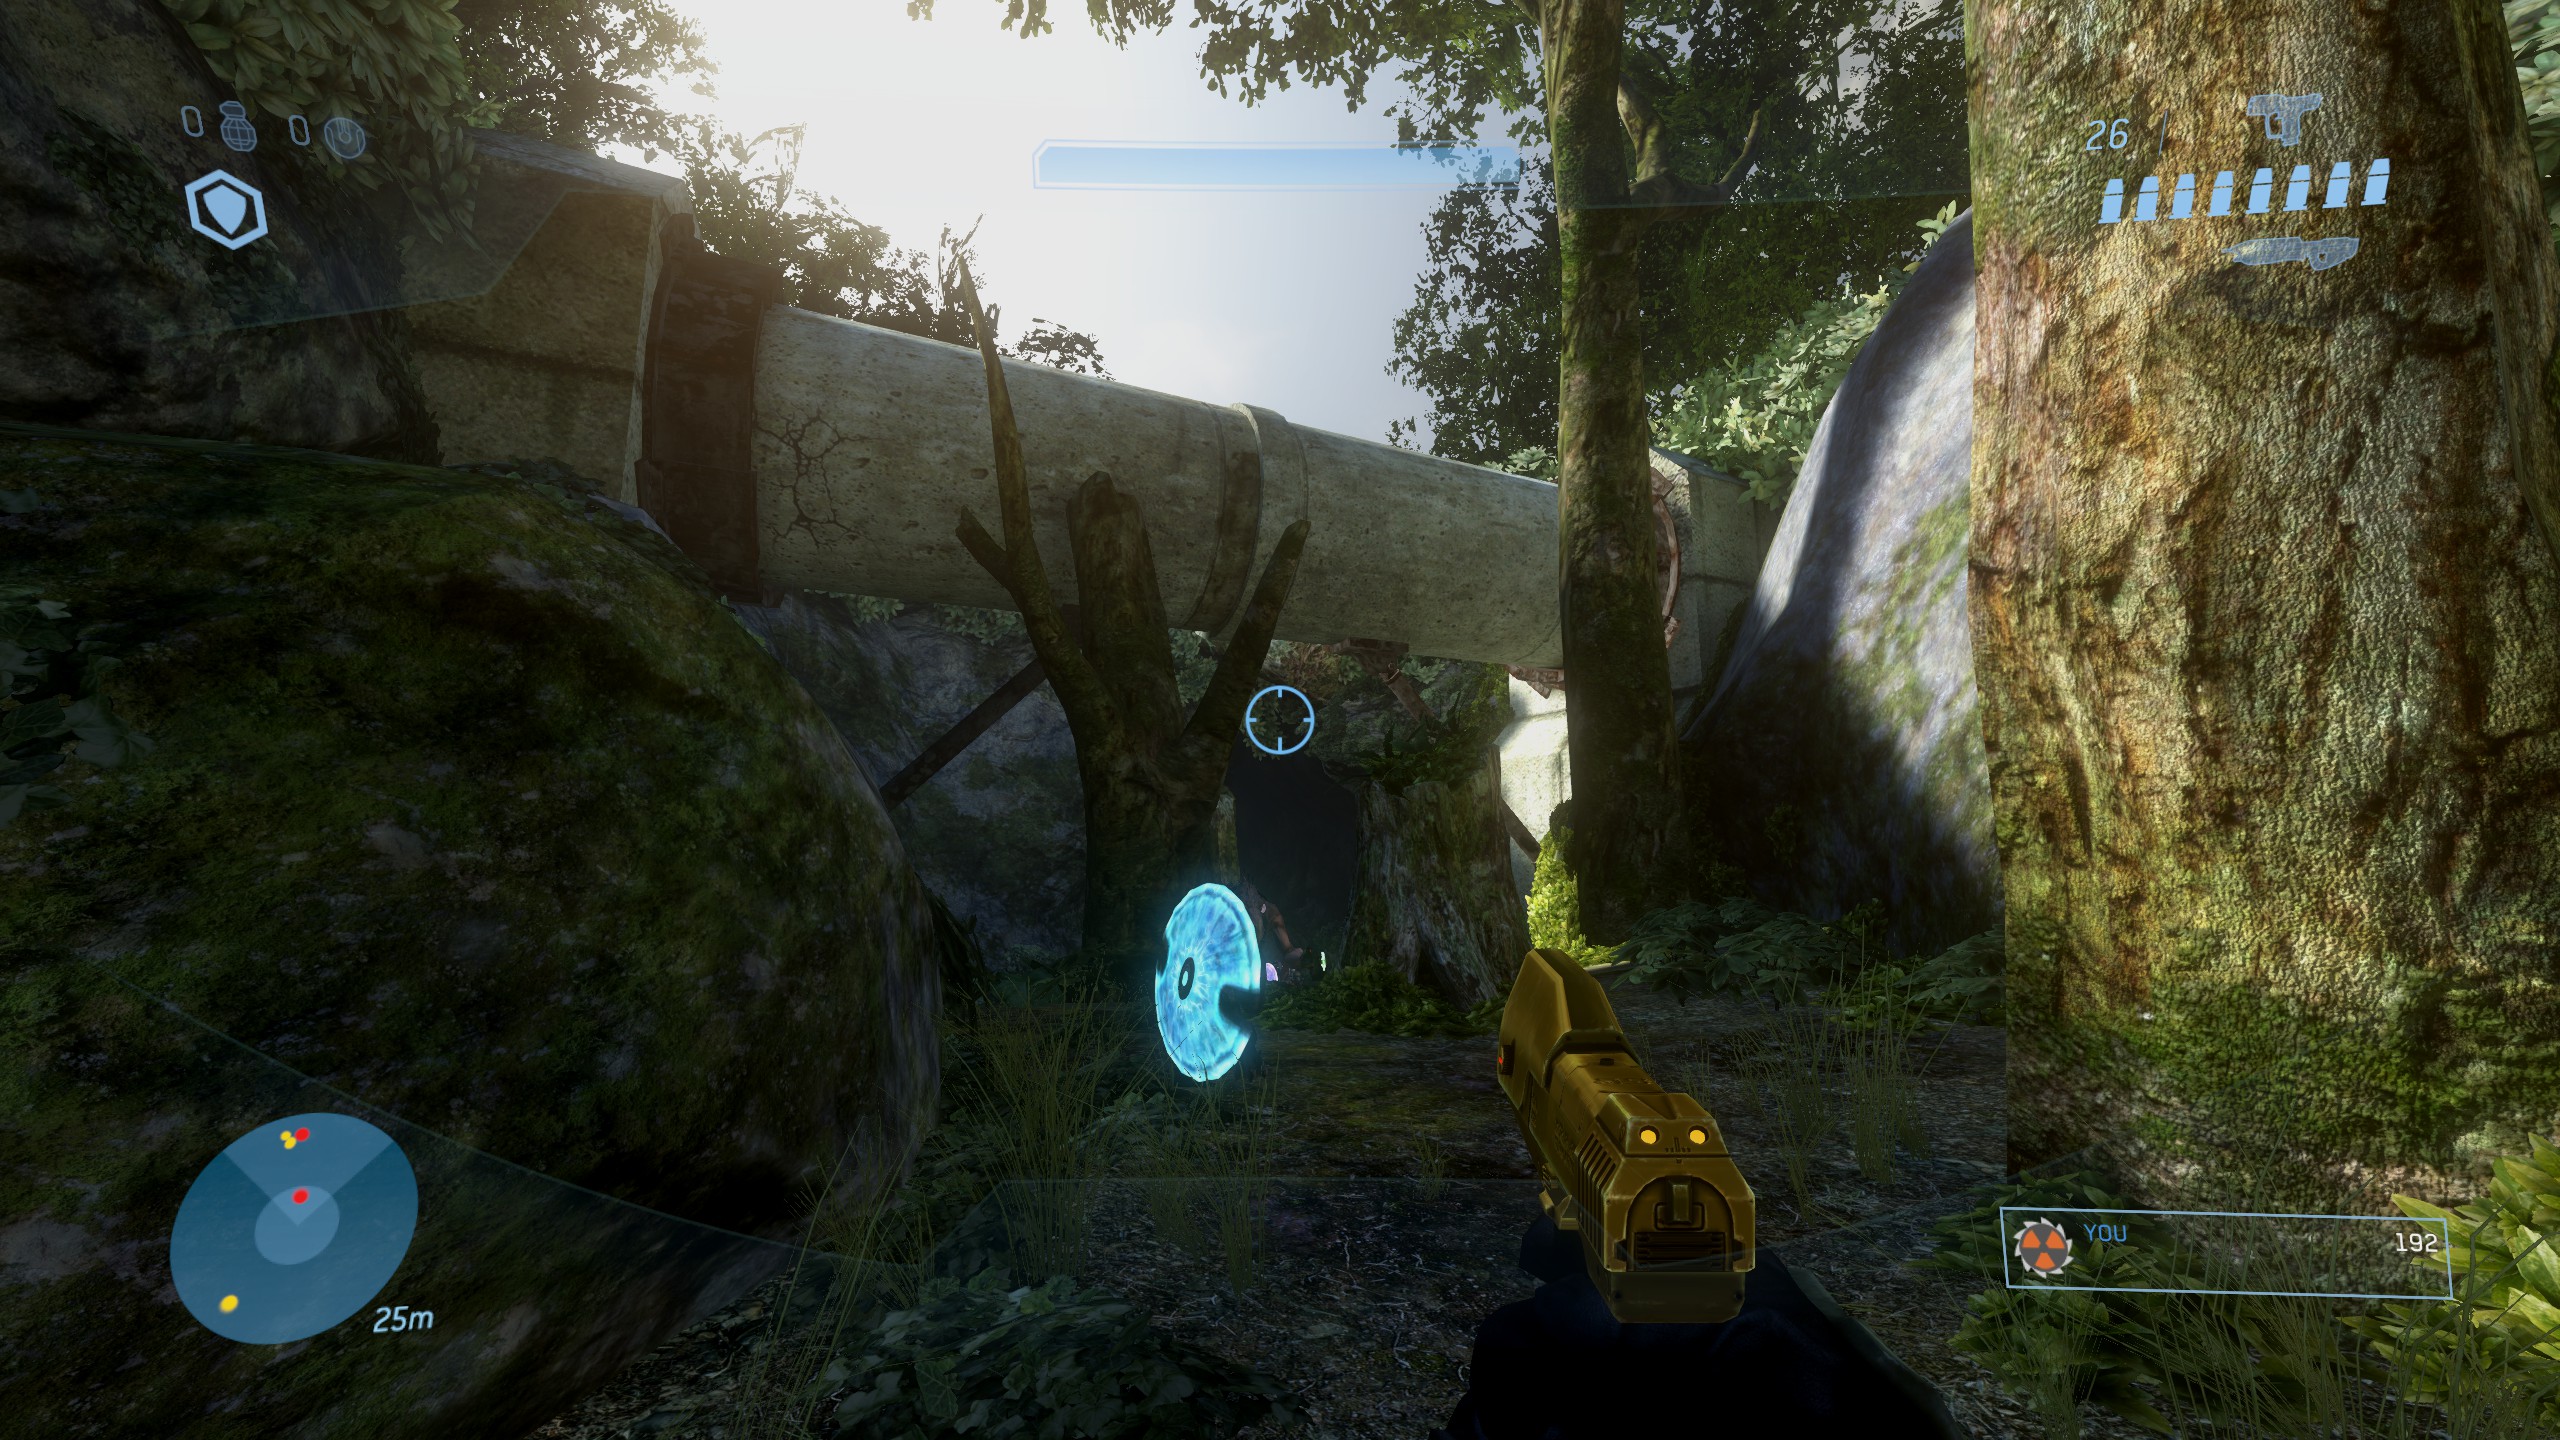
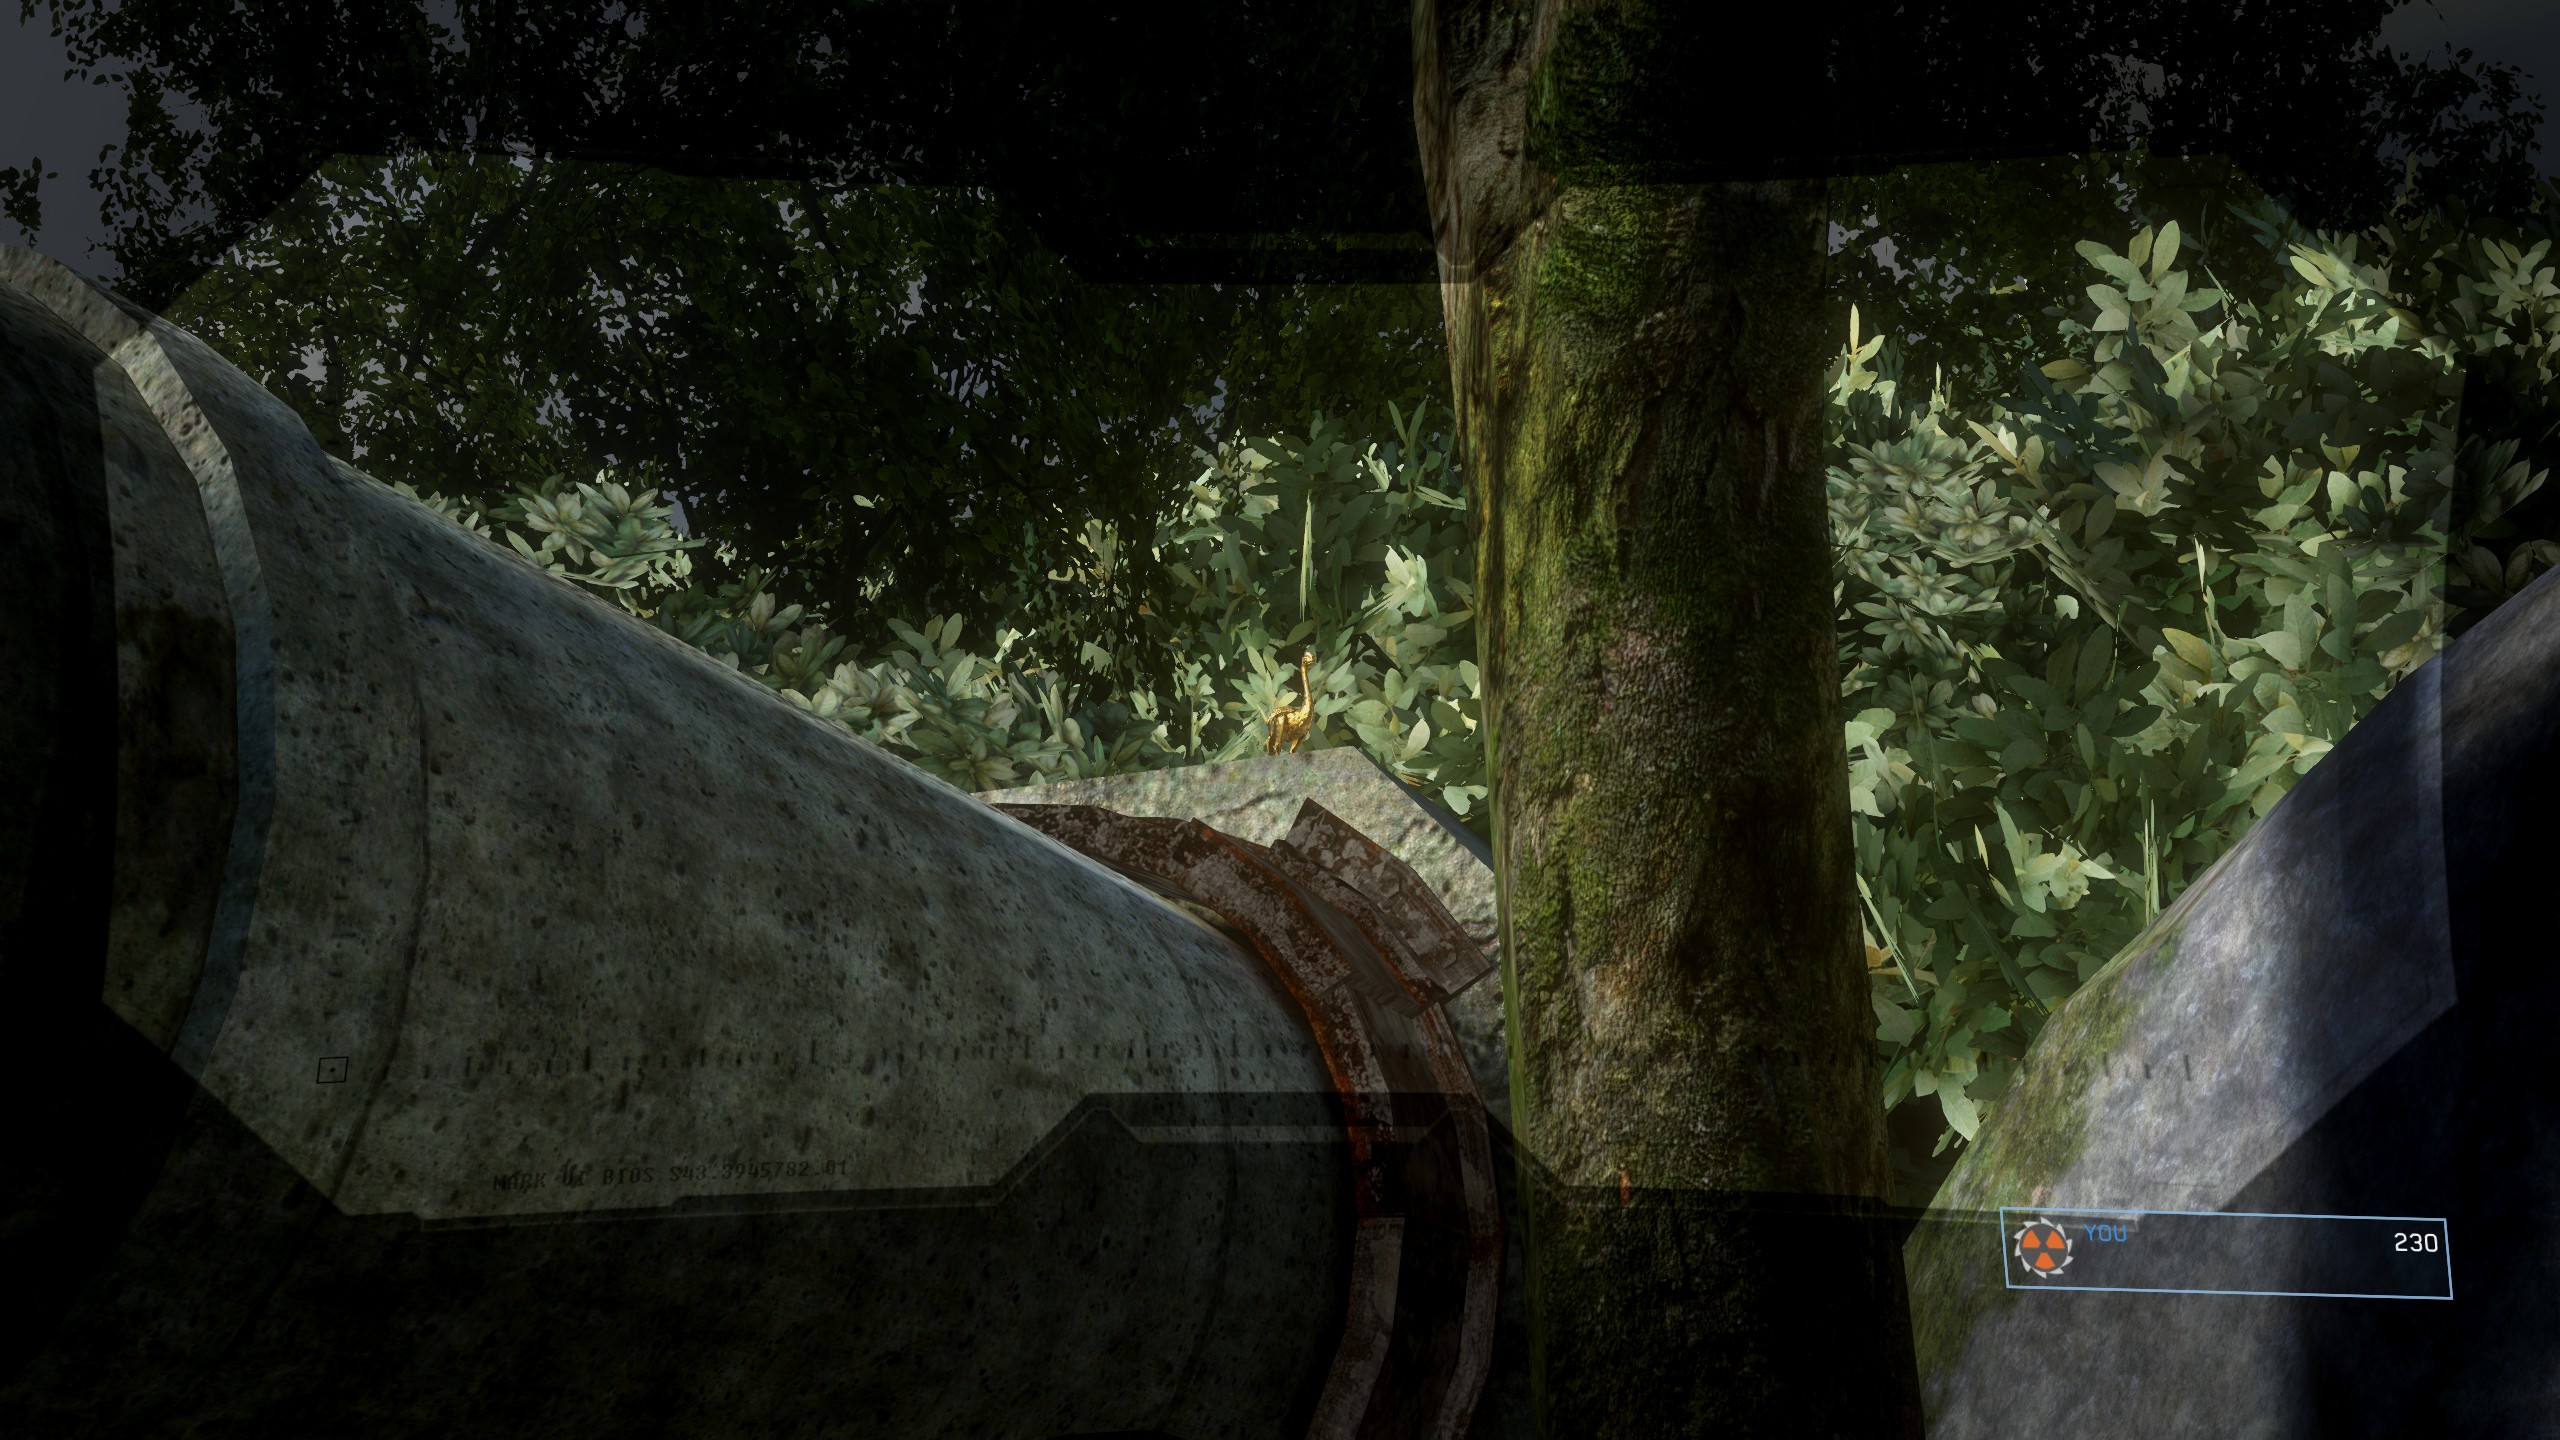
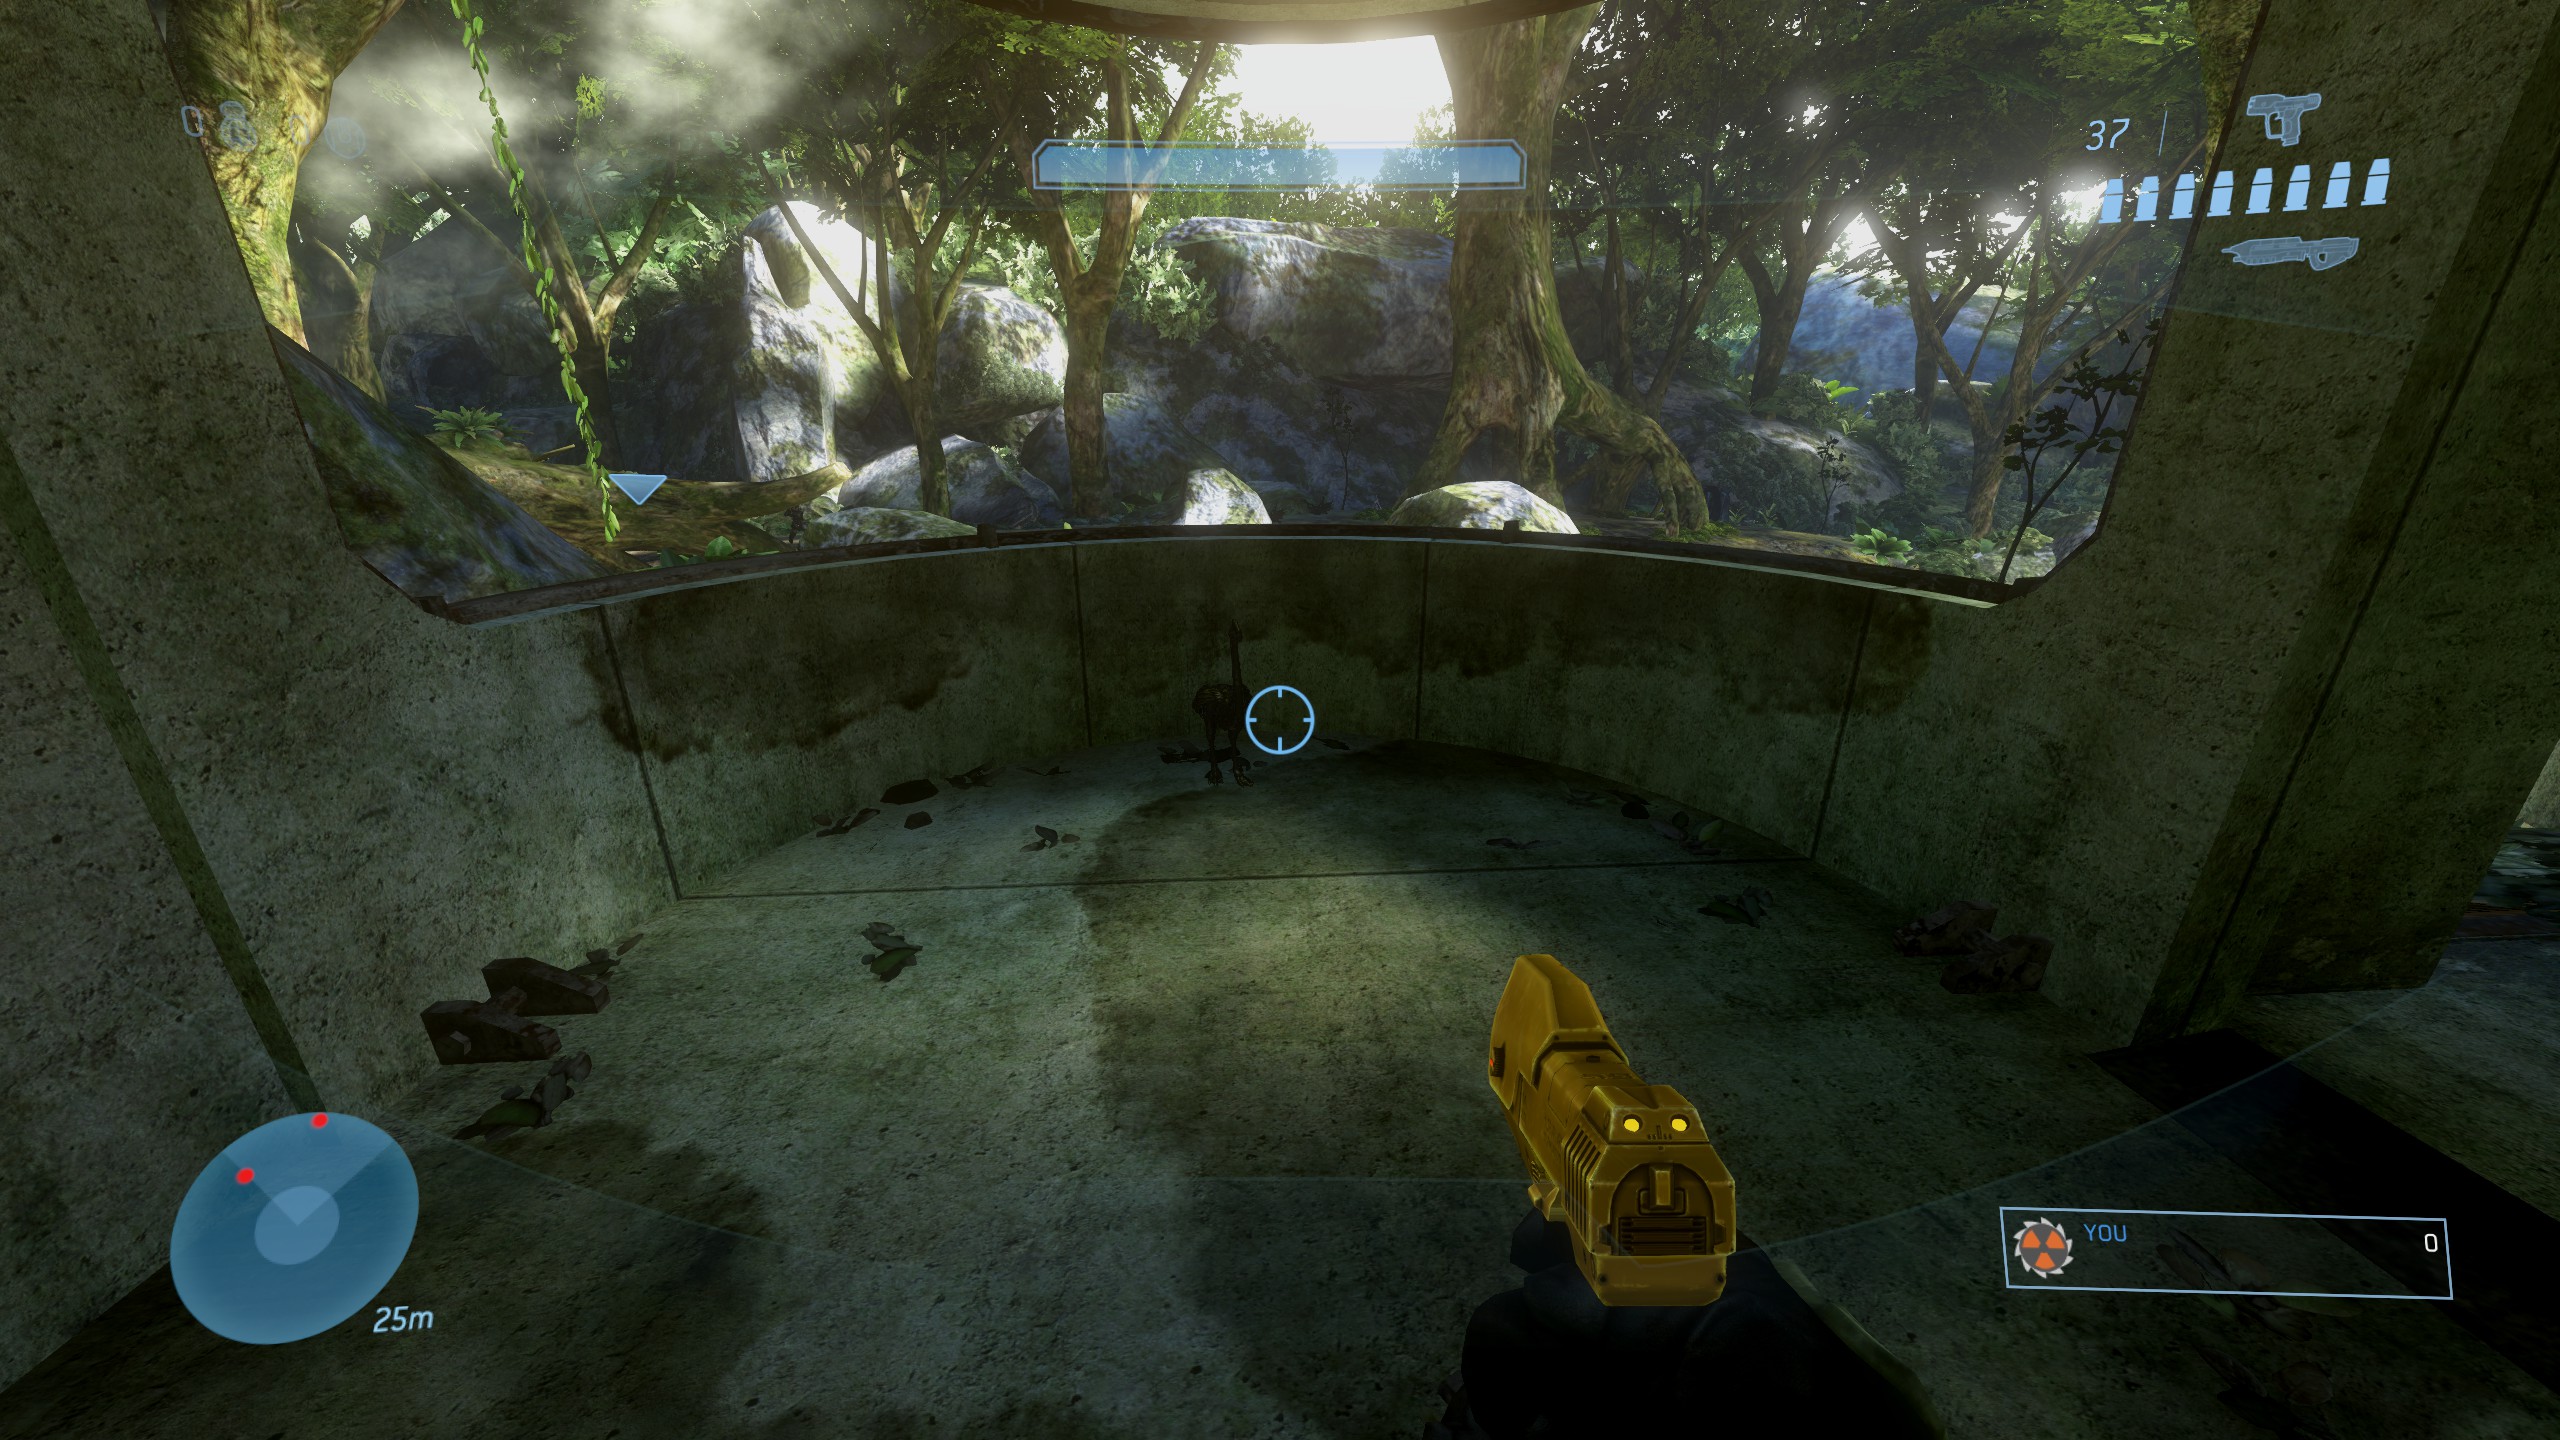
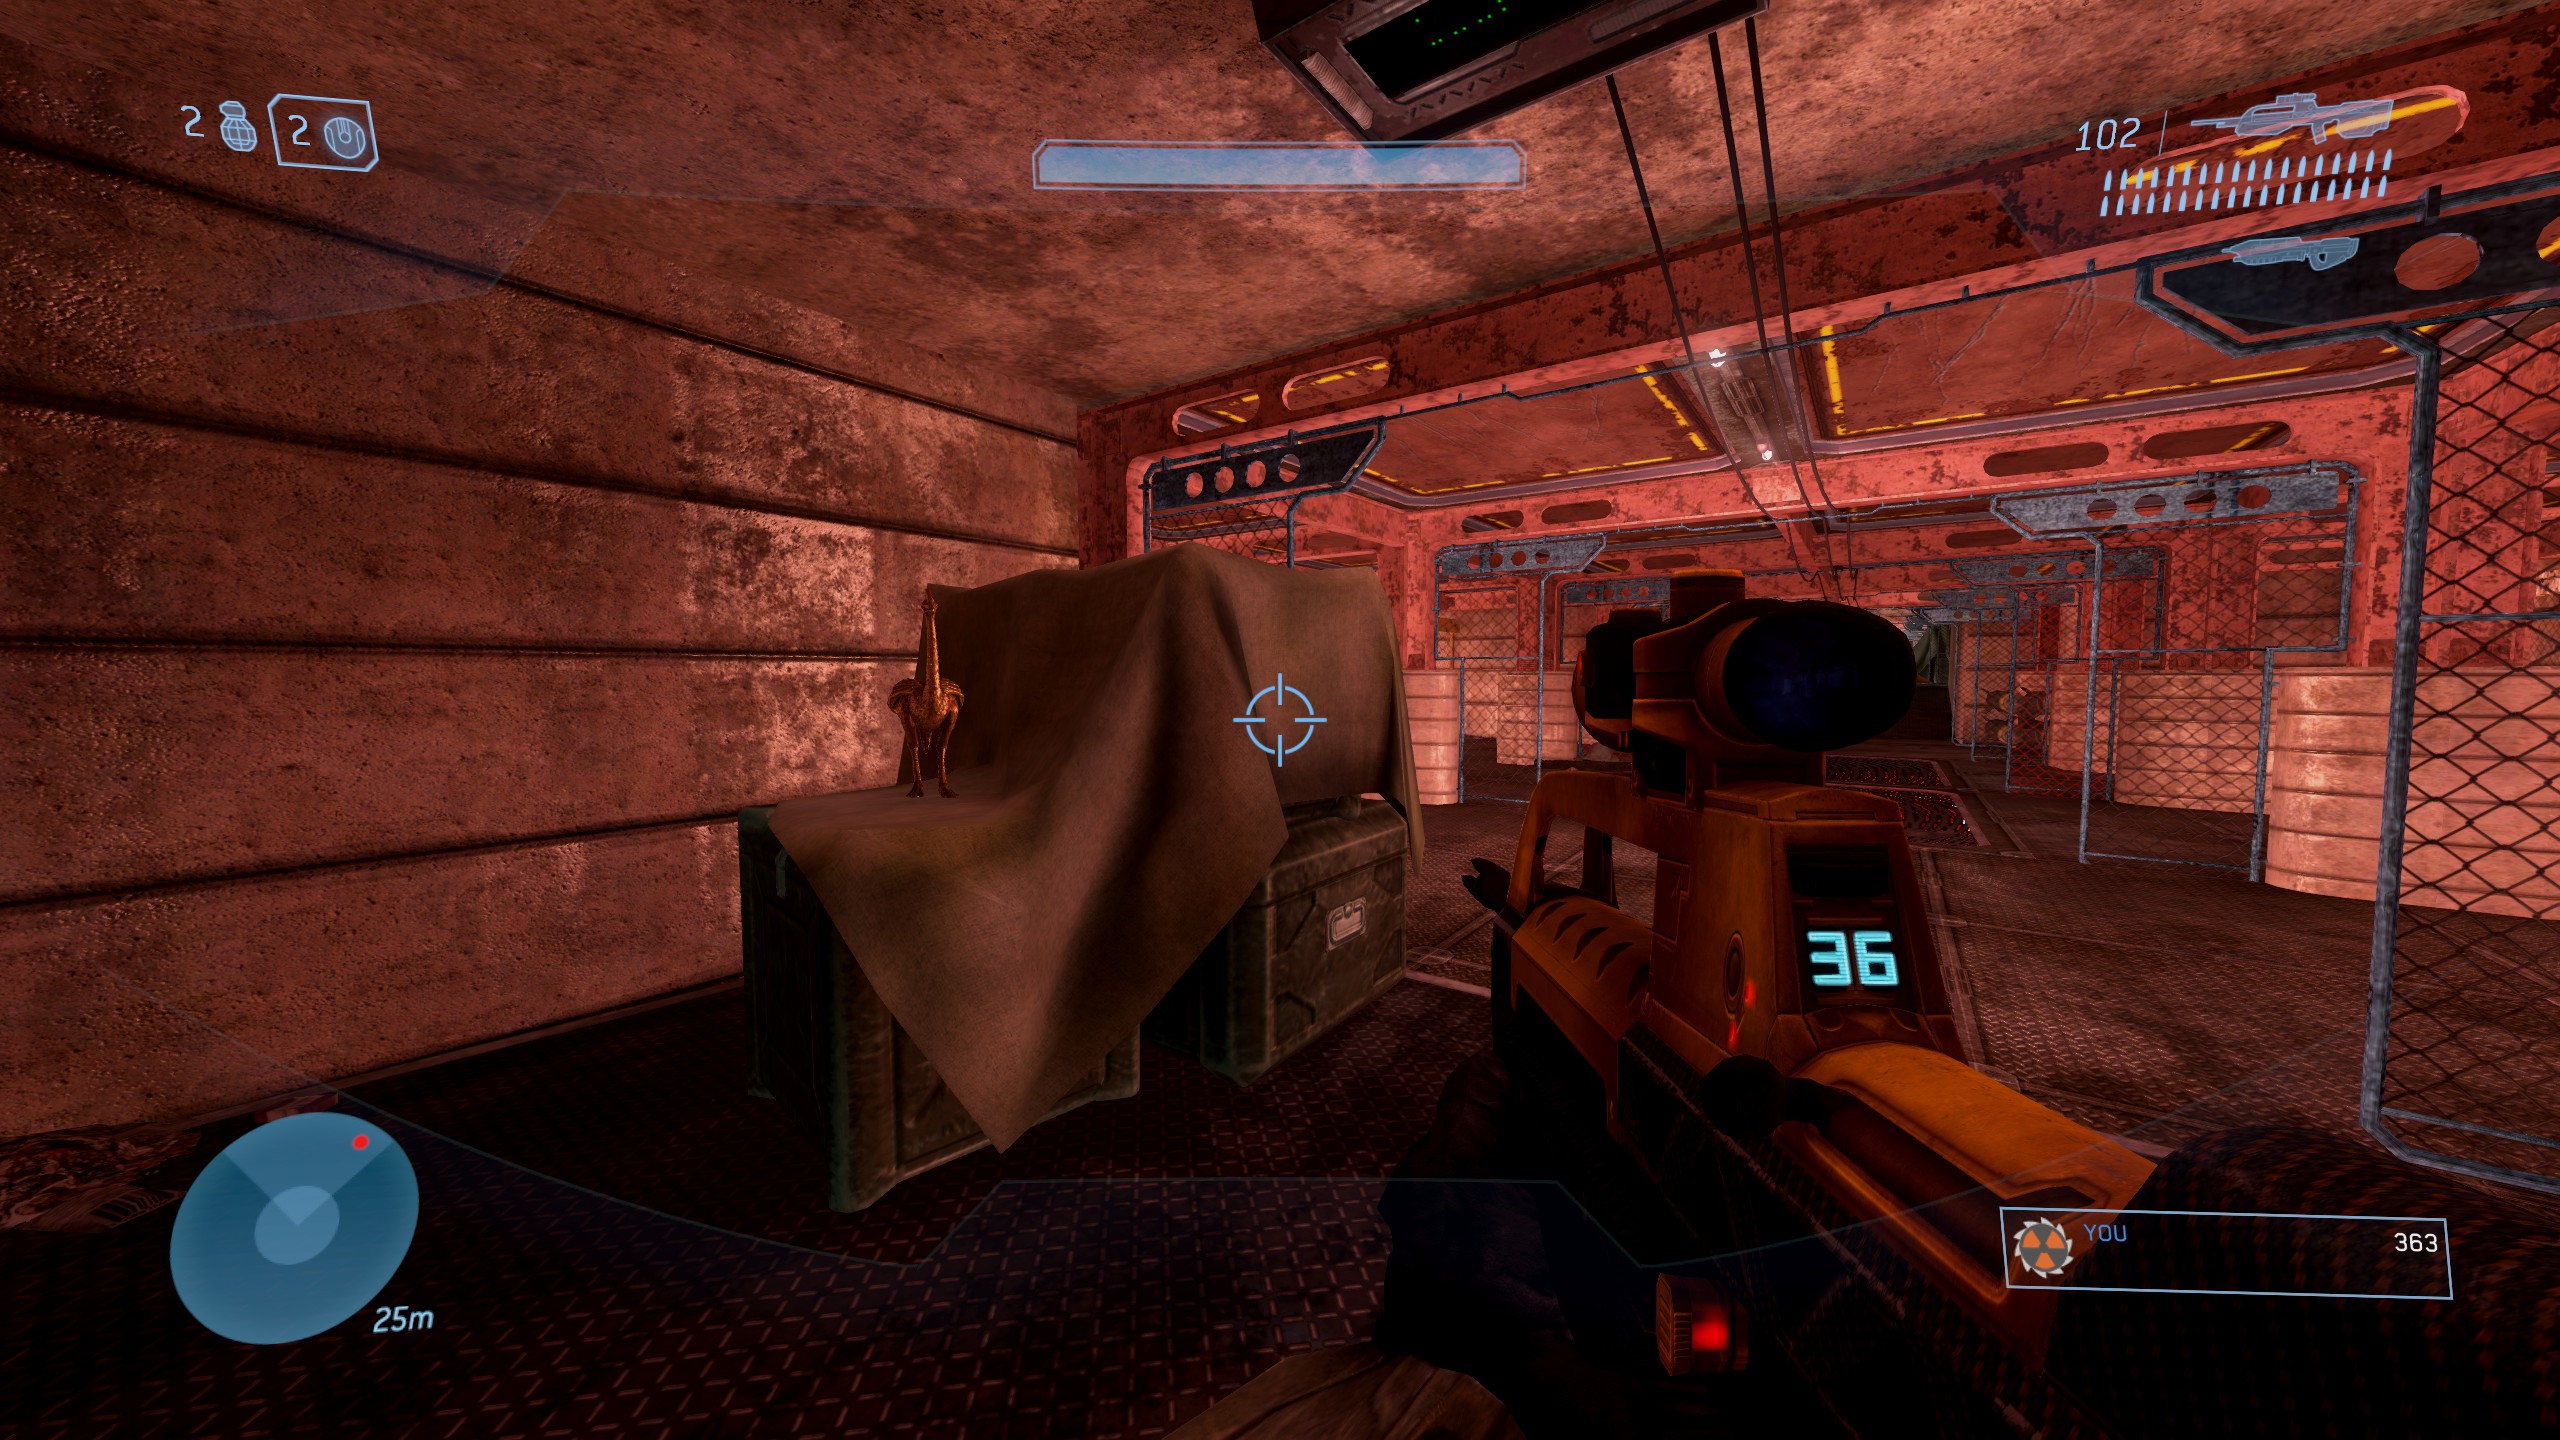
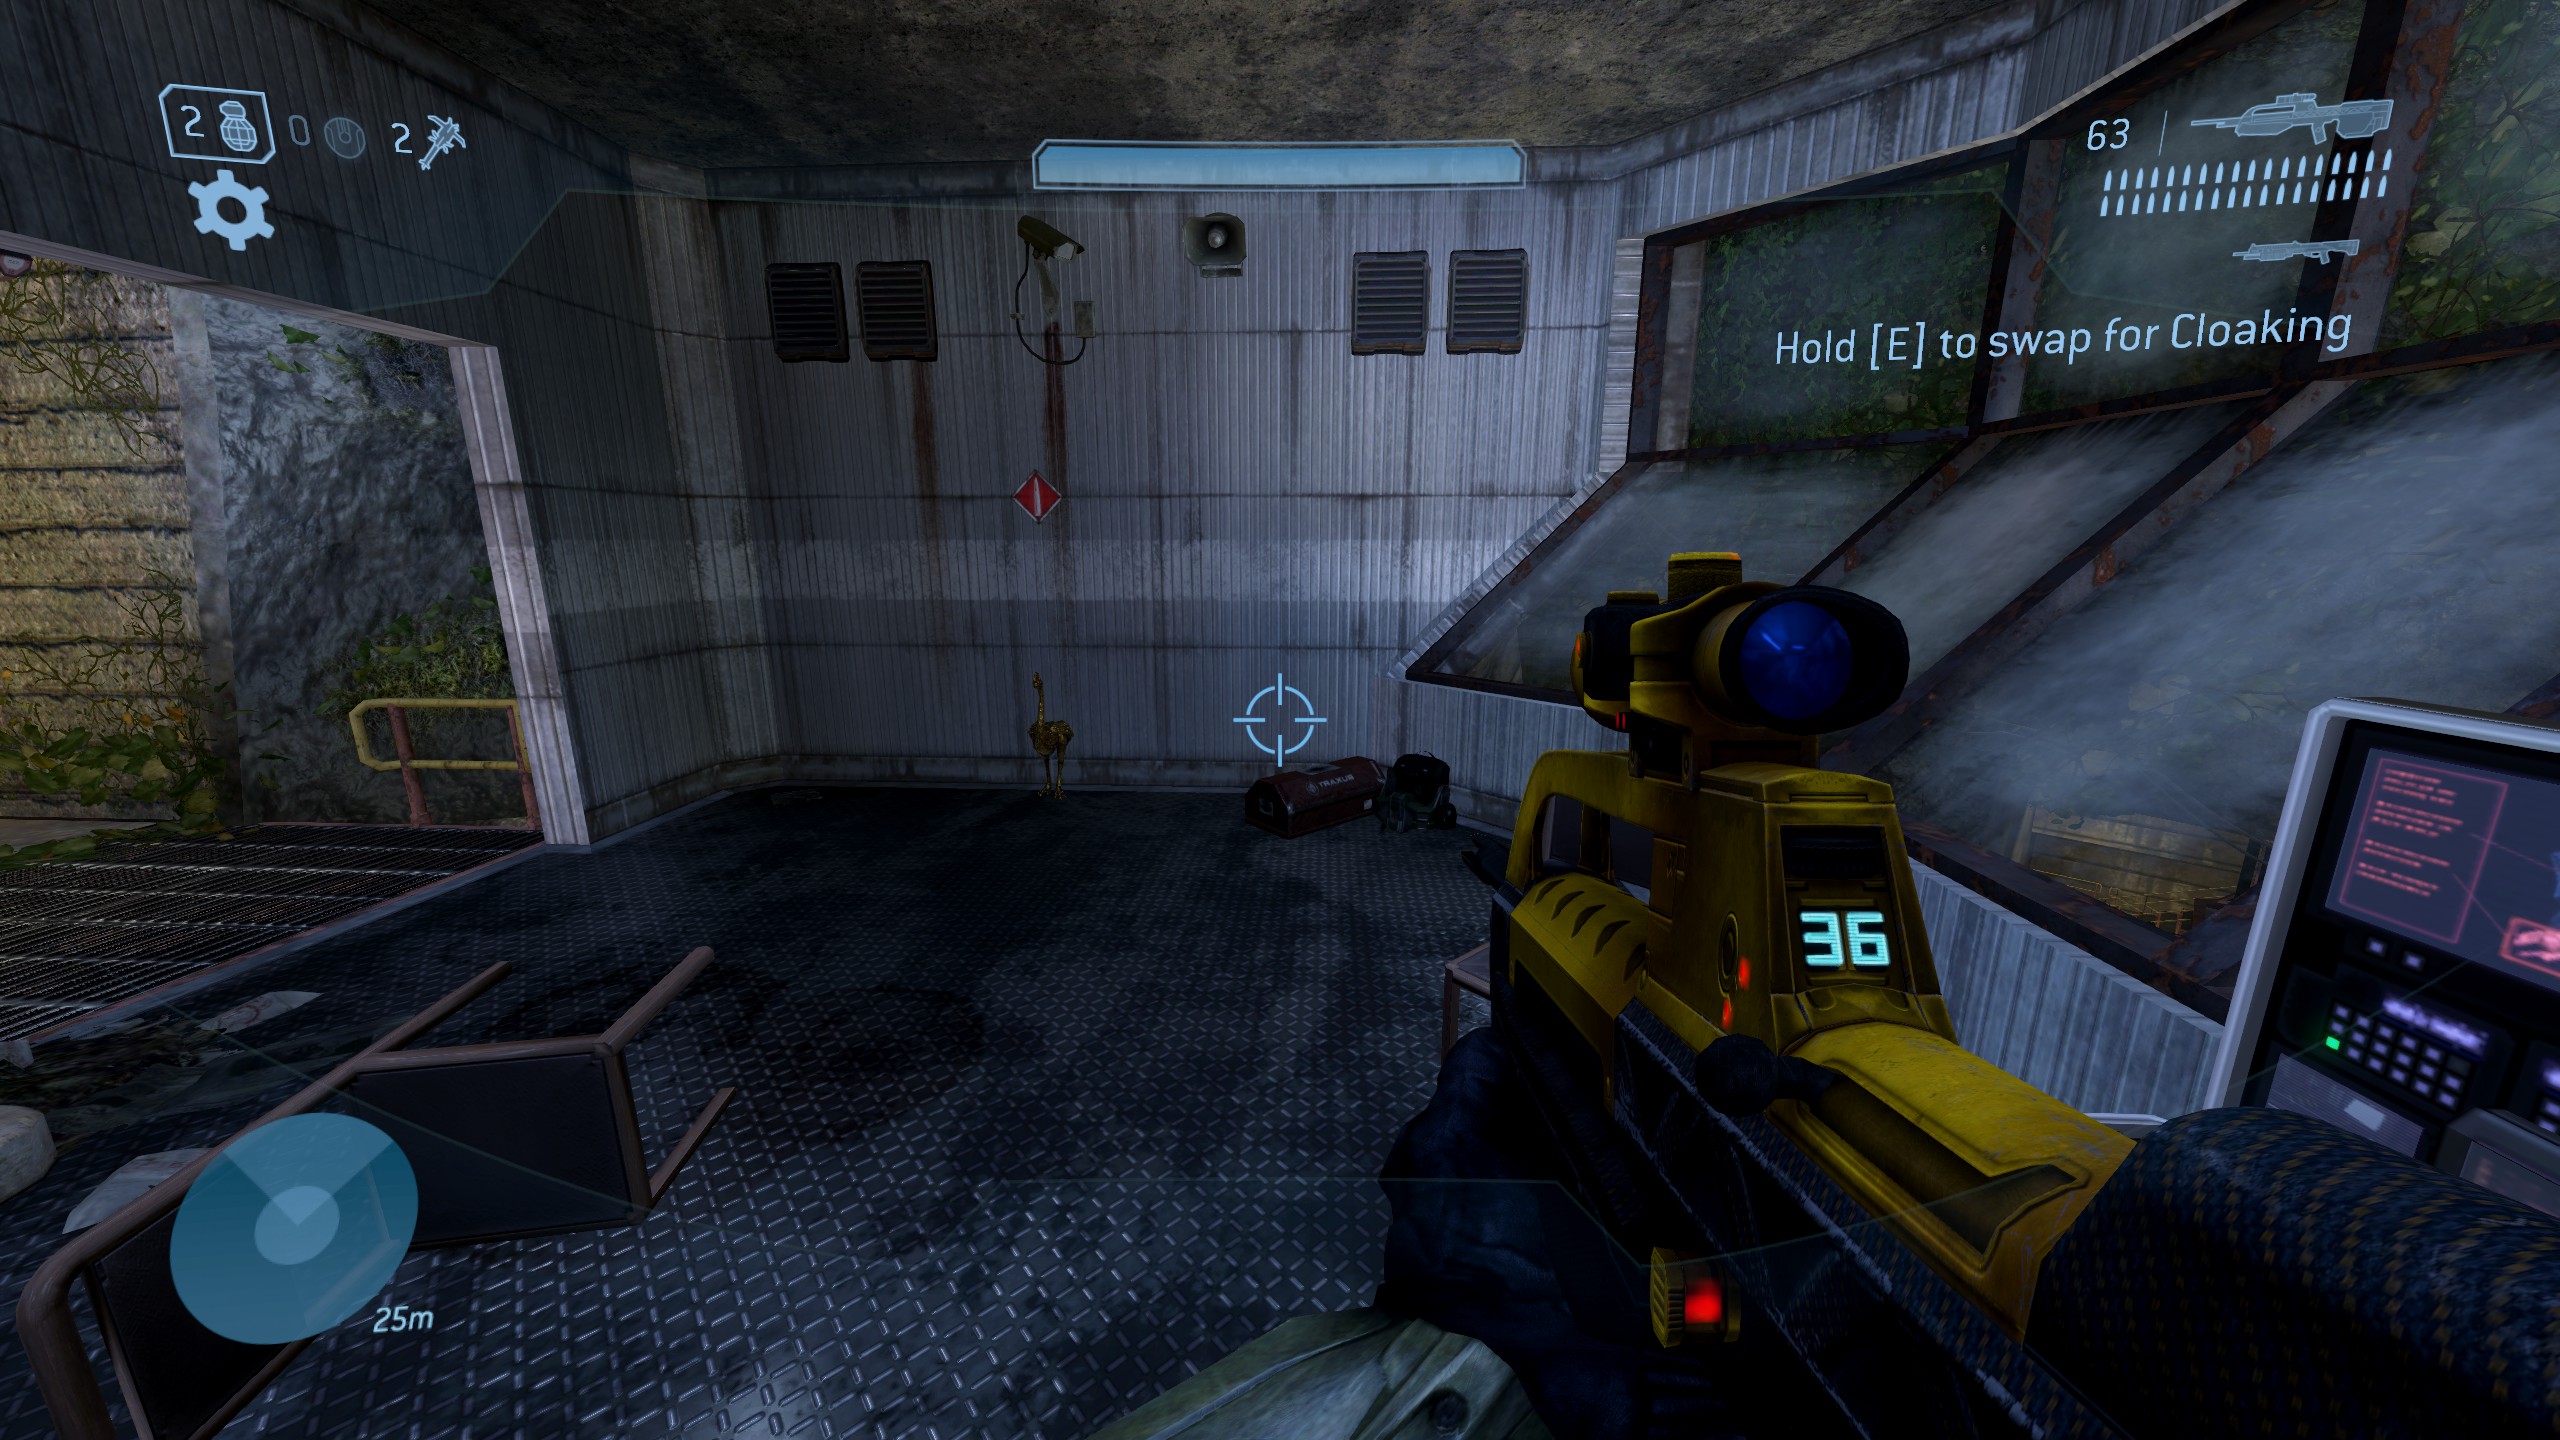
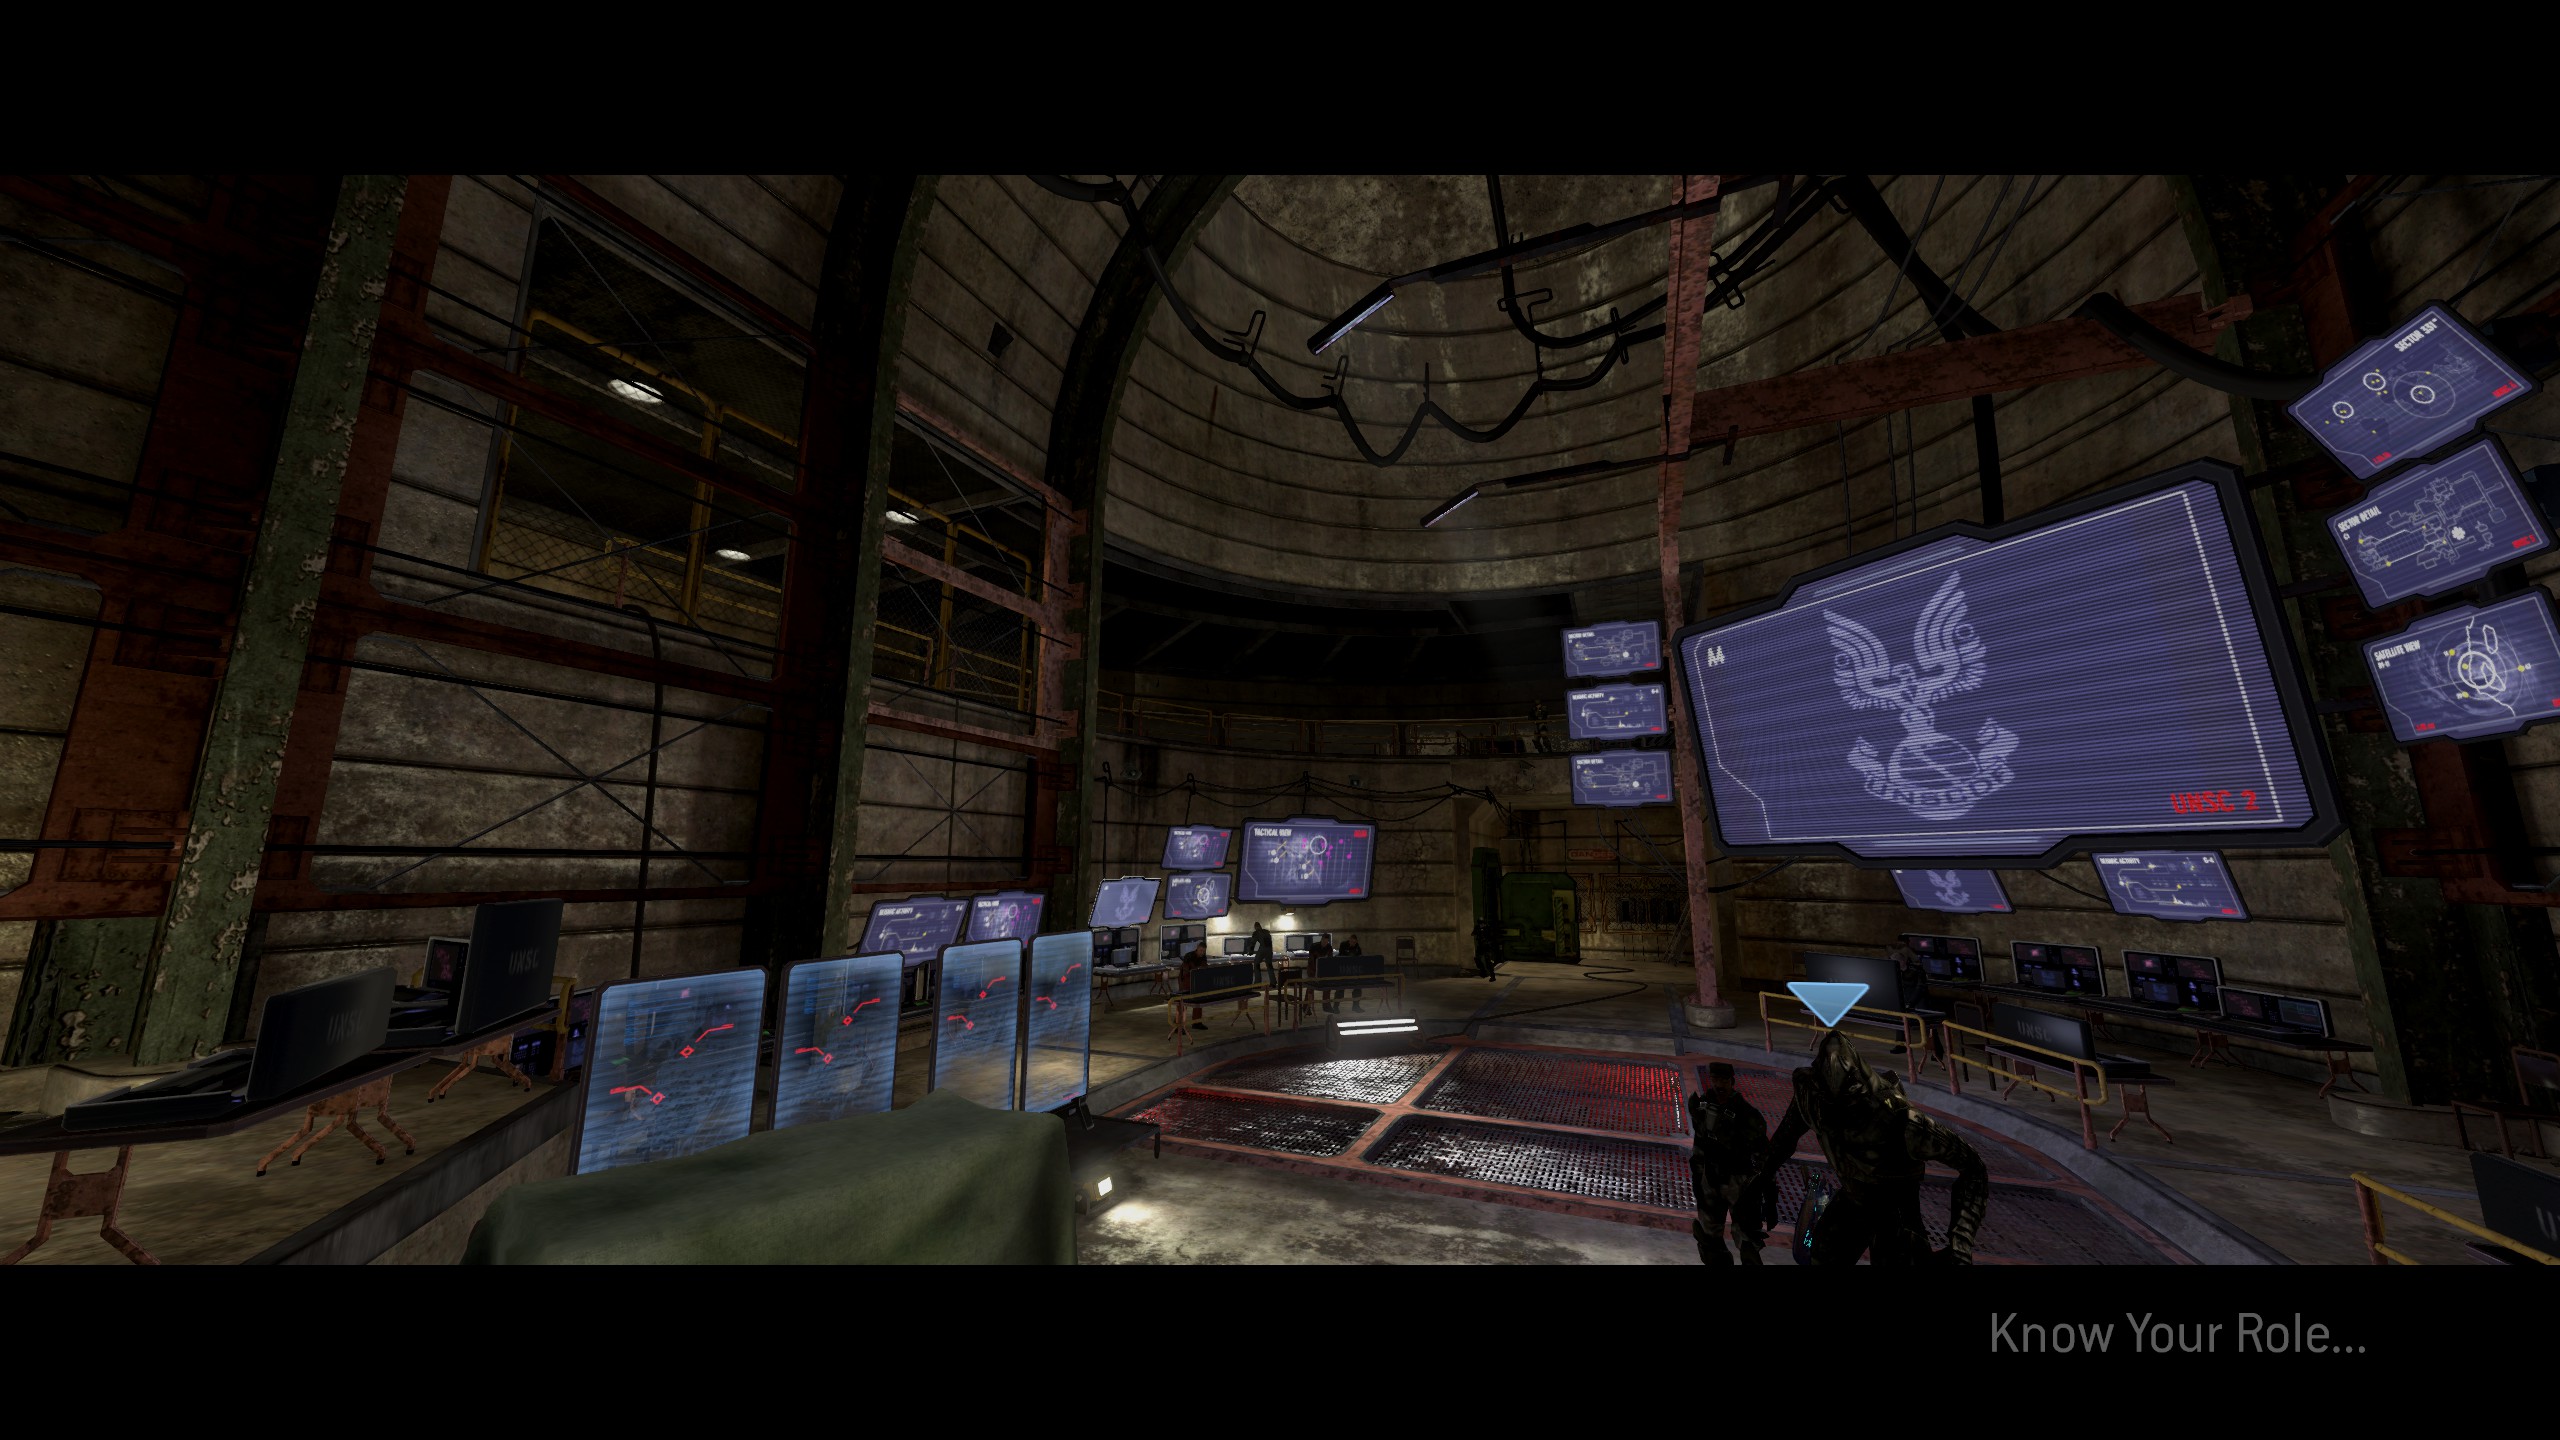
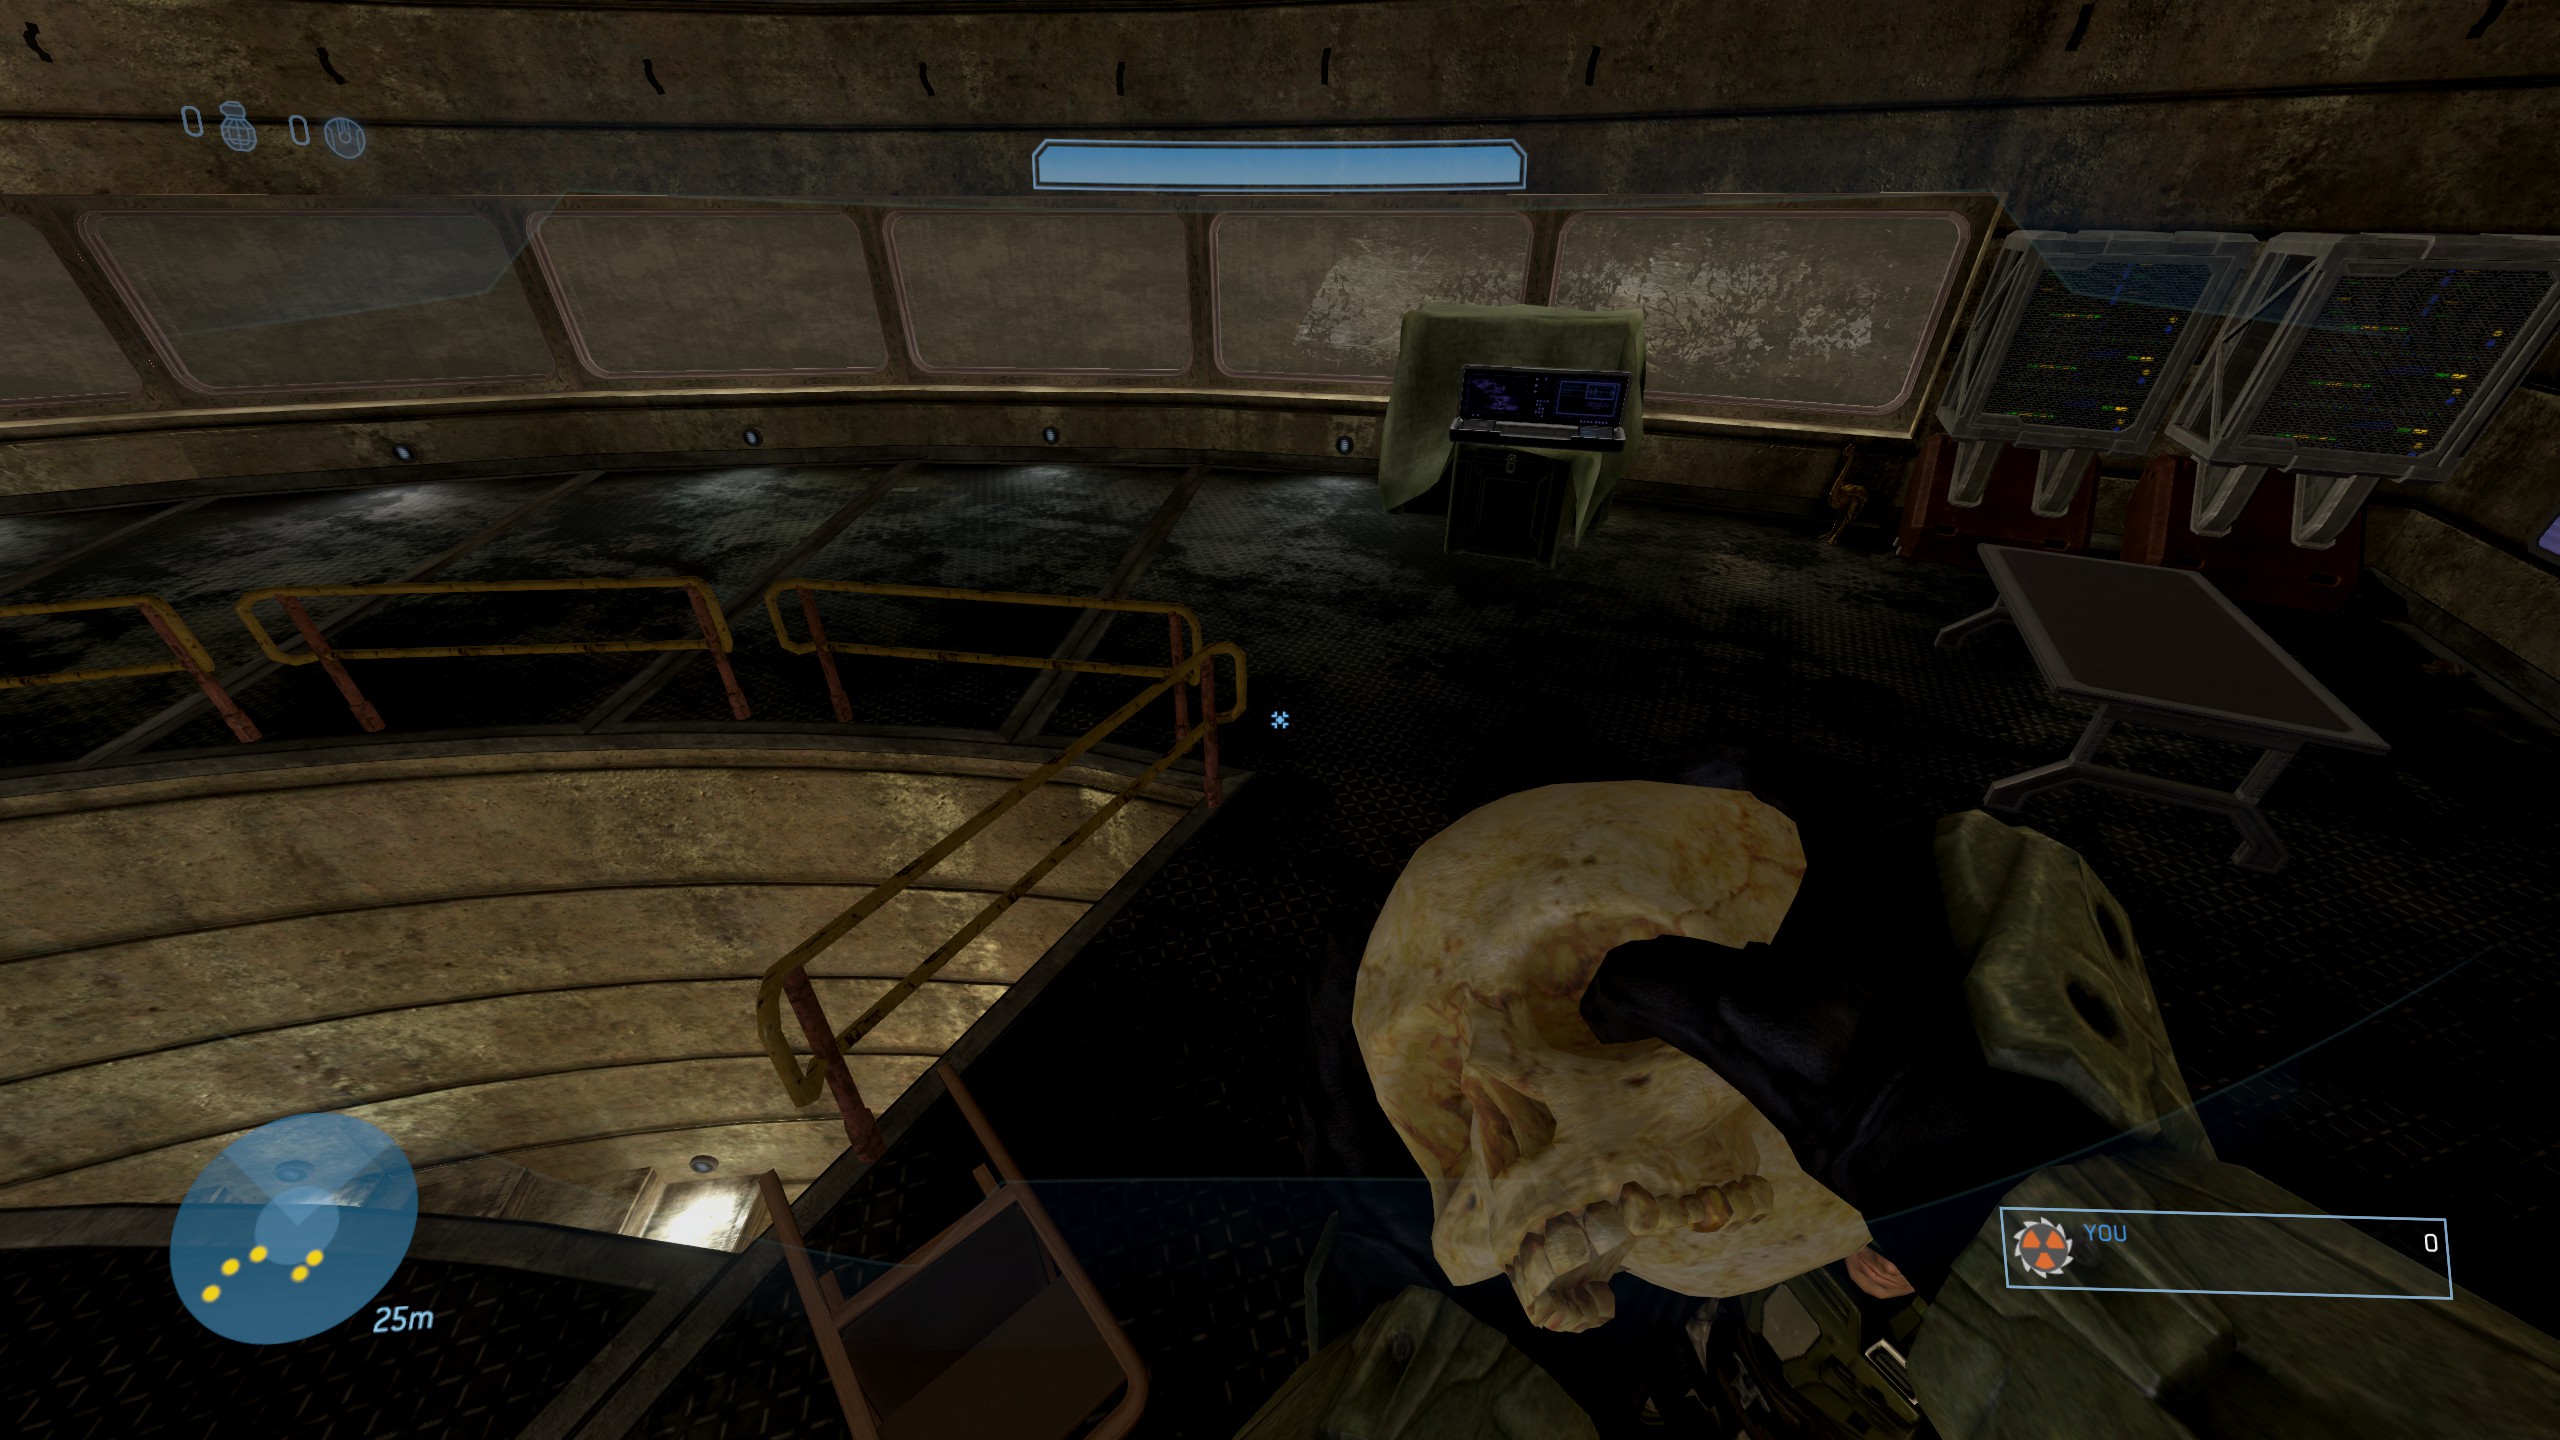
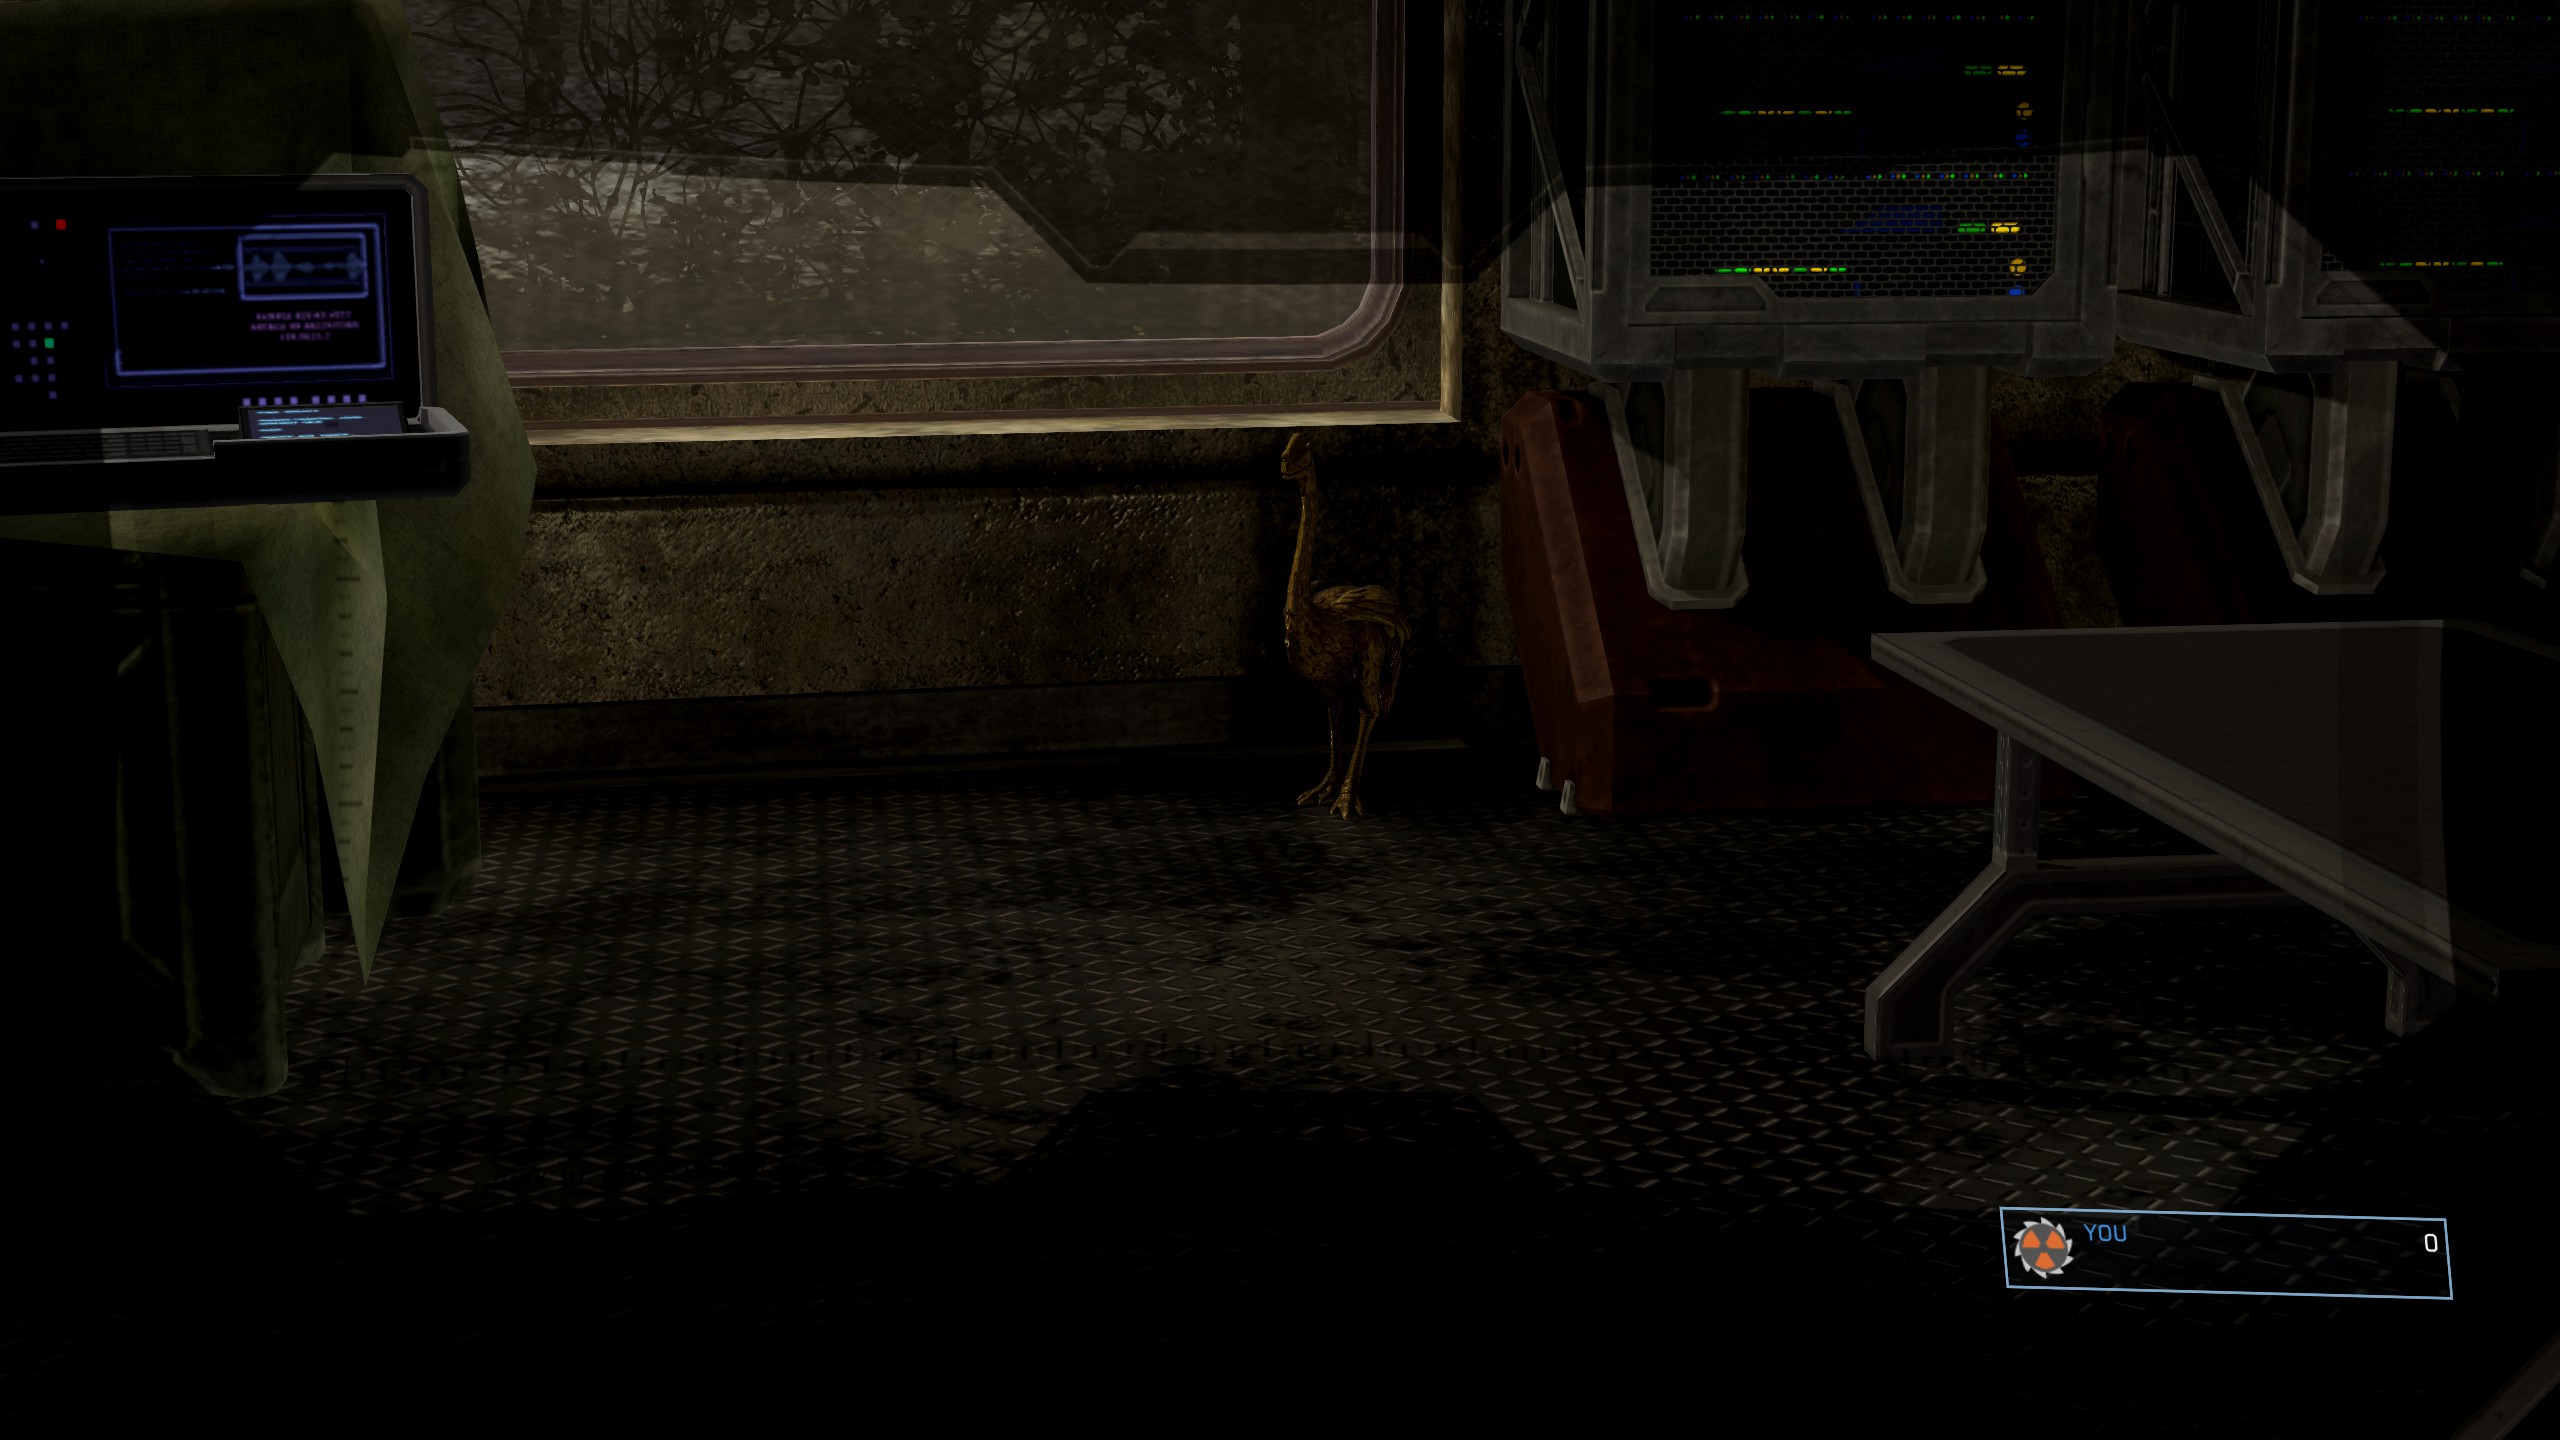
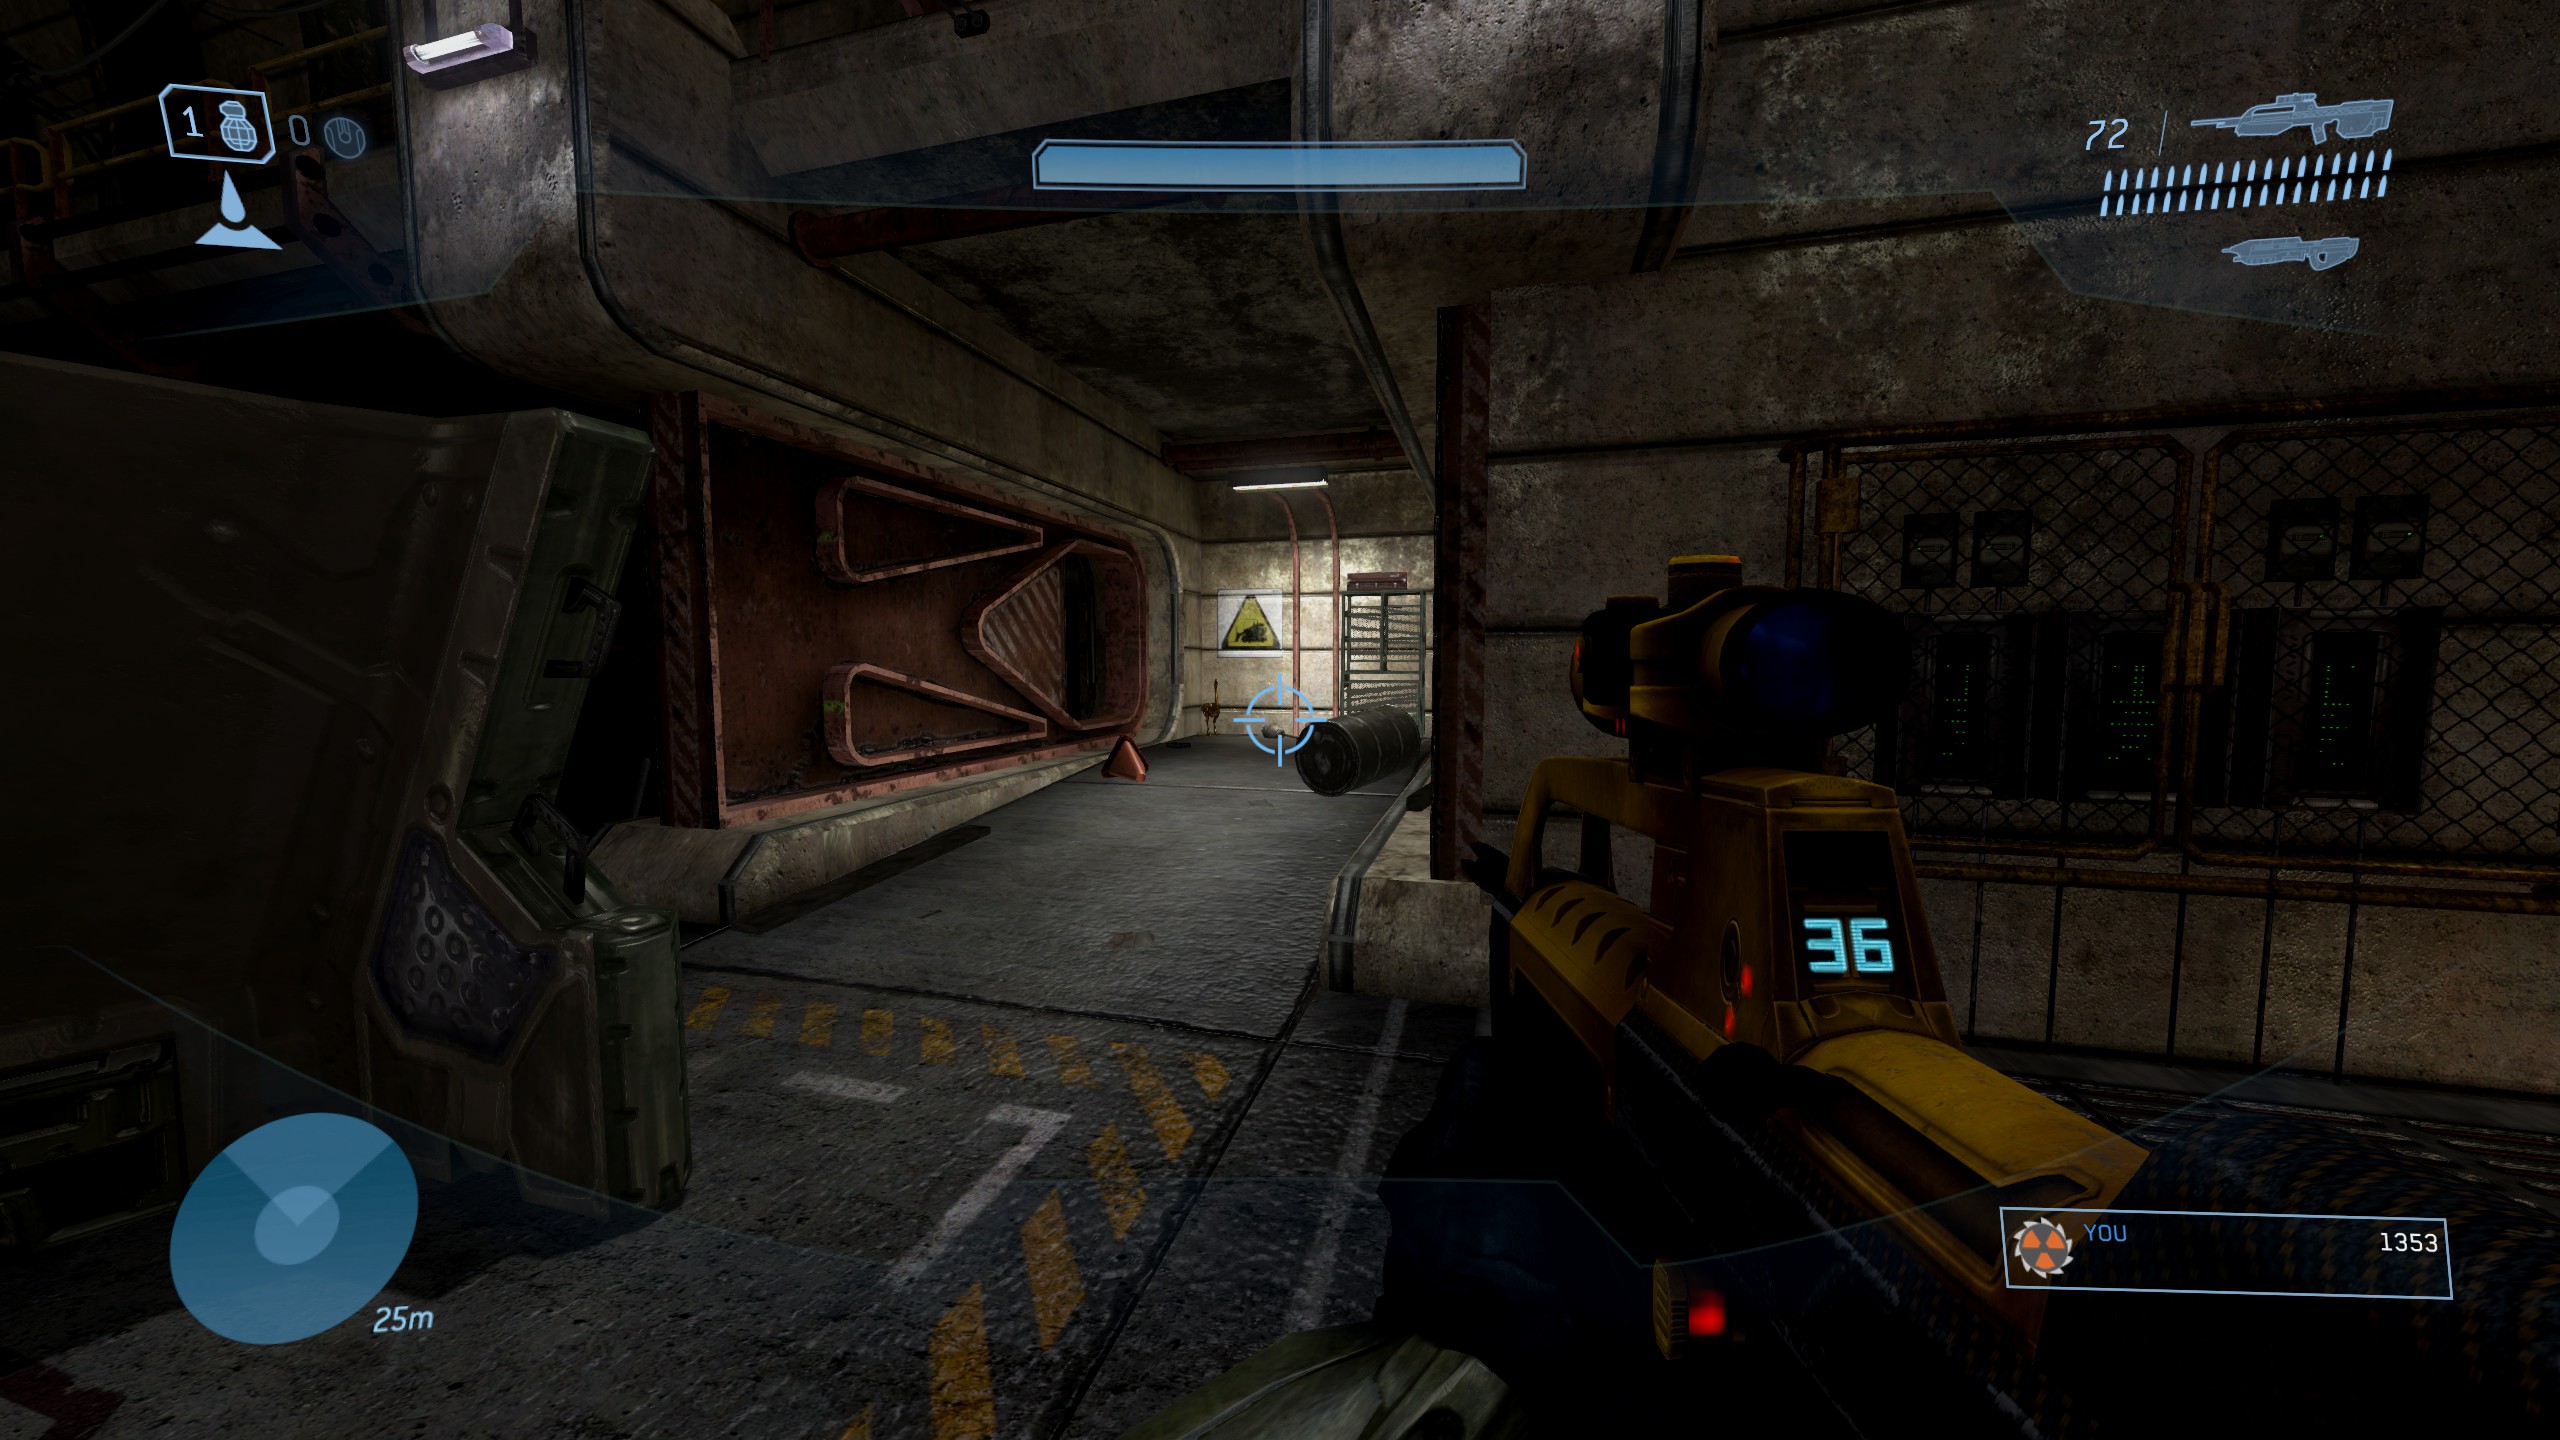
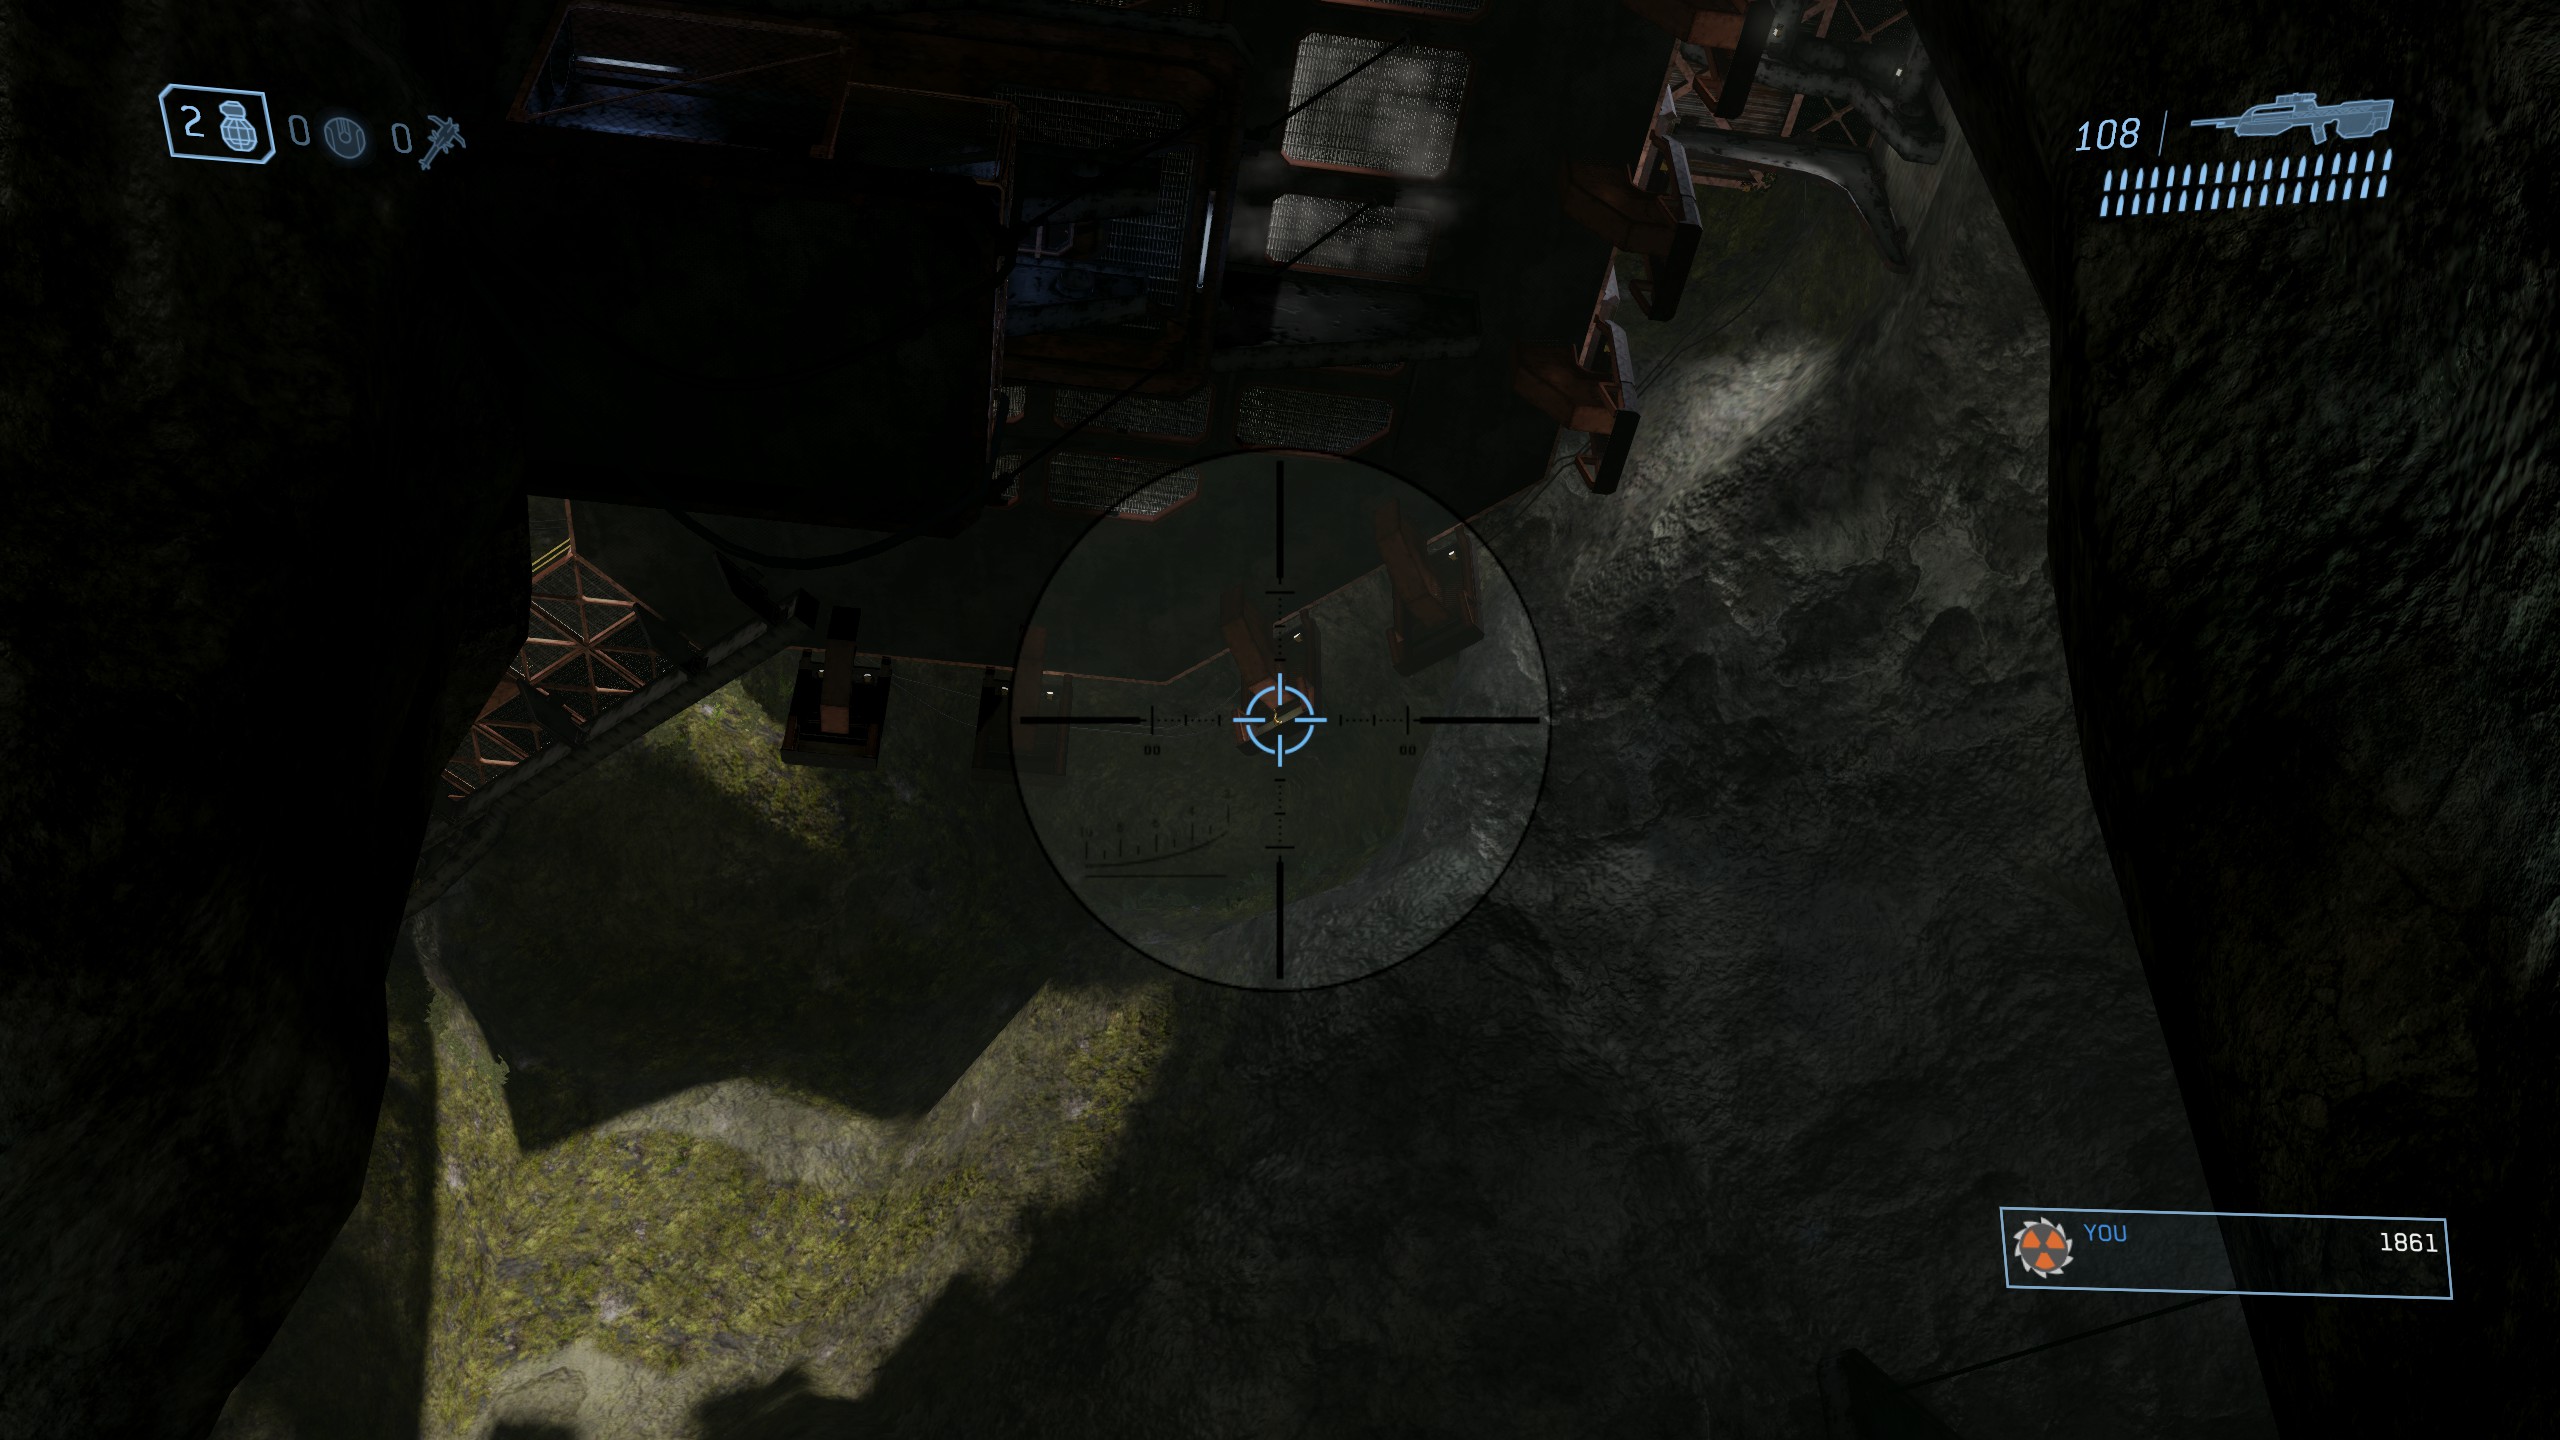
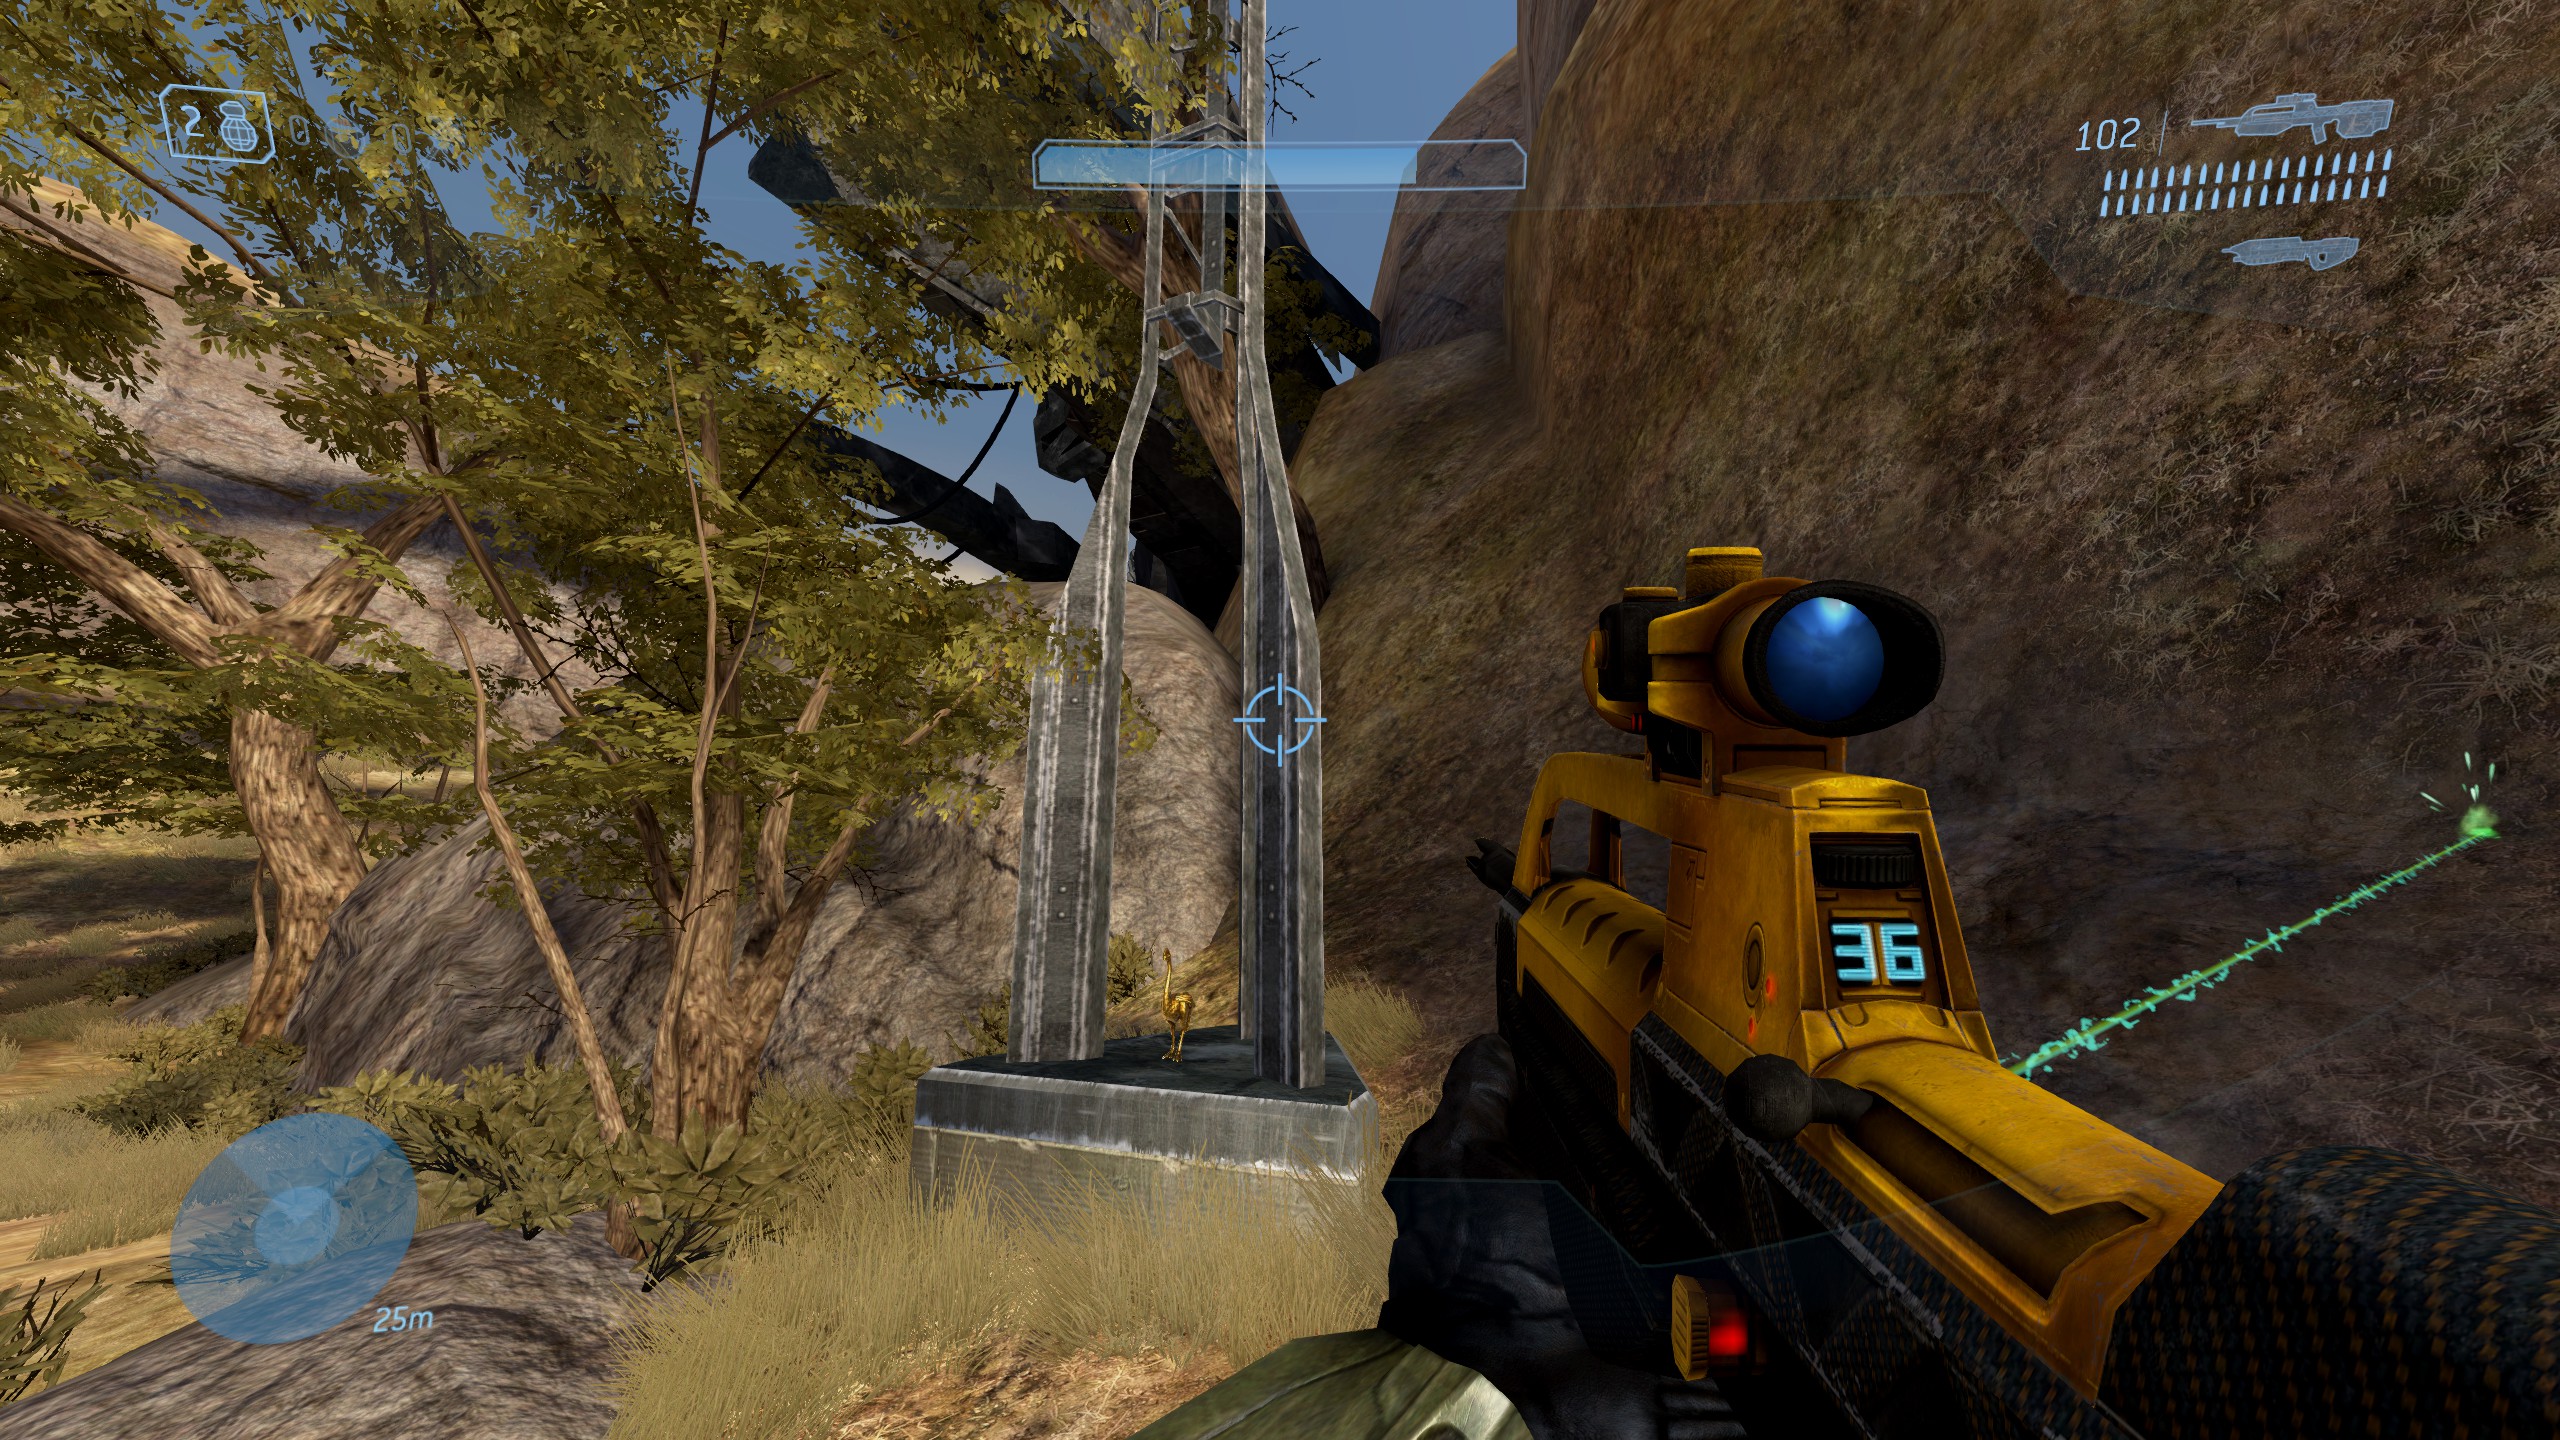
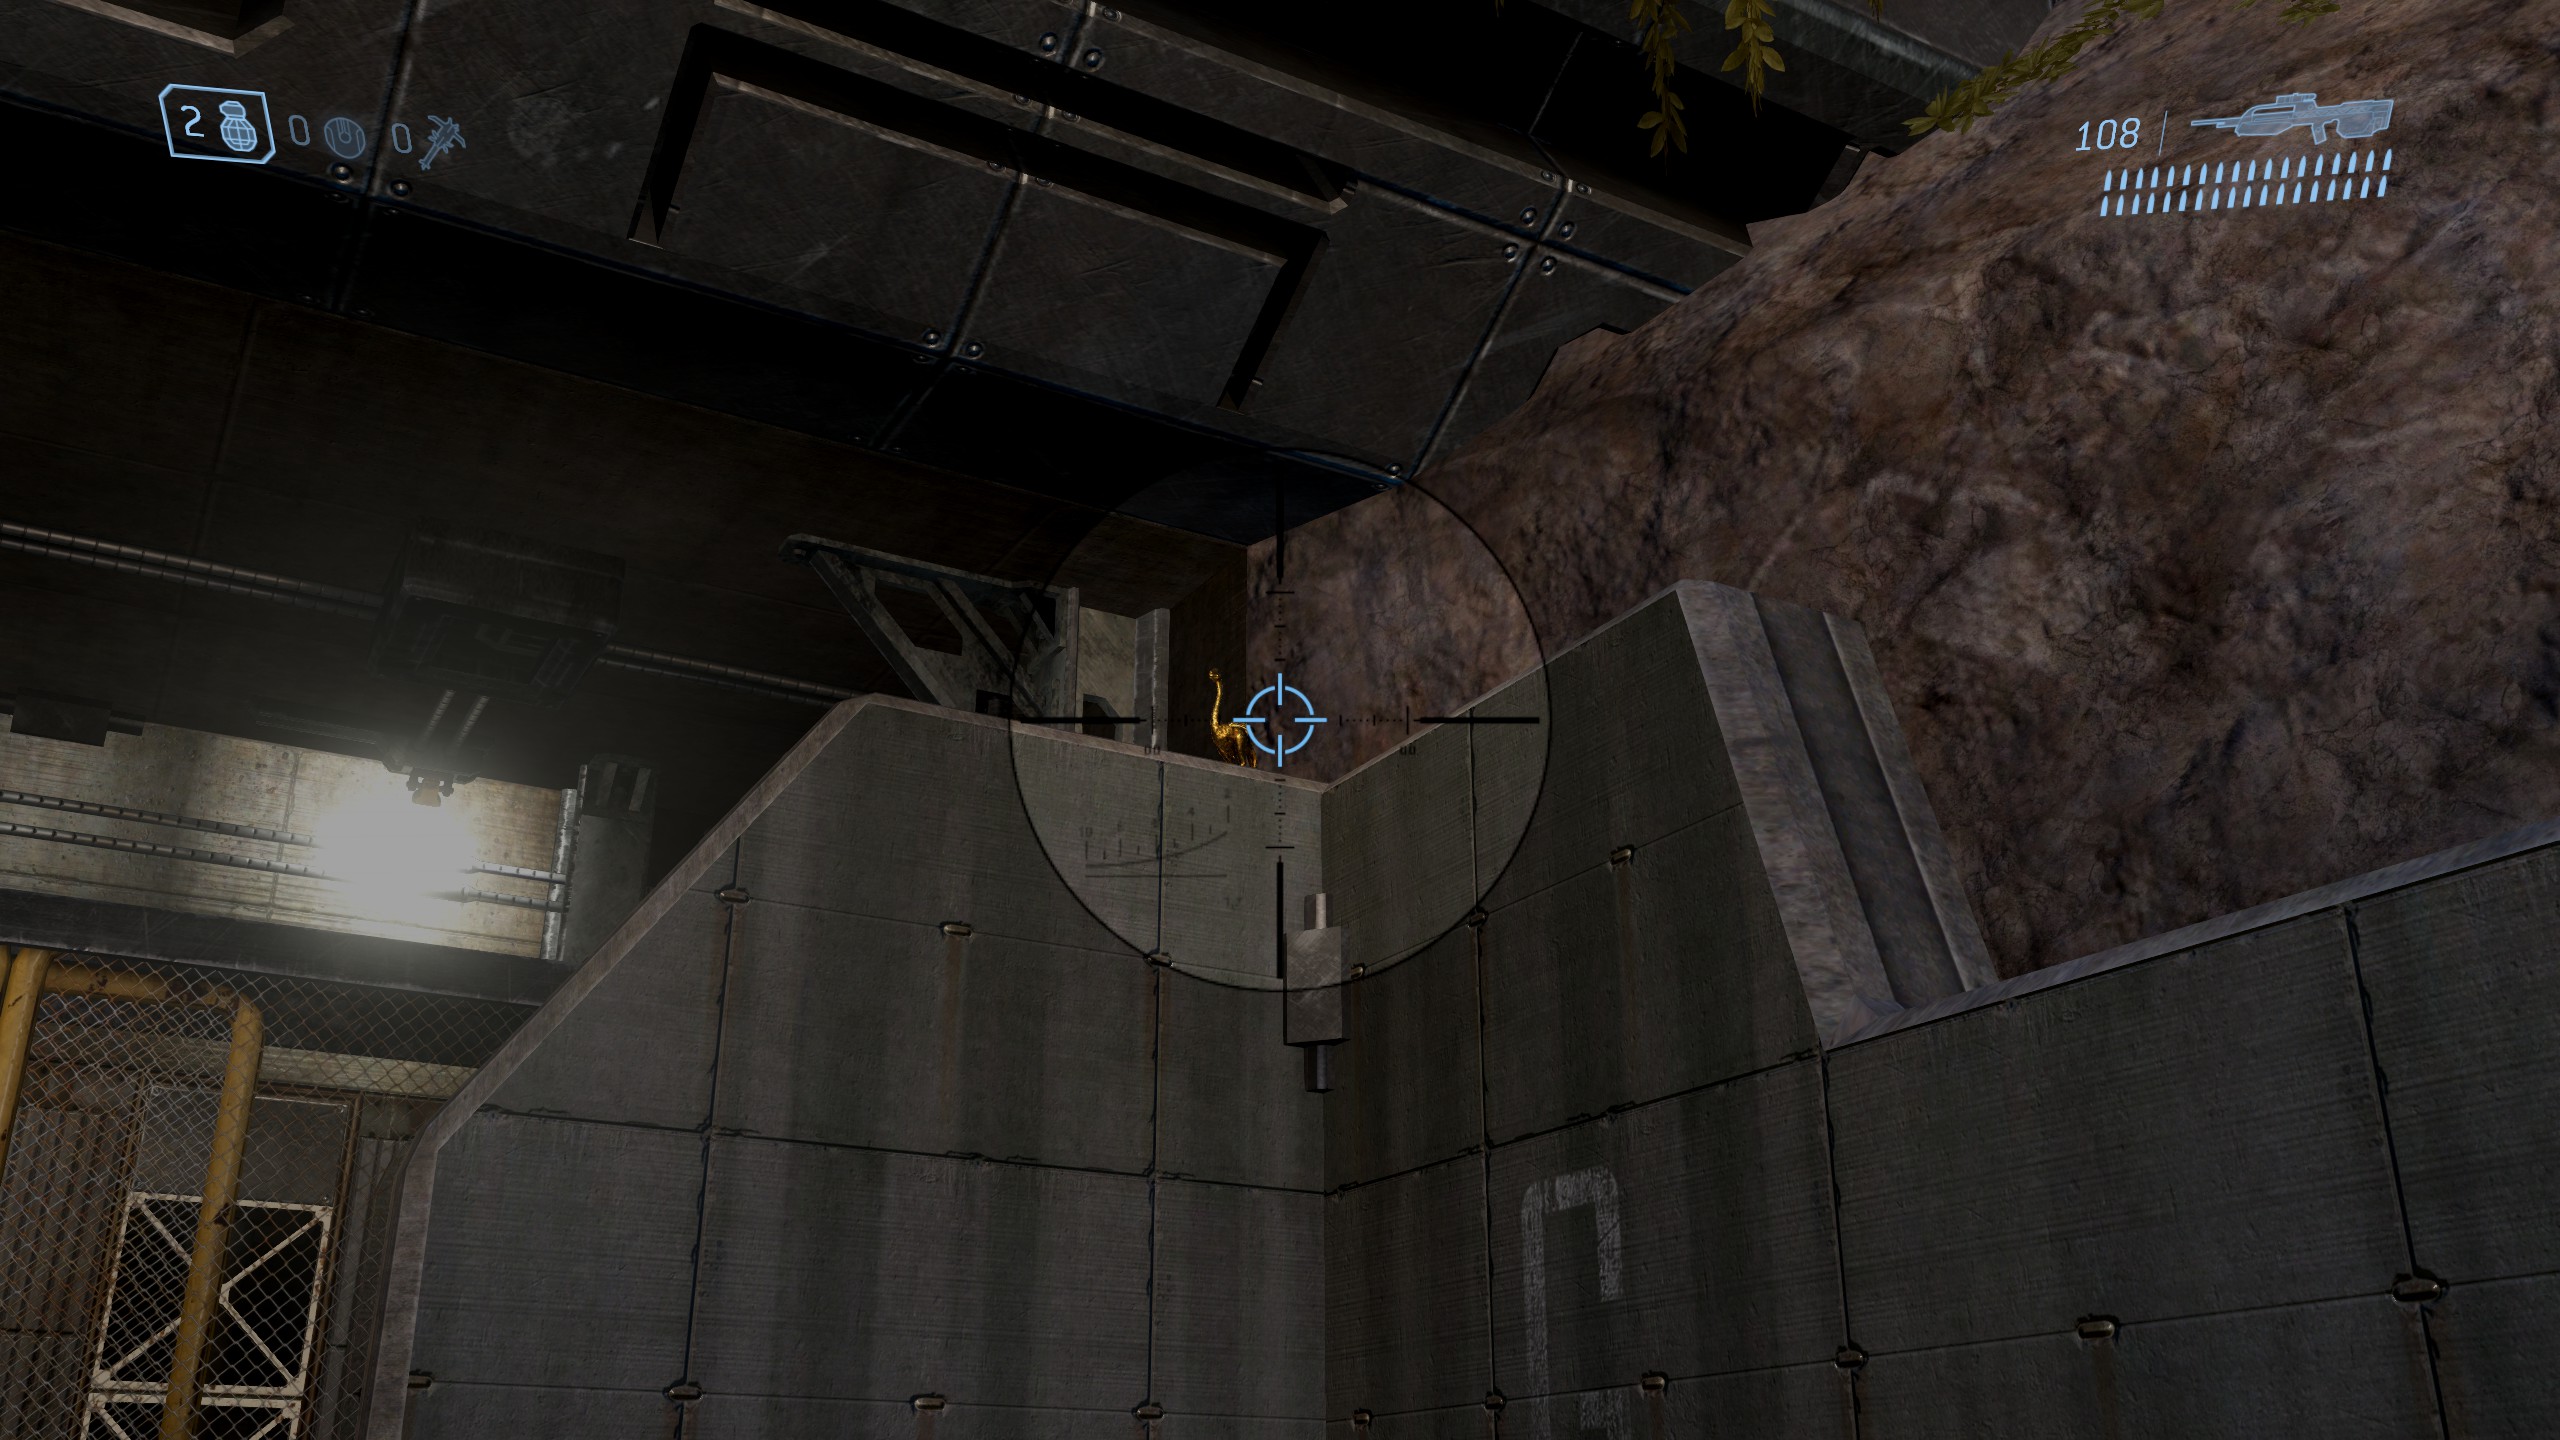
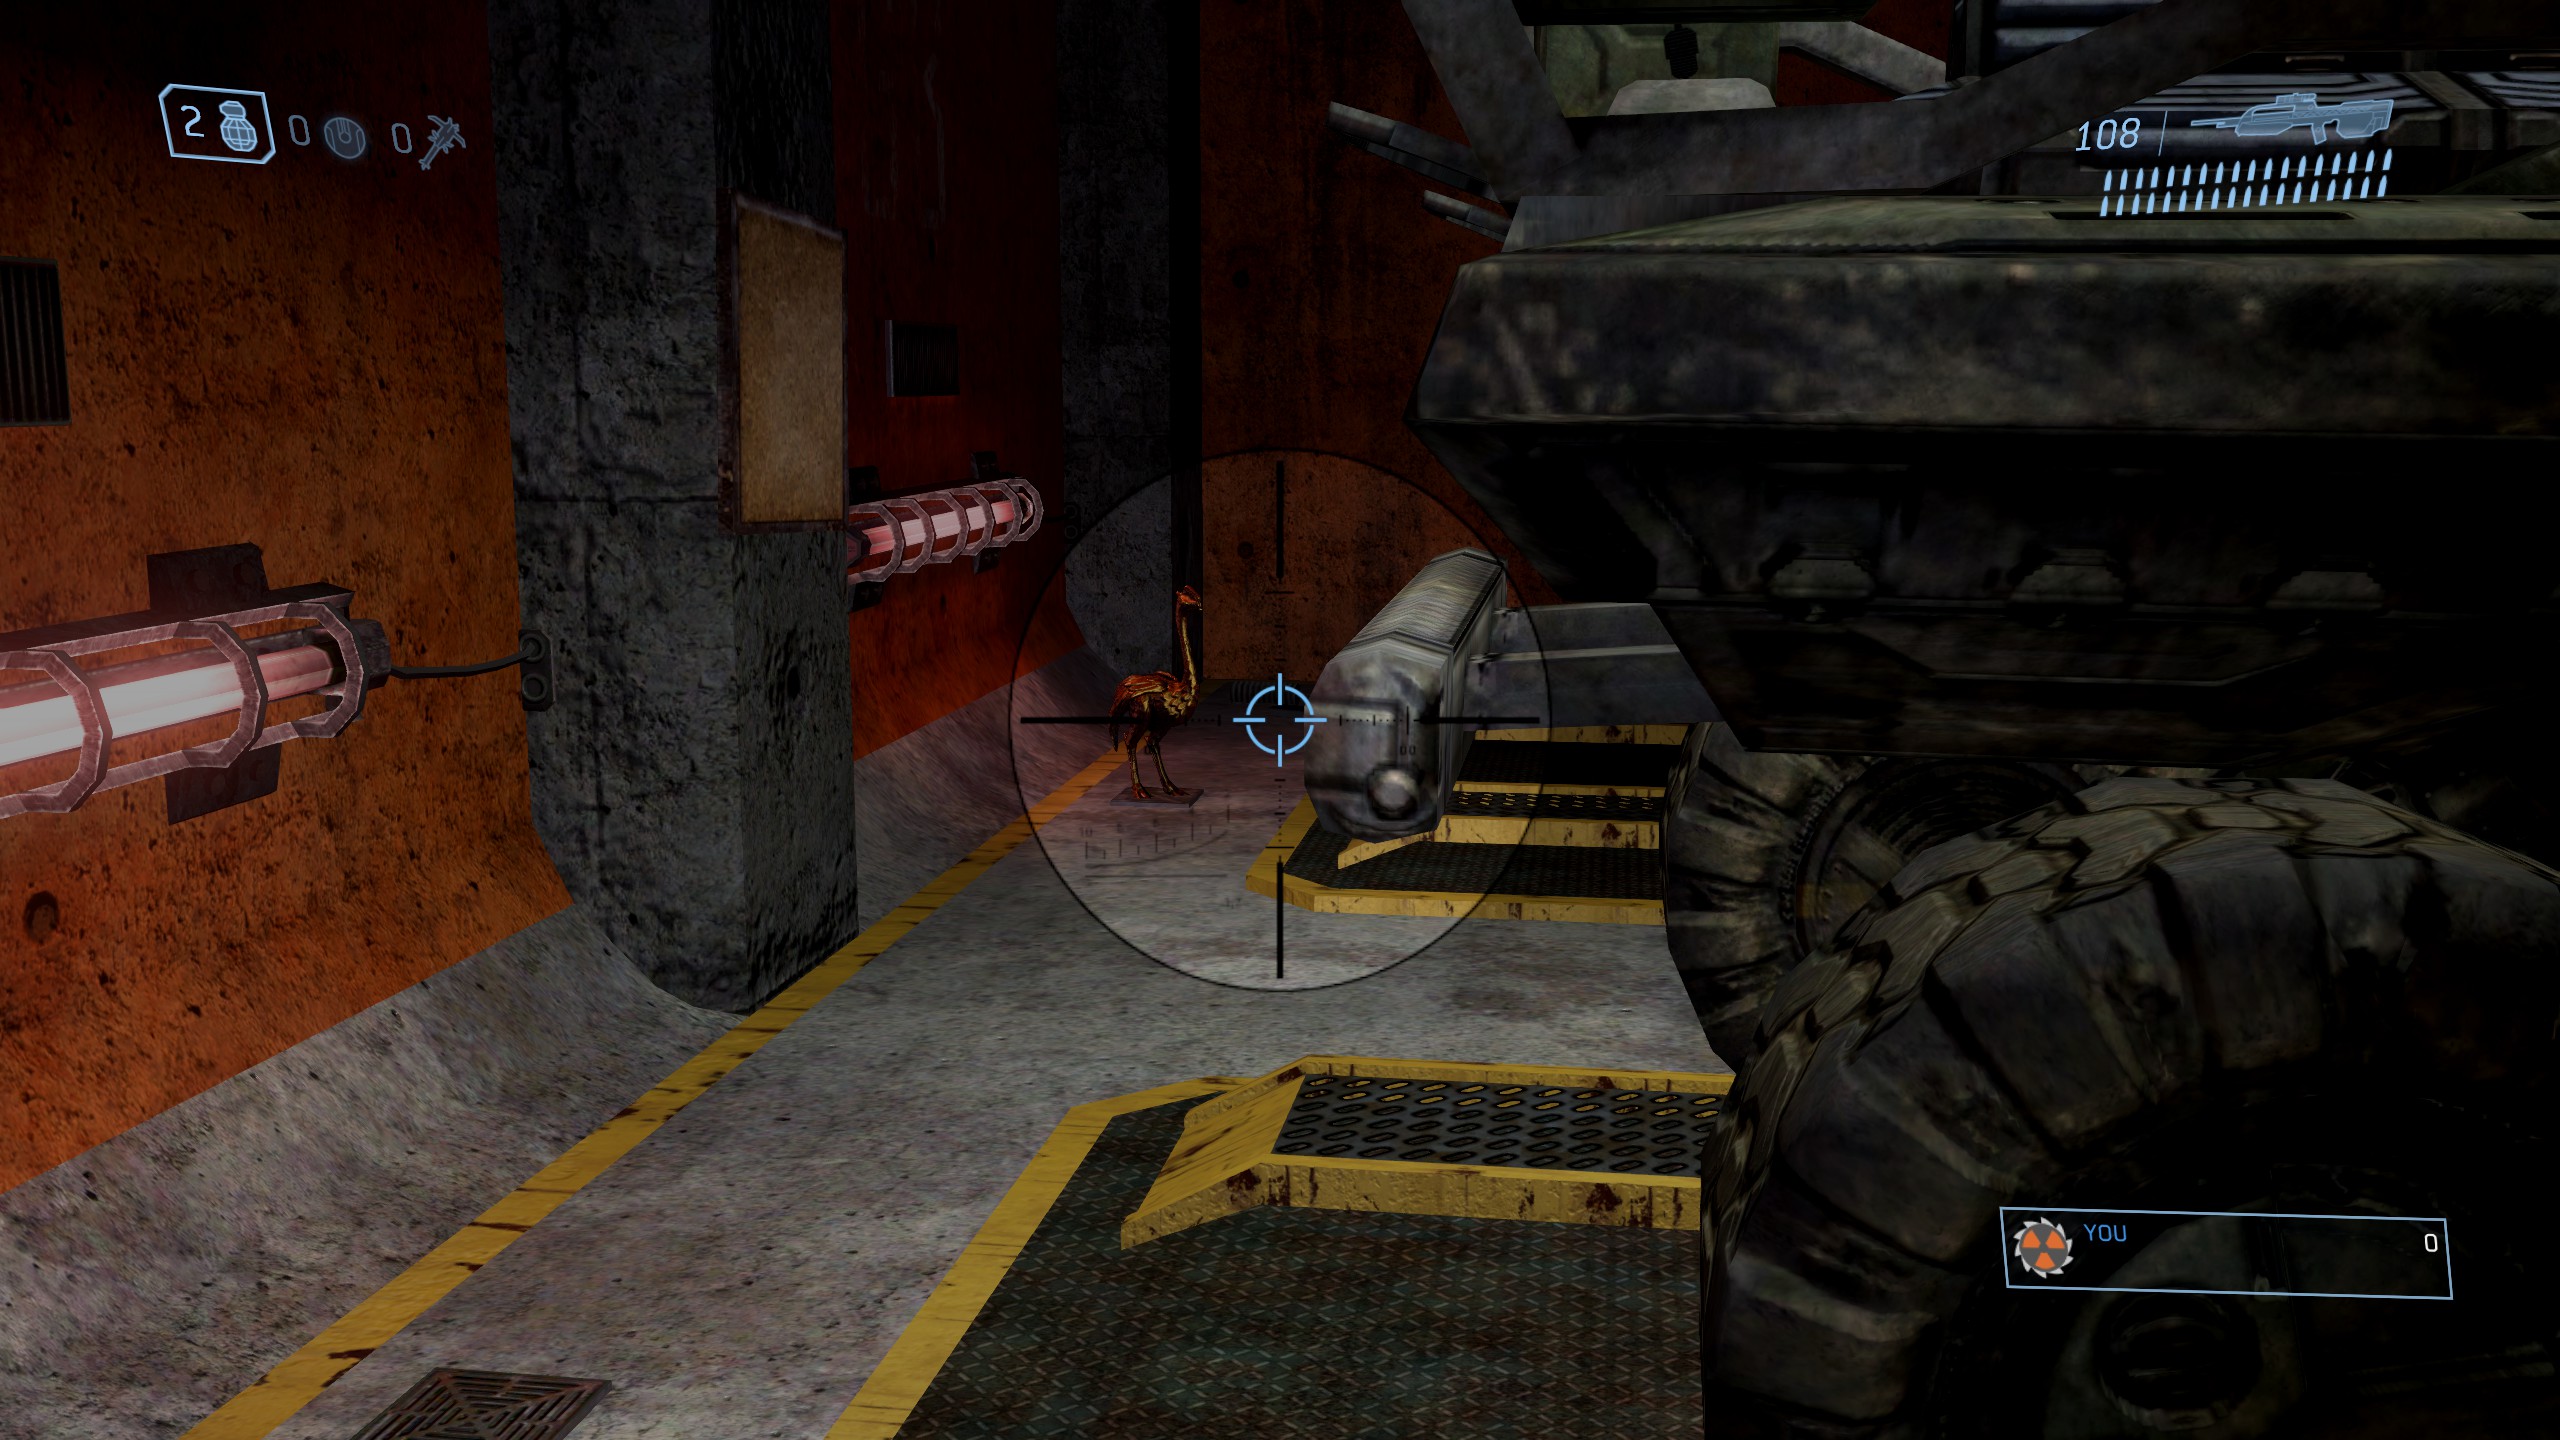
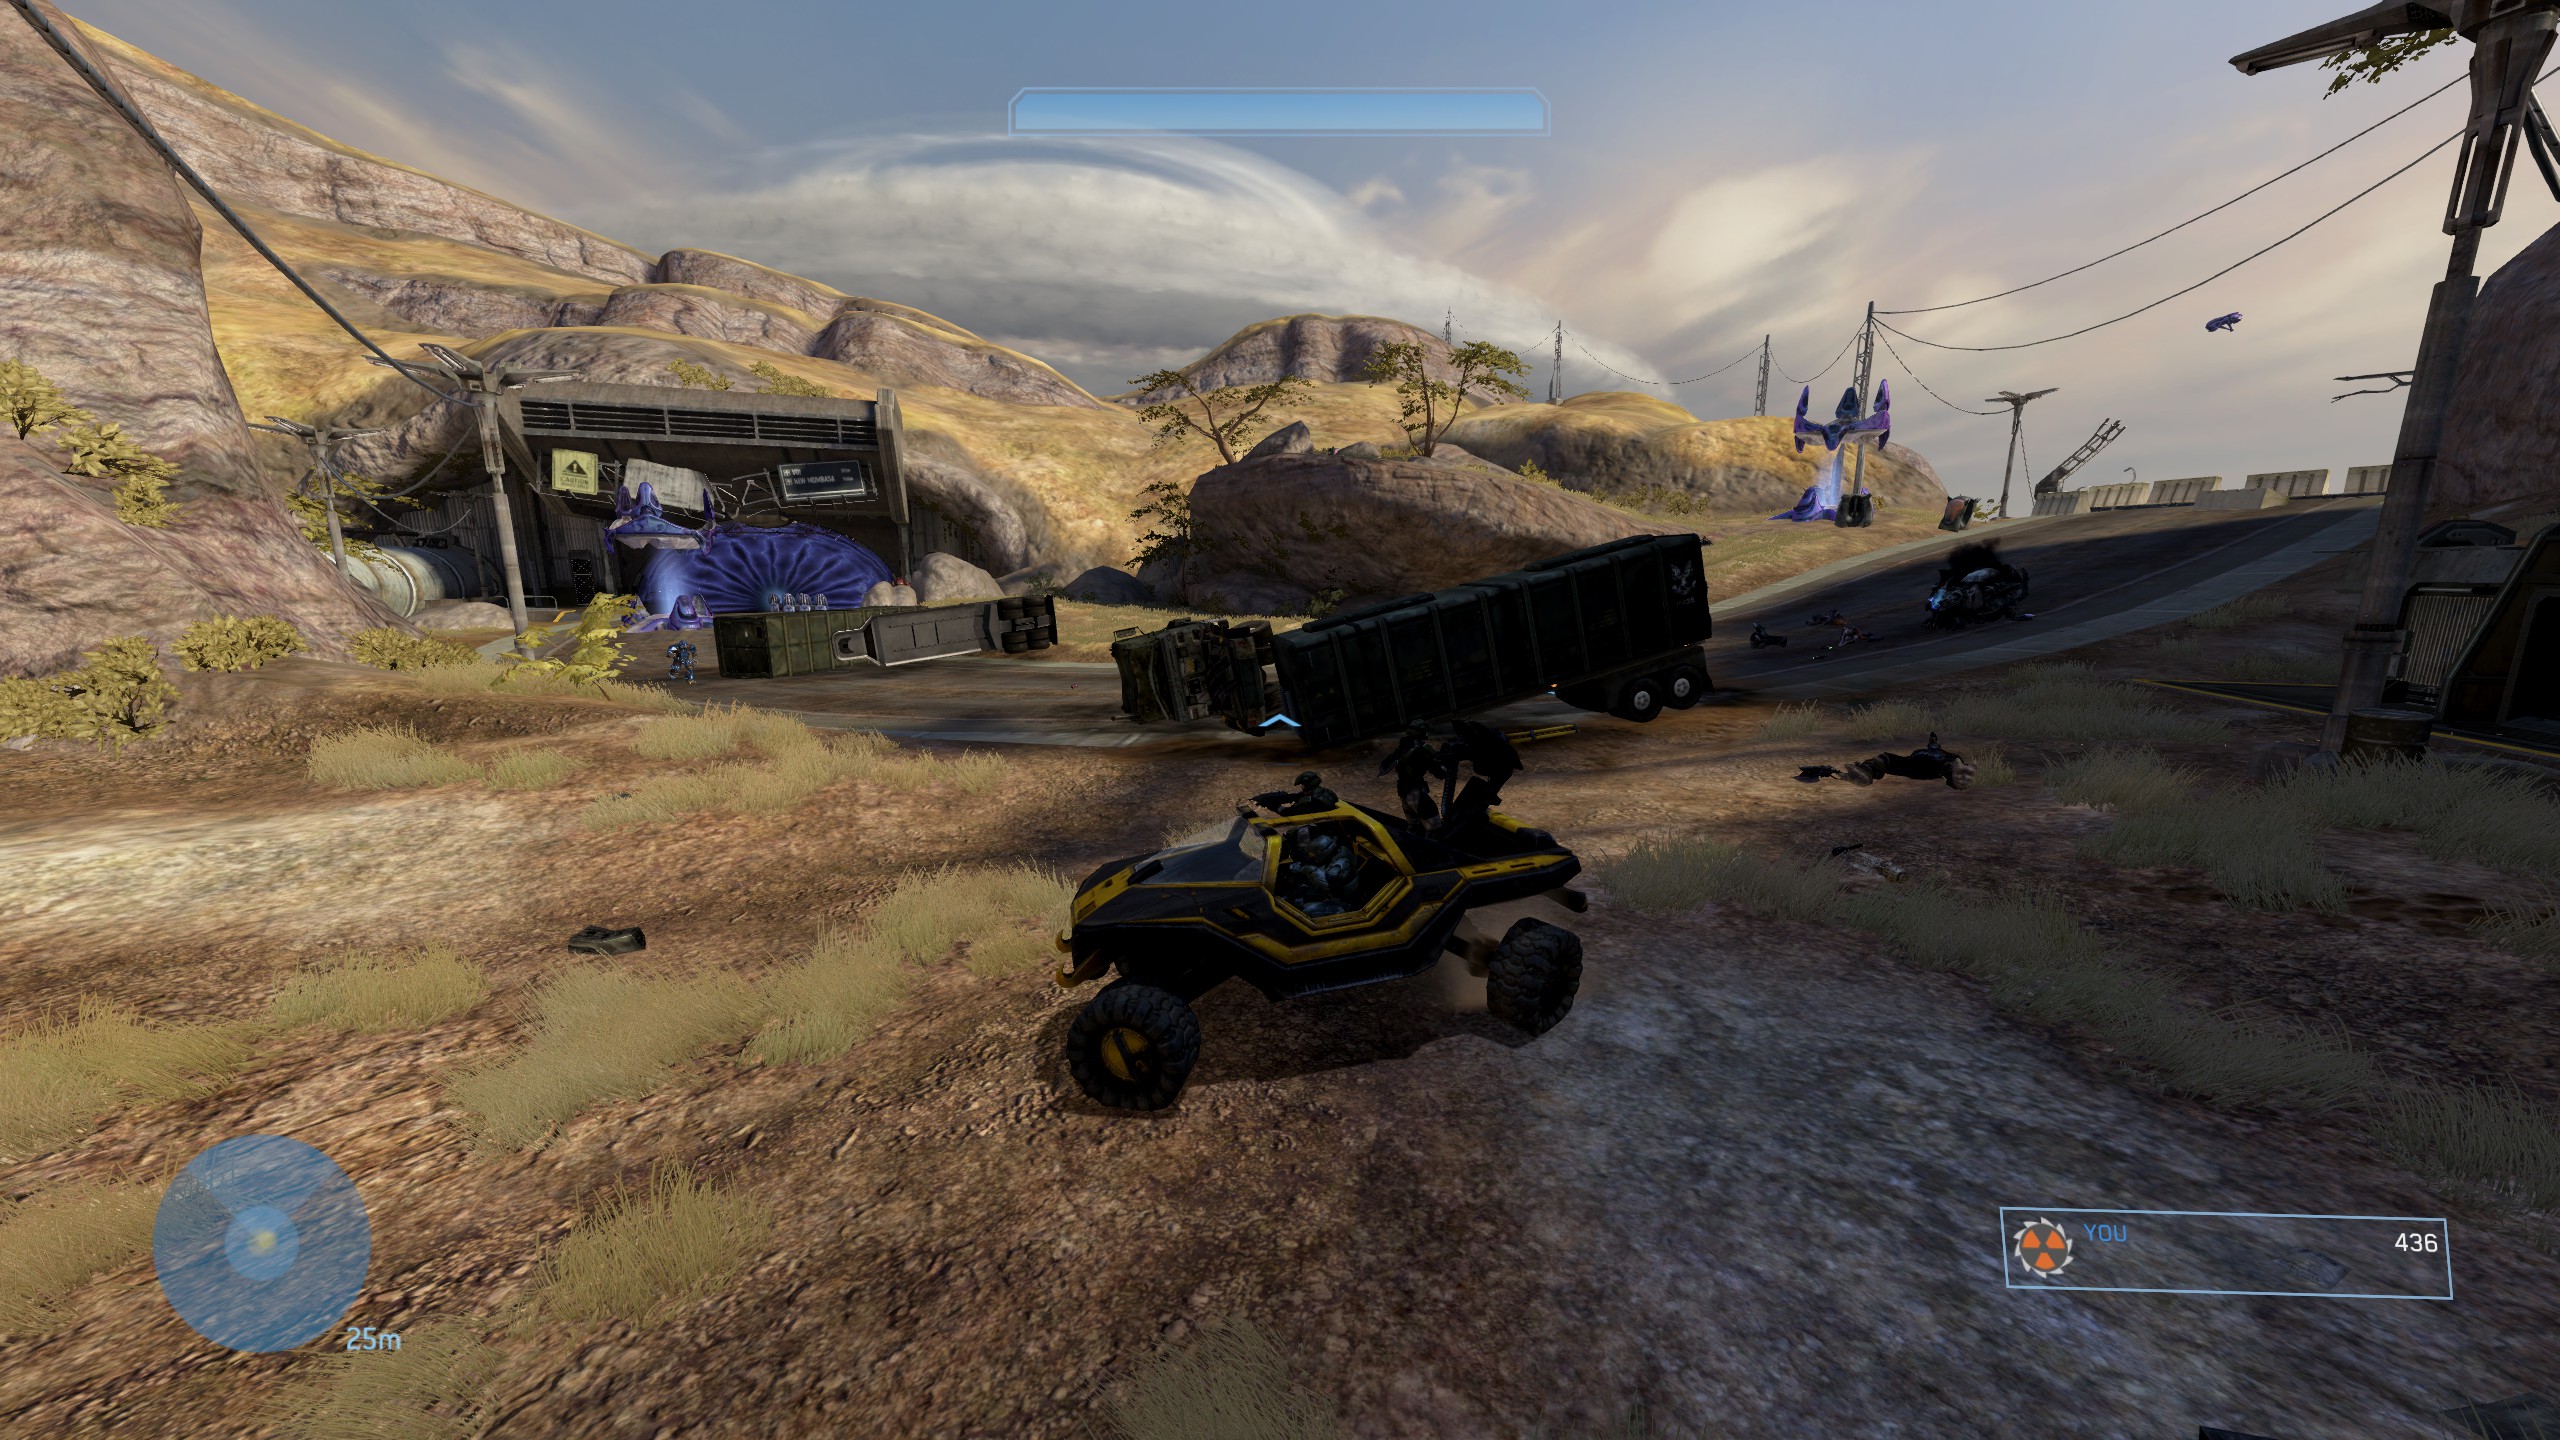
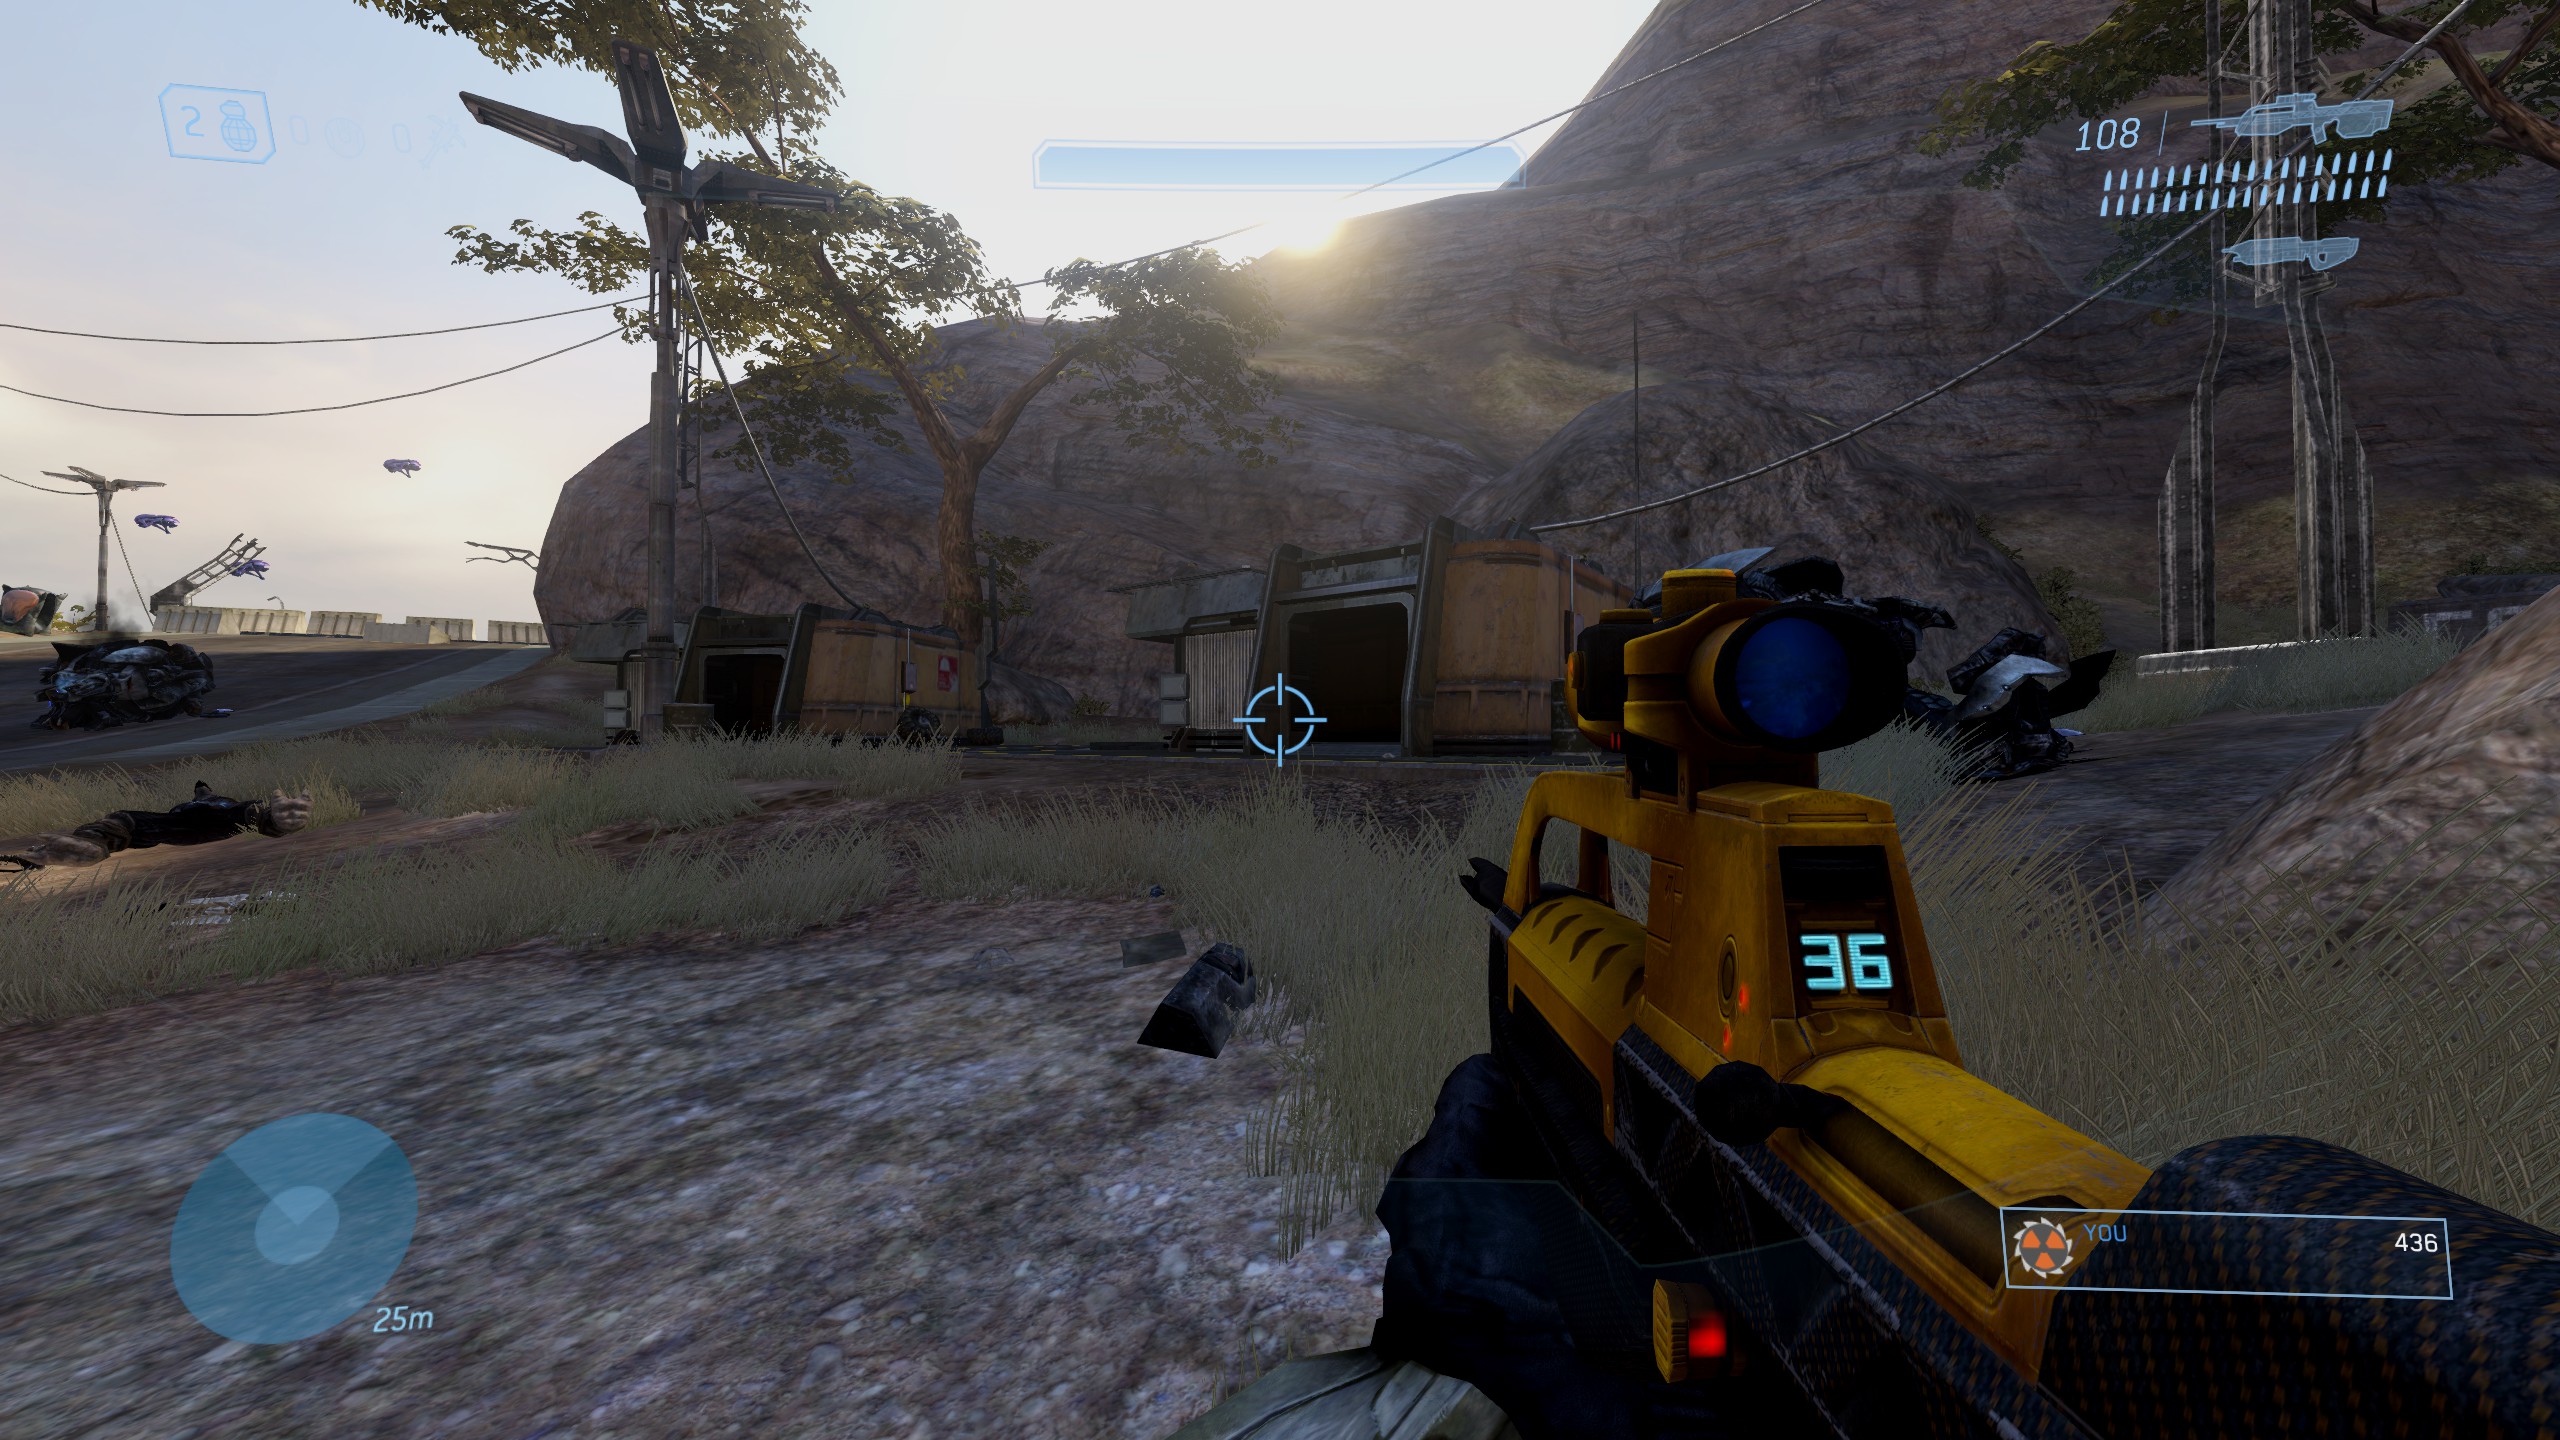
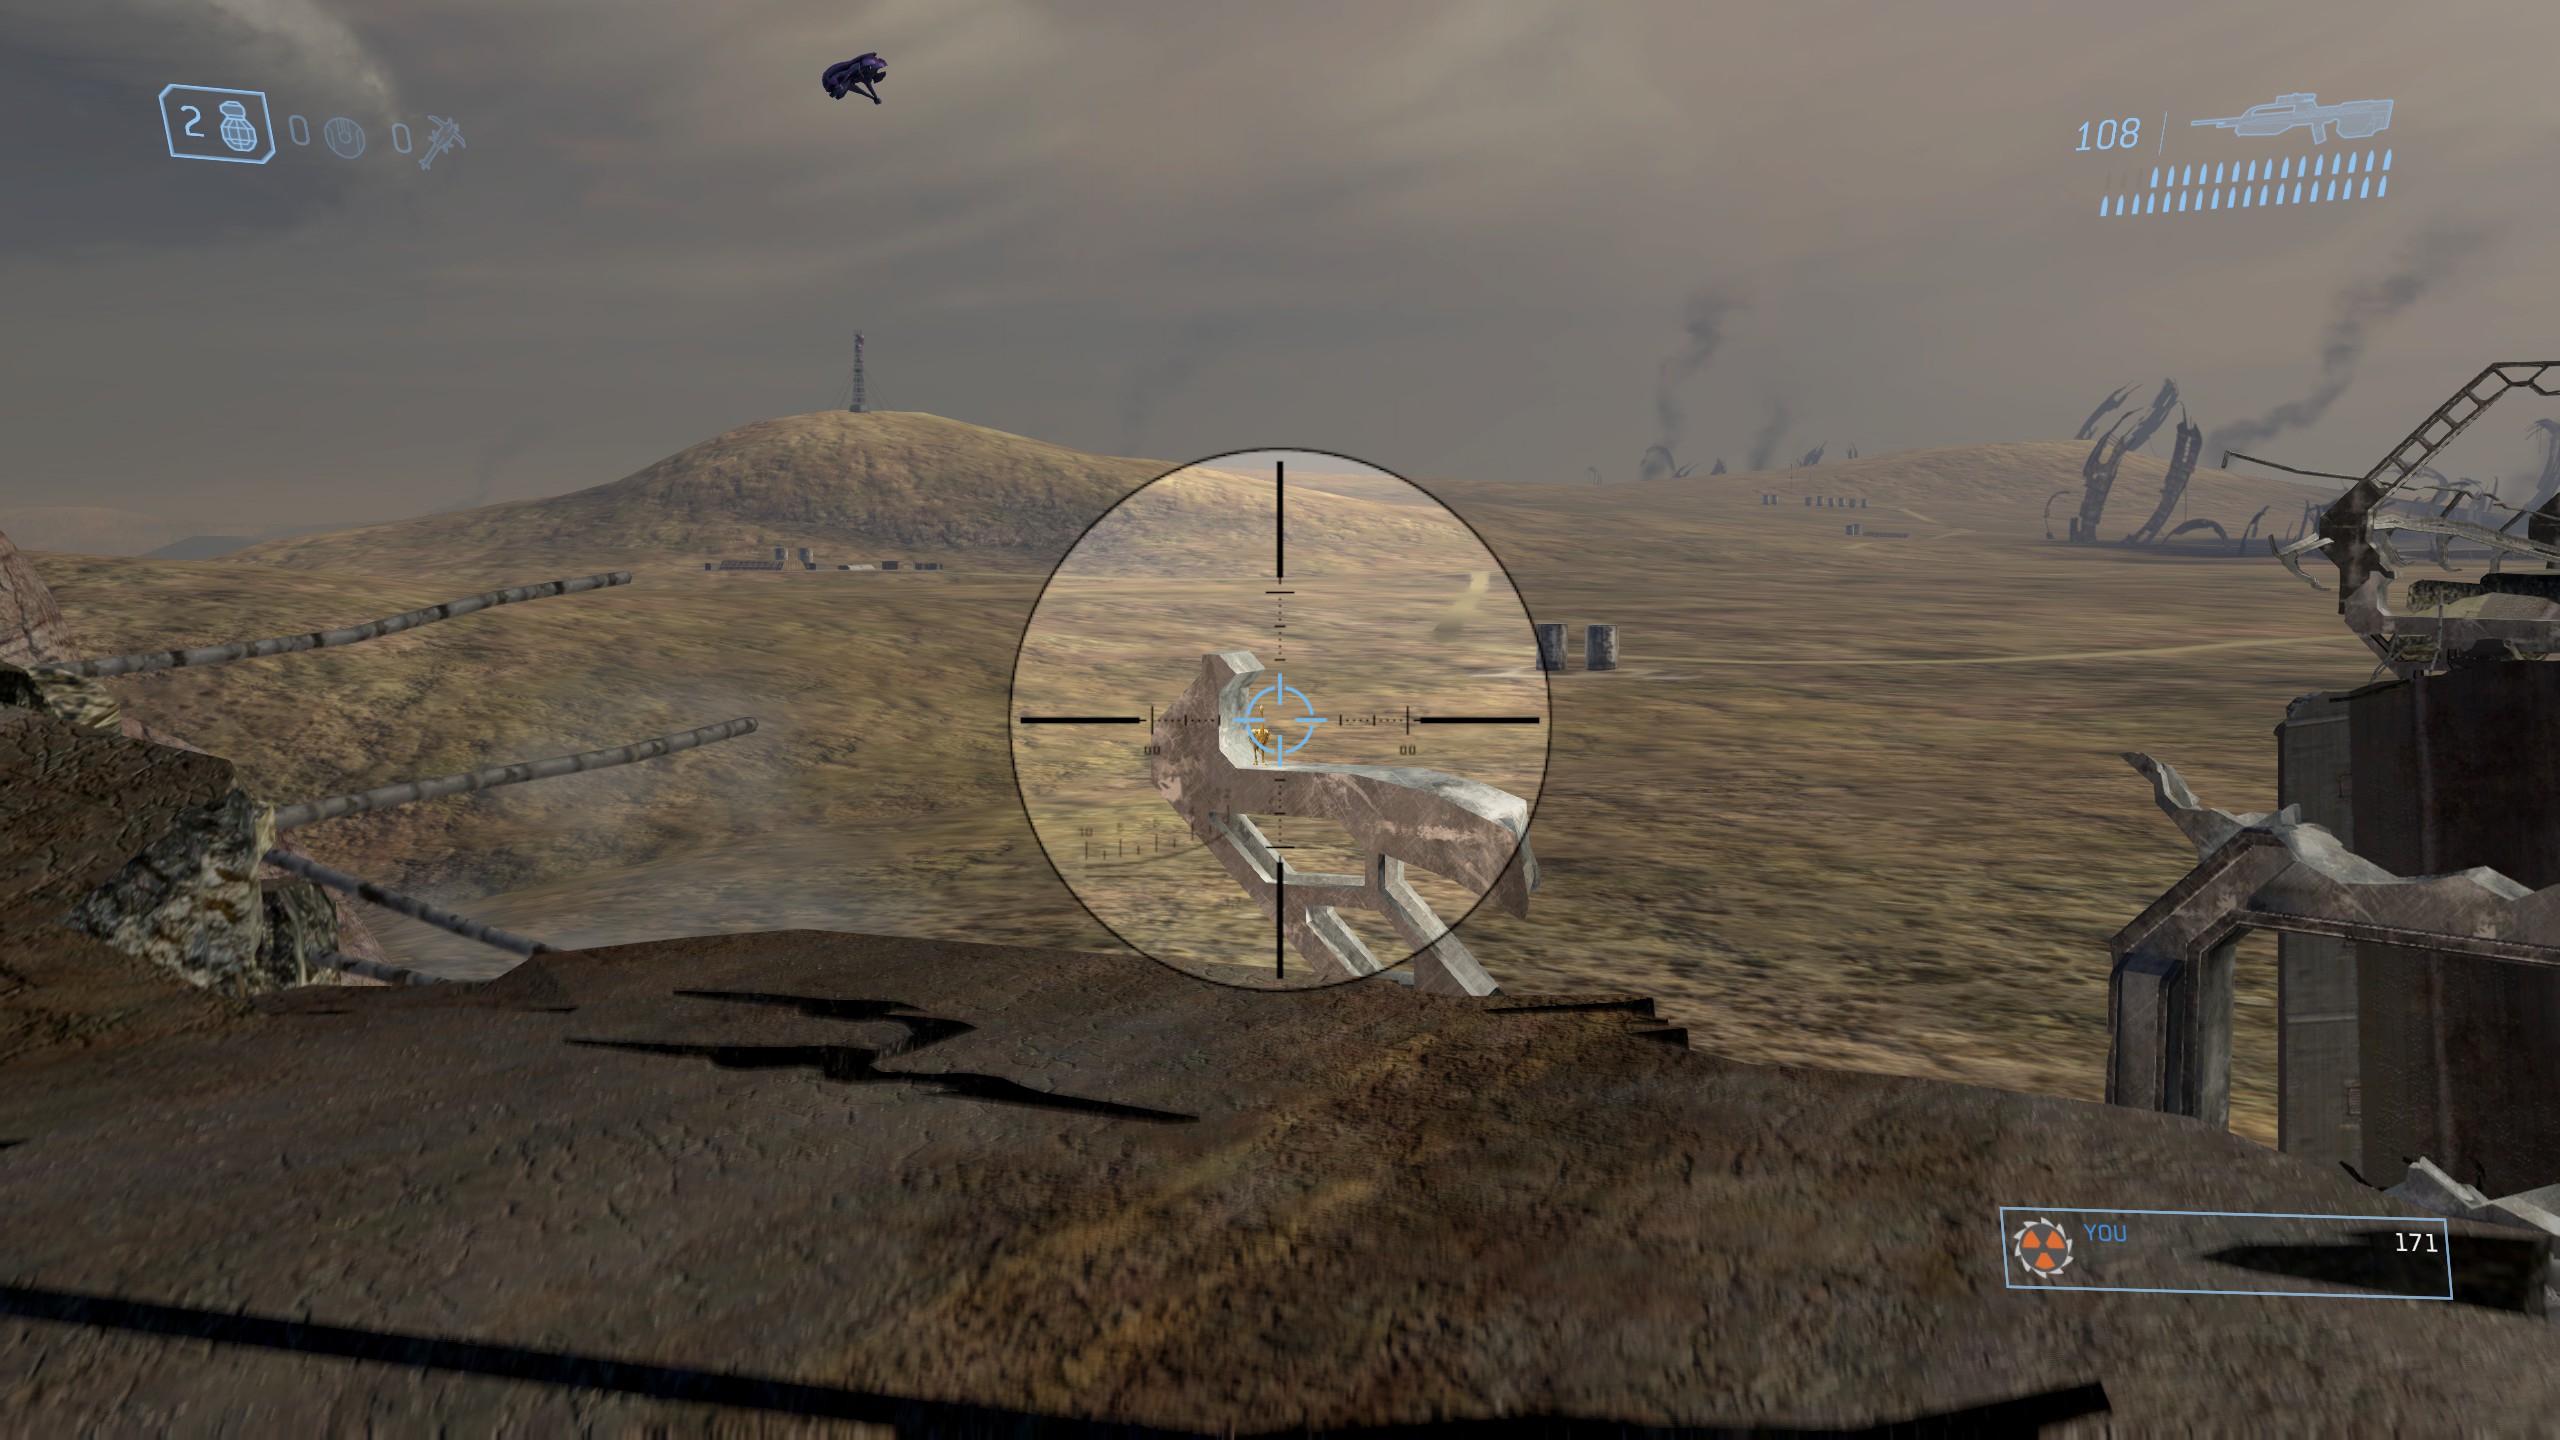
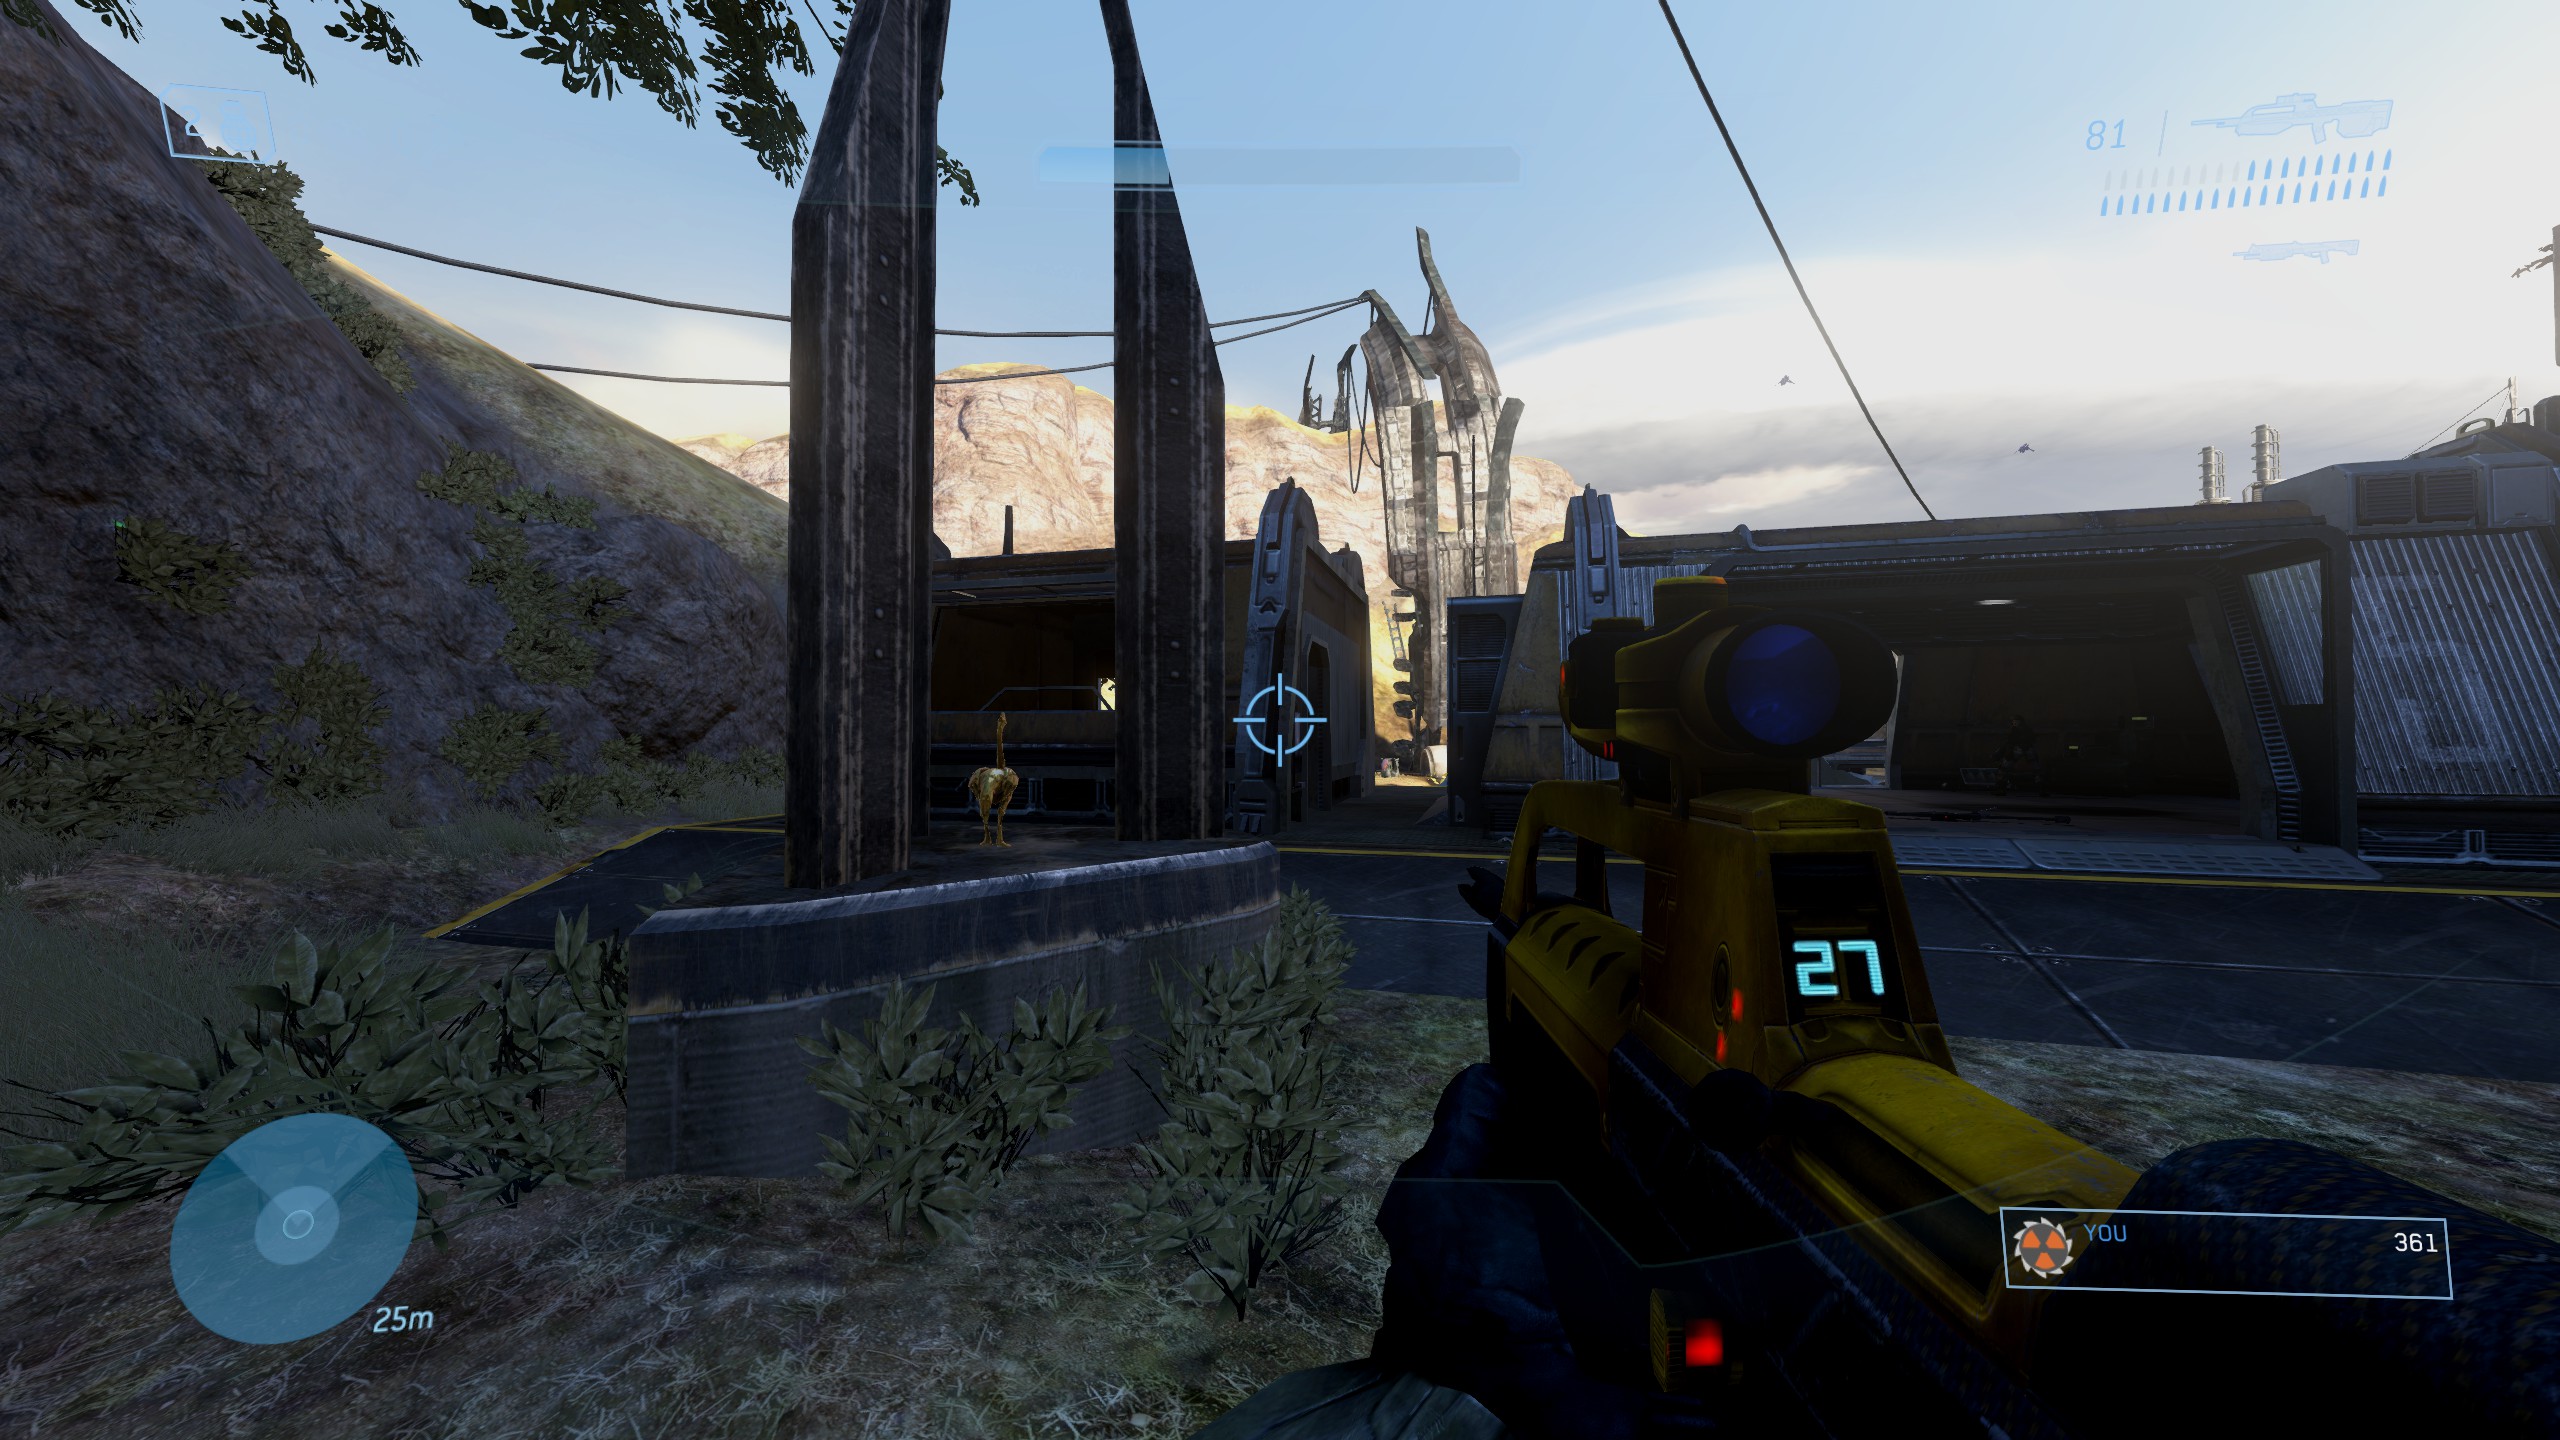
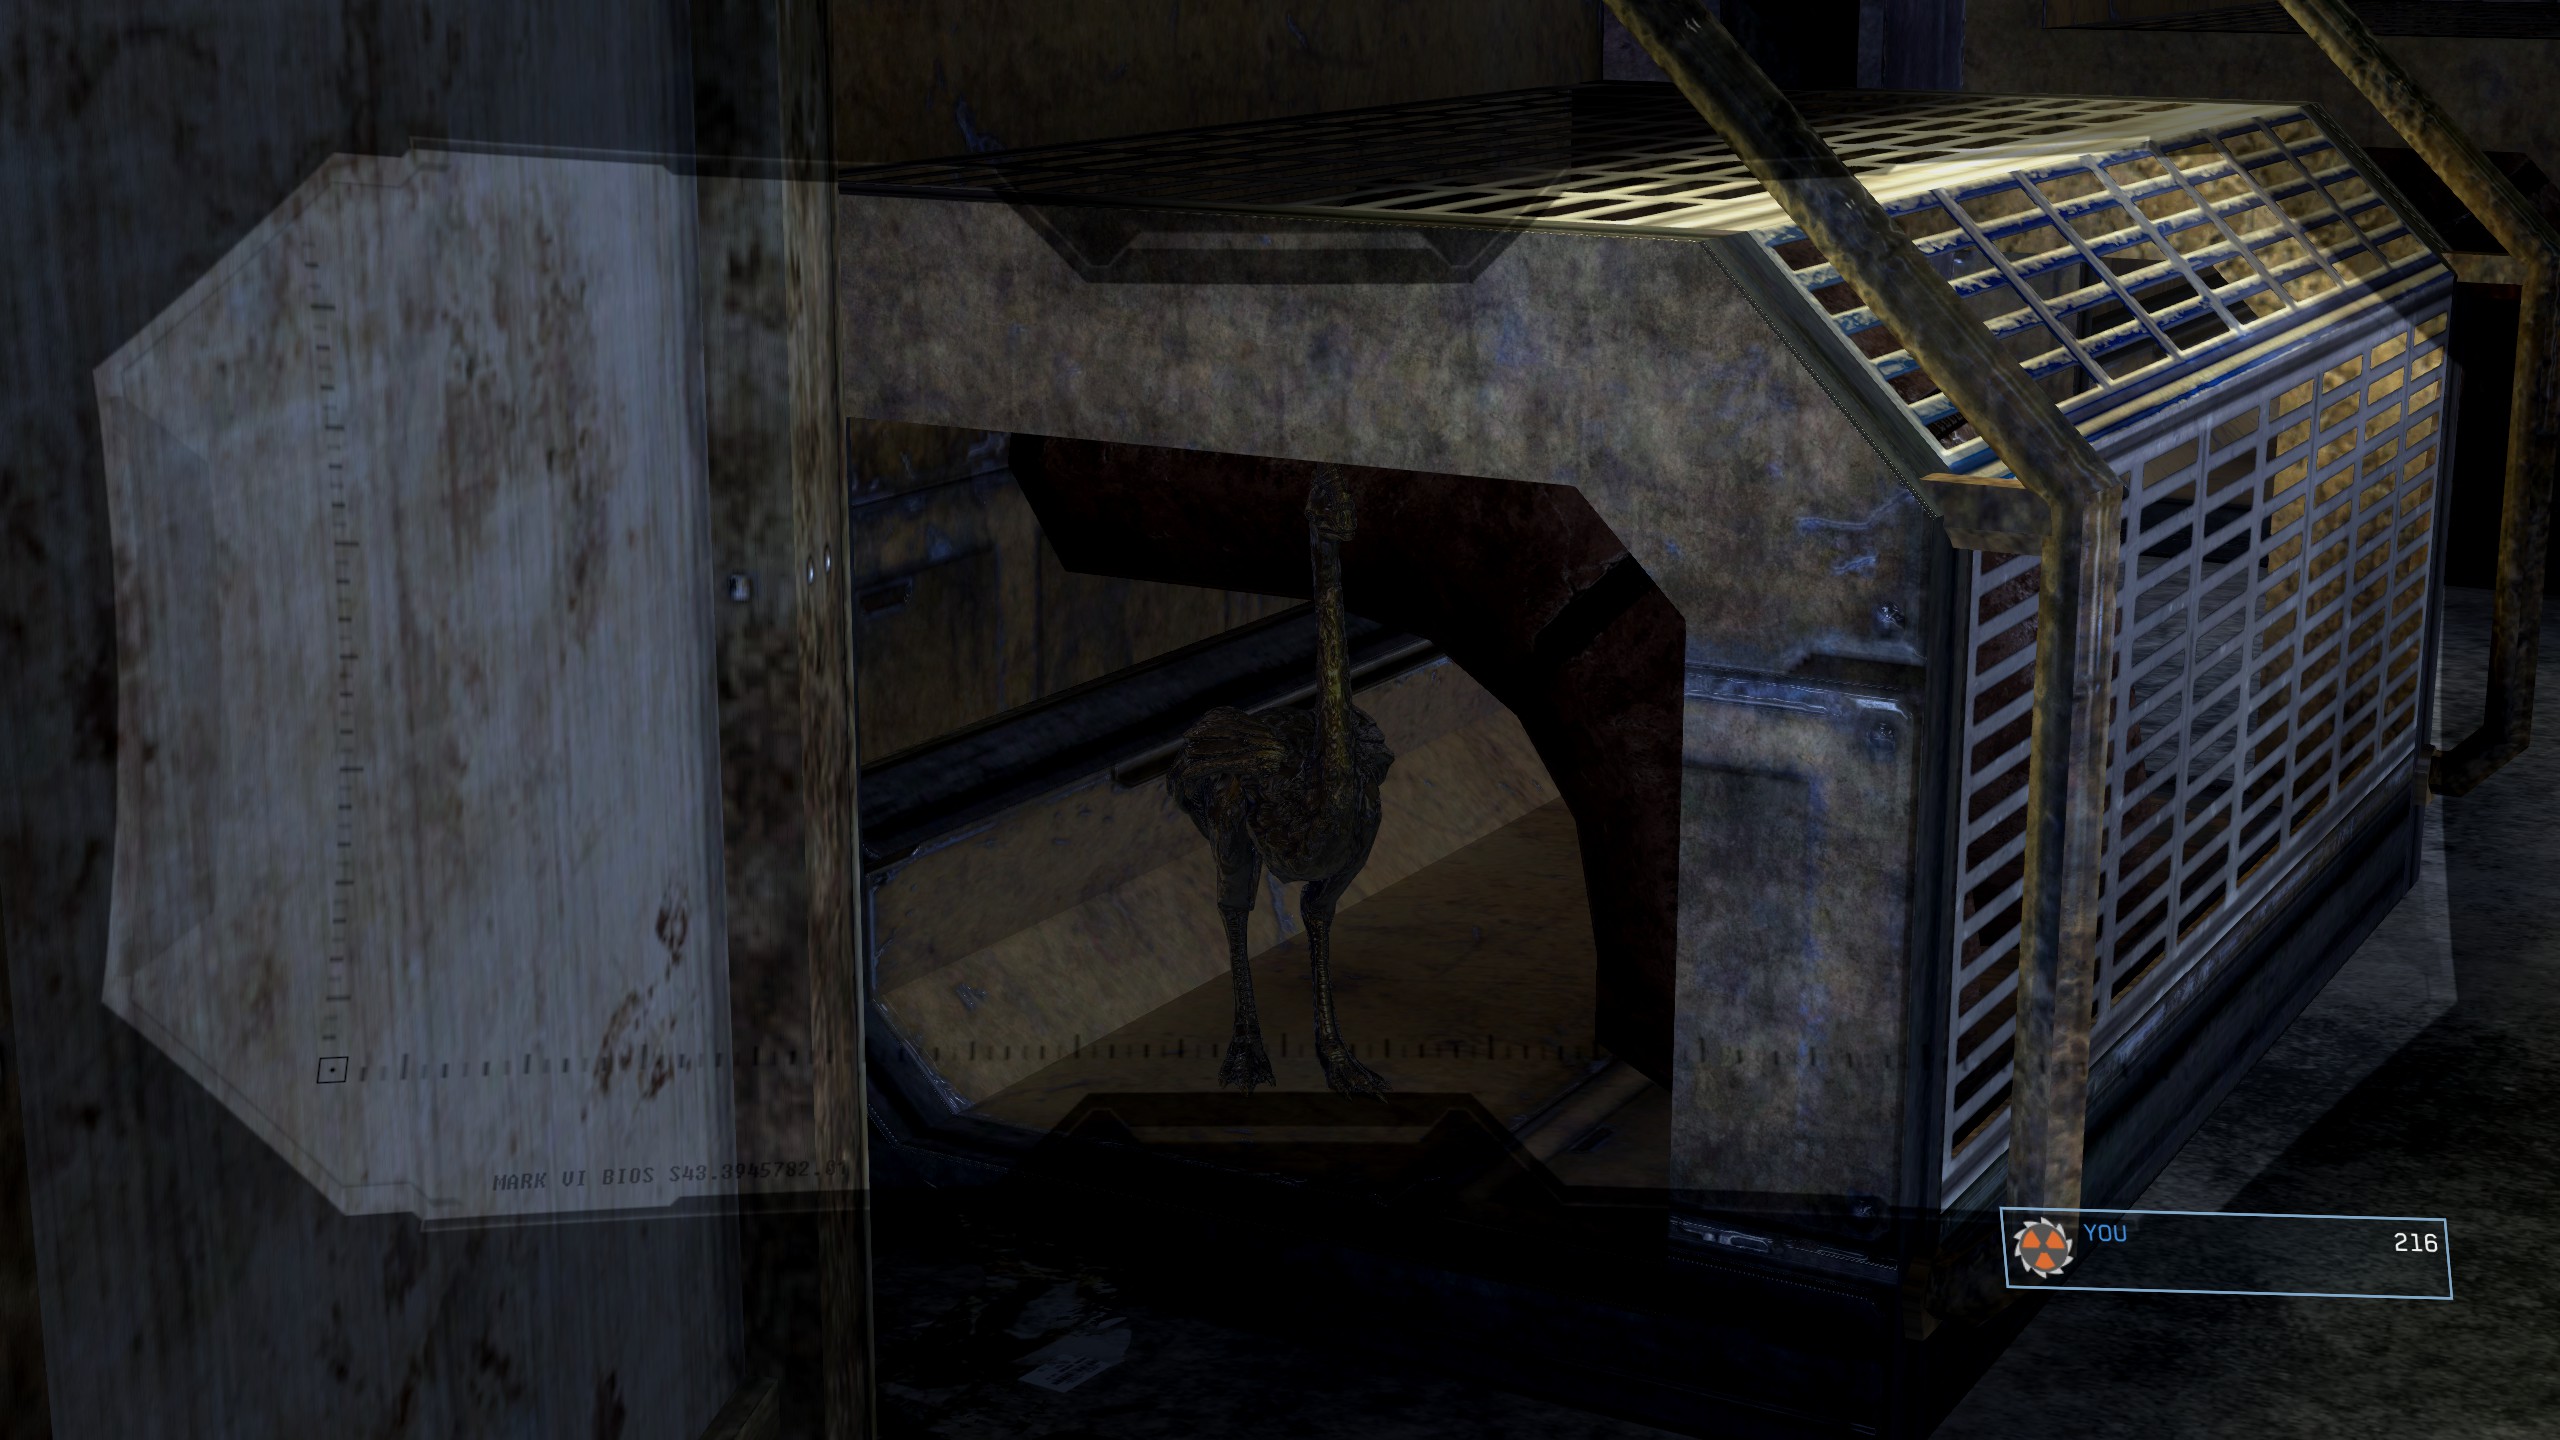
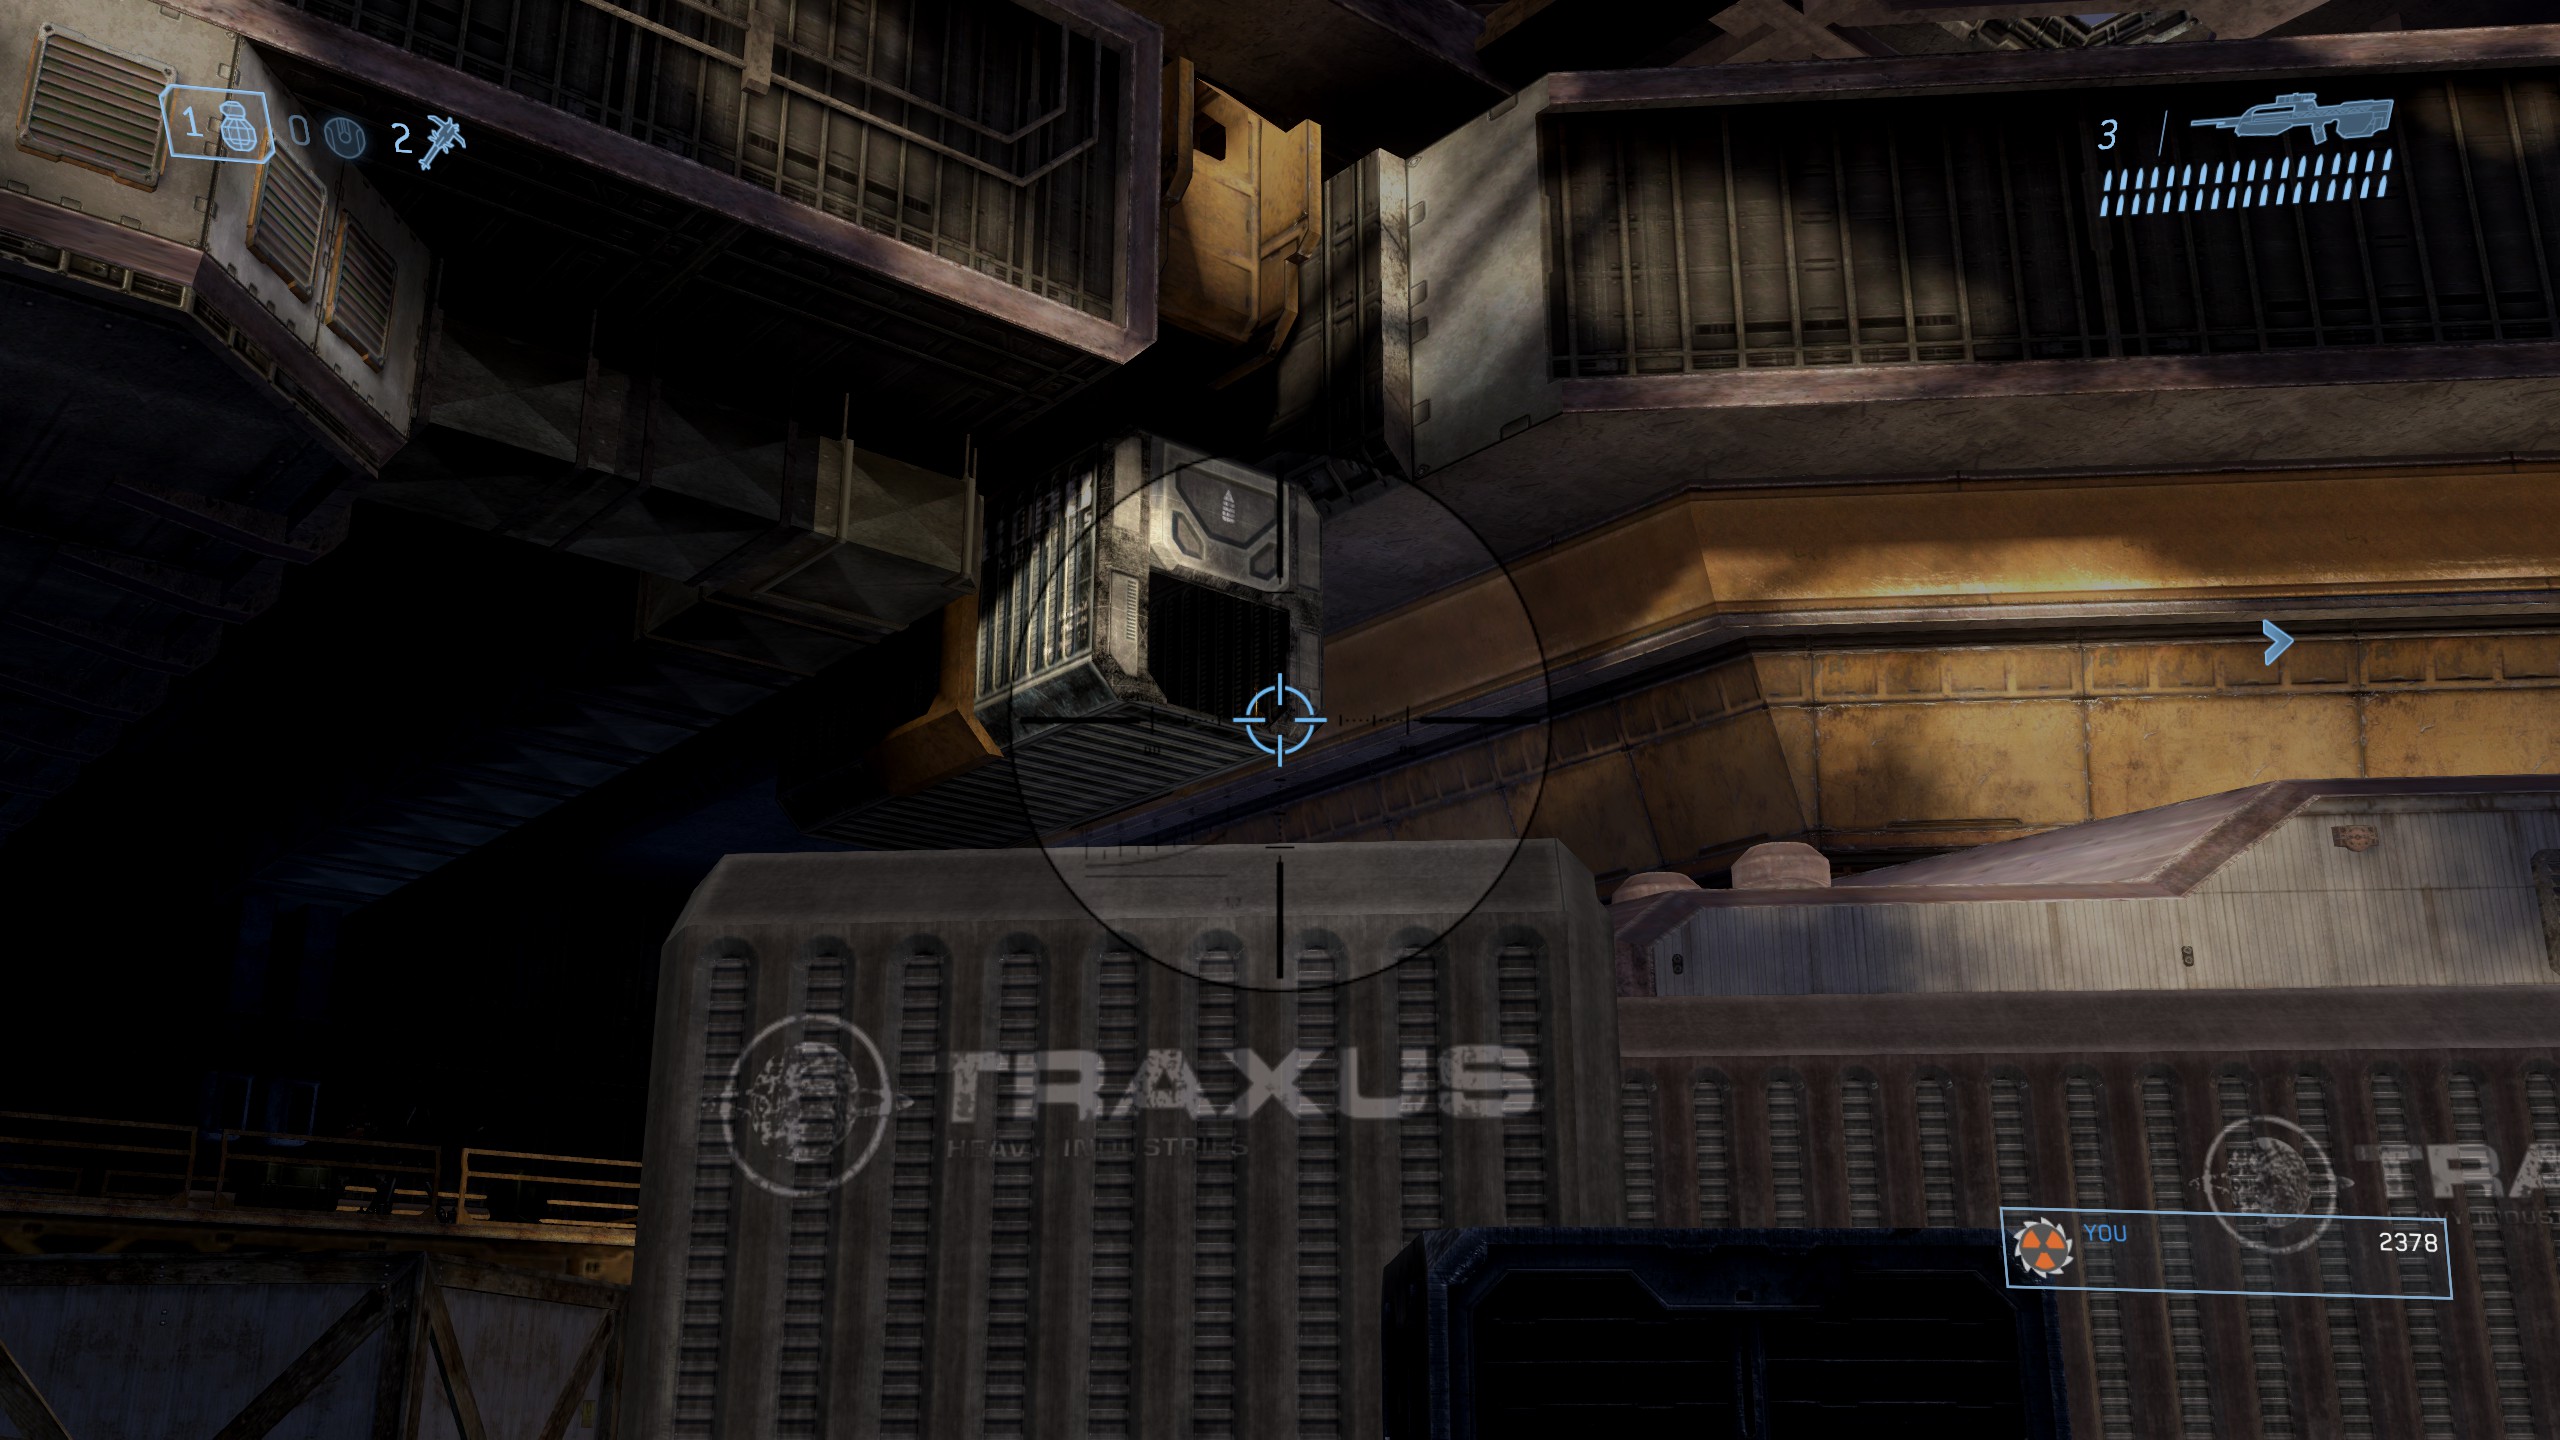
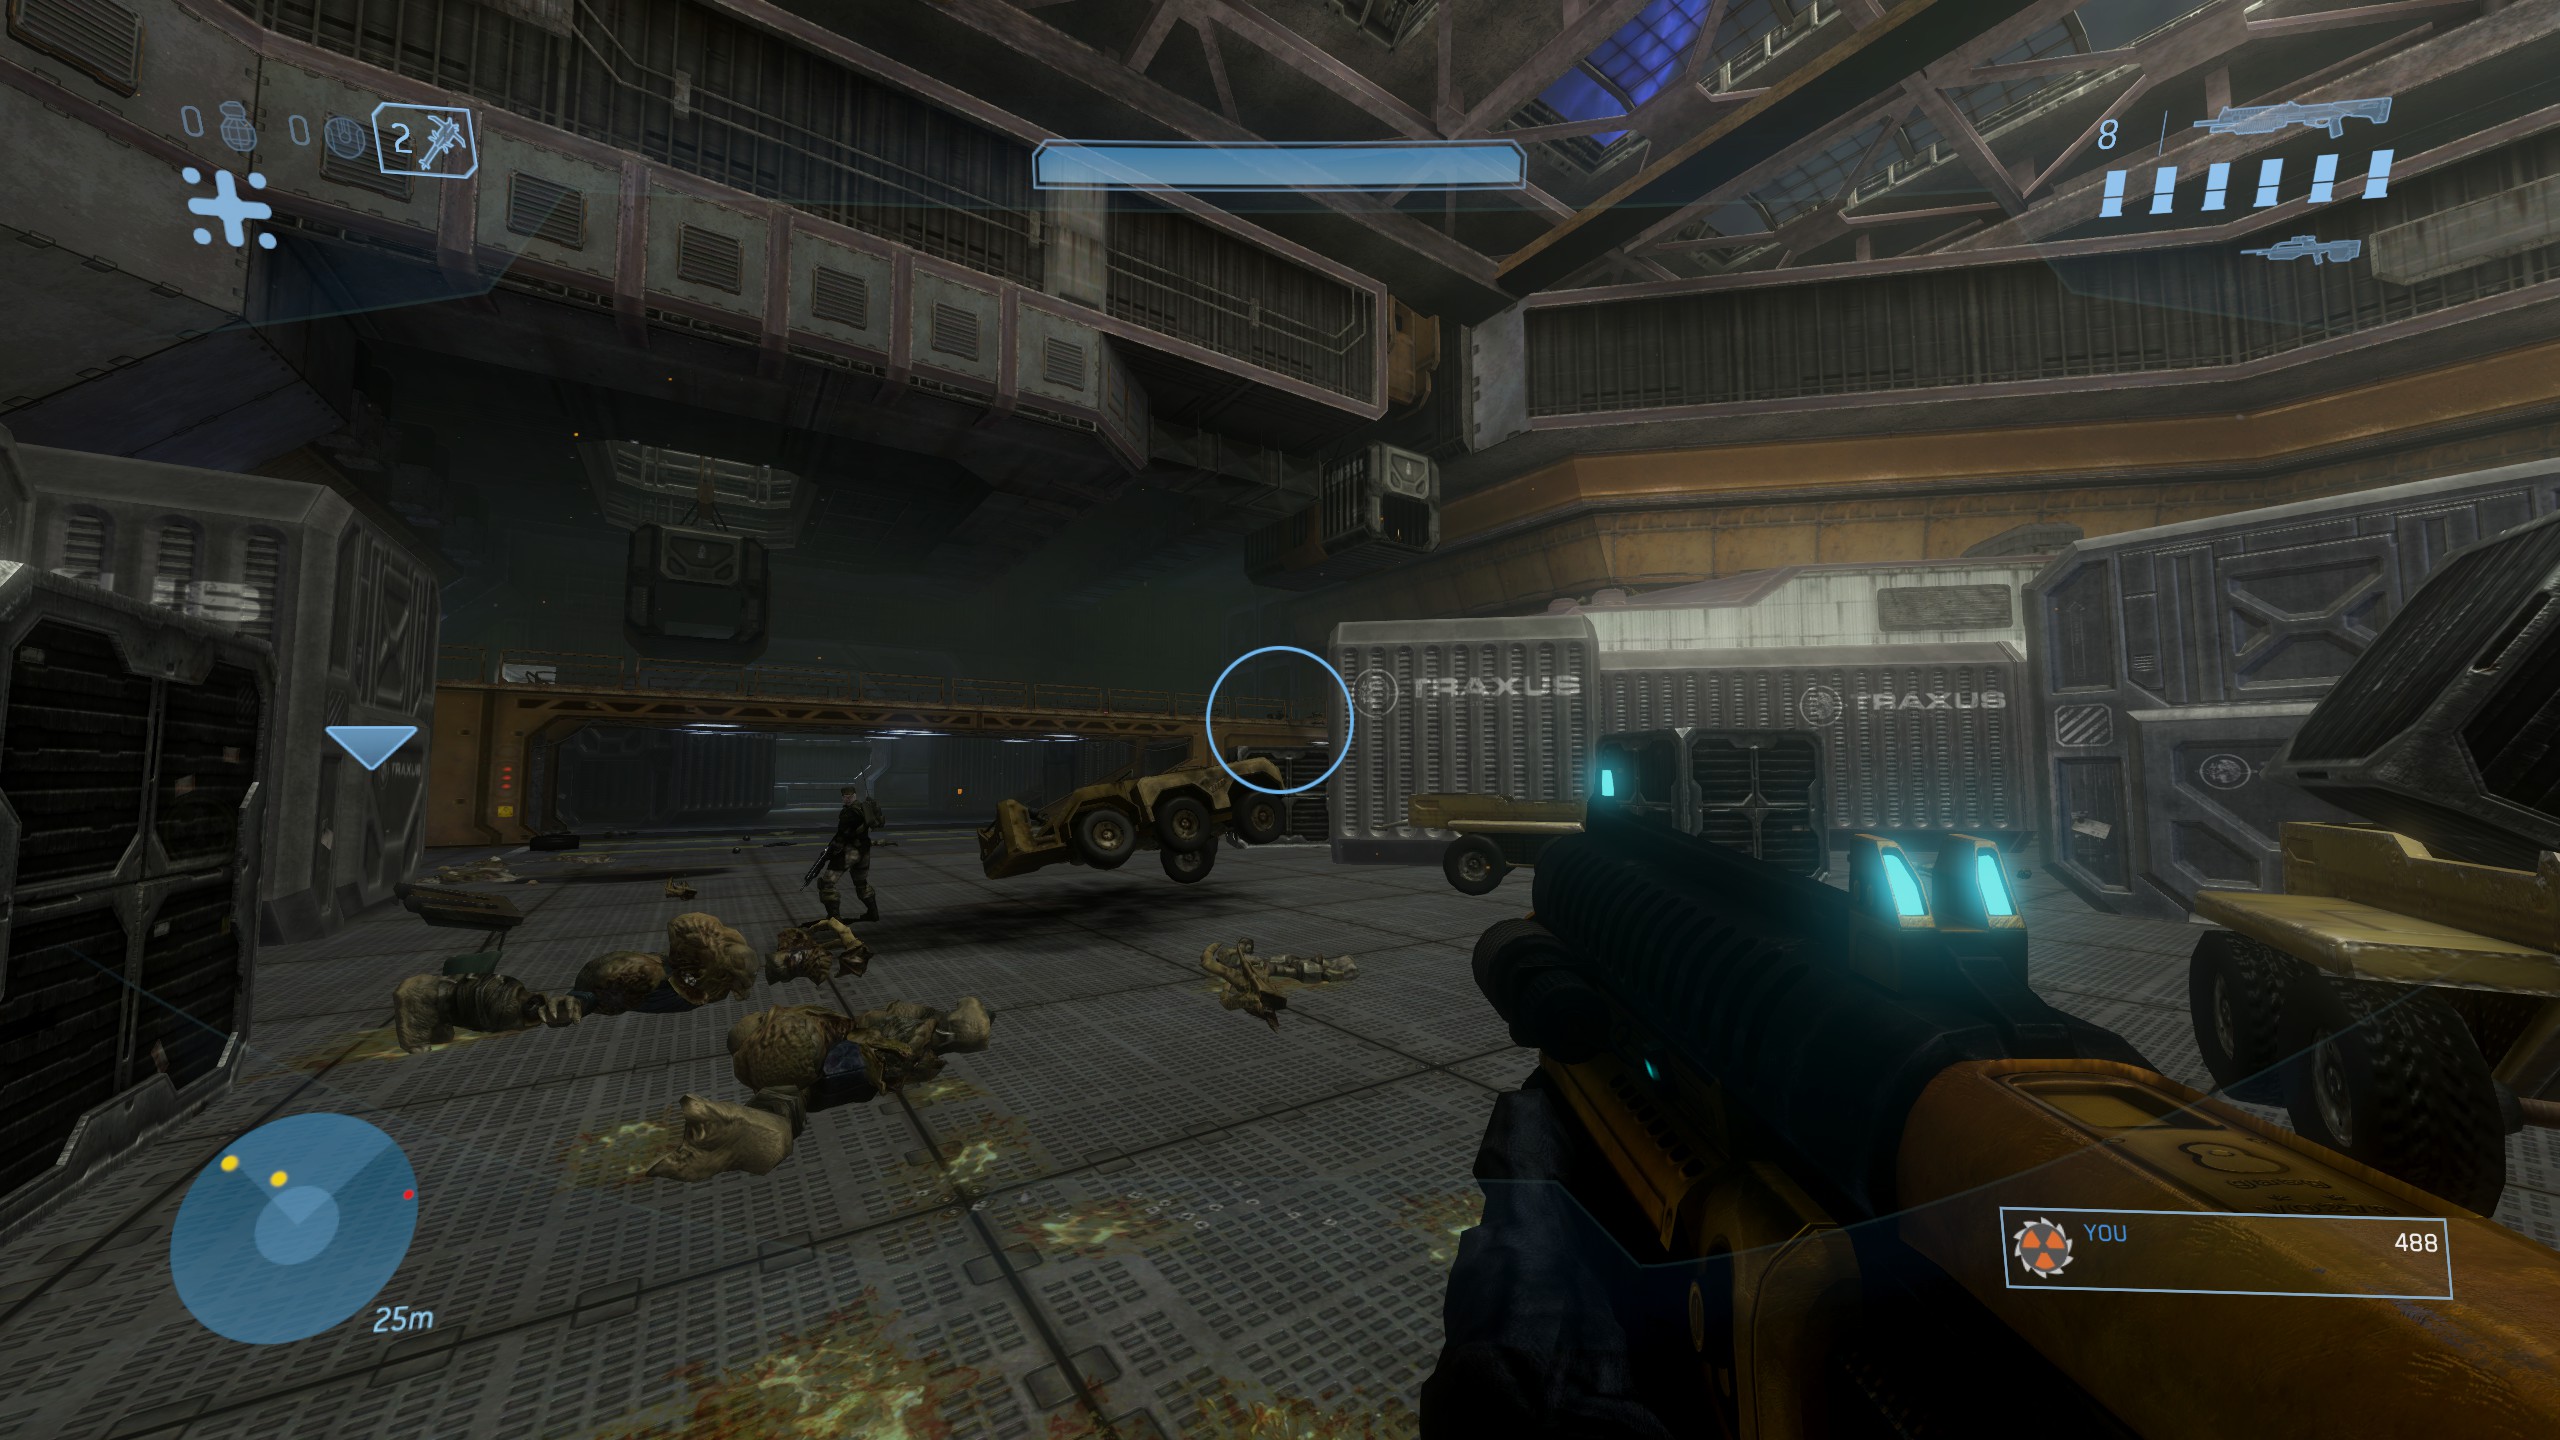
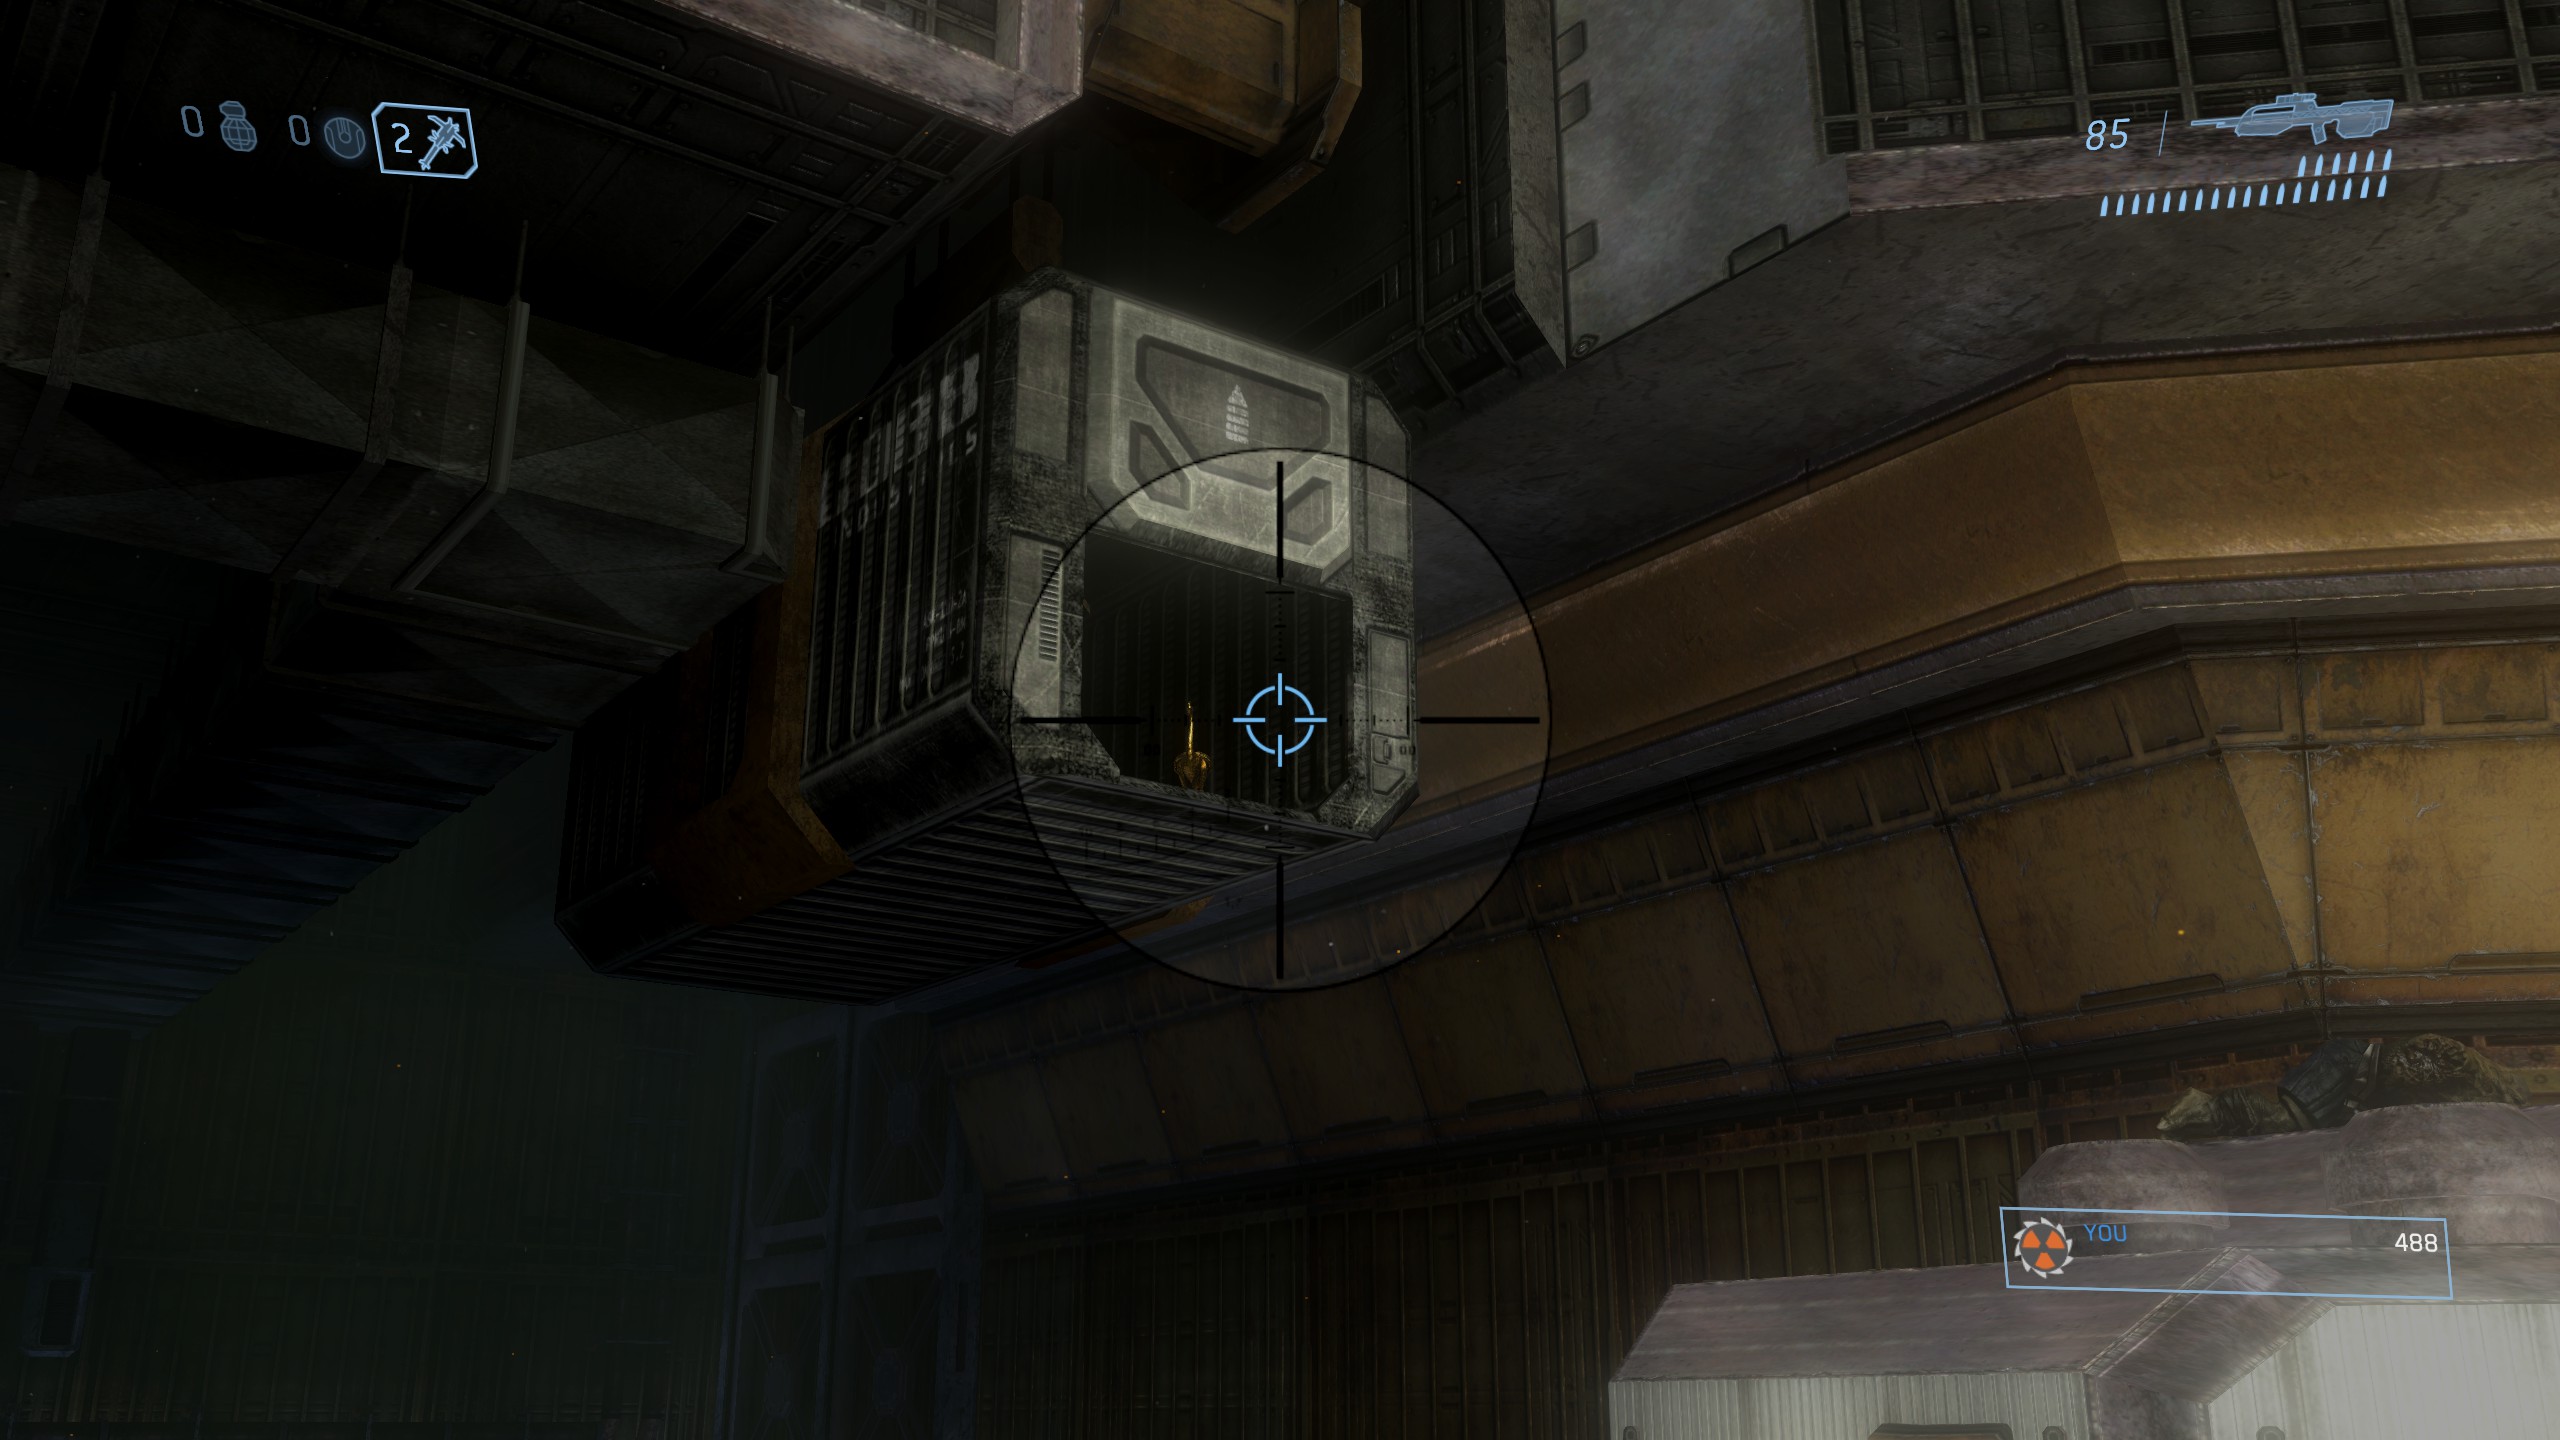
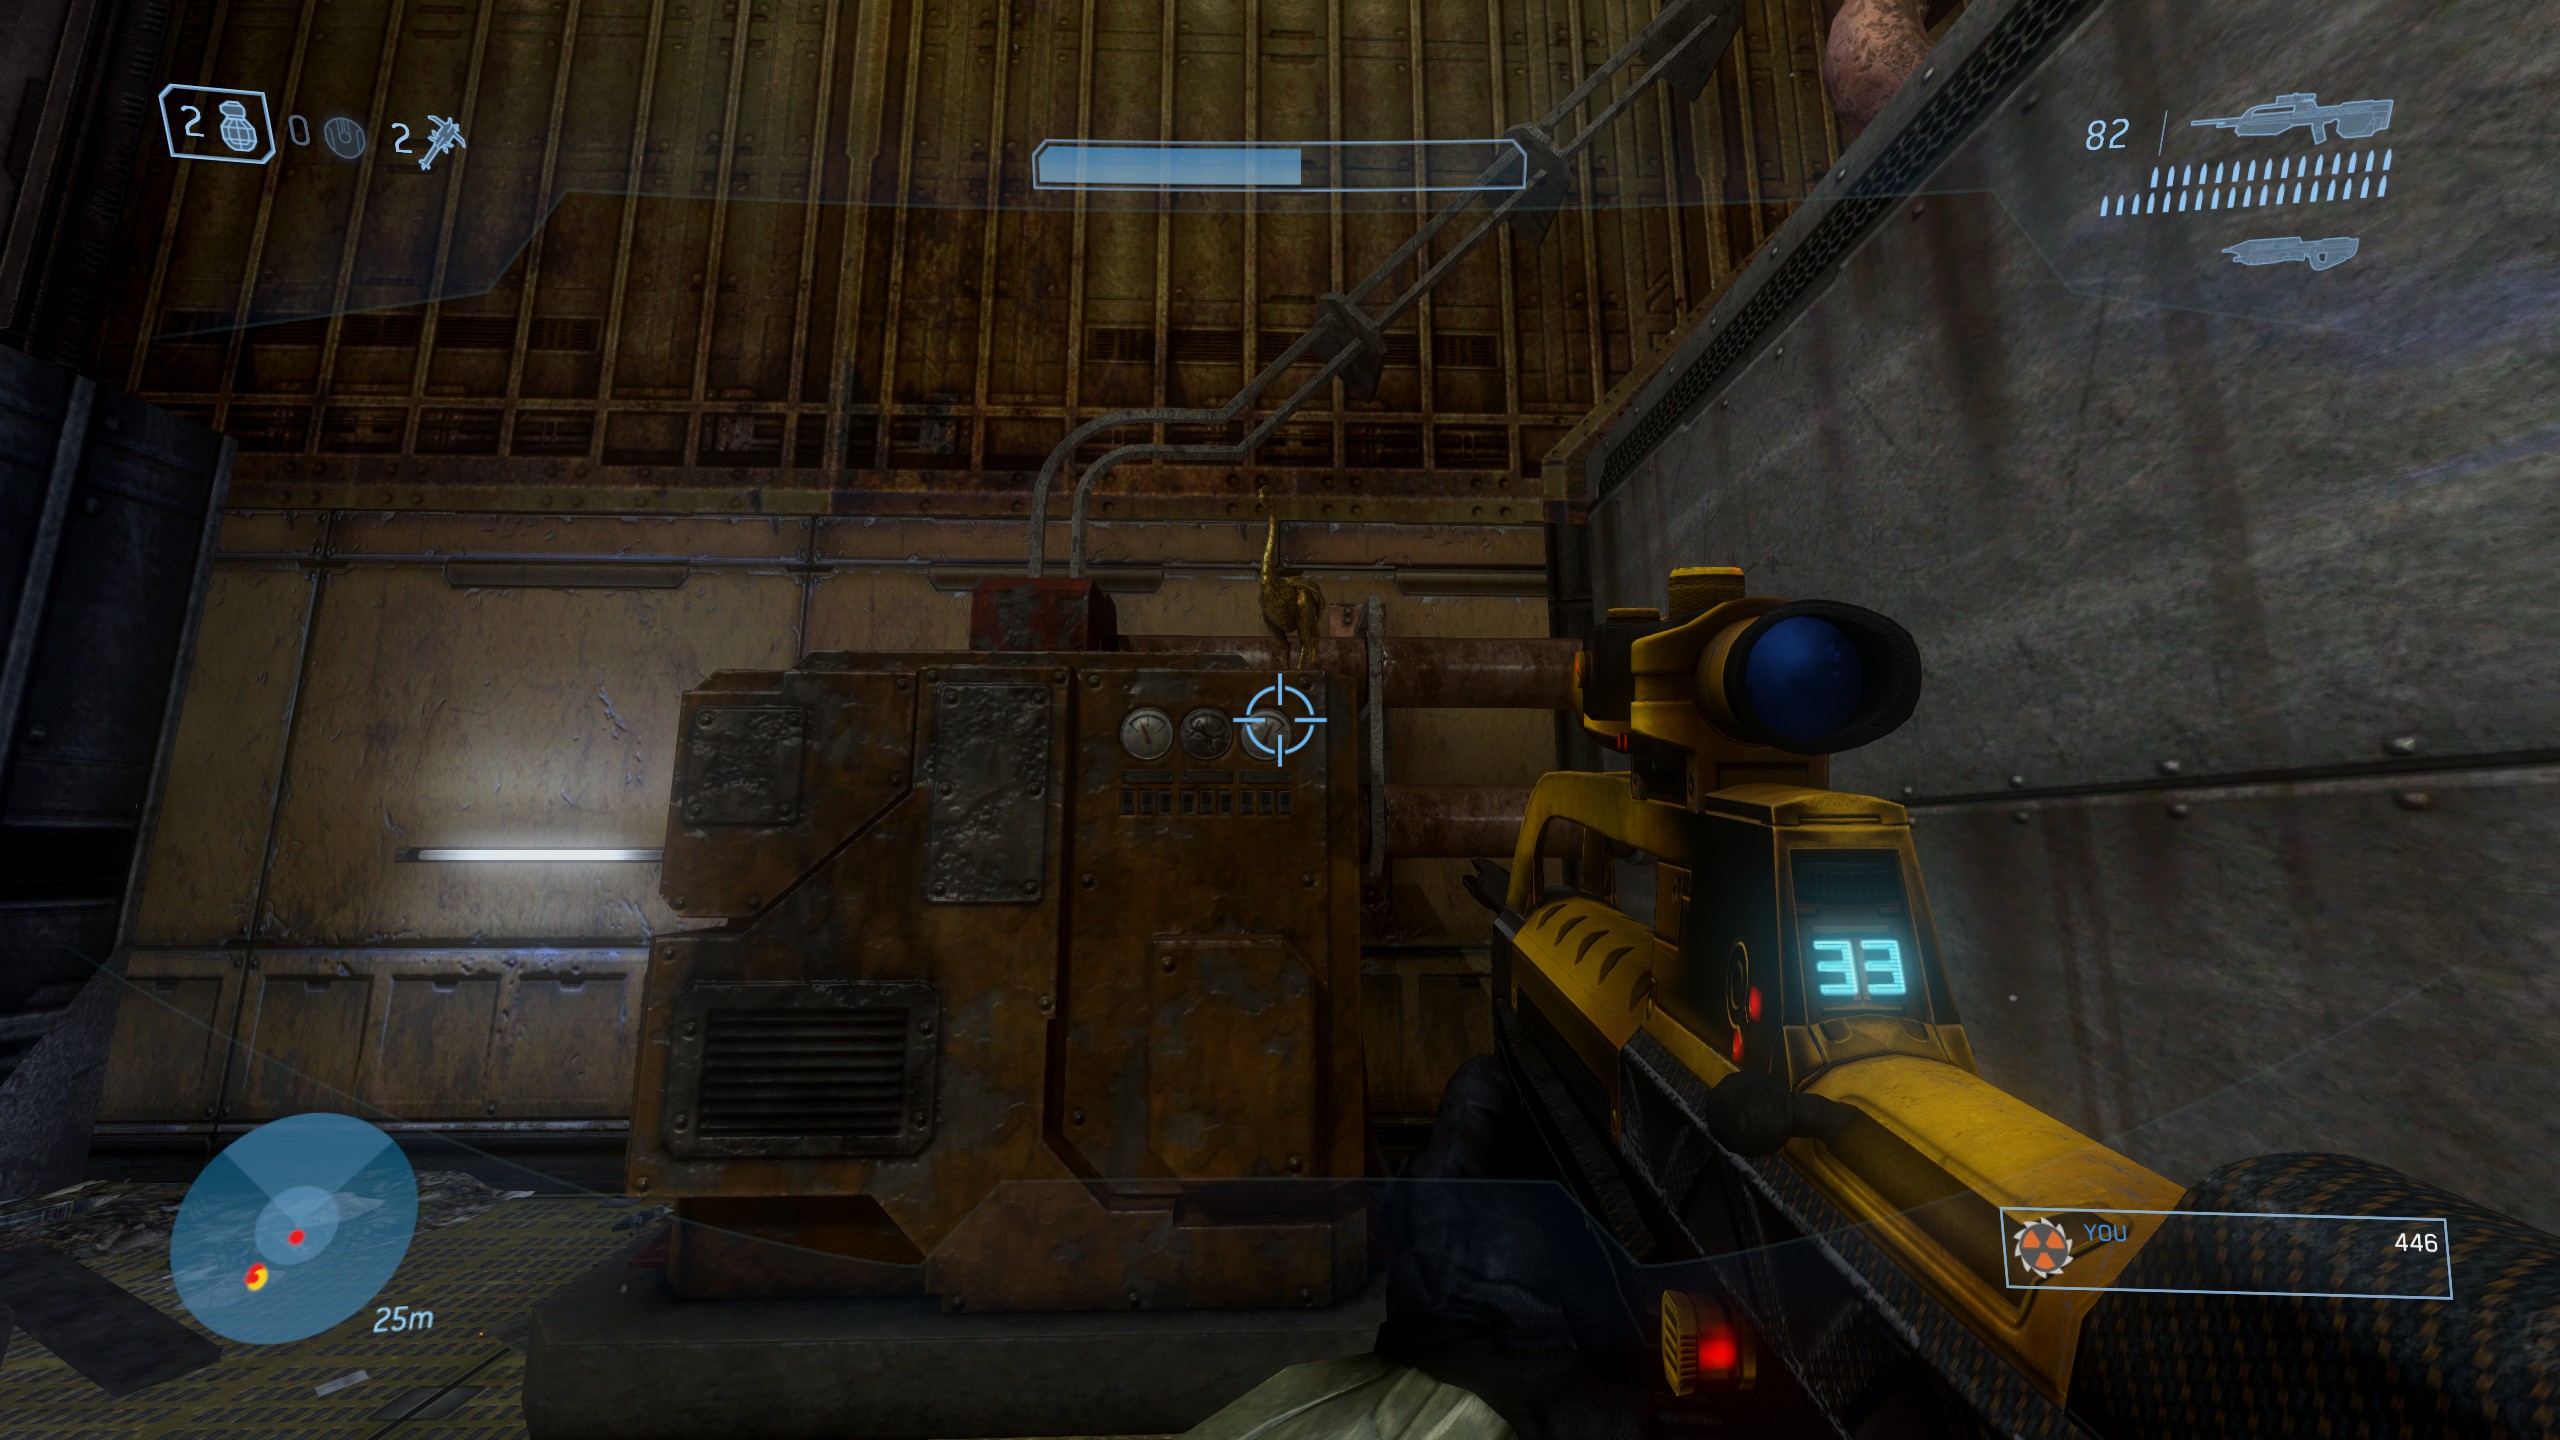
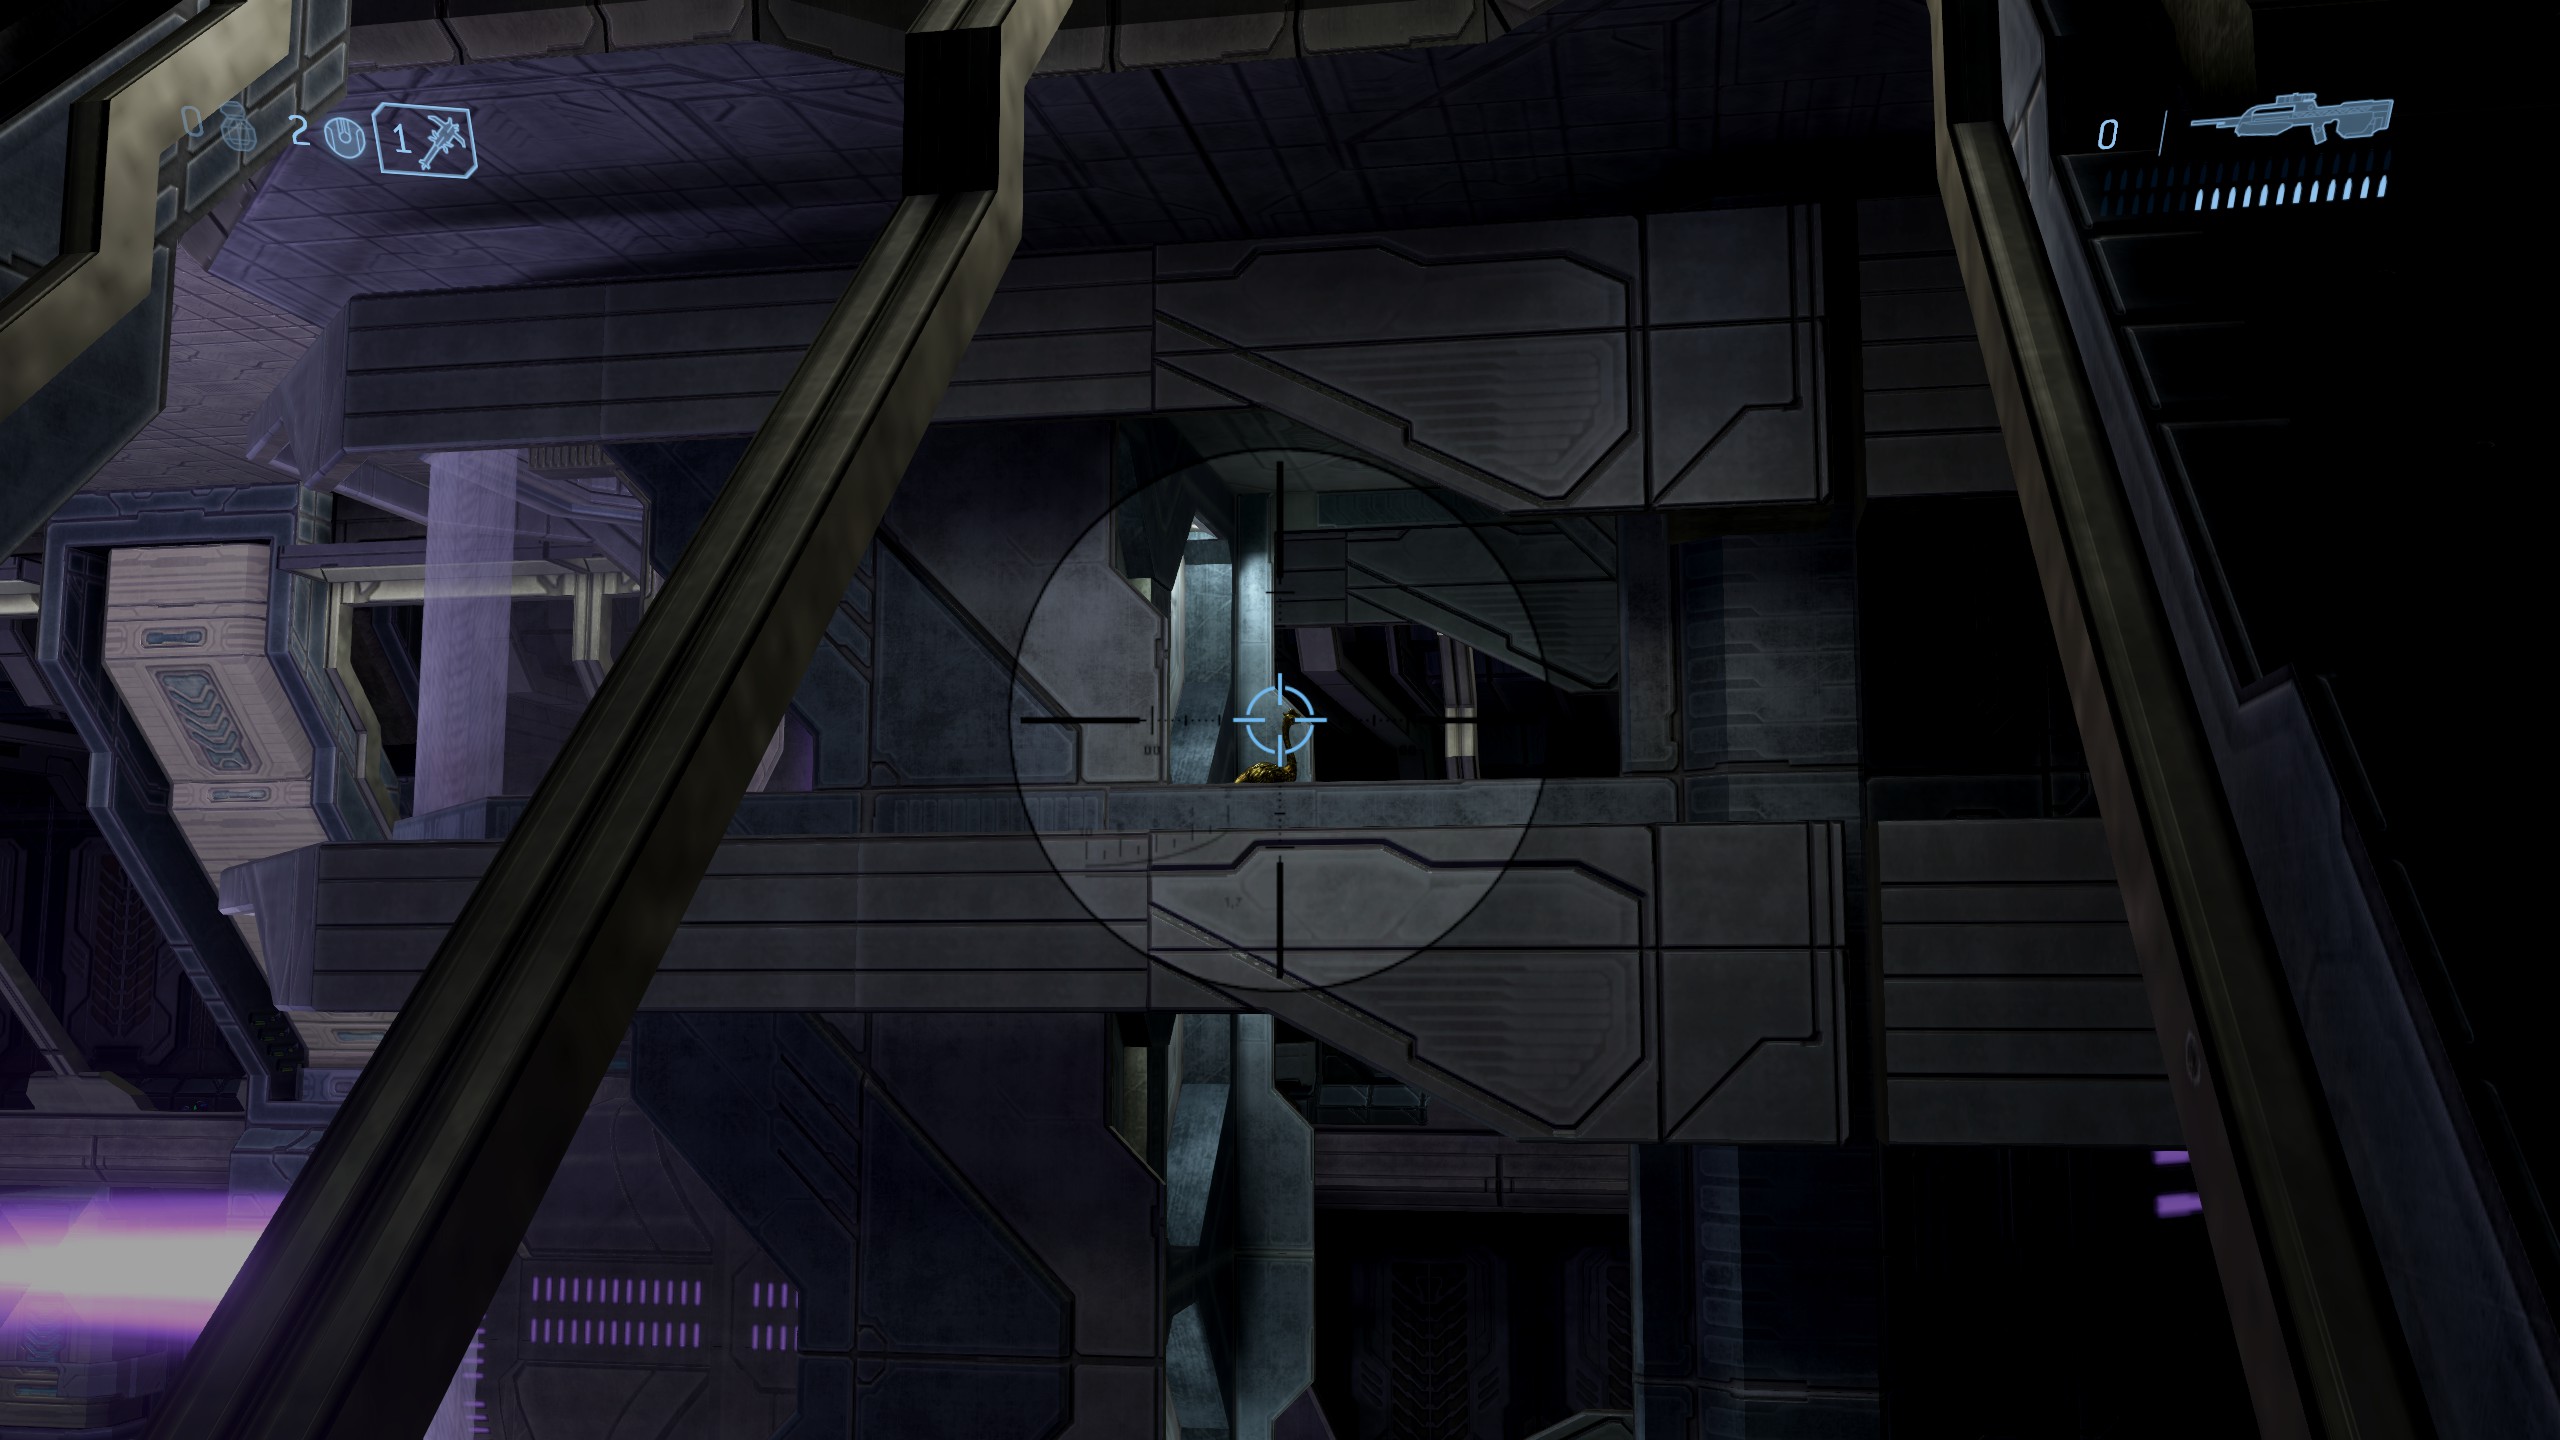
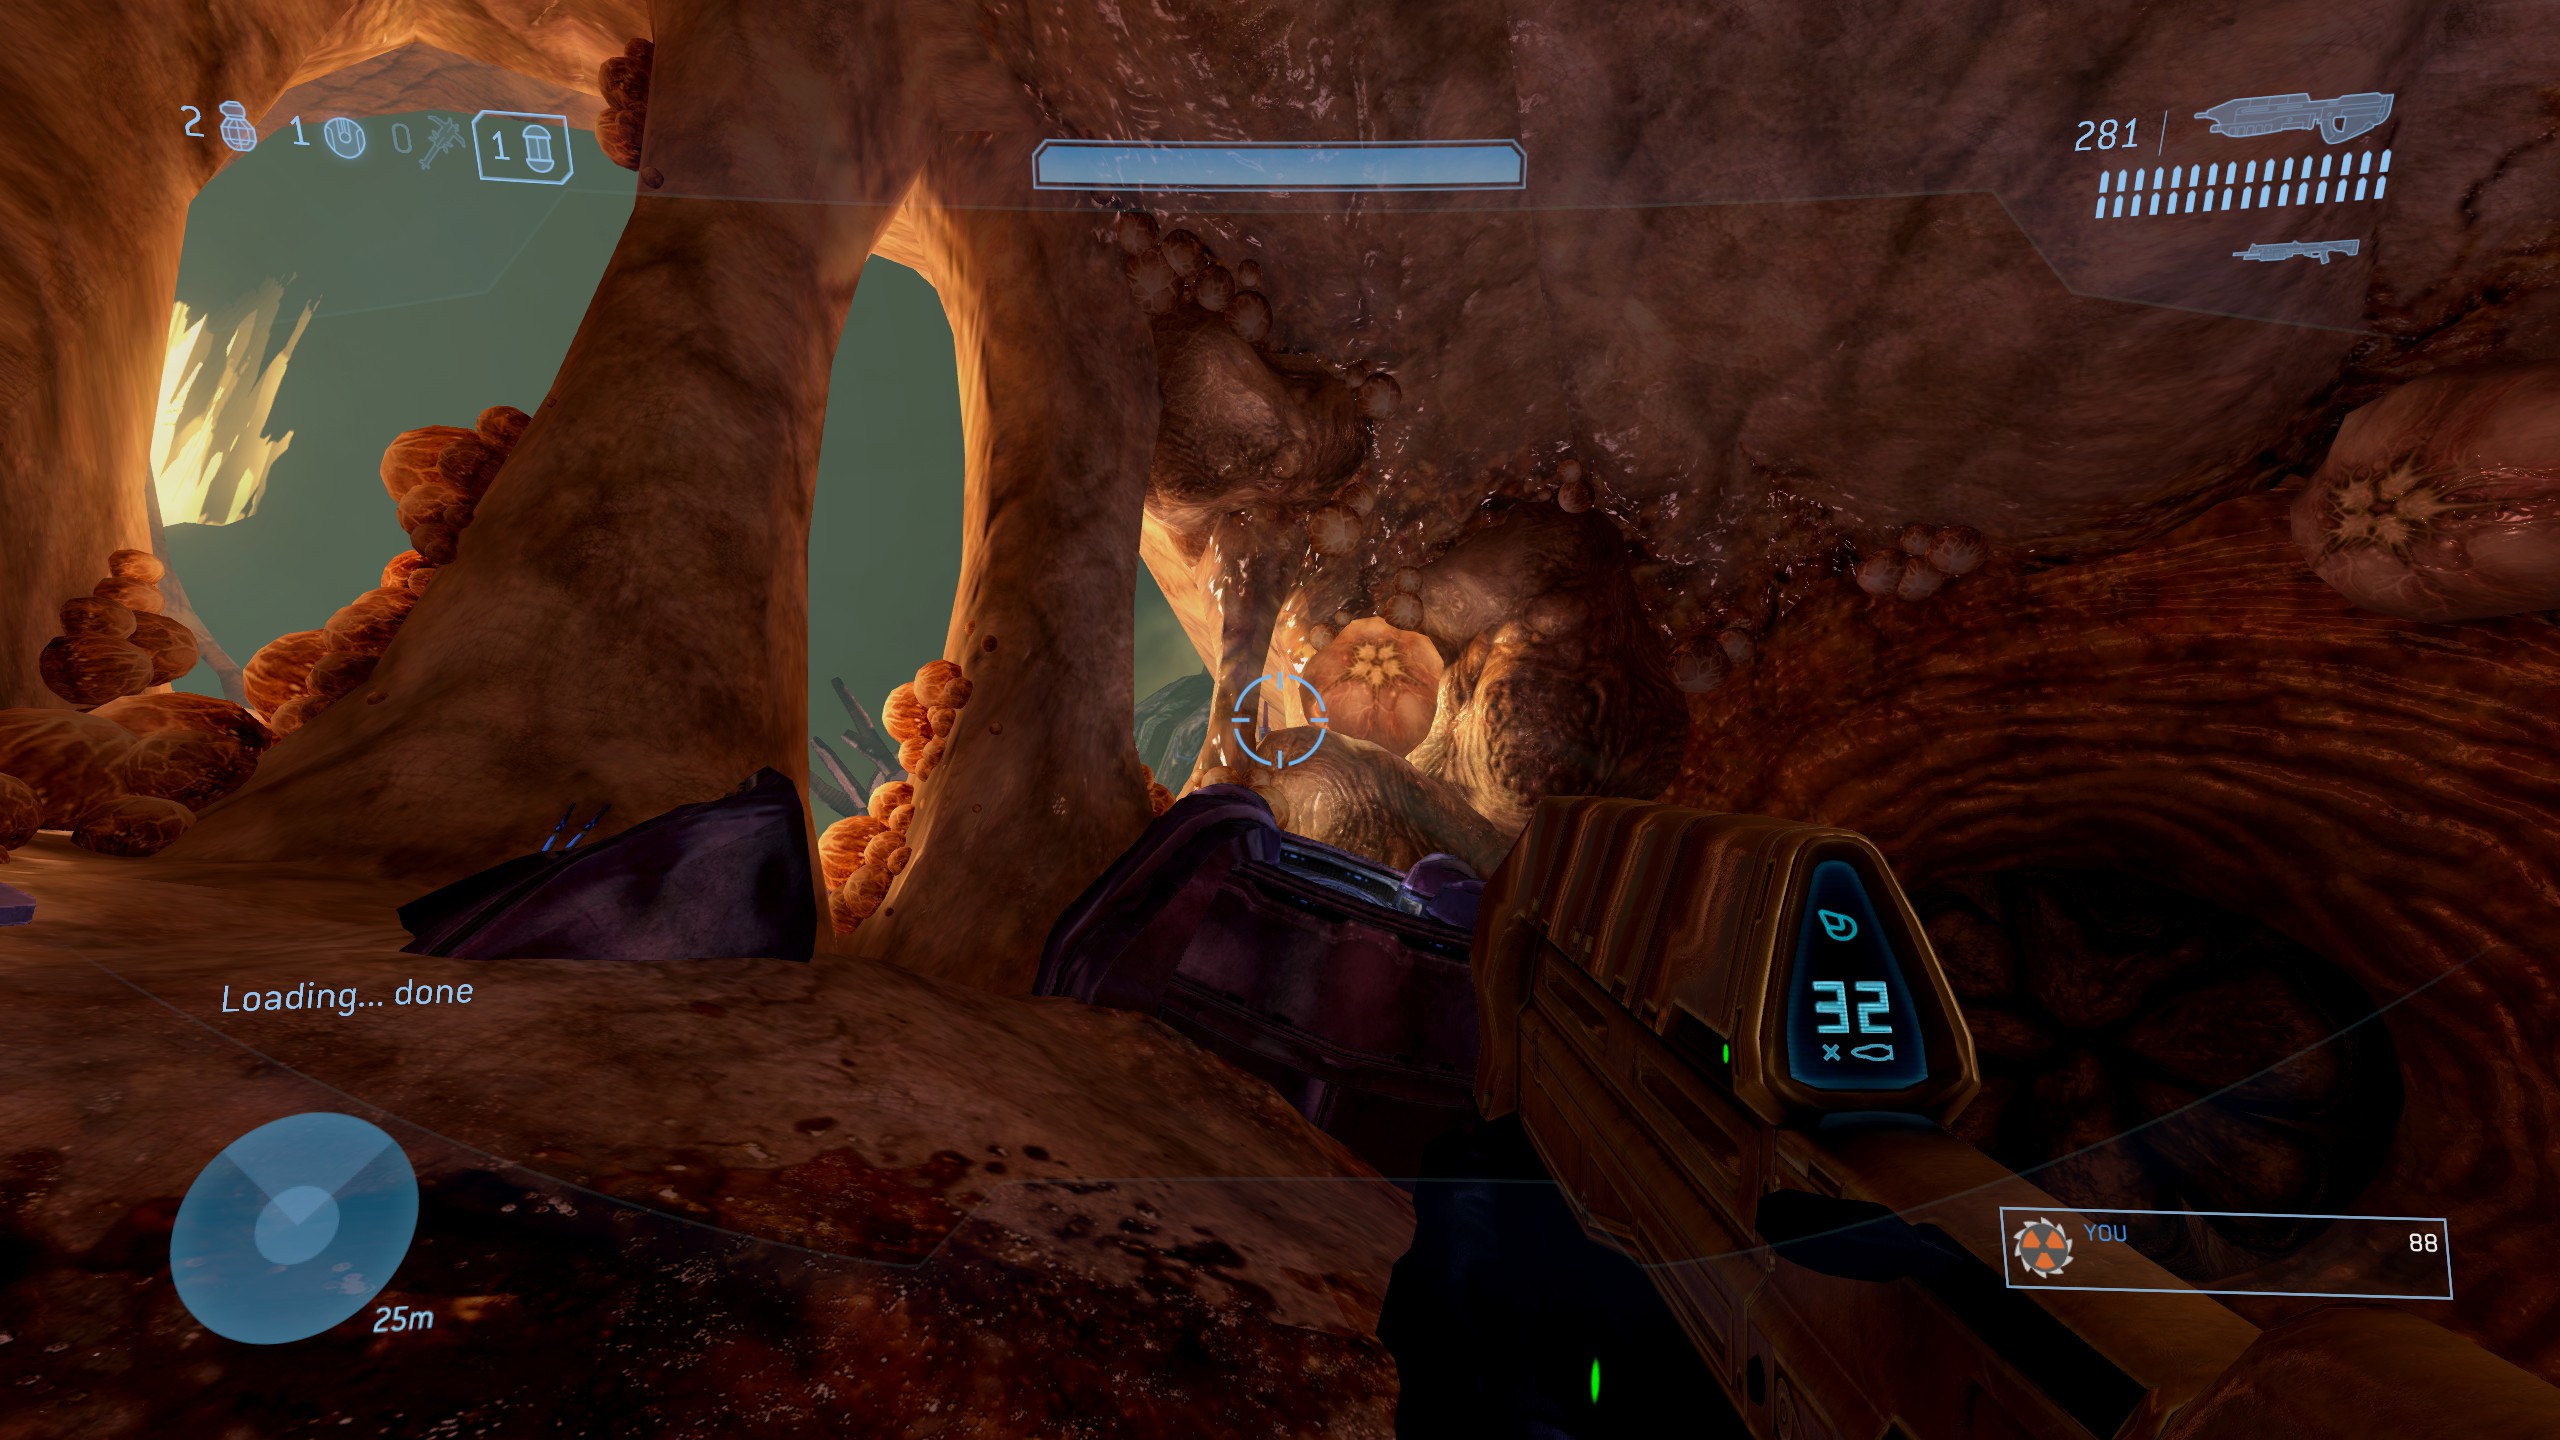
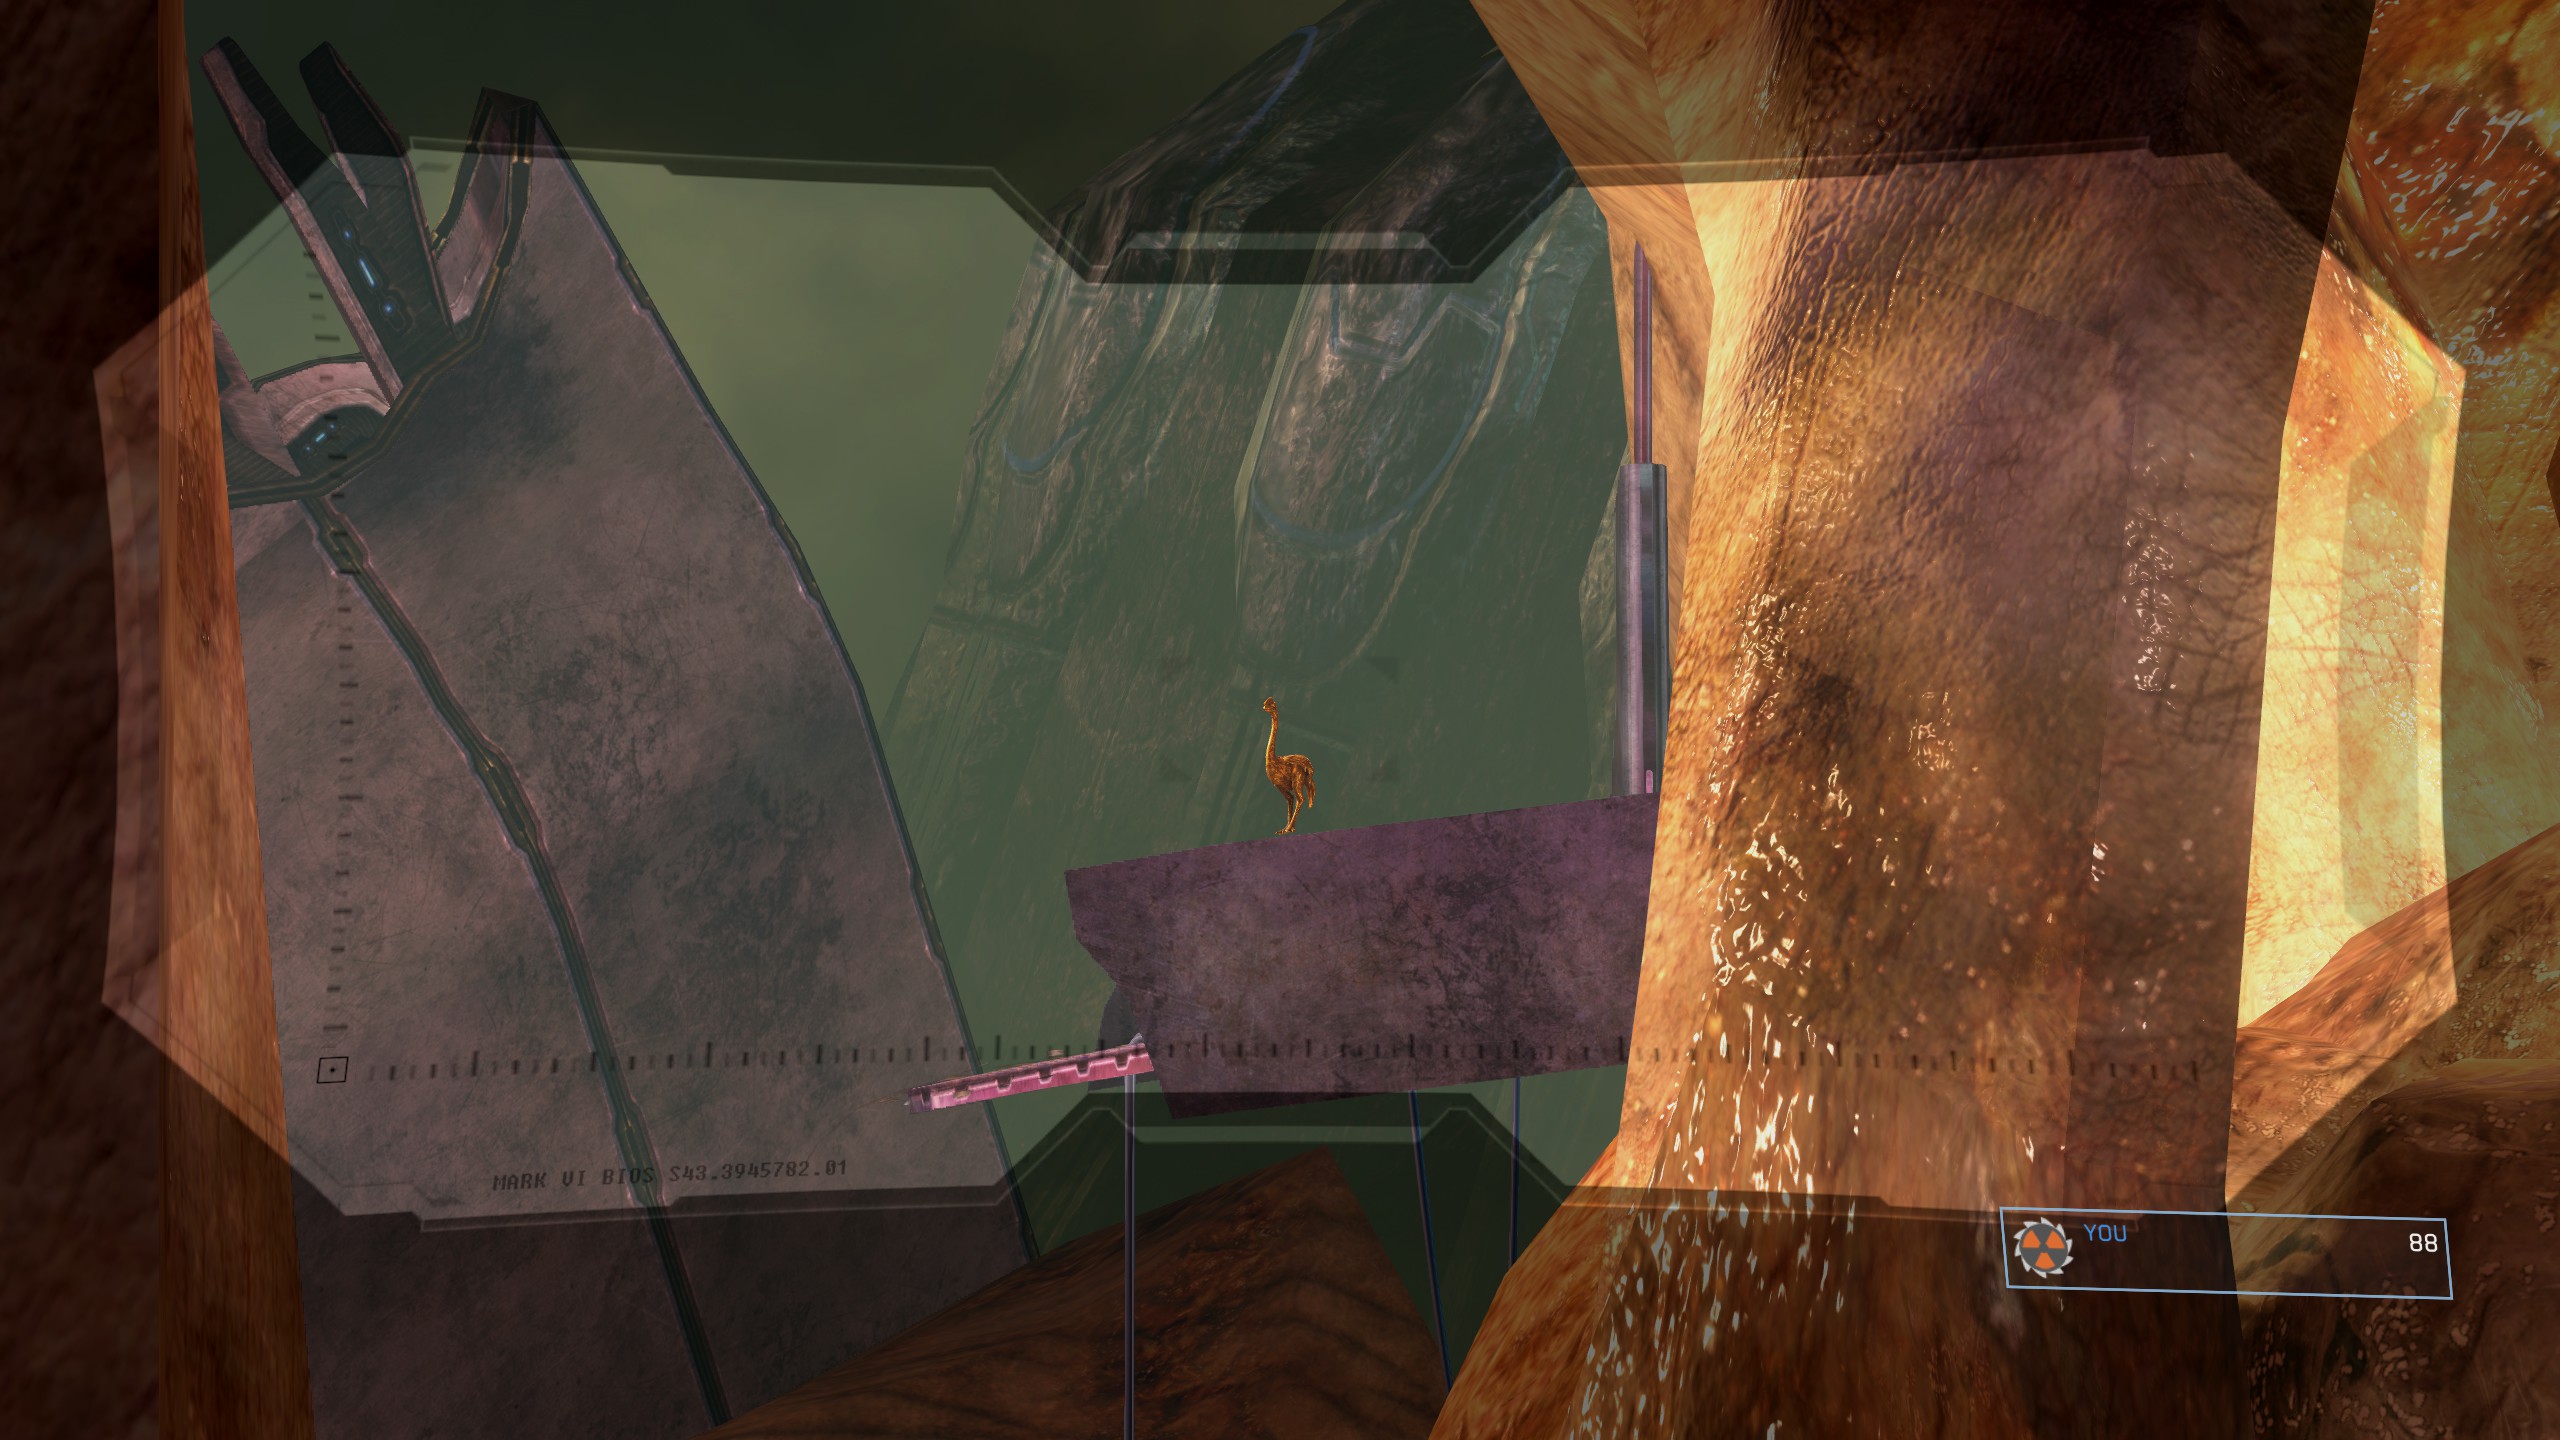
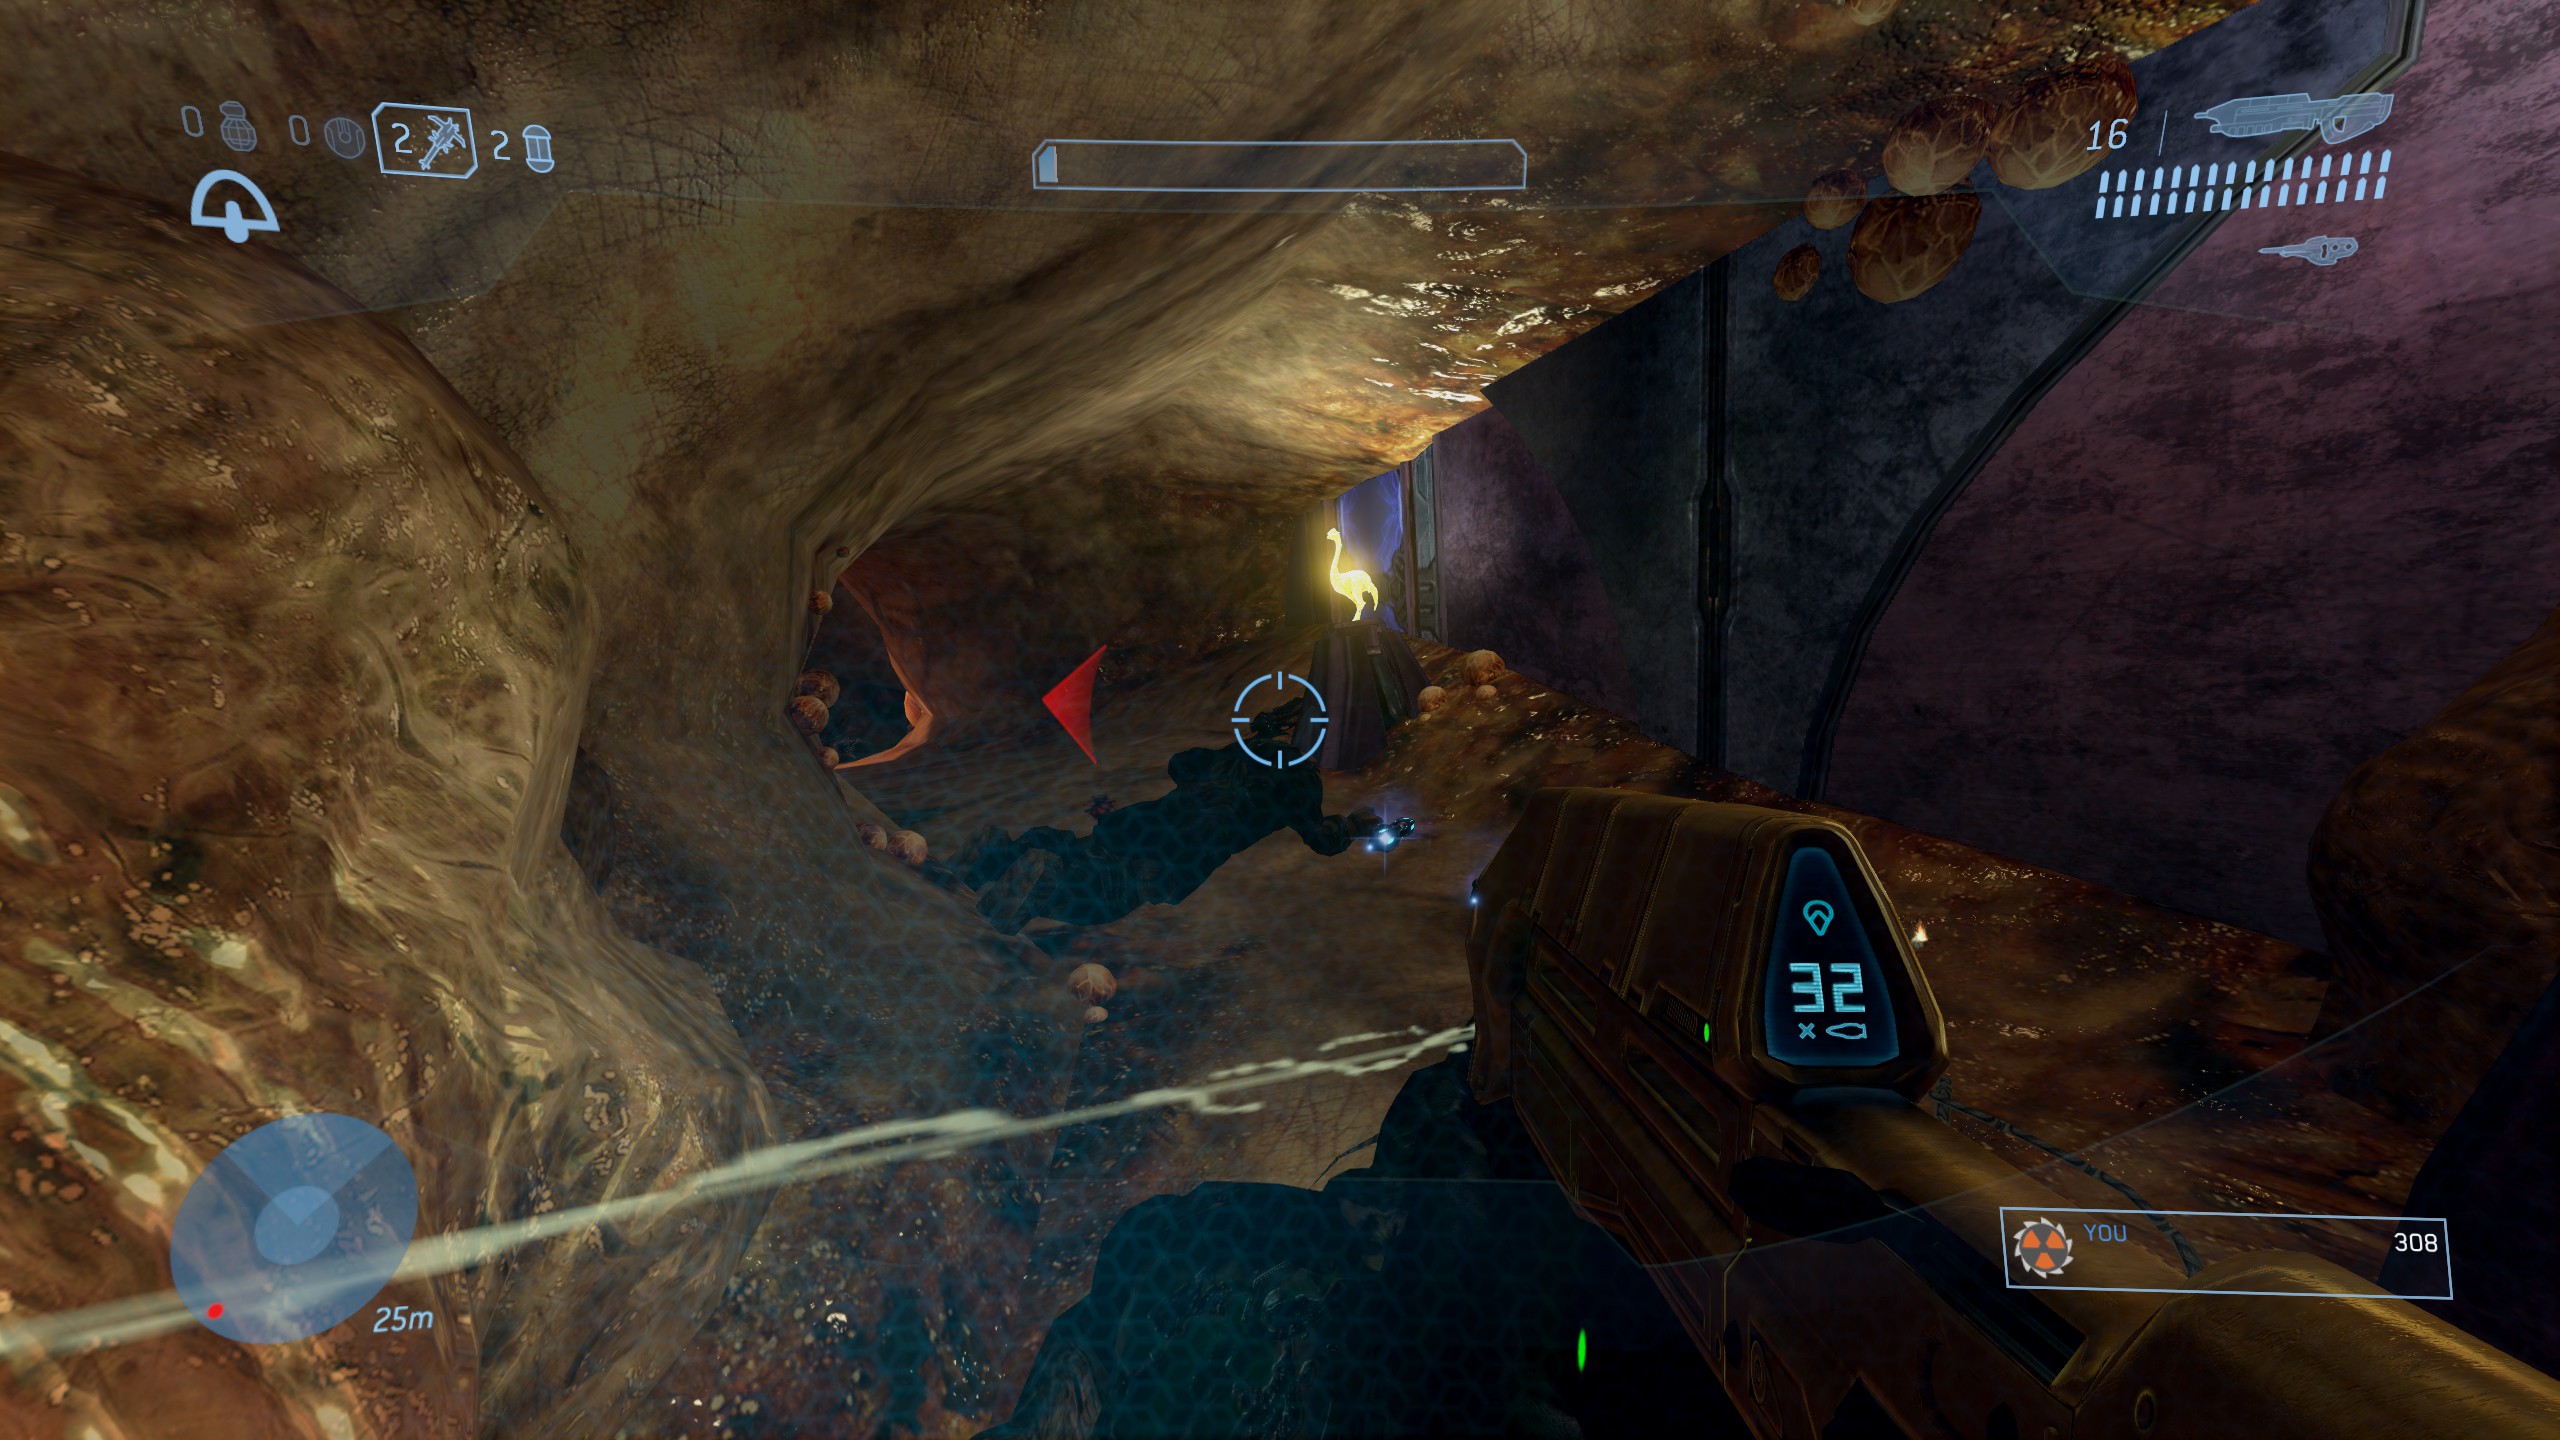
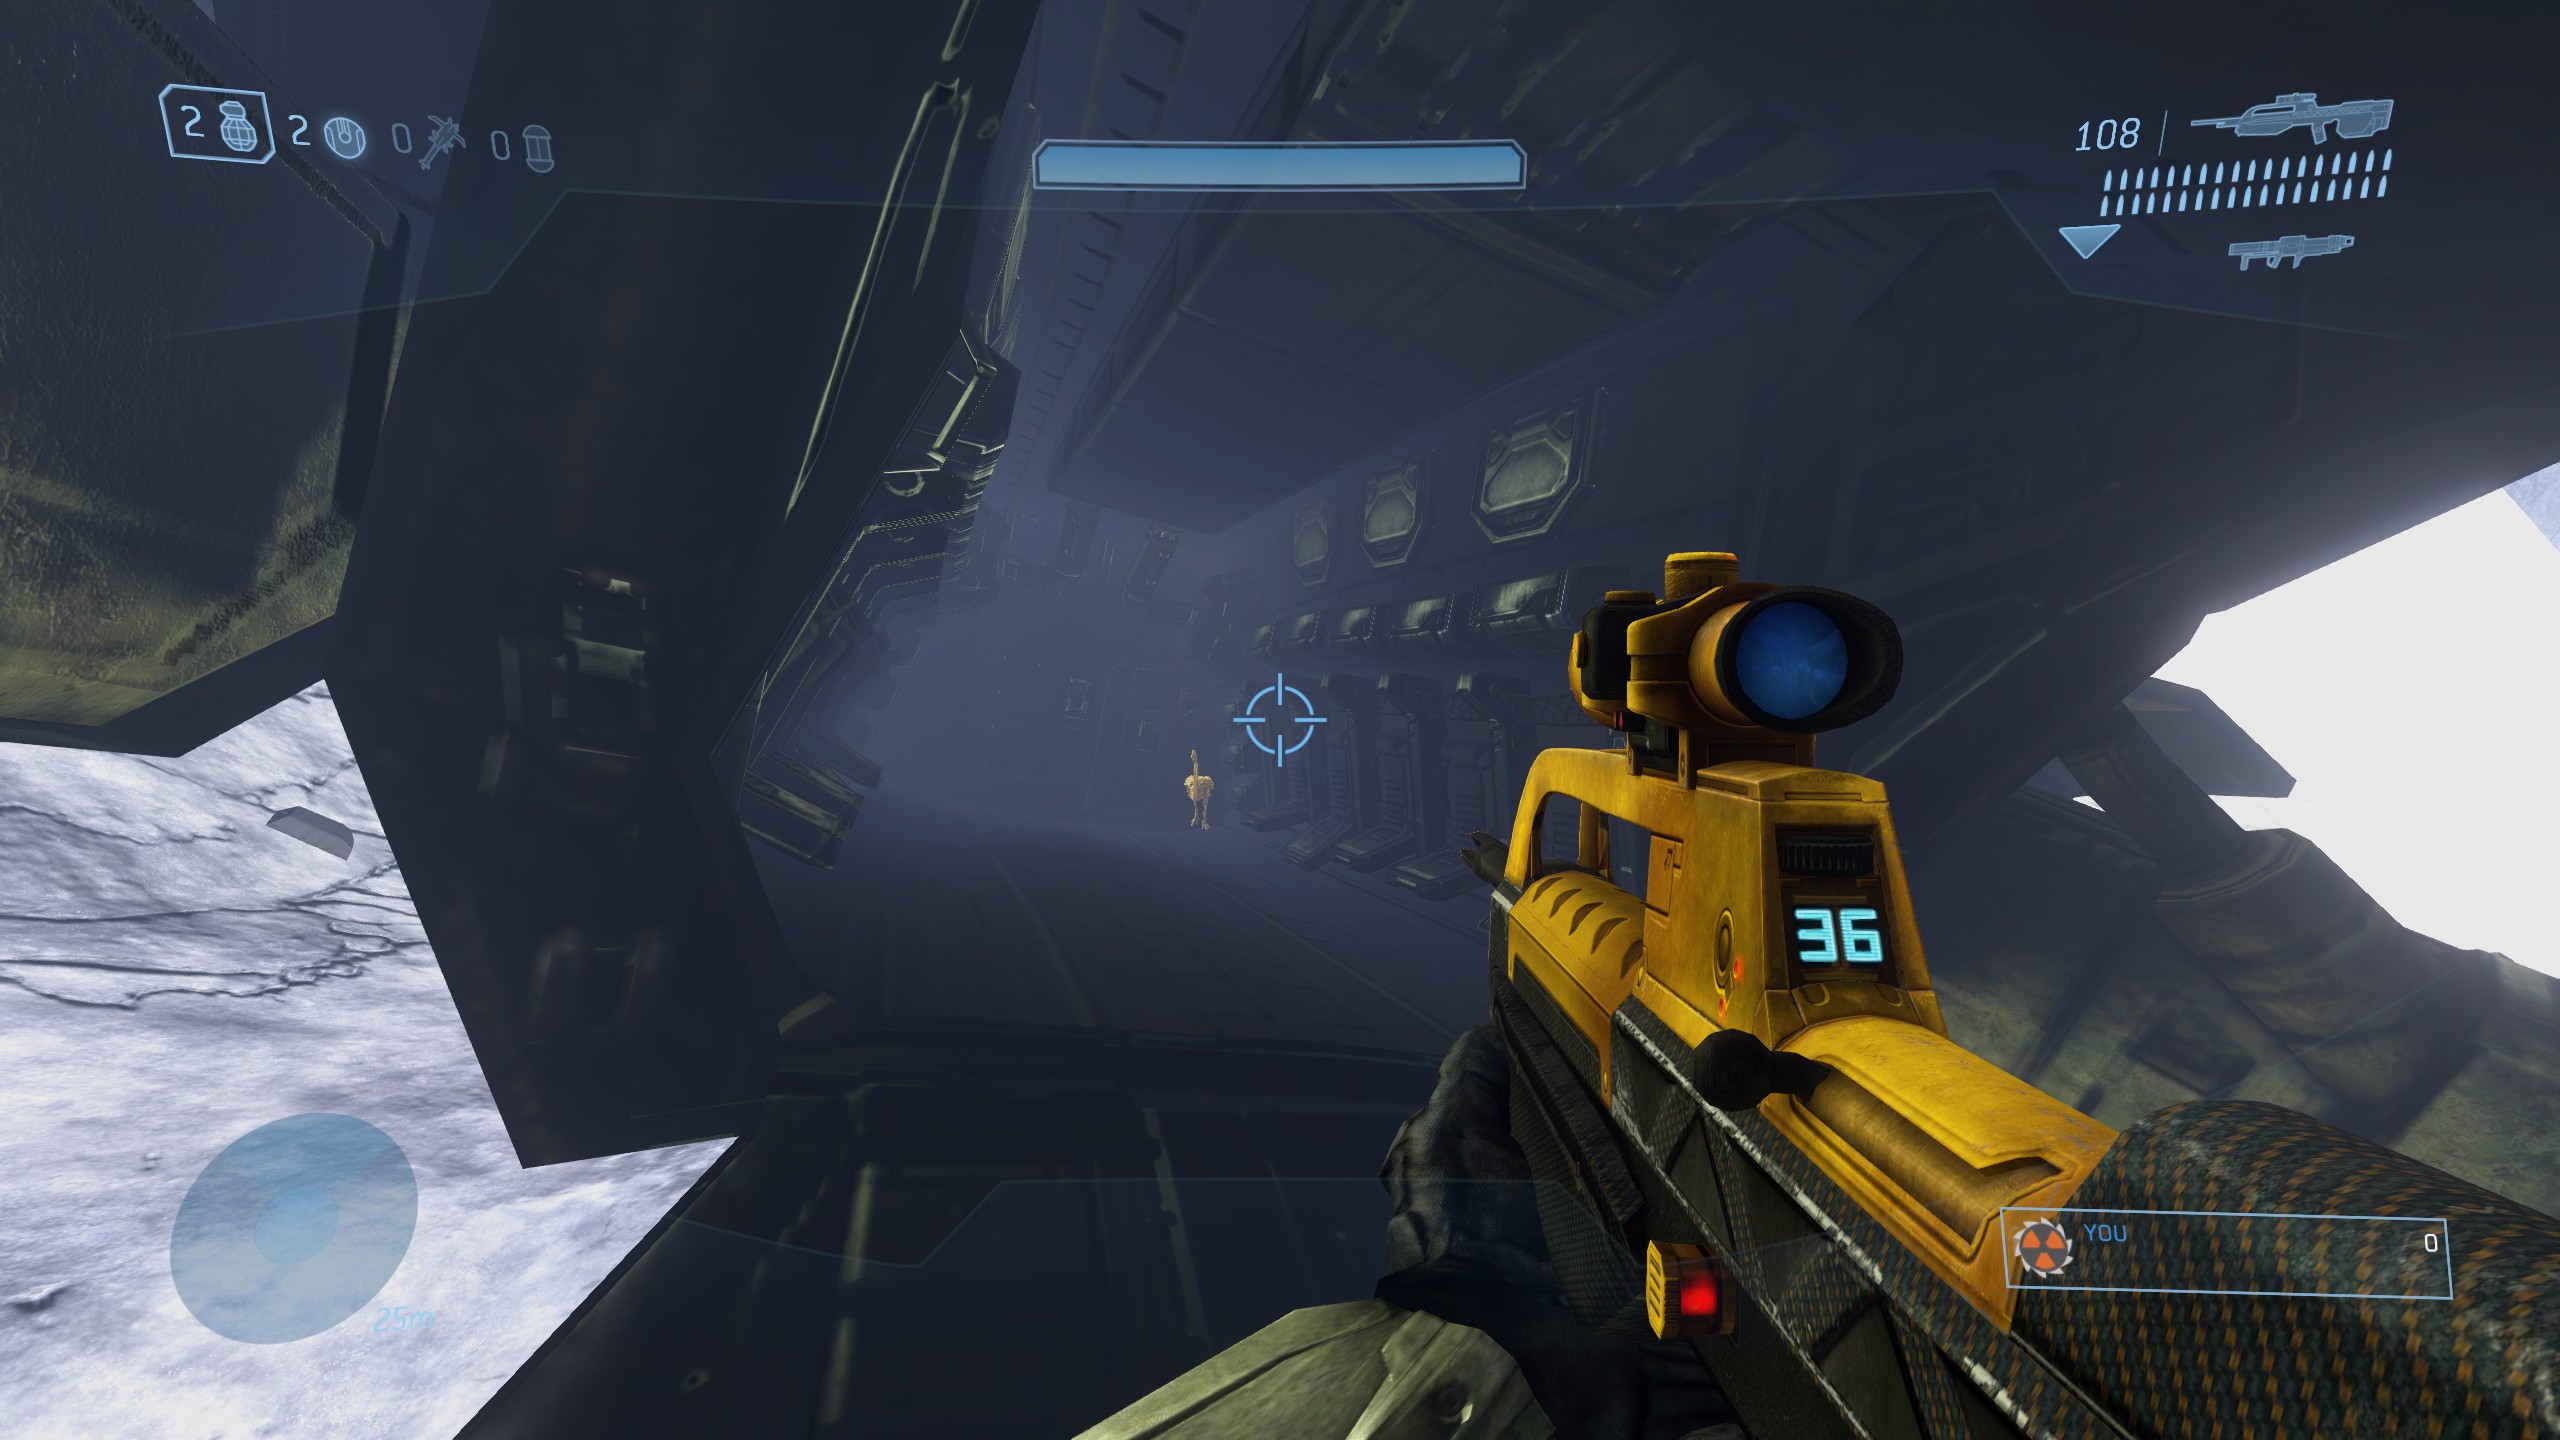
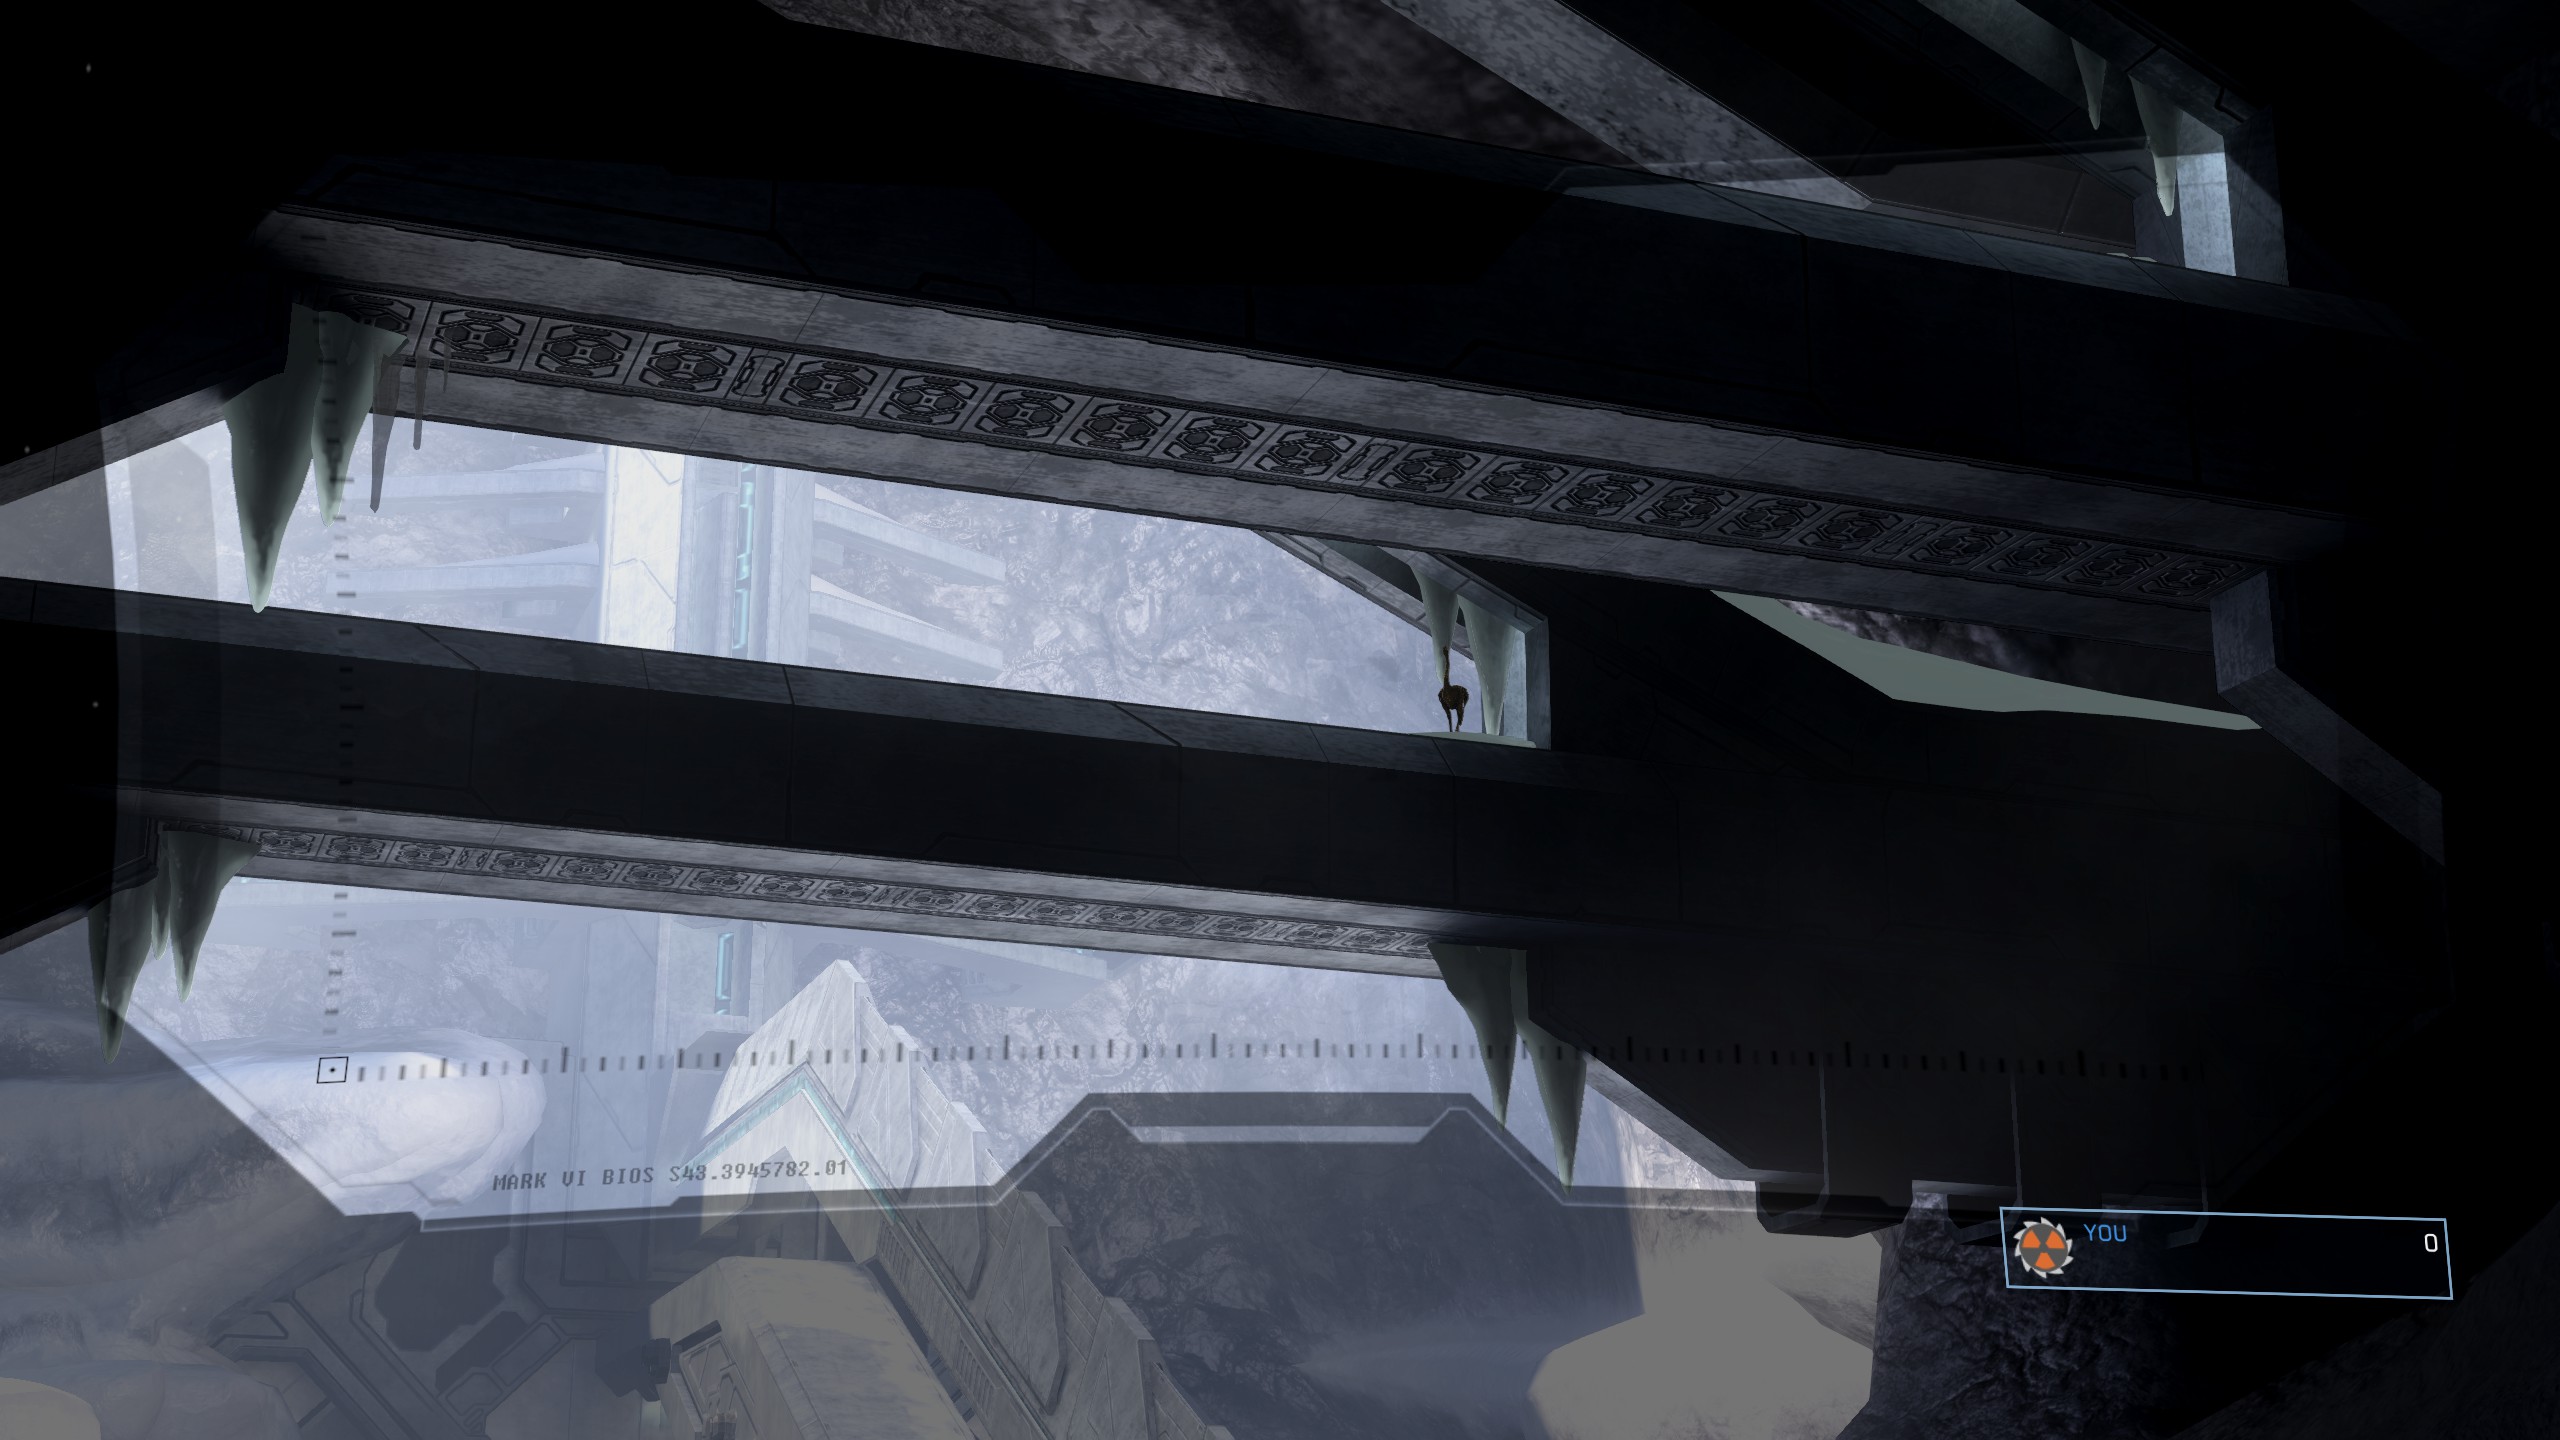
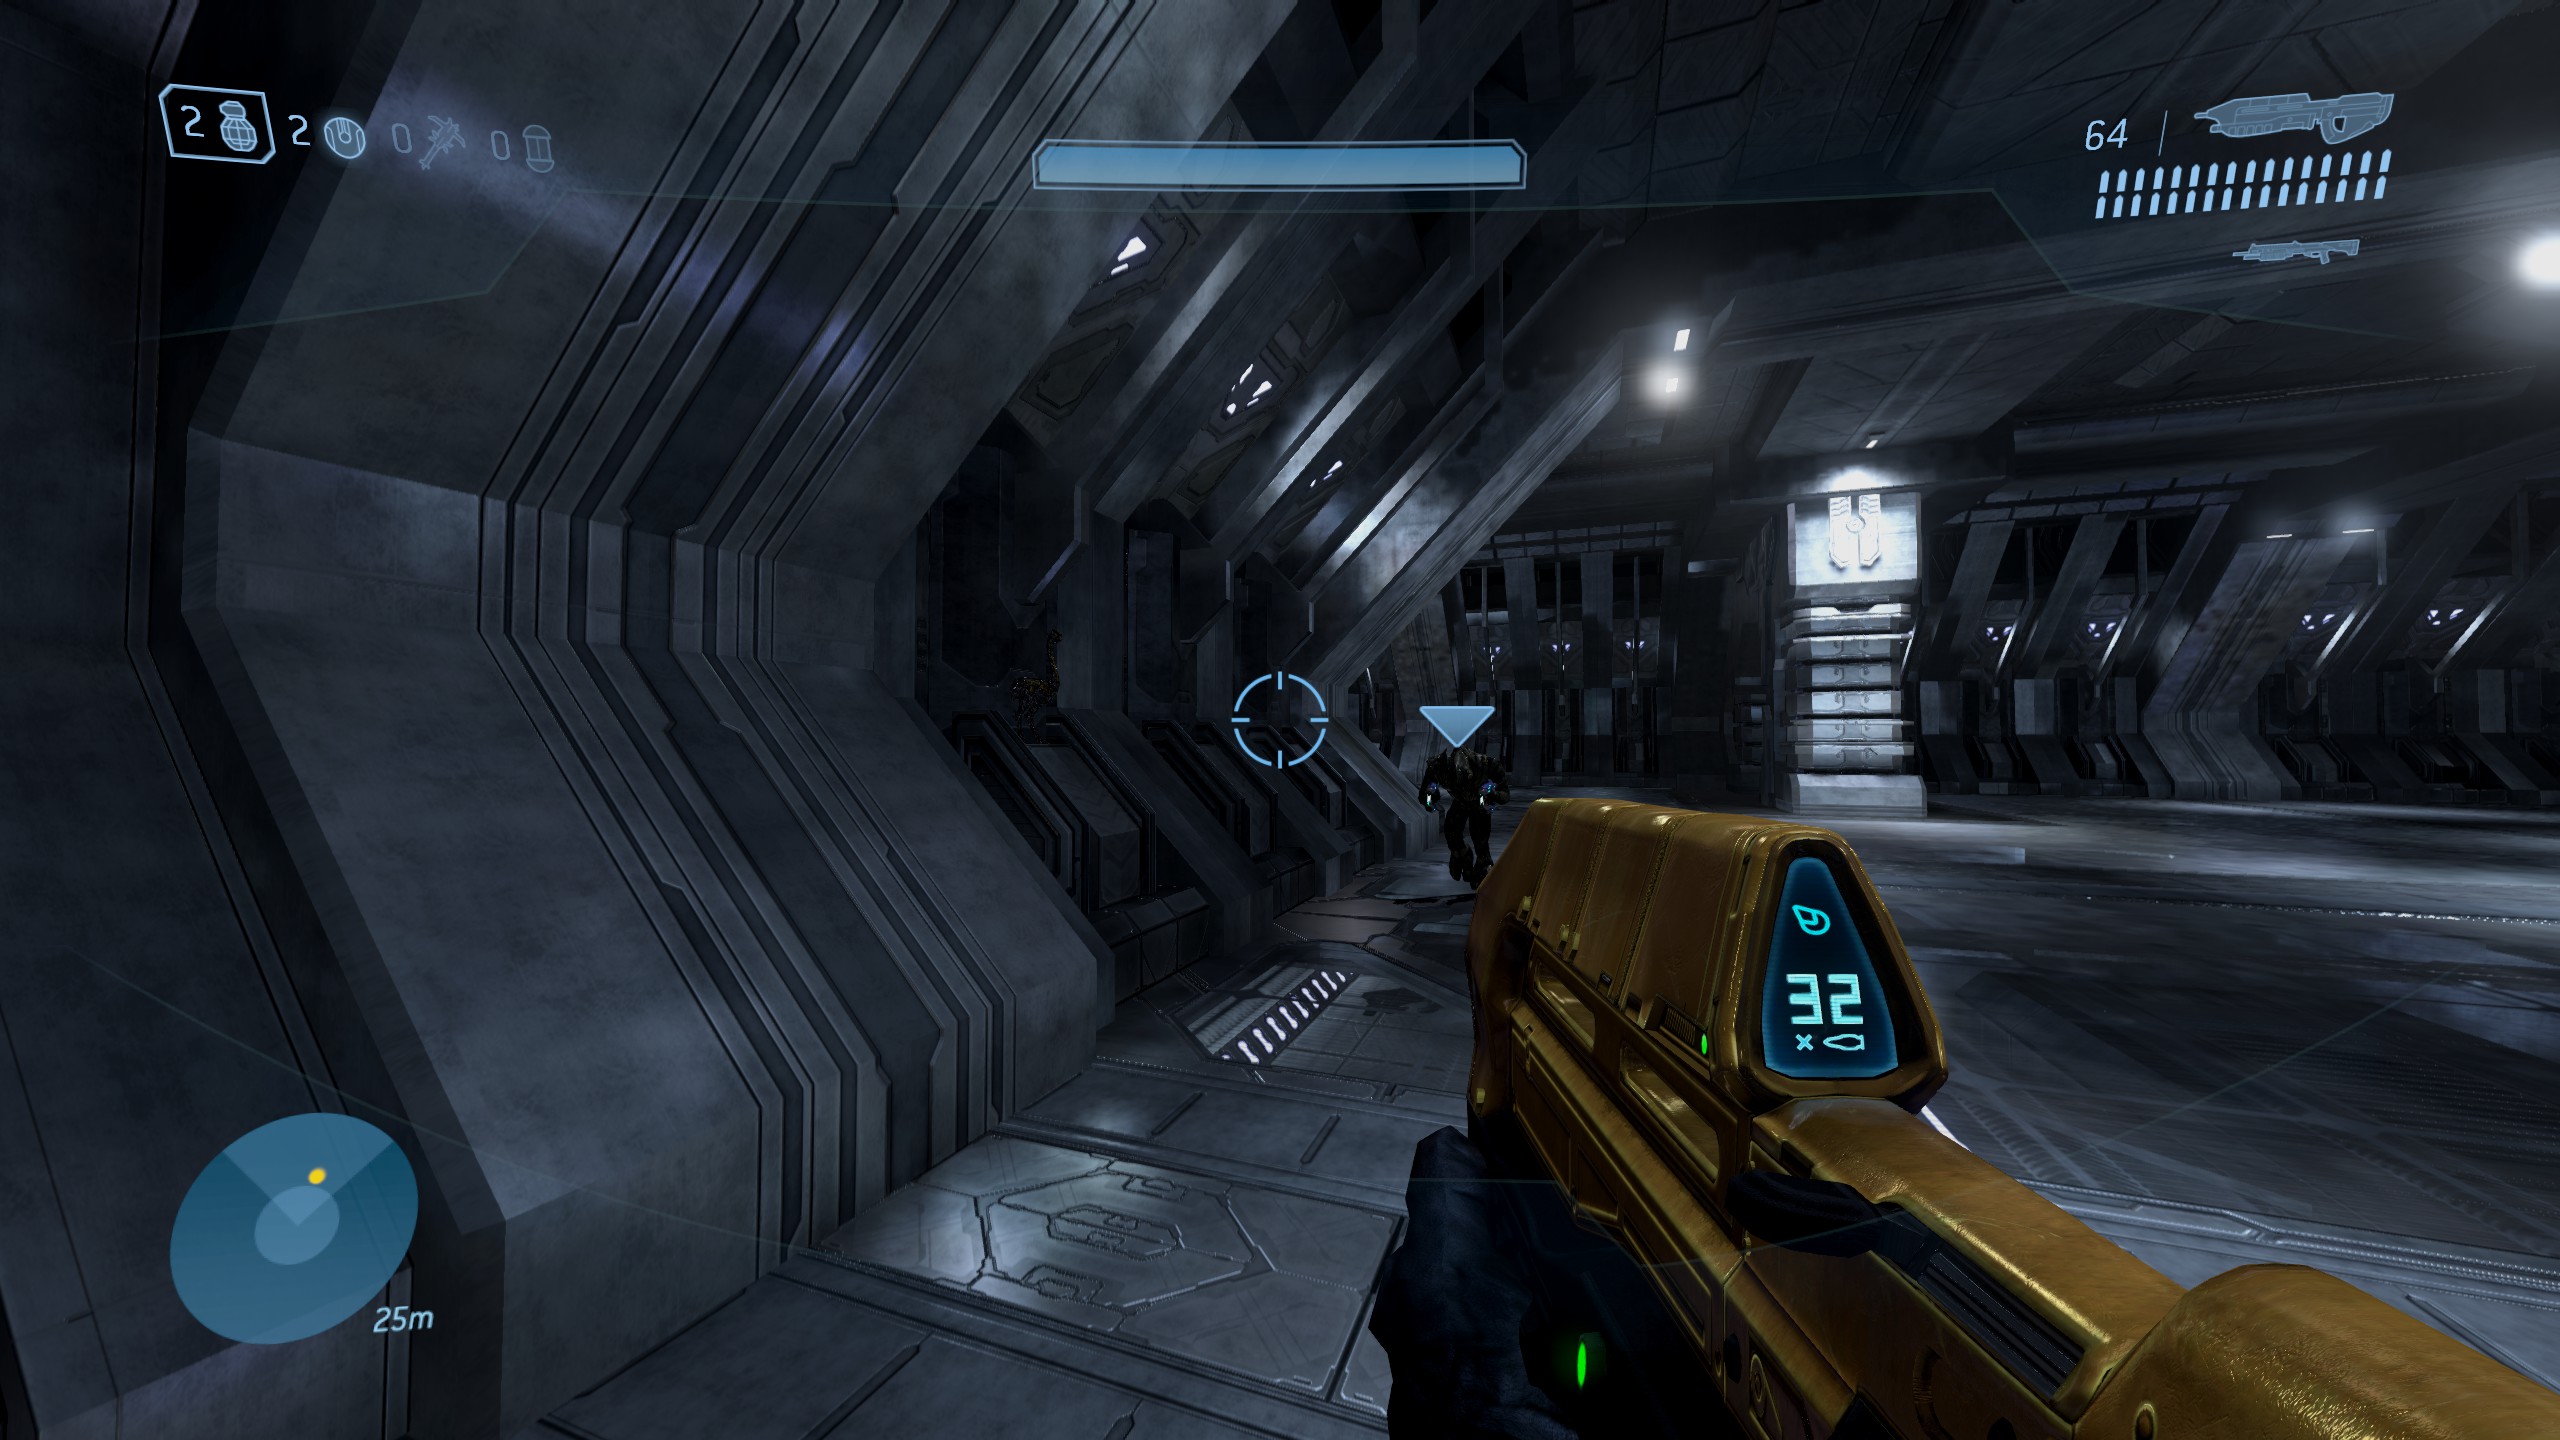
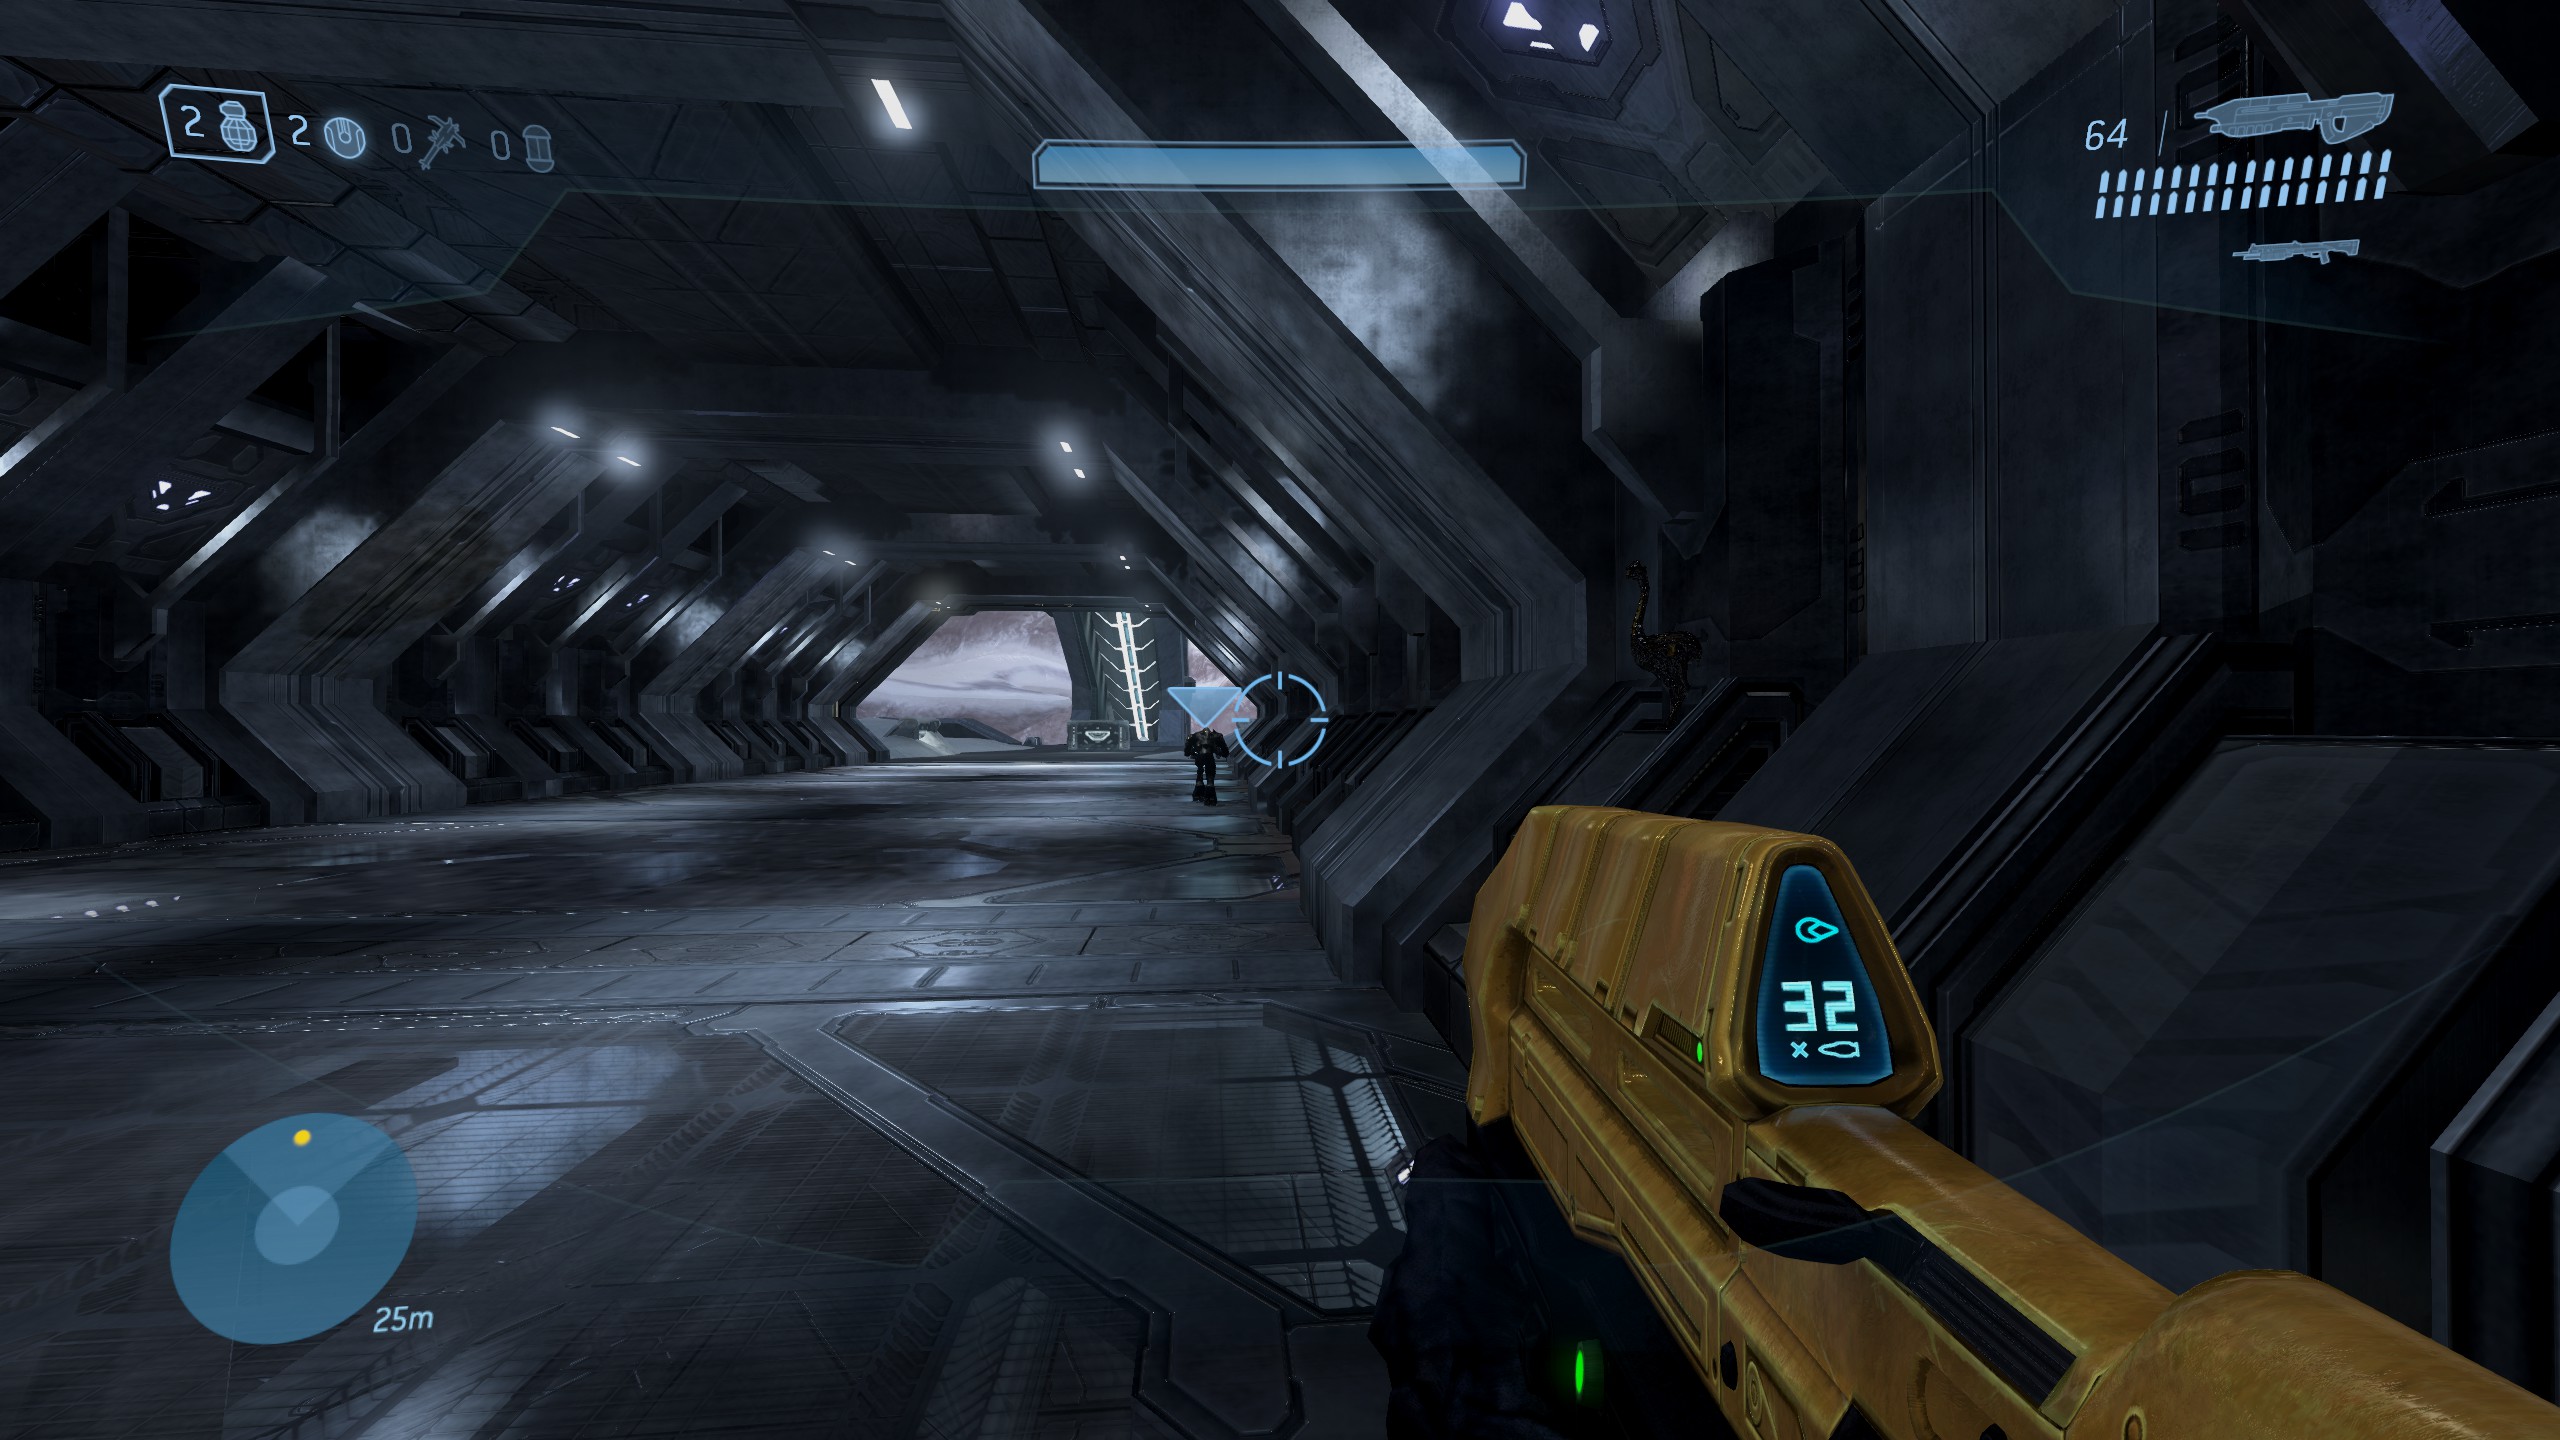
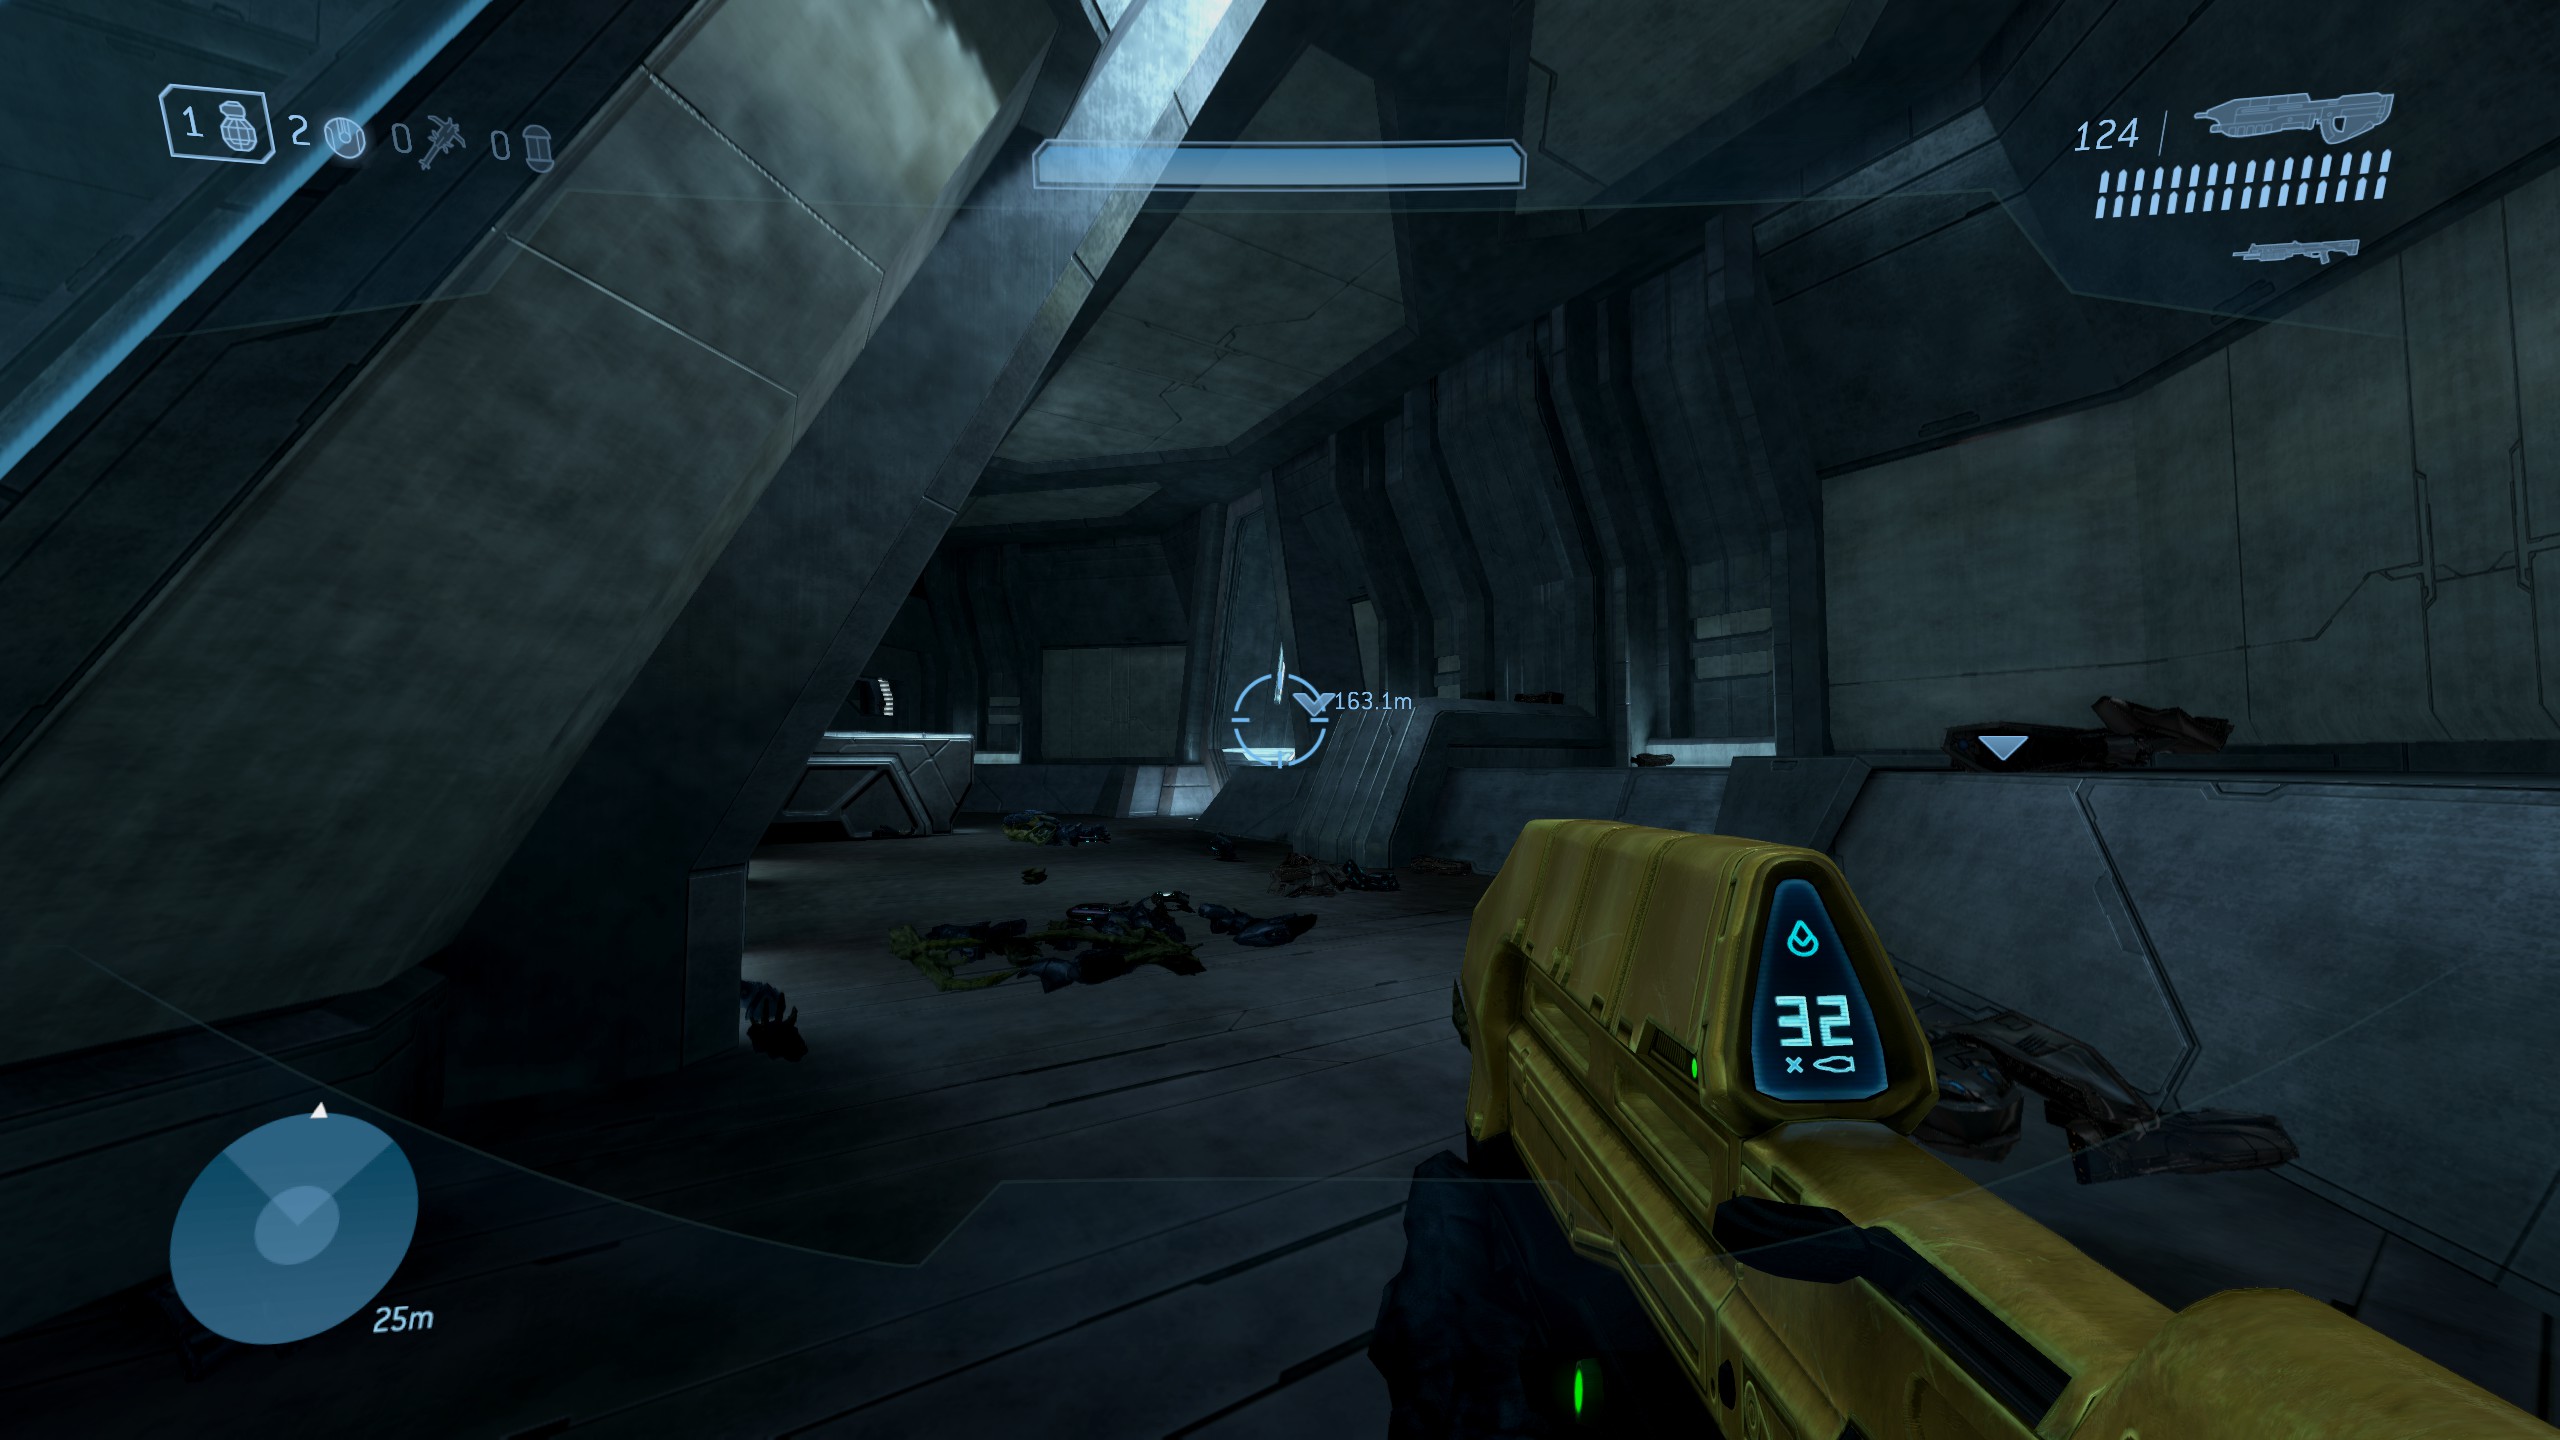
However, now that they're appearing correctly on my end, the only Moa Statue in NMPD HQ (Under the Escalator on Rally Point Delta) & the only 2 Moa Statues at Kikowani Station (At the very beginning of Rally Point Alpha) will probably be the quickest & most practical Moa Statues to chase after for this week's list of Challenges.
Bizargh 27 Oct, 2022 @ 3:09pm 
For anything still coming back here, I can confirm that any video guides for Jan. 12th-19th 2022 or June 1st-8th 2022 should serve you well for Halo 3 for this week of Oct. 26th - Nov. 2nd 2022, such as this one:
https://www.youtube.com/watch?v=VMtIYTHshgs

While I personally can't say anything about Halo: Reach concretely, I can at least tell you that GeneralKidd's video on all location for Halo 3: ODST will serve you well as NMPD HQ has only one Moa Stature location and Kikowani Station only has two (Both of which I can confirm appear this week & can be snatched in less than 60secs):
https://www.youtube.com/watch?v=kQYhpzX6O1s
Bizargh 12 Oct, 2022 @ 6:53pm 
I can confirm that any video guides for Dec. 29nd - Jan. 5th 2022 or May 18th-25th 2022 should serve you well (At least for Halo 3) for this week of Oct. 12th-19th 2022, including this one:
https://www.youtube.com/watch?v=cc3VIf-fFkA

However, 'OweMeOne Kenobi' has lately been one to provide "Quickest Way" guides to the Moa Statues for Halo 3, Halo 3: ODST & Halo: Reach for the time being, so feel free to consult them for more up-to-date guides that include all three games.
Bizargh 5 Oct, 2022 @ 4:06pm 
Since people are indeed still checking these comments for updates, so whilst I still find myself doing this, here we go.

I can confirm that any video guides for Dec. 22nd-29th 2022 or May 11th-18th 2022 should serve you well (At least for Halo 3) for this week of Oct. 5th-12th 2022, including this one:
- https://youtu.be/Vb_EjEd7uFk

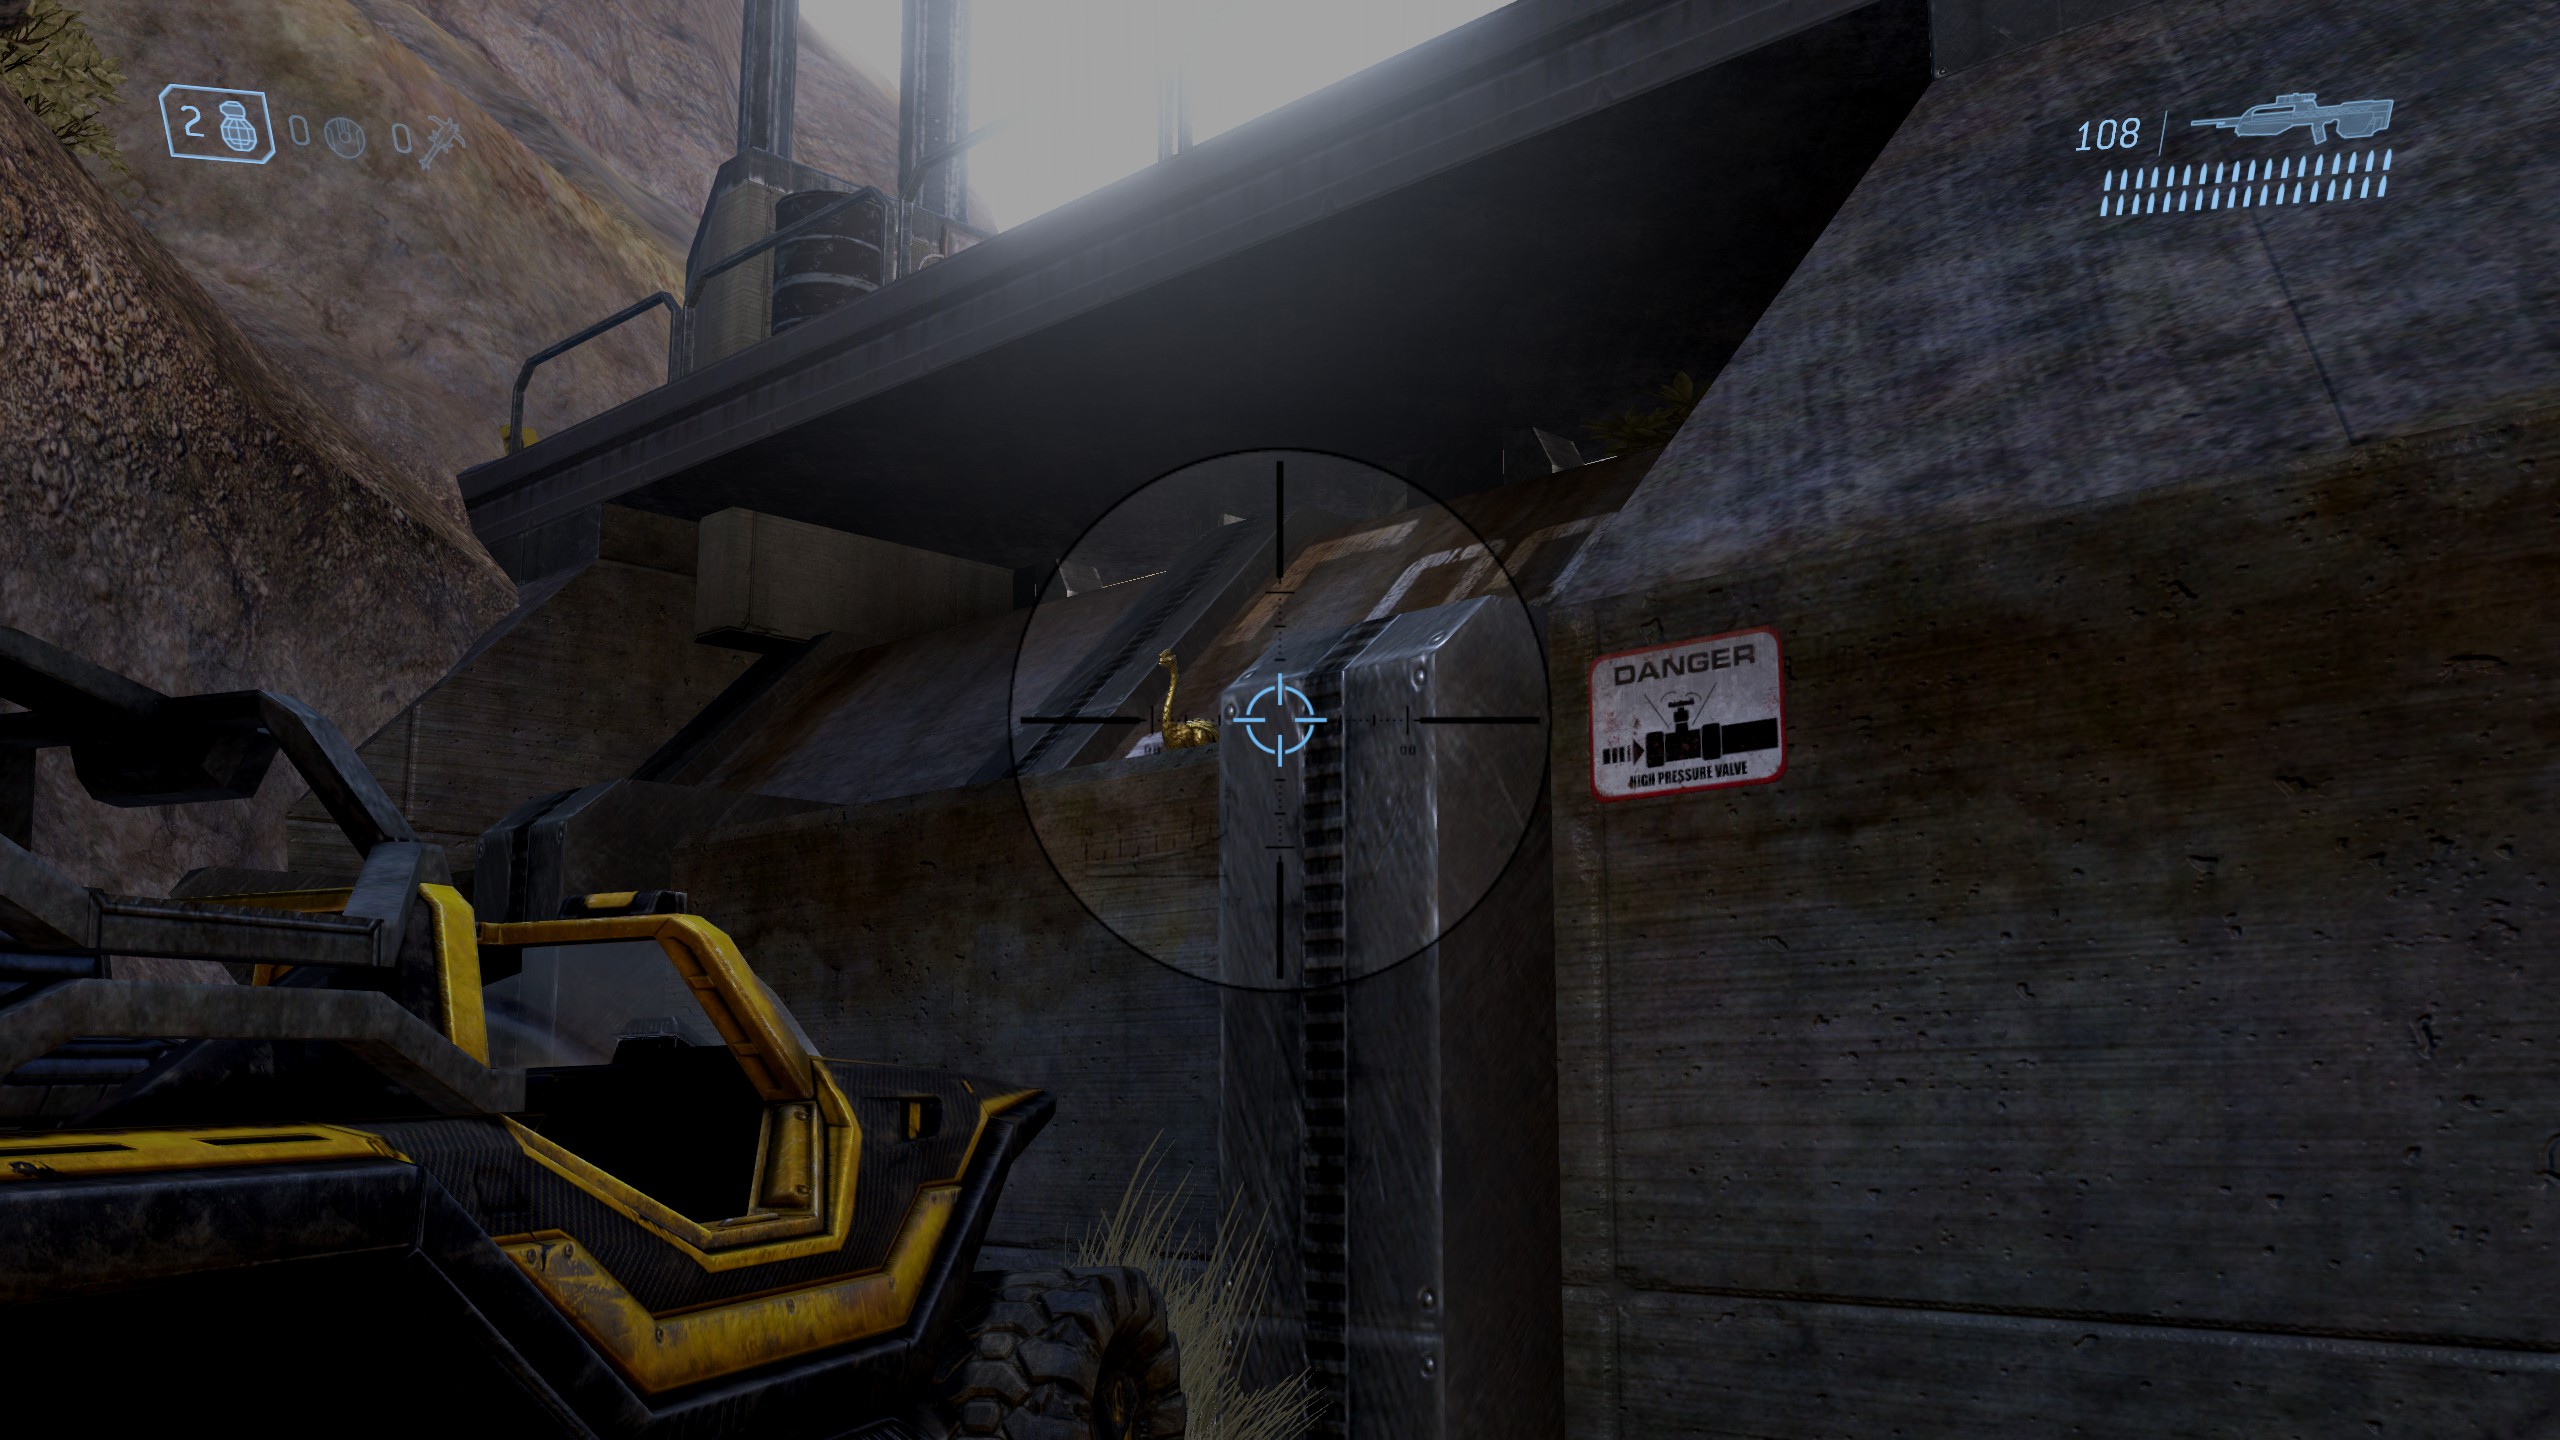
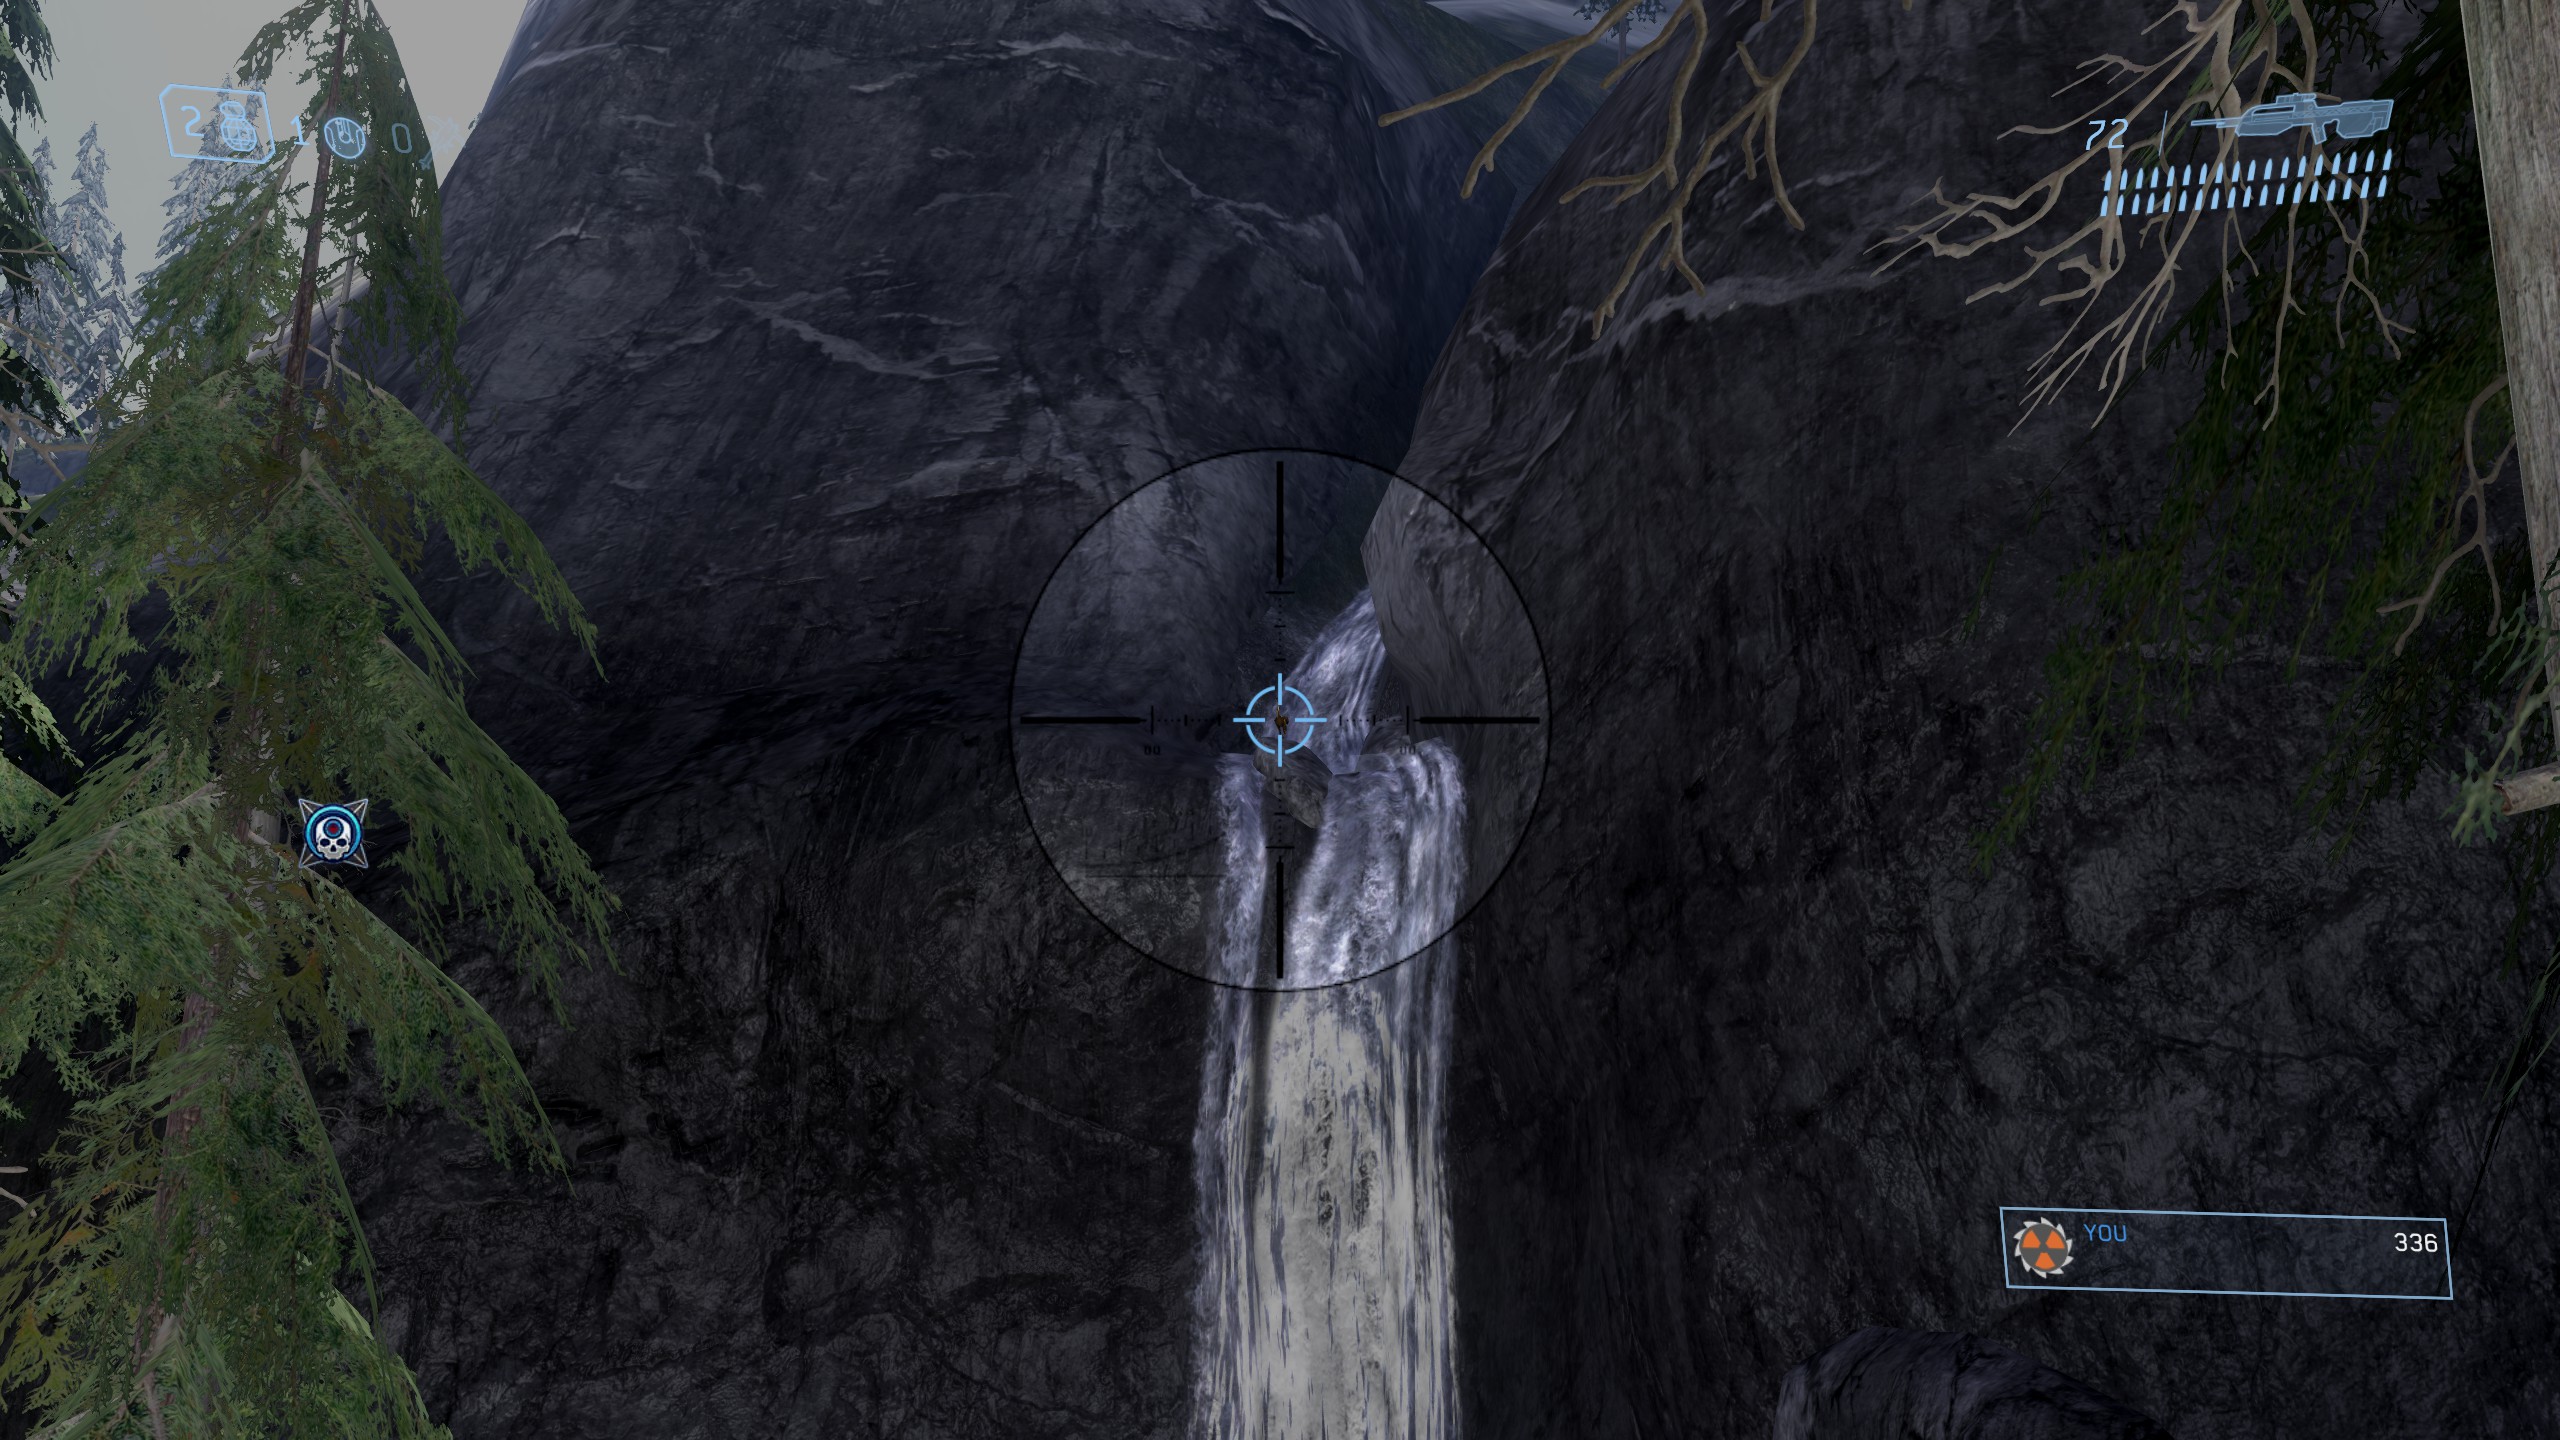
Note that this guide has one missing from The Storm (Rally Point Alpha), which this separate video no-nonsensically highlights:
- https://youtu.be/2pIioVmkDVY

As for Halo 3: ODST & Halo: Reach, you'll have to consult other guides to find them, such as this one (Although I don't think it's a complete list):
- https://youtu.be/r4i6VzmF1xo

The least I can do is point you toward GeneralKidd showing all possible locations for both games' Statues (As the Halopedia article hasn't caught up with them yet):
- https://youtu.be/kQYhpzX6O1s?t=4
- https://youtu.be/u3lFUME20fQ?t=4
CLANG-CLANG 28 Sep, 2022 @ 11:56pm 
Bizargh, you're a legend for simplifying this shit. Cheers!
Bizargh 28 Sep, 2022 @ 6:31pm 
Just in case anybody is still checking back here for updates (I'll honestly be surprised if you are), any old guides for Dec. 15th-22nd 2021 or May 4th-11th 2022 will be applicable for this week of Sep. 28th - Oct. 5th 2022, including this video:
https://www.youtube.com/watch?v=COJOMzowz_s
Bizargh 14 Sep, 2022 @ 6:28pm 
Just popping back to confirm that any old video guides for Dec. 1st-8th 2021 or April 20th-27th 2022 are applicable for Halo 3 during this week of September 14th-21st 2022, such as these two:

The Quiet April One:
https://www.youtube.com/watch?v=OpRXnsiHlI0

The Vocal December One:
https://www.youtube.com/watch?v=mfOXLQs-ThQ

You'll have to consult other guides on locations for Halo 3: ODST & Halo: Reach if they interest you.