Warhammer: Vermintide 2

Warhammer: Vermintide 2

150 ratings
Season 4: Weaves Cheat Sheet
By John.
Weave related information to help you and your friends with the push.
4
2
2
   
Award
Favorite
Favorited
Unfavorite
Introduction
This is a cheat sheet that I have used back when I was pushing weaves and I still do use it when I'm helping others push. It took me some time to transfer from Word to Steam. It contains useful information such as pick up item locations, end event enemy contents and helpful notes that will help you plan ahead of time.


Authors Notes
  • Horde/Archers in the guide could either be a small or a massive group.
  • 2nd/3rd/4th version of the weave have the same spawns. That is why 3 of them are grouped.
  • You might get a different number of enemy spawns compared to the guide because spawns are not fixed, it fluctuates.
  • I named one of the end map Colosseum Plateau because I have no clue where it's from.
  • CTRL + F and enter the weave number to access the section you are looking for.
  • You need help? join this steam group. Vermintide 2: Weaves, FoW, Deeds, etc. https://s.team/chat/bIAKbv0r
  • I know this guide is late but its useful for people that are still wanting to attempt and/or finish the push.

How to read the guide.

Colosseum Plateau <----- Location of End Event map

W47/87/127: <----- Weave number
  • Horde + Flamer <----- 1st Wave
  • Stormfiend + Gunner + 5 Monk + Horde <----- 2nd Wave
*Touching 2nd Barrel will spawn Chaos Spawn. Must ledge to save time. <----- Helpful Notes

Screenshots goes from left to right.

SCREENSHOTS ARE COMING R U READY?
Map Key

Difficulty Table
Recruit
1-10
Veteran
11-20
Champion
21-30
Legend
31-40
Cataclysm
41-60
Cataclysm 2
61-80
Cataclysm 3
81-160


Map Locations
Bastion
Festering Ground
Pastorale
Against the Grain
Ruins
Empire of Flames
Canyon
Festering Ground
Delving
Hunger in the Dark
Waters
Fort Brachsenbruke
Mire
War Camp
Weald
Engines of War
Warrens
Blightreaper
Oubliette
The Pit


End Event Locations
Colosseum Plateau


Athel Yenlui


Castle Drachenfels
Light Bastion | Slaughter
Colosseum Plateau

W1:
  • Bile Troll + Bestigor

W41/81/121:
  • 3 Boss (Its either 2 Chaos Spawn + Rat Ogre or the other way around) + 5 Bestigor + Horde
Have one person grab aggro. Lure it to the ledge then stagger with BW/GK ult.

Celestial Pastorale | Slaughter
Athel Yenlui

W2:
  • Stormfiend + Flamer + Gunner + Monk

W42/82/122:
  • Stormfiend + Flamer + Gunner + 5 Monk

Jade Ruins | Drain Essence Fractures
Castle Drachenfels

W3:
  • Hook + 2 Bestigor
  • Hook + Wargor + Horde + Archers
  • 2 Wargors + 2 Bestigor + Horde
  • Hook + Wargor + Bestigor + Horde
  • Hook + Bestigor + Minotaur

W43/83/123:
  • Hook + 6 Bestigor
  • Hook + Wargor + Horde + Archers
  • 2 Wargors + 8 Bestigor + Horde
  • Hook + Wargor + 3 Bestigor Horde
  • Hook + 8 Bestigor + Minotaur

Gold Canyon | Slaughter
Colosseum Plateau

W4:
  • 2 Chaos Warrior
  • 2 Savage + 7 Bestigor
  • Chaos Warrior + Bestigor + Stormfiend

W44/84/124:
  • 13 Chaos Warrior + 6 Savage
  • 6 Savage + 24 Bestigor
  • 7 Chaos Warrior + 6 Bestigor + Stormfiend
Stormfiend spawns at beginning and halfway of the map.

Bright Delving #1 | Drain Essence Fractures
Colosseum Plateau

W5:
  • Horde
  • Bile Troll + Leech
  • Rat Ogre + Hook + Flamer + Horde

W45/85/125:
  • Horde + Hook
  • Bile Troll + Leech + Horde
  • Rat Ogre + Hook +Flamer + Horde

Amber Pastorale | Slaughter
Athel Yenlui

W6:
  • Horde
  • Minotaur + Horde + Bestigor + Archers
  • Minotaur + Horde + Bestigor + Archers

W46/86/126:
  • Wargor + Horde
  • Minotaur + Bestigor + Horde + Archers
  • Minotaur + Wargor + 3 Bestigor + Horde + Archers


Grey Waters | Blow Up Essence Node
Colosseum Plateau

W7:
  • Horde + Flamer
  • Stormfiend + Gunner + Monk + Horde

W47/87/127:
  • Horde + Flamer
  • Stormfiend + Gunner + 5 Monk + Horde
Touching 2nd Barrel will spawn Chaos Spawn. Must ledge to save time.

Amethyst Mire | Slaughter
Athel Yenlui

W8:
  • Chaos Warrior + Stormer
  • Stormer + Leech + Horde
  • 2 Stormer + Leech + 5 Savage + Horde
  • Stormer + Leech + Savage + Horde
  • Stormer + Leech + 3 Savage + 2 Chaos Warrior + Horde
  • Stormer + 2 Savage + Horde + Chaos Spawn

W48/87/128:
  • 6 Chaos Warrior + Stormer
  • Stormer + Leech + Horde
  • 2 Stormer + Leech + 15 Savage + Horde
  • Stormer + Leech + 4 Savage + Horde
  • Stormer + Leech + Savage + 12 Chaos Warrior + Horde
  • Stormer + 8 Savage + Horde + Chaos Spawn
Rat Ogre spawns halfway of the 1st map.

Light Weald | Drain Essence Fractures
Colosseum Plateau

W9:
  • Hook + Horde
  • Bile Troll + Horde
  • Rat Ogre + Hook + Flamer + Horde

W49/89/129:
  • Hook + Horde
  • Bile Troll + Leech + Horde
  • Rat Ogre + Hook + Flamer + Horde
Stormfiend at 2nd Circle. Minotaur at 3rd Circle.

Celestial Warrens | Slaughter
Castle Drachenfels

W10:
  • 2 Flamer + 2 Gunner + Archers
  • Gas + 2 Stormvermin + Stormfiend
  • 4 Flamer + 2 Stormvermin + Horde
  • 2 Wargors + 2 Gas + 2 Gunner + Horde + Archer
  • Assassin + Leech + Stormer + Bile Troll

W50/90/130:
  • 2 Flamer + 2 Gunner + Archers
  • Gas + 8 Stormvermin + Stormfiend
  • 4 Flamer + 14 Stormvermin + Horde
  • 2 Wargors + 2 Gas + 2 Gunner + Horde + Archer
  • Assassin + Leech + Stormer + Bile Troll
Chaos Spawn at start of the map.


Jade Mire | Slaughter
Athel Yenlui

W11:
  • 2 Gunner + 2 Chaos Warrior + Horde
  • 4 Gunner + 6 Chaos Warrior + Horde
  • Horde
  • Gunner + Hook + 2 Chaos Warrior + Horde
  • 2 Gunner + 4 Chaos Warrior + Horde

W51/91/131:
  • 2 Gunner + 7 Chaos Warrior + Horde
  • 5 Gunner + 18 Chaos Warrior
  • Horde
  • Chaos Warrior + Horde
  • Gunner + Hook + 7 Chaos Warrior + Horde
  • 2 Gunner + 12 Chaos Warrior + Horde

Gold Ruins | Shatter Essence Chunks
Colosseum Plateau

W12:
  • Stormer + 2 Chaos Warrior
  • 2 Stormer + Leech + Horde
  • Stormer + Leech + 4 Savage
  • Stormer + Leech + 3 Savage + 4 Chaos Warrior
  • Stormer + 3 Savage + Chaos Spawn

W52/92/132:
  • Stormer + 7 Chaos Warrior
  • Stormer + Leech + Horde
  • 2 Stormer + Leech + 17 Savage + Horde
  • Stormer + Leech + 8 Savage
  • Stormer +Leech + 12 Savage + 11 Chaos Warrior
  • Stormer + 8 Savage + Chaos Spawn

Bright Mire | Slaughter
Castle Drachenfels

W13:
  • Chaos Spawn + Rat Ogre

W53/93/133:
  • 2 Chaos Spawn + Rat Ogre

Amber Bastion | Drain Essence Fractures
Colosseum Plateau

W14:
  • Minotaur + 8 Bestigor + Horde + Archers

W54/94/134:
  • 2 Minotaur’s + 24 Bestigor + Horde + Archers
Break all totems then ledge 2 Minotaur at start of end event map. Have Battle Wizard with either speed or strength potion with concoction. Have one person grab aggro. Let it charge or lure it to the ledge dodge then stagger with BW/GK ult.

Grey Oubliette | Slaughter
Athel Yenlui

W15:
  • 2 Leech + Stormer + 4 Savage + 5 Chaos Warrior
  • 2 Leech + Stormer + 4 Savage + 3 Chaos Warrior
  • Stormer + 3 Savage + 1 Chaos Warrior

W55/95/135:
  • 2 Leech + Stormer + 8 Savage + 2 Mauler + 14 Chaos Warrior
  • Leech + Stormer + 8 Savage + 2 Mauler + 7 Chaos Warrior
  • Stormer + 8 Savage + 2 Mauler + 2 Chaos Warrior
Rotate at arena. Don't huddle in one spot. There's way too many Chaos Warriors + Stormer & Leech.

Amethyst Ruins | Blow Up Essence Node
Castle Drachenfels

W16:
  • 2 Gunner + 2 Chaos Warrior
  • 2 Gunner + 4 Chaos Warrior
  • 3 Gunner + 2 Chaos Warrior
  • Horde
  • Hook + Gunner + 2 Chaos Warrior
  • 2 Gunner + 4 Chaos Warrior + Horde

W56/96/136:
  • 2 Gunner + 6 Chaos Warrior
  • 2 Gunner + 12 Chaos Warrior
  • 3 Gunner + 6 Chaos Warrior
  • Horde
  • Hook + Gunner + 7 Chaos Warrior
  • 2 Gunner + 11 Chaos Warrior
1st Barrel Stormfiend. 2nd Barrel Chaos Spawn.

Light Canyon | Slaughter
Athel Yenlui

W17:
  • 2 Leech + Stormer + Archers
  • Chaos Spawn + 3 Stormer + Gas + Wargor + 2 Bestigor + Archers

W57/97/137:
  • 2 Leech + 2 Stormer + Archers
  • Chaos Spawn + 3 Stormer + Gas + Wargor + 2 Bestigor + Archers
Bile Troll spawns at halfway of the 1st Map.

Celestial Oubliette | Shatter Essence Chunks
Colosseum Plateau

W18:
  • Hook + 2 Bestigor + Archers
  • Hook + Wargor + Horde + Archers
  • 2 Wargors + 4 Bestigor + Horde
  • Horde
  • Hook + Wargor + 2 Bestigor + Horde
  • Hook + 4 Bestigor + Horde
  • Horde + Minotaur

W58/98/138:
  • Hook + 6 Bestigor + Archers
  • Hook + Wargor + Horde + Archers
  • 2 Wargors + 6 Bestigor + Horde
  • Horde
  • Hook + Wargor + 4 Bestigor + Horde
  • Hook + 10 Bestigor + Horde
  • Horde + Minotaur
Bile Troll spawns at start, halfway and the end of the 1st map.

Jade Bastion | Slaughter
Castle Drachenfels

W19:
  • Chaos Spawn + Rat Ogre

W59/99/139:
  • 2 Chaos Spawn + Rat Ogre

Gold Pastorale | Drain Essence Fractures
Colosseum Plateau

W20:
  • 2 Flamer + Gunner + Horde
  • 4 Stormvermin + Horde
  • 2 Flamer + 2 Gunner + Horde

W60/100/140:
  • 2 Flamer + 2 Gunner + Horde
  • 16 Stormvermin + Horde
  • 2 Flamer + 2 Gunner + 4 Stormvermin + Horde
Stormfiend before 1st circle. Once it's triggered everyone must head to the ledge near the starting point. Must ledge to save time. Camp the house before 1st circle and have HM trigger come back then kill rinse and repeat. Bile Troll before 2nd circle. Rat Ogre after 2nd circle. 3rd Circle spawns Minotaur. Chaos Spawn before windmill. HM can run to the portal with Conc/Speed + Decanter. Even with 1 min (+5min) left there is enough time for the end event.

Bright Weald | Slaughter
Castle Drachenfels

W21:
  • 3 Hook + Horde
  • Rat Ogre + Horde
  • Stormfiend +2 Assassin + Horde

W61/101/141:
  • 5 Hook + Horde
  • Rat Ogre + Horde
  • Stormfiend + 5 Assassin + Horde

Amber Warrens | Destroy Essence Shards
Athel Yenlui

W22:
  • Assassin + Horde
  • 2 Assassin + Gas + 5 Stormvermin + Horde
  • 2 Assassin + Gas + 6 Stormvermin + Horde
  • 2 Assassin + 6 Monk + Horde
  • 3 Assassin + 6 Stormvermin + Horde
  • 2 Assassin + 5 Monk + Horde + Stormfiend

W62/102/142:
  • Assassin + Horde
  • 2 Assassin + Gas + 12 Stormvermin + Horde
  • 2 Assassin + Gas + 12 Stormvermin + Horde
  • 2 Assassin + 9 Monk + Horde
  • 4 Assassin + 12 Stormvermin + Horde
  • 2 Assassin + 9 Monk + Horde + Stormfiend

Grey Canyon | Shatter Essence Chunks
Athel Yenlui

W23:
  • Hook + 4 Bestigor + Archers
  • Hook + Wargor + Horde + Archers
  • 2 Wargors + 4 Bestigor + Horde
  • Horde
  • Hook + Wargor + 2 Bestigor + Horde
  • Hook + 5 Bestigor + Horde
  • 2 Wargor + 4 Bestigor
  • Wargor + Horde + Archers + Minotaur

W63/103/143:
  • Hook + 6 Bestigor + Archers
  • Hook + Wargor + Horde + Archers
  • 2 Wargors + 6 Bestigor + Horde
  • Horde
  • Hook + Wargor + 4 Bestigor + Horde
  • Hook + 9 Bestigor + Horde
  • 2 Wargor + 7 Bestigor + Horde
  • Wargor + Horde + Archers + Minotaur

Amethyst Bastion | Blow Up Essence Node
Castle Drachenfels

W24:
  • Stormer + Chaos Warrior + Horde
  • Stormer + Leech + Horde
  • 2 Stormer + Leech + 9 Savage + Horde
  • Stormer + Leech + 4 Savage
  • Stormer + Leech + 5 Savage + 5 Chaos Warrior + Horde
  • Stormer + 4 Savage + Horde + Chaos Spawn

W64/104/144:
  • Stormer + 6 Chaos Warrior + Horde
  • Stormer + Leech + Horde
  • 2 Stormer + Leech + 16 Savage + Horde
  • Stormer + Leech + 4 Savage
  • Stormer + Leech + 8 Savage + 11 Chaos Warrior + Horde
  • Stormer + 8 Savage + Horde + Chaos Spawn
Chaos Spawn at barrel explosion.

Light Oubliette #1 | Drain Essence Fractures
Colosseum Plateau

W25:
  • Minotaurs + 3 Bestigor + Horde + Archers

W65/105/145:
  • 3 Minotaurs + 5 Bestigor + Horde + Archers
Must ledge Minotaurs. Have one person grab aggro. Let it charge to the ledge dodge then stagger with BW/GK ult.

Celestial Delving | Slaughter
Athel Yenlui

W26:
  • Leech + Horde
  • Bile Troll + Leech + Horde
  • Chaos Spawn + 9 Mauler + 2 Leech

W66/106/146:
  • Leech + Horde
  • Bile Troll + Leech + Horde
  • Chaos Spawn + 22 Mauler + 2 Leech

Jade Waters | Shatter Essence Chunks
Colosseum Plateau

W27:
  • Assassin + Horde
  • 2 Assassin + Gas + 6 Stormvermin + Horde
  • 2 Assassin + Gas + 6 Stormvermin + Horde
  • 2 Assassin + 4 Monk + Horde
  • 3 Assassin + 6 Stormvermin + Horde
  • 2 Assassin + 6 Monk + Horde + Stormfiend

W67/107/147:
  • Assassin + Horde
  • 2 Assassin + Gas + 11 Stormvermin + Horde
  • 2 Assassin + Gas + 12 Stormvermin + Horde
  • 2 Assassin + 8 Monk + Horde
  • 3 Assassin + 12 Stormvermin + Horde
  • 2 Assassin + 9 Monk + Horde + Stormfiend
2nd Essence Chunk spawns Minotaur. Must ledge to save time.

Gold Delving | Destroy Essence Shards
Castle Drachenfels

W28:
  • Hook + Horde
  • Assassin + Hook + Flamer + 3 Stormvermin + Horde
  • 2 Flamer + Gas + 12 Stormvermin + Horde
  • Gunner + Hook + 2 Stormvermin + Horde
  • 2 Hook + Assassin + 2 Monk + 2 Stormvermin
  • Flamer + Horde + Stormfiend

W68/108/148:
  • Hook + Horde
  • Assassin + Hook + Flamer + 8 Stormvermin + Horde
  • 2 Flamer + Gas + 28 Stormvermin + Horde
  • Gunner + Hook + 6 Stormvermin + Horde
  • 2 Hook + Assassin + 5 Monk + 6 Stormvermin
  • Flamer + Horde + Stormfiend
1st Bile Troll spawns at start. 2nd Bile Troll spawns halfway. 3rd Bile Troll spawns at the end of 1st map.

Bright Warrens | Blow Up Essence Node
Colosseum Plateau

W29:
  • 2 Leech + Stormer + 2 Mauler + 5 Savage + 9 Chaos Warrior
  • Leech + Stormer + Mauler + 4 Savage + 3 Chaos Warrior
  • Stormer + 2 Mauler + 4 Savage + Chaos Warrior

W69/109/149:
  • 2 Stormer + Leech + 2 Mauler + 8 Savage + 14 Chaos Warrior
  • 2 Leech + Stormer + 2 Mauler + 9 Savage + 6 Chaos Warrior
  • Stormer + 2 Mauler + 9 Savage + 2 Chaos Warrior
1st Barrel spawns Rat Ogre. Must ledge to save time. 2nd Barrel spawns Stormfiend. Must ignore to save time.

Amber Ruins | Destroy Essence Shards
Athel Yenlui

W30:
  • Hook + 4 Bestigor + Horde + Archers
  • Hook + Wargor + Horde + Archers
  • 2 Wargor + 4 Bestigor + Horde
  • Horde
  • Wargor + Hook + 1 Bestigor + Horde
  • Hook + 6 Bestigor + Horde
  • Horde + Minotaur

W70/110/150:
  • Hook + 6 Bestigor + Horde + Archers
  • Hook + Wargor + Horde + Archers
  • 2 Wargor + 7 Bestigor + Horde
  • Horde
  • Wargor + Hook + 4 Bestigor + Horde
  • Hook + 8 Bestigor + Horde
  • Horde + Minotaur
1st Shard spawns Rat Ogre. Minotaur spawns after starting area. Second Rat Ogre spawns before 2nd Shard. 2nd Minotaur spawns after breaking 3rd Shard. 3rd Minotaur spawns after 4th Shard. 5th Shard spawns Stormfiend. Portal located near 1st Grim of Empire of Flames.

Grey Pastorale | Shatter Essence Chunks
Colosseum Plateau

W31:
  • Flamer + Horde
  • Gunner + 3 Monk + Horde + Stormfiend

W71/111/151:
  • Flamer + Horde
  • Gunner + 5 Monk + Horde + Stormfiend
Stormfiend spawns after 1st Big Oak tree.

Amethyst Delving | Slaughter
Castle Drachenfels

W32:
  • Stormer + 5 Chaos Warrior
  • Leech + Stormer + Horde
  • 2 Stormer + Leech + 11 Savage
  • Horde
  • Leech + Stormer + 5 Savage + Horde
  • Leech + Stormer + 5 Savage + 7 Chaos Warrior + Horde
  • Stormer + 6 Savage + Horde + Chaos Spawn

W72/112/152:
  • Stormer + 7 Chaos Warrior
  • Leech + Stormer + Horde
  • 2 Stormer + Leech + 18 Savage
  • Horde
  • Leech + Stormer + 8 Savage + Horde
  • Leech + Stormer + 9 Savage + 12 Chaos Warrior + Horde
  • Stormer + 9 Savage + Horde + Chaos Spawn
Bile Troll spawns after the start of the 1st Map

Light Oubliette #2 | Destroy Essence Shards
Athel Yenlui

W33:
  • Assassin + Horde
  • 2 Assassin + Hook + 8 Stormvermin + Horde
  • 2 Assassin + Gas + 8 Stormvermin + Horde
  • 2 Assassin + 6 Monk + Horde
  • 3 Assassin + 8 Stormvermin + Horde
  • 2 Assassin + 6 Monk + Horde + Stormfiend

W73/113/153:
  • Assassin + Horde
  • 2 Assassin + Hook + 11 Stormvermin + Horde
  • 2 Assassin + Hook + 11 Stormvermin + Horde
  • 2 Assassin + 9 Monk + Horde
  • 3 Assassin + 12 Stormvermin + Horde
  • Assassin + 9 Monk + Horde + Stormfiend

Celestial Mire | Drain Essence Fractures
Colosseum Plateau

W34:
  • Hook + Horde
  • Flamer + Assassin + Hook + 4 Stormvermin
  • 2 Flamer + Gas + 12 Stormvermin
  • Hook + Gunner + 2 Stormvermin
  • 2 Hook + Assassin + 3 Monk + 3 Stormvermin
  • Flamer + Stormfiend + Horde

W74/114/154: Hook + Horde
  • Hook + Horde
  • 1 Flamer + Assassin + Hook + 8 Stormvermin
  • 2 Flamer + Gas + 28 Stormvermin
  • Hook + Gunner + 6 Stormvermin
  • 2 Hook + Assassin + 5 Monk + 6 Stormvermin
  • Flamer + Stormfiend + Horde

Jade Canyon | Blow Up Essence Node
Athel Yenlui

W35:
  • 2 Rat Ogre + Chaos Spawn

W75/115/155:
  • 2 Chaos Spawn + Rat Ogre
Not enough beastmen.

Gold Weald | Destroy Essence Shards
Colosseum Plateau

W36:
  • 10 Chaos Warrior + Horde
  • Assassin + 14 Stormvermin
  • Minotaur + 13 Bestigor + Archers

W76/116/156:
  • 12 Chaos Warrior + Horde
  • Assassin + 24 Stormvermin
  • Minotaur + 18 Bestigor + Archers
1st Rat Ogre spawns halfway. 2nd Rat Ogre spawns near Tower(1st Grim of Engines of War).

Bright Delving #2 | Blow Up Essence Node
Castle Drachenfels

W37:
  • Stormer + 5 Chaos Warrior
  • Stormer + Leech + Horde
  • 2 Stormer + Leech + 10 Savages
  • Horde
  • Stormer + Leech + 6 Savages
  • Stormer + Leech + 6 Savages + 6 Chaos Warrior
  • Stormer + Horde + 8 Savages + Chaos Spawn

W77/117/157:
  • Stormer + 7 Chaos Warrior
  • Stormer + Leech + Horde
  • 2 Stormer + Leech + 18 Savages
  • Horde
  • Stormer + Leech + 9 Savages
  • Stormer + Leech + 8 Savages + 10 Chaos Warrior
  • Stormer + Horde + 8 Savages + Chaos Spawn

1st Barrel spawns Rat Ogre. Second Rat Ogre spawns near 2nd Barrel. 2nd Barrel spawns Stormfiend. Portal at barrel area.

Amber Oubliette | Drain Essence Fractures
Colosseum Plateau

W38:
  • 2 Rat Ogre + Minotaur

W78/118/158:
  • 2 Minotaur + Rat Ogre
Have one person grab aggro. Let it charge or lure it to the ledge dodge then stagger with BW/GK ult.

Grey Warrens | Shatter Essence Chunks
Athel Yenlui

W39:
  • Assassin + Horde
  • 2 Assassin + Gas + 9 Stormvermin + Horde
  • 2 Assassin + Gas + 8 Stormvermin + Horde
  • 2 Assassin + 7 Monk + Horde
  • 3 Assassin + 4 Stormvermin + Horde
  • 2 Assassin + 6 Monk + Horde + Stormfiend

W79/119/159:
  • Assassin + Horde
  • 2 Assassin + Gas + 12 Stormvermin + Horde
  • 2 Assassin + Gas + 12 Stormvermin + Horde
  • 2 Assassin + 9 Monk + Horde
  • 3 Assassin + 12 Stormvermin + Horde
  • 2 Assassin + 8 Monk + Horde + Stormfiend
Rat Ogre spawns before the end of 1st Map.
Huddle at the spot in Arena.

Amethyst Waters | Slaughter
Colosseum Plateau

W40:
  • Flamer + Horde
  • Stormfiend + Gunner + 3 Monk + Horde

W80/120/160:
  • Flamer + Horde
  • Stormfiend + Gunner + 4 Monk + Horde
Minotaur spawns before the end of 1st Map.

11 Comments
JIMMY THE BLOWERJOBBER 13 Jan @ 9:36am 
in season 4 Weave 134 have 3 minotaur
xDevilsMagiic 6 Jul, 2023 @ 1:26am 
Does anyone know where all the safe spots are?

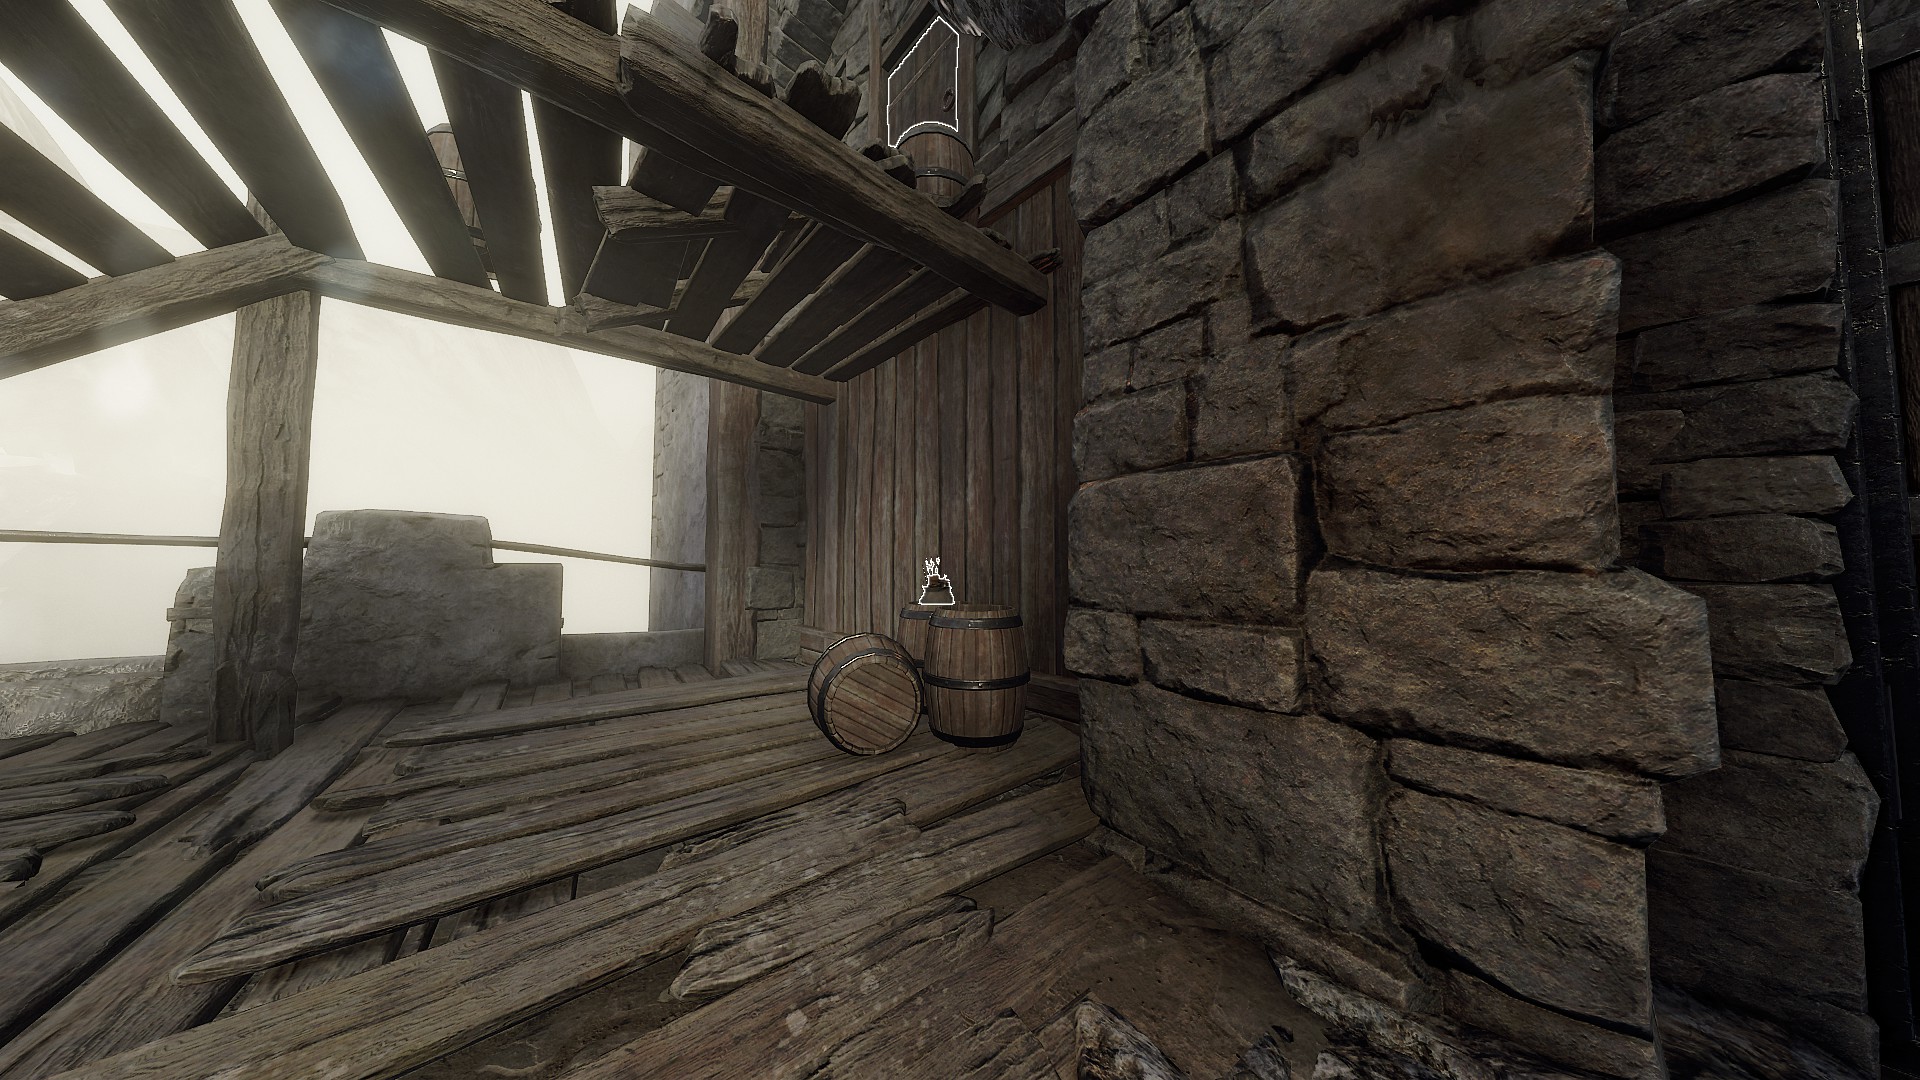
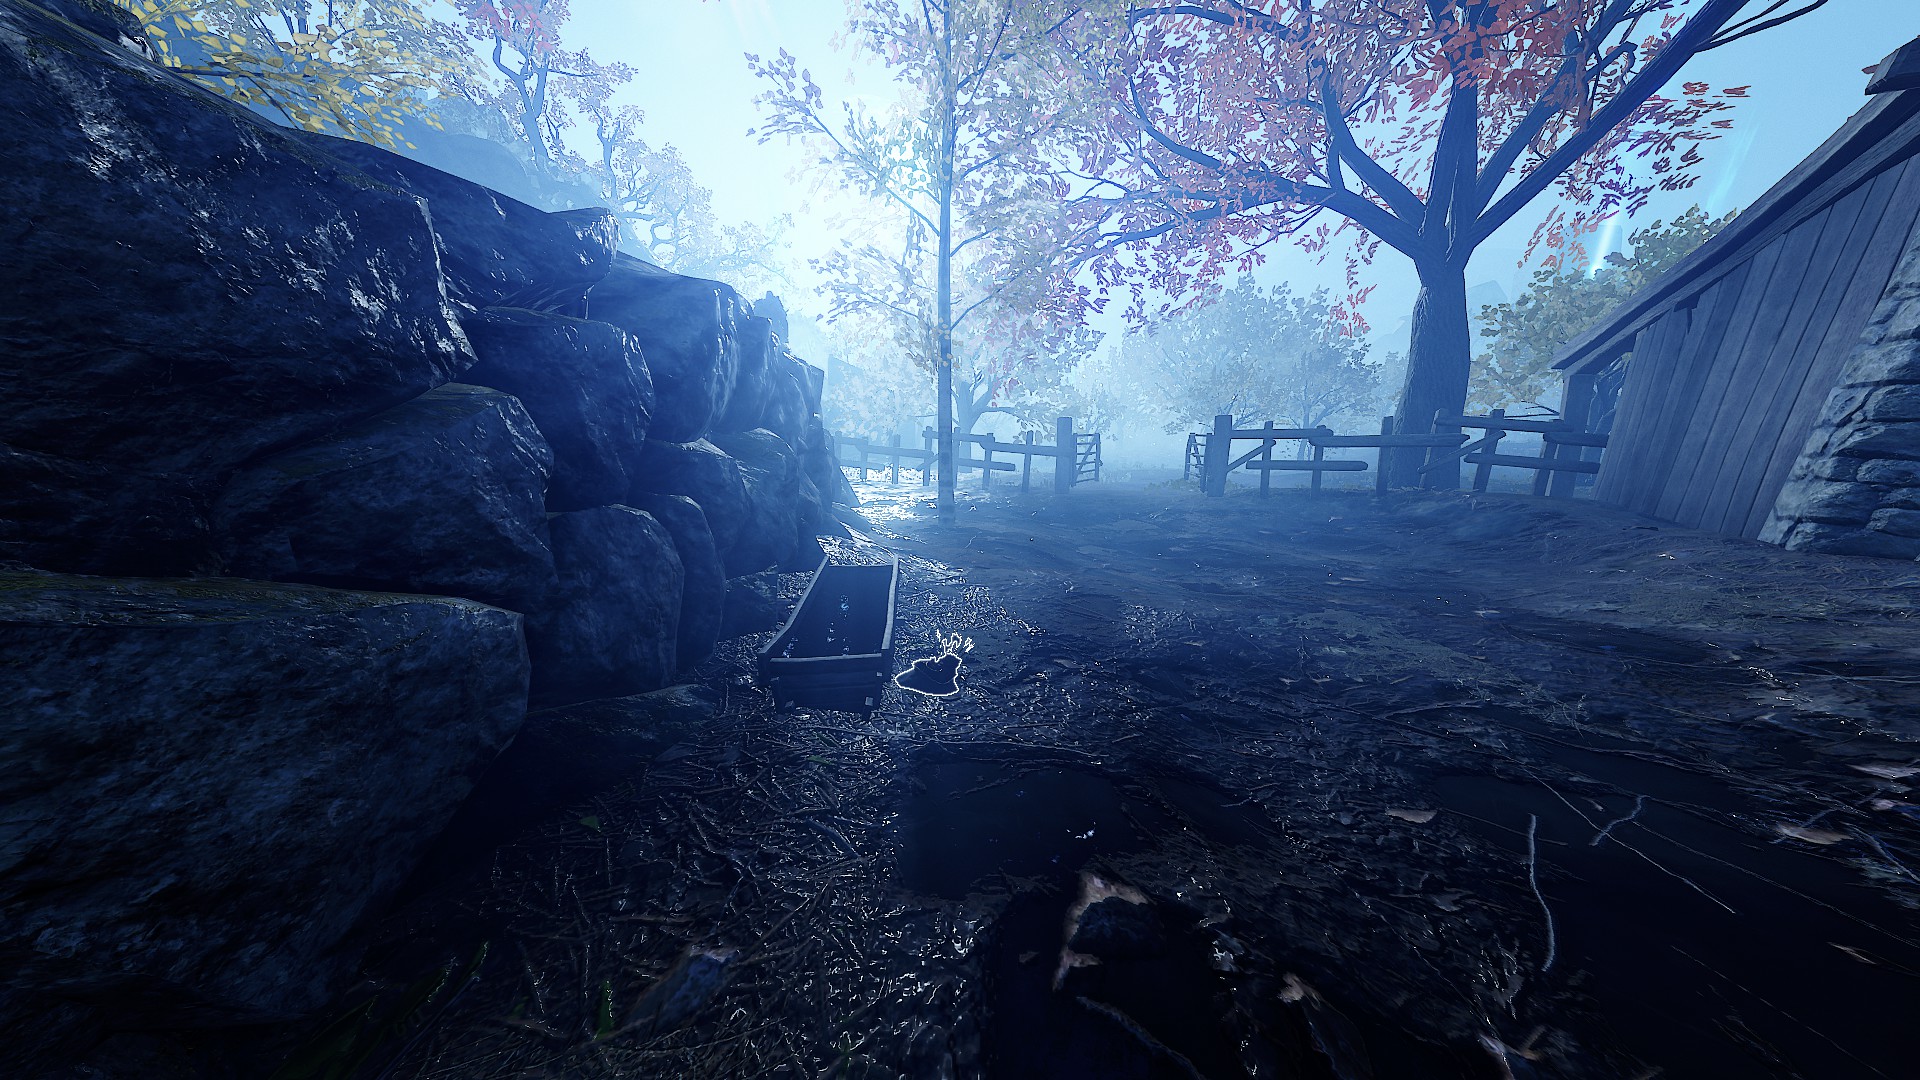
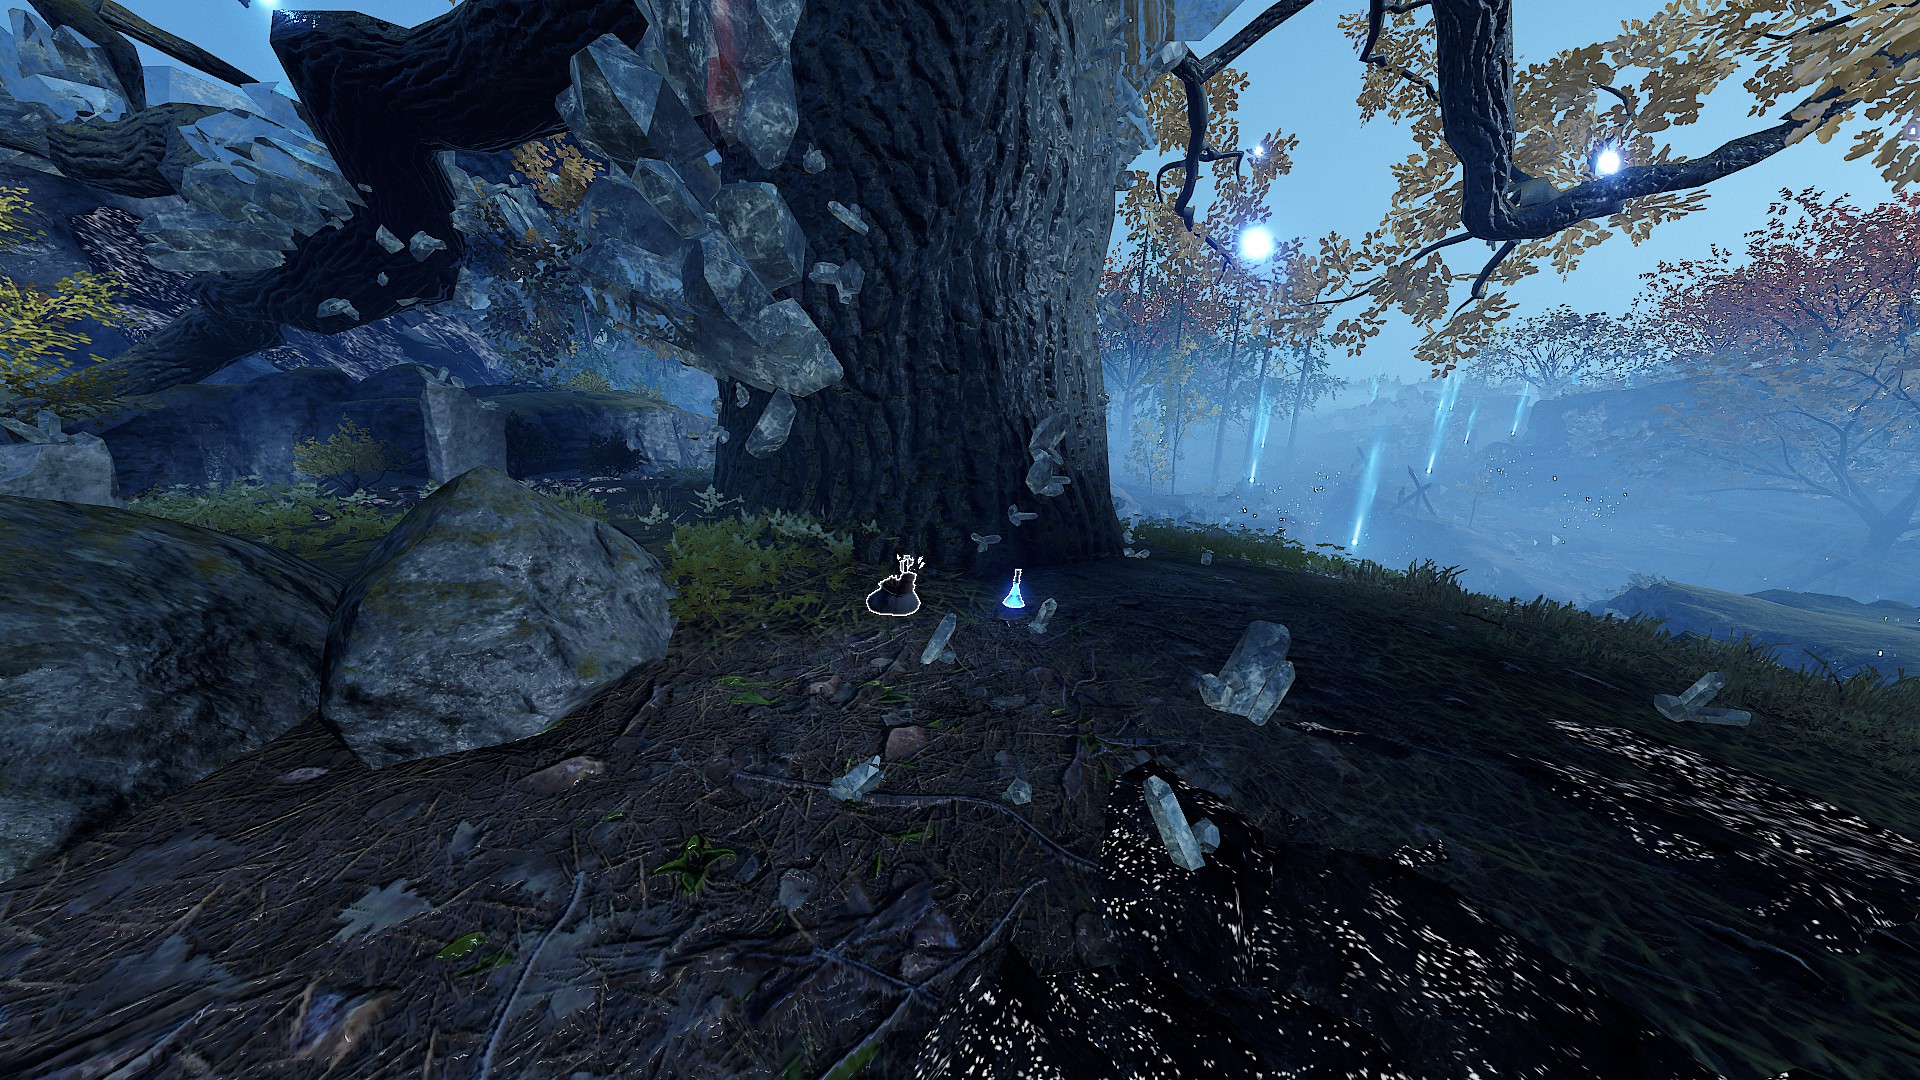
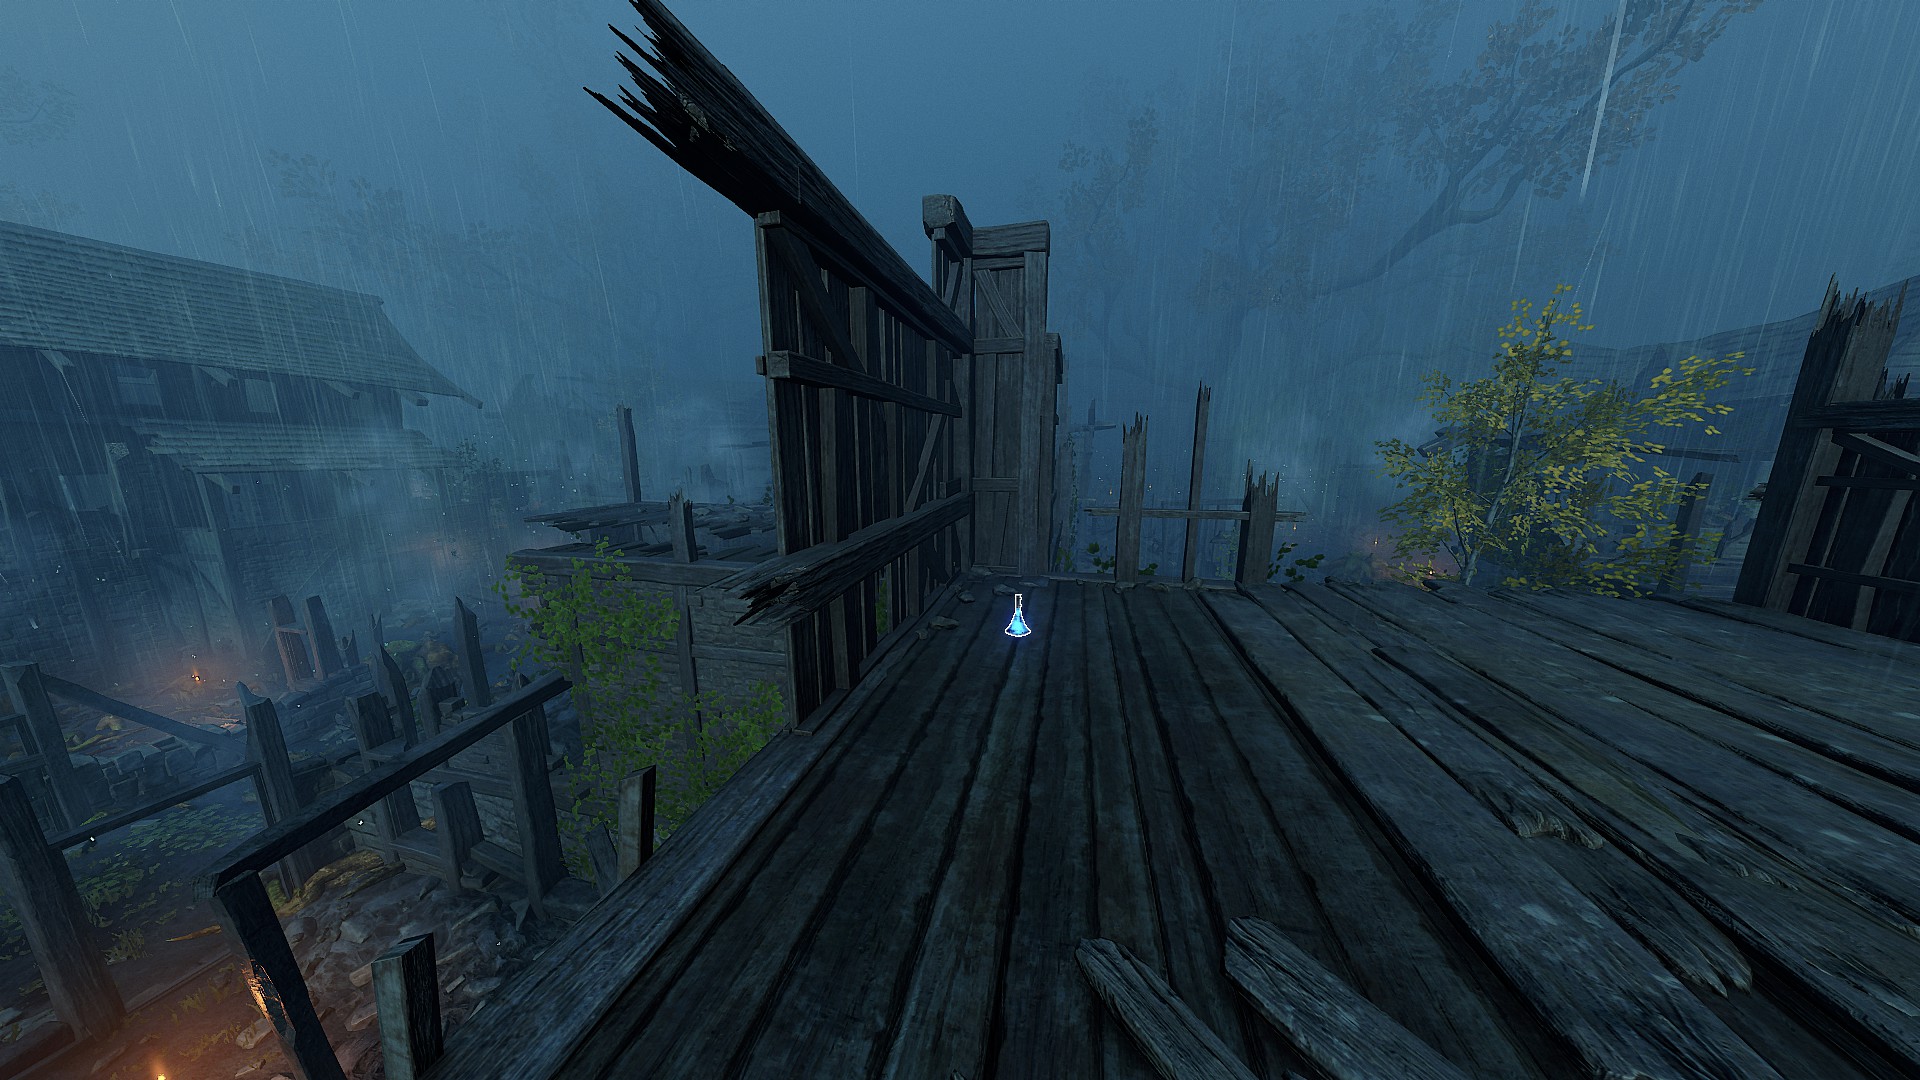
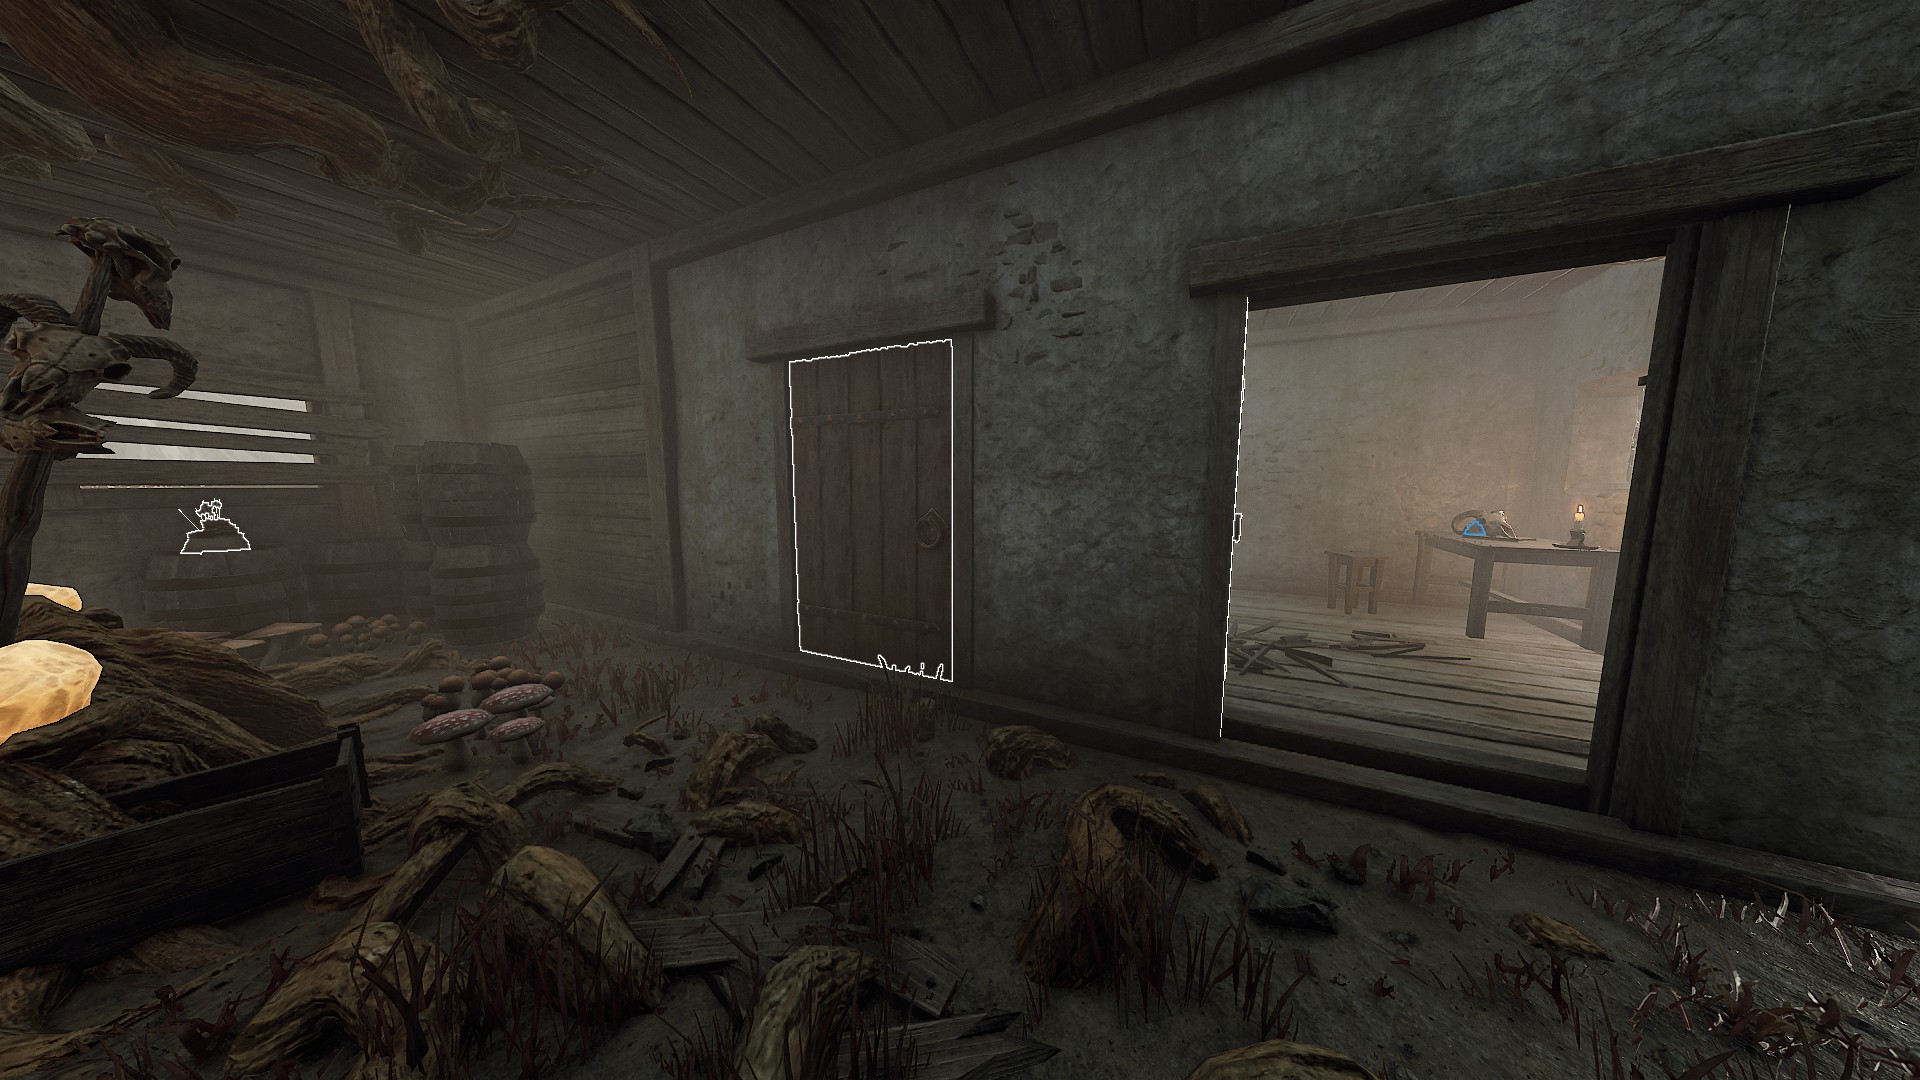
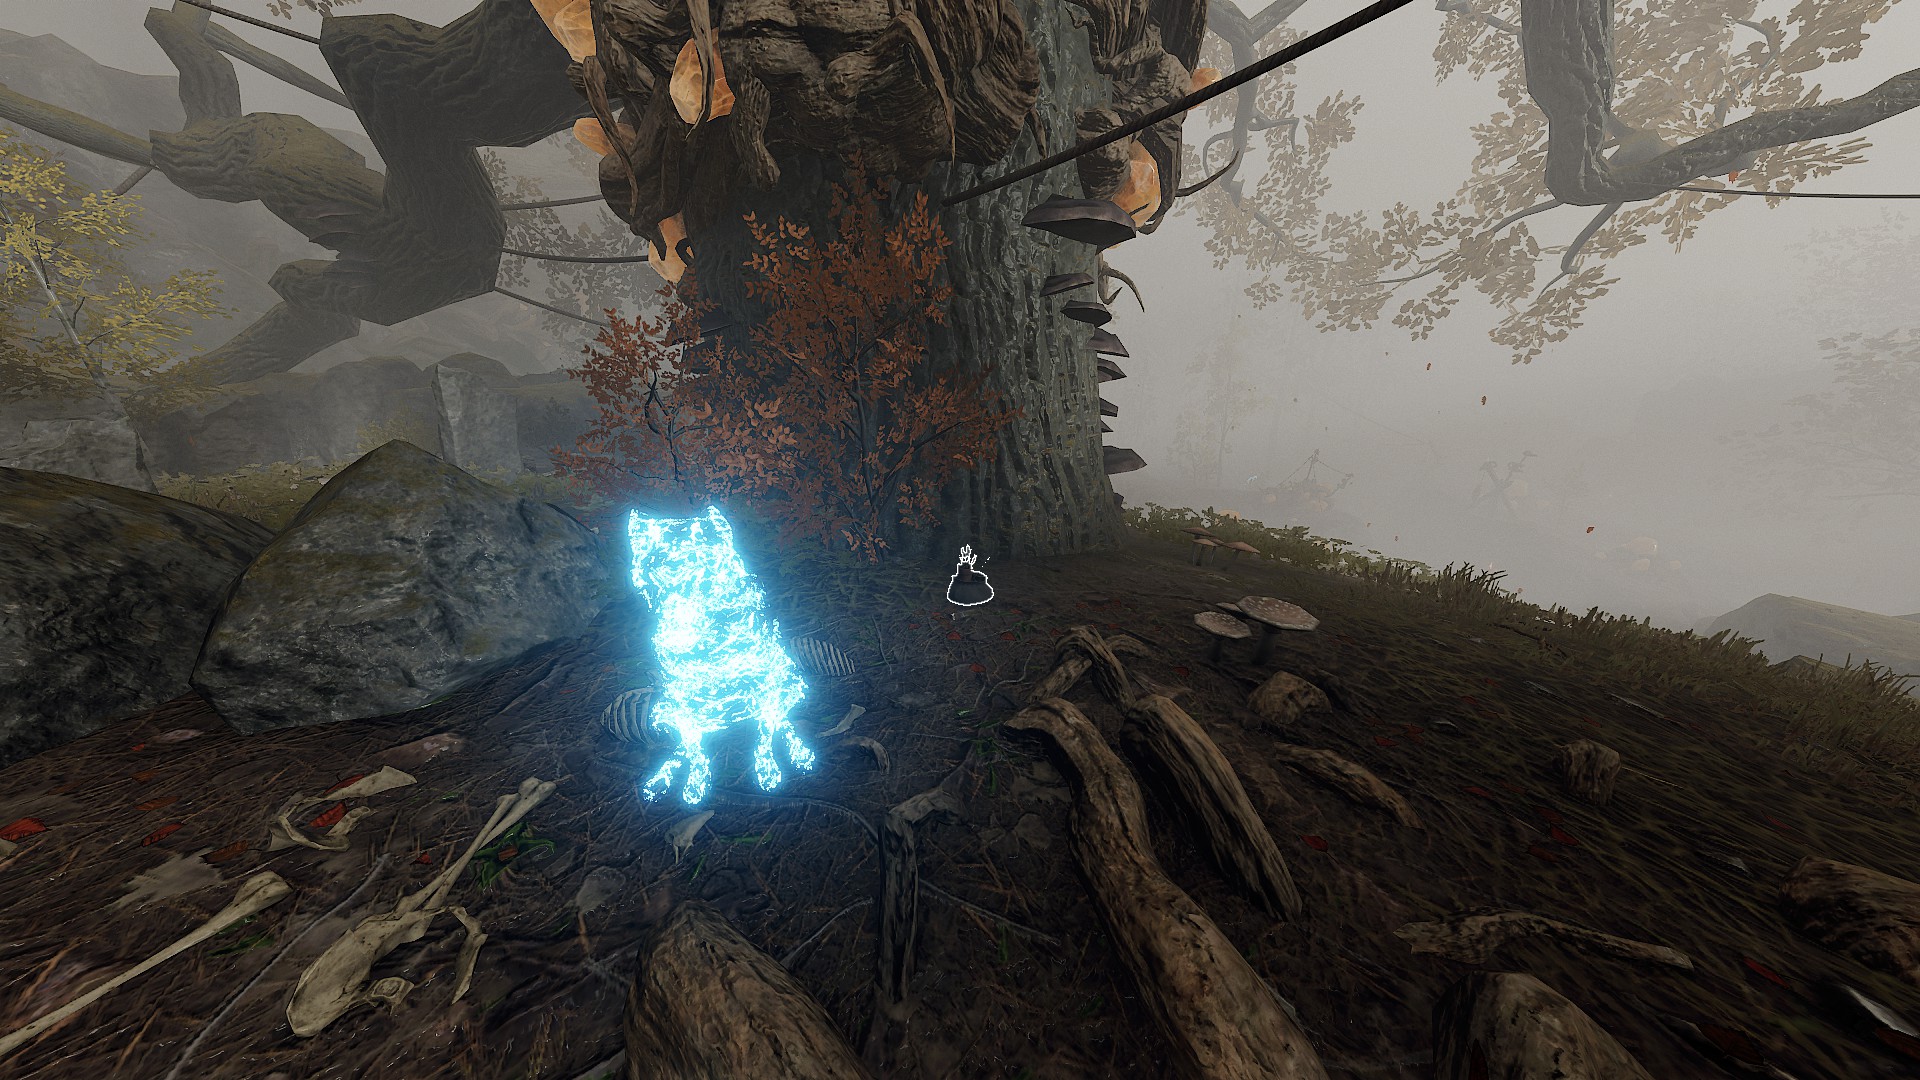
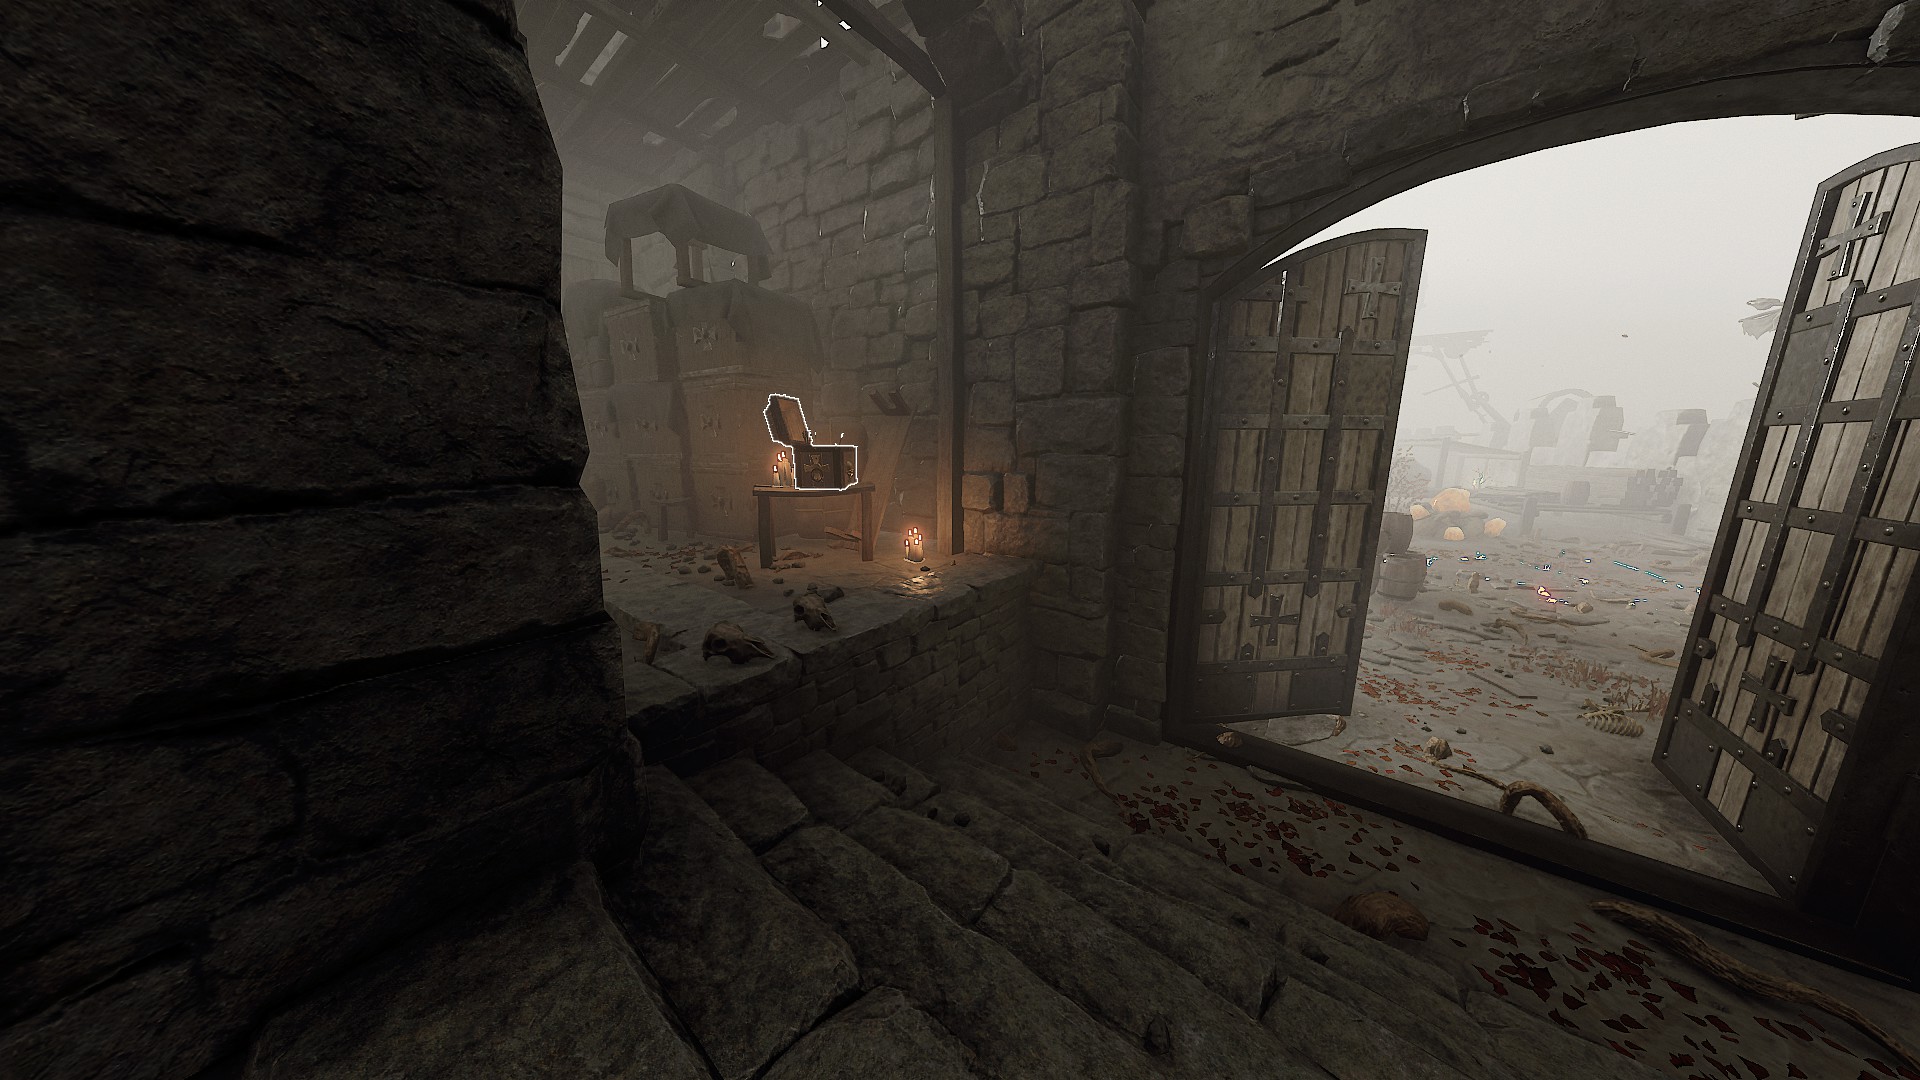
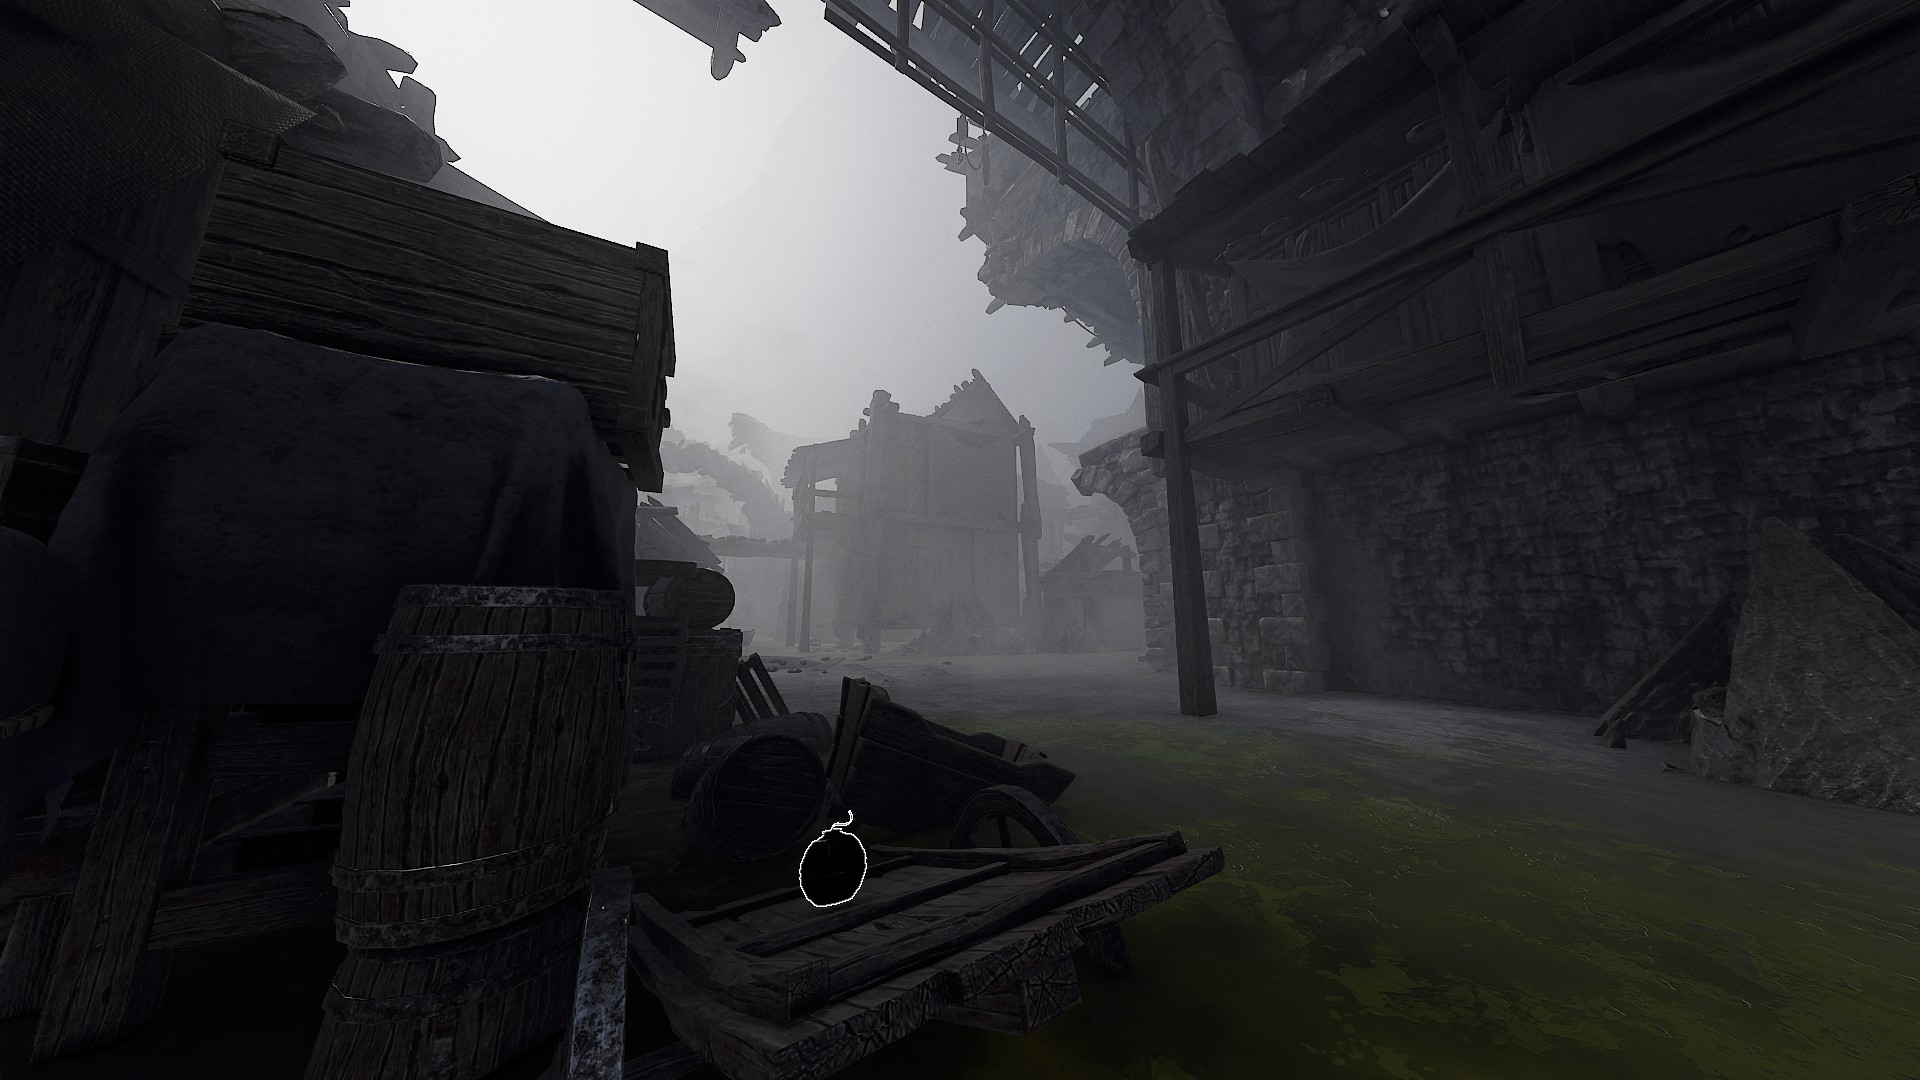
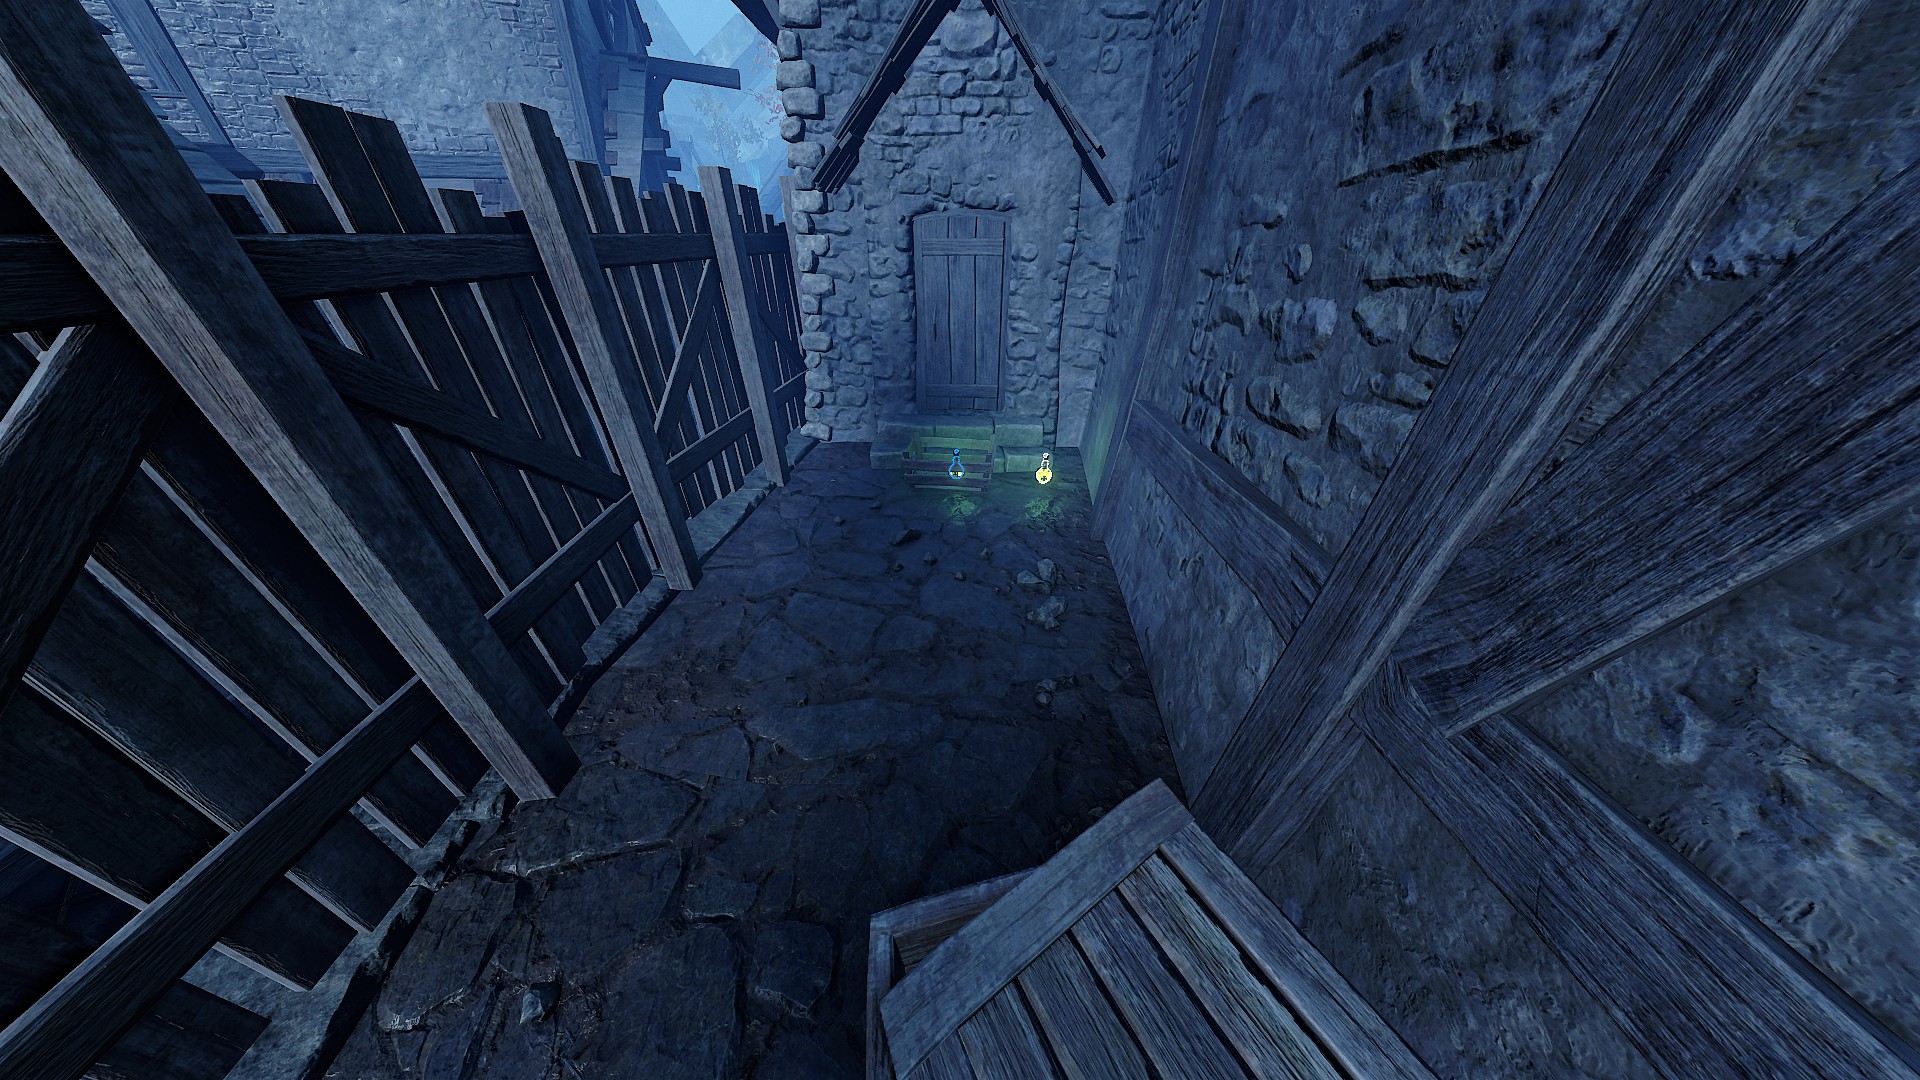
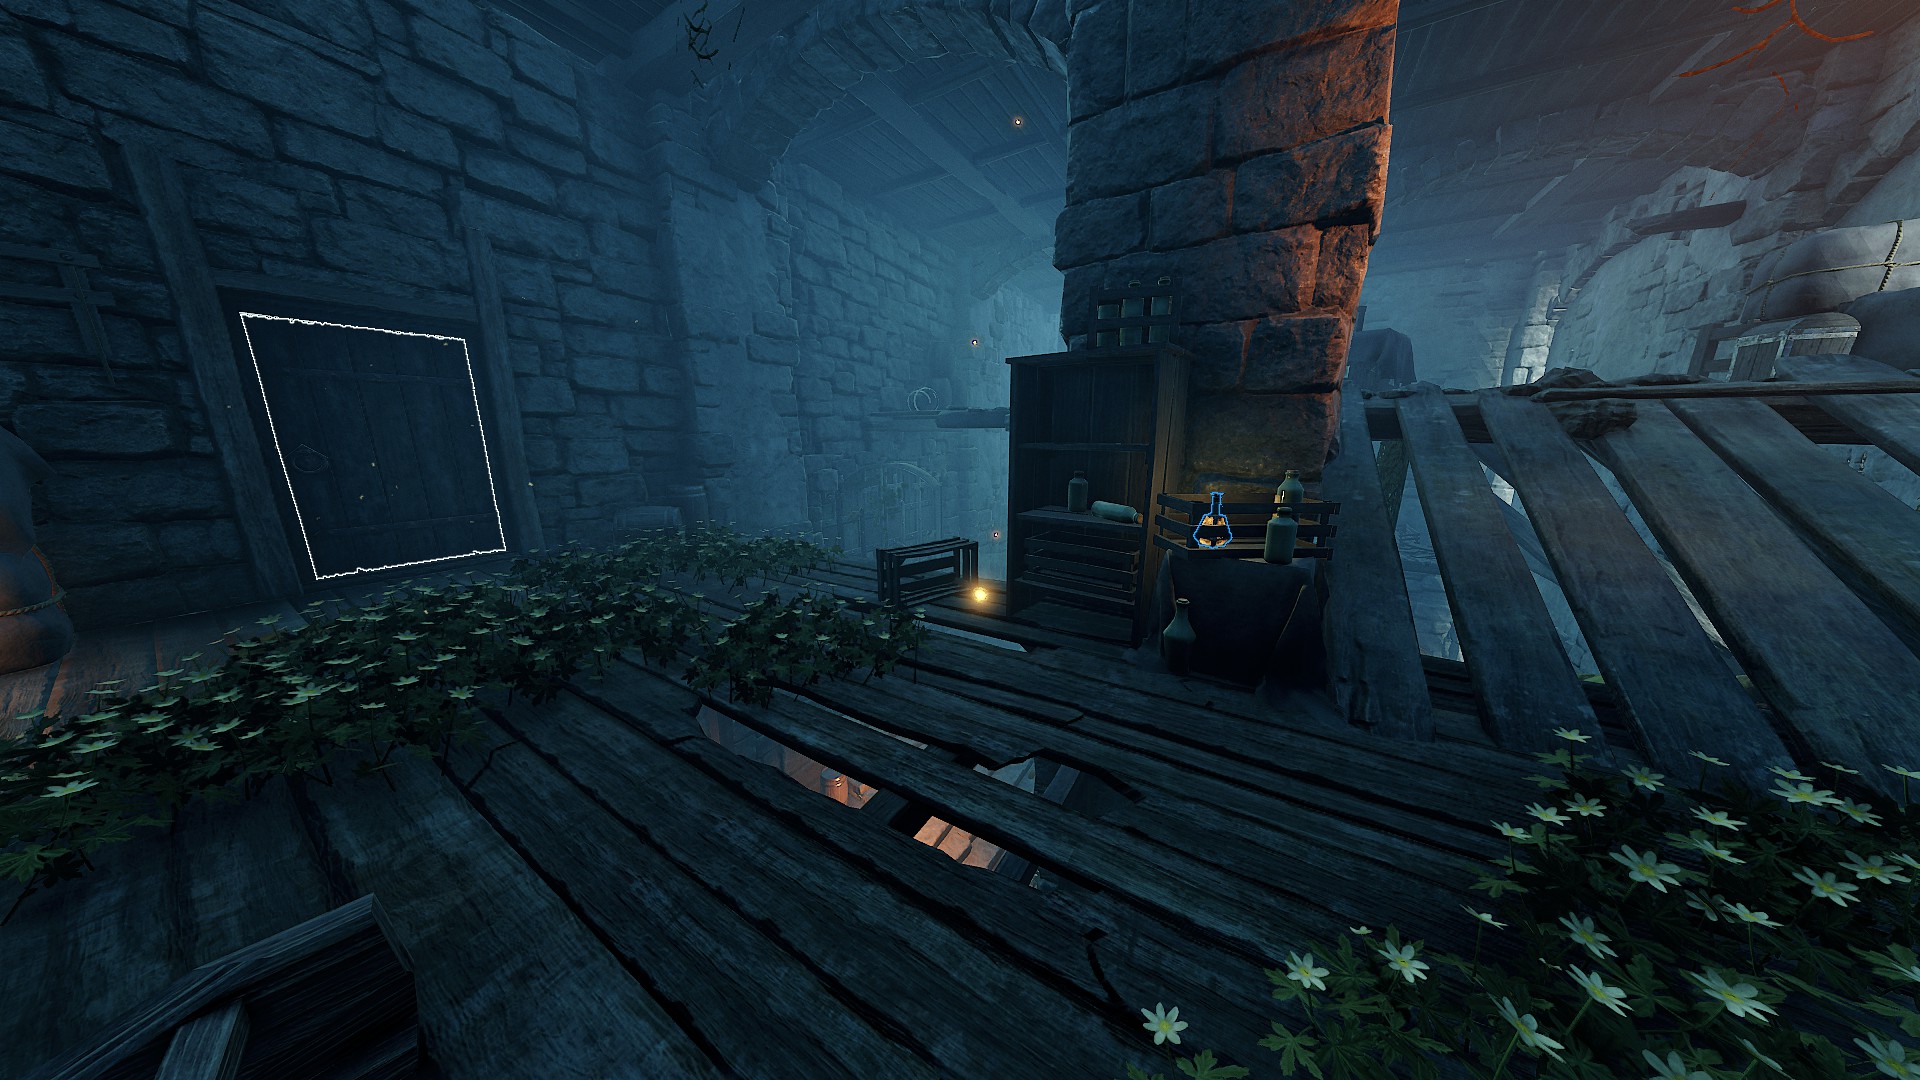
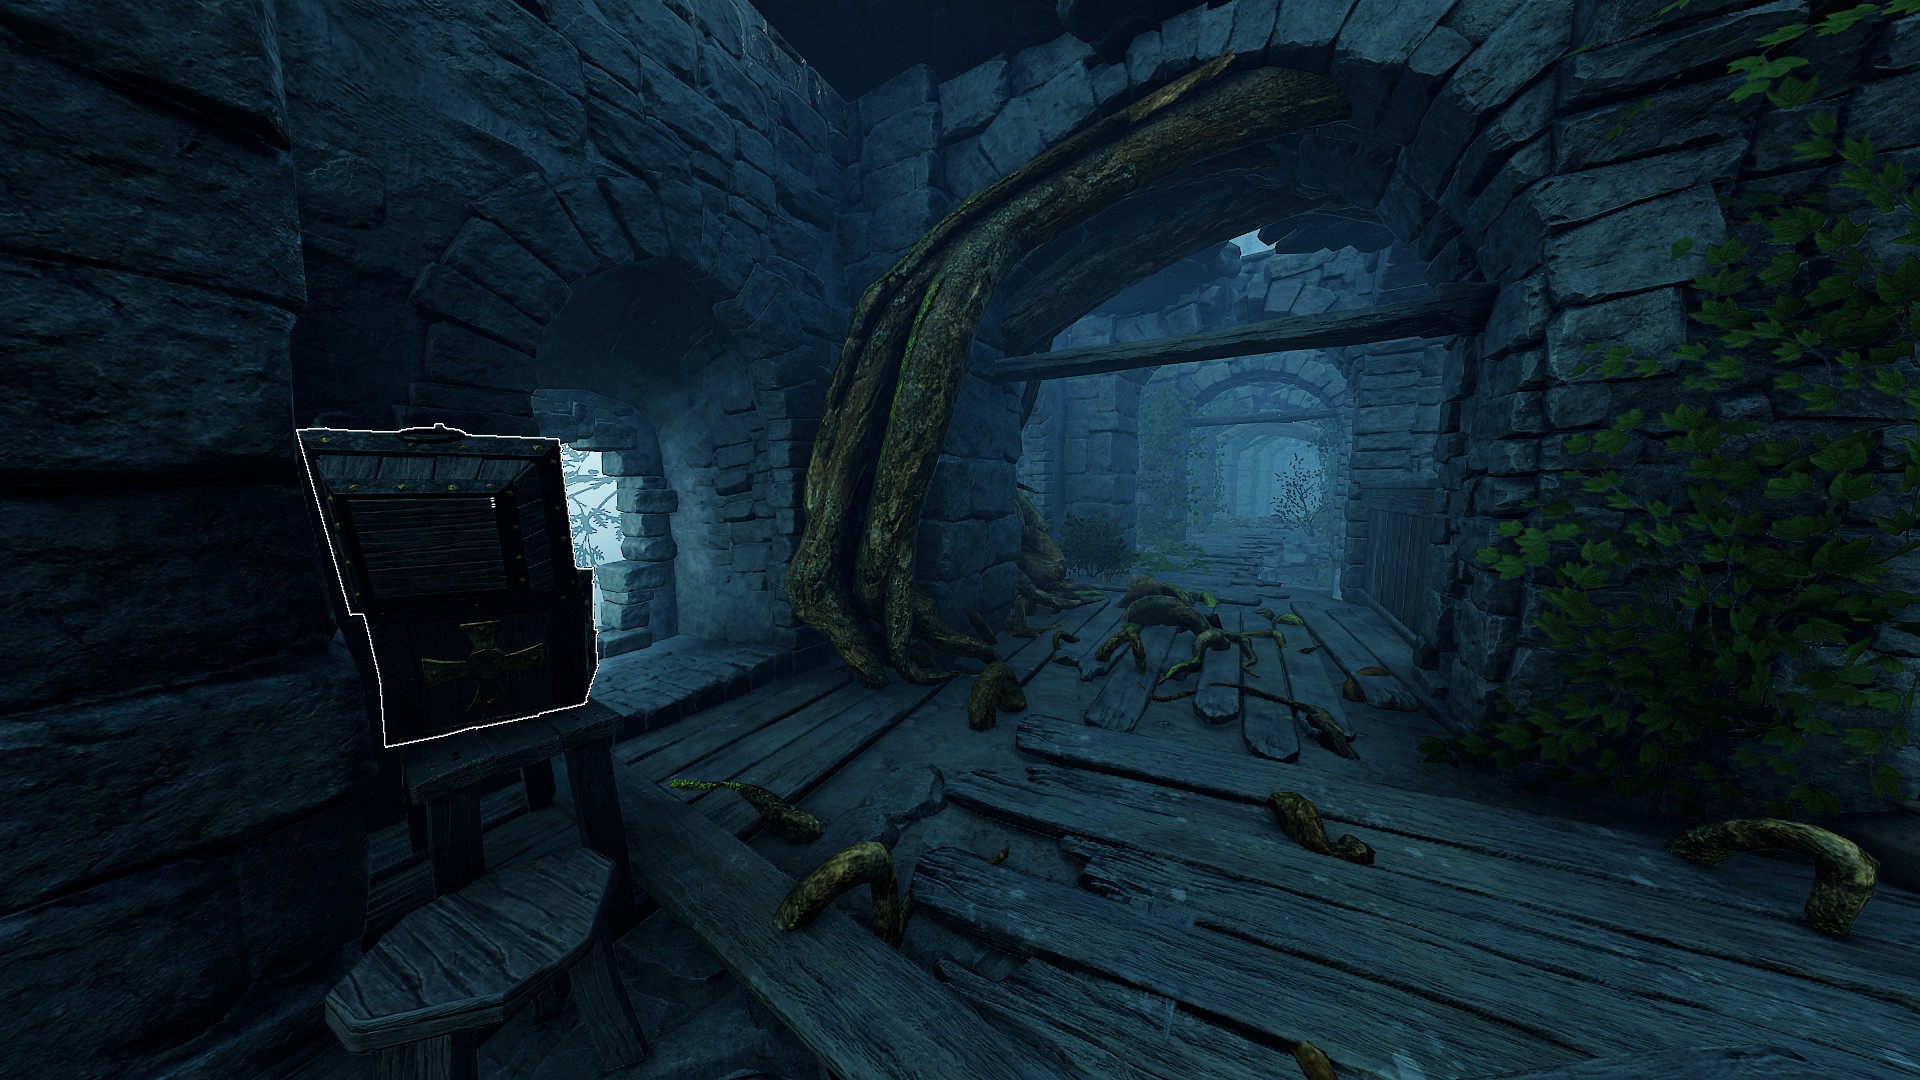
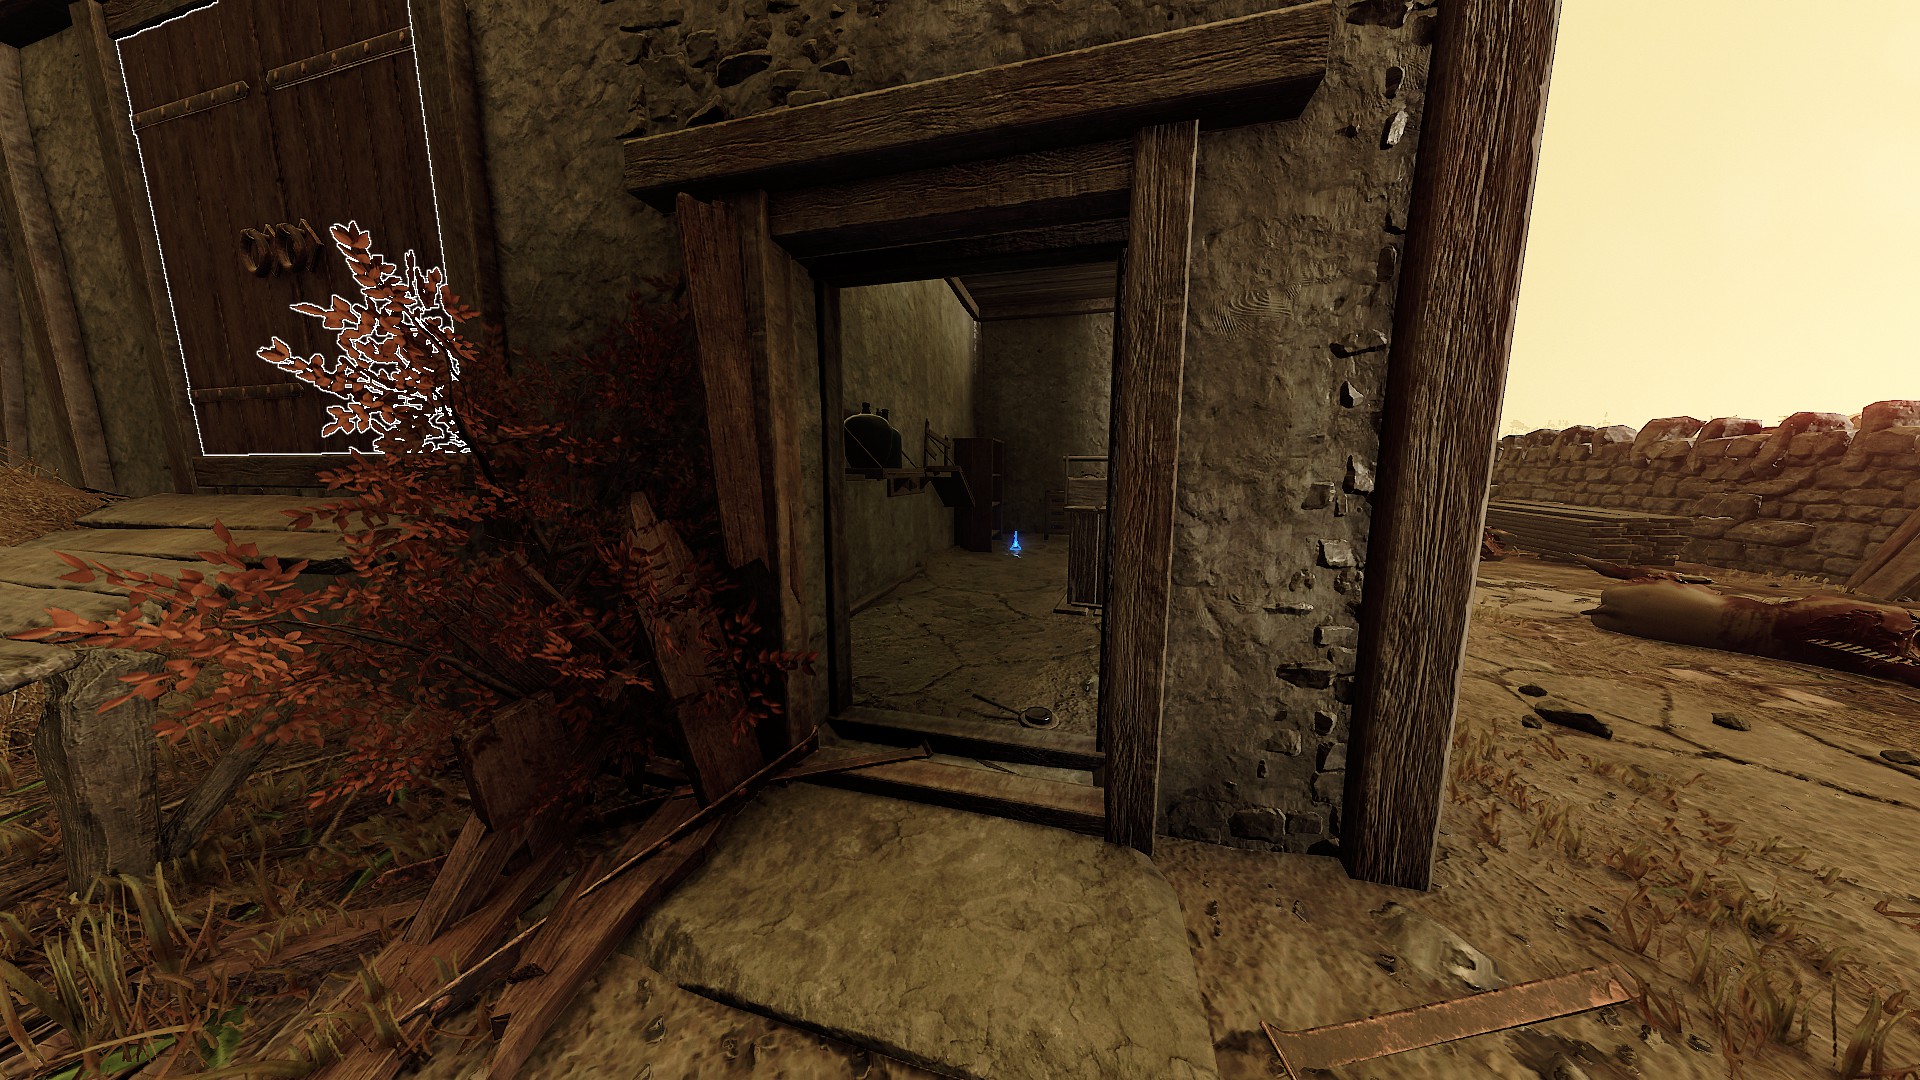
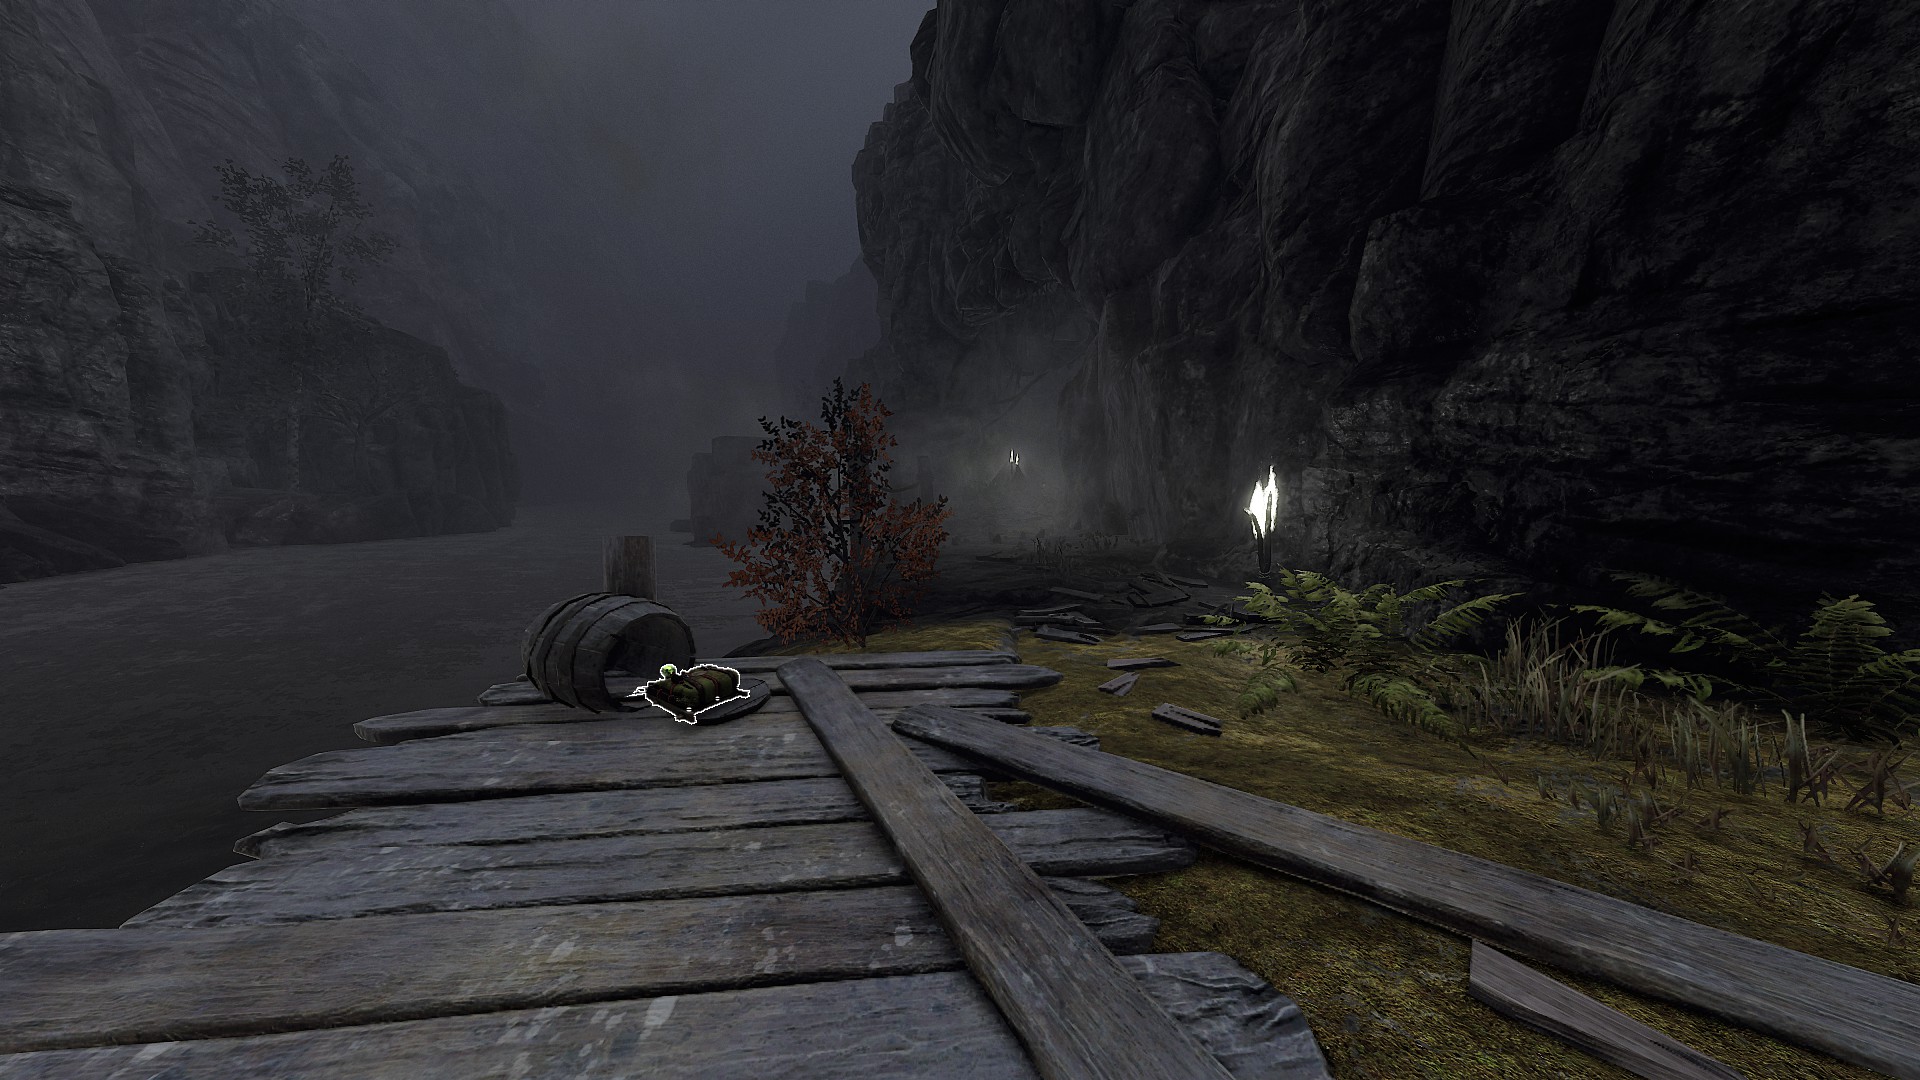
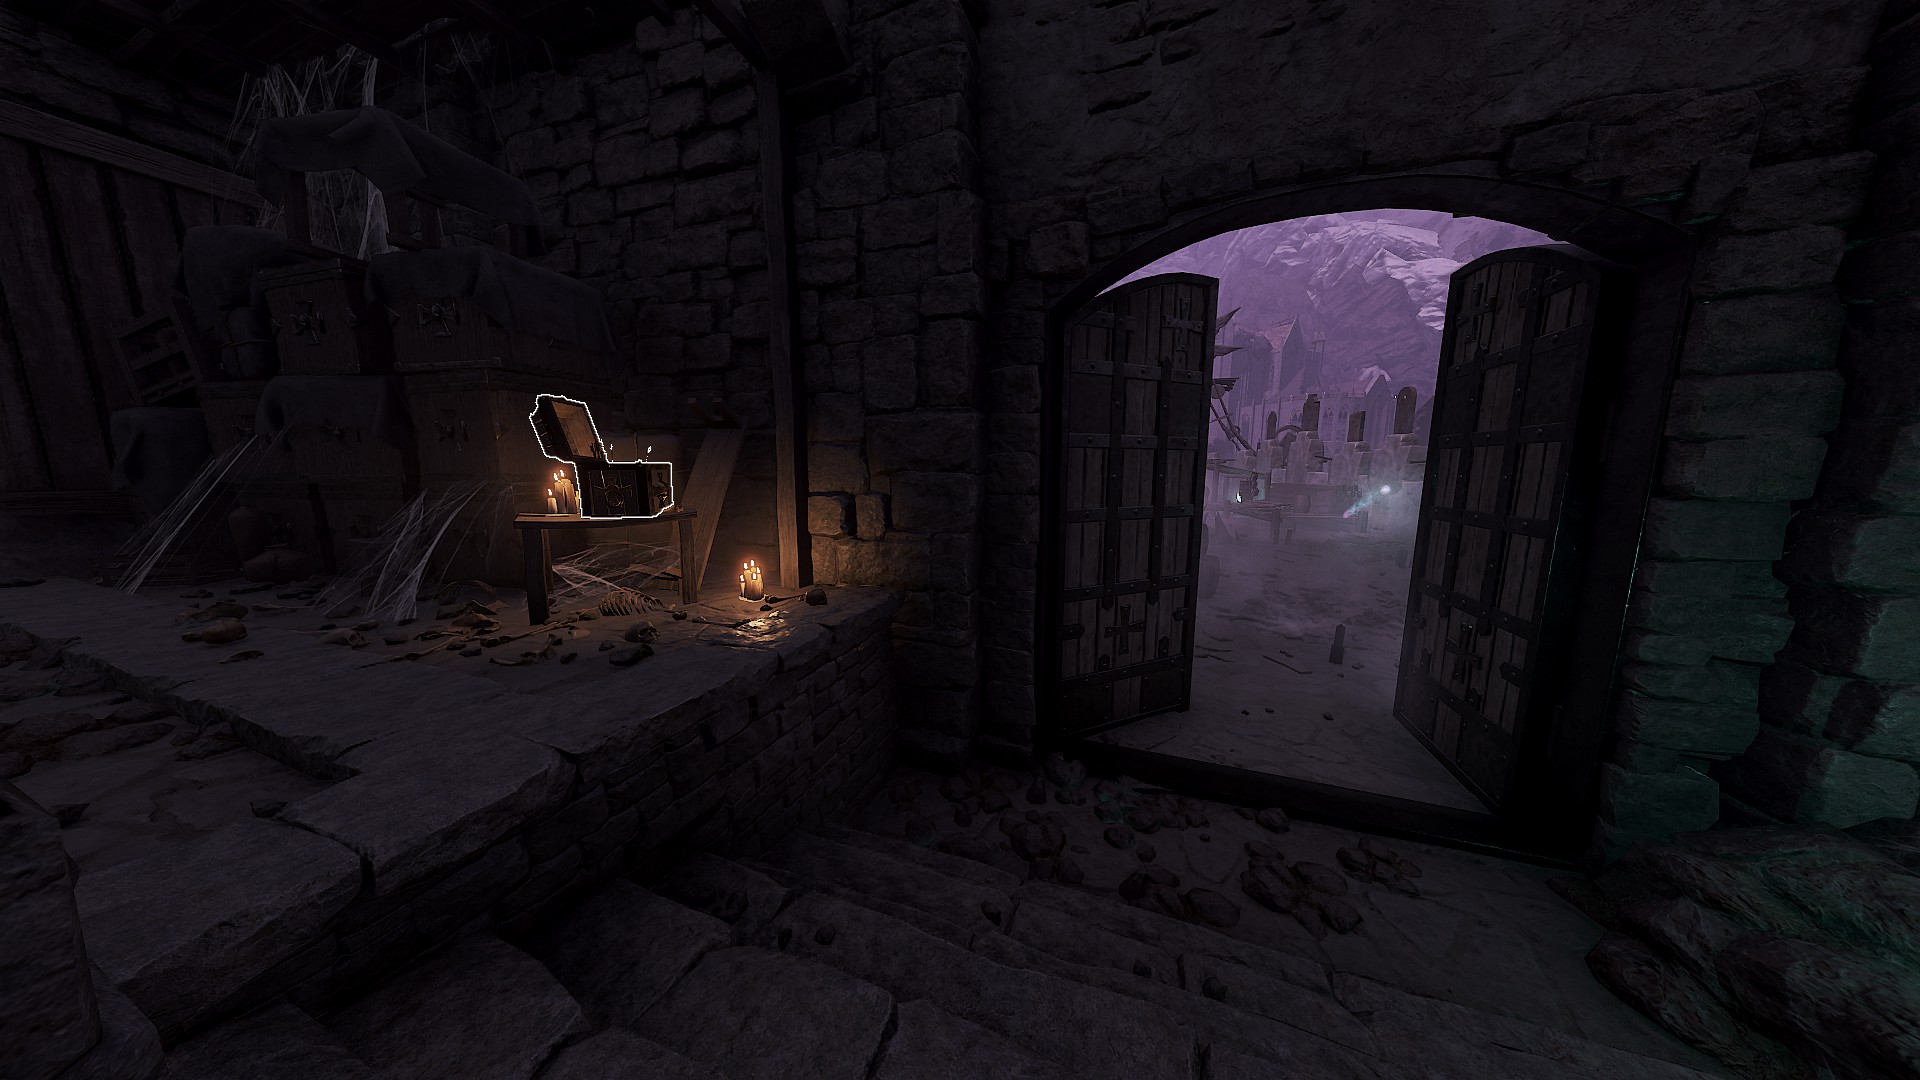
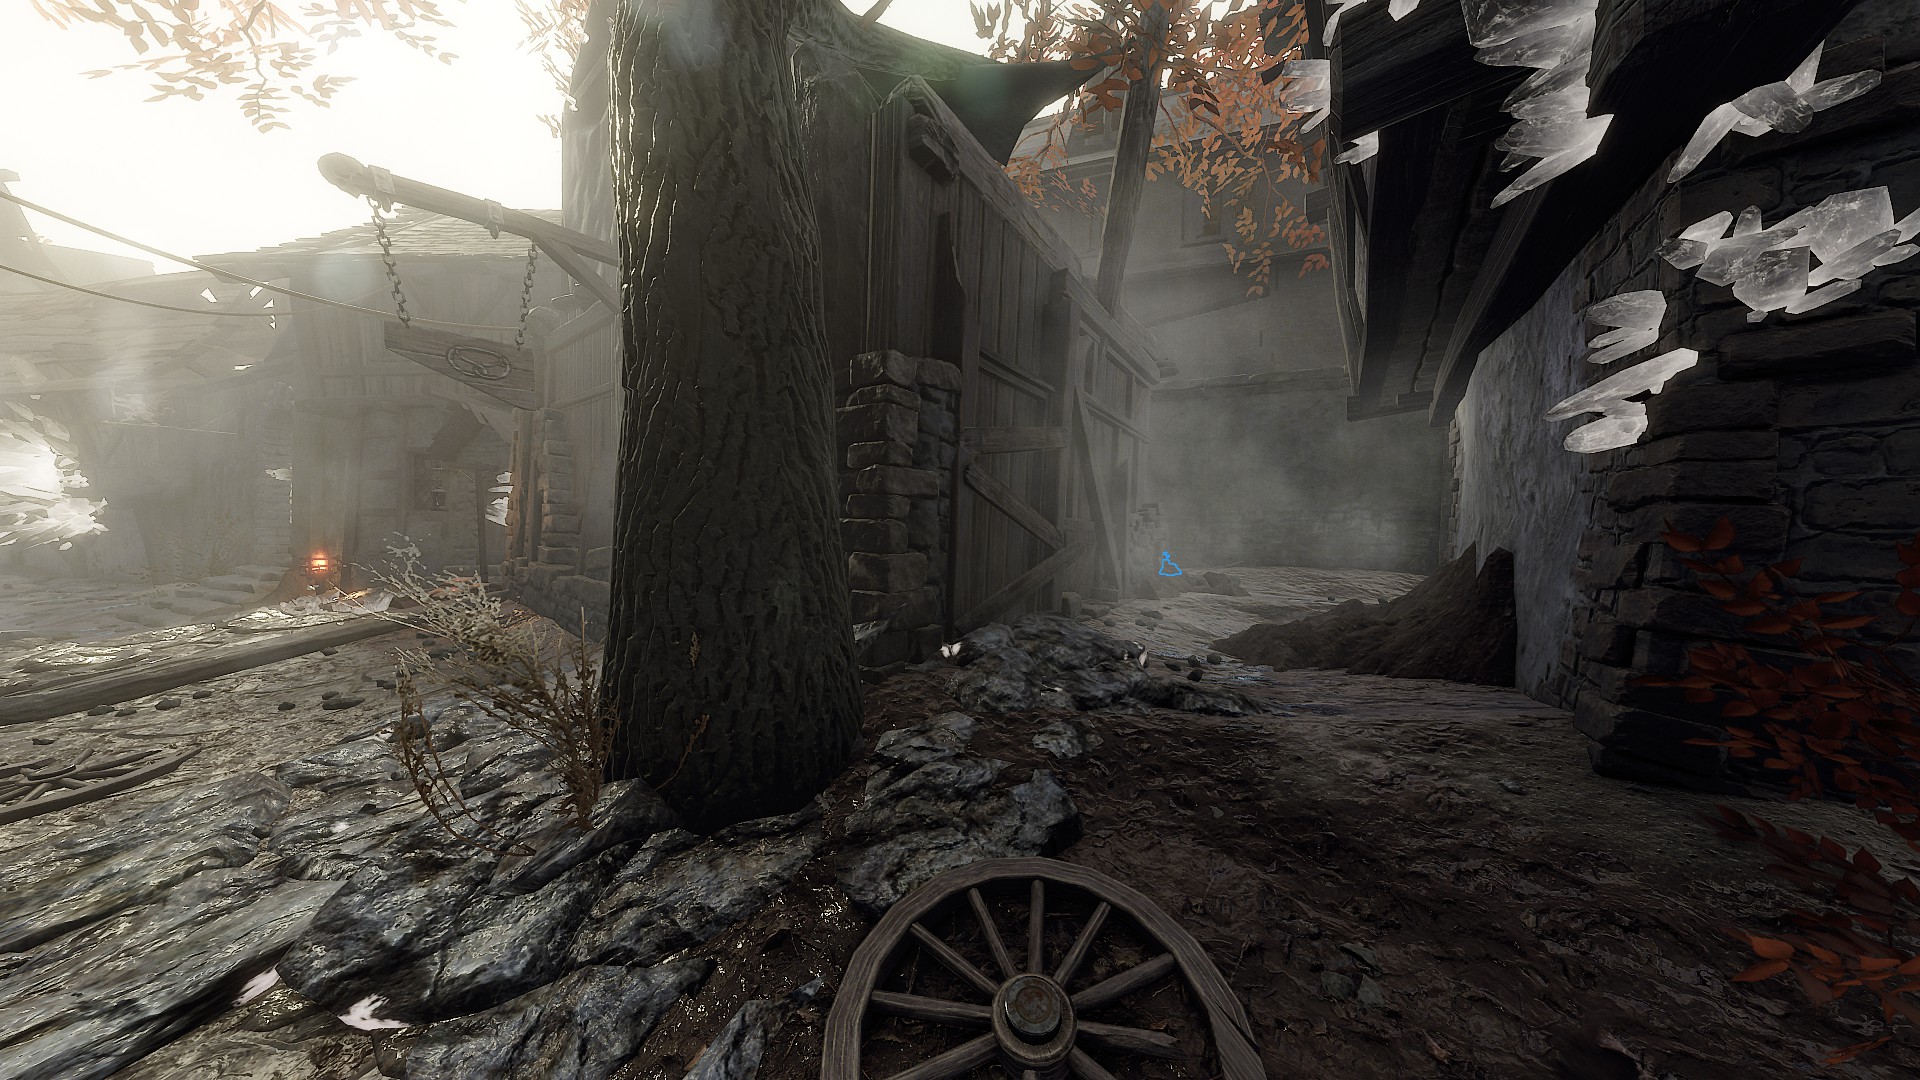
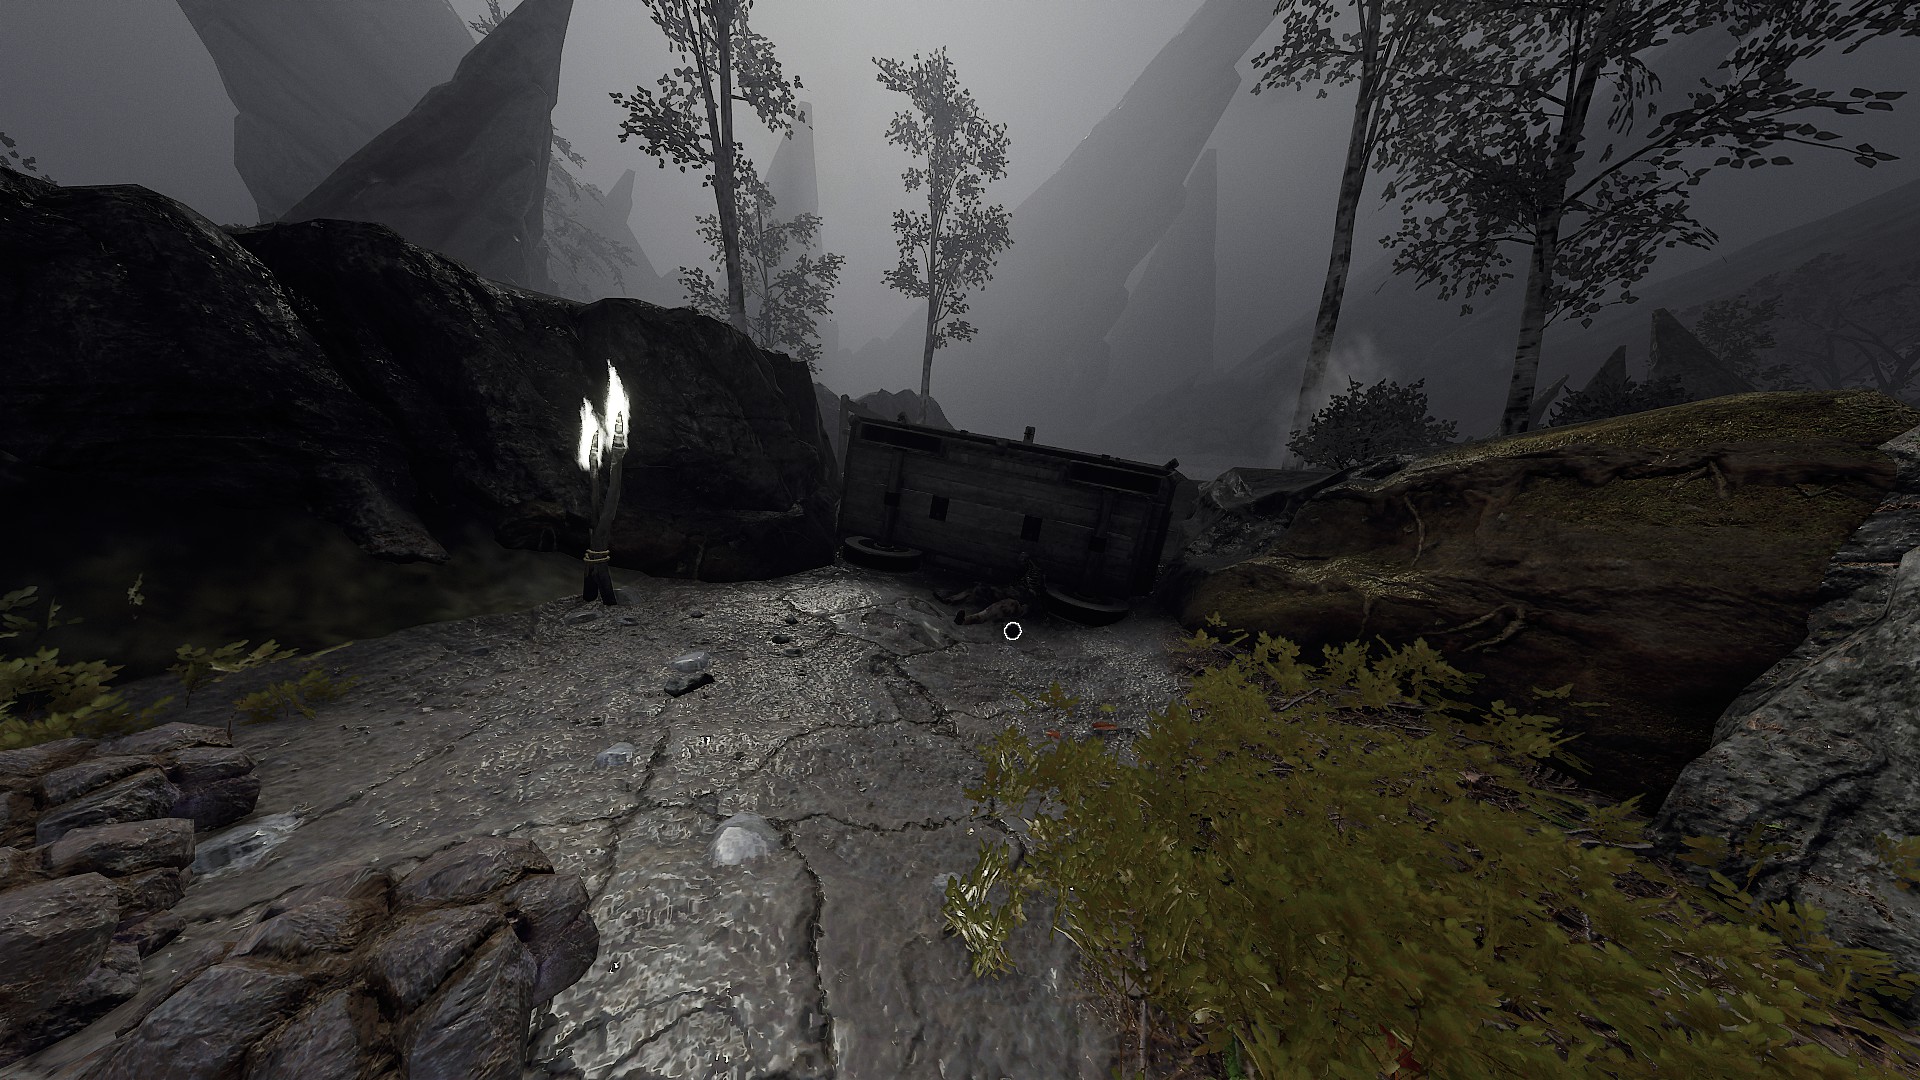
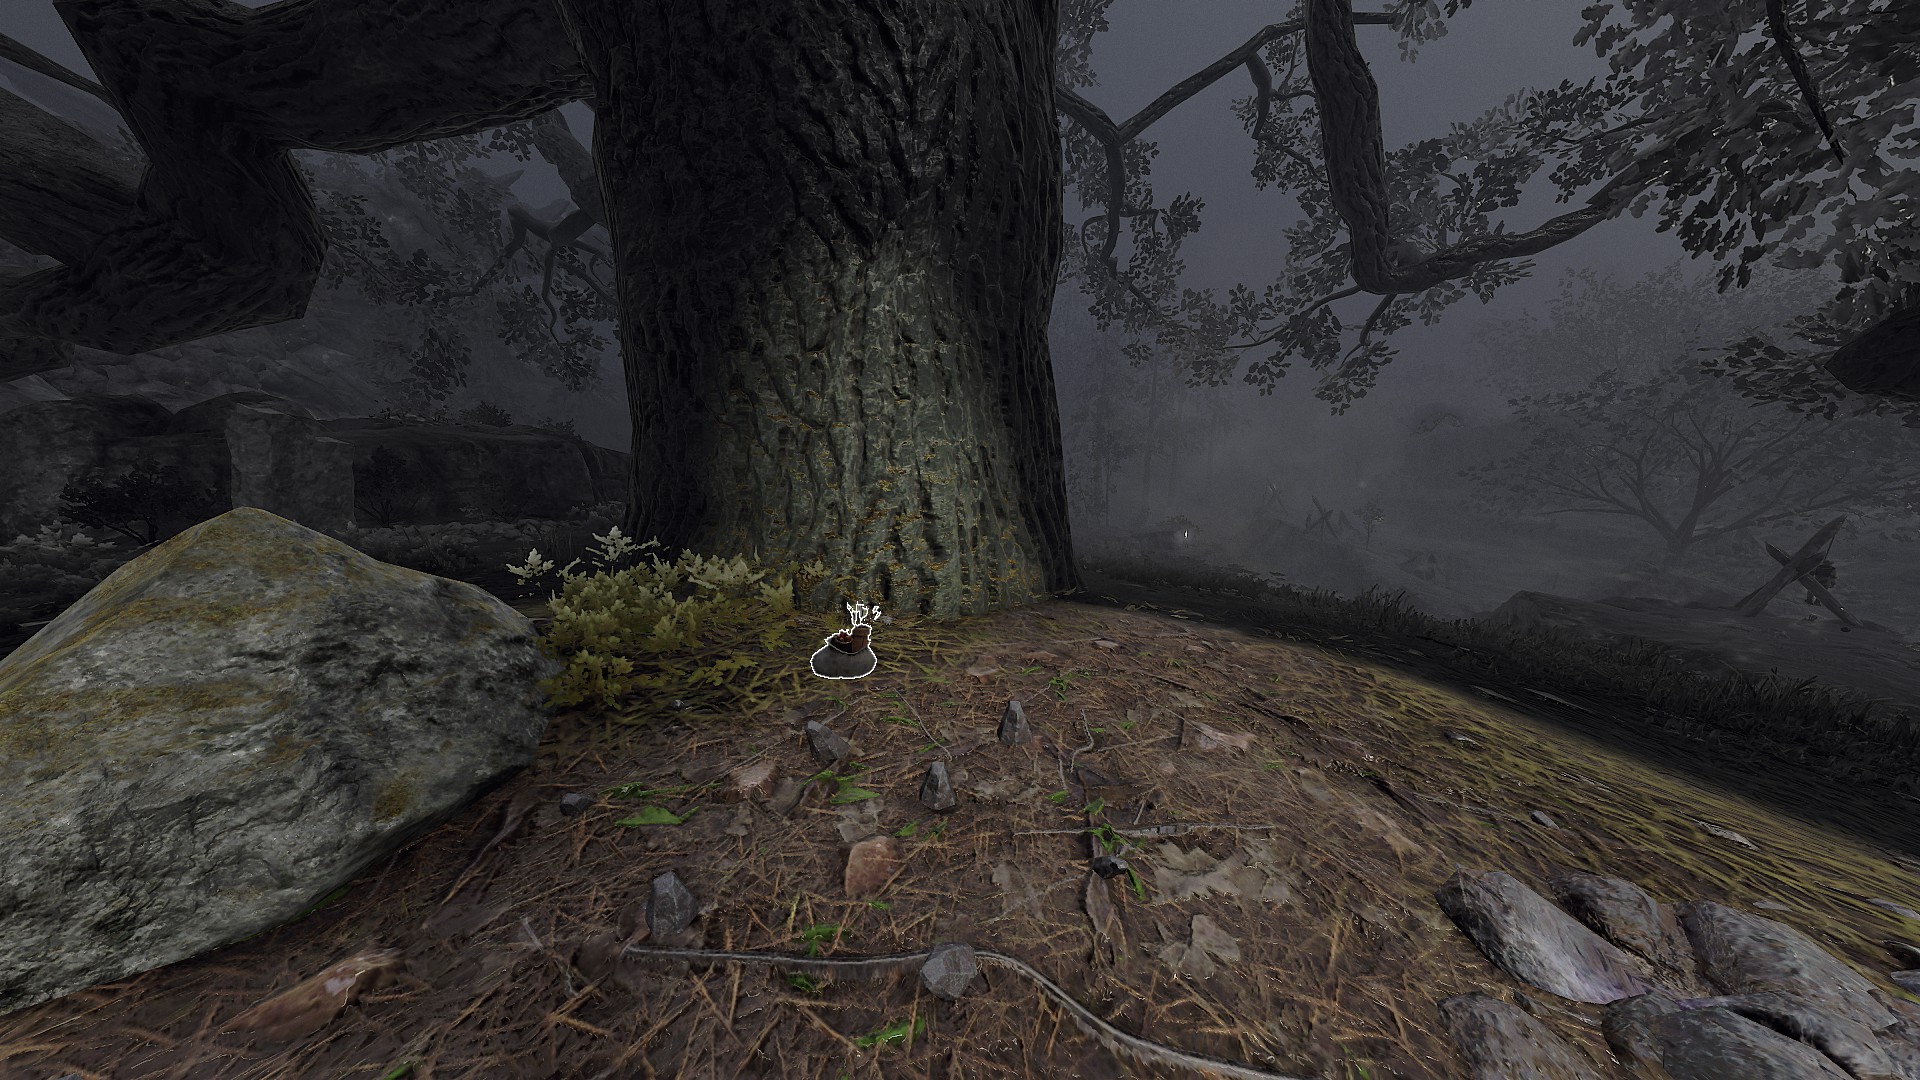
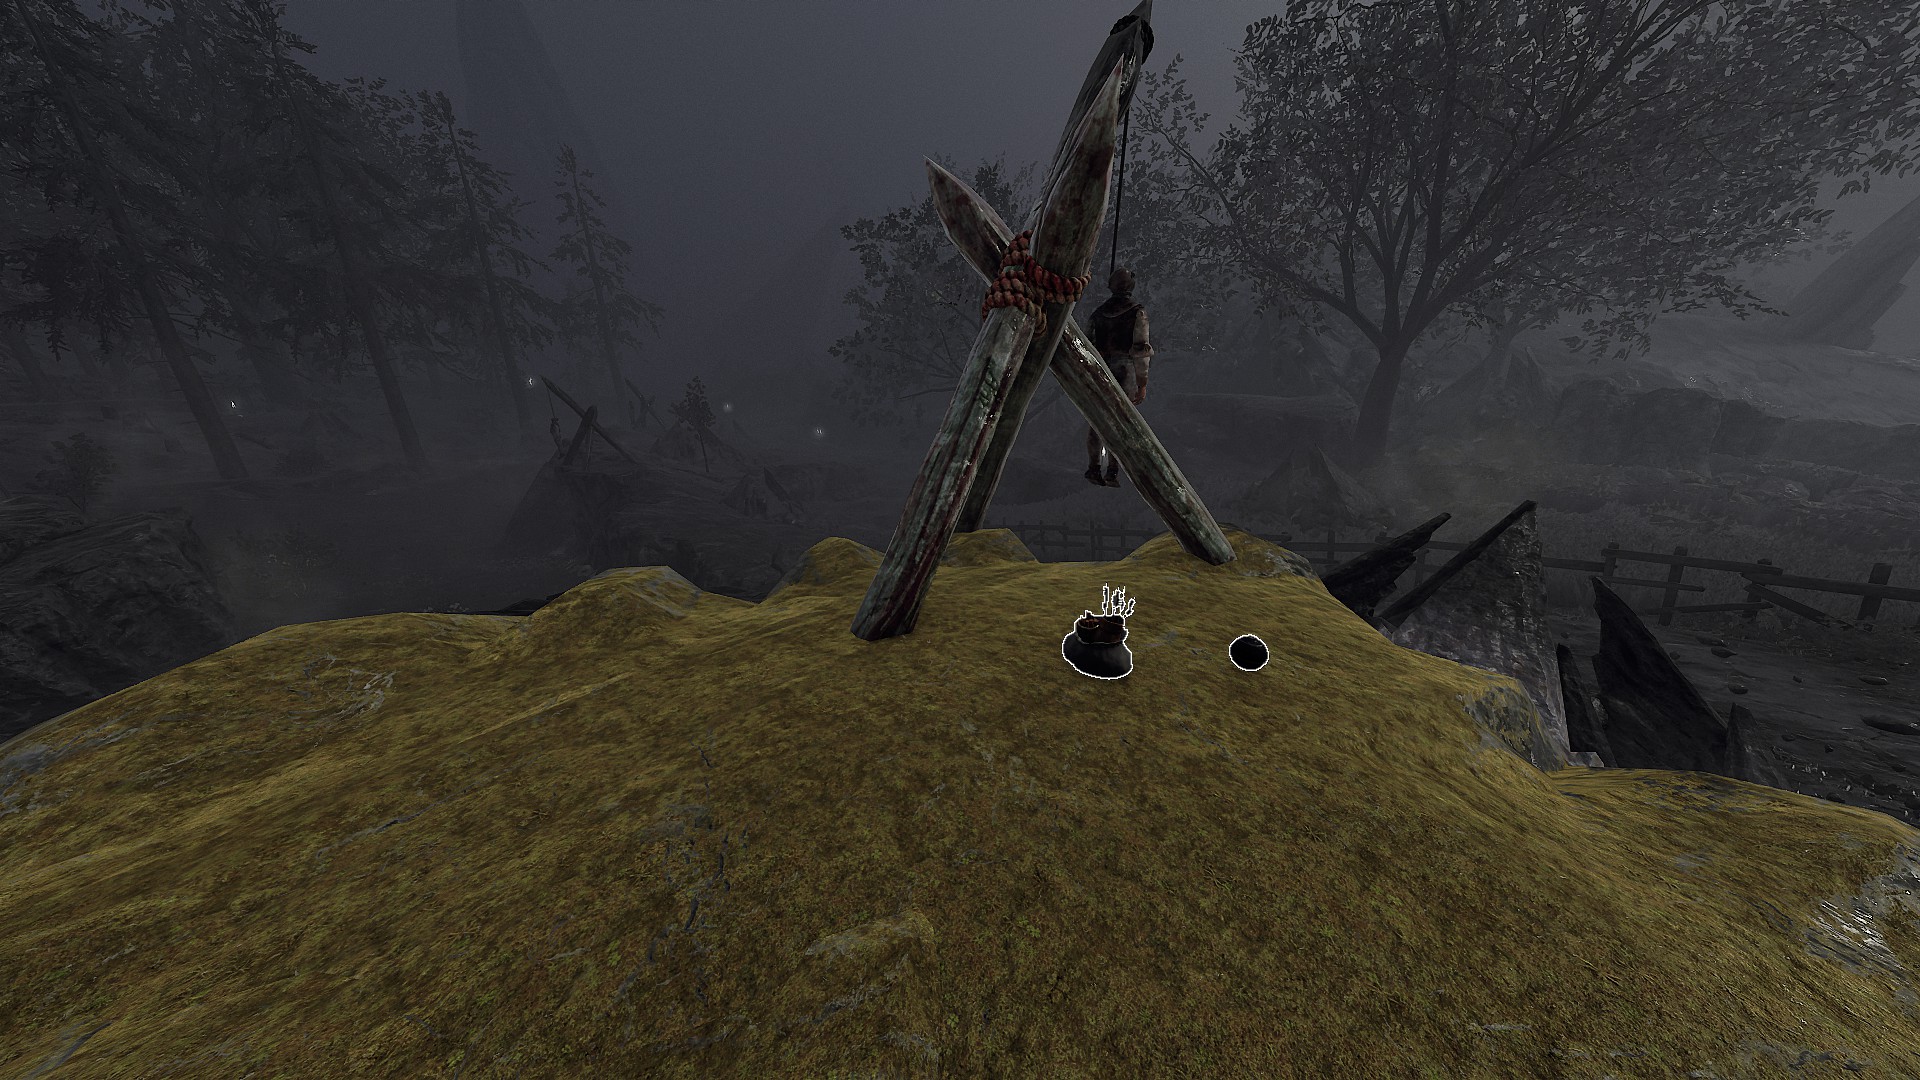
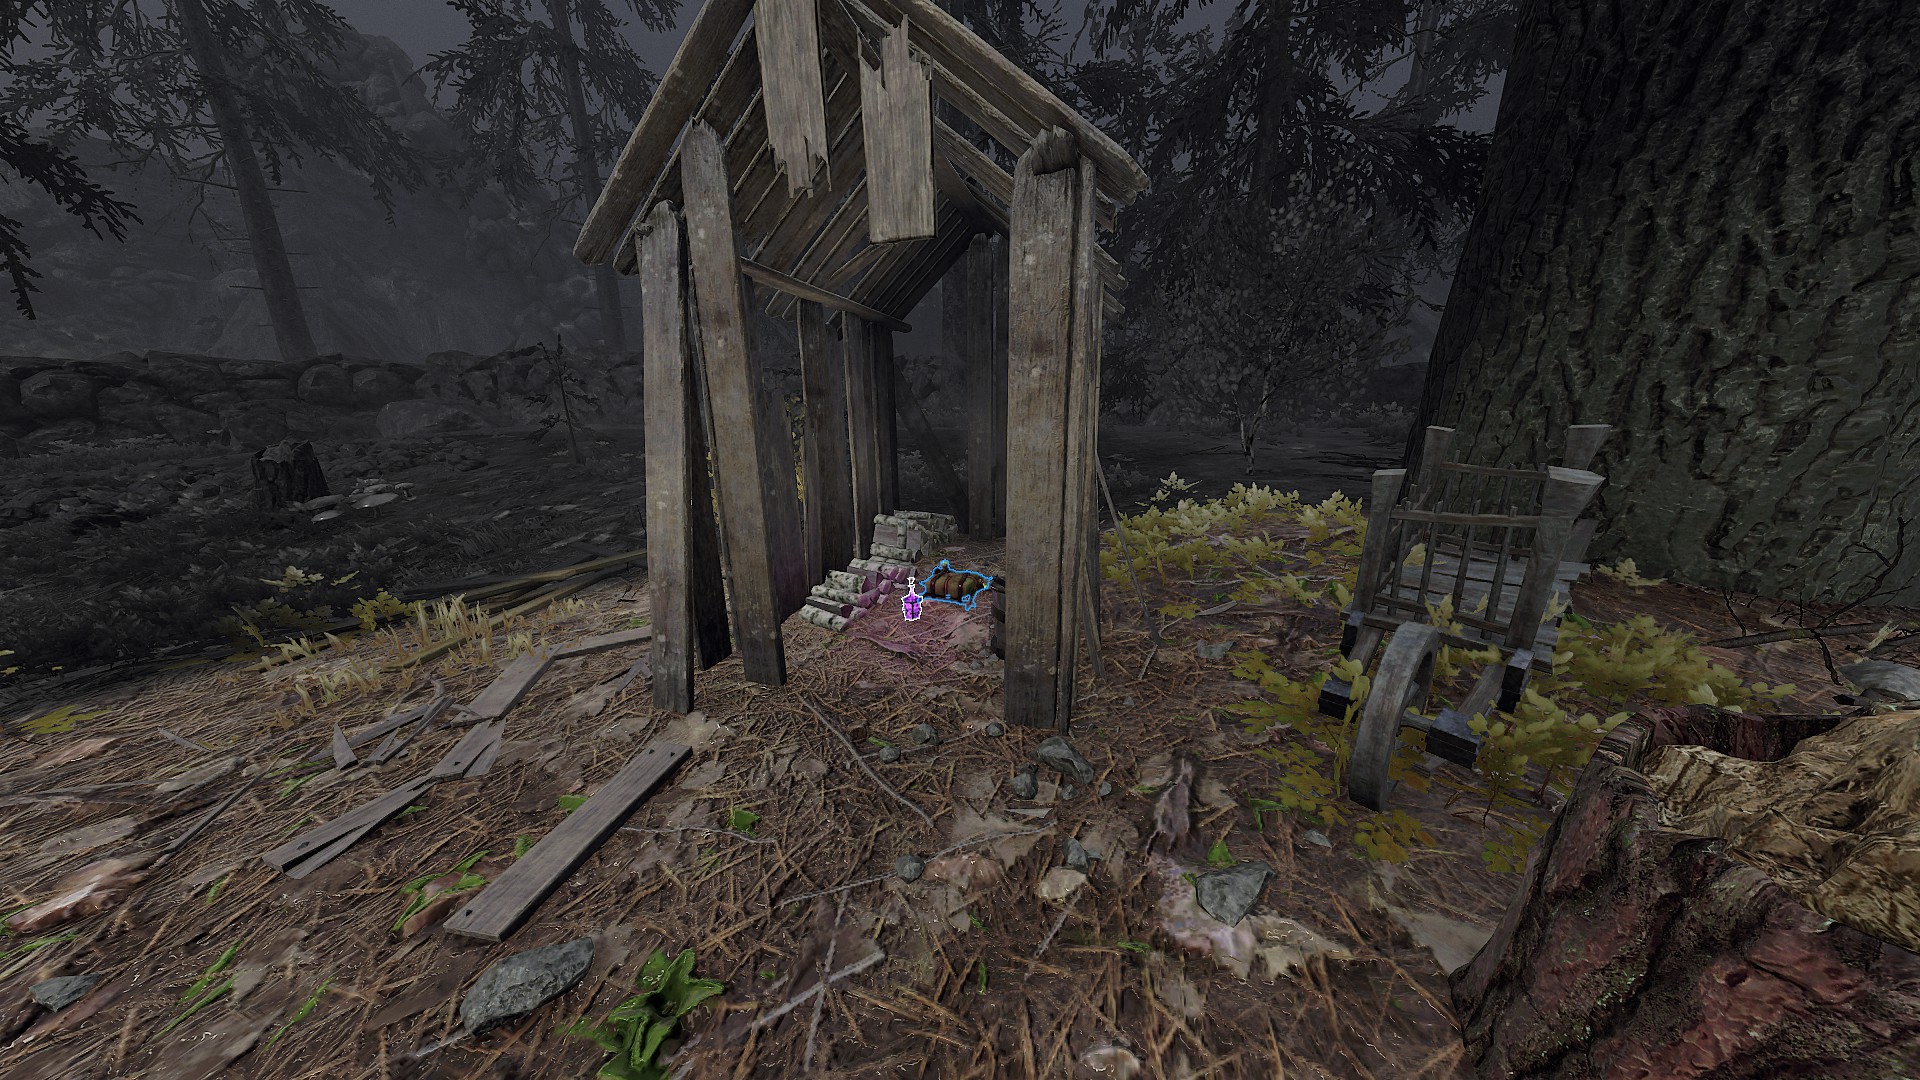
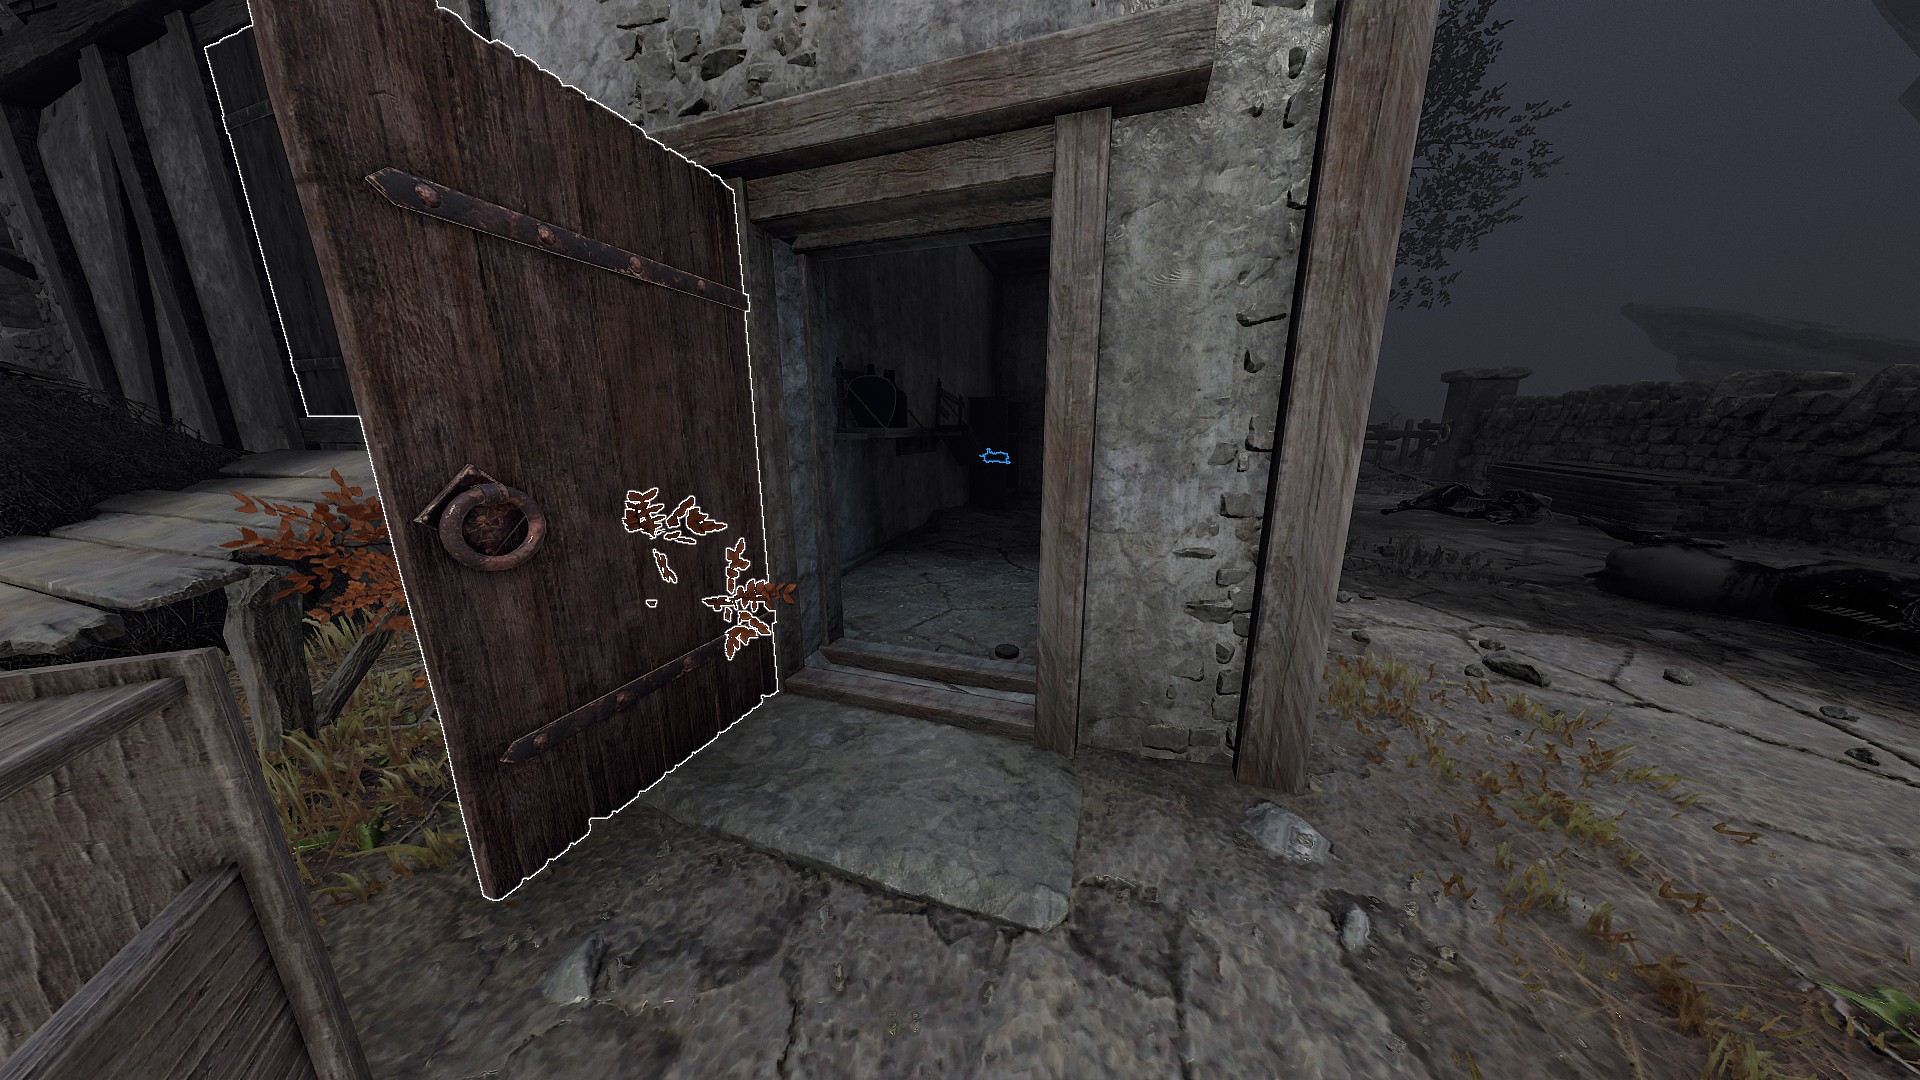
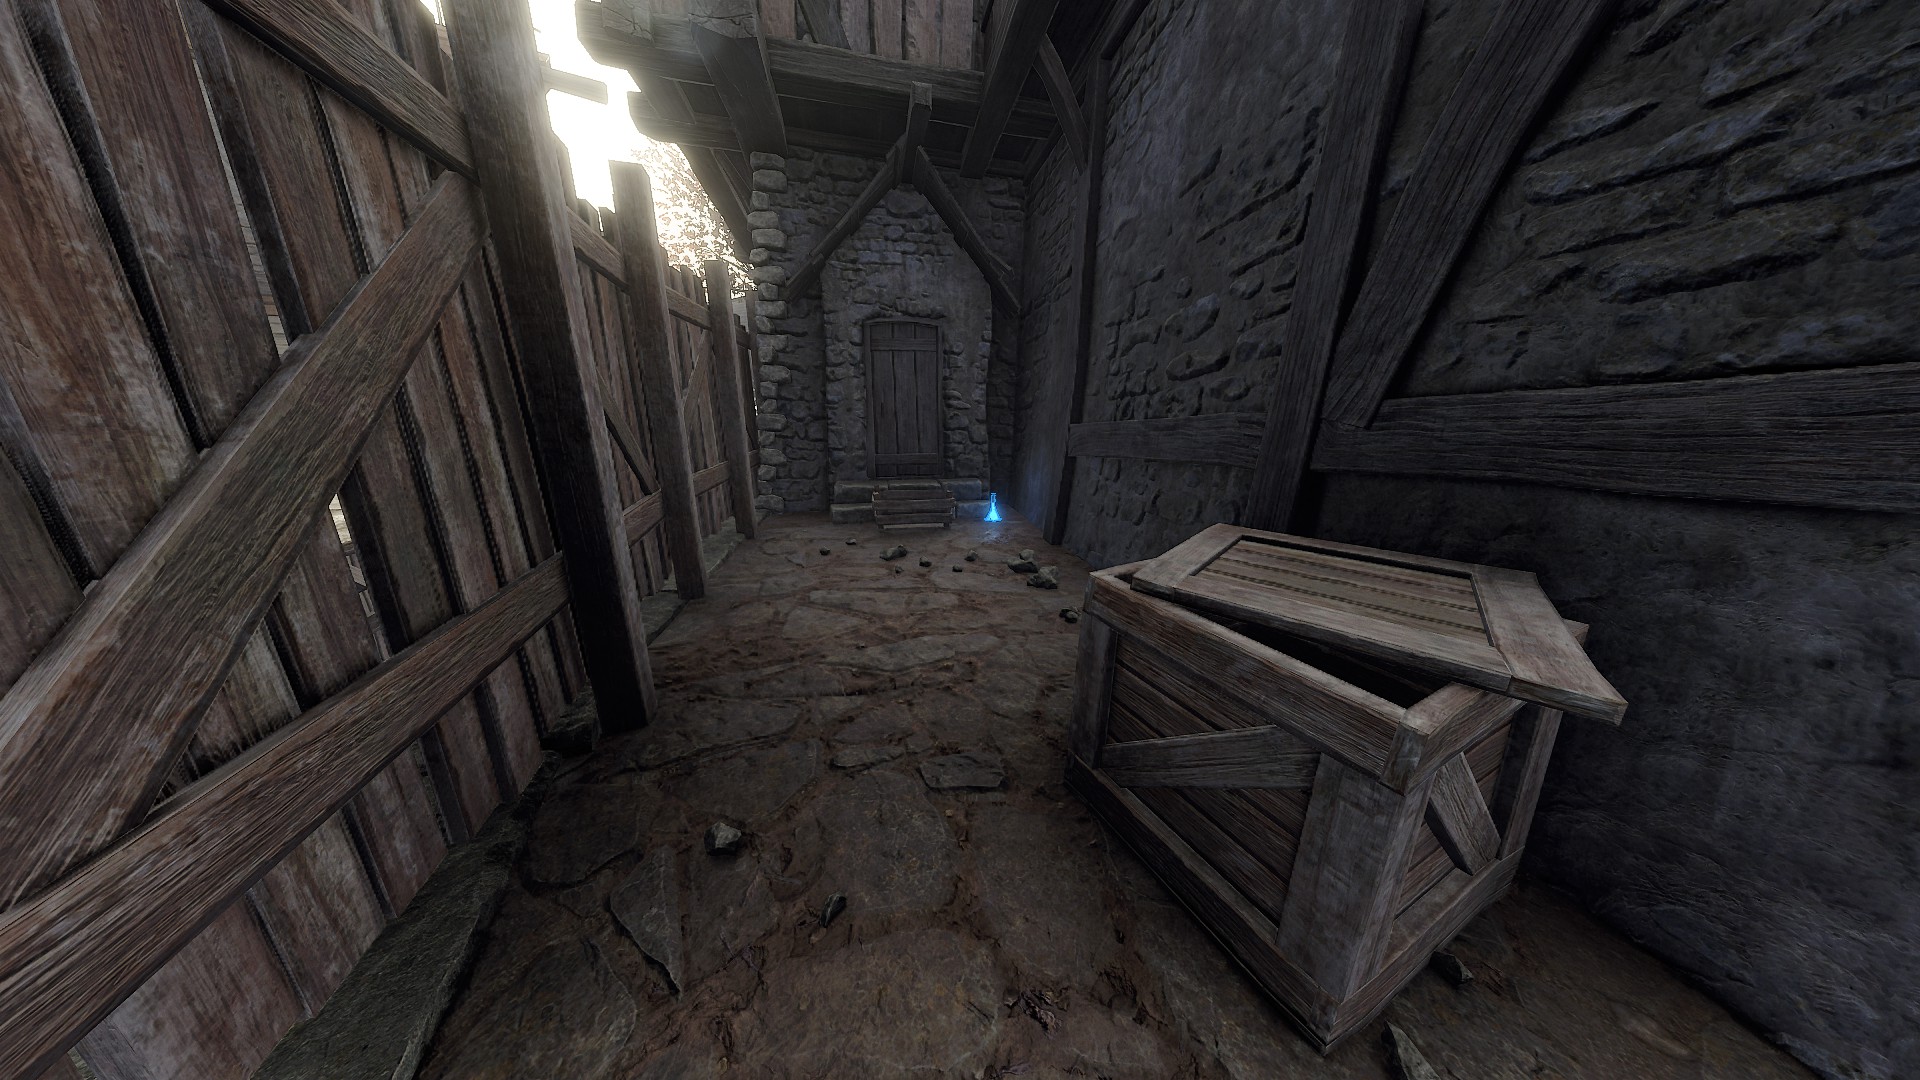
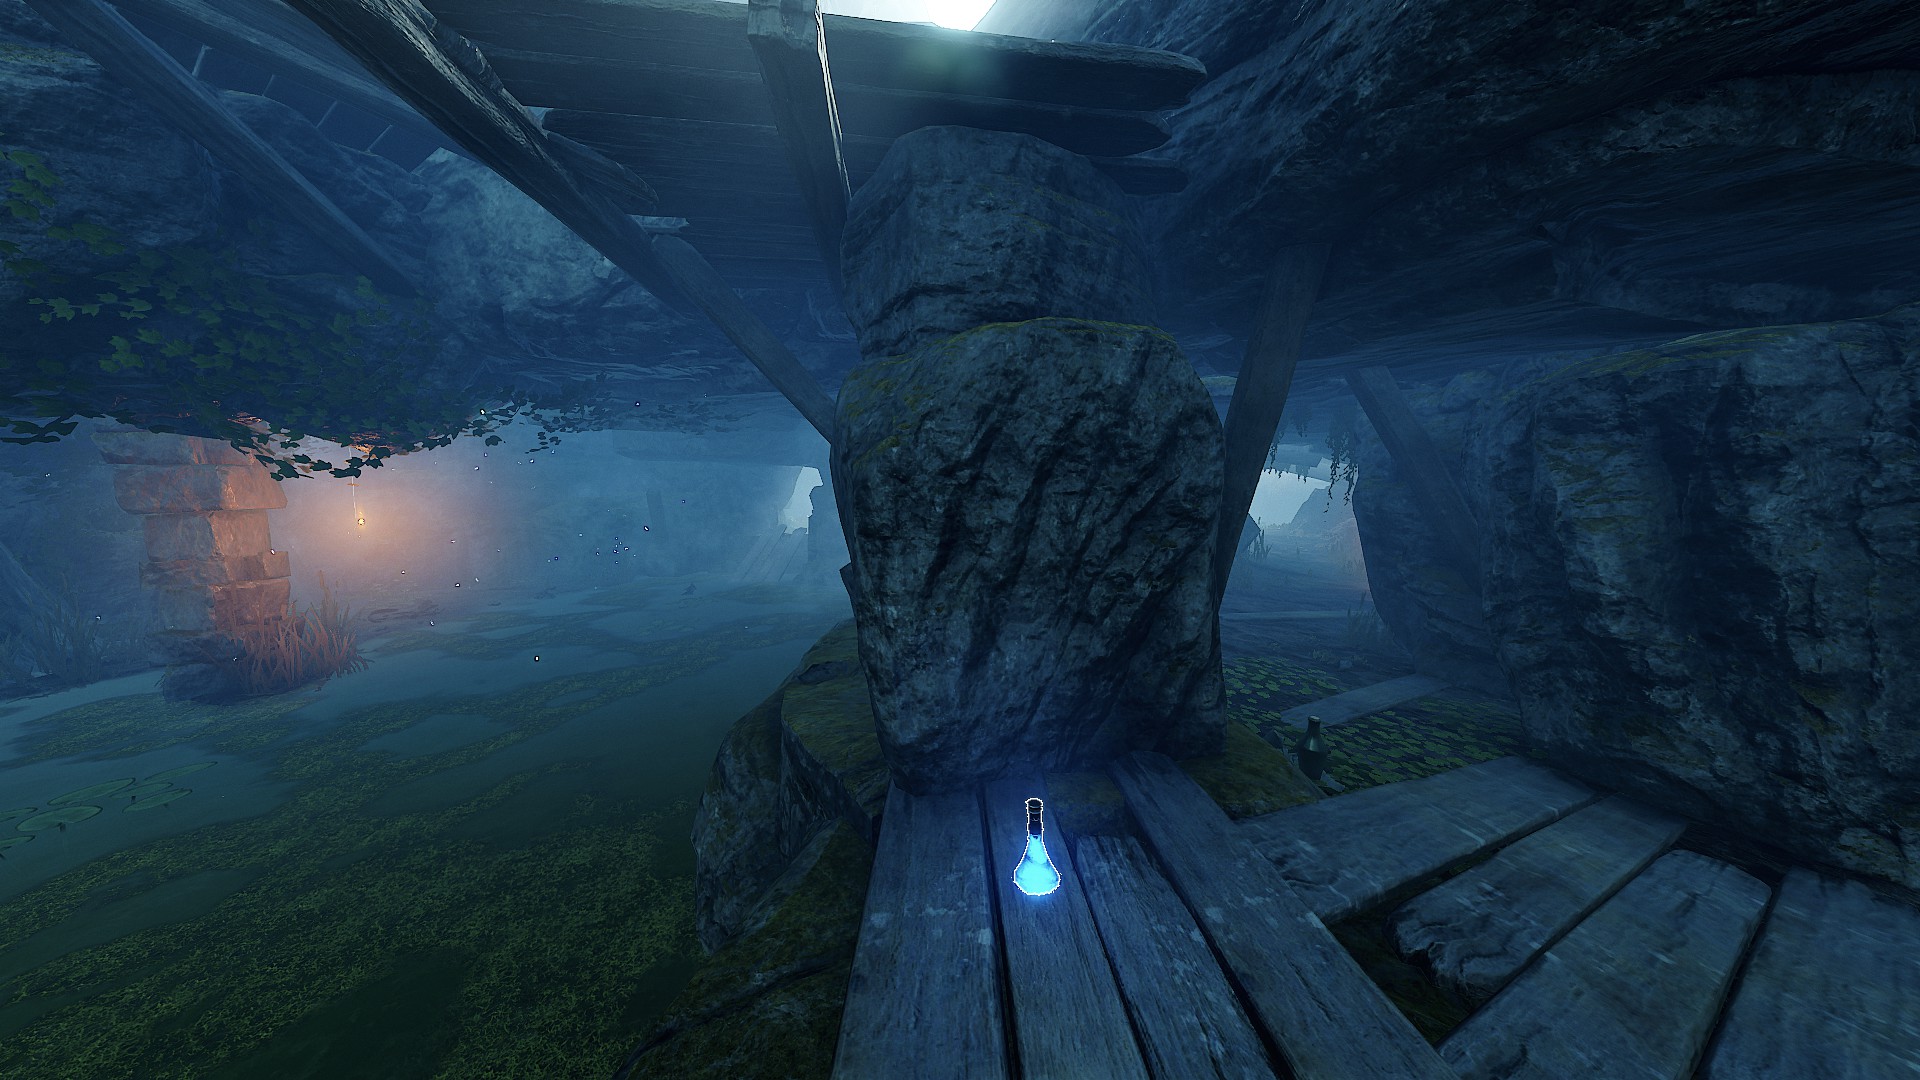
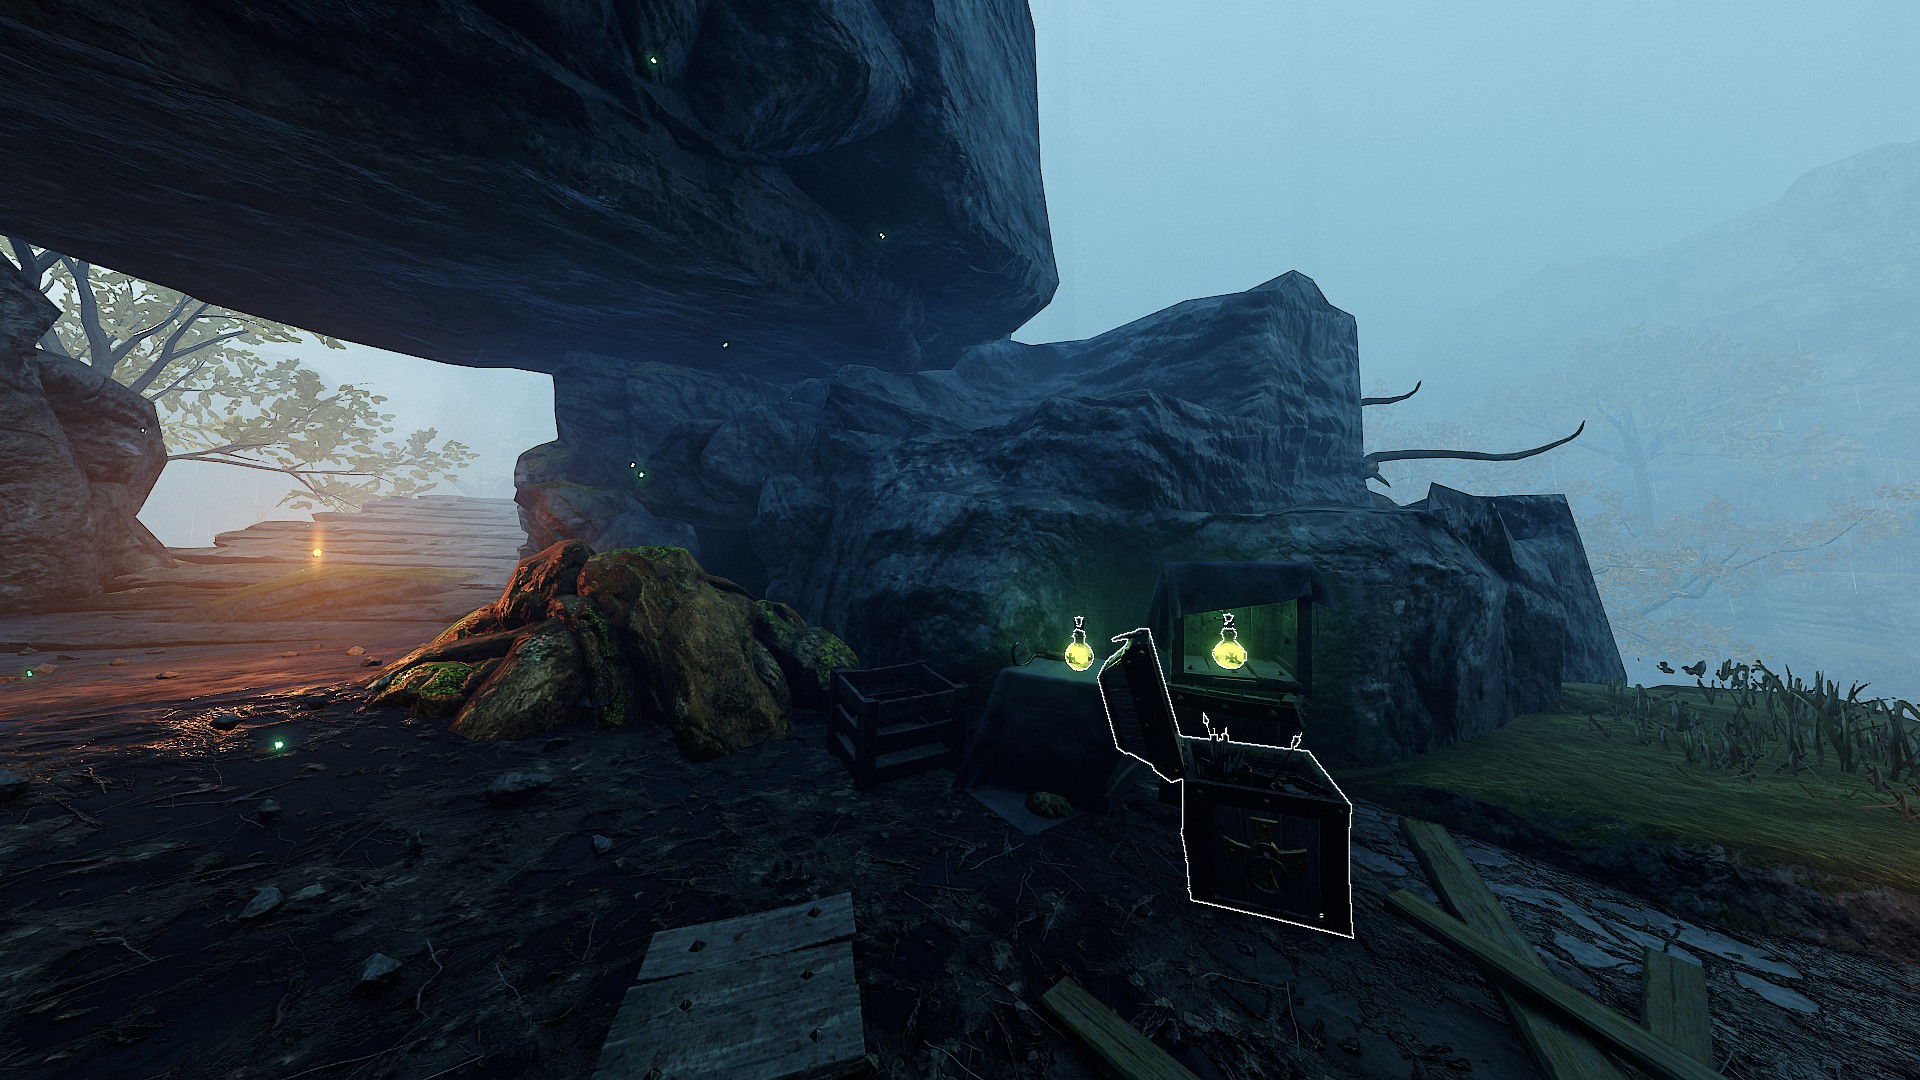
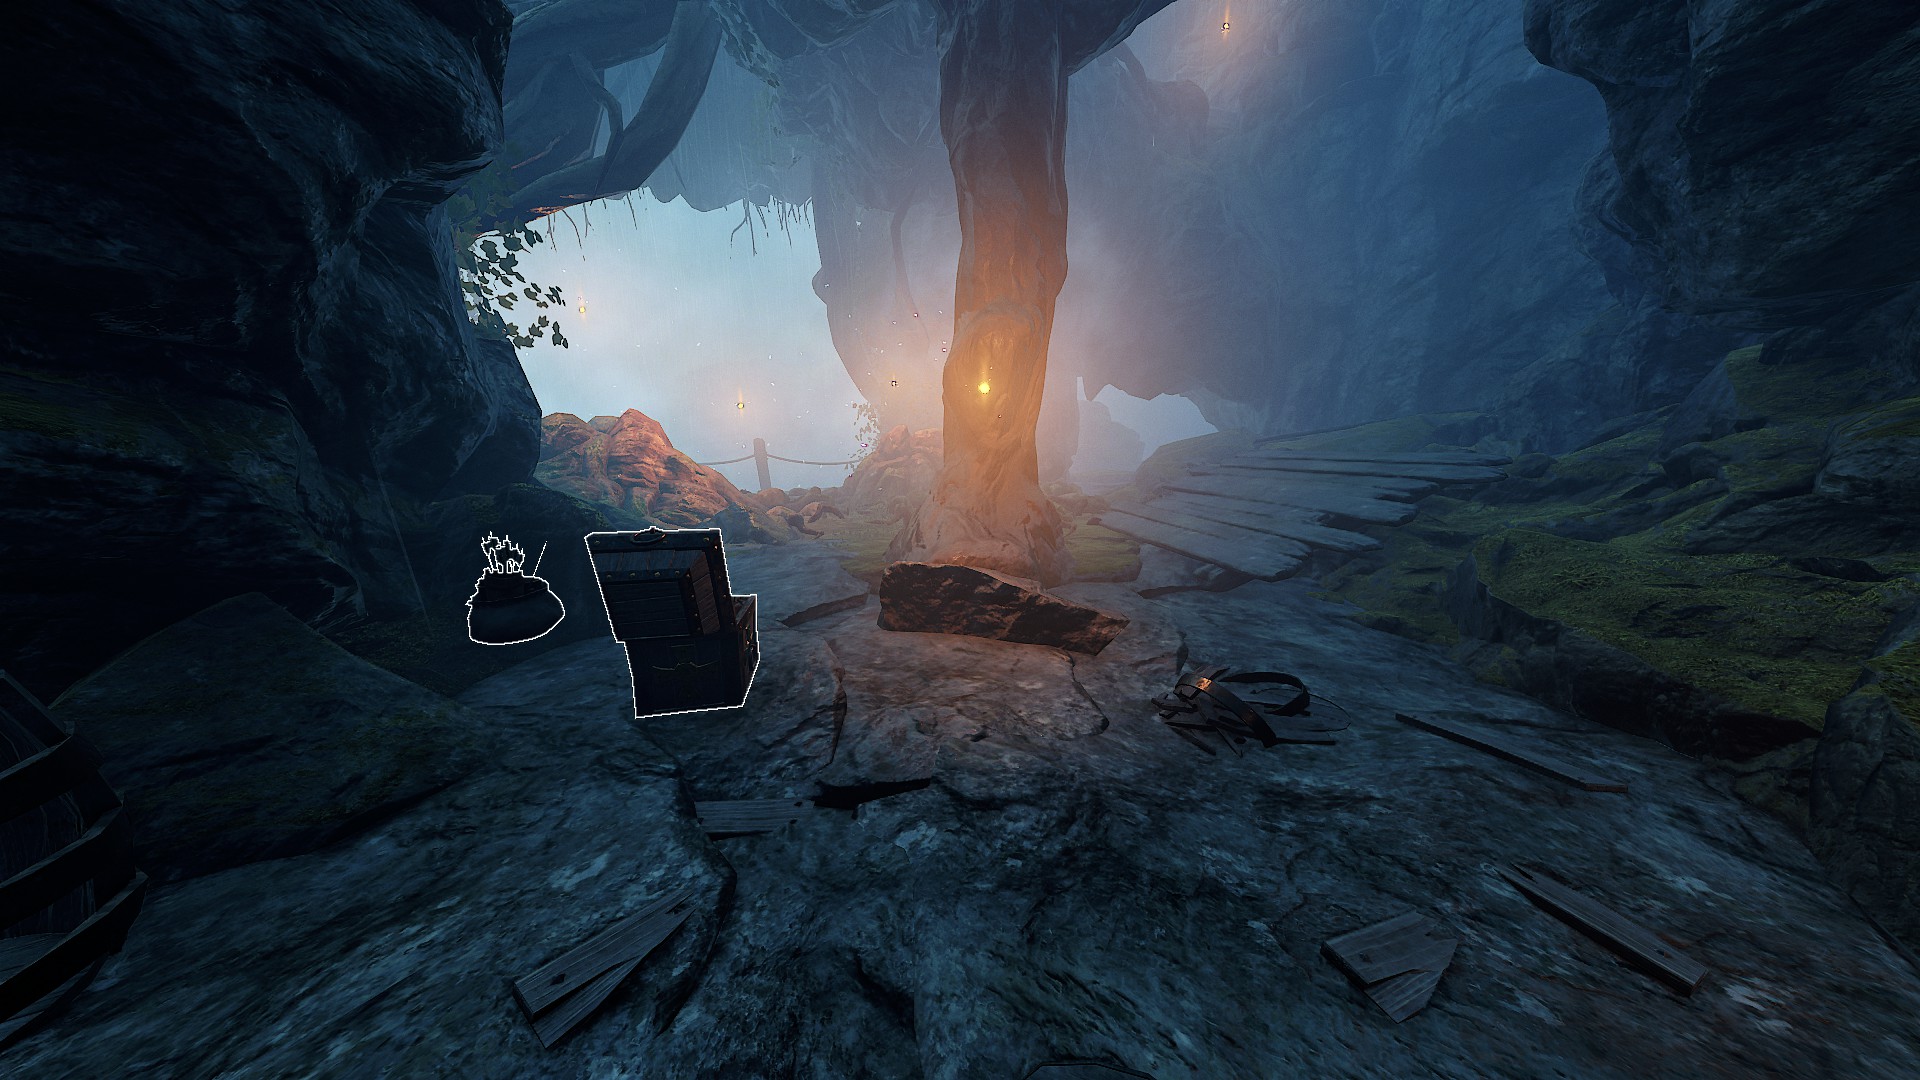
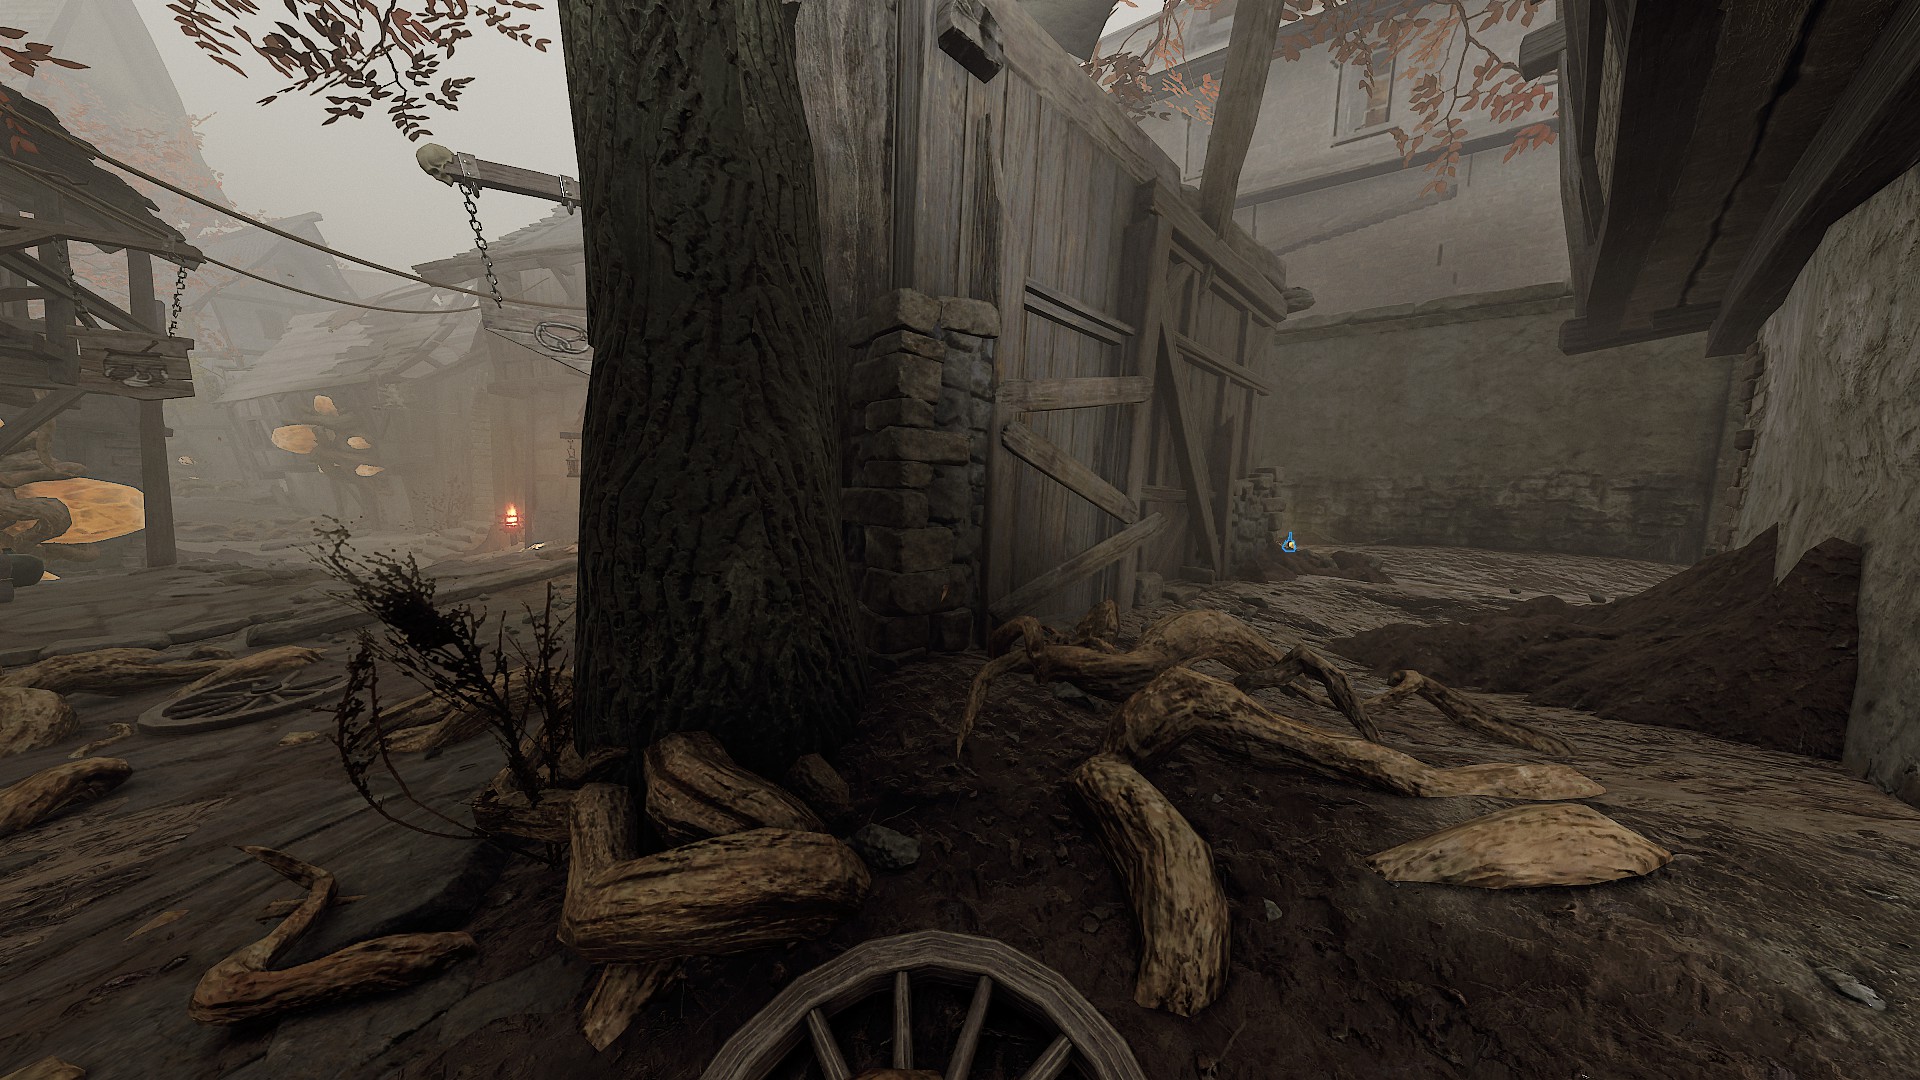
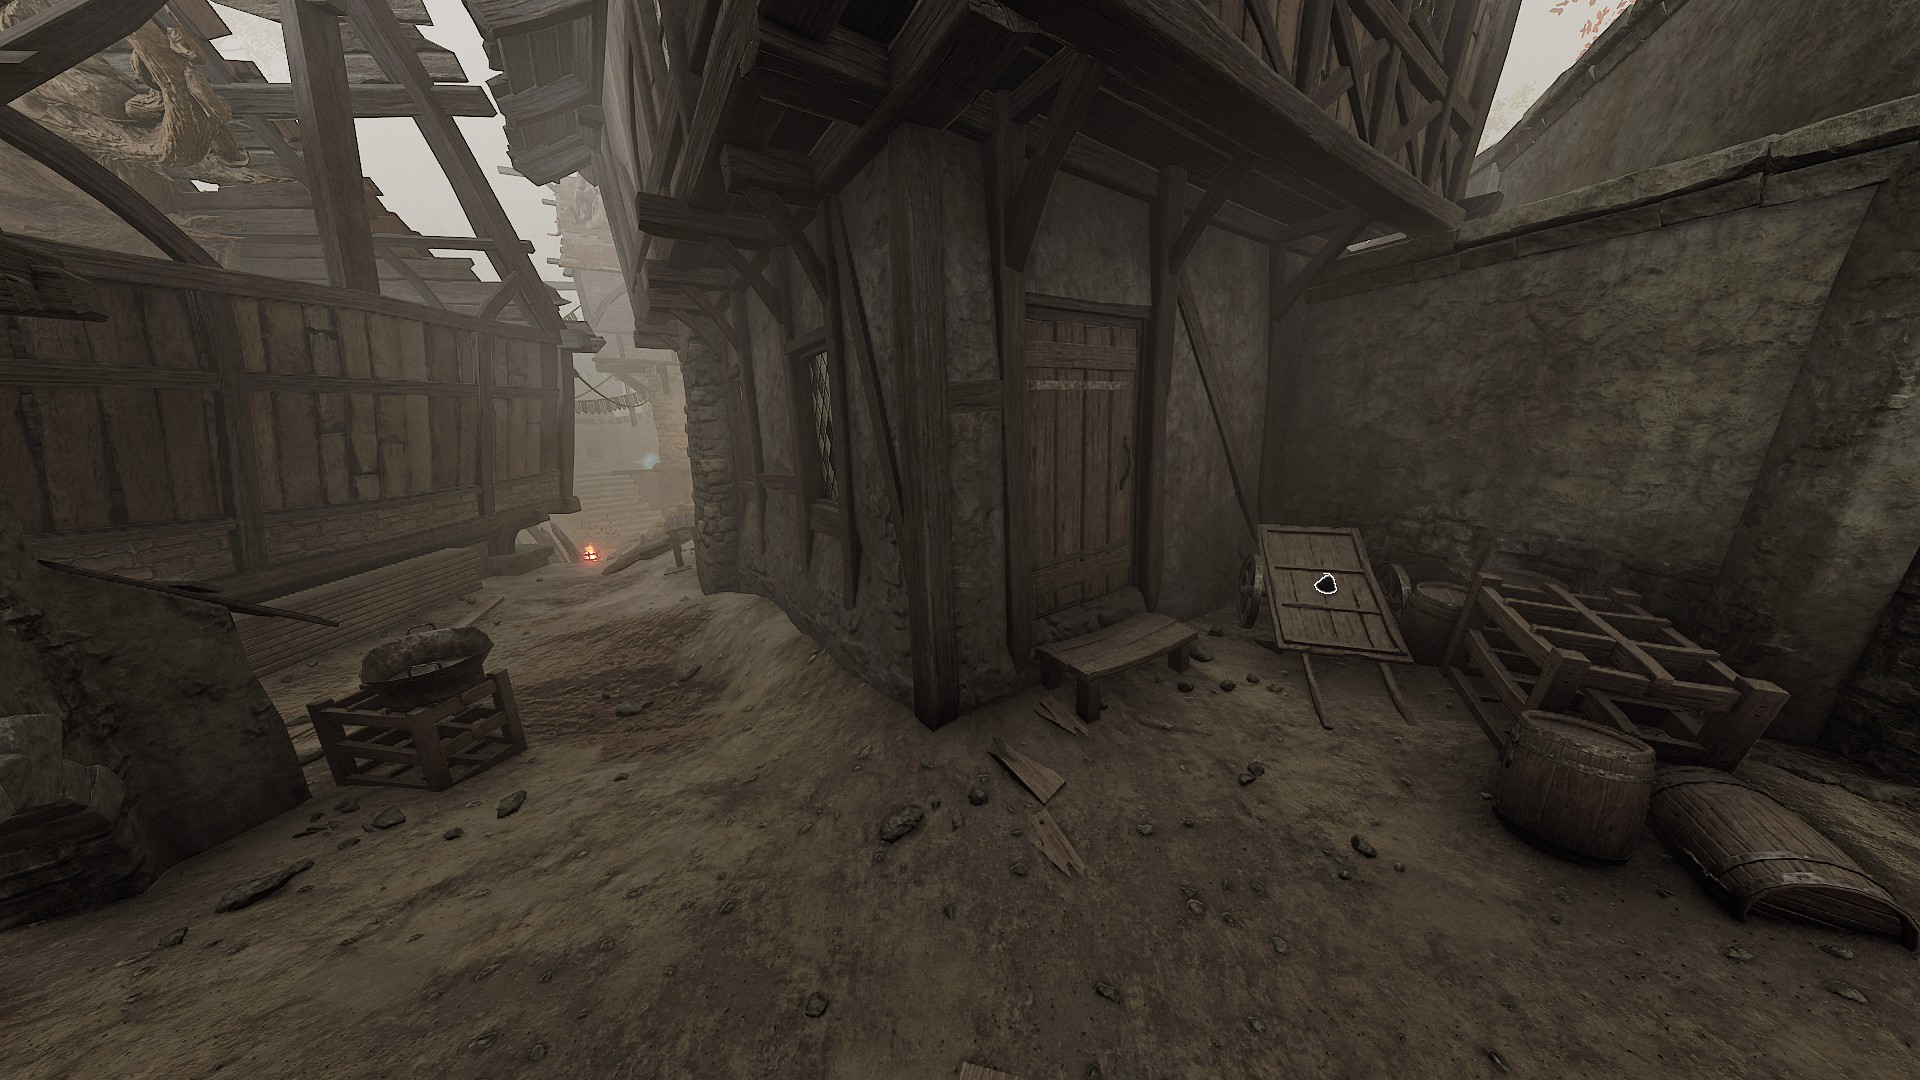
So far I know the tree on Weald and the door on Bastion.

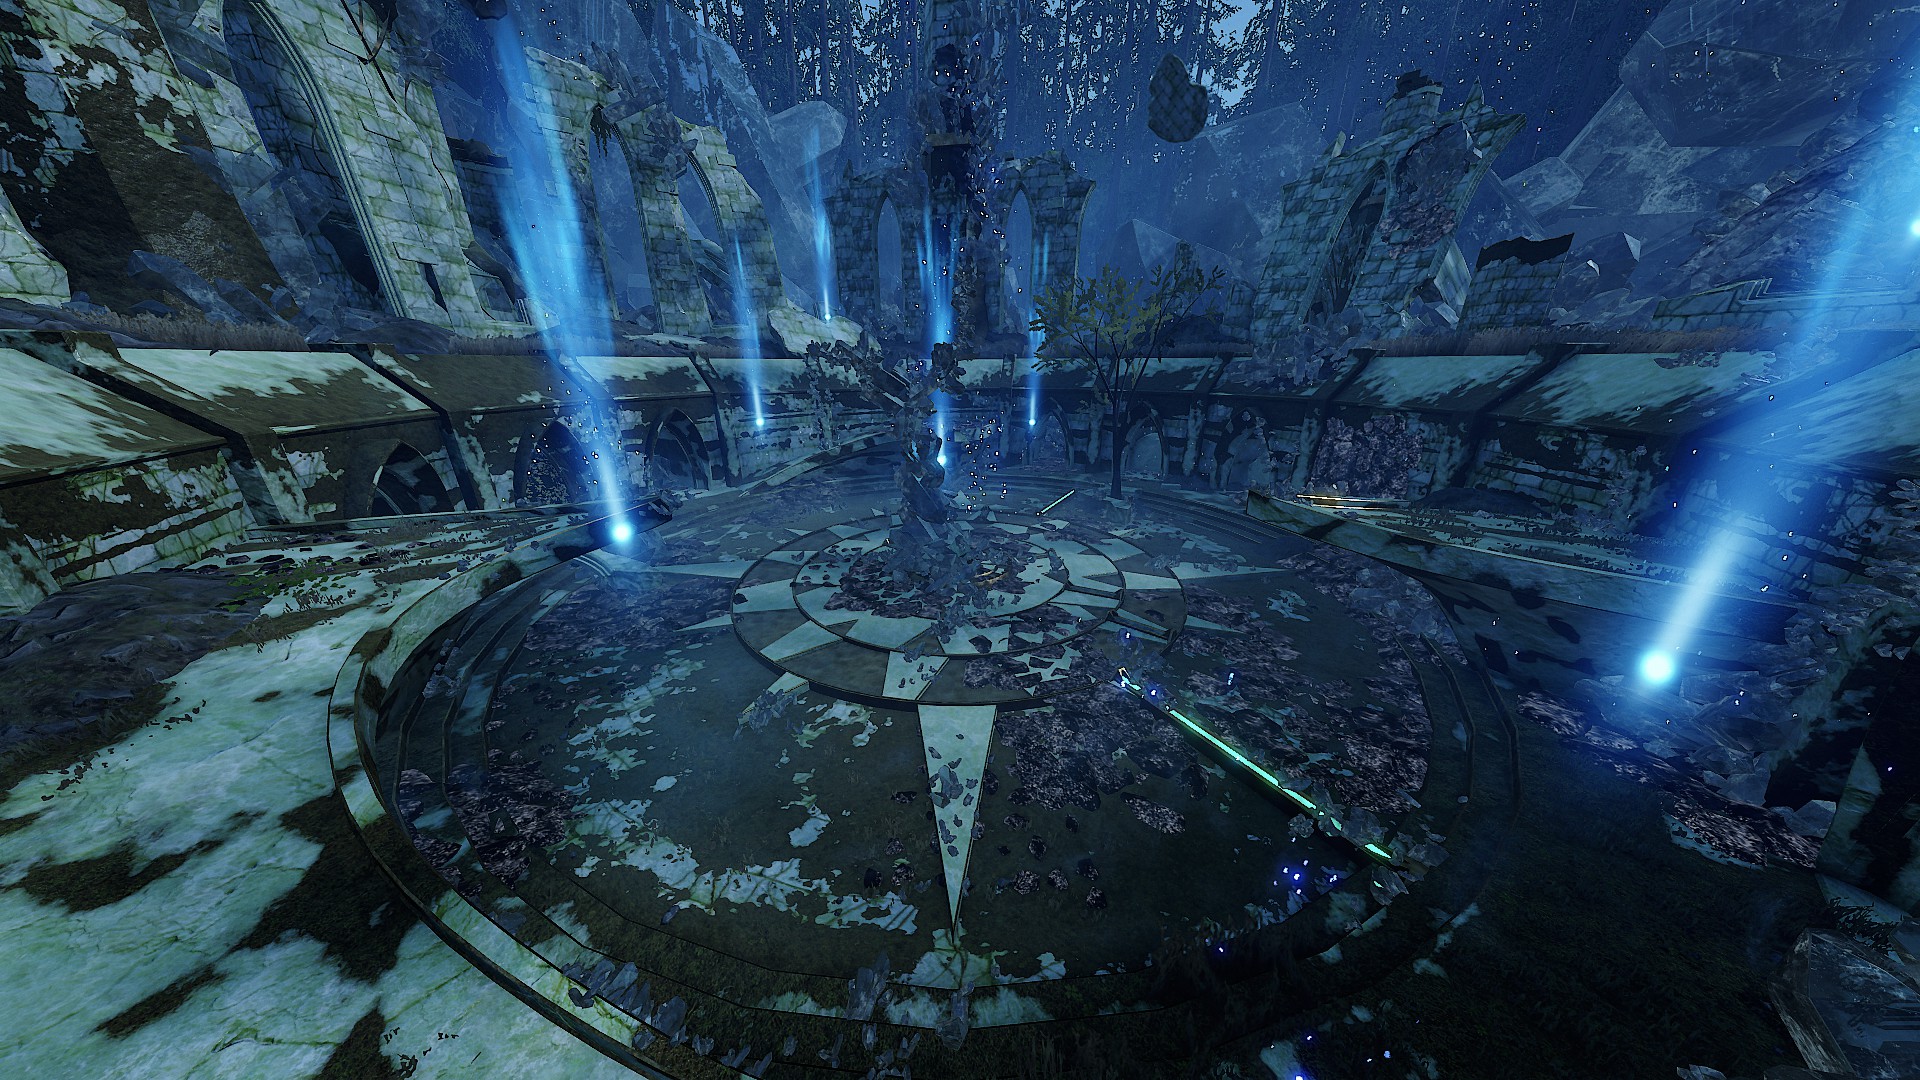
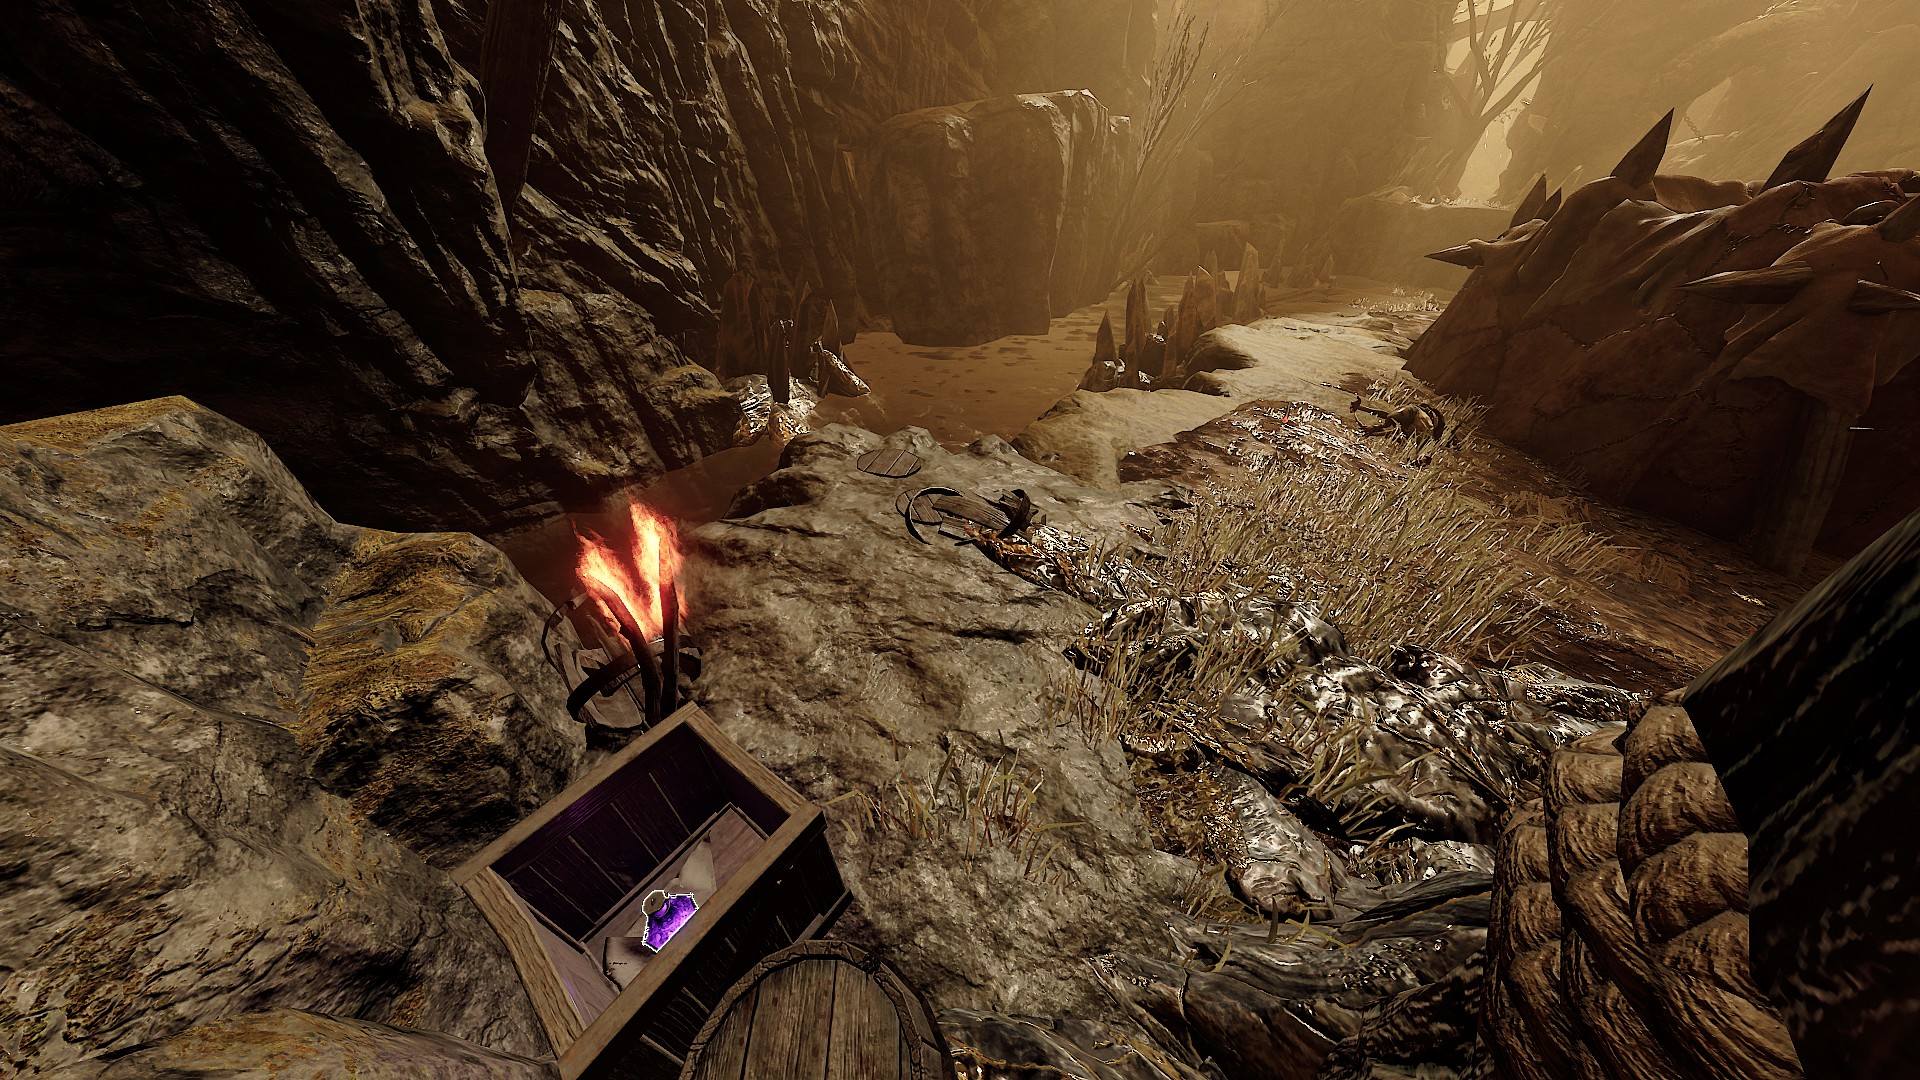
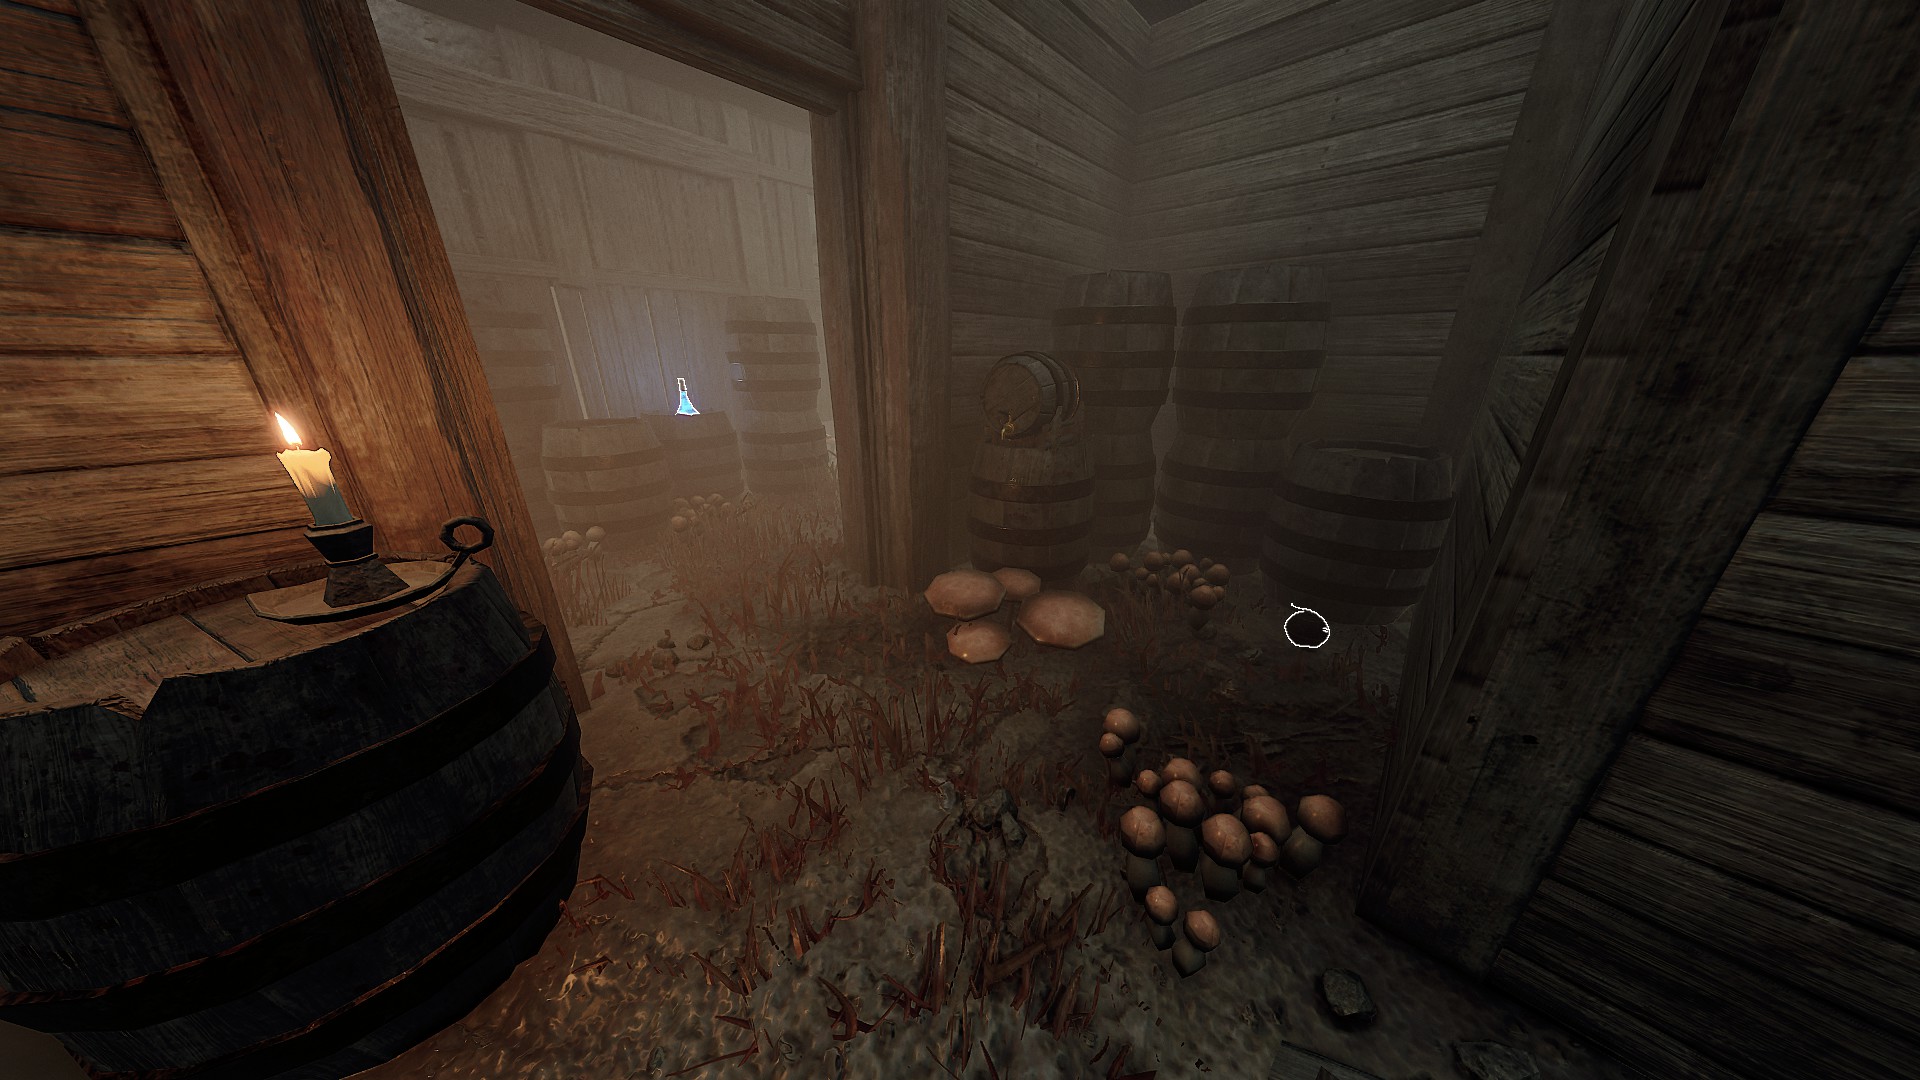
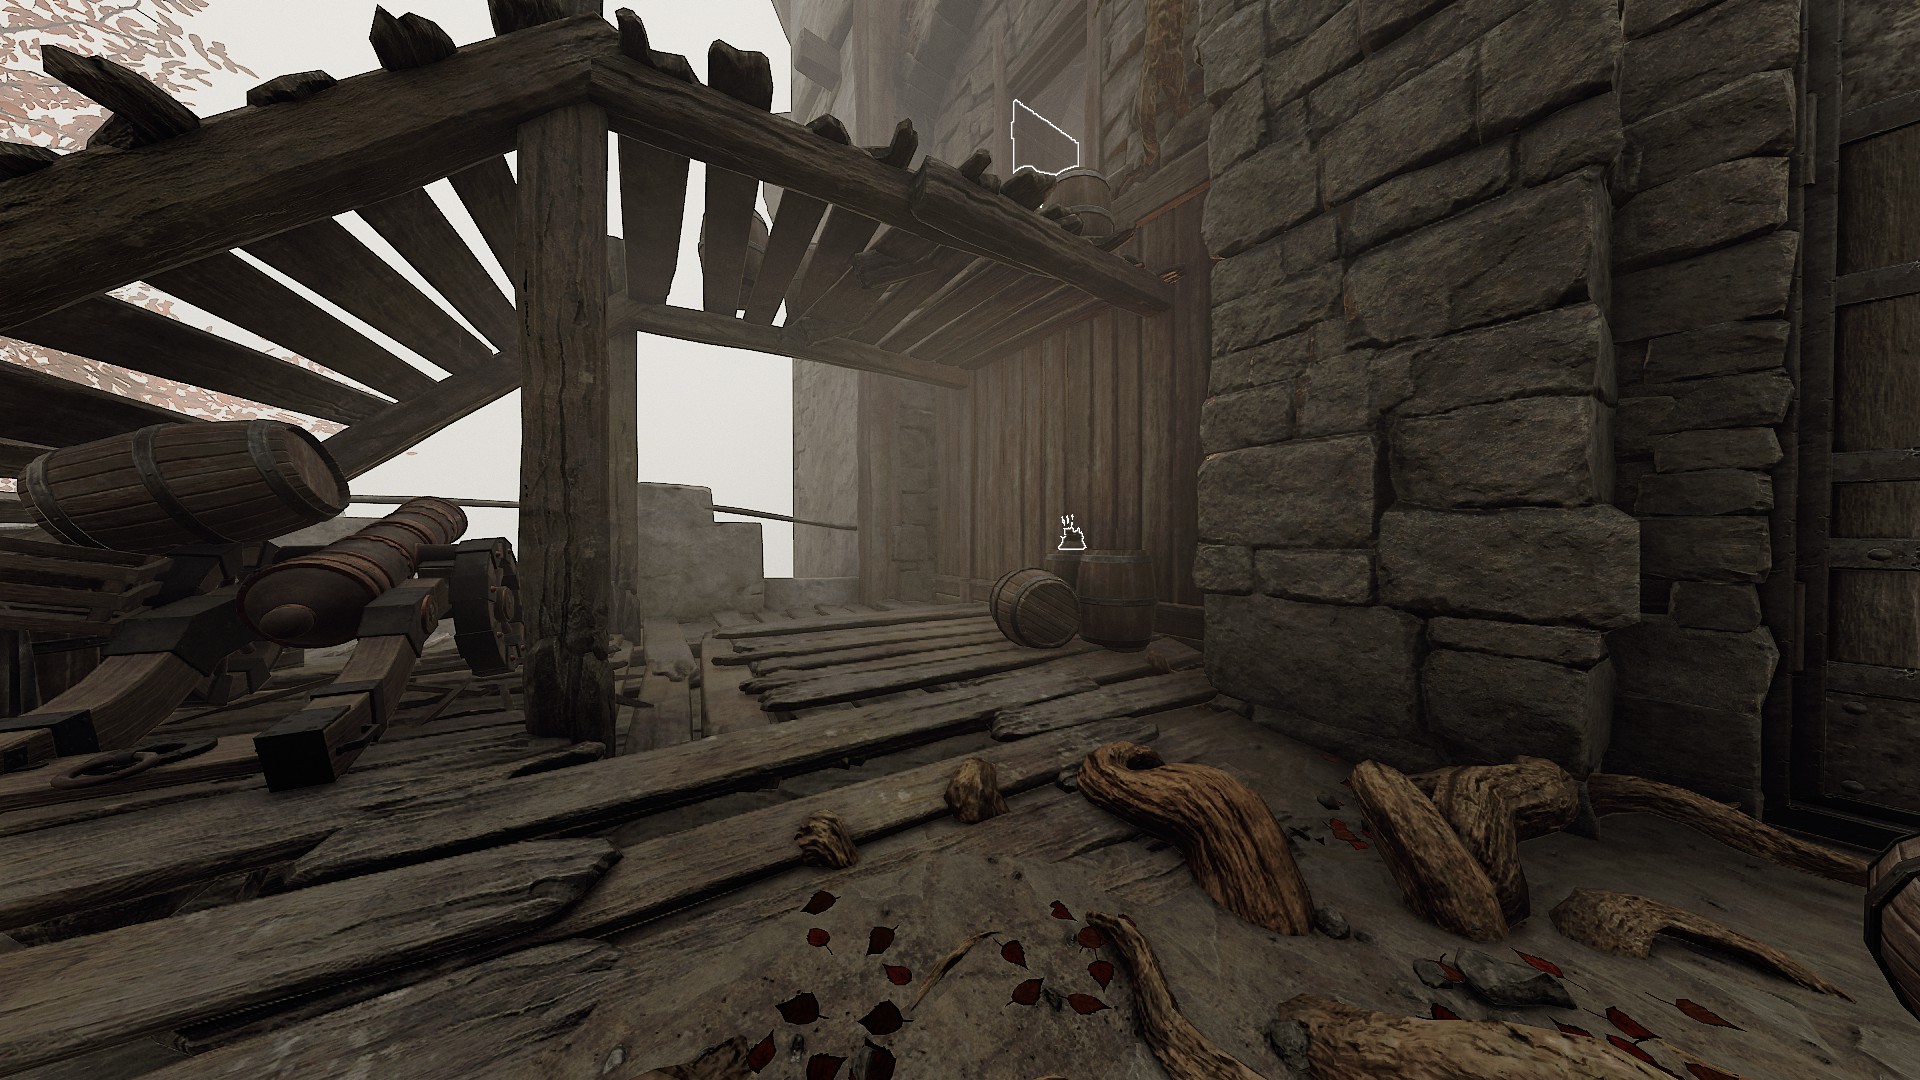
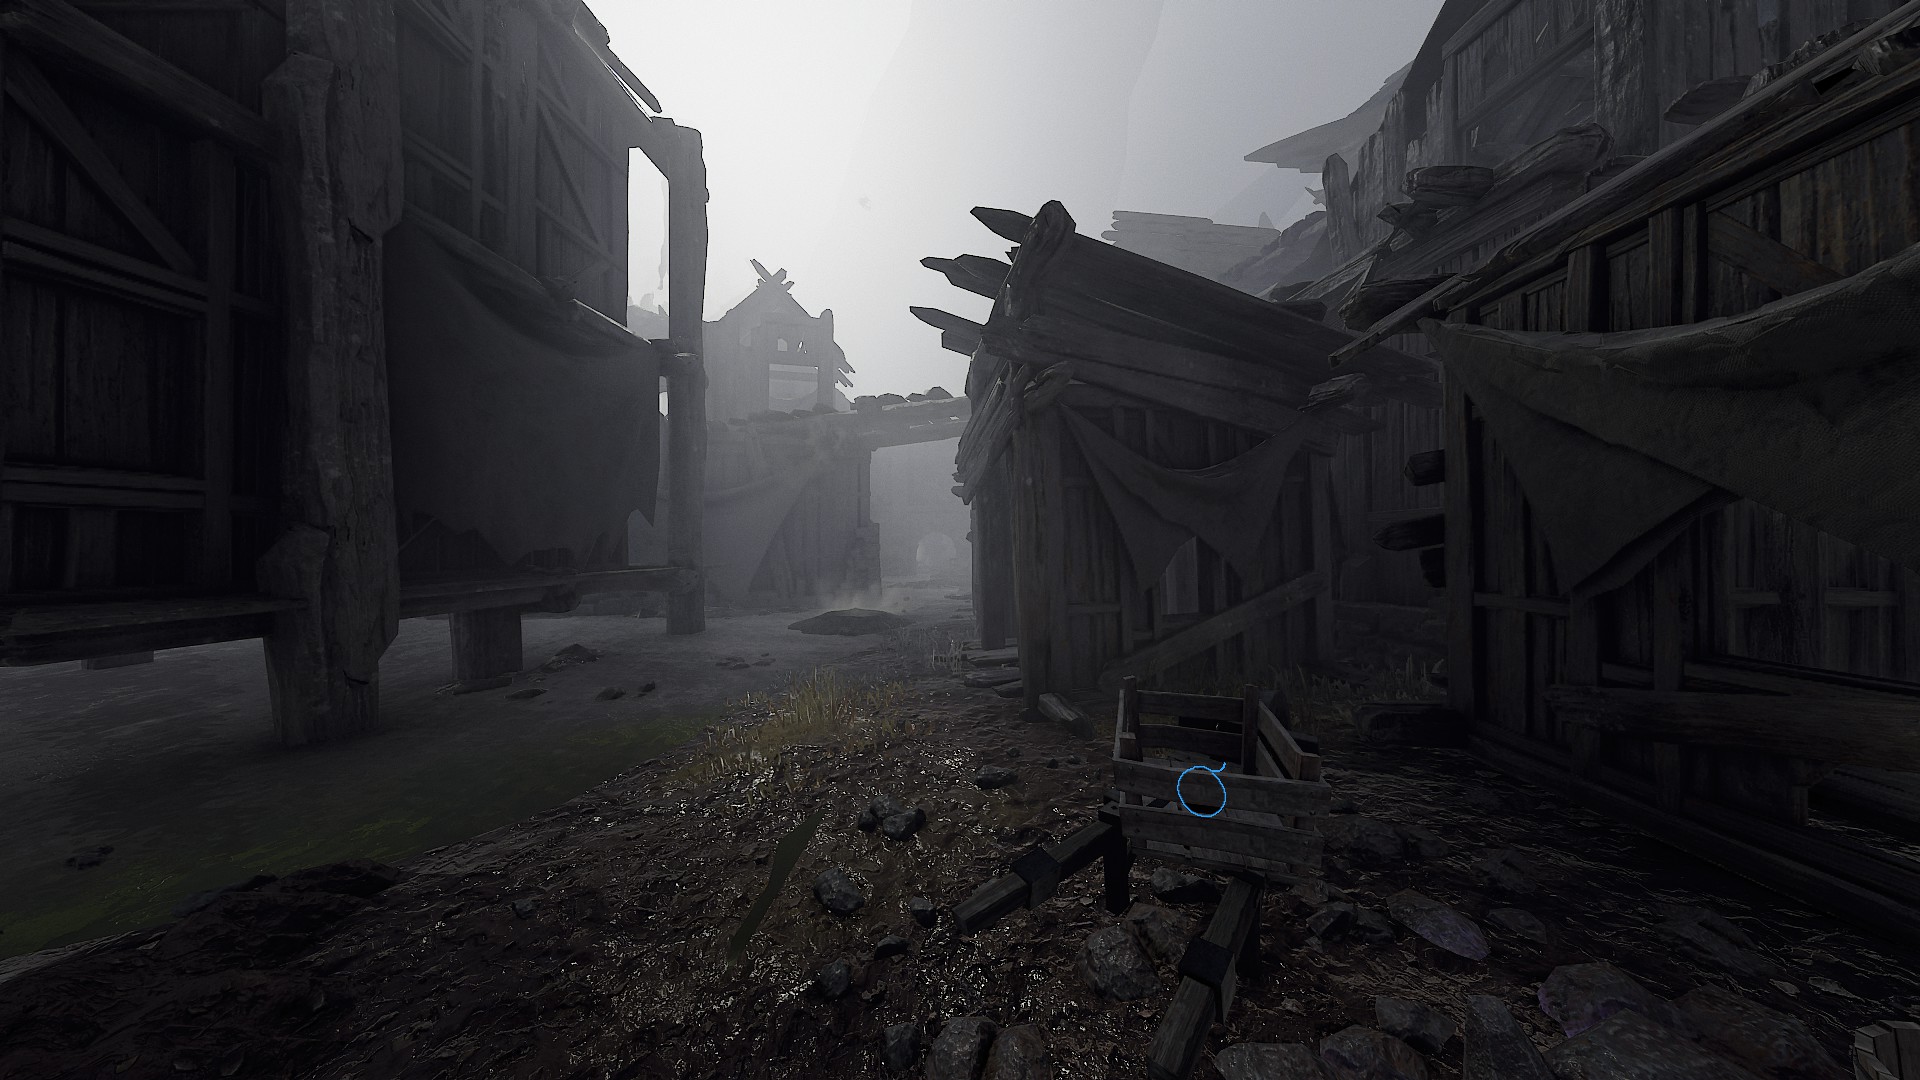
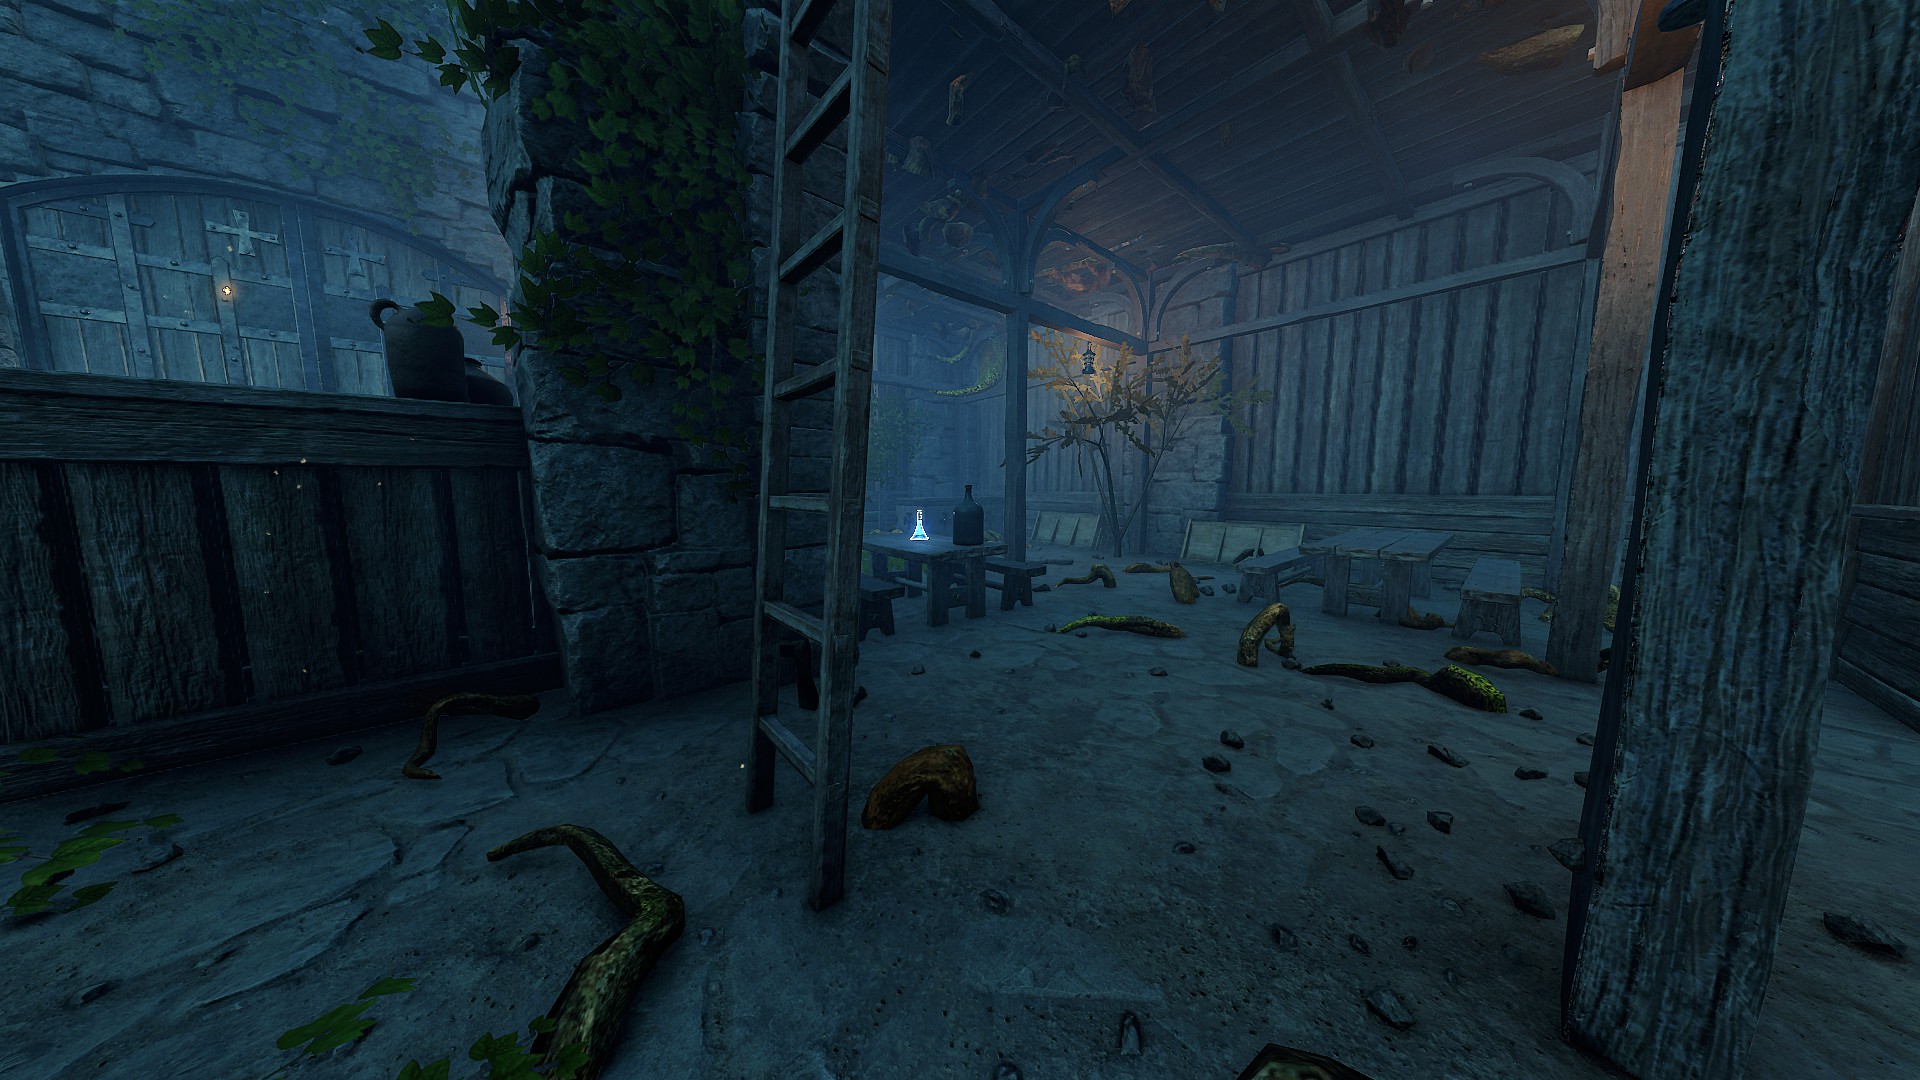
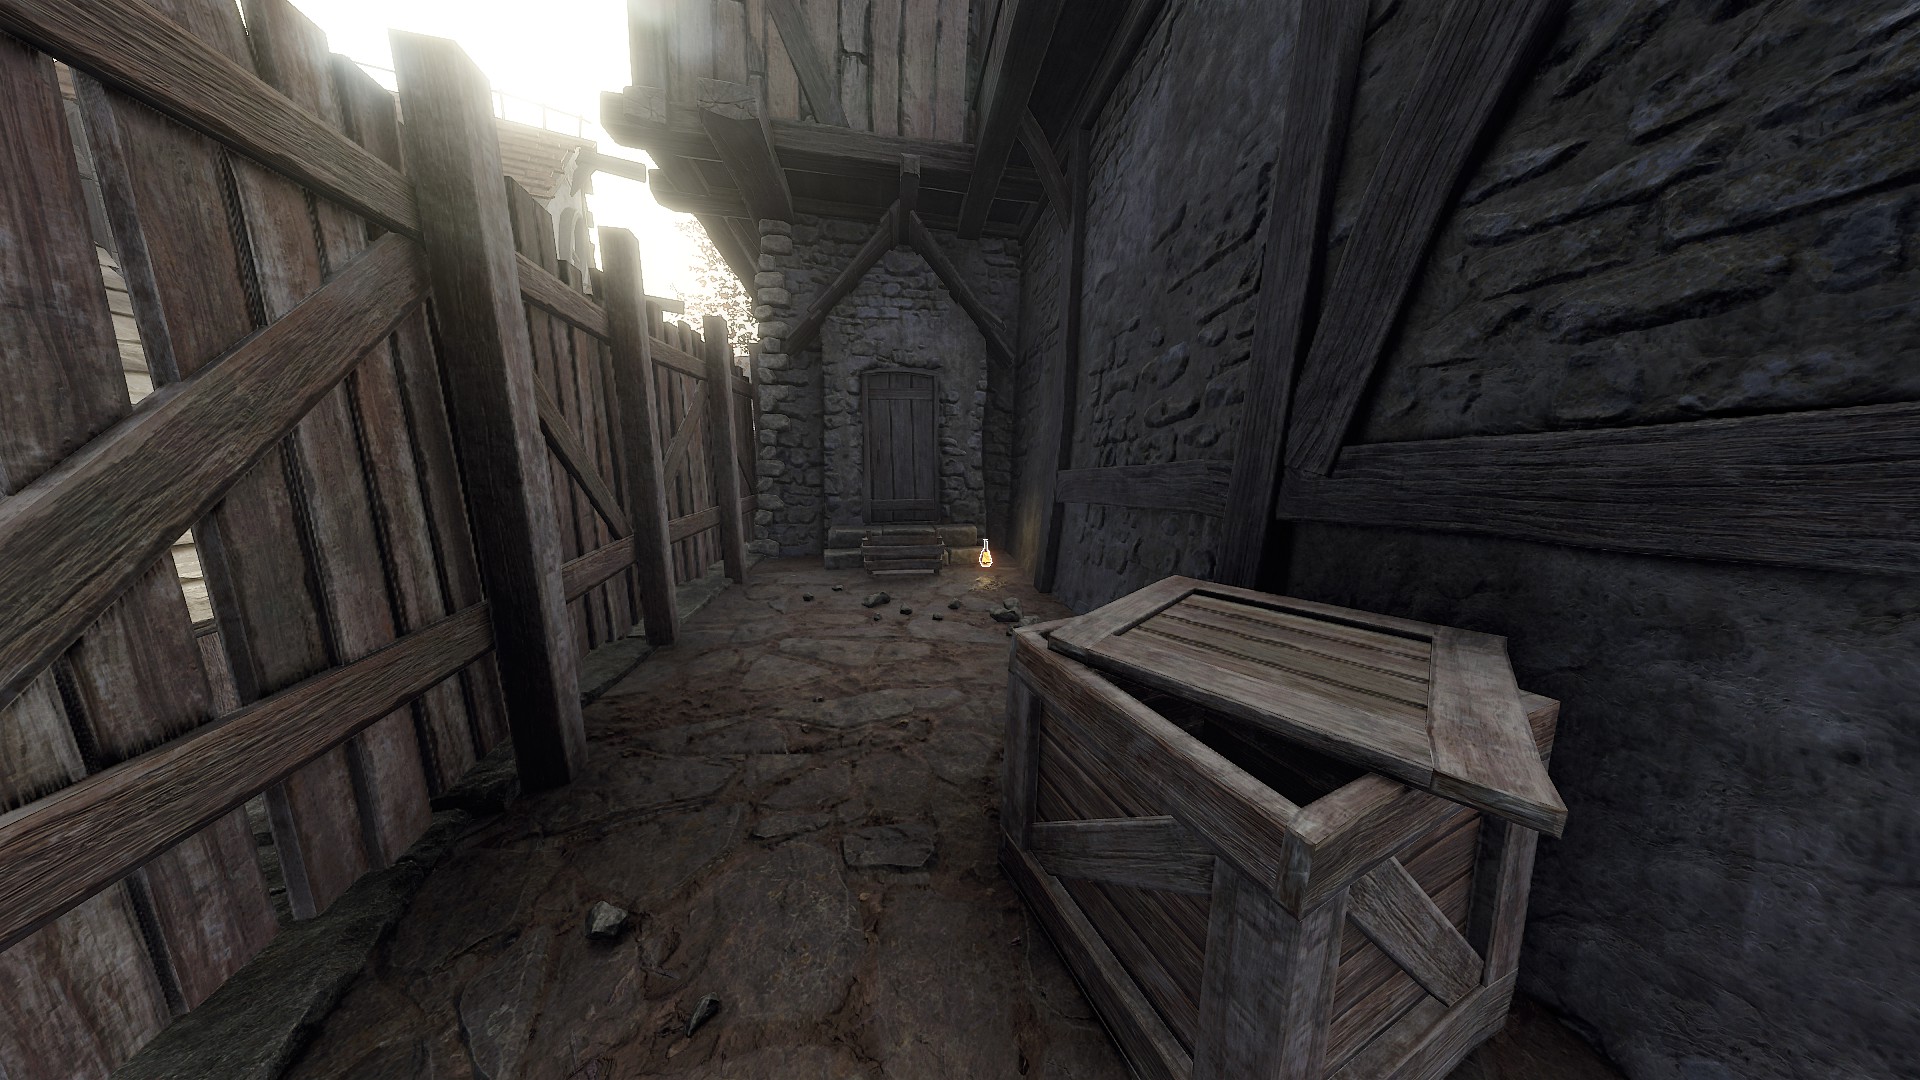
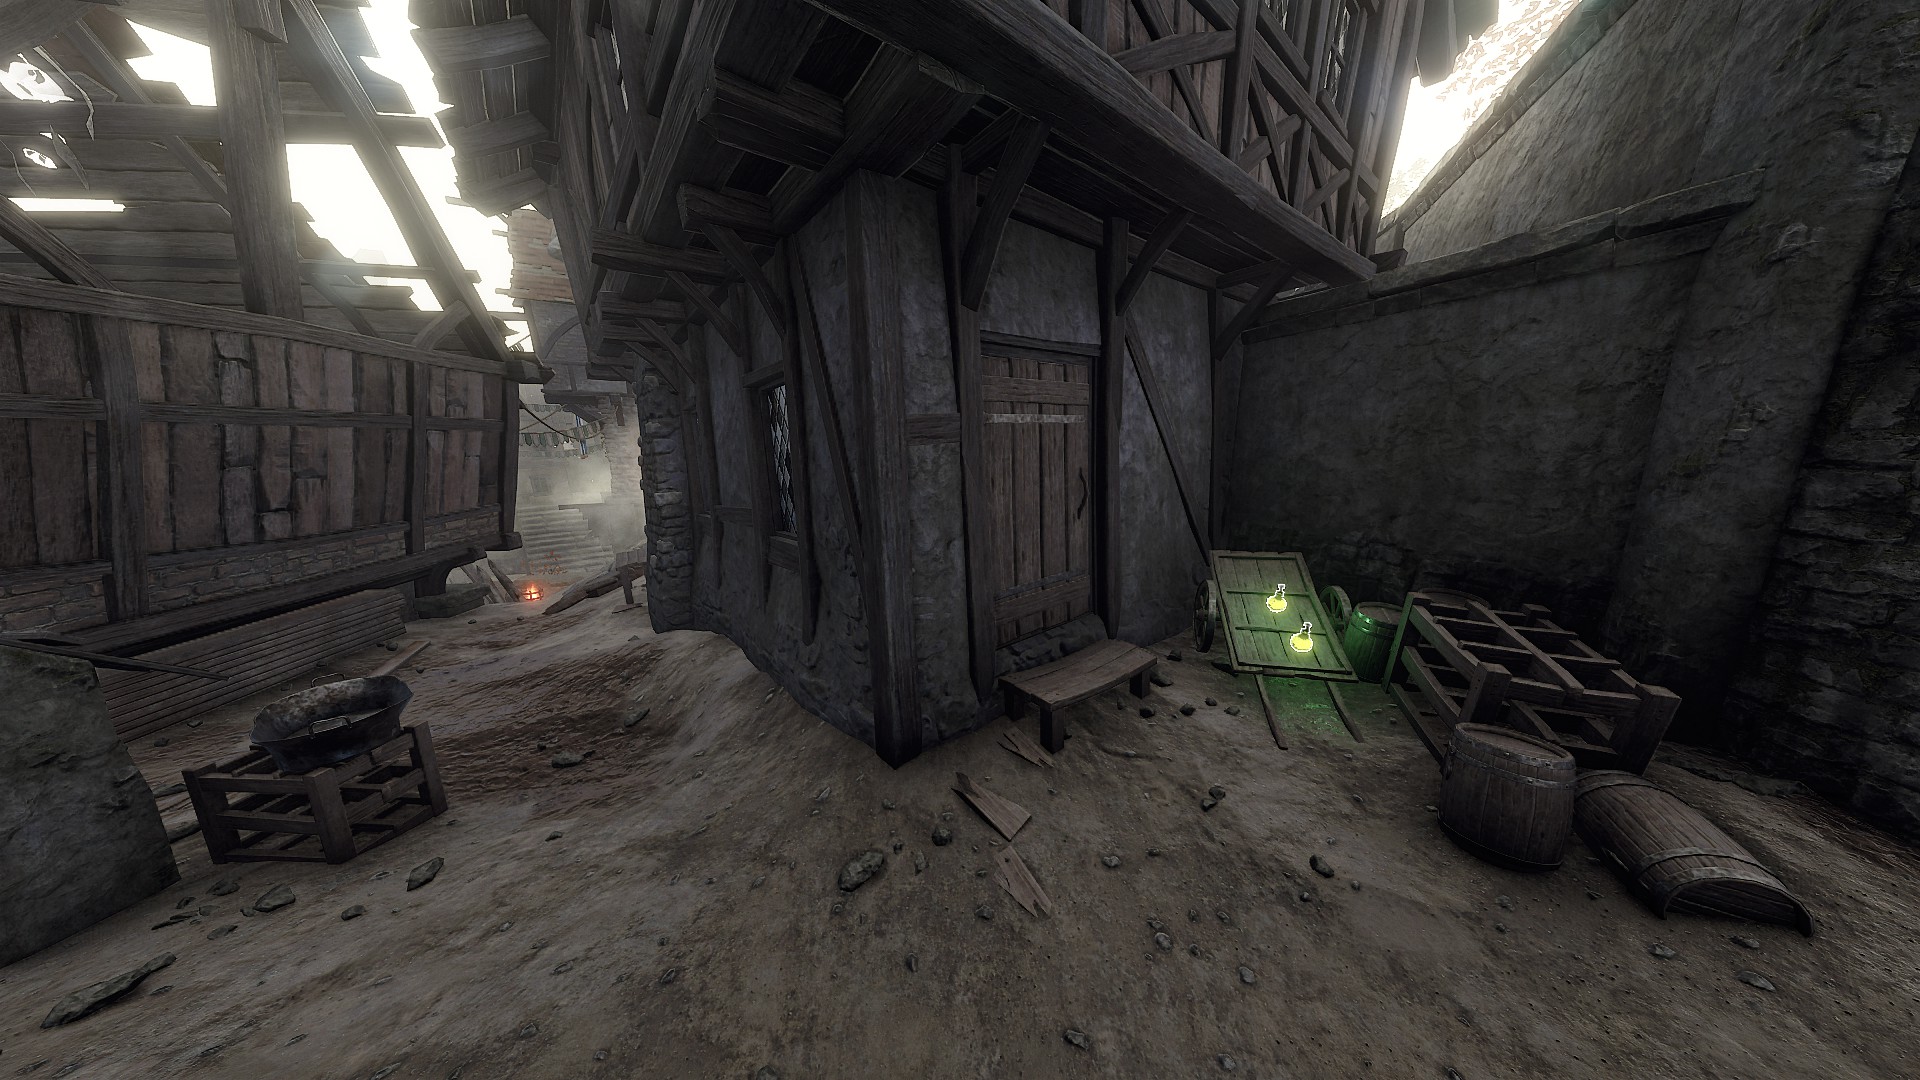
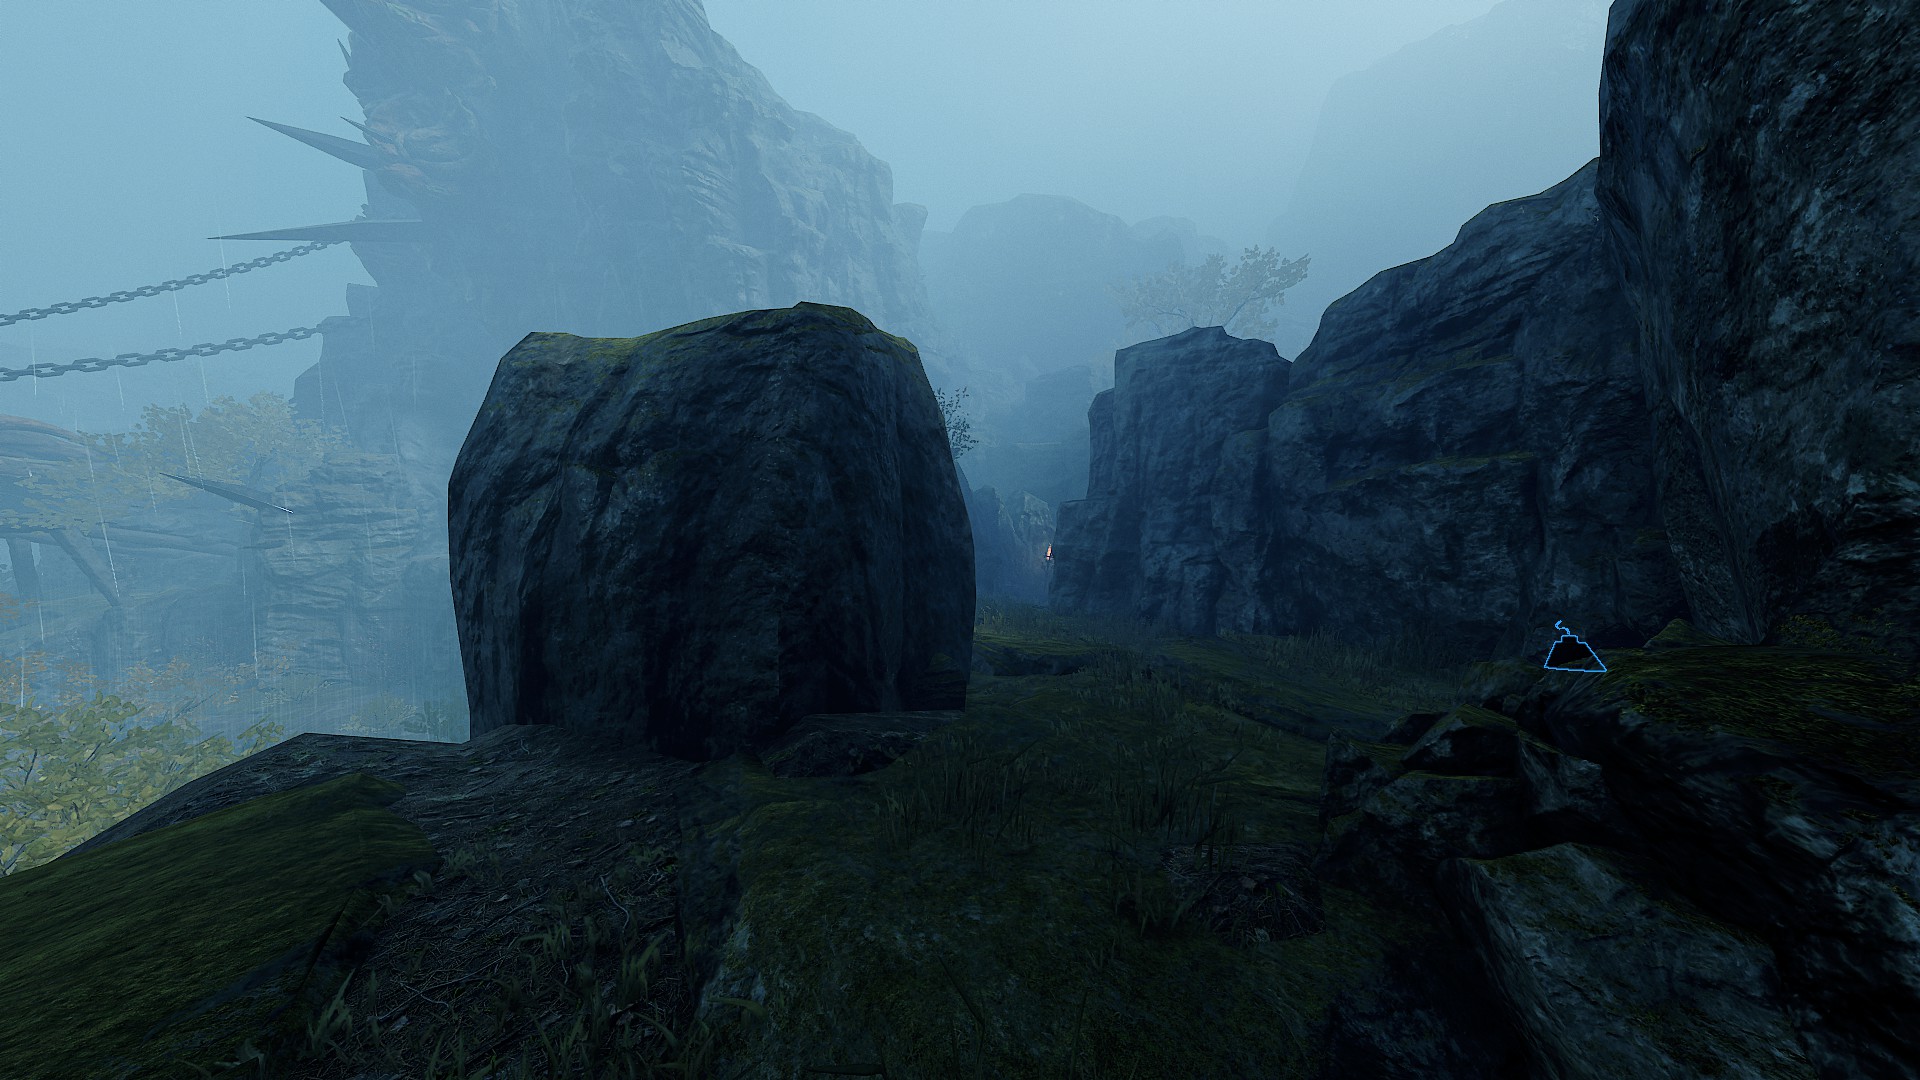
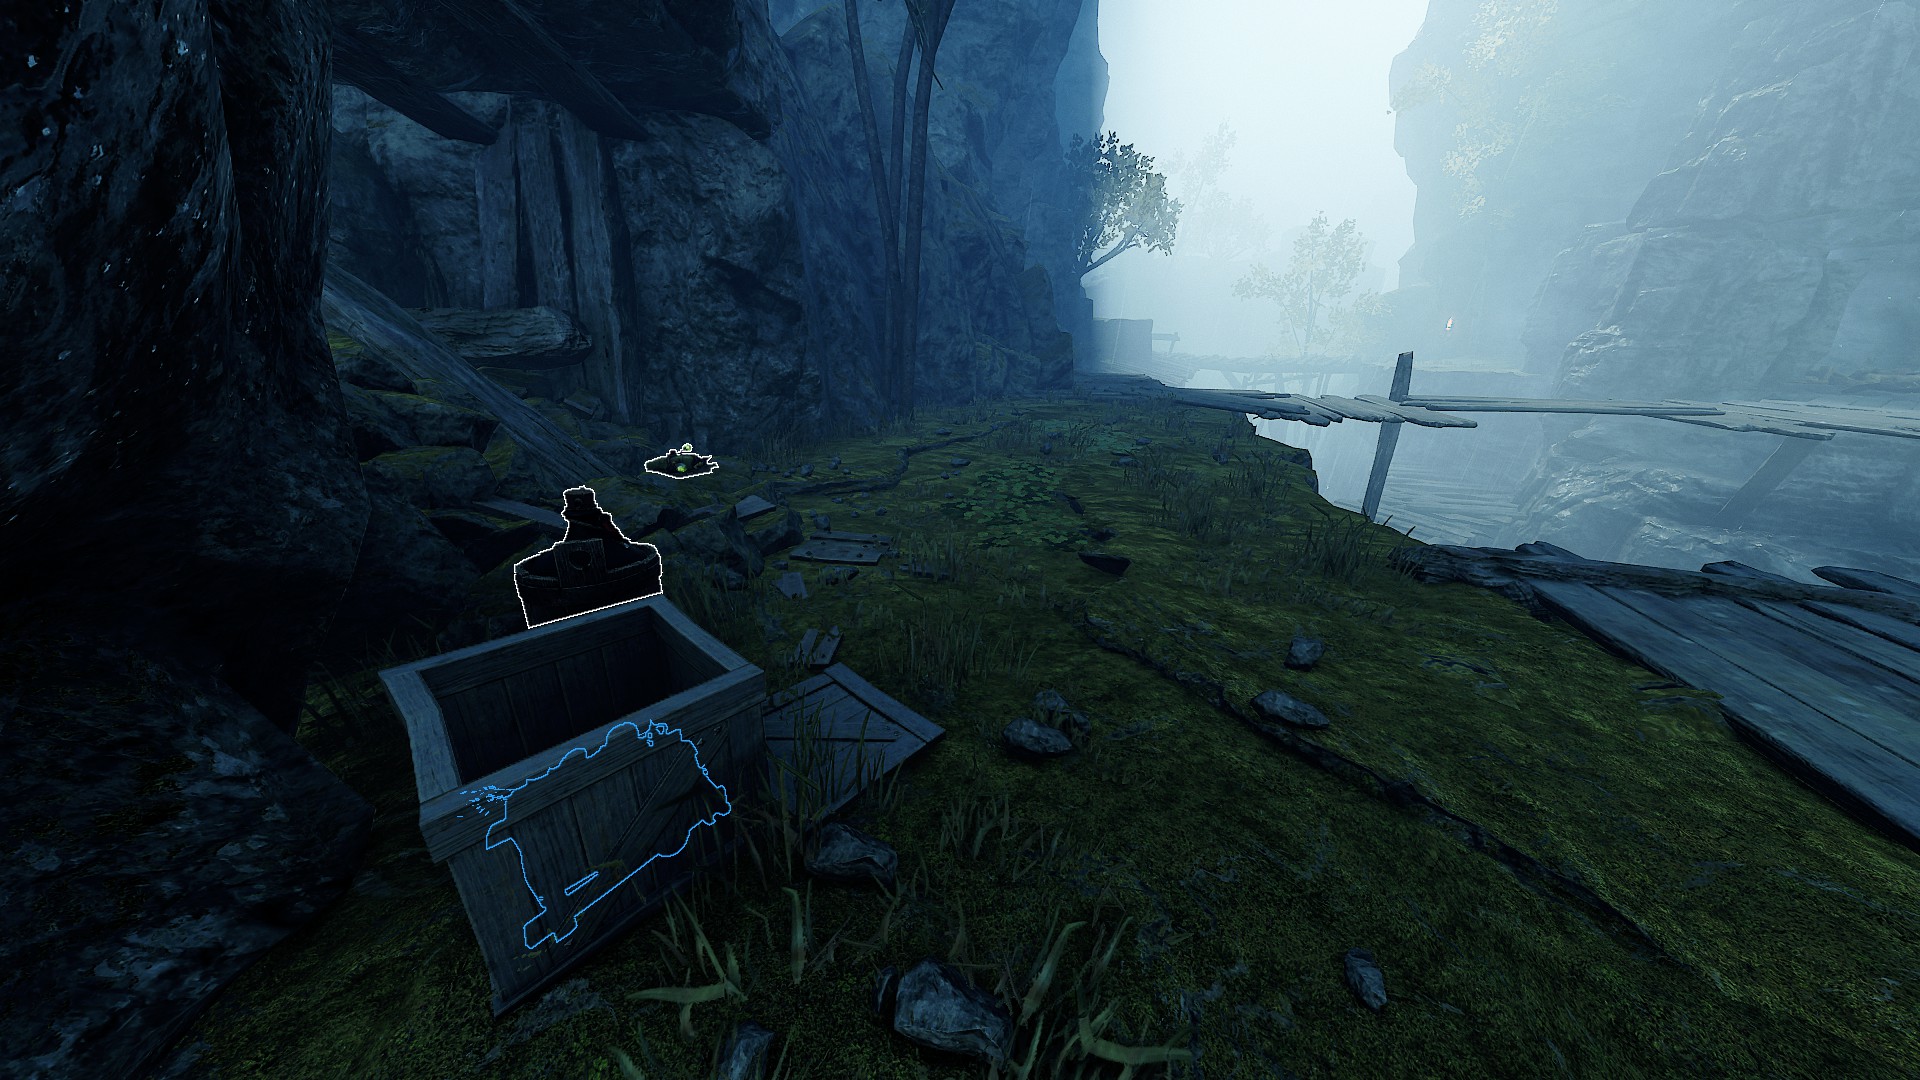
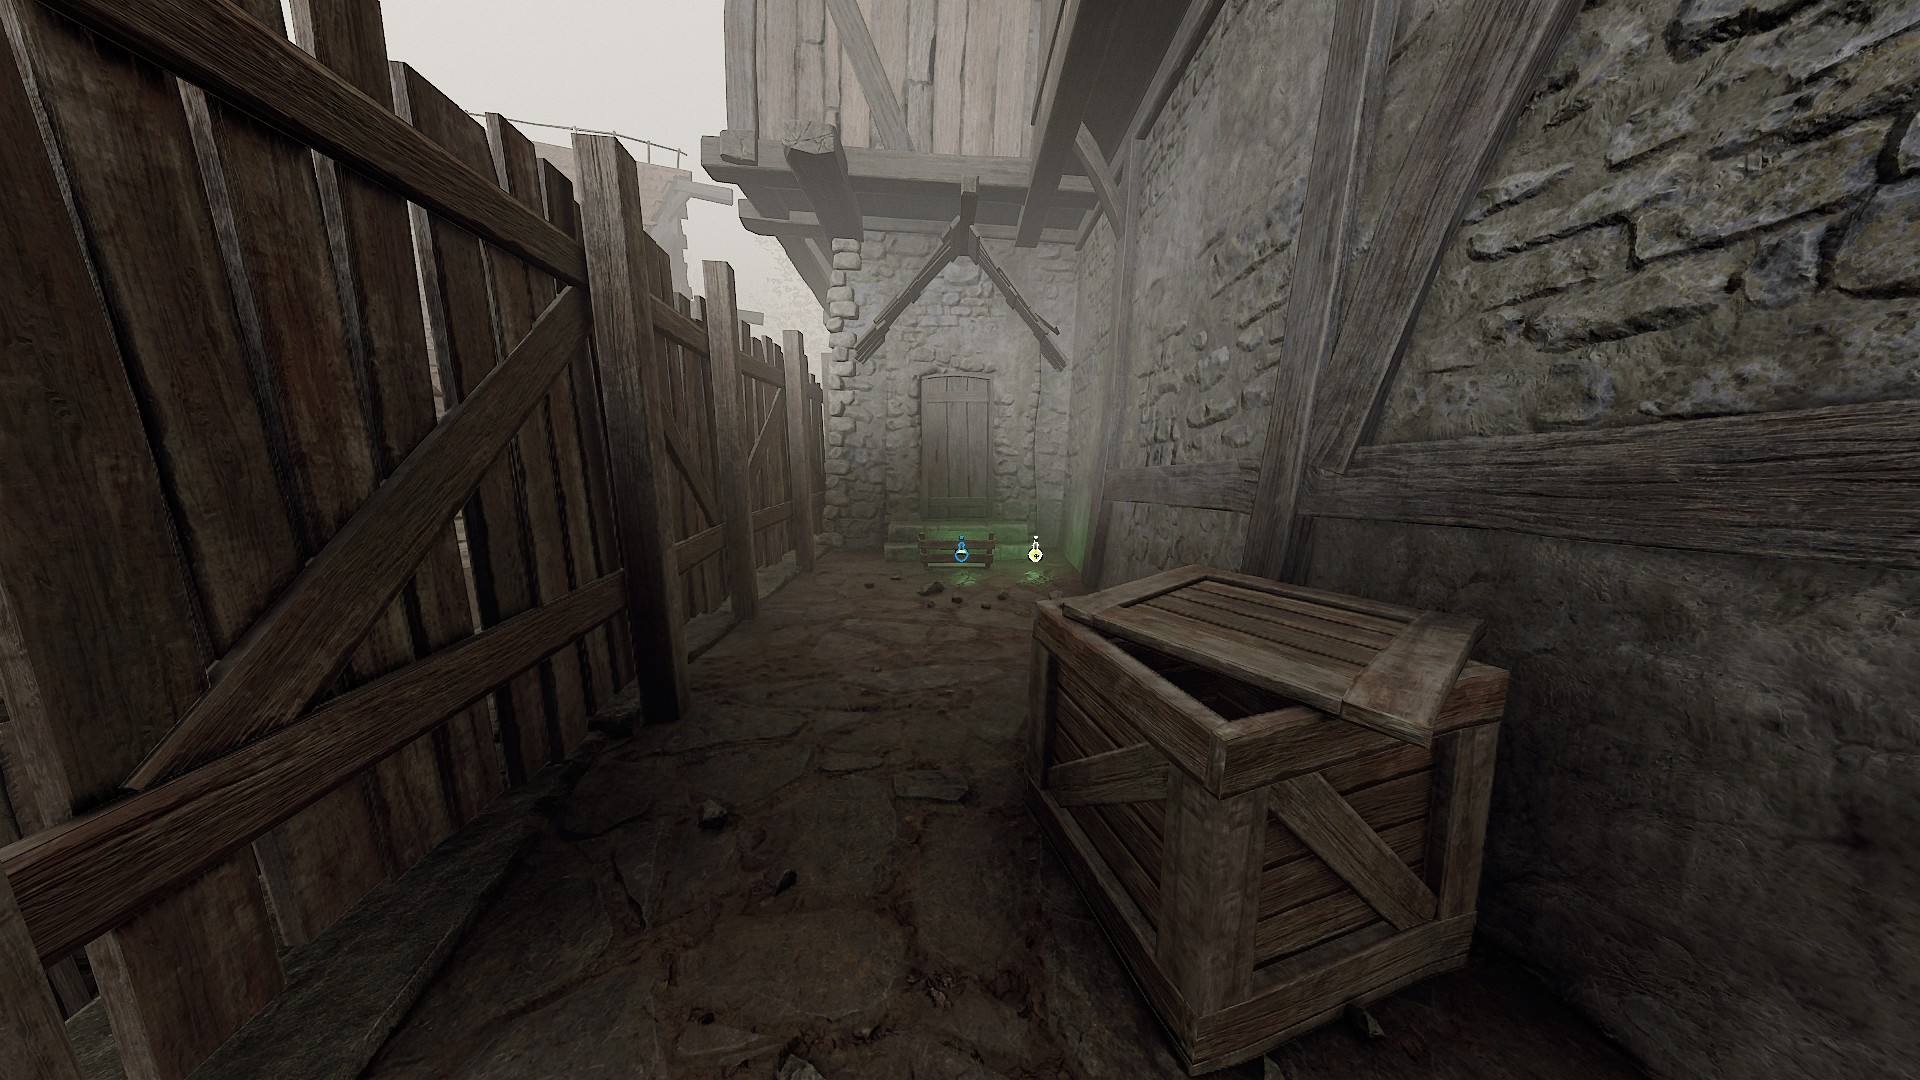
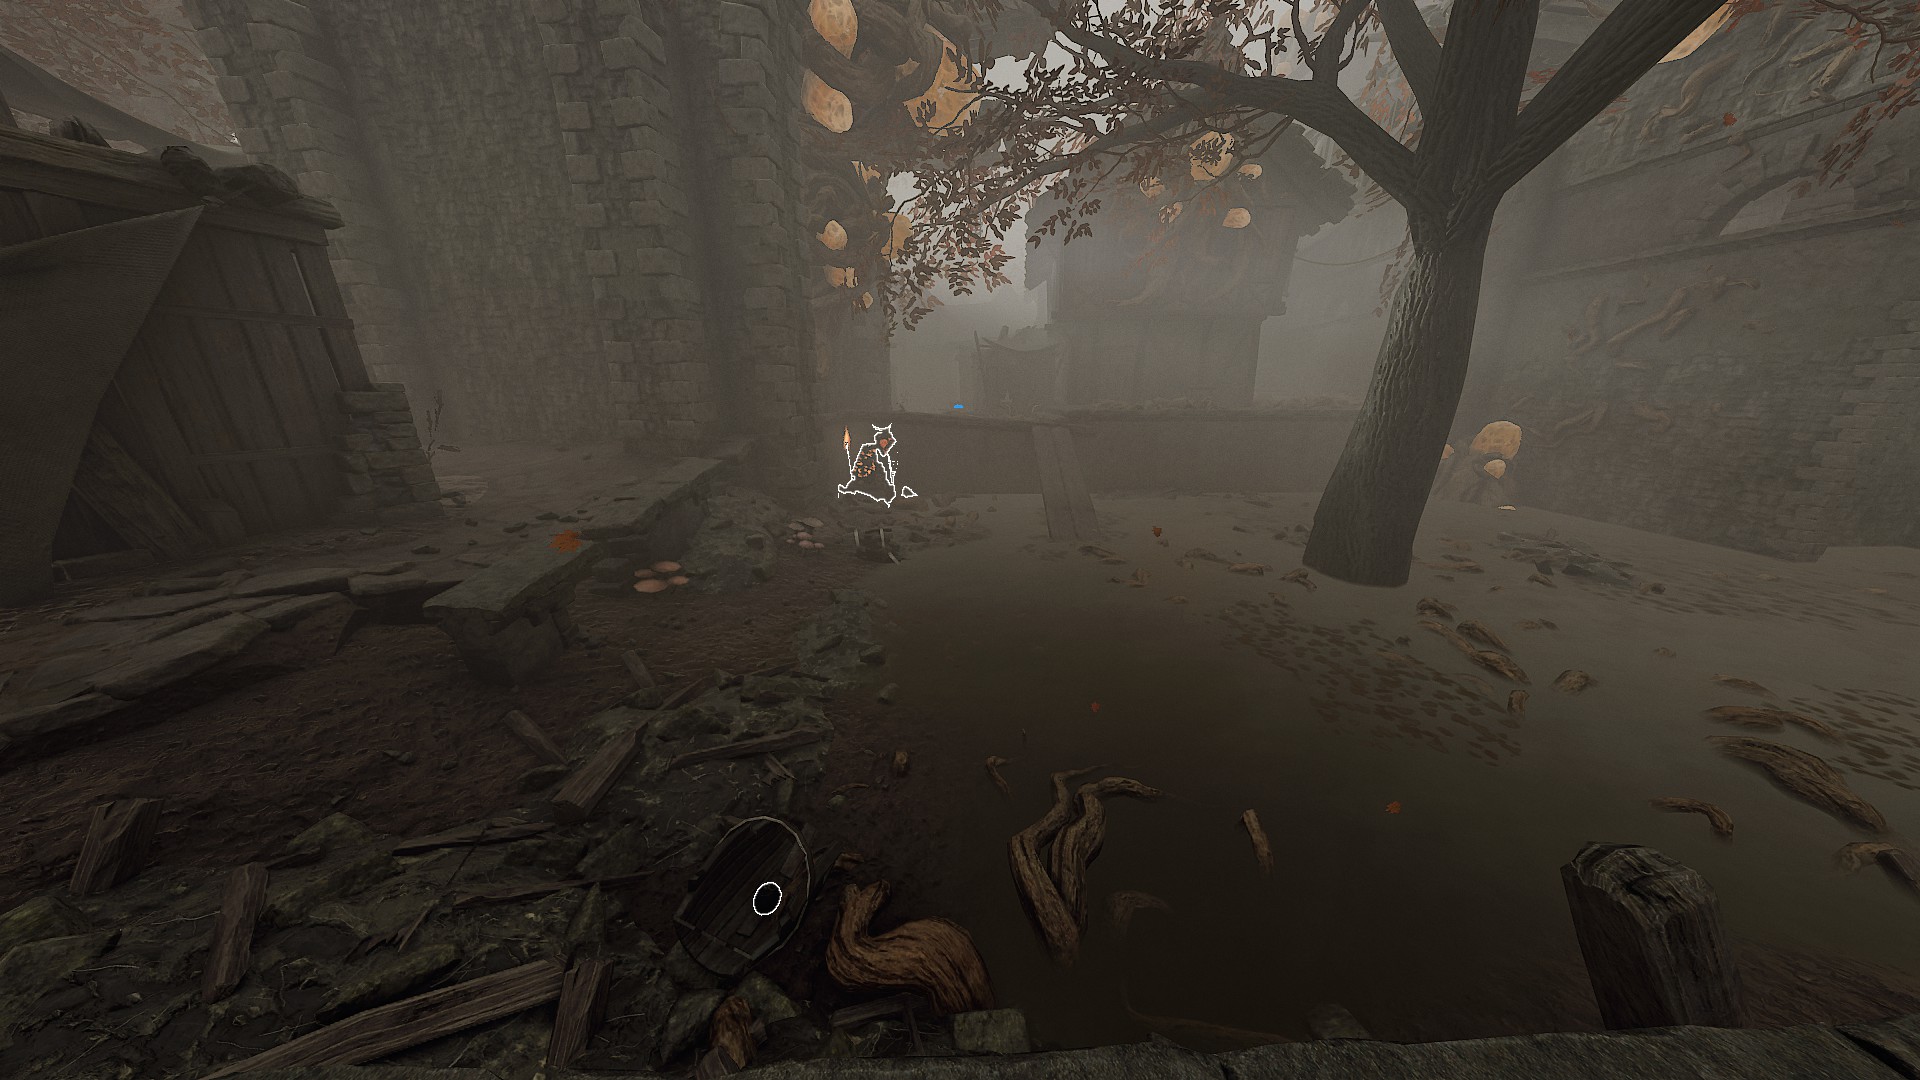
Where's the huddle spot in Arena of Athel Yenlui?
MadlySoldier 2 Dec, 2022 @ 9:30am 
Shatter Essence Chucks is literally impossible if you Solo as either Grail Knight or Sigma Priest.
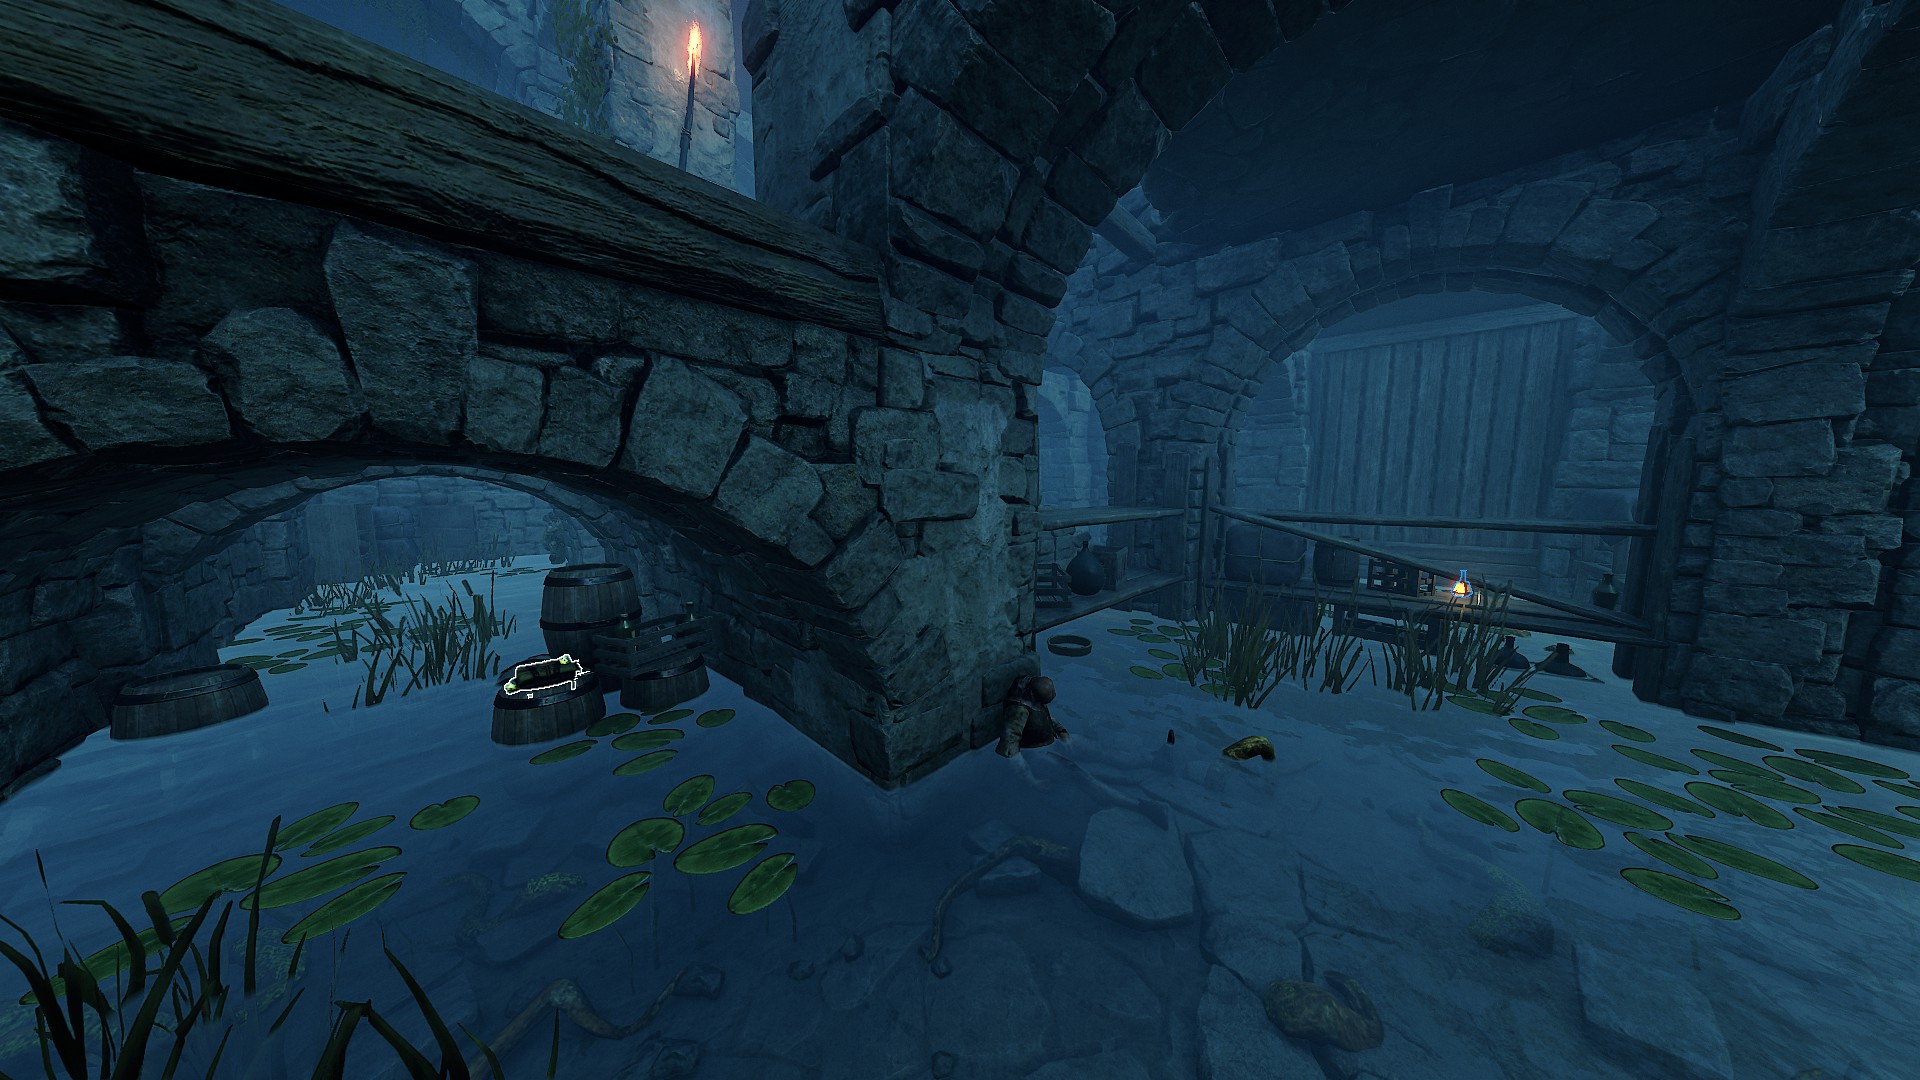
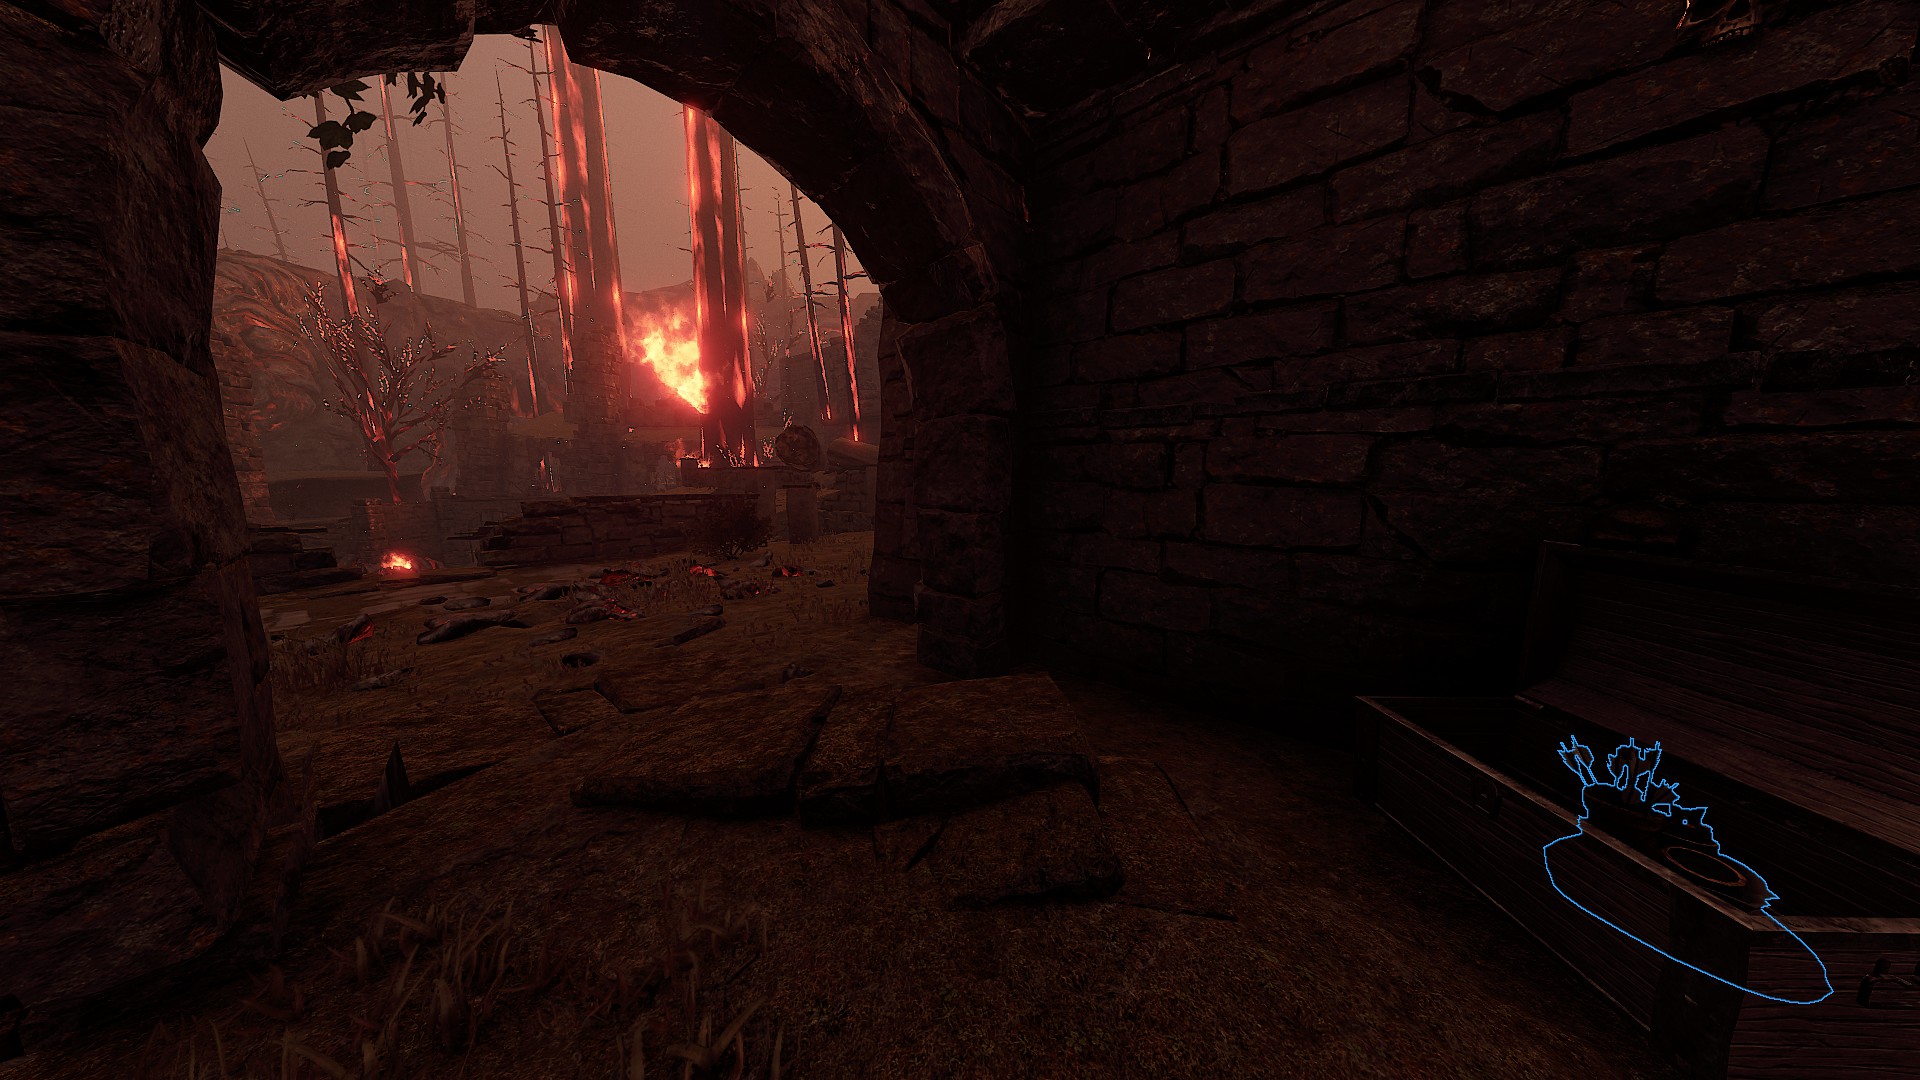
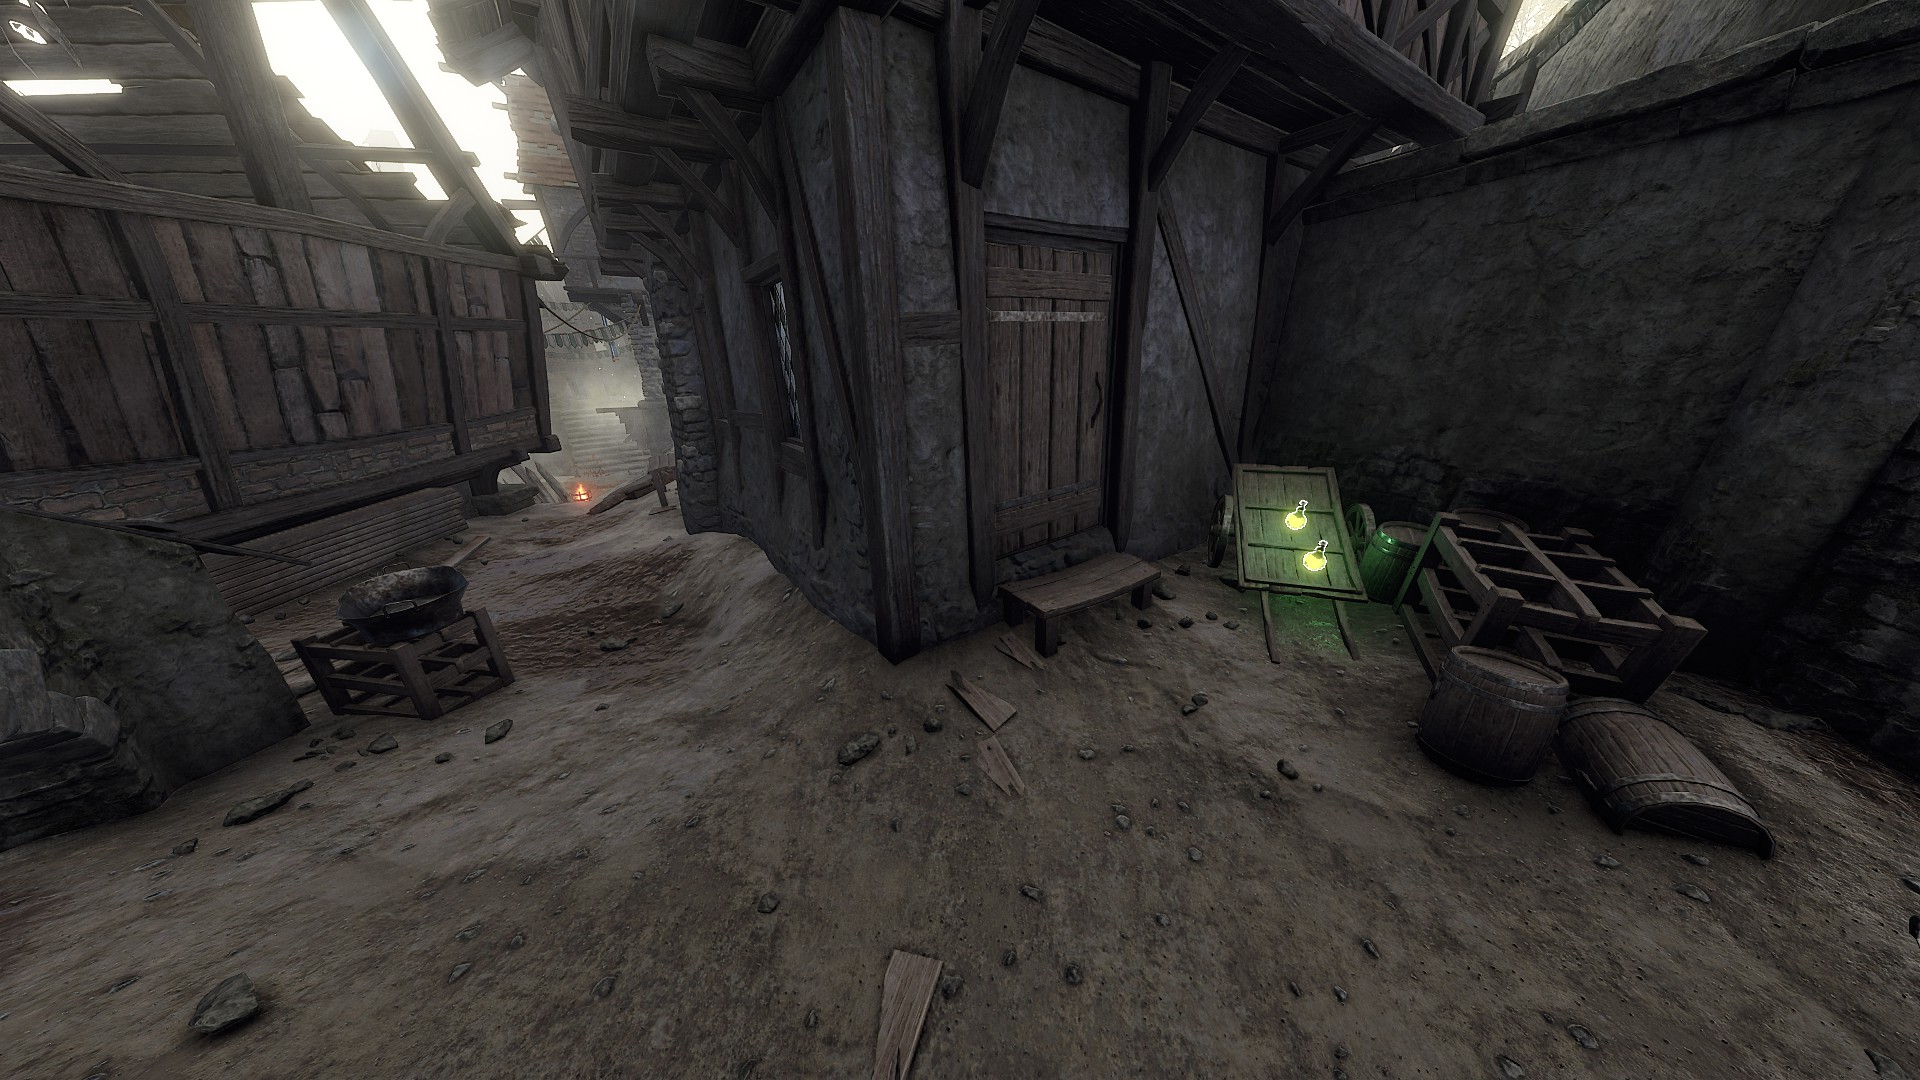
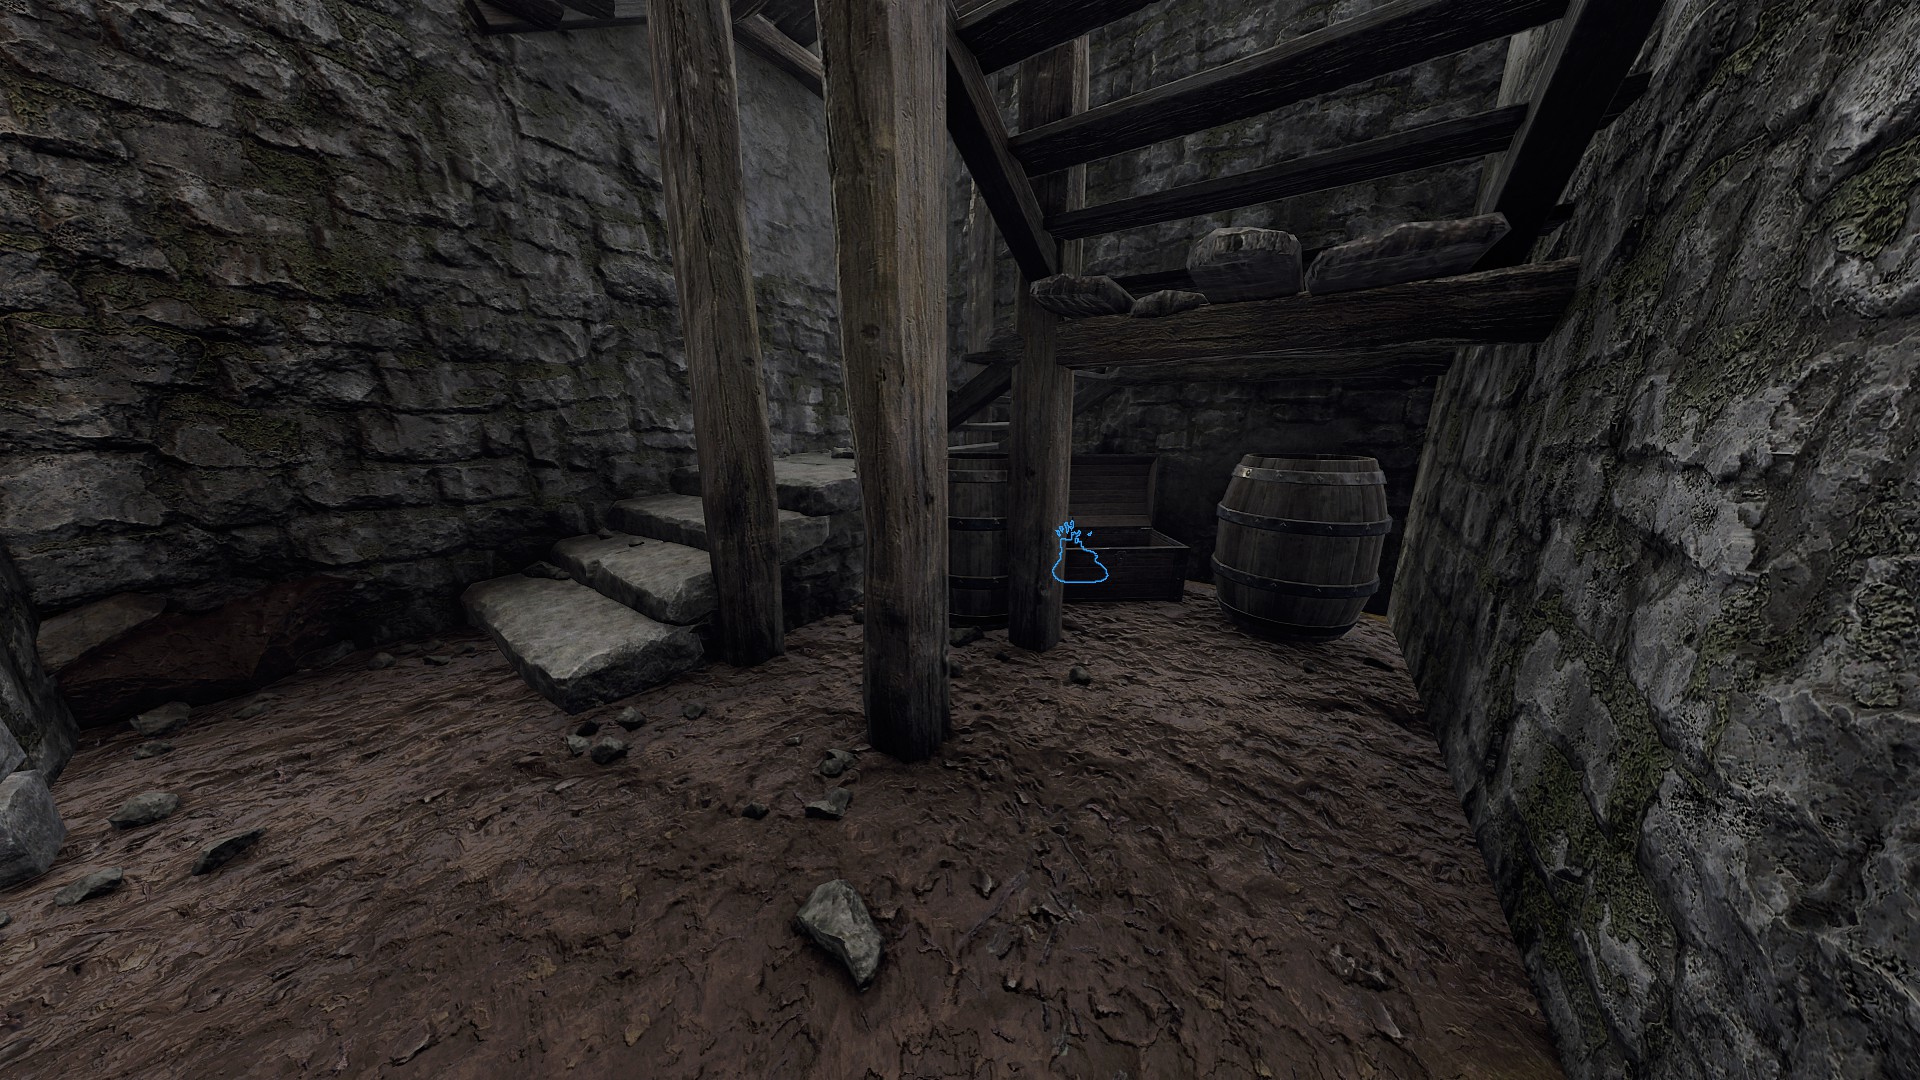
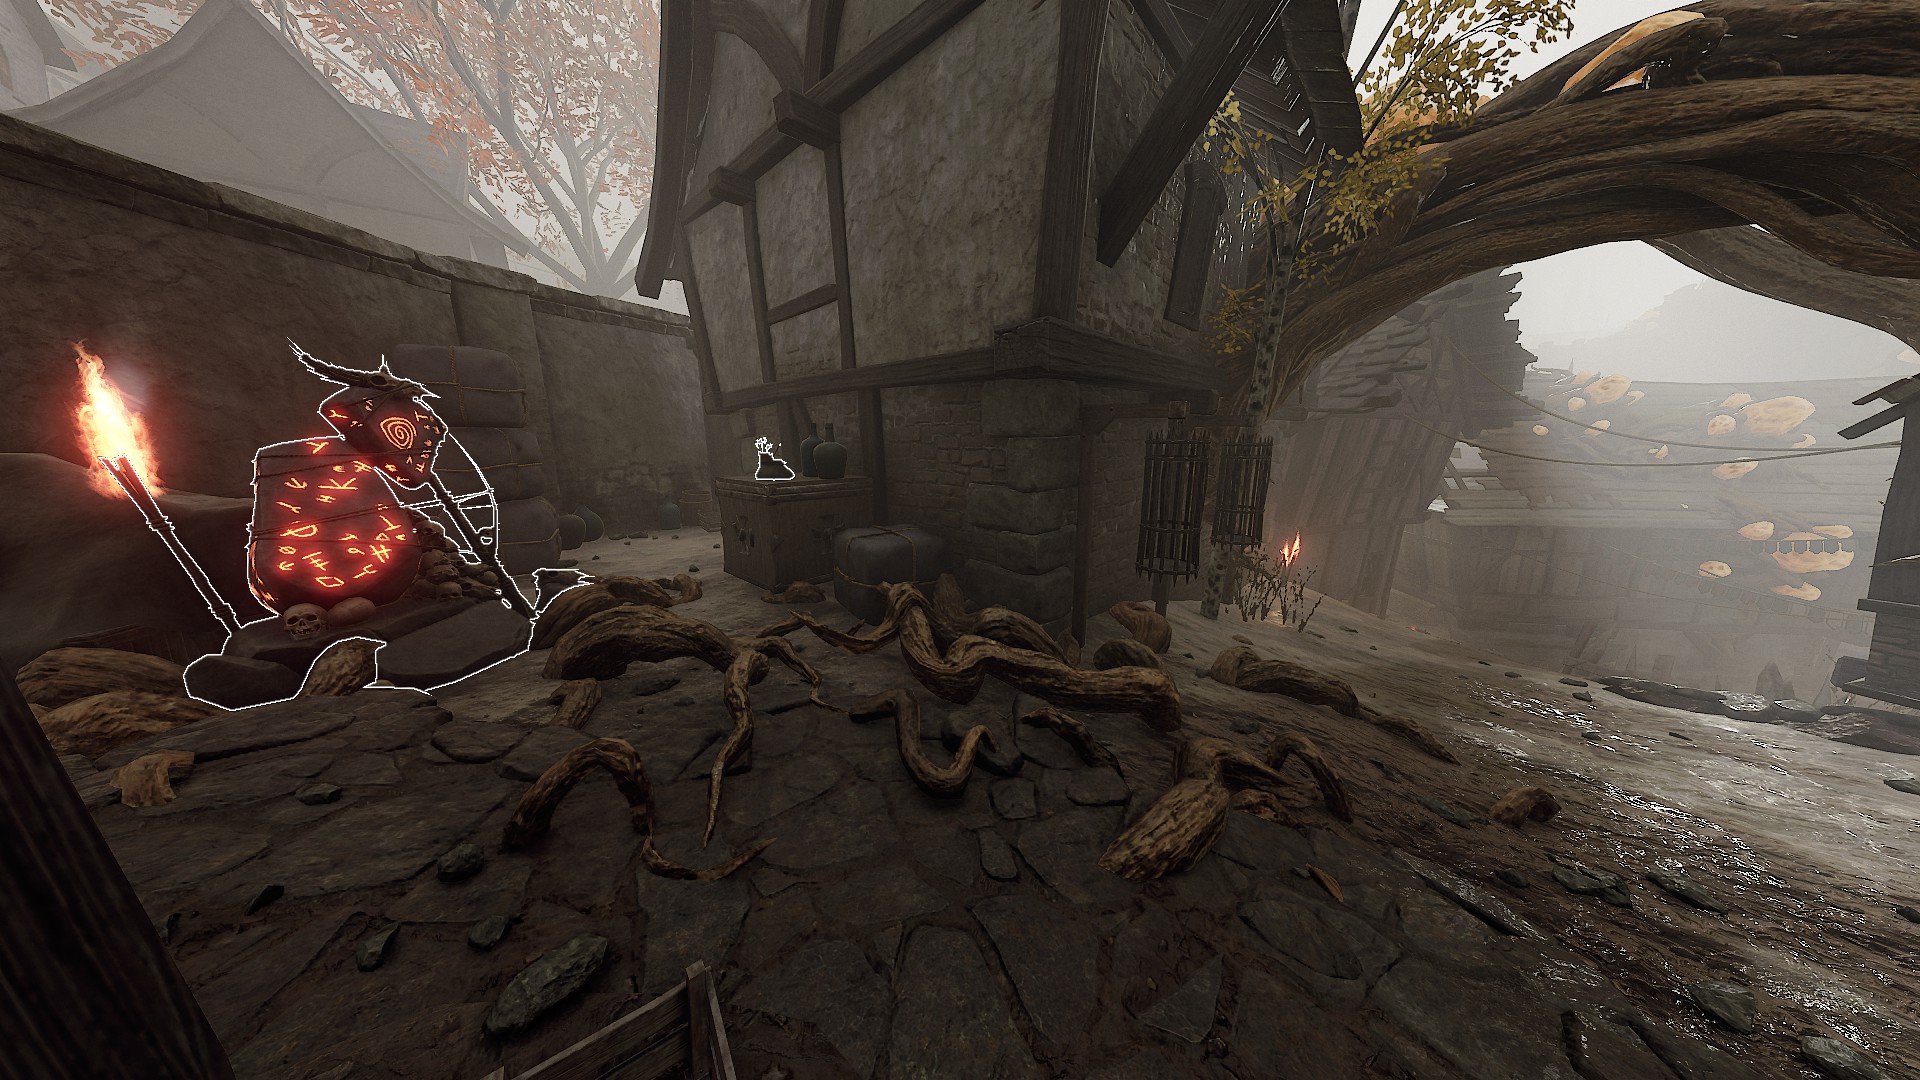
And bots can't be command to shoot them. Guess it's something that should be changed.
MrSlimeZ 1 Nov, 2022 @ 7:28am 
Thanks for this, I am not that far in the weaves yet but trying to duo with a friend. Currently around Weave 50 at the moment.
Kracya 16 Sep, 2022 @ 8:30am 
ok got it:nkSanta:
John.  [author] 20 Nov, 2021 @ 3:55pm 
@Dionysus This could be useful and prolly what you're looking for Weave Datamine Spreadsheet [docs.google.com] and If you want to know the exact values of health, stagger resist and mass per difficulty download Bestiary in the workshop.
B-O-N 20 Nov, 2021 @ 1:12pm 
81-120 is Cata 3, 121-160 is Cata 3+.
Dionysus 🐭 20 Nov, 2021 @ 12:59pm 
Do you know what the scaling buffs are and when they start?
Shadowhawk 29 Oct, 2021 @ 4:01am 
Considering the coloring of the "Coloseum" ending, I think it matches perfectly with "The Pit" with the image they provide in the mission select screen. It also helps that it might be relevant to a pattern I can see with the ending maps. 1 ending map for the Helmgart map set (Athel Yenlui). 1 ending map for the Drachenfels map set. 1 ending for the Shadow's Over Bogenhafen map set.

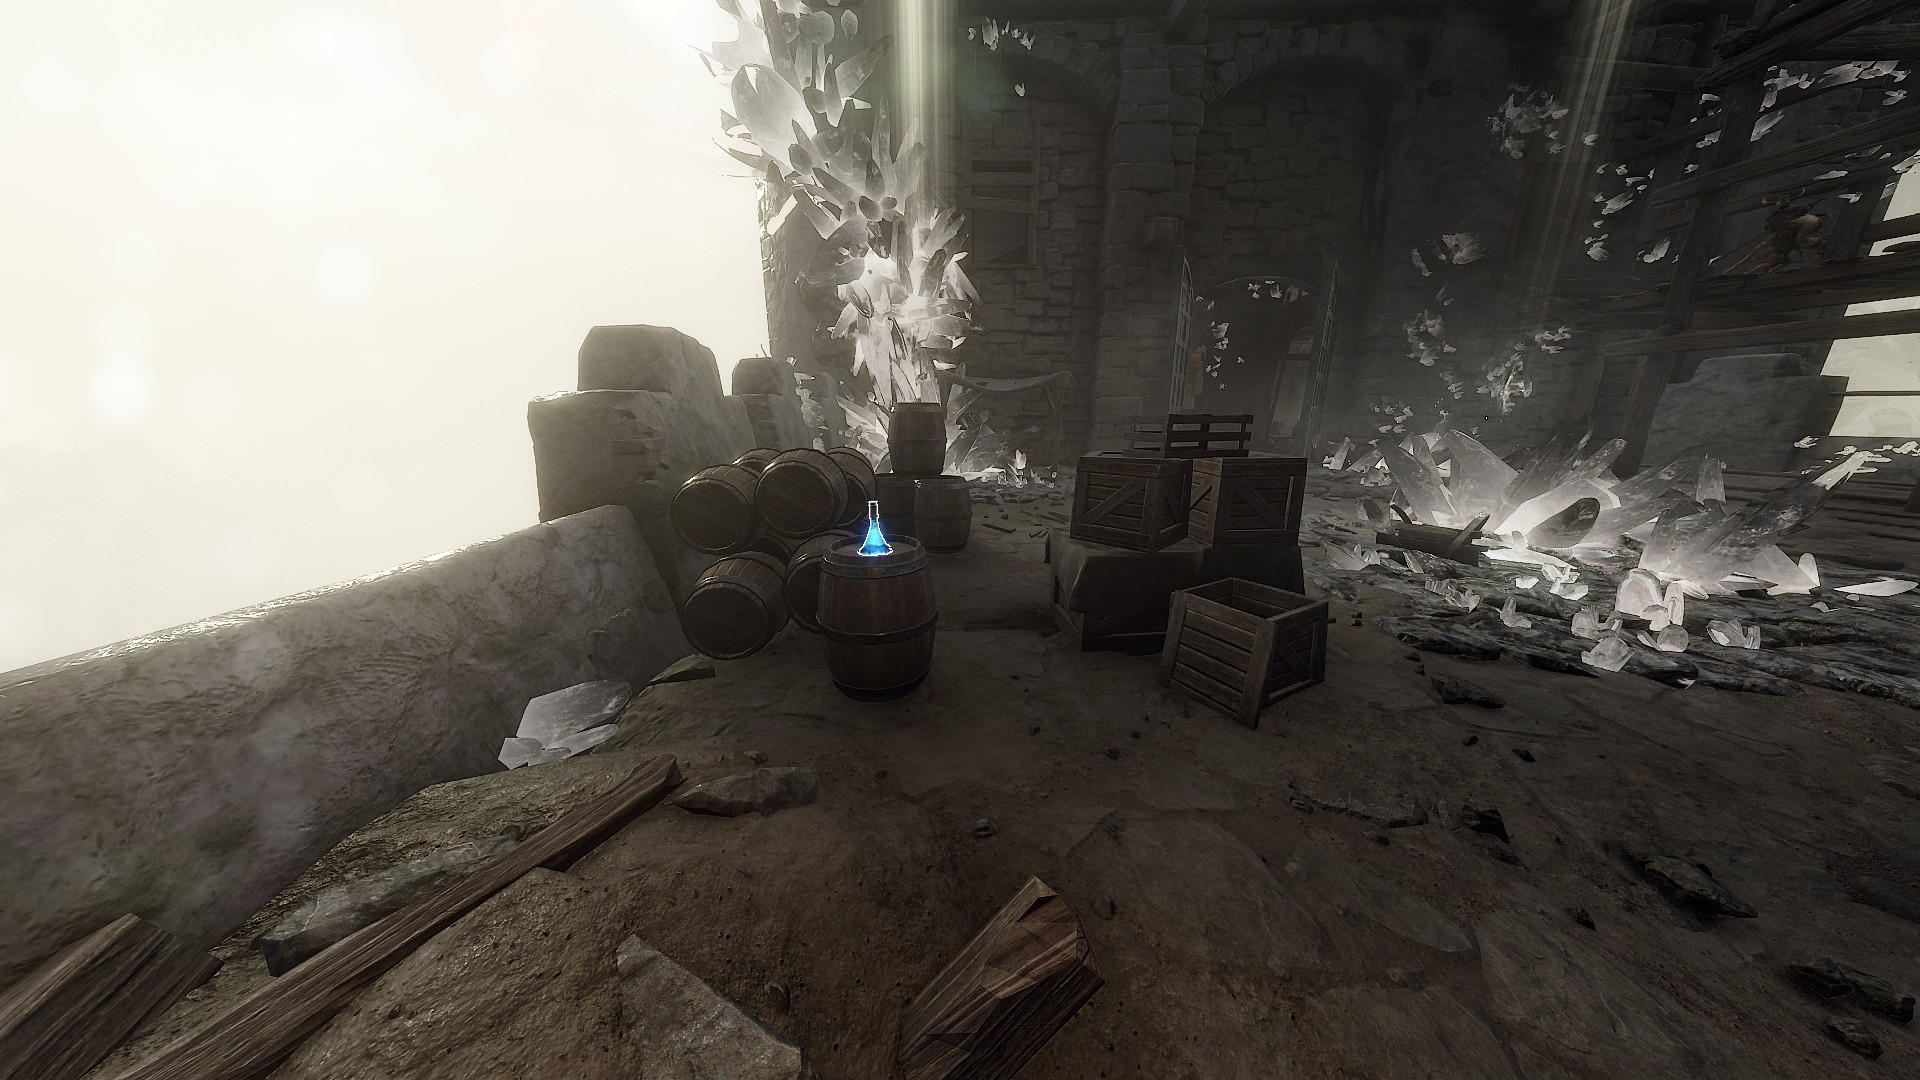
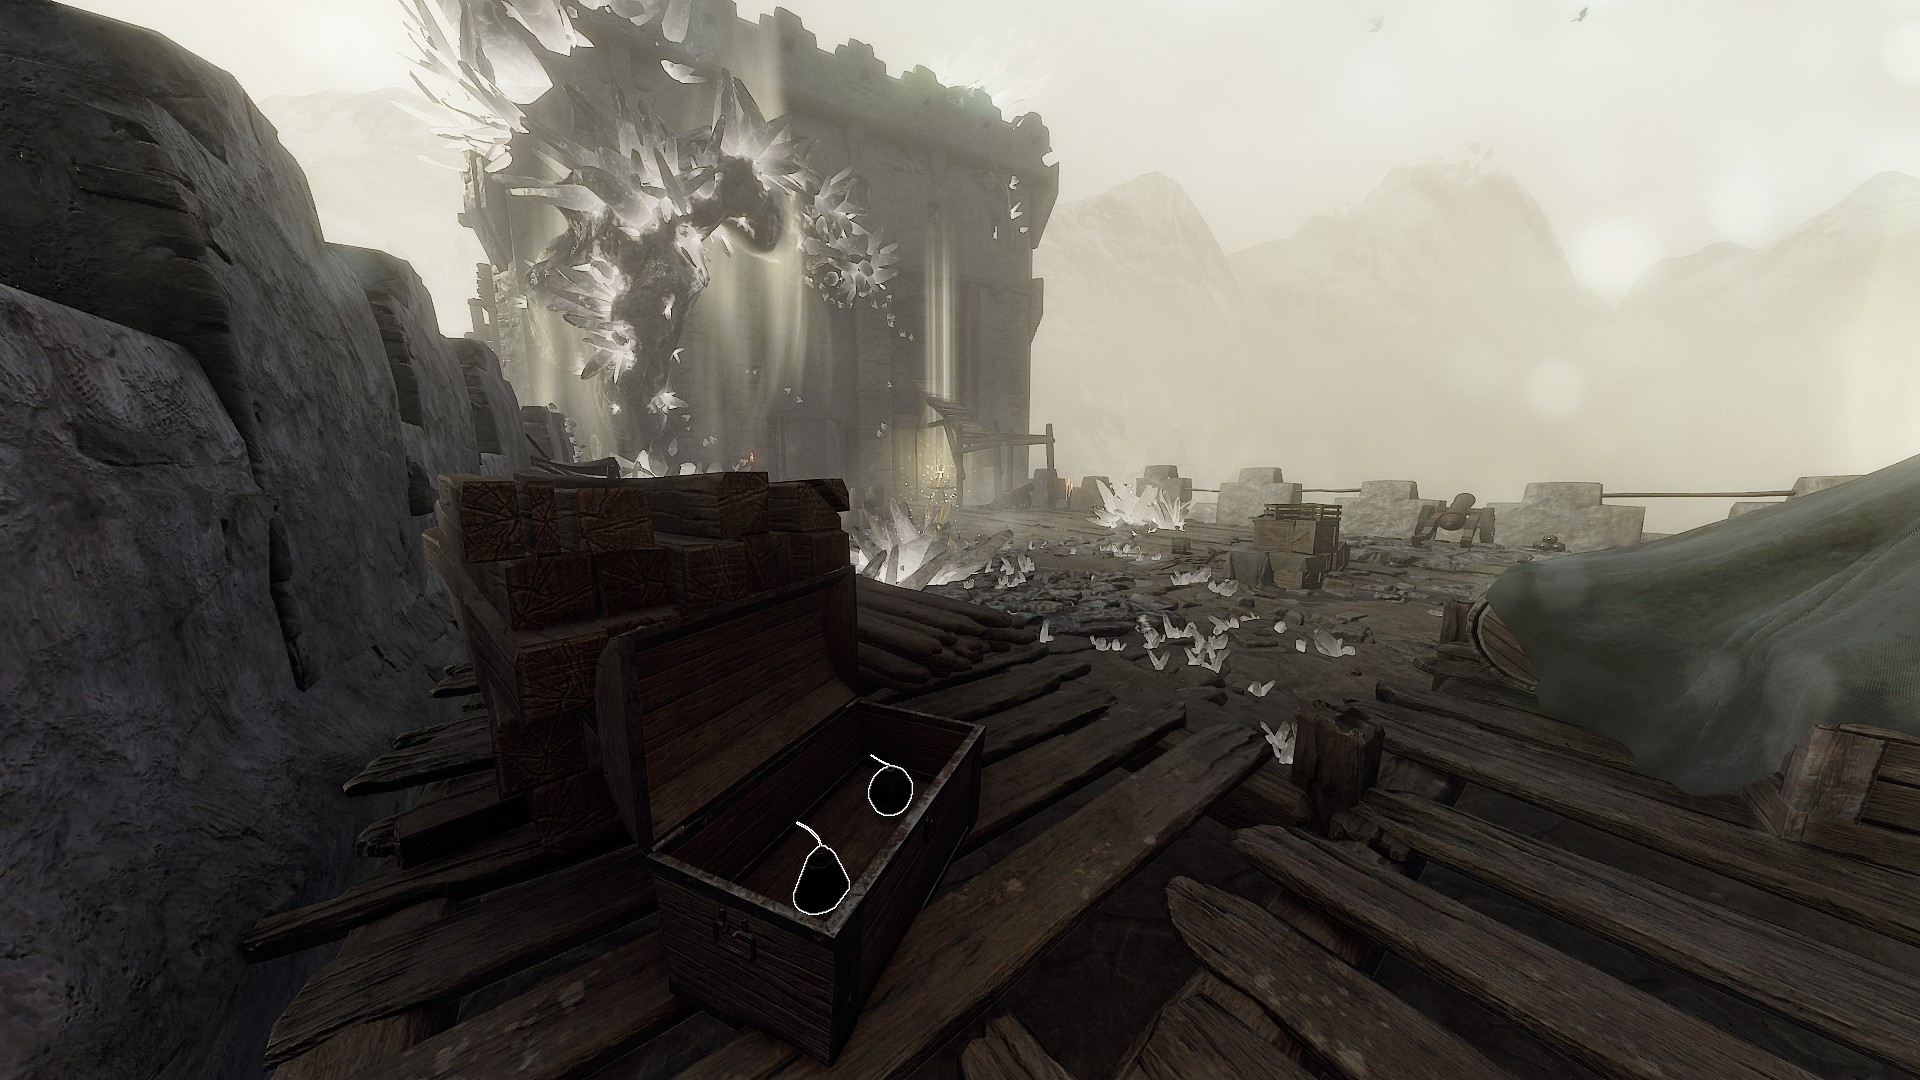
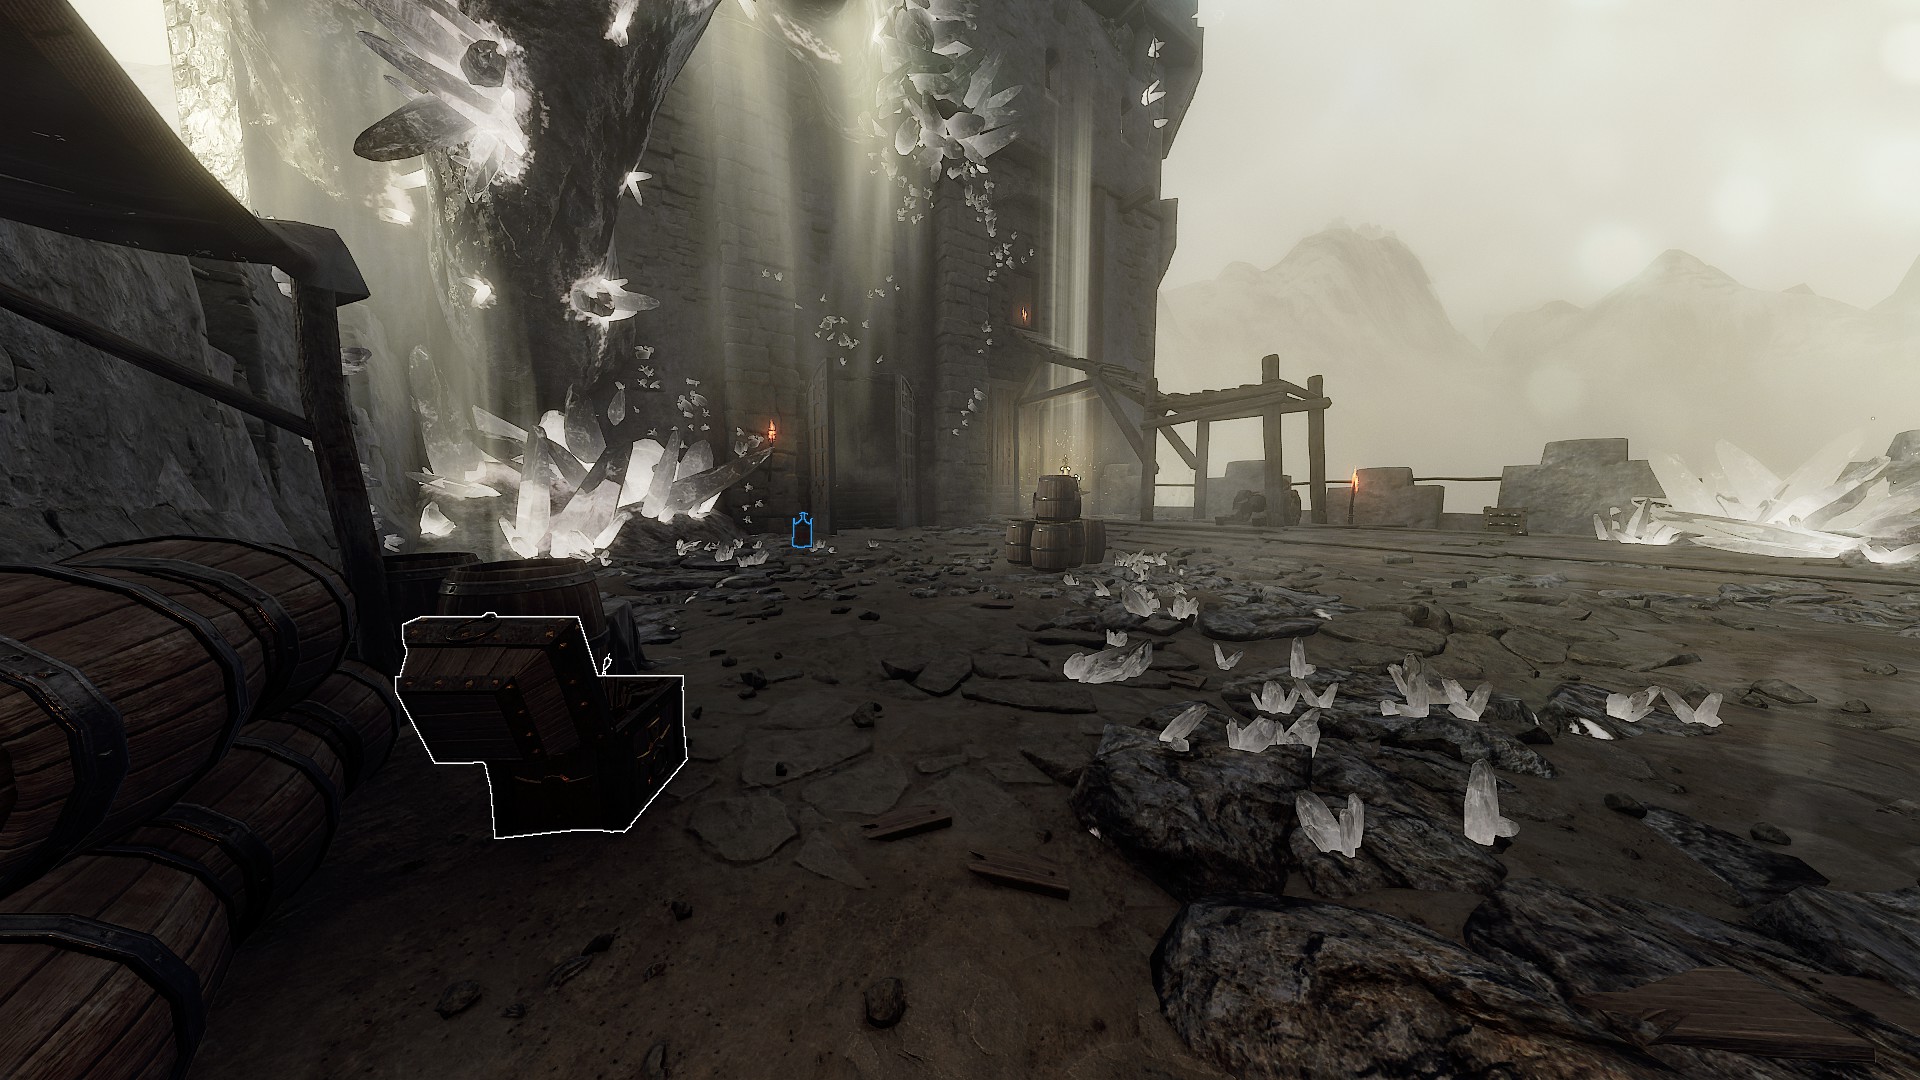
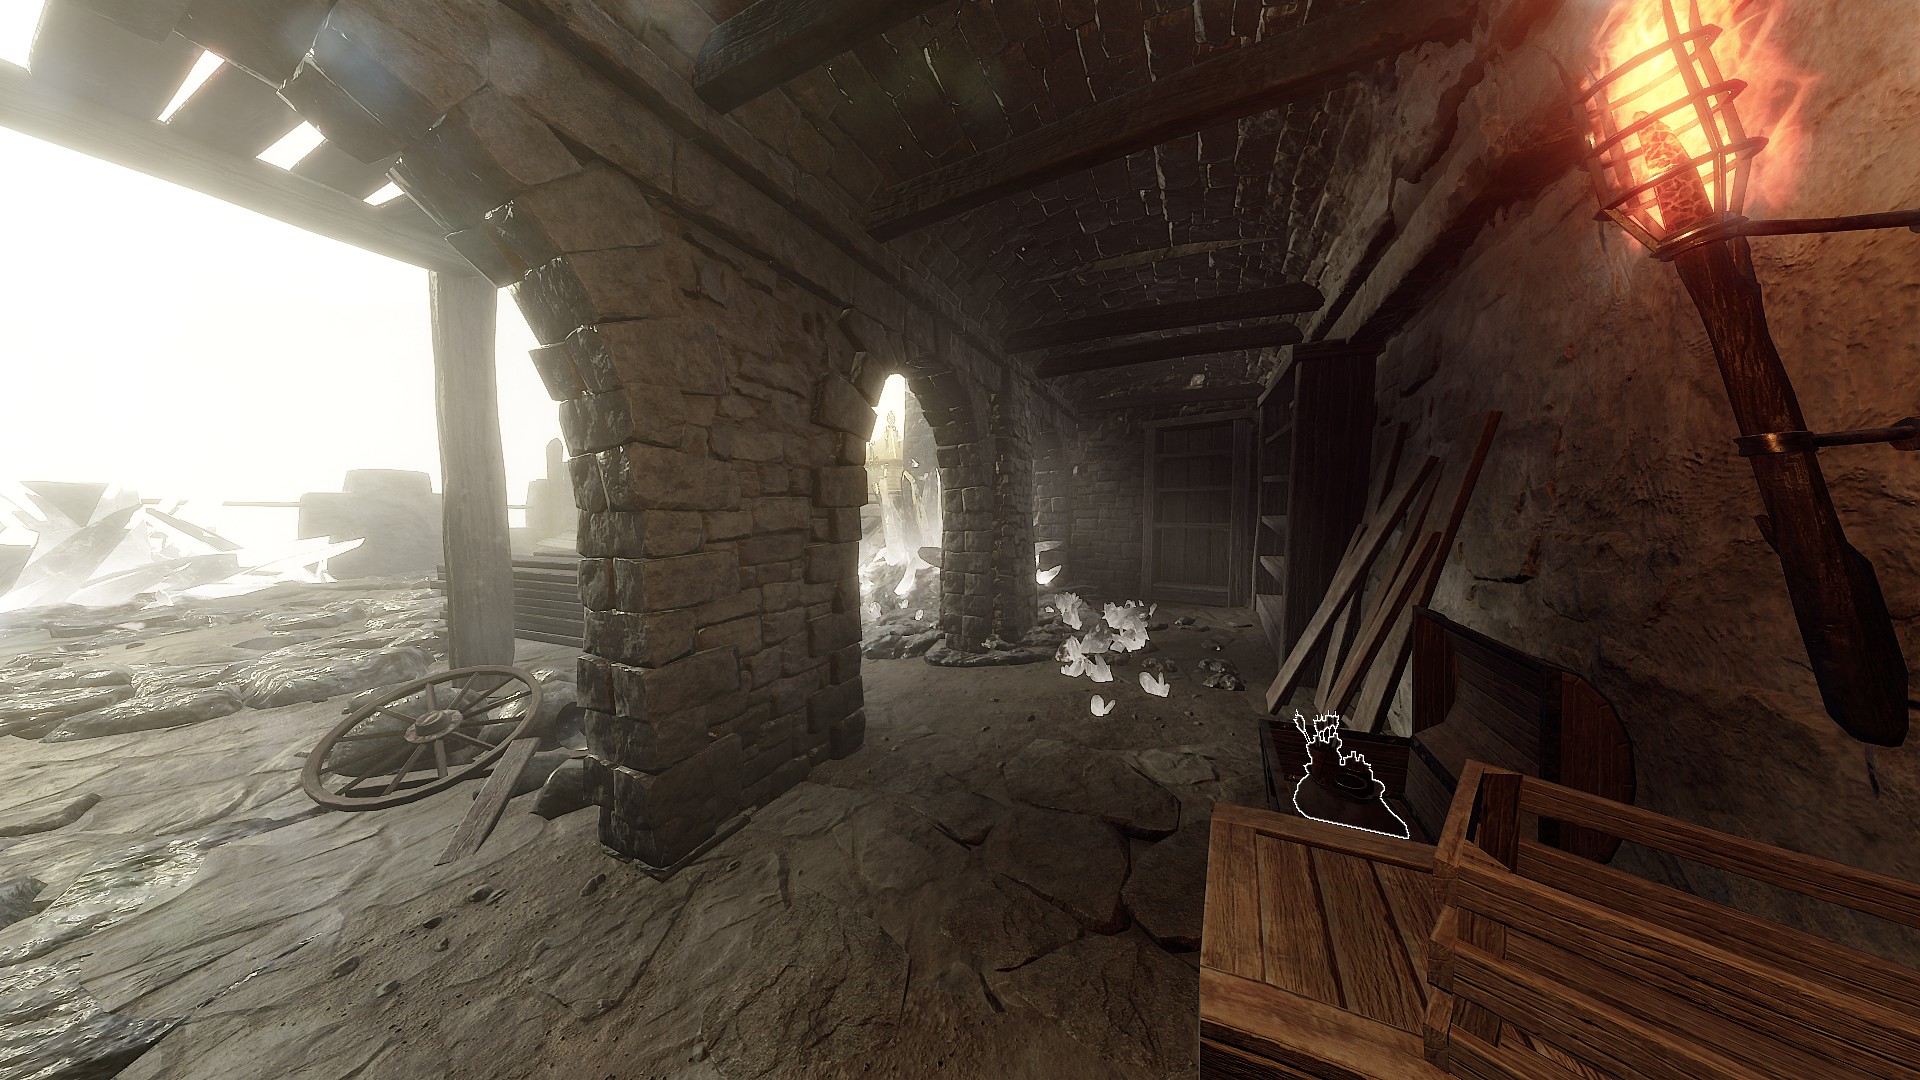
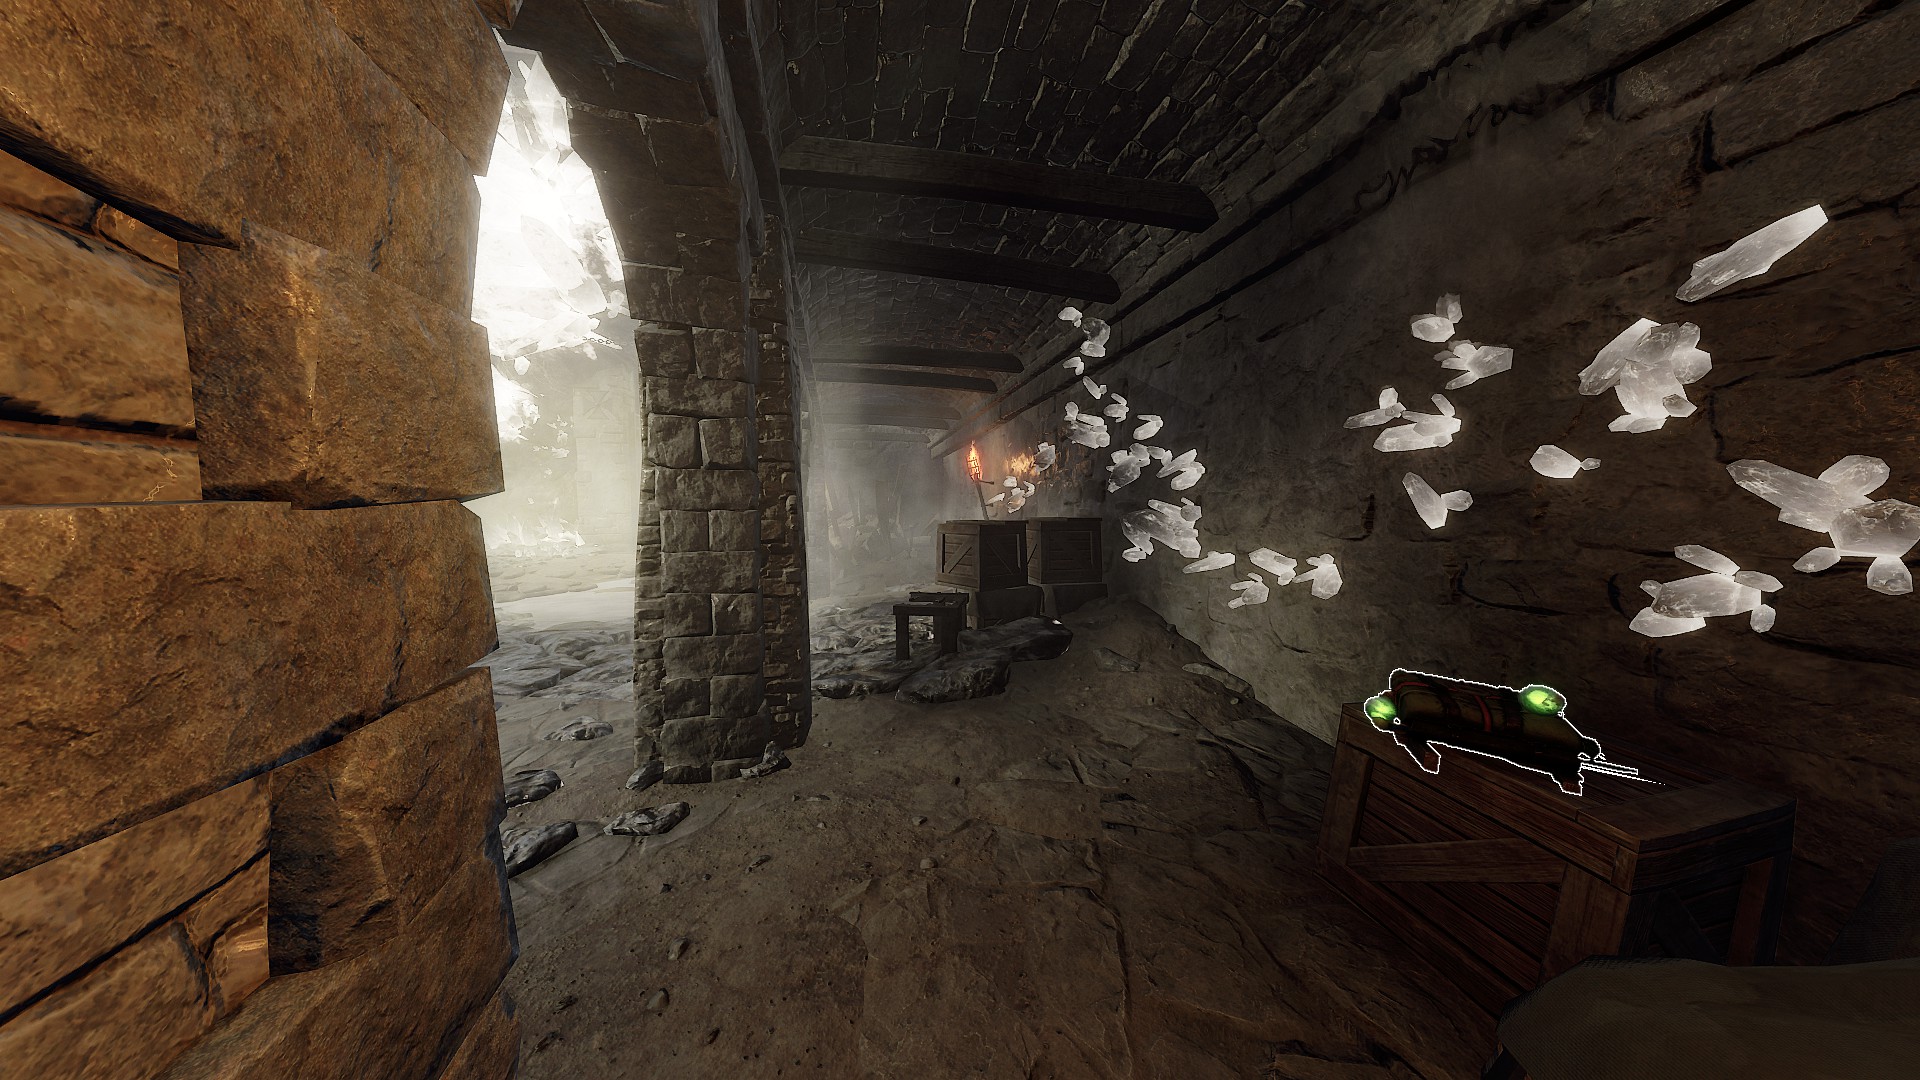
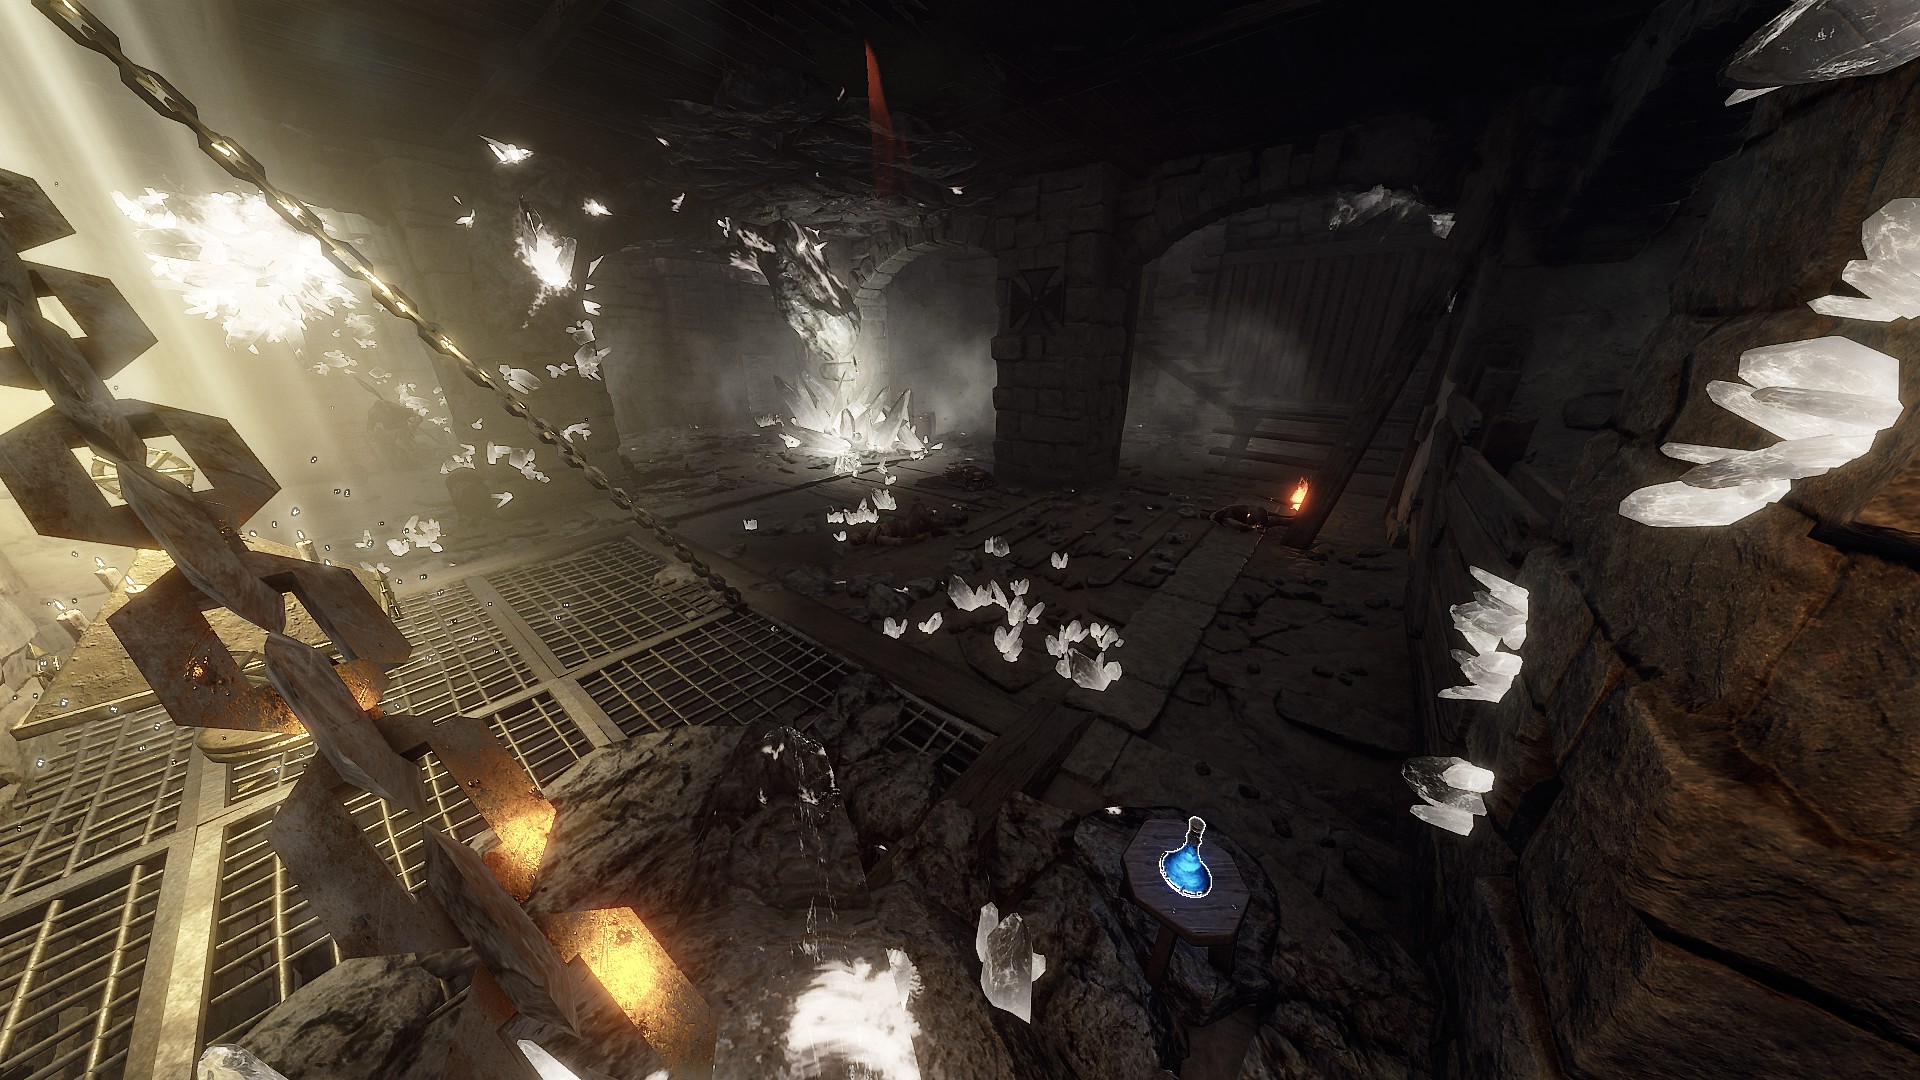
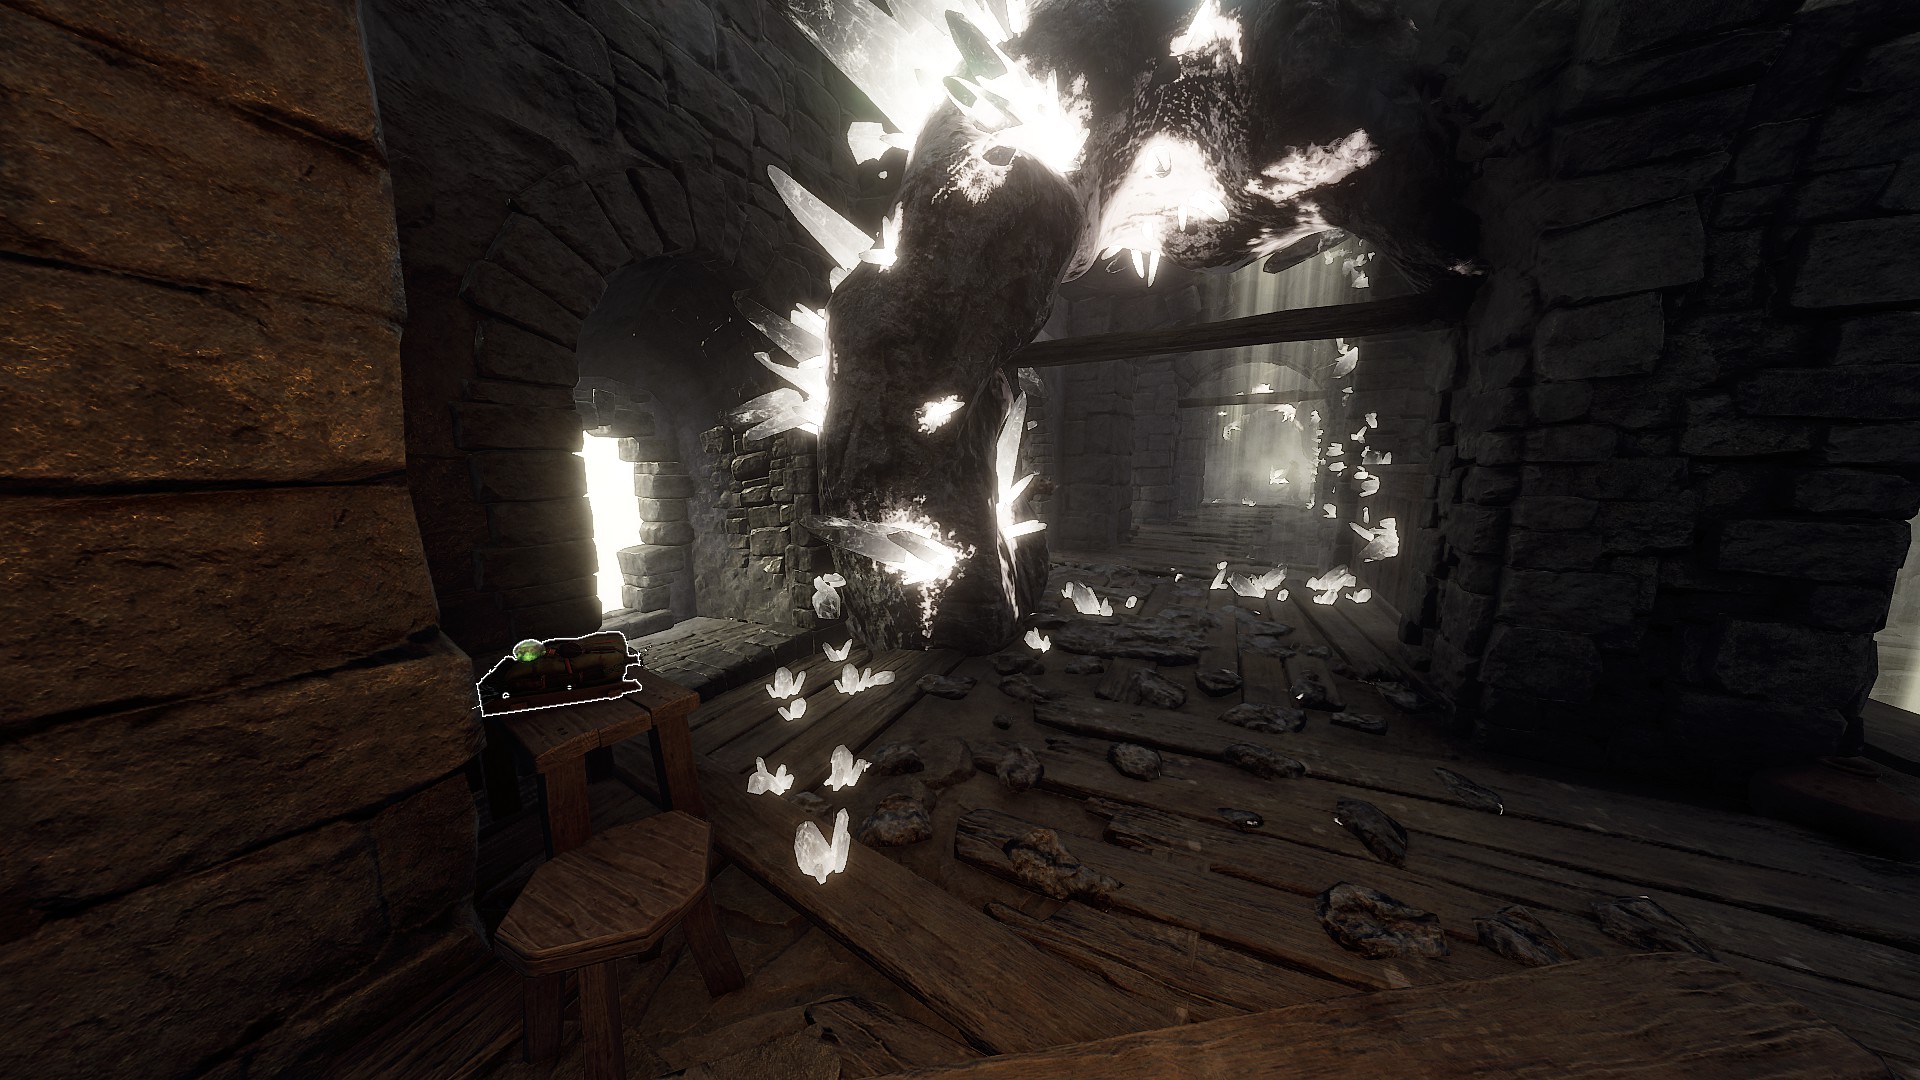
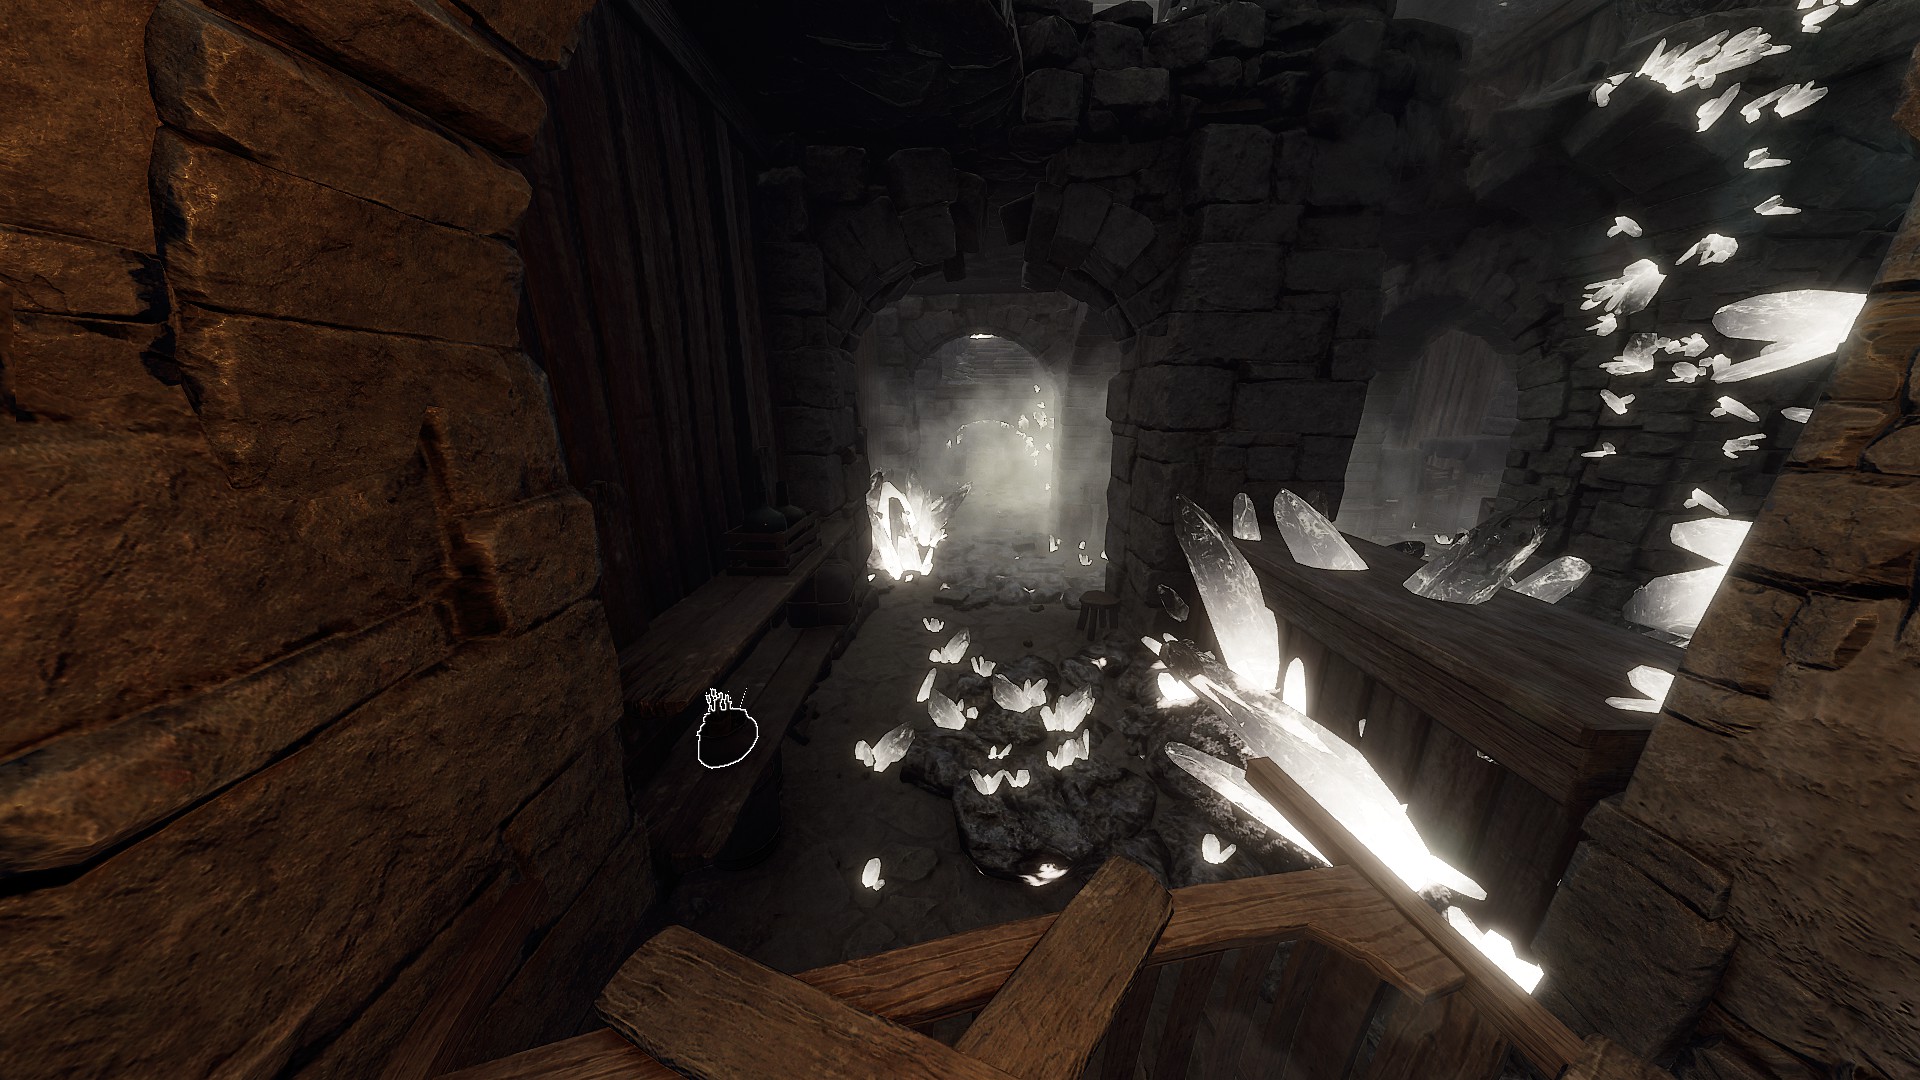
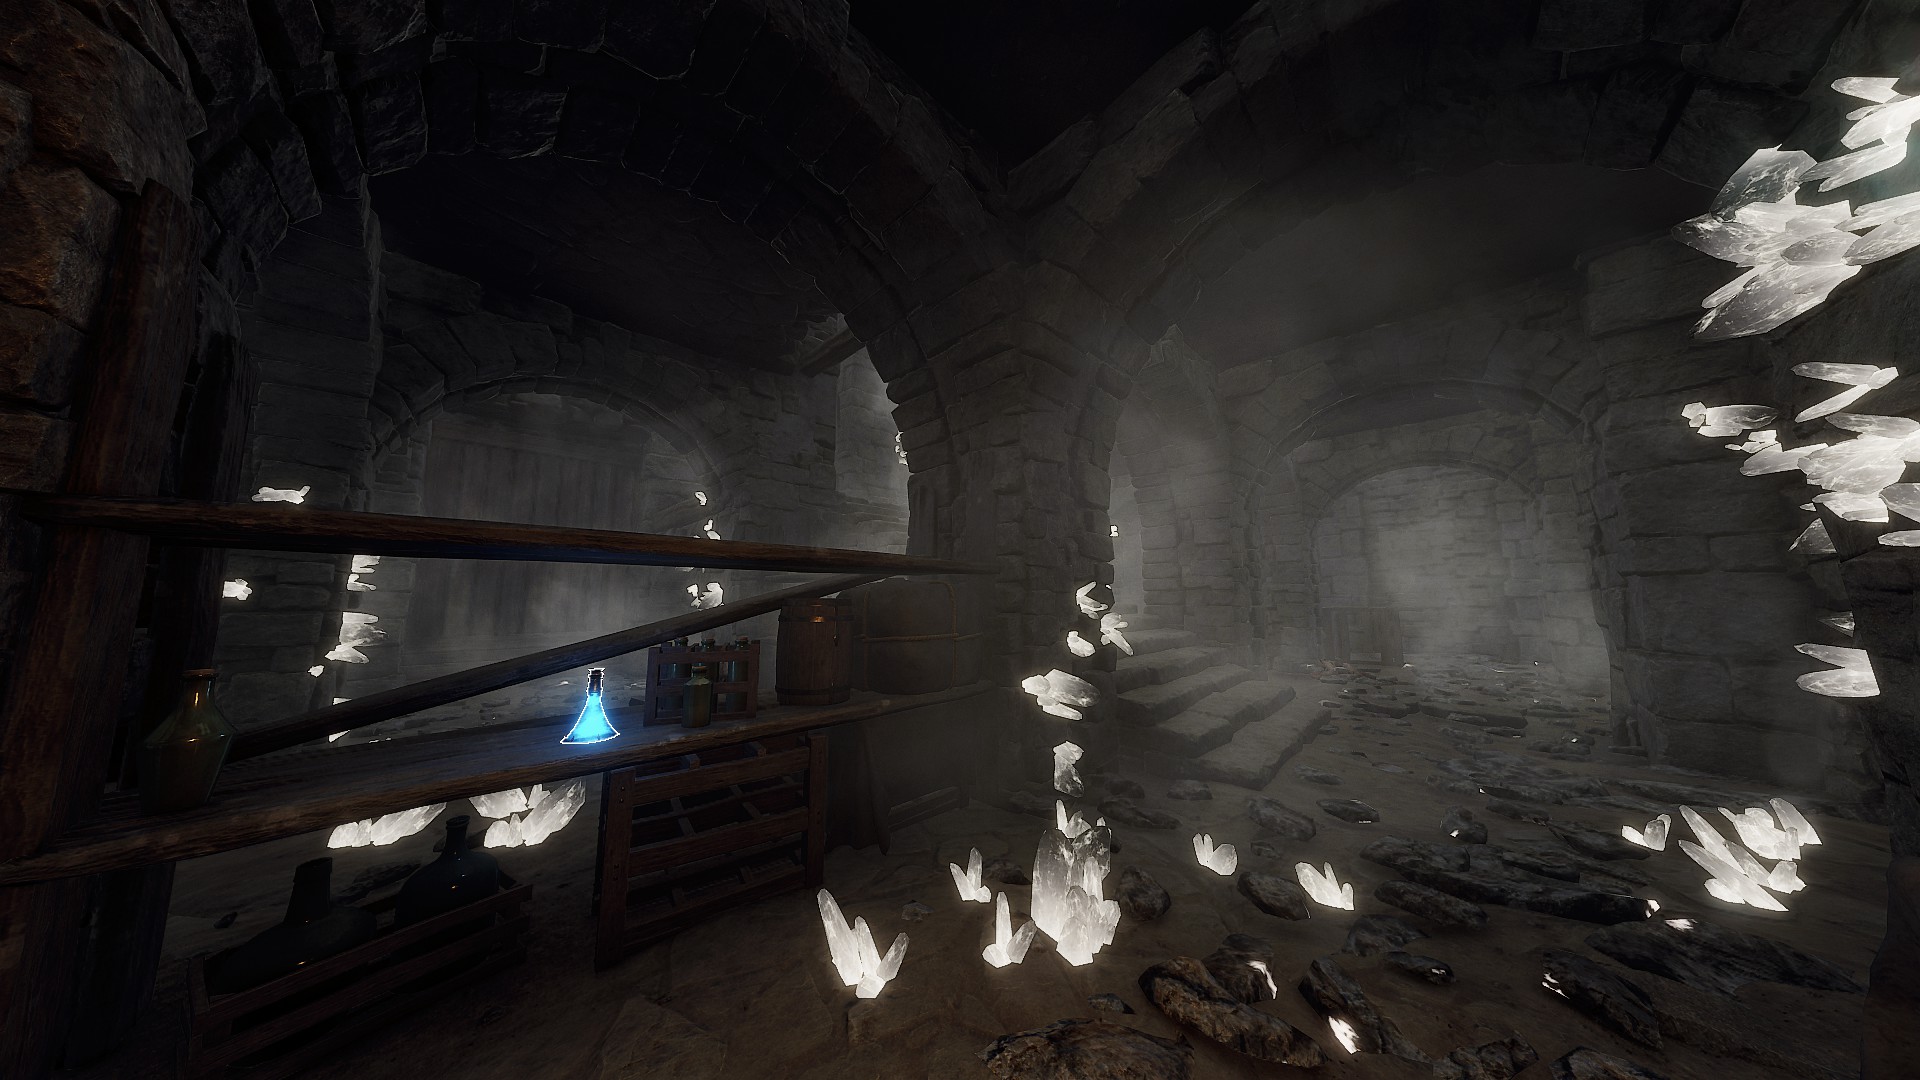
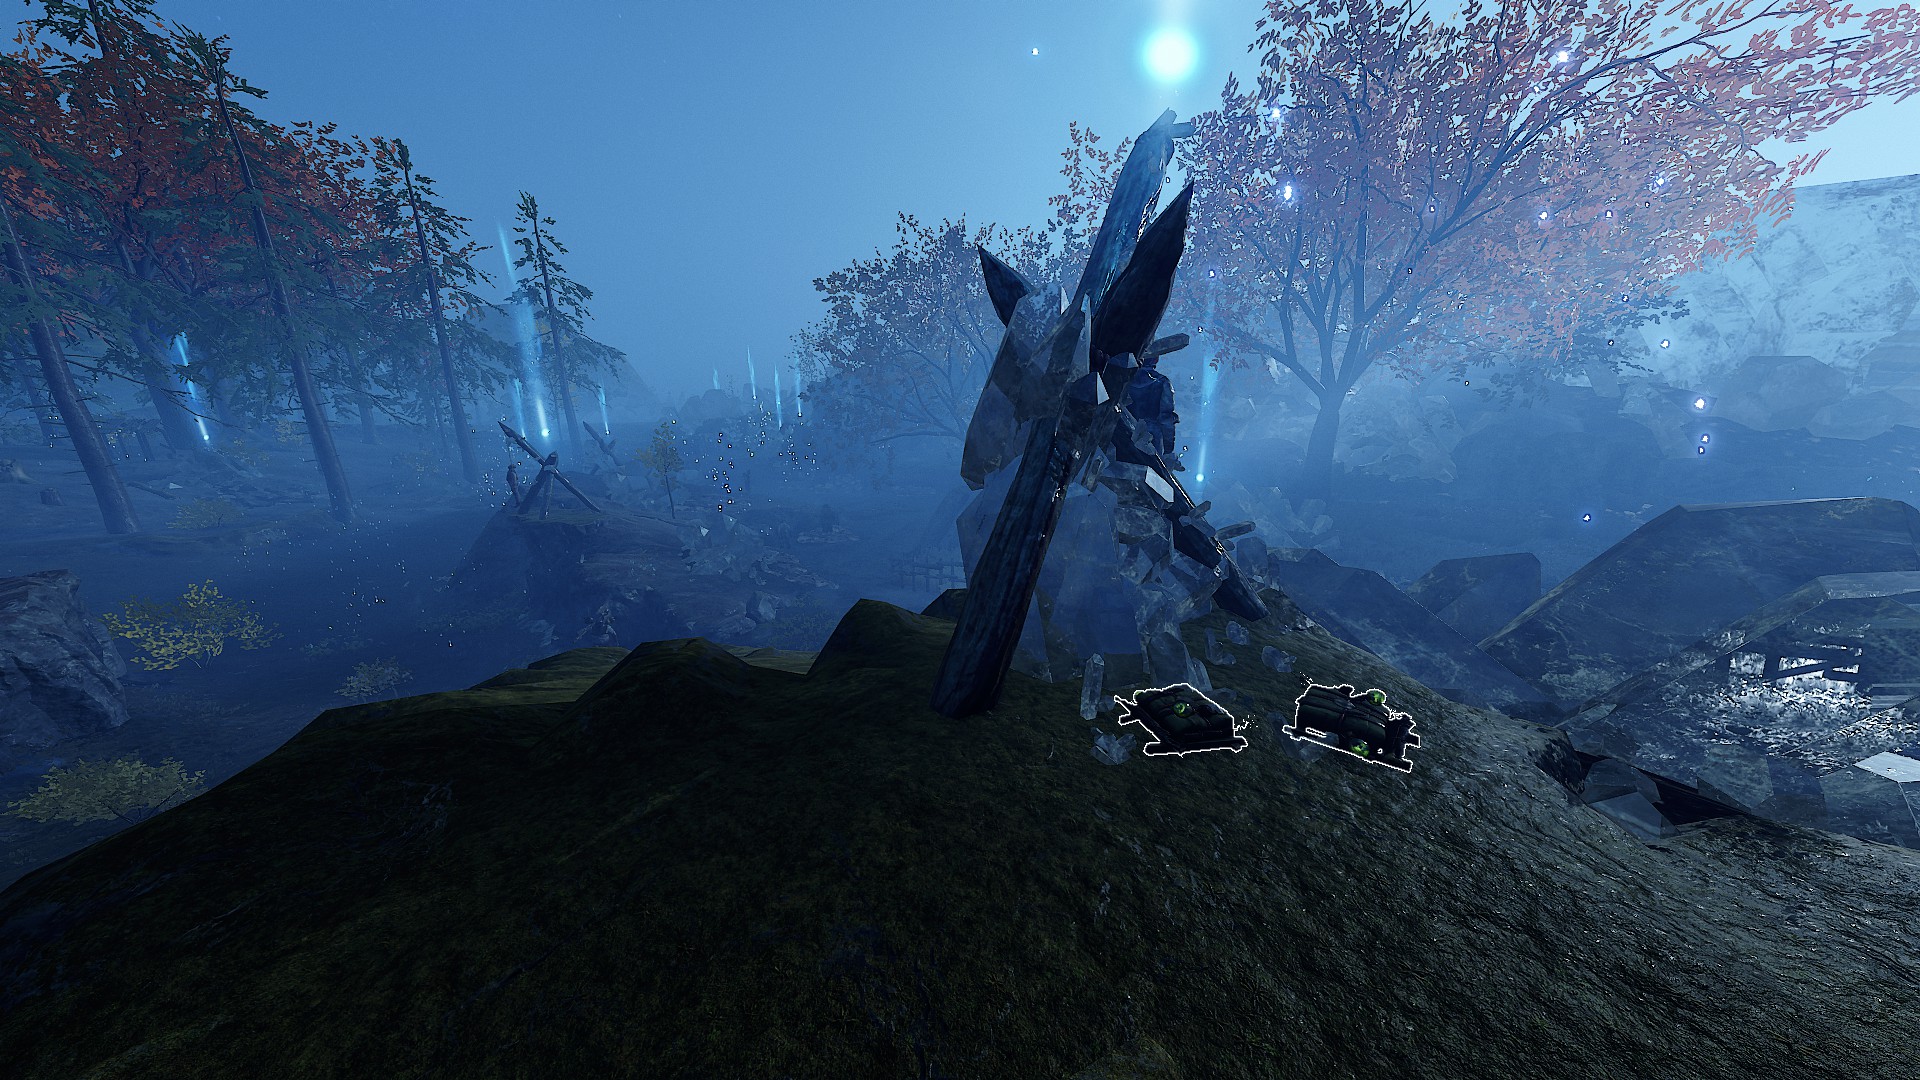
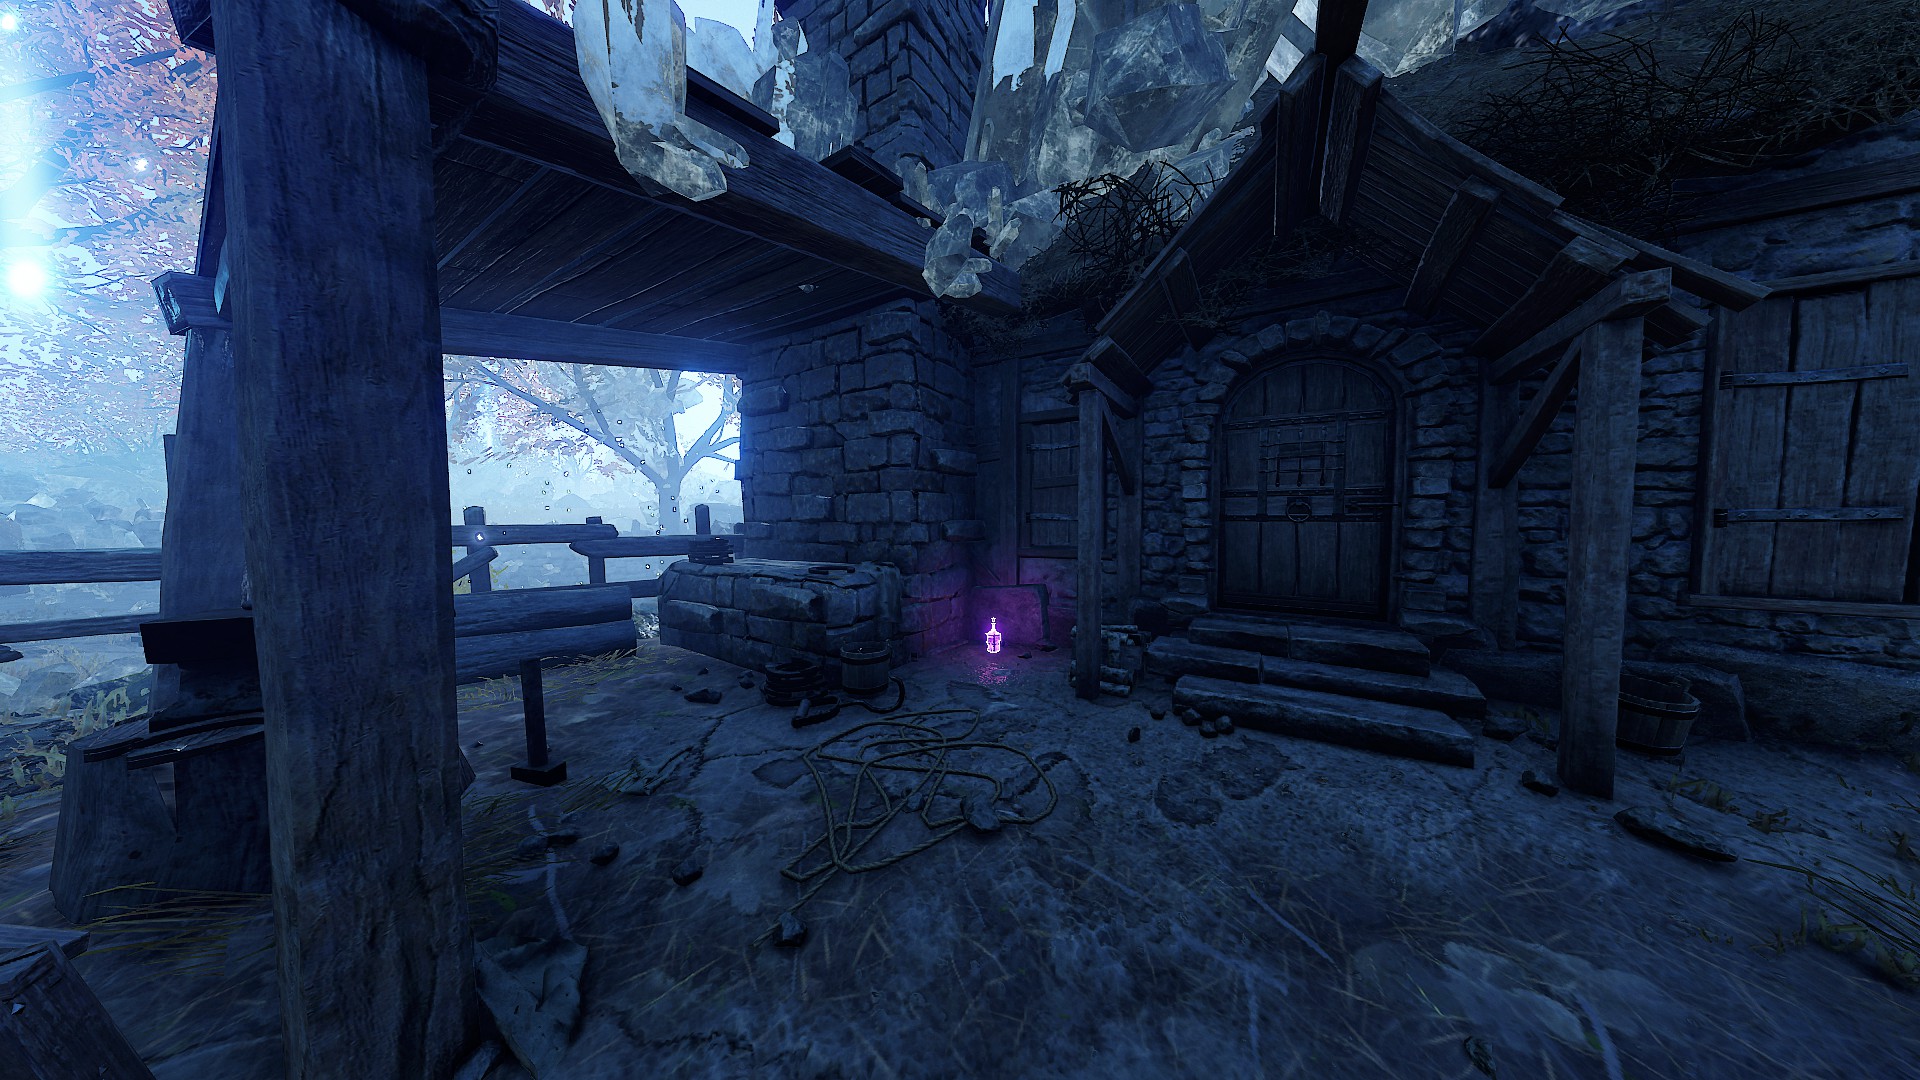
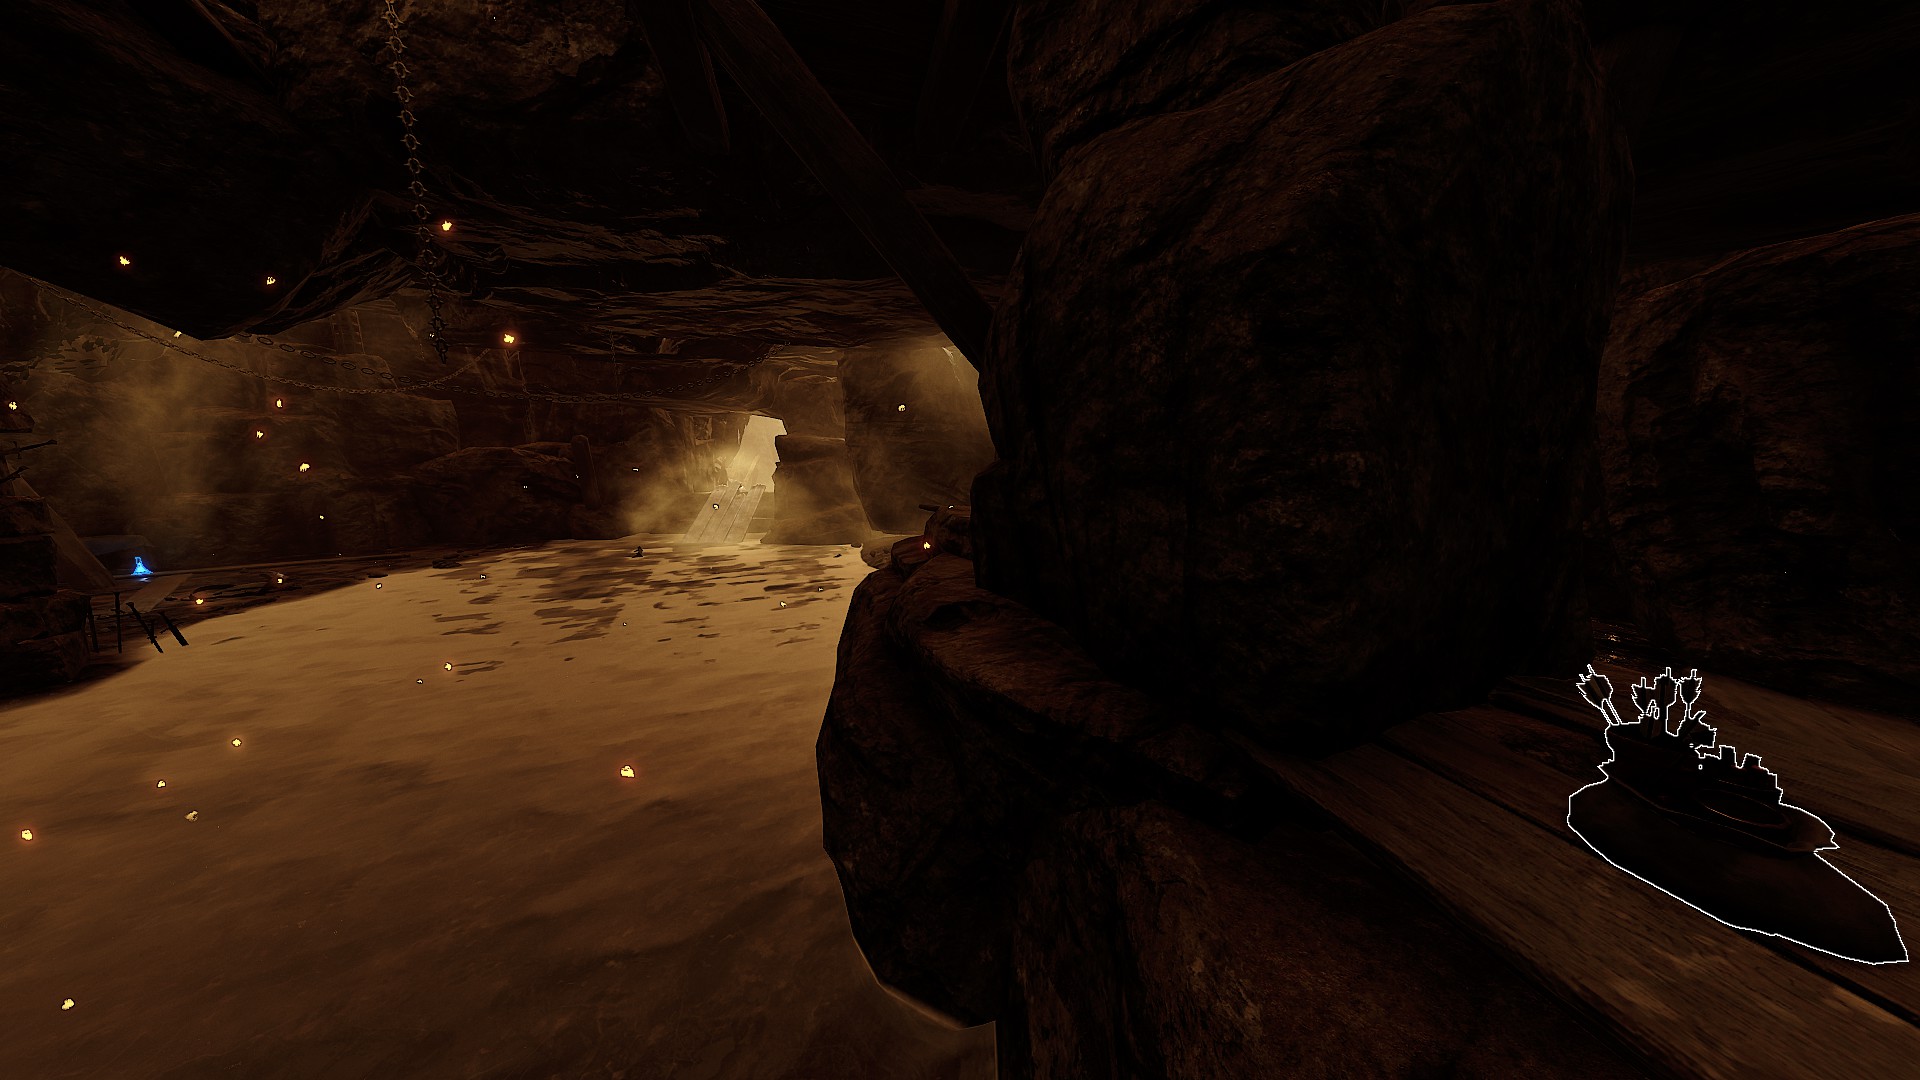
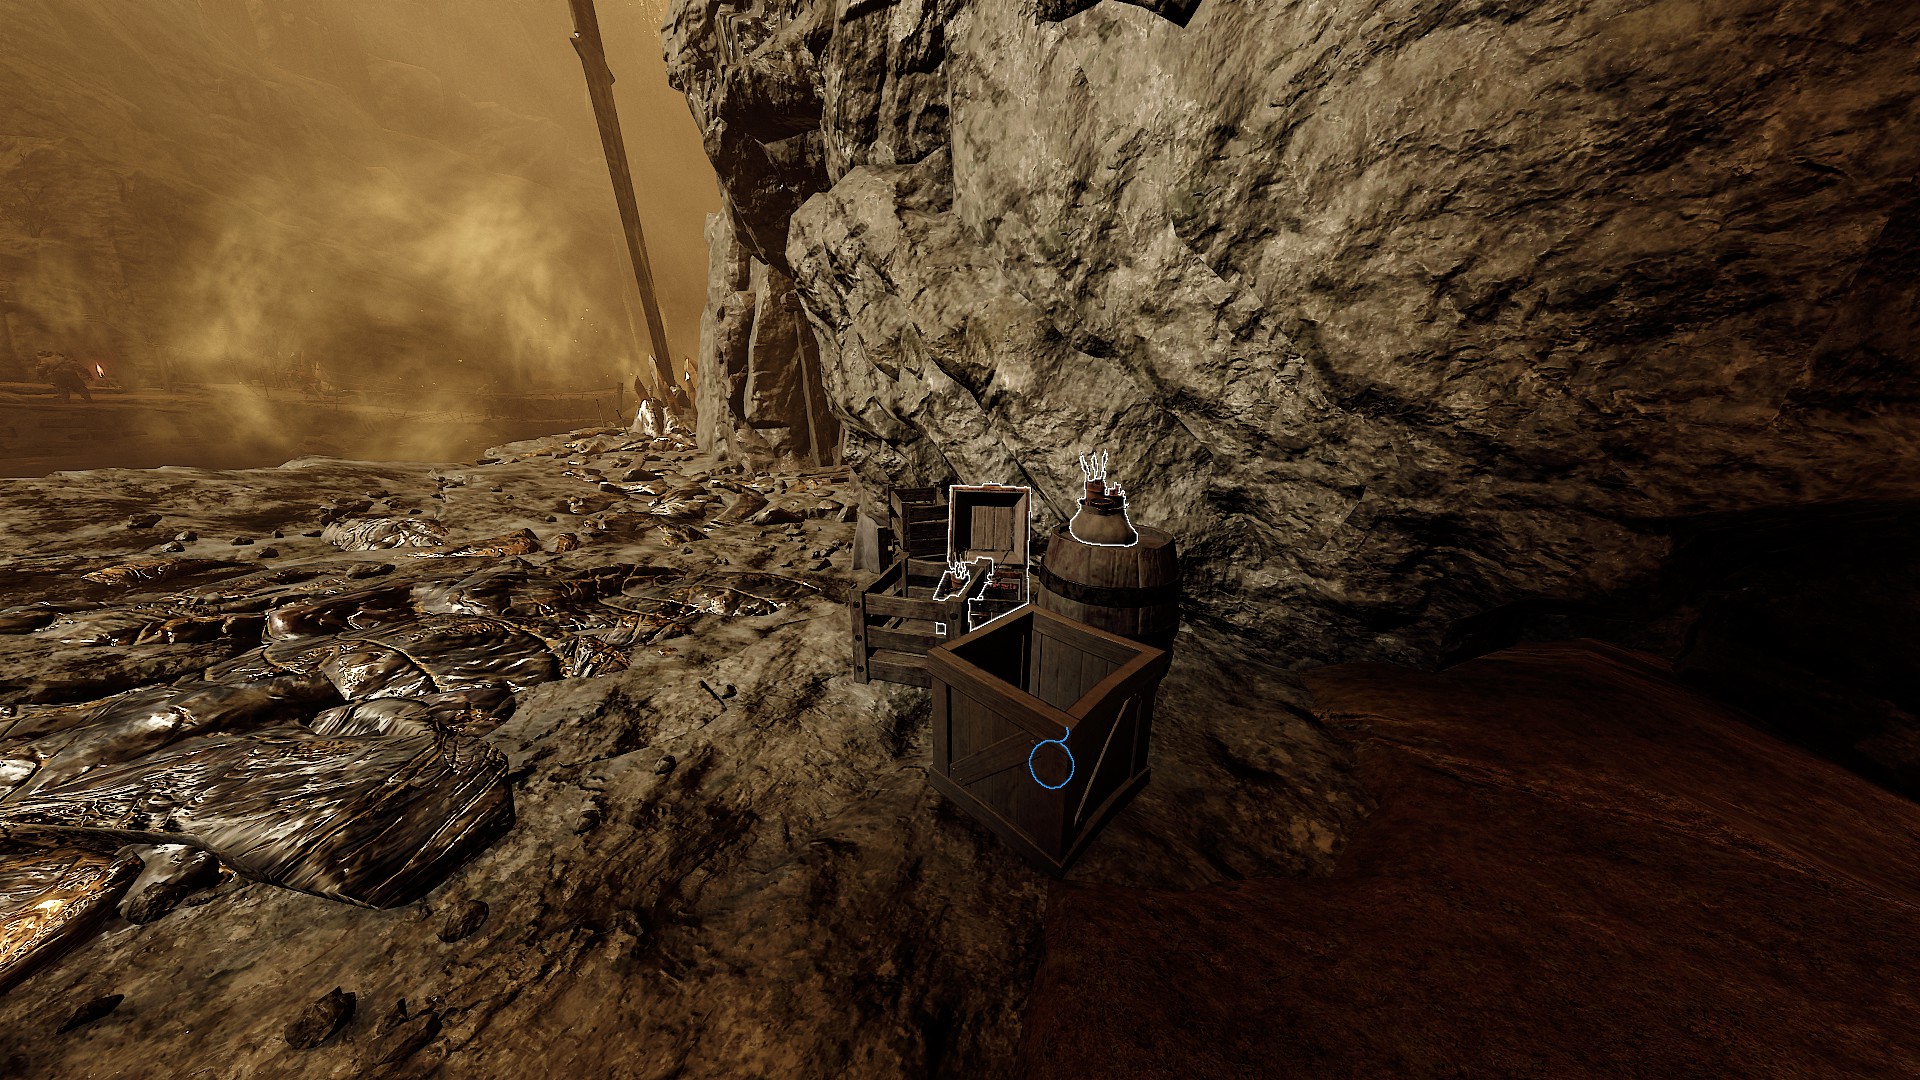
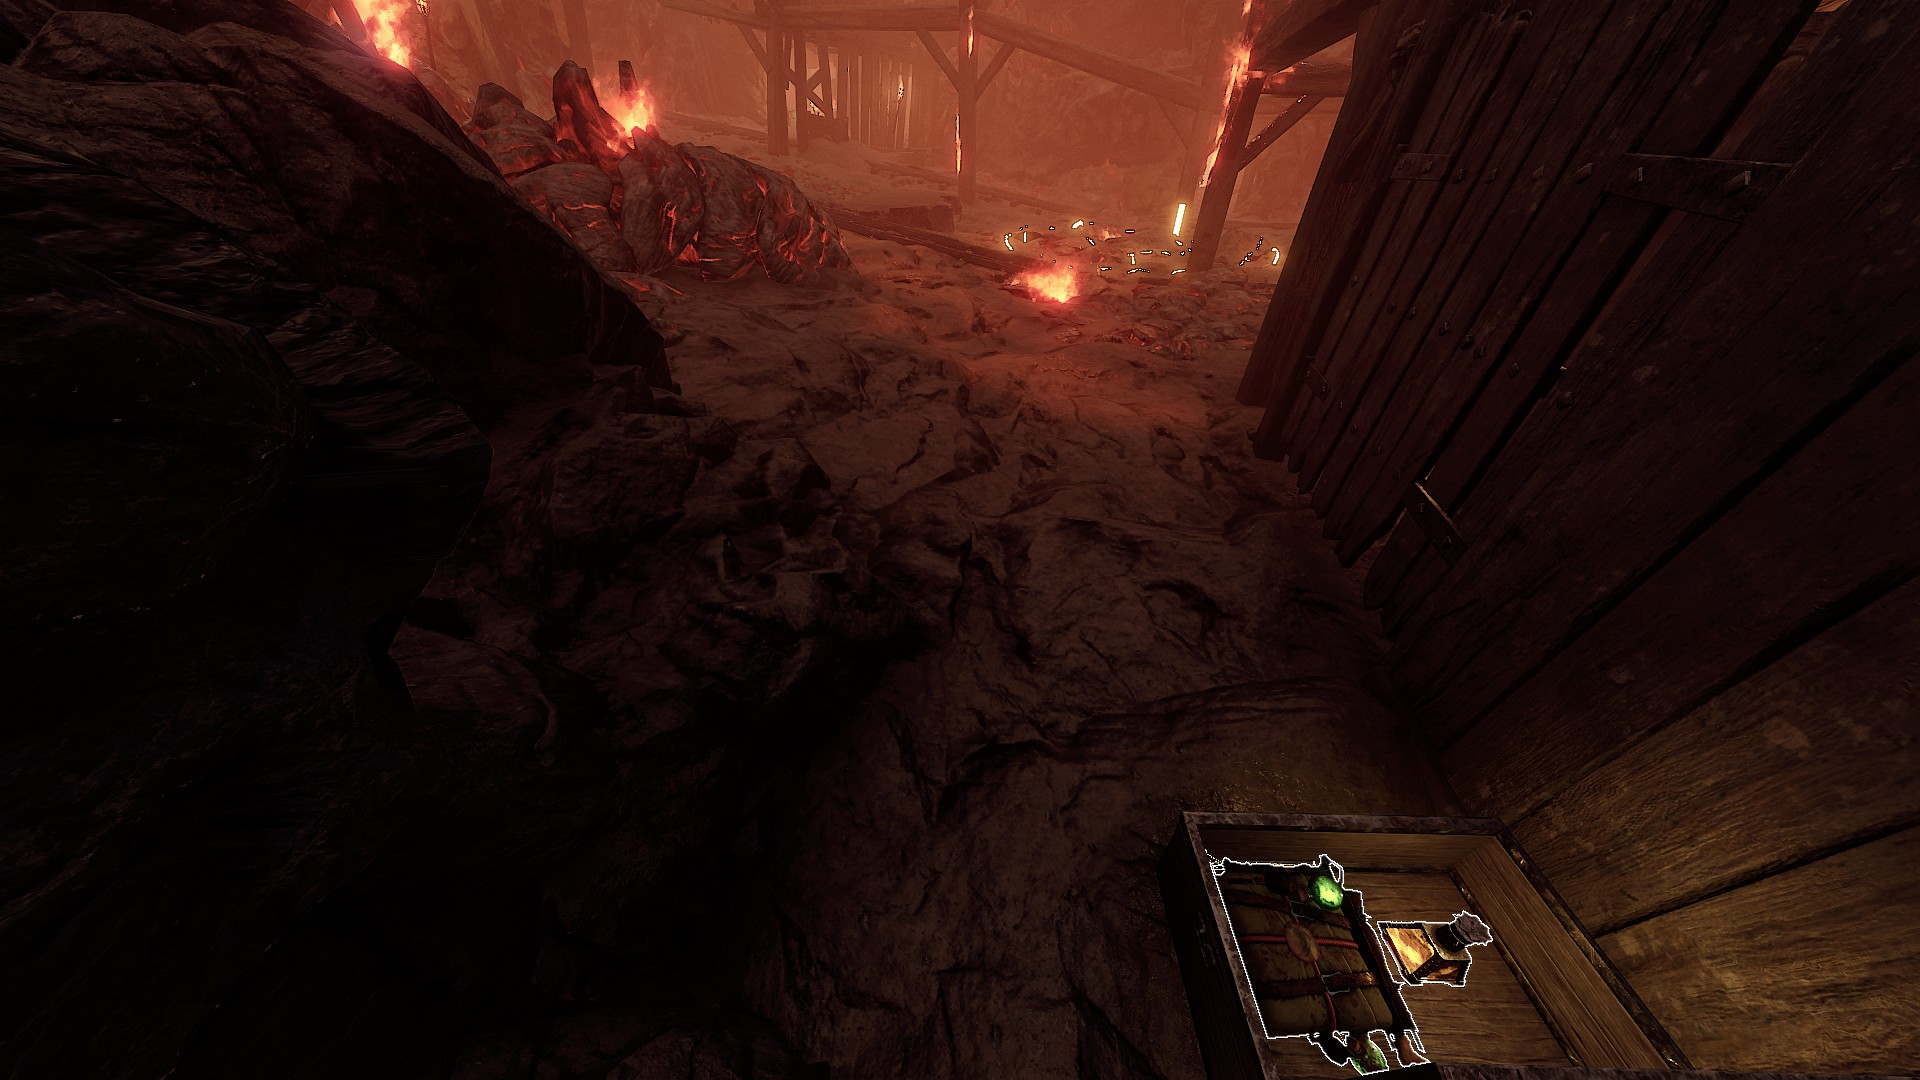
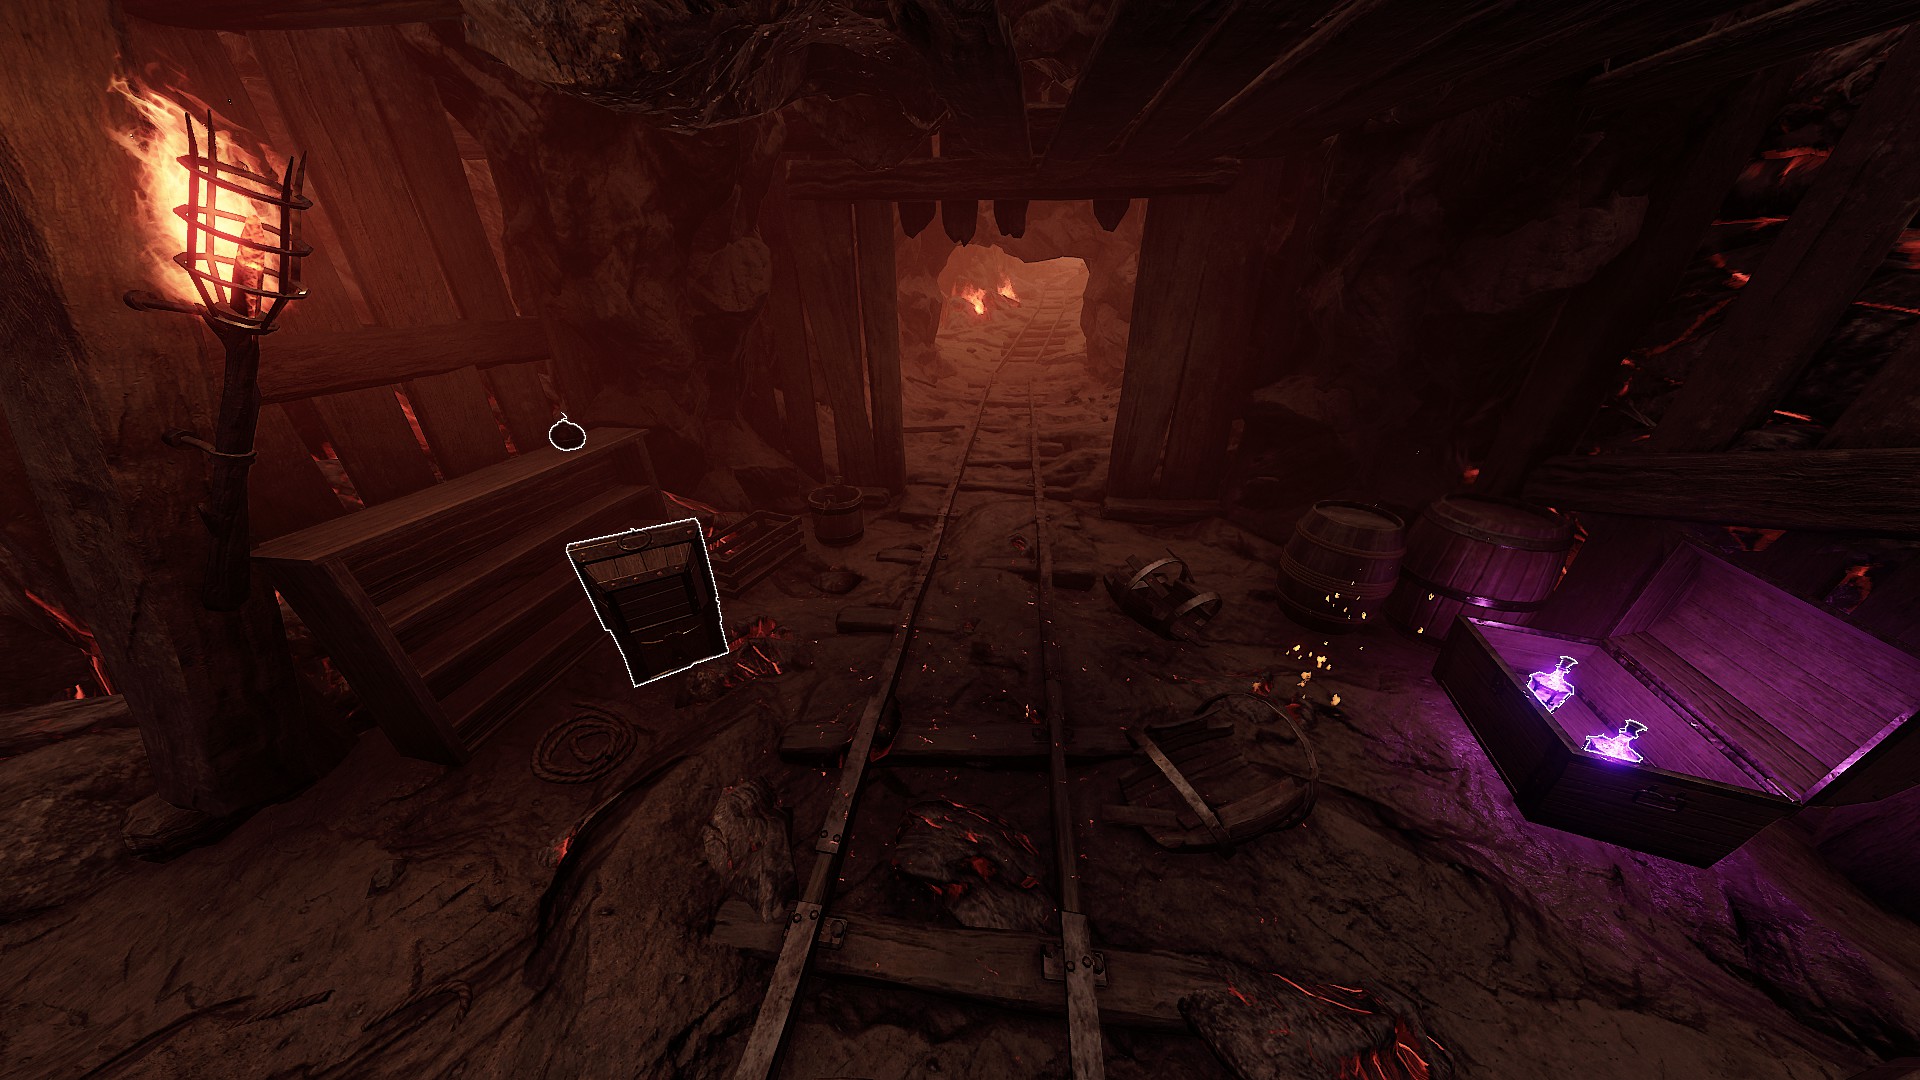
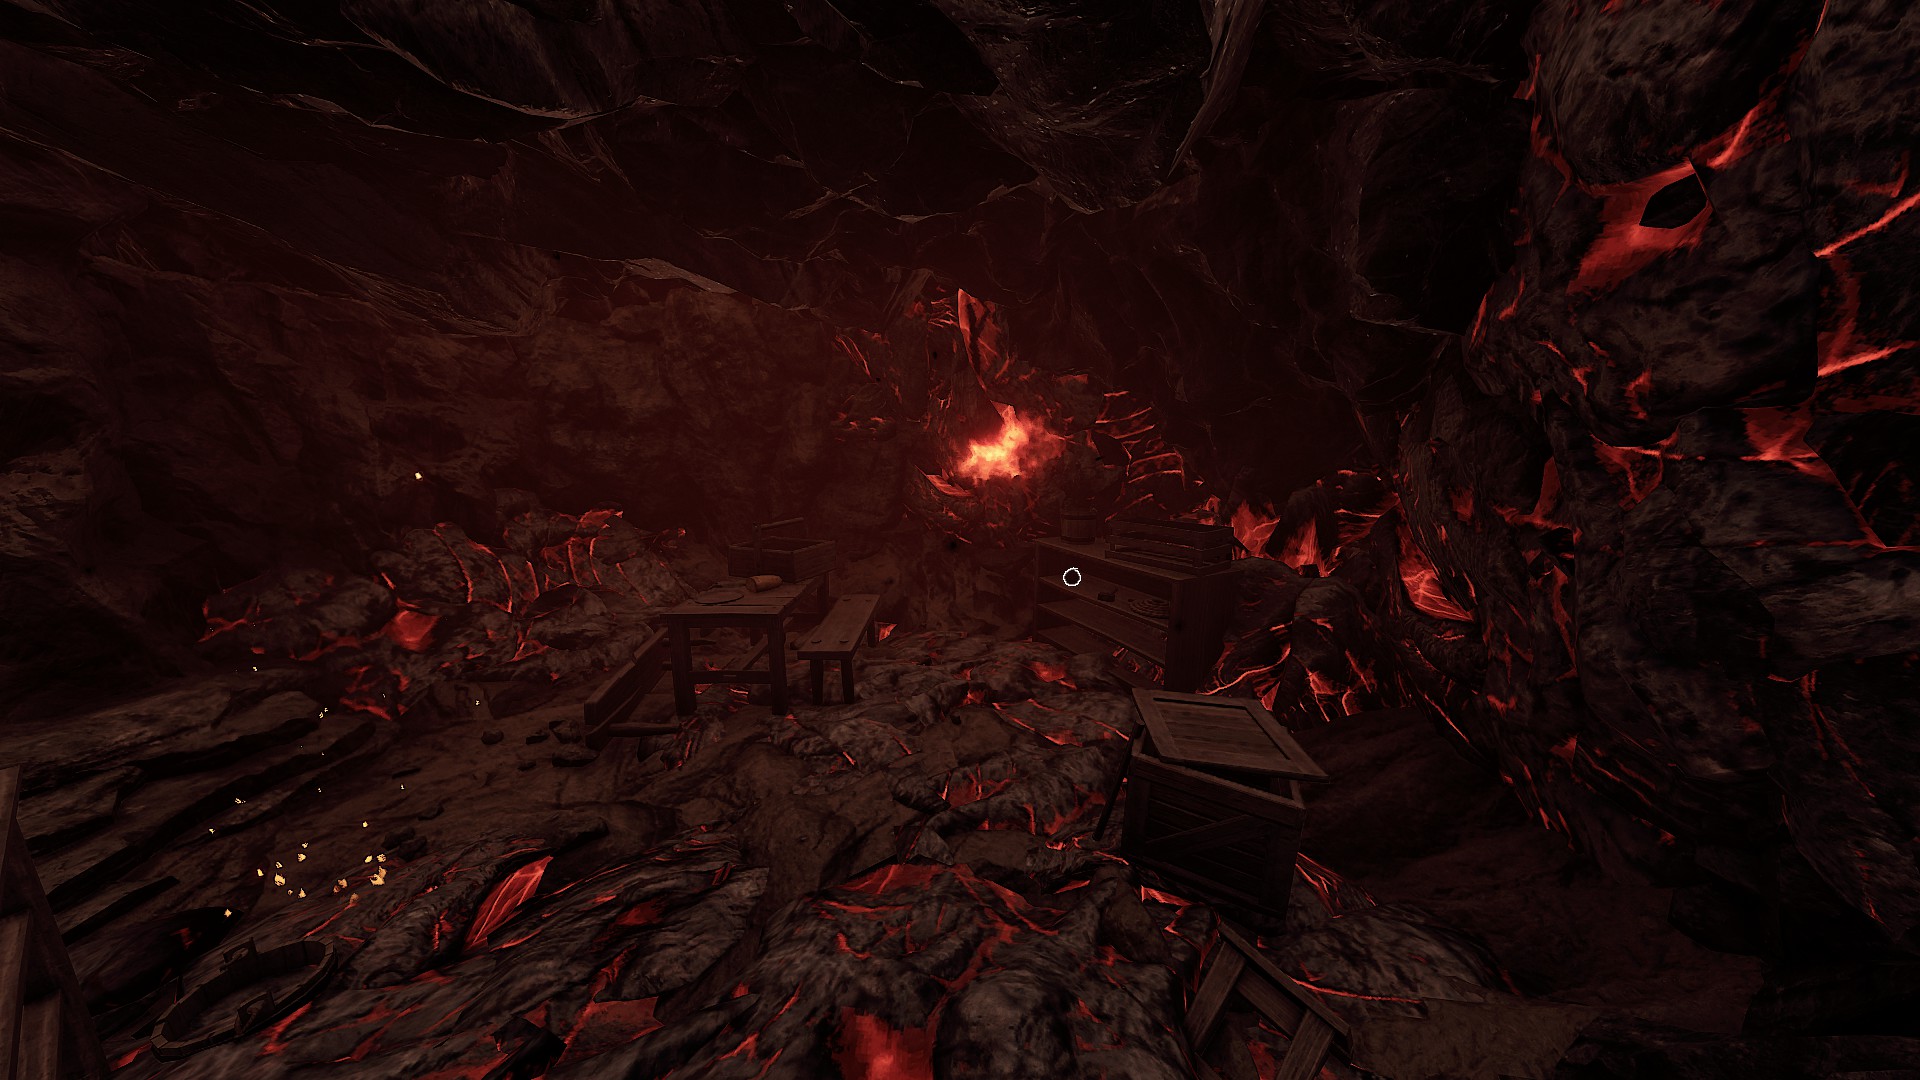
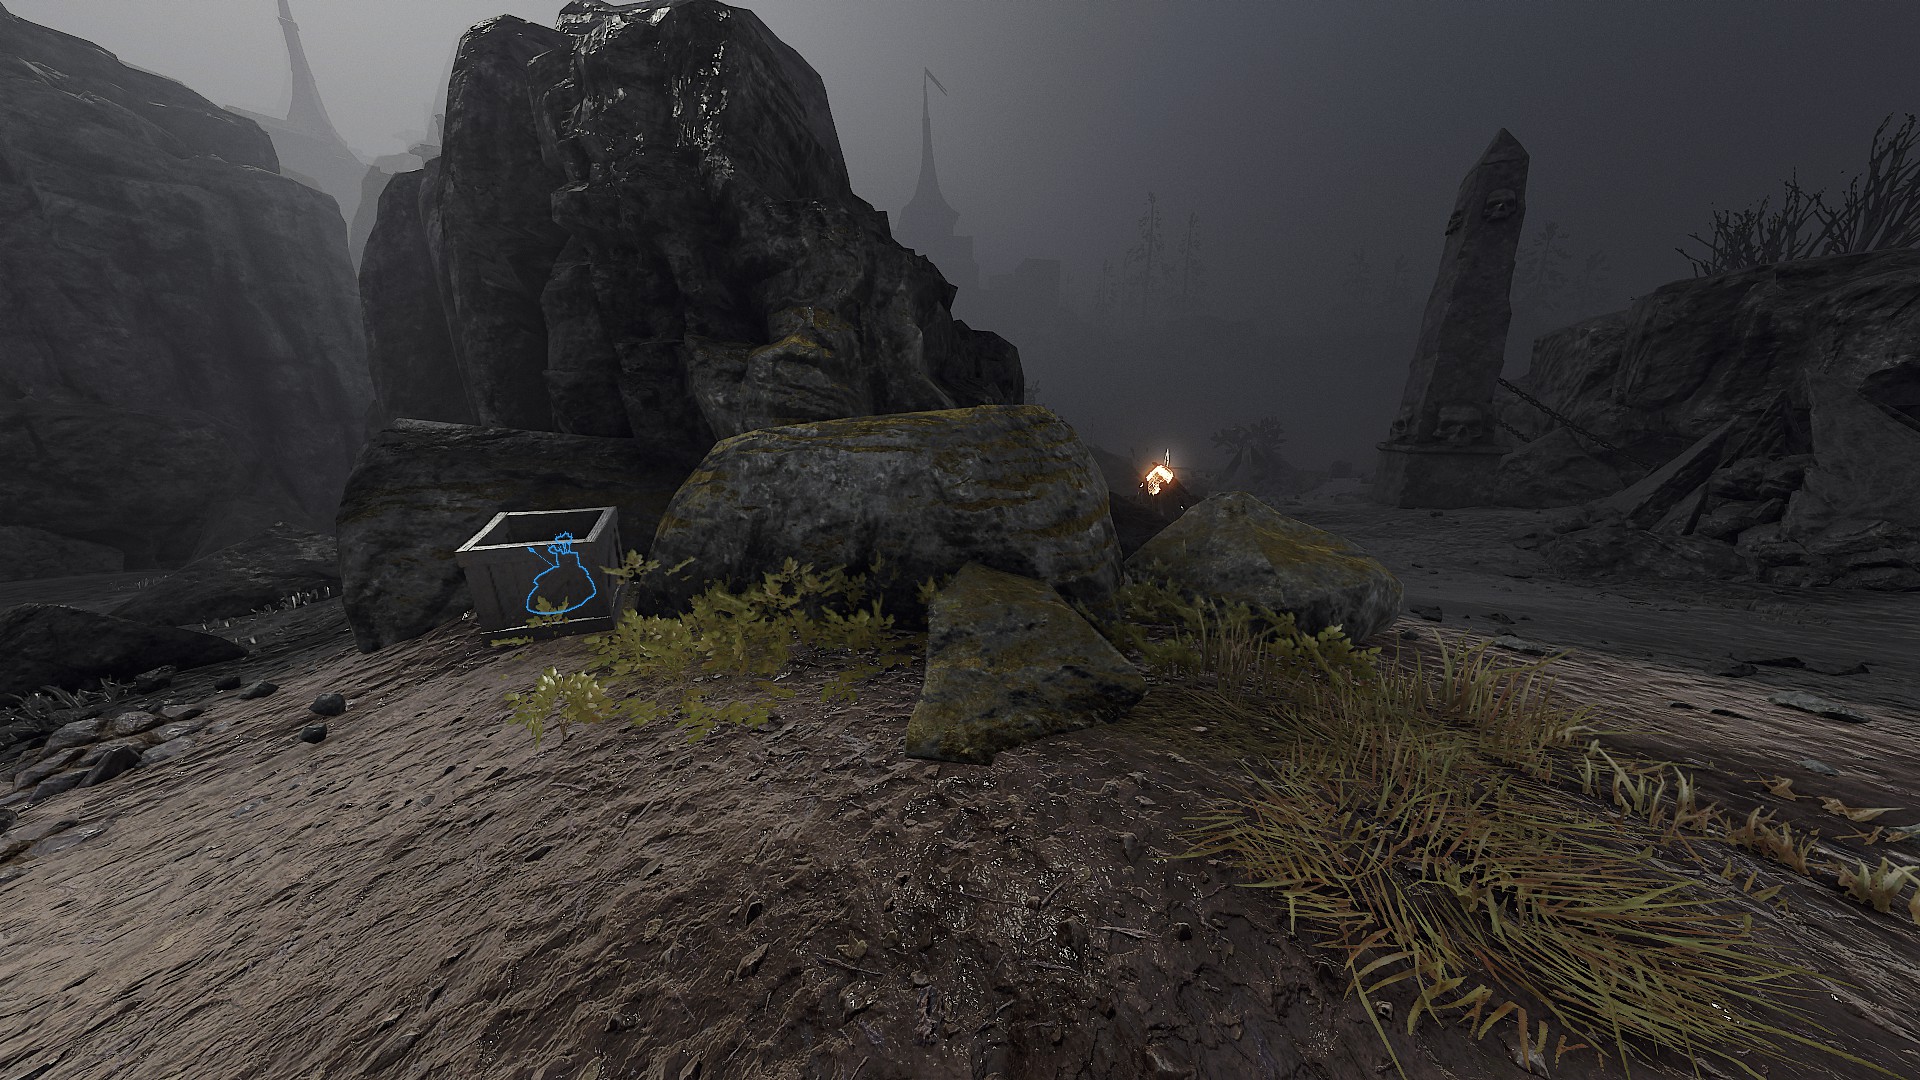
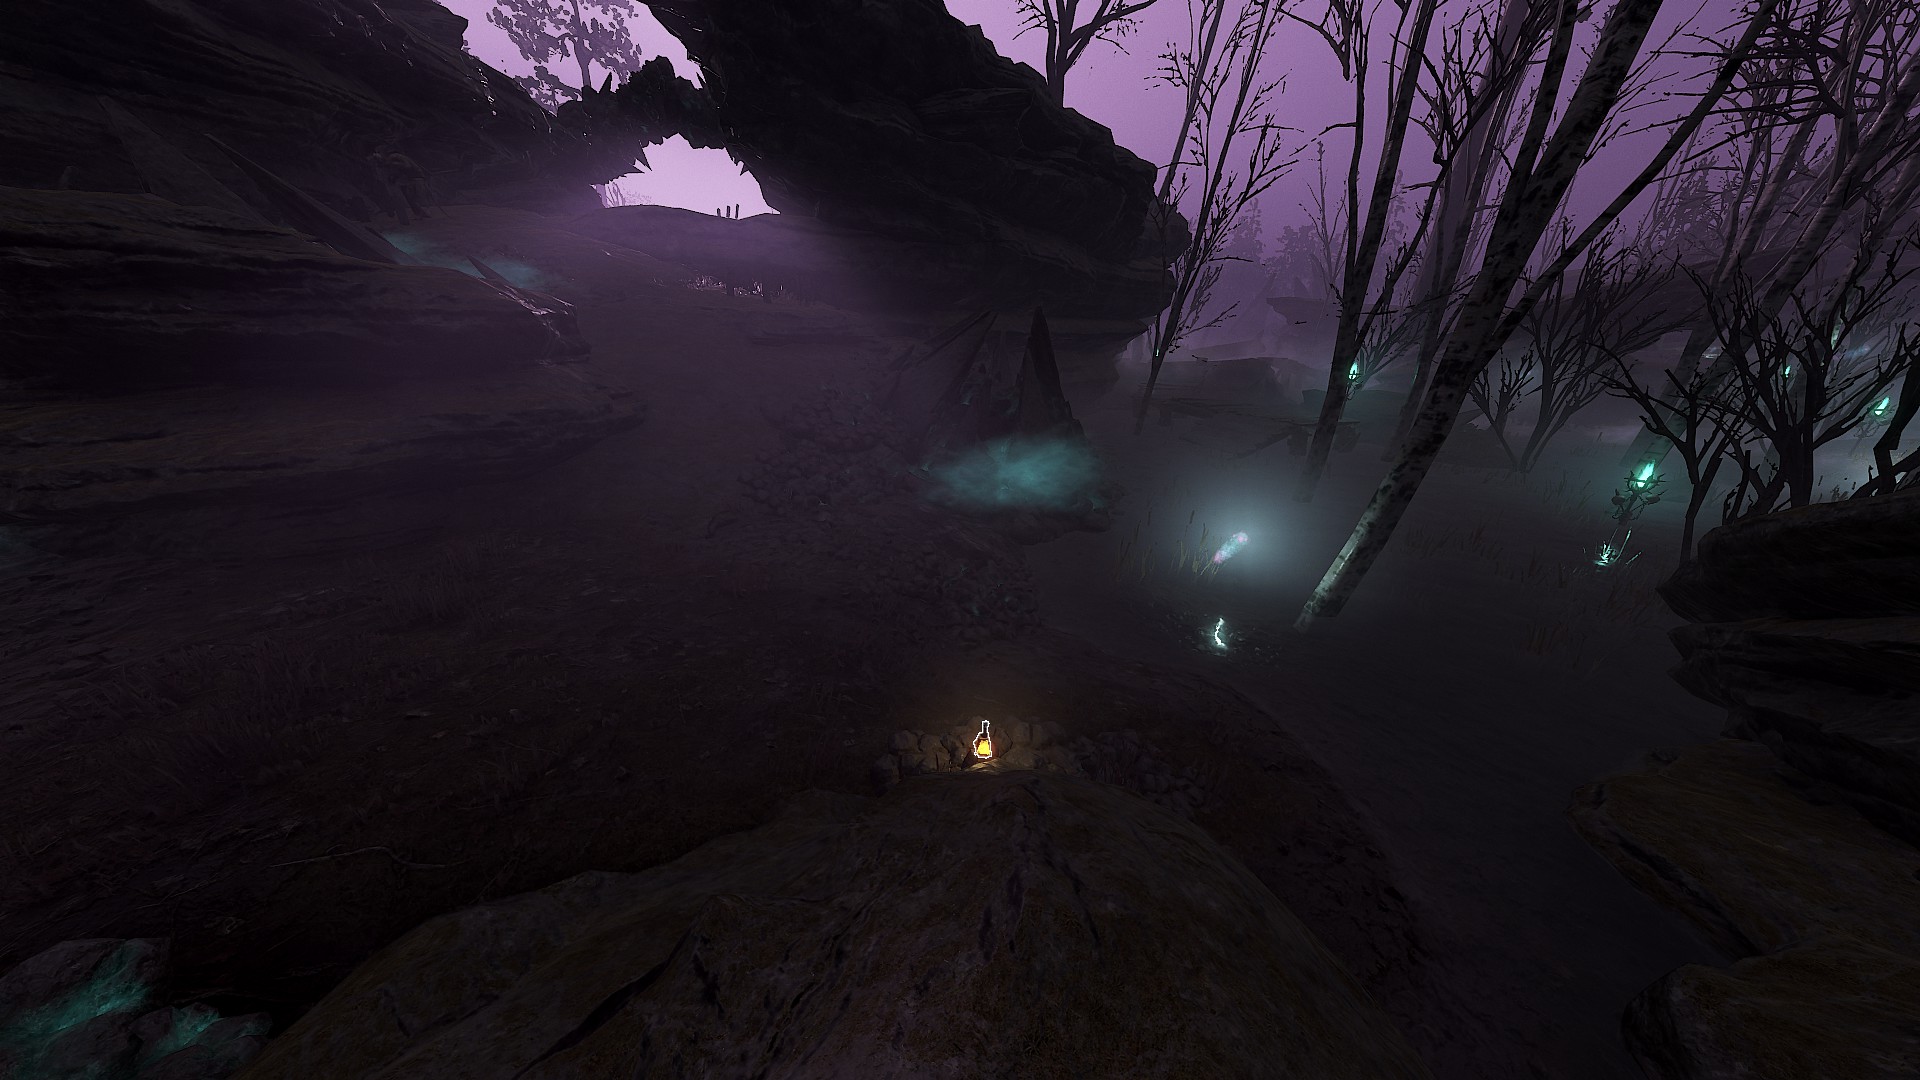
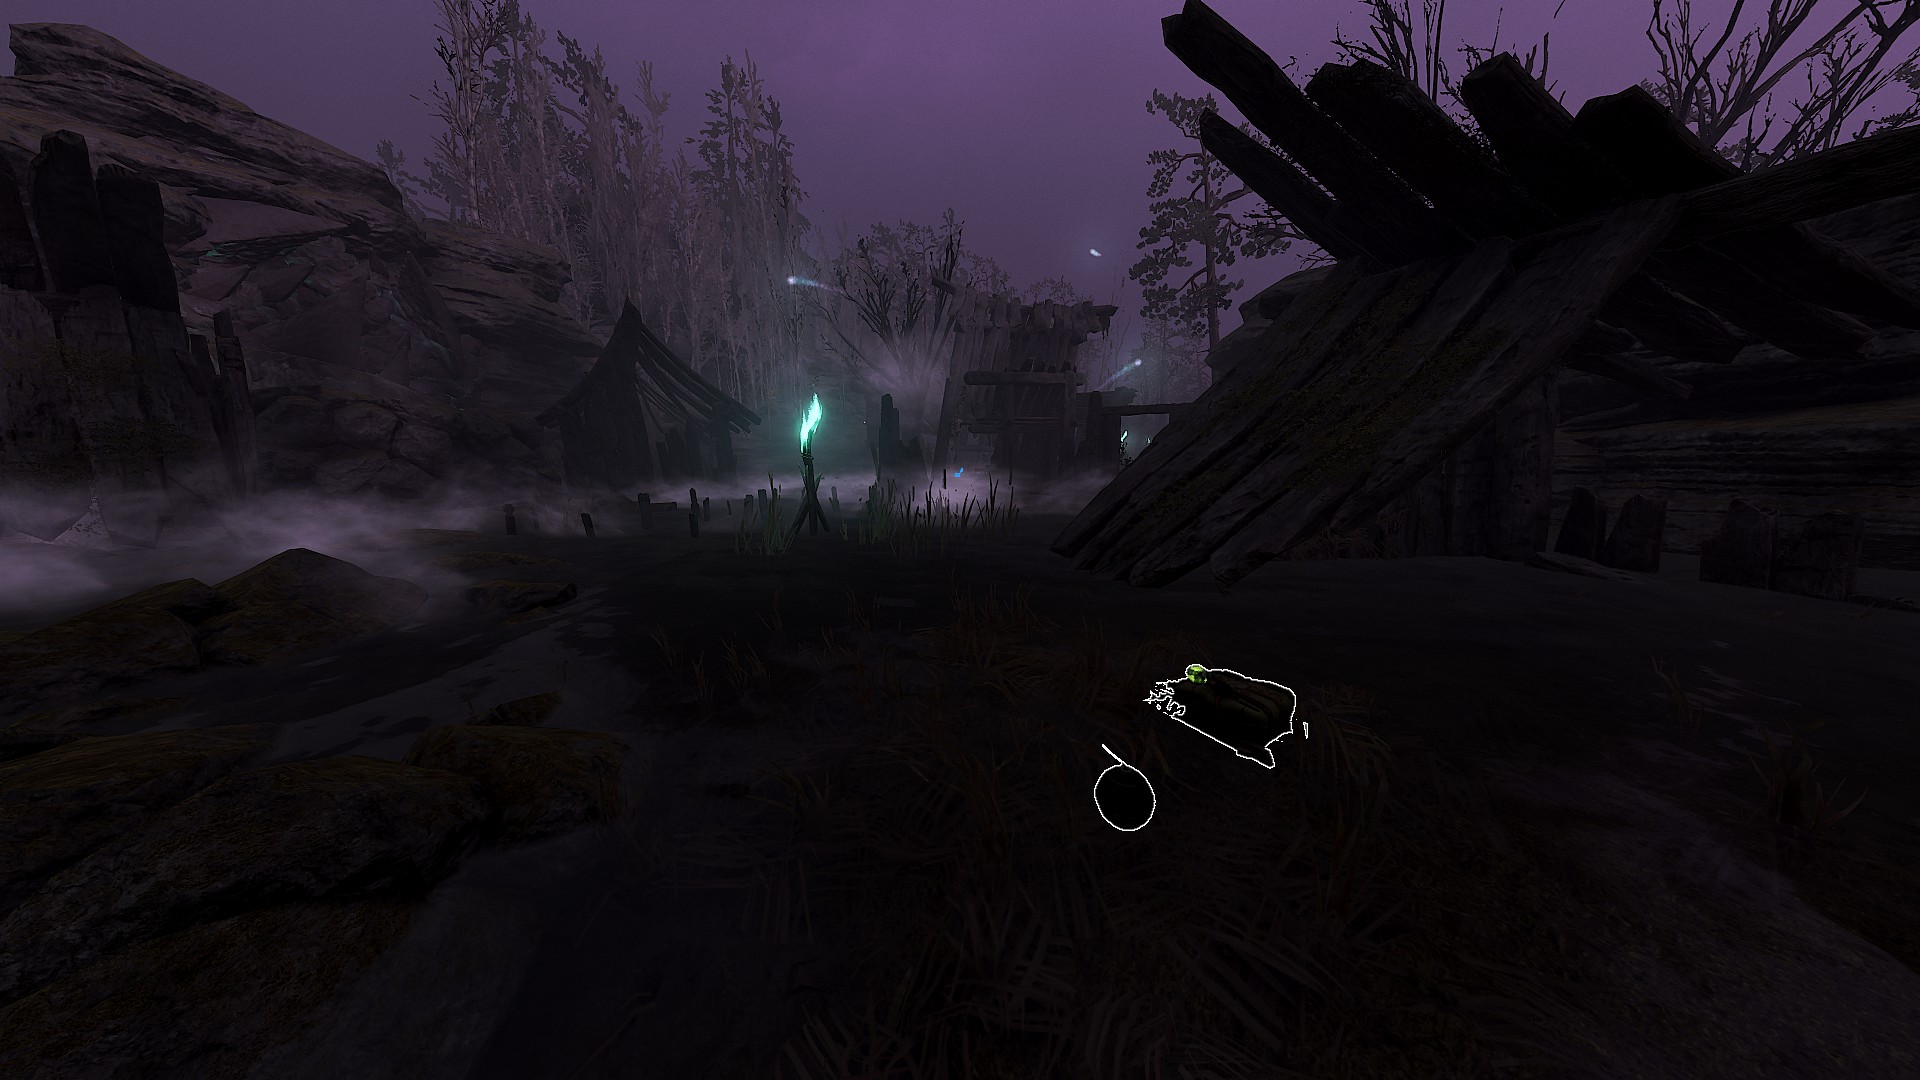
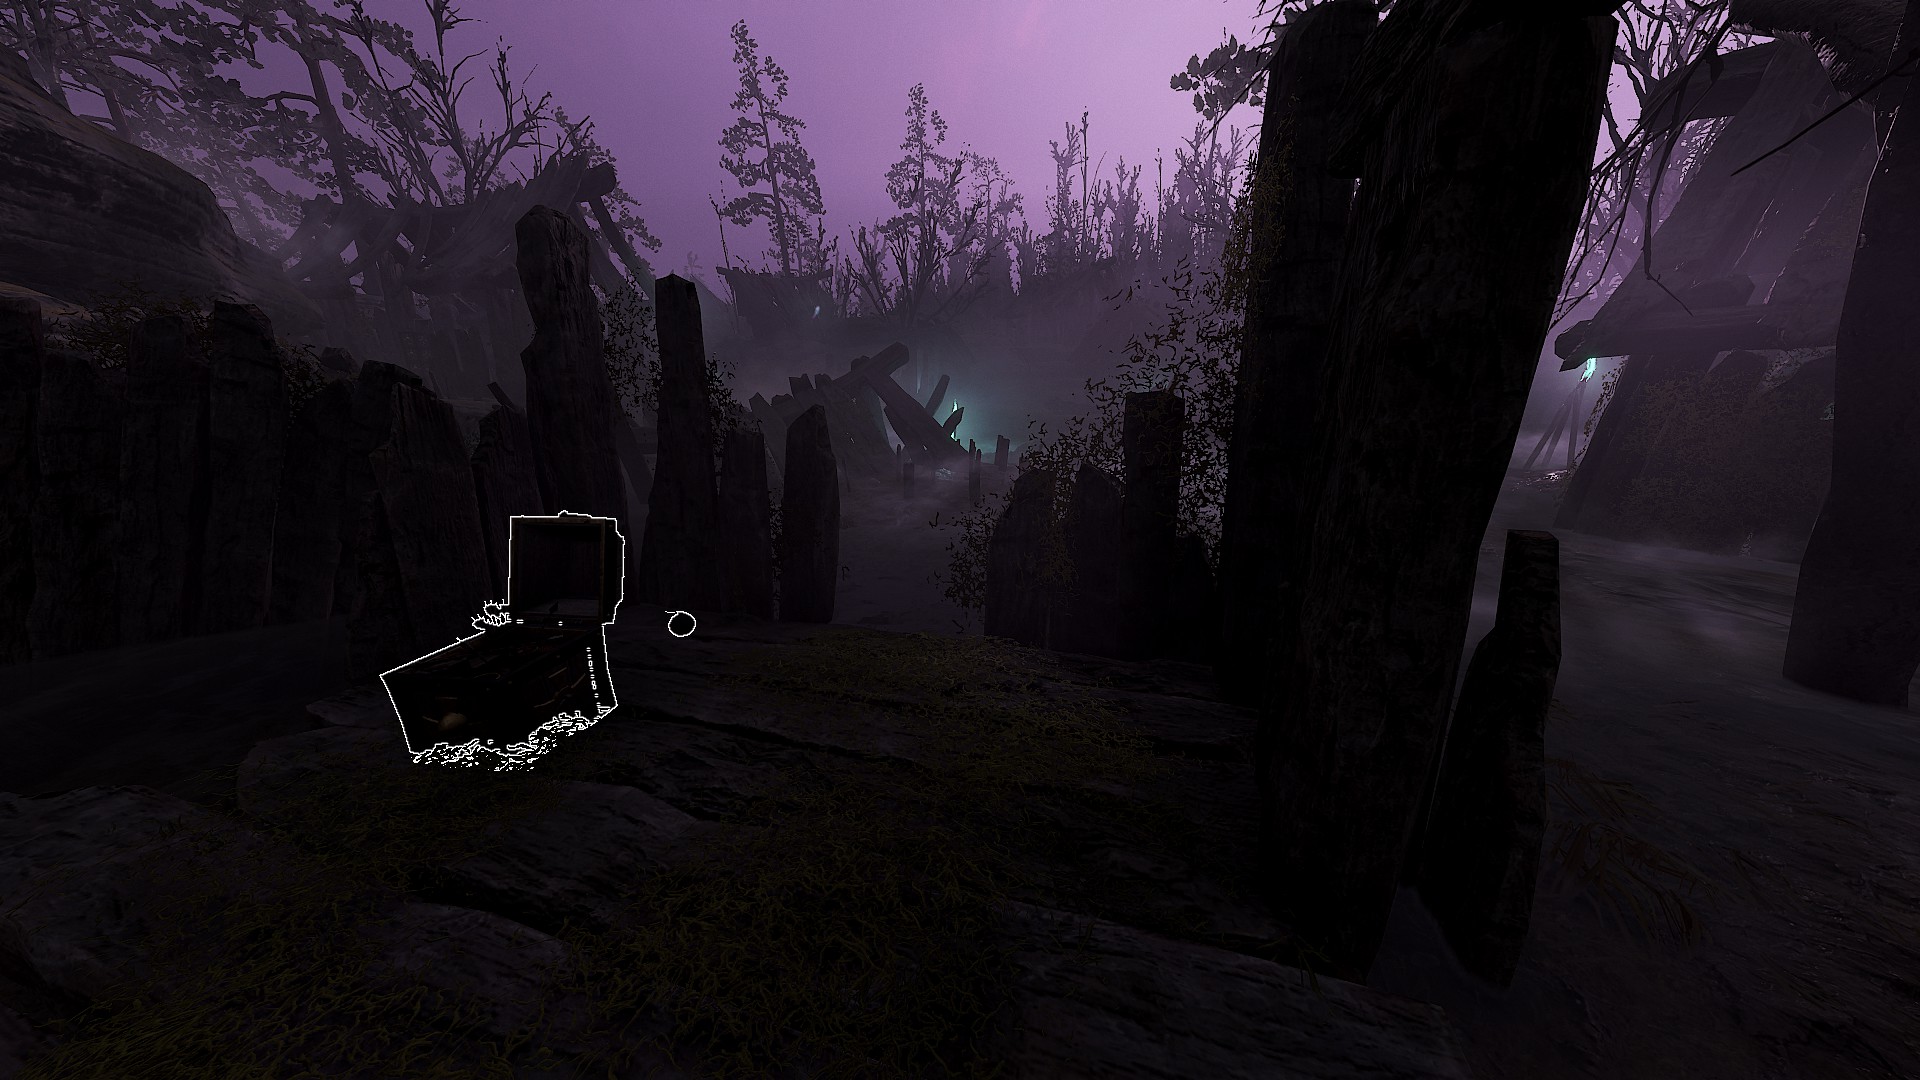
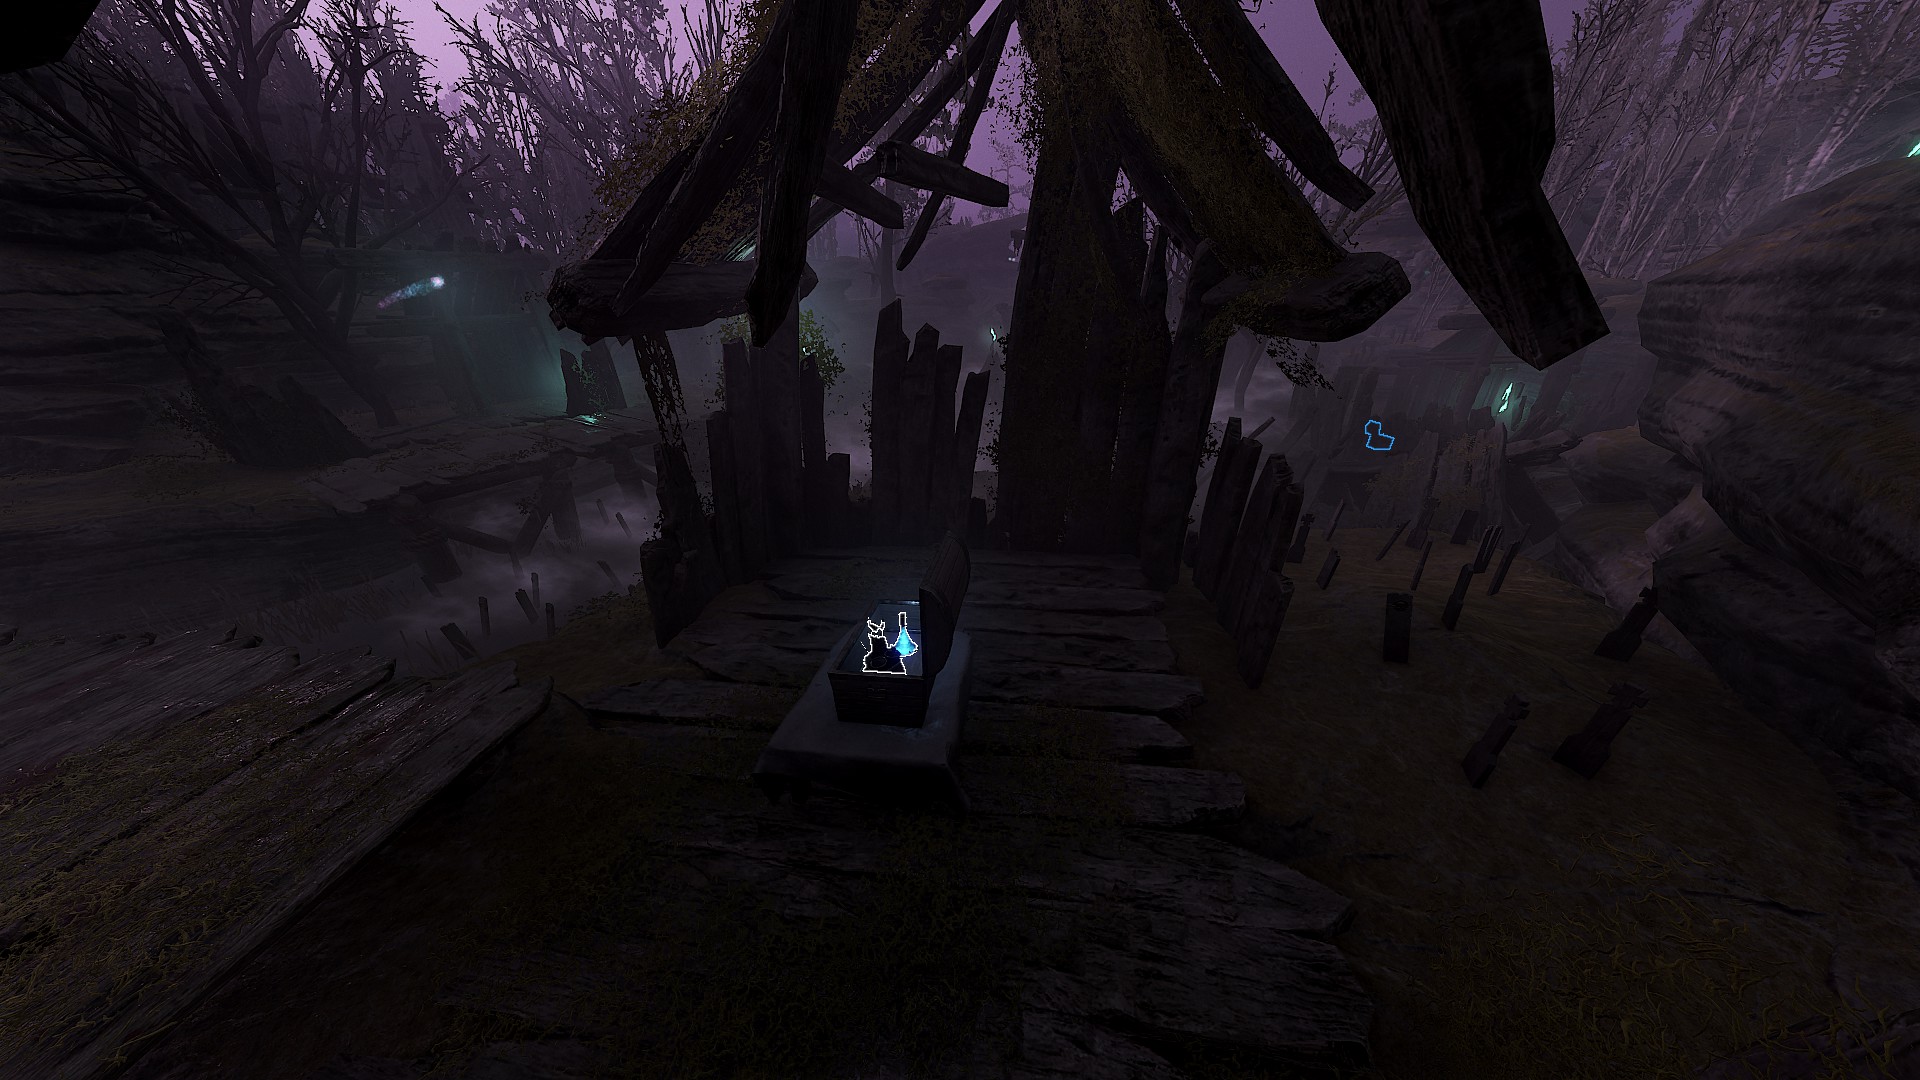
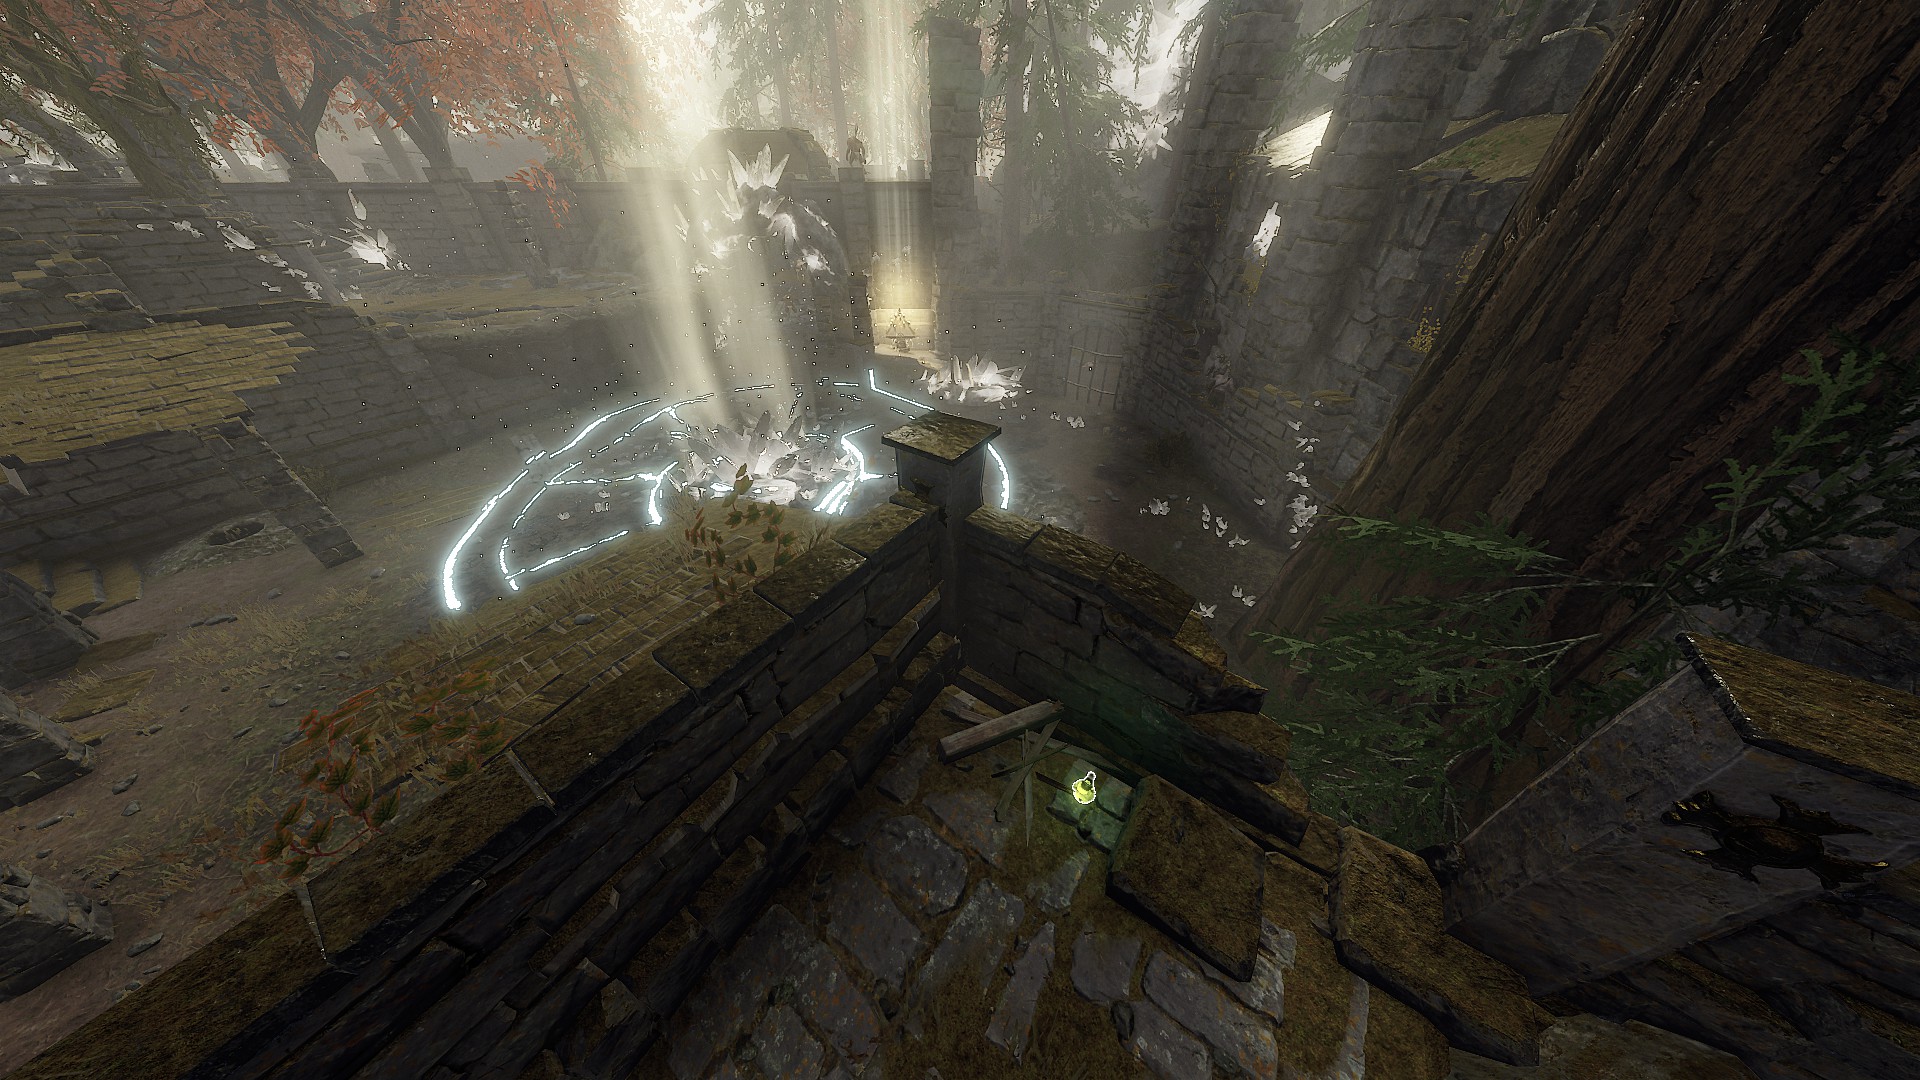
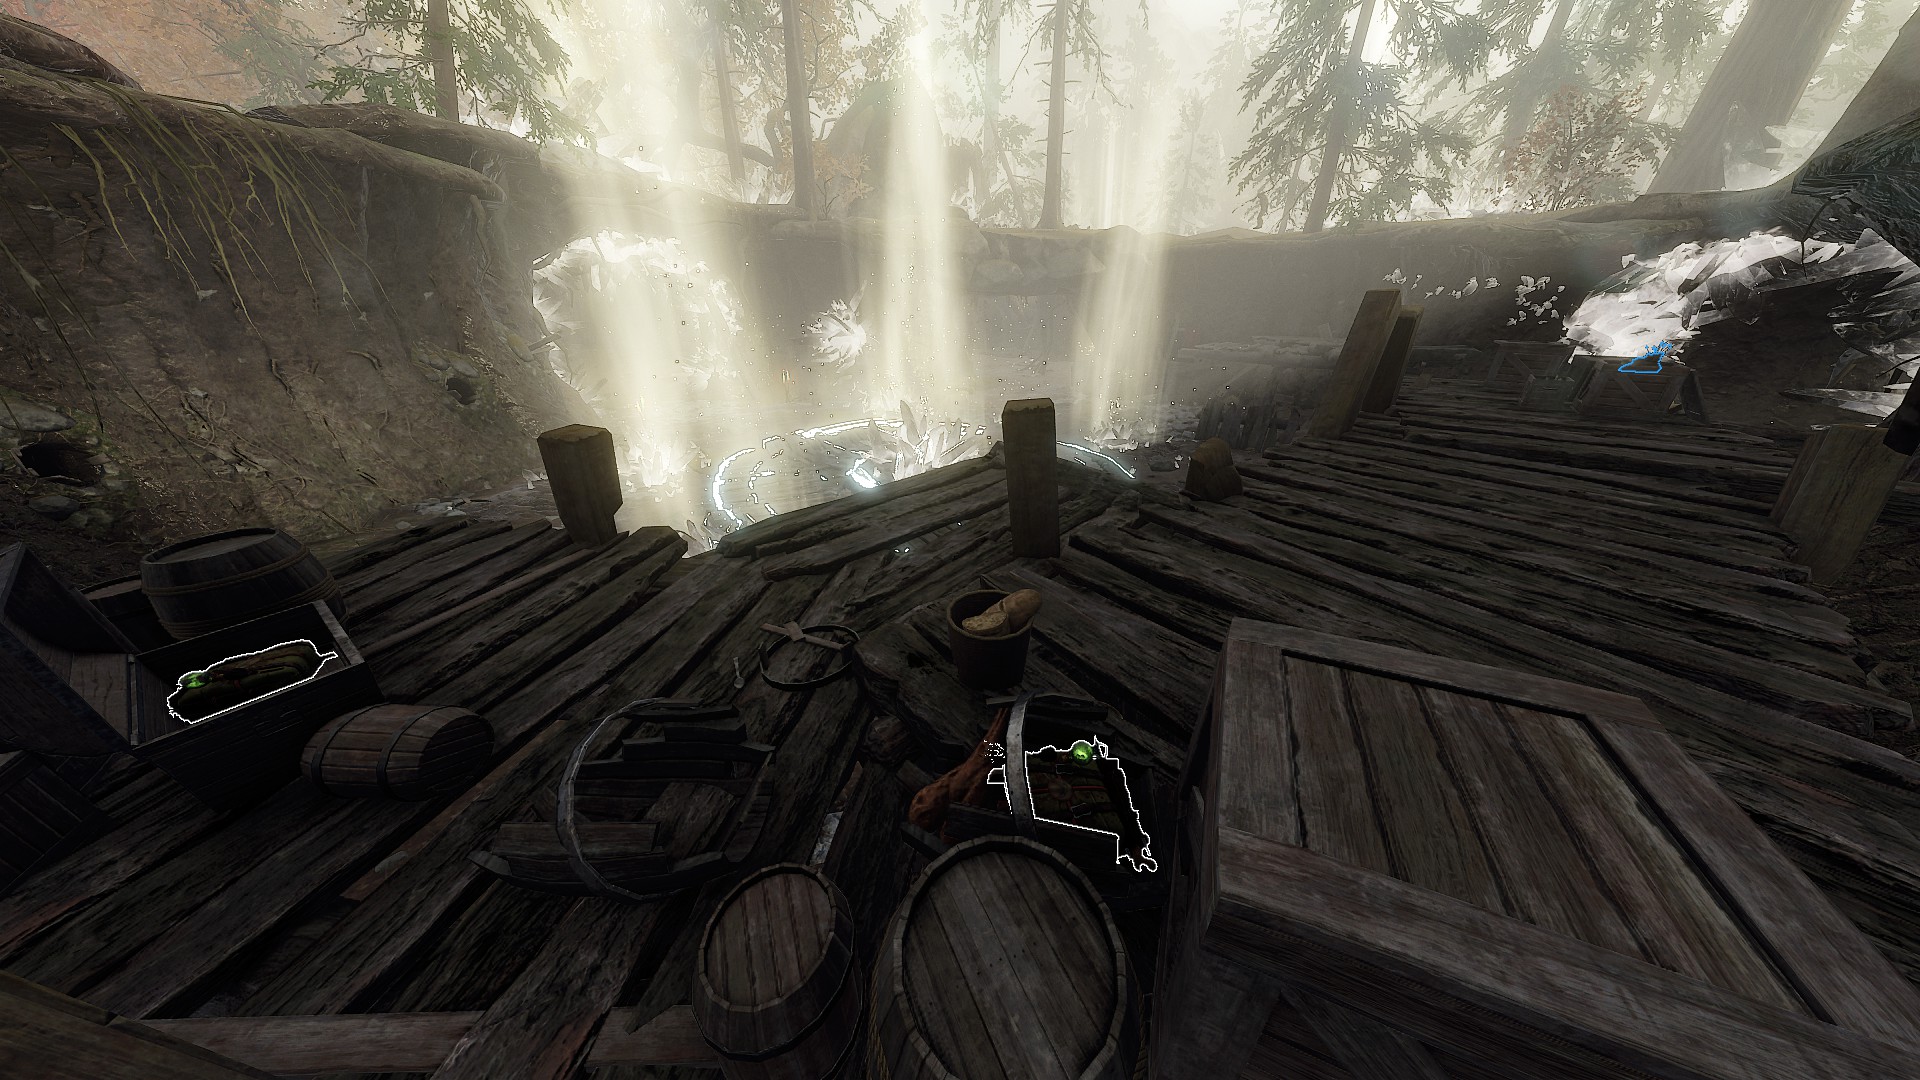
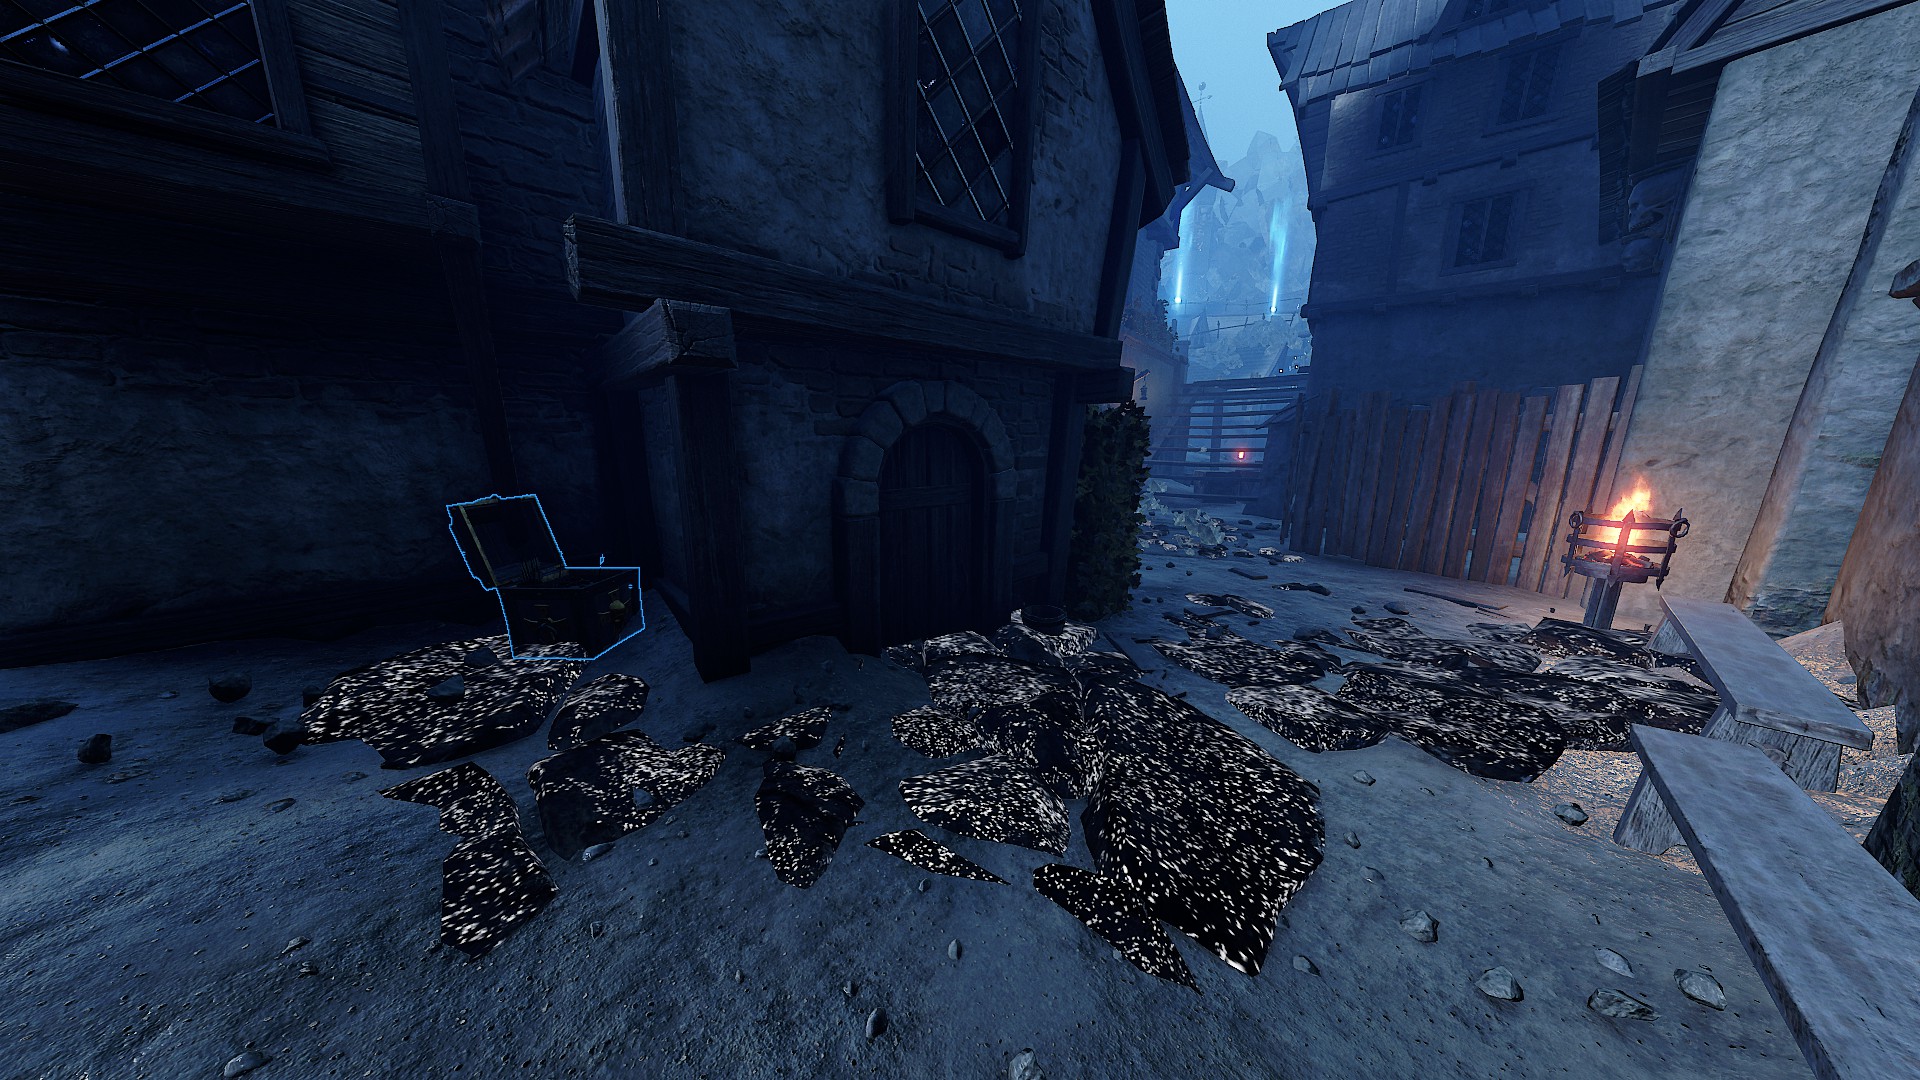
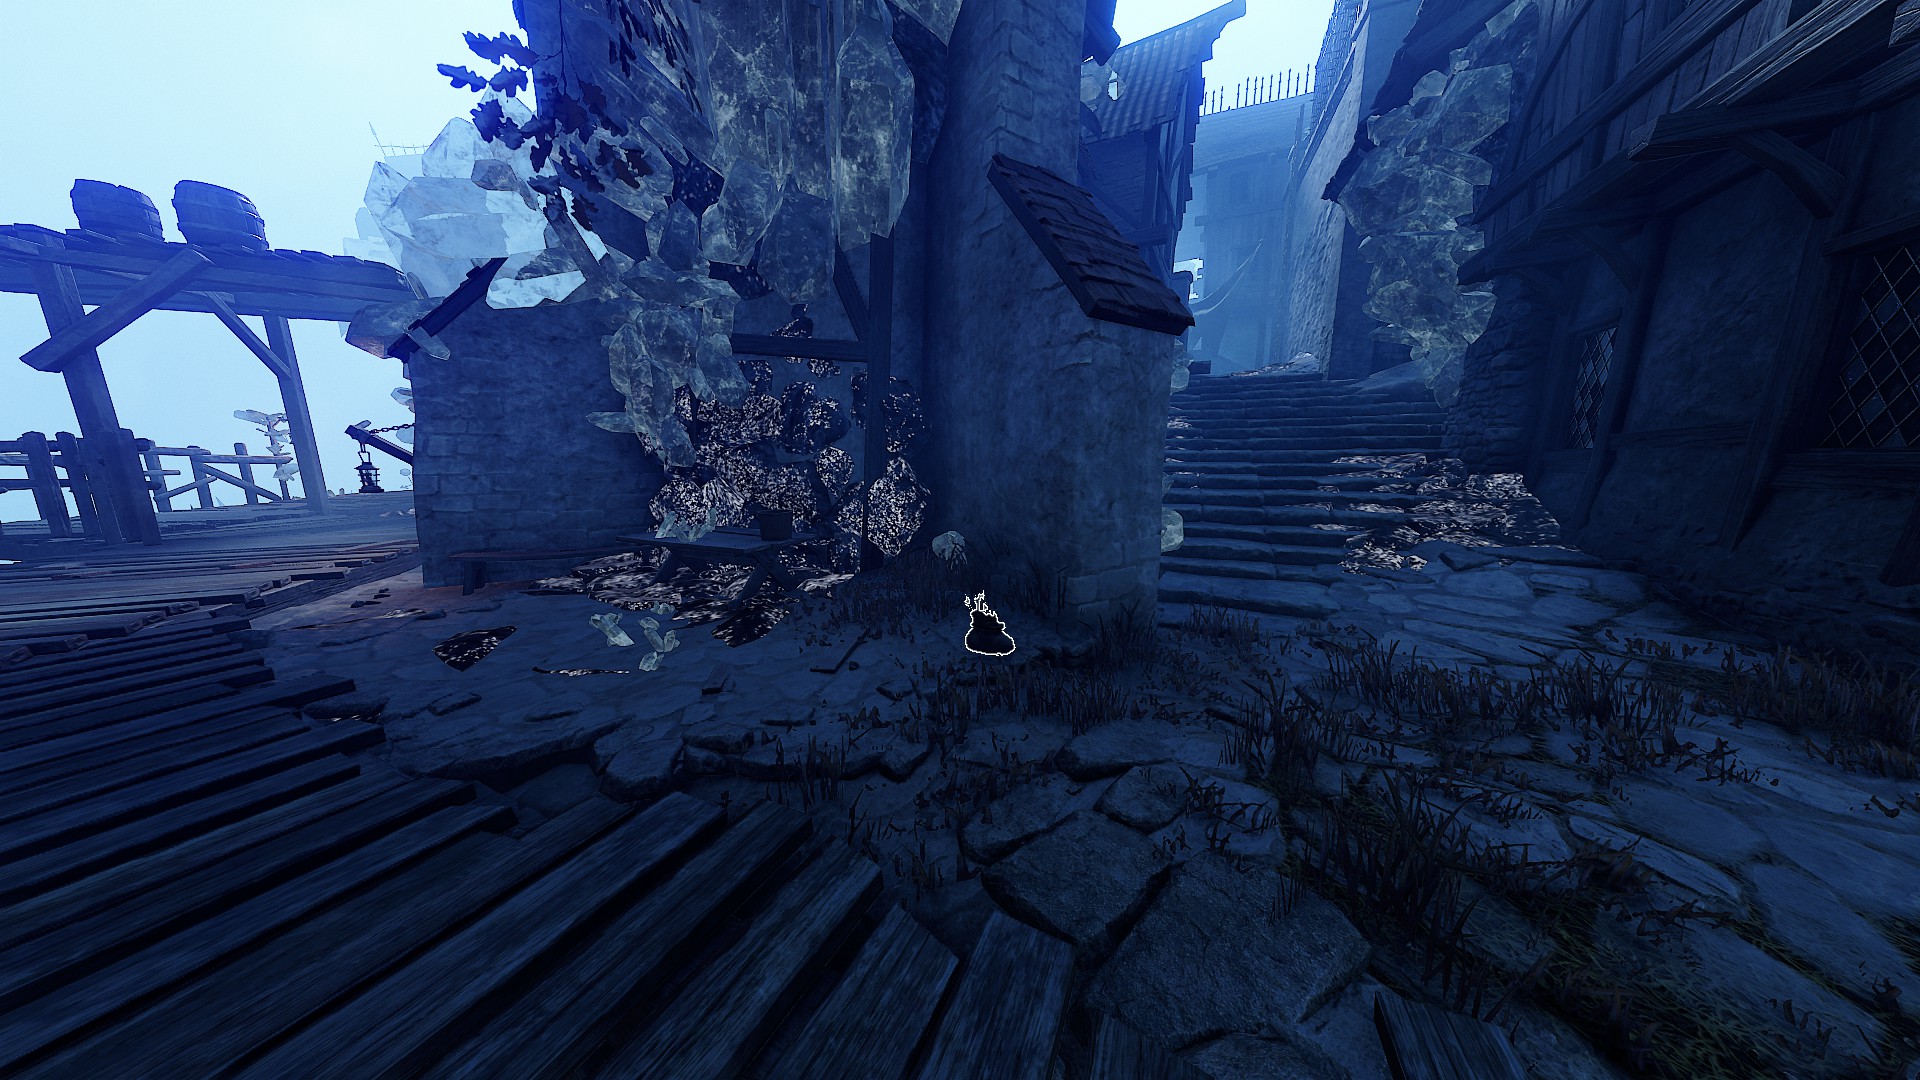
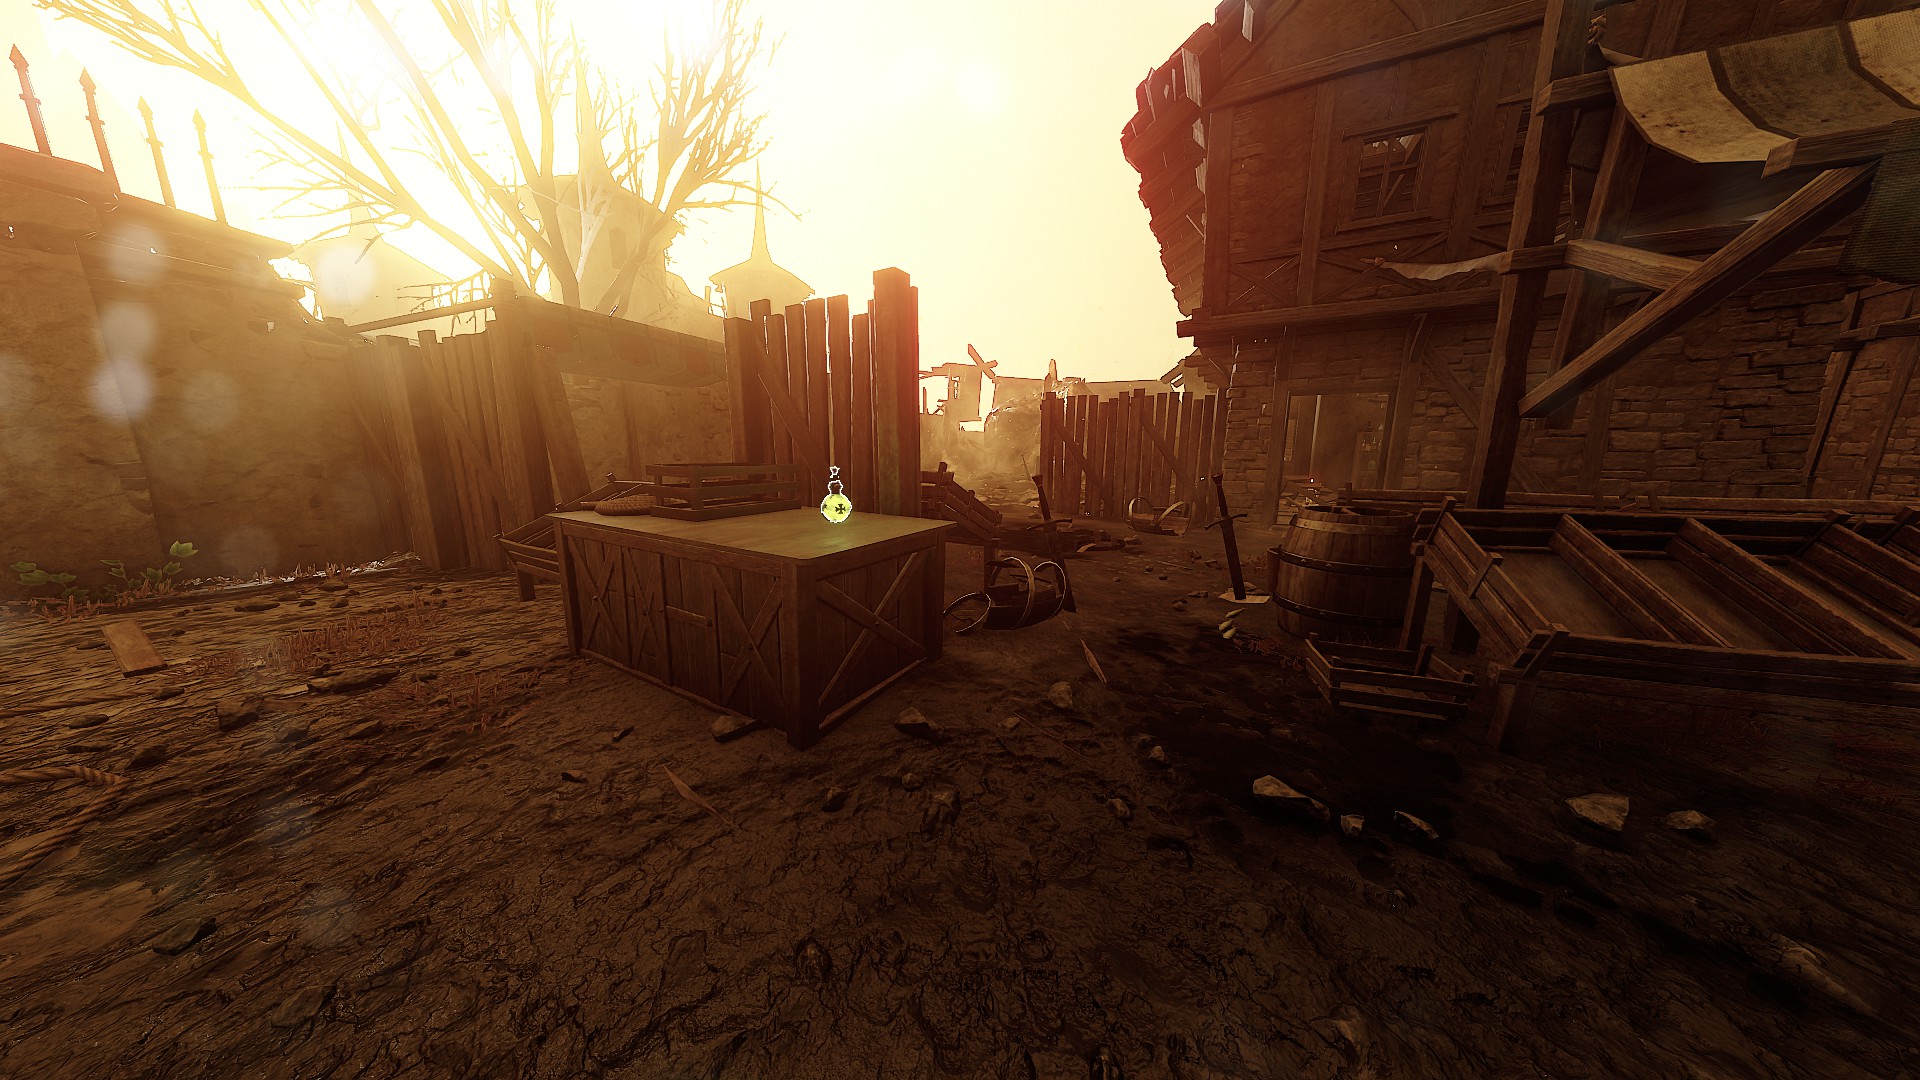
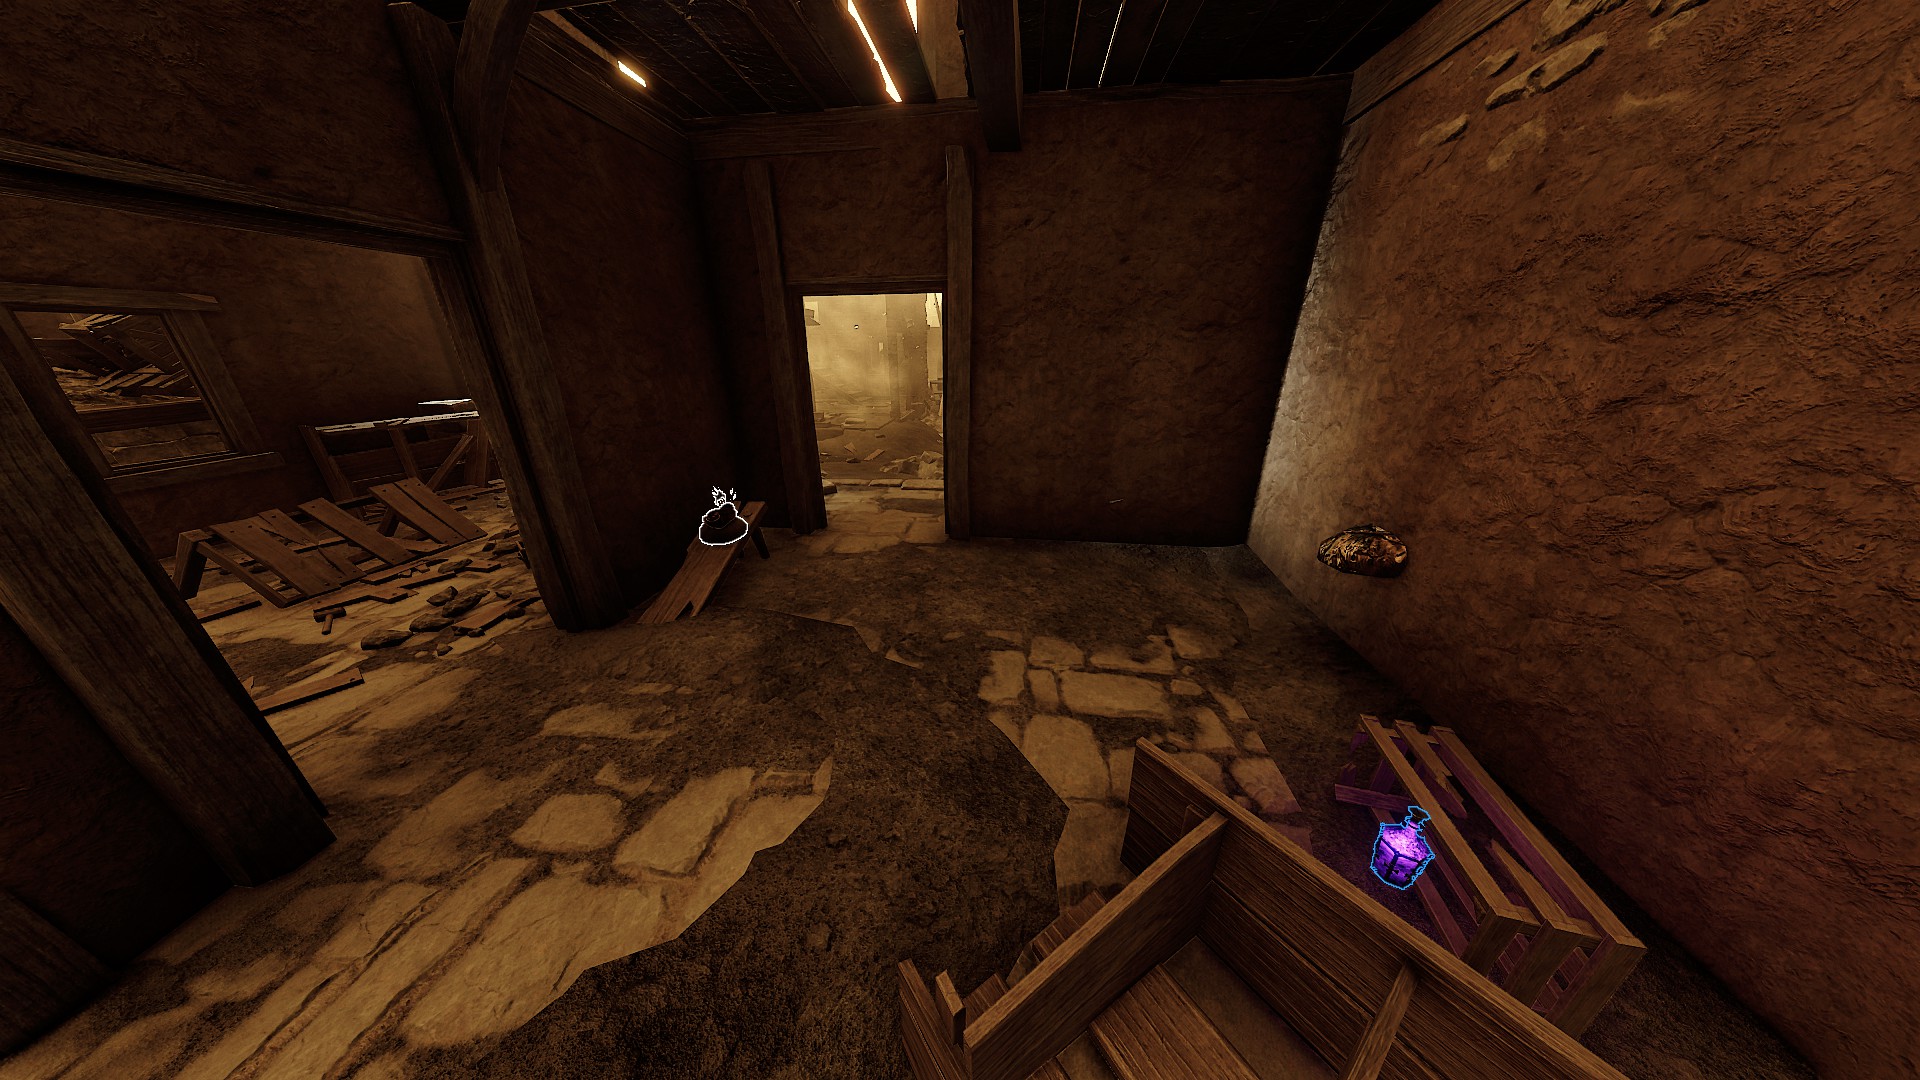
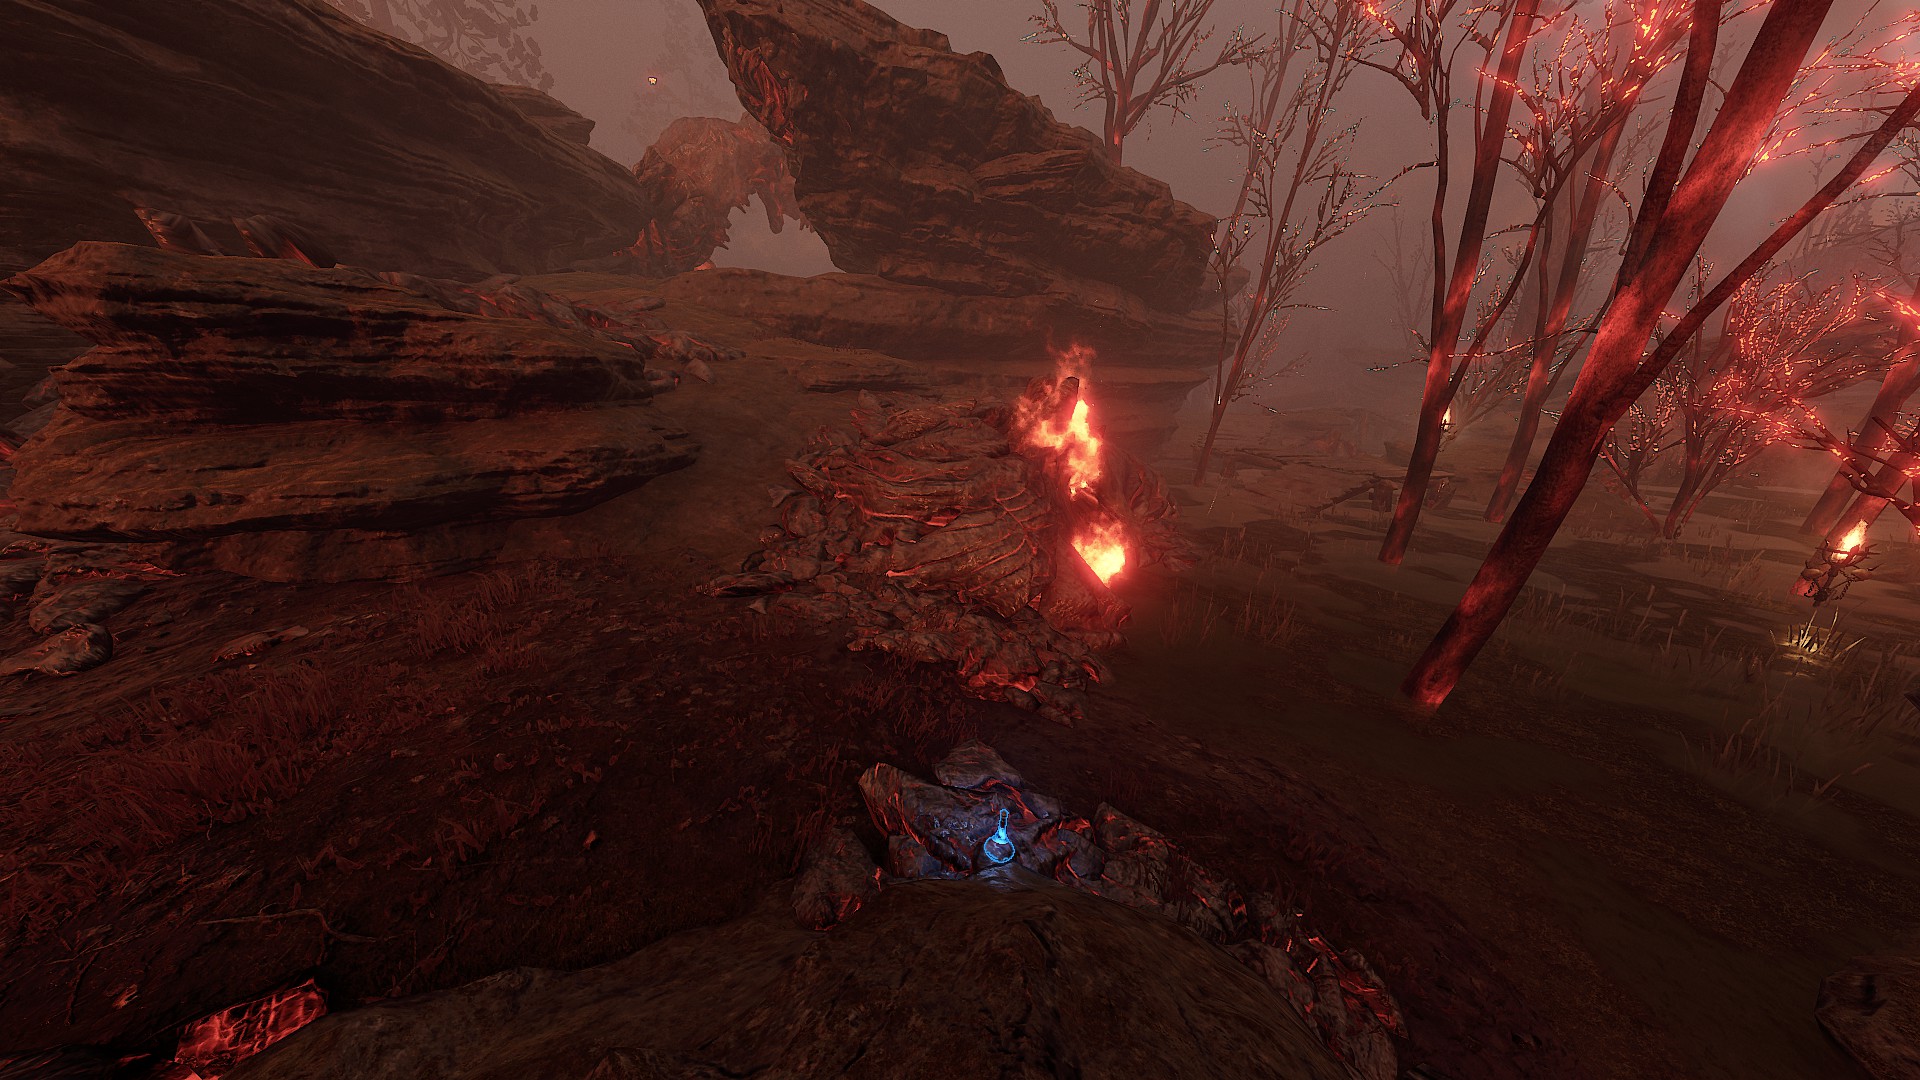
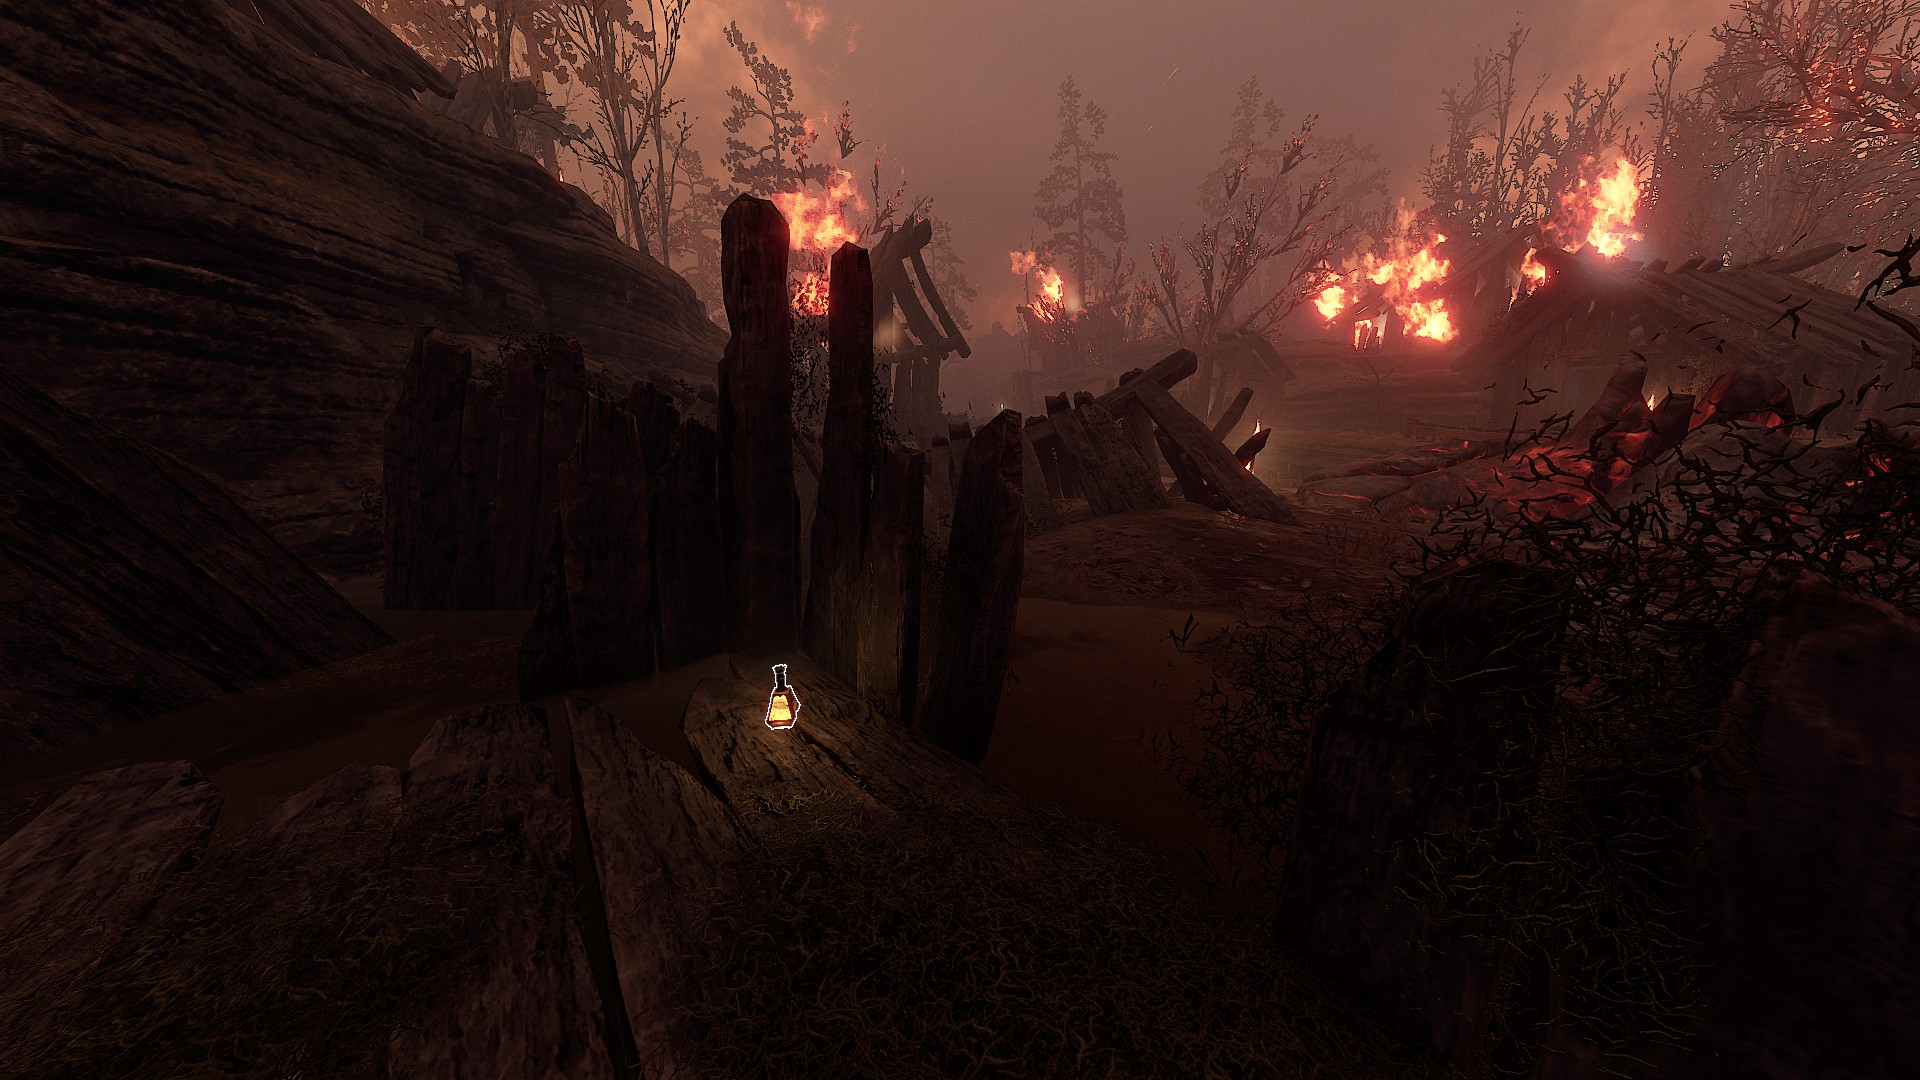
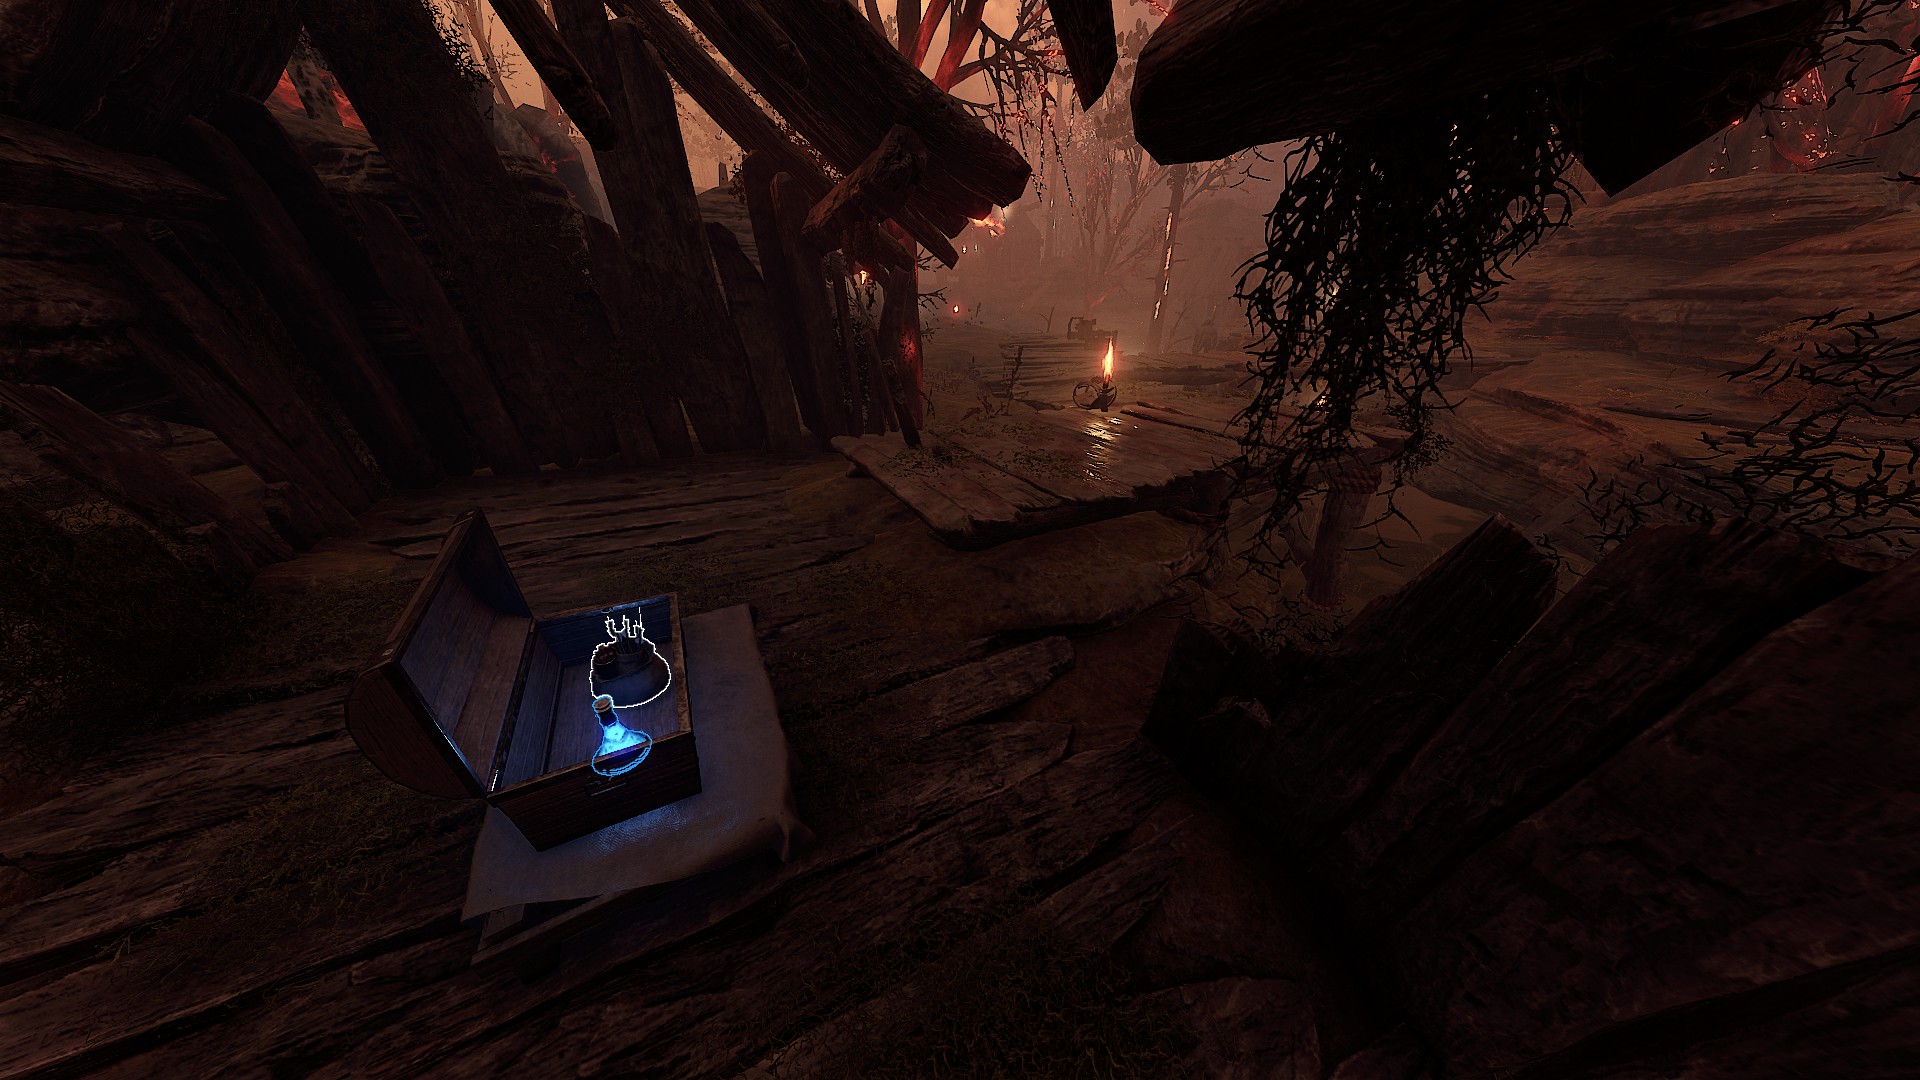
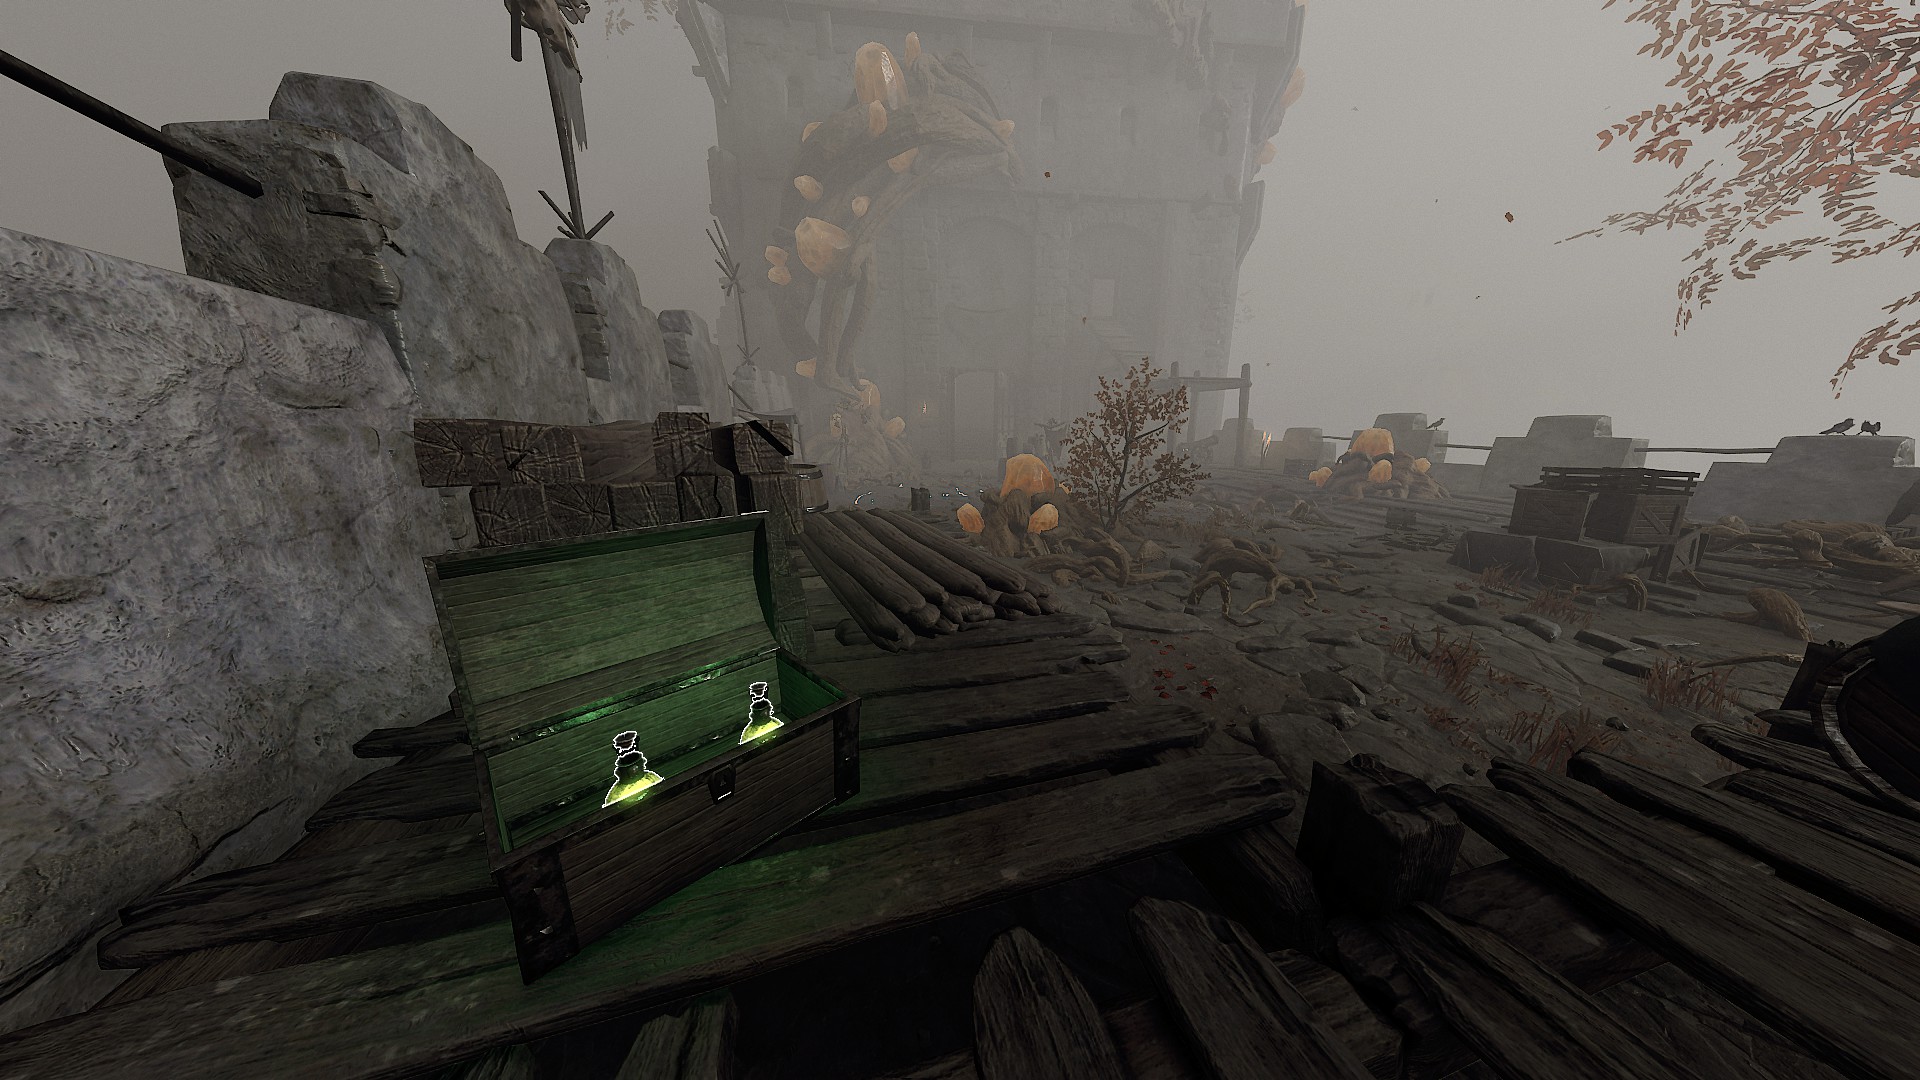
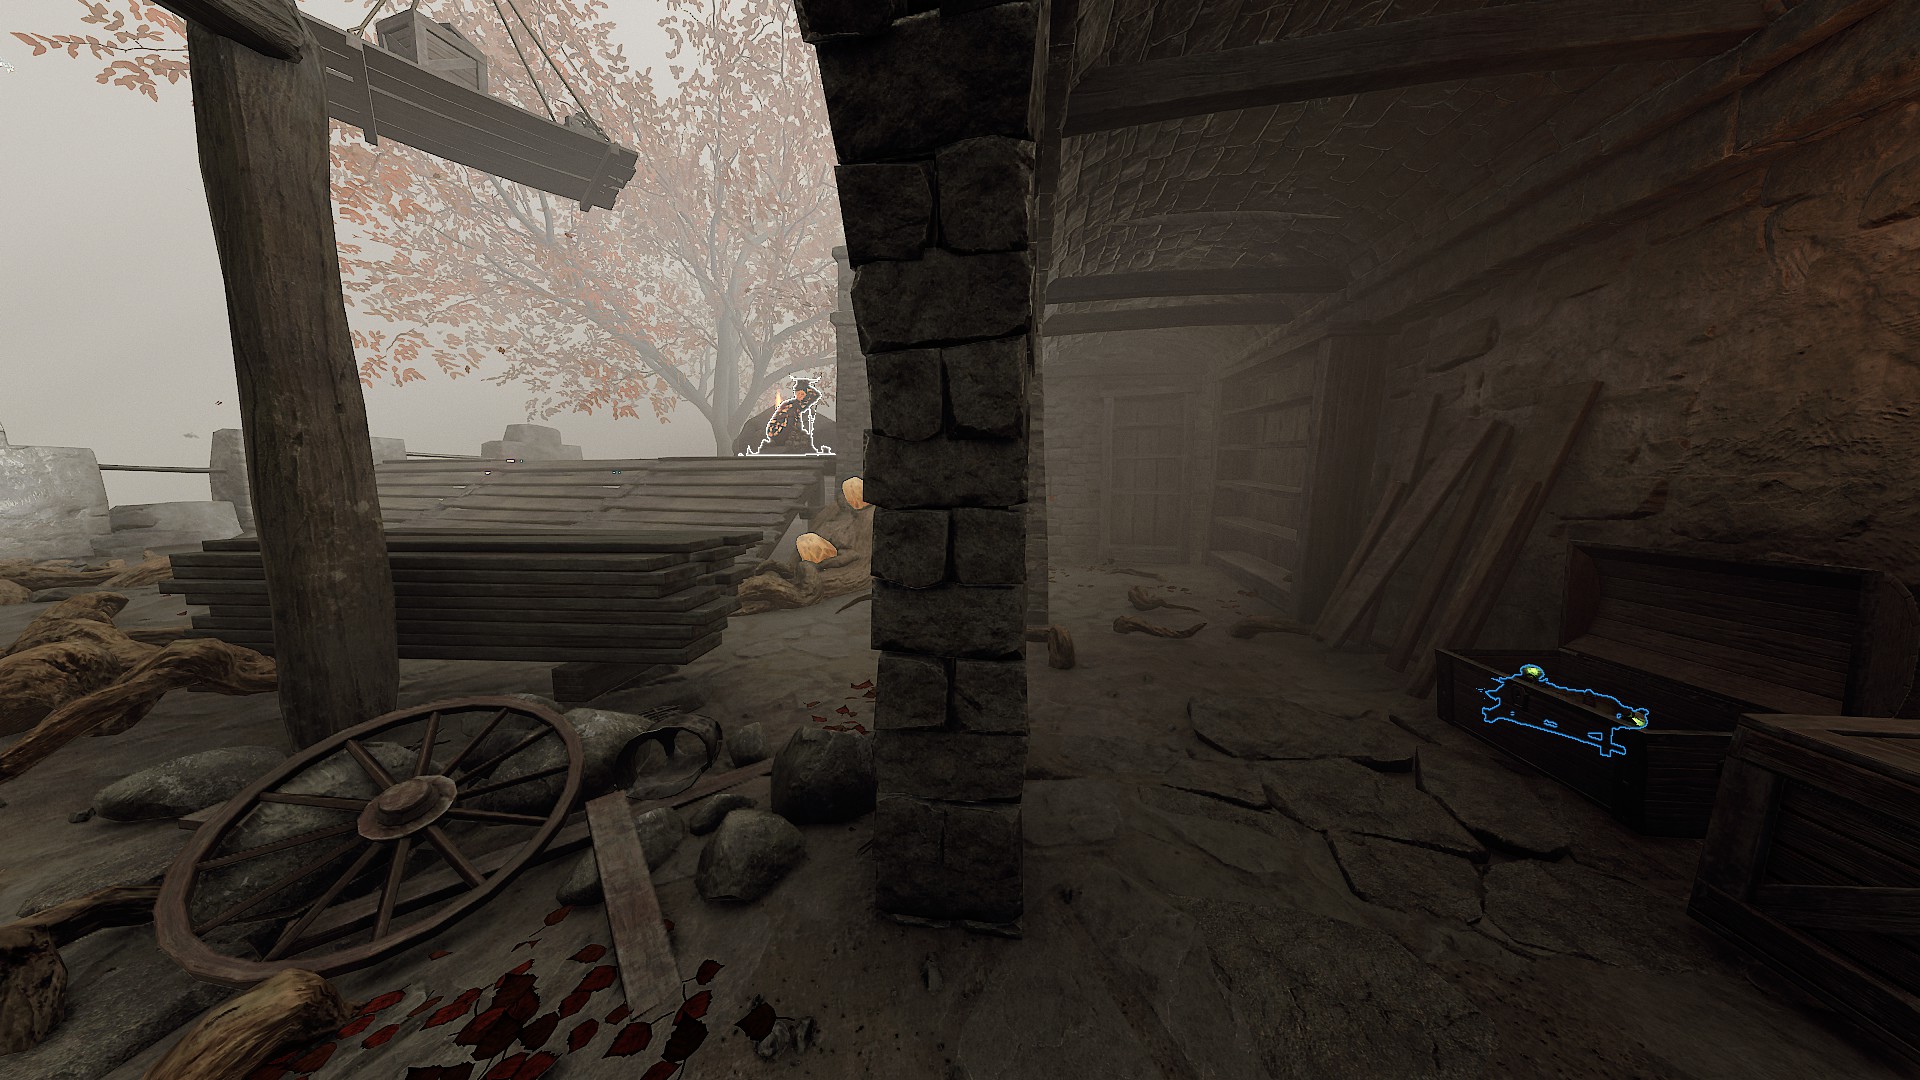
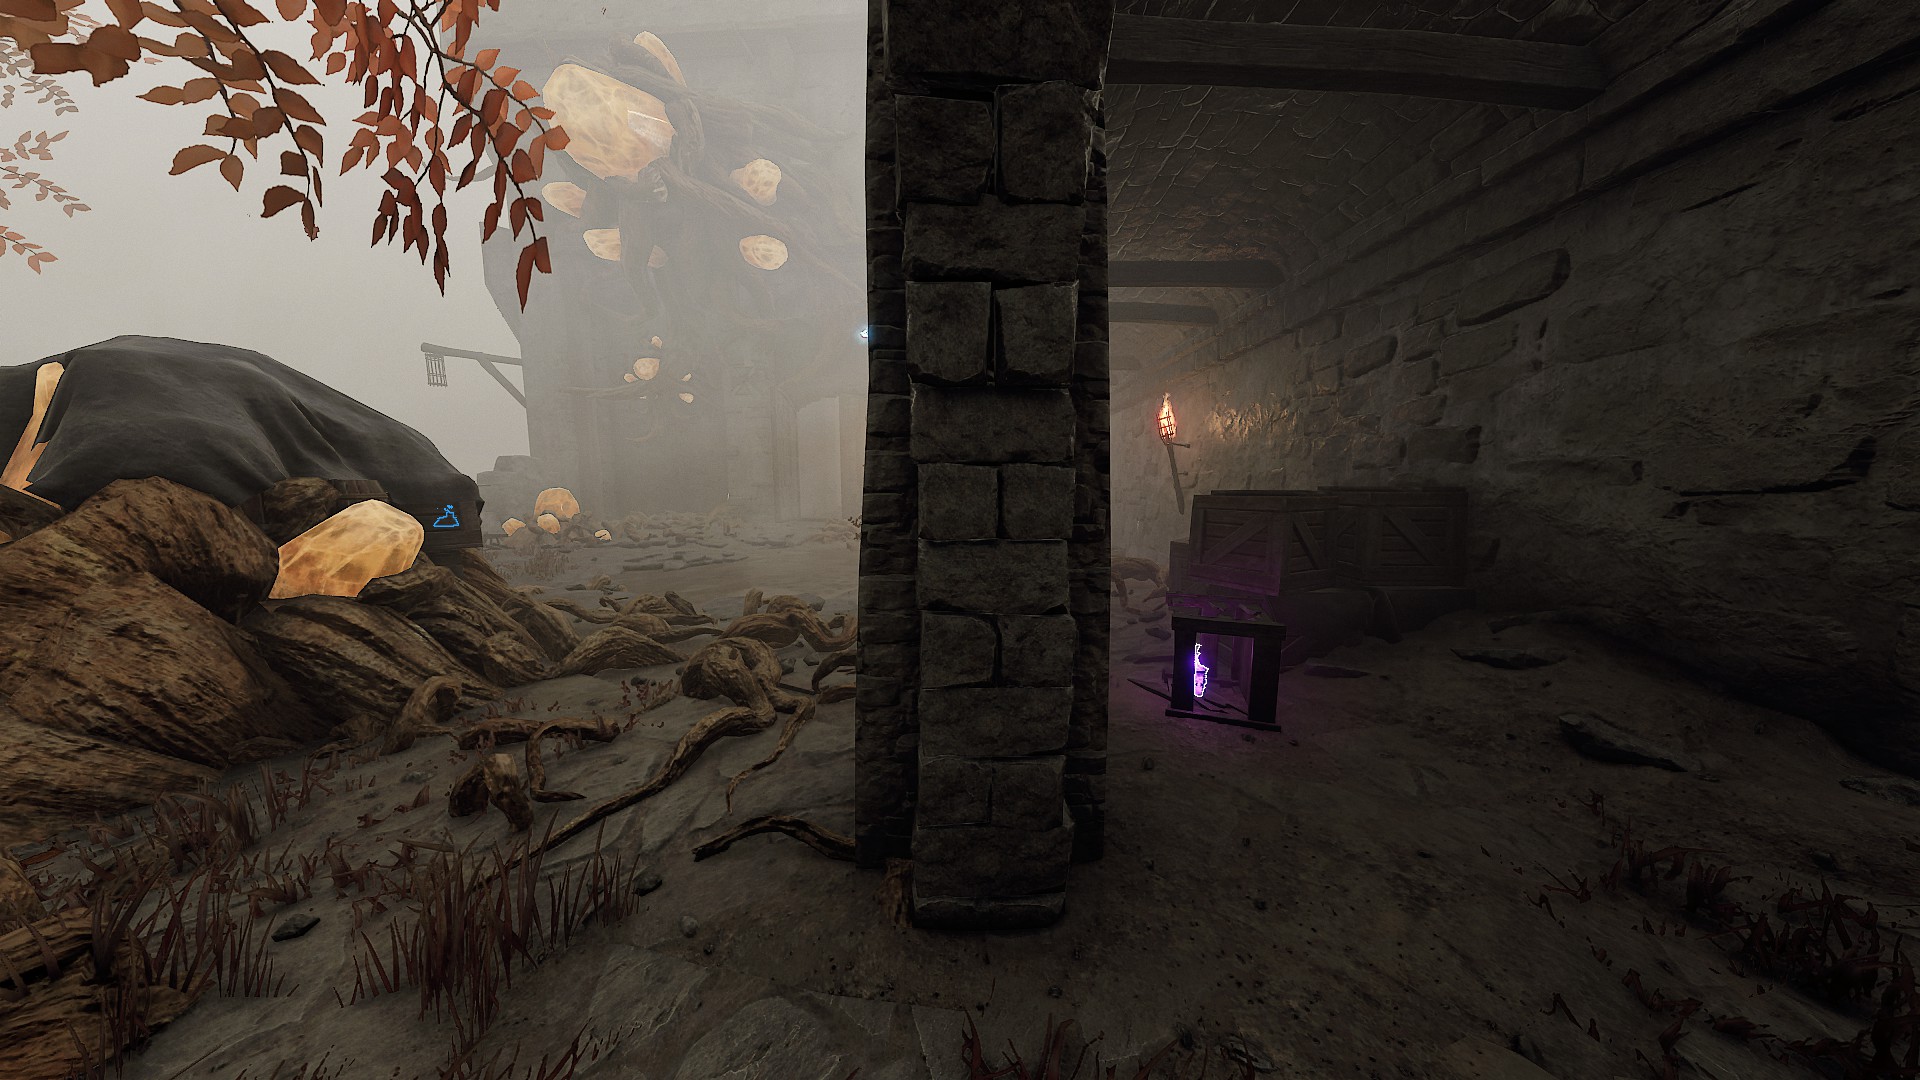
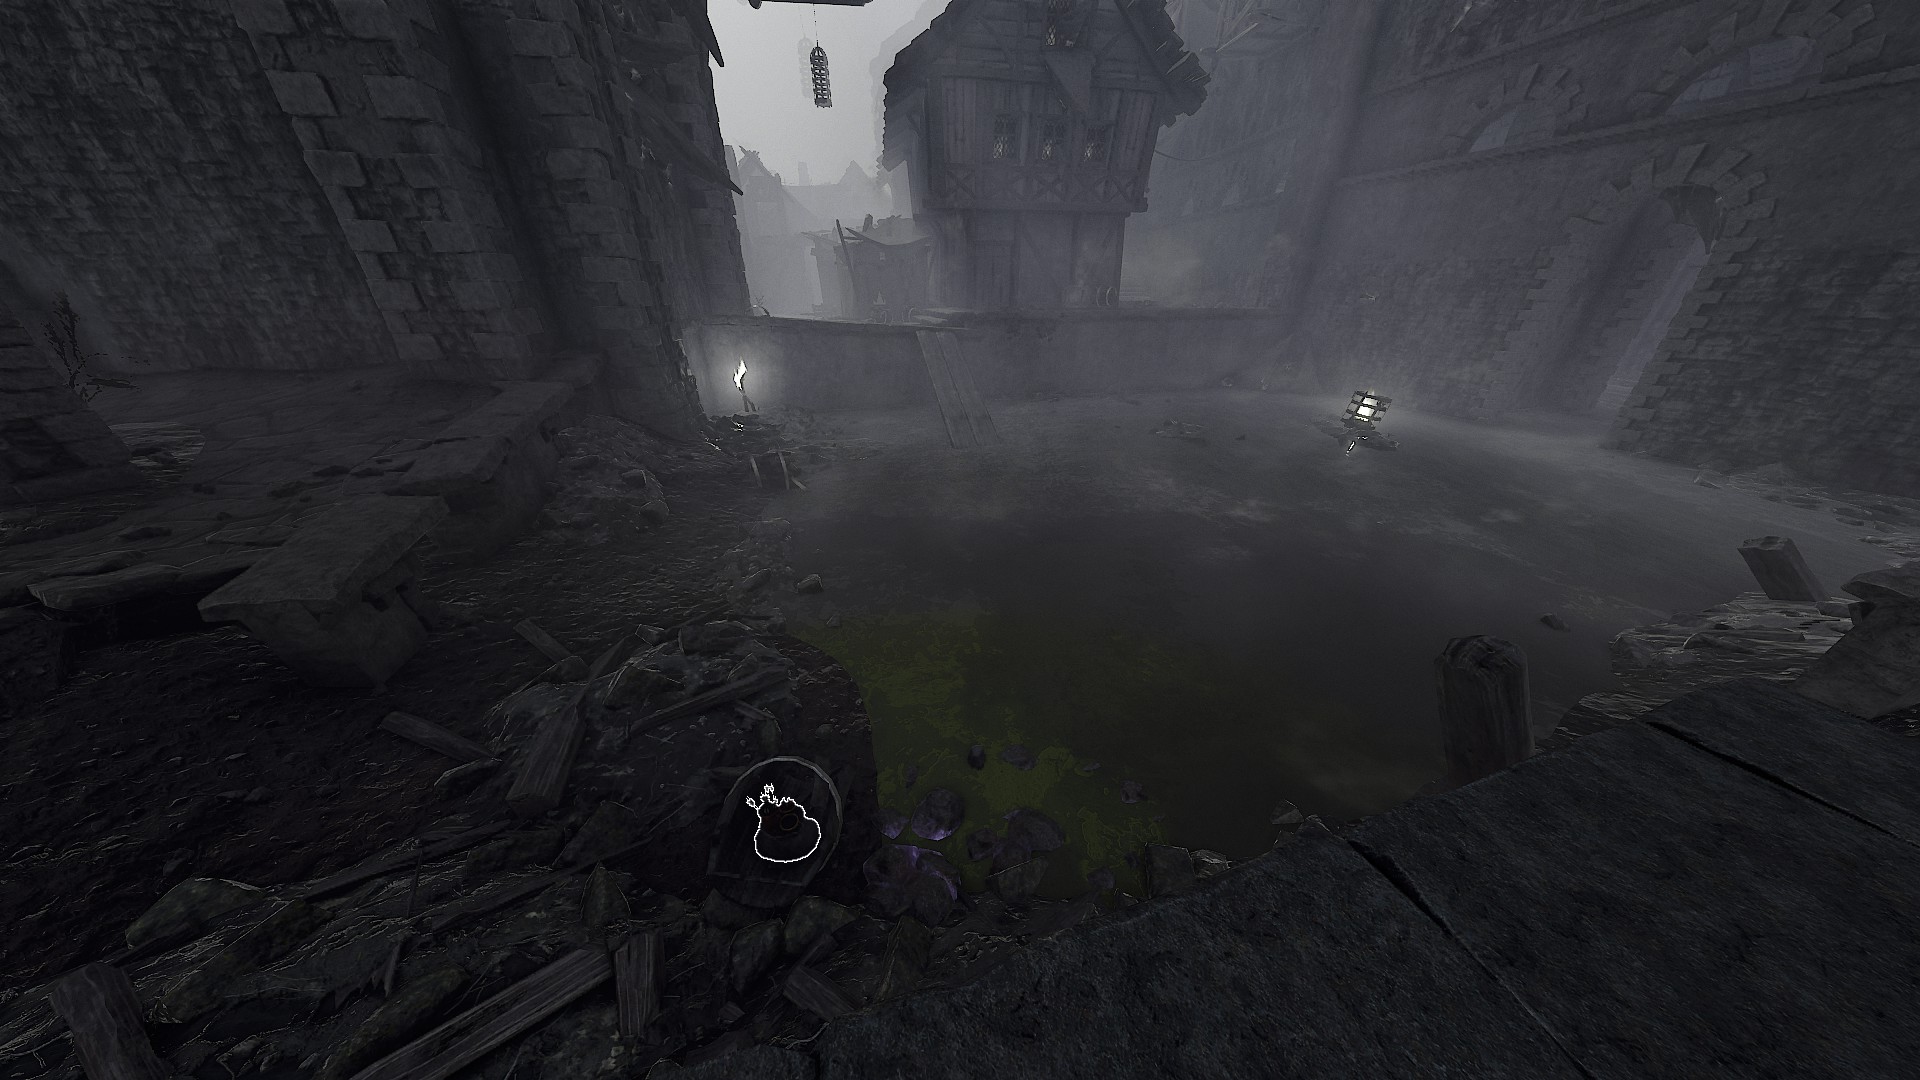
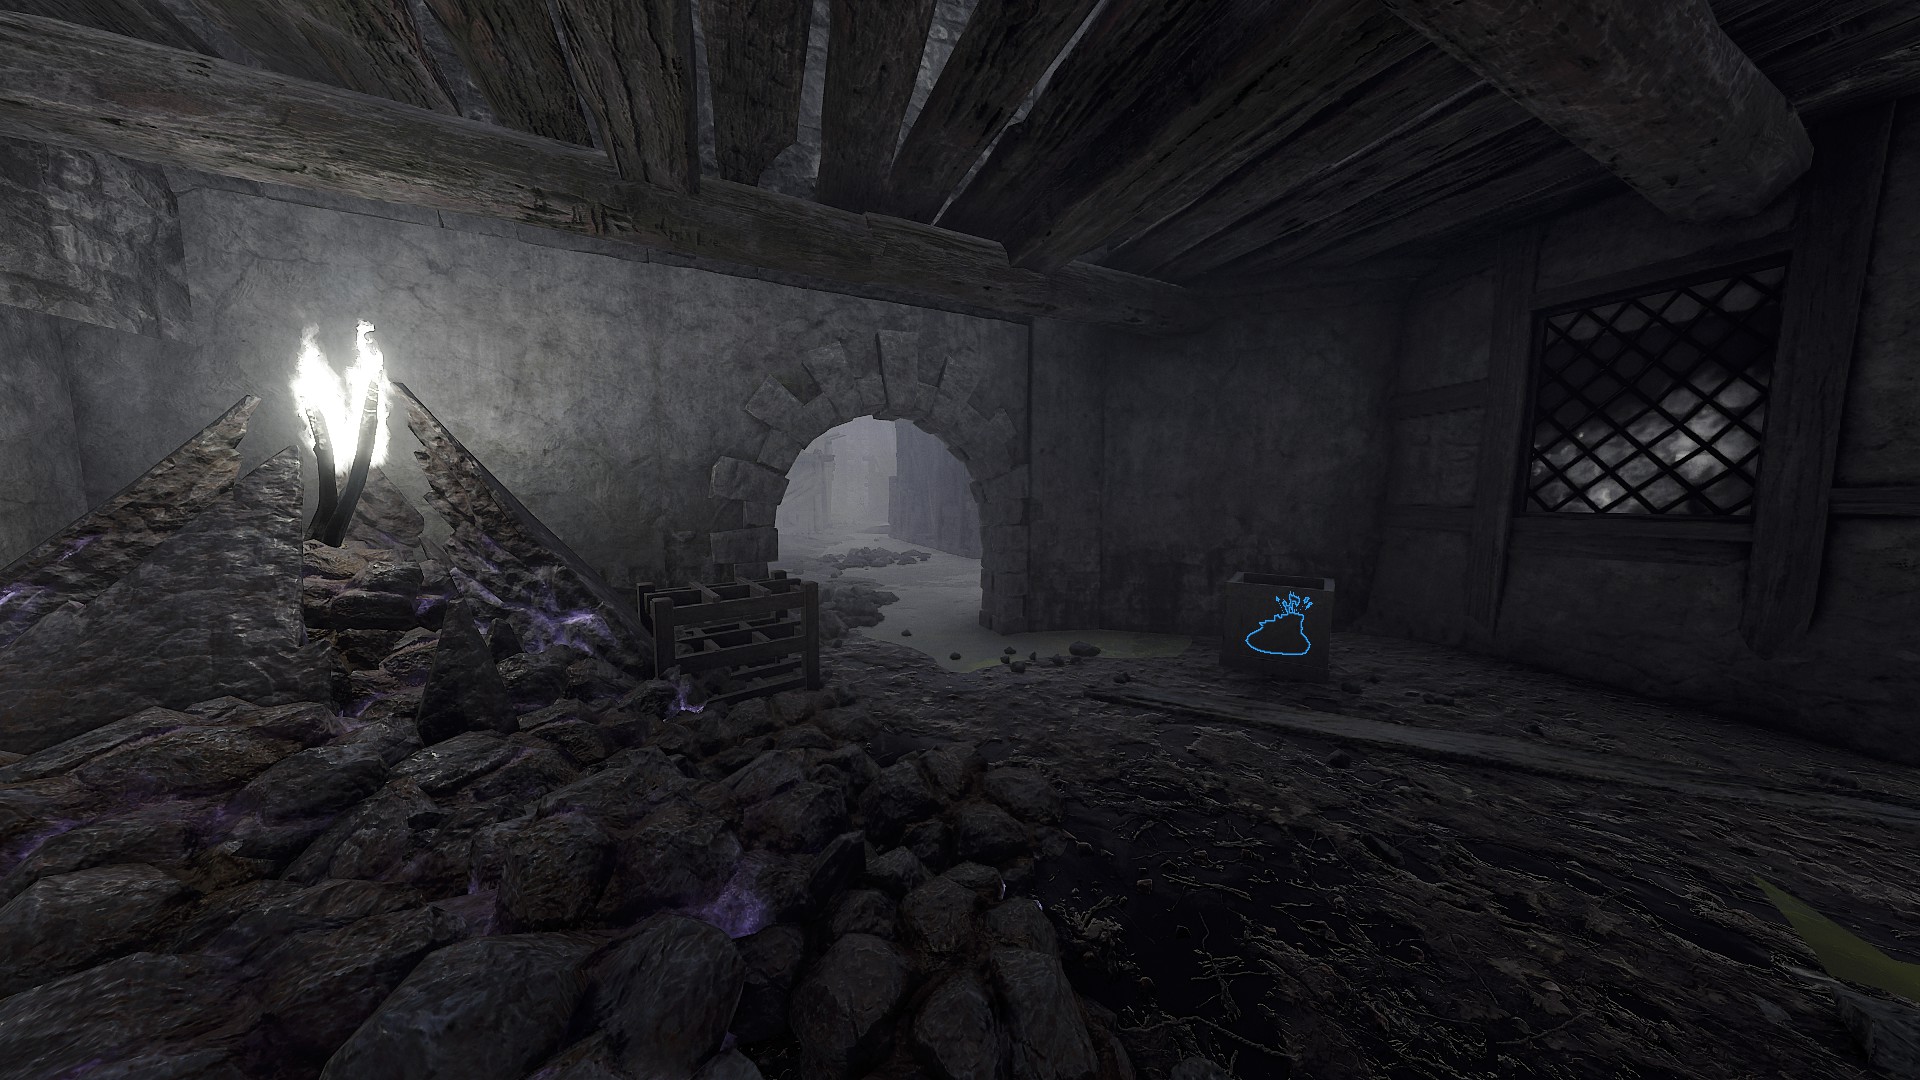
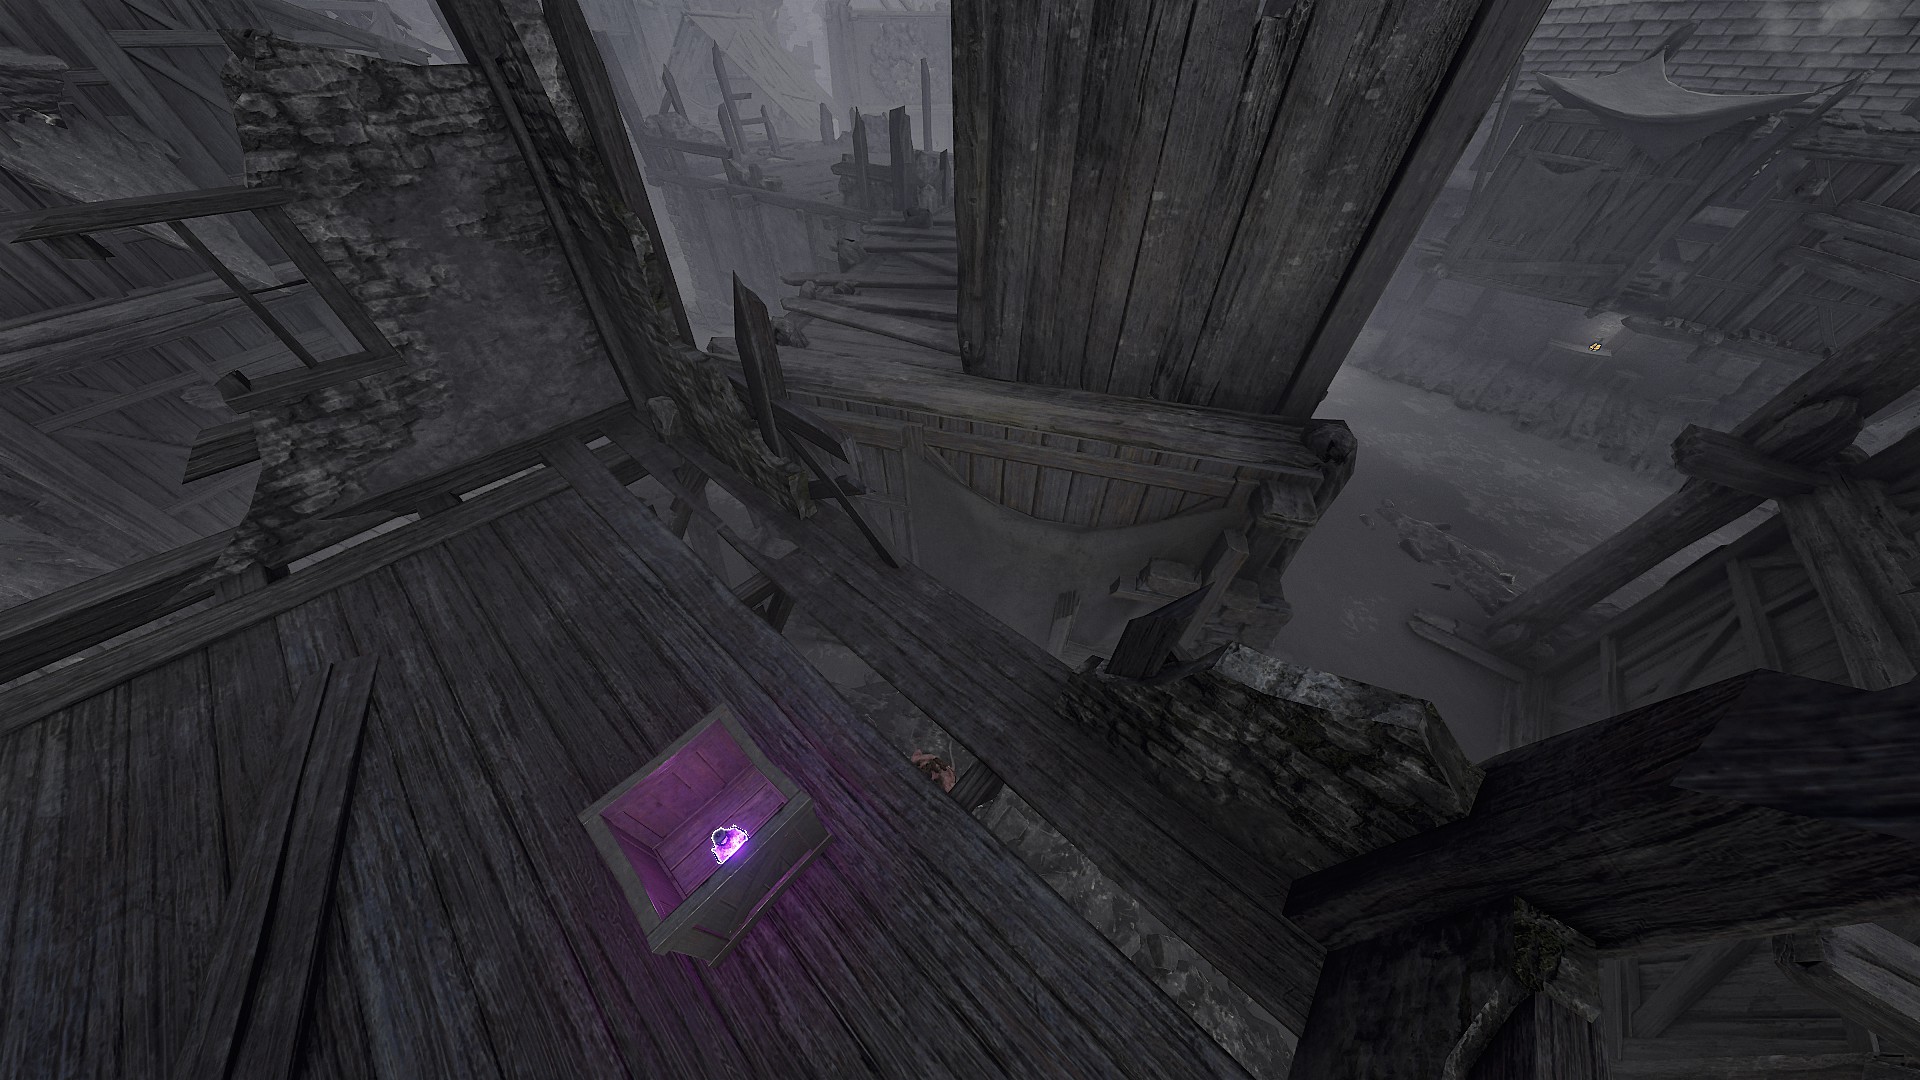
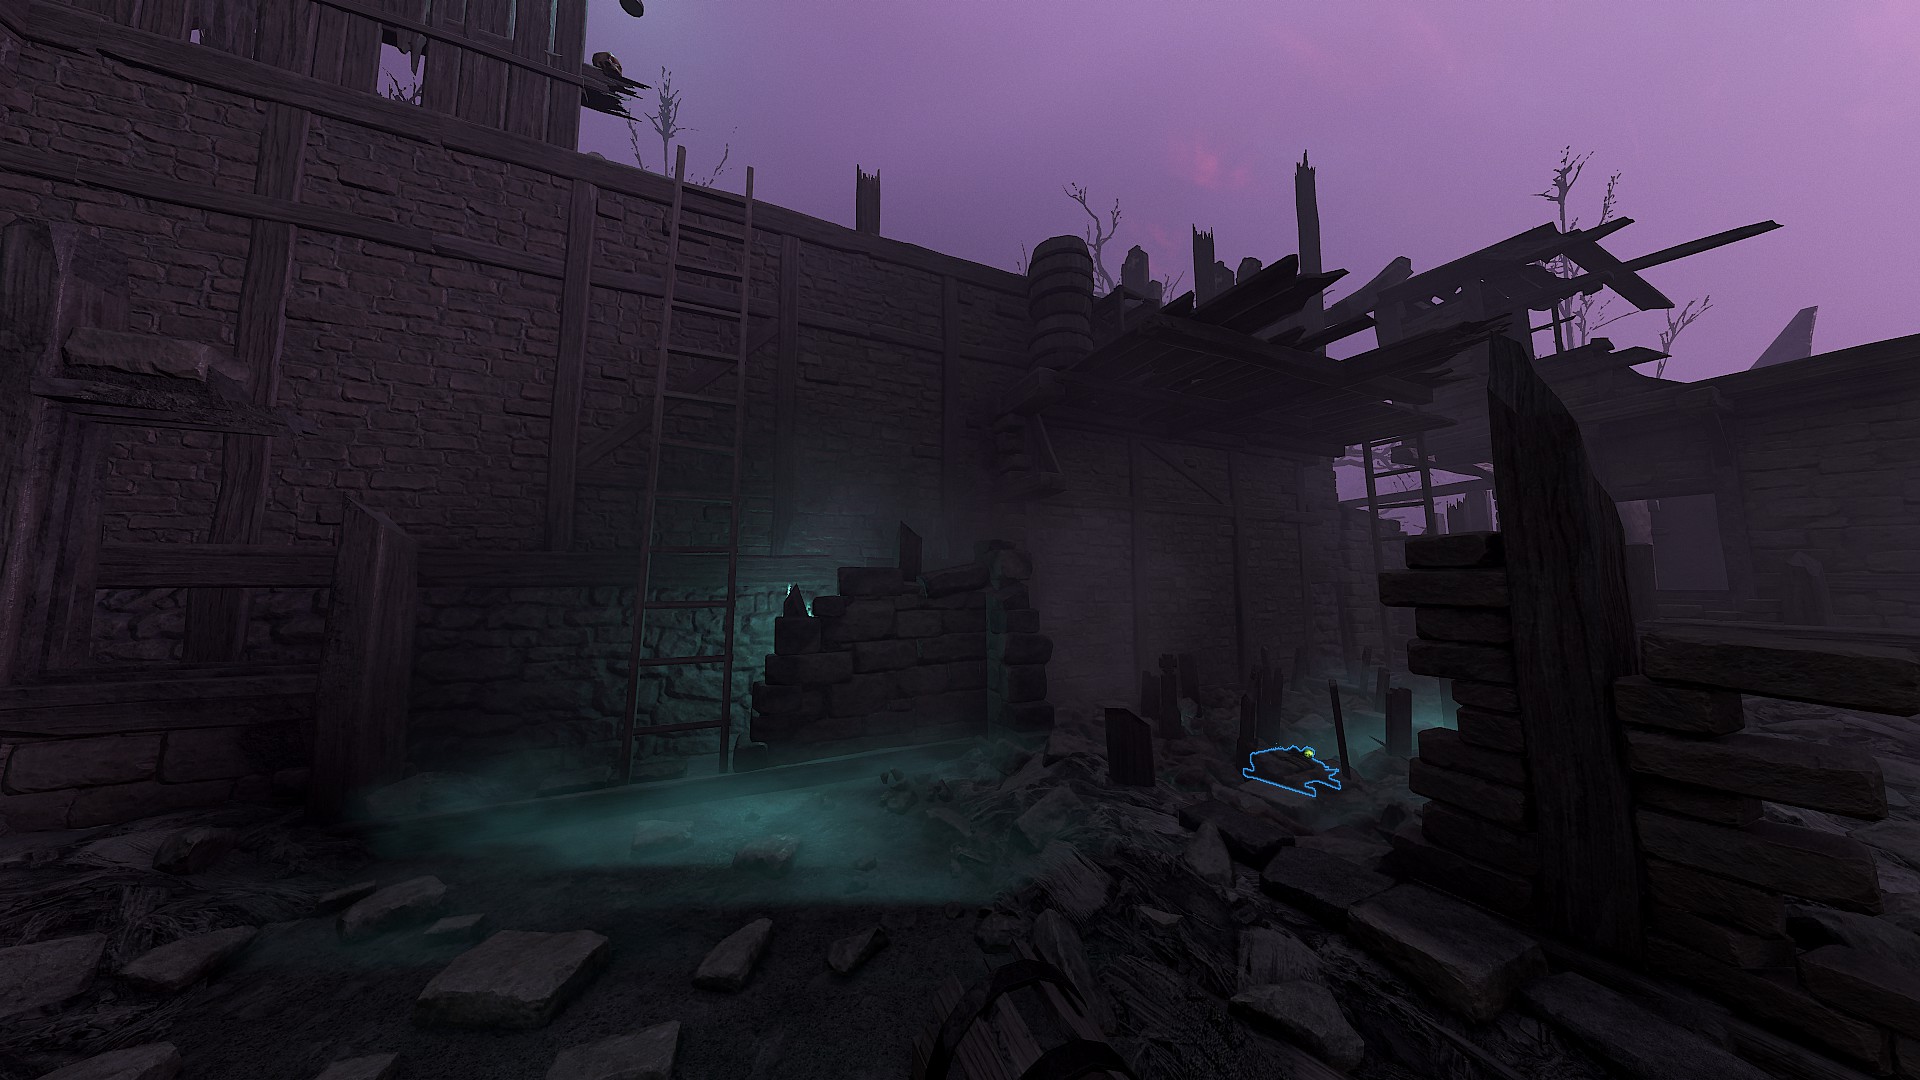
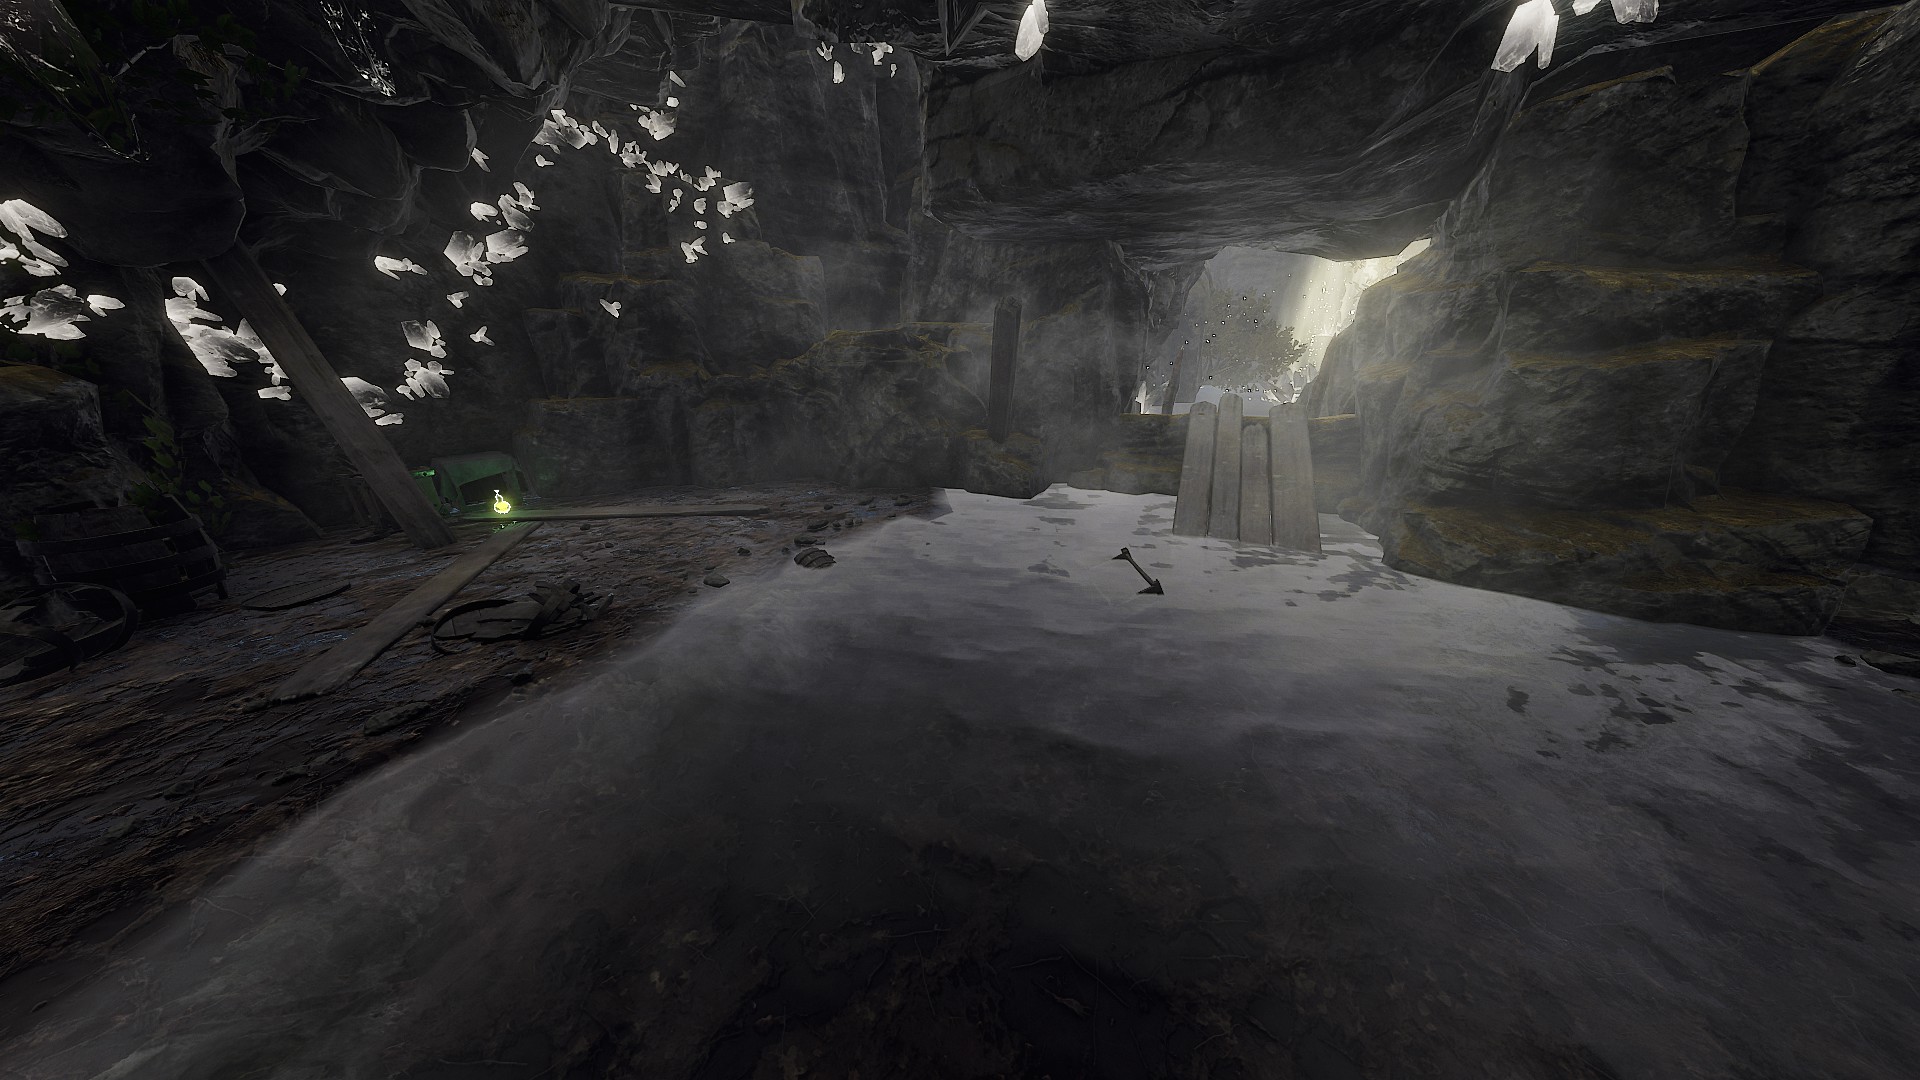
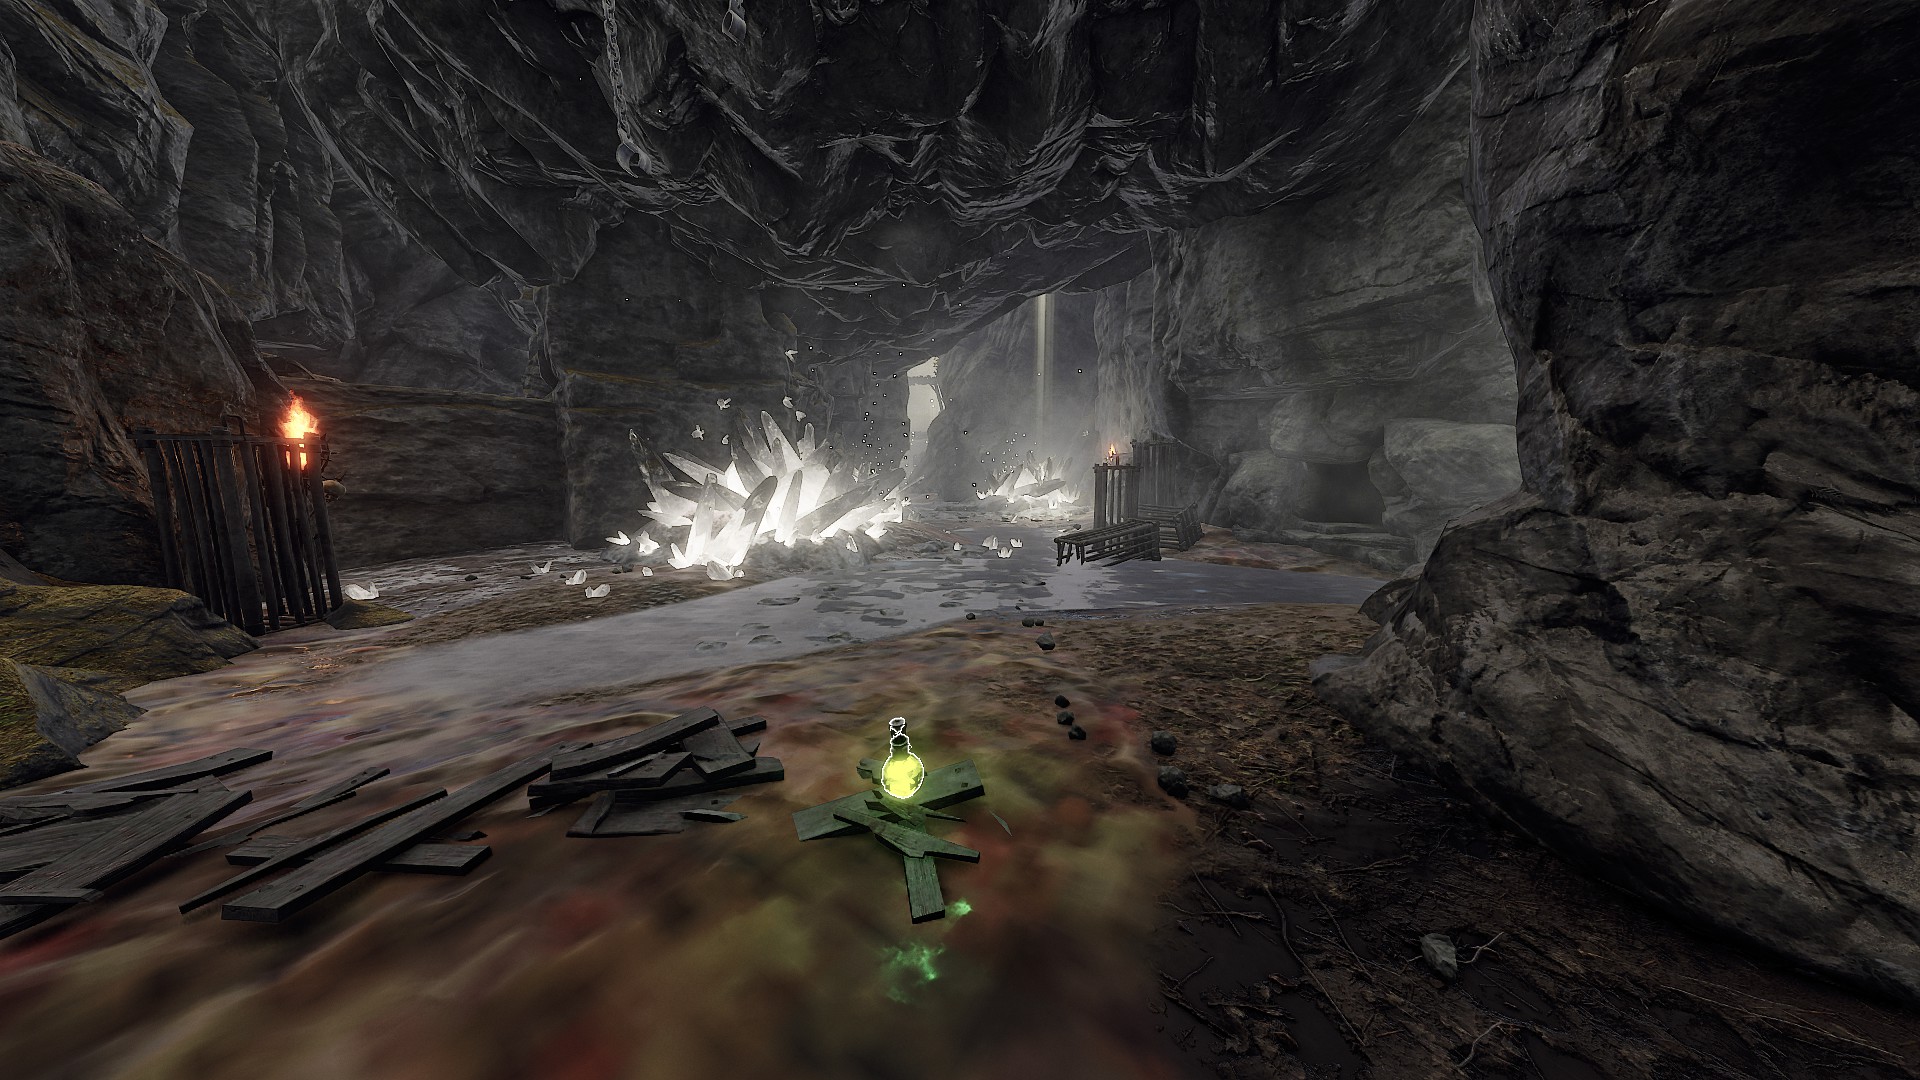
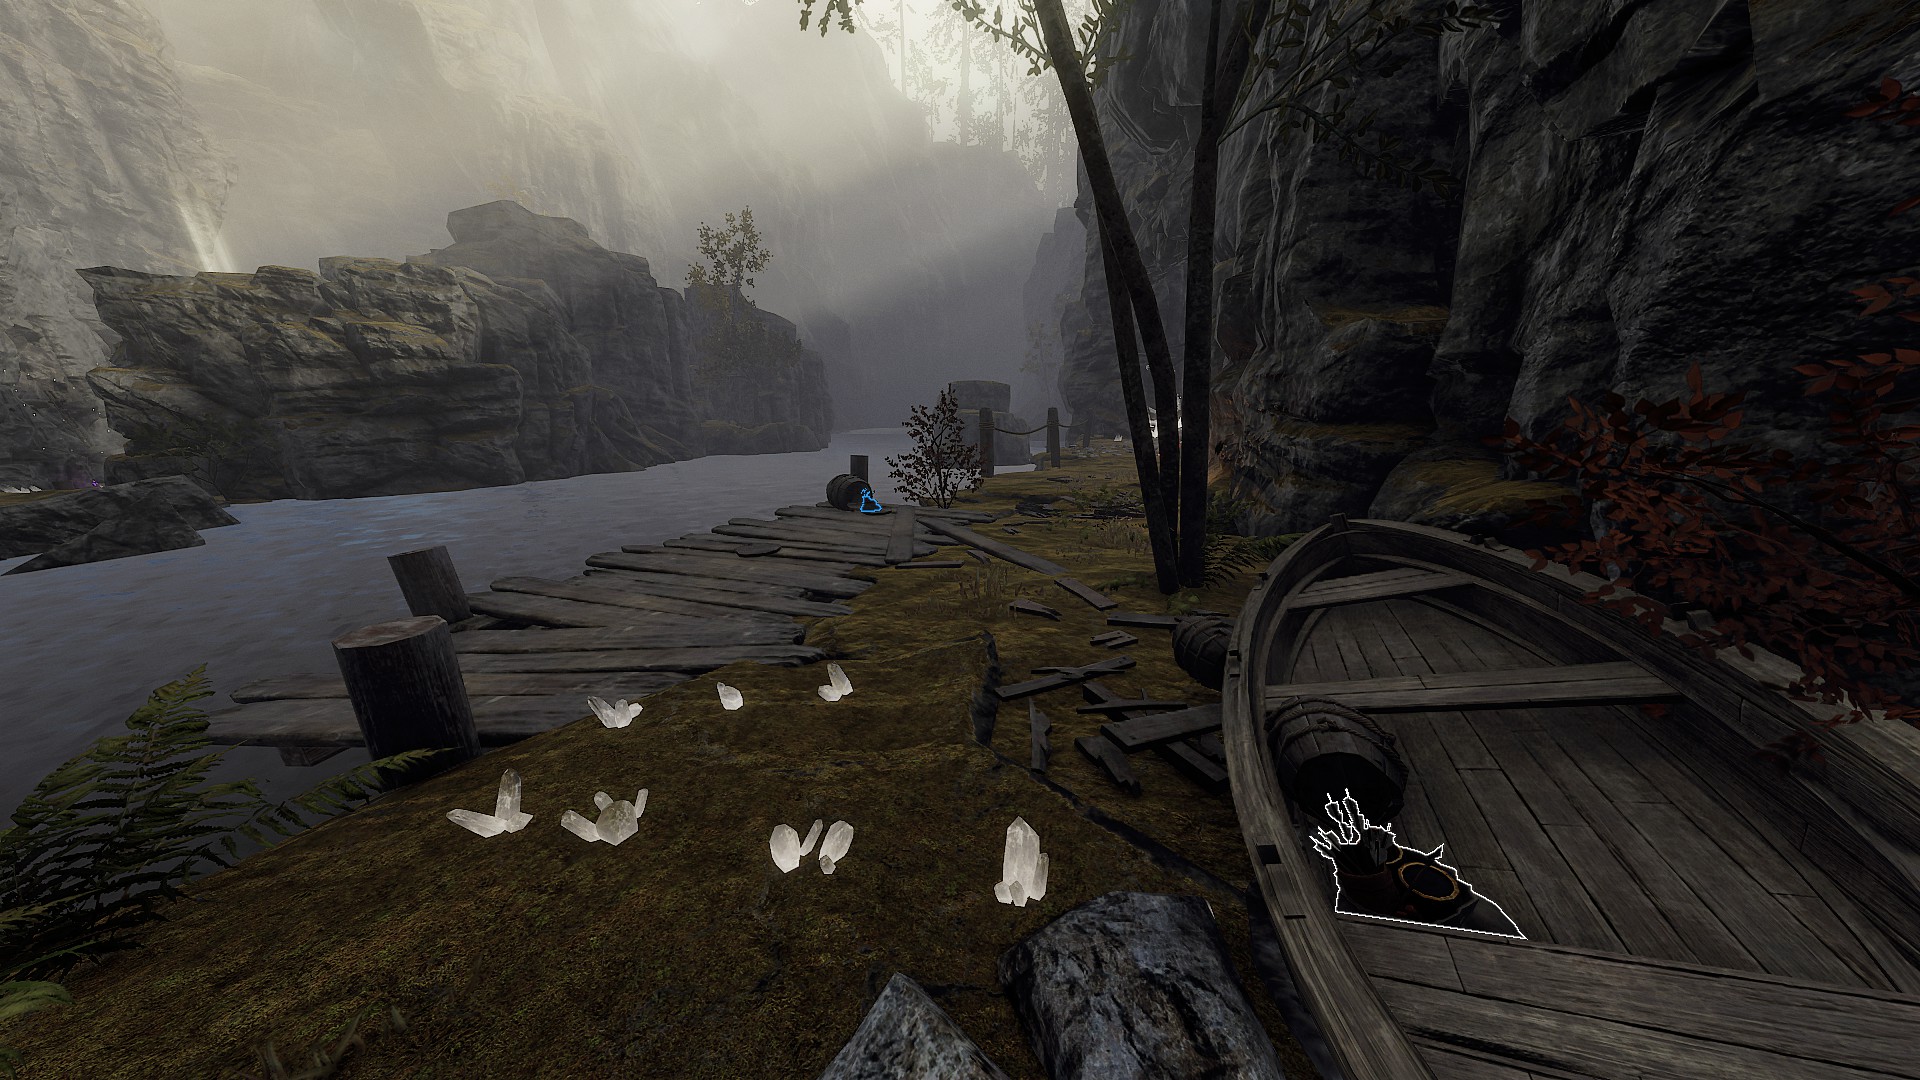
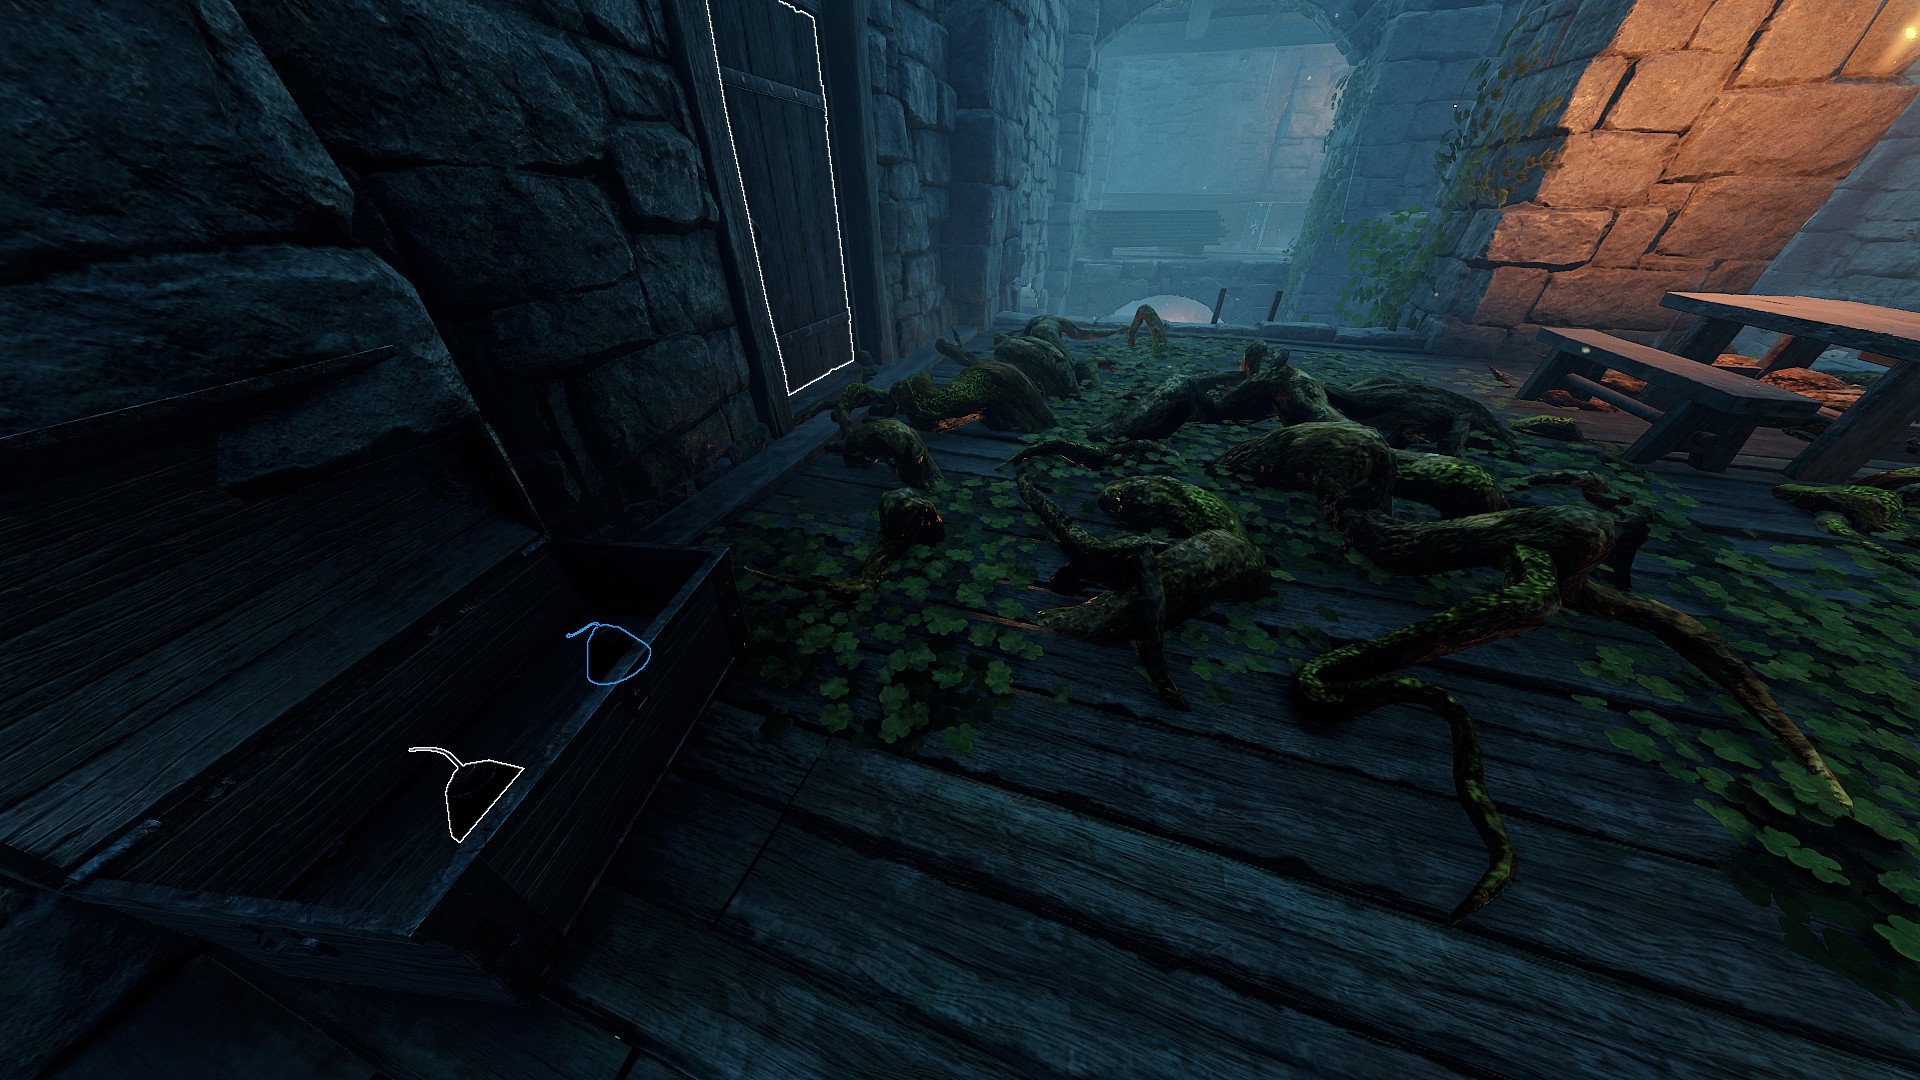
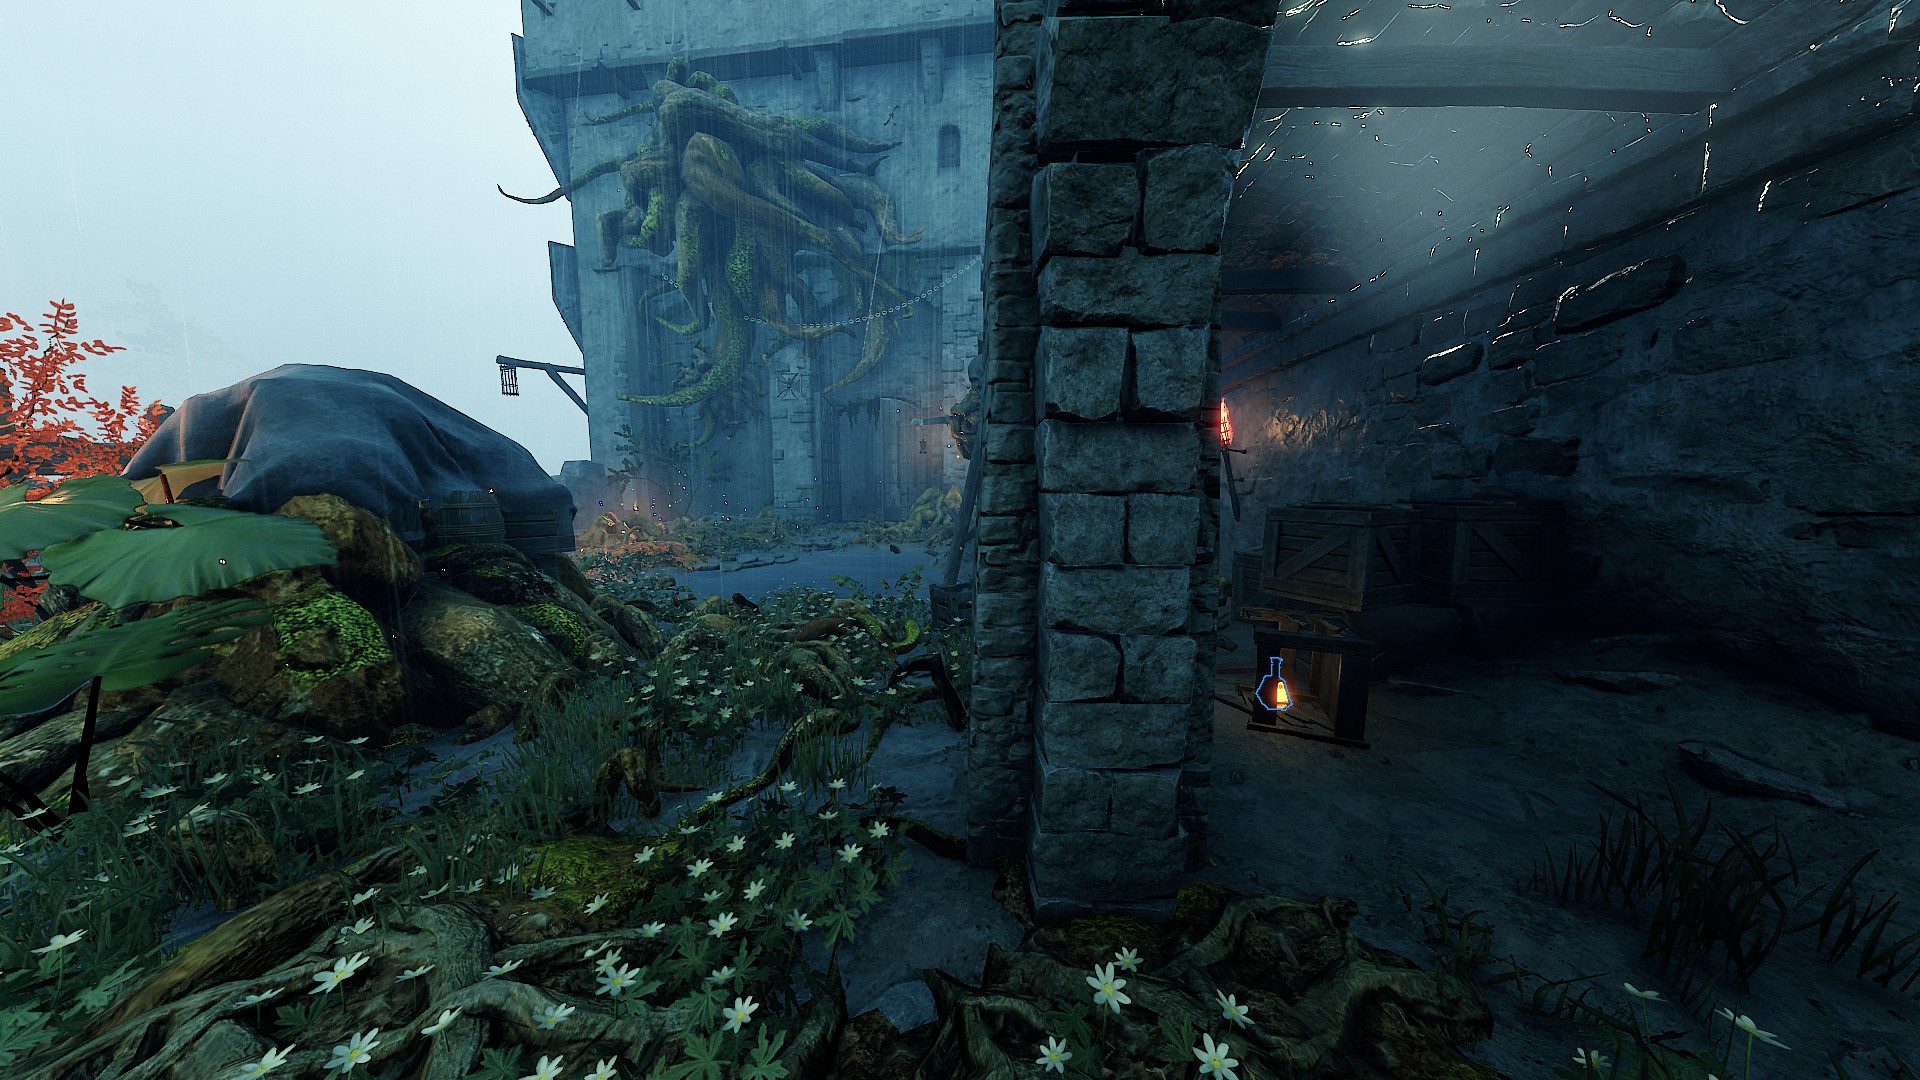
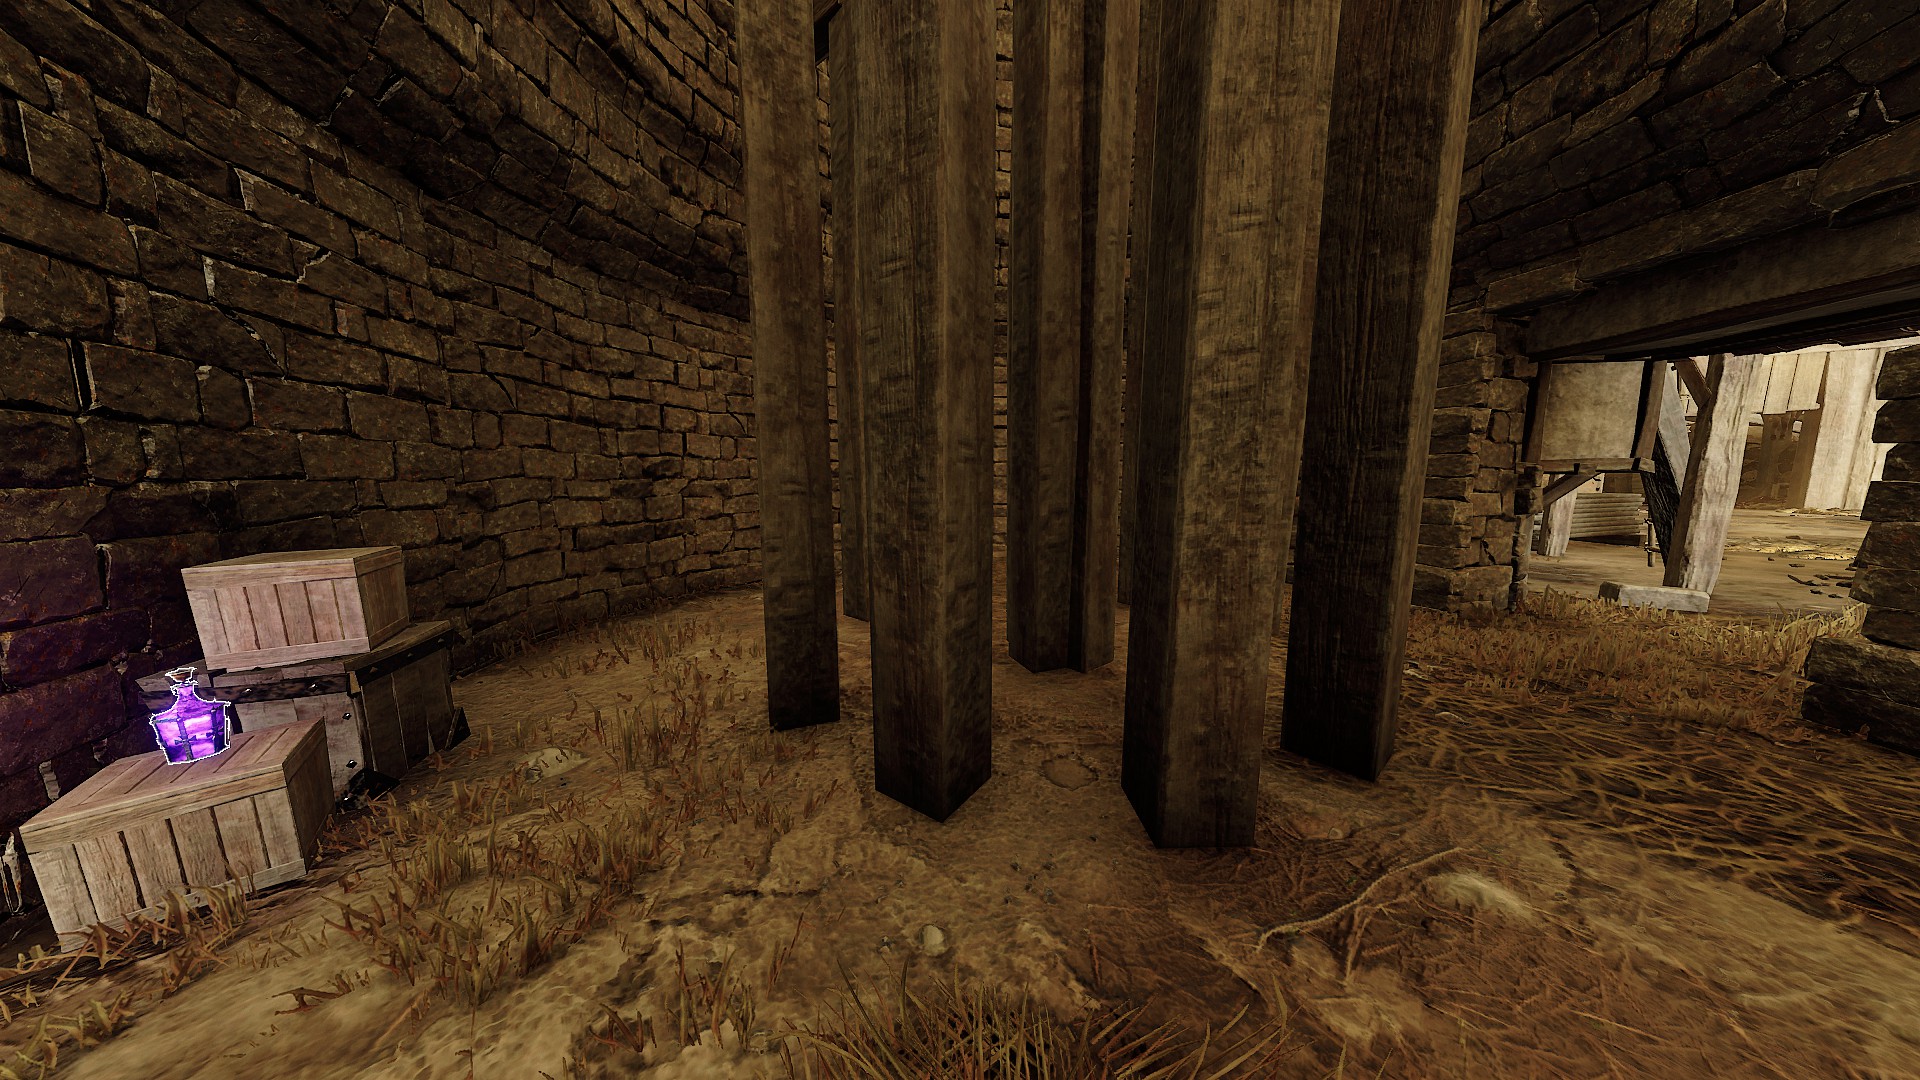
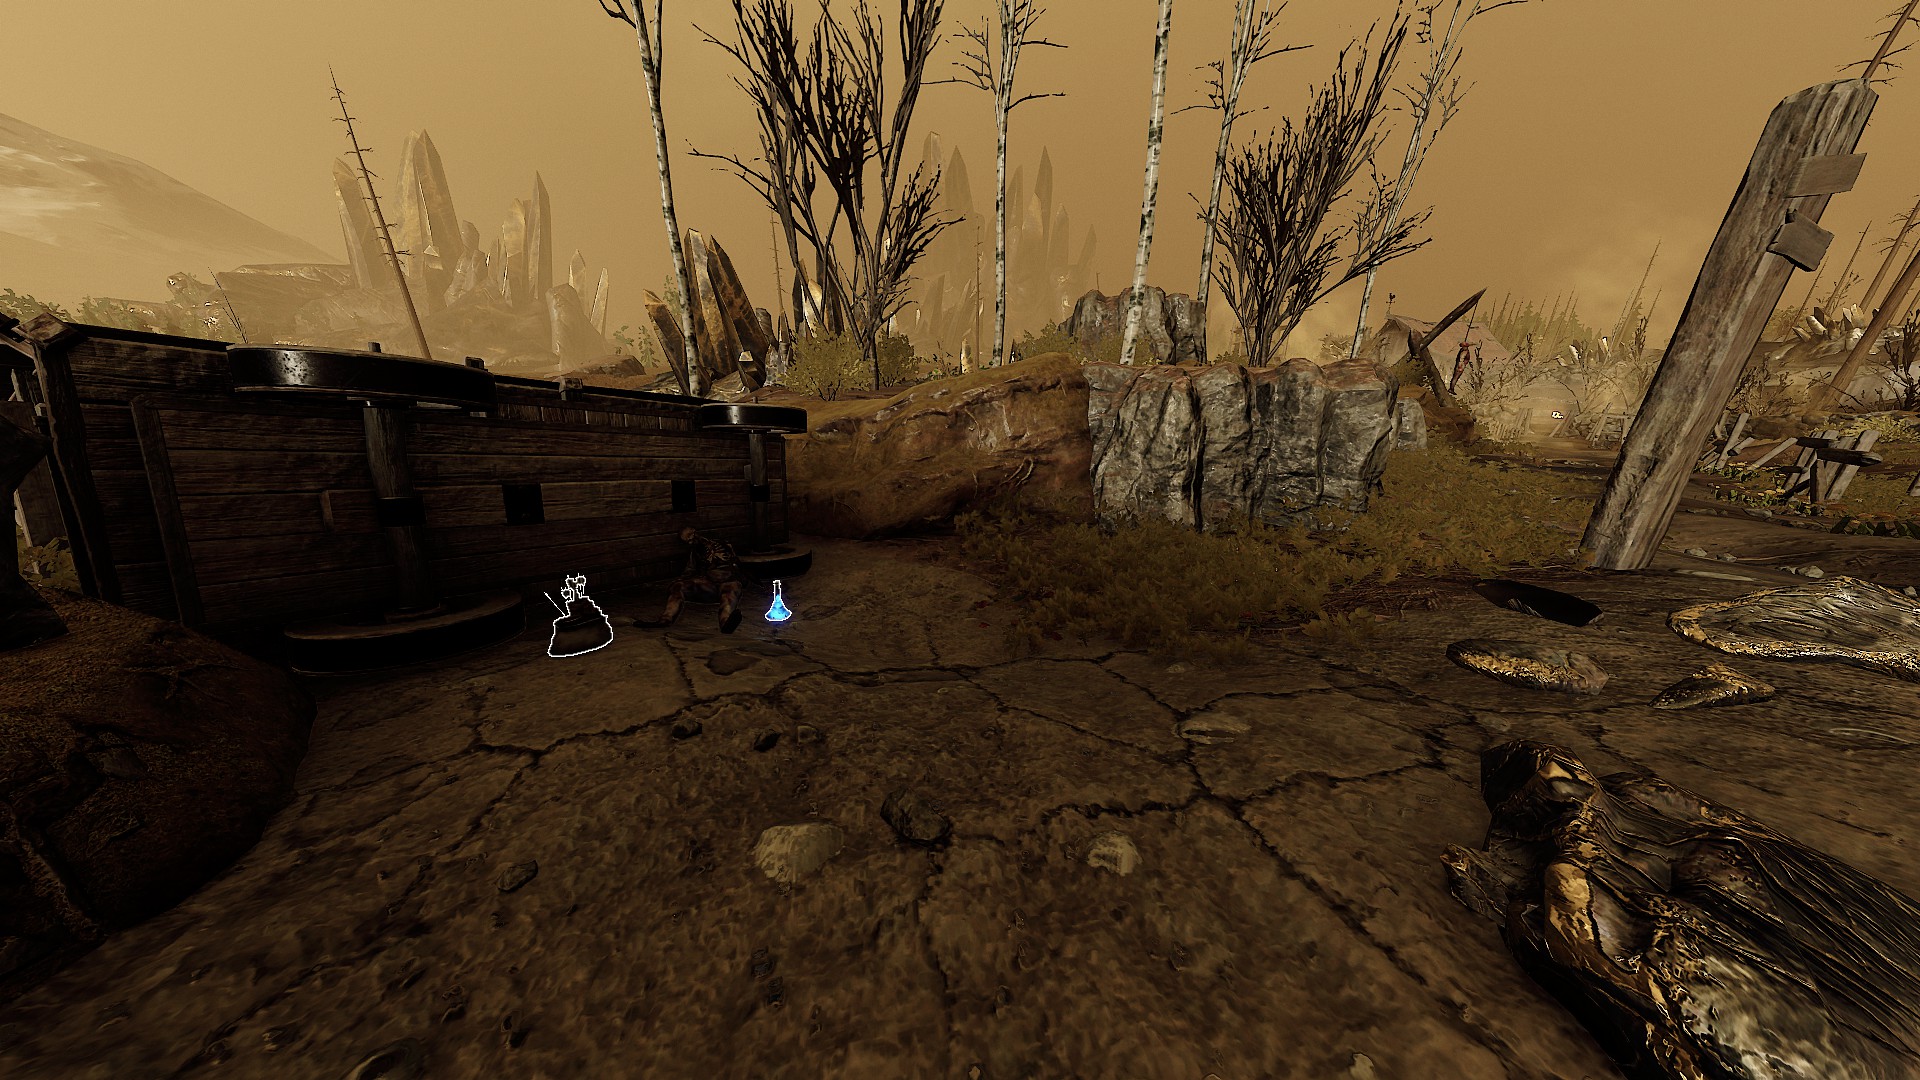
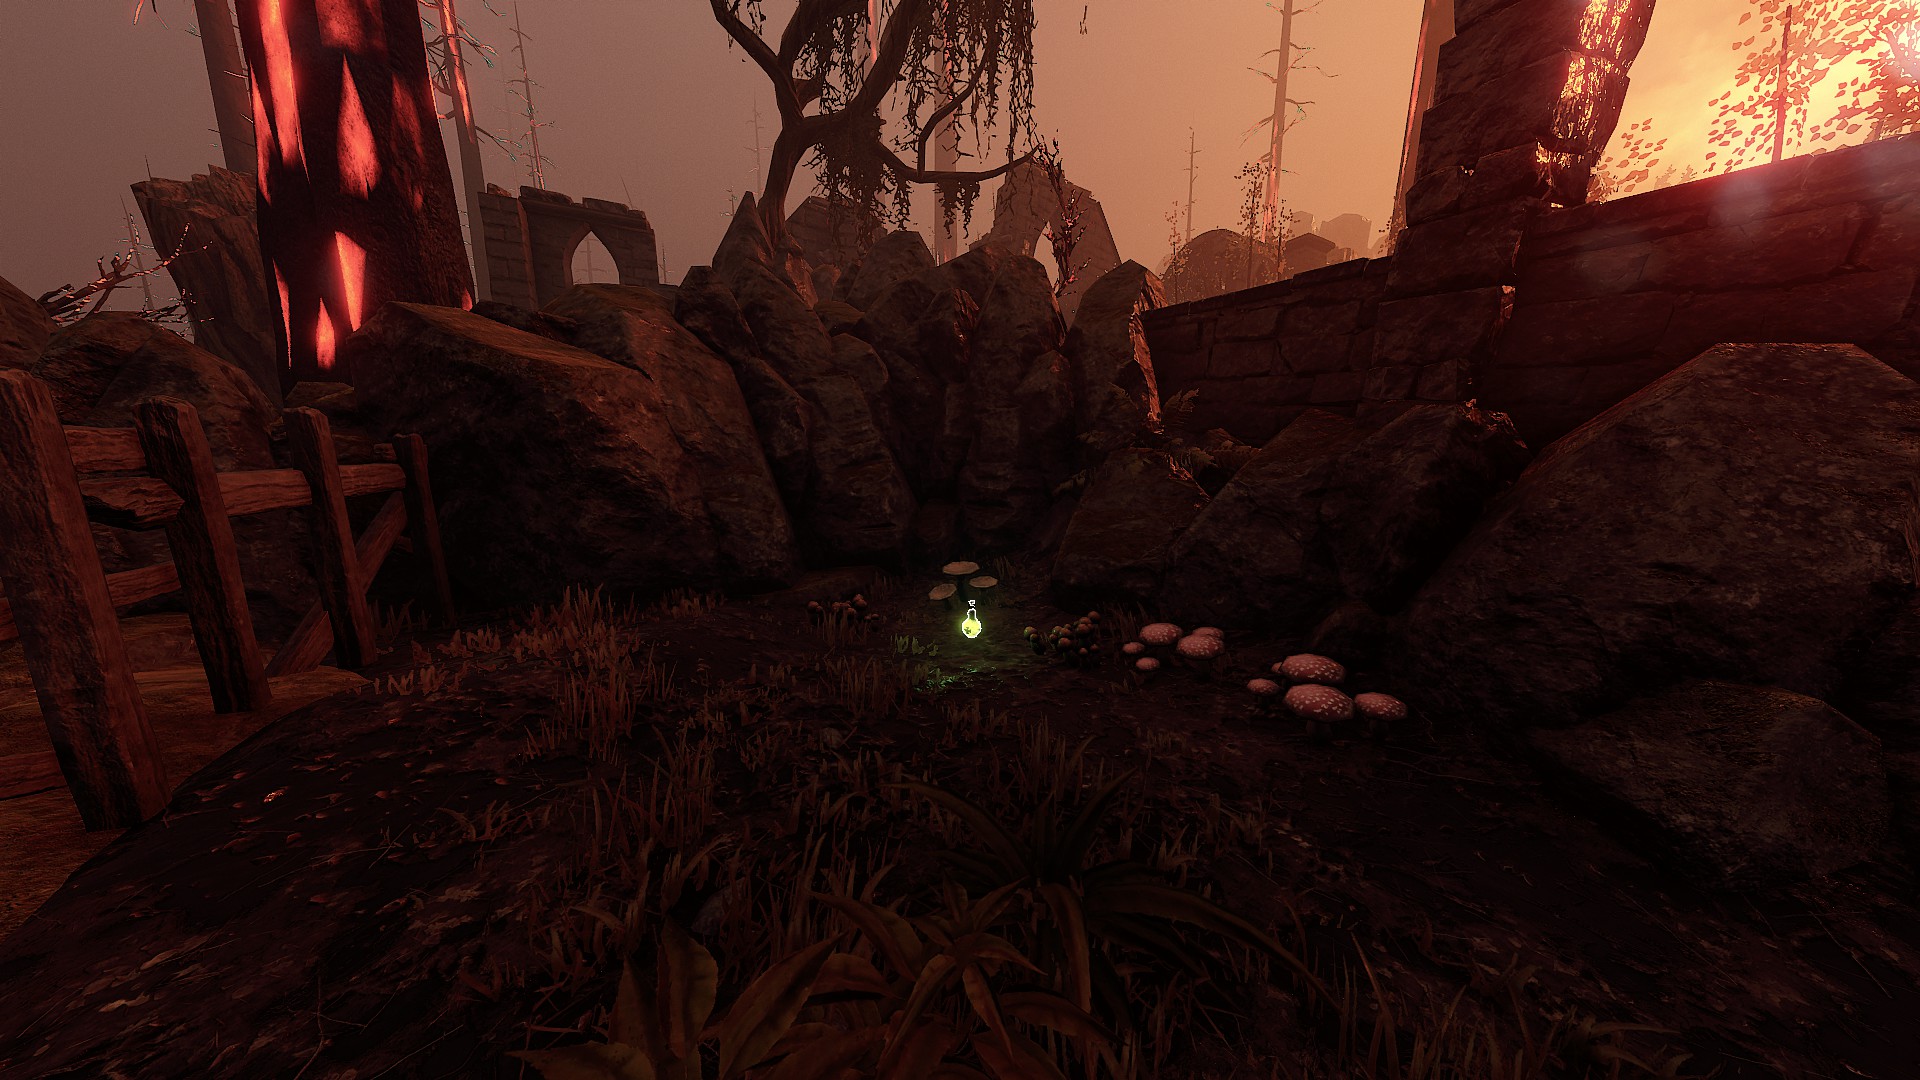
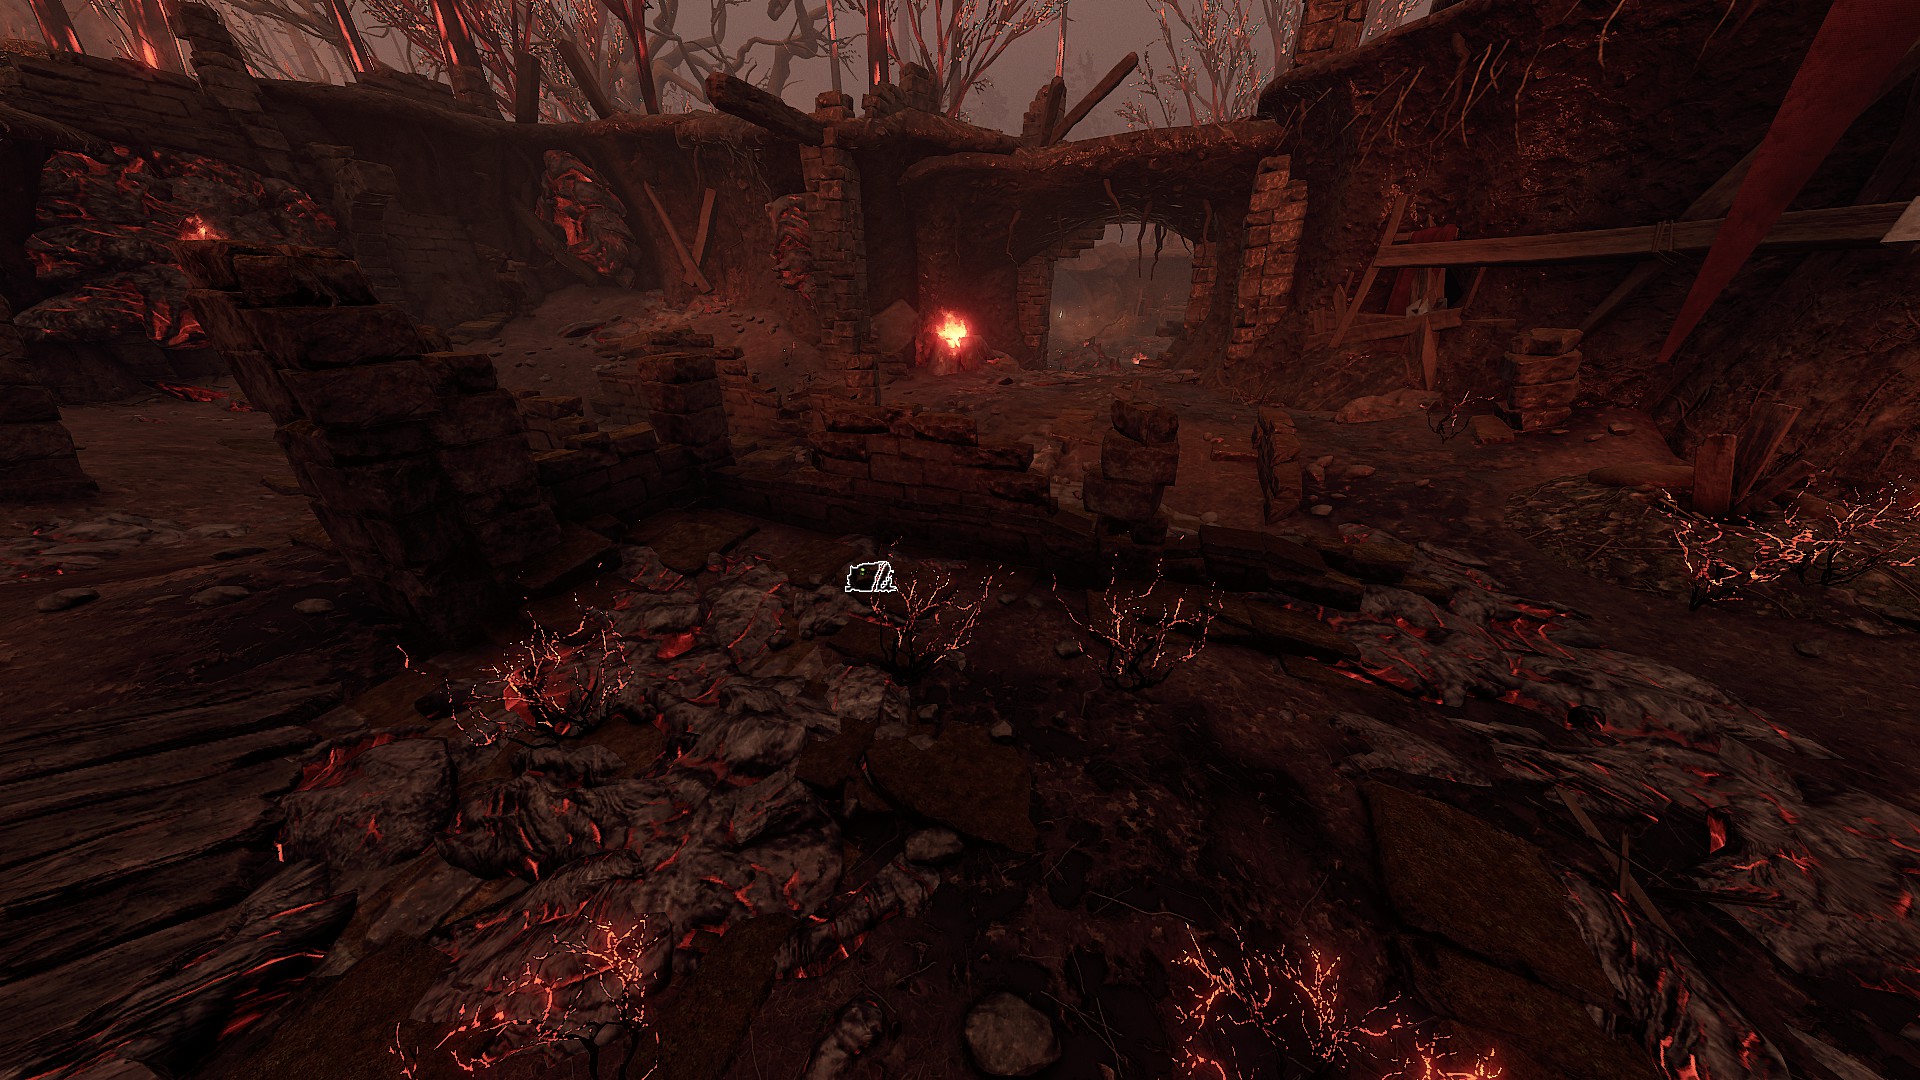
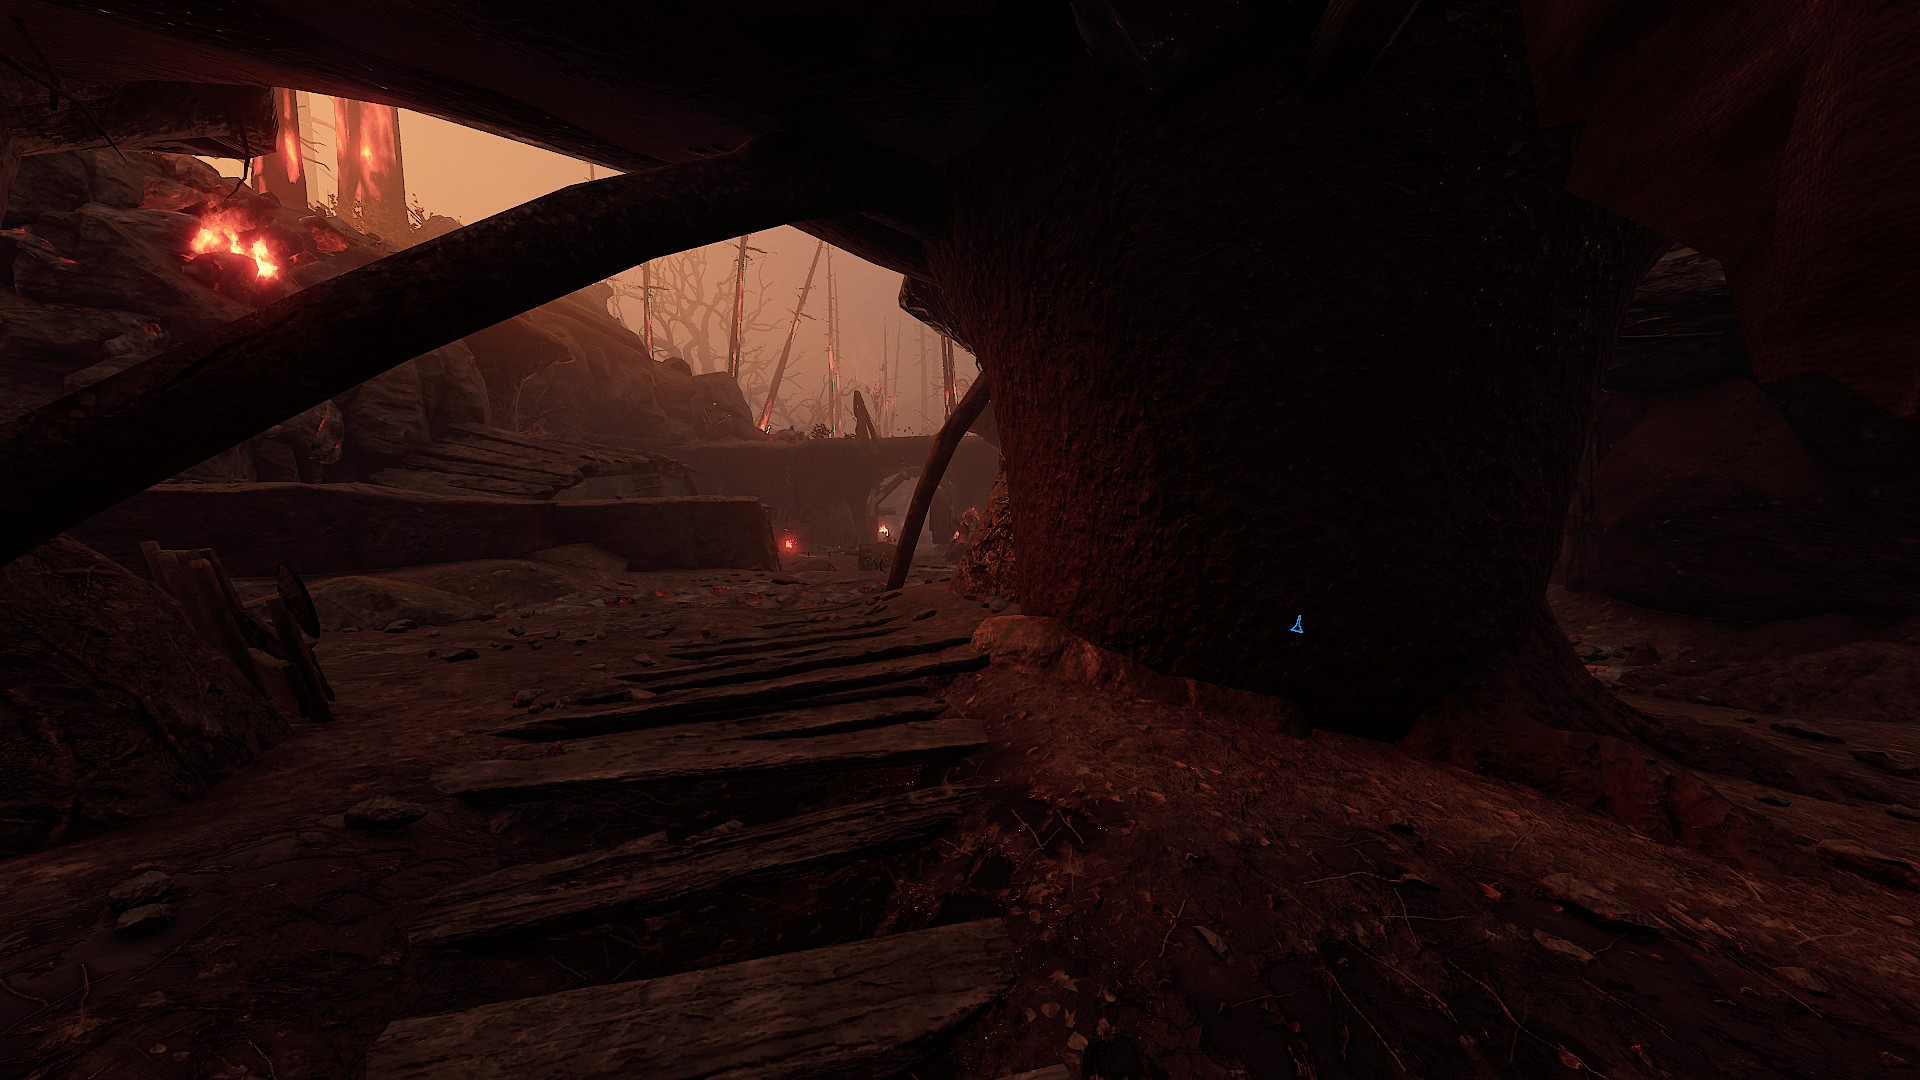
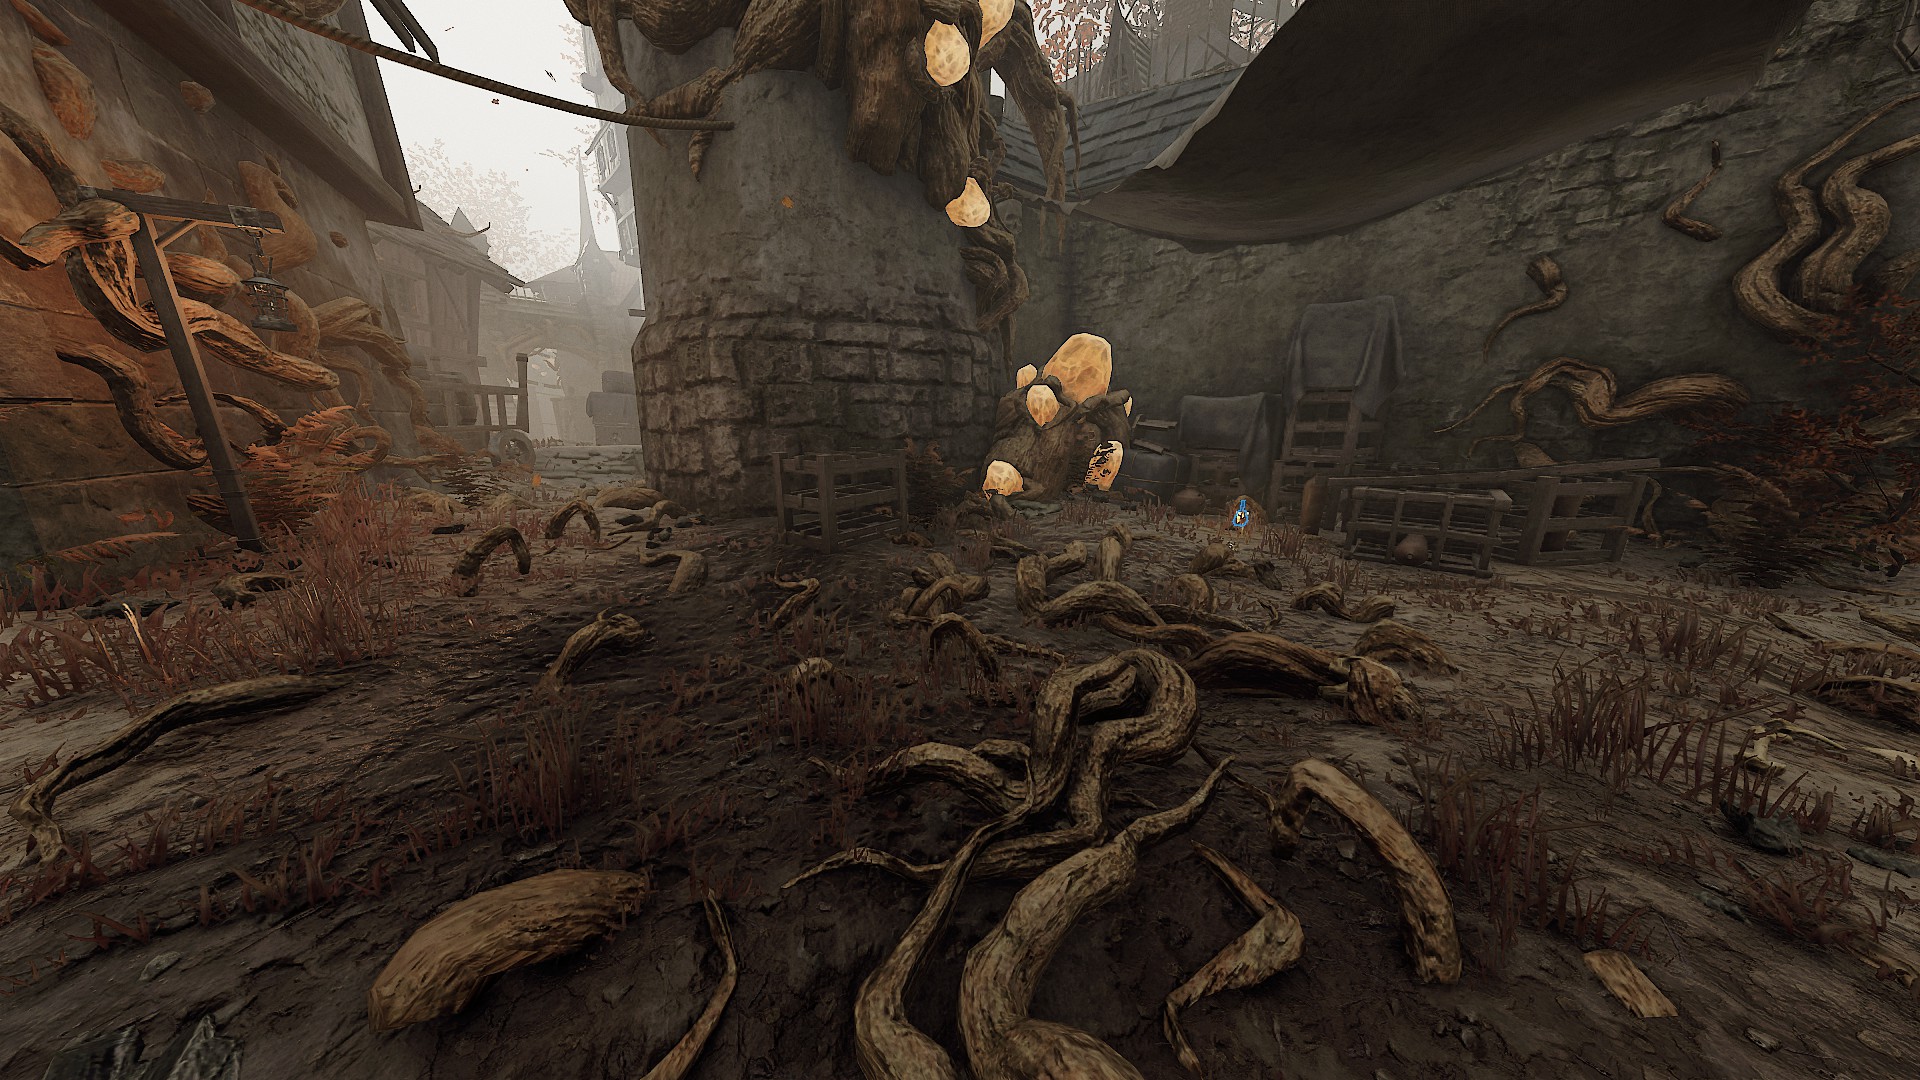
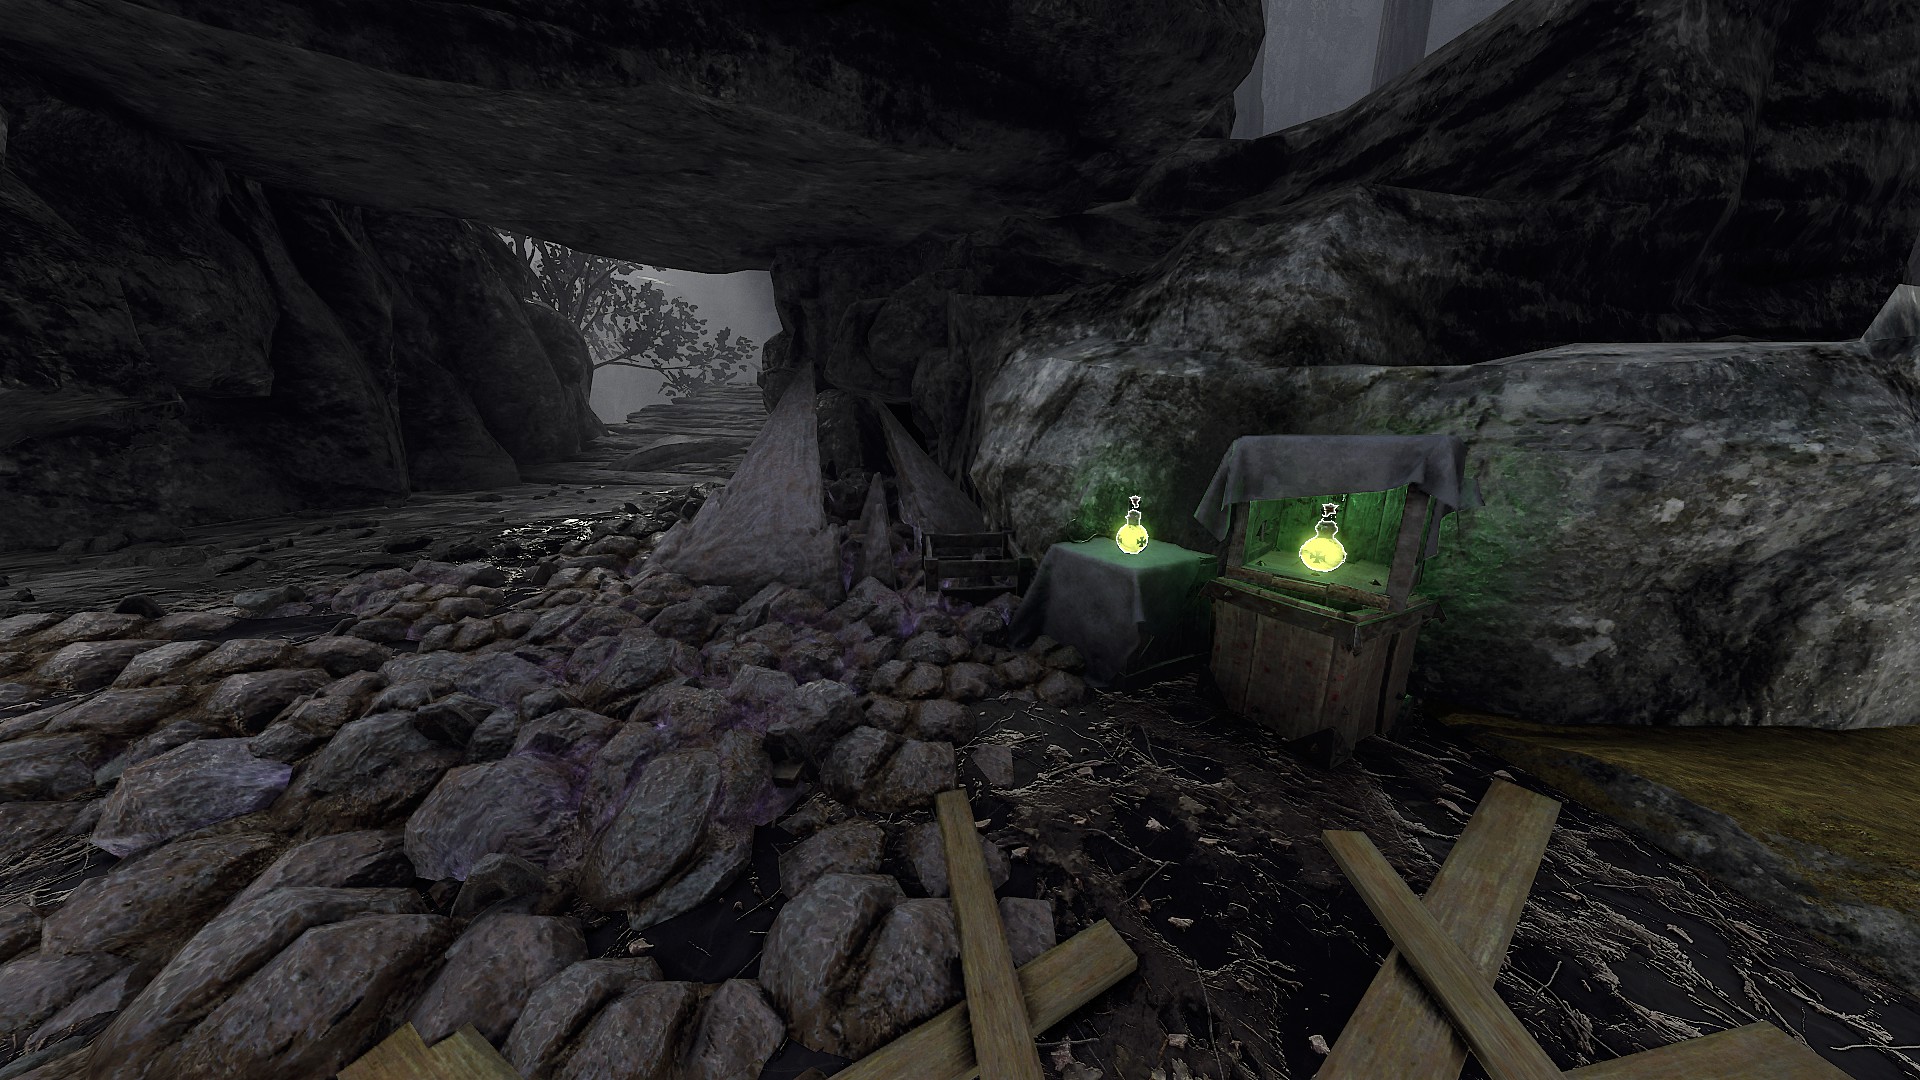
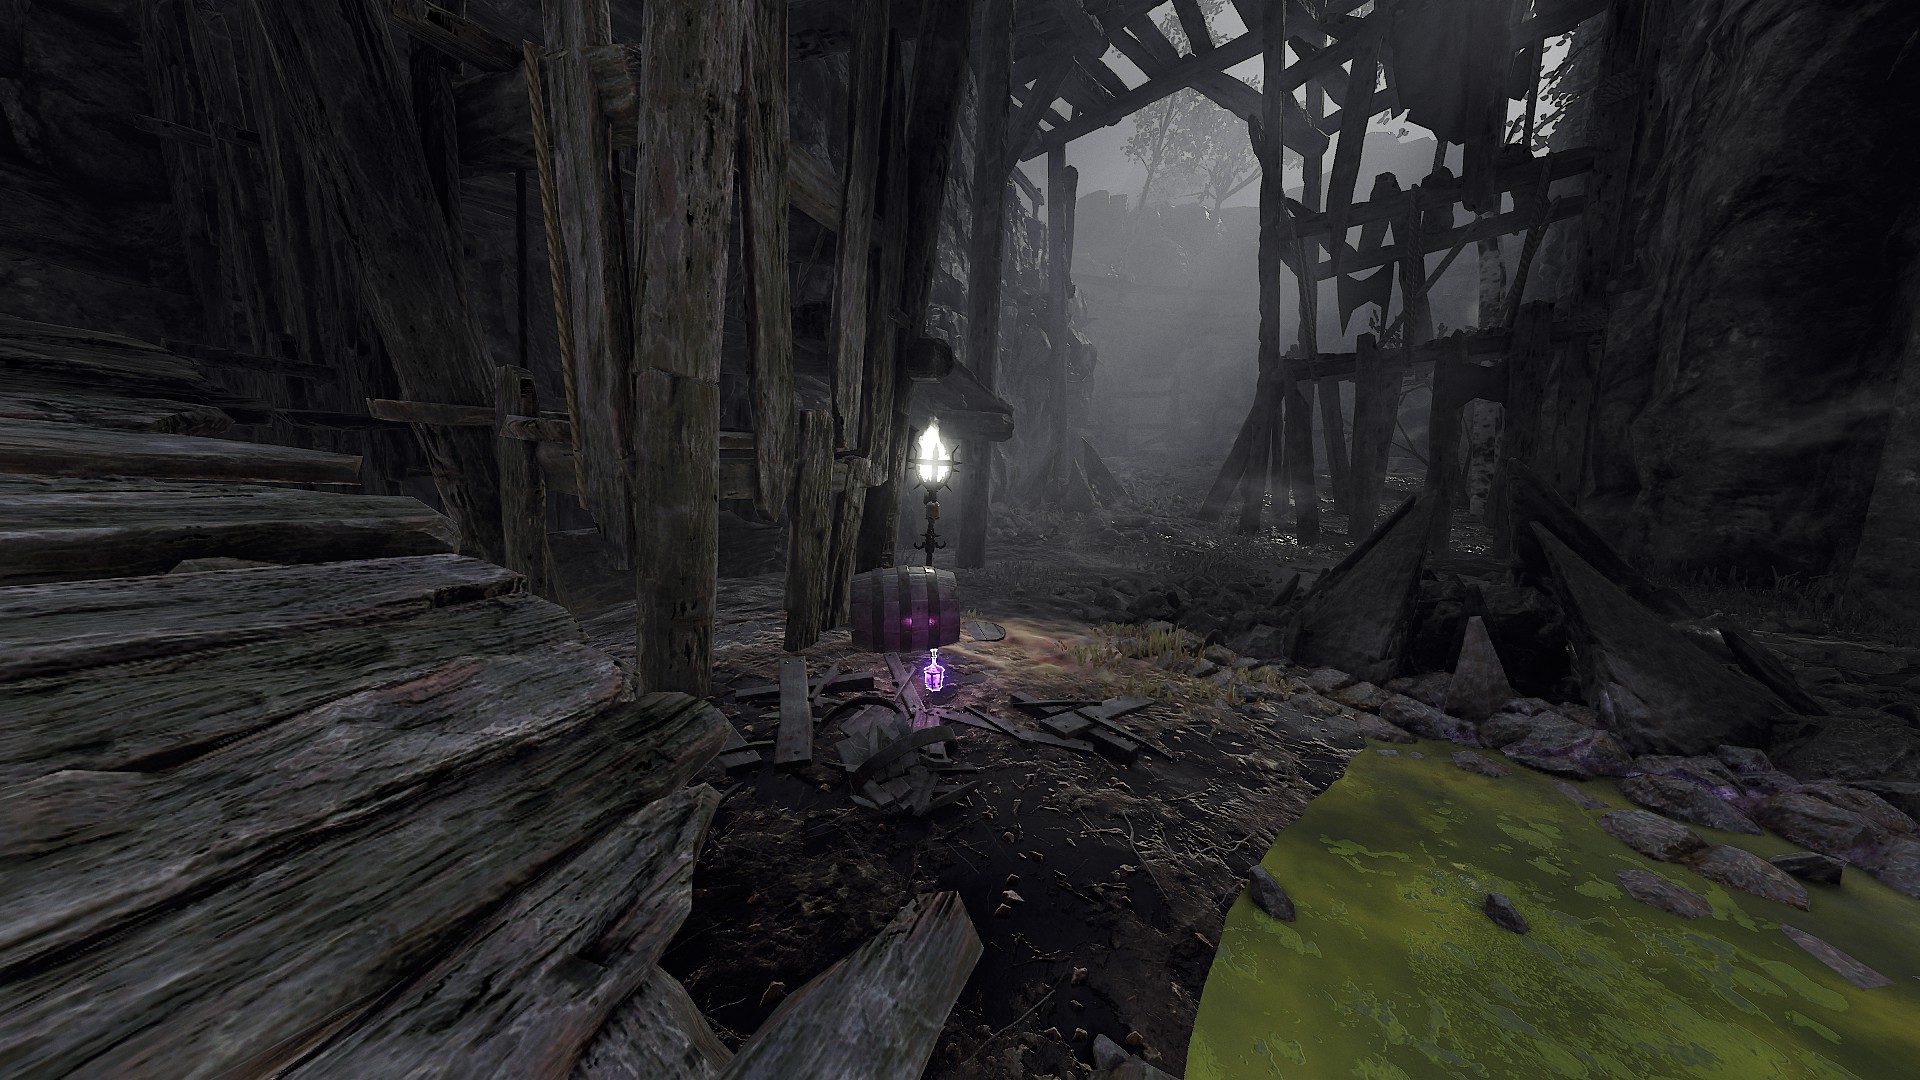
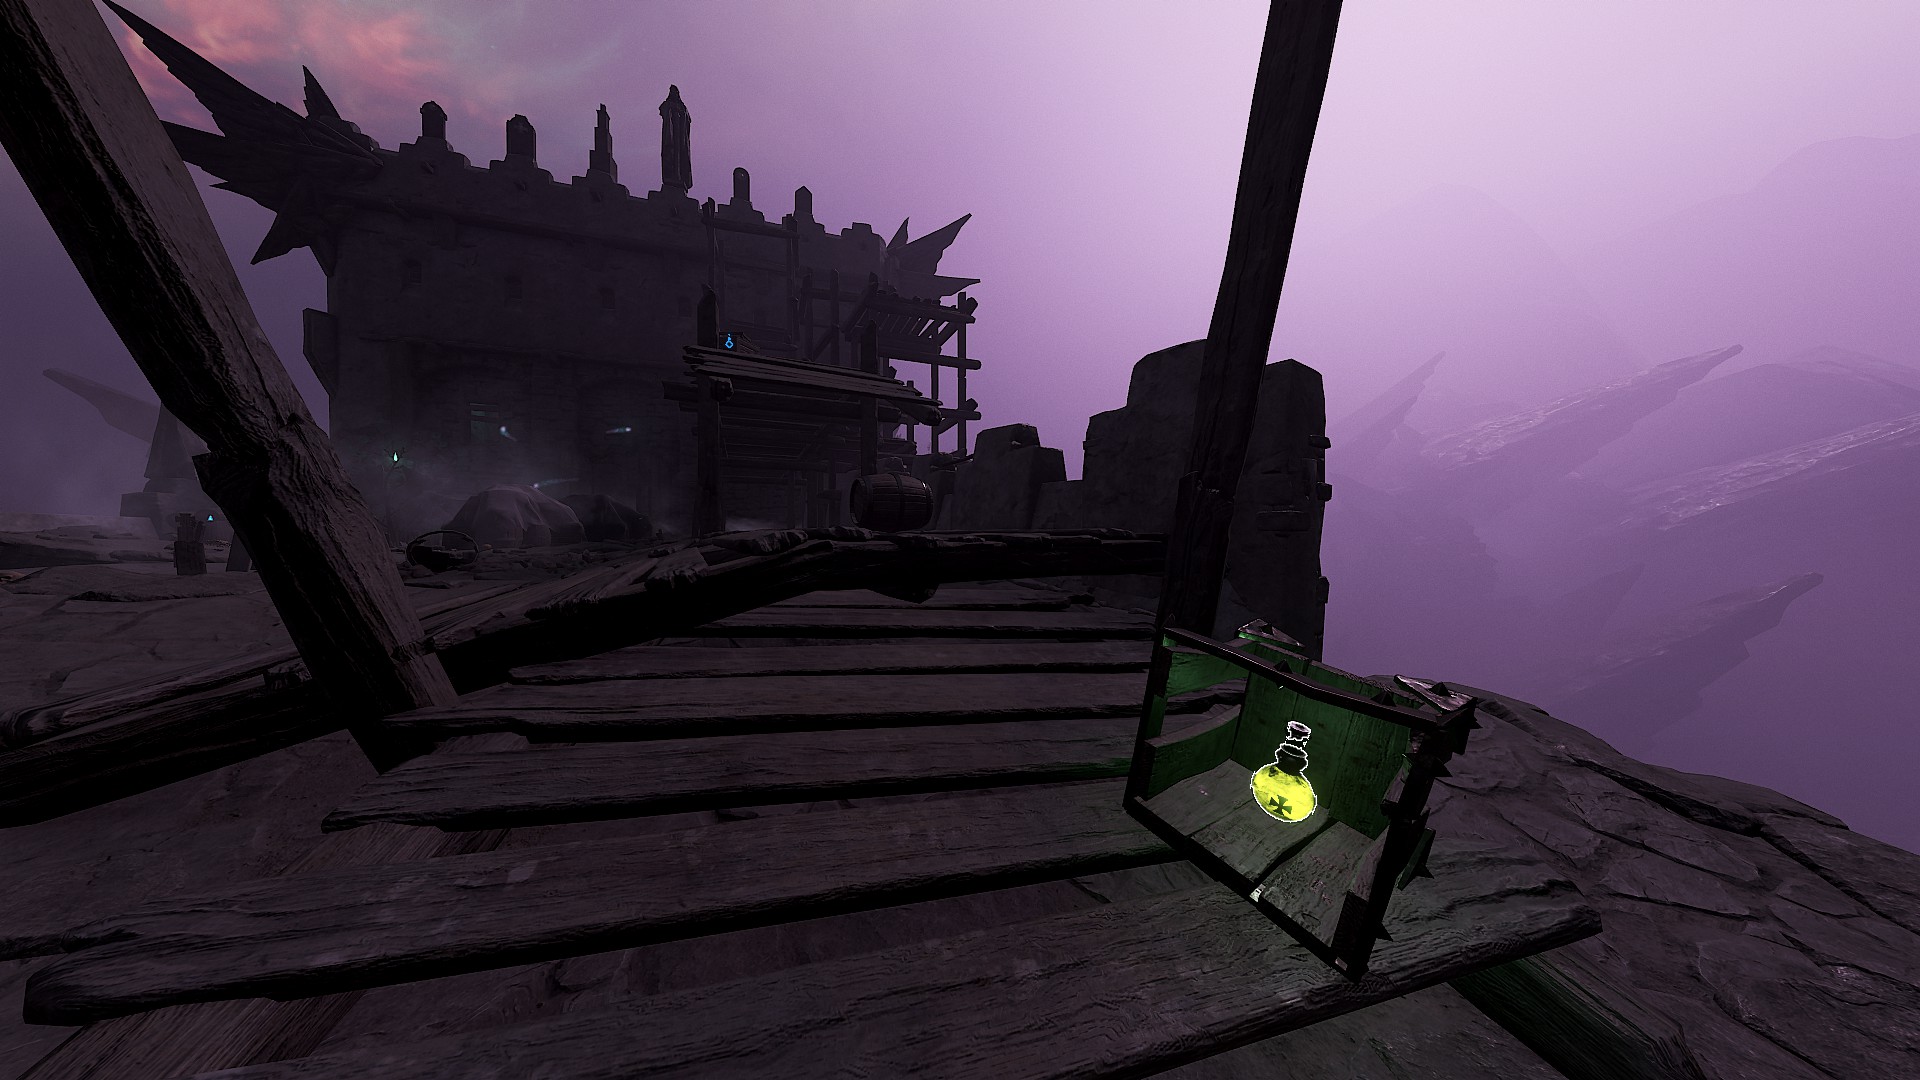
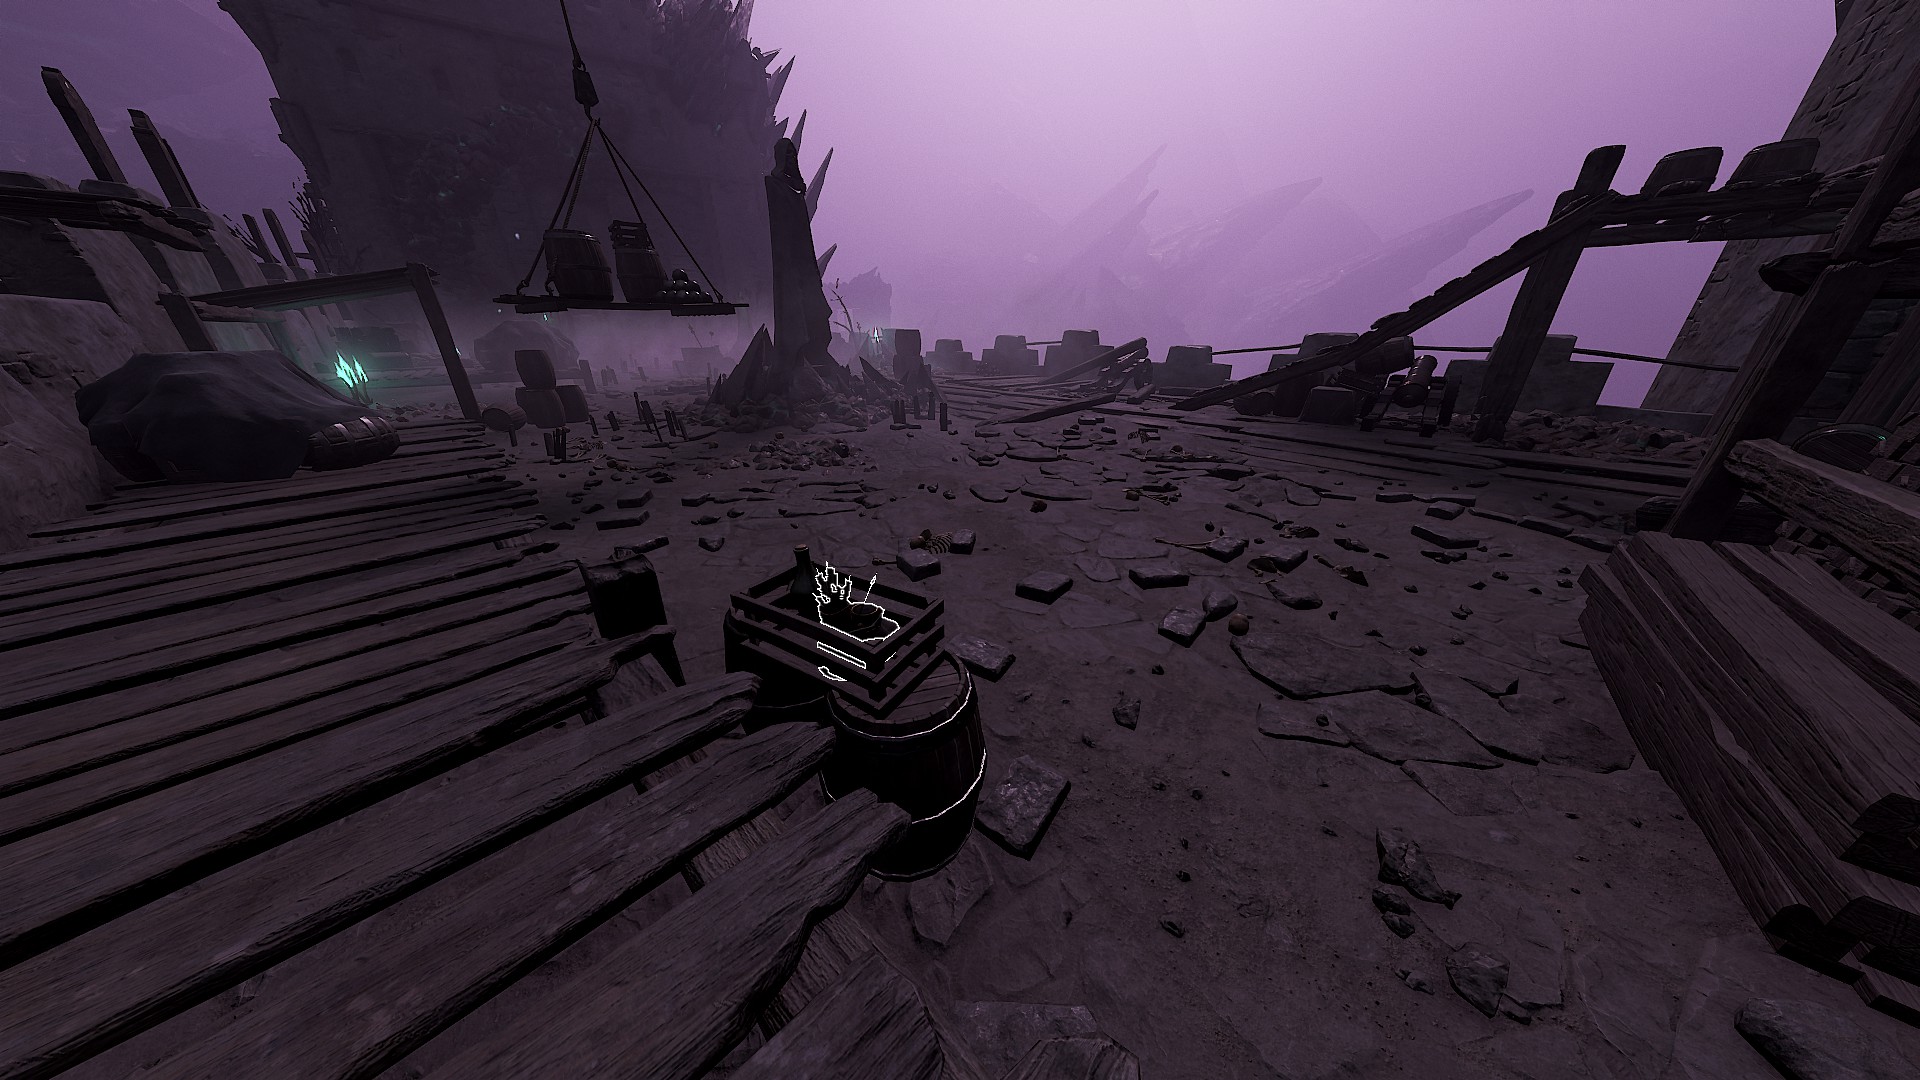
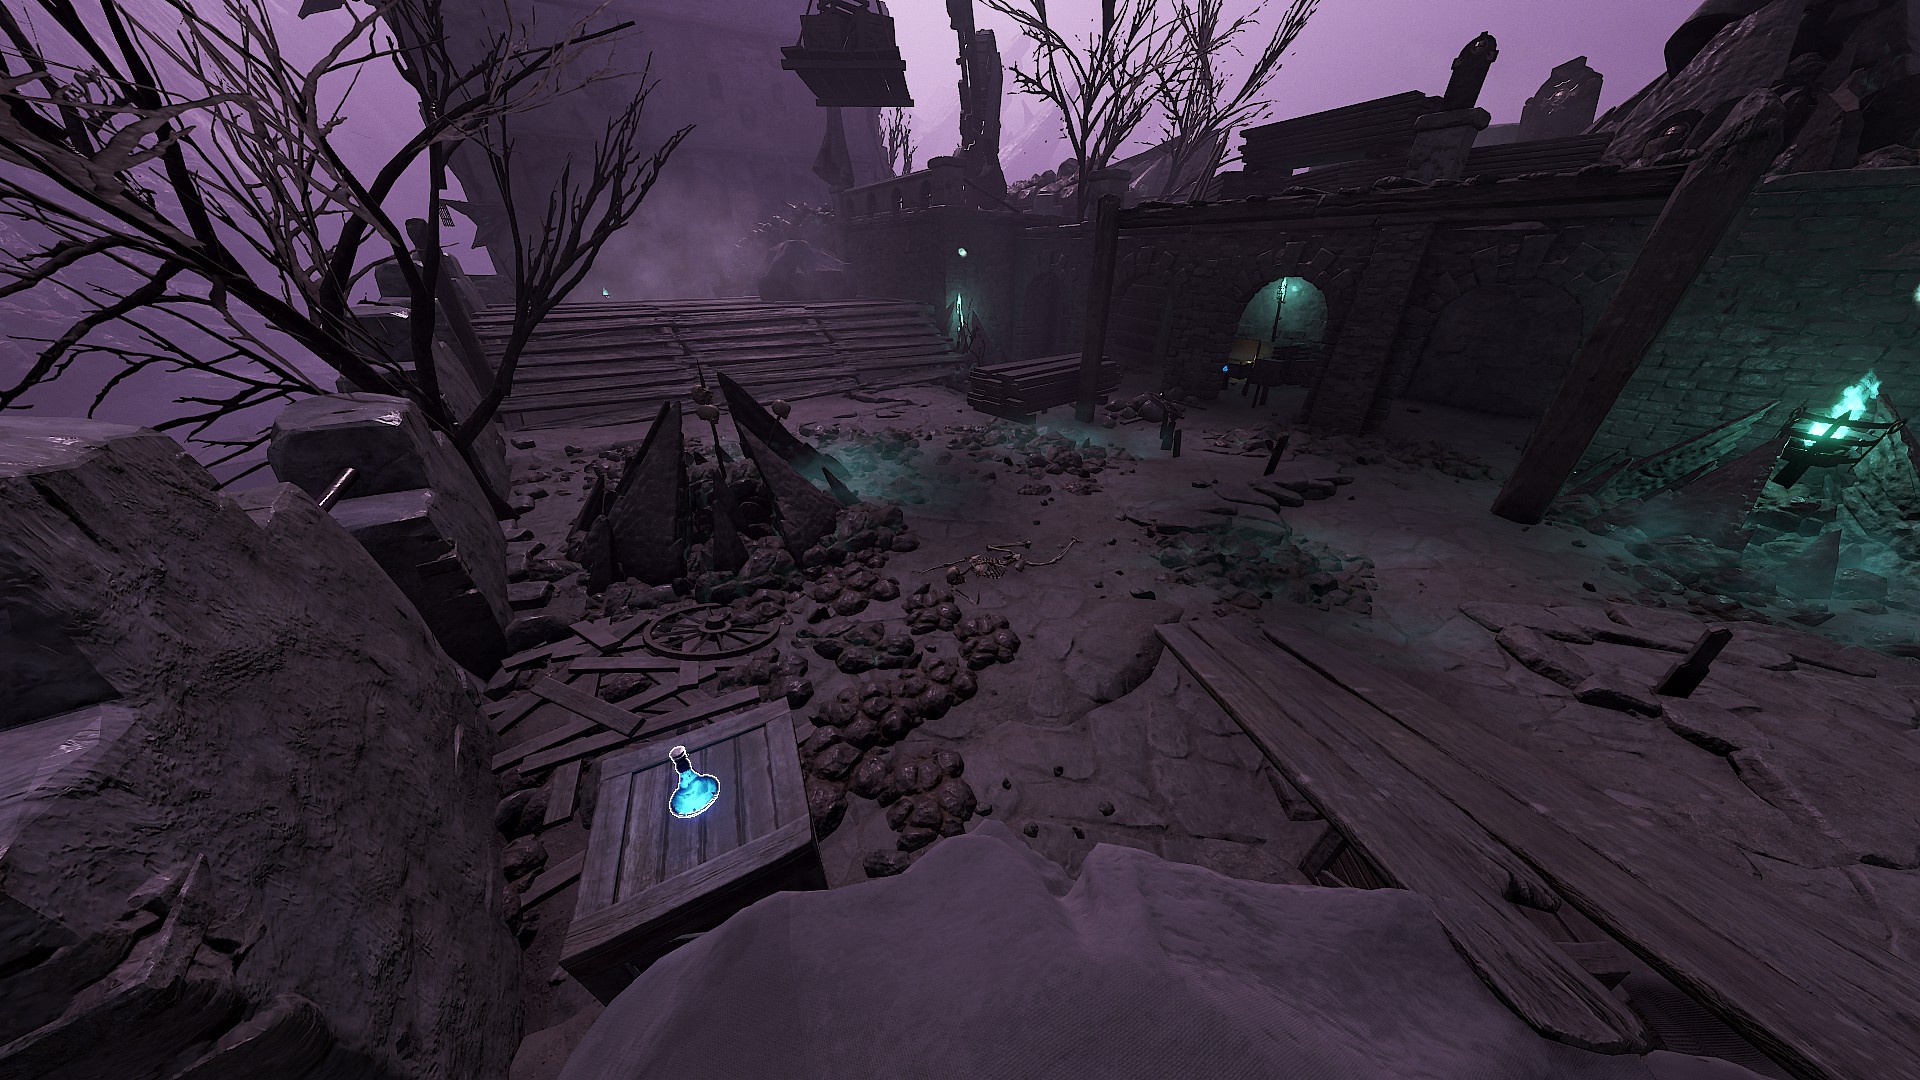
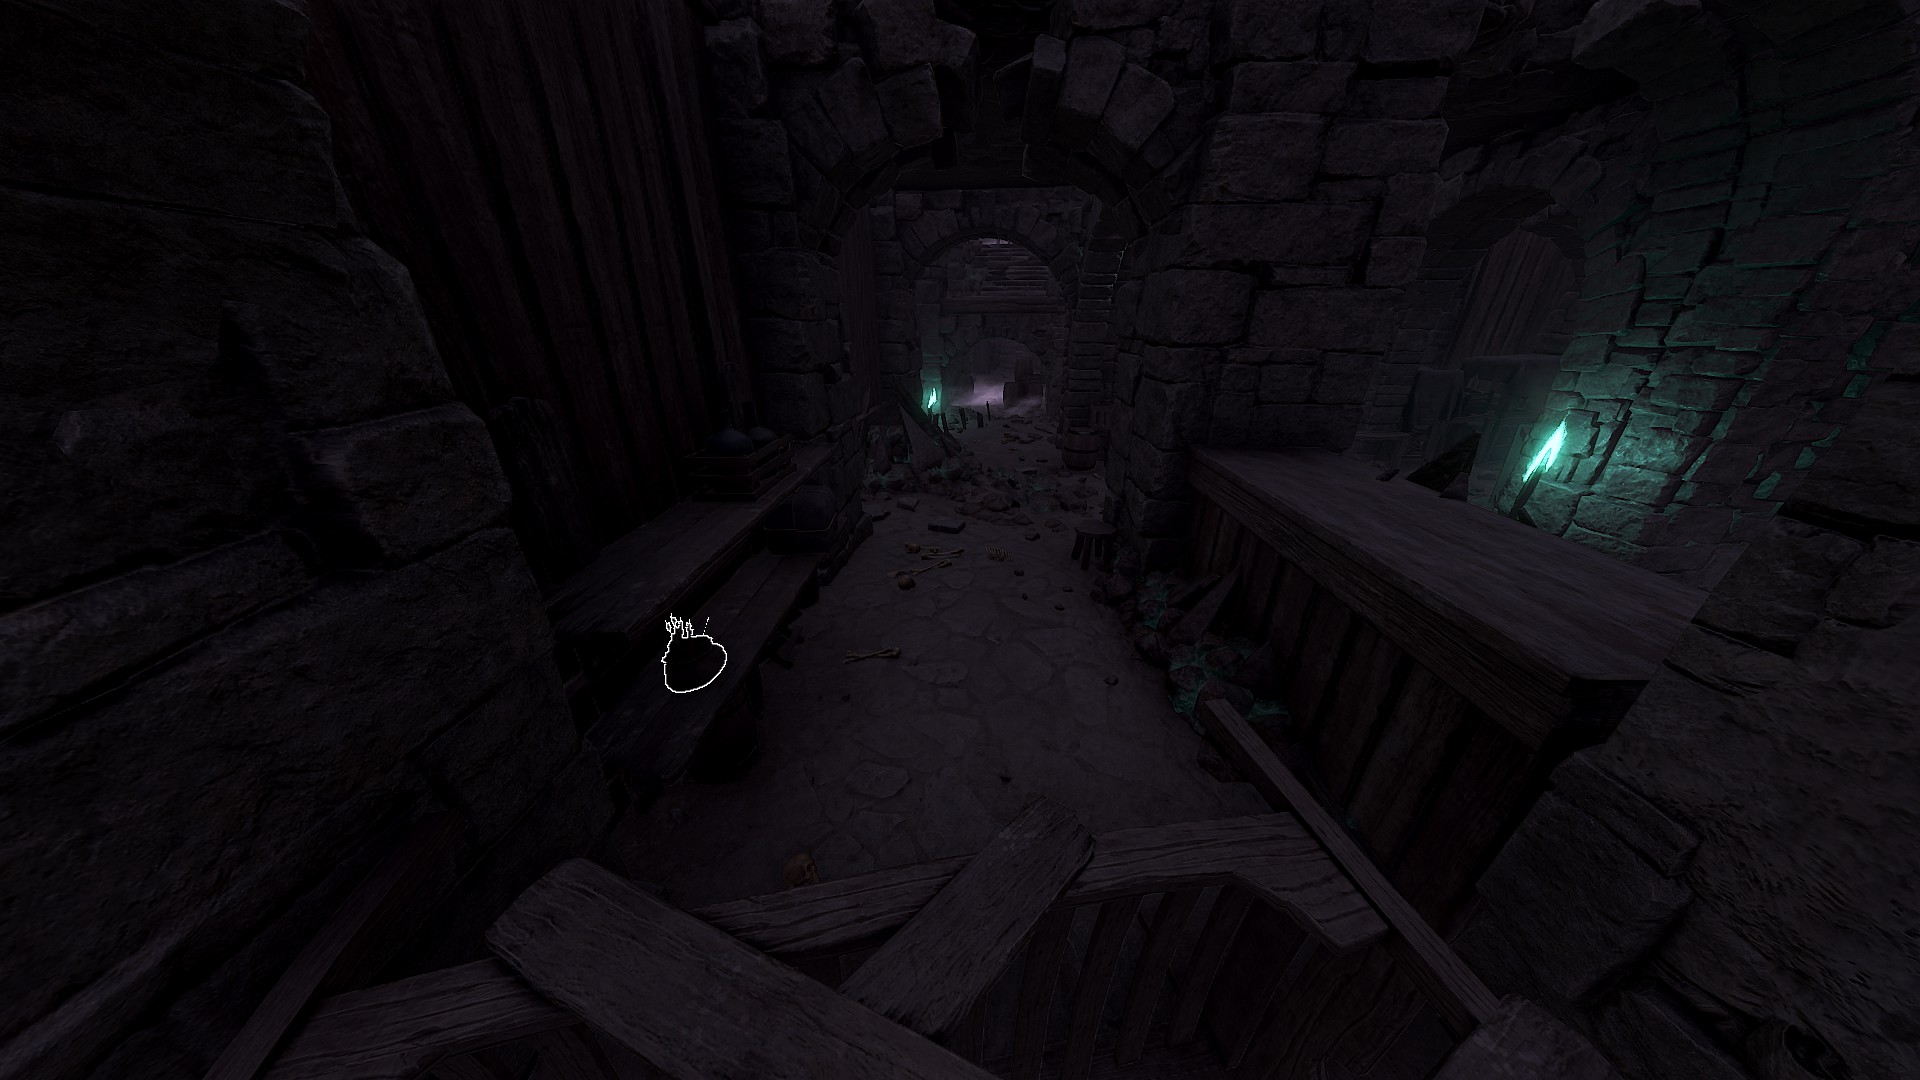
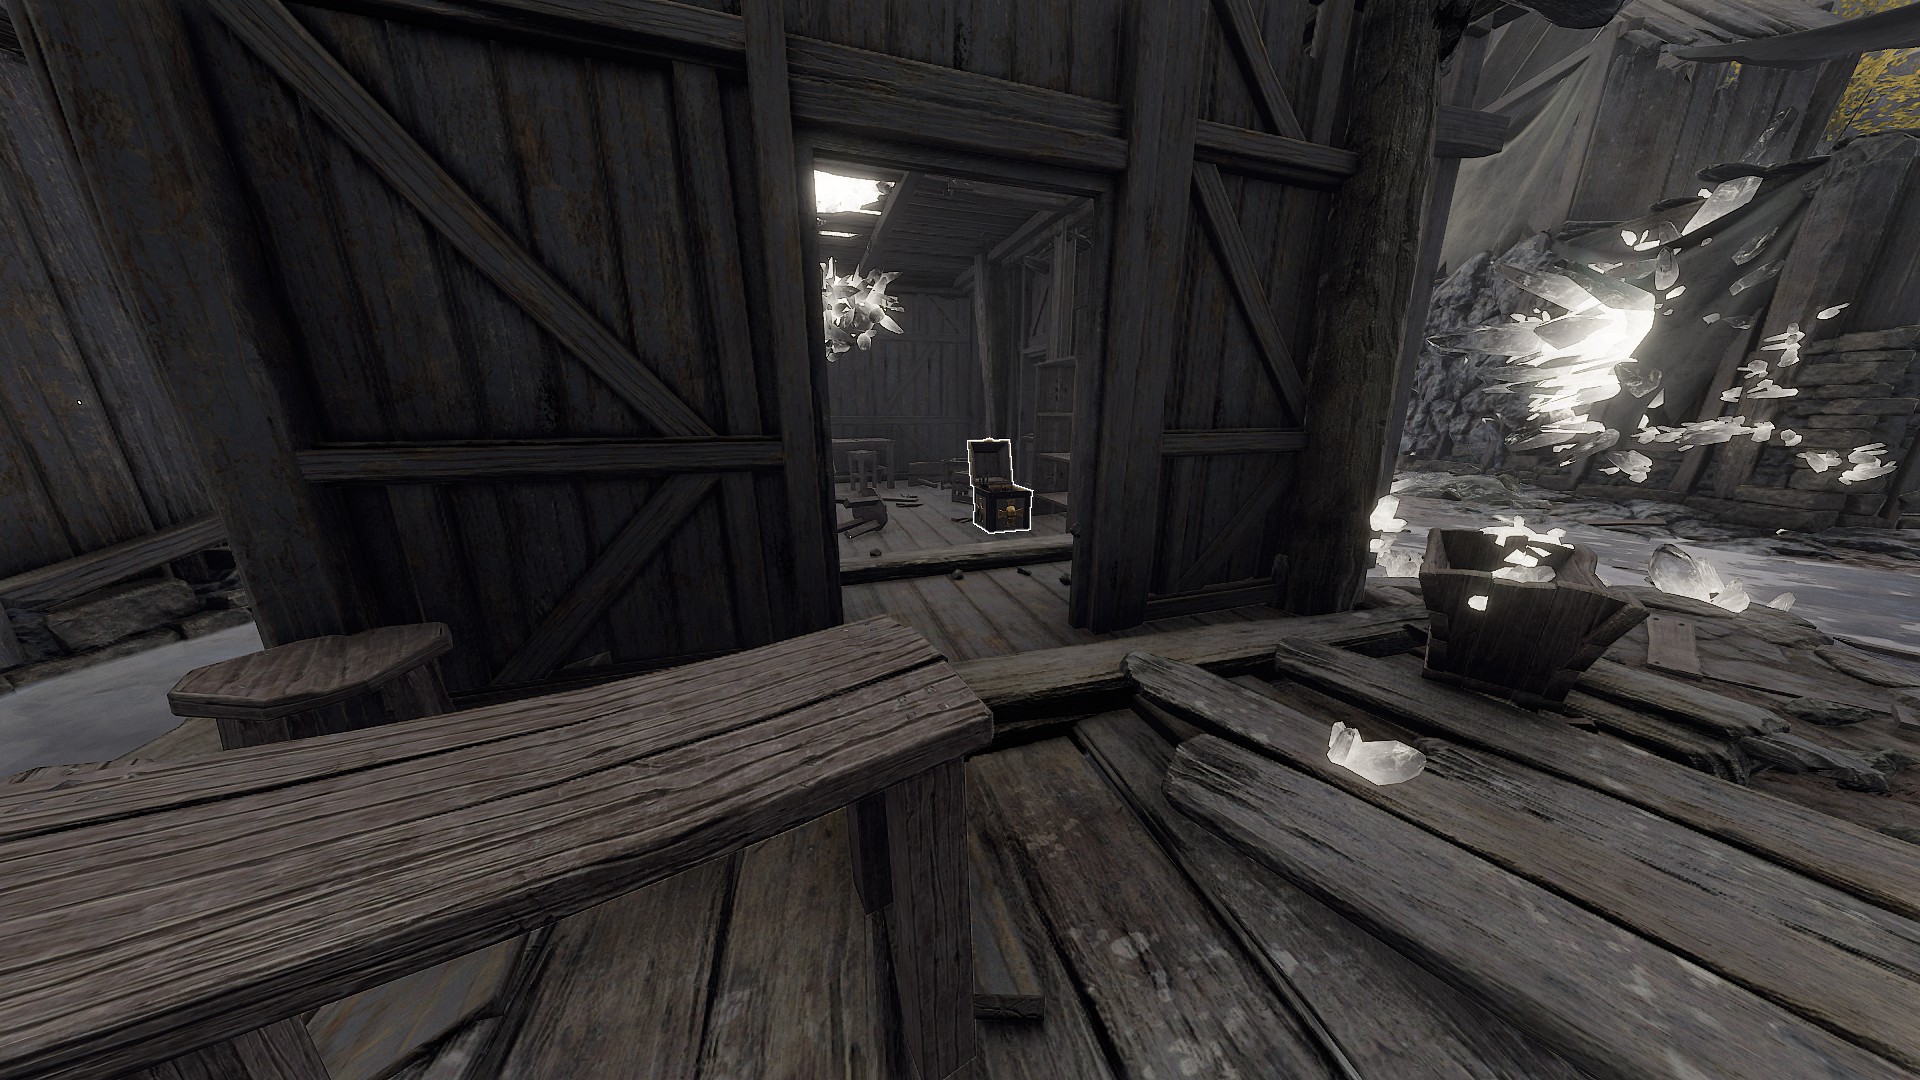
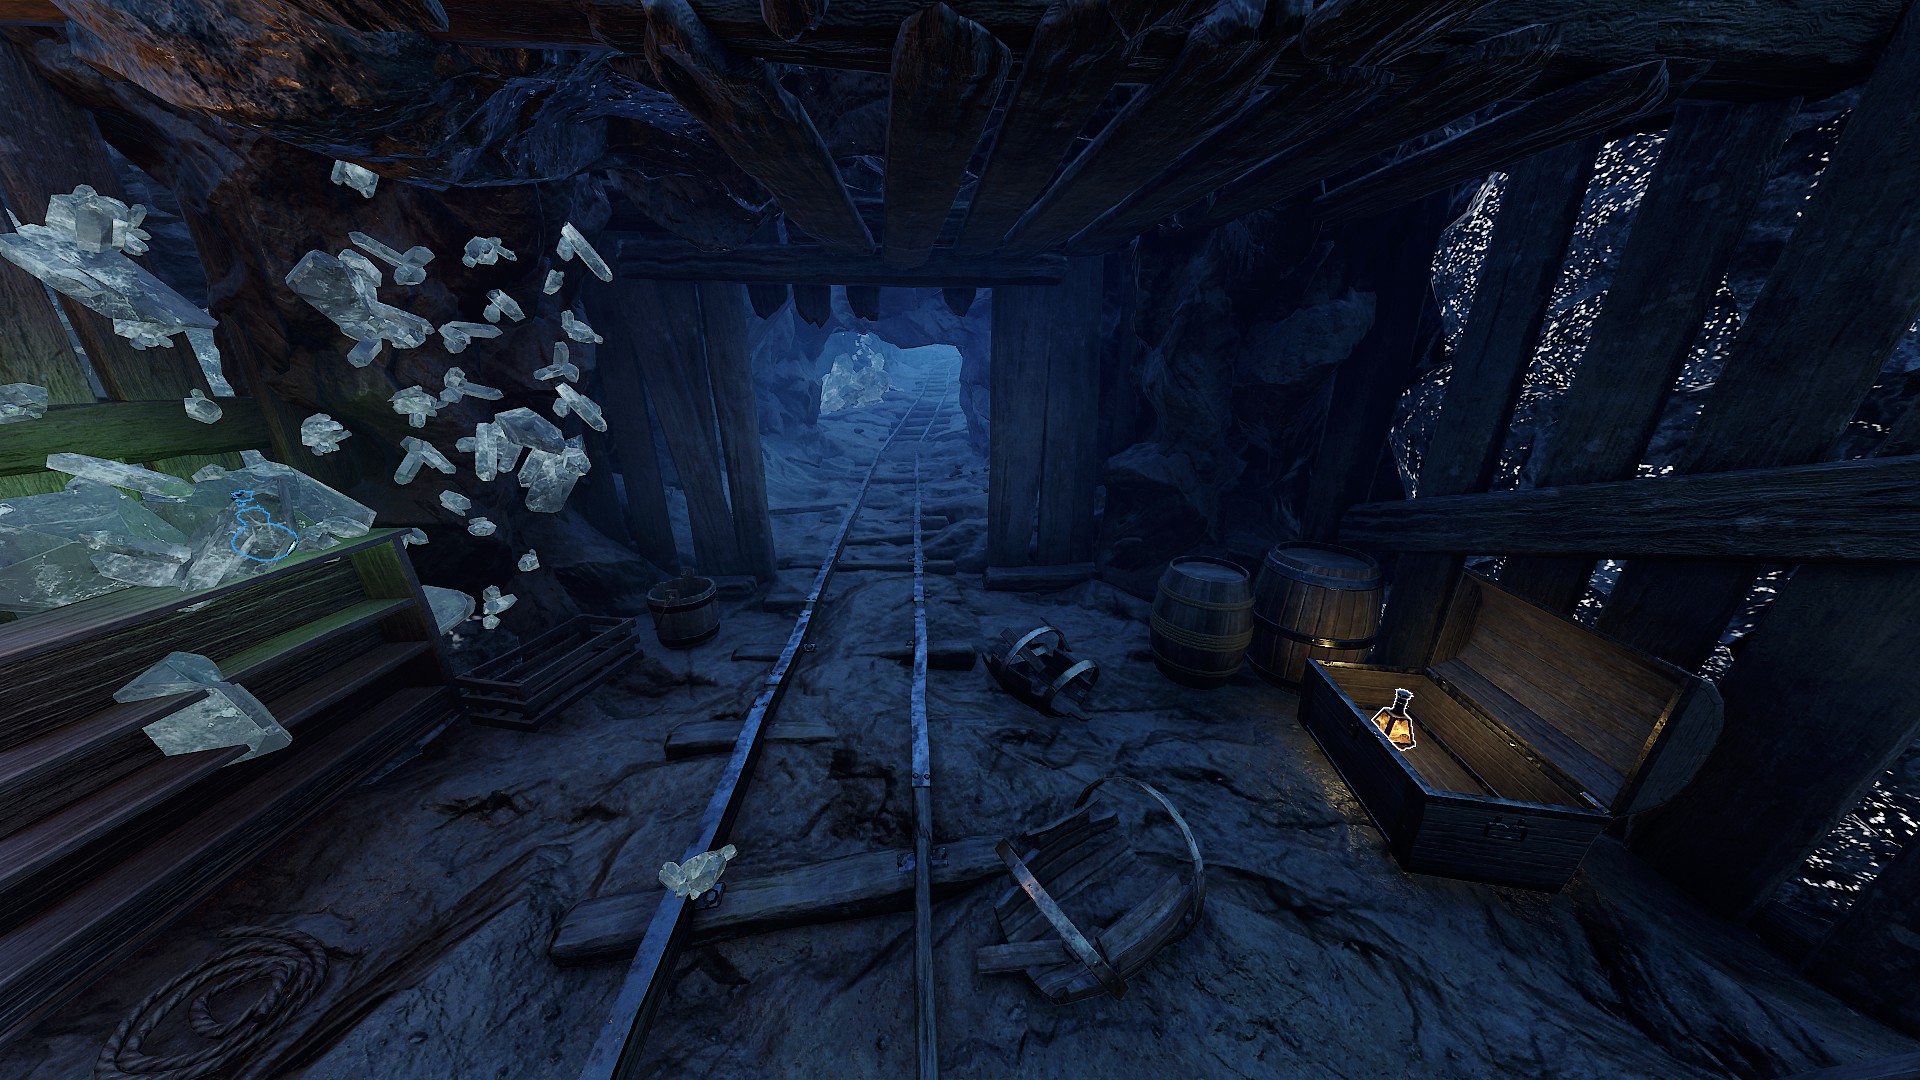
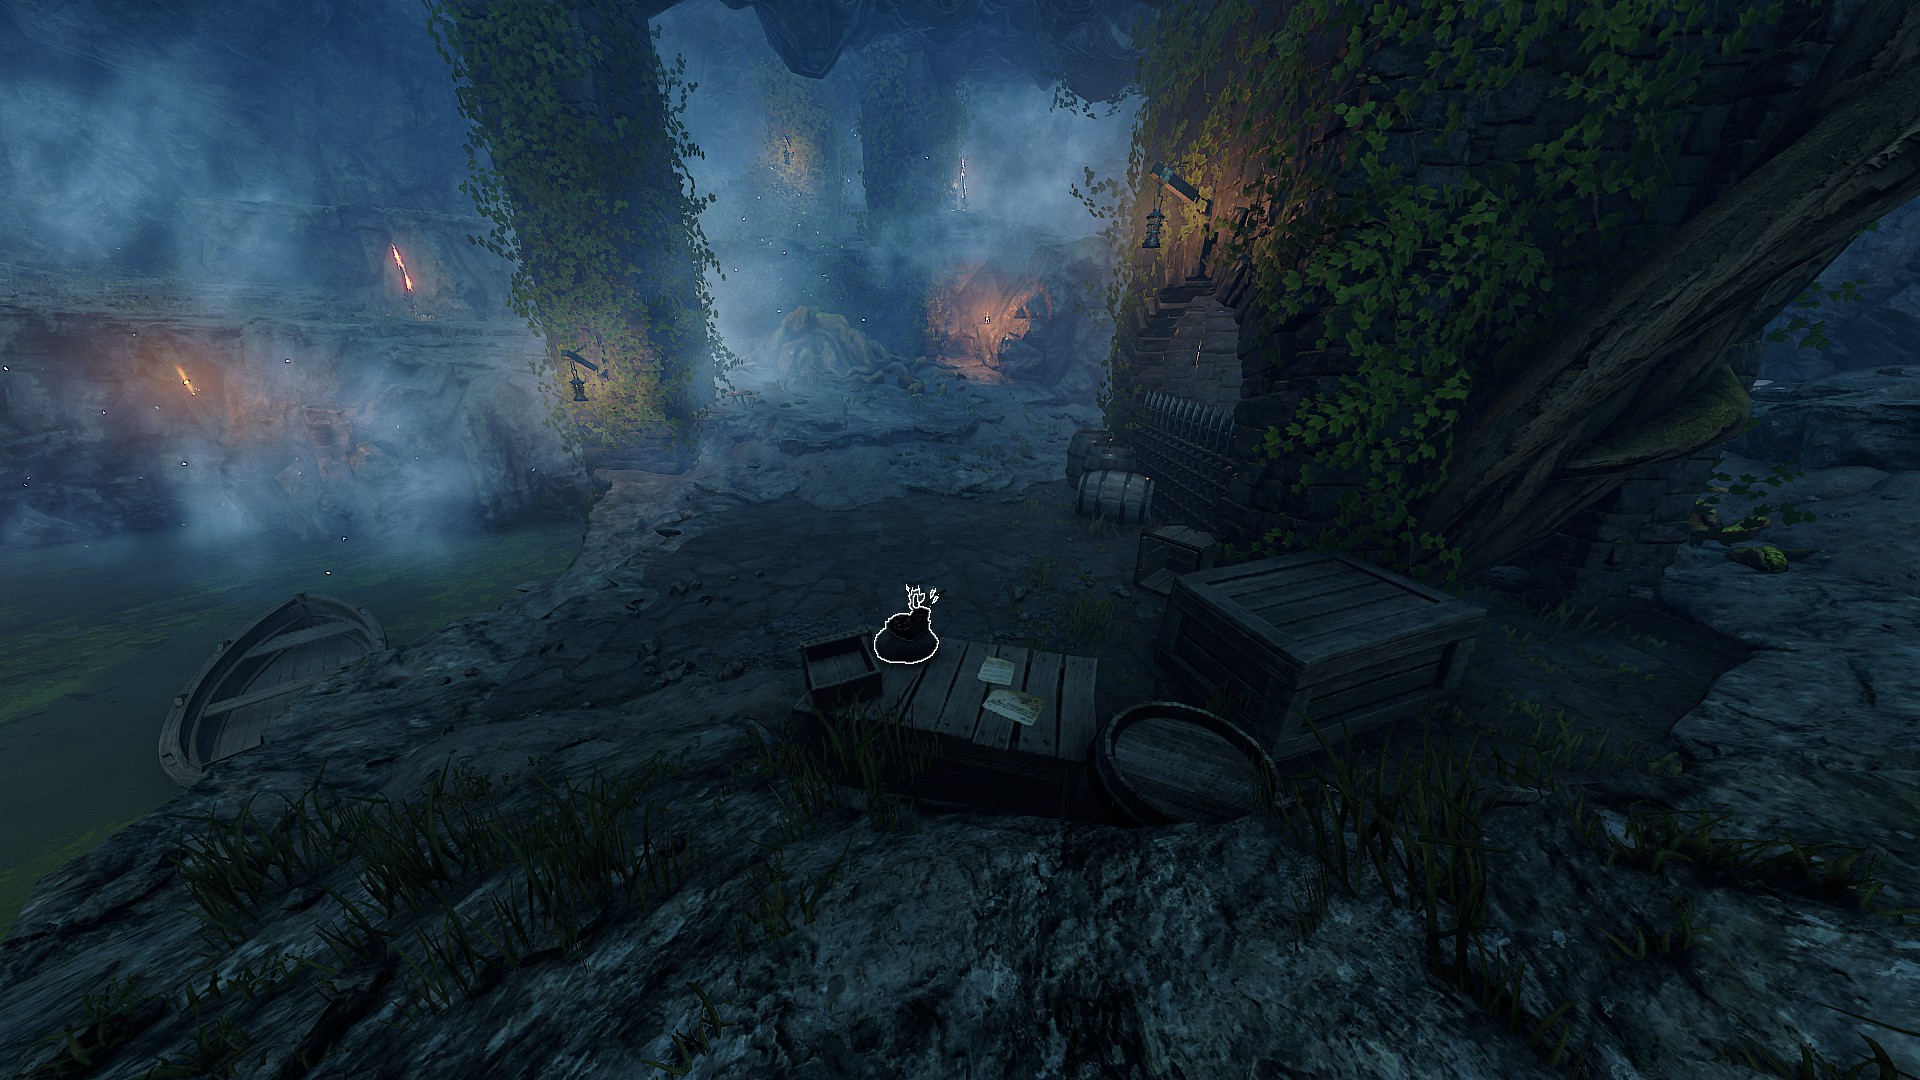
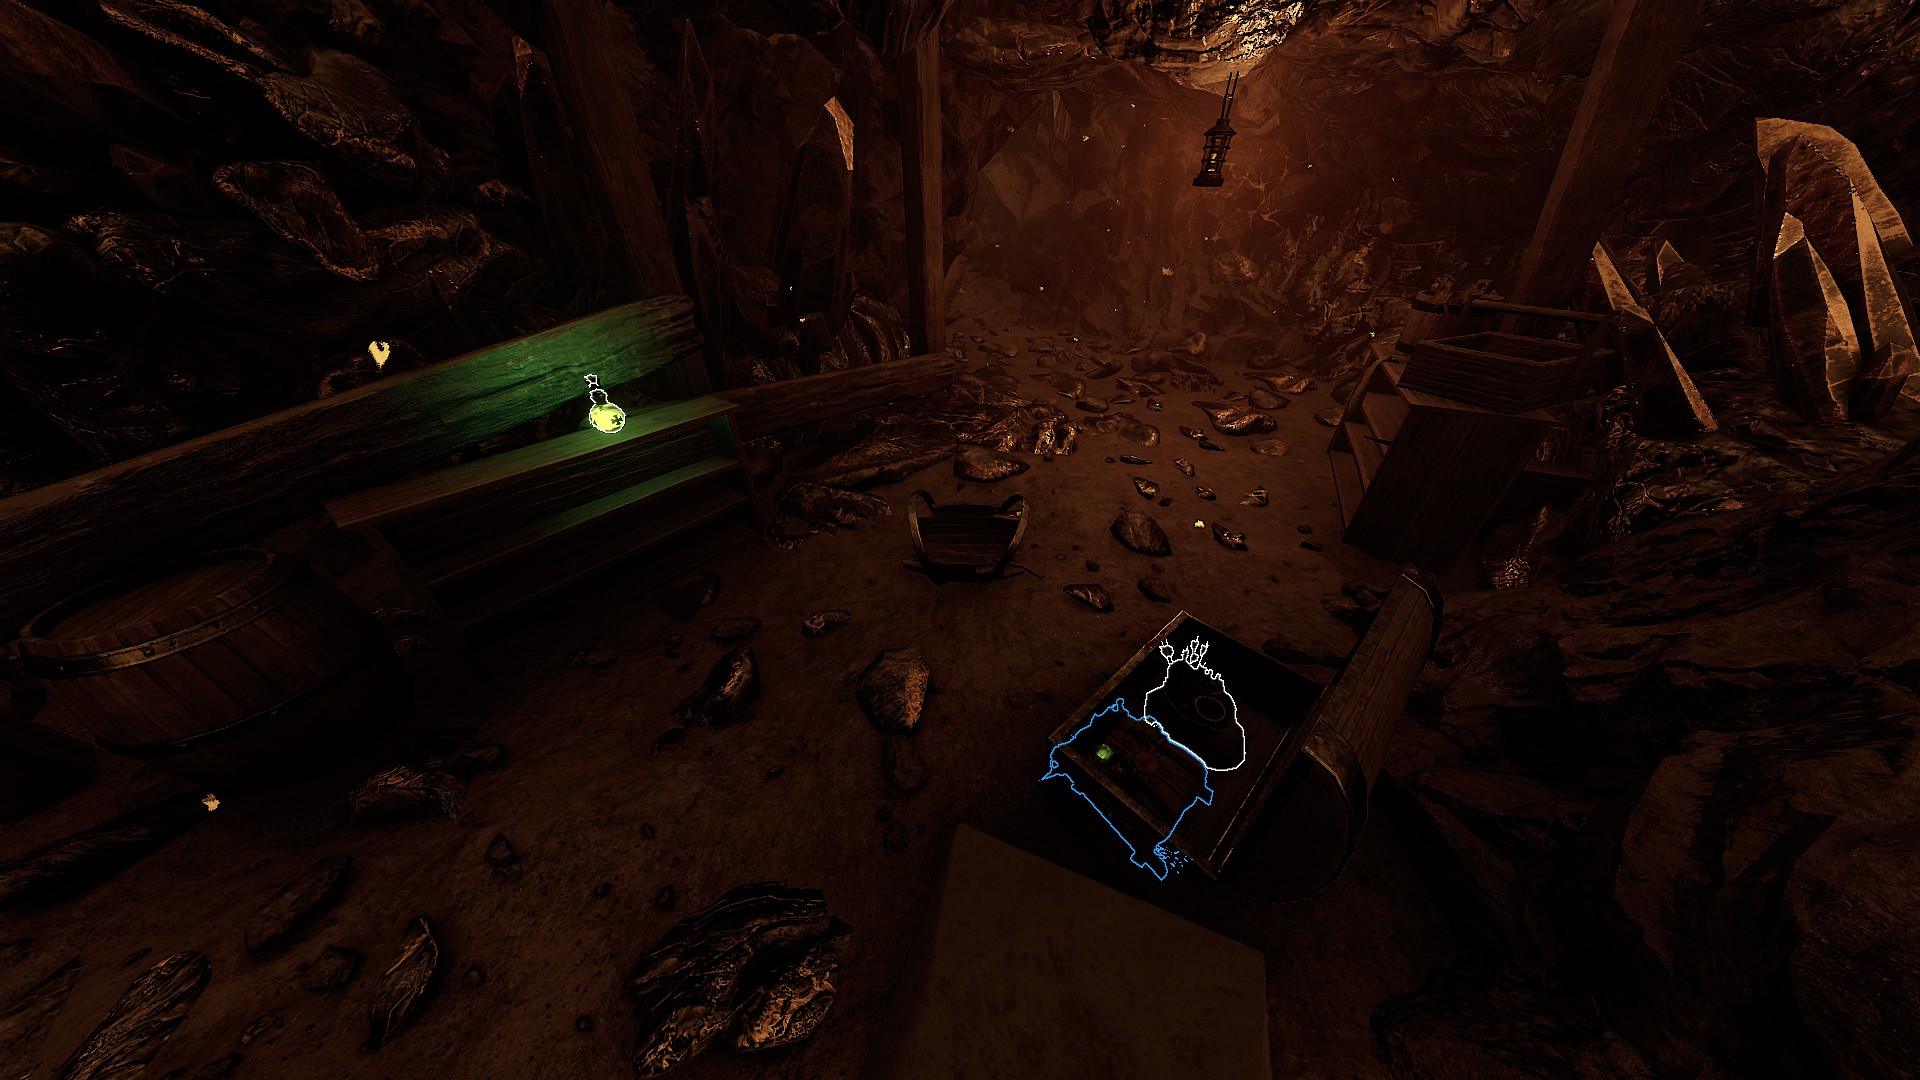
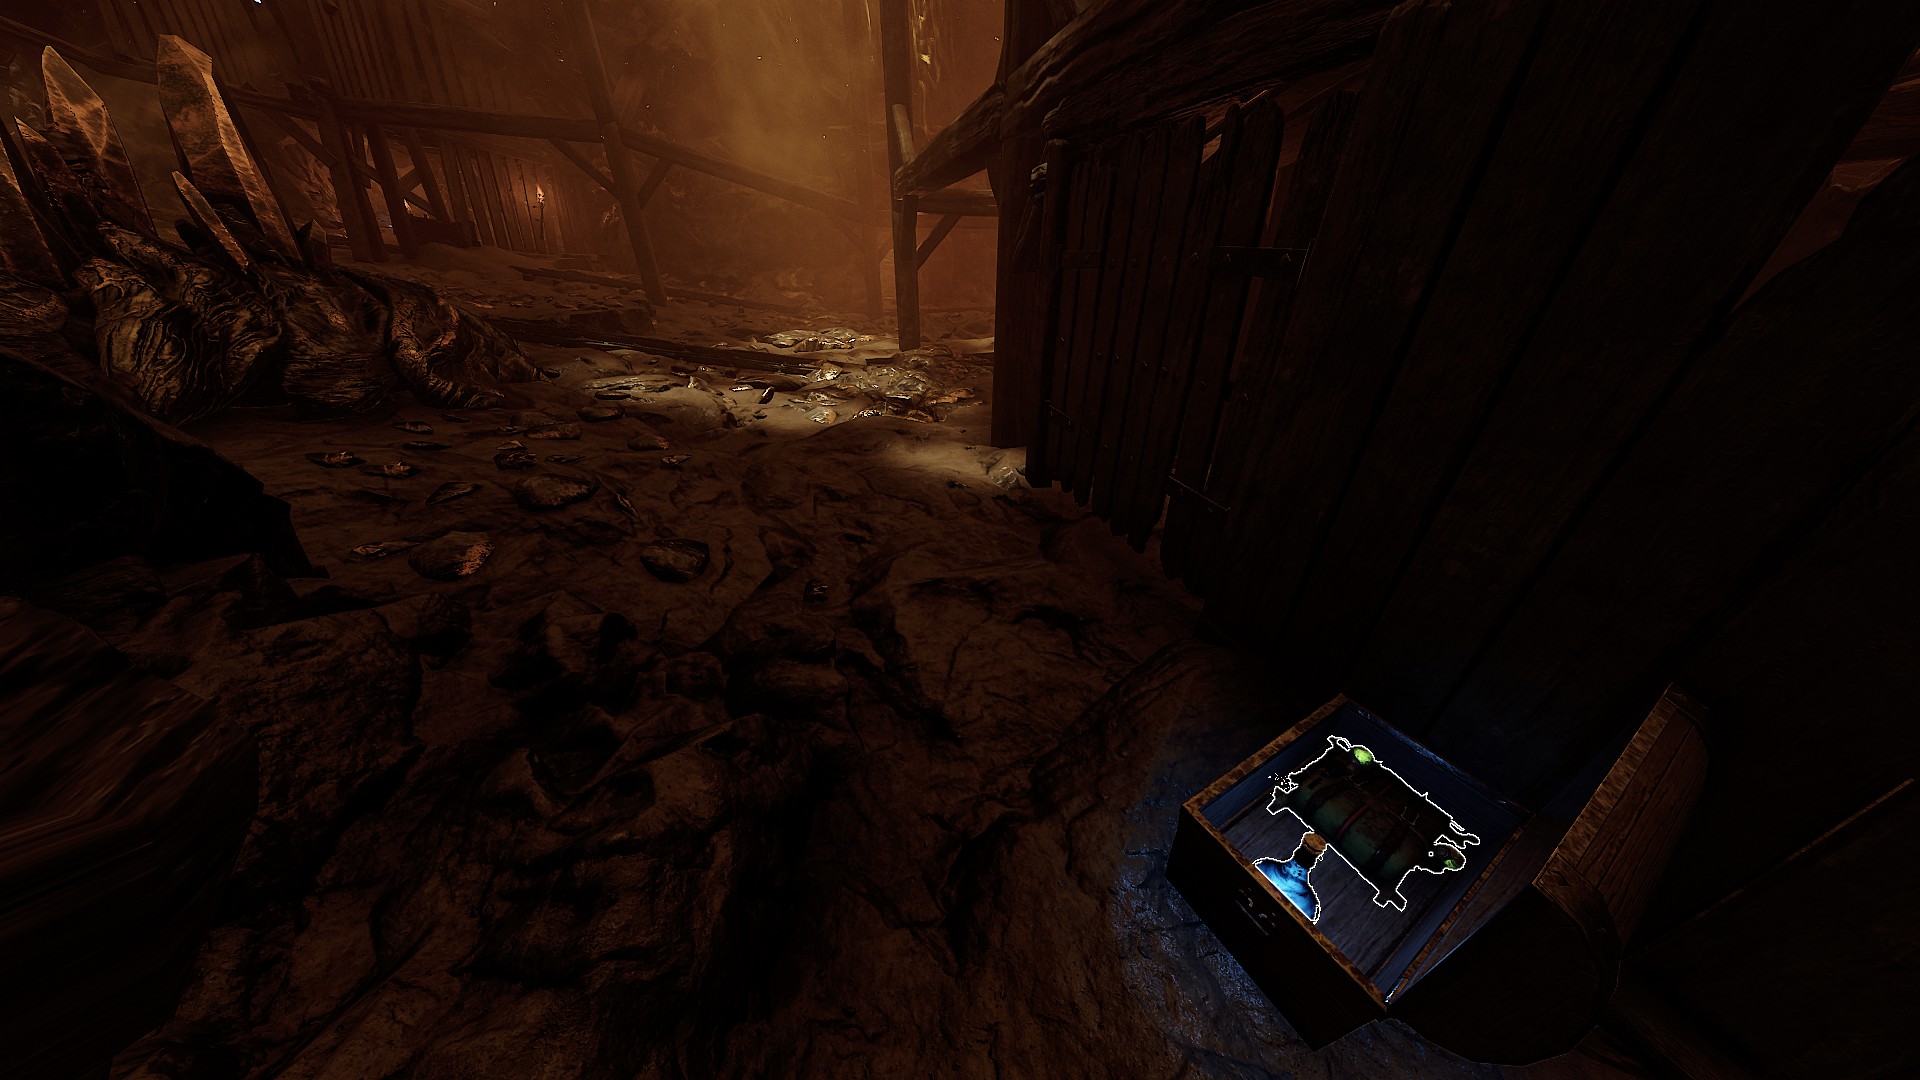
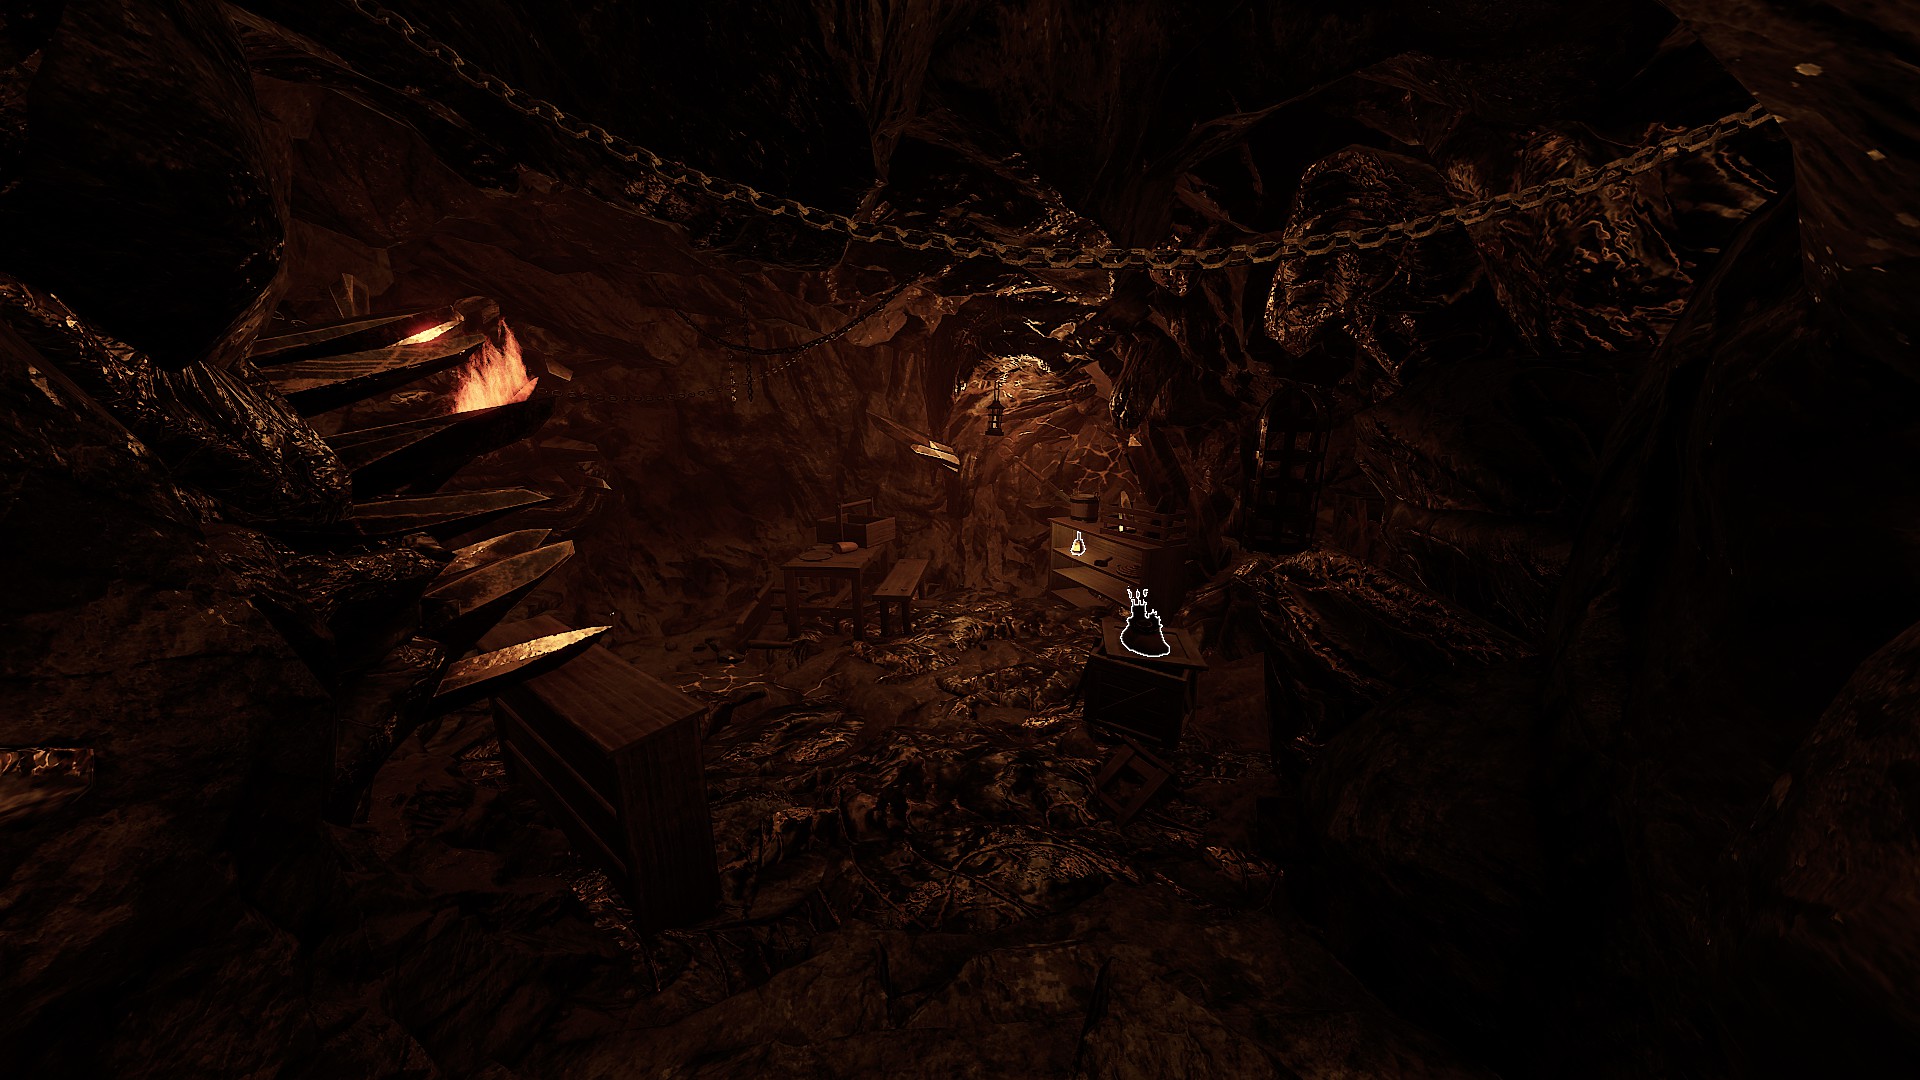
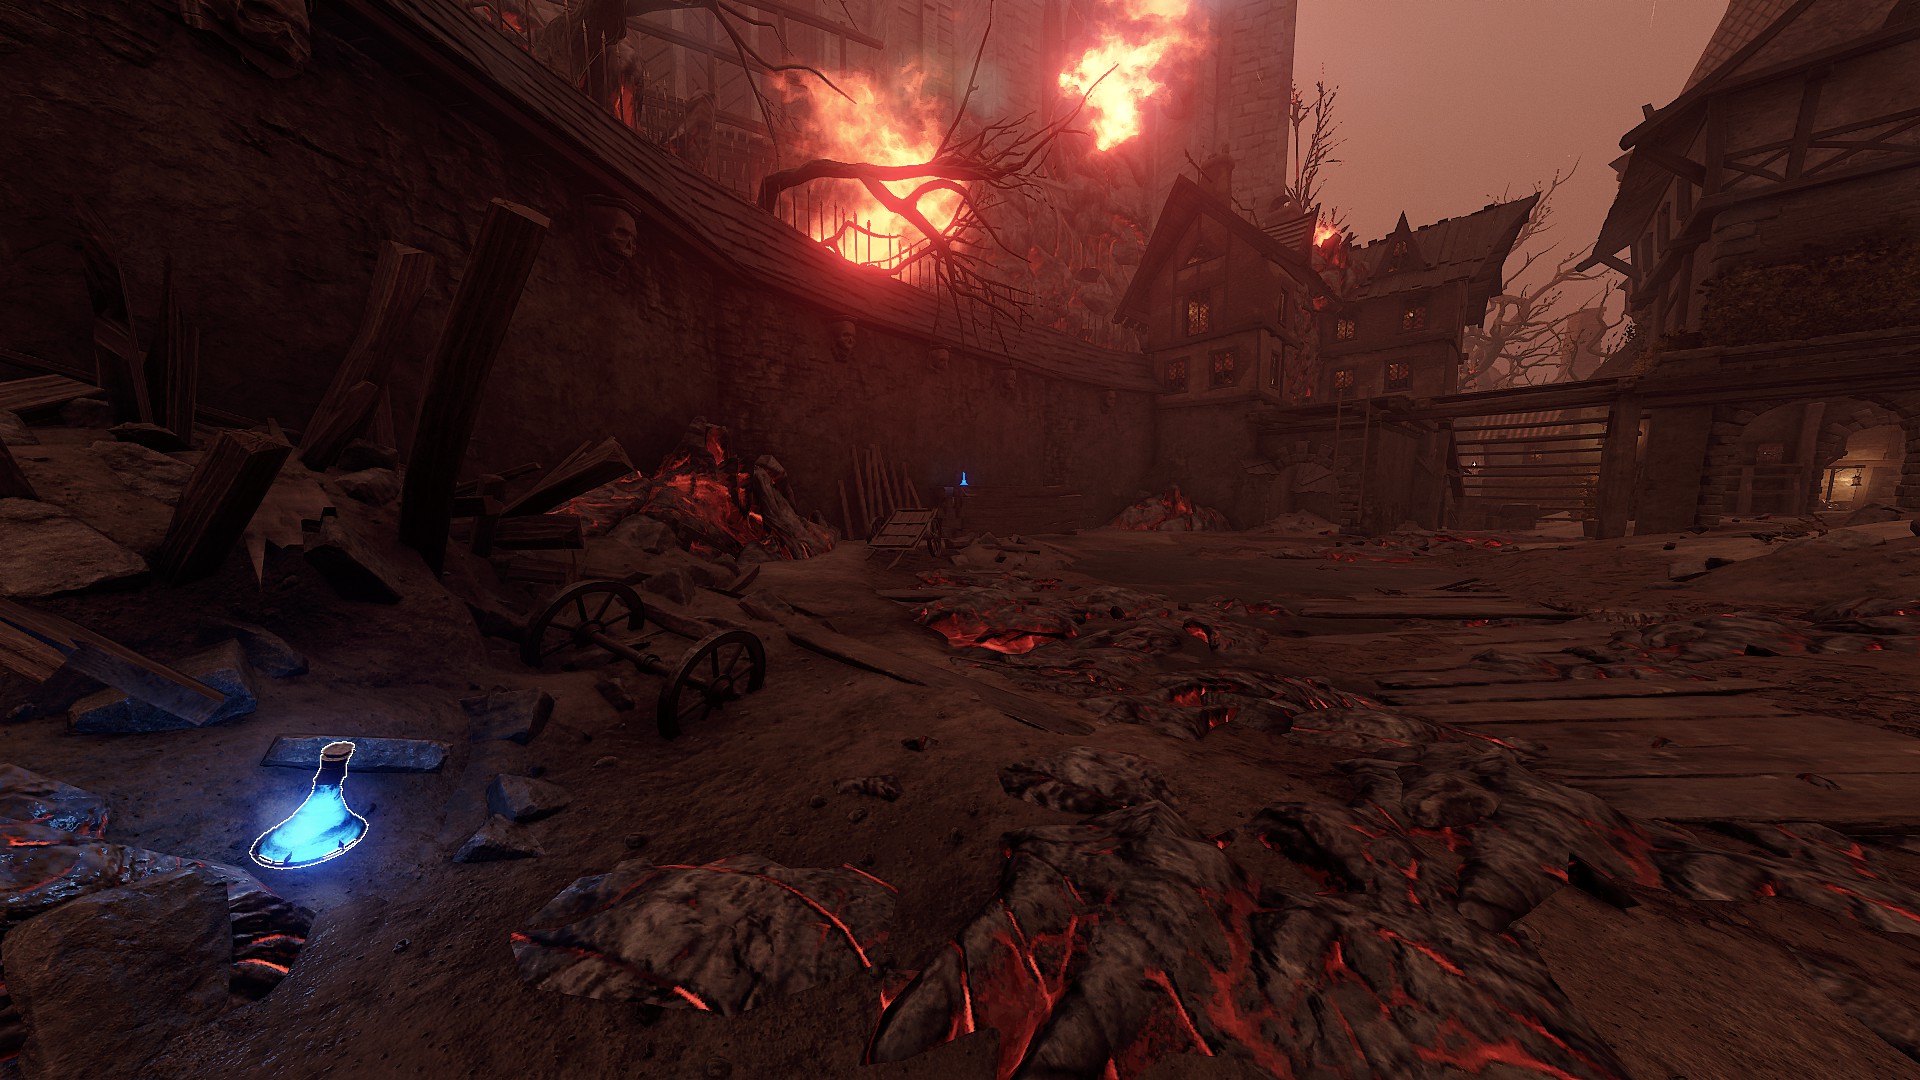
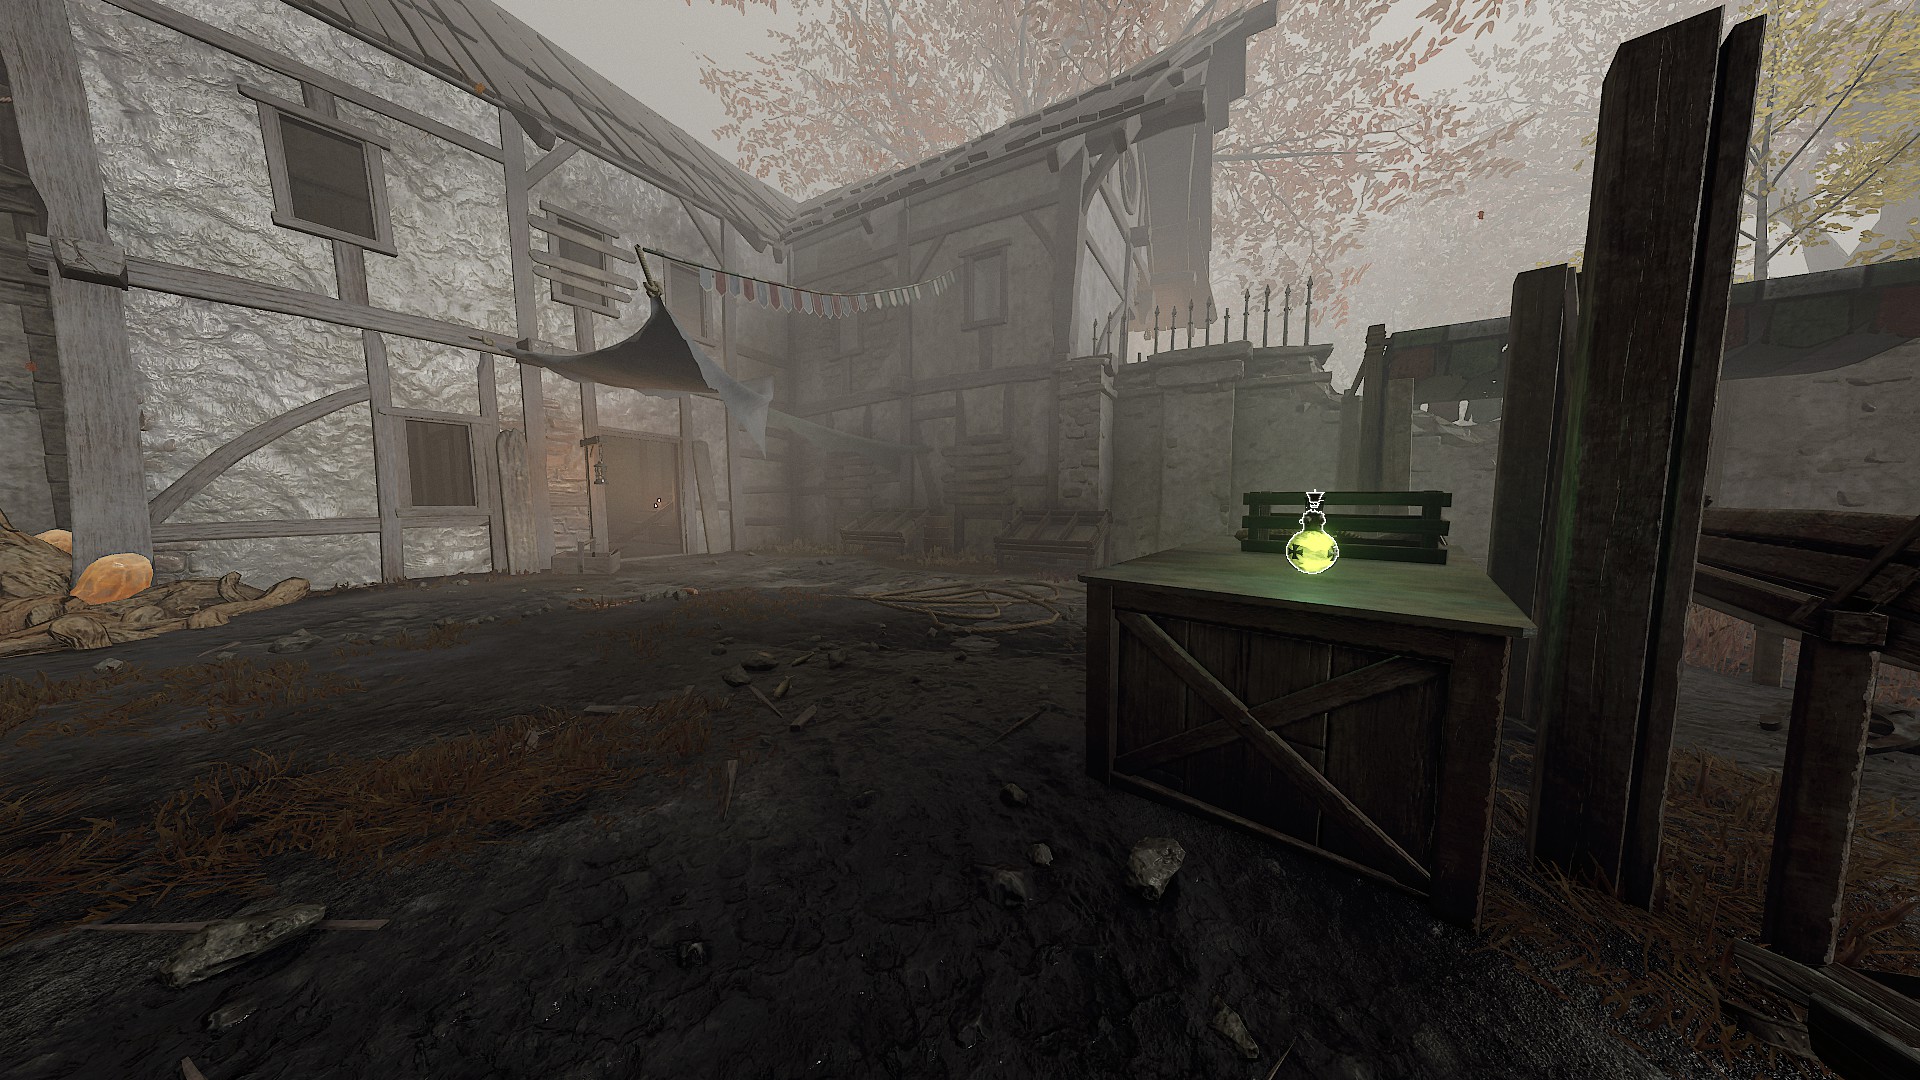
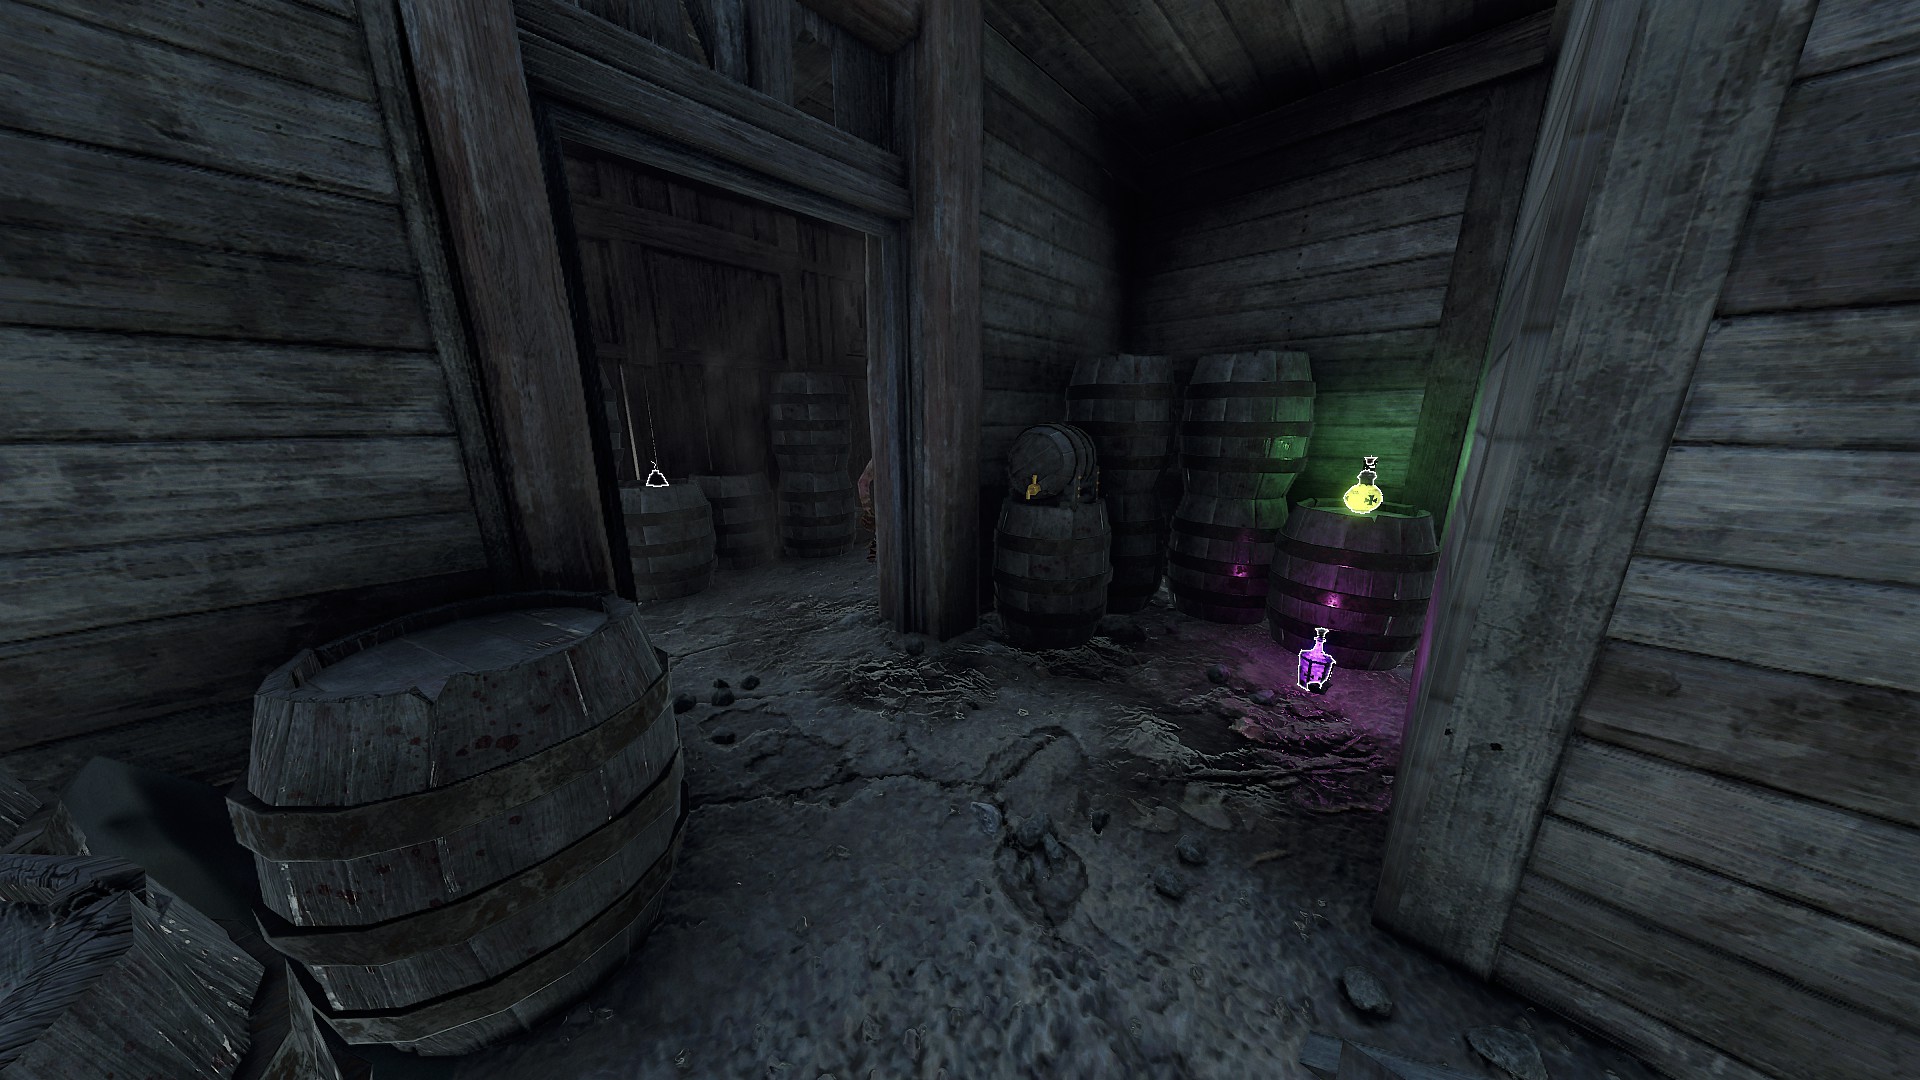
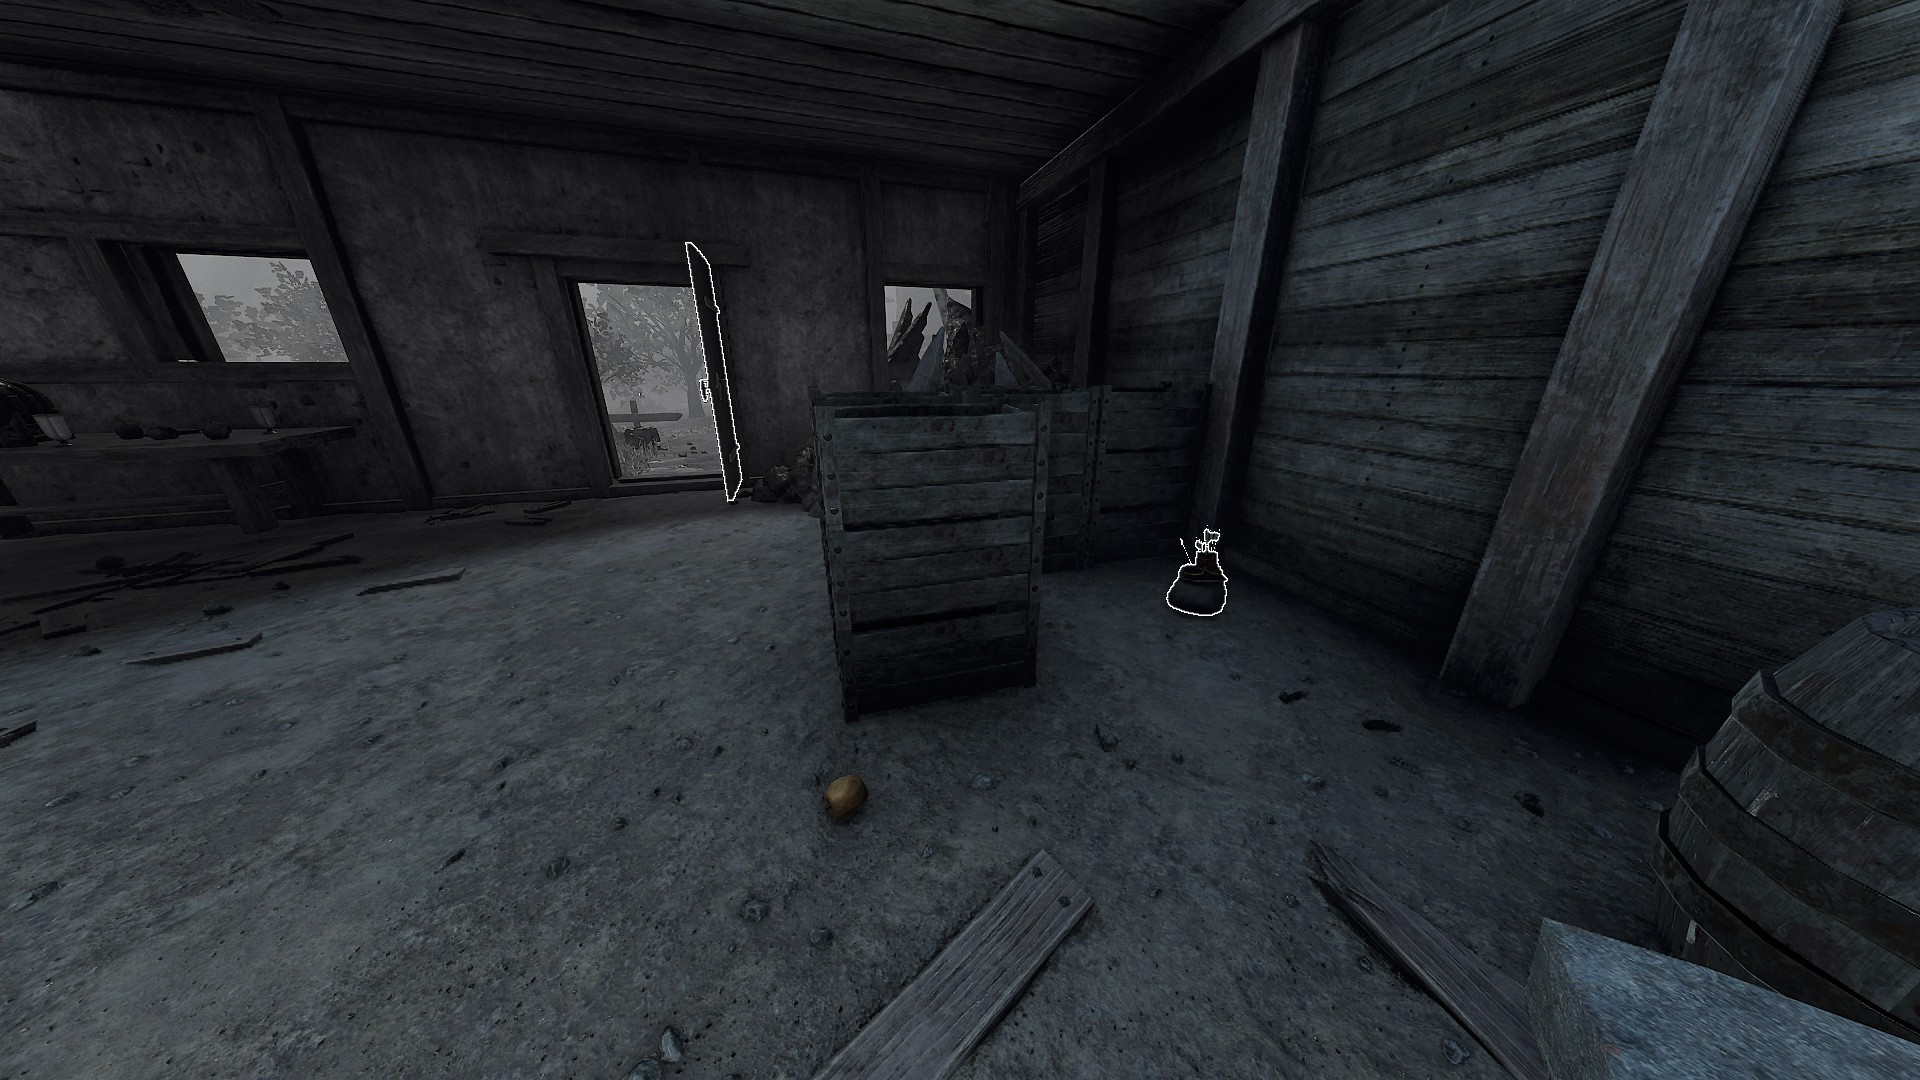
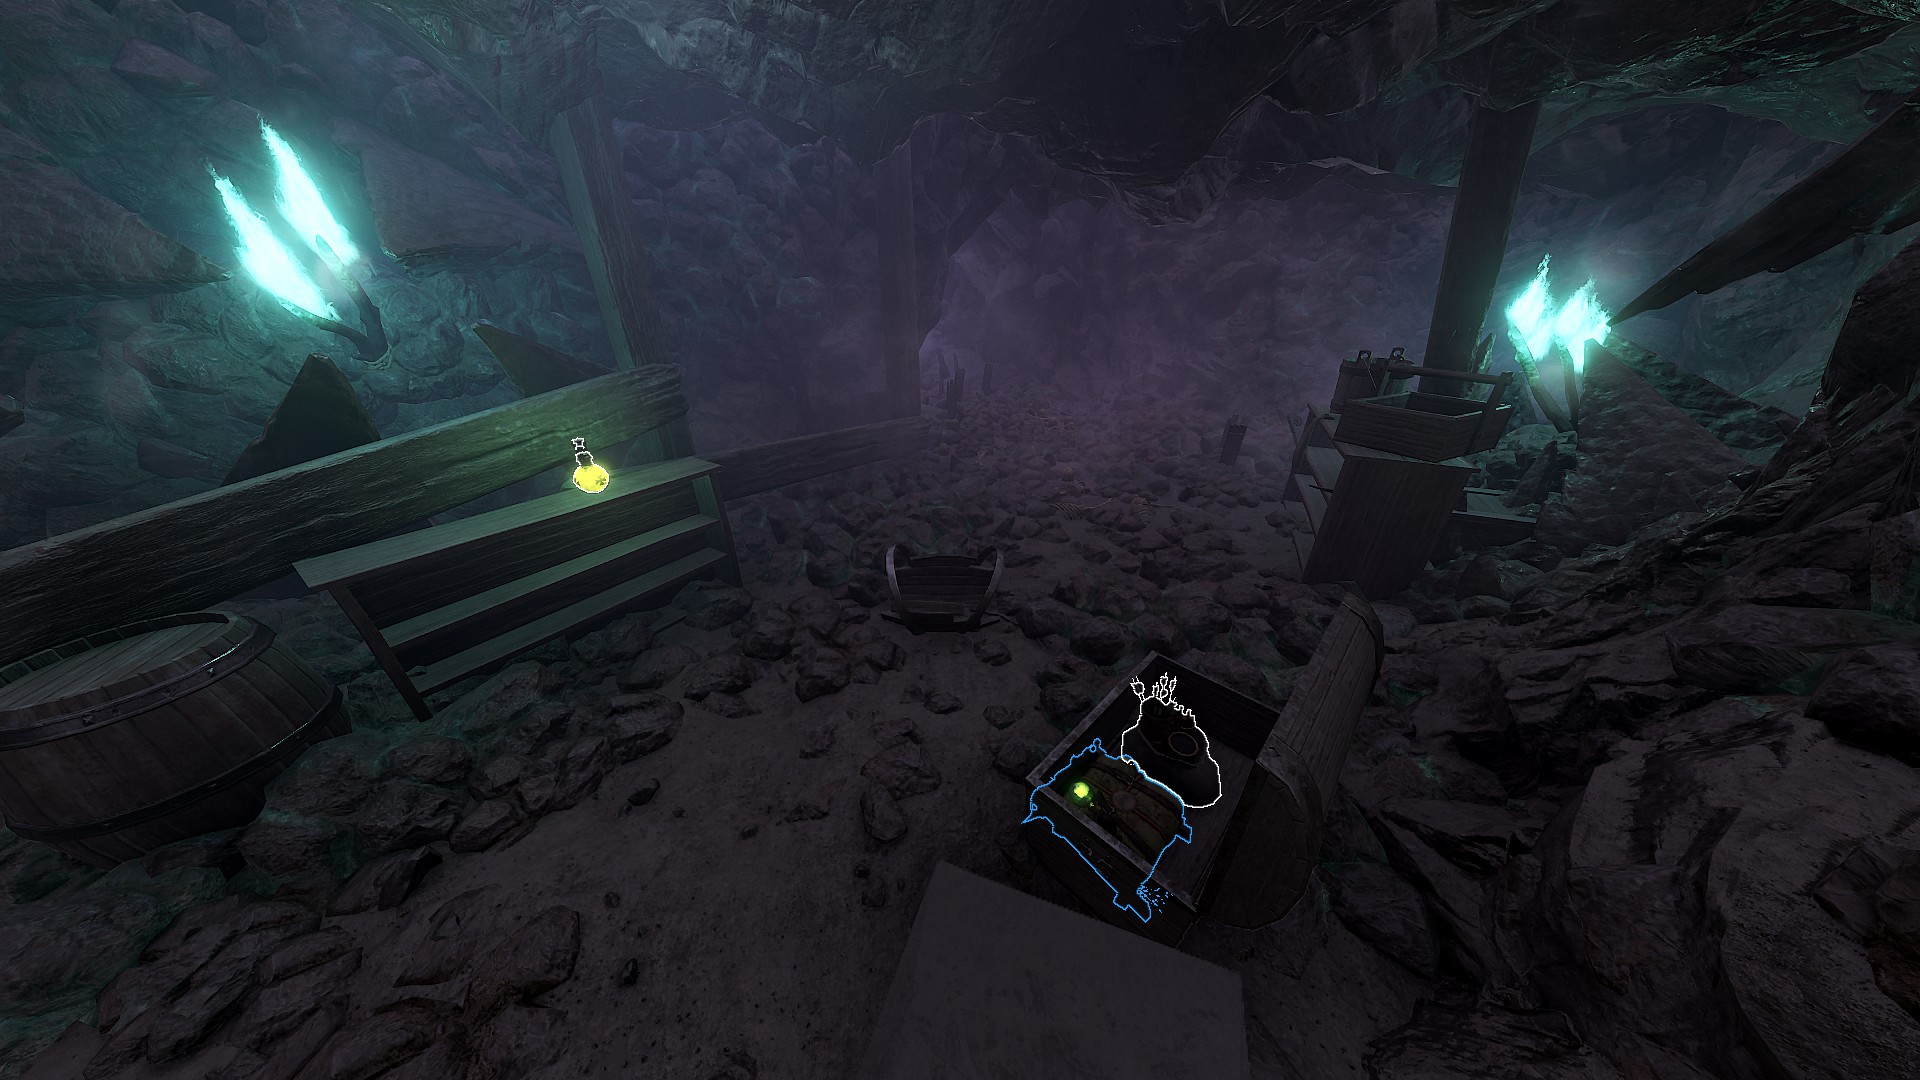
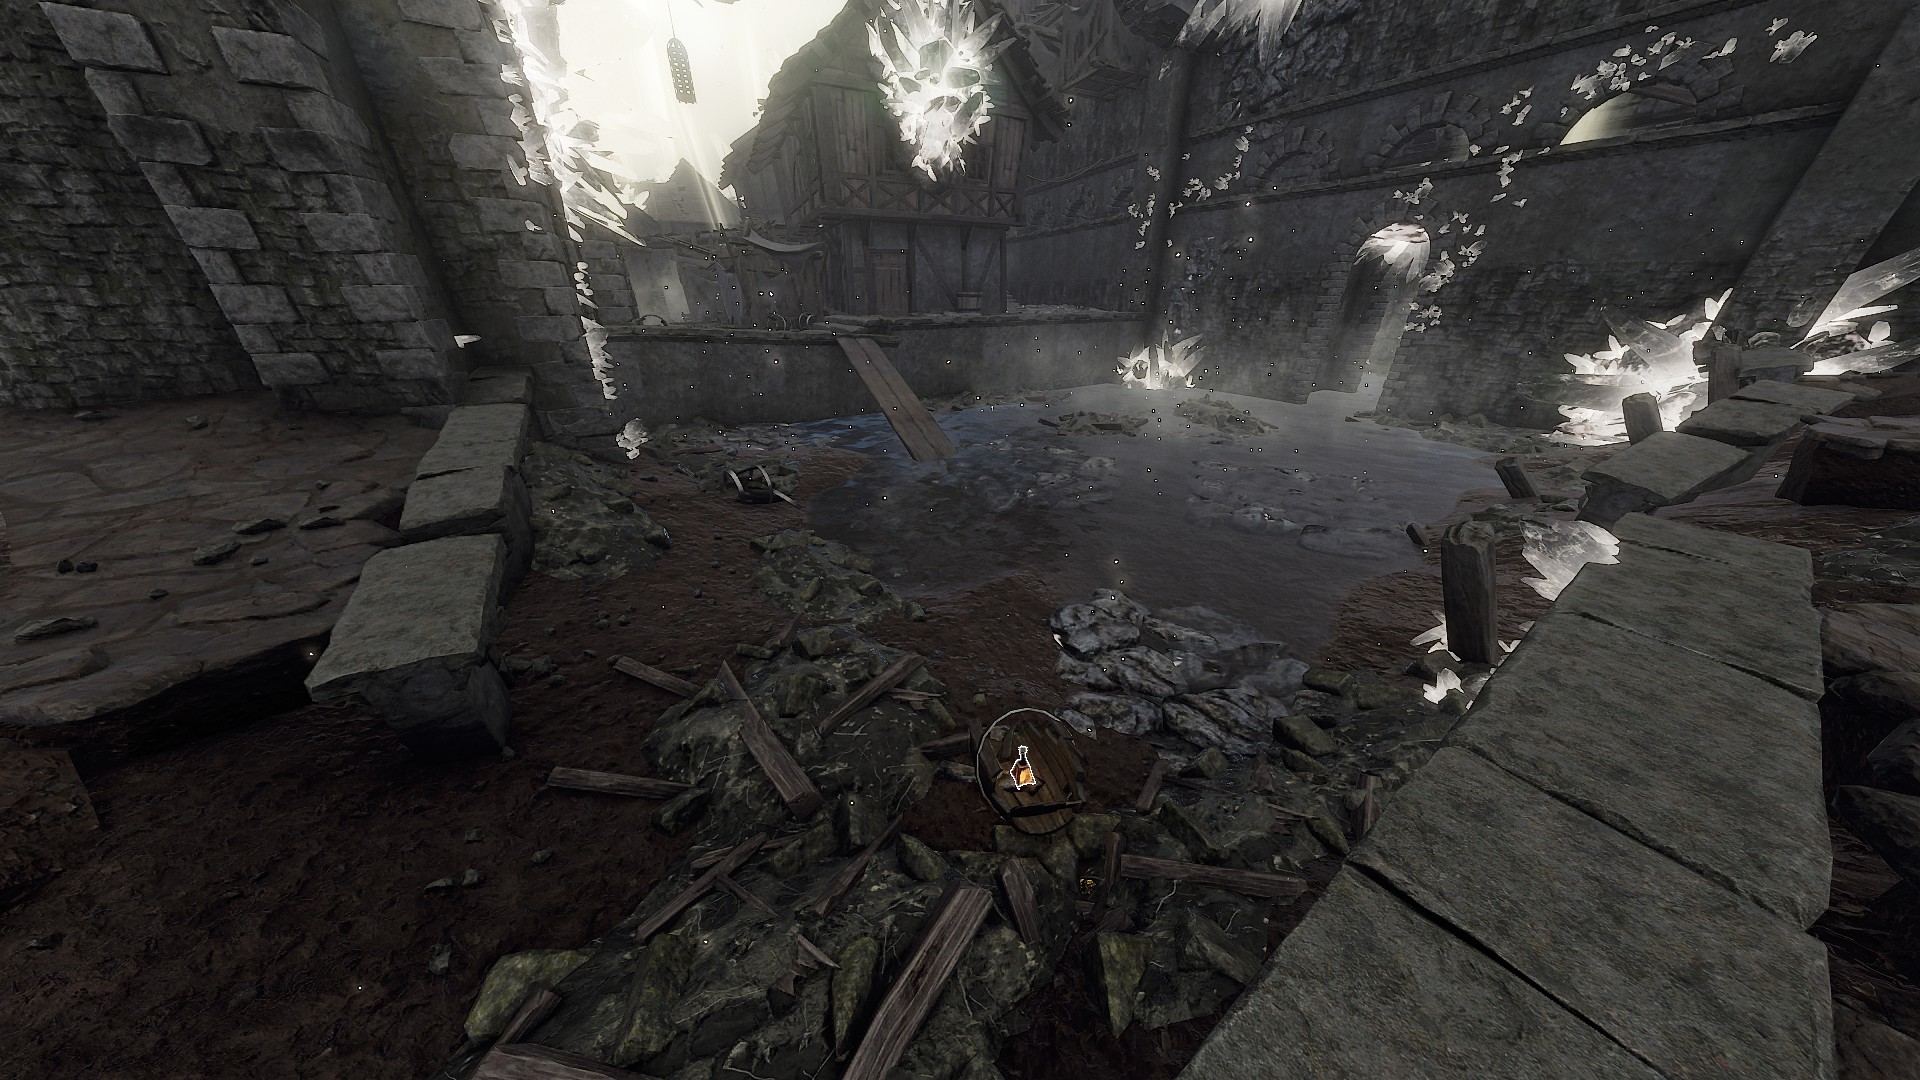
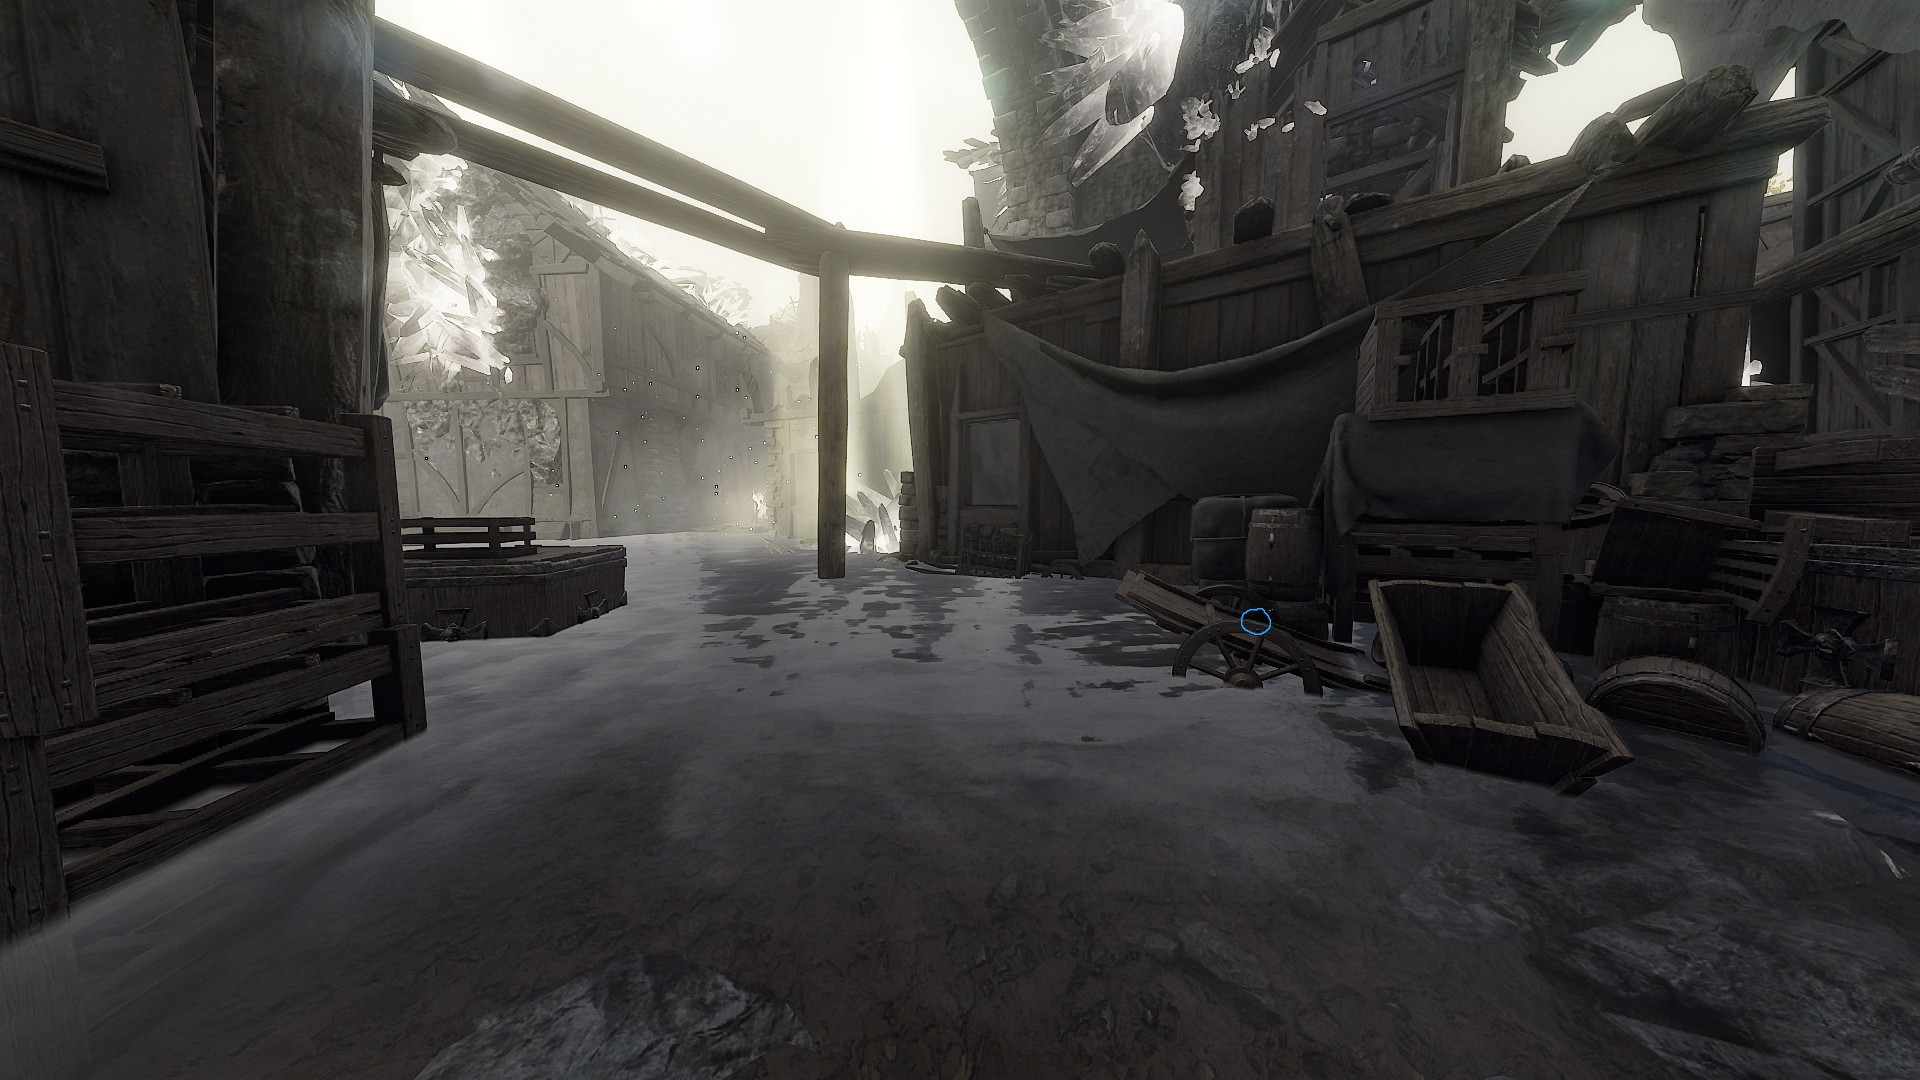
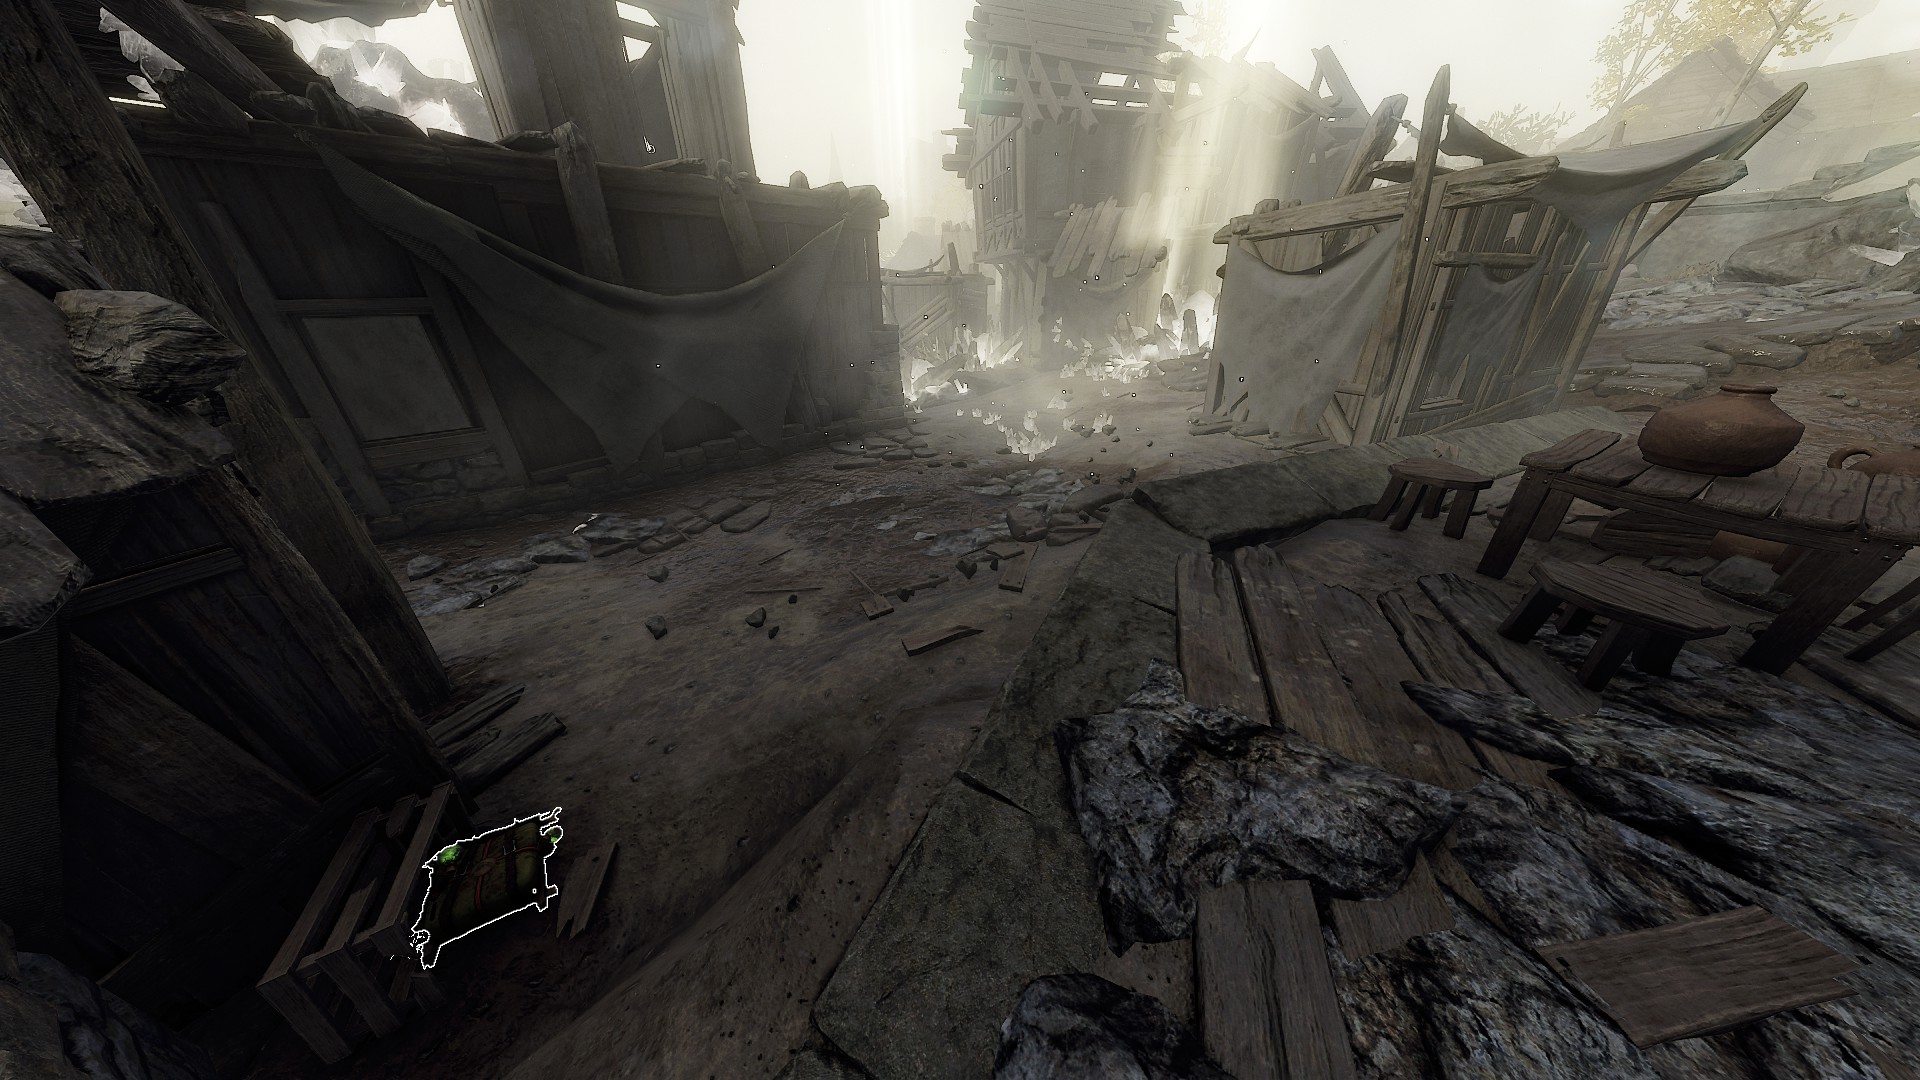
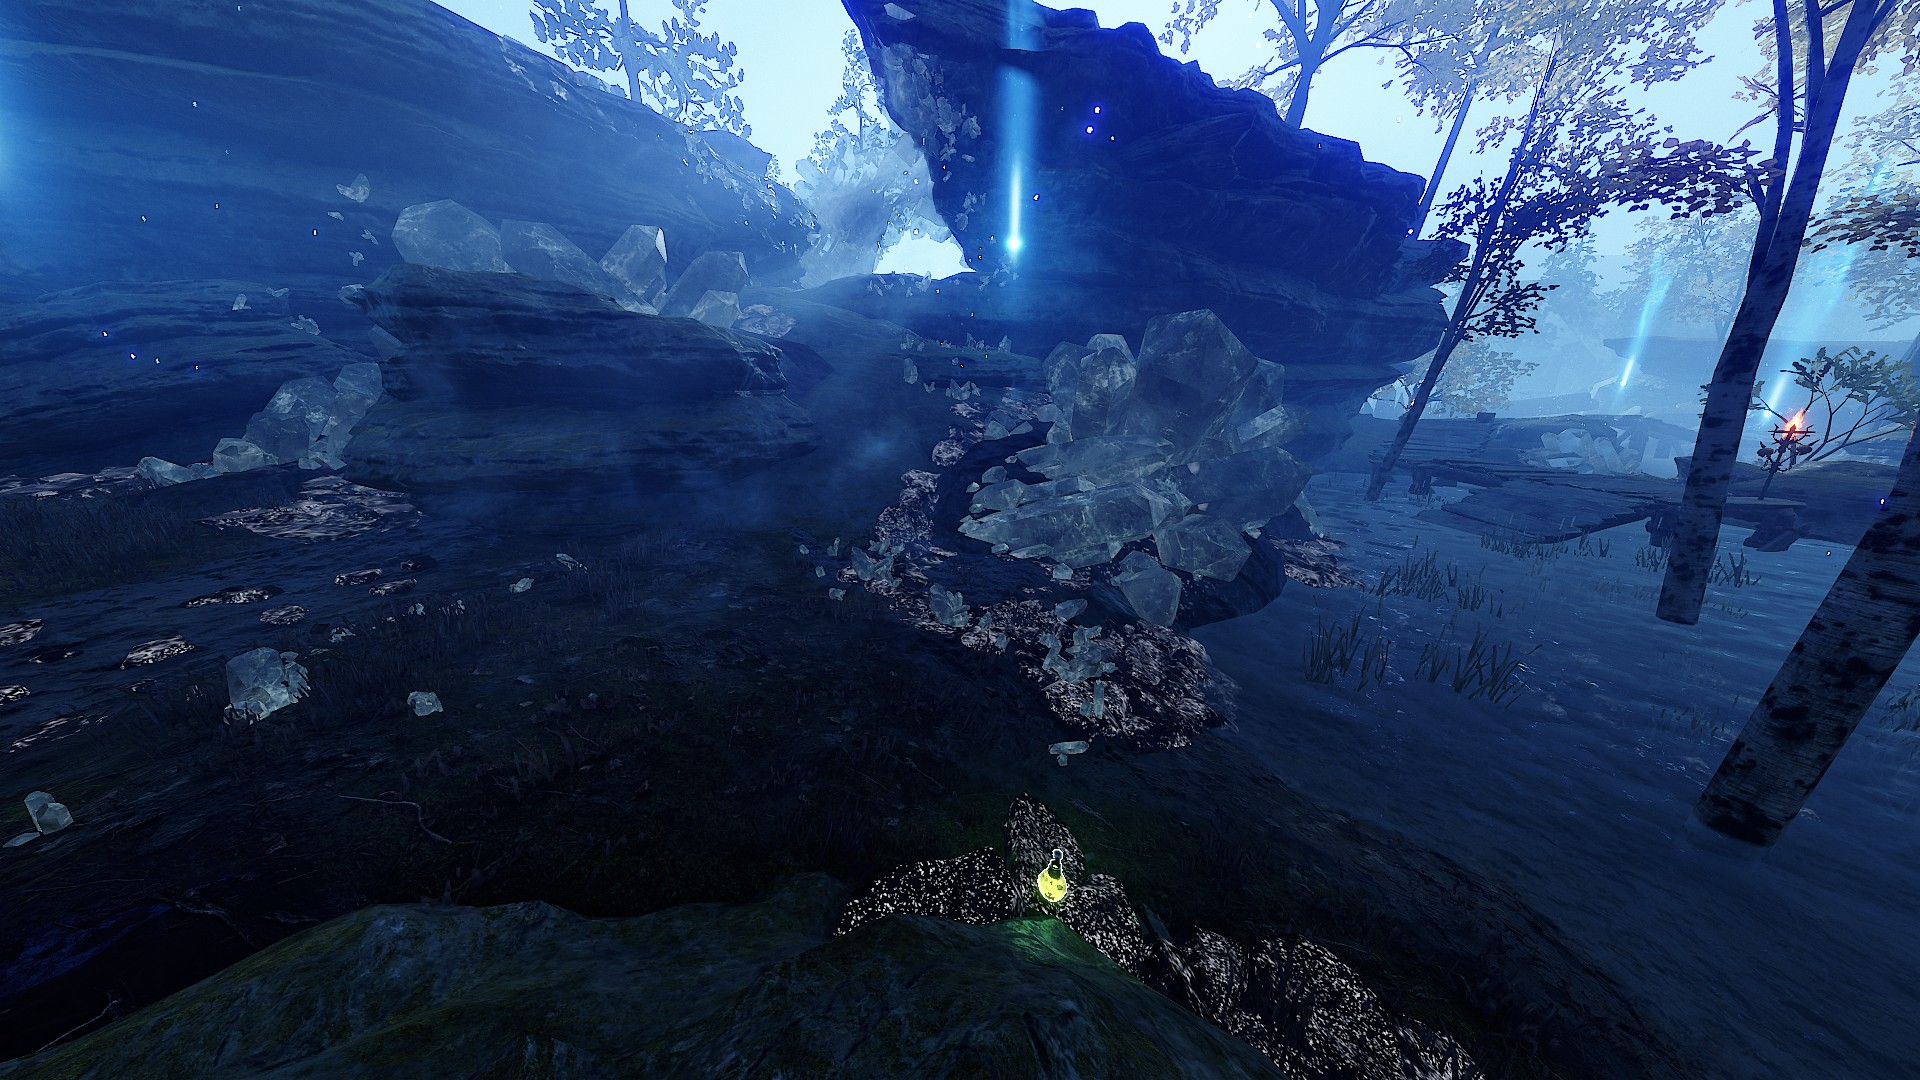
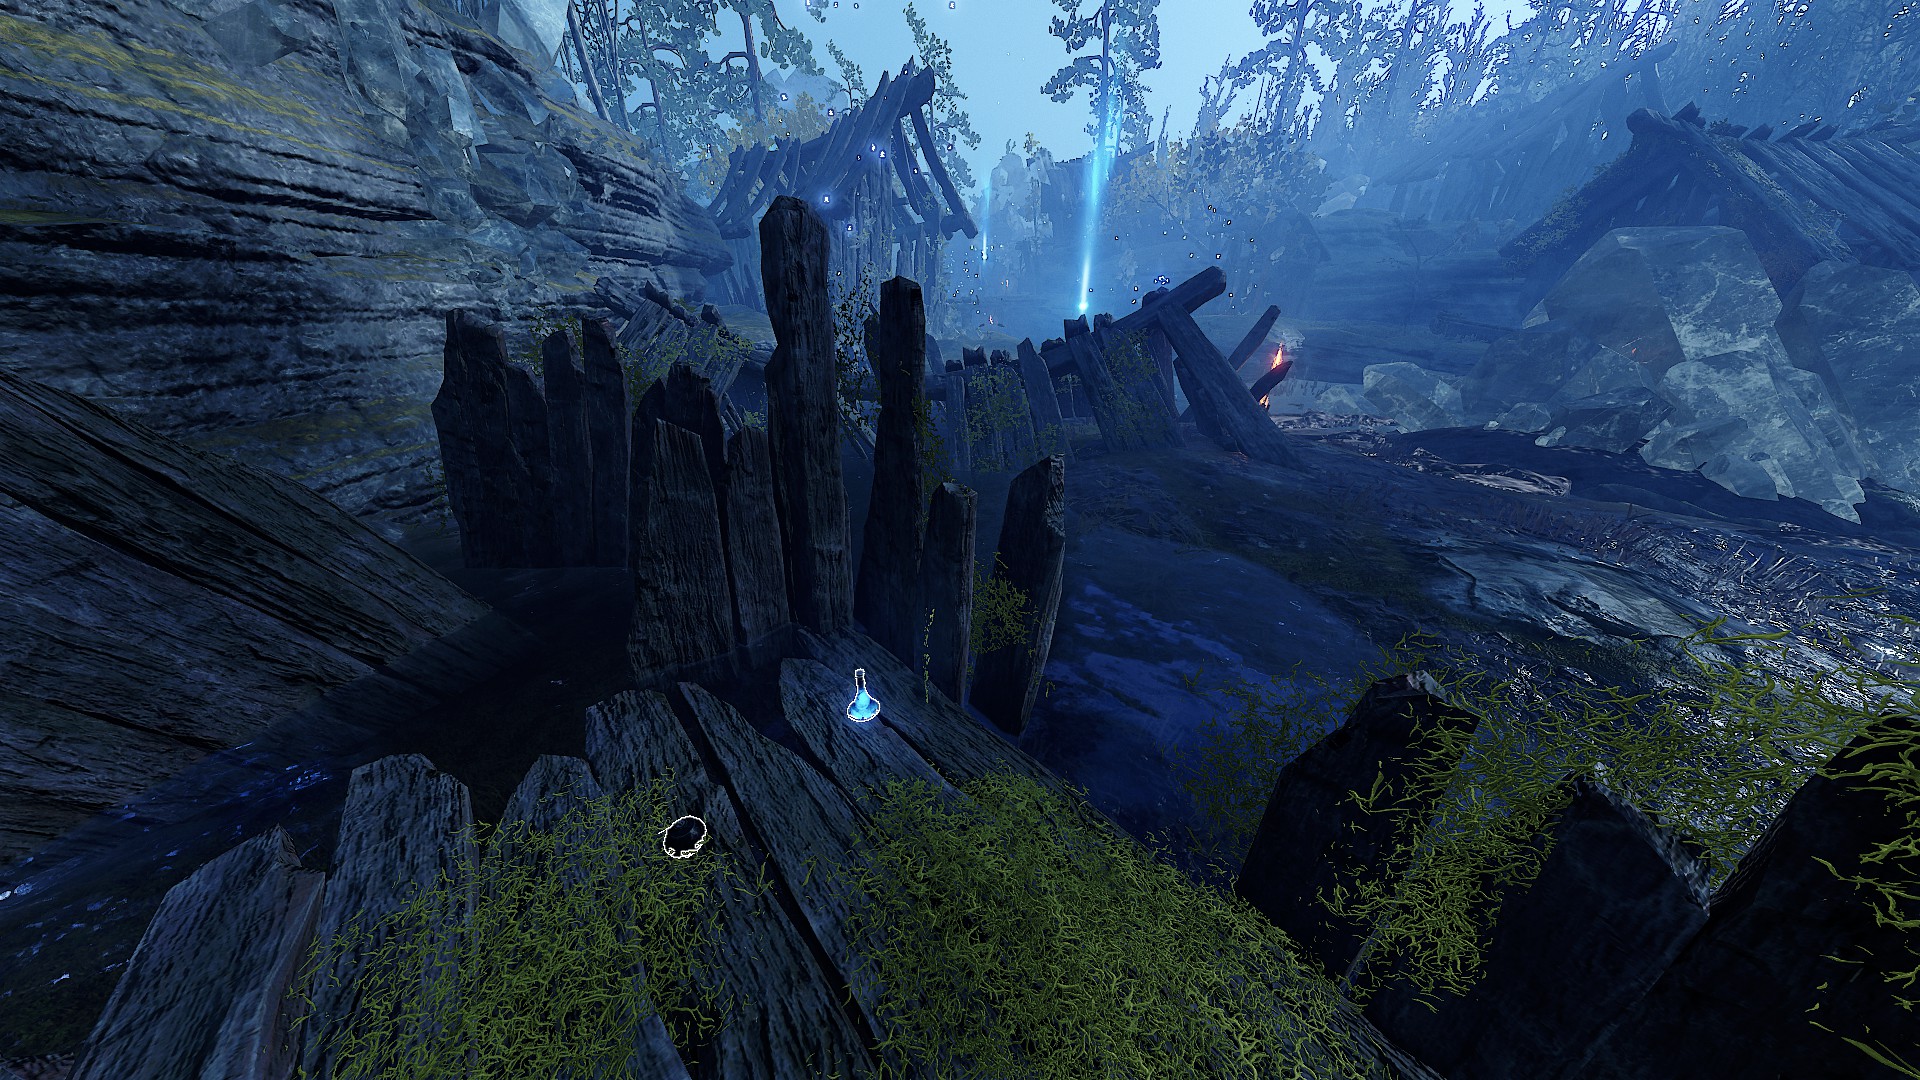
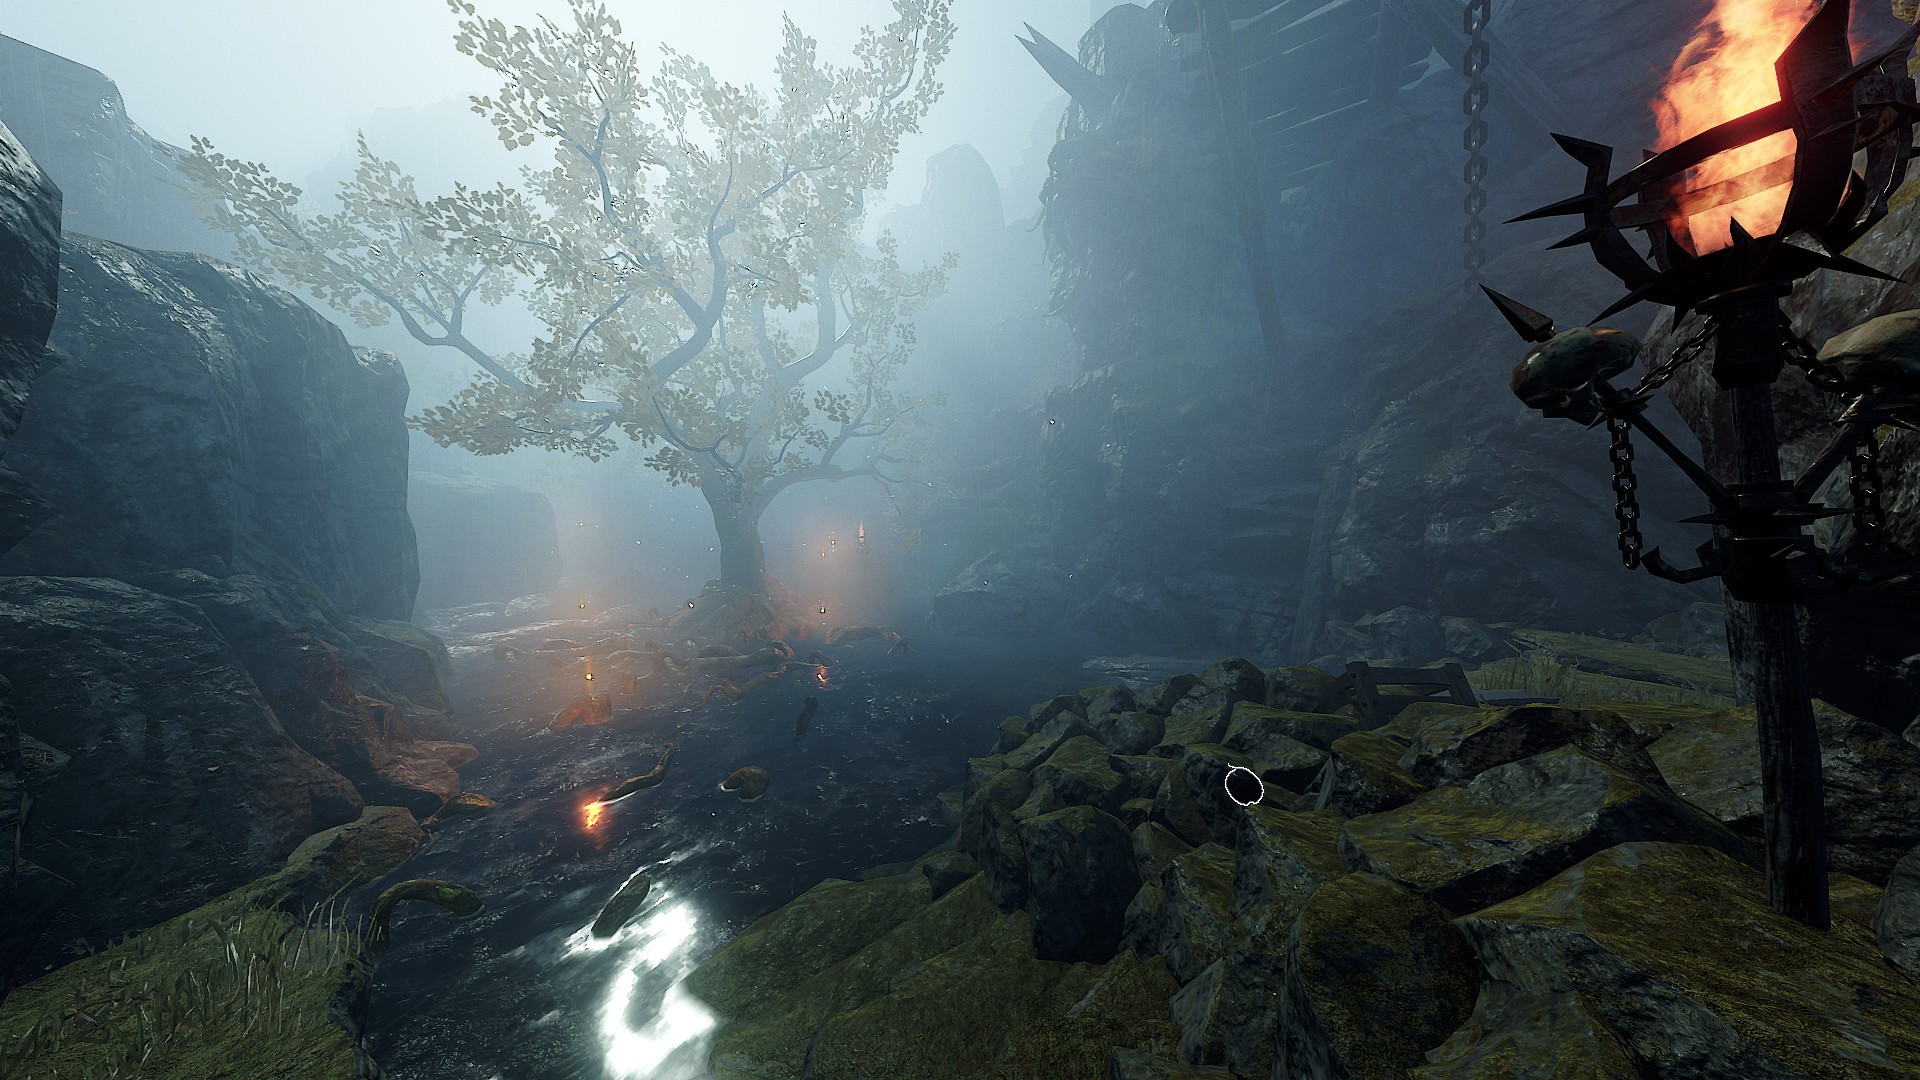
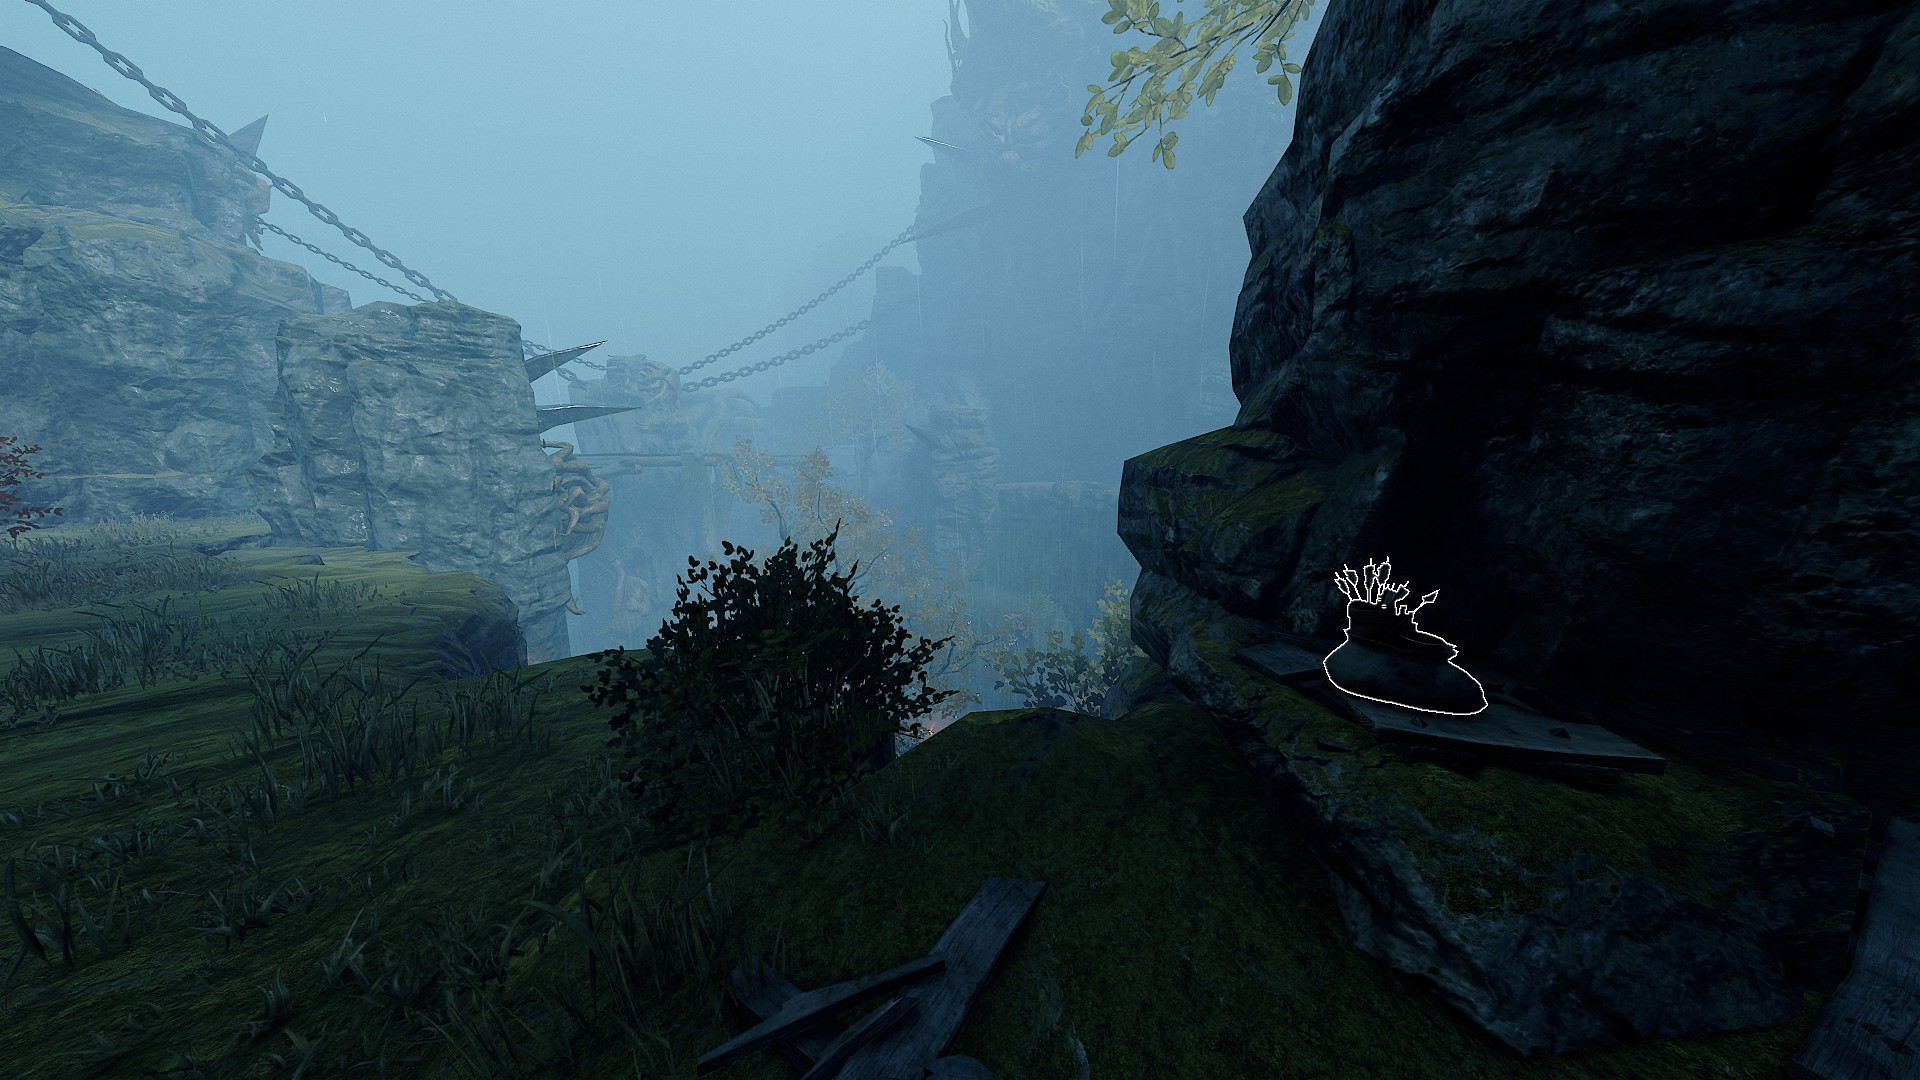
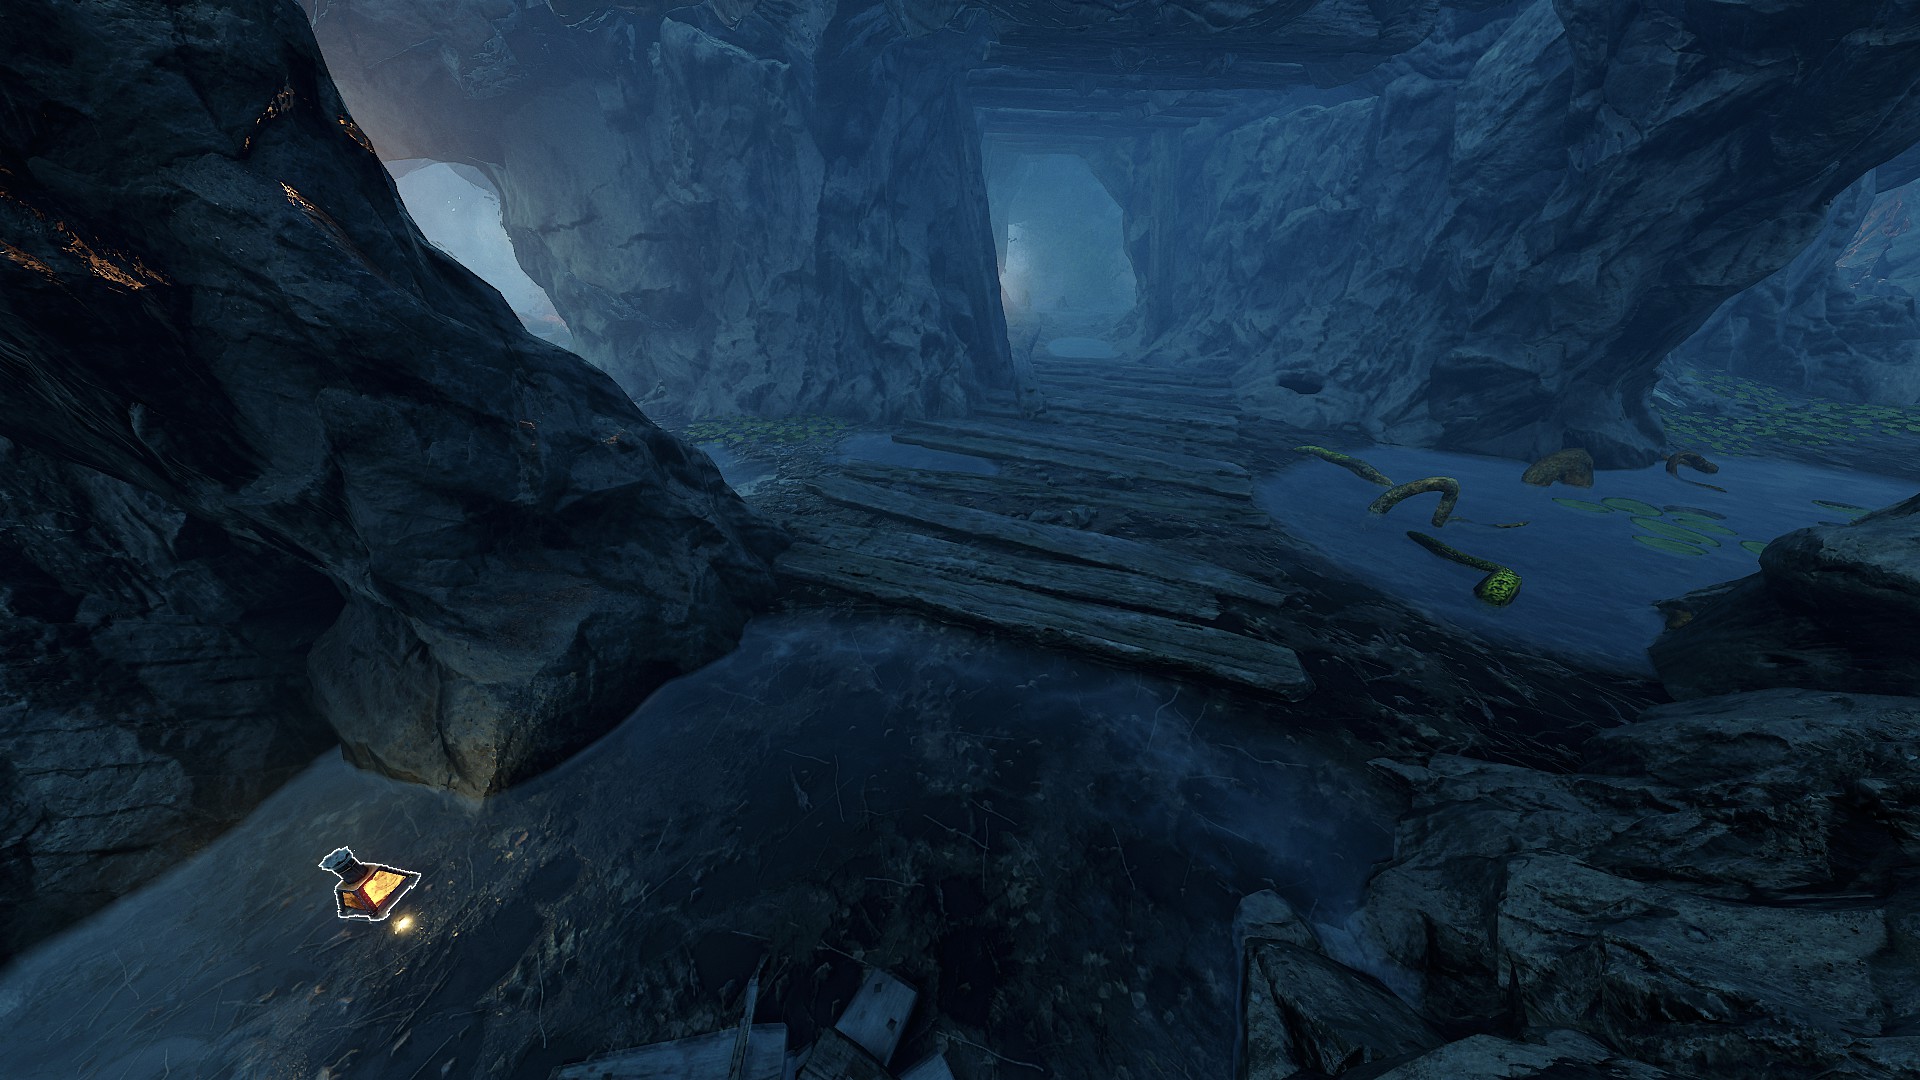
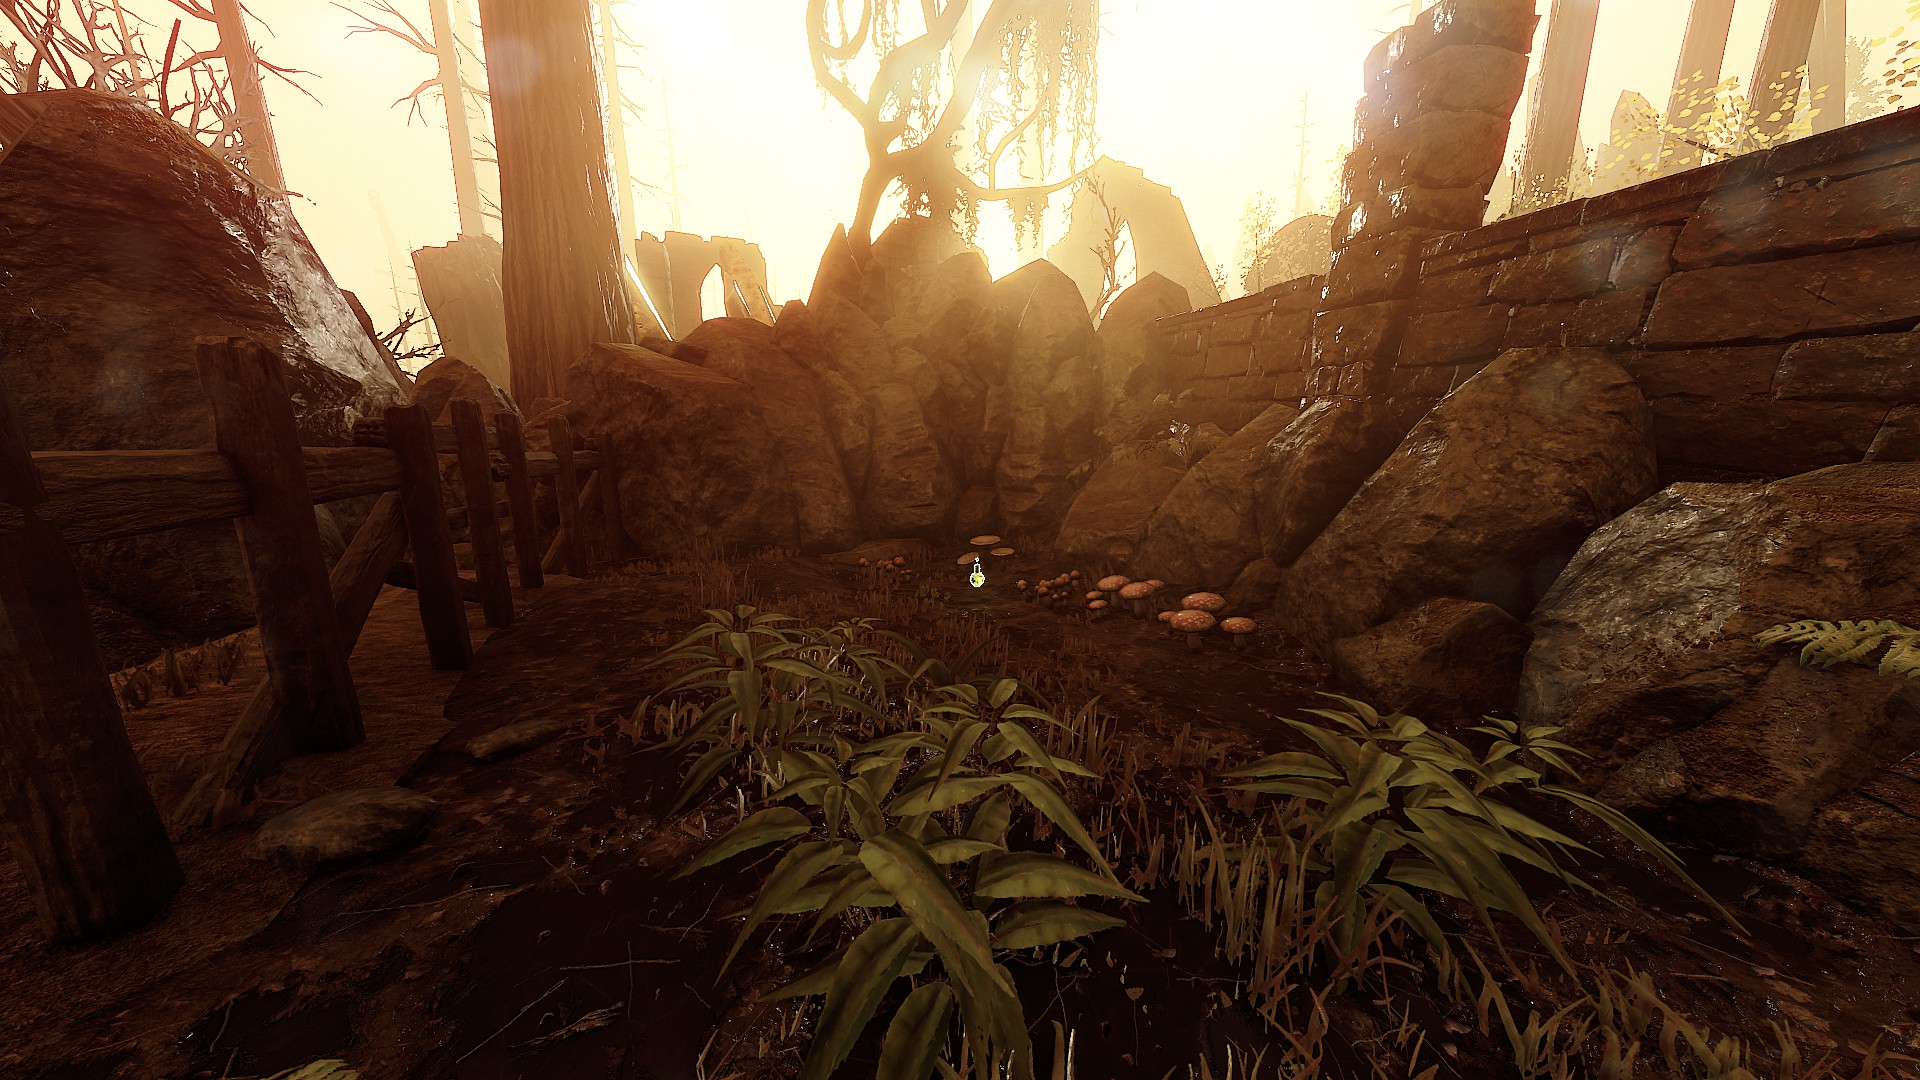
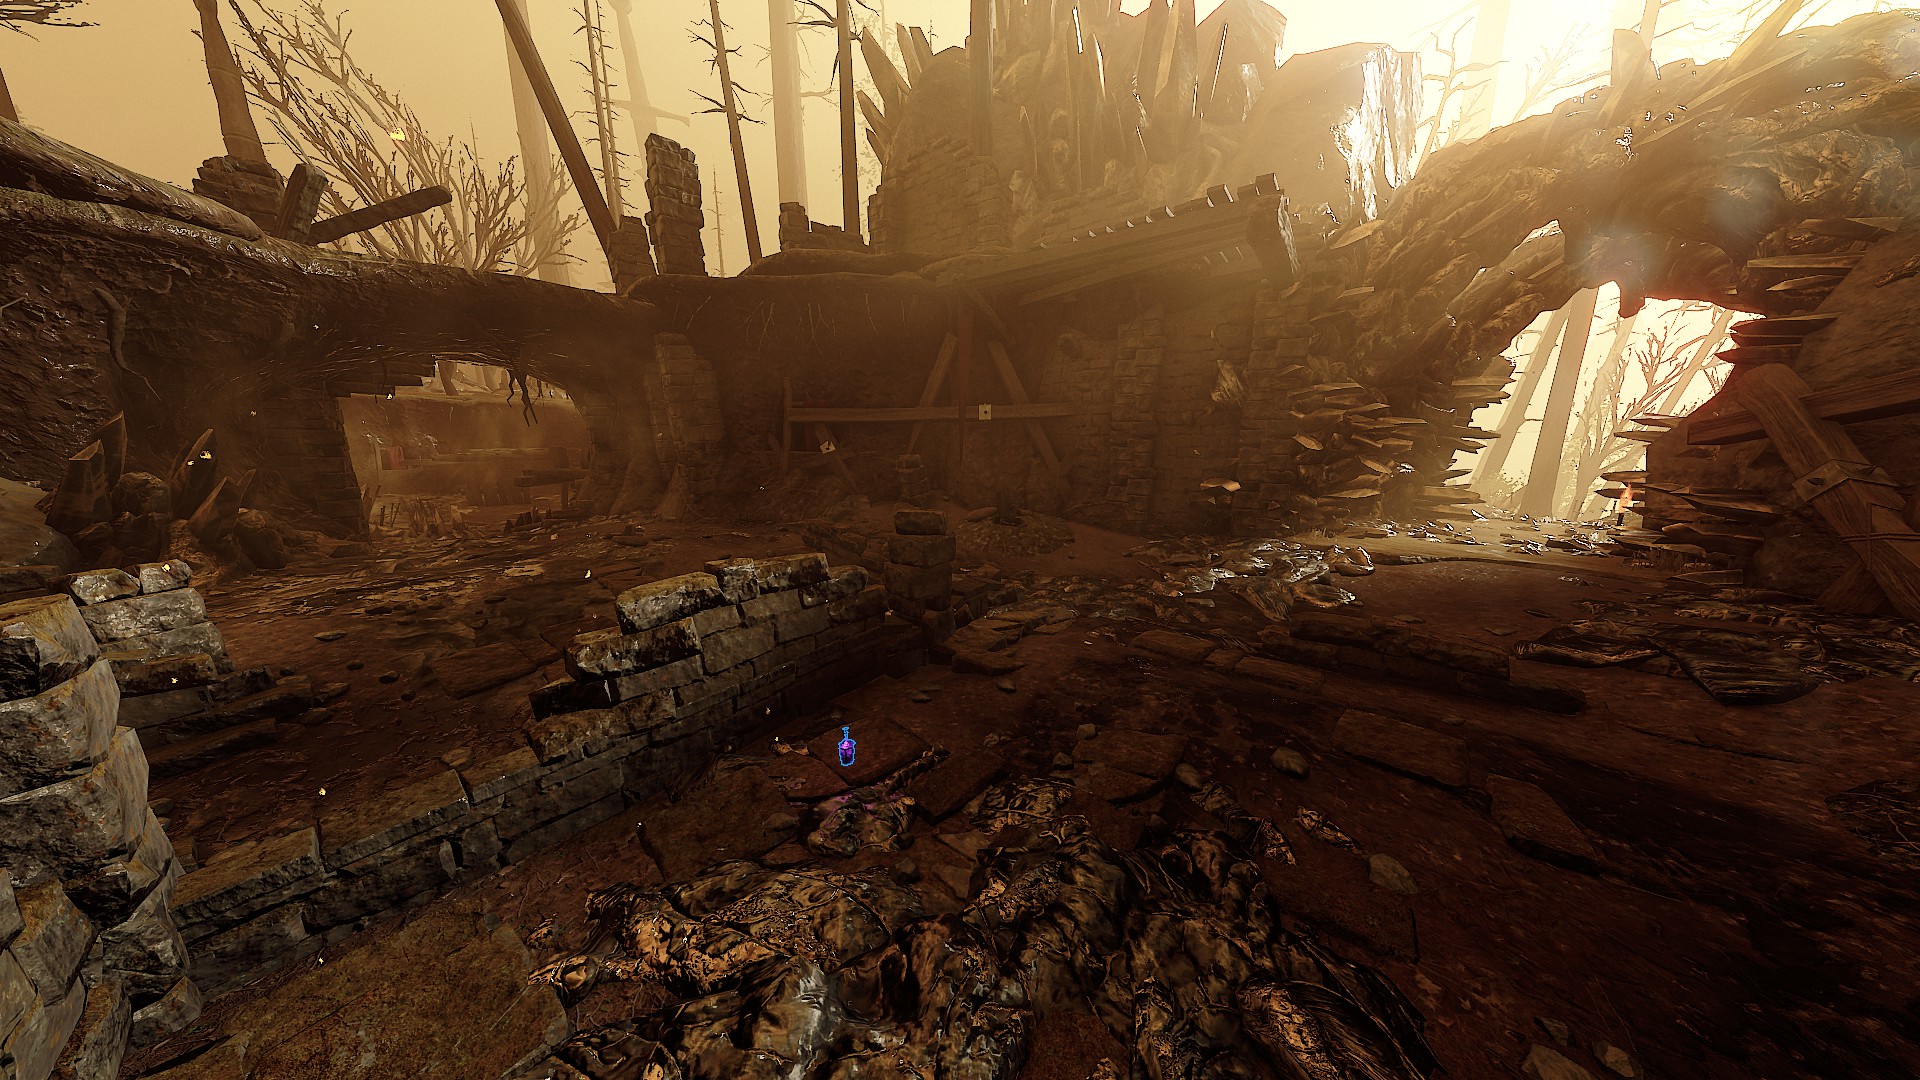
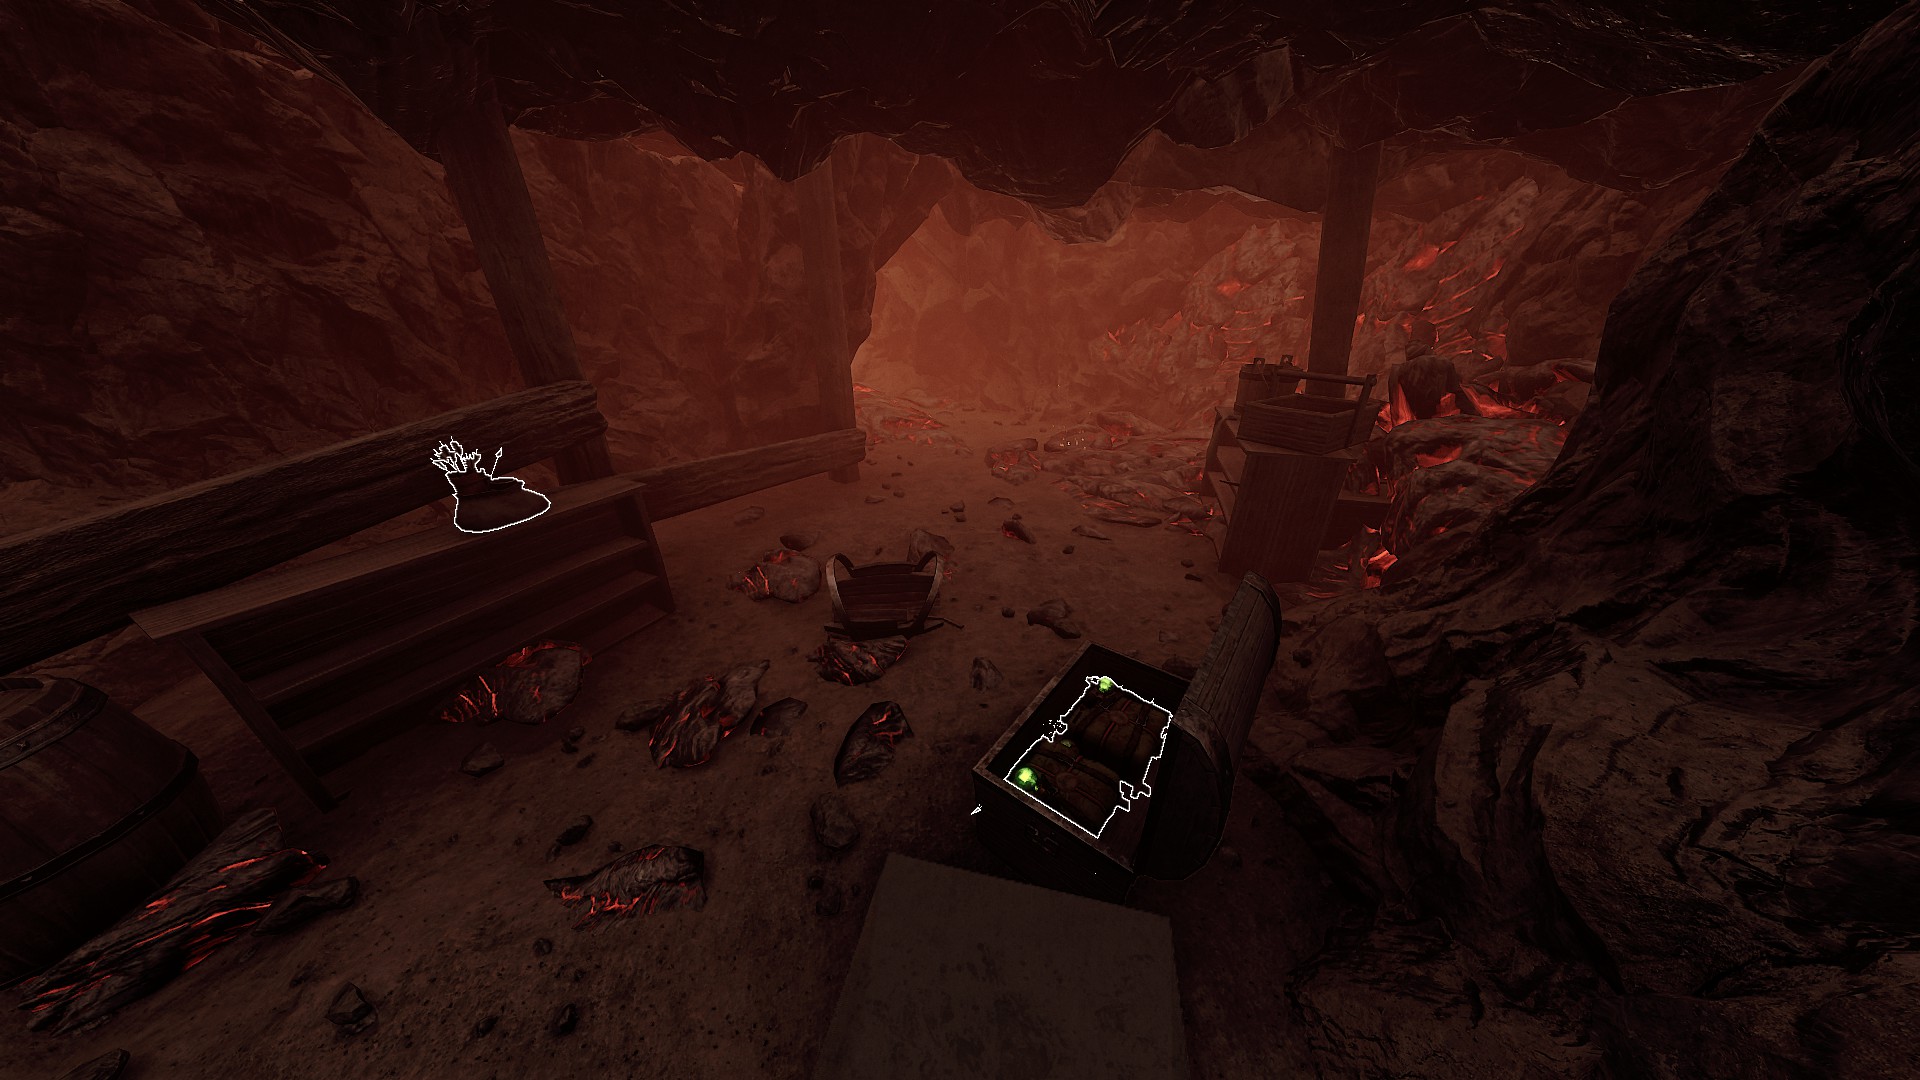
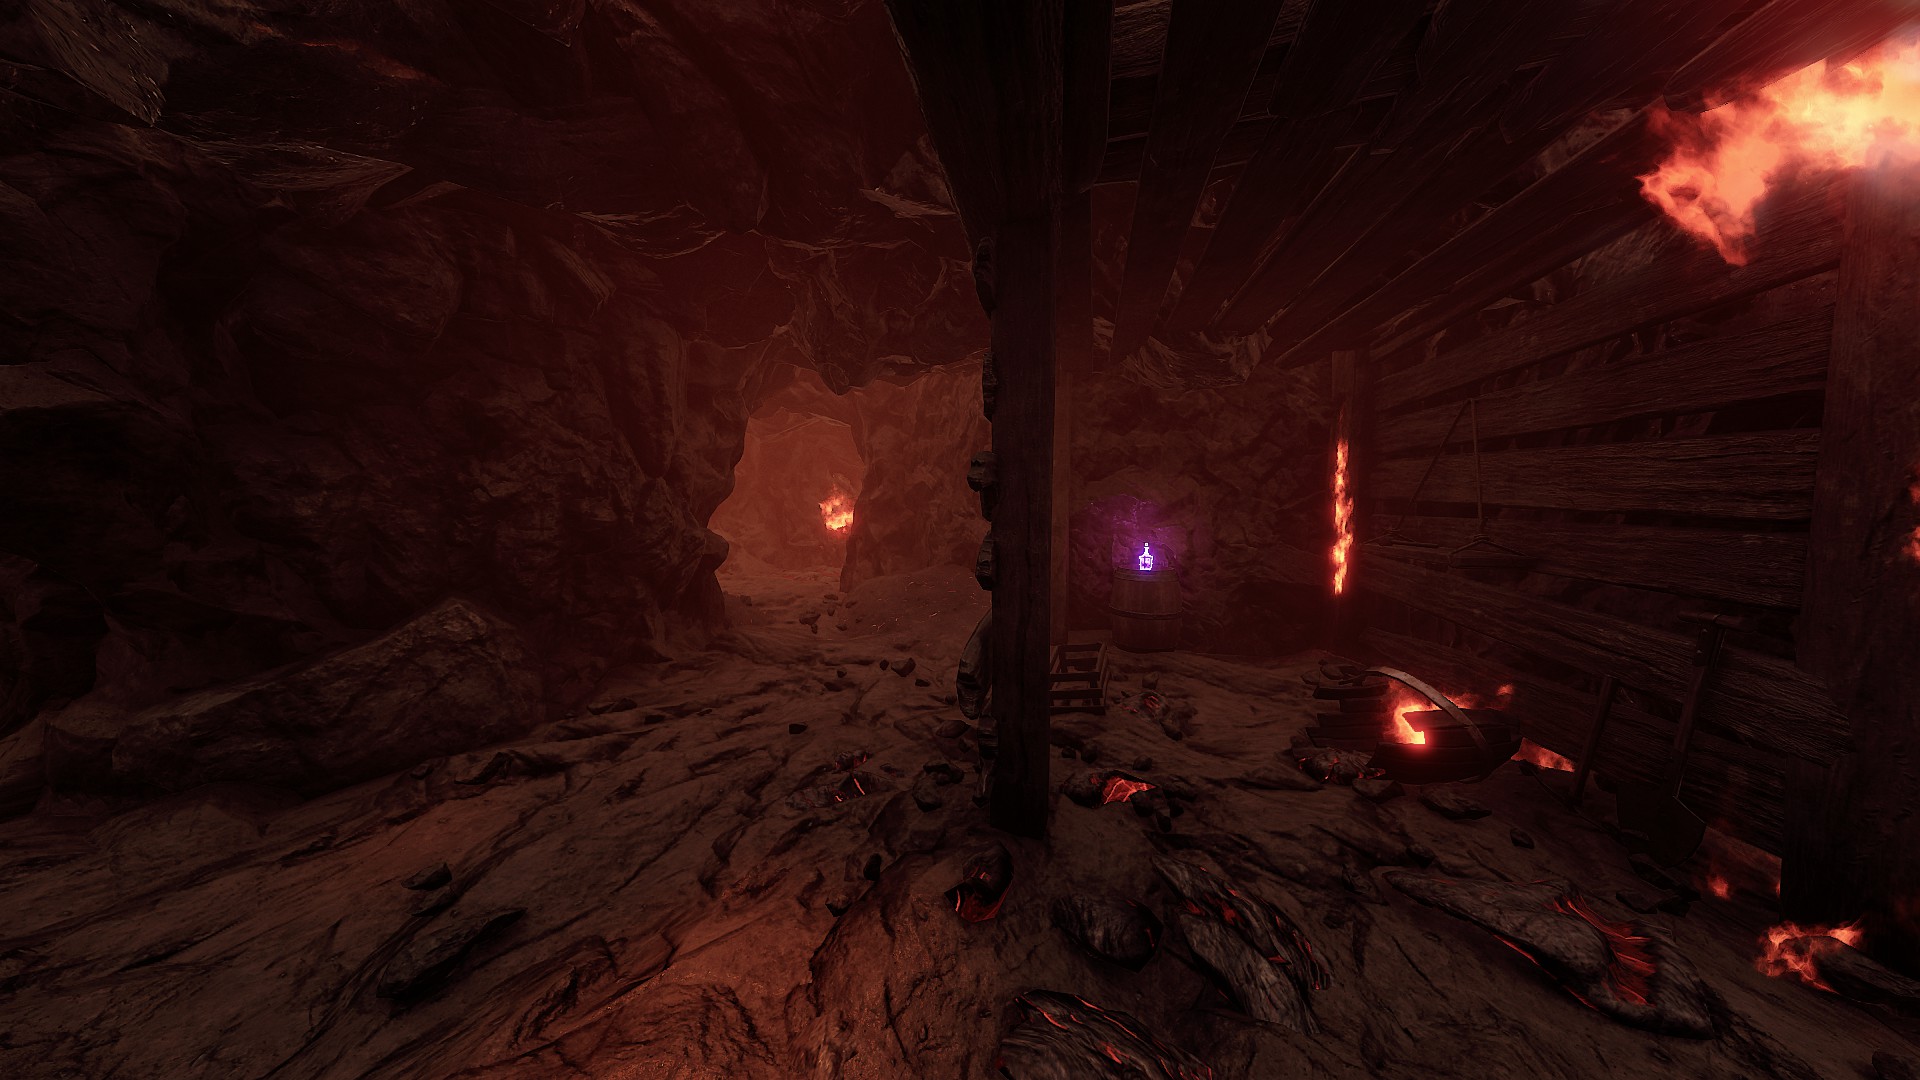
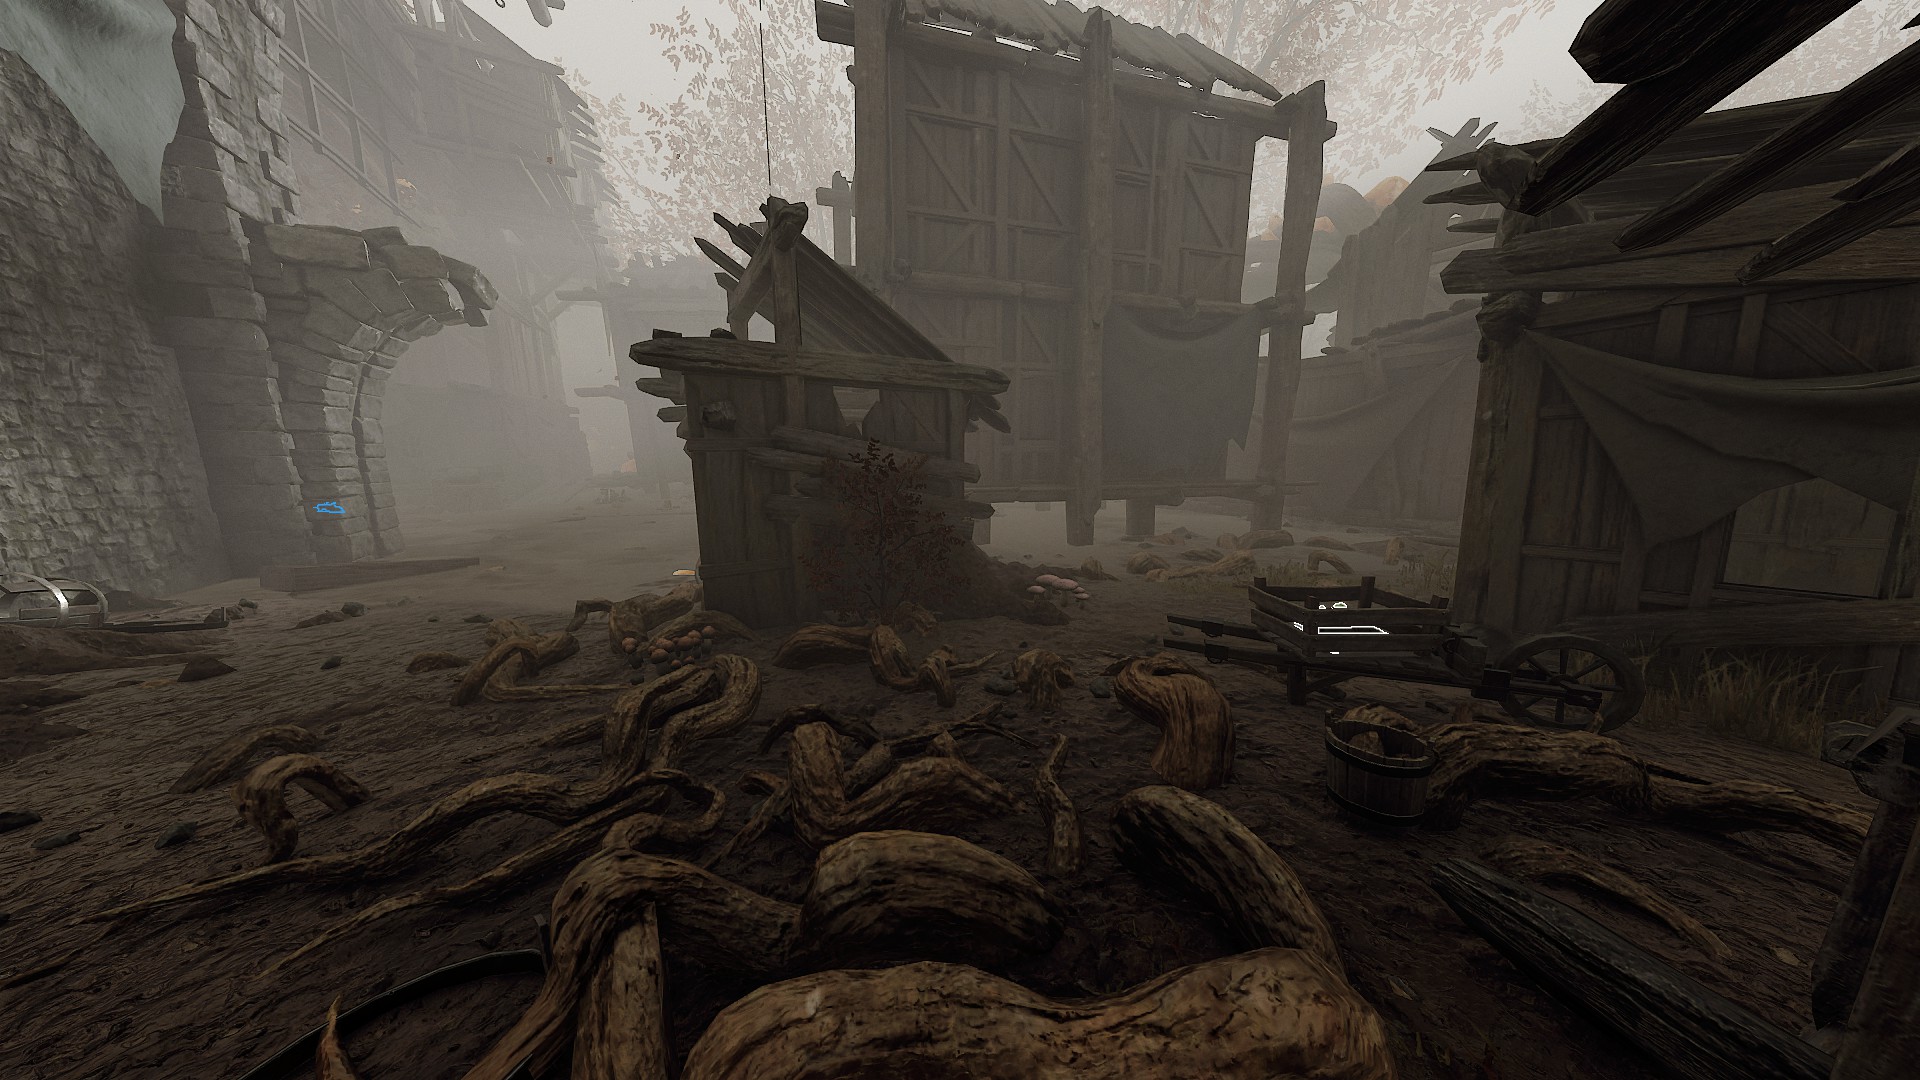
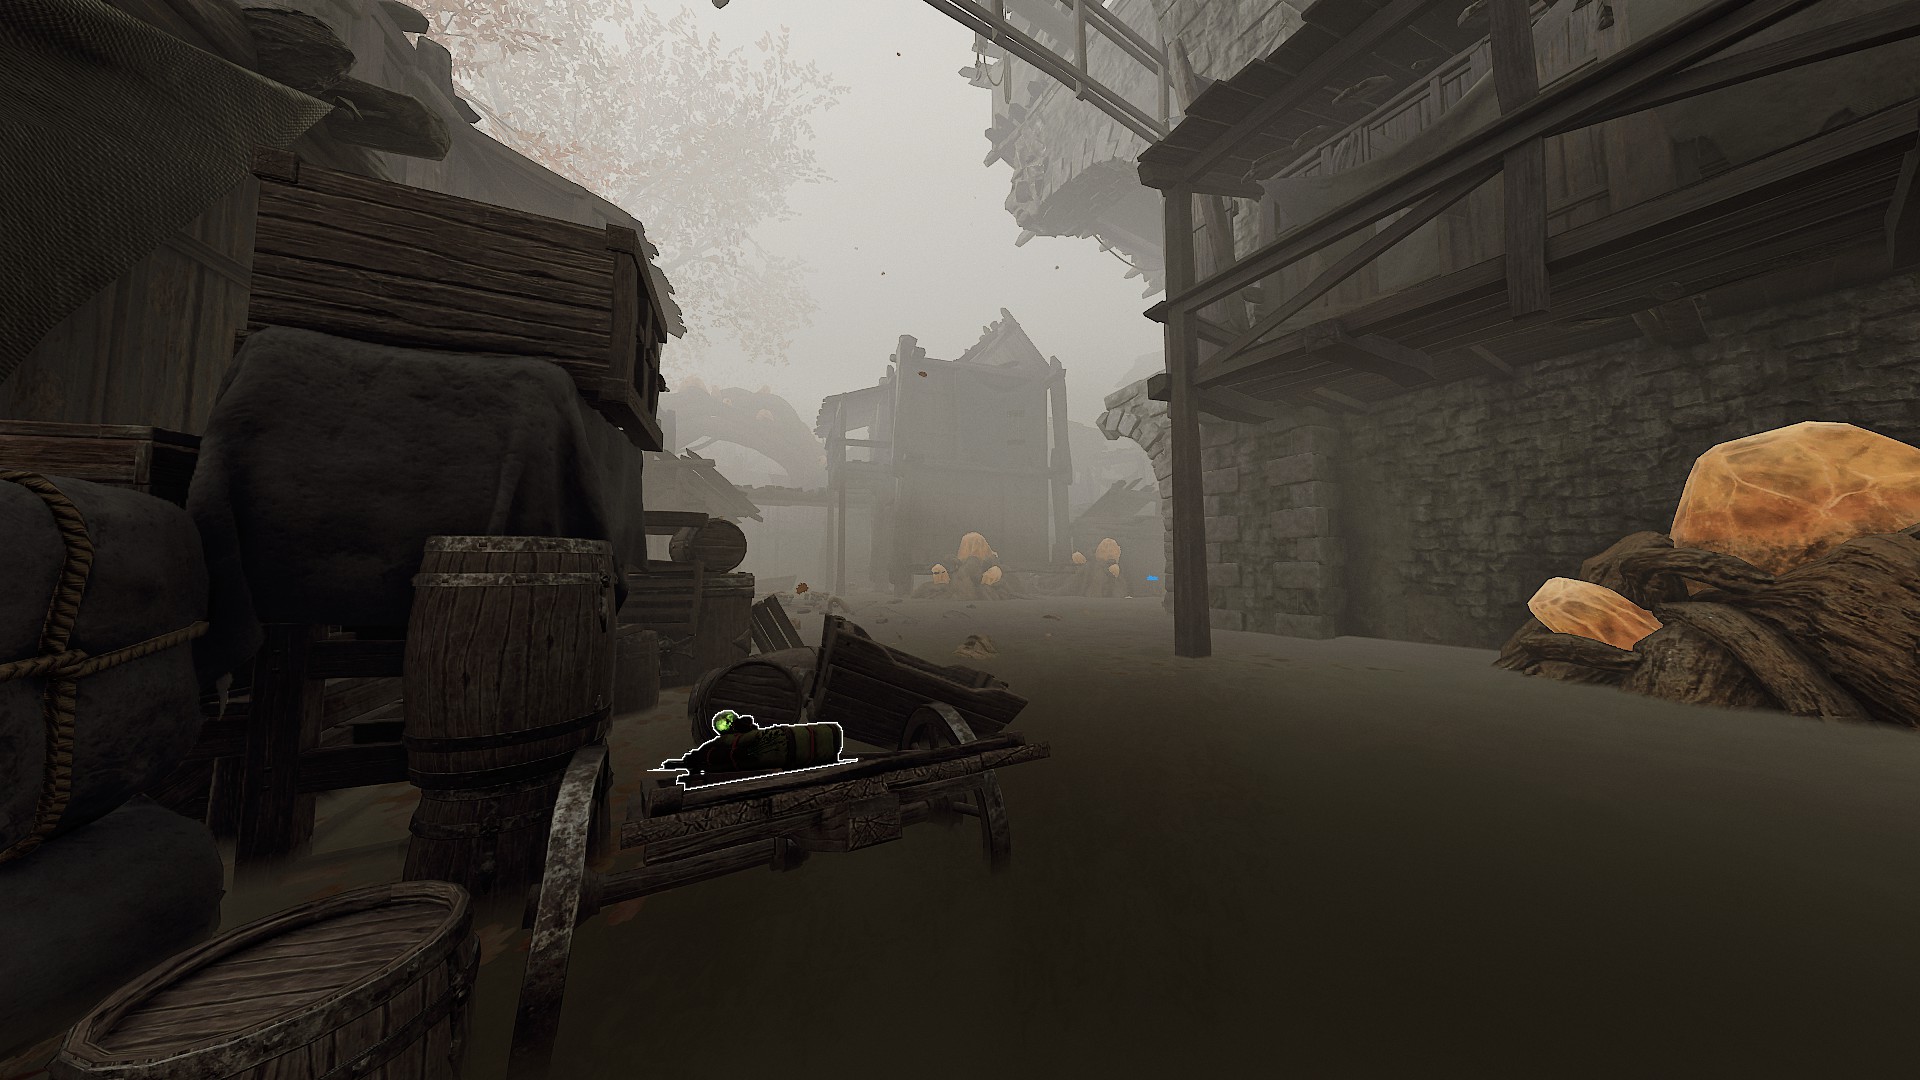
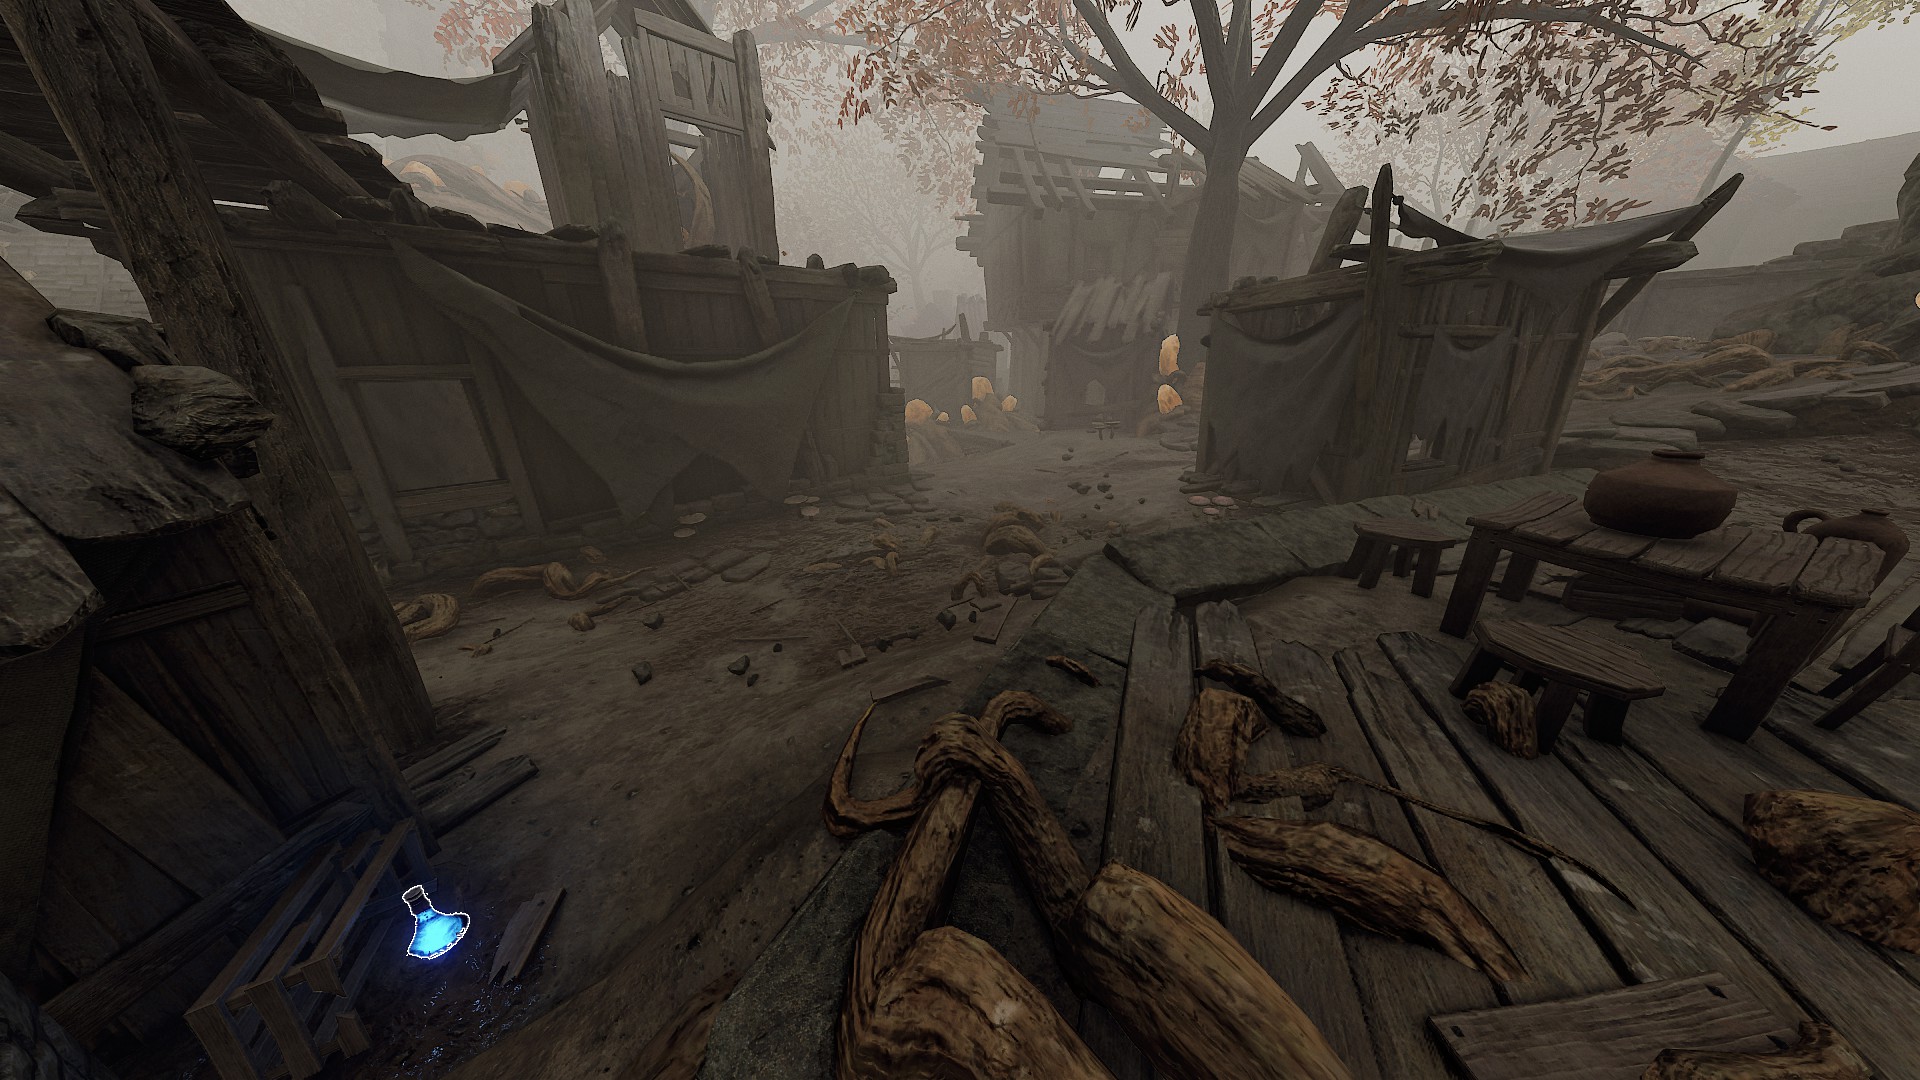
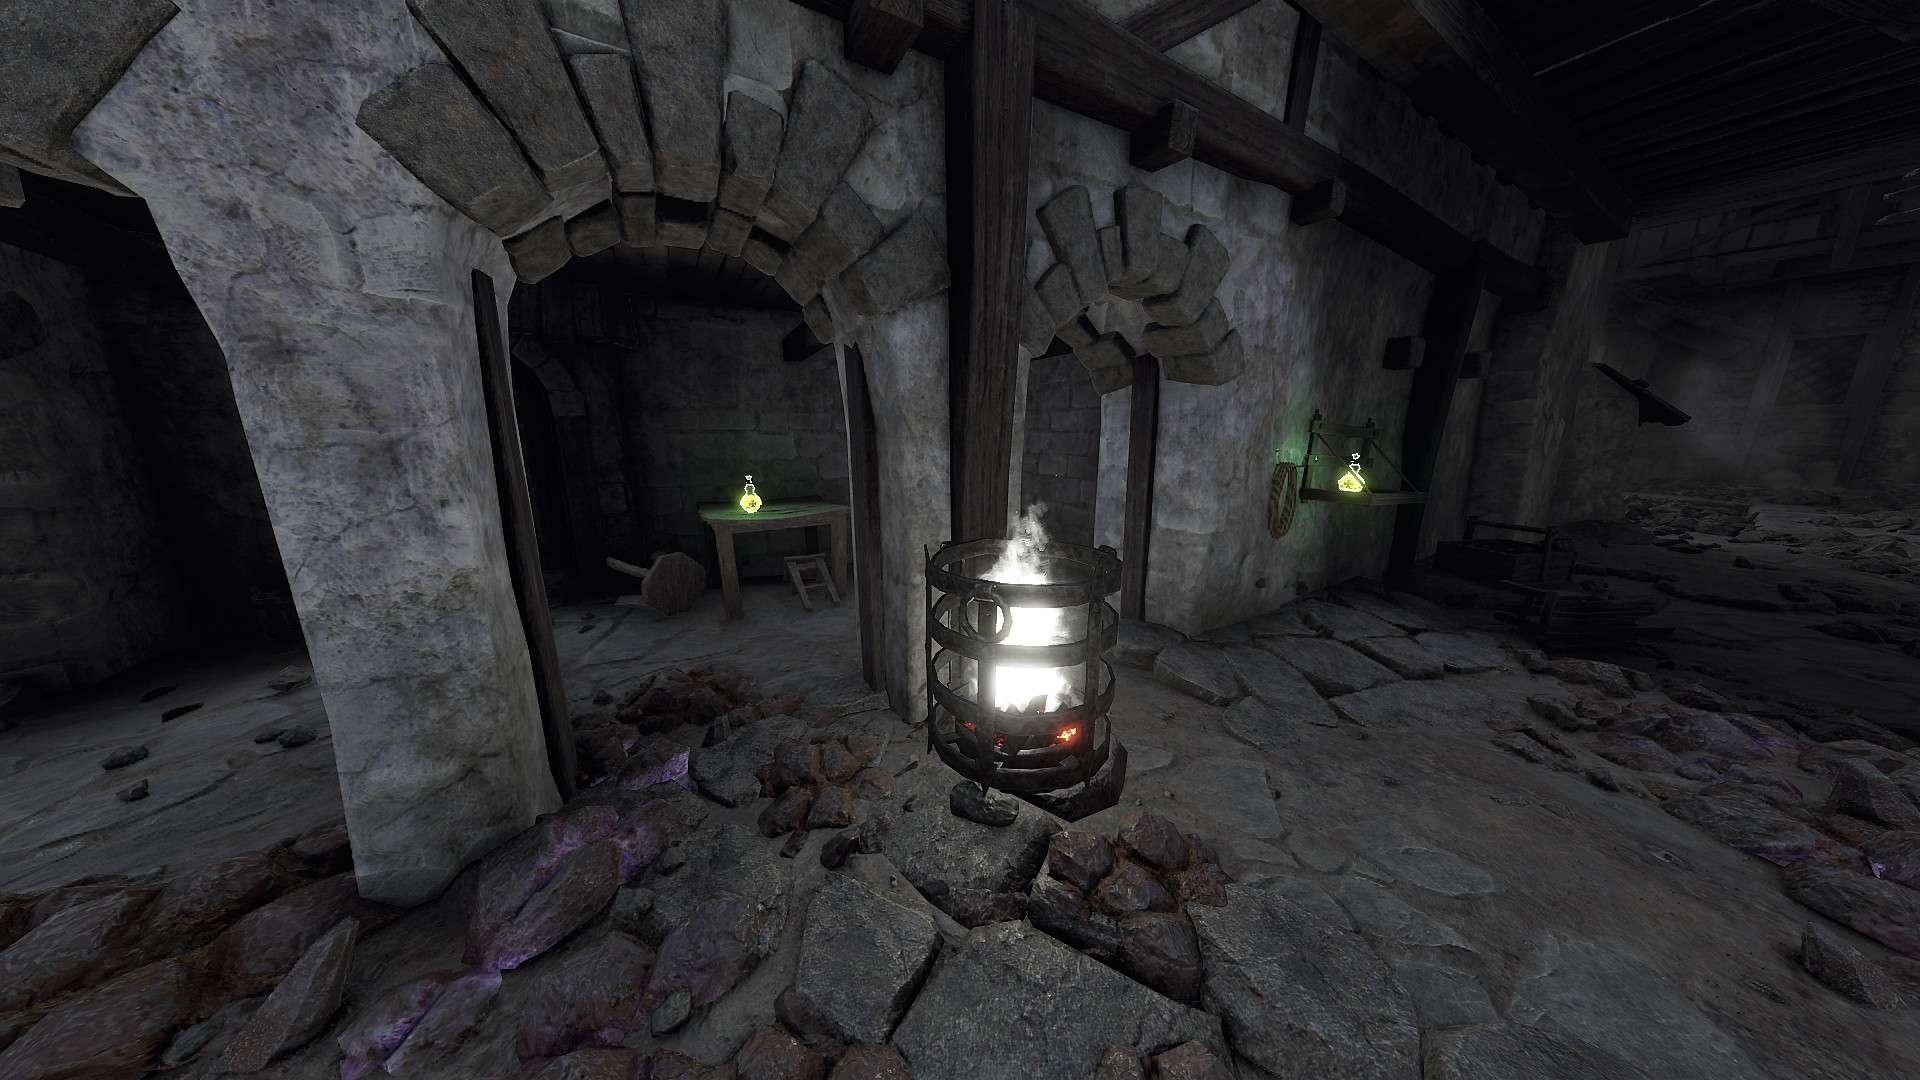
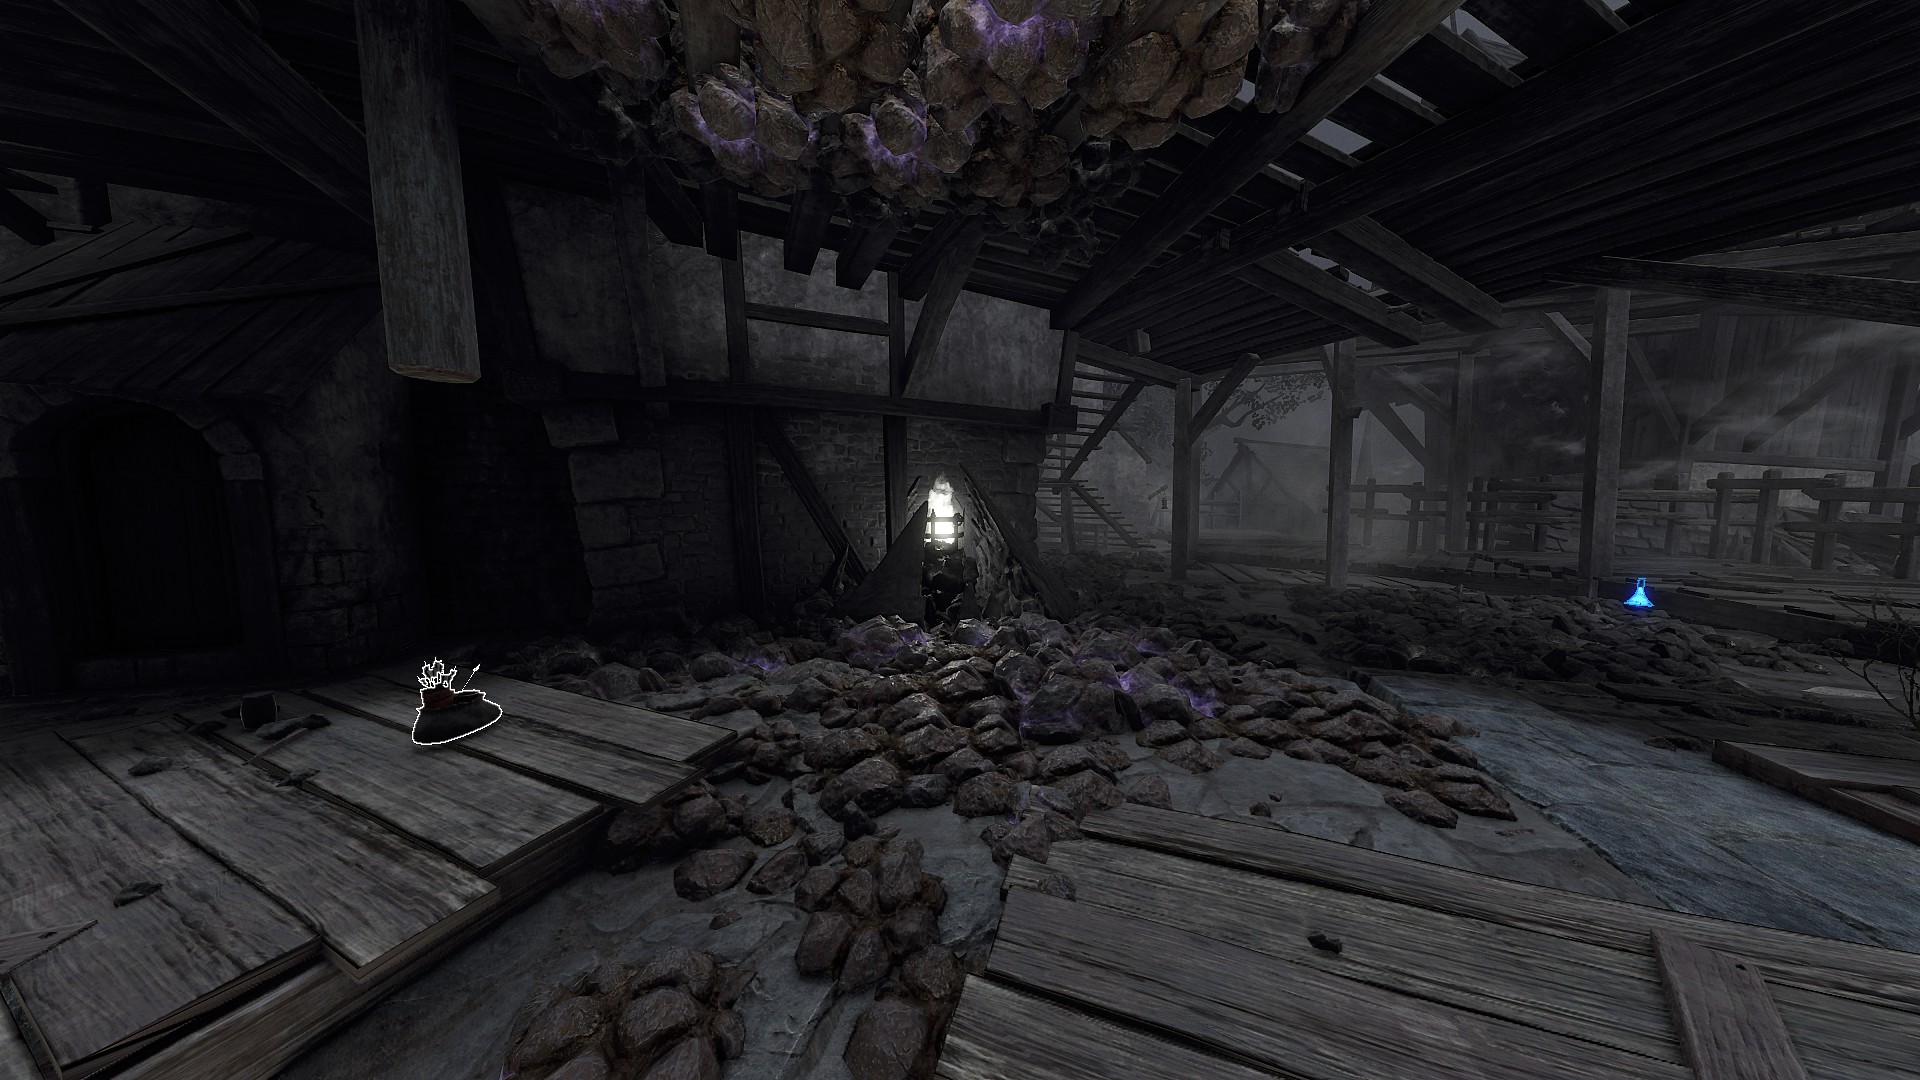
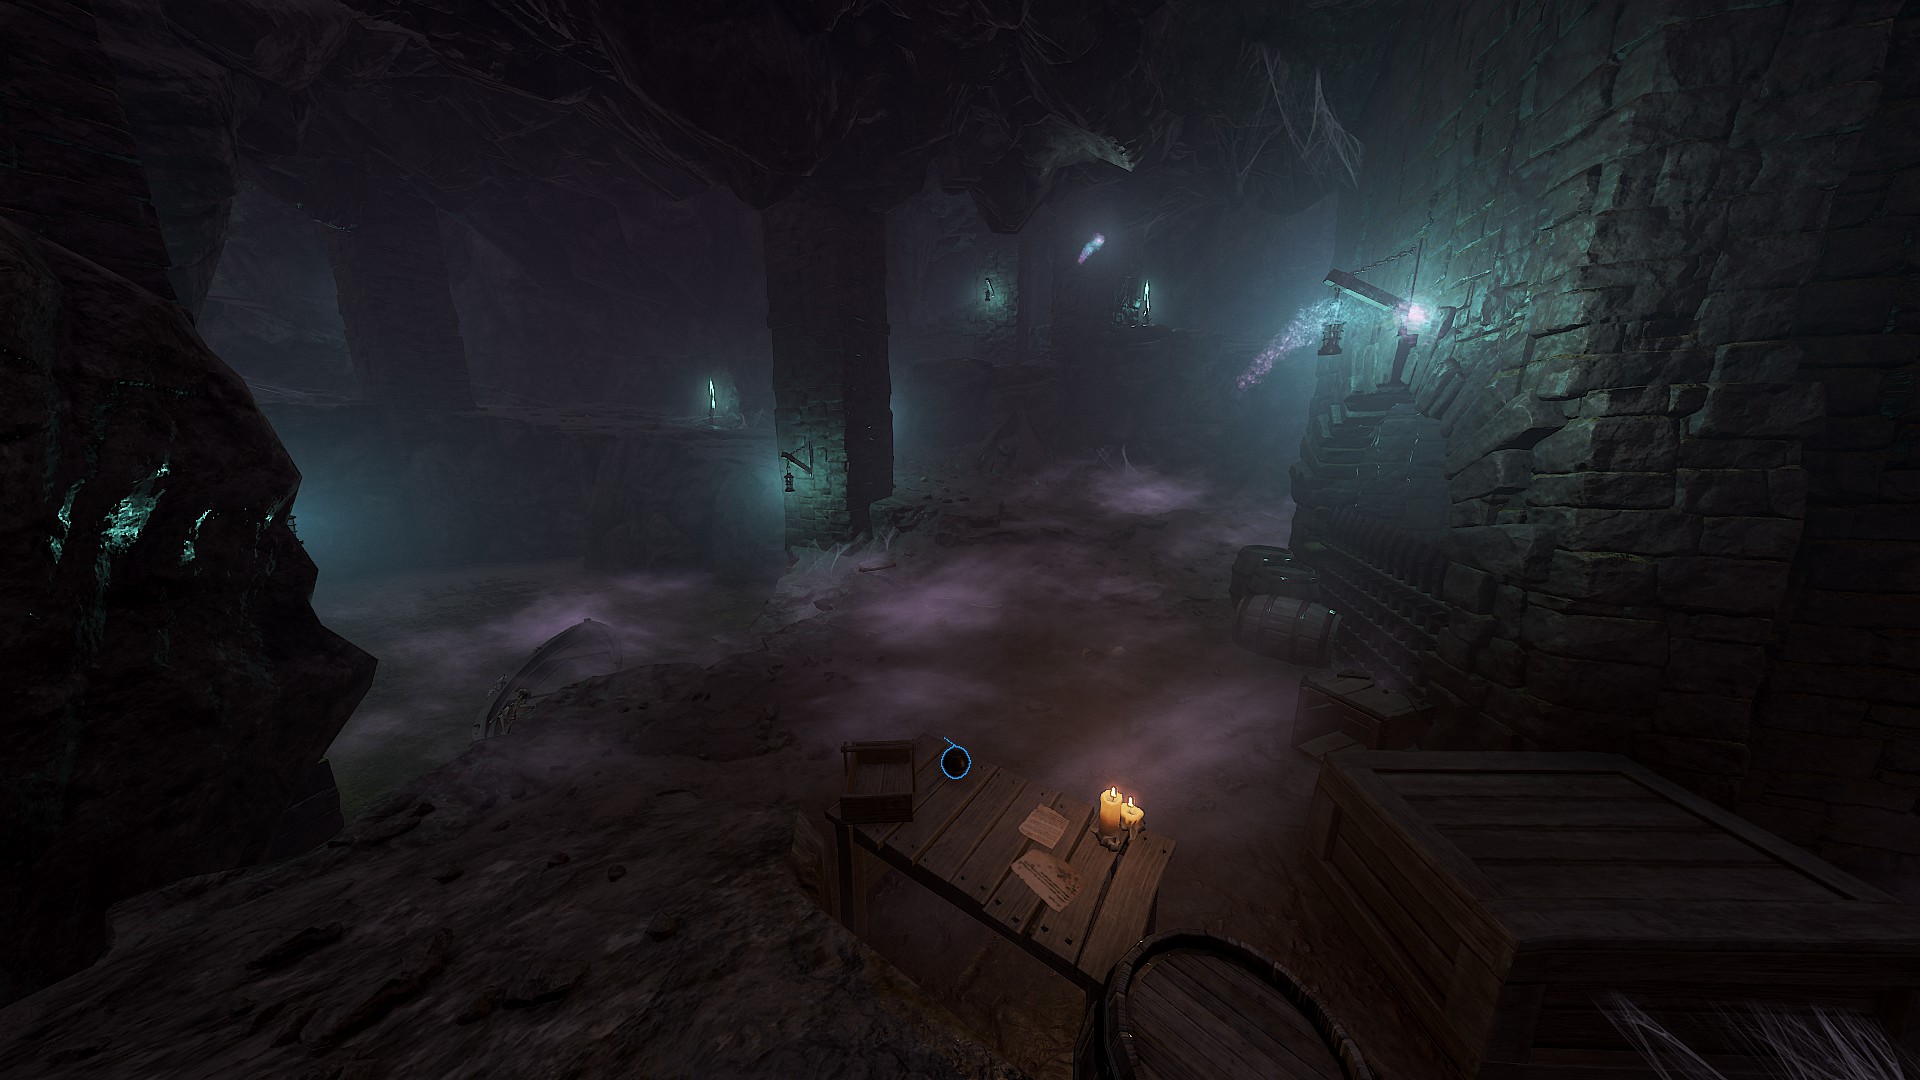
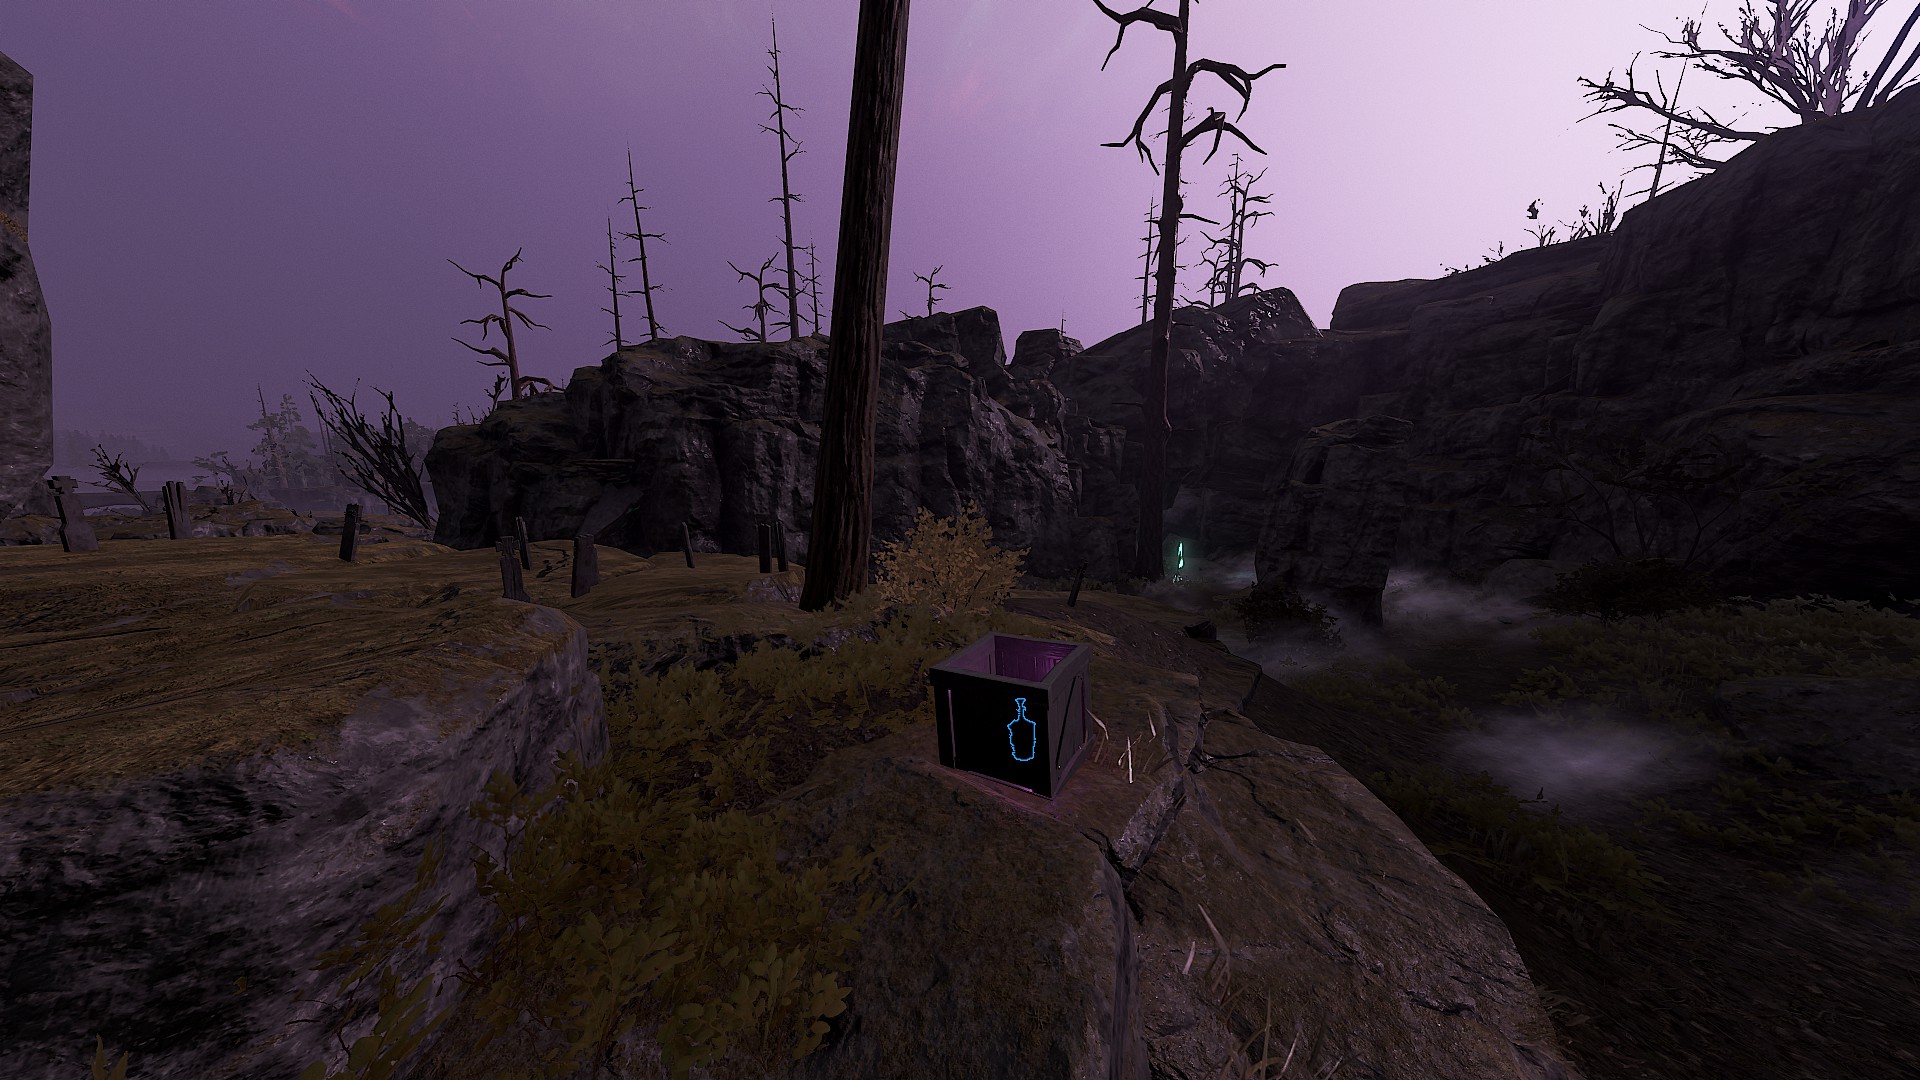
Admittedly, part of the reason for that color scheme in that image is probably because of the map modifiers in that image (the crystals and such) so maybe its not as clear cut when it's a completely normal map? If it looks majorly different with other modifiers, then the other option is obviously Blightreaper, but I would think there would at least be some forms of corruption/ooze dripping around the place if that was the case.

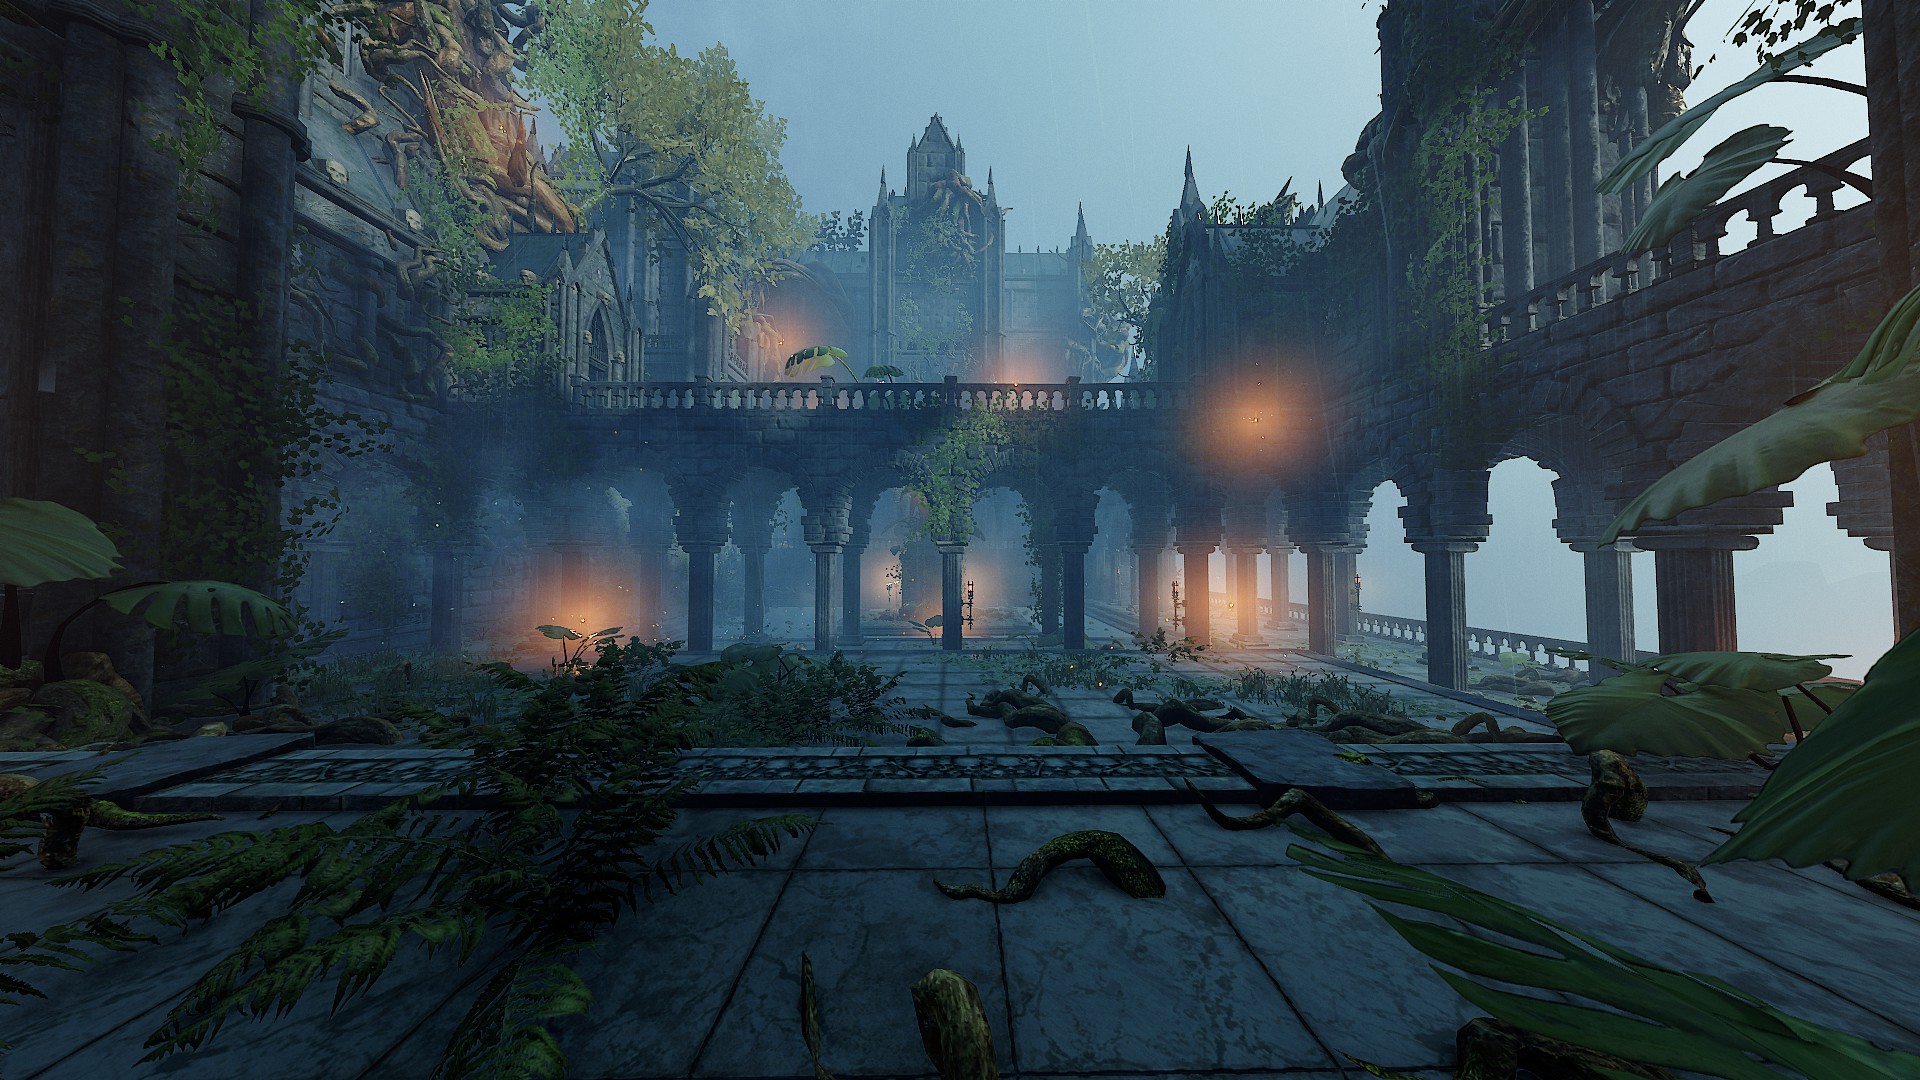
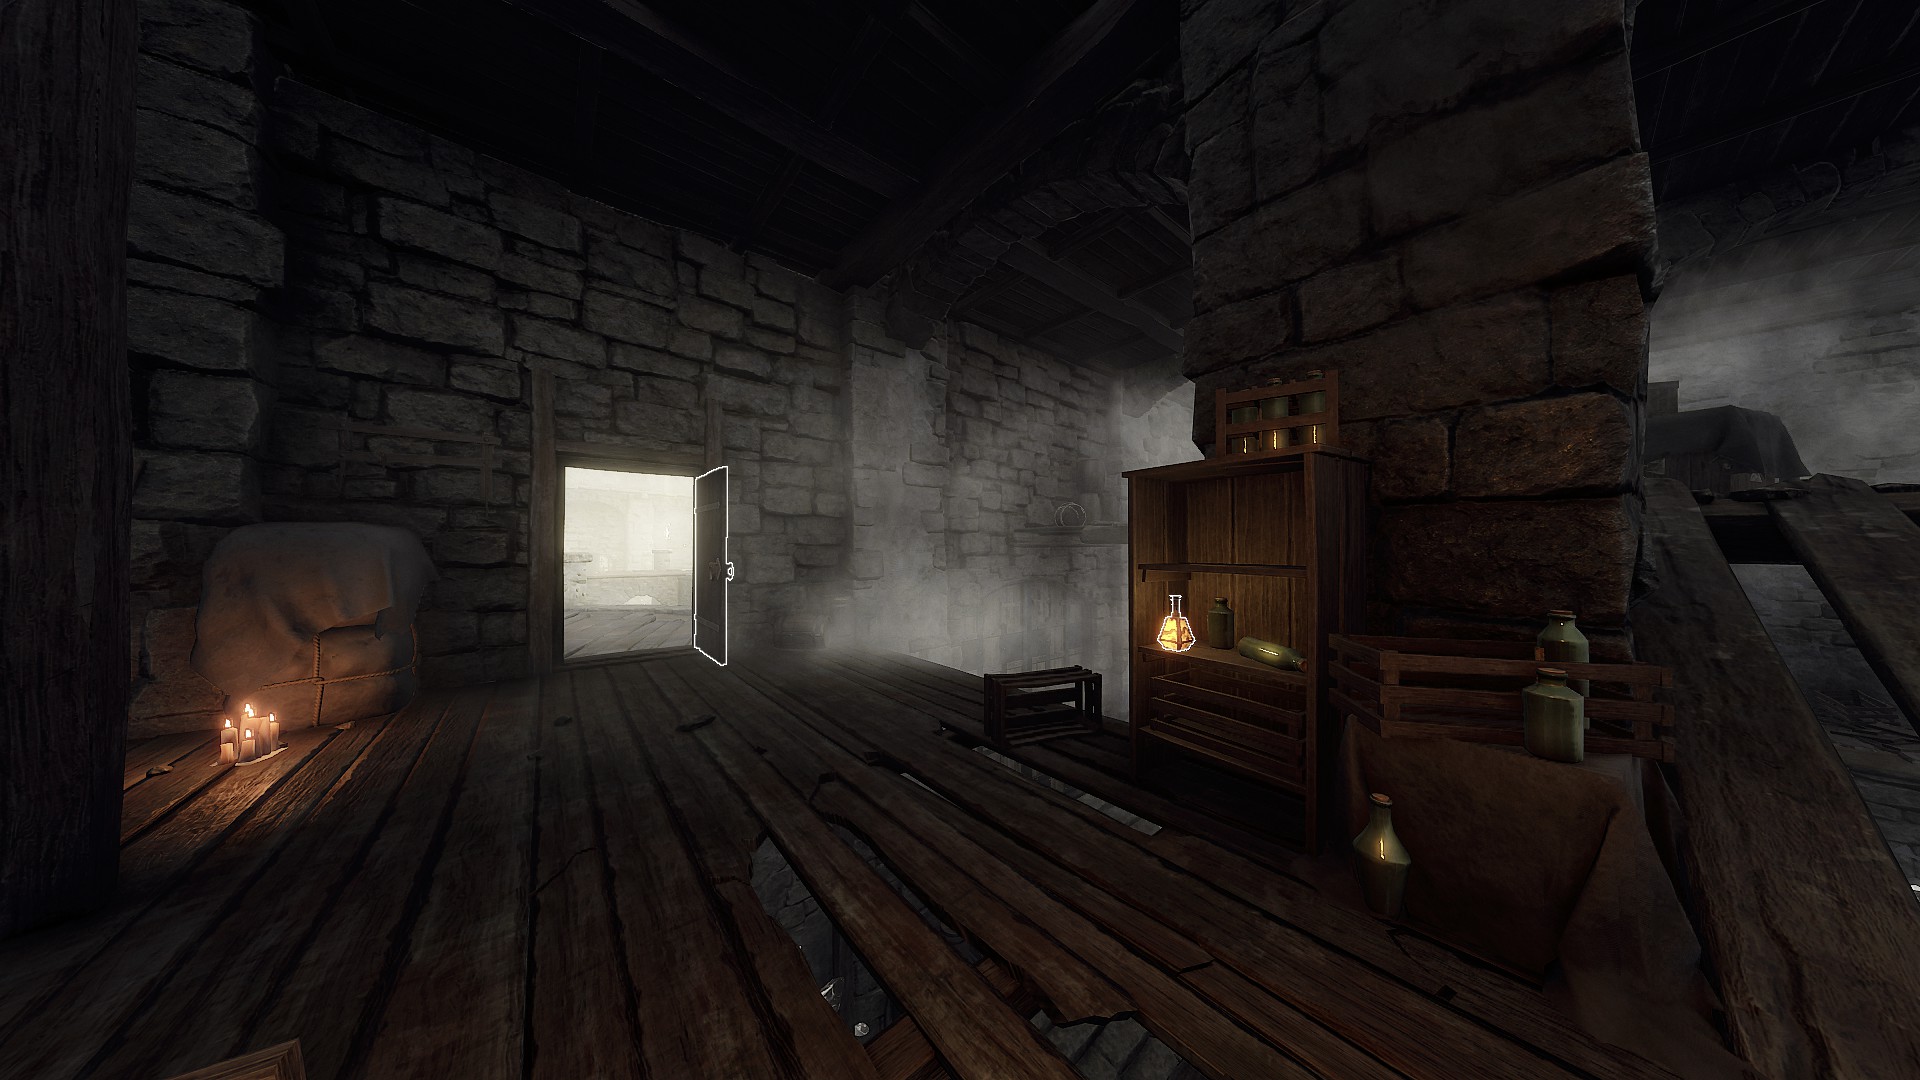
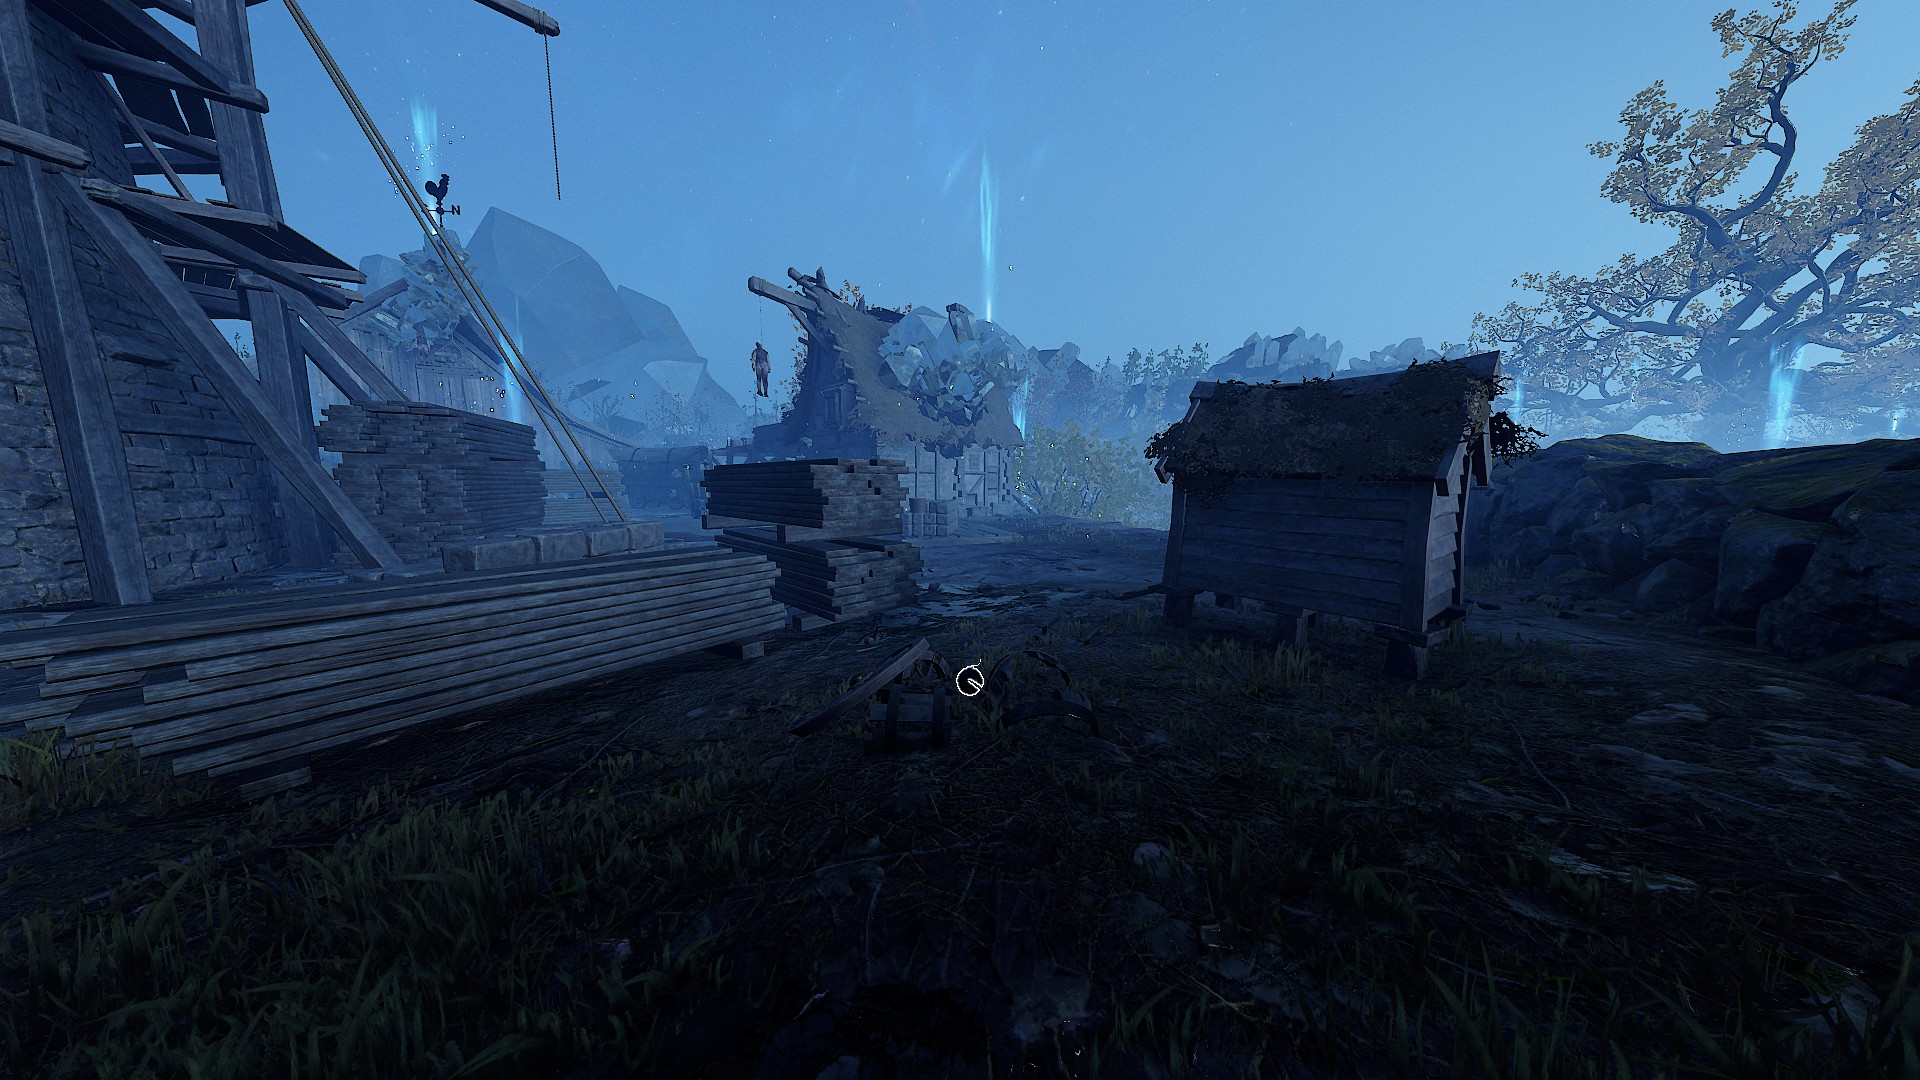
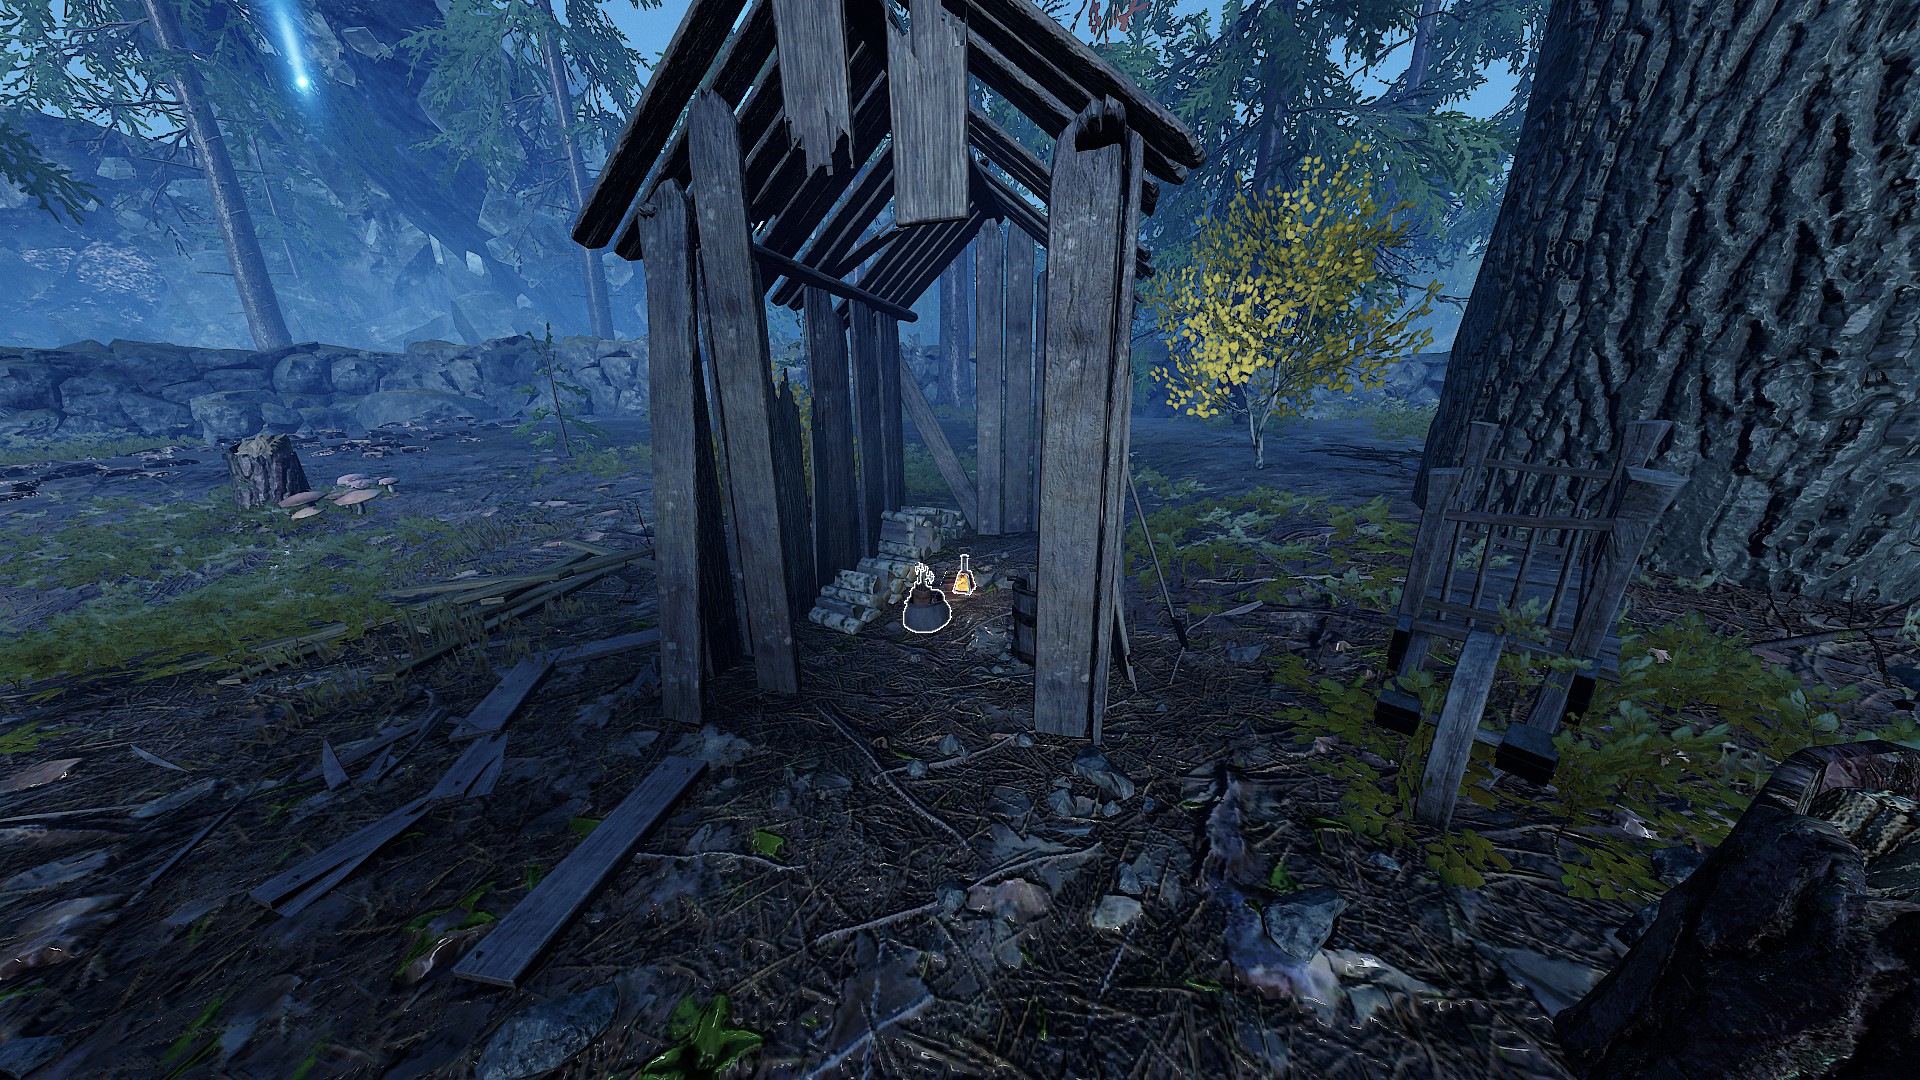
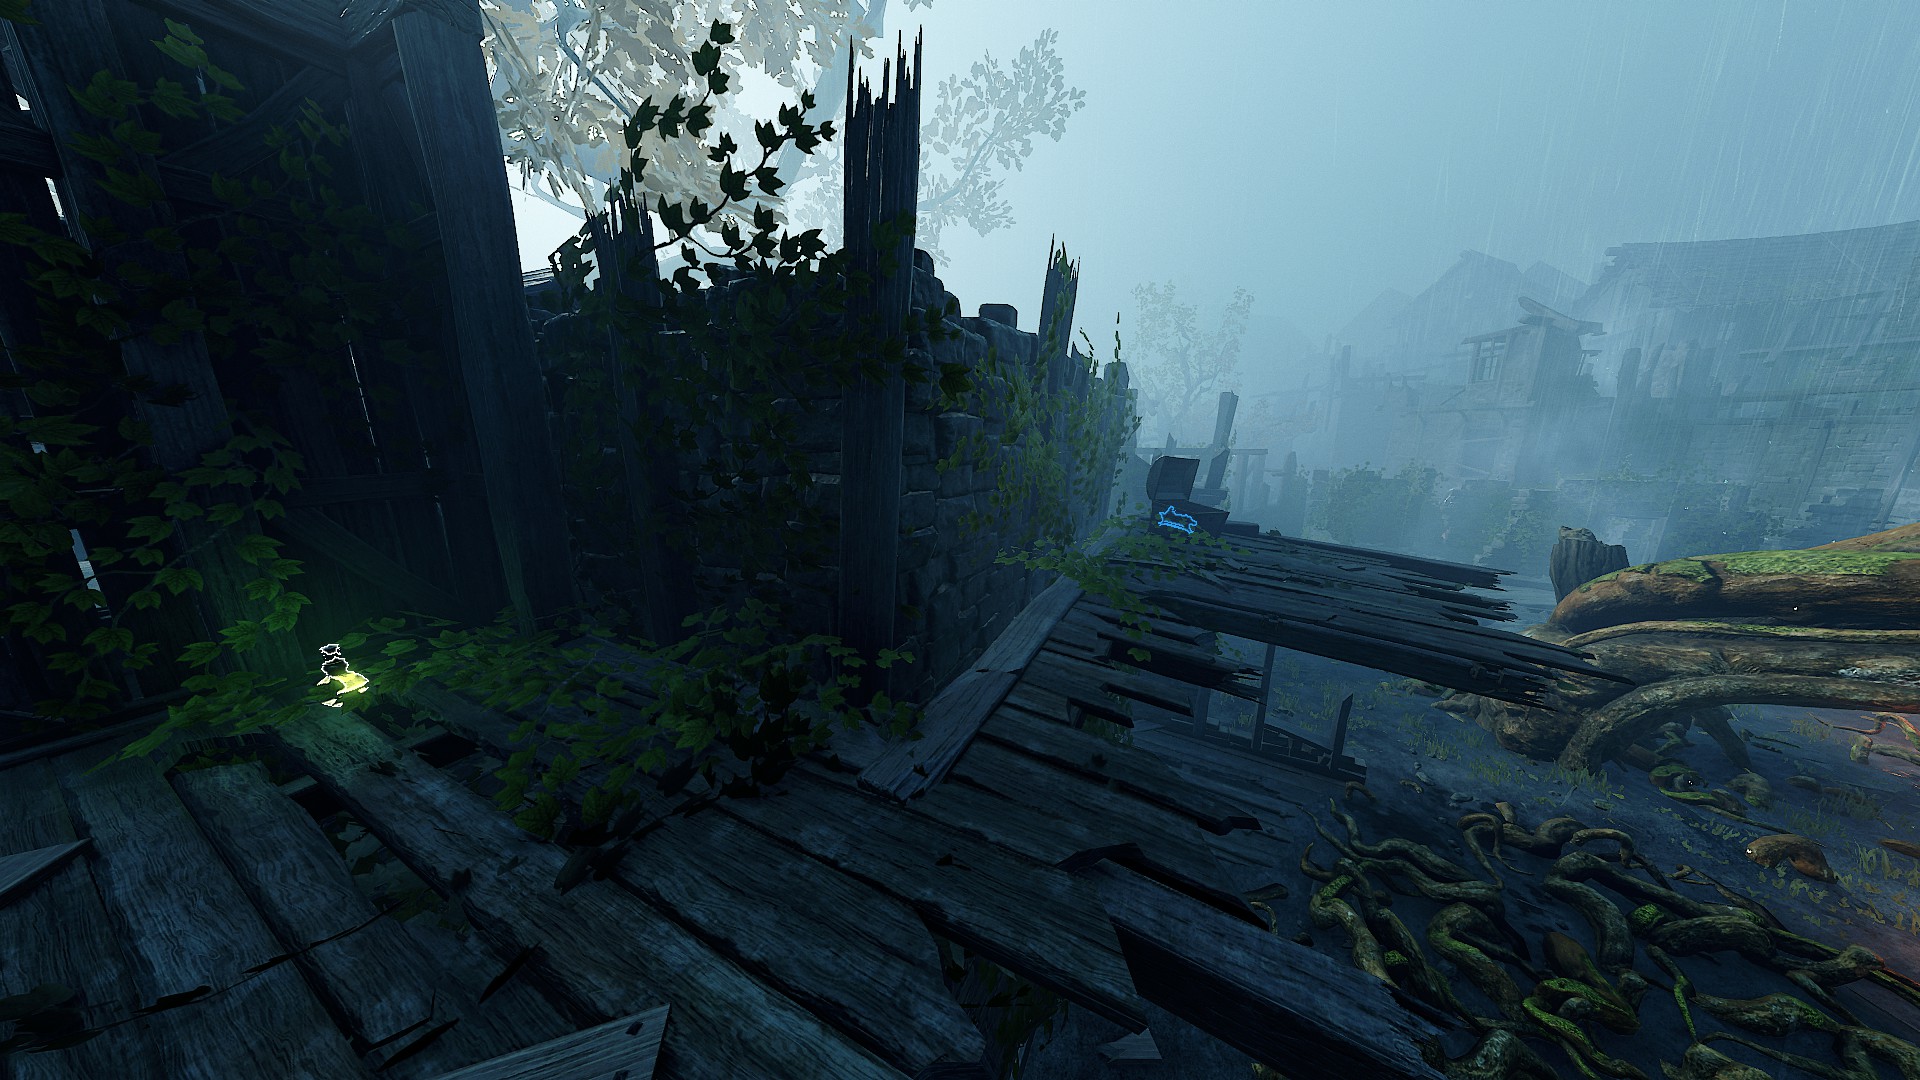
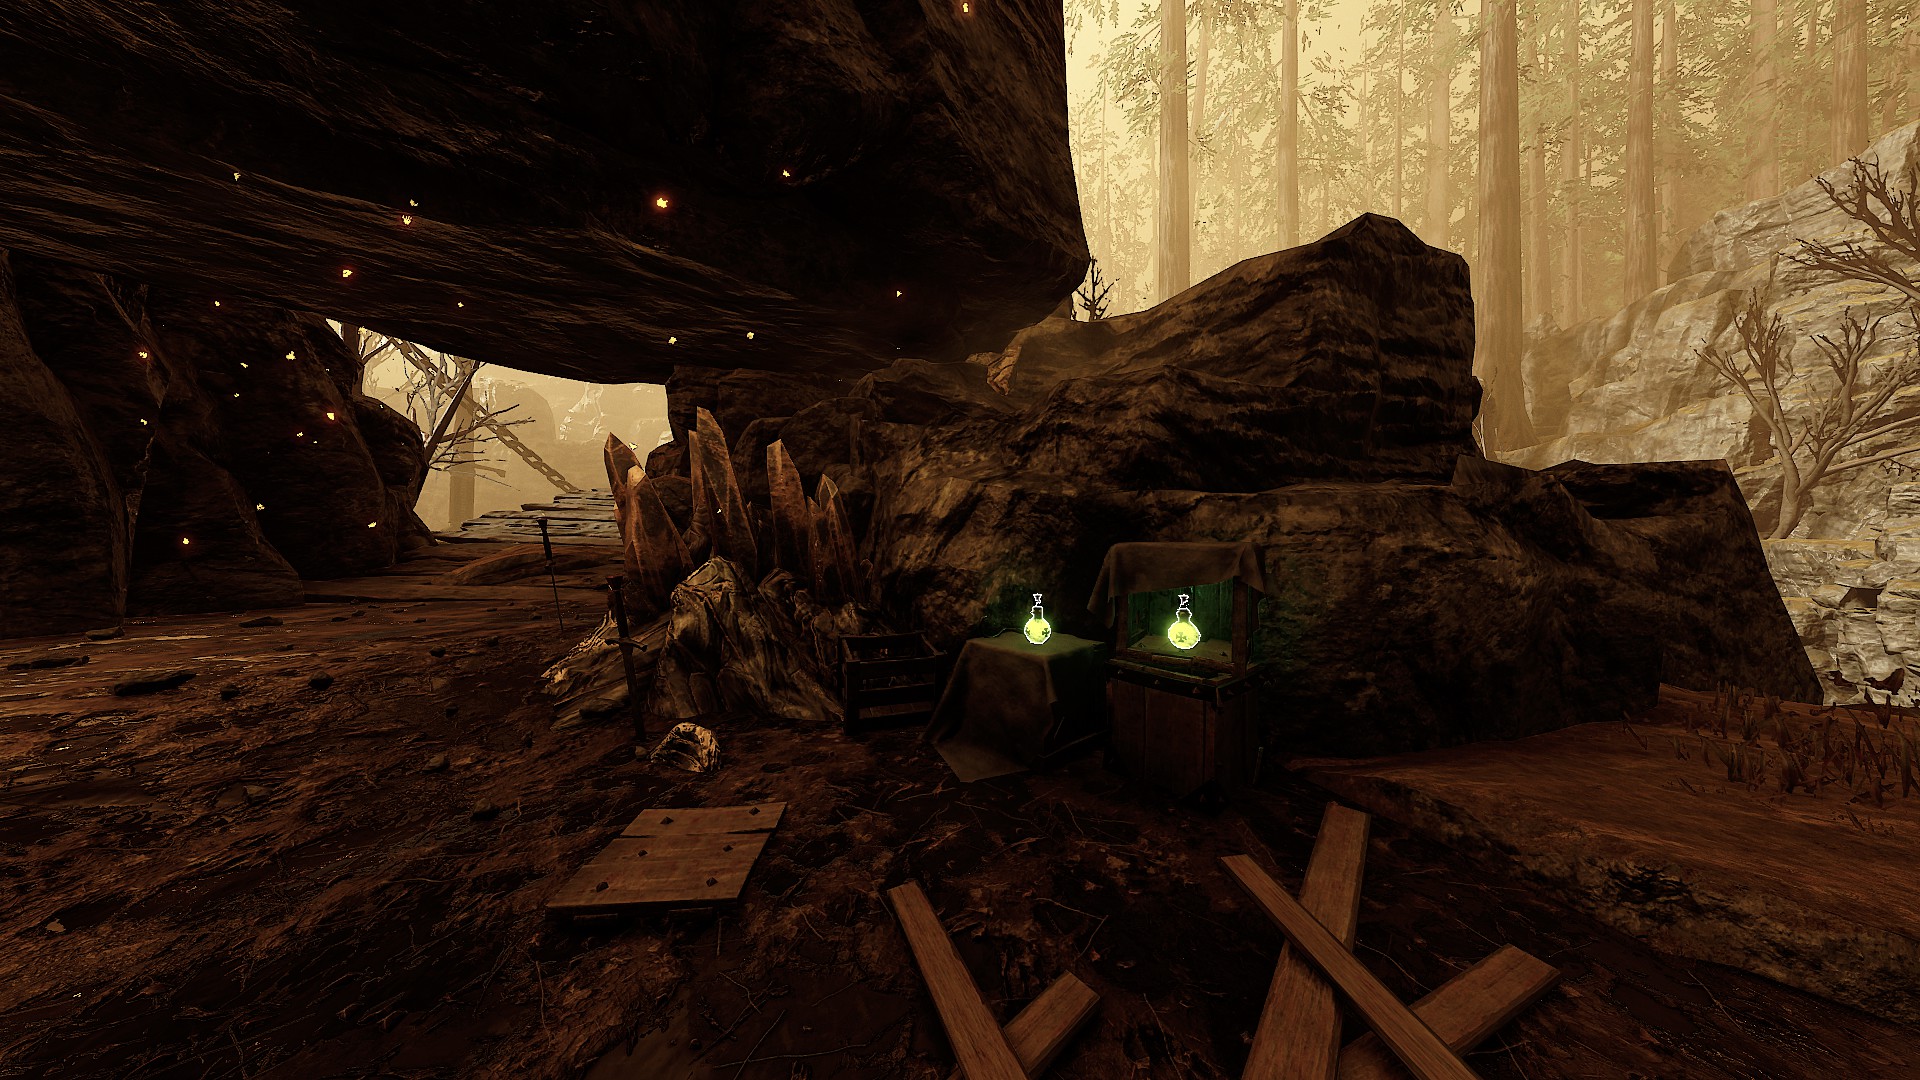
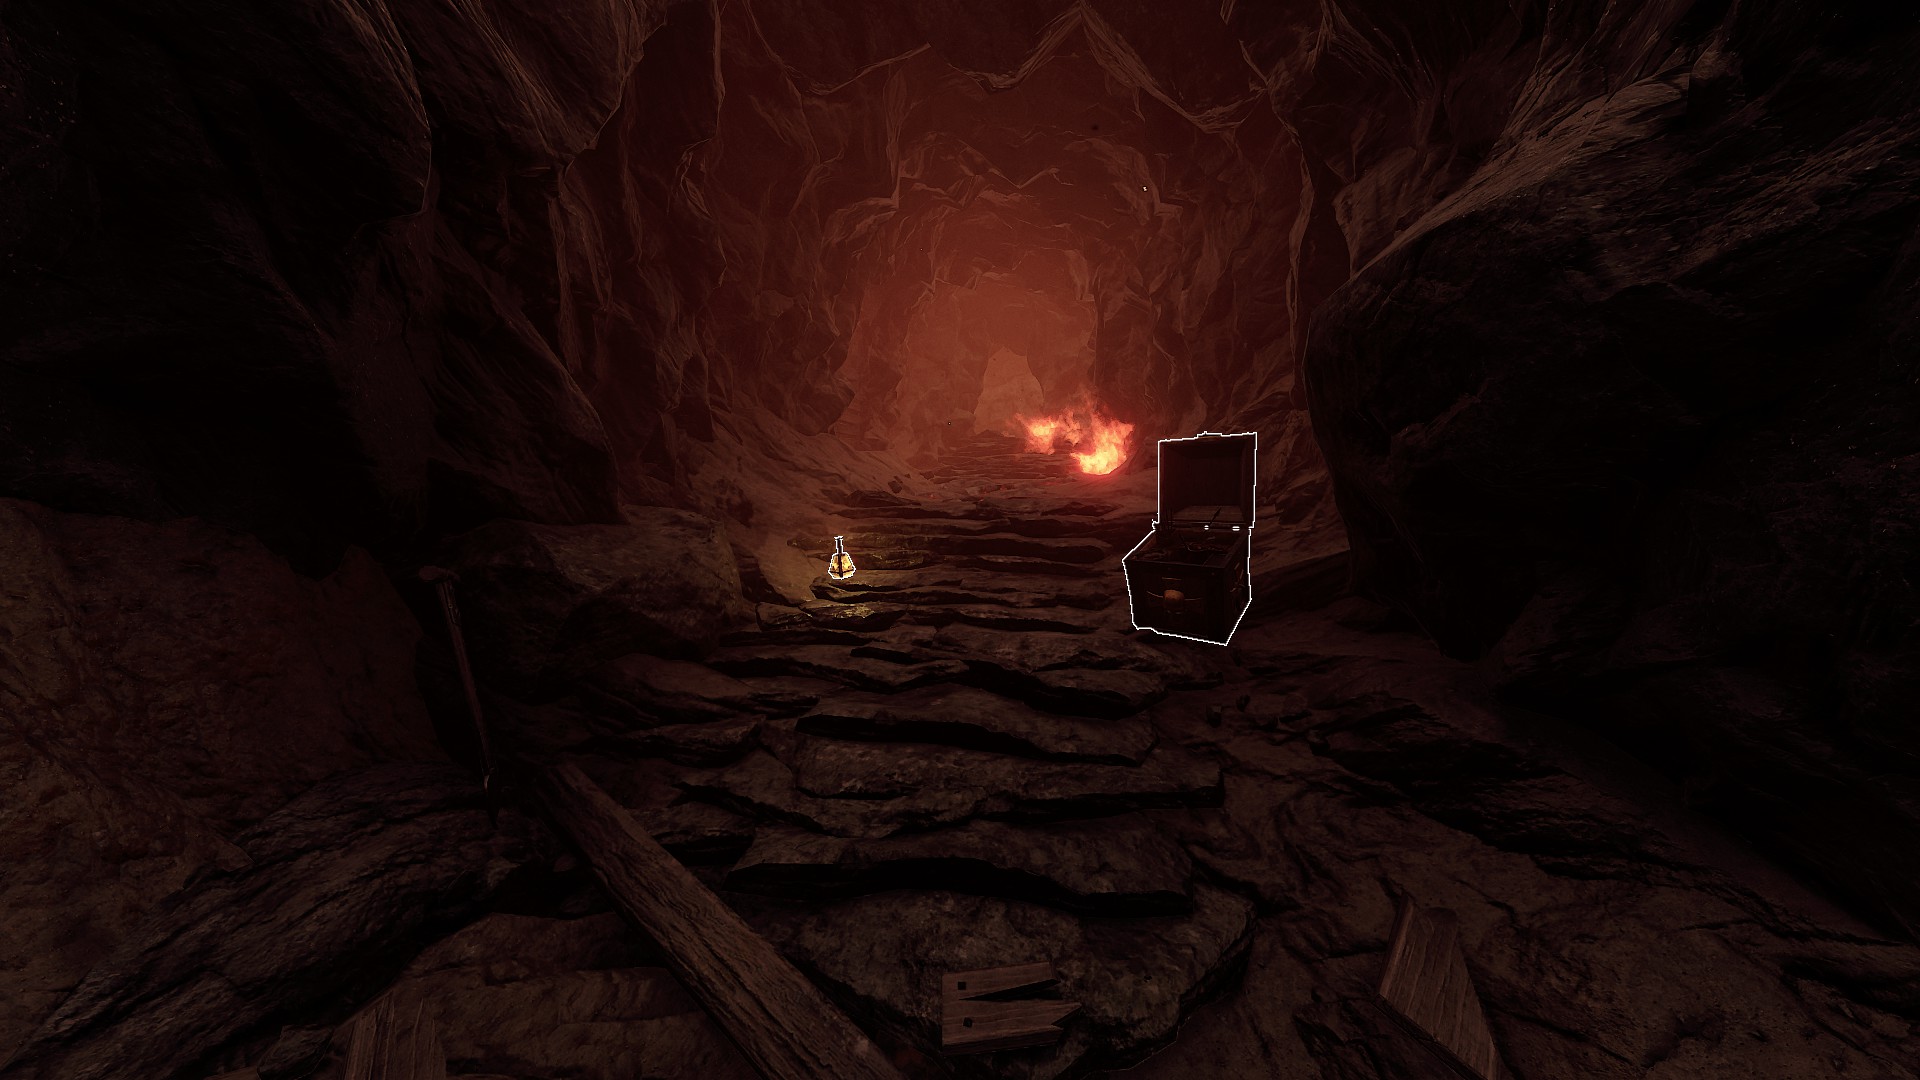
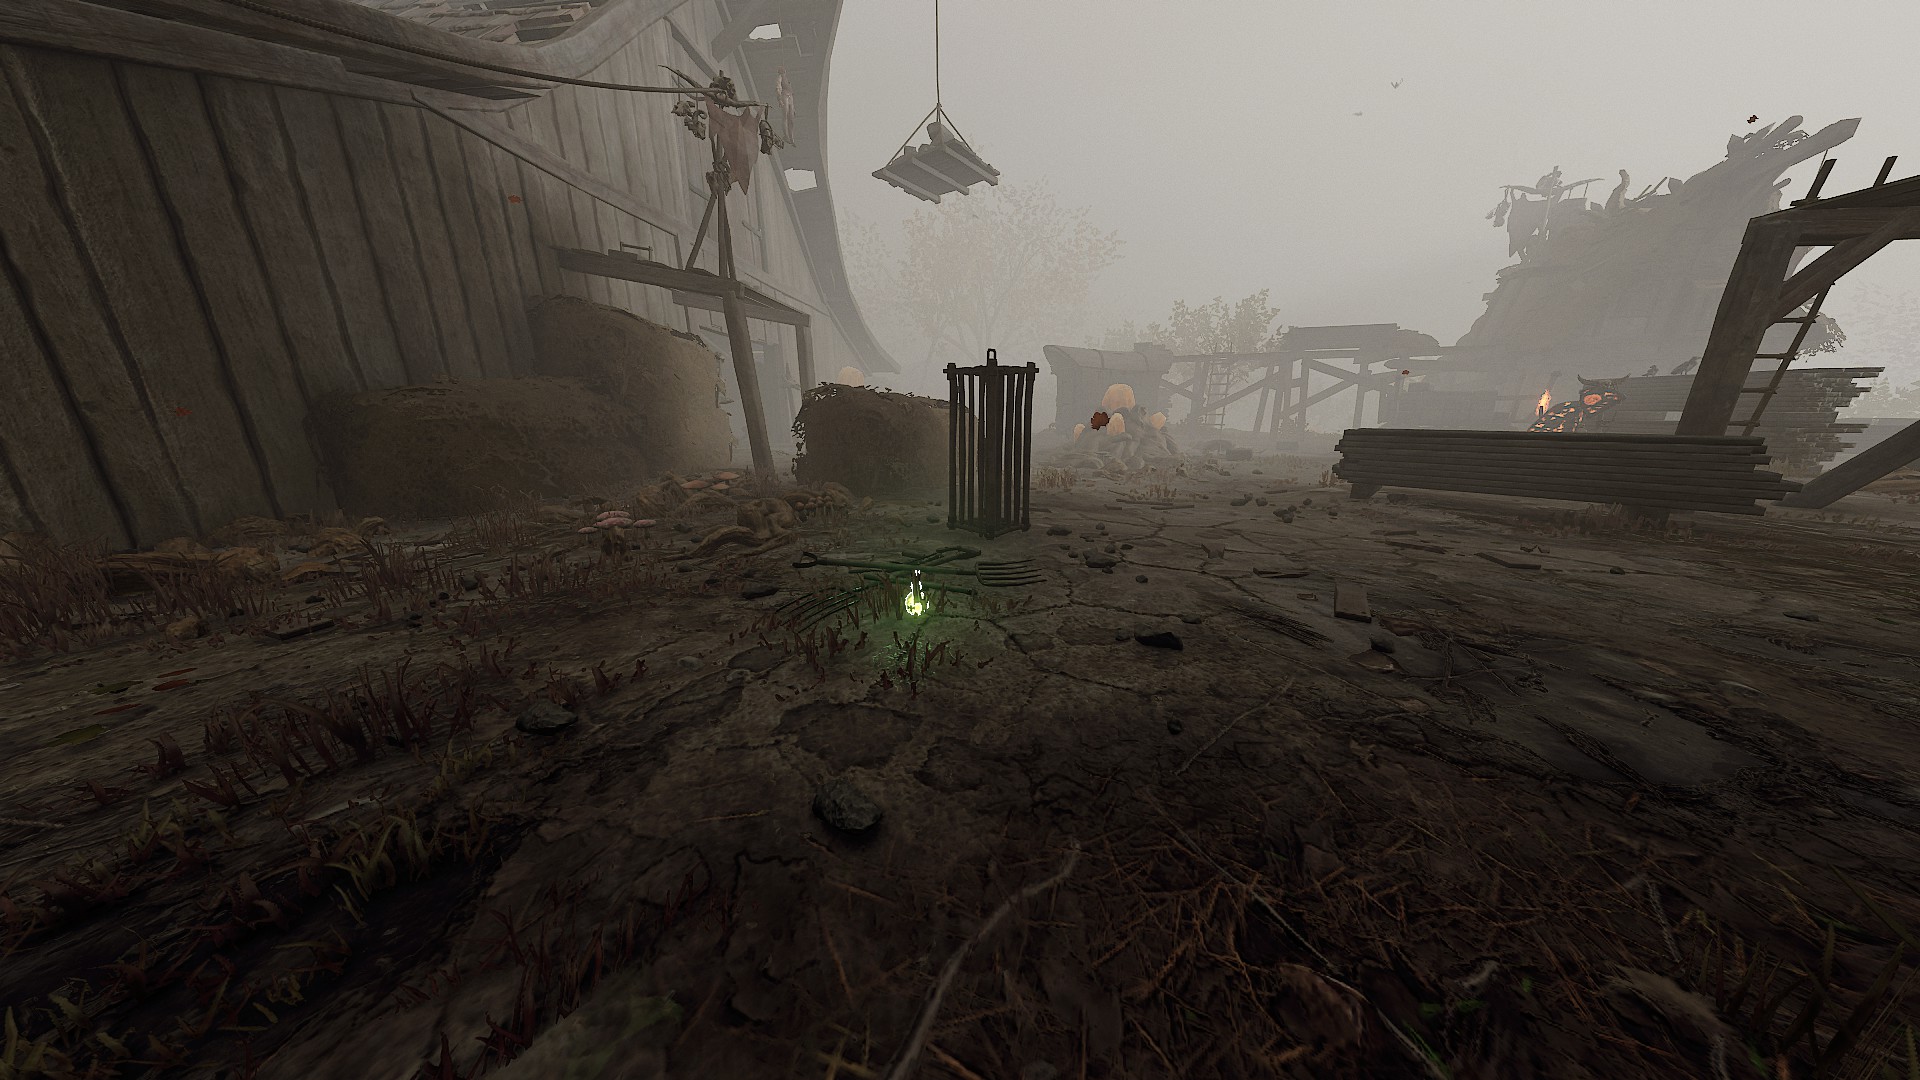
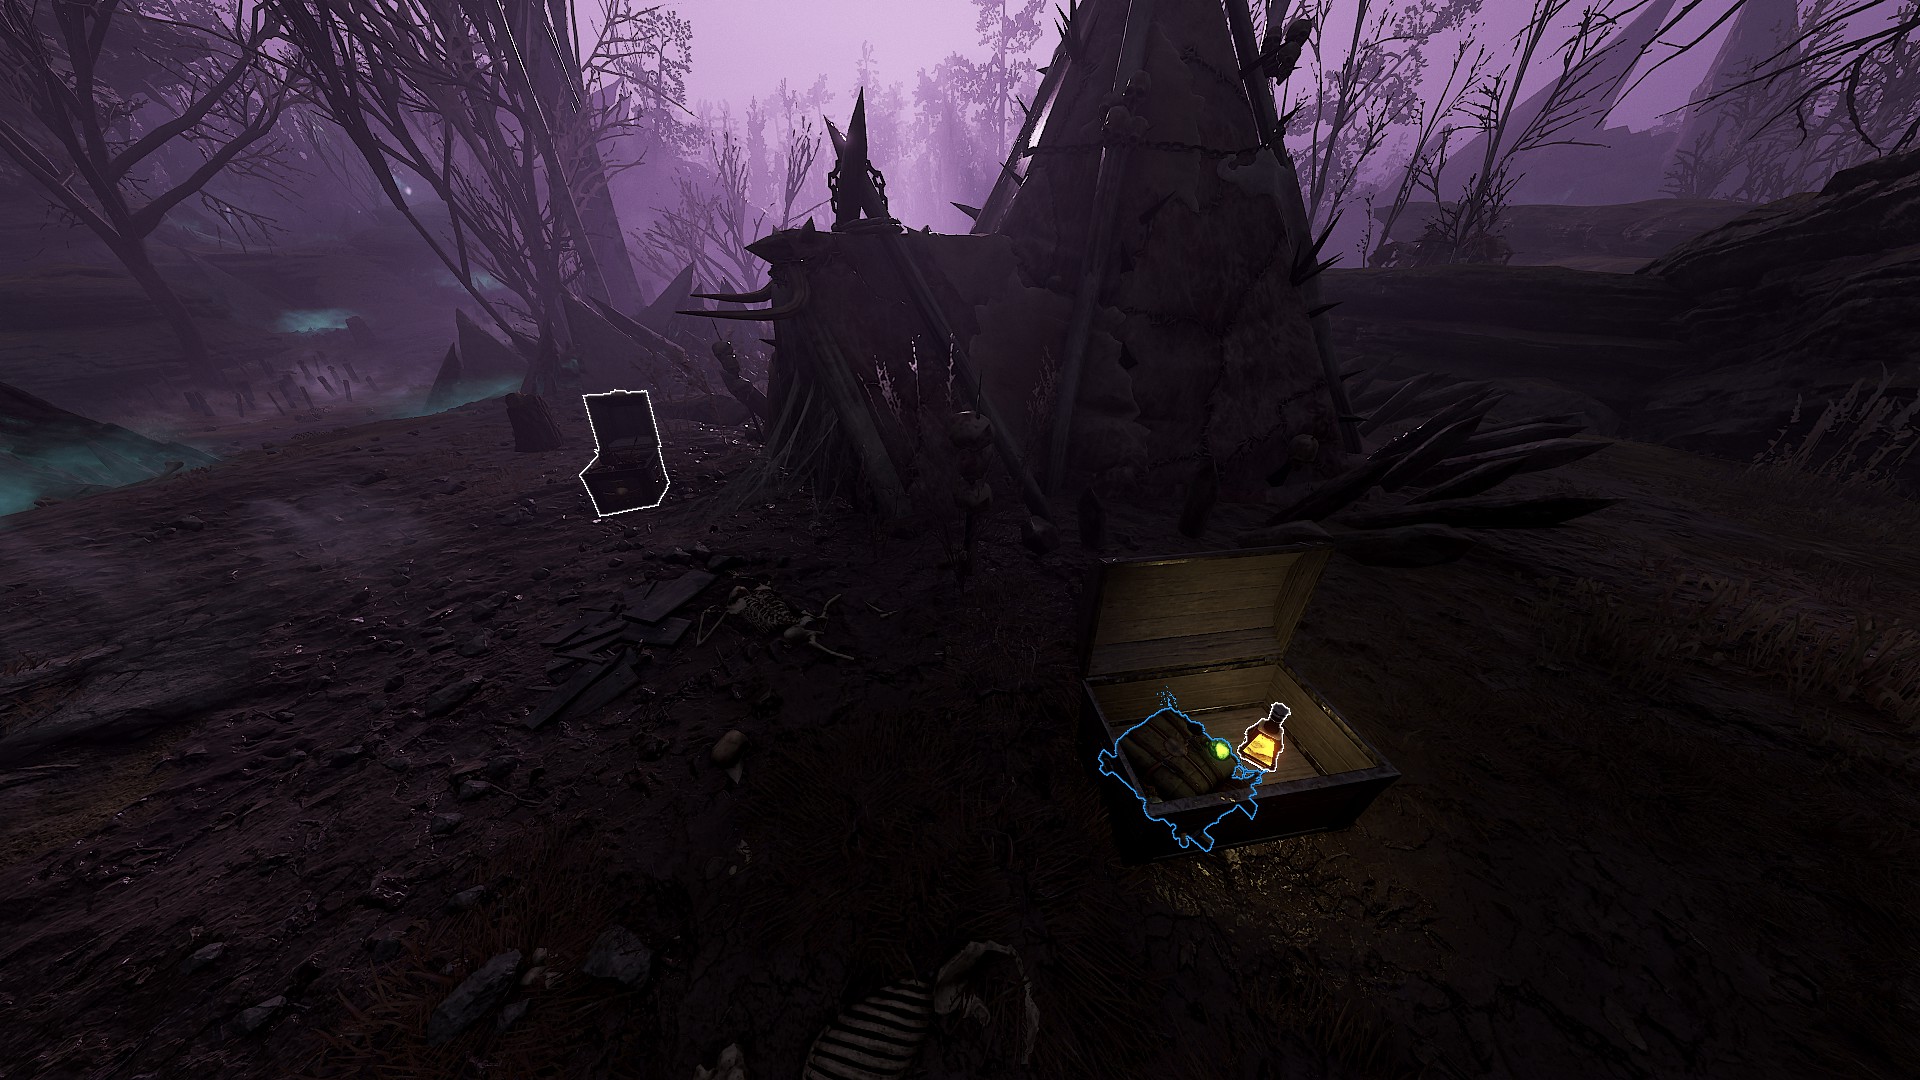
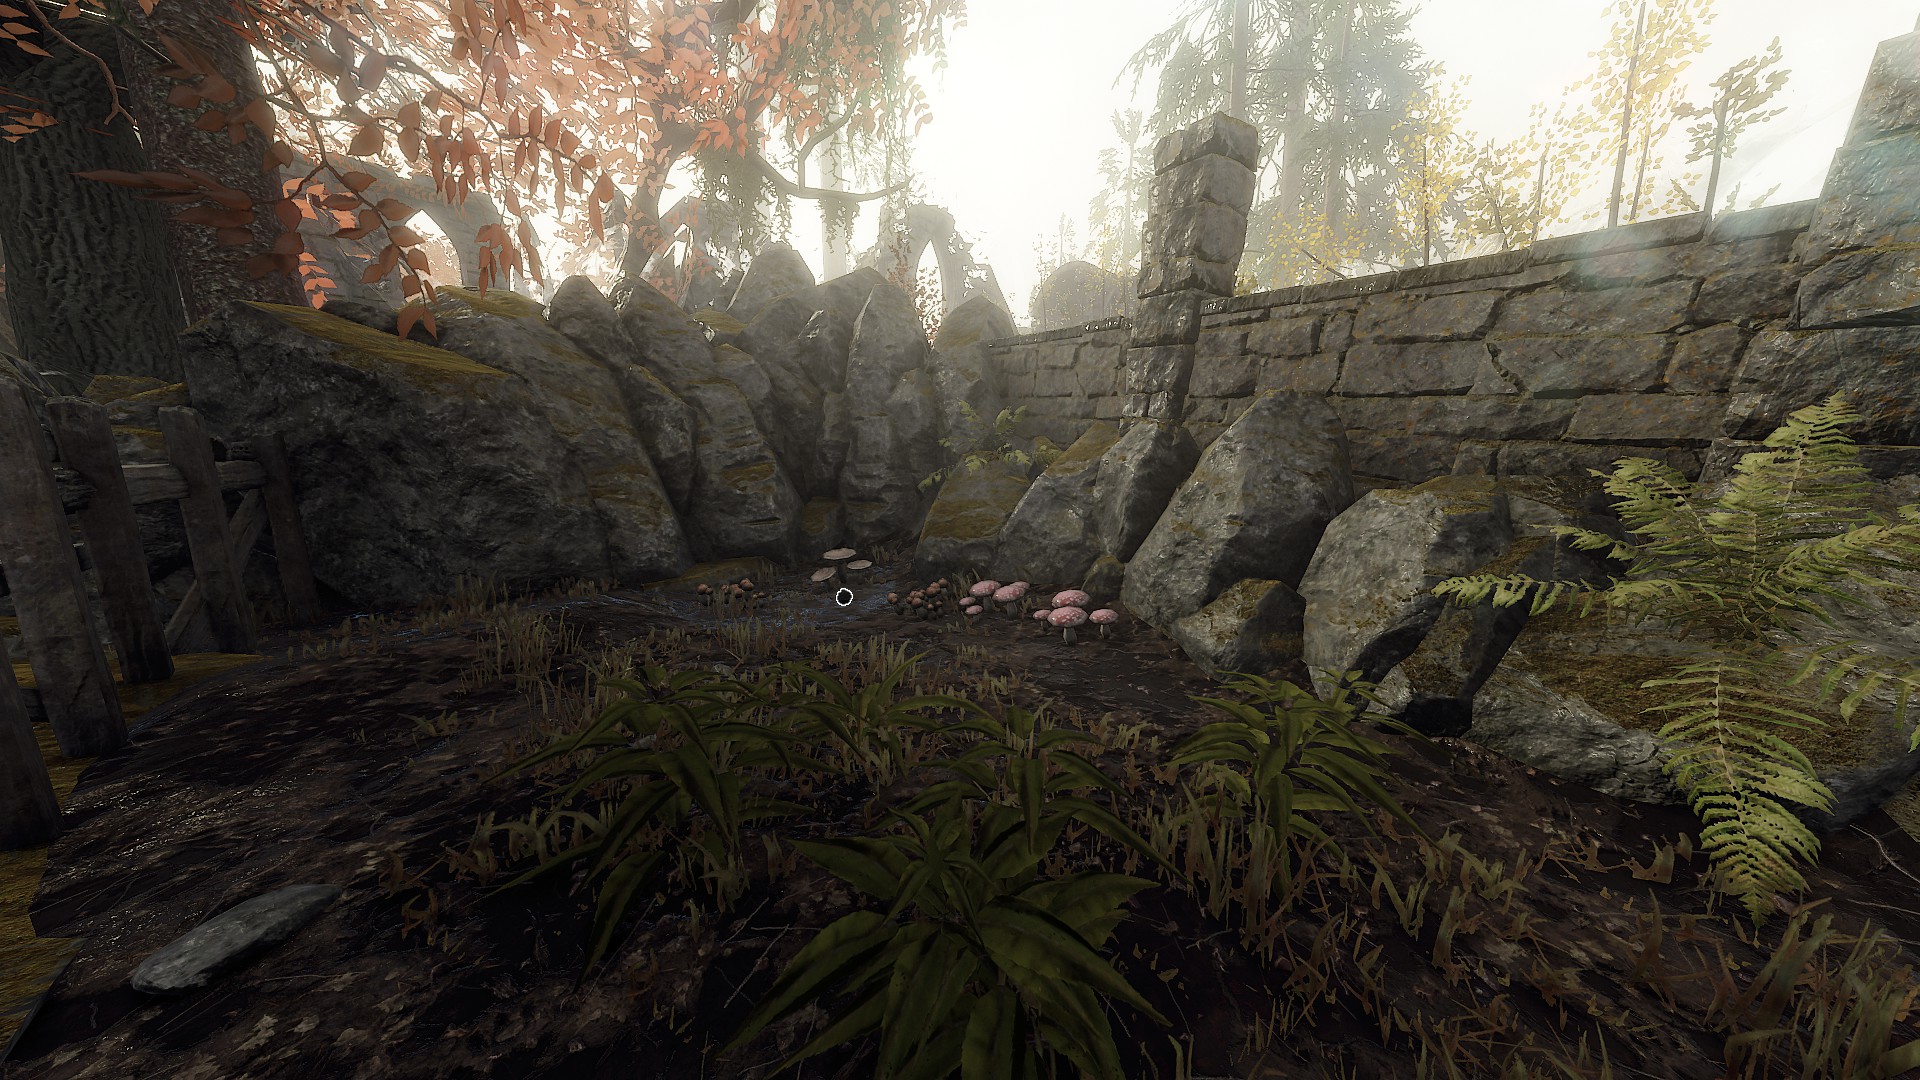
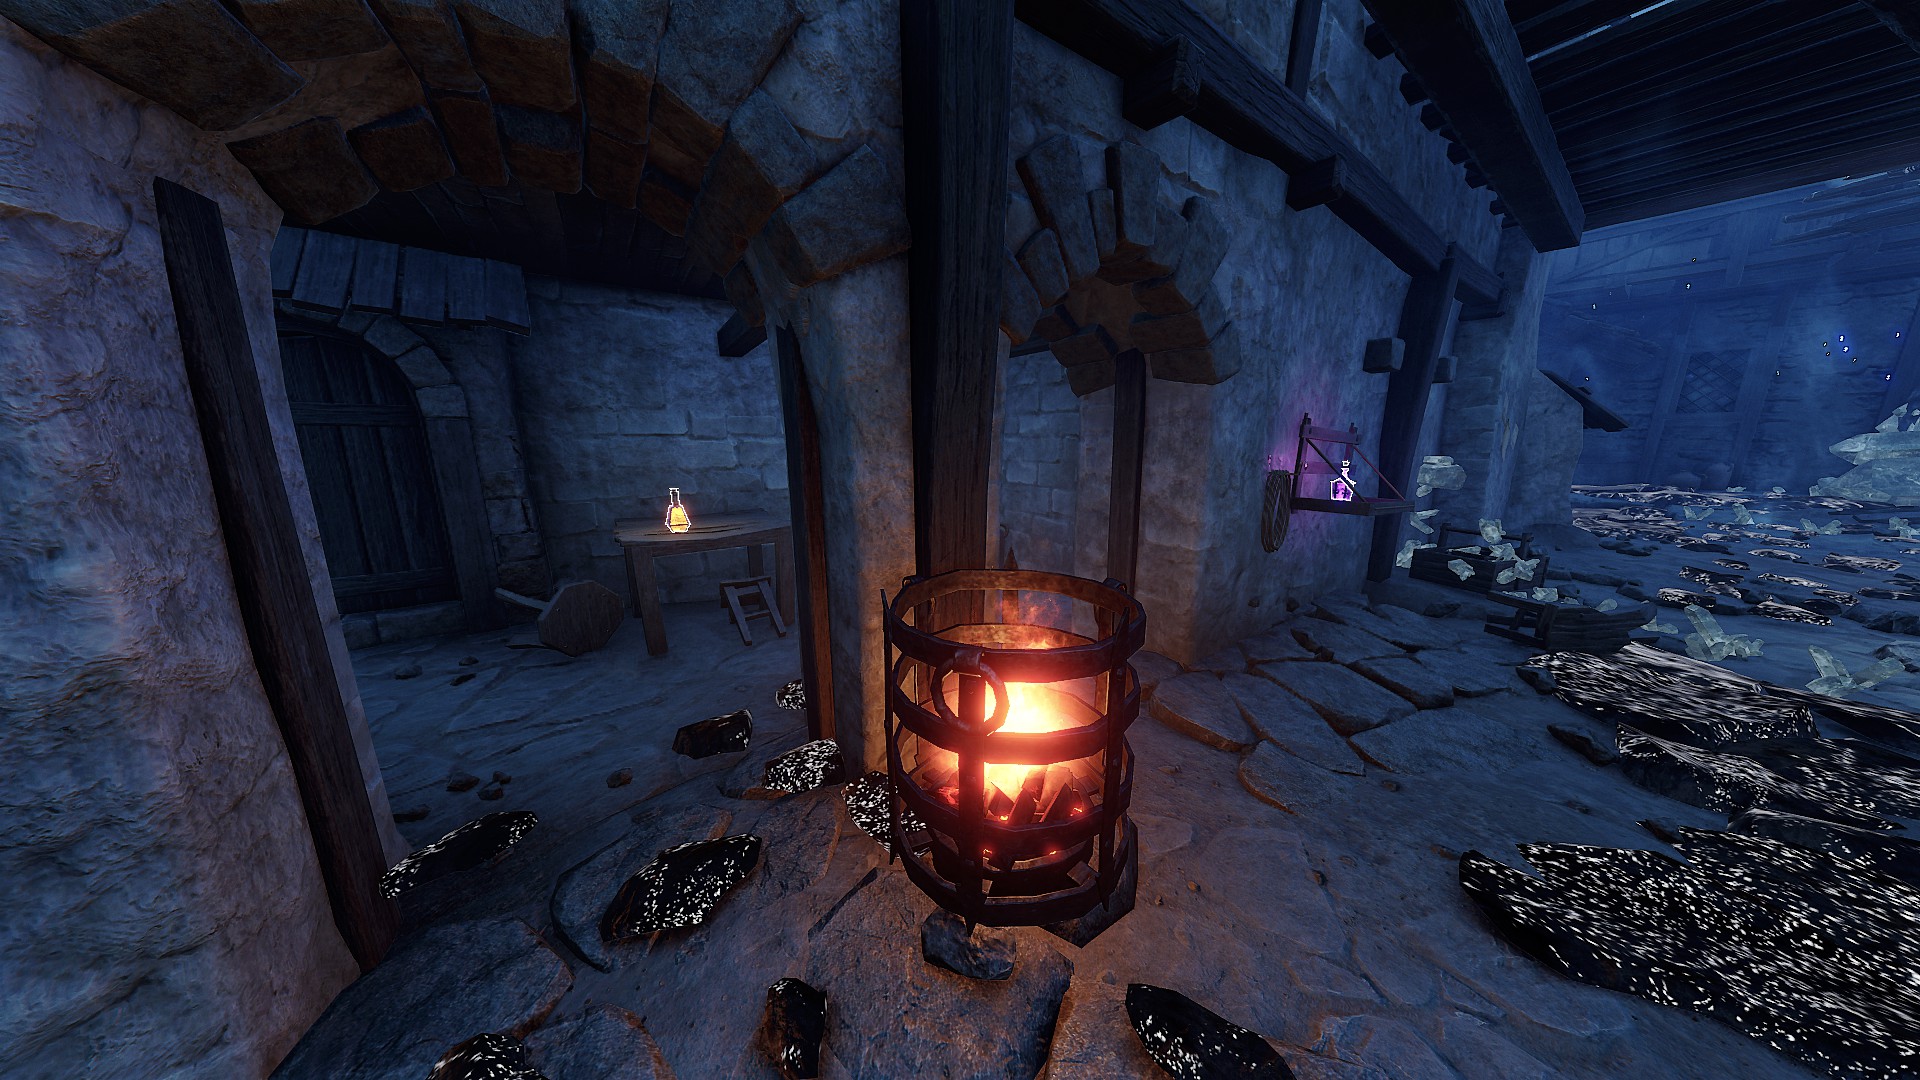
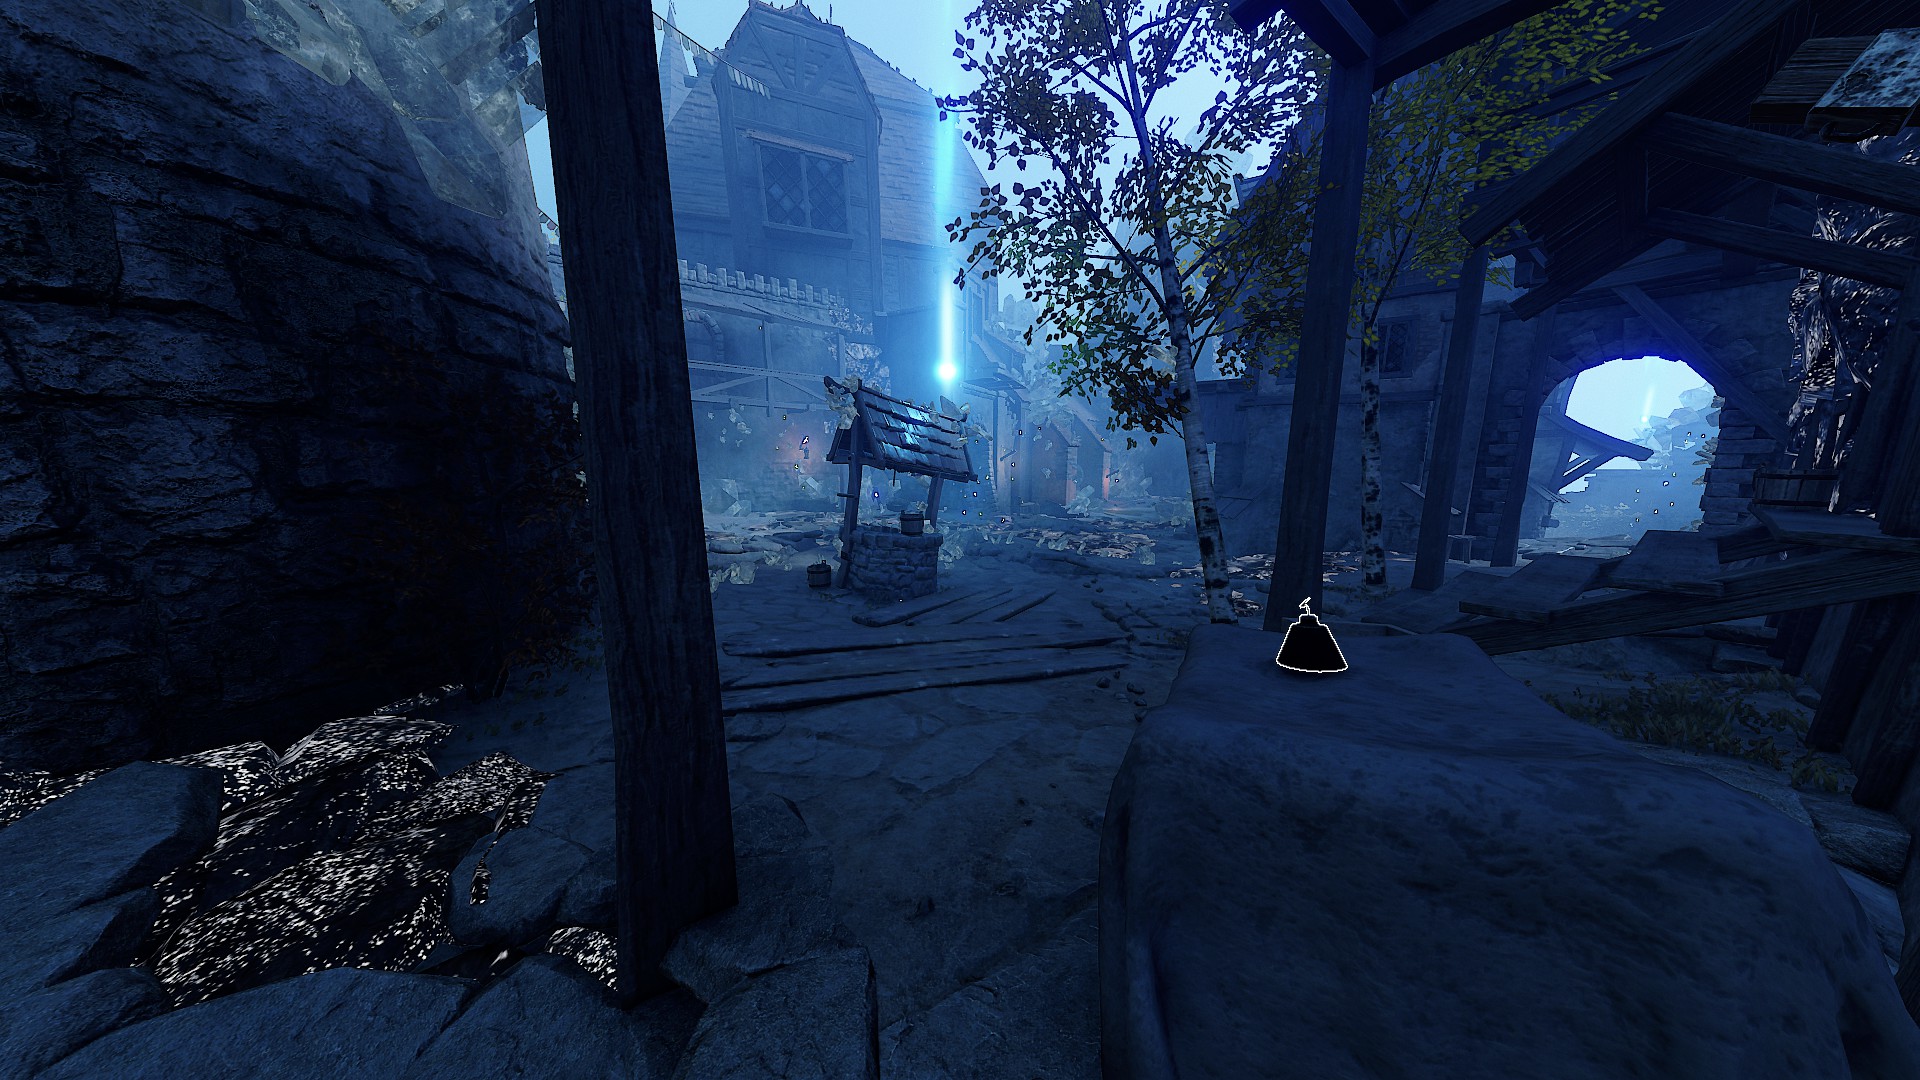
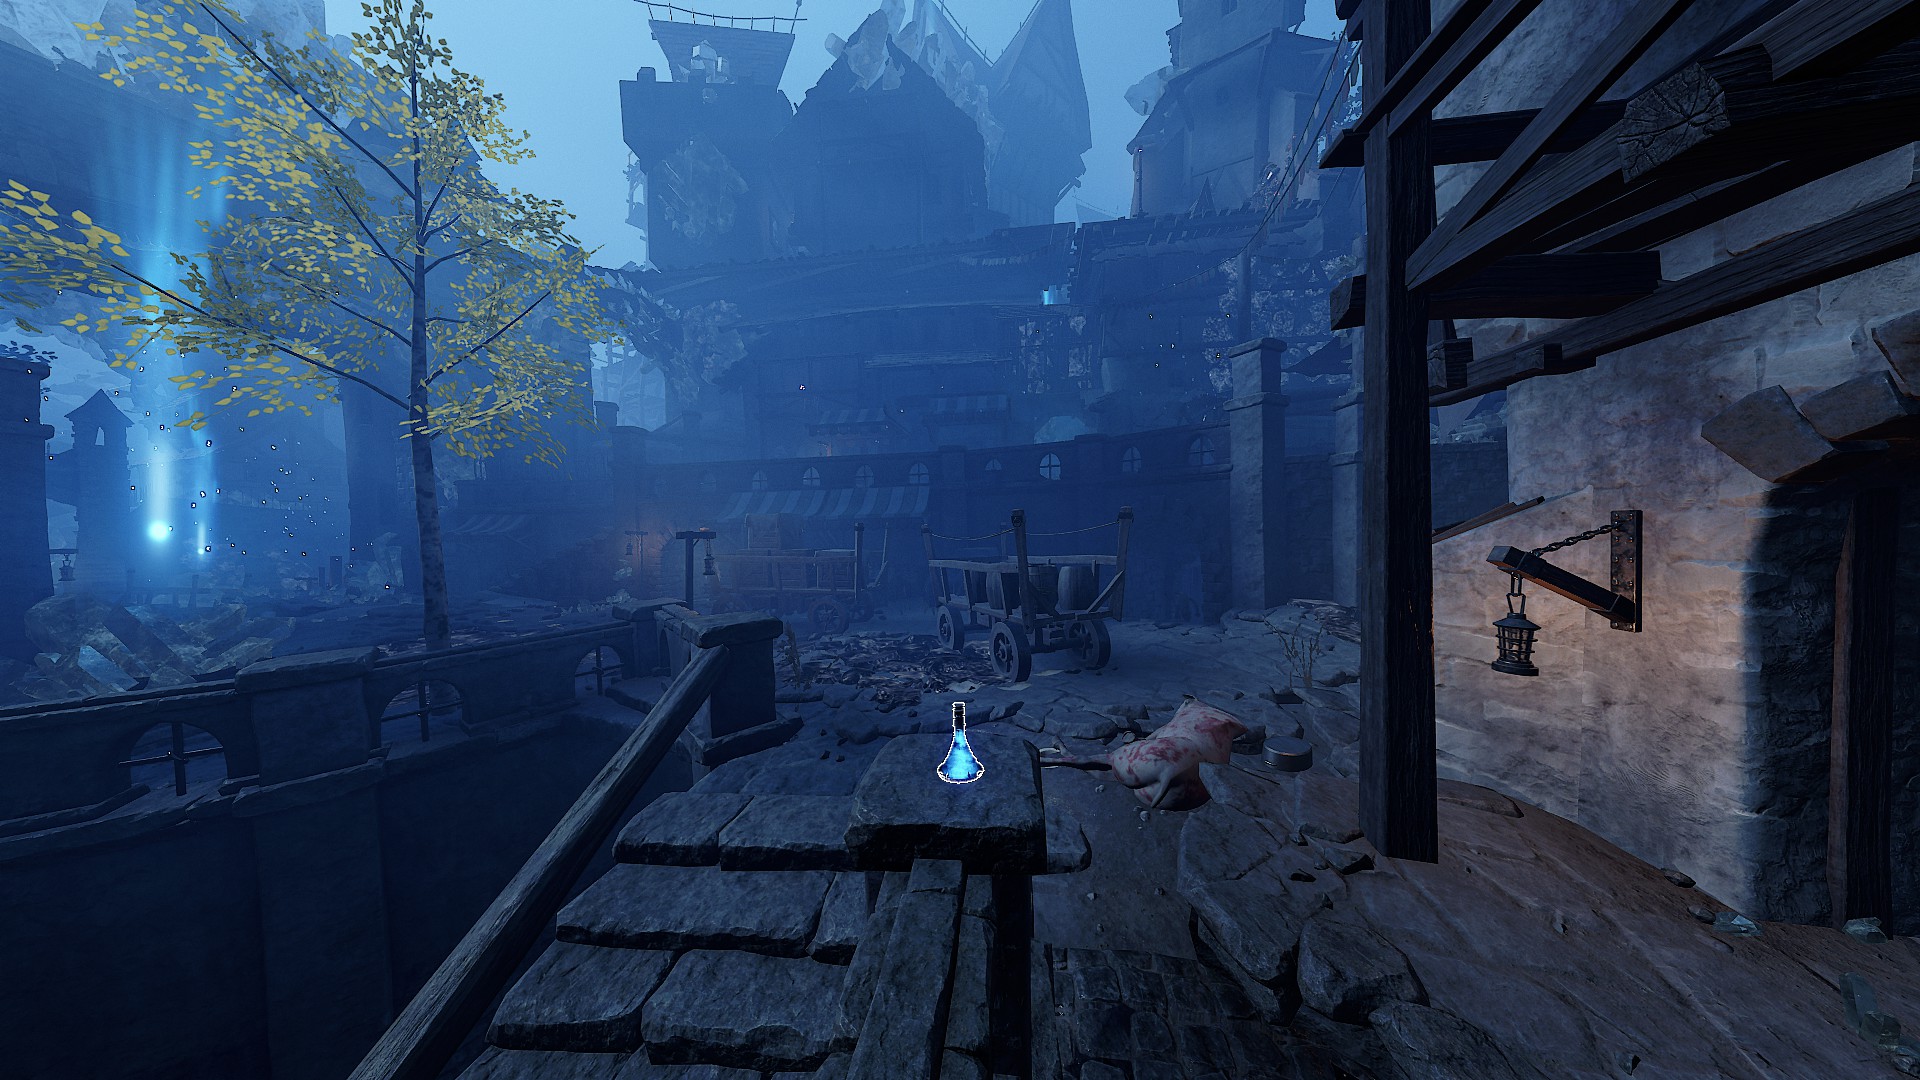
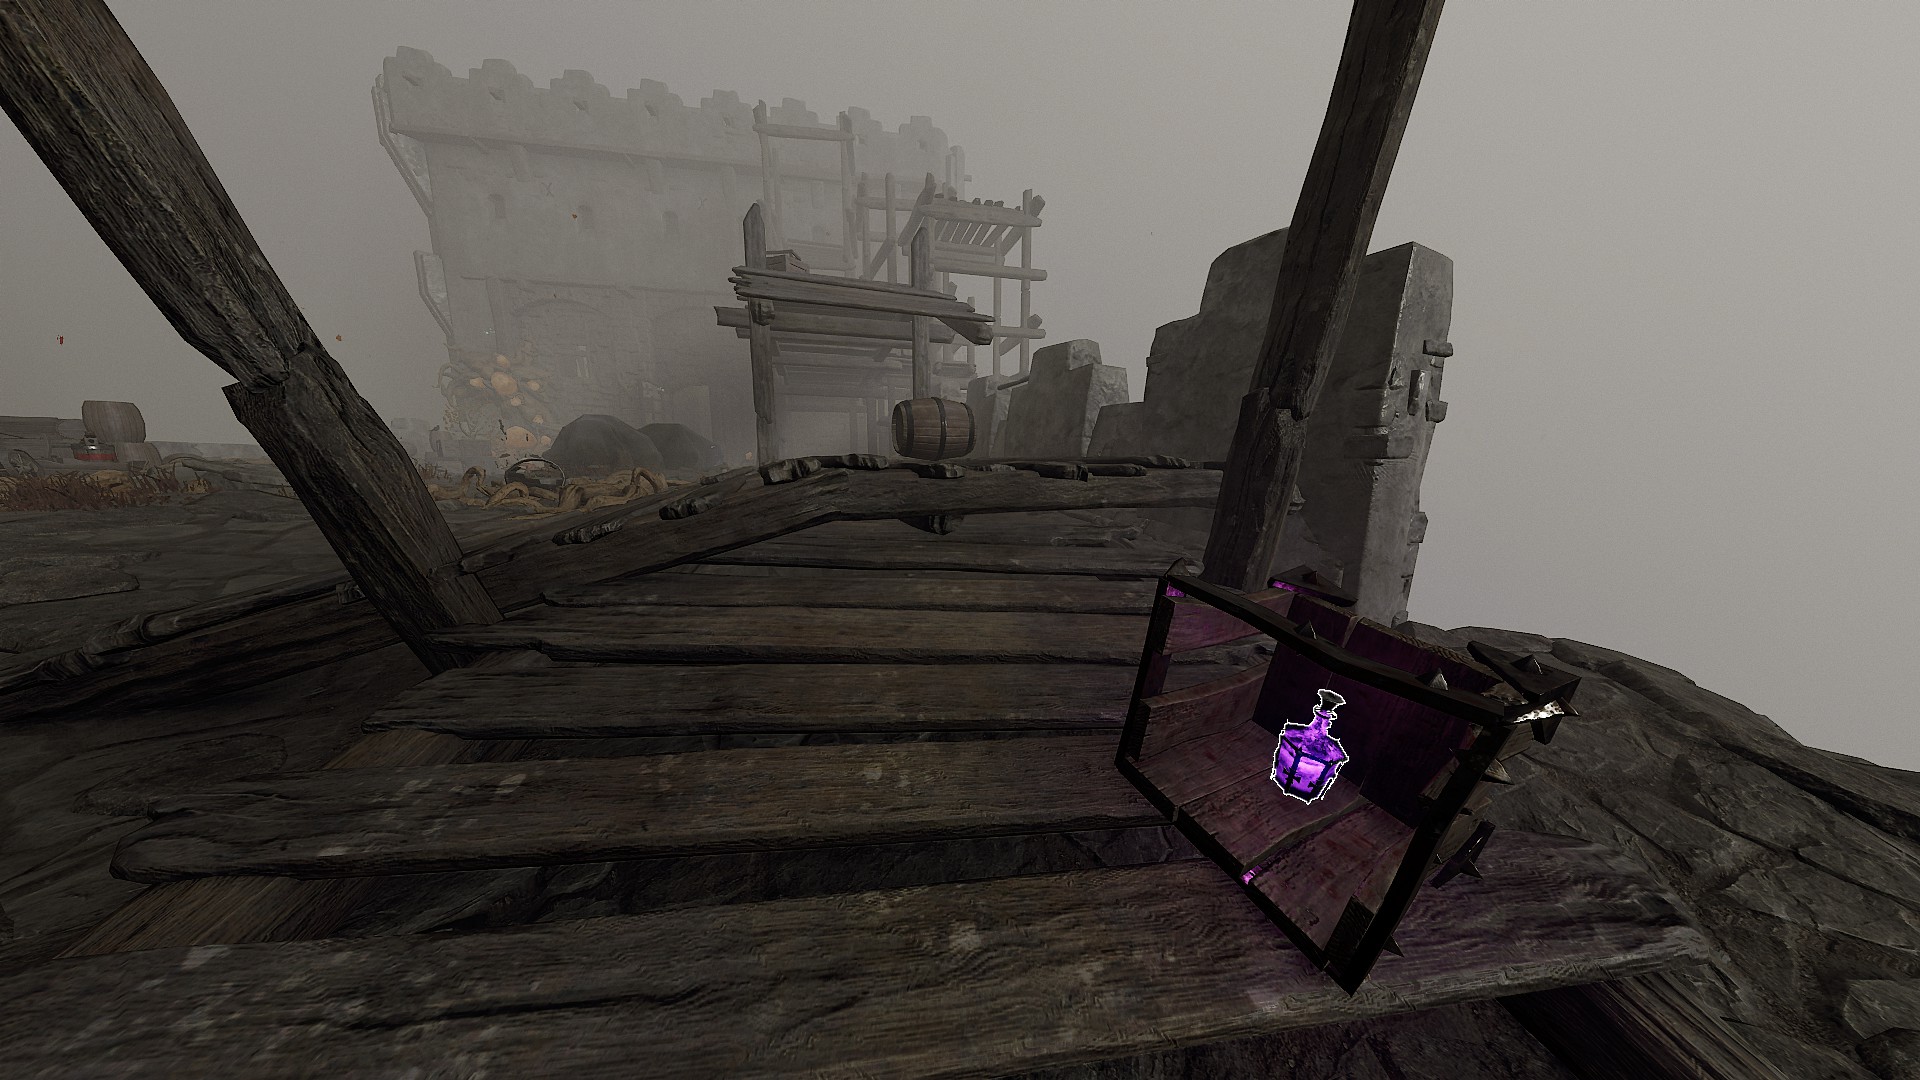
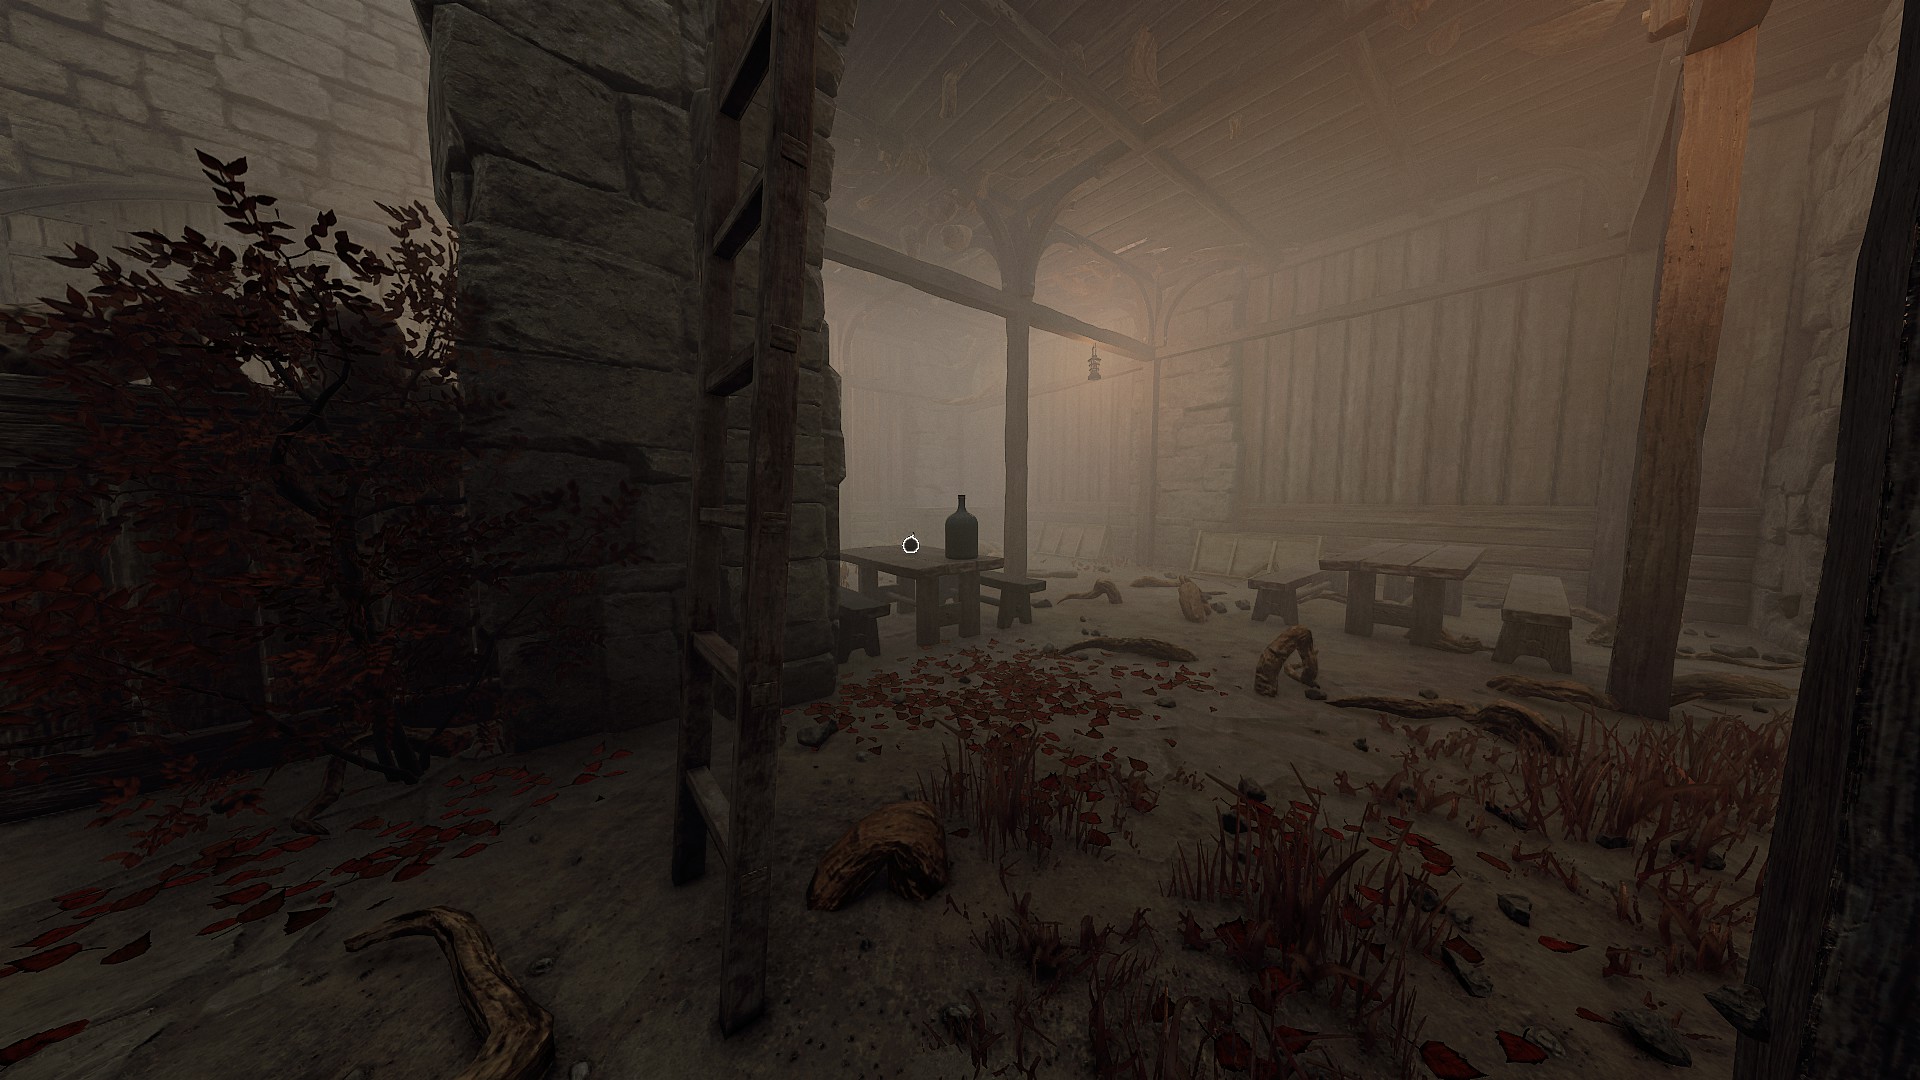
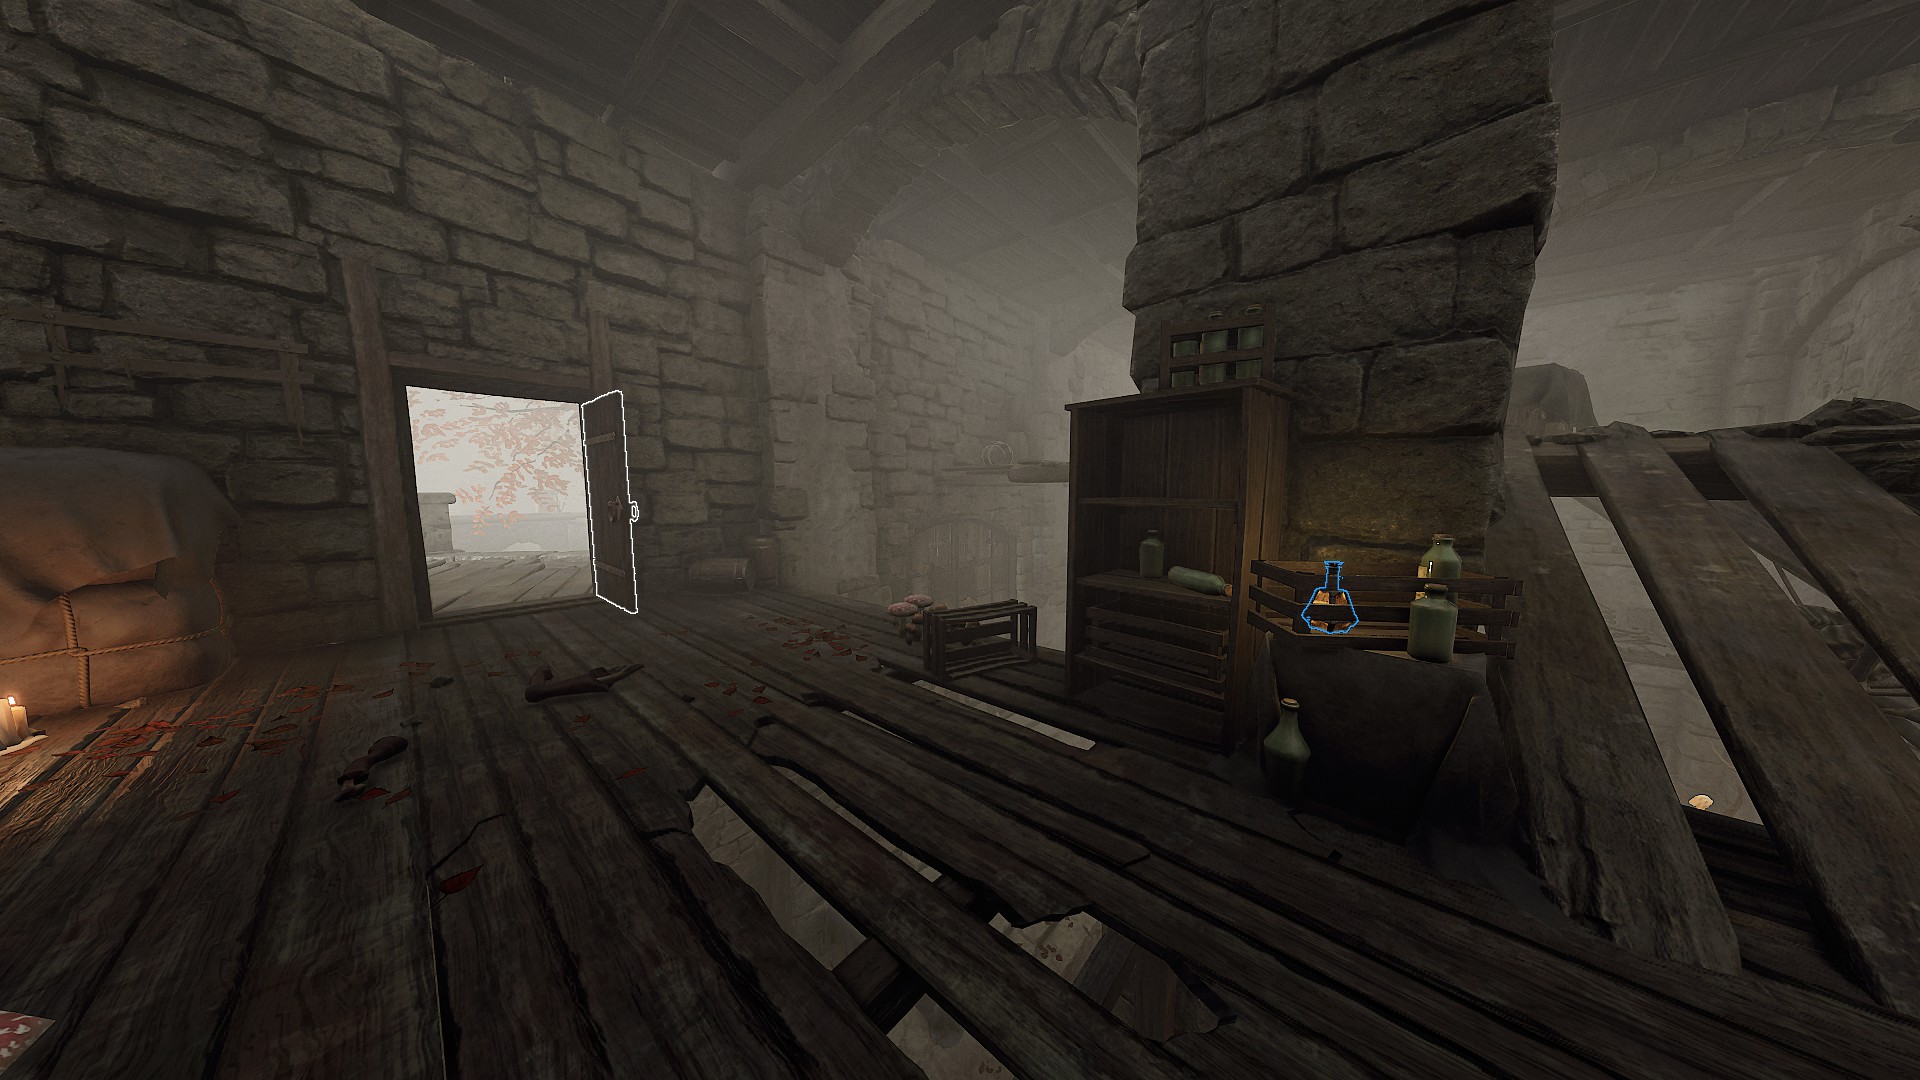
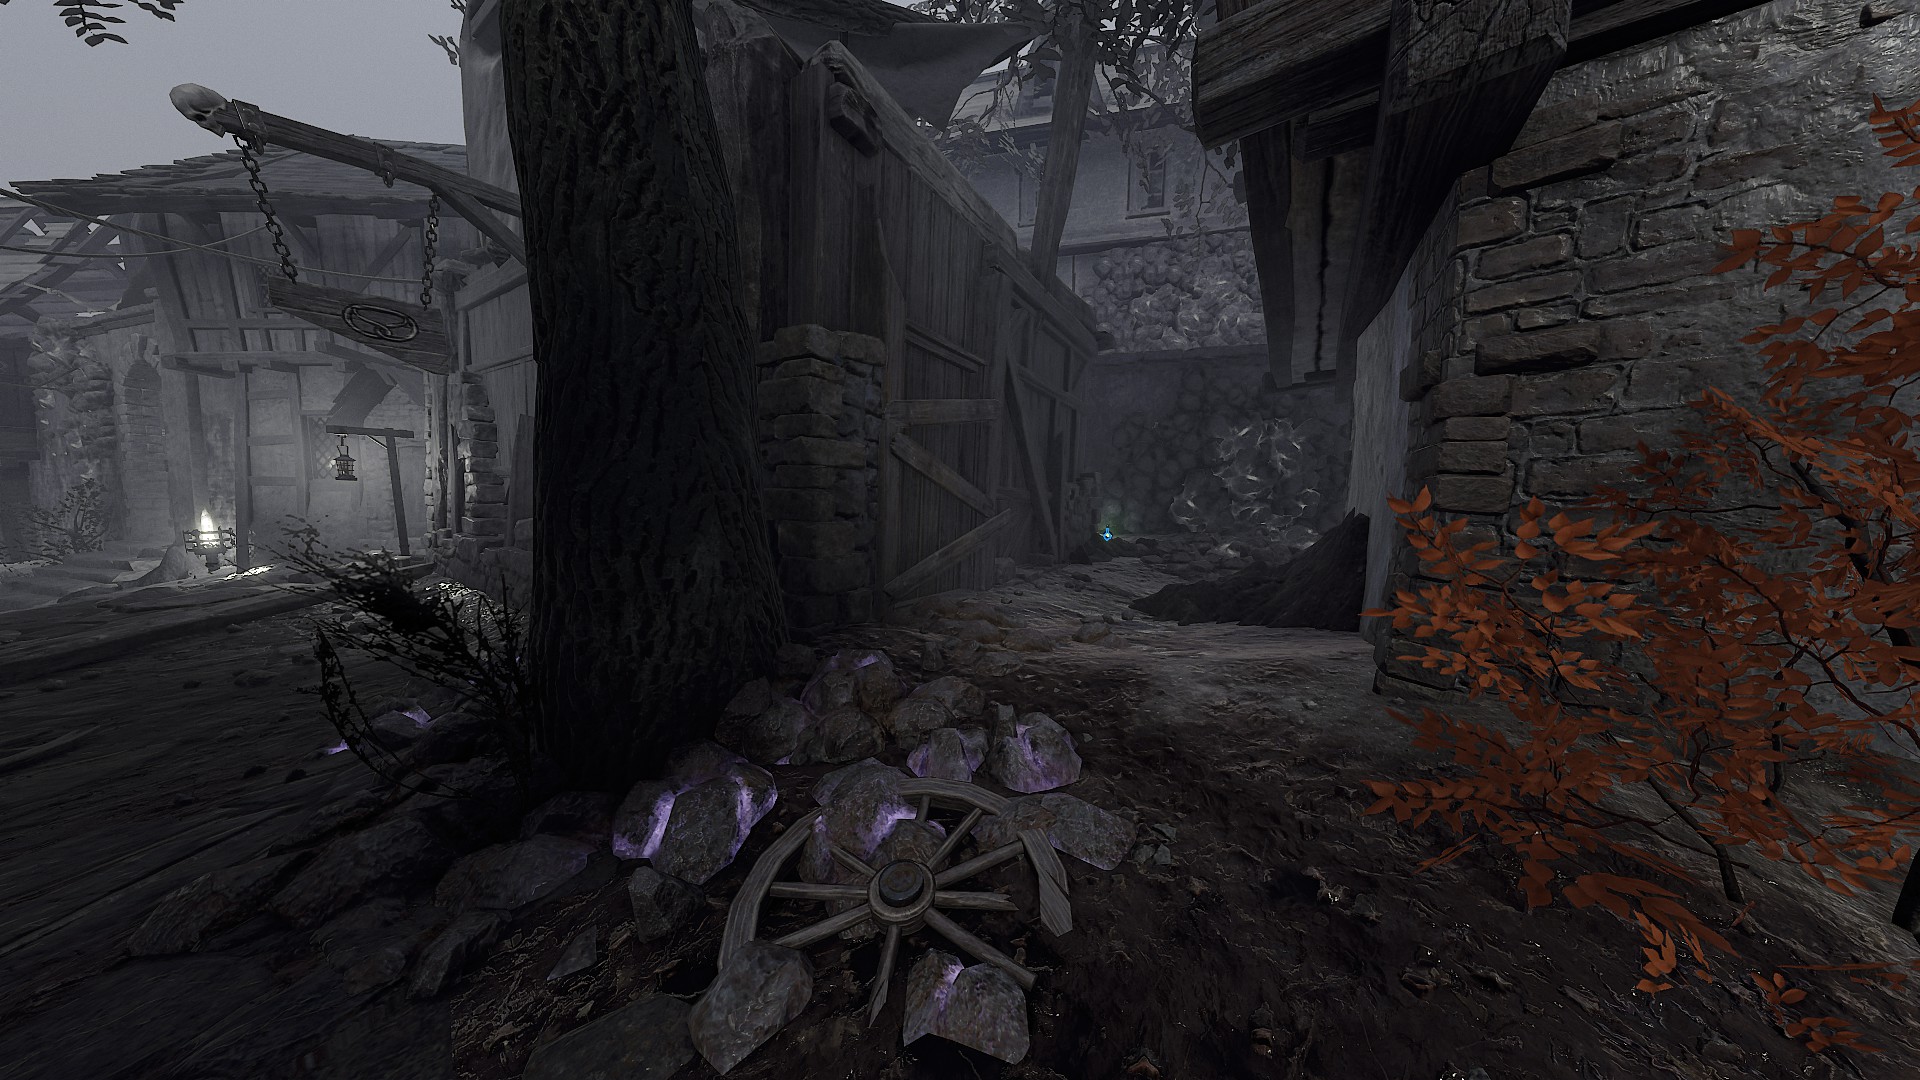
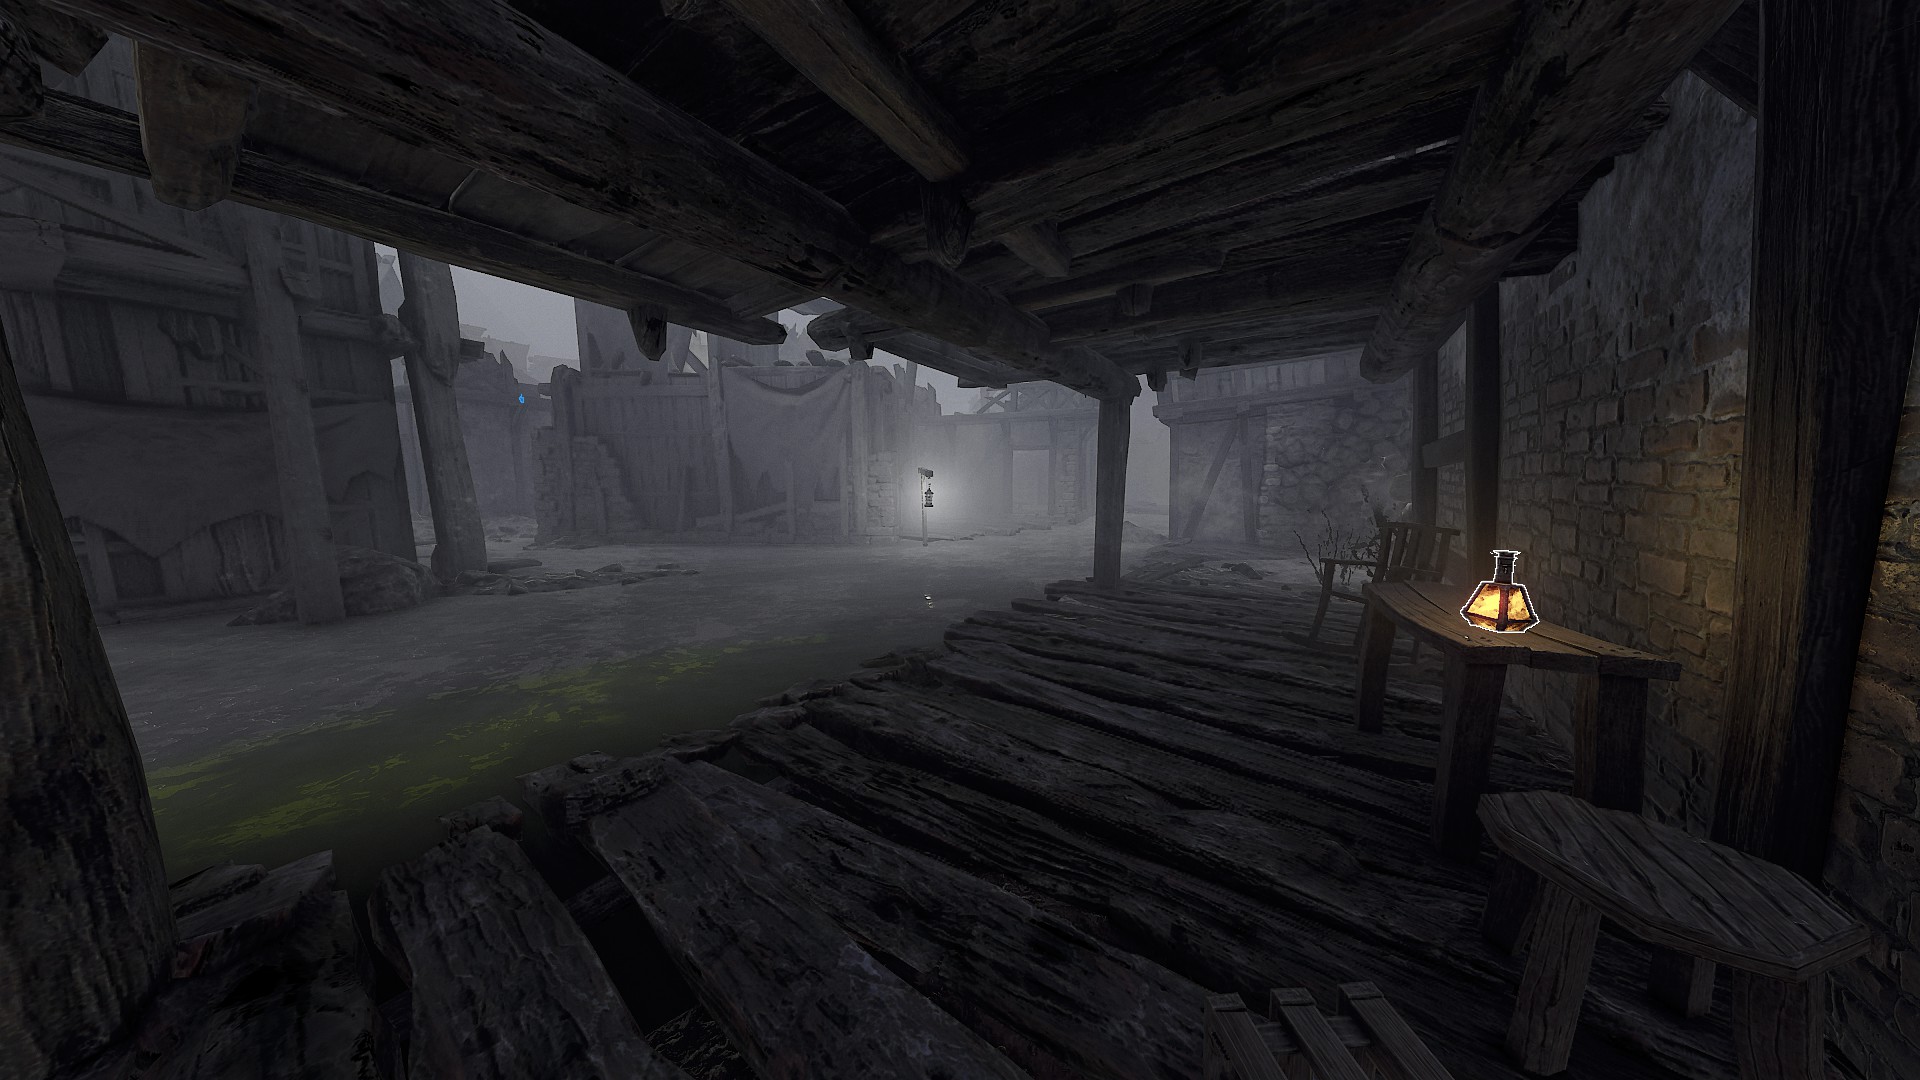
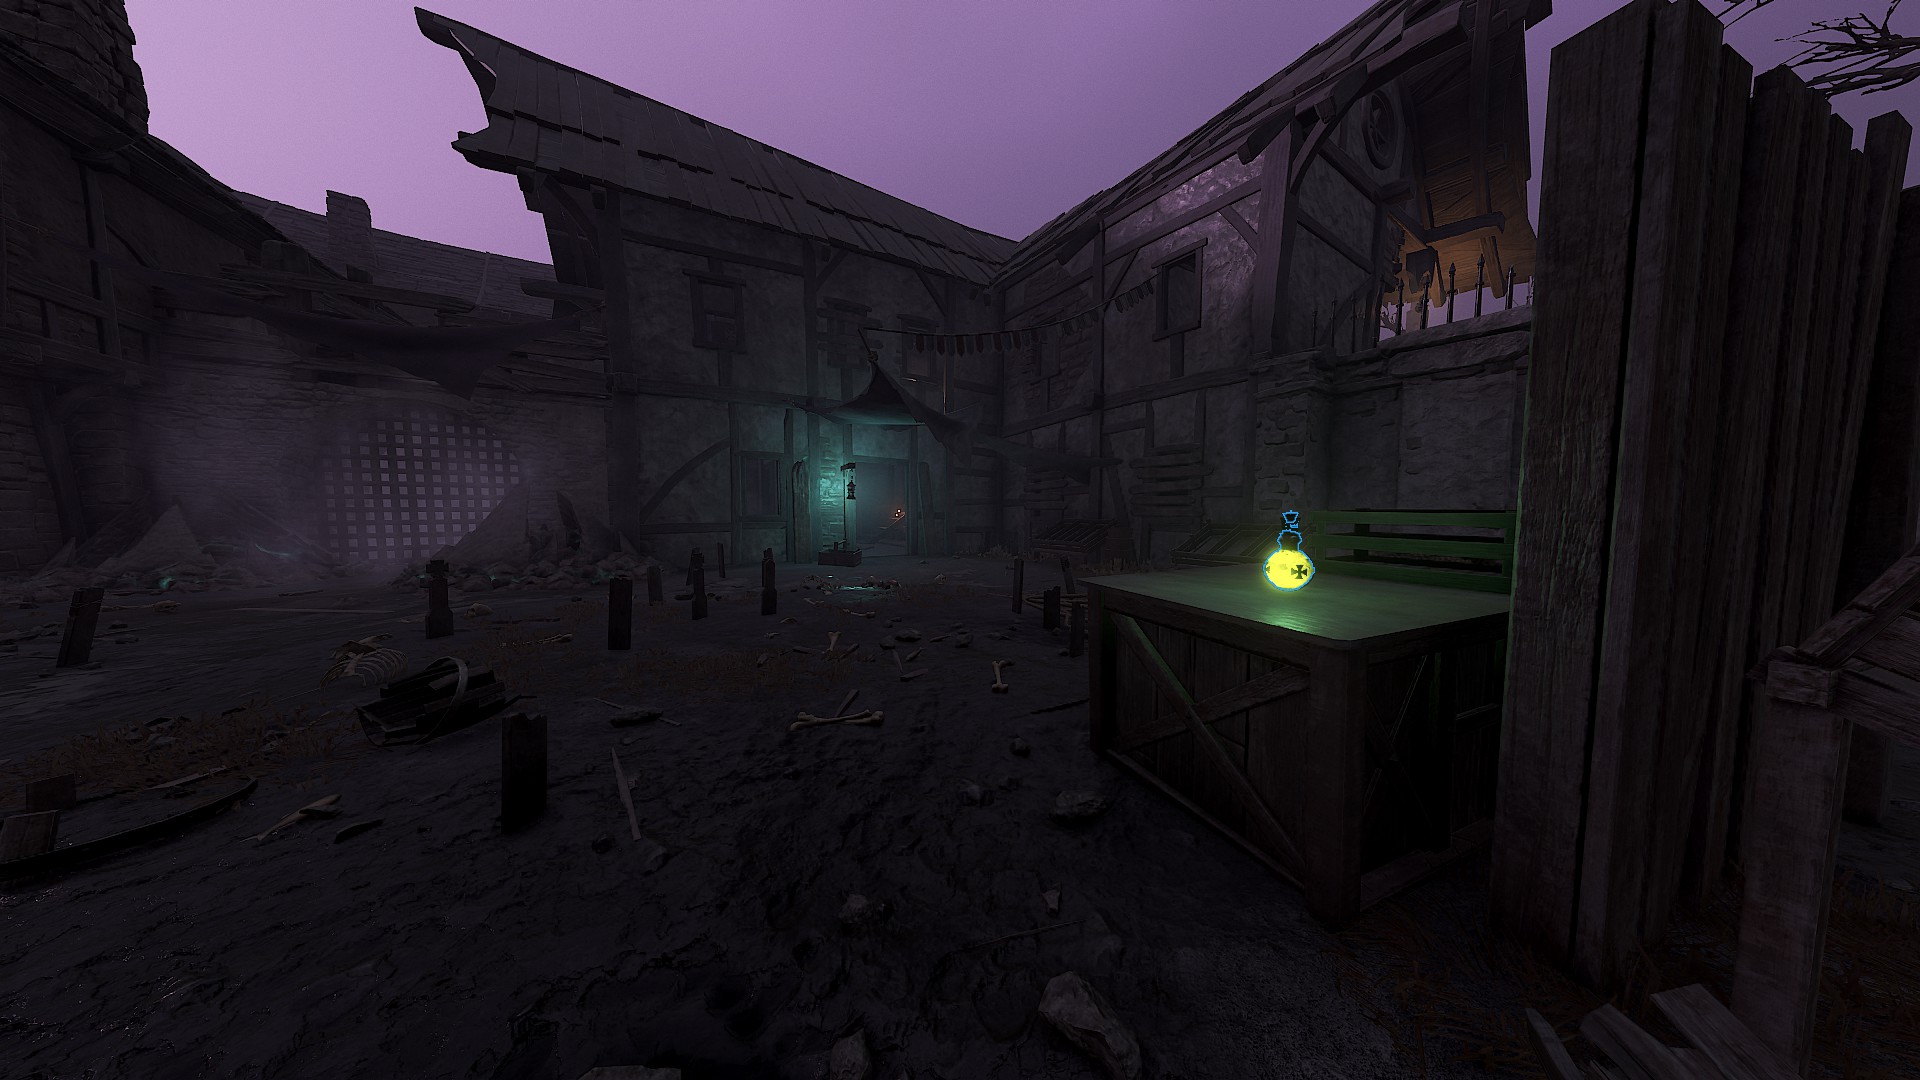
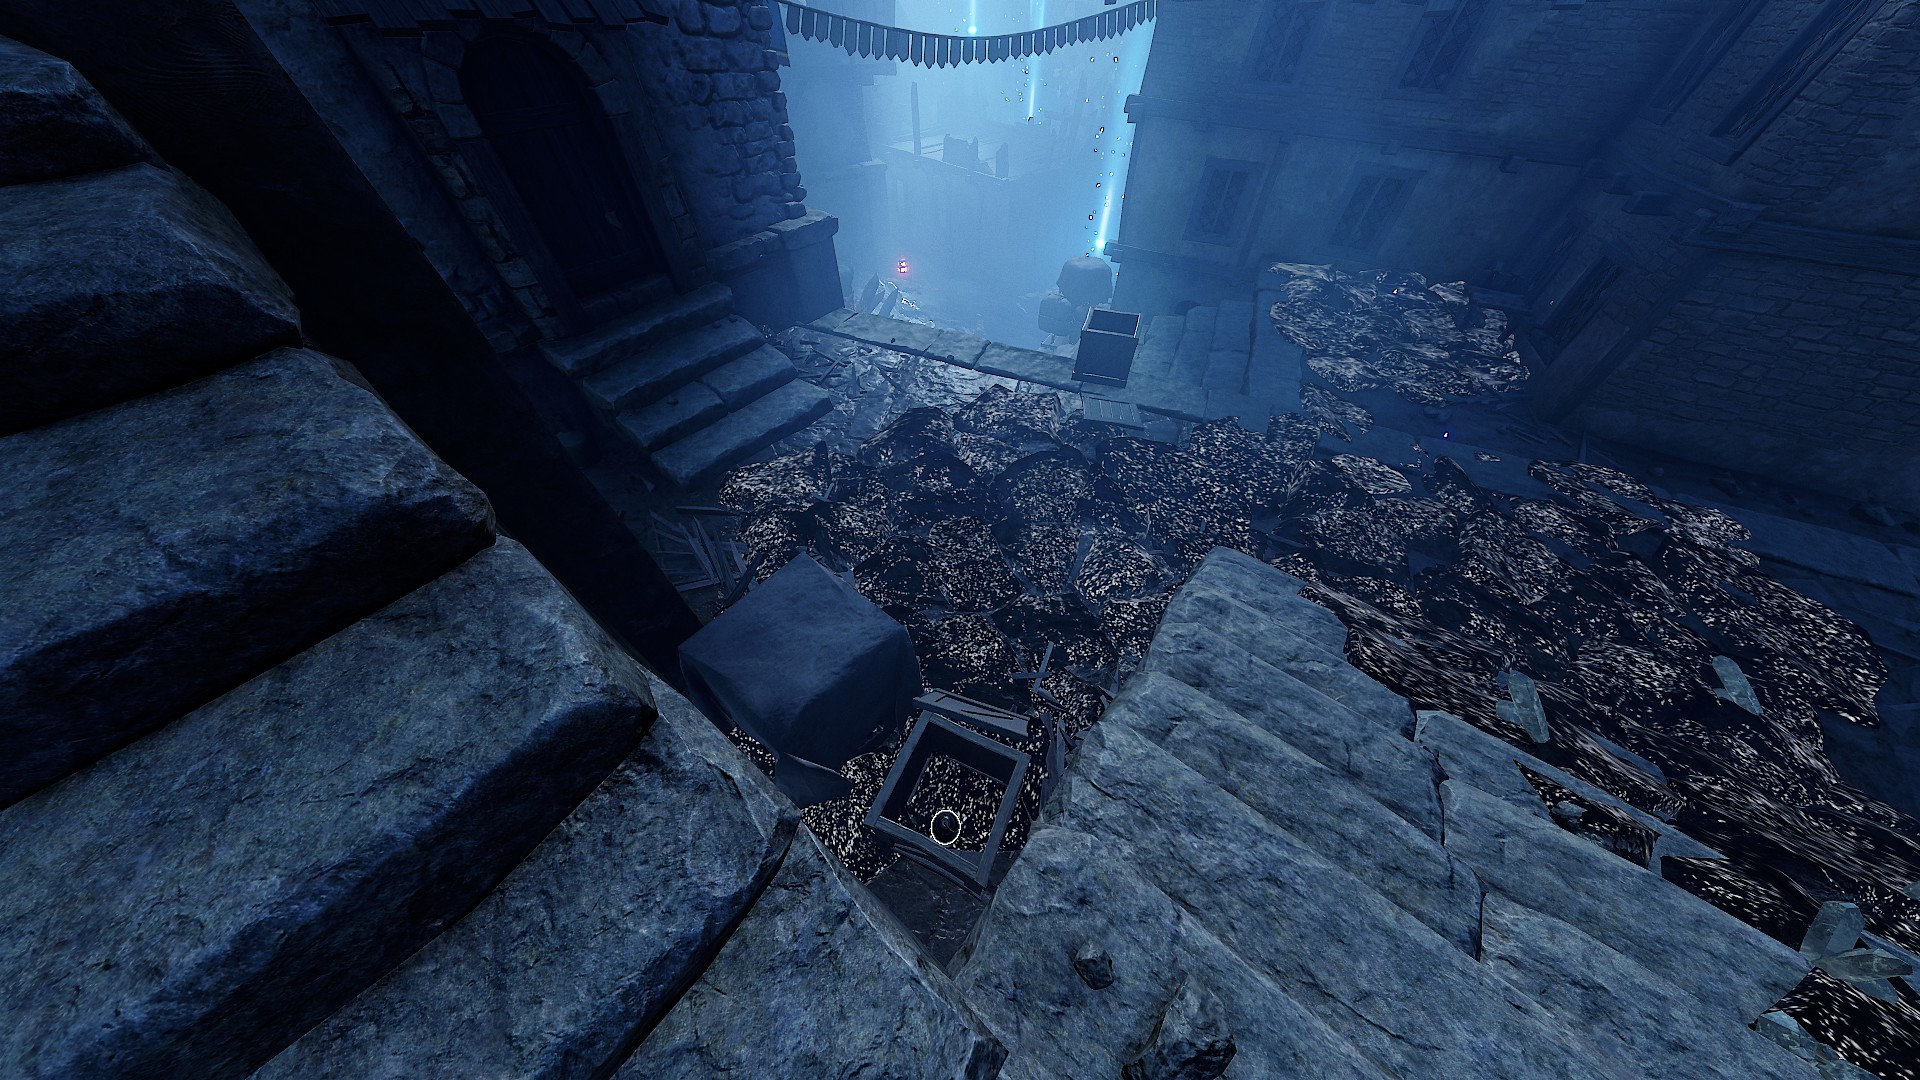
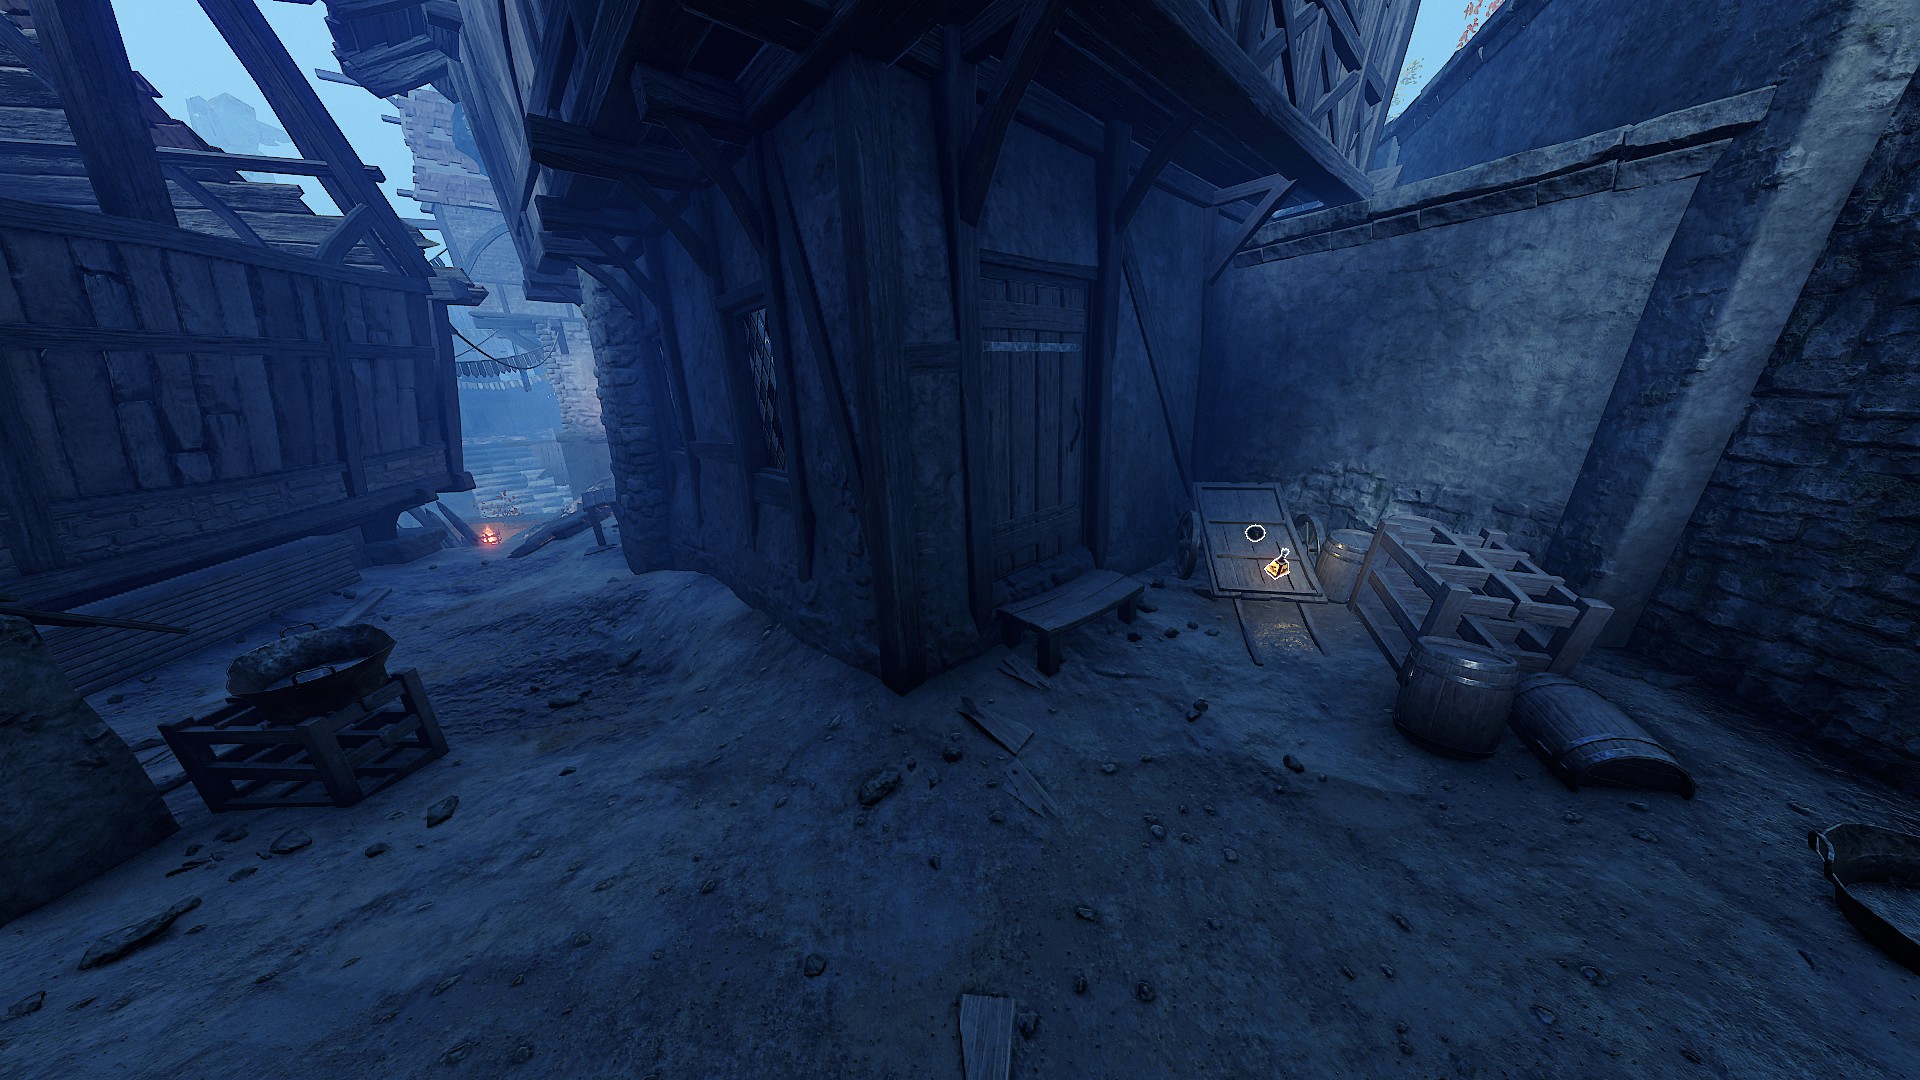
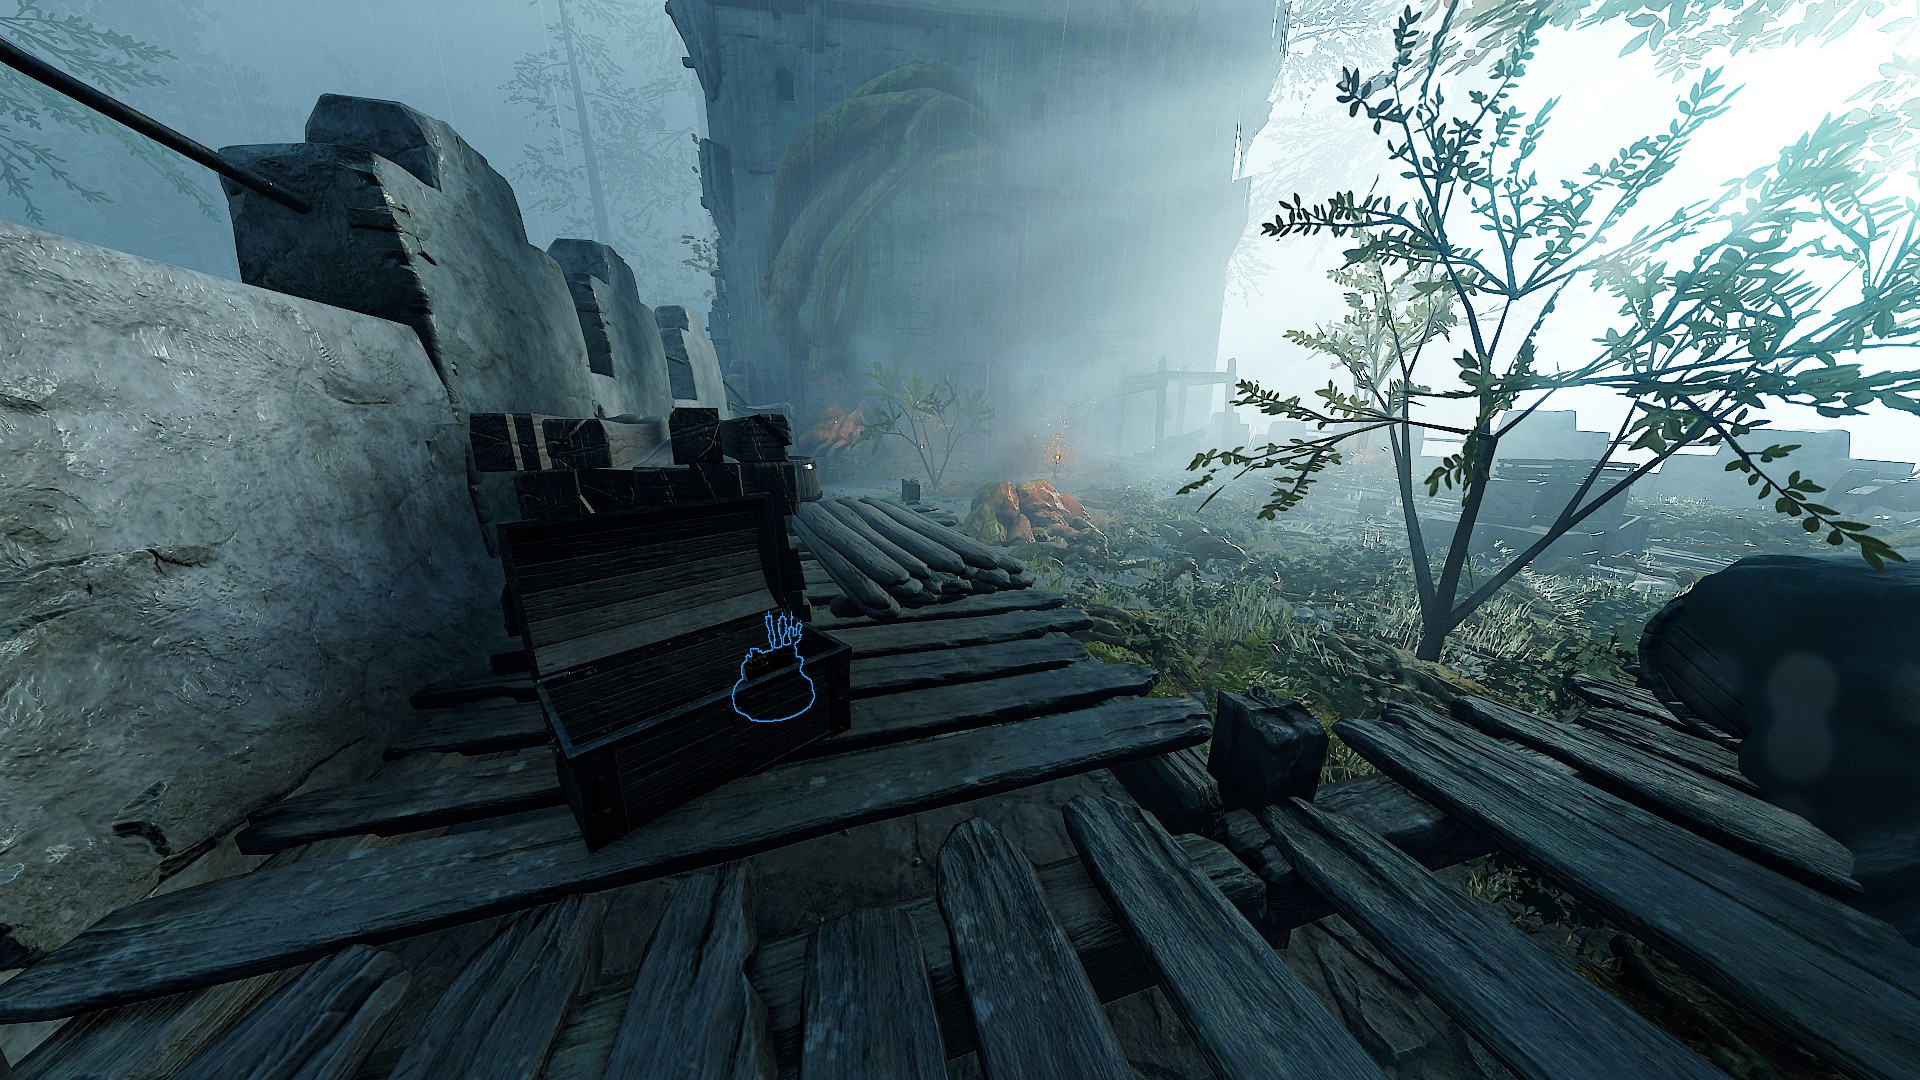
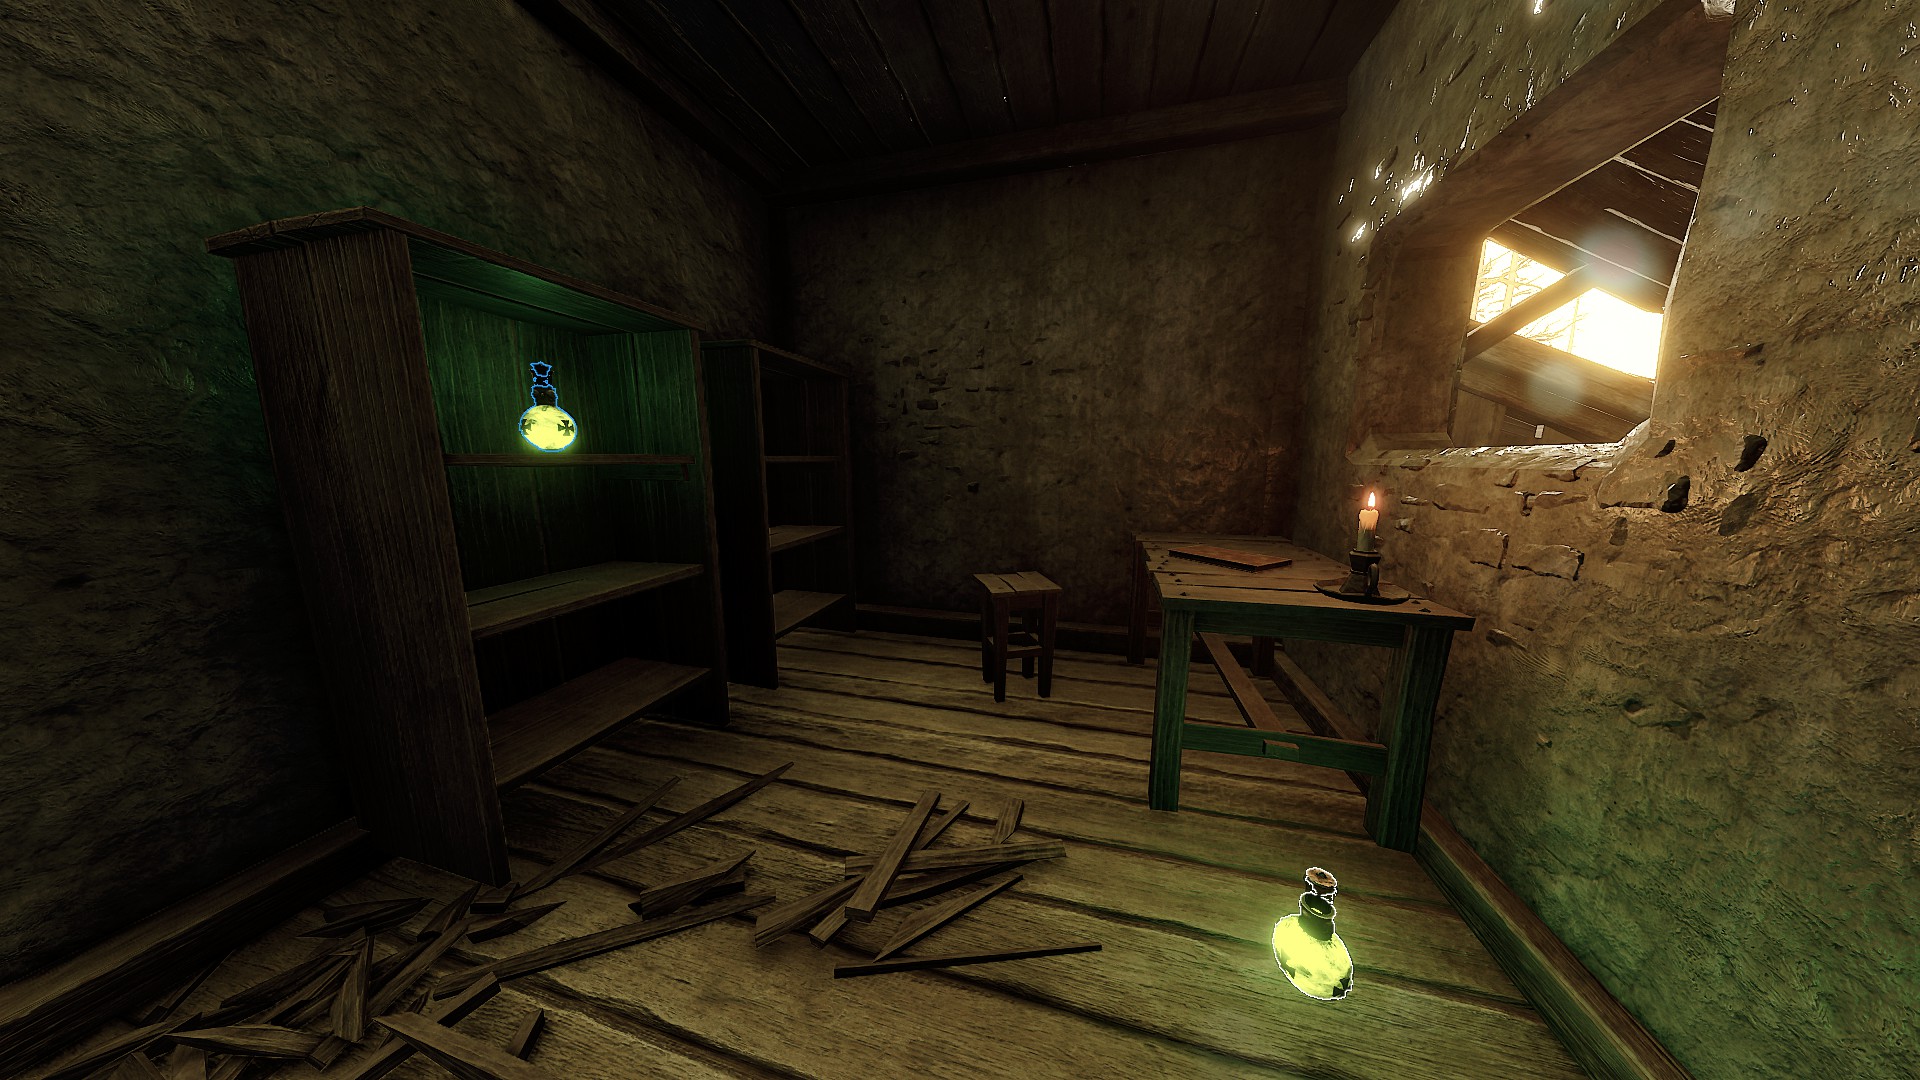
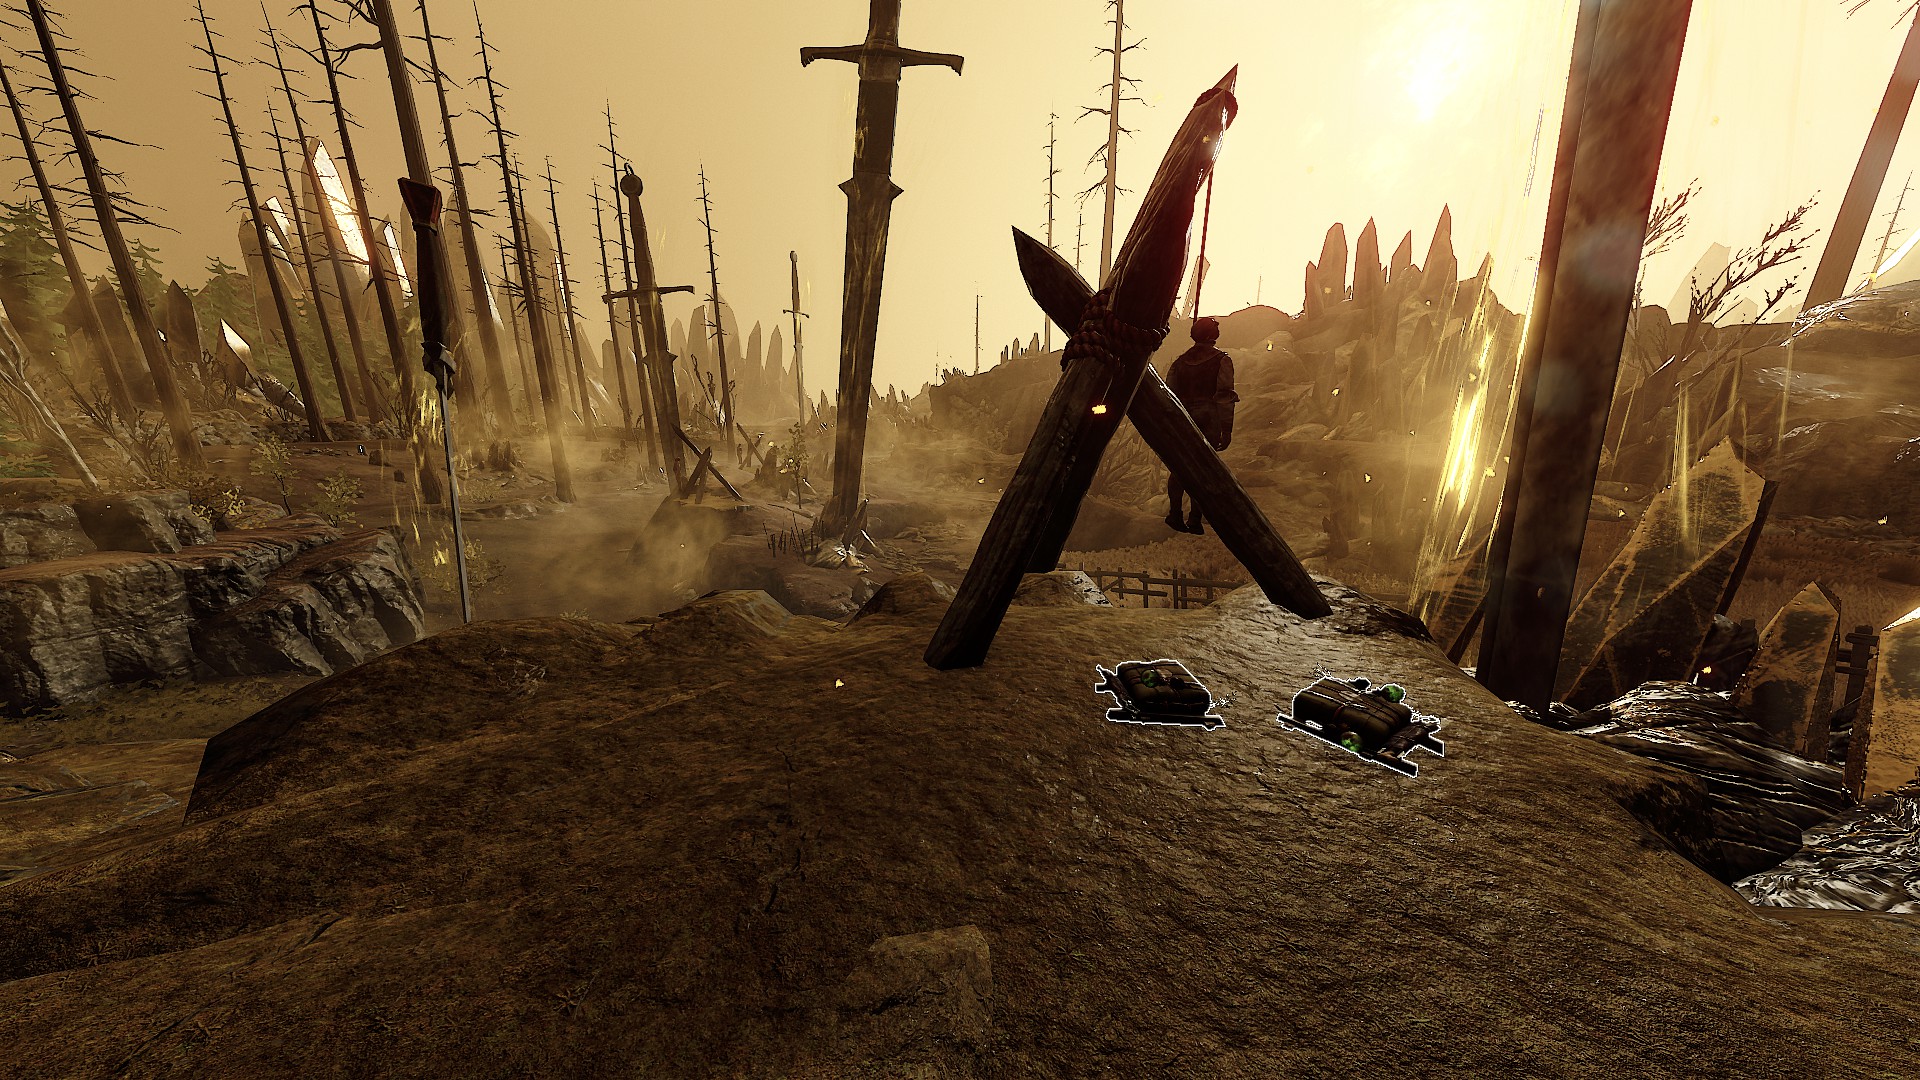
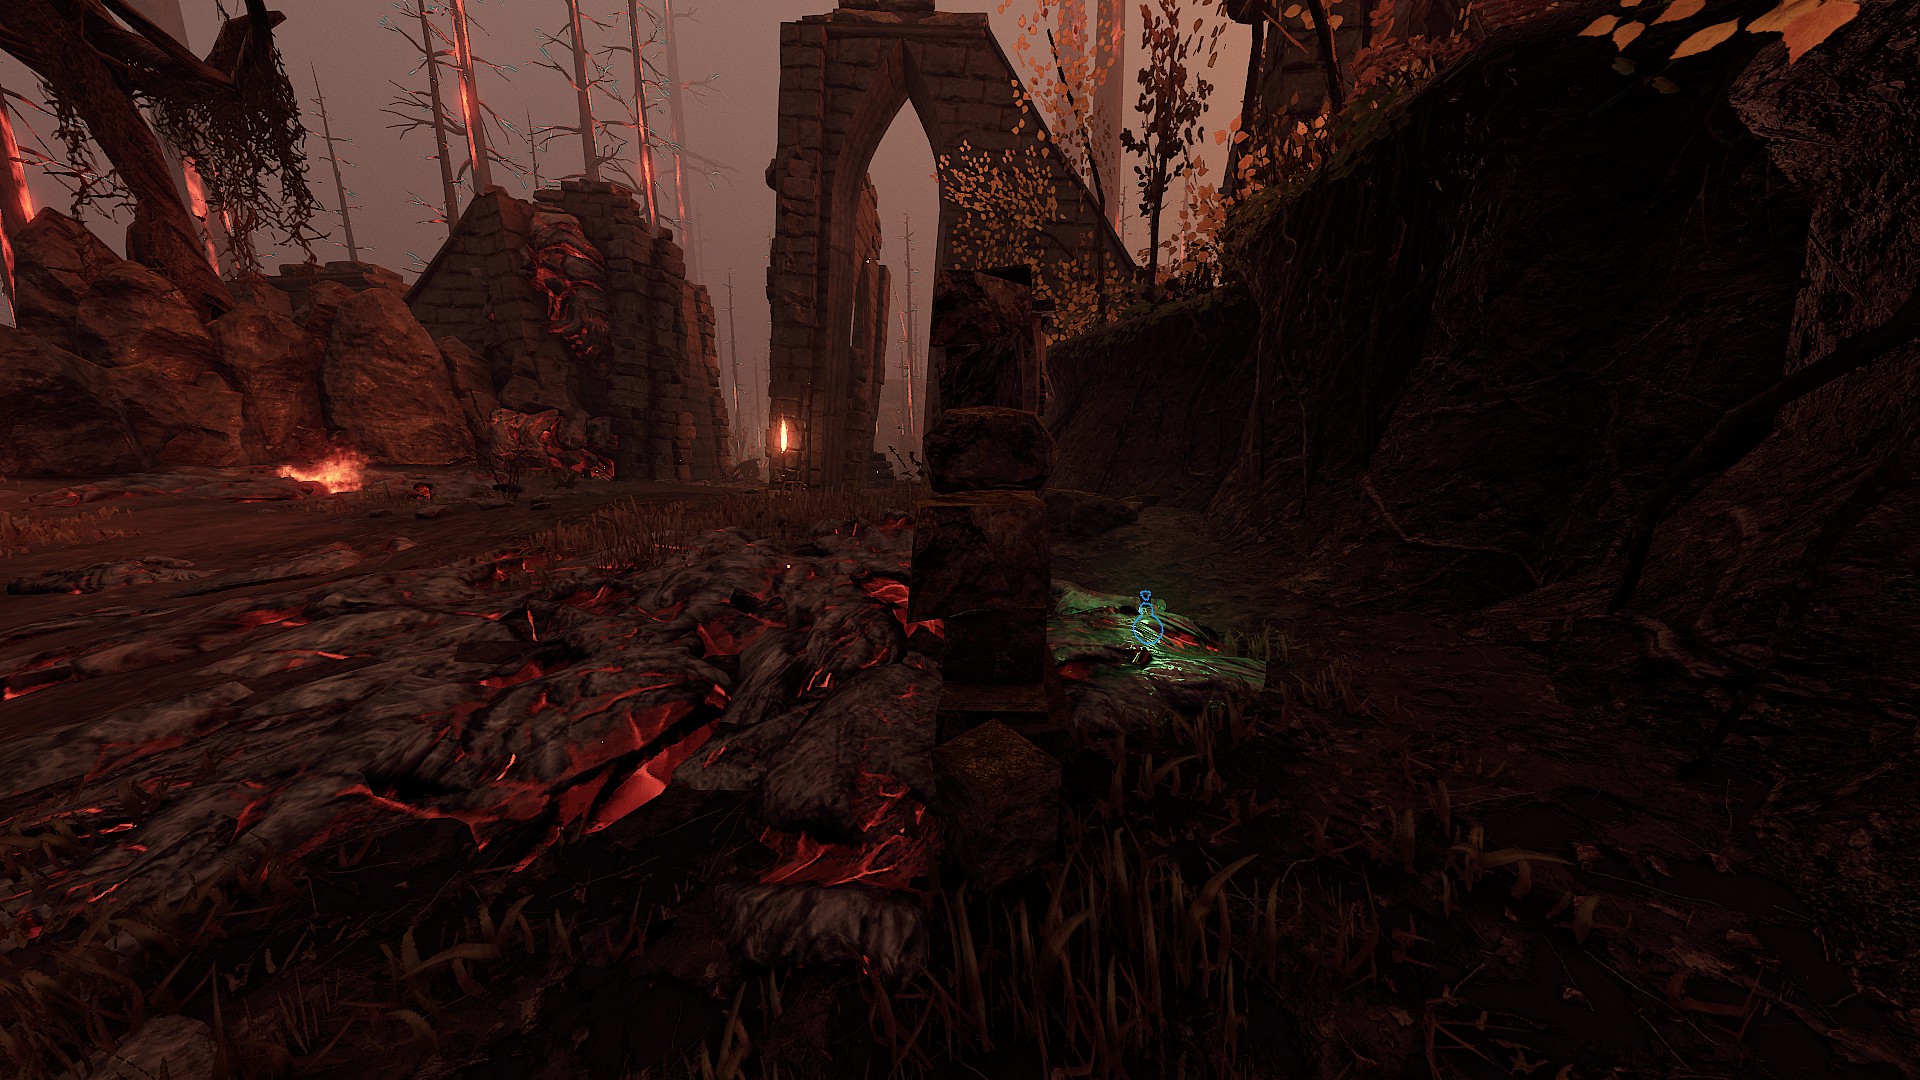
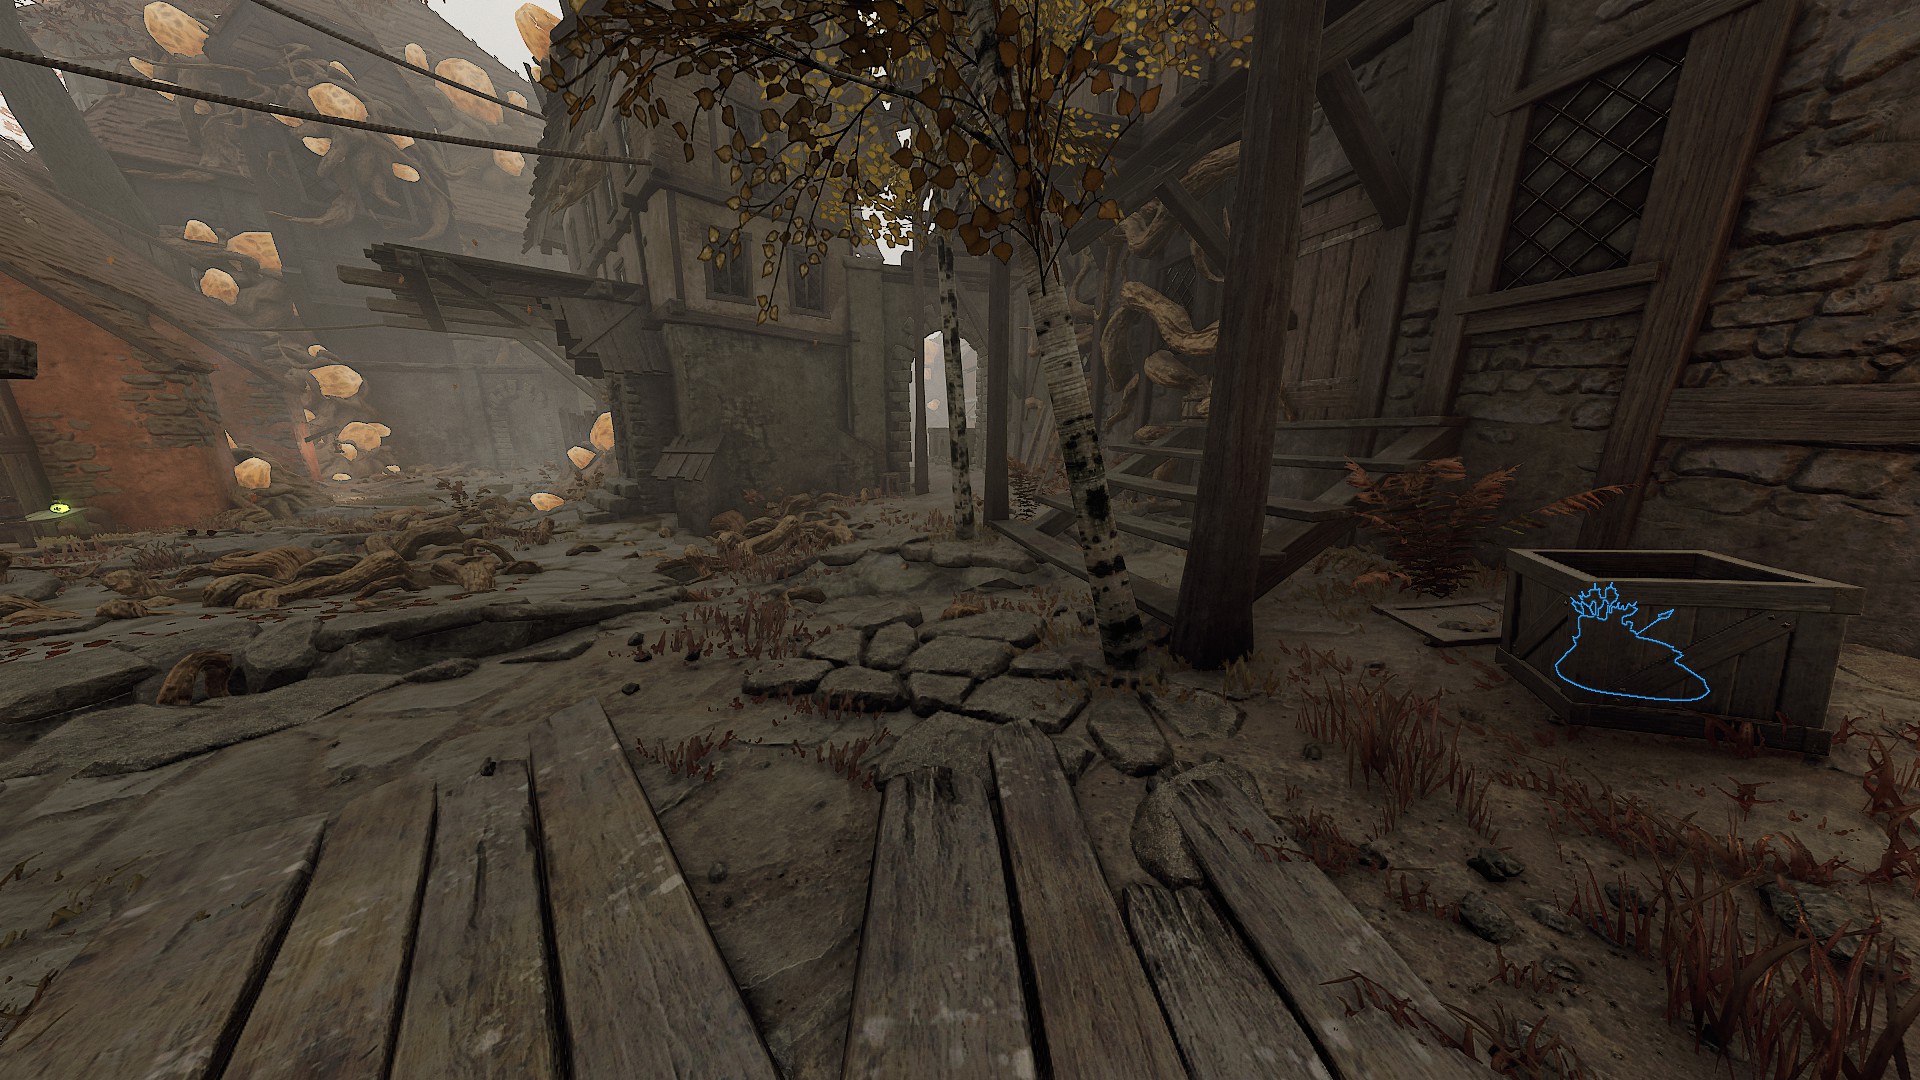
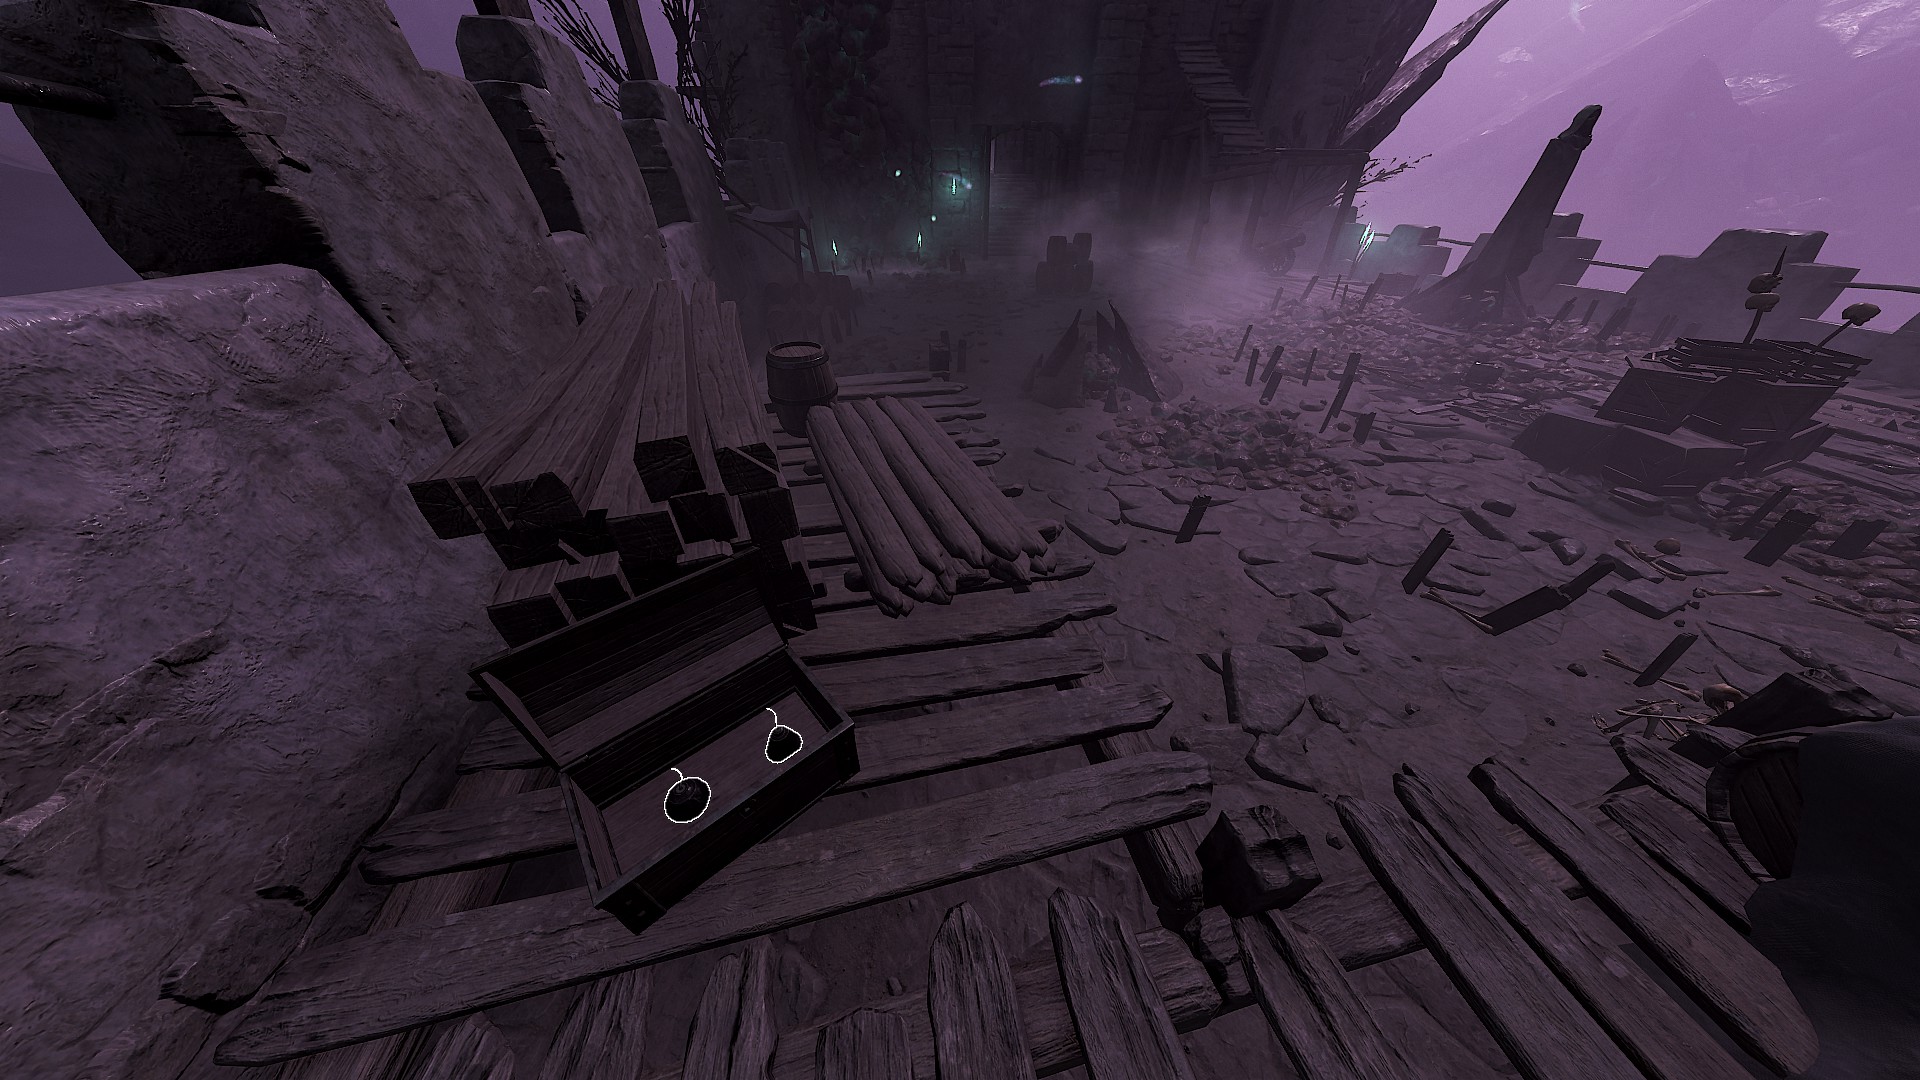
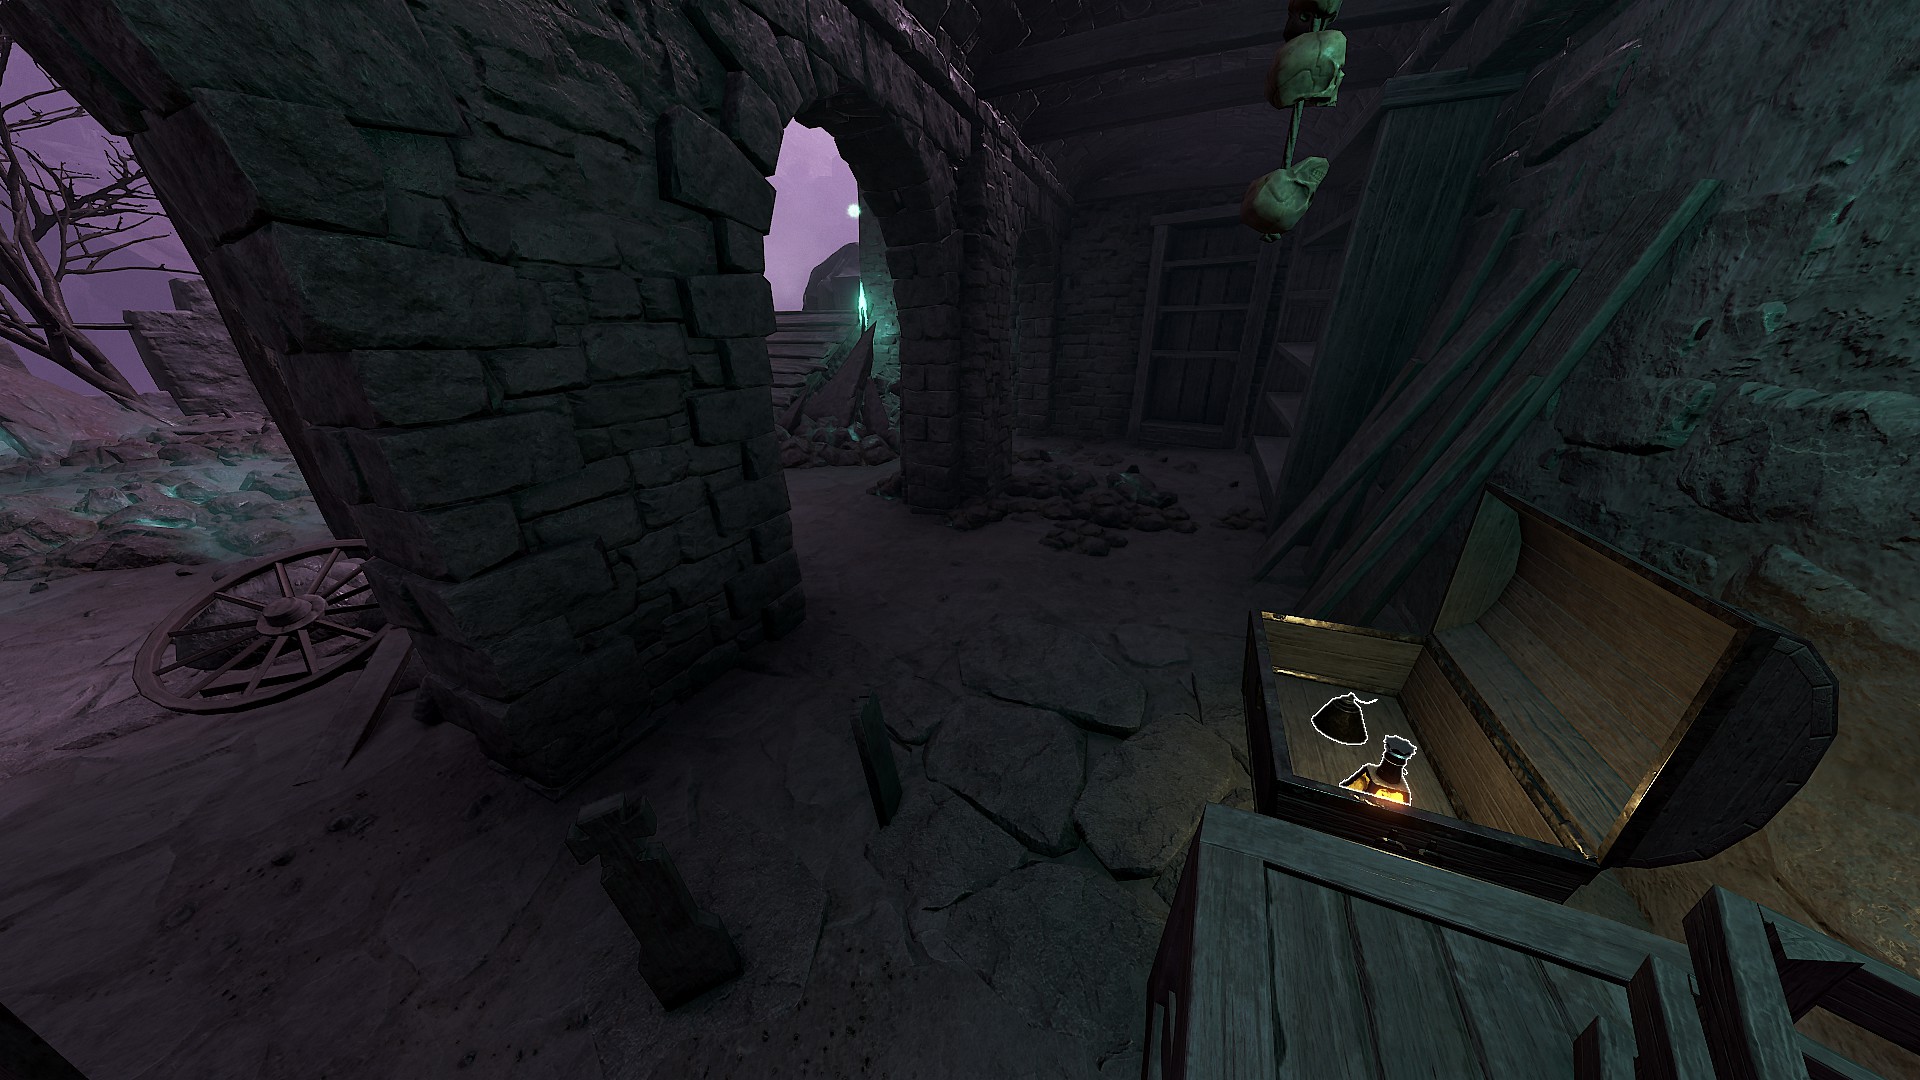
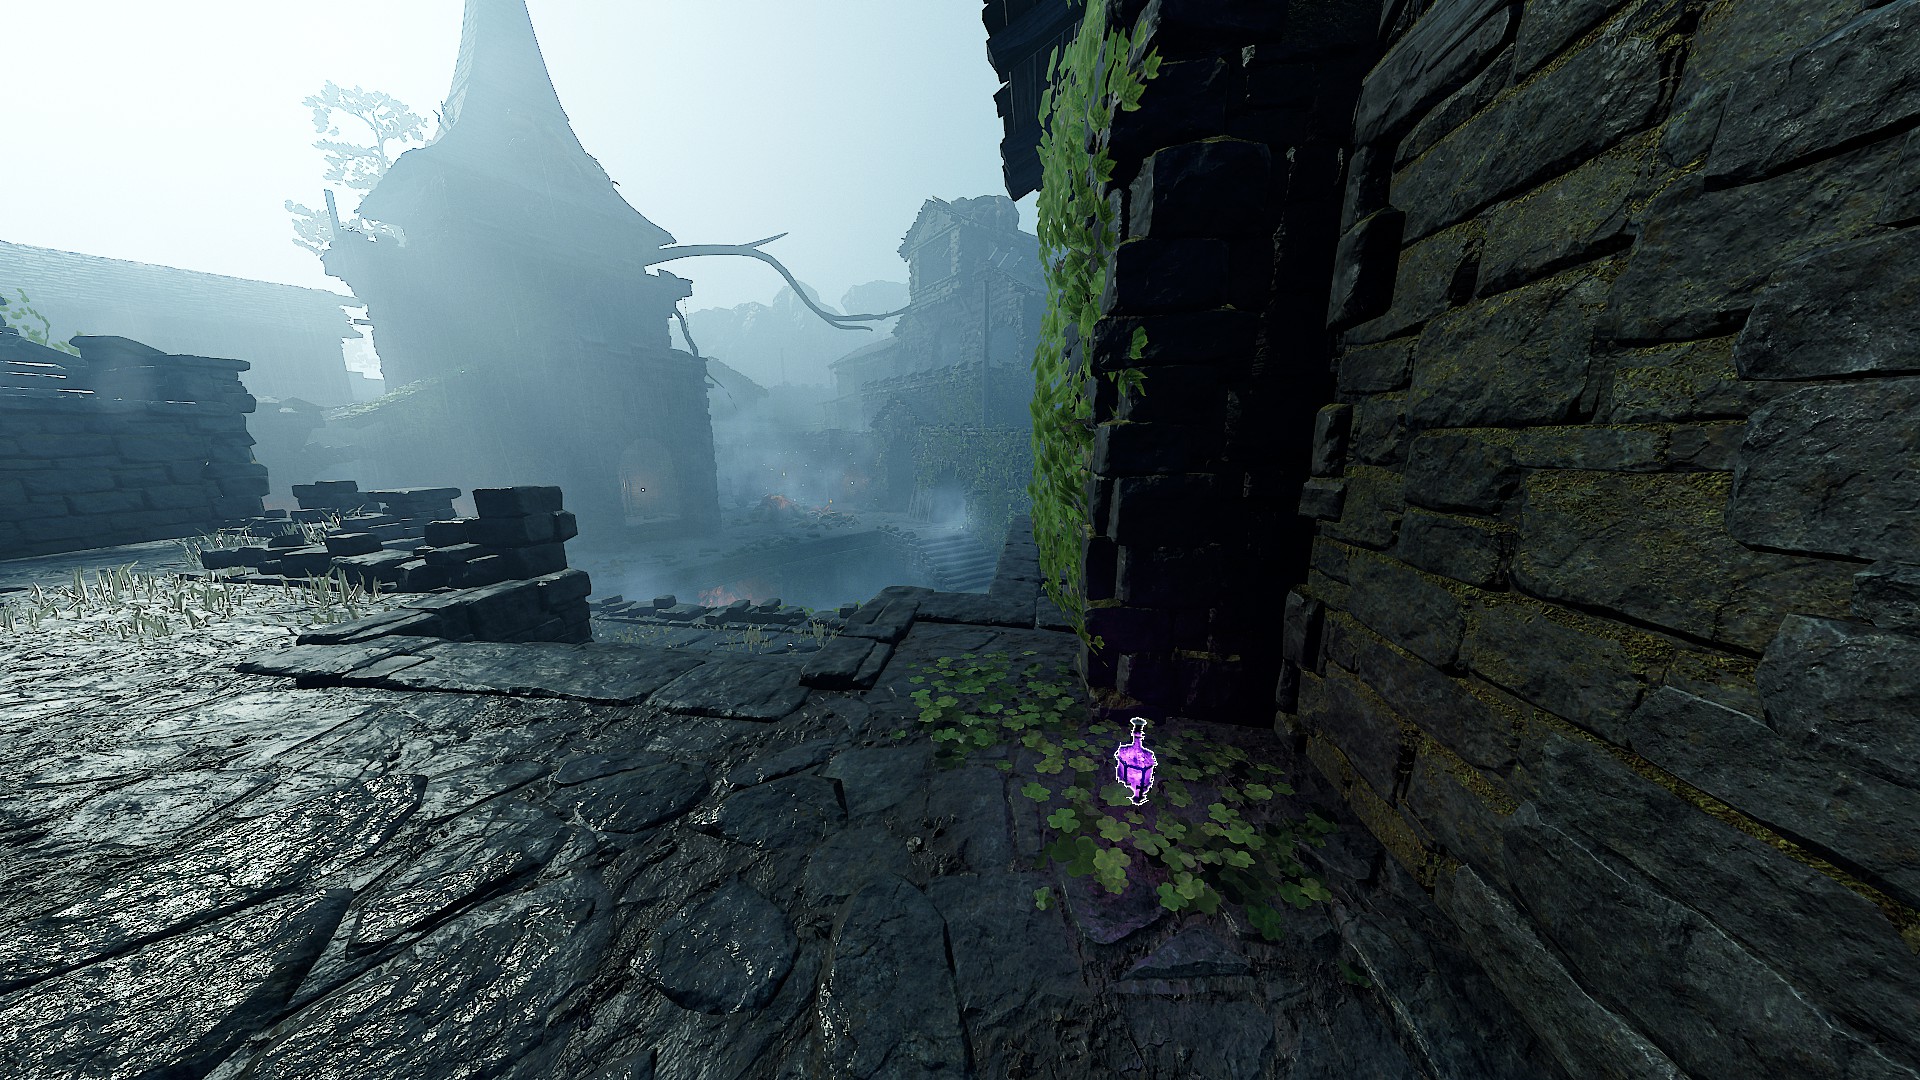
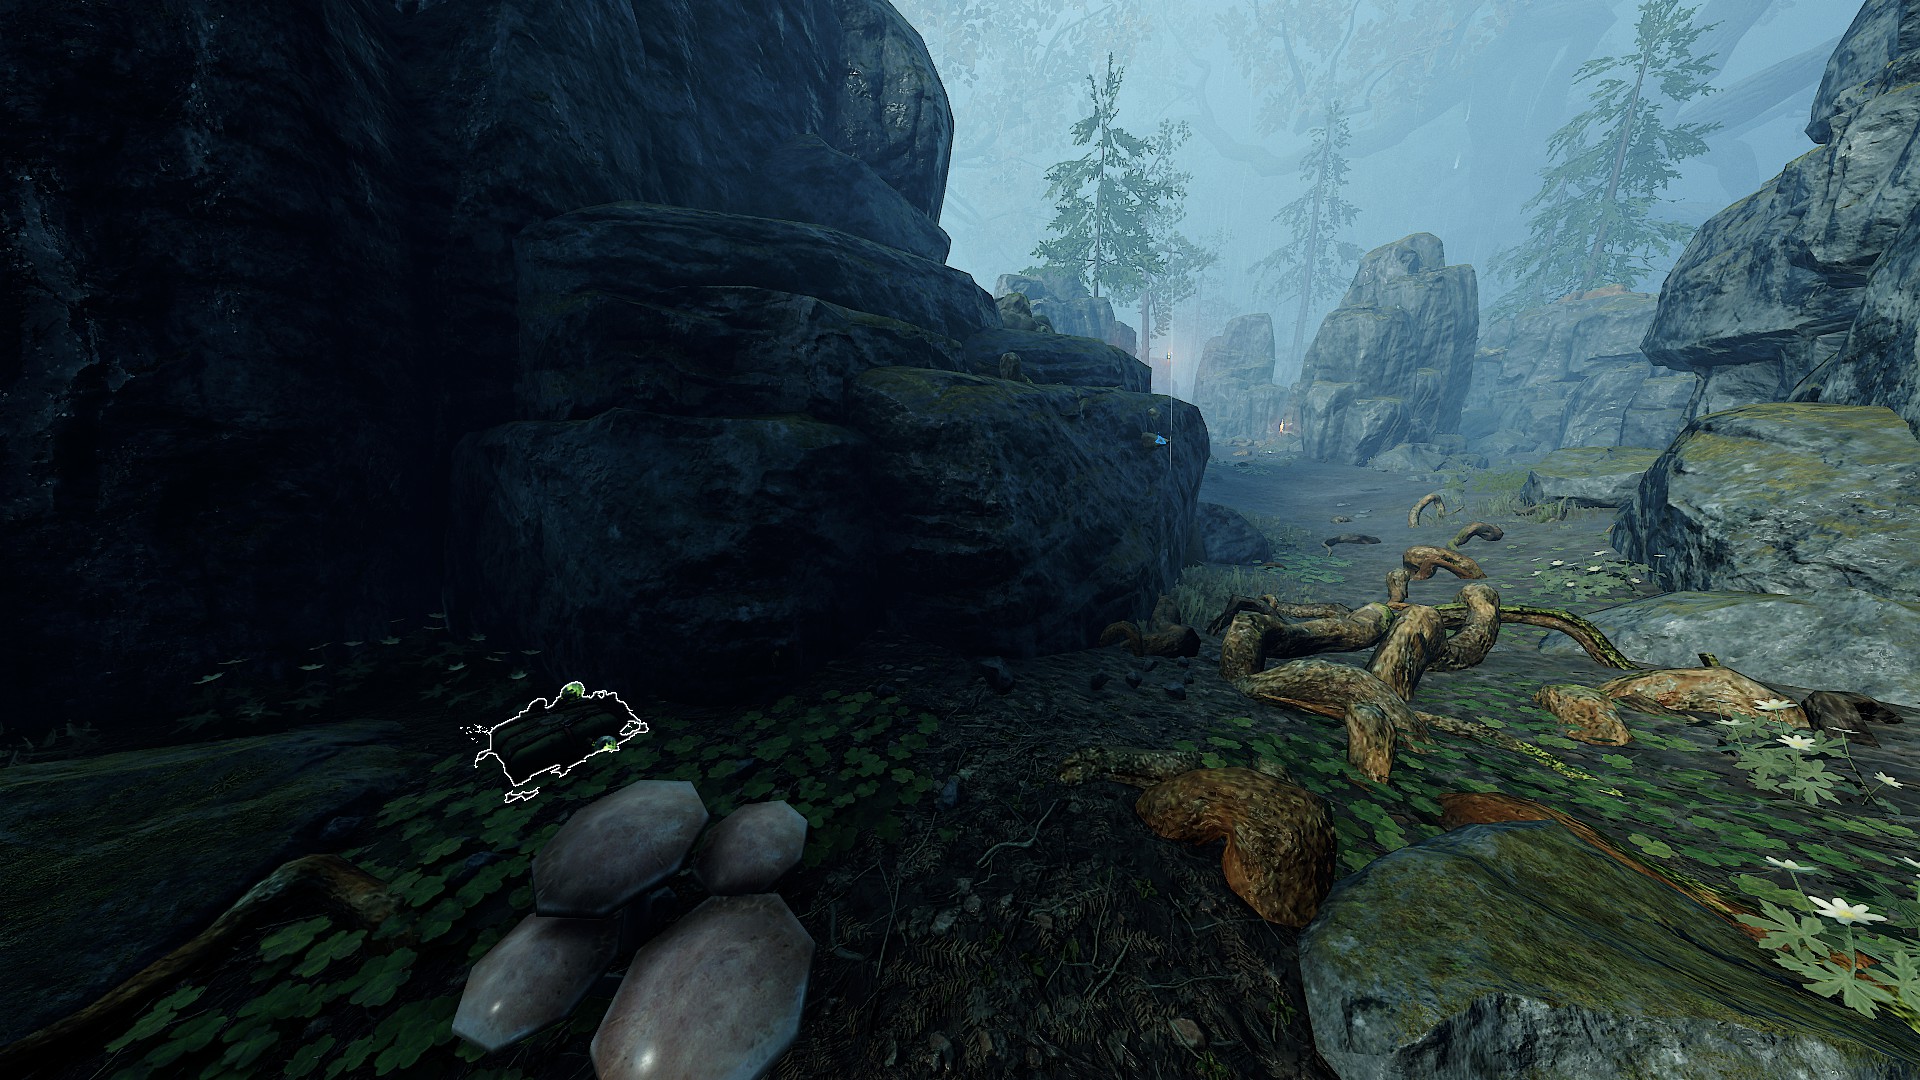
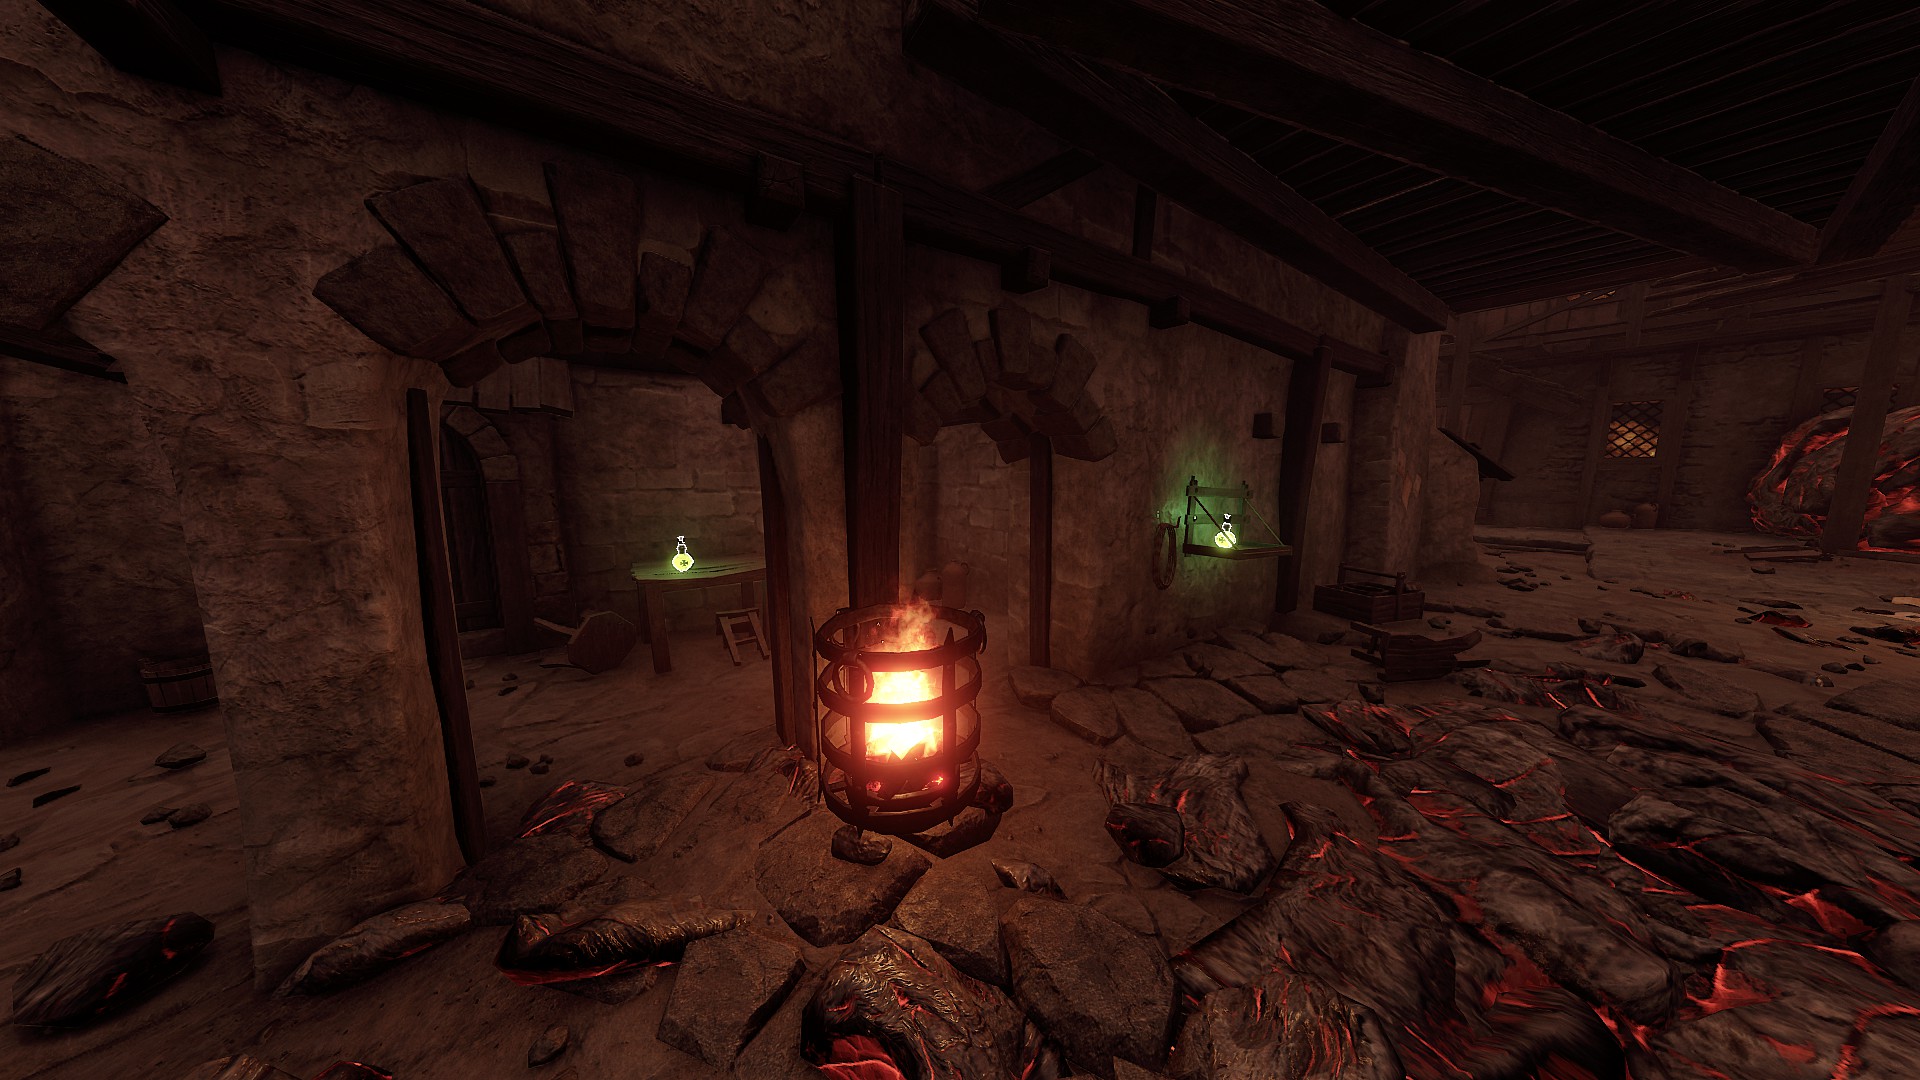
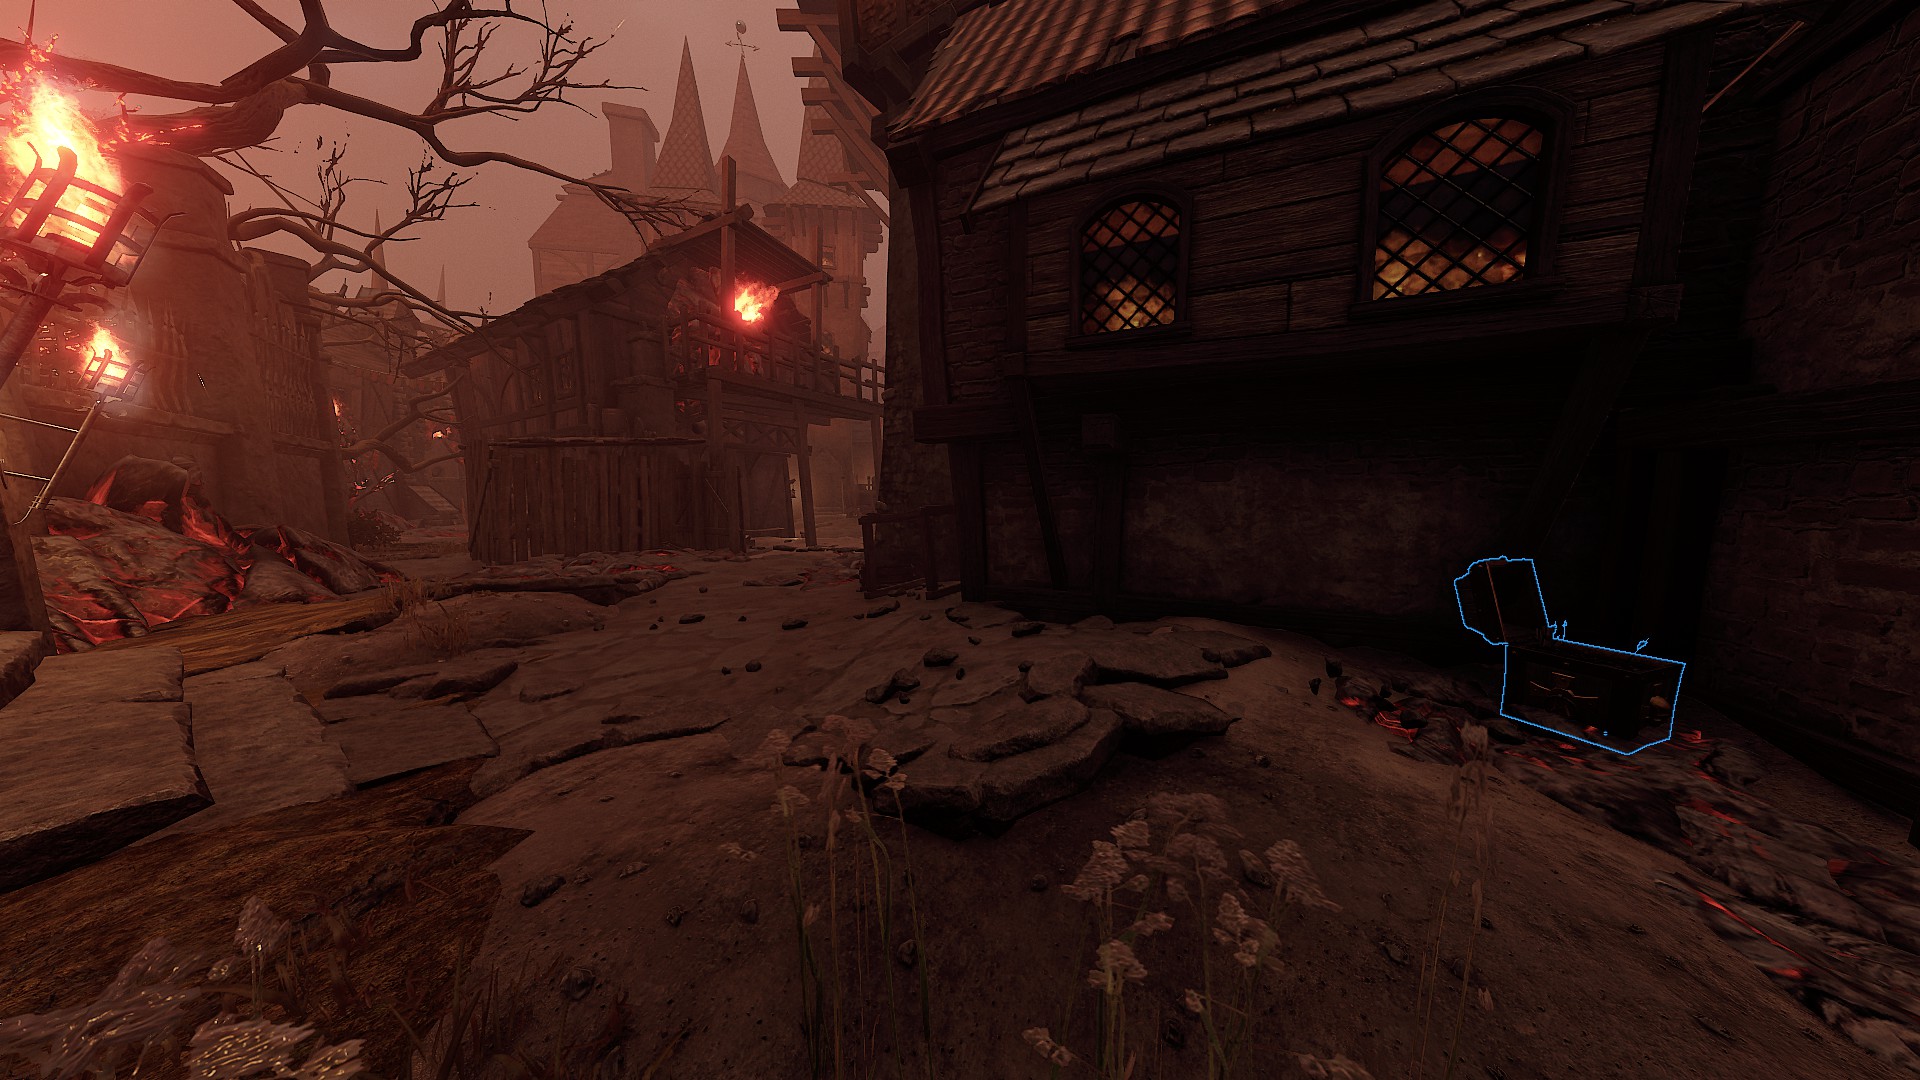
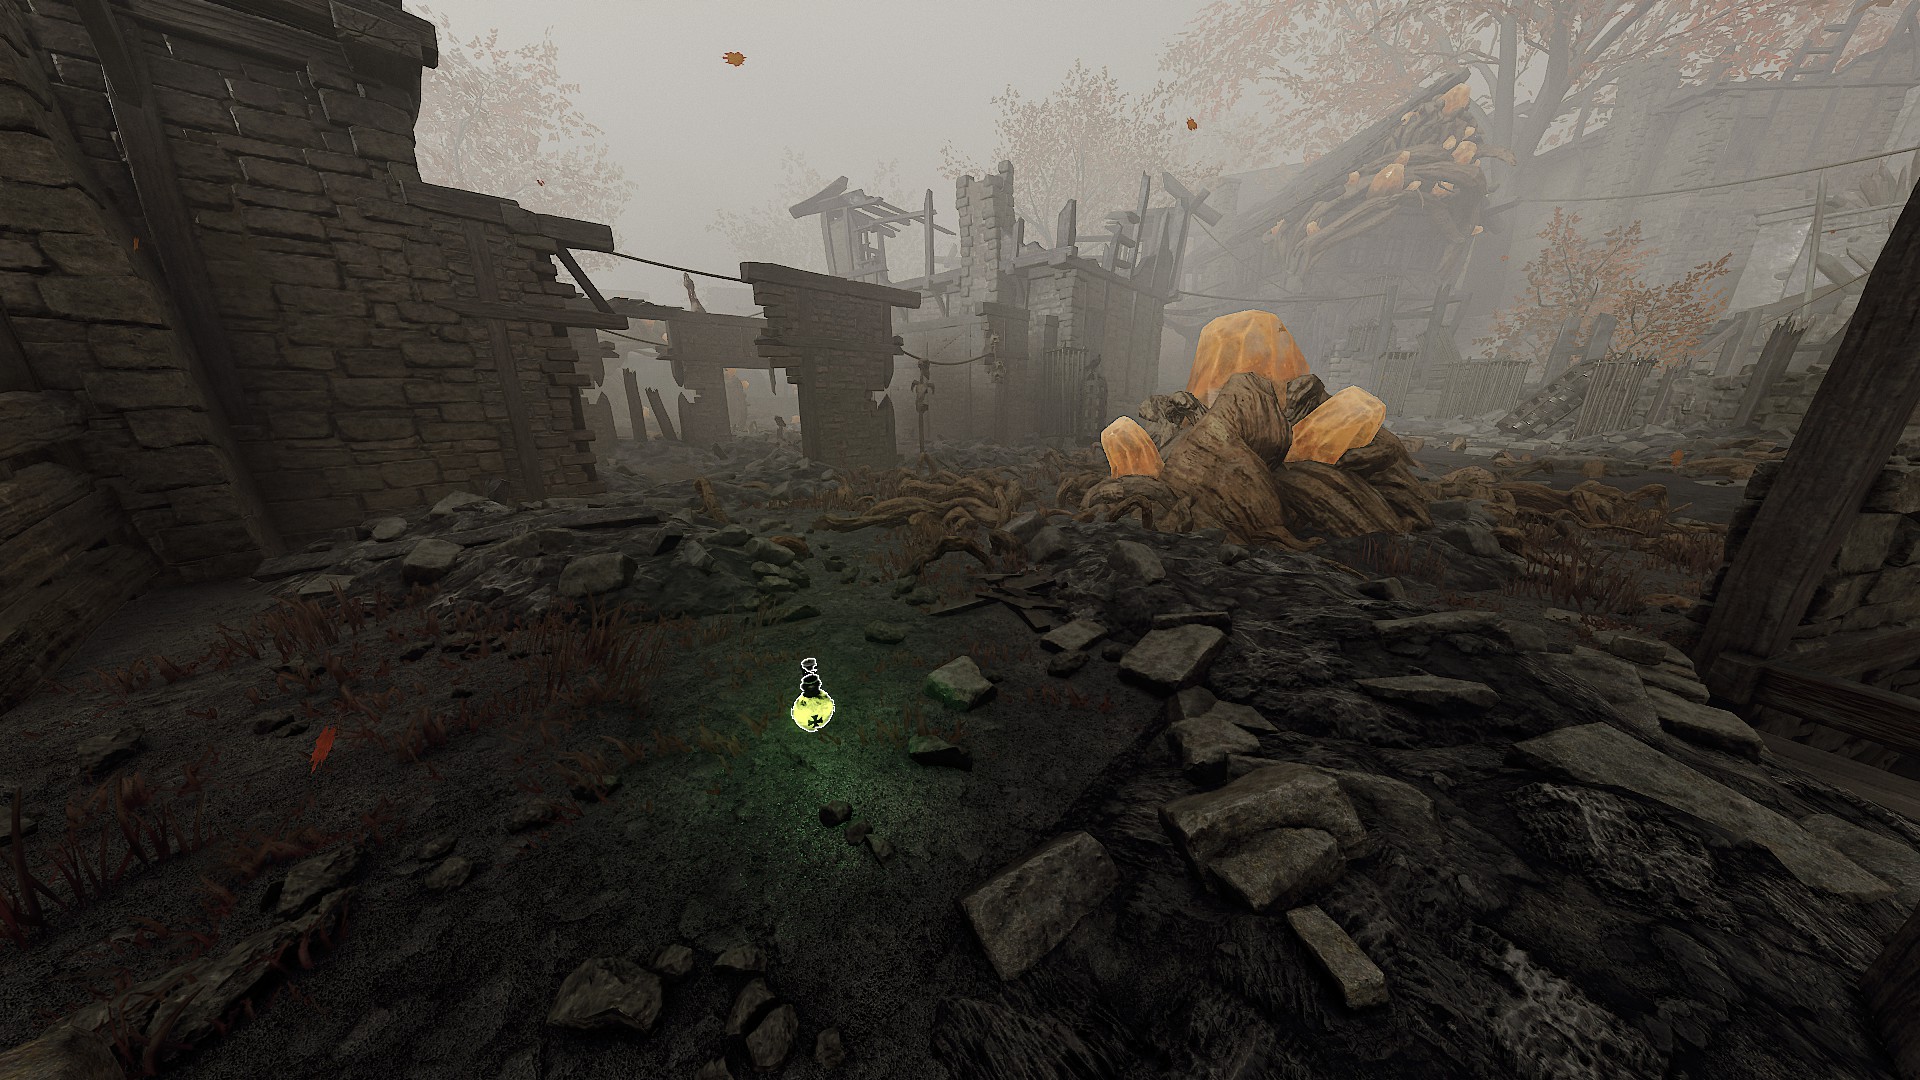
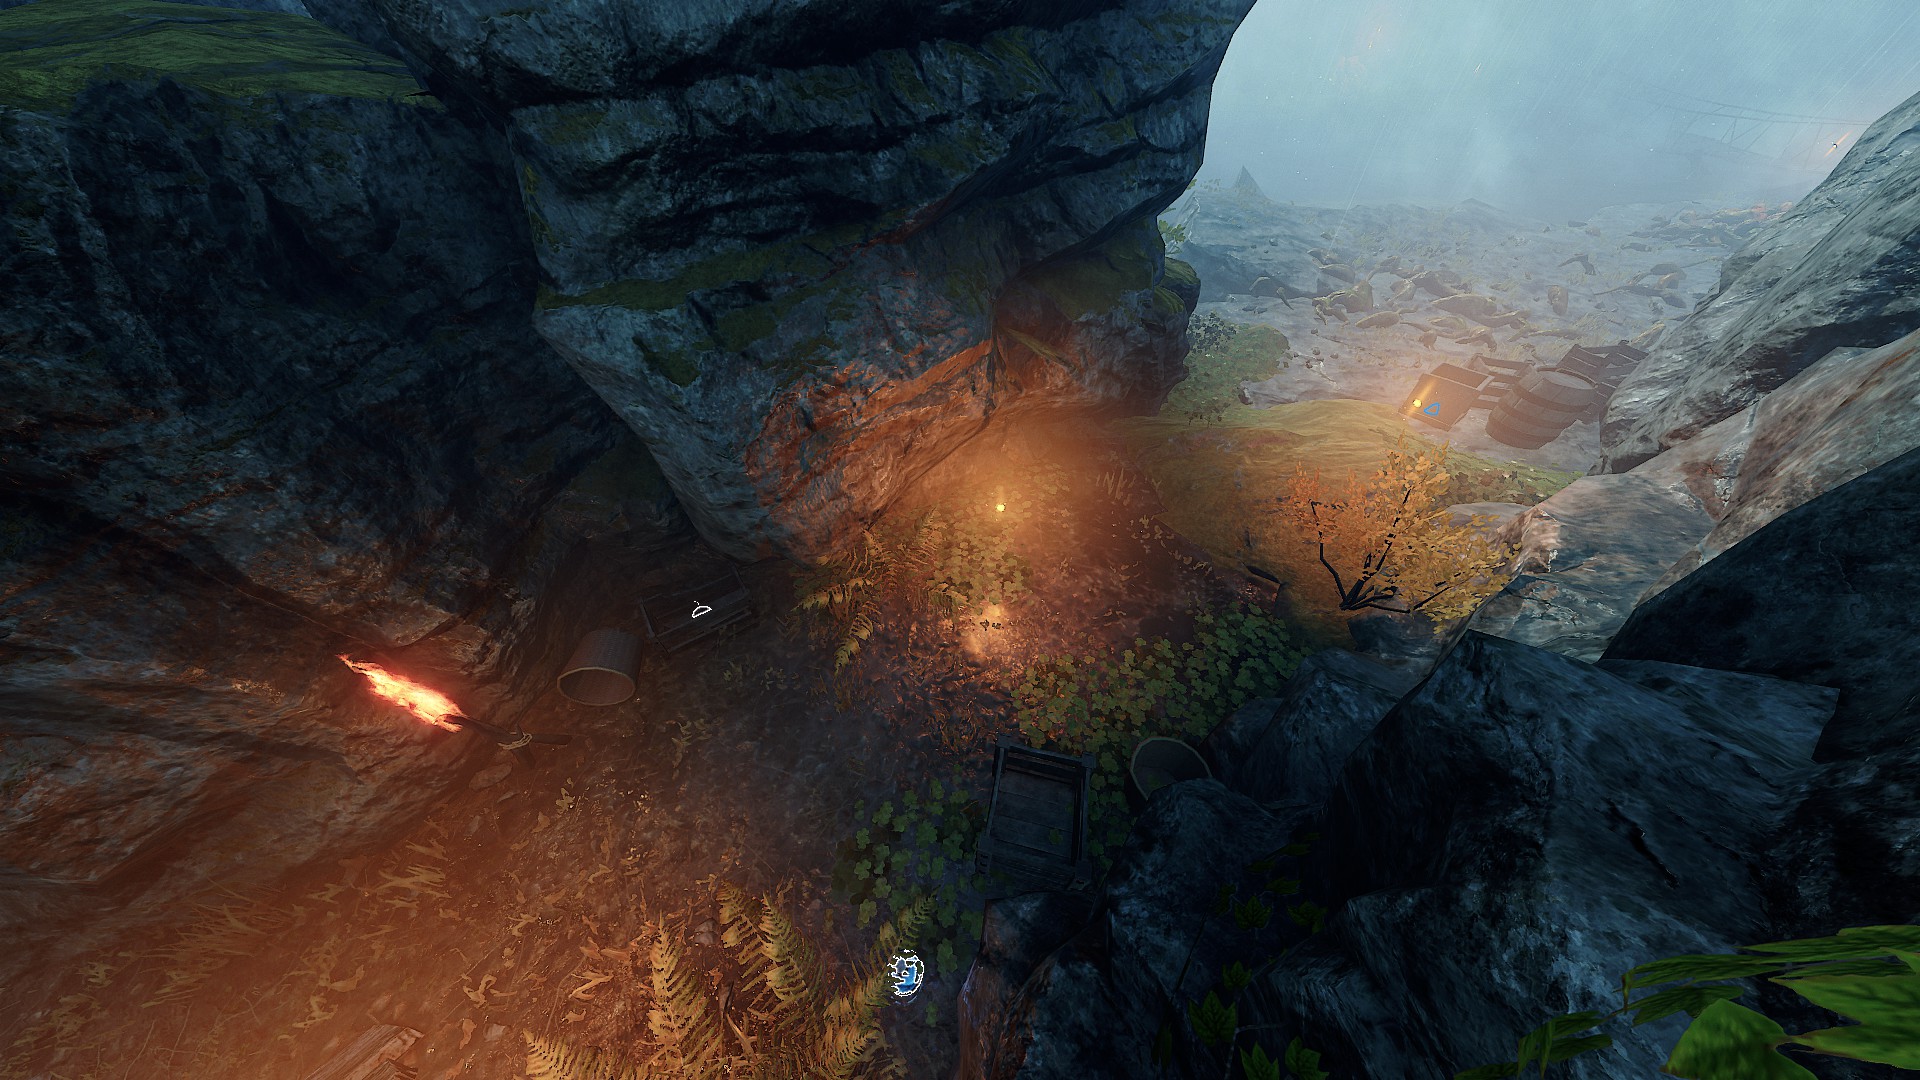
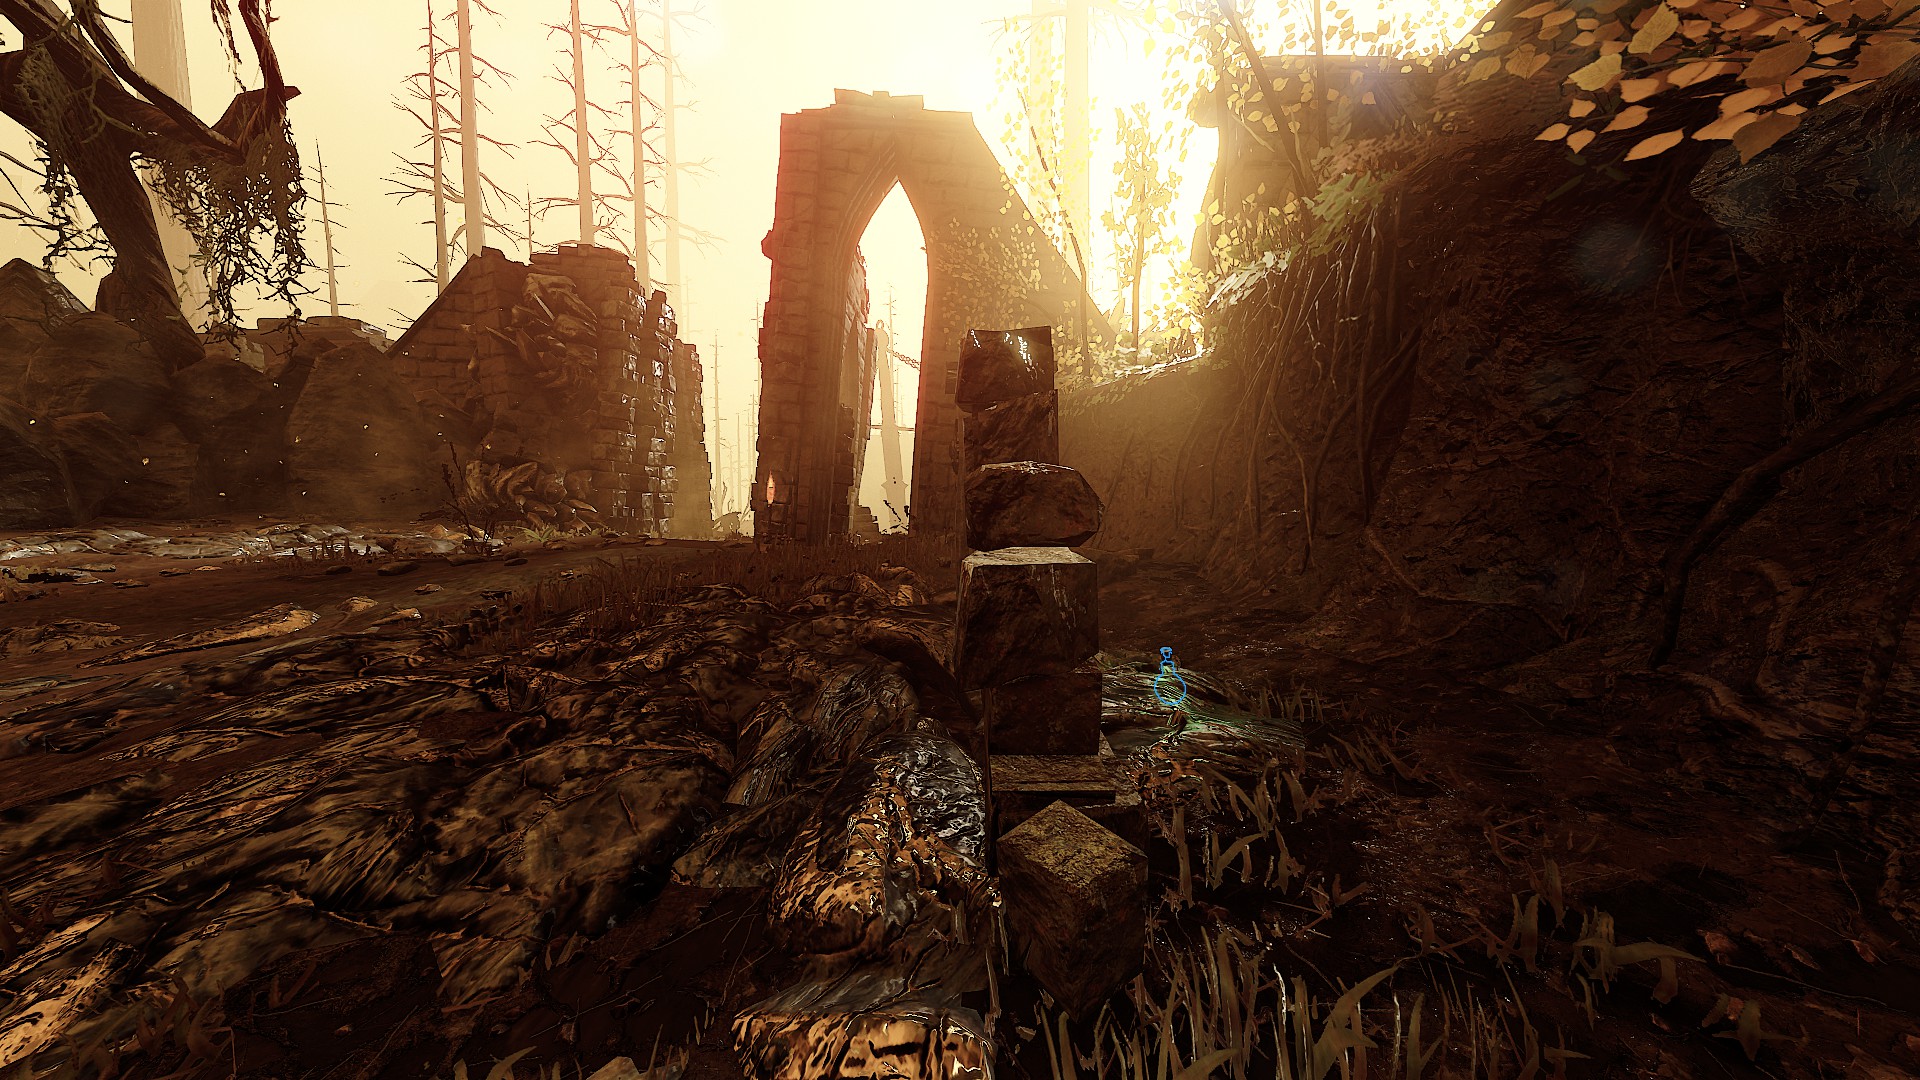
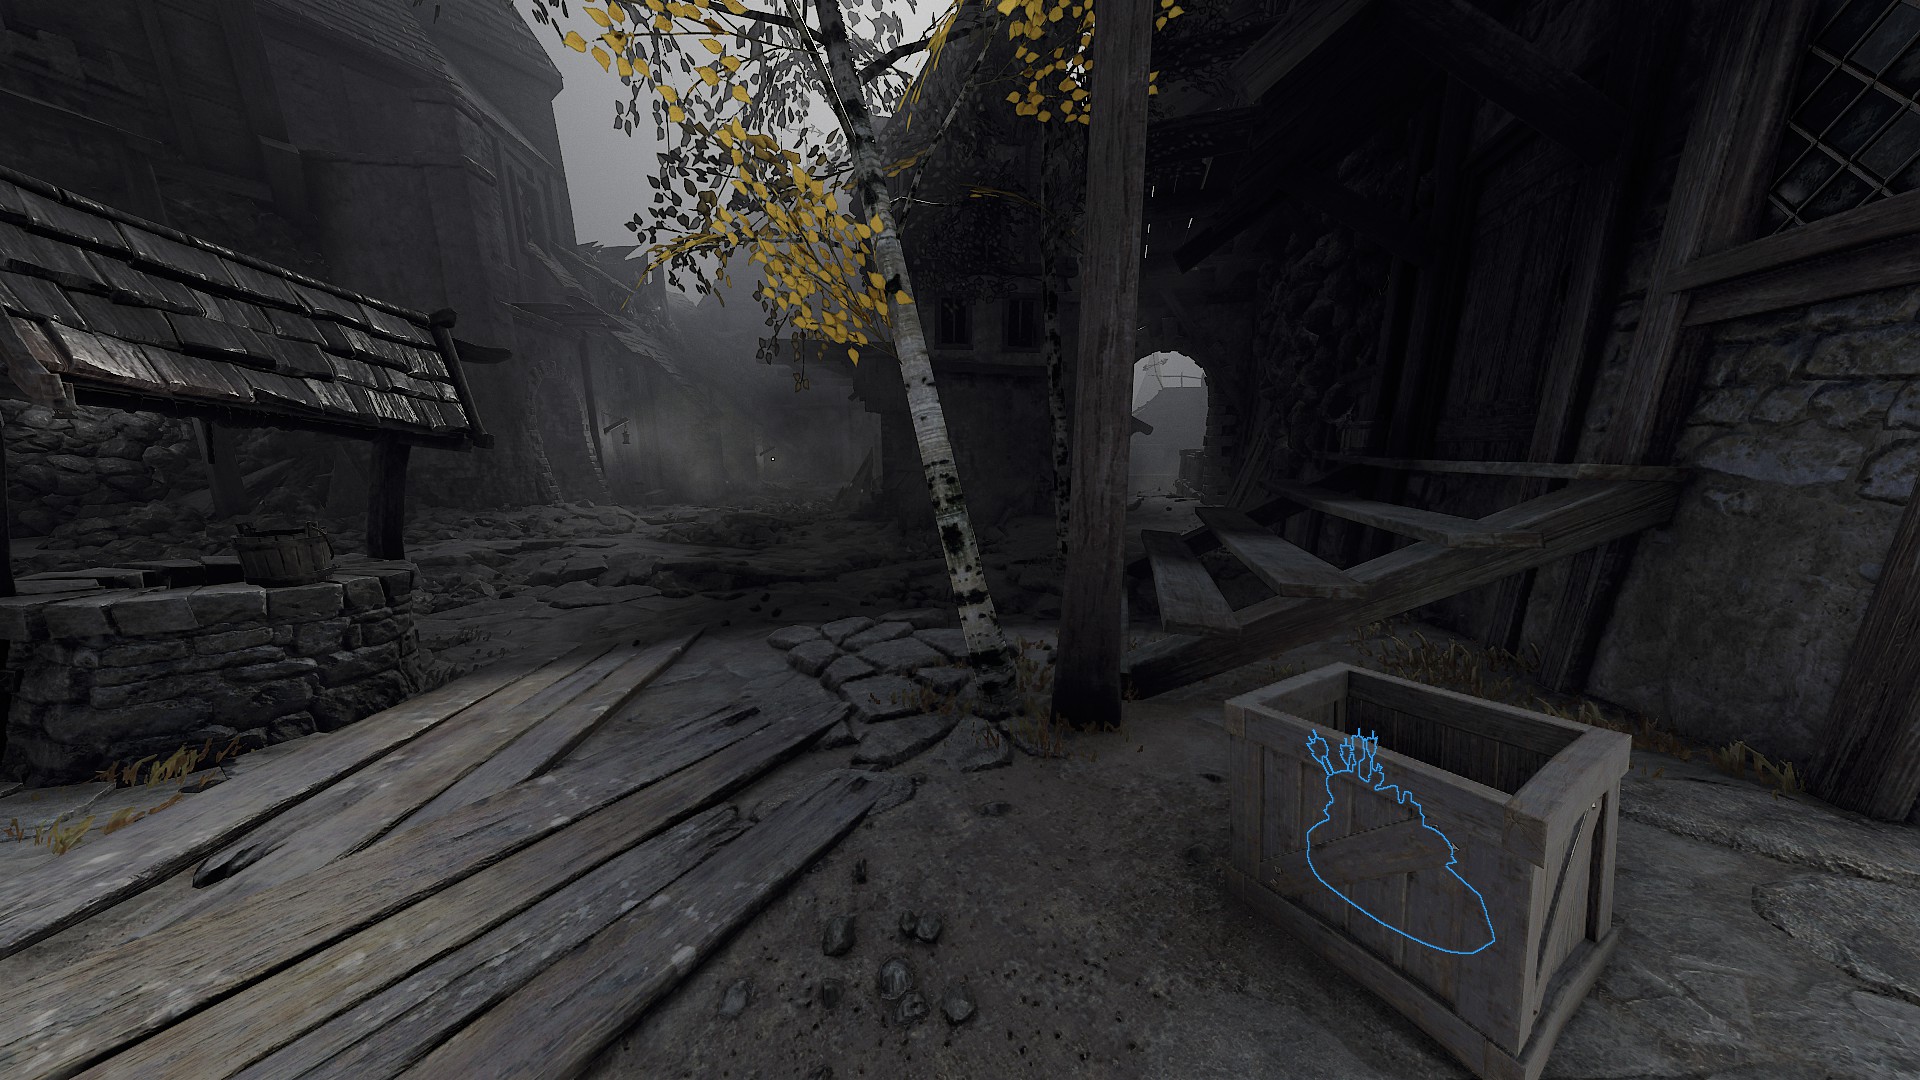
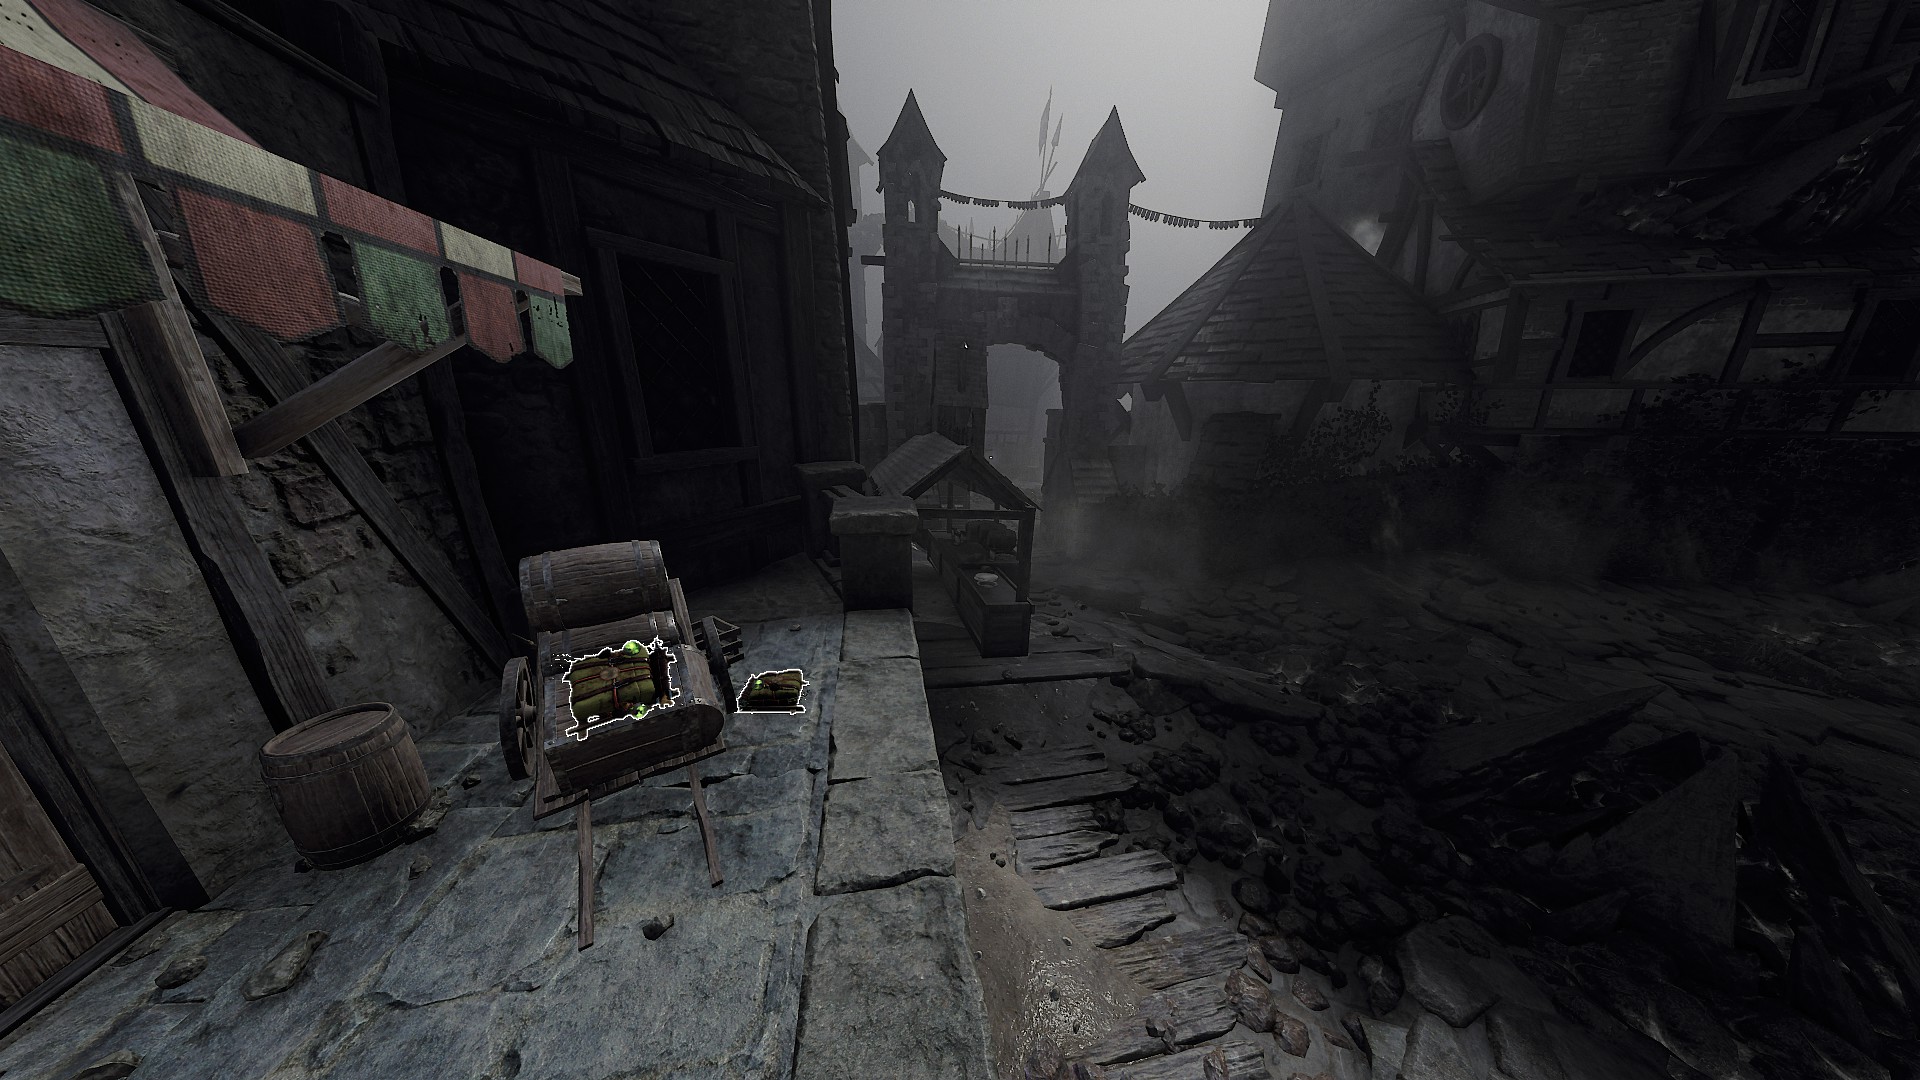
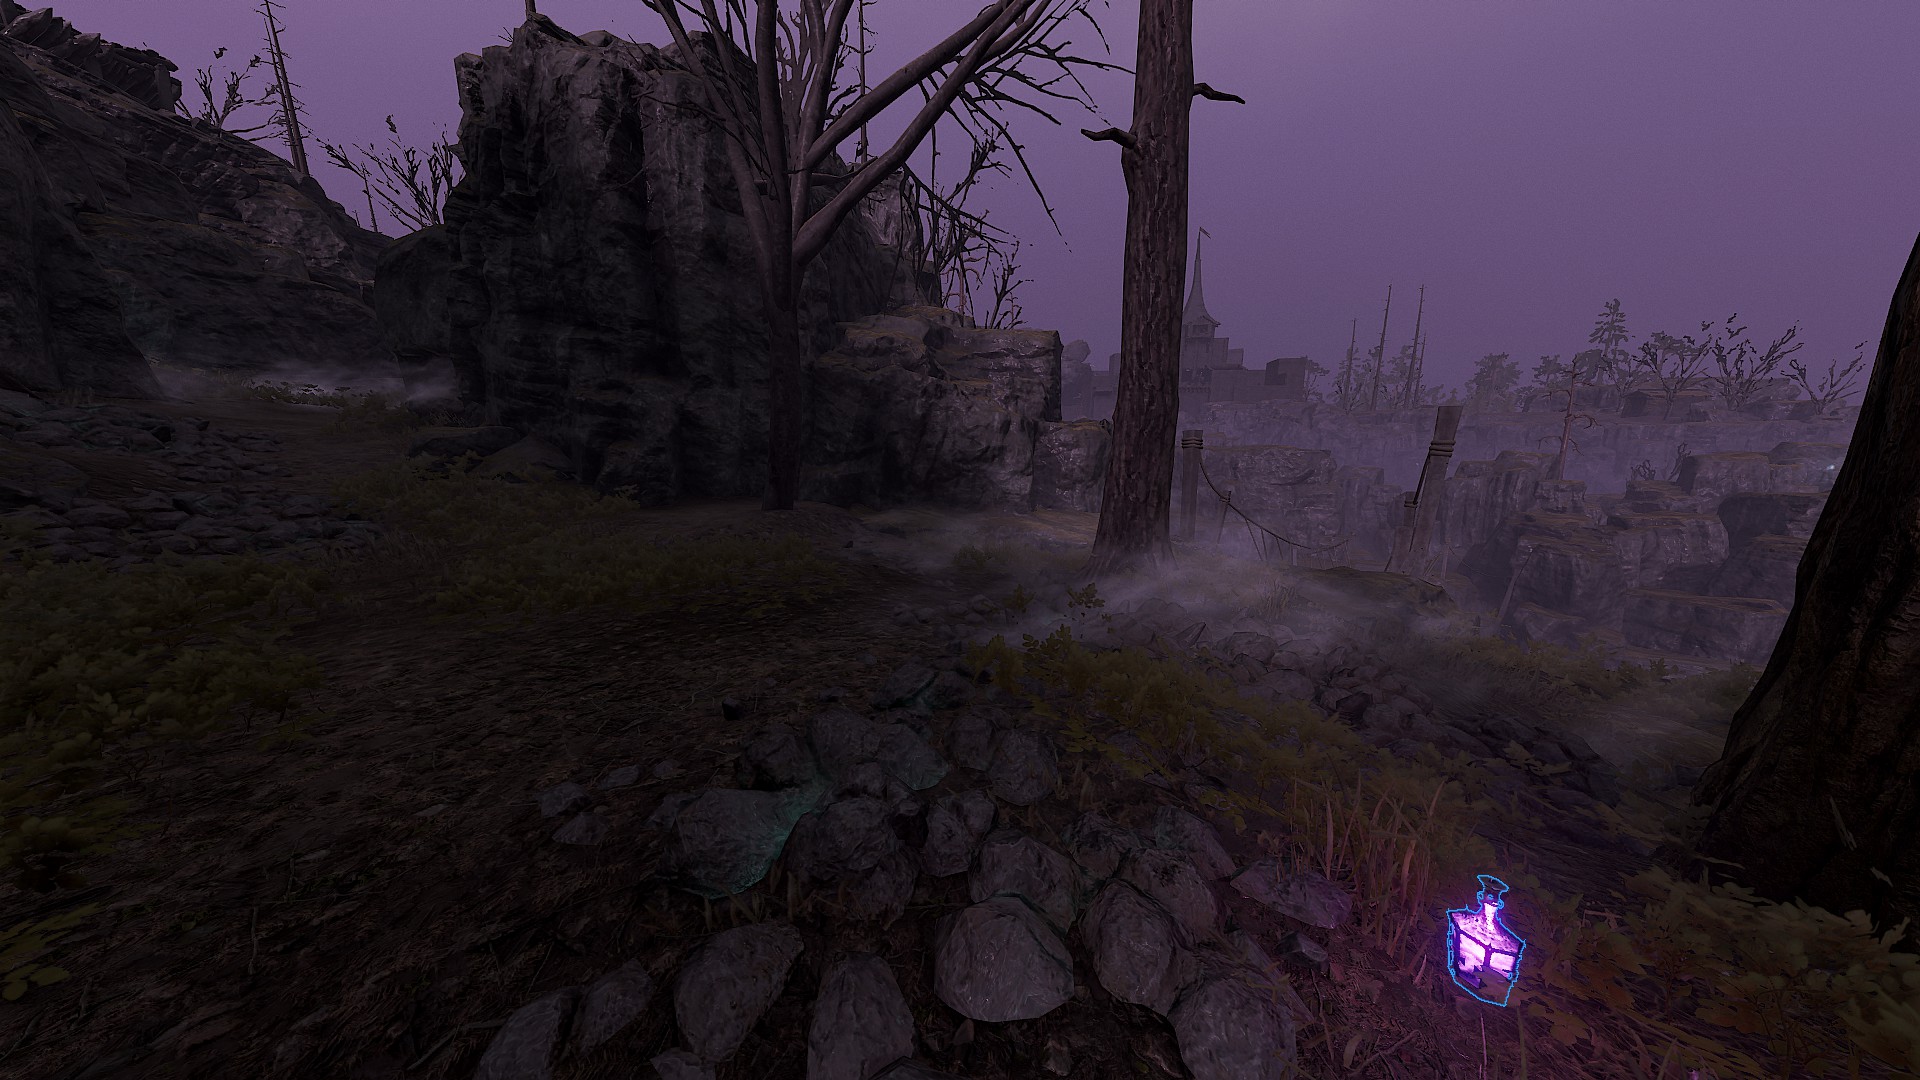
If we were throwing the "Bogenhafen" theory completely out the window, I think it would also look decently as a Righteous Stand map, what with the smaller bell and all that.
HasDelgado 24 Oct, 2021 @ 1:05pm 
yeah yeah do the 40 quick plays get cool banner and swag