Journey To The Savage Planet

Journey To The Savage Planet

155 ratings
Journey to the Savage Planet 100% Guide
By Briggs
Warning: This guide contains spoilers, read at your own risk.

A guide to help people 100% the game- locations for every scan, tips for side quests, etc. Sometimes there's a pesky scan you just can't seem to find. This guide aims to detail where everything is in the game.
5
2
14
2
   
Award
Favorite
Favorited
Unfavorite
Introduction
Hello there! This guide contains spoilers- in case you didn't see the warning earlier. If you need to find something, just Ctrl+F.

A few things to note:
  • Unless an achievement explicitly states that it needs to be done in co-op or solo, assume that it can be done in either way.
    • Some people, myself included, encountered issues with achievements unlocking in co-op. This does not strictly apply to co-op achievements, but ones that can be done either way. Sometimes, they'll unlock only for the host, and sometimes the other way around. For co-op achievements, try unlocking it via different methods like letting the other player get the final blow/unlock, leaving someone inside or outside the arena, and so on and so forth. For single-player achievements that aren't popping, just unlock them later in a solo game. If for some reason nothing works, well, nobody's going to know or judge you for using something like SAM.
  • Pretty much everything here that is not solo-only is WAY easier and faster when done with at least one other person. I recommend using co-op to grind some of the more tedious achievements like completing the Kindex and getting every goo on the planet.
  • If you want to 100% the game, get used to scanning every little thing, even if you don't care about the lore or anything about the planet. You need a certain percentage of scans in order to progress in Research levels, and if you are scanning everything along the way then you can easily meet prerequisites before you ever need to worry about them.
  • It's impossible to miss scans. If you kill a boss and forgot to scan it, just come back later. Collected a resource and forgot to scan the rock? Just scan it later. I don't think there are any items that you can actually miss scans on- if there are, I have yet to find any.
  • If you want to 100% the game, you need to own the Hot Garbage DLC, as some Steam achievements are tied to it.
Achievements: AR-Y 26 (Part 1)
These achievements can be completed in either single-player or co-op gameplay, in Normal or New Game Minus.

Colonizer
Set foot on AR-Y 26 for the first time. I guess that counts as an achievement?

Start the game and go outside your ship. Tada, achievement!

Cragclaw Defeated
Cragclaw down. Break out the garlic butter!

Cragclaw is the first boss of the game, located high up in The Cliffs of Mt. Gzarfyn in The Landing Site. It's a simple fight, just jump between platforms, dodge its attacks, and shoot its glowing little appendages. Defeating it will unlock Bombegranates, as well as this achievement.

Floopsnoot Queen Defeated
Successfully ended the bloodline of an endangered alien species! Congratulations!

The Floopsnoot Queen is the second boss of the game, located inside the Lair of The Matriarch in The Itching Fields. Shoot its eye to start every round, stay on the highest mushrooms, and shoot its glowing holes. After its first stage, it starts developing amber to protect its holes, just use the Blight Bomb Plants in the area to melt the amber and keep fighting as normal. Defeating it will unlock Blight Bombs, as well as this achievement.

Teratomo Defeated
Teratomo is no mo'. Now go take a shower. You smell bad. Very bad.

Teratomo is the final boss of the game, located in Teratomo's Refuge in the tower. The fight is just as straightforward as before, shoot its glowing tentacle pimples, avoid its attacks, go into its mouth after every stage, rinse and repeat. If you fall into the toxic goop and you're unprepared, you're as good as dead. Beating this boss gives you the Seed, and unlocks another ending for you.

Open Sesame
Enter The Spire. I've got a bad feeling about this...

The Spire is the final tower of the game, the large one you see near the start of the game but you can't enter. Once you finally manage to get inside, you unlock this achievement.

Aaaaaaand we're back
You died! Now you're not dead! Huh. Weird!

Die and discover the miracle of respawning. It's just that easy!

Phone Home
Play a video message from Kindred. Guess they didn't forget about us!

Inside the Javelin, you have a little sitting area with a TV on the wall and a remote on the table. Walk up to the remote, interact with it to play a video, and the achievement should pop up.

Cannibals
Bait 5 creatures into attacking each other. Divide and conquer: Classic strat.

You need Bait and a group of 5+ creatures, preferably Pufferbirds because they are so plentiful. You can get this achievement pretty quickly once you exit the Landing site and enter Shangtar's Frigid Embrace. Go over to the left, and there should be a group of four Snowy Pufferbirds and a single Alpha Pufferbird. Throw bait onto their heads and watch them maul one another.

Little Shop of Horrors
Fed 5 Pufferbirds to a Meat Vortex. Yes, it blends!

This will unlock as you go along in the game. Meat Vortexes are the creatures with spinning blade mouths and spiky tentacles that serve as obstacles for you to overcome- by kicking a defenseless creature into its mouth. Usually a Pufferbird.

The $600 Man
3D-print all the 3D-printables. After that, go ahead and 3D-print yourself a gold star!

Build every upgrade in the base game. If you're leveling up in Research level as you progress through the game, you'll eventually get them all. Here are the upgrades you need to obtain for the achievement:
  • Weapon (14)
    • Nomad Pistol
    • Fast Reload
    • Fastest Reload
    • Advanced Battery
    • Advanced Battery 2
    • Advanced Battery 3
    • Advanced Battery 4
    • Improved Battery
    • Improved Battery 2
    • Improved Battery 3
    • Improved Battery 4
    • Supercharged Shot
    • Bounce Shot
    • Bounce Bomb
  • Items (9)
    • Basic Utility Belt
    • Better Utility Belt
    • Best Utility Belt
    • Bombegranate Stabilizer
    • Bombegranate Booster
    • Blight Bomb Stabilizer
    • Blight Bomb Booster
    • Shock Fruit Stabilizer
    • Shock Fruit Booster
  • Gear (6)
    • Standard Spacesuit
    • Proton Tether
    • Advanced Proton Tether
    • Live Sampler
    • Precious Stuff Magnet
    • Landing Impact Nullifier
  • Backpack (9)
    • Backpack
    • Faster Refuel
    • Launch Boosters
    • Advanced Launch Boosters
    • Jump Thrusters
    • Triple Thrusters
    • Quadruple Thrusters
    • Stomp Boosters
    • Advanced Stomp Boosters
  • Visor (6)
    • Smart Visor
    • Smarter Visor
    • Alien Goo Detector
    • Alien Artifact Detector
    • Alien Alloy Detector
    • Fuel Detector
Once you go through the game, you'll notice that you have a few empty spots in the unlockables menu. Don't worry, these are spots for the DL-C1 upgrades, which you will get later.

Stronger, Faster, Probably Poisonous
Recklessly and irresponsibly eat every Orange Goo on AR-Y 26.

See section AR-Y 26: Alien Edibles for more information on Alien Goo locations.
Achievements: AR-Y 26 (Part 2)
Return to Sender
Retrieved your own loot box. Death is no excuse for leaving behind Kindred property!

When you die and are forced to respawn at the Javelin, you lose any materials you had on you. The game spawns a bright yellow loot box that shoots fireworks out of it for you to go collect to get your loot back. It will also be marked by an objective marker. Be sure to scan it too, saves you the trouble of getting it later on.

Ambidextrous
Use every left hand tool in the game. Gotta hand it to you: You're pretty handy.

The "left hand tools" are whatever items you find that you hold in your left hand. They unlock as you go through the game, and you need to use each one:
  • Bait
  • Gelatinous Blob
  • Binding Bile
  • Grapple Seed
  • Bombegranate
  • Blight Bomb
  • Shock Fruit
  • Live Sampler
It's Not In The Game
Collect every obnoxious video ad on your computer.

As you progress through the game and finish research tasks, you unlock new ads to play in the Javelin. They're hilarious and well worth 100%ing the game just to get them all. You can check which ones you have on the computer:


As a side note, here's a Boomerdale ad (from DL-C1) that's exclusive to Stadia's Employee of the Year Edition, which we never got to see on Steam!

Your Friendly Neighborhood...
Execute 10 consecutive grapples without touching the ground. You're like some kind of arachnid-man.

This achievement can be easily done on the first Grapple Rail you come across, once you craft the Advanced Proton Tether. Grind a rail, turn around, grind the other way, rinse and repeat until the achievement unlocks. The Elevated Realm has plenty of grapple points to pick from if you want to do it later on.

For Science!
Complete the first set of Science Experiments. Science: It's not just for nerds!

See section AR-Y 26: For Science! for more information on this.

Deleted But Not Forgotten
Read all of the previous explorer's emails. Kinda nosy if you ask me.

Boot up the computer inside the Javelin. In the bottom right corner, there's a trash bin. Inside, you'll find the emails you need for this achievement- you can just open and close them right away and it'll unlock.

Teratomo? Teratomo!
Re-emerged onto AR-Y 26 after killing Teratomo. Back to work, I suppose!

Once you defeat Teratomo, just teleport to another AR-Y 26 location and the achievement should unlock.

No Refunds
Finish the game in under 4 hours. See you at GDQ!

This can be done in either co-op or single-player, in Normal or New Game Minus. While it might sound overwhelming at first, it's not that bad. It's easiest done in co-op, so I recommend that if you know someone who is also trying to get the achievement. That way, one person can work on objectives while another obtains upgrades. However, it's a pretty quick speedrun even if you're playing on your own.

If you're playing alone, just focus on the main objective and collect Alien Goo to boost your health along the way but don't go out of your way for it. The boss battles aren't so difficult that you'll have a lot of trouble with minimal health. While bonus damage on your pistol can be nice, it only makes boss battles a few seconds shorter, so it may not be worth it.

Flippin' the bird
Get launched by a Pufferbird, then kill it.

Let a Pufferbird hit you and send you flying. Kill it after it does this. Pretty easy to do, just piss them off.

Turdball Wizard
Consecutively bounce on 5 different Springy Egg Sacs. It's like an ethically-iffy bouncy castle!

You can get this done in the very first area, Shangtar's Frigid Embrace. It's where you first find Gelatinous Blobs, which can be obtained by breaking the Metallic Seed Bags hanging all around the area. Throw five of them onto the ground, and jump on all of them.

That's all people really want to do...
Kick 10 Pufferbirds in 30 seconds. It's why you bought the game. We get it.

One of the easiest areas to obtain this is at The Fungi of Si'ned VII in The Itching Fields. Tons of Pufferbirds roam the area, so you can round them up using bait and kick away to your heart's content.

Au-revoir Gopher!
Kill 5 Schnozos in 15 seconds. Moles ain't gonna whack themselves.

Head to the Repaired Teleporter in The Elevated Realm. Next, head to the area right above the teleporter. There is a giant Smote Spout with six Schnozos jumping in and out of the holes. Blow them up, blight them, shock them, take your pick.

Scott Norwood in the Hizzy...
Kick 25 Pufferbirds and 25 Maroons. It's ok. I don't know who Scott Norwood is either.

Pufferbirds can be found throughout the game, and Maroons are found in the Elevated Realm. Kick 25 of each of these over the course of your playthrough and you'll get the achievement.

He Slimed Me
Got covered in ooey-gooey alien guts.

Kill a creature while being right next to it so you get splattered in its guts.

Stop Crapping On Me, Jessie
Got pooped on by a Skipper. That's good luck, depending on who you ask. Not me. I think it's gross.

Skippers are flying goldfish creatures that are first encountered at the Planetary Flotsam in The Itching Fields. Just follow beneath them as they fly around and try to catch some of those brown snowflakes on your helmet.

Home At Last
You've returned home after fully completing your mission! You're a hero!

Beat Teratomo and collect the necessary fuel sources, and relaunch the Javelin. See section AR-Y 26: Round Trip for the locations of the fuel sources.
Achievements: AR-Y 26 (Part 3)
Screw This Noise
You've returned home without fully completing your mission. I'd start looking for new work.

Get the necessary fuel sources but don't beat Teratomo, and relaunch the Javelin. See section AR-Y 26: Round Trip for the locations of the fuel sources.

Botanist
Scan all the flora on AR-Y 26!

Scan all 63 Flora on the planet. See section AR-Y 26 Kindex: Flora for location data.

Zoologist
Scan all the creatures on AR-Y 26!

Scan all 37 Creatures on the planet. See section AR-Y 26 Kindex: Creatures for location data.

Build It Up
Gather half the Alien Alloy on AR-Y 26. I'm half-impressed!

There are 32 Alien Alloy to collect on AR-Y 26, as part of the Metallurgist side quest. However, this achievement only asks for a mere 16. See section AR-Y 26: Metallurgist for location data.

I Want To Go Home. Eventually.
Marked your first fuel pod. Momma, I'm coming home!

Near the beginning of the game, EKO will alert you to a potential fuel source for the Javelin and you'll get a marker leading you to it. Mark it for extraction and you're done.

I Feel The Same. I Think?
Unlock the Alien Teleportation System. Beats walking!

You'll come across your first Alien Teleporter in The Verdant Wilds of Zyl. Scan it, activate it, and you'll unlock this achievement alongside the side quest Alien Architecture, which requires you to find ALL teleporters around the map. See section AR-Y 26: Alien Architecture for location data.

It's Me. But Not Me. But Still Me.
Scan your own corpse. Best not to think about it too much...

Dying in this game doesn't mean jumping off the edge of the map, you need to actually lose all of your health. Piss off a Pufferbird somewhere and let it murder you, then return to that exact location. You'll find your corpse on the ground. Scan it.

I Come in Peace
Slap every alien creature at least once. I suppose that counts as "first contact".

Slap every animal to say hello and establish that you're not just a researcher, you're a nuisance.

Shocking
Stun 5 creatures simultaneously with Shock Fruit. Stone cold.

You unlock the Shock Fruit after completing the Elevated Realm's trial with the Infected Pufferbirds. One of the easiest places to do this is in Shangtar's Frigid Embrace, the area just outside the Landing Area. When you first enter the location from the direction of the Javelin, head to the left. There's a group of five Pufferbirds. Gather them up with Bait, then shock them.

Pinball Wizard
Kill 5 creatures with a single Charged Shot. Because aiming is for chumps!

You unlock the Charged Shot during the quest Fixer Upper - Part 1. You can do this immediately after the Shocking achievement, in the same location. If you're quick enough, you might even be able to do it to the same group of Pufferbirds you just shocked. just gather them up with bait, charge your shot, and shoot it at the group. Alternatively, there's plenty of Pufferbirds in The Verdant Wilds of Zyl to gather up, with no Alphas to explode.

The Answer is 42
Fully decrypt and watch the tower origin transmission.

You need to scan all 10 Enigmatic Tablets for this achievement. You'll come across the first Enigmatic Tablet on Zor's Planetary Flotsam (although there is one earlier, only it's locked behind needing a Shock Fruit). Scanning the first tablet will start the side quest Alien Cinema, which tasks you with scanning all Enigmatic Tablets in AR-Y 26. See section AR-Y 26: Alien Cinema for location data.

Who Is Teratomo?
Collect and read every Alien Explorer Log.

You need to scan all 8 Explorer Logs and then go back to the Javelin to read them all. After you find your first Explorer Log, you start the side quest Lost and Found, which tasks you with finding all of them. See section AR-Y 26: Lost and Found for location data.
Achievements: Co-op Only
As the title states, these are the achievements strictly locked for co-op. As far as I know, they can be done in either Normal mode or New Game Minus.

What Would You Two Maniacs Like To Do First?
Start a Co-Op game. It must be nice having friends...

It's just as the description says. In the menu, there's a co-op gamemode you can select. Choose that, invite a friend, start the game.

Don't Cross the Streams
Slapped your Co-Op partner. I'm sure you had a good reason for it.

Walk right up to whoever you're playing with, press E to melee, and enjoy being the reason your friend goes down so much in the game.

We Came, We Saw, We Kicked Its Ass
Crack Cragclaw with a Co-Op partner. Teamwork really does make the dream work.

Because players aren't forced to complete objectives together in co-op, this achievement is missable. Just be sure everyone is there when Cragclaw is defeated. It seems bugged and may not appear even if both players are present, but I'm unsure of what to do about it.

A Little Help, Please
Revive your Co-Op partner. Let's hope they learn to start pulling their weight.

When someone goes down in a co-op game, provided they didn't just jump off the map and get respawned, they go into a bleed-out mode. They have a 30-second timer on them, during which you are able to pick your partner back up without forcing them to respawn back at the Javelin and lose their things.
Achievements: Old Game Minus
Old Game Master
Assert your independence and beat Old Game Minus entirely in singleplayer.

Old Game Alliance
Tolerate another person long enough to beat Old Game Minus entirely in co-op.

When you start up New Game Minus, it will tell you what you're in for, but here's a quick rundown if you want to know what to expect before jumping right in. New Game Minus is different from Normal mode in a few ways:
  • You need to beat Teratomo and get off the planet to beat the run. You don't need to scan everything, find every collectible, or even find every fuel canister, just enough to get off the planet. You don't even need to get every upgrade, although having more mobility will certainly make life easier.
  • You have a timer at the bottom, but don't let that scare you. You are under no time pressure to complete the run.
  • You have a limited number of lives (3 to start out with), which are shared in co-op. However, you can find 3 bobbleheads hidden in the game, each of which gives you an extra life, and inputting the Konami code will give you another.
Some tips for the road:
  • Do this after you've beaten the game at least once, the experience will help you stay alive.
  • Collecting the bobbleheads requires a lot of backtracking, so it may not be worth going after unless you want to hear the AI's funny dialogue.
  • Falling off the edge of the island, like in a normal game, doesn't count as a death. The term "dying" still only applies to losing all your health from combat or fall damage.
  • While you play, collect every goo you can along your way. If you collect goo as you go along, you can be more reckless and take some more hits later on. It just makes life easier. No need to go off the beaten path to find every goo, just enough that you feel comfortable taking on the bosses.
  • If you're playing co-op and you just want to get everything done quickly and easily, have one person focus on main objectives, while another focuses on exploration and research tasks.
Achievements: DL-C1 (Solo or Co-op)
My only real tip for DL-C1 is to obtain every mobility upgrade you can in the main game before going through this, because it just makes everything so much easier- especially collecting the Postcards.

Kronus: Unplugged
Unplug Kronus and restore Kindred's control of DL-C1

You get this as you complete the final boss of DL-C1, Kronus. Can't miss it, provided you actually try to finish the DLC.

Power Underwhelming
Craft all the new upgrades unlocked via exploration of DL-C1

There are 5 new upgrades available in DL-C1- they're pretty cheap and easy to unlock:
  • Health Booster (works in main game, I think?)
    Health plants give more fruit.
    • Unlocks after completing More Jiggawatts!
    • 150 Aluminum
    • 150 Carbon
    • 300 Silicon
  • Infinite Stamina (works in main game)
    Permanent sprinting!
    • Unlocks after completing Ultrathoner.
    • 200 Aluminum
    • 150 Carbon
    • 200 Silicon
  • Postcard Finder (DL-C1 only)
    When surveying, show the location of nearby uncollected postcards.
    • Unlocks after you collect your first Postcard.
    • 200 Aluminum
    • 250 Carbon
    • 300 Silicon
  • Vyper Locator (DL-C1 only)
    When surveying, show the location of all undiscovered Vyper installations related to the currently tracked mission.
    • Unlocks after completing Strange Filth.
    • 100 Aluminum
    • 100 Silicon
  • Toxic Deshocker (DL-C1 only)
    Allows you to travel through the otherwise impenetrable toxic zones.
    • Unlocks after completing The Toxic Revenger.
    • 150 Aluminum
    • 200 Carbon
Walking On Air
Fly through 12 unique gas rings without touching the ground

Throughout DL-C1, you'll find plenty of the weird purple gas rings all over the map. I found that this achievement is easiest done after you've gotten to the Kronus' Domain teleporter. start from there and you should have an easy time getting this achievement.

Part of a Complete Breakfast
Get covered in Tropical Pufferbird milk...

Get up close, slap the crap out of Toucan Sam, and get covered in his white... stuff.

Jewel of the Bargain Bin
Complete the entire DL-C1 Kindex

You can find the complete list of Kindex entries in later sections. Obtain all of those scans (I don't think Postcards count, but I'm not 100% sure) and you'll get the achievement.

Coastal Postal
Collect all the scattered postcards of DL-C1

These are the collectibles of DL-C1. They're bright blue spinning holographic postcards, and most of them are in pretty easy-to-reach areas (provided you have the Quadruple Thrusters from the main game). Once you find your first one, you unlock the sidequest called Raiders of the Lost Art, as well as the Postcard Scanner upgrade. I recommend buying it when you have the chance, as some of the cards are really well hidden.

Go to the section DL-C1 Kindex: Postcards for each of their locations.
AR-Y 26: Alien Architecture (Teleporters)
You'll find your first teleporter in The Verdant Wilds of Zyl. Once you interact with it, you unlock the achievement I Feel The Same. I Think? and begin a quest called Alien Architecture, which tasks you with locating and activating all the Alien Teleporters spread out across all maps. Thankfully, these teleporters are very easy to find- just look to the sky.


In the image above, the green beam of light on the left is an activated teleporter and the red beam on the right is an inactive one. These beams are pretty distinct and you can use them to keep track of which teleporters you're missing. Nothing else in the game makes these lights, so if you see them you can rest easy knowing it's a teleporter. Green means you have it, red means you need it.

On top of that, the teleporting menu can give you a general idea of where to look if you're missing one because yes, you can miss some of them if you aren't careful, but you can always go back for them. The teleporters are laid out in order of which ones you'll probably come across first. Missing a spot between two teleporters on a map? That means the teleporter is most likely somewhere between the active ones (in terms of progression) and you just need to look in areas between them.

The only exception to this is the Tower's Entrance teleporter, which remains locked until you're nearing the end of the game. This teleporter takes you to the final map, but it'll remain a sad gray spot in your teleporter menu for a majority of the game.

The DL-C1 teleporters do not count for this achievement.
  • The Landing Site (7)
    • Javelin Habitat
    • Outside the Javelin
    • Towering Crystals
    • Meteor Crater
    • Cliffs of Mt. Gzarfyn
    • The Broken Bridge
    • Tower's Entrance Only unlocked near the end of the game.
  • The Itching Fields (6)
    • Javelin Habitat
    • Planetary Flotsam
    • Festering Chasm
    • Fungi of Si'ned VII
    • Festering Overhang
    • Matriarch's Lair
  • The Elevated Realm (8)
    • Javelin Habitat
    • The Enigmatic Spire
    • Xerophilous Landing
    • Repaired Teleporter
    • Pillars of Xzorgana
    • Tears of T'bo
    • Slamphibian Pit
    • Crackling Pedestal
  • Within the Spire (3)
    • Javelin Habitat
    • Moist Vestibule
    • Vault Floor 4
AR-Y 26: Alien Cinema (Enigmatic Tablets)
There are 10 Enigmatic Tablets located throughout the game. On top of completing the side quest, finding all Enigmatic Tablets and watching the completed video on the Javelin computer unlocks the achievement The Answer is 42.
  • Landing Site (1)
    • Shangtar's Frigid Embrace: You might remember, near the beginning of the game, a passageway you couldn't enter underneath the massive skeleton. Once you obtain the Shock Fruit, you can enter and find an Enigmatic Tablet and an Orange Goo inside.
  • The Itching Fields (3)
    • Planetary Flotsam: The first Enigmatic Tablet you'll come across is most likely this one- it sits on the closest small neighboring island, directly in front of the teleporter.
    • The Fungi of Si'ned VII: (Triple Thrusters required) See image above. From the teleporter, head north, past the Advanced Proton Tether Shrine, and you'll find a small pond. Keep walking north until you stand at its edge, and look to the right. You'll see a few platforms, one of them with a Leaping Alien Petroglyph. However, you don't need Launch Boosters to access this area at all, you can make it up here with Triple Thrusters (you can make it onto the mushroom with just having the normal Jump Thrusters but I could never get up all the way without the Triple Thrusters). Reach the top, jump into the hole, and you'll be treated with an Enigmatic Tablet along with some Silicon and Aluminum.
    • Festering Chasm: (Grapple Seeds required) From the teleporter, head north until you reach the Virulent Tree. Once you reach it, head west and you'll find a cave. If you have Grapple Seeds, you can figure out the rest.
  • The Elevated Realm (3)
    • Tears of T'bo: (Either Grapple Seeds or Triple Thrusters required) See image above. From the teleporter, head northwest into a small body of water. There is a waterfall here, with an Aluminum Vein to its left. Jump up to the Aluminum Vein. You'll spot several descending platforms with Grapple Barnacles on a wall near the end. You can just use a Grapple Seed to reach the ledge with the tablet, or just use Triple Thrusters to reach the ledge that's directly in front of those same barnacles. The arrow in the image is pointing to the platform's edge, which you can safely jump to.
    • The Pillars of Xzorgana: (Grapple Seeds required) From the Repaired Teleporter, head southeast, under the stone arch. You'll see a large horizontal pillar sticking out of the rocks with Grapple Barnacles on it. Go directly underneath this pillar and break the Fragile Crystals. You need Grapple seeds to go through this cave.
    • Plork's Sizzling Gauntlet: (Stomp Boosters and Shock Fruit required, Quadruple Thrusters recommended) From the Xeriphilous Landing teleporter, head northeast. Past the edge of the island, you'll find several descending platforms heading underneath the island. They lead to an Alien Proximity Door, with a Cracked Stone Grate behind it. As soon as you break the grate, you'll be dropped into a gauntlet that forces you to run through lasers in order to reach the end. The reason I recommend having Quadruple Thrusters for this is that they let you bypass a majority of the gauntlet before it even starts, simply by jumping over it. In the end, you're treated to an Enigmatic Tablet alongside two Carbon, three Silicon, and three Aluminum Veins.
  • Within the Spire (3) Each of these Enigmatic Tablets is located
    • The Spire's Heart: See image above. On the top level, on the east wall, you'll see a small crevice located pretty high up. You probably need Quadruple Thrusters or Launch Boosters to reach this area.
    • The Spire's Heart: See image above. On the second level, also on the east wall, there's a Dripping Orifice just... Doing its thing onto a platform. That platform has a small crevice you can crawl into to reach the Enigmatic Tablet.
    • The Spire's Heart: See image above. On the bottom level, face the south wall with all the Seed Preservation Pods. In the second row from the top, the left breakable pod contains an Enigmatic Tablet.
AR-Y 26: Alien Edibles (Alien Goo) - Landing Site
There are a total of 100 Alien Goos hidden throughout the game. Eating Alien Goo raises your health and stamina capacity, only the maximum is capped at 20 pips of health, or at 60 Alien Goos eaten. Once you reach that amount, any extra Alien Goos only count toward the achievement and will not raise neither health nor stamina. Alien Goo can be scanned for after you obtain the Orange Goo Detector, which is unlocked after you reach research rank 2. If you want to find all of the Goos, I highly recommend getting this scanner upgrade to help you out.

Because there are so many goos out there, this part of the guide is divided up into 3 sections, one for each of the locations that have them. There are 40 Orange Goos in the Landing Zone.

Landing Site (40)
  1. Outside the Javelin: From Shangtar's Frigid Embrace, head back toward the Javelin but take the path on the right. There's a gap you need to jump, which you can do with a single Gelatinous Blob. Head north around the rocks, and you'll reach the goo.
  2. Shangtar's Frigid Embrace: To the south, on a rock surrounded by Pufferbirds.
  3. Shangtar's Frigid Embrace: On a platform to the south that leads to a Grapple Flower- you can reach the platforms with Gelatinous Blobs and a single Jump Thruster, but it's a bit tough.
  4. Shangtar's Frigid Embrace: High platform in the south. Proton Tether required.
  5. Shangtar's Frigid Embrace: High platform in the south. Proton Tether required.
  6. Shangtar's Frigid Embrace: Floating island off to the south, reachable from the high platforms. Proton Tether and Bombegranates required.
  7. Shangtar's Frigid Embrace: Under the giant skeleton.
  8. Shangtar's Frigid Embrace: Under the giant skeleton, behind the Alien Proximity Door. Shock Fruit required.
  9. Shangtar's Frigid Embrace: High platform in the north, above the Vaultivore. Quadruple Thrusters required.
  10. Shangtar's Frigid Embrace: Behind a Meat Vortex in the Burgle Haven area, accessible from under the giant skeleton.
  11. Jellywaft Basin: Across the frozen lake.
  12. Jellywaft Basin: Behind the waterfall.
  13. The Verdant Wilds of Zyl: From the rock arch you need to pass through when going north, head west. There's a breakable wall in the ice.
  14. The Verdant Wilds of Zyl: In the northern area around the teleporter, it's hanging underneath a rock arch. Jump Thrusters plus a Gelatinous Blob are all you need.
  15. Towering Crystals: From the teleporter, head south and look in the Tentaweeds.
  16. The Verdant Wilds of Zyl: On a floating island west of the Towering Crystals teleporter. Proton Tether required.
  17. The Verdant Wilds of Zyl: From the giant log through which you first enter the area, head southeast and look over the edge. It's hanging above some platforms.
  18. The Verdant Wilds of Zyl: From the location of #17, follow the edge of the island while keeping it to your right until you find some water. It makes a waterfall off the cliff, which is hiding a small cave. You need Grapple Seeds to leave safely.
  19. The Verdant Wilds of Zyl: From the giant log tunnel, head south and follow the edge of the island. You'll find a descending path that leads to a cave and another path with Bombodoros. Go down this path and you'll find a goo in a small cave.
  20. The Verdant Wilds of Zyl: From the giant log tunnel, head east until you reach the Towering Statue. Jump down from there and go northwest. There's a small area with a Meat Vortex protecting an Alien Goo.
  21. The Verdant Wilds of Zyl: From the giant log tunnel, head northeast. There will be a Tentareed cluster near the rock wall.
  22. Kayn's Icy Refuge: This is the other cave on the path that leads to #19. Head inside and to your right, there will be a ledge. Jump Thrusters are required.
  23. Kayn's Icy Refuge: Head further into the cave past #20. Eventually, on your left side, there will be a room obscured by Fragile Crystals. The Alien Goo is hanging from the ceiling.
  24. Tranquil Crevasse of Tranquility: Several Meat Vortexes guard the path forward when you first start out- behind the second one is a breakable wall. Bombegranate required.
  25. Tranquil Crevasse of Tranquility: Heading south from #24, there will be Tentaweeds along the path up. It's in the second patch.
  26. Tranquil Crevasse of Tranquility: After the third Meat Vortex up here, head southwest after entering the open area. It's hidden in Tentaweeds.
  27. Tranquil Crevasse of Tranquility: From the Meteor Crash teleporter, look over the east edge and jump down there, then get into the room the Meat Vortex is protecting. Gelatinous Blob required.
  28. Tranquil Crevasse of Tranquility: From #27, once you leave that area, head north. There's a breakable wall hidden under a rock platform. Bombegranate required.
  29. Tranquil Crevasse of Tranquility: From the Meteor Crash teleporter, head northwest, across the stone bridge. Keep heading in this direction until you reach the far end of the platform, behind the large stone pillar. It's sitting on the edge.
  30. Tranquil Crevasse of Tranquility: From the Meteor Crash teleporter, head north, across the bridge, and ascend the crystal platforming section. Go up the three crystals, then another three, then you jump from one platform to another, go up two more crystals, and when you reach the next rock platform, stop and look south. You'll see the goo in a little nook in the rocks, reachable with Jump Thrusters.
  31. Tranquil Crevasse of Tranquility: From #30, jump back to the same platform where I said to stop earlier, and this time look north. There's a small cave, goo is at the end.
  32. Tranquil Crevasse of Tranquility: On the platform directly above #30, hidden in Tentaweeds.
  33. The Smoldering Abyss: In the first room, go through the left tunnel, and keep going left until you reach another lava room. You want to land on the leftmost platform in this room, where you'll find the goo.
  34. The Smoldering Abyss: In the first room, go through the left tunnel, and keep taking the paths lit up with blue crystals. You'll reach another lava room and there is a small platform to the left, right above the lava, with a Vitality Plant and the goo.
  35. Towering Crystals of Madness: Floating island above the teleporter, accessible with the Proton Tether after you ascend the crystals.
  36. Towering Crystals of Madness: Ascend the crystals, then head south, stay near the edge. Once you reach a spot you need to jump up, jump to the area below with the Pikemanders instead and head southwest. It's in the Tentareeds near the far edge here.
  37. The Cliffs of Mt. Gzarfyn: From the teleporter, head southeast. There's a breakable wall, Bombegranate required.
  38. The Cliffs of Mt. Gzarfyn: From the teleporter, head southwest. It's in a patch of Tentaweeds.
  39. The Cliffs of Mt. Gzarfyn: From the teleporter, head south and keep going through the mist, and you'll find it in a patch of Tentaweeds.
  40. The Verdant Wilds of Zyl: Found at the very top of the crystal platforming section guarded by Barfers. However, I found it's easiest to get here from the Cliffs of Mt. Gzarfyn teleporter. From there, head south, to the location of #39, and jump down to the closest platform. To the west, there are Grapple Barnacles leading you up to a breakable wall. You can jump down here from the location of #39 as well, although it might take you a few tries. Otherwise, you need Grapple Seeds to get this.
AR-Y 26: Alien Edibles (Alien Goo) - The Itching Fields
The Itching Fields (40)
  1. Zor's Planetary Flotsam: From the teleporter, head to the island directly west. The goo is sitting atop the rock pillar on that island. You need Gelatinous Blobs or Launch Boosters to reach it.
  2. Zor's Planetary Flotsam: On the same island as #1, hidden in the Tentareeds and weeds.
  3. Zor's Planetary Flotsam: From the location of #1, there is an island to the north. Proton Tether required.
  4. Zor's Planetary Flotsam: From the teleporter, head south, to the island with large Ambers on it. The northernmost one is hiding the goo.
  5. Zor's Planetary Flotsam: From the teleporter, head to the southwest island, it has large Ambers on it. In the Tentaweeds in the eastern part of the island, there's a goo.
  6. Zor's Planetary Flotsam: On the same island as #5, the northwestern Amber deposit is hiding a goo.
  7. Zor's Planetary Flotsam: On the island with the Launch Booster Shrine, there's a Meat Vortex. Feed it and get your goo.
  8. Zor's Planetary Flotsam: On the island being guarded by the Sproutlook, on the lower level, in the southeast.
  9. Zor's Planetary Flotsam: From #8, head to the island to the southwest. Advanced Proton Tether required.
  10. The Gaseous Underbelly: From the entrance from Zor's Planetary Flotsam, the first room has a small cave on the lower level, in the western wall.
  11. The Gaseous Underbelly: On the lowest level of the cave, before going up the area with waterfalls, there is a small cave in the southern wall.
  12. The Gaseous Underbelly: Standing at the edge of the lowest platform with Cave Pufferbirds (not Infected ones), look to the northwest, on the same level. There is a Grapple Flower on the ledge going there. That's a cave that has a goo at the bottom.
  13. The Gaseous Underbelly: On the same platform as #12, look toward the south. There is a waterfall right next to a Grapple Flower, and it's hiding a goo. Note: I think there's supposed to be a breakable wall, but I'm not 100% sure.
  14. The Gaseous Underbelly: In the first pool of water that the light hits, when you're coming out of the cave. A waterfall is pouring onto it.
  15. The Fungi of Si'ned VII: From the teleporter, head south, through the rock arch. There are two waterfalls pouring into The Gaseous Underbelly. Above the one on the right, there is a cluster of Tentaweeds hiding a goo.
  16. The Fungi of Si'ned VII: From the teleporter, head southeast, into the giant dead tree. At the top, there is a ledge with an Alien Metal Alloy that leads to a mushroom. From this platform, look east, and you'll see another mushroom holding a goo.
  17. The Fungi of Si'ned VII: From the alloy mentioned in #16, look northwest. There are three Ambers up here, the one in the middle has the goo.
  18. The Fungi of Si'ned VII: From the teleporter, head south. Go past the bodies of water, straight to the edge of the island. There's a convenient little ledge here, with a platform with water beneath it. Jump down and look over the edge, and you'll see another similar platform- jump down there. Now stop and look to the west, you'll see a Grapple Rail leading up to a cave. Advanced Proton Tether required.
  19. The Fungi of Si'ned VII: Leave the cave with #18, grapple back to the platform you came from, and look over the edge. You'll see another platform with a Skipper sitting next to a goo.
  20. The Fungi of Si'ned VII: Get onto the giant pink and gray mushrooms in the area and head to the western edge of them. There's a floating island in the distance with Grapple Barnacles leading to it, and a breakable wall on it. Grapple Seeds and Bombegranates are required.
  21. The Fungi of Si'ned VII: On those same giant pink and gray mushrooms from #20, there is a goo on the southern edge that overlooks the Domain of the Untamed Beast.
  22. Domain of the Untamed Beast: From #21, just jump down and keep going south, into the cave. Then, take the first left.
  23. Domain of the Untamed Beast: In the southeastern corner of the arena, there's a convenient ledge leading to a Grapple Rail, which leads to a nearby island. Advanced Proton Tether required.
  24. The Fungi of Si'ned VII: From the teleporter, head northwest. Keep going, past the shrine, and look through the first cluster of Tentaweeds you find near the edge.
  25. The Fungi of Si'ned VII: From #24, head northeast, look in the Tentareeds near the pool of water.
  26. The Fungi of Si'ned VII: From the Advanced Proton Tether Shrine, head northeast. Or, from #25, look south. There are twin waterfalls hiding a cave. The Amber near the middle of the cluster has the goo.
  27. The Fungi of Si'ned VII: From the Advanced Proton Tether Shrine, head northwest, there's a ledge that's overlooking the giant gap here. On the western wall of the gap there are Grapple Barnacles, and on the southern wall is a ledge with a breakable wall and a goo inside. Bombegranate required.
  28. The Fungi of Si'ned VII: From the Advanced Proton Tether Shrine, head northwest, there's a ledge that's overlooking the giant gap here. Below it is a ledge with a breakable wall. Bombegranate required.
  29. The Festering Chasm: From the teleporter, look south, it's hanging from the rock arch. Quadruple Thrusters or Launch Boosters required.
  30. The Festering Chasm: Atop the tallest Repulsive Tree.
  31. The Festering Chasm: From the teleporter, take the path going northeast and stay right. It goes through a log, and then under a rock arch. Beyond the rock arch, there's an area with Royal Skippers. It's a small area with a rock in the center, and the goo is next to it.
  32. The Festering Chasm: From the teleporter, take the path going northeast. Once you pass through the log, go southeast. There's a cave obscured by Tentaweeds. Advanced Proton Tether or Triple Thrusters are required to get through this cave.
  33. The Festering Chasm: Near the Royal Skipper area, there's a giant Leaping Alien Petroglyph. Jump up here and head southeast, it's in the Tentaweeds.
  34. The Festering Chasm: From the teleporter, head to the northwest edge of the map, where there are giant mushrooms making paths up and around the island. Northwest of the Repulsive Tree, there is a somewhat small rock arch with a goo atop it, which can only be reached from the mushroom platforms.
  35. The Festering Chasm: From #34, head to the northwestern mushroom platforms, the goo is on the farthest one.
  36. The Festering Chasm: From #35, head southeast along the mushroom platforms. You'll eventually see a Silicon Vein next to a goo.
  37. The Festering Chasm: From #36, keep heading southeast, up the mushroom platforms, until you reach the very last one before landing on the Fungi of Si'ned VII level. Instead, turn north, and you'll see a Grapple Flower leading you to a ledge that leads you to Grapple Rails, going all the way to a floating island with a breakable wall. This is also reachable from the Fungi of Si'ned VII level, but you might not notice it the first time around.
  38. The Festering Chasm: Jump up the giant Leaping Alien Petroglyph, and use the first Grapple Rail- don't keep going. It should shoot you onto a level with Tentaweeds on it, which are hiding a small crawlspace with a goo.
  39. The Festering Chasm: From #38, use the second Grapple Rail to progress, or jump up the giant Leaping Alien Petroglyph. Talk a bit further and you'll see two Grapple Rails. Look at the one to the northwest, but don't take it, just walk toward it. There's a cluster of Tentareeds hiding the goo. Advanced Proton Tether required.
  40. The Festering Chasm: From #39, take the Grapple Rail in the southwest, it's hanging from the ceiling and might be a bit hard to spot. Advanced Proton Tether required.
AR-Y 26: Alien Edibles (Alien Goo) - The Elevated Realm
The Elevated Realm (20)
  1. Xerophilous Landing: From the teleporter, in the northeast corner of the island.
  2. Xerophilous Landing: From the teleporter, head southeast. There's a Meat Vortex guarding a Cracked Stone Grate. Stomp Boosters required.
  3. Perch of the Observers: From the Repaired Teleporter, head northeast. There's a floating island with an Amber inside it, you need a Blight Bomb to get it.
  4. Perch of the Observers: From the Repaired Teleporter, take the northeast exit out of the cave and wrap around the left wall of rocks. There is a breakable wall here. Bombegranate required.
  5. Perch of the Observers: It's atop the rock pillar near the smoke spout directly above the Repaired Teleporter.
  6. Perch of the Observers: From the Repaired Teleporter, take the southeast exit out of the cave and go south. There's a cave in the rocks the giant Cacnuts are growing on, with a Cracked Stone Grate inside, and an Amber below that. Stomp Boosters and Blight Bomb required.
  7. The Pillars of Xzorgana: This goo is found in the first area with the tall pillars that you need to scale, it's hanging on the underside of a floating pillar near a waterfall.
  8. The Pillars of Xzorgana: From the teleporter, head north. There's an Alien Proximity Door that's facing away from the teleporter, Shock Fruit required.
  9. The Pillars of Xzorgana: From the teleporter, head east. There's a Cracked Stone Grate with a goo inside. Stomp Boosters required.
  10. The Pillars of Xzorgana: From the teleporter, head southwest. You need Quarduple Thrusters to be able to clear the gap onto the neighboring island. Alternatively, you can also reach this island by climbing nearby pillars using Grapple Seeds, so the thrusters are not required. Below this island is another smaller island. On here you'll find a cluster of Tentareeds hiding a cave with a Cracked Stone Grate inside. Stomp Boosters required.
  11. The Crackling Pedestal: From the teleporter, head northwest. You'll see roots going over the edge of the island, and underneath these roots is a Grapple Flower that leads you to a small cave with a goo inside.
  12. The Crackling Pedestal: From the teleporter, head west, around the rocks. There is a large patch of Tentareeds on the other side, the goo is in there.
  13. The Eternal Tears of T'bo: From the teleporter, look west, at the top of the rock pillar. You can see the goo from the teleporter.
  14. The Eternal Tears of T'bo: Next to the teleporter, there are two Canopy Leaf trees right on the edge of the island. Near the right one, there's a small gap between the rocks where you can just walk off the island. Jump down to the lower platform that's to the west. As you're doing so, you'll see the Orange Goo on its own little platform to your right. Just jump around the rocks to reach it once you're down there.
  15. The Eternal Tears of T'bo: From the teleporter, head east. Keep running until you reach a cave with a Cracked Stone Grate inside. Stomp Boosters required.
  16. The Eternal Tears of T'bo: From the teleporter, head north, through the arch. This area has an Alien Proximity Door facing the water where the Imperial Scarabs are floating around. Shock Fruit required.
  17. The Eternal Tears of T'bo: This goo is found at the very top of the rocks above #16.
  18. The Eternal Tears of T'bo: From #17, head east. There's a platform that's at a slightly lower level than the rest of the island with a Cracked Stone Grate on it. Stomp Boosters required.
  19. The Eternal Tears of T'bo: From #17, head north. Look over the edge of the island, at the giant tower below. The goo is sitting on top of the tower, you should be able to see it from up there.
  20. The Infernal Cauldron: From the teleporter, head south. There's a ledge with a small cave being obscured by Tentareeds, with a Cracked Stone Grate inside. Stomp Boosters required.
AR-Y 26: For Science! (Science Tasks)
This section details the requirements for each Research Rank. While most aren't really all that difficult, some might be a little bit confusing and some have really good spots in order to get them done quickly so if I know them, I'll write them down. Keep in mind that these are by no means the optimal or best locations to get everything done and you'll most likely end up figuring out your own method for getting things done, any suggestions I give here are just based off my personal playthroughs.

To start advancing in rank, you need to craft the Live Sampler, which you are able to do after completing the quest Fixer Upper. Once you do so, you are given the achievement For Science!

Field Explorer (Rank 2) Requirements:
  • Collect live samples (Pufferbird, Baboushka, Pikemander).
  • Kill four creatures with an Alpha Pufferbird explosion.
    • The easiest place I found to get this done is in Shangtar's Frigid Embrace. There's an area beneath the platforms with Mesmertoxins on them with four Pufferbirds and a single Alpha. Group them together, Shoot the Alpha, watch them explode.
  • Fall 50 meters and save yourself with the Jump Thruster.
    • The quick way I got this one done was by teleporting to the Moist Vestibule, one of the last maps in the game. Once you beat the game, the elevator that took you down to Teratomo's Refuge is gone, so it's just one massive hole with a teleporter at the end. There are lots of tall cliffs in the game, you'll find one pretty quickly so there's no sense in leaving it until the end of the game.
  • Kill five ground enemies while they are in midair.
    • You'll probably figure this one out yourself but in case you're kinda dumb like me, just kick the Pufferbirds and shoot them before they reach the ground.
  • Scan 25% of the Kindex.
Explorer (Rank 3) Requirements:
  • Collect live samples (Kapyena, Jellywaft, Infected Pufferbird).
  • Hit two creatures with the acid burst from a dying Jellywaft (Prime).
    • This is fairly easily done in the Planetary Flotsam- there are a few areas with Pufferbirds and Prime Jellywafts, so you can bring the creatures together using Bait and hope the Jellywaft hits them.
  • Kill three amber-armored Pufferbirds with a single Bombegranate.
  • Kill four creatures whilst stuck in Binding Bile within three seconds.
    • Both of the tasks above can be done at the same time, in the same location. In the Festering Chasm, there is a group of Pufferbirds nearby with Amber armor. Keep in mind that you need to blow them up as the armor is melting, so I found it easiest to attract a whole group with bait, bind them, throw a Bombegranate, and then throw a Blight Bomb while the Bombegranate is charging up.
Senior Executive Explorer (Rank 4) Requirements:
  • Collect live samples (Slamphibian, Schnozo, Imperial Scarab).
  • Kill five creatures with a single charge shot.
  • Kill four creatures whilst they are shocked by lightning within 3 seconds.
    • Both of the taste above can be done at the same time, in the same location. There is a group of five Cave Pufferbirds at the Repaired Teleporter. Bring them together with bait, charge your gun, shock them, and then shoot a charged shot into them. Easy!
  • Kill 10 creatures in a row using melee attacks without getting hurt.
  • Scan 75% of the Kindex.

As you advance in rank, you unlock more videos from Tweed, too.
AR-Y 26: Lost and Found (Explorer Logs)
There are 8 Explorer Logs to find throughout the game. Finding them all unlocks the achievement Who Is Teratomo?.
  • Landing Site (2)
    • The Verdant Wilds of Zyl: This log can be found where you first obtained Jump Thrusters. It can be reached pretty quickly if you head west from the Meteor Crash teleporter. There's a rather wide crawlspace in the rock wall above the platforms you jump around on here, you need Launch Boosters to reach it. Inside this cave is an Explorer Log and a Metal Alloy.
    • The Verdant Wilds of Zyl: You need Bombegranates and Triple Thrusters (or just use a Gelatinous Glob and use a double jump) to enter this area. Alternatively, jump off a north cliffside from the Meteor Crash teleporter. At the end of this cave, you'll find an Explorer Log and a Metal Alloy.
  • The Itching Fields (2)
    • Plork's Narrows of Despair: From the Fungi of Si'ned VII teleporter, go south and into the Gaseous Underbelly. At the very bottom of the cave, you'll find an Alien Proximity Door. You need a Shock Fruit and Triple Thrusters at minimum to complete the gauntlet here. At the end of the gauntlet, you'll find an Explorer Log and Metal Alloy.
    • Domain of the Untamed Beast: From the Fungi of Si'ned VII teleporter, follow the path going west, and then go south when there's a fork in the road. In the southwest edge of the arena, there is a Cracked Stone Grate. There is a small grappling section and at the end there is another Cracked Stone Grate, this time hiding the Explorer Log.
  • The Elevated Realm (2)
    • Pillars of Xzorgana: From the teleporter, head southwest and reach the end of the extended rock platform vbetween the two pillars. Standing at the edge, jump to the closest floating pillar to your southeast. Looking southeast from that pillar, below the rest of the floating pillars you should see a lone floating rock with a Grapple Flower on it. Look to the west and you'll see Grapple Barnacles on the nearest rock pillar, with an Amber-encased Explorer Log inside. If you forgot Blight Bombs, you can just get on that main island, grab some, then loop back around- the cave is easy to reach from there.
    • Pillars of Xzorgana: From the teleporter, head northeast. Grapple up to the large island and turn around, you'll see a smaller island with Fragile Crystals on it floating to the northwest. Behind those crystals is an Explorer Log.
  • Within The Spire (2)
    • The Spire's Heart: Teleport to the Moist Vestibule and jump down to the first of the three Vault floors. On the northern wall, to the right of the waterfall, is a noticeable breakable Seed Preservation Pod, smack dab in the middle. Break it to reveal the Explorer Log. With a Smarter Visor, you should be able to scan it without needing to jump up there.
    • The Spire's Heart: Teleport to the Moist Vestibule and jump down to the middle of the three Vault floors. On the southern wall, there is a single breakable Seed Preservation Pod on the wall, to the right of the giant roots.
AR-Y 26: Metallurgist (Alien Alloys) - Landing Site, The Itching Fields
While the achievement only asks for half, you need 32 Metal Alloy in order to complete the side quest. They are all found within the first three sections of the game, the Landing Site, The Itching Fields, and The Elevated Realm.
  • Landing Site (11)
    • Shangtar's Frigid Embrace: It's found on the platforms to the north, you need to pop its three pimples to open it. This will probably be the first one you find, as it is easily accessible with the Jump Thrusters.
    • Kayn's Icy Refuge: This cave can be entered from The Verdant Wilds of Zyl. From the giant log through which you first enter the area, make a right and keep following the island edge until it starts wrapping around the ice. Keep going down this path and you'll find this cave. This cave is found on the south edge of Shangtar's Frigid Embrace. Head to the right, and keep following the path. You'll find an Ornate Alien Chest that is opened by scanning its three symbols found in the cave.
    • The Verdant Wilds of Zyl: From the Meteor Crash teleporter, take the northwest path that takes you to an open area with Pikemanders protecting a Combativore. Defeat three Marbled Pikemanders to open it.
    • The Verdant Wilds of Zyl: From the Meteor Crash teleporter, head west until you reach the edge of the island. On this end of the island, there's a large cave with lava in it. You need to know how to grapple in order to reach the Vaultivore at the end.
    • The Verdant Wilds of Zyl: This Metal Alloy is found in a secret location near the platforms where you were first given the quest to obtain Jump Thrusters. There is a small crevice you need Launch Boosters to reach.
    • The Verdant Wilds of Zyl: You need Bombegranates and Triple Thrusters (or just use a Gelatinous Glob and use a double jump) to enter this area. Alternatively, jump off a north cliffside from the Meteor Crash teleporter. At the end of this cave, you'll find a Metal Alloy and Explorer Log.
    • The Verdant Wilds of Zyl: From the Towering Crystals teleporter, head southeast. There is a small entrance to a cave in the rock wall. Jump onto the platforms going in and out of the lava here, and there's a Vaultivore in the back.
    • The Verdant Wilds of Zyl: From the Towering Crystals teleporter, ascend the Towering Crystals of Madness. Once you reach the top, head south. You'll find an Osmotic Cube on the ledge here. To obtain the Metal Alloy inside it, you need to feed it dropped materials. The closest enemies are on the platform below, just smack it down there and kill creatures for it.
    • The Verdant Wilds of Zyl: From the Towering Crystals teleporter, ascend the Towering Crystals of Madness. Once you reach the top, head south. The same area I recommended smacking the Osmotic Cube into has a Combativore holding a Metal Alloy.
    • The Cliffs of Mt. Gzarfyn: From the teleporter, head south. You'll find a stack of layered rocks with a Grapple Flower at the top of it- once you do, go west and jump down to the small platforms below. Follow them south and you'll find a waterfall obscuring a Vaultivore. Shoot its three pimples to open it, you can see them all from just outside the waterfall.
    • The Verdant Wilds of Zyl: From the Cliffs of Mt. Gzarfyn teleporter, head south. Keep going until you reach a large patch of Tentaweeds hiding an Orange Goo. From here, just jump off the ledge, you can see the Vaultivore directly below you.
  • The Itching Fields (11)
    • Planetary Flotsam: From the teleporter, head south. You'll see an island being watched over by a Sproutlook. Perform a takedown on the Sproutlook and you'll unlock the Vaultivore directly underneath it.
    • Plork's Narrows of Despair: From the Fungi of Si'ned VII teleporter, go south and into the Gaseous Underbelly. At the very bottom of the cave, you'll find an Alien Proximity Door. You need a Shock Fruit and Triple Thrusters at minimum to complete the gauntlet here. At the end of the gauntlet, you'll find a Metal Alloy along with an Explorer Log.
    • Domain of the Untamed Beast: From the Fungi of Si'ned VII teleporter, follow the path going west, and then go south when there's a fork in the road. In the Domain of the Untamed Beast, defeat the Kapyenas and interact with the Cartographer, and you'll open the Vaultivore found in the cave under the Gigashrooms. It's a part of the Lost Cartographer sidequest.
    • The Gaseous Underbelly: From the Fungi of Si'ned VII teleporter, go south and into the Gaseous Underbelly. You'll see a little platform on the side. Inside, you'll find an Osmotic Cube. Smack it down to the Pufferbirds, kill them and let it eat the resources, and enjoy your Metal Alloy!
    • Fungi of Si'ned VII: Get to the top of the giant mushrooms in the area. Once on top, take a look at the giant alien structure, particularly to the north. You'll see a Vaultivore sitting atop the structure, and you can see two of its pimples from there. If you're on the south side of the Vaultivore, you'll see a Grapple Flower you can latch onto, which you can reach with Triple Thrusters from a tall mushroom. When you get on top, look over the north edge of the structure and you will be able to shoot the last pimple, it's below you.
    • Fungi of Si'ned VII: From the Fungi of Si'ned VII teleporter, head south, through the giant rock arches. There's Combativore at the end, and it'll spawn three Inferior Jellywafts and one Prime Jellywaft. Defeat them and the Combativore will open up.
    • The Infested Husk: From the Fungi of Si'ned VII teleporter, head southeast into the giant tree trunk. The very top holds a Vaultivore.
    • The Festering Chasm: Southwest of the teleporter, there's an area with a Combativore and a lot of Amber Pufferbirds. Defeat the Boomerangs and get the alloy.
    • The Festering Chasm: This Metal Alloy is found in the Virulent Tree of K'Klenai. The inside of this tree is a giant puzzle, and you'll need Blight Bombs to get rid of the amber. What you want to do is move the giant nuts around so they sit in the holes with no light in them, while leaving those under sunlight empty. There are just enough nuts to complete the puzzle and once you do, the Vaultivore in the center will open and give you the Metal Alloy.
    • The Festering Chasm: Head west from the teleporter. Use the Grapple Flowers to make your way up to the top area using the large mushrooms and platforms. Once you're up here, head south through the large rock arch. Eventually, you'll come across a Vaultivore being defended by Floopsnoots and Boomerangs. You can see the locations of all three pimples if you stand next to the Vaultivore.
    • The Festering Chasm: The last Metal Alloy in the area is found in the Ornate Alien Chest that you can only access by using the Grapple Rails to reach the Matriarch Lair. One of the symbols is in the nearby Amber, another in a small cave that's hidden by Tentareeds, and the last one is in a floating island northwest of the chest.
AR-Y 26: Metallurgist (Alien Alloys) - The Elevated Realm
  • The Elevated Realm (10)
    • Xeriphilous Landing: There's a Vaultivore right next to the teleporter here. The pimples are located at the top of the tall stone pillar to the southeast, in a tree to the north, and behind a Meat Vortex door to the east.
    • Perch of the Observers: From the Xiriphilous Landing teleporter, head west. You'll find an area being guarded by two Sproutlooks. Take them down to unlock the Vaultivore beneath them.
    • The Putrid Anomaly: While missable, you won't miss this if you unlock every teleporter along your way. To get to the Repaired Teleporter, you want to get to the island that's southwest of Xiriphilous Landing, which is probably the next one you'll make your way to after completing the Perch of the Observers. Interacting with this teleporter teleports you to a normally unreachable island off in the distance, the Putrid Anomaly. Defeat the creatures it spawns, and get your reward.
    • Repaired Teleporter: You need a Blight Bomb to get this done. From this teleporter, go west until you reach the edge and loop around the rock wall to the left. There you'll find a Vaultivore with three pimples. One is right above the Vaultivore, another is encased in Amber nearby, and the last one is directly beneath the Vaultivore. To find it, look over the west edge of the island. There's a wall of Grapple Barnacles, but you don't really need those if you have thrusters, because there's a normal Grapple Flower on the island. You can just jump onto the floating rock and you'll find the little cave with the last pimple. Then, you just jump out and grapple to the flower on the island. Or, just use a Grapple Seed and lose the style points.
    • Pillars of Xzorgana: From the teleporter, go southwest. You'll see a platform extended between two pillars. With Quadruple Thrusters, you can make it to the neighboring island with the Skippers flying around. Head to the far end of this island and you'll see a small cave with a Cracked Stone Grate. Now the item you need isn't inside there, but right outside the cave- the Osmotic Cube! Smack it down to some island with creatures, kill them and let it collect the resources, and enjoy a new Metal Alloy.
    • Pillars of Xzorgana: From the teleporter, go southwest. You'll see a platform extended between two pillars. Below here, you'll find another small platform. You need Grapple Seeds to get through this area and at the end, there's a Vaultivore.
    • The Infernal Cauldron: This entire island is just one battle arena with a Metal Alloy as a reward. Defeat the Kapyenas and get your prize. You can reach this island by heading southeast from the Pillars of Xzorgana teleporter.
    • The Infernal Cauldron: Head to the islands southwest of the teleporter. On these small islands, there is an Ornate Alien Chest.
    • Tears of T'bo: Head north from the teleporter. You'll eventually find an island covered in Bombodoros. There's a Combativore here, and you need to defeat Pikemanders to open it.
    • The Crackling Pedestal: Right next to the teleporter, you'll find a Vaultivore- defeat the nearby Schnozos to open it. Its symbols are to the east behind Fragile Crystals, to the south, and hidden in Amber in a cave on the west.
AR-Y 26: Round Trip (Fuel Pods)
There are 10 Fuel Pods littered throughout the game. You can purchase the Fuel Detector upgrade for your Visor after you reach research rank 2.

They are tied to three achievements, two of which are endings for the game:
  • I Want To Go Home. Eventually.
    Collect your first Fuel Pod.
  • Screw This Noise.
    Relaunch the Javelin before beating the game.
  • Home At Last.
    Collect all 10 Fuel Pods and relaunch the Javelin, after beating the game.
Here is where you can find them all:
  • Landing Site (2)
    • Towering Crystals: From the teleporter, scale the Towering Crystals of Madness. Once you reach the top, head east and you'll see a Fuel Pod in a small cave. It's before you reach The Cliffs of Mt. Gzarfyn, so if you reached the teleporter, head back down. This is probably going to be the first Fuel Pod you find.
    • Plork's Vertical Corridor: From the Cliffs of Mt. Gzarfyn teleporter, head south and jump down from the platform where the Osmotic Cube sits. From there, keep heading south, staying close to the rock wall to your left. Just follow where these platforms take you until you reach a small body of water with a waterfall pouring into it. Behind the waterfall is this gauntlet. You need Shock Fruit to enter, and Launch Boosters to ascend, so you won't be getting this until you're near the end of the game. I also don't recommend doing this until you get a lot of health, because the lasers eat four or five bars of health if you touch them.
  • The Itching Fields (4)
    • Zor's Planetary Flotsam: From the teleporter, you want to start heading south on the floating islands, staying near the left side, to reach the first Grapple Rail you find that leads you to a cave in the rock wall. The Fuel Pod is sitting right inside there.
    • Festering Chasm: From the teleporter, go southeast and ascend the Leaping Alien Petroglyph. You need a Bombegranate to break into the cave and once you do you're rewarded with a Fuel Pod.
    • Festering Chasm: From the teleporter, head northeast and keep following the path through the log. Once you get the message saying a secret is nearby, go to the Stinkshroom that's ahead of you, just right of the path that you're on. It's hiding a cave with a Fuel Pod inside.
    • Fungi of Si'ned VII: From the teleporter, head southeast. Follow the path and just before you reach the giant cracked log, go to your left. There's a path off on the side with a Cracked Stone Grate at the very end.
  • The Elevated Realm (4)
    • Pillars of Xzorgana: From the teleporter, head southwest. You need Quadruple Thrusters to jump to the neighboring island where the Skippers are flying around. Head around the right side of the rocks to find a Cracked Stone Grate. Stomp Boost your way through and enjoy your new Fuel Pod.
    • Pillars of Xzorgana: From the teleporter, head southwest. There is a small cave located beneath the long extended platform on the edge of the island here. Just jump off while facing the island you jumped off, and use your thrusters to get into the cave. You need Grapple Seeds to progress through the cave, and at the end, there is a Fuel Pod along with an Alien Alloy.
    • Pillars of Xzorgana: It's on the floating island directly above the teleporter. An easy way to get up here is using the stone pillar to the east of the teleporter.
    • Crackling Pedestal: From the teleporter, head southwest- there is a little floating island nearby with an Alien Proximity Door on it. You can't shock it from the main island and you can't shock it when you're already standing in front of the door, so you need to shock it as you're jumping over, or just jump off the island, shock it, and jump back.
AR-Y 26 Kindex: Alien Tech and Points of Interest
Alien Tech (14)
While some of these have entries that automatically unlock over the course of the game, some you need to manually scan.

Alien Pumpjack
Found in:
  • Found only in the Planetary Flotsam, on a few of the islands.
Alien Teleportation Pedestal
Found in:
  • Unlocks as you scan the first Alien Teleporter you come across.
Cracked Stone Grate
Found in:
  • These are the cracked glowing grates that you need Stomp Boosters to get through. While you find them much earlier, the closest one to a teleporter that I found is at Xerophilous Landing, head southeast. It's behind a Meat Vortex gate.
Crystalline Beacon
Found in:
  • This is found within the large tower that sits in front of the Enigmatic Spiral teleporter. It's unlocked after you complete the other two towers' puzzles.
Enigmatic Tablet
Found in:
  • The first one you come across is the one in front of the Planetary Flotsam teleporter.
Genetic Samples
Found in:
  • This is found within the large tower that sits in front of the Enigmatic Spiral teleporter. It's unlocked after you complete the other two towers' puzzles.
Leaping Alien Petroglyph
Found in:
  • From the Planetary Flotsam teleporter, look at the island to the west where there is a lone pillar standing on the far end of it. You can see the Leaping Alien Petraglyphs on its sides, although it's up to you on how you want to get over there.
Mysterious Shrine
Found in:
  • Not sure about this one, this may unlock as you go along in the game.
Ornate Alien Chest
Found in:
  • Go to the Festering Overhang, and look over the edge. It's directly beneath you.
Planet Seed
Found in:
  • Unlocks when you bring the Seed back to the Javelin.
Rotating Mechanism
Found in:
  • This is the floor of the tower in the Elevated Realm where you need to quickly jump up platforms to escape the rising lava. From the Enigmatic Spiral teleporter, it's the tower to the right of the big one.
Strange Alien Barrier
Found in:
  • This is the large alien wall that breaks behind Cragclaw, the first major boss of the game. Take the Broken Bridge teleporter to get back to it quickly.
Strange Alien Statue
Found in:
  • Teleport to the Enigmatic Spiral and head straight to the large tower. These are the two pillars at the bottom of the stairs leading into the tower. There are Maroons walking around everywhere.
Unknown Explorer Log
Found in:
  • While you'll probably find these as you go along in your game, the easiest one to get to in my opinion is found near the end of the game, in the Vault (see image above). It's found on the top level, the first one you drop into, and I'm facing the northwest wall there.

Points of Interest (7)

Points of Interest are unique landmarks you'll find during your playthrough but might forget to scan along the way.

Ancient Effigy
Found in:
  • From the Towering Crystals teleporter, head southwest, toward the direction of the log tunnel. It's sitting in a clearing, in a pool.
Crashed Meteor
Found in:
  • Use the Meteor Crash teleporter and just turn on the scanner. It's already on your screen, a little to the left of where your crosshair is when you spawn.
Gigashrooms
Found in:
  • From the teleporter, take the path going west, under the arch, and keep going left on it. You'll reach the Domain of The Untamed Beast. You'll see giant red mushrooms. For some reason, you aren't able to scan the lower half of the red part of them, but you're able to scan them if you look at their tops.

    I think this might be because of a possible invisible wall messing the scanning up because you're able to get behind them and scan them with no problems, but that isn't the case from the front. At the same time, there's also an invisible wall that you can stand on behind them. The wall reaches a height of around where you're able to scan the shrooms. Not sure what's up with this honestly, but it's a well-documented issue you can read about online that lots of people have trouble with.
Repulsive Tree
Found in:
  • From the Festering Chasm teleporter, head north. The Repulsive Tree refers to the Virulent Tree of K'klenai, the giant purple mushroom-looking trees.
Runic Alien Bricks
Found in:
  • From the Towering Crystals teleporter, head southwest, following the edge of the island. Along the edge, before you reach the stone bridge with a rock arch above it, you'll find the giant bricks. If you pass underneath the arch to go into the area with Pufferbirds, you went too far.
Shattered Pod
Found in:
  • From the Towering Crystals teleporter, head south. After you pass the Towering Crystals of Madness, look around in the small clearing. The Shattered Pod sits underneath a tree here.
Towering Statue
Found in:
  • The Towering Statue sits on the platform where you're first tasked with obtaining Jump Thrusters in order to double jump, it's the path almost directly east from the log tunnel.
AR-Y 26 Kindex: KINTECH and Resources
KINTECH (27)
This tab gets filled out as you progress through the game, but it's entirely possible that you'll go through an entire playthrough and not see some of these. Thankfully, nothing in this game is 100% missable so if you forgot it, come back later!

3D Matter Reconstructor
Advanced Proton Tether
Binding Bile
Bio-Replication Chamber
Blight Bomb
Bombegranate
Cartographer Deployment Hatch
  • I think it might be possible to miss this because while I would guess most players will end up scanning it at the start of the game, it's not mandatory.
EKO
Grapple Seed
GROB
Javelin Teleportation Field
Javelin
Jump Thrusters
Kindred Aerospace
Kindred Computer
Launch Boosters
  • I've been able to get through a playthrough without them, so I guess it's possible to miss these as an entry in your Kindex!
Martin Tweed
Meat Buddy Deluxe
Nomad Pistol
Proton Tether
Resources Backup Storage
  • This is the loot box that drops when you die in the game. Technically, if you didn't die once during a playthrough and find that you're missing entries, this is probably one of them.
Shock Fruit
Springy Seed
Stomp Boosters
Tactical GROB
The Cartographers
Your Sad Lifeless Body
  • This is also missable if you don't die in a playthrough.

Resources (7)
Like KINTECH, this fills up on its own as you play the game. These unlock on their own and if you want to finish the game, I don't think it's possible to miss them.

Alien Alloy
Aluminum
Carbon
Fuel
  • While it's technically possible to beat the final boss without collecting a single Fuel Pod, you're still forced to collect these if you actually want to leave the planet, otherwise it doesn't count as an ending.
Health Essence
Orange Goo
  • It's also possible to beat the final boss without getting this, although unlikely.
Silicon
AR-Y 26 Kindex: AR-Y 26
There are 41 locations in total. I've gone into a bit more detail on how to find some of the peskier or optional locations, but aside from those, the list shouldn't be too difficult to complete as long as you explore everything.

Landing Site (14)
Bombegranate Shrine
Chamber of Intrigue
Glimmering Cave of Wonder
  • The cave entrance is in The Verdant Wilds of Zyl, to the right of the Towering Crystals of Madness.
Jellywaft Basin
Kayn's Icy Refuge
  • This cave can be entered from The Verdant Wilds of Zyl. From the giant log through which you first enter the area, make a right and keep following the island edge until it starts wrapping around the ice. Keep going down this path and you'll find this cave, along with another small cave after it with an Alien Goo inside.
Plork's Vertical Corridor
  • You need Launch Boosters and Shock Fruit to access this location. From the Towering Crystals teleporter, scale the Towering Crystals of Madness. Once you do, follow the rock wall to the right. You'll come across an Osmotic Cube here. Once you do, keep going in the same direction and jump down onto the platform below. Keep following this path until you reach a small pond with a large waterfall pouring into it. Behind this waterfall is Plork's Vertical Corridor. It's a laser-filled gauntlet, I don't recommend trying it unless you have the health to spare.
Precarious Shrine
Puffer's Den of Respite
  • This location is inside Kayn's Icy Refuge, the entrance to which is accessible from The Verdant Wilds of Zyl. When you enter the cave and come across a fork in the path, head left.
Shangtar's Frigid Embrace
The Cliffs of Mr. Gzarfyn
The Smoldering Abyss
The Verdant Wilds of Zyl
Towering Crystals of Madness
Tranquil Crevasse of Tranquility

The Itching Fields (11)
Domain of The Untamed Beast
Lair of The Matriarch
Plork's Narrows of Despair
  • You need Shock Fruit and Triple Thrusters to get through this. Teleport to the Fungi of Si'ned VII. From where you face when spawning, head in the opposite direction to access The Gaseous Underbelly, the cave with pools of water in it and grapple points near the top. Go to the first lowest area you can find where the Infected Pufferbirds walk around. You'll see a door needing a Shock Fruit to get in, with tons of lasers behind it. Like with the previous gauntlet, don't attempt this unless you've got health to spare.

    Friendly note, if you aren't confident with your platforming skills in this section, just fall down. The bottom area is empty, it just makes you go back to the start to try again. Consider saving a boost for the way down, just in case.
The Caustic Altar
The Festering Chasm
The Fungi of Si'ned VII
The Gaseous Underbelly
The Infested Husk
The Ruinous Altar of Yun'Ji
Virulent Tree of K'Klenaii
Zor's Planetary Flotsam

The Elevated Realm (13)
Depths of Fnndddkkeyrtt
Fixtau's Trial of Agility
Perch of The Observers
Plork's Sizzling Gauntlet
  • You need Shock Fruit to access this area and to have the easiest time ever, have Quadruple Thrusters as well. Teleport to Xerophilous Landing. From there, head Northeast, to the edge of the island. You'll see grapple points leading somewhere underneath the island. You'll find a platform with a proximity door. Shock it and jump down the hole to begin the gauntlet. If you have Quadruple Thrusters, you can jump over most of the obstacle arena before it even begins. If you don't have Quad Thrusters, I hope you at least have decent health.

    Also, there is a laser ceiling slowly coming down as you make your way through the gauntlet. Don't dally for too long.
Sychi's Trial of Might
The Crackling Pedestal
The Eternal Tears of T'bo
The Infernal Cauldron
  • Teleport to the Pillars of Xzorgana. Then, head East. At the edge of the island, you'll find darker stones leading to another island with Marshmallow-like trees (Mallowsaps) on them. The island this leads to is the Infernal Cauldron, which houses an Alien Alloy.
The Pillars of Xzorgana
The Putrid Anomaly
  • This location is a weird one but not optional as far as I know- at some point EKO will let you know about this island and you will simply teleport over. There's an Alien Alloy on here so once you complete the trial on here, it's yours to take. After that, you won't be able to come back (not that you would need to either way) unless you cheat and give yourself infinite jumps just to see it again while making a Steam guide.
Top of The Enigmatic Spire
Tower Control Room
Xerophilous Landing

Within The Spire (3)
The Moist Vestibule
The Spire's Heart
Teratomo's Refuge
AR-Y 26 Kindex: Creatures (Part 1: Predators)
There are 37 creatures on AR-Y 26. Predators are creatures that will attack on sight, and prey will not attack unless you attack them first.

Predators
Barfer
Found in:
  • Meteor Crater teleporter. You can see the Barfers spewing orange acid from there- they defend the giant purple crystals on the nearby rock wall. Take the stone bridge that's directly north of the teleporter to get to them. This is the only location where they can be found.
Boomerbang (Feral)
Found in:
  • Festering Chasm teleporter- there's a nearby area with Amber-armored Pufferbirds walking around, and there are also a few Feral Boomerangs flying around here as well.
Boomerbang (Hermit)
Found in:
  • Take the Meteor Crash teleporter. Go east into the Smouldering Abyss. There are a few flying around in the first area.
Cragclaw
Found in:
  • This is the final boss of the first area, easily reached from the Cliffs of Mt. Gzarfyn teleporter.
Floopsnoot
Found in:
  • Head to the Festering Overhang teleporter, several will spawn and attack you.
Floopsnoot Matriarch
Found in:
  • The final boss of the second area, can be easily reached from the Matriarch's Lair teleporter.
Insectoid Swarm
Found in:
  • Use the Fungi of Si'ned VII teleporter and head northwest, to the Advanced Proton Tether Shrine. If you stand directly in front of it, you can actually see a Swarm Hive nearby. Approach it and it should spawn an insectoid swarm.
Jellywaft (Inferior)
Found in:
  • Take the Cliffs of Mt. Gzarfyn teleporter, you can scan some from there.
Jellywaft (Prime)
Found in:
  • Fungi of Si'ned VII teleporter, there's one flying within scanning range there.
Kapyena (Battle)
Found in:
  • Use the Infernal Cauldron teleporter. There's a nearby battle arena with both Battle and Widow Kapyenas.
Kapyena (Widow)
Found in:
  • Use the Infernal Cauldron teleporter. There's a nearby battle arena with both Widow and Battle Kapyenas.
Meat Vortex
Found in:
  • Meteor crash teleporter. Head northwest, jump off the cliff. There's a Meat Vortex around every corner here.
Pikemander (Desert)
Found in:
  • Take the Repaired Teleporter. There's a Desert Pikemander waiting to murder stuff to the southeast.
Pikemander (Marbled)
Found in:
  • Take the Meteor Crash teleporter and head to the path that is directly in front of you in the northwest. There are two Marbled Pikemanders over there.
Porcupod
Found in:
  • Meteor Crater teleporter, the whole area is litered with them.
Infected Pufferbird
Found in:
  • Take the Fungi of Si'ned VII teleporter and head south and into the Gaseous Underbelly. They can be found on the bottom level of the cave.
Schnozo
Found in:
  • Head to the Tears of T'bo. There's a nearby Smoke Spout with Schnozos popping in and out that you can scan right from the teleporter.
Slamphibian (Grizzled)
Found in:
  • Teleport to the Slamphibian Pit.There should be a two Slamphibians walking around, one of them being Grizzled.
Slamphibian (Heath)
Found in:
  • Teleport to the Slamphibian Pit. There should be a two Slamphibians walking around, one of them being Heath.
Sproutlook
Found in:
  • Meteor Crater teleporter, look to your right. It's the plant with a visible red line of sight that you need to avoid. If you have a good enough scanner, you can scan it without entering its range. Otherwise, you can stealth or just aggro it and scan it when it contracts into itself.
Teratomo
Found in:
  • This is the final boss of the game, kind of hard to miss but if you did, you can go back there using the Vault Floor 4 teleporter.
AR-Y 26 Kindex: Creatures (Part 2: Prey)
Prey
Baboushka
Found in:
  • While you'll see plenty of these in The Verdant Wilds of Zyl, I recommend another area that isn't filled with tall grass in order to scan these guys. Head to the Festering Chasm, there should've one walking around near the Pufferbirds.
Baboushka (Demi)
Found in:
  • When you shoot a Baboushka, it splits into two- when it first does this, it splits into blue creatures called Demi Baboushkas. You won't see these walking around in the wild on their own, you need to find a normal Baboushka in order to get these.
Baboushka (Quarter)
Found in:
  • When you shoot a Baboushka it splits into two parts called Demi Baboushkas. Shoot Demi Baboushkas, and you get Quarter Baboushkas. You will not find Quarter Baboushkas walking around in the wild.
Burglesnatch (Balmy)
Found in:
  • Meteor Crater teleporter, look to your left. There's a stone bridge heading off into an area with Pufferbirds and their nests. Kill a Pufferbird but don't pick up its drops, and a Burglesnatch will run out to take it.
Burglesnatch (Tundra)
Found in:
  • Go into the tunnel running underneath the massive skeleton. There's a path that leads out into the open with a single Pufferbird in it. Kill the Pufferbird but don't collect the resources, and the Tundra Burglesnatch should run out of its Burgle Haven. This is the only location to have this creature.
Imperial Scarab
Found in:
  • Teleport to Xerophilous Landing, there's a bunch right next to the teleporter.
Maroon
Found in:
  • Teleport to Xerophilous Landing, there's a bunch right next to the teleporter.
Mesmertoxin
Found in:
  • Use the Outside the Javelin teleporter and head to Shangtar's Frigid Embrace, they can be found all around the area.
Osmotic Cube
Found in:
  • From the Towering Crystals teleporter, scale the Towering Crystals of Madness. Once you do, follow the rock wall to the right. You'll come across an Osmotic Cube here. Alternatively, you can jump down to it from the Cliffs of Mt. Gzarfyn teleporter. There are many cubes that you can find throughout the game, and they show up on the scanner once you are able to scan for Alien Alloys. You feed them materials by killing things near them and smacking them onto the remains!
Pufferbird (Alpha)
Found in:
  • Take Cliffs of Mt. Gzarfyn teleporter, there's a few right next to it.
Pufferbird (Cave)
Found in:
  • Use the Repaired Teleporter, there are five right next to it.
Pufferbird (Snowy)
Found in:
  • Outside the Javelin, in a small cave.
Pufferbird (Valley)
Found in:
  • Take the Cliffs of Mt. Gzarfyn or the Tears of T'bo teleporter, there's a bunch walking around next to it.
Skipper (Royal)
Found in:
  • Head to the Festering Chasm and go north, past the Virulent Tree of K'klenaii. There are two Royal Skippers hanging out on the rocks.
Skipper (Scotch)
Found in:
  • Go to the Pillars of Xzorgana and head southwest. There are two Skippers here, one Scotch and the other Tortoiseshell.
Skipper (Tortoiseshell)
Found in:
  • Go to the Pillars of Xzorgana and head southwest. There are two Skippers here, one Tortoiseshell and the other Scotch.
AR-Y 26 Kindex: Flora (Part 1)
There are 63 total Flora to catalog throughout the game. As much of the Flora can be found all across the map, I'll suggest the best location to teleport to in order to get a scan.

Note: Whenever I say "easily scannable" I mean that you can see the subject from the teleporter's vicinity, without needing to go far, with the exception of teleporters that are inside little caves. For those, you need to do the grueling task of walking outside first.

Aluminum Vein
Found in:
  • Easily scannable from the Festering Chasm or Fungi of Si'ned VII teleporter.
Amber Armor
Found in:
  • Easily scannable from the Planetary Flotsam, Festering Chasm, or Fungi of Si'ned VII teleporter.
Bellowbulb
Found in:
  • Easily scannable from the Festering Chasm teleporter.
Big Ol’ Nut
Found in:
  • From the Festering Chasm teleporter, head north to the Virulent Tree of K'Klenaii. The giant nuts inside are only found in this area.
Blight Bomb Plant
Found in:
  • Easily scannable from the Planetary Flotsam, Festering Chasm, or Matriarch's Lair teleporter.
Blight Bomb Plant (Teen)
Found in:
  • Easily scannable from the Planetary Flotsam, Festering Chasm, or Matriarch's Lair teleporter.
Blight Bomb Plant (Baby)
Found in:
  • Easily scannable from the Planetary Flotsam, Festering Chasm, or Matriarch's Lair teleporter.
Bombegranate Plant
Found in:
  • All locations, easily scannable from the Meteor Crater or Festering Chasm teleporter.
Bombegranate Plant (Teen)
Found in:
  • All locations, easily scannable from the Meteor Crater or Festering Chasm teleporter.
Bombegranate Plant (Baby)
Found in:
  • All locations, easily scannable from the Meteor Crater or Festering Chasm teleporter.
Bombodoro
Found in:
  • Use the Tears of T'bo teleporter, and walk southwest, onto the rocks at the edge. Don't jump off. Just stand at the edge and look to your right. There's a Bombodoro on the wall, which you can scan and return to the teleporter right after.
Breezee
Found in:
  • Easily scannable from the Xerohilous Landing or Pillars of Xzorgana teleporter.
Bright Blossom
Found in:
  • From the Towering Crystals teleporter, head East toward the Glimmering Cave of Wonders. The plants are at the entrance.
Bulwark Bush
Found in:
  • Easily scannable from the Planetary Flotsam teleporter.
Burgle Haven
Found in:
  • Shangtar's Frigid Embrace (through the tunnel that goes under the spine).
  • From Meteor Crater teleporter, head west and cross the stone bridge. There's an area with Pufferbirds here, along with a few Burgle Havens.
Cacnut
Found in:
  • Easily scannable from the Fungi of Si'ned VII teleporter.
Canopy Leaf
Found in:
  • Easily scannable from the Xerohilous Landing or Tears of T'bo teleporter.
Carbon Vein
Found in:
  • Easily scannable from the Infernal Cauldron teleporter, to the south.
Citrasweet
Found in:
  • Easily scannable from the Fungi of Si'ned VII teleporter.
Combativore
Found in:
  • Go to the Infernal Cauldron teleporter and go into the Kapyena pit, The Vaultivore is at the end, it held an Alien Alloy.
Crackle Cap
Found in:
  • Use the Crackling Pedestal teleporter, then head southeast. Plenty of them here.
Dripping Orifice
Found in:
  • Use the Vault Floor 4 teleporter where Teratomo sits. The Dripping Orifices will be behind you, hanging above the platforms.
Feeblecap
Found in:
  • Easily scannable from the Fungi of Si'ned VII teleporter.
Floatshroom
Found in:
  • Use the Festering Chasm teleporter, then head west. These shrooms are floating off the edge of the island.
Fragile Crystal
Found in:
  • Starting area outside the Javelin.
Fungissimo
Found in:
  • Easily scannable from the Enigmatic Spire teleporter.
Giant Bombegranate
Found in:
  • All locations, easily scannable from Meteor Crater teleporter.
Glow Shrub
Found in:
  • Head to the Cliffs of Gzarfyn teleporter and head southeast to the nearest cave, the Glimmering Cave of Wonder. Head inside and travel some way until you find a completely dark section- there is a Glow Shrub there.
Gossamer Wood
Found in:
  • Easily scannable from the Fungi of Si'ned VII teleporter. As noted by Soultaker in the comments, approaching it will scare the "leaves" off it, and it cannot be scanned in this state. Scan it while it's undisturbed and from a distance, otherwise you'll have to come back later.
Grapple Flower
Found in:
  • All locations, easily scannable from Towering Crystals teleporter.
AR-Y 26 Kindex: Flora (Part 2)
Grapple Rail
Found in:
  • Easily scannable from the Festering Overhang or The Enigmatic Spire teleporter.
Grotesque Opening
Found in:
  • Easily scannable from the Moist Vestibule teleporter.
Jellywaft Pit
Found in:
  • The Jellywaft Pit is the giant black fluid-filled pit that sits pretty much in the middle between three teleporters- Outside the Javelin, Towering Crystals, and Meteor Crash. Pick either one and head to the passage between the snowy area and the Verdant Wilds.
Large Ant Mound
Found in:
  • The Verdant Wilds of Zyl
Larval Jelly
Found in:
  • Easily scannable from the Festering Overhang teleporter.
Mallowsap
Found in:
  • Use the Pillars of Xzorgana teleporter and head east.
Massive Skull
Found in:
  • ONLY in Shangtar's Frigid Embrace.
Metallic Seed Bag
Found in:
  • Easily scannable from Towering Crystals or Festering Overhang teleporter.
Polypod Tree
Found in:
  • Shangtar's Frigid Embrace.
Puffer Spring
Found in:
  • ONLY in Shangtar's Frigid Embrace.
Pufferbird Burial Ground
Found in:
  • Use the Crackling Pedestal teleporter, then head southeast. Plenty of them here.
Pufferbird Nest
Found in:
  • From Meteor Crater teleporter, head west and cross the stone bridge. There's an area with Pufferbirds here, and a nest nearby.
Pus Launcher
Found in:
  • Use the Vault Floor 4 teleporter where Teratomo sits. Pus Launchers are only found in this area, on either side of him.
Salt Crystal
Found in:
  • Starting area outside the Javelin.
Schnozo Hole
Found in:
  • Easily scannable from the Tears of T'bo teleporter.
Shock Fruit Plant
Found in:
  • Easily scannable from the Pillars of Xzorgana teleporter, or the Repaired Teleporter.
Shock Fruit Plant (Teen)
Found in:
  • Easily scannable from the Pillars of Xzorgana teleporter, or the Repaired Teleporter.
Shock Fruit Plant (Baby)
Found in:
  • Easily scannable from the Pillars of Xzorgana teleporter, or the Repaired Teleporter.
Silicon Vein
Found in:
  • Easily scannable from the Festering Overhang teleporter.
Smoke Spout
Found in:
  • Easily scannable from the Tears of T'bo teleporter.
Space Lettuce
Found in:
  • Easily scannable from the Pillars of Xzorgana teleporter.
Splinter Timber
Found in:
  • From the Fungi of Si'ned VII teleporter, follow the path going west, and then go south when there's a fork in the road, approach the Domain of the Untamed Beast. Immediately to your left will be a Splinter Timber, scannable without needing to enter the arena at all. If you want to avoid combat, just scan it from the entrance.
Springy Egg Sac
Found in:
  • Easily scannable from the Repaired Teleporter.
Stinkshroom
Found in:
  • Easily scannable from the Planetary Flotsam or Festering Chasm teleporter.
Stone Armor
Found in:
  • Use the Cliffs of Mt. Gzarfyn teleporter, there's a bunch of Pufferbirds in Stone Armor outside.
Succulescent
Found in:
  • Easily scannable from the Xerohilous Landing or Pillars of Xzorgana teleporter.
Swarm Hive Shield
Found in:
  • Use the Fungi of Si'ned VII teleporter and head northwest, to the Advanced Proton Tether Shrine. If you stand directly in front of it, you can actually see a Swarm Hive and Shield on a nearby shroom.
Swarm Hive
Found in:
  • Use the Fungi of Si'ned VII teleporter and head northwest, to the Advanced Proton Tether Shrine. If you stand directly in front of it, you can actually see a Swarm Hive and Shield on a nearby shroom.
Tentareeds
Found in:
  • Starting area outside the Javelin.
Tentaweeds
Found in:
  • Easily scannable from the Crackling Pedestal teleporter.
Vaultivore
Found in:
  • Easily scannable from the Festering Chasm or Crackling Pedestal teleporter.
Vitality Plant
Found in:
  • All locations.
  • Easily scannable from the Festering Chasm teleporter.
Witherwood
Found in:
  • Easily scannable from the Pillars of Xzorgana teleporter, or the Repaired Teleporter.
DL-C1 Kindex: Postcards
Postcards (22) (Collecting all of these grants the Coastal Postal achievement)

Note: The locations listed for each Postcard are teleporter names- most of the directions are given from a teleporter's position.
  1. The Future Site of Boomerdale: From the teleporter, look directly south. There's a large rock column with Amber on a ledge, and you need a Blight Bomb to melt it. The way I got up there is I jumped on the sign, and then air-jumped my way onto the ledge.
  2. The Future Site of Boomerdale: Facing the cave that held Postcard #1, head to your left and around the giant rock column. There are rocks just above water level here, the Postcard is tucked away here.
  3. The Future Site of Boomerdale: This Postcard is located almost exactly north from the teleporter, along the rock wall on the beach. On the farthest end of the beach you'll see a cluster of Tentareeds hiding the card.
  4. The Future Site of Boomerdale: From the teleporter, head northwest and follow the large rock wall to the right until you come across a group of Pufferbirds with a Meat Vortex nearby. It's protecting a Postcard, and murder should come easy in this game when achievements are on the line.
  5. The Future Site of Boomerdale: Look north, you'll see a Postcard out on one of the rocks that's just above water level. It's pretty out in the open.
  6. The Future Site of Boomerdale: This Postcard should be visible from the underwater location where you find Postcard #9. Follow the instructions for #9, keep the wall to your right, and head deeper underwater. The card is under an arch.
  7. The Future Site of Boomerdale: From the teleporter, head to the far end of the beach, and go on the rocks out on the water that have Chumcumbers on them. Jump off the last one, off the edge that's farthest from the beach sand and look around, the card is close by. This card was a MASSIVE PAIN to find, I went all around the map until I finally found it. It's just far enough out that you need to actually be out on the rocks or in the water when looking for it.
  8. The Future Site of Boomerdale: From Postcard #2, keep heading in the same direction following the wall until you reach the water. The card is underwater, near here.
  9. The Future Site of Boomerdale: From spawn, look east. There are rocks just above water level with Chumcumbers on them. Go to them, and jump into the water to the left of them. The Postcard is close by, right against the rocks you jumped off.
  10. The Future Site of Boomerdale: This Postcard is in the water, located in between the Boomerdale Sign and the rocks where Postcard #5 was.
  11. Xipyar's Fathomless Cenote: This Postcard is located under the waterfall that is directly north of the teleporter, on the dark side of the rock wall. It's close by.
  12. Xipyar's Fathomless Cenote: You need Bombegranates to reach this one. From the waterfall that held Postcard #11, stand at the very edge of the water at that level. Look down and to your left, there's a Fuel Vapor that's at the level of the next card, which is hidden behind a breakable wall.
  13. Gorgeous Gork's Gorge: Next to the teleporter that sits near the center of the area, there's a tall pillar. The Postcard is at the very top, probably best reached from the Ravine of Supreme Agony teleporter (the one on the cliff next to it).
  14. Gorgeous Gork's Gorge: From Postcard #13's location, look at the highest level of land where the water flows from in the area. It's pretty easy to spot and reach.
  15. Gorgeous Gork's Gorge: From the Ravine of Supreme Agony teleporter, look at the closest line of Fuel Vapor rings. Jump into them and immediately after the second one, make a right. You'll see a small cliffside on the wall with an Amber on it. Blight Bomb it and get your Postcard.
  16. The Hissing Quagmire of Zyp: Find the first puzzle in the area, the Vyper Digi-Vault. If you look in the direction of the closest rock wall, you'll find fragile crystals hiding the Postcard.
  17. The Hissing Quagmire of Zyp: It's right next to the teleporter.
  18. The Embers of Mt. Krung: From the Kronus' Dominion teleporter, look down at the quagmire, and to the left. There are fragile crystals hiding the Postcard.
  19. The Embers of Mt. Krung: From the Kronus' Dominion teleporter, look out at the large arch with purple vegetation on it, the Postcard is on top.
  20. The Embers of Mt. Krung: From the Kronus' Dominion teleporter, look toward the lava pits. You'll see fragile crystals hiding the Postcard.
  21. The Embers of Mt. Krung: From the Kronus' Dominion teleporter, look down at the quagmire, and you'll see more fragile crystals hiding the Postcard.
  22. The Future Site of Boomerdale: Amidst the palm trees along the beach, you'll see tall and thin free-standing rock formations. Atop the tallest free-standing one is Postcard #22. You can easily reach this area when you first arrive, provided you have Quadruple Thrusters and Grapple Seeds.
DL-C1 Kindex: Vyper Tech, DL-C1, KINTECH
Vyper Tech (8)
Vyper Data-Crystal
Found in:
  • The Ravine of Supreme Agony
Incriminating Evidence
Found in:
  • All Vyper bases except in Kronus' Dominion.
Vyper Digi-Vault
Found in:
  • All Vyper bases.
  • Boomerdale Beach
  • Xipyar's Fathomless Cenote
  • Gorgeous Gork's Gorge
  • The Hissing Quagmire of Zyp
  • The Embers of Mt. Krung
Kronus
Found in:
  • Kronus' Dominion
Vyper Teleporter
Found in:
  • All locations.
Vyper Power Panels
Found in:
  • Gorgeous Gork's Gorge
  • The Hissing Quagmire of Zyp
Vyper Violator Missile Array
Found in:
  • Kronus' Dominion
Fuel Vapor
Found in:
  • Xipyar's Fathomless Cenote
  • Gorgeous Gork's Gorge
  • The Ravine of Supreme Agony
  • The Hissing Quagmire of Zyp
  • The Embers of Mt. Krung
DL-C1 (7)
Kronus' Dominion
The Embers of Mt. Krung
The Hissing Quagmire of Zyp
The Ravine of Supreme Agony
Gorgeous Gork's Gorge
Xipyar's Fathomless Cenote
The Future Site of Boomerdale
KINTECH (4)
Toxic DeShocker
  • Obtained by crafting after completing The Toxic Revenger.
Kindred Port-A-Porty
Found in:
  • The Future Site of Boomerdale
Kindred Mobile Latrine
Found in:
  • The Future Site of Boomerdale
Boomerdale Billboard
Found in:
  • The Future Site of Boomerdale
DL-C1 Kindex: Flora, Creatures
Flora (20)
Plantenna
Found in:
  • The Future Site of Boomerdale
Lotark Bud
Found in:
  • The Hissing Quagmire of Zyp
  • The Embers of Mt. Krung
Ash-Preserved Creature
Found in:
  • The Embers of Mt. Krung
Twislux
Found in:
  • The Future Site of Boomerdale
Corock
Found in:
  • The Future Site of Boomerdale (Underwater)
Pistilbract Minor
Found in:
  • Gorgeous Gork's Gorge
Blusterbob
Found in:
  • The Future Site of Boomerdale
Perisol
Found in:
  • Xipyar's Fathomless Cenote
Redoxstul
Found in:
  • The Future Site of Boomerdale
Pistilbract Major
Found in:
  • Gorgeous Gork's Gorge
Chumcumber
Found in:
  • The Future Site of Boomerdale
Syphox
Found in:
  • Xipyar's Fathomless Cenote
Mushmosh
Found in:
  • The Hissing Quagmire of Zyp
  • The Embers of Mt. Krung
Fannofin
Found in:
  • The Future Site of Boomerdale
Fizzlebob
Found in:
  • The Future Site of Boomerdale
Nevergreen
Found in:
  • The Hissing Quagmire of Zyp
Lettoosh
Found in:
  • The Future Site of Boomerdale (Underwater)
Spirax
Found in:
  • The Future Site of Boomerdale (Underwater)
Fnatch
Found in:
  • The Future Site of Boomerdale (Underwater)
Corafunga
Found in:
  • The Future Site of Boomerdale (Underwater)
Creatures (7)
Predators
Pufferbird (Decayed)
Found in:
  • The Future Site of Boomerdale
  • Gorgeous Gork's Gorge
Vyper Defendatron
Found in:
  • All Vyper bases.
Vyper Aggrotron
Found in:
  • Kronus' Dominion (Vyper Base)
Sludge Sucker
Found in:
  • The Vyper base between the beach and Gork's Gorge.
Prey
Prey: Pufferbird (Tropical)
Found in:
  • The Future Site of Boomerdale
  • Gorgeous Gork's Gorge
Osmotic Cube (Alpha)
Found in:
  • Vyper base between Gorgeous Gork's Gorge and The Hissing Quagmire of Zyp. It's required for a puzzle, it's hiding in a cluster of Tentareeds. Don't worry if you kill it before scanning it, it'll respawn later.
Vyper Wiper
Found in:
  • All Vyper bases except in Kronus' Dominion.
Conclusion
I ended up over doubling my playtime in this game just for the purpose of this guide, it's taken maybe 30-40 hours for me to complete. Yes, I ran around for every collectible to record its location. I used existing guides and YouTube videos to cross-reference information if I made a mistake, but most of this was done with the help of numerous playthroughs and a Cheat Engine script for infinite jumps, amen to that thing.

Did I get something wrong? Want me to add an image somewhere? Did I do a crappy job explaining the game that already explains itself really well? Leave a comment below, I'll do my best to fix things as soon as possible. Either that or I'll just complain. Either way, if you're reading this, thanks for checking out my guide. I hope it helped and if not, I hope it was just fun to go through.

Seriously though if you find a problem please let me know, this guide is mega chonky (17k+ words) and chances are I missed some stuff.

Changelog:
[01/31/2023]:
  • Changed Aluminum and Kapyena (Battle) images to the proper ones.
  • Swapped Flootsnoot Matriarch and Insectoid Swarm images.
  • Added locations for Glow Shrub and Splinter Timber.
  • Added note to Gossamer Wood entry (Thank you Soultaker).
  • Removed several other errors, unused lists, etc.

[06/25/2023]:
  • Fixed a description. Thanks, Phaota!
  • Various small grammar fixes.

[07/09/2023]:
  • Changed up the wording in a few places and added some more info in others.
  • Spruced up the format a bit. Now you have pretty achievement icons to look at while you read!
31 Comments
Borg kinge Rei 10 Jul @ 8:56am 
amazing guide but for some reason I can't get the "I Come In Peace" achievement even though I'm pretty sure I slapped every creature at least once
CheeseSlice 16 May @ 9:23pm 
Do you have to slap the bosses for the "I Come In Peace" achievement?
logicleap 9 Apr @ 11:47am 
This was a very helpful guide. Thank you for putting it together.
Pretentieux 7 Jan @ 6:55pm 
Does anyone have a link to a decent map for this game? Most games like this seem to have a great map resource somewhere online but I can't find anything for this one.
Lennos 8 Oct, 2024 @ 3:07pm 
anyone know how to get rid of the bug with AR-Y 26 depths of fnndddkkeyrtt ? i was at that location several times and killed dozens of that damn frogs but its still shown as missing point in my kindex. pretty annoyin cuz its literaly the last thing in my list that keep me from reaching 100%
adorablebob 17 Sep, 2024 @ 7:51pm 
I used your guide to help get the last few kindex items for the main game and the DLC, so cheers for putting this together. I tried to give it a thumbs up, too, but Steam said I had to own the game (I played on PC Game Pass).
霊夢 28 May, 2024 @ 9:39am 
thx, my superman!
sabre3823 27 Apr, 2024 @ 12:44pm 
Best guide I’ve ever seen!
pyxxel 13 Apr, 2024 @ 5:51pm 
Oh, I'm wondering about something... I could now end my game by launching the Javelin and returning home, but - would I lose the ability to finish the DLC? I've just dabbled briefly in that. I could of course just carry on and play the DLC now, it seems to be a good bit shorter than the main game.
pyxxel 13 Apr, 2024 @ 5:46pm 
This guide helped me to get from 92% to 100% Kindex entries just now, so a huge thank you, @Briggs! Some very obvious ones I missed, plus others that were more obscure.

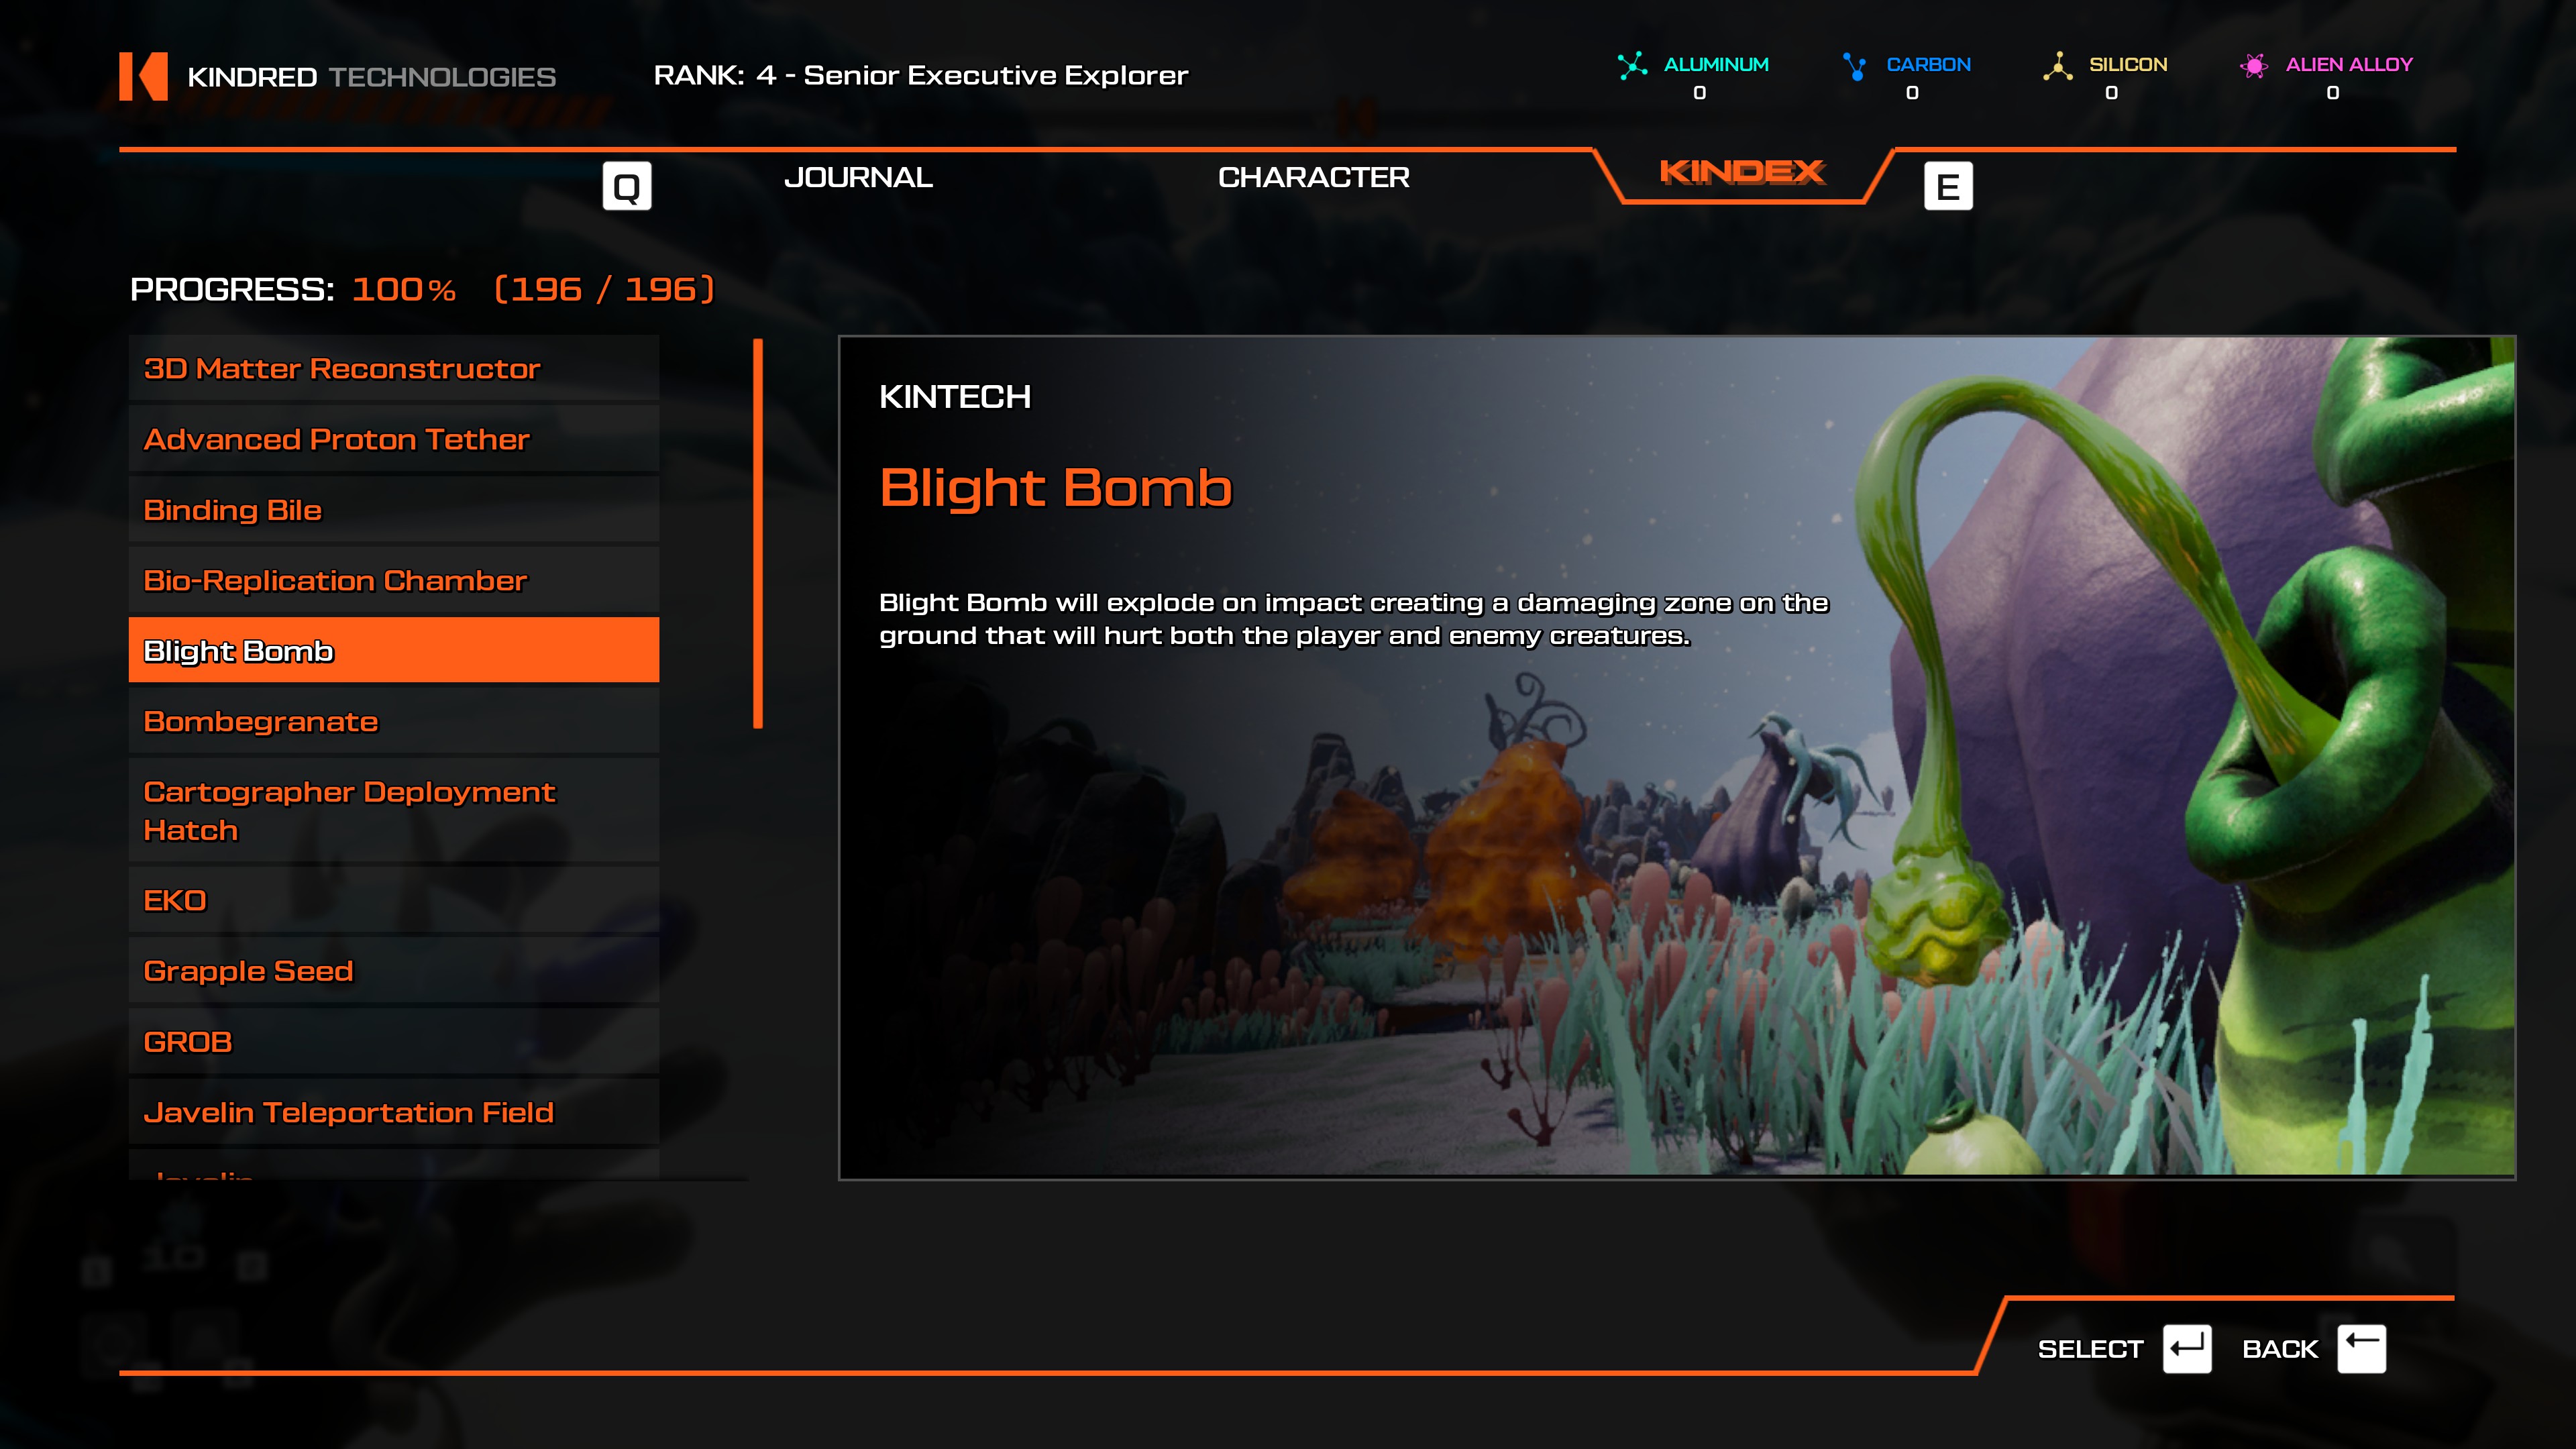
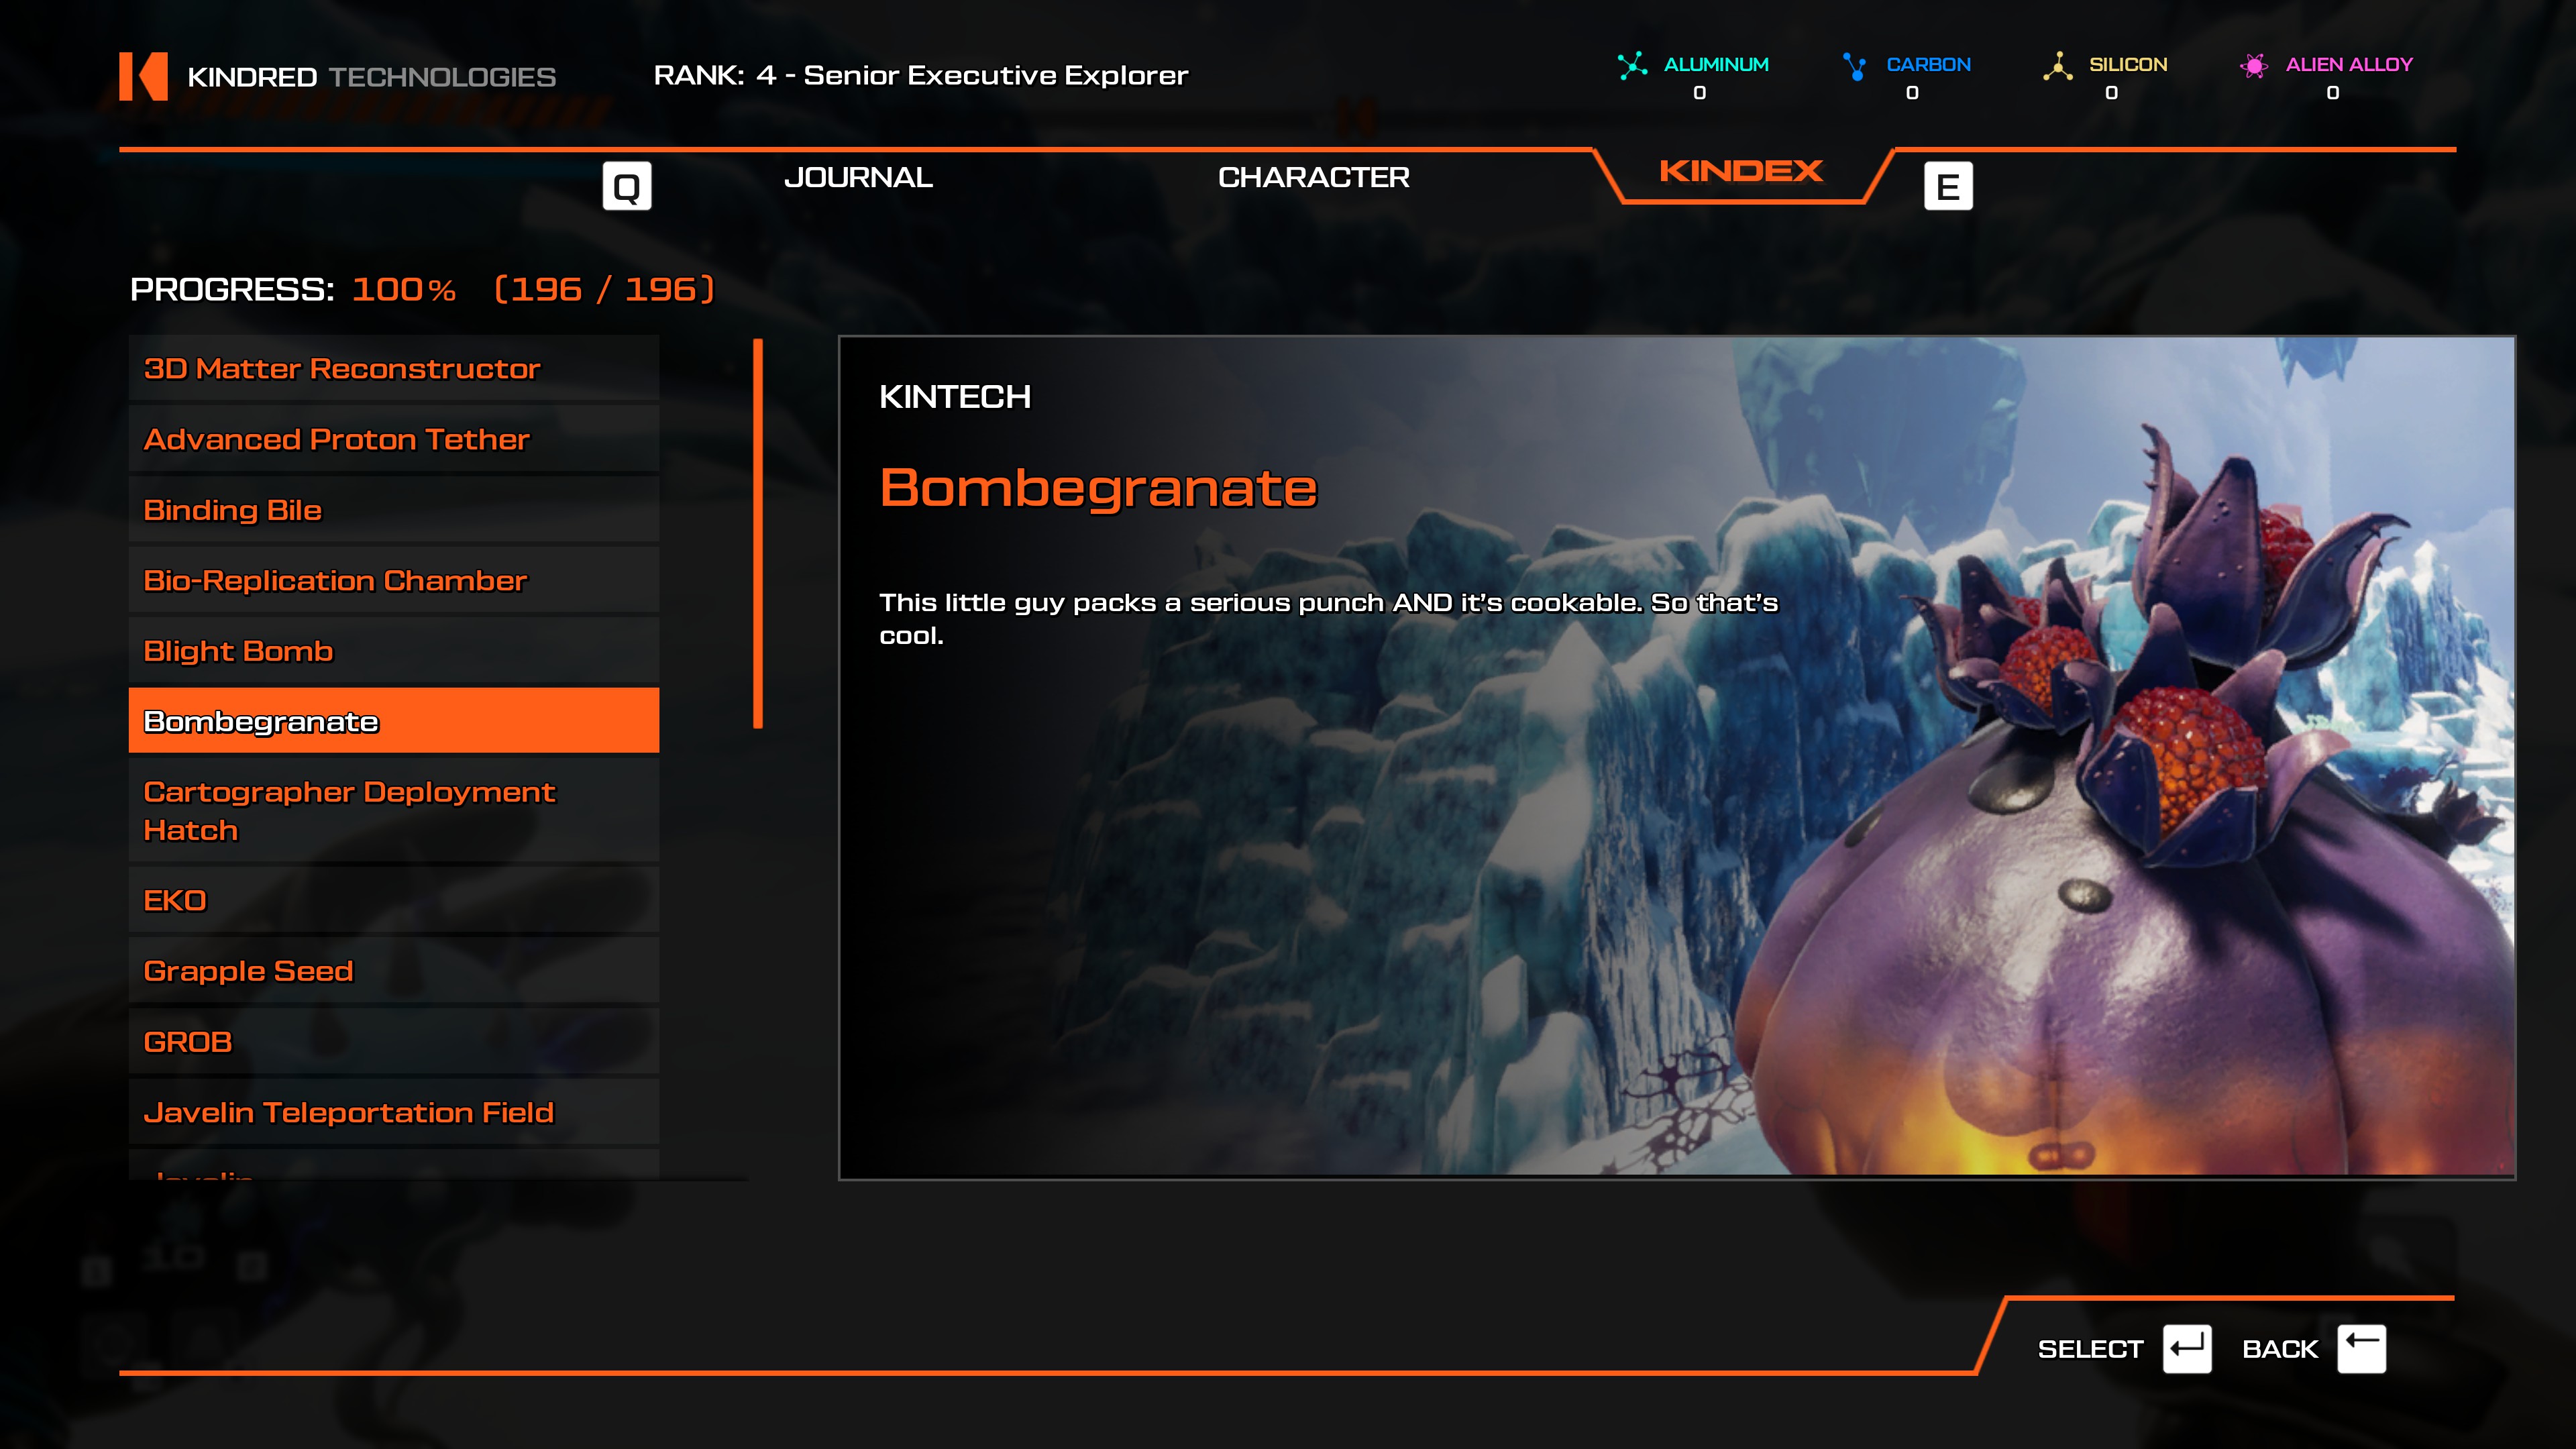
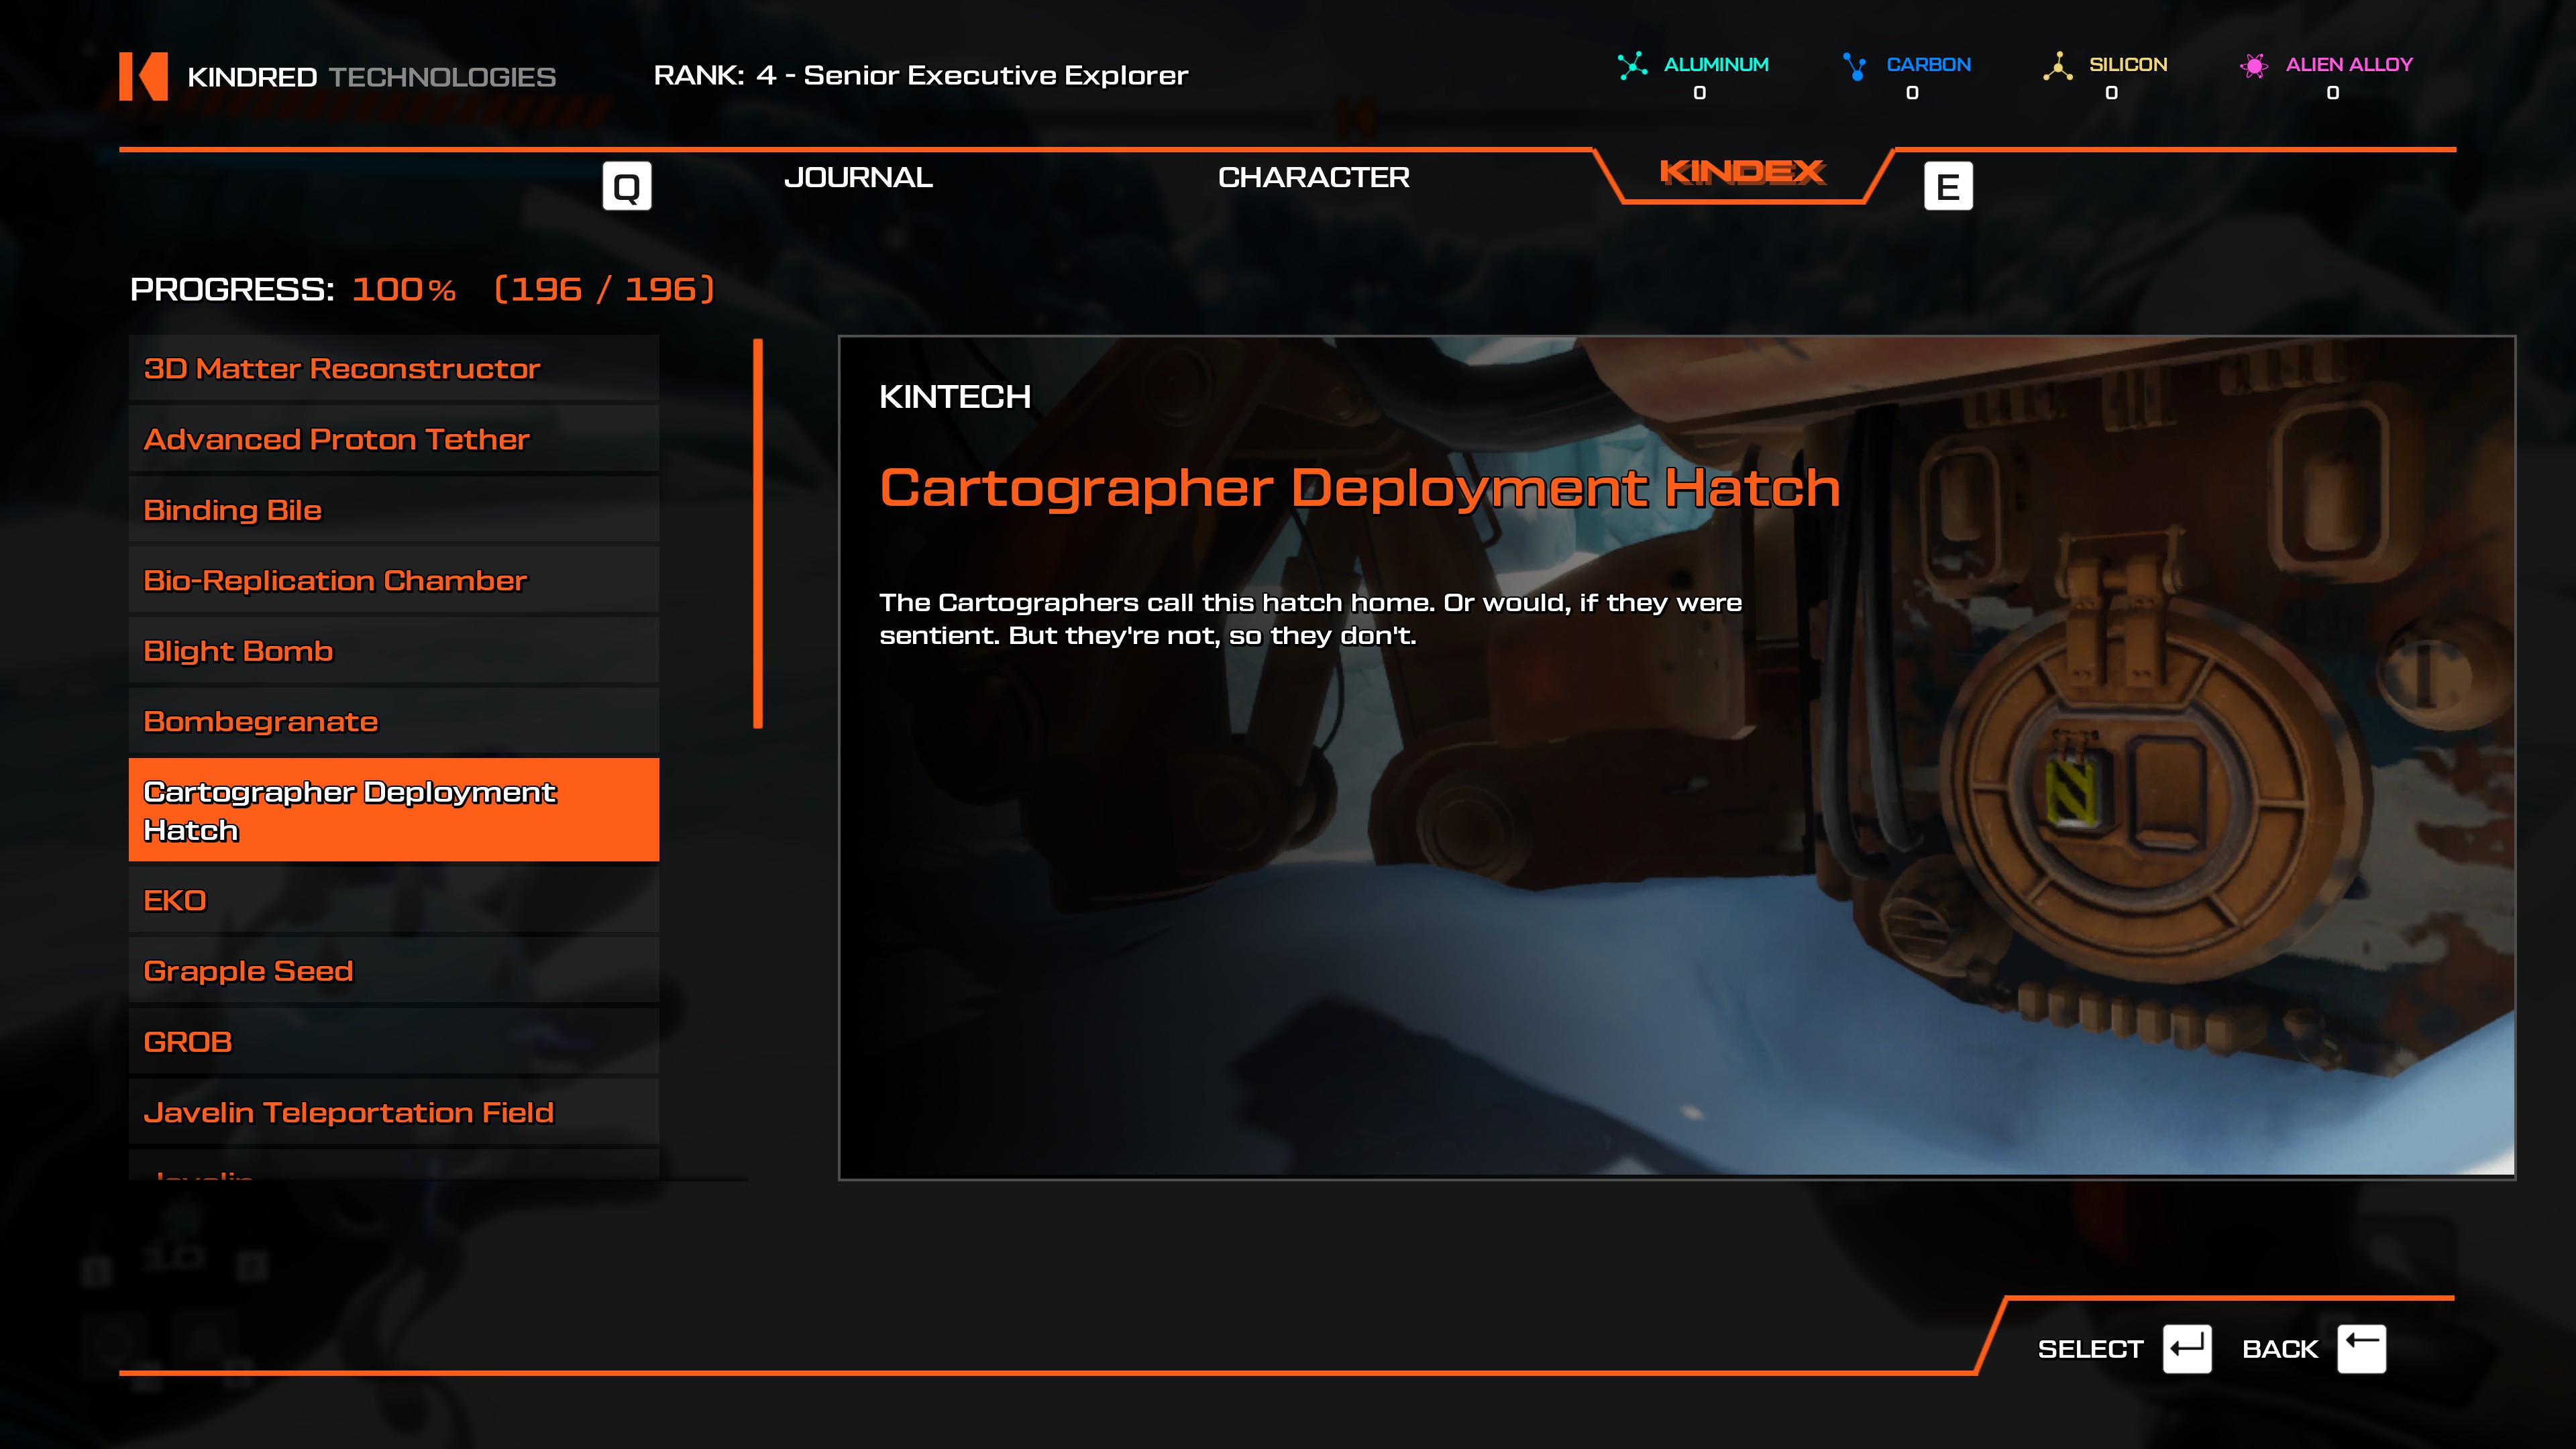
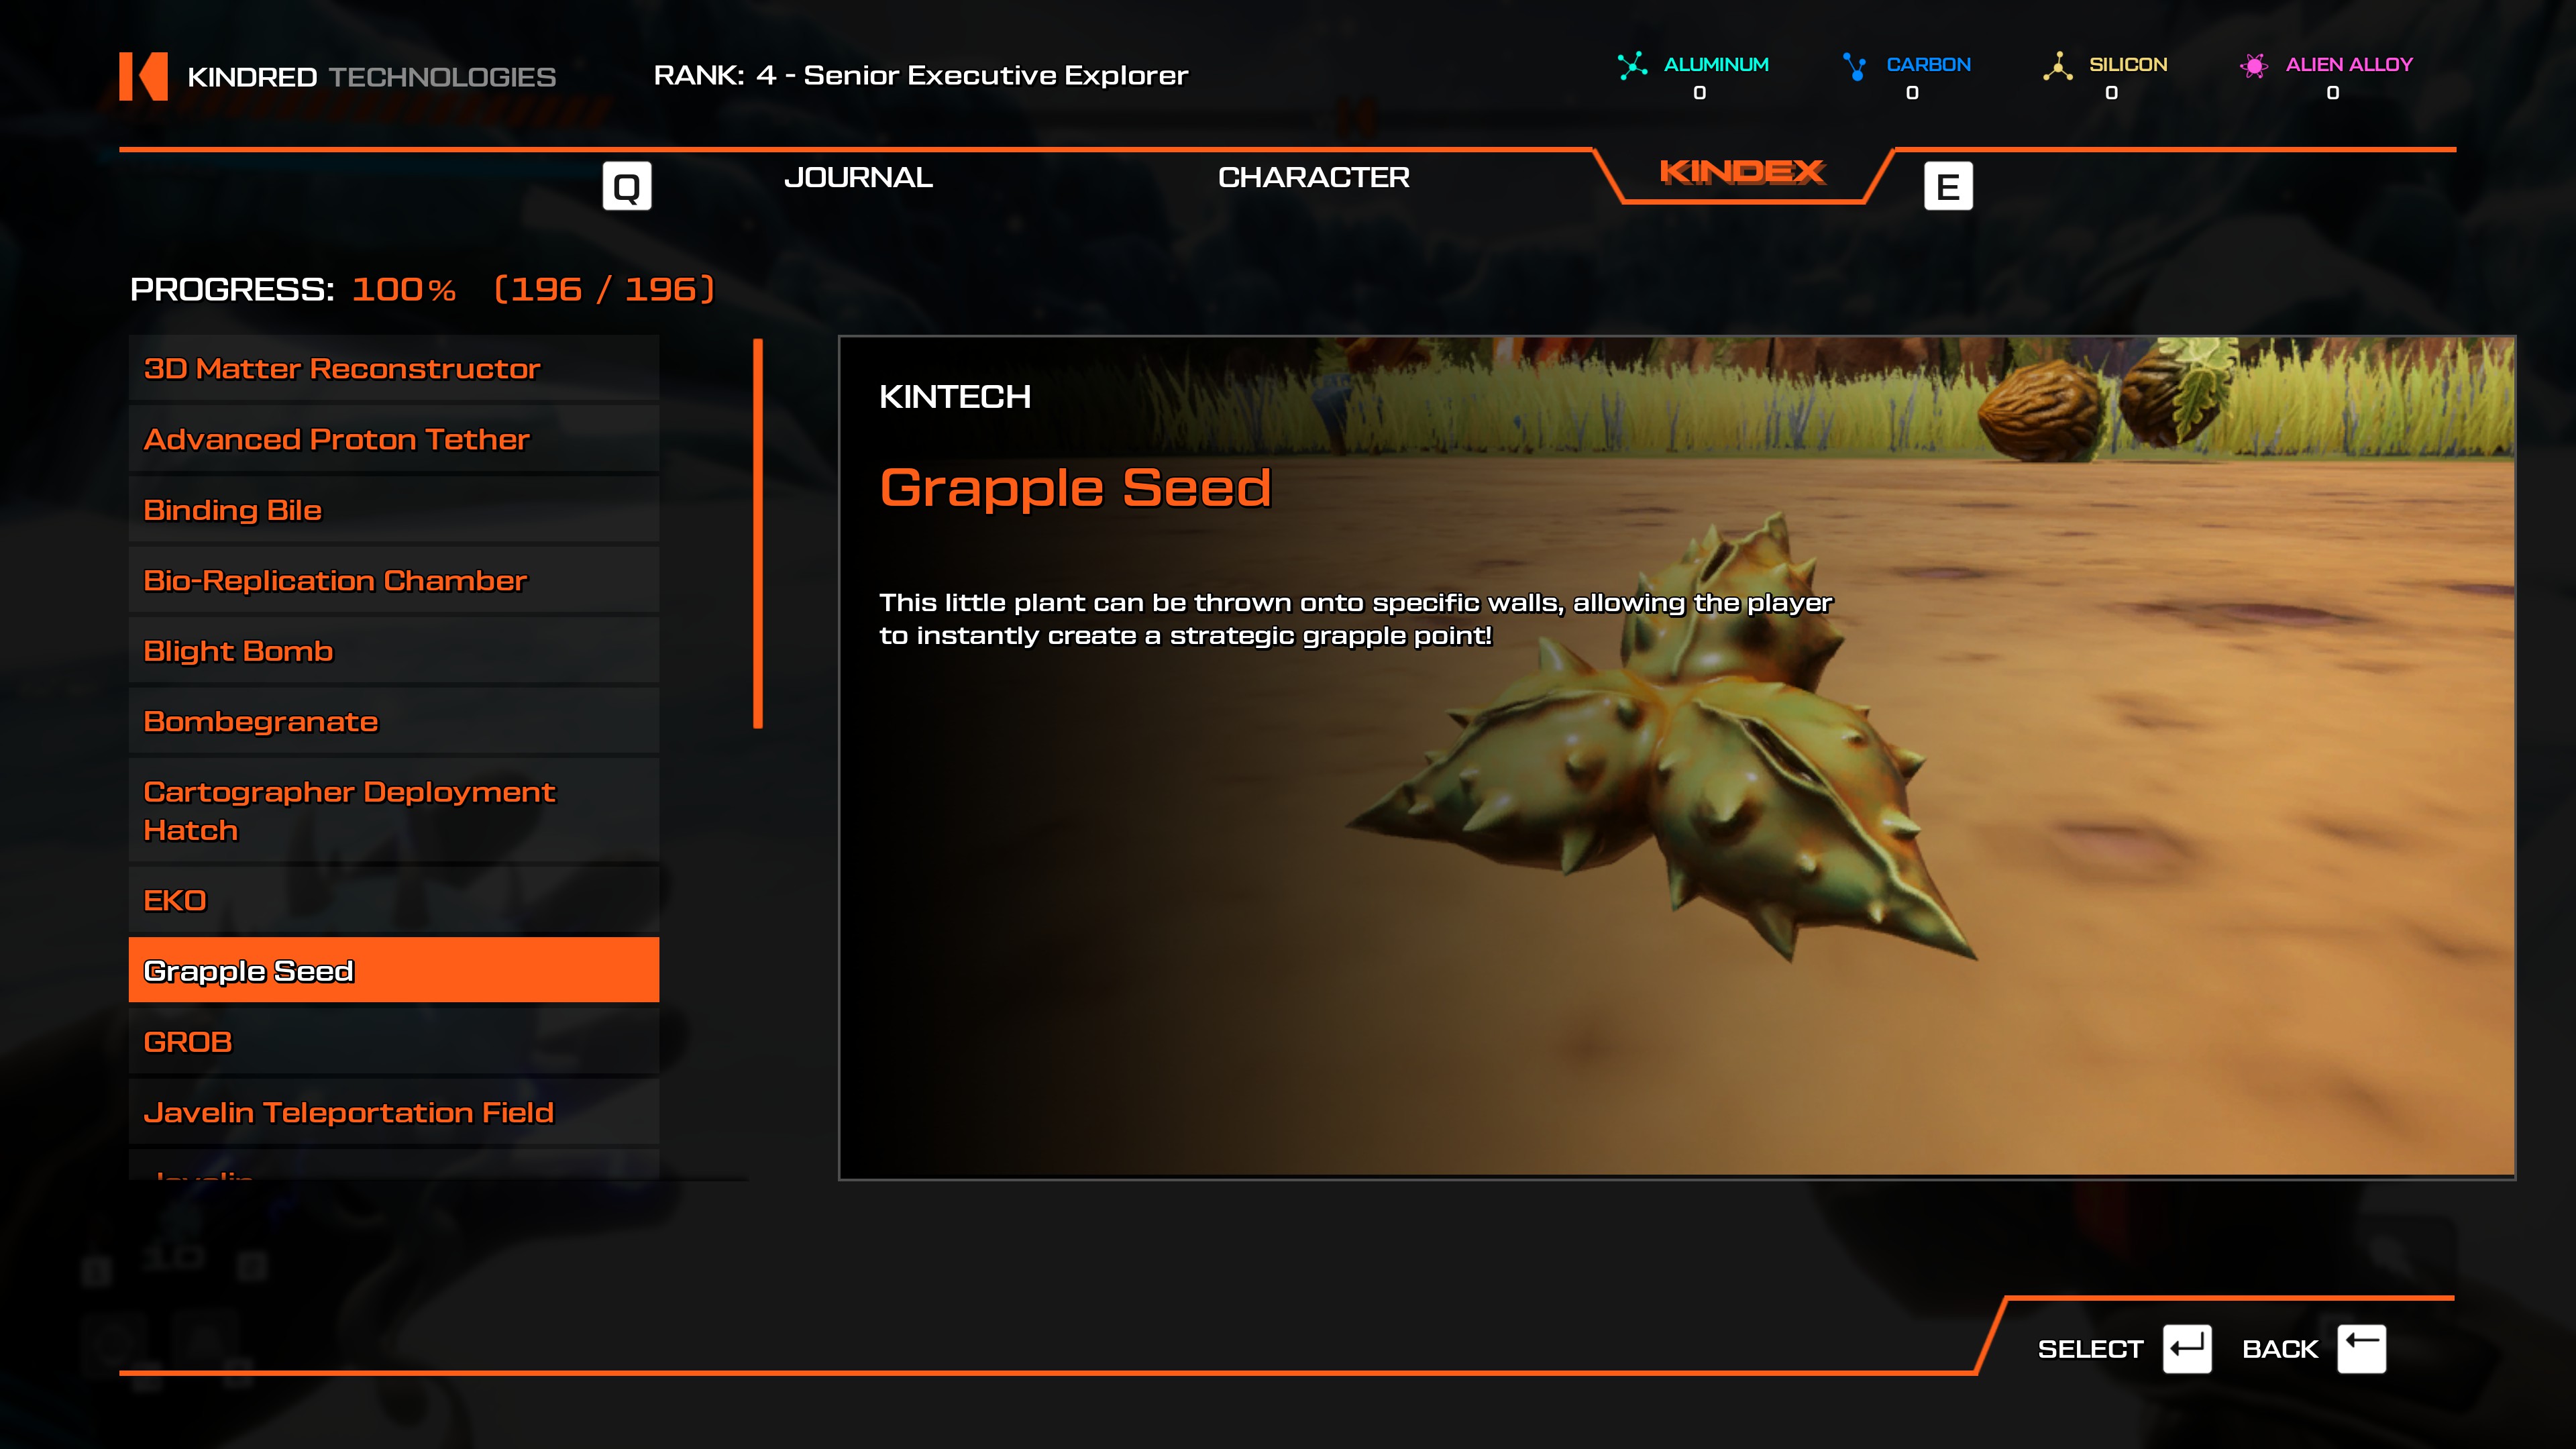
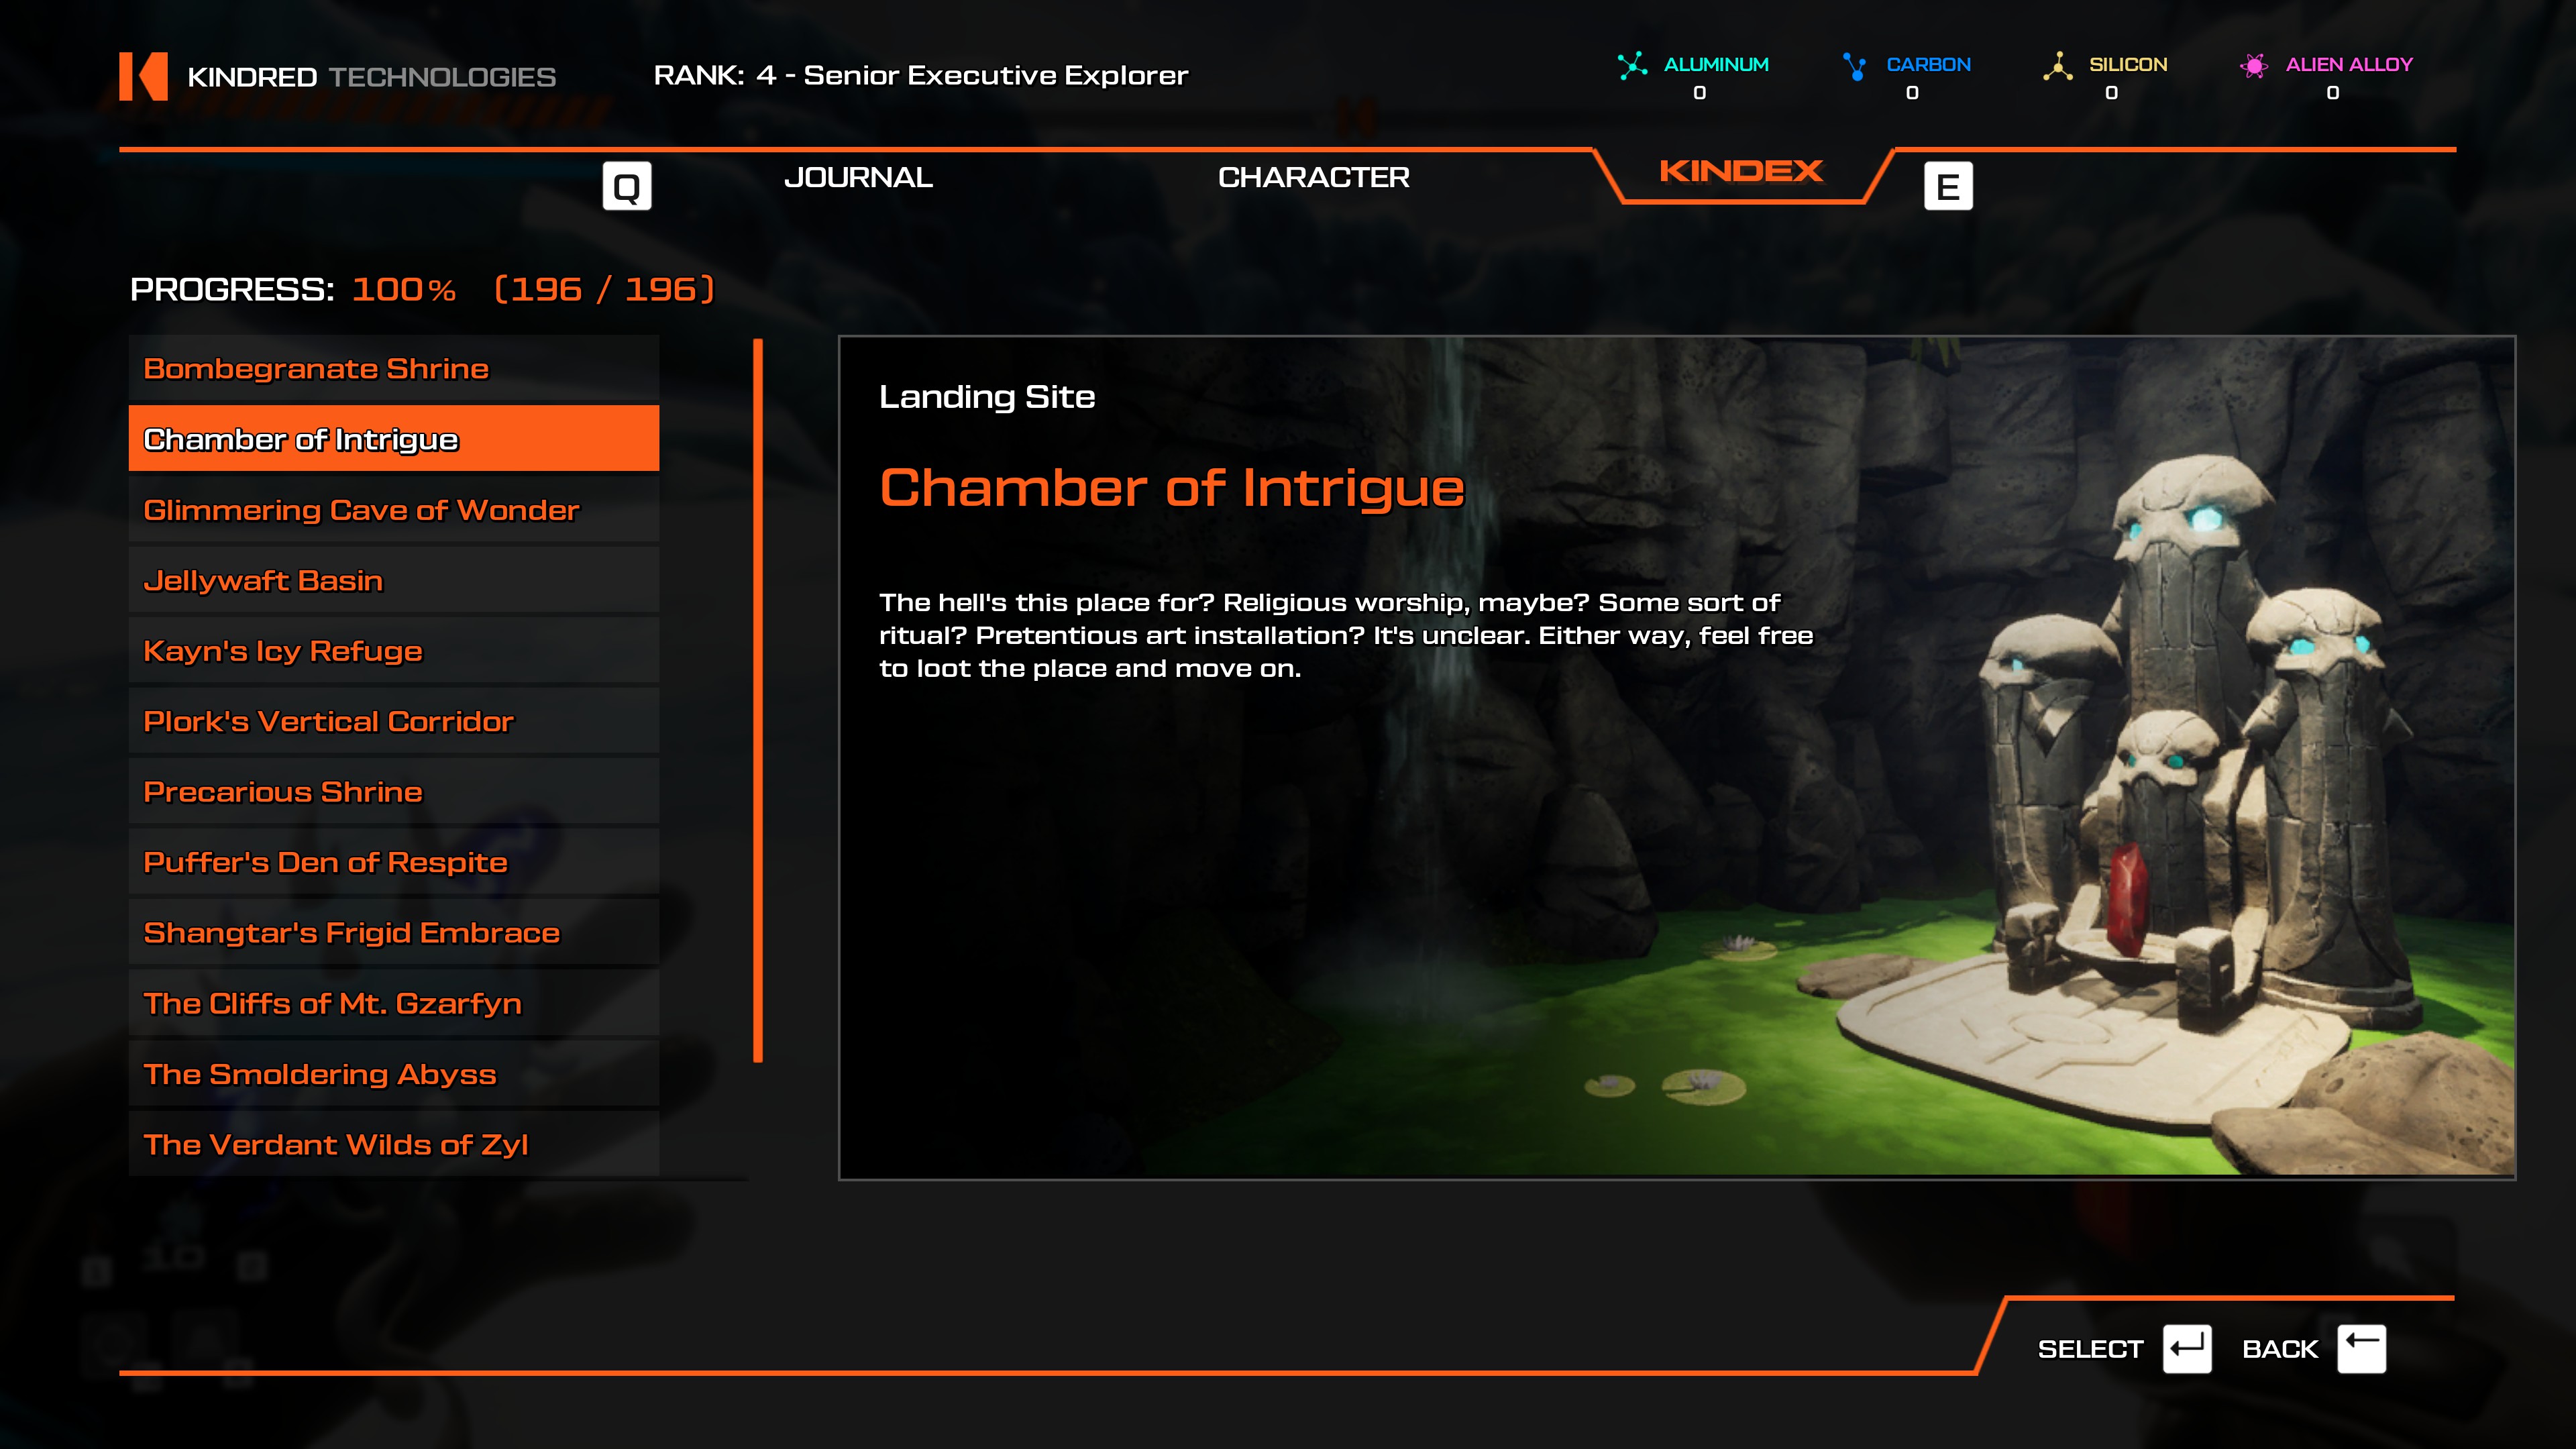
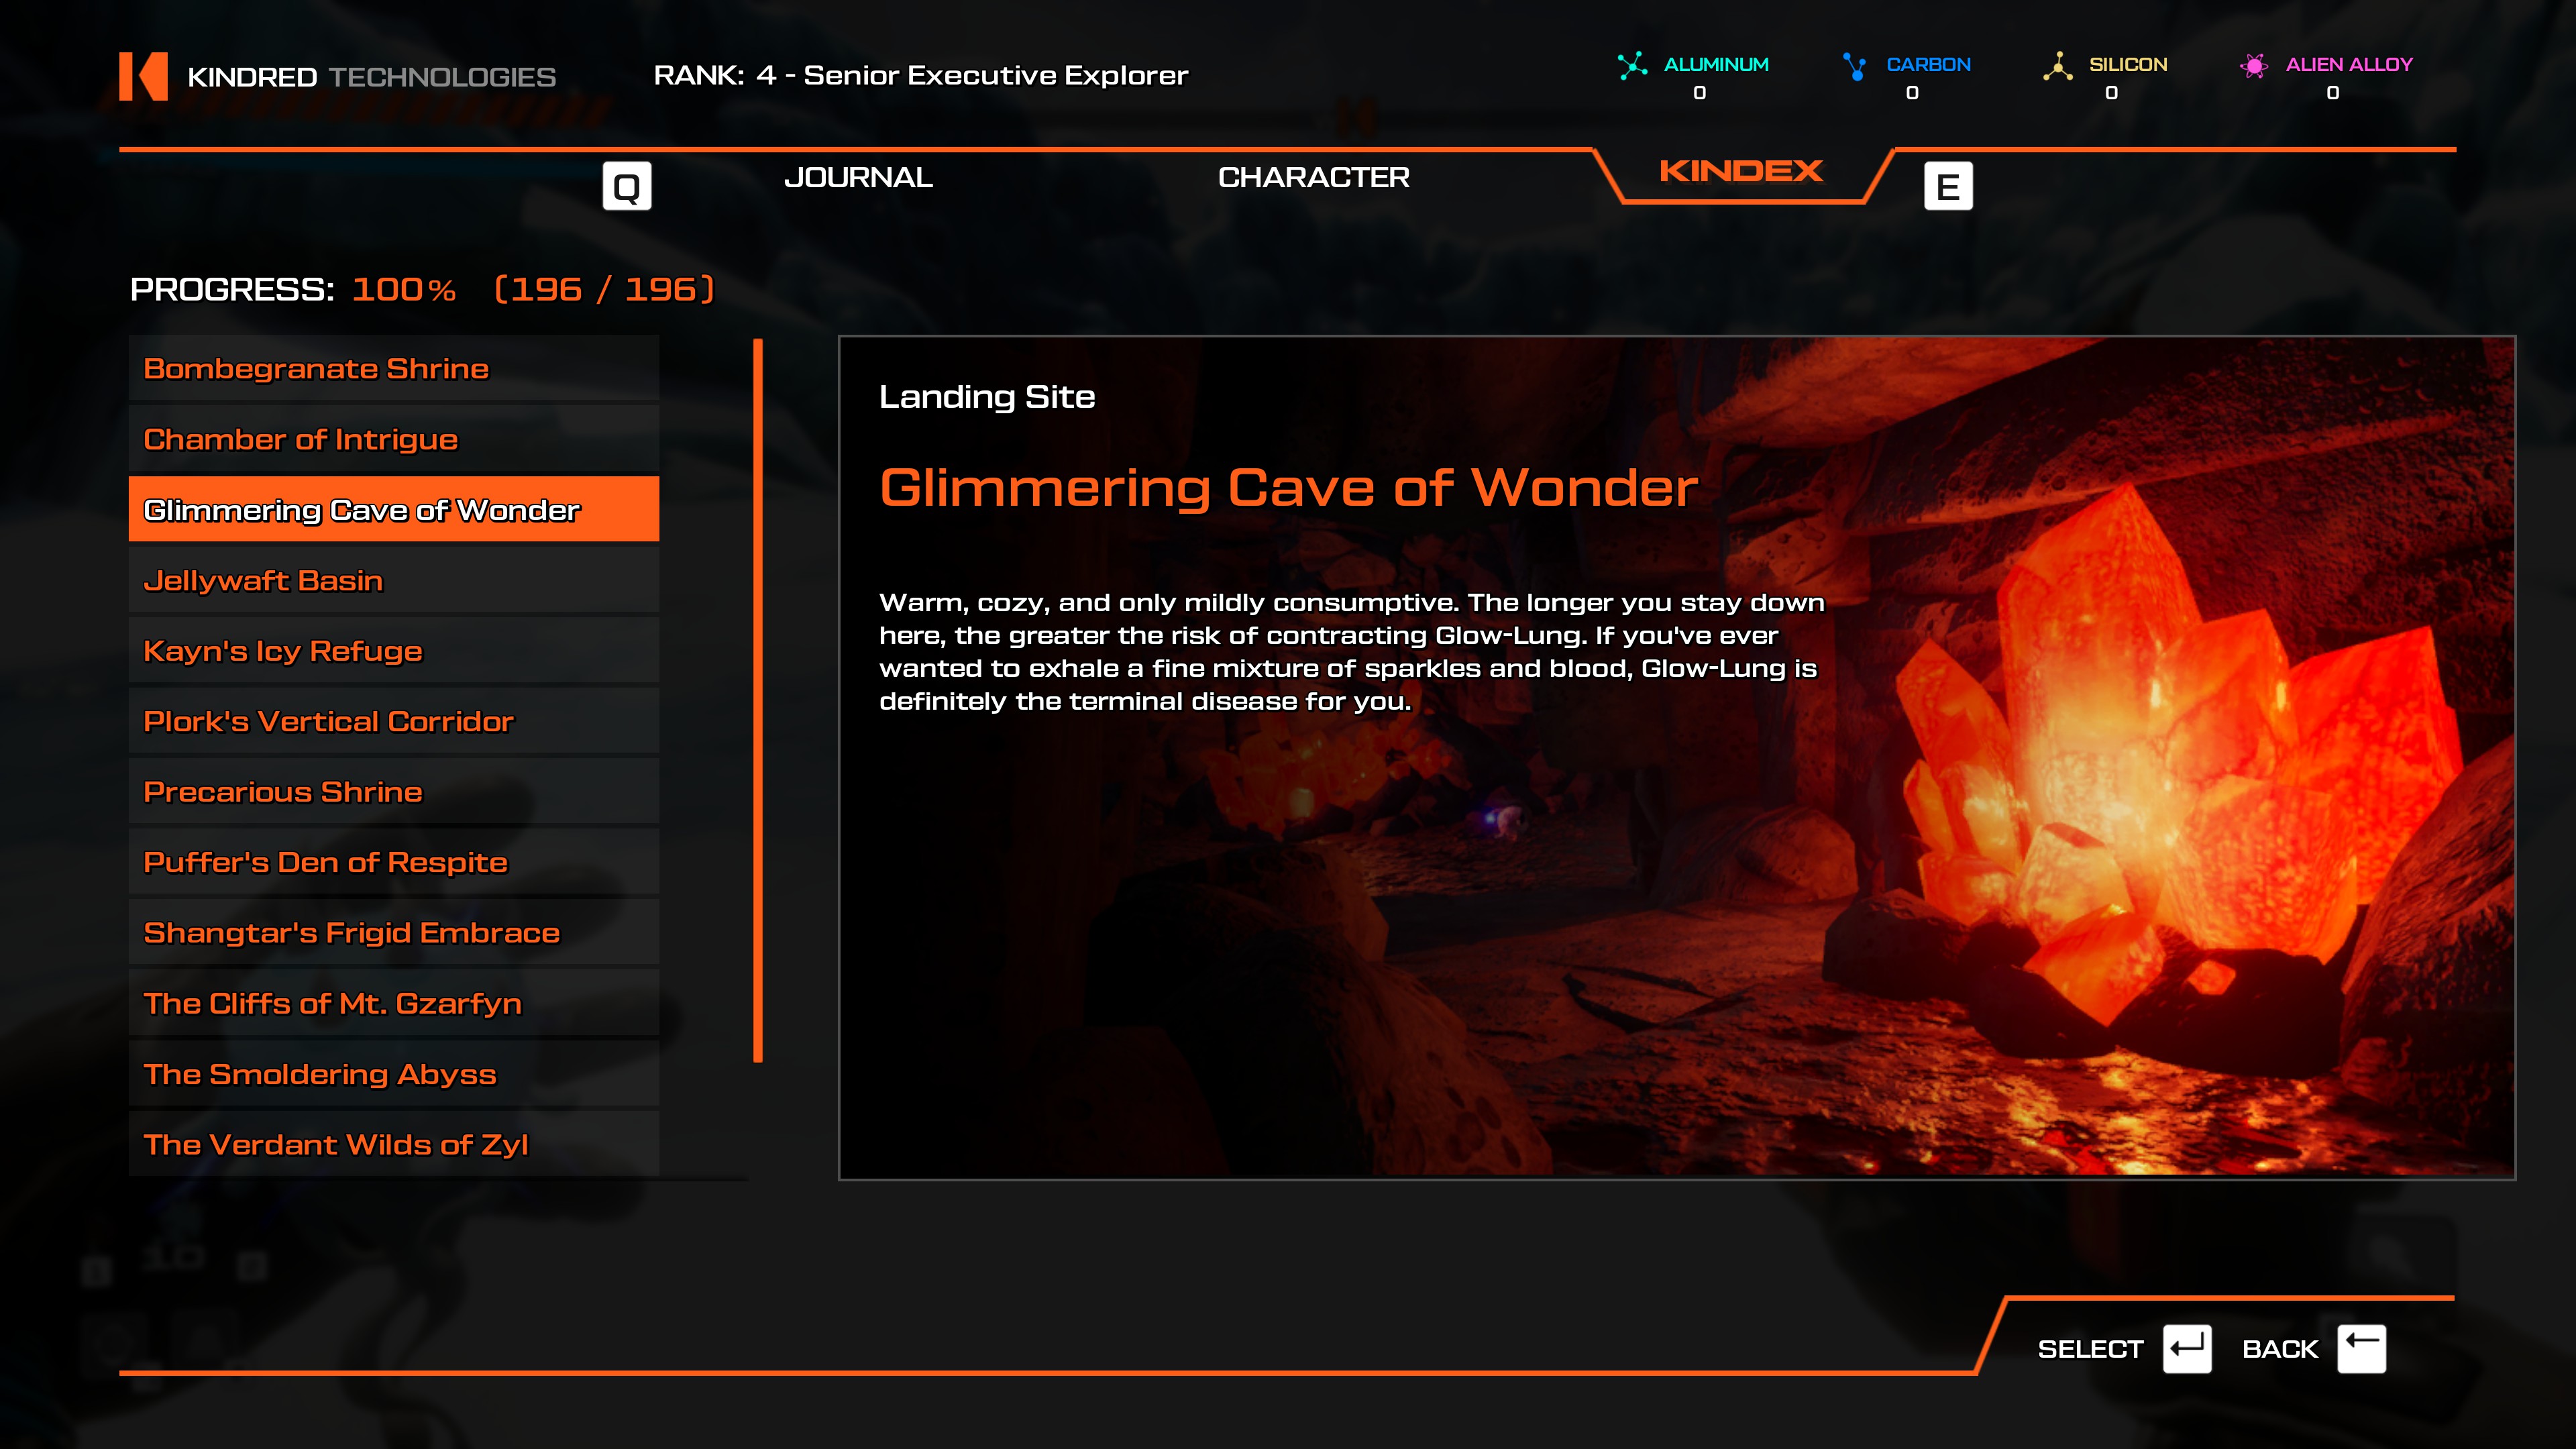
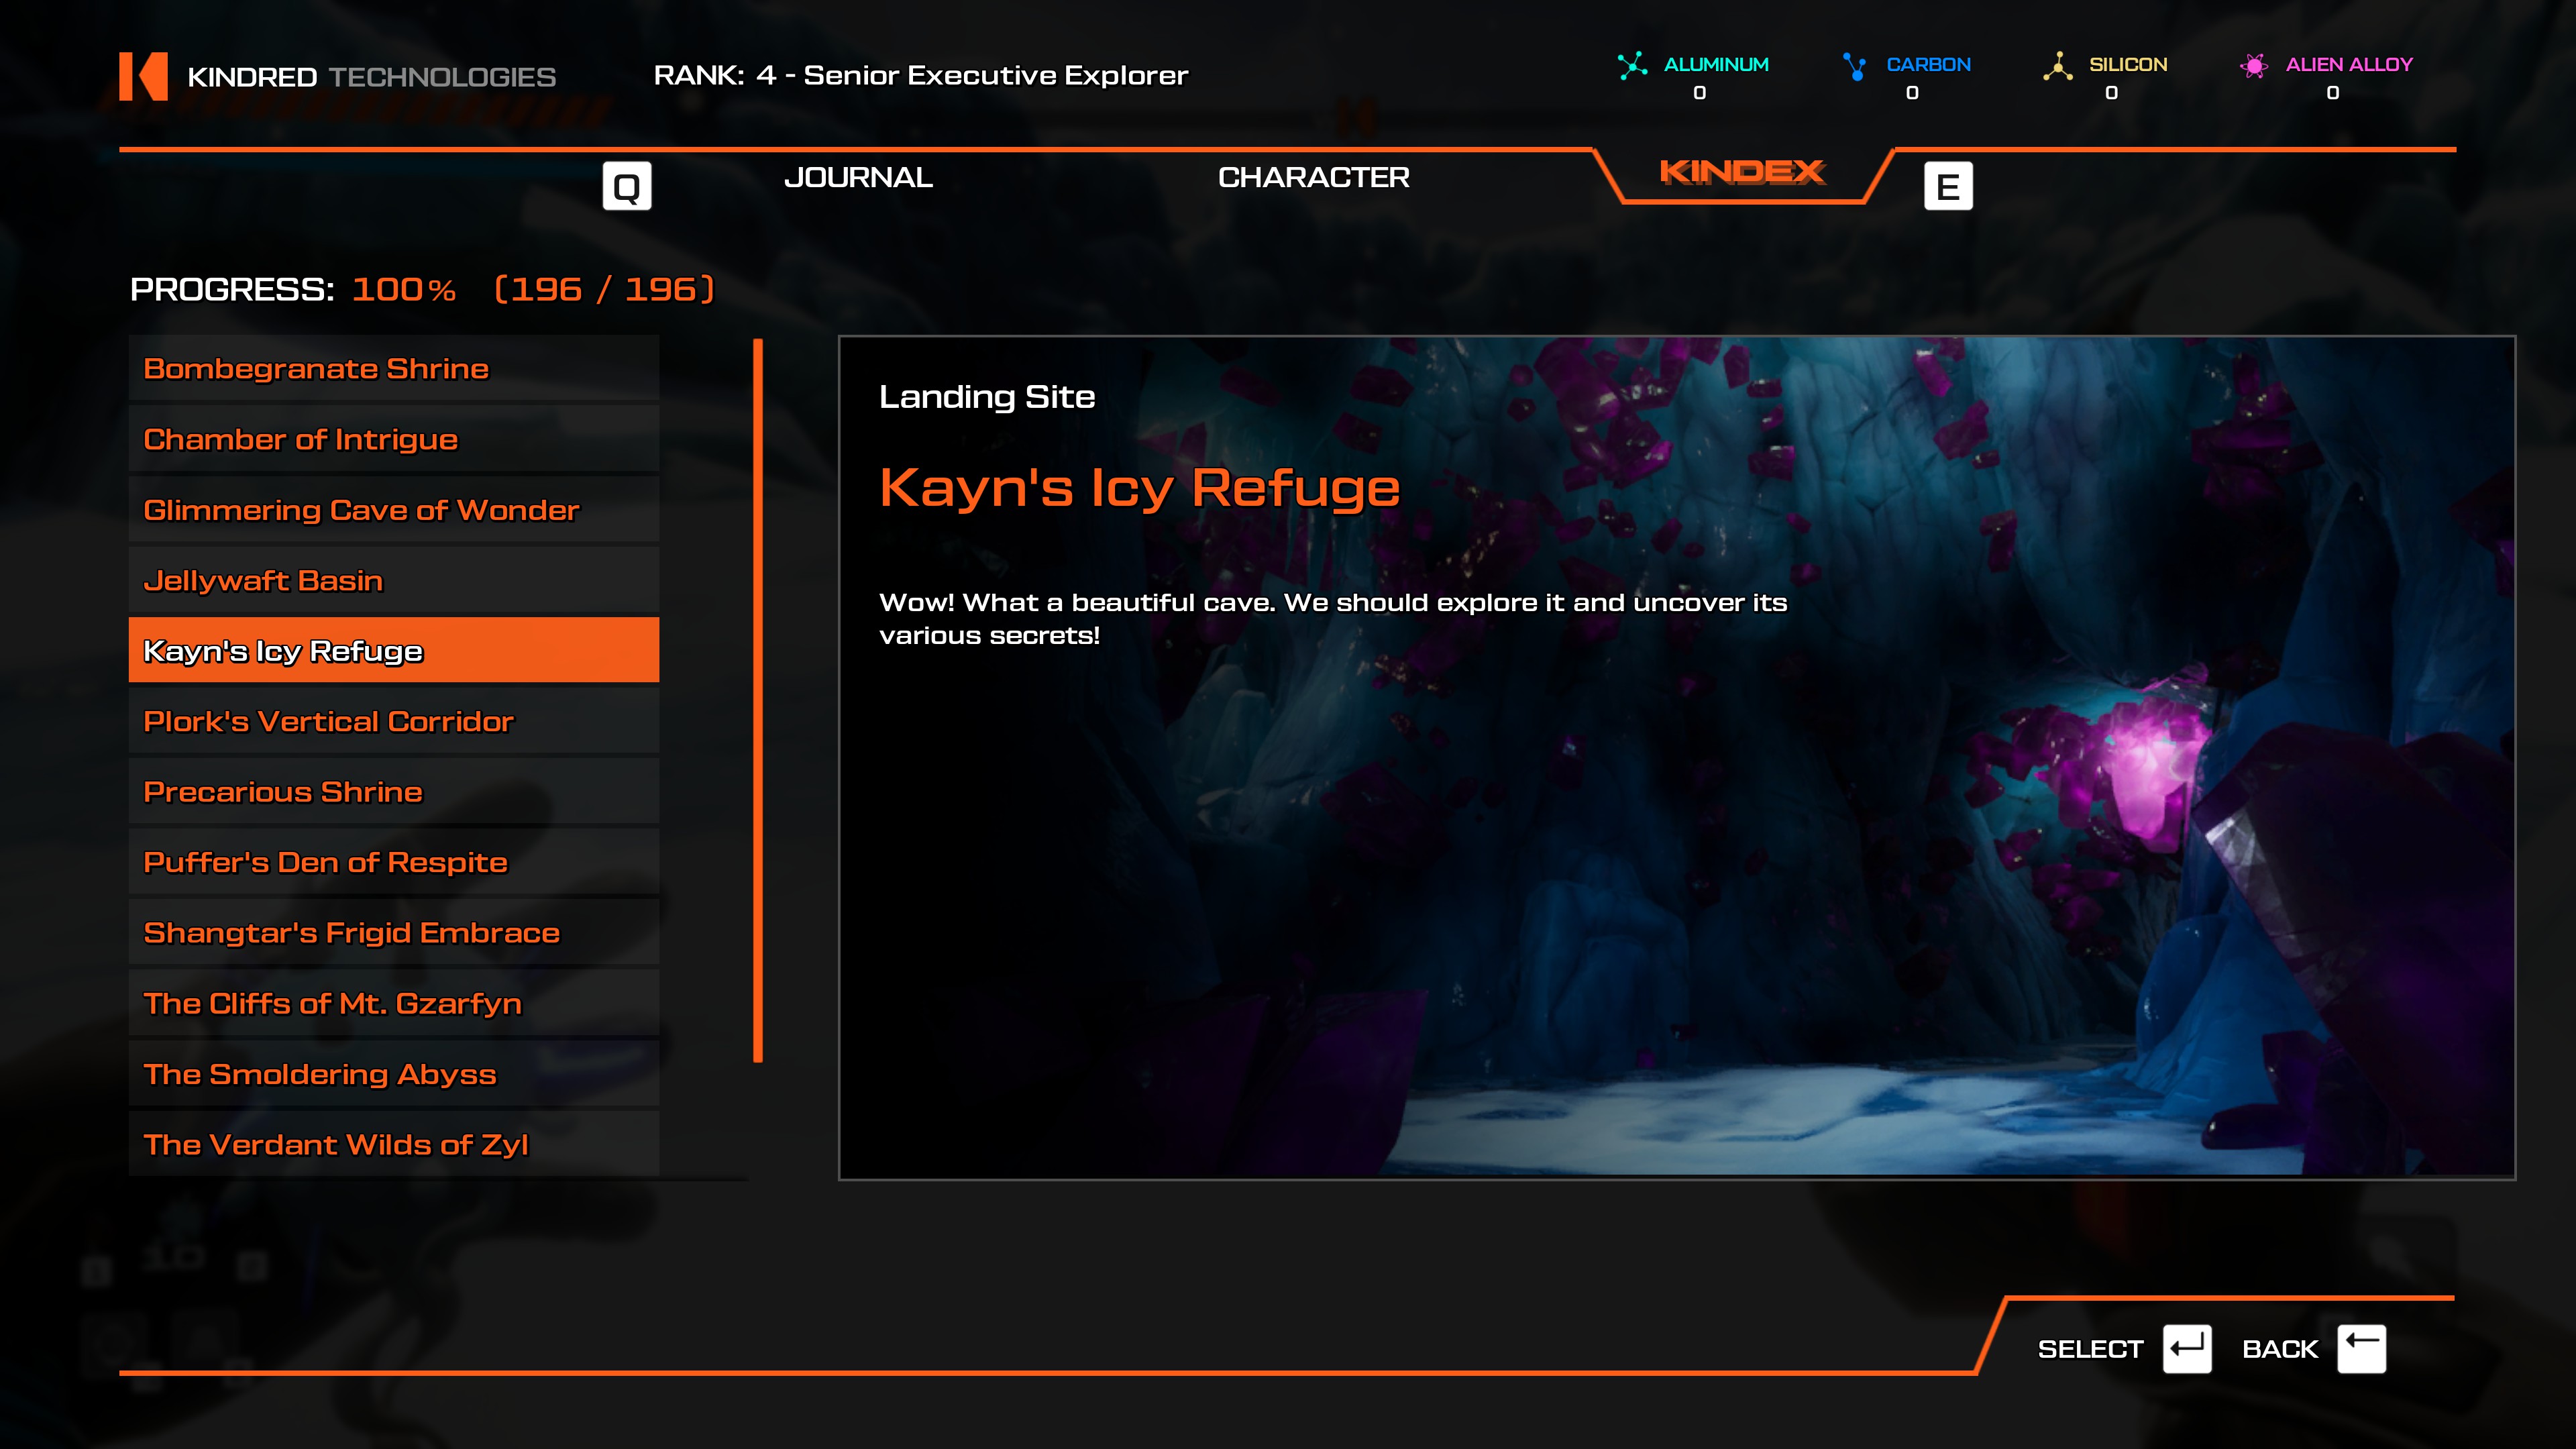
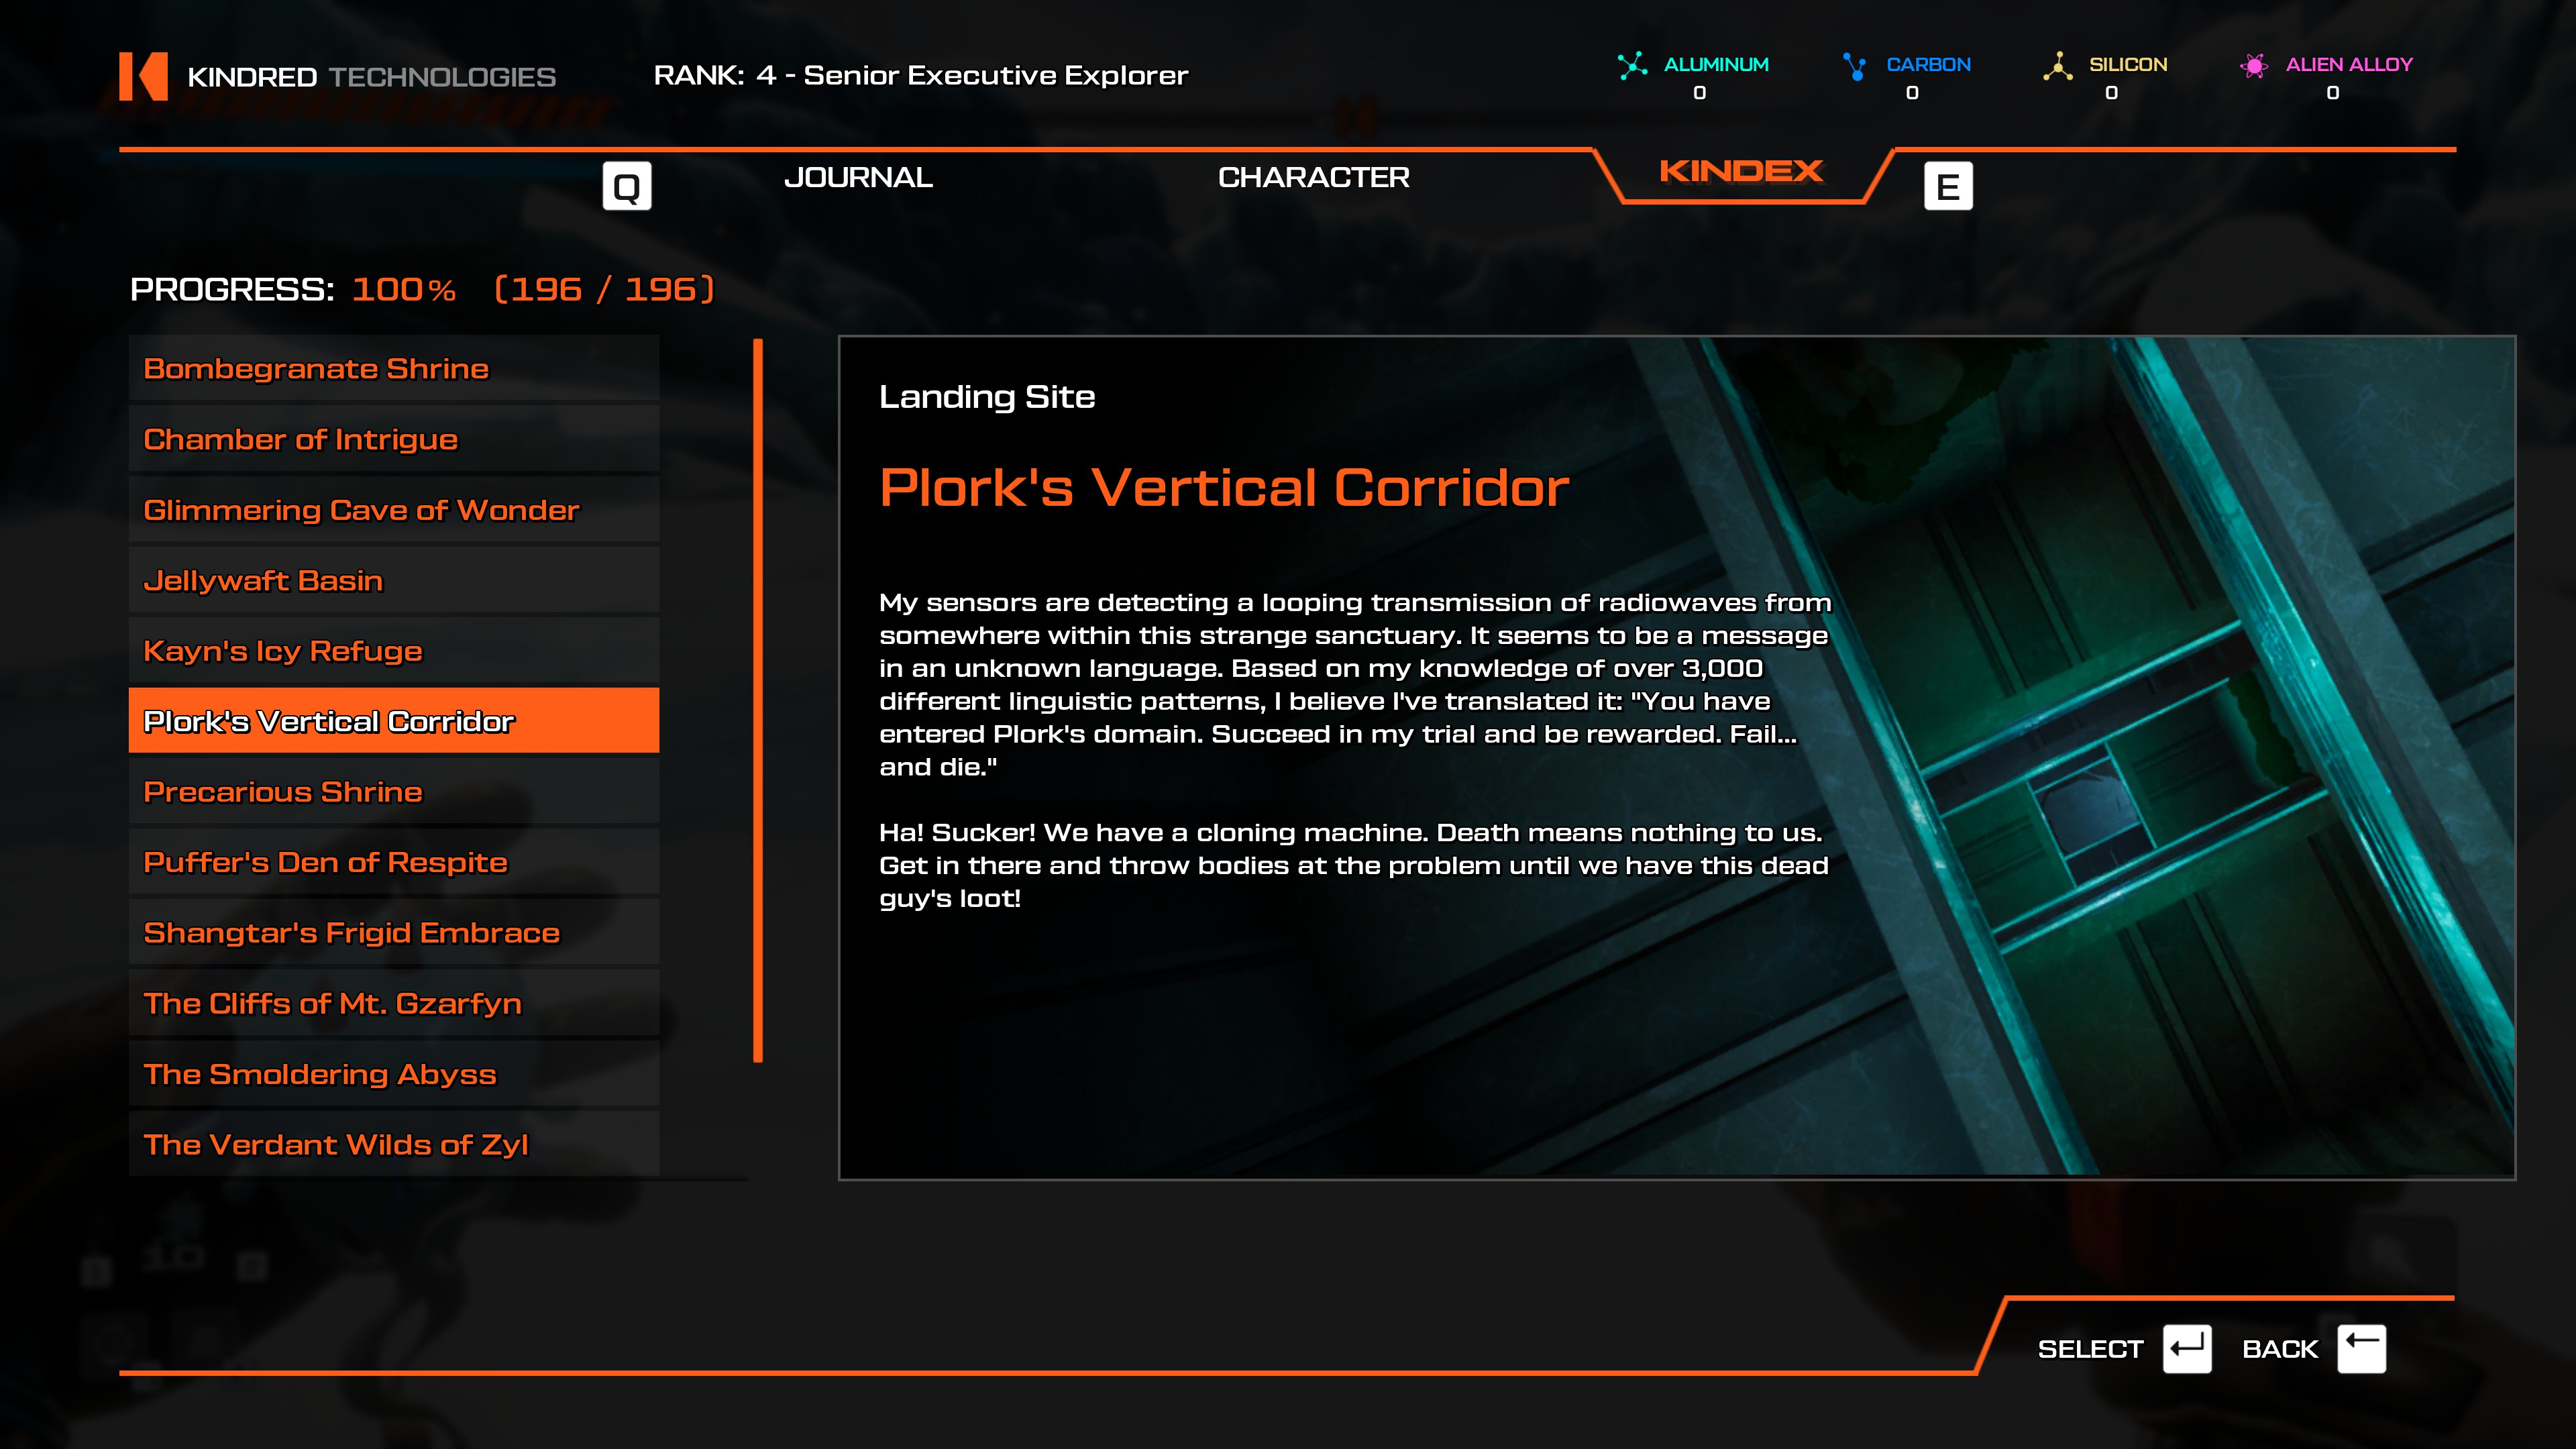
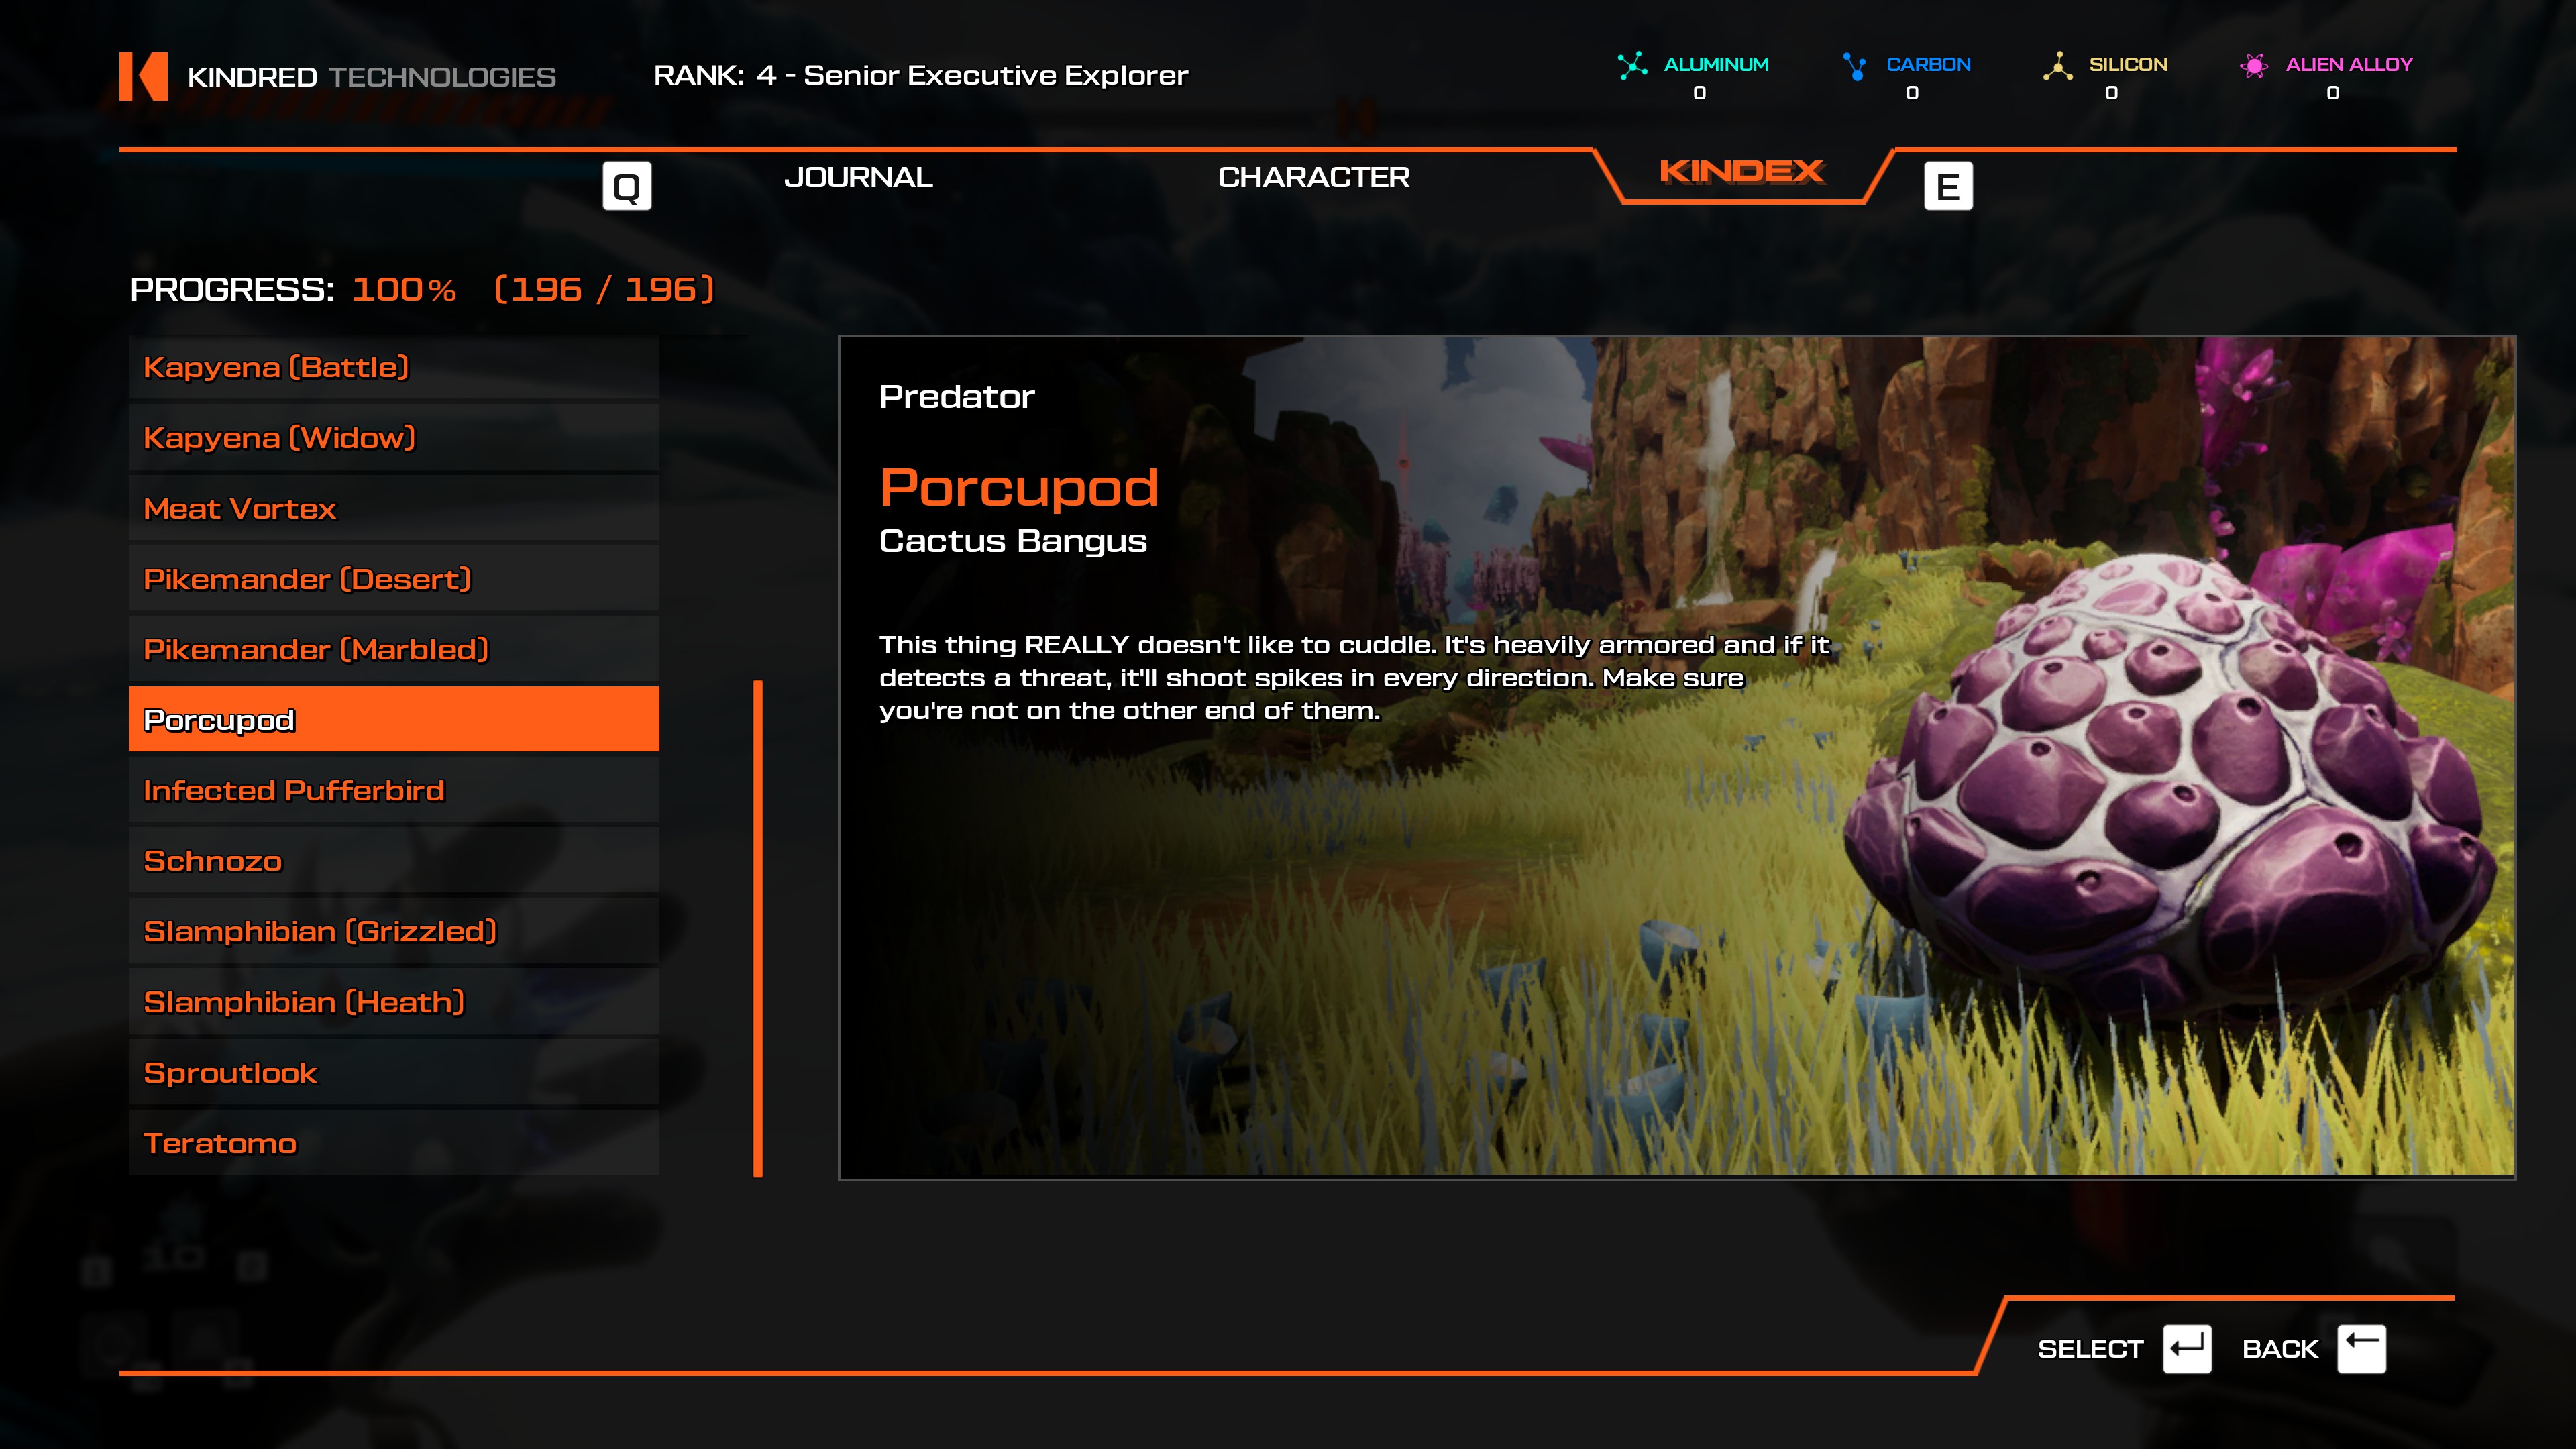
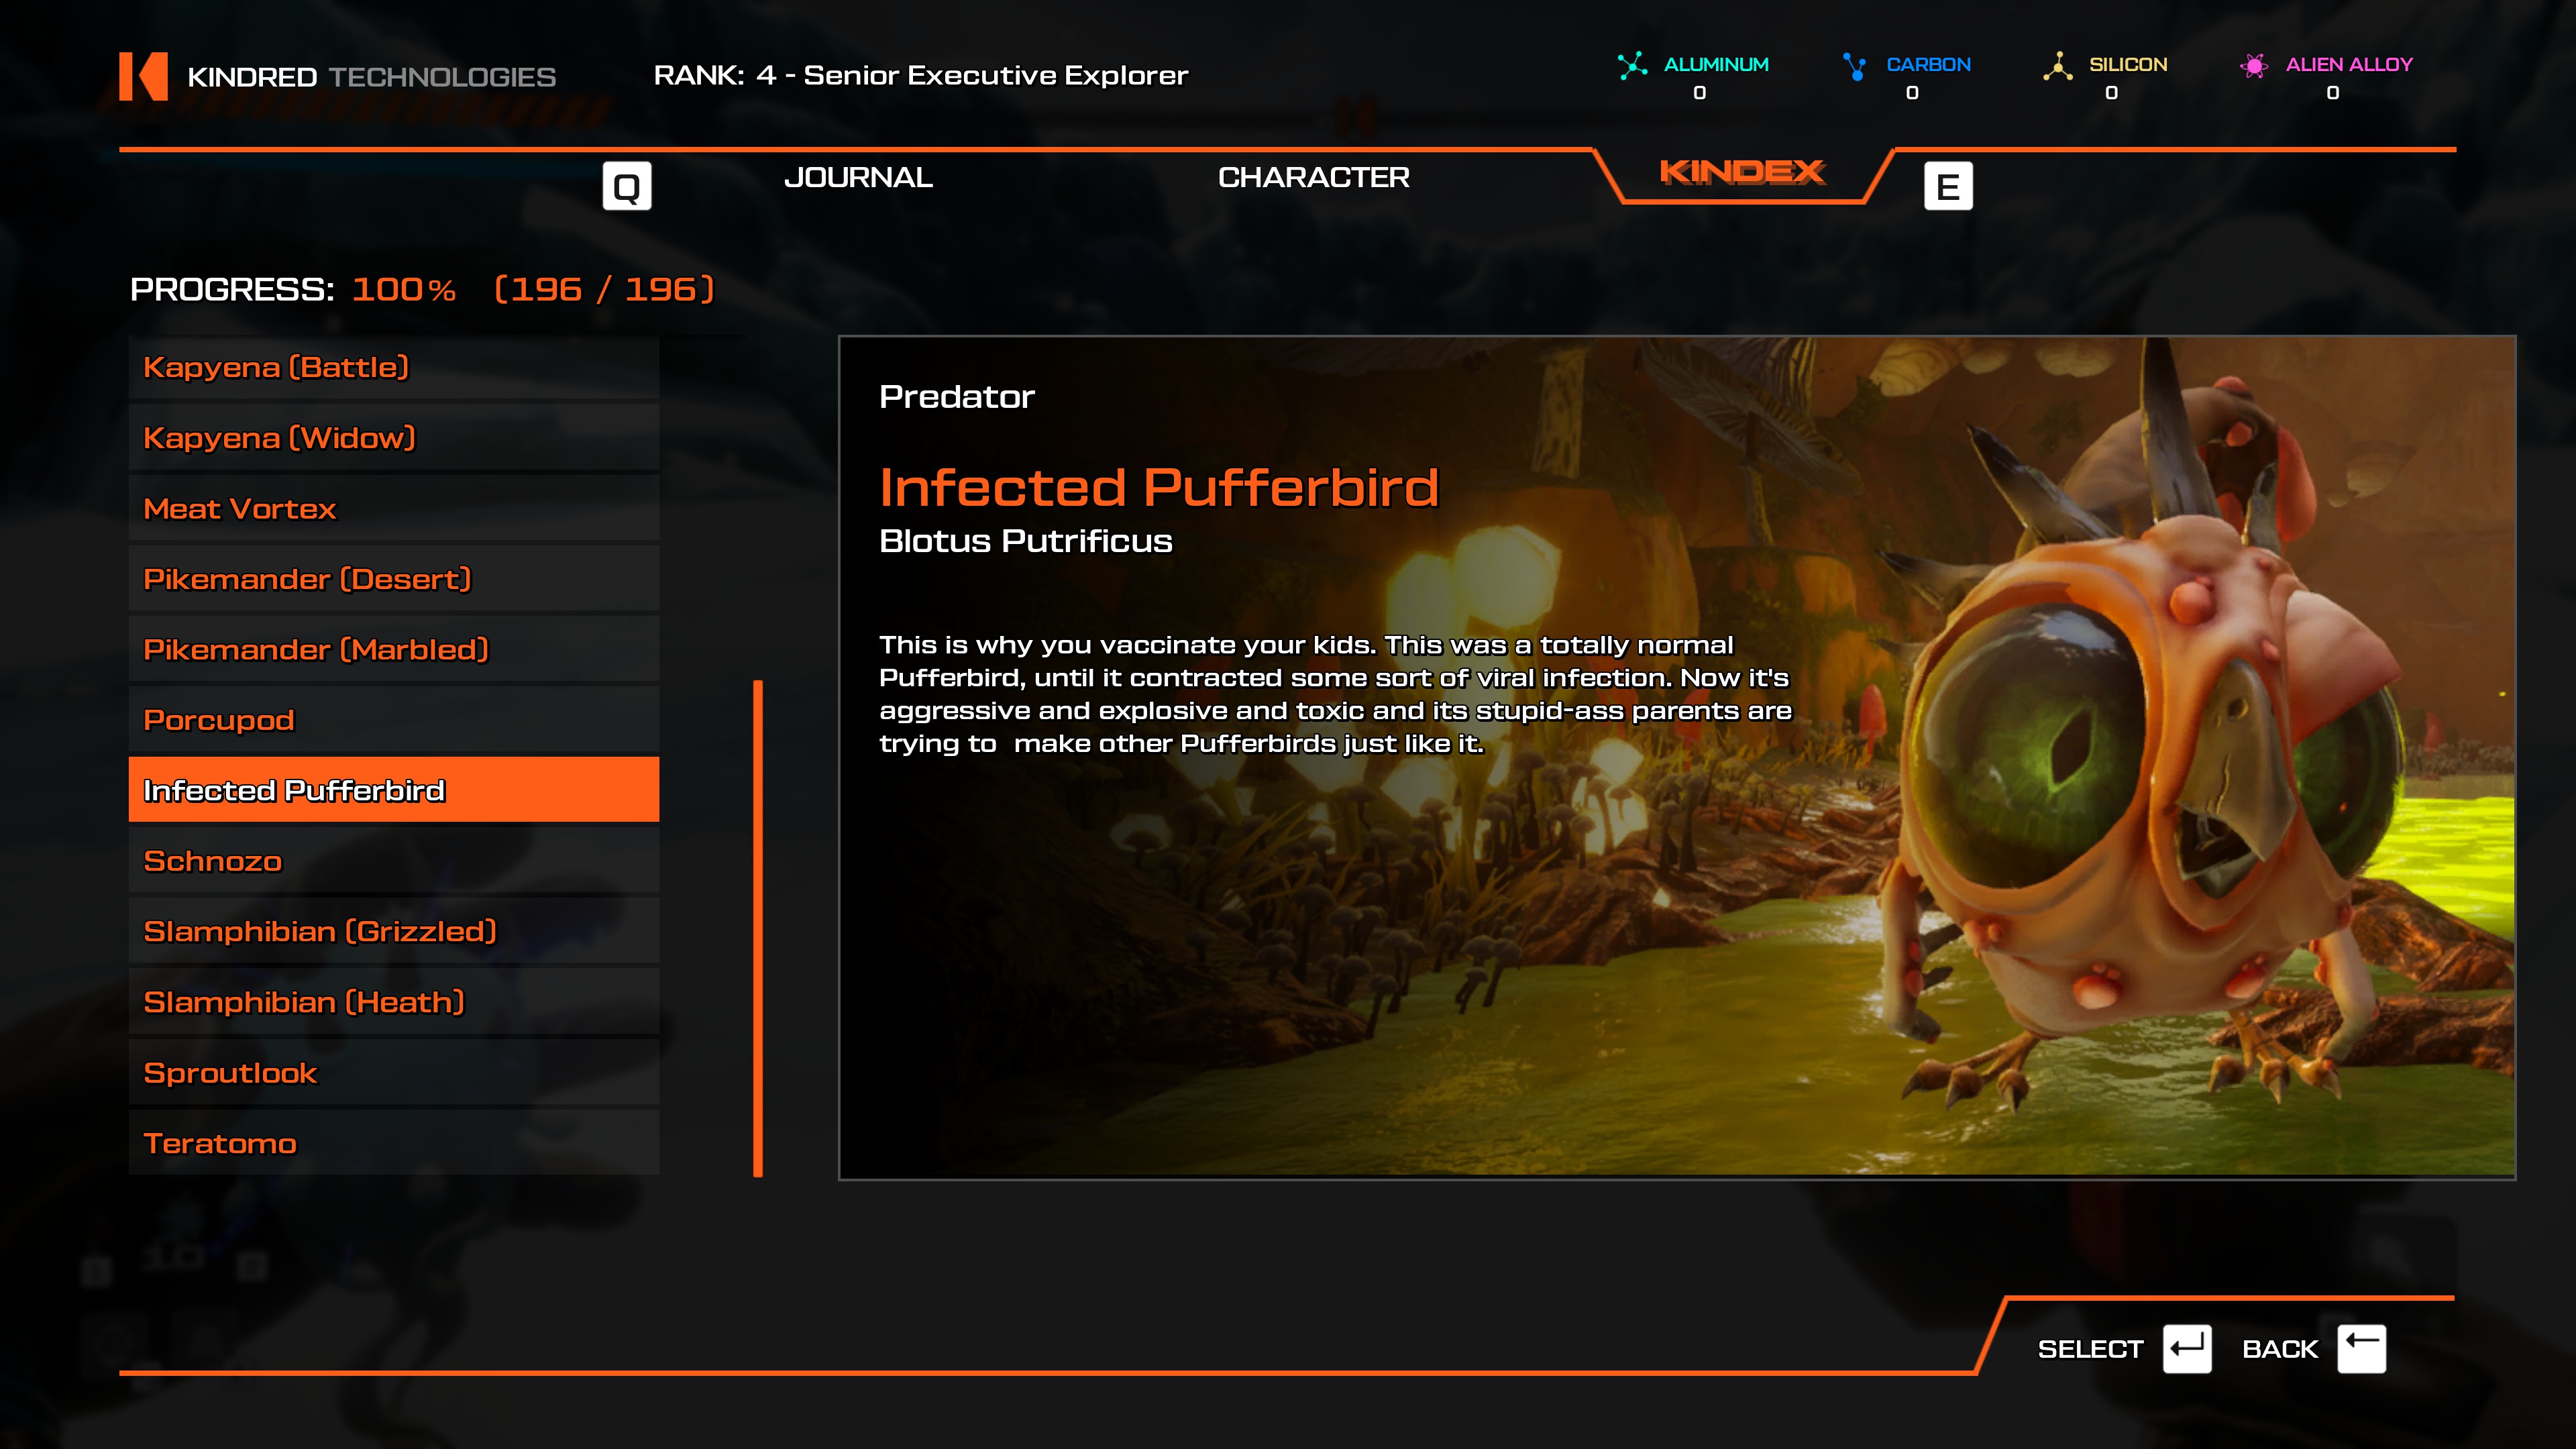
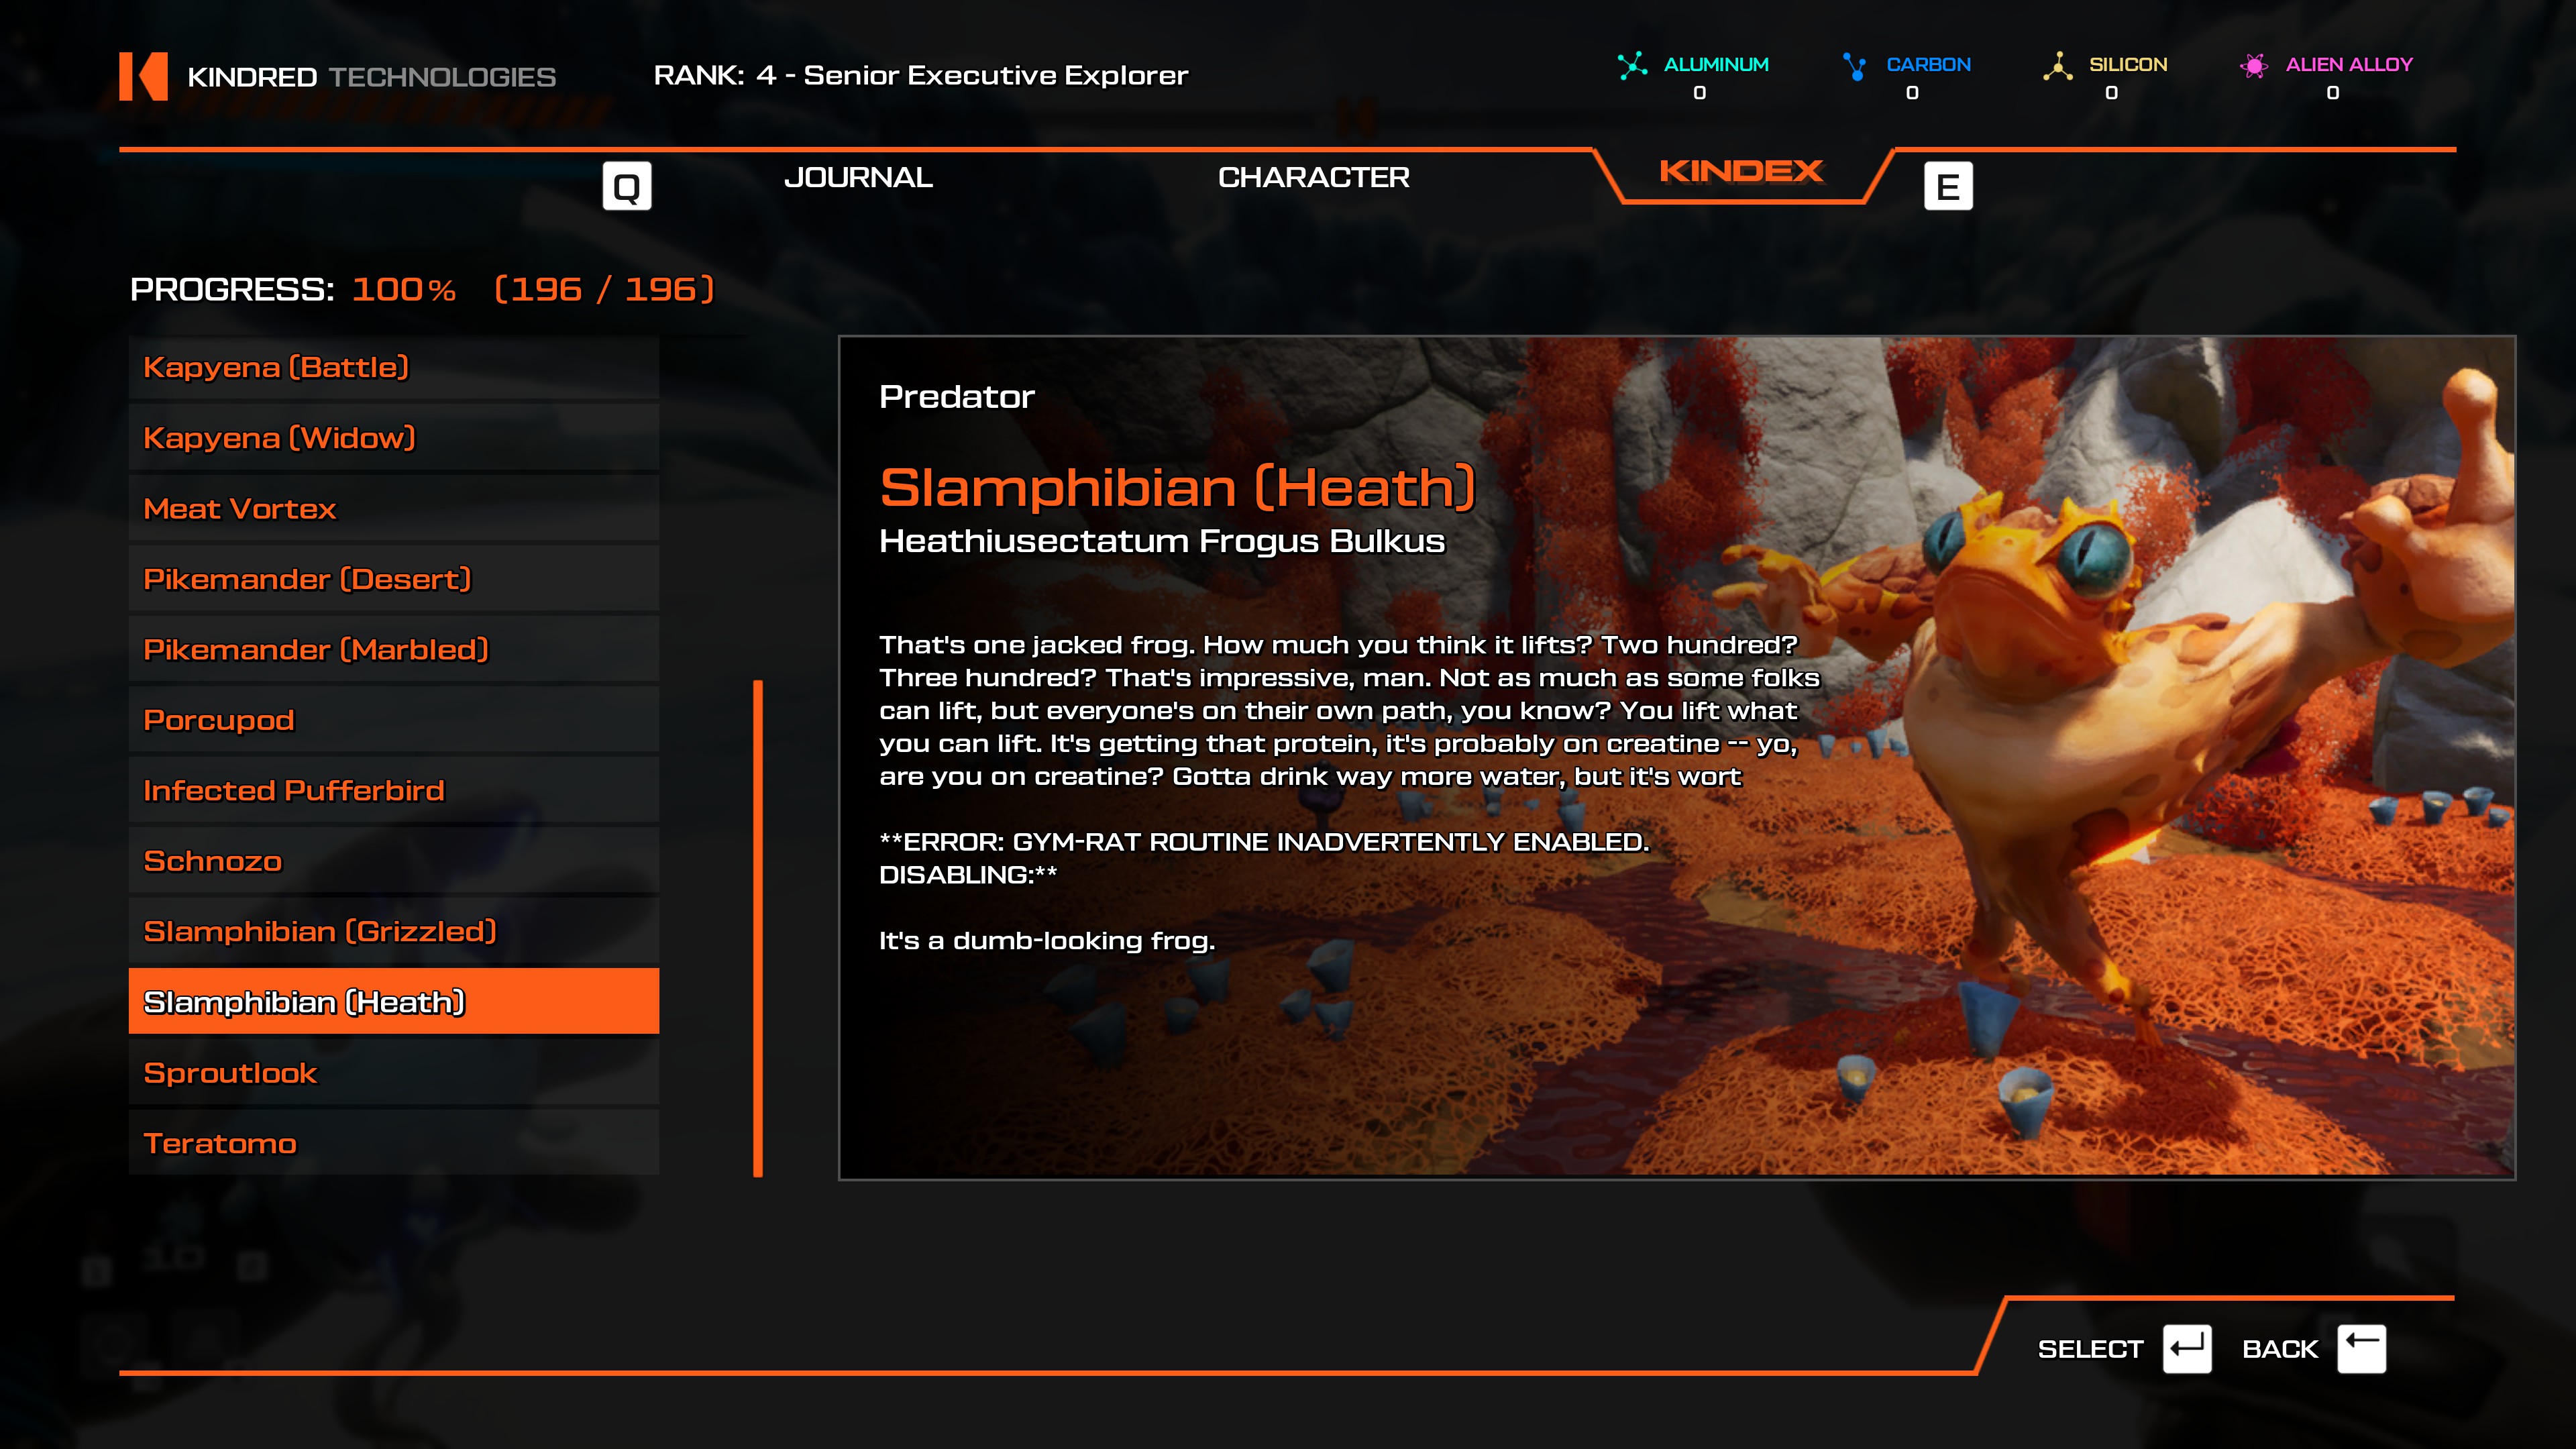
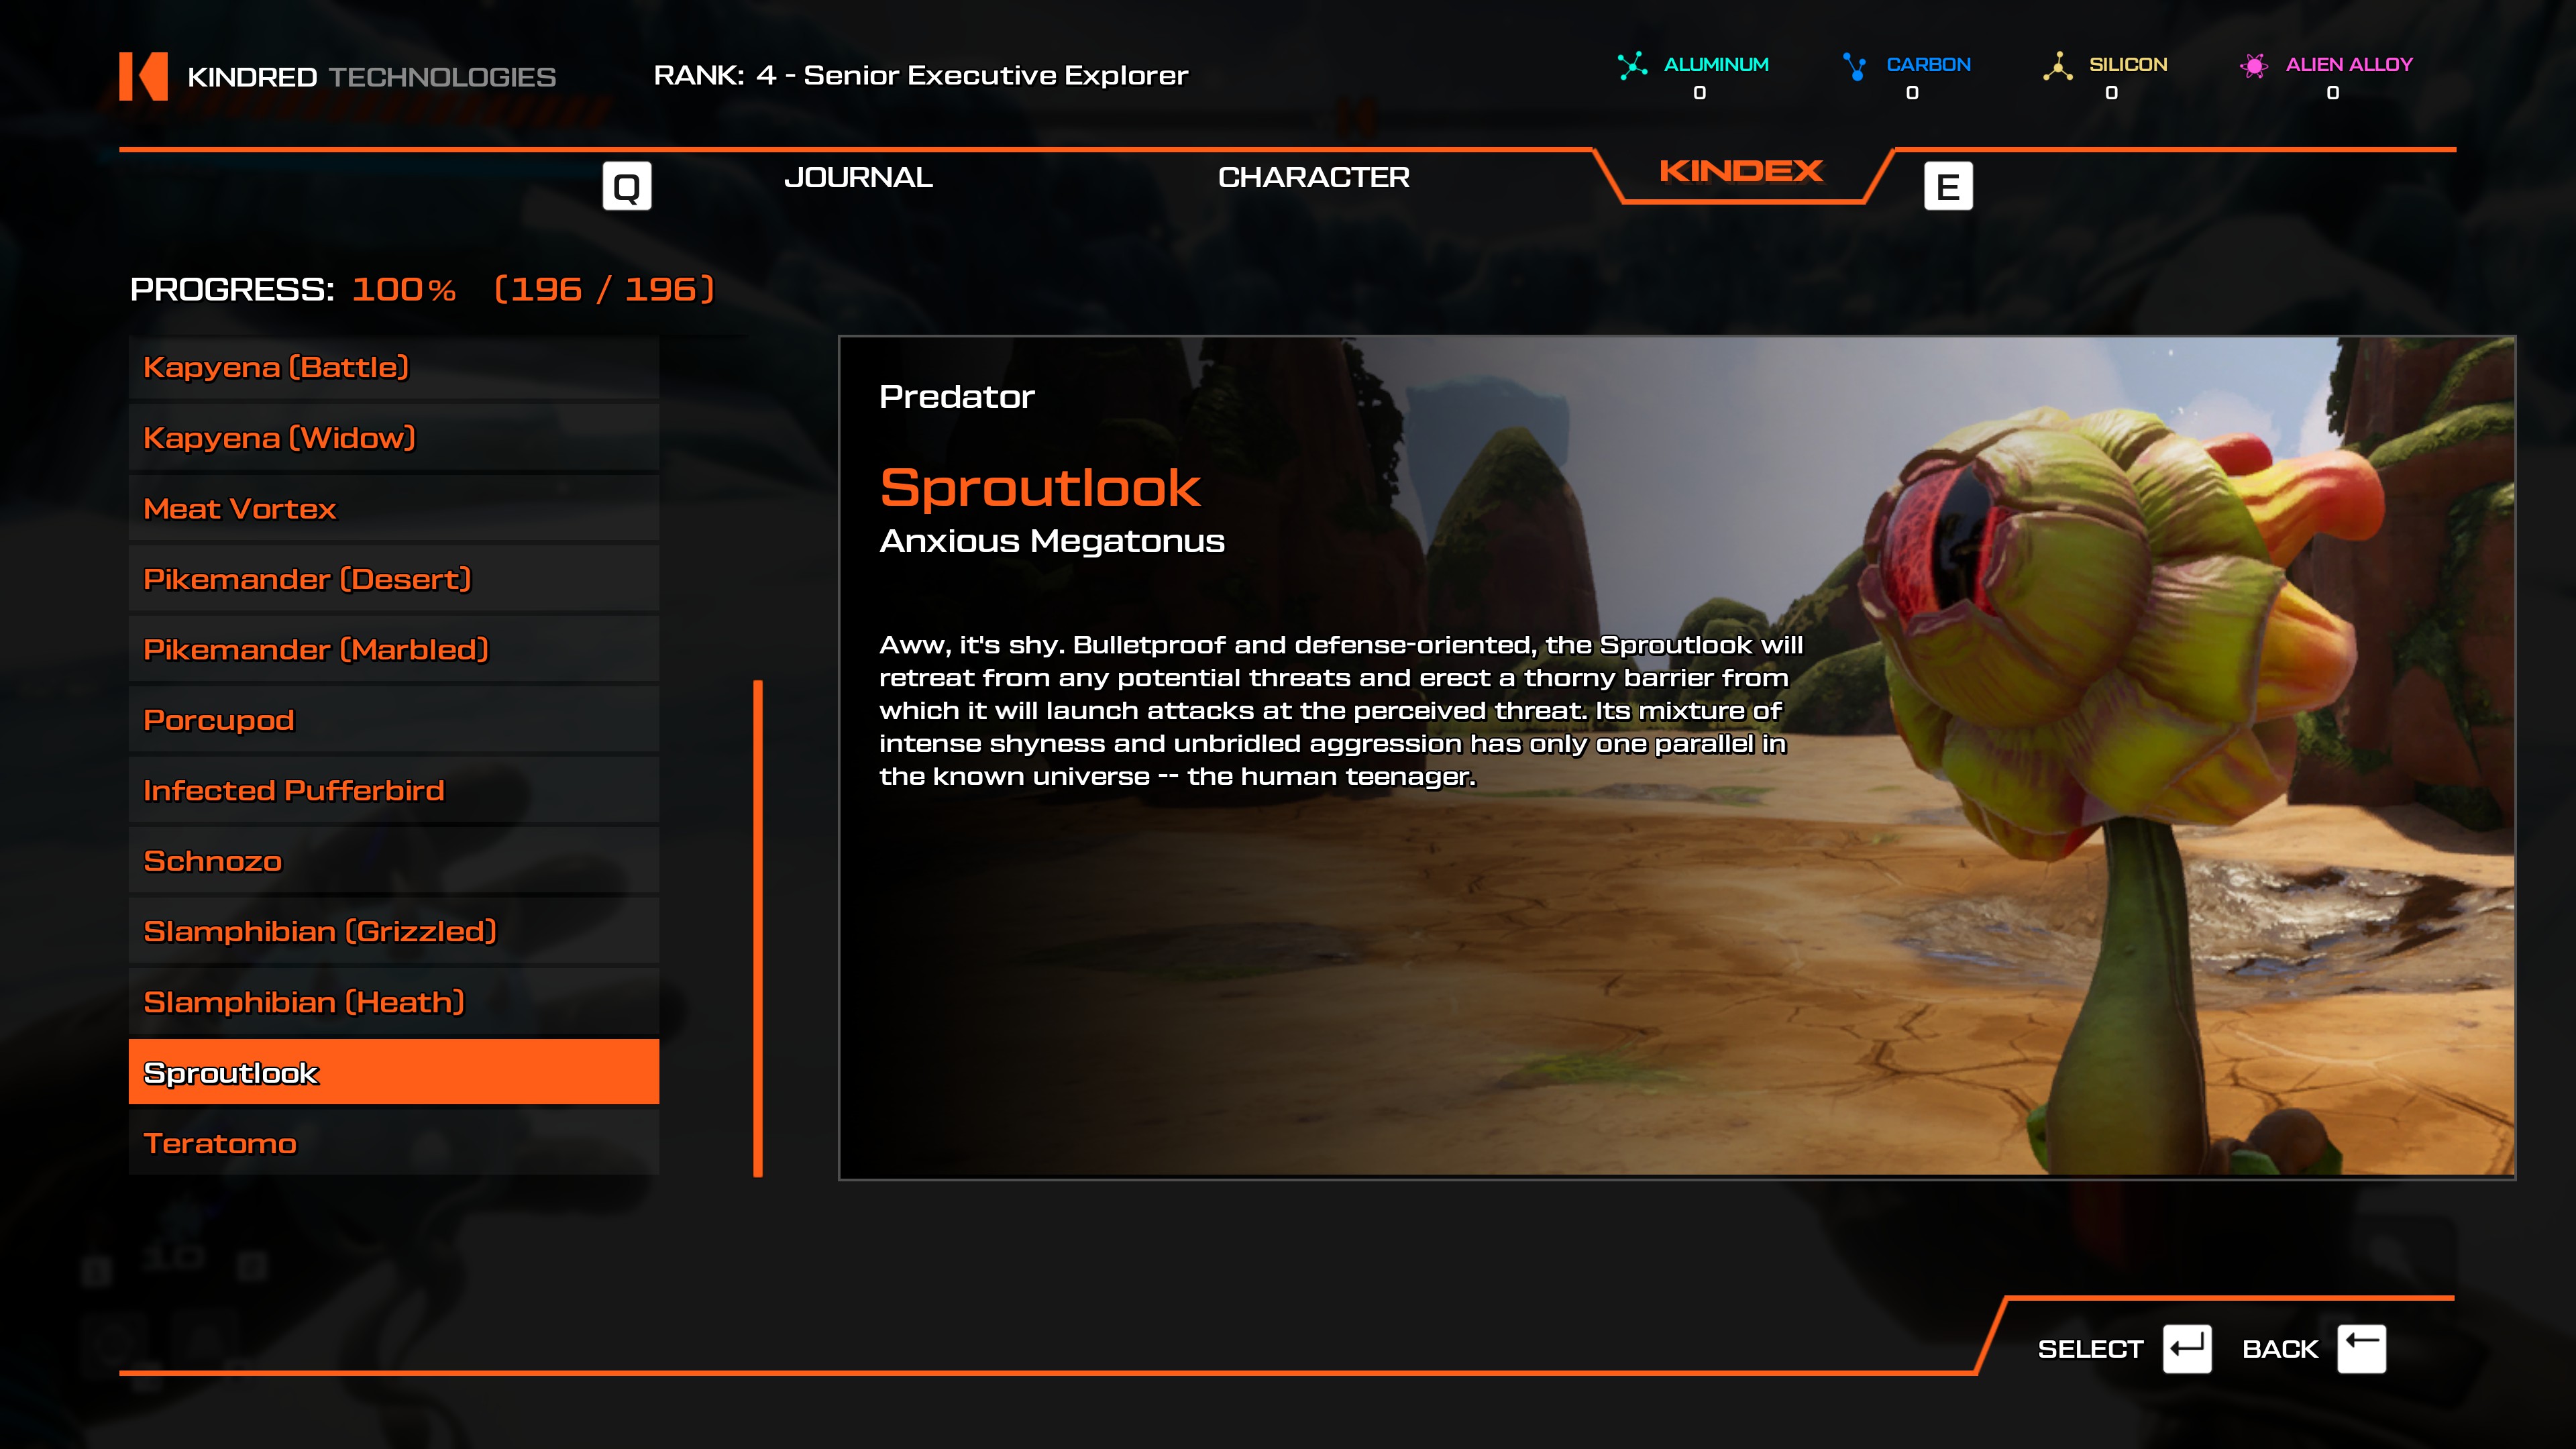
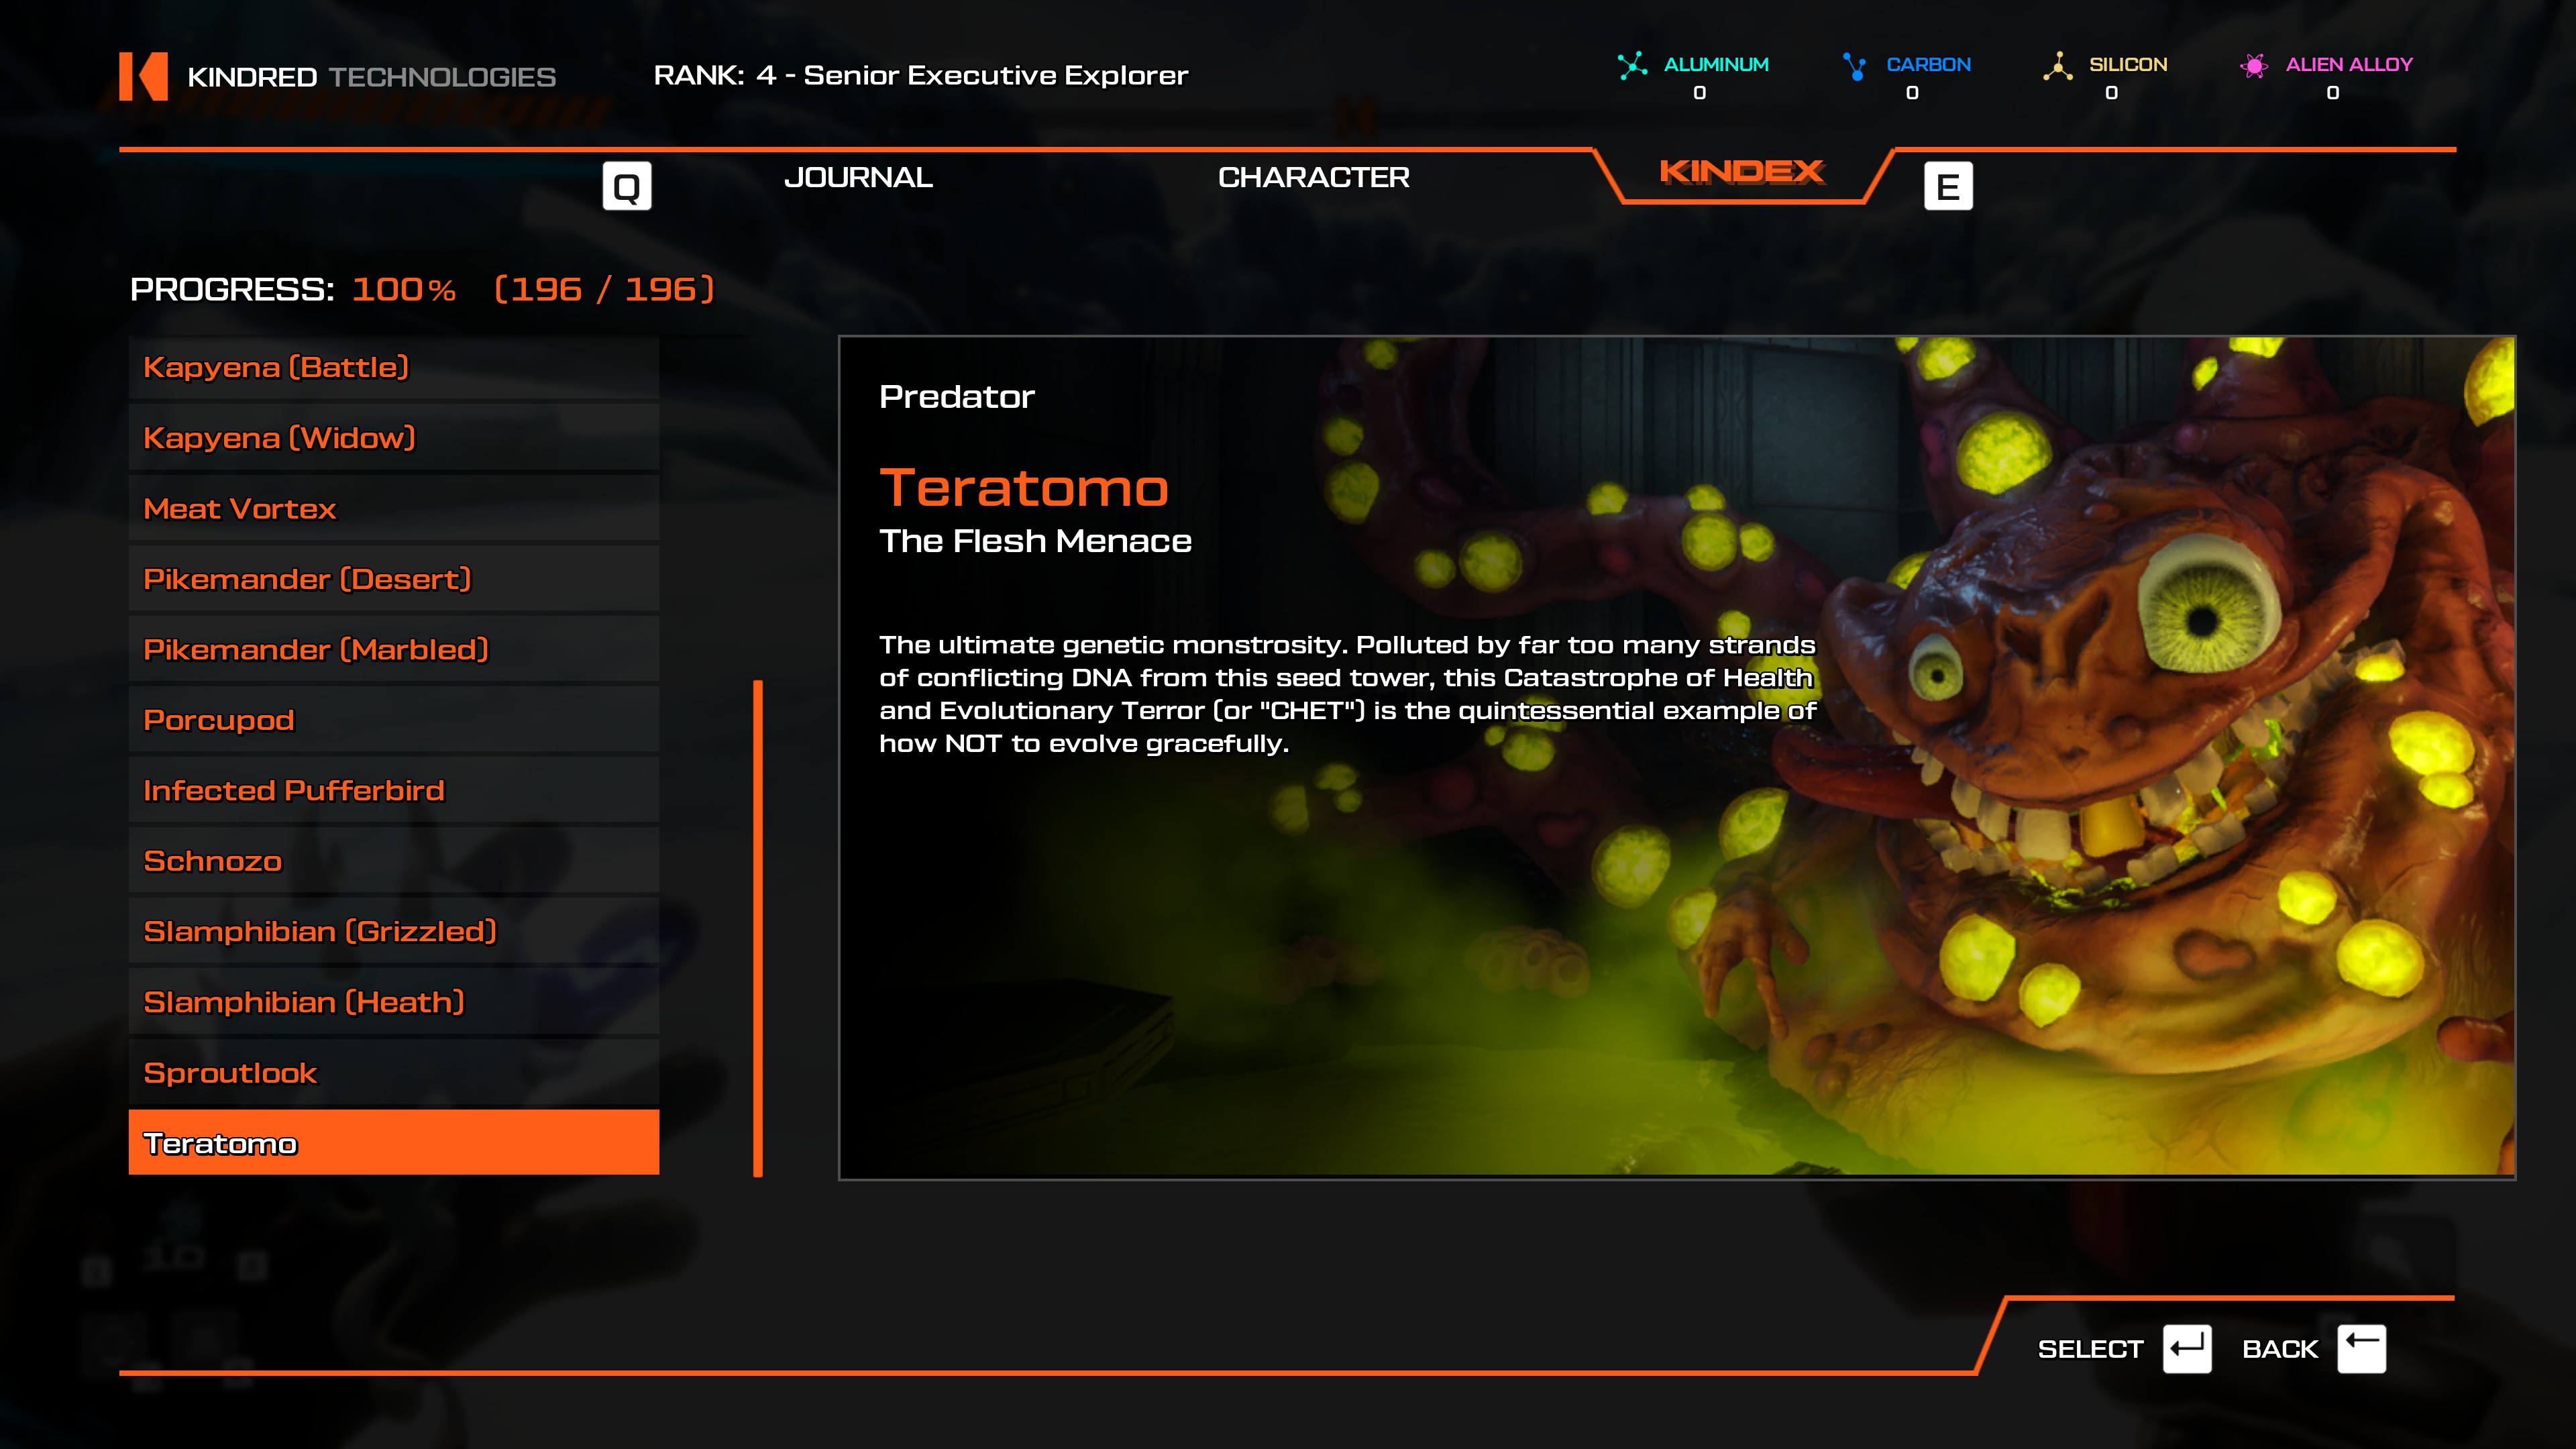
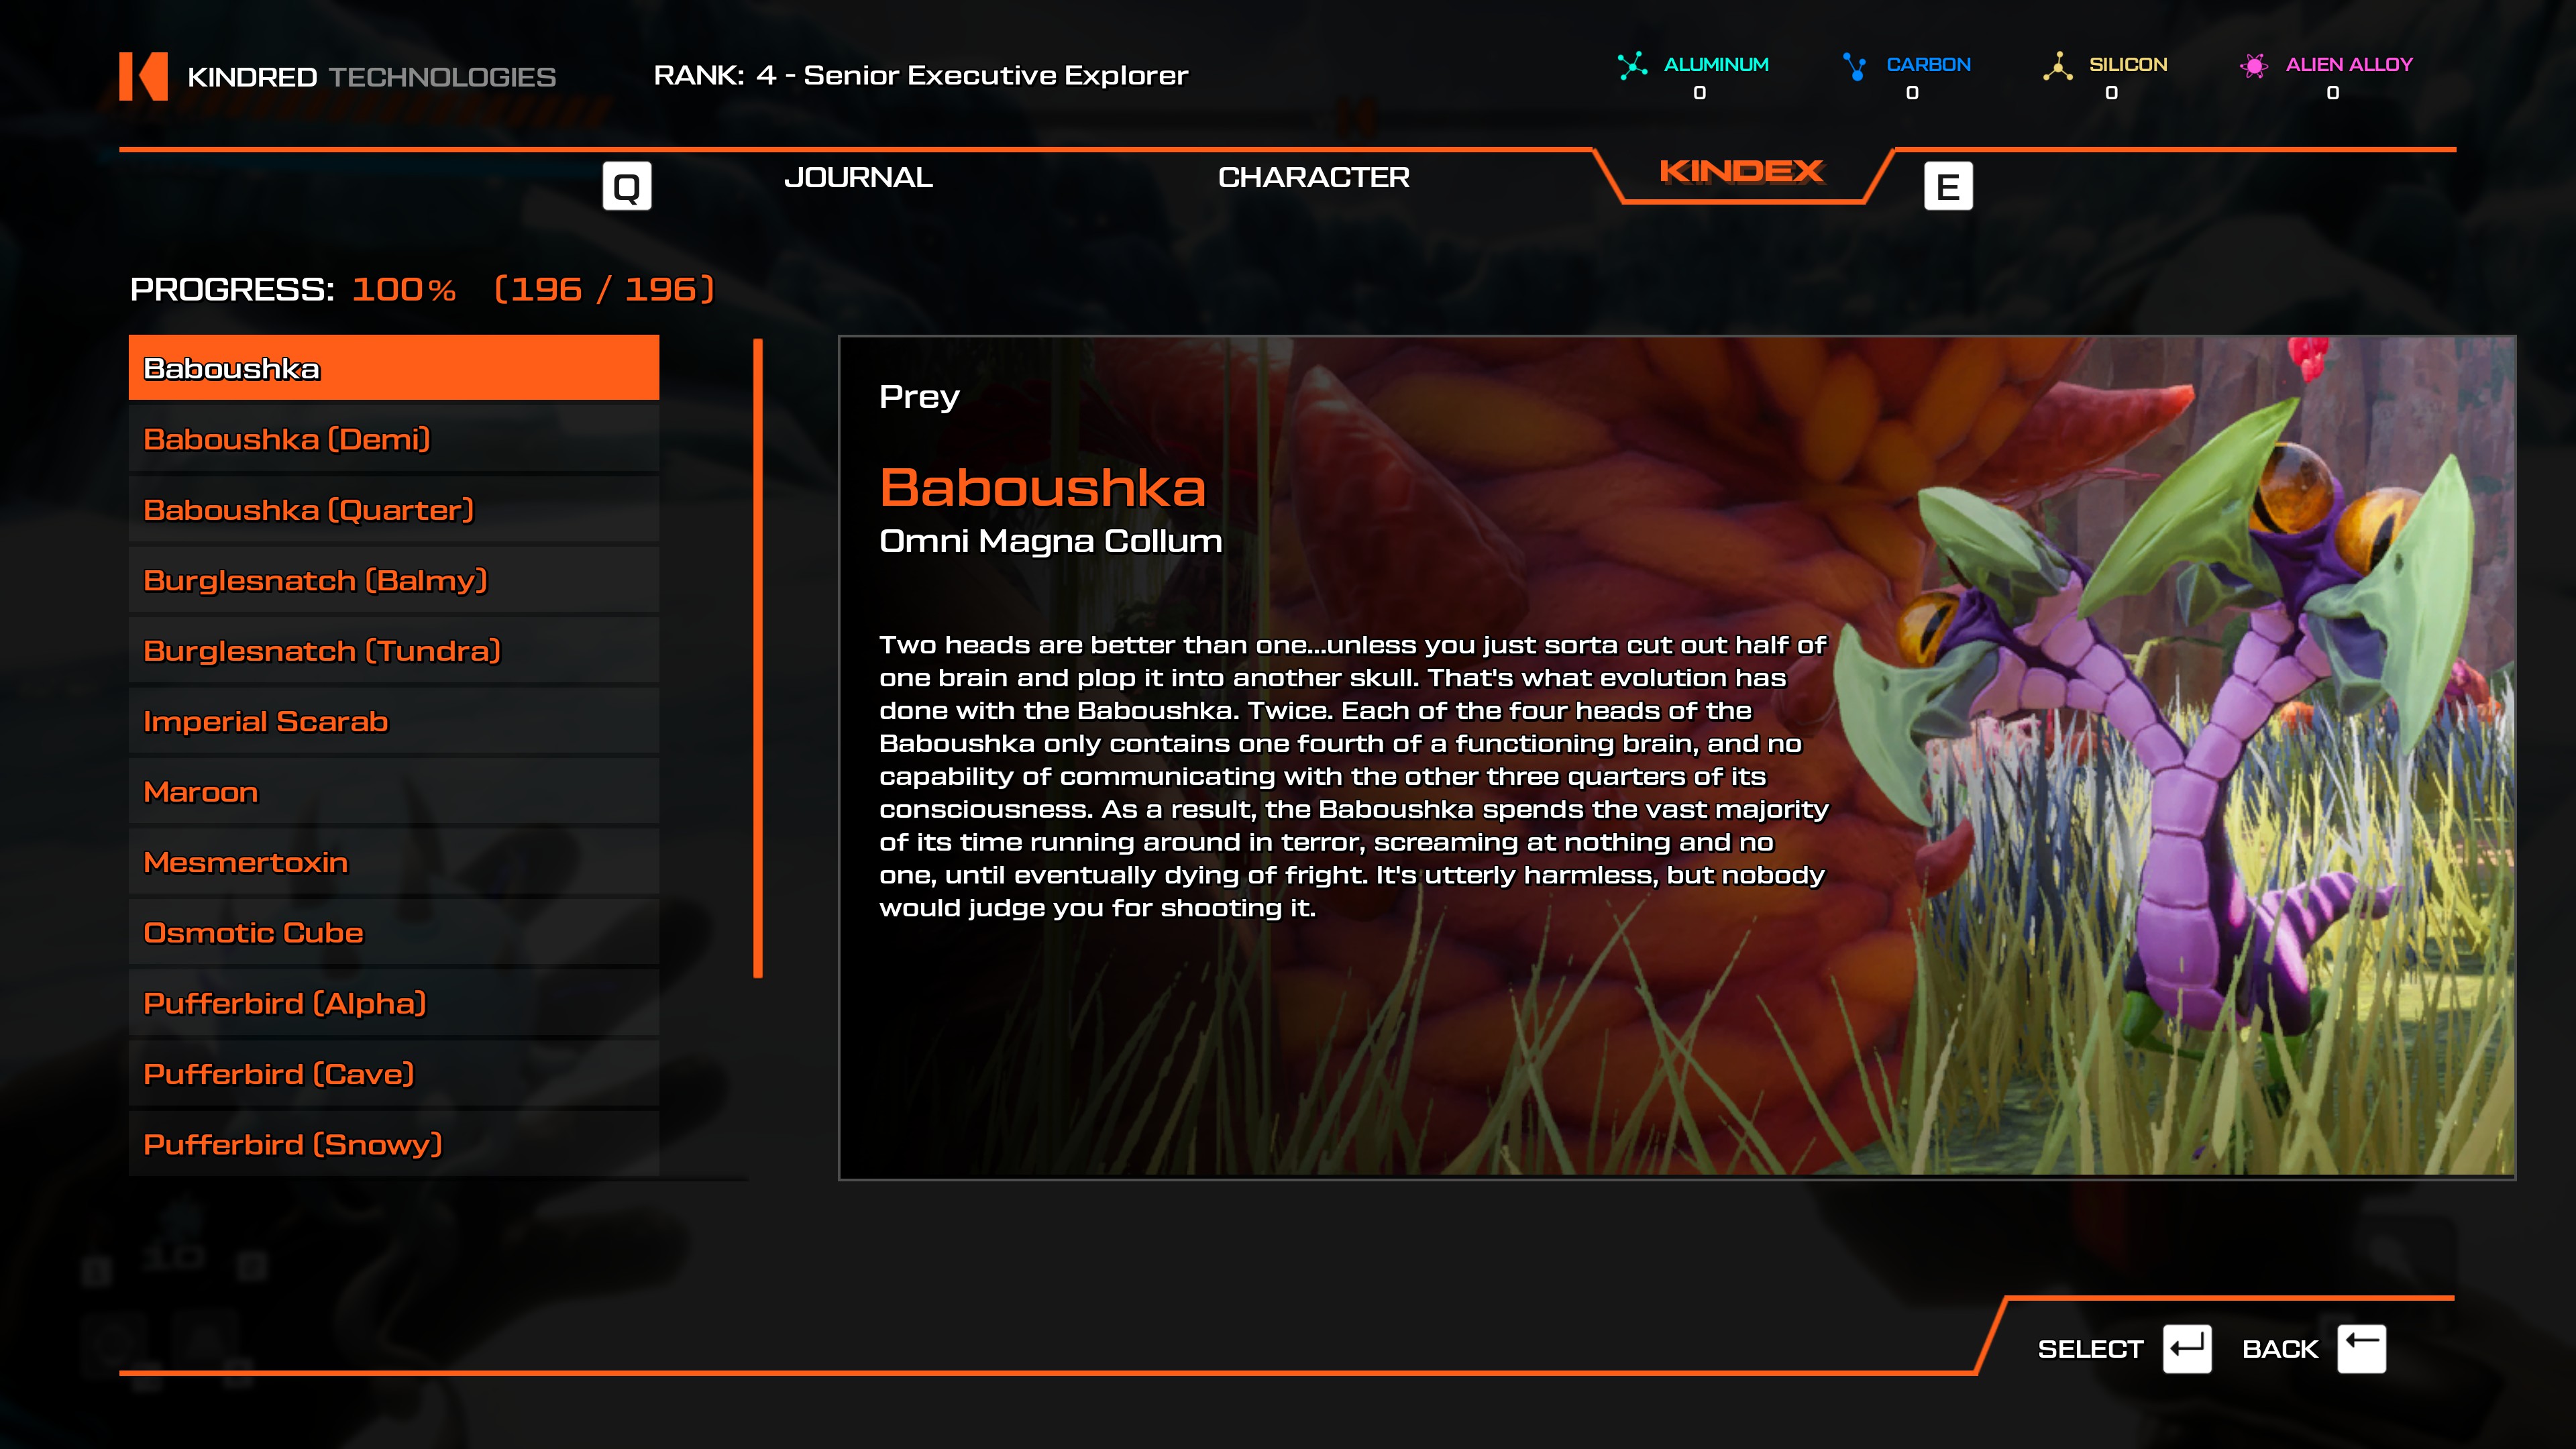
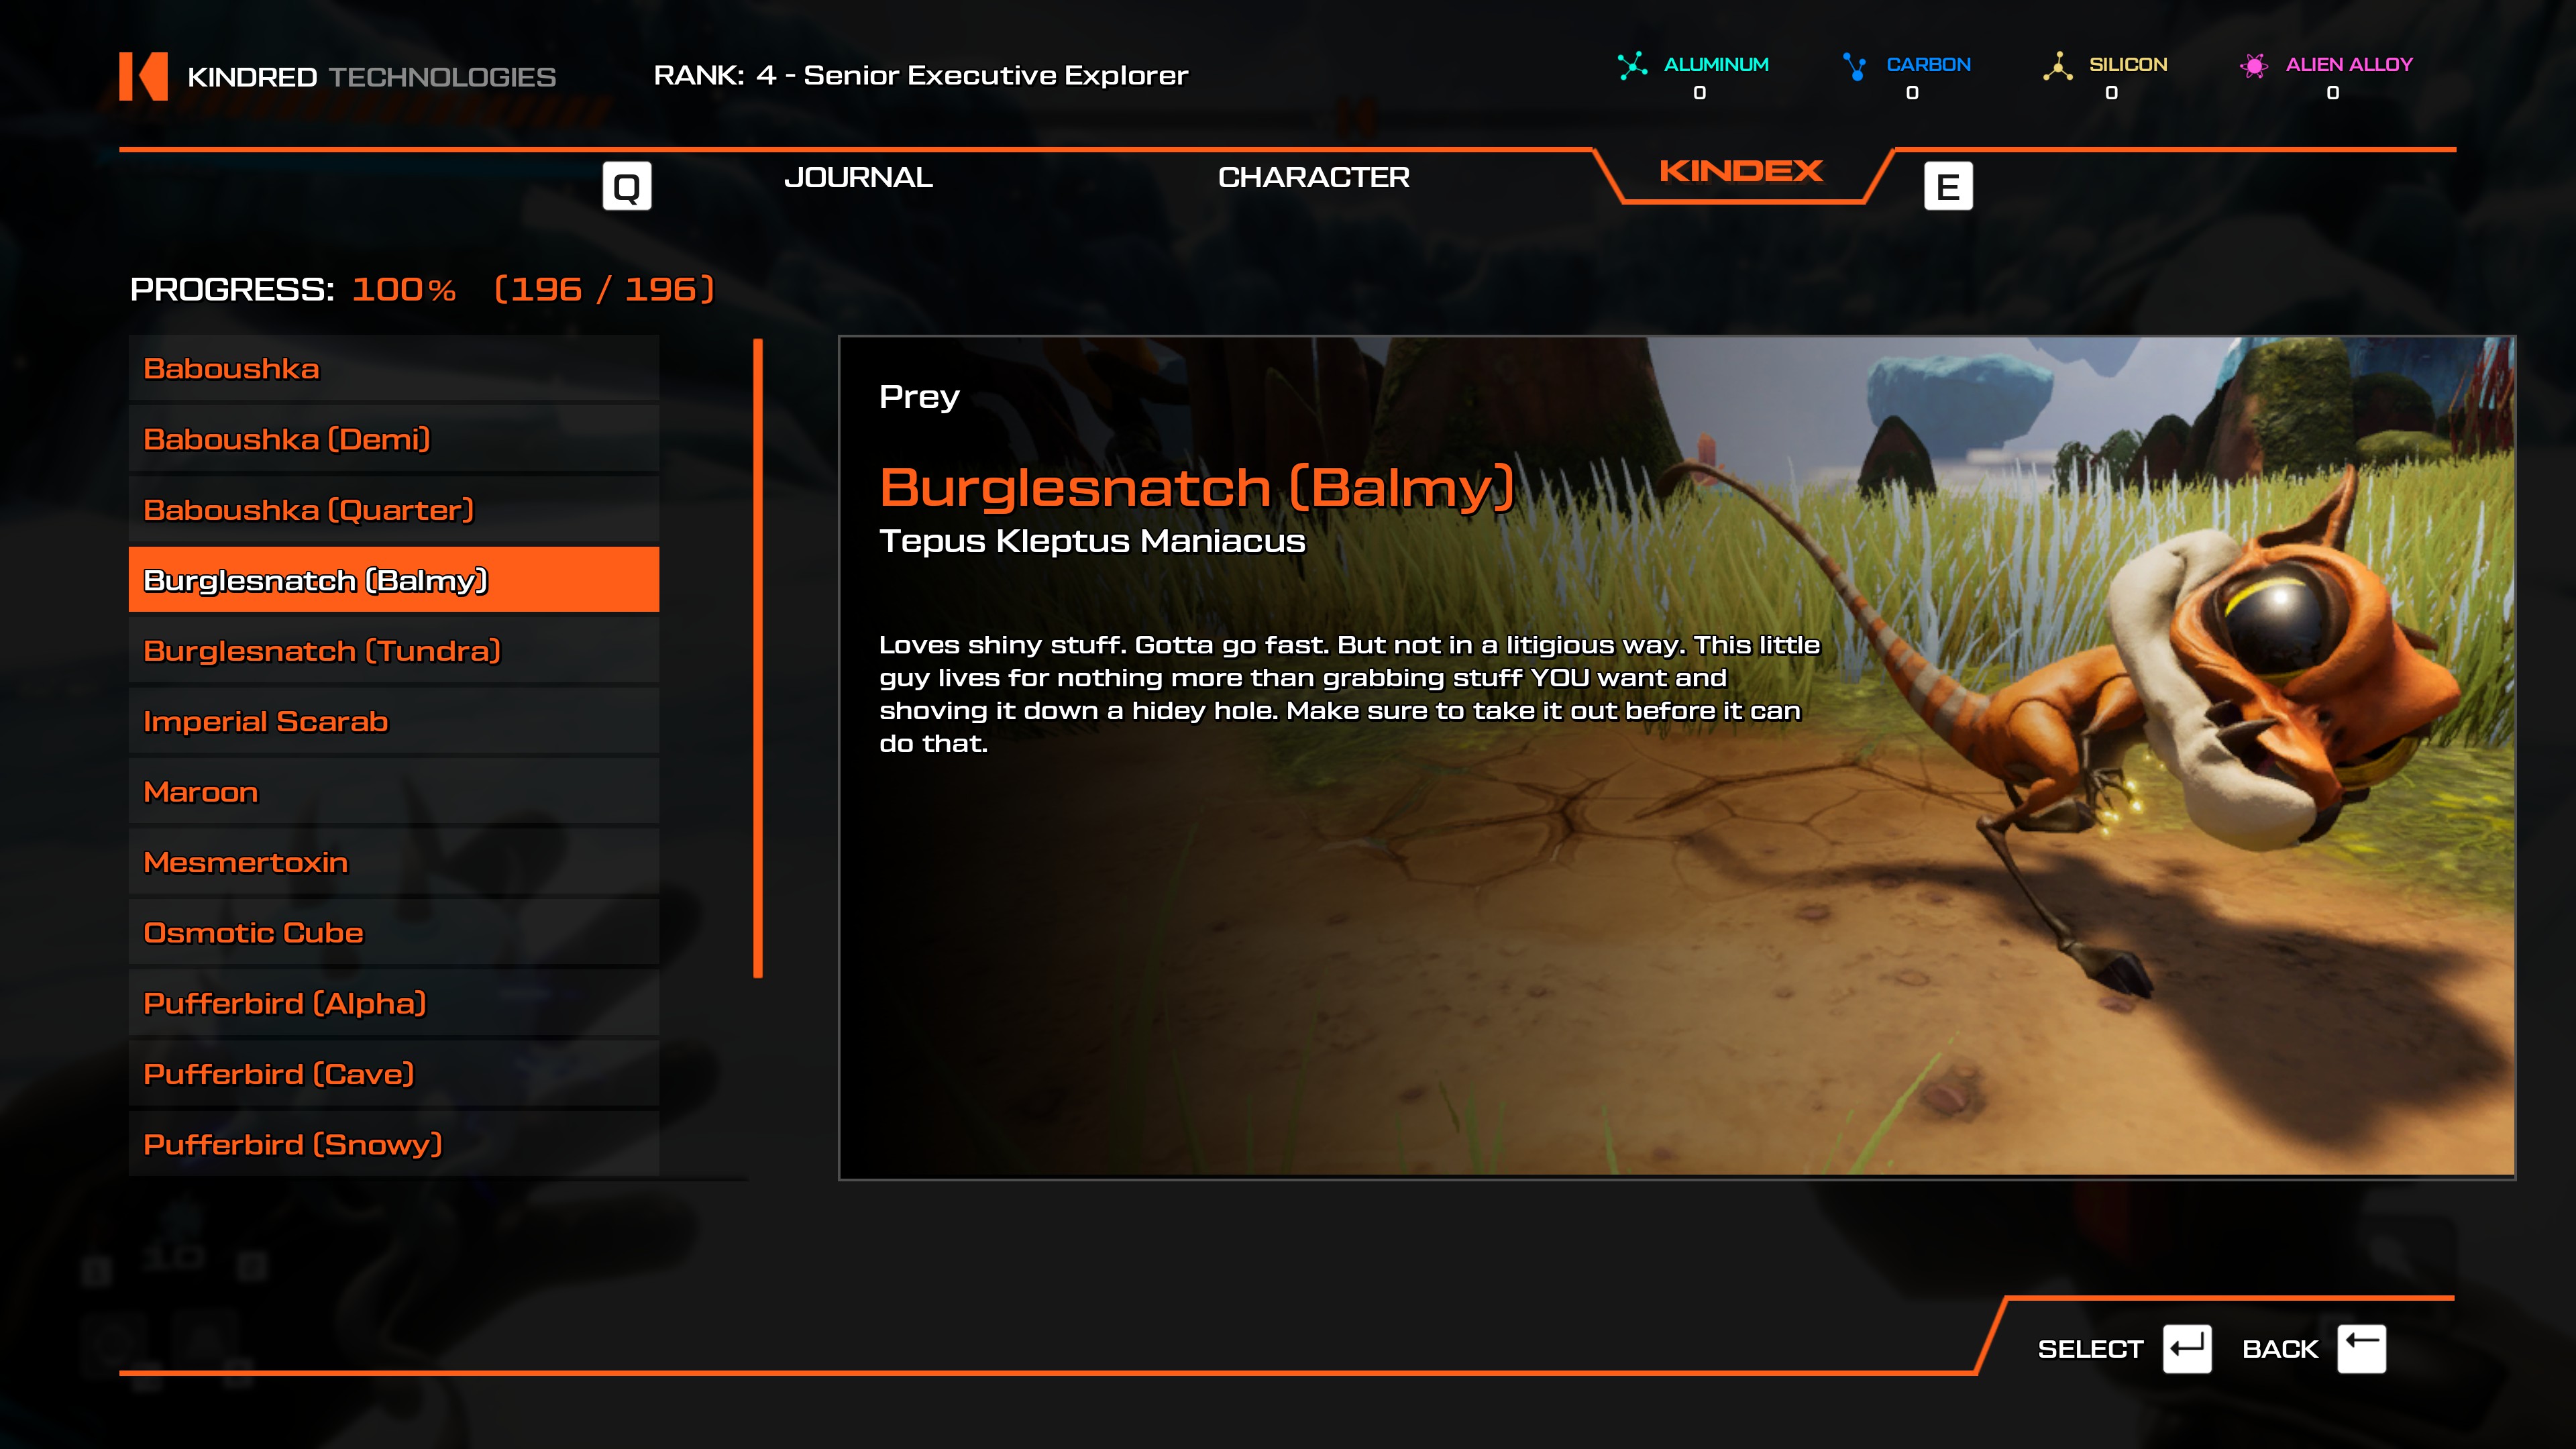
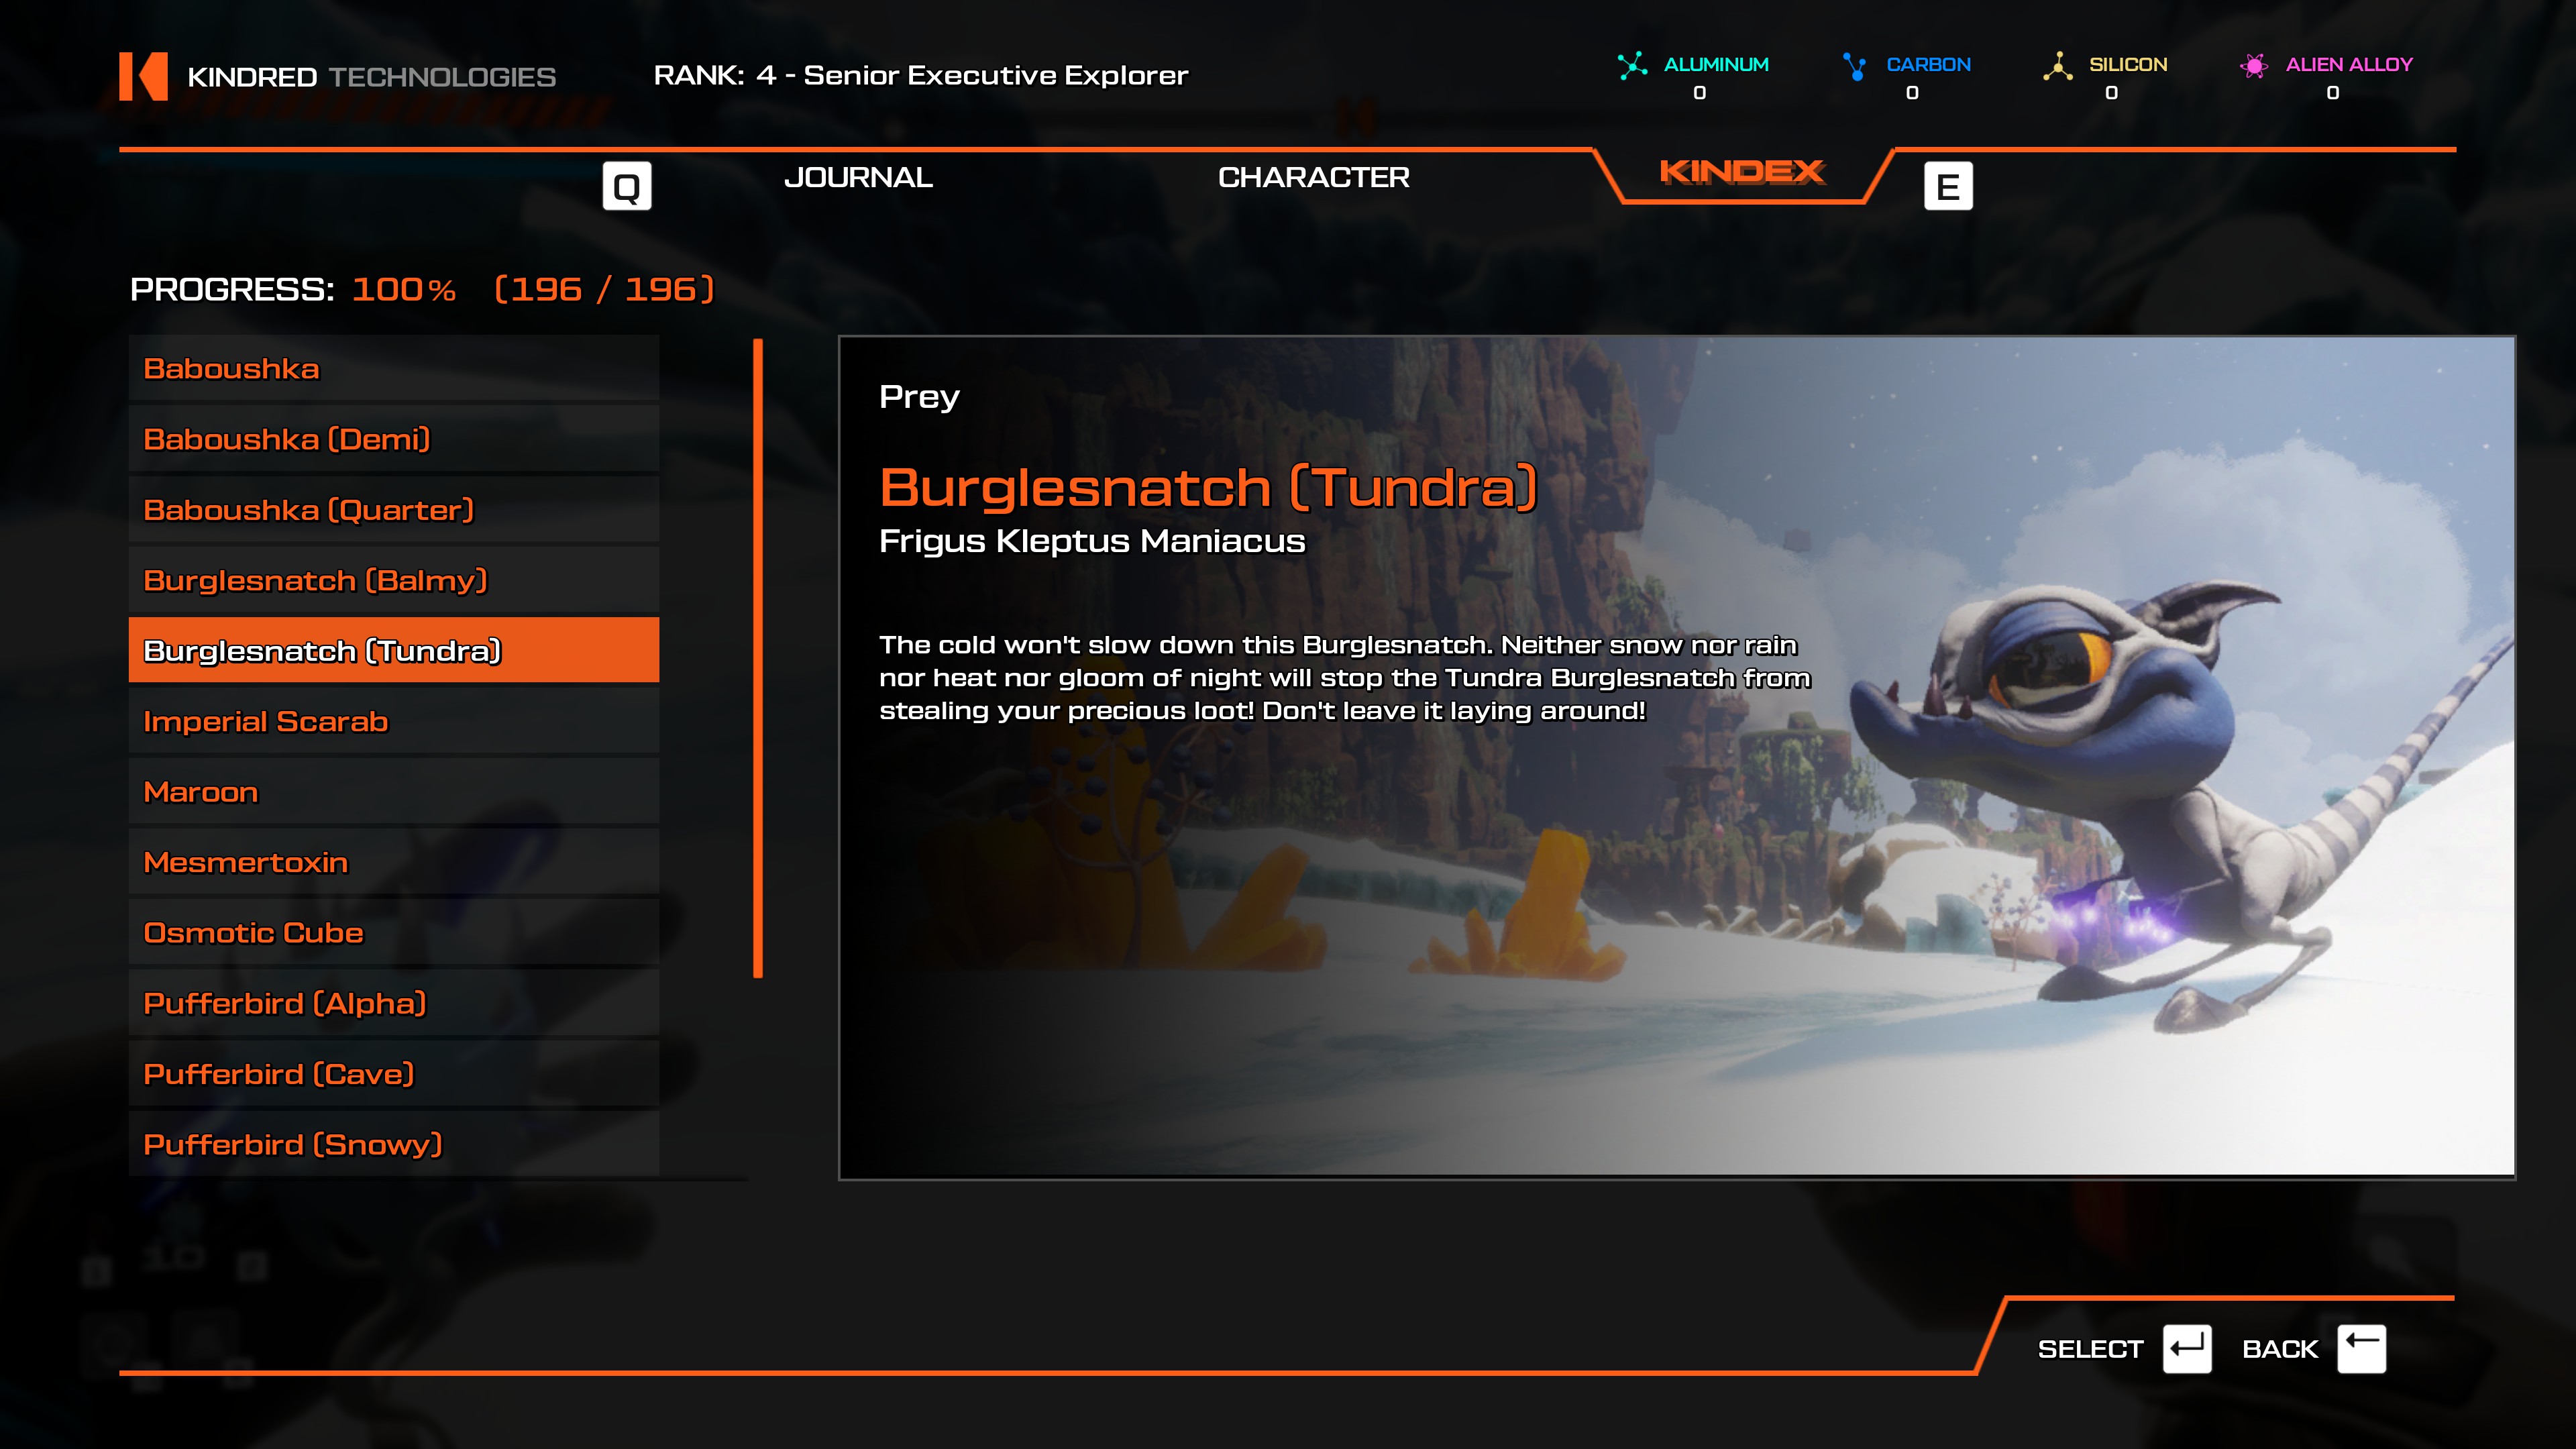
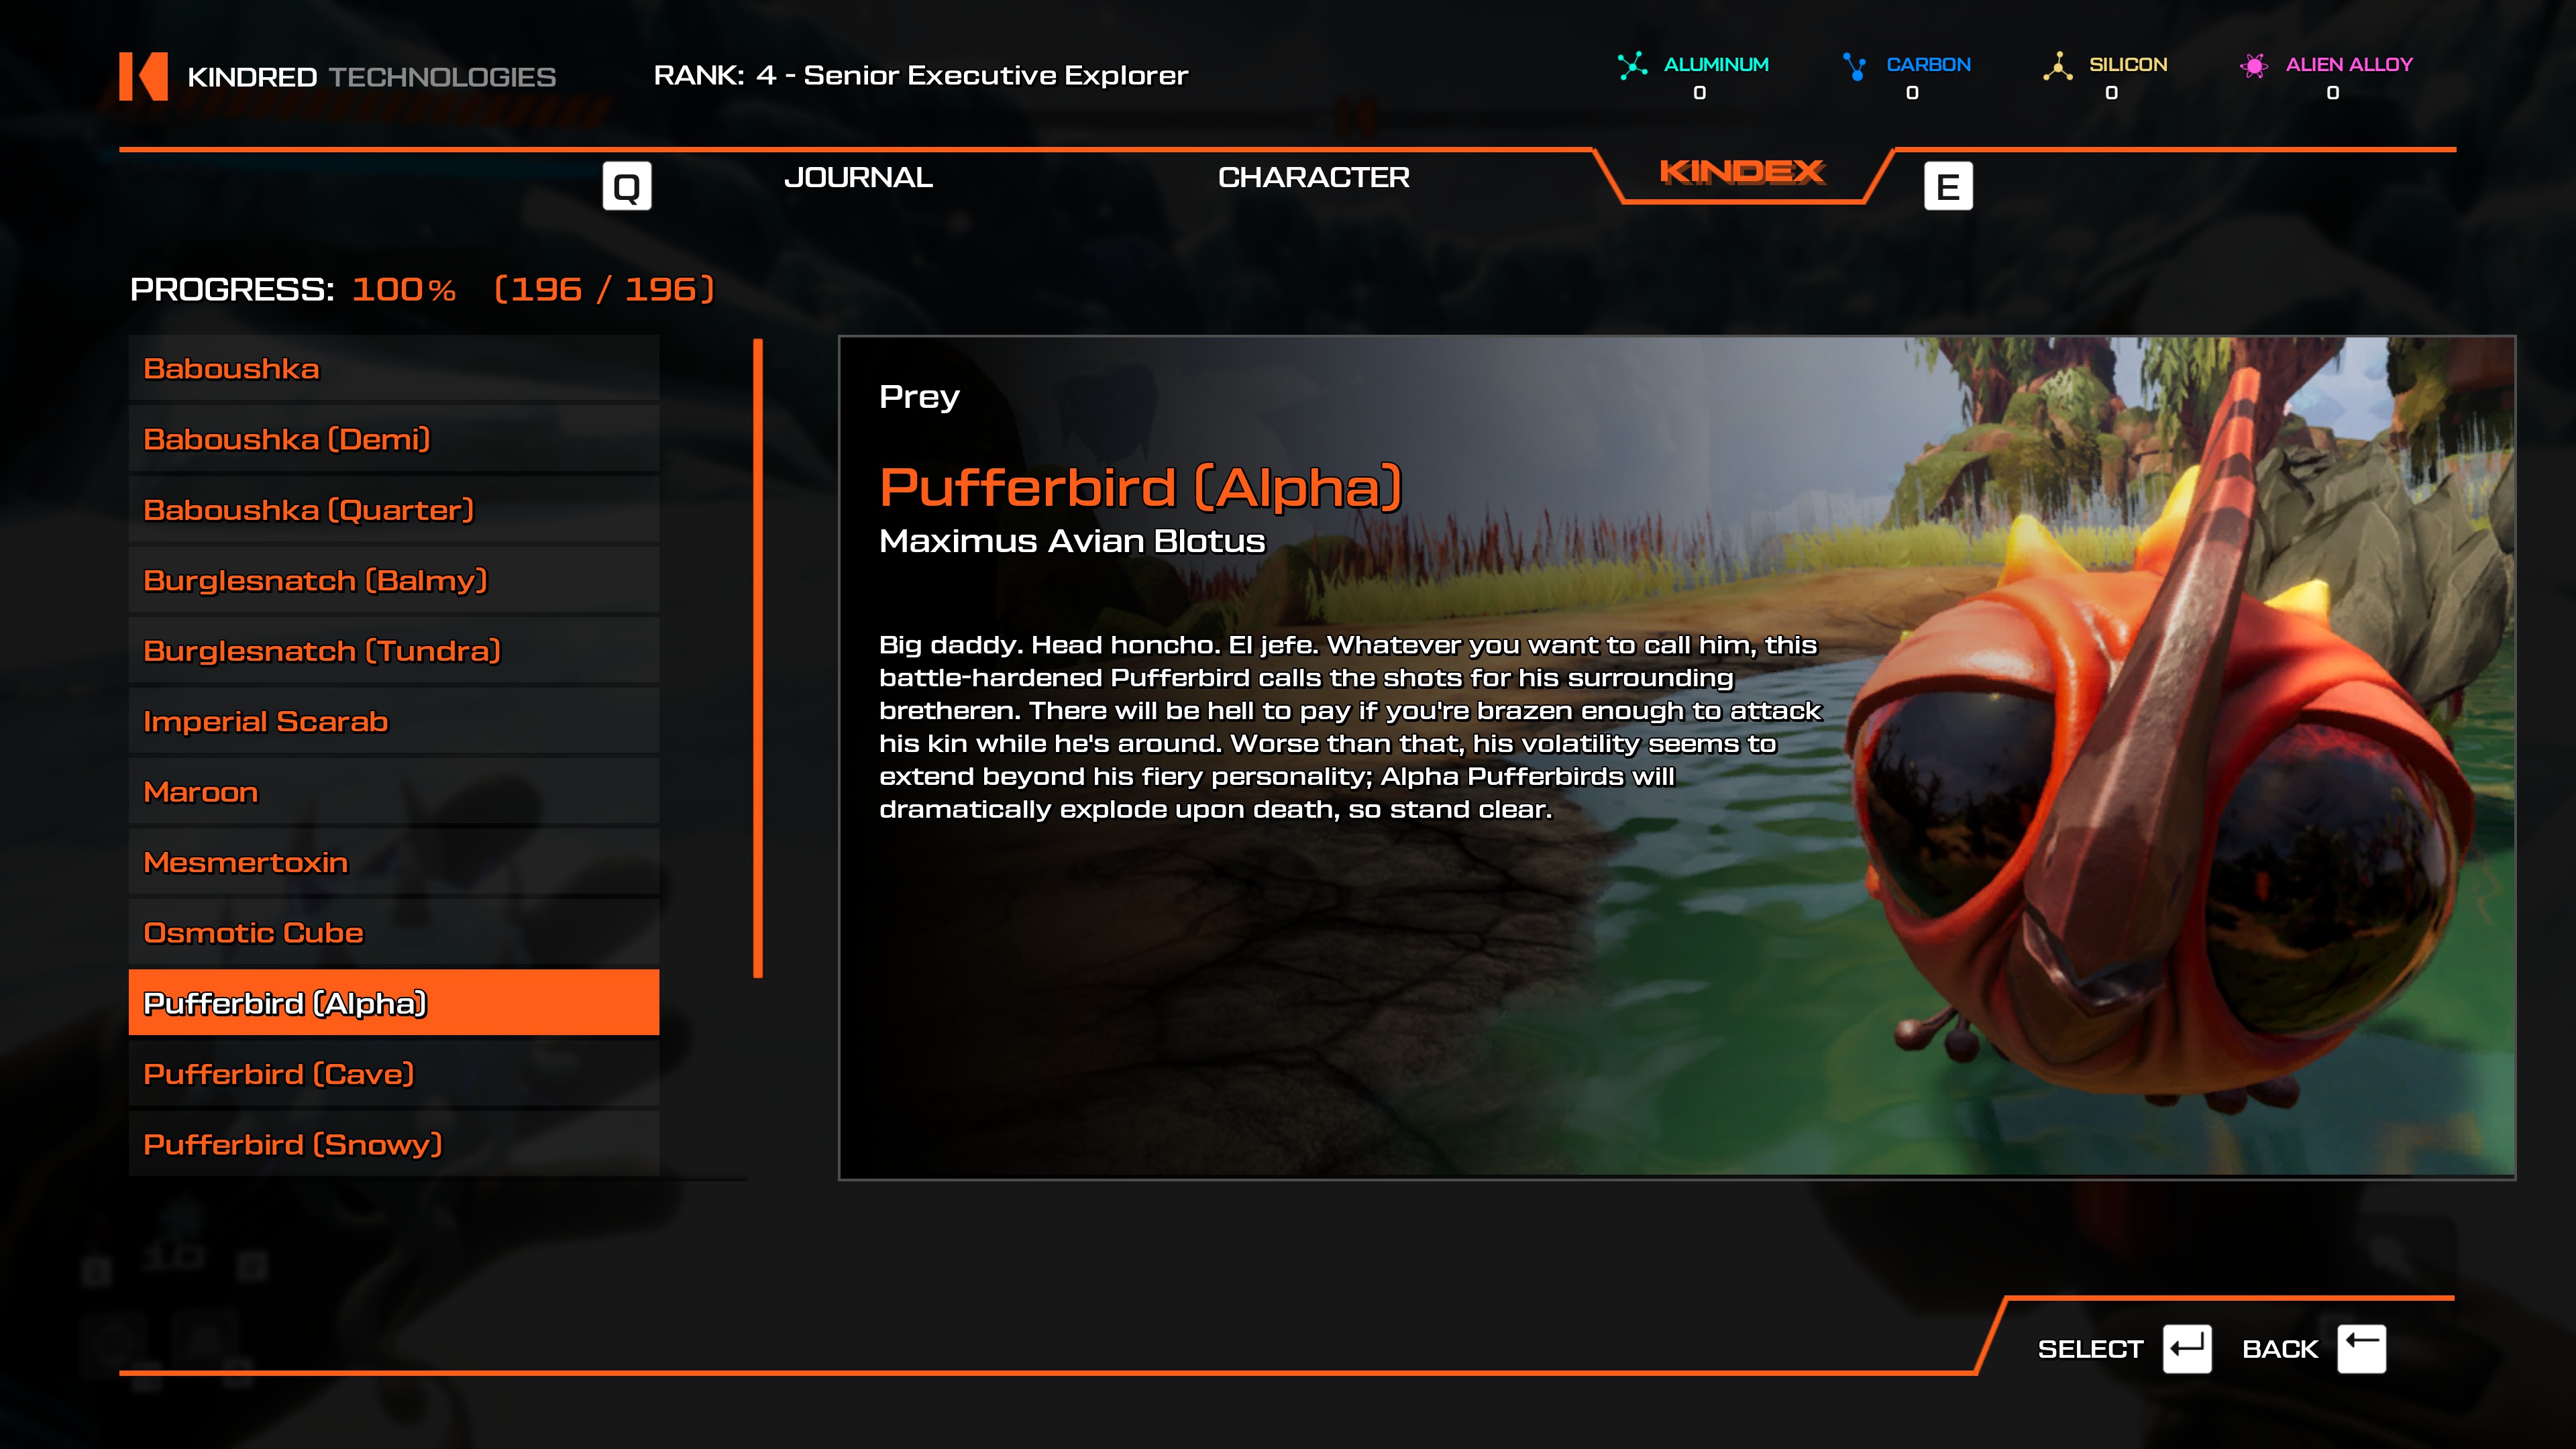
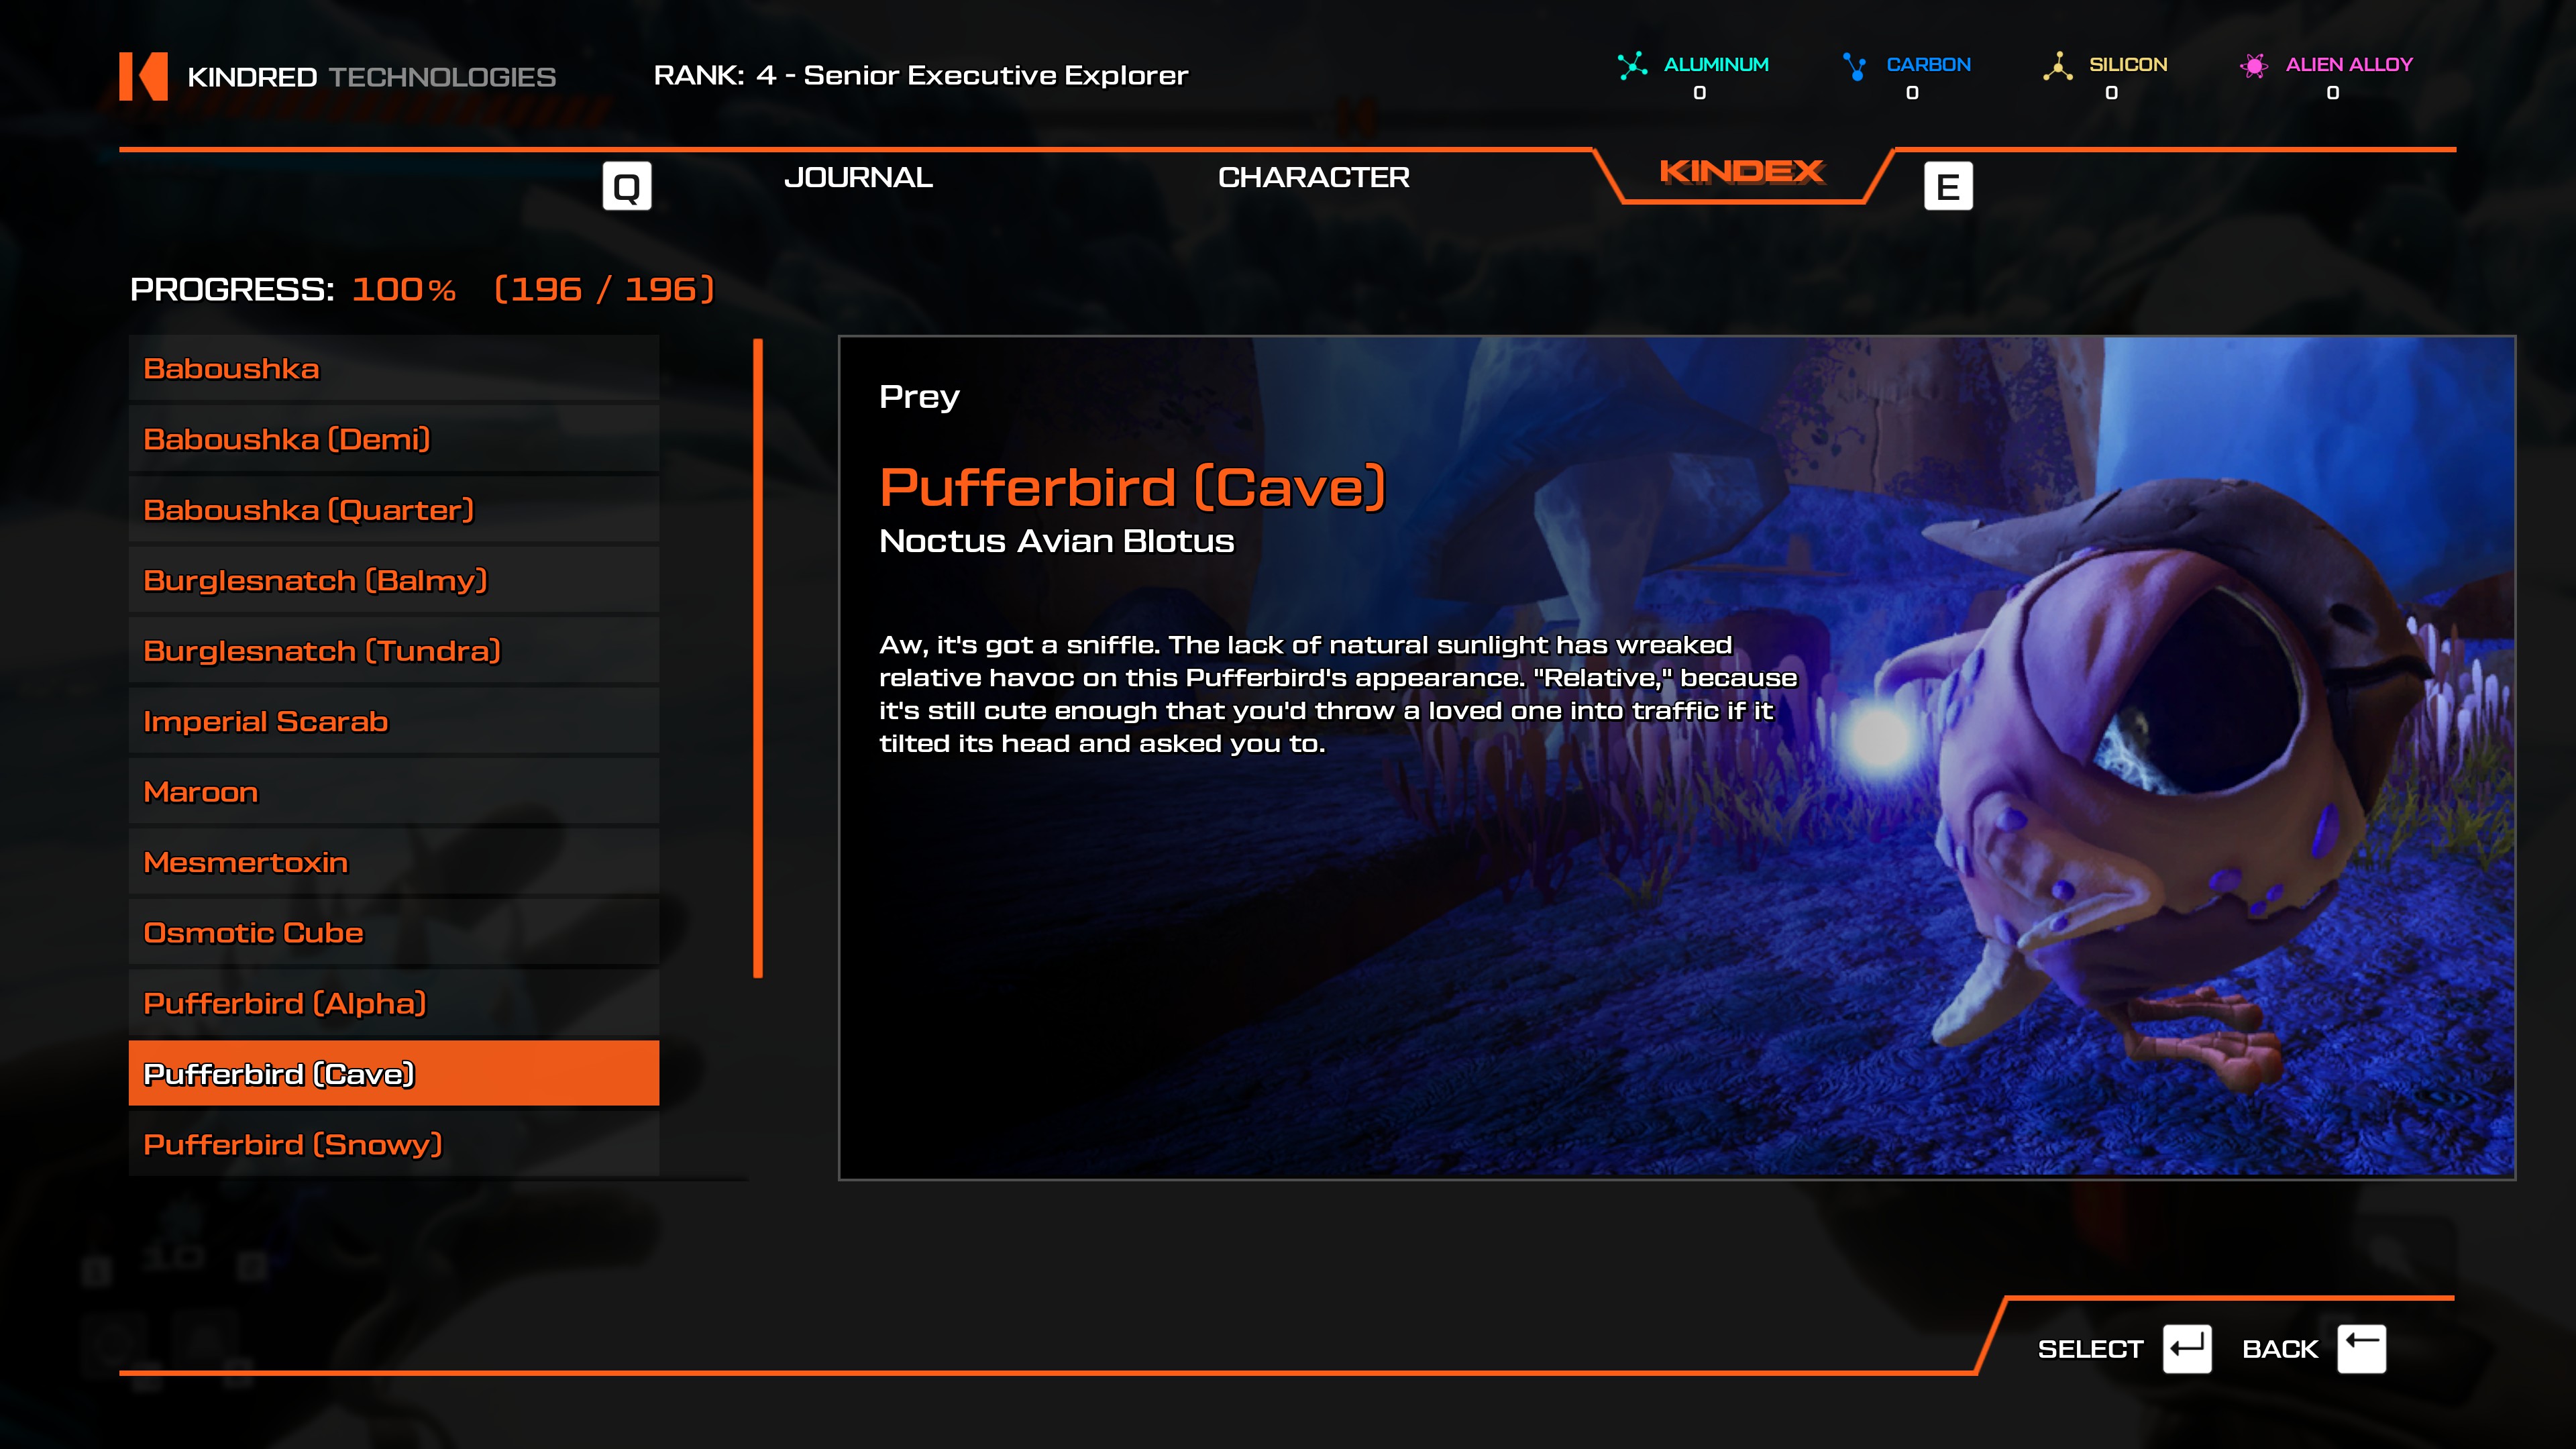
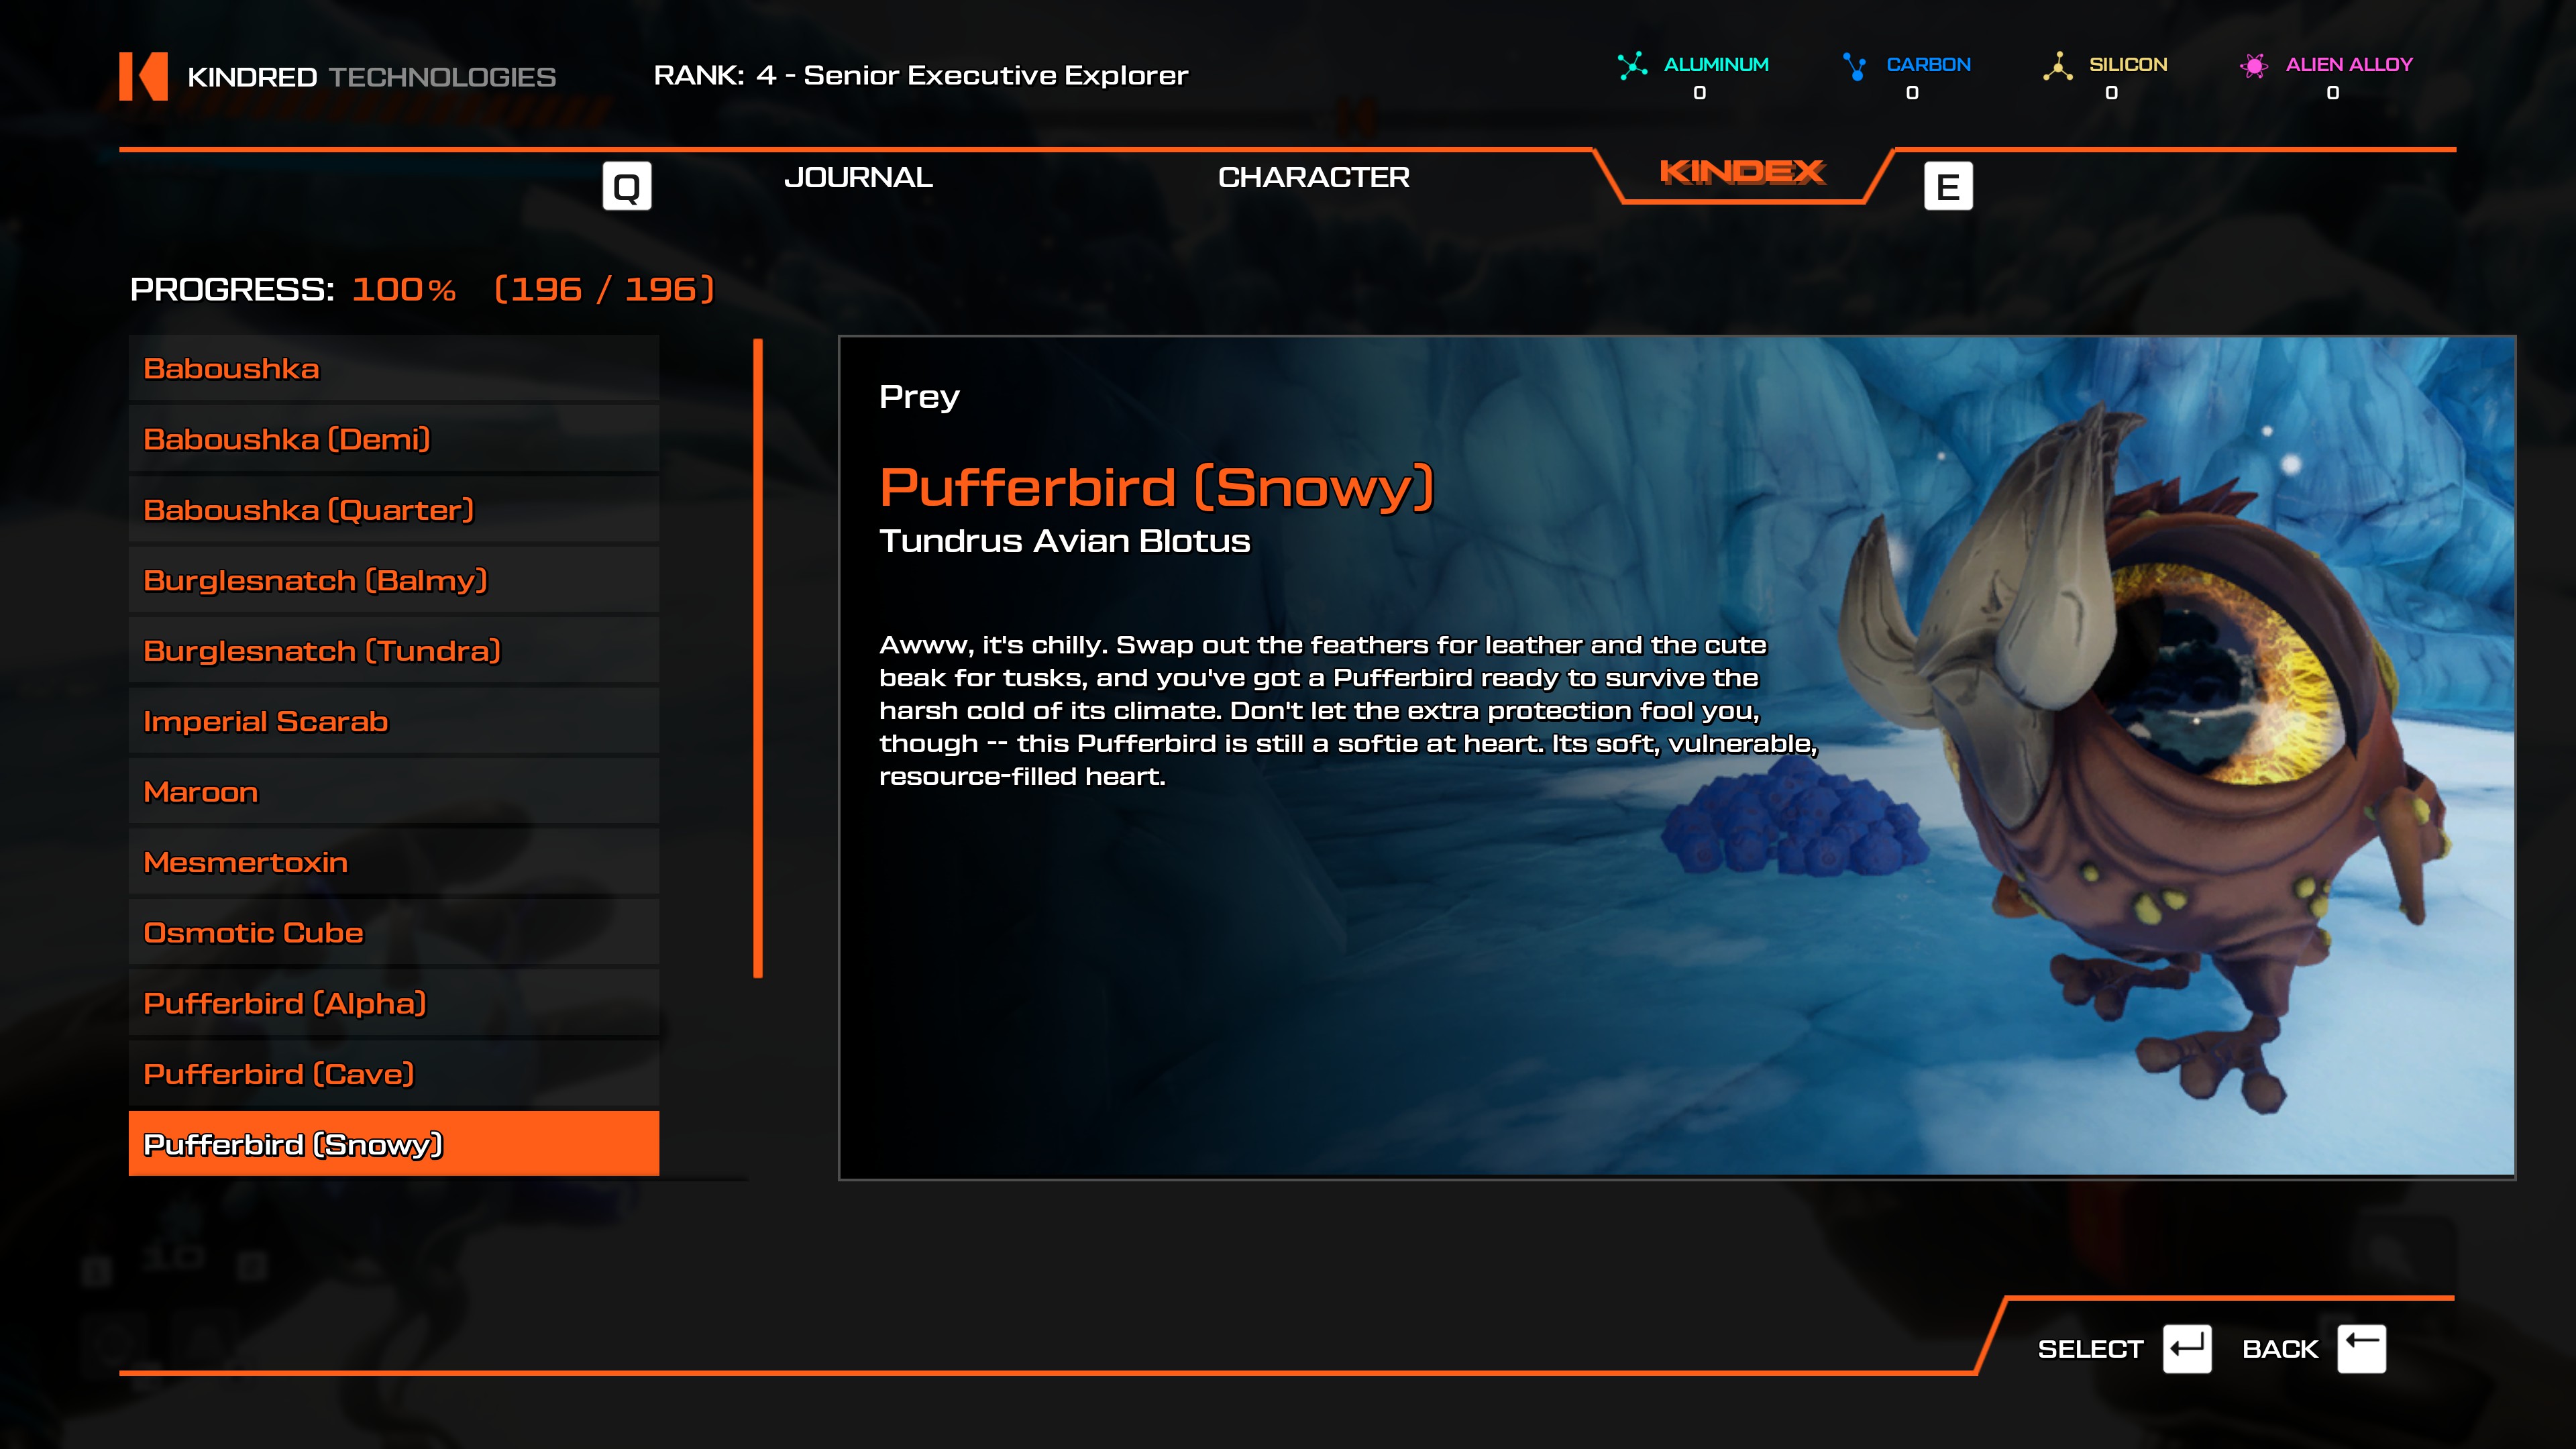
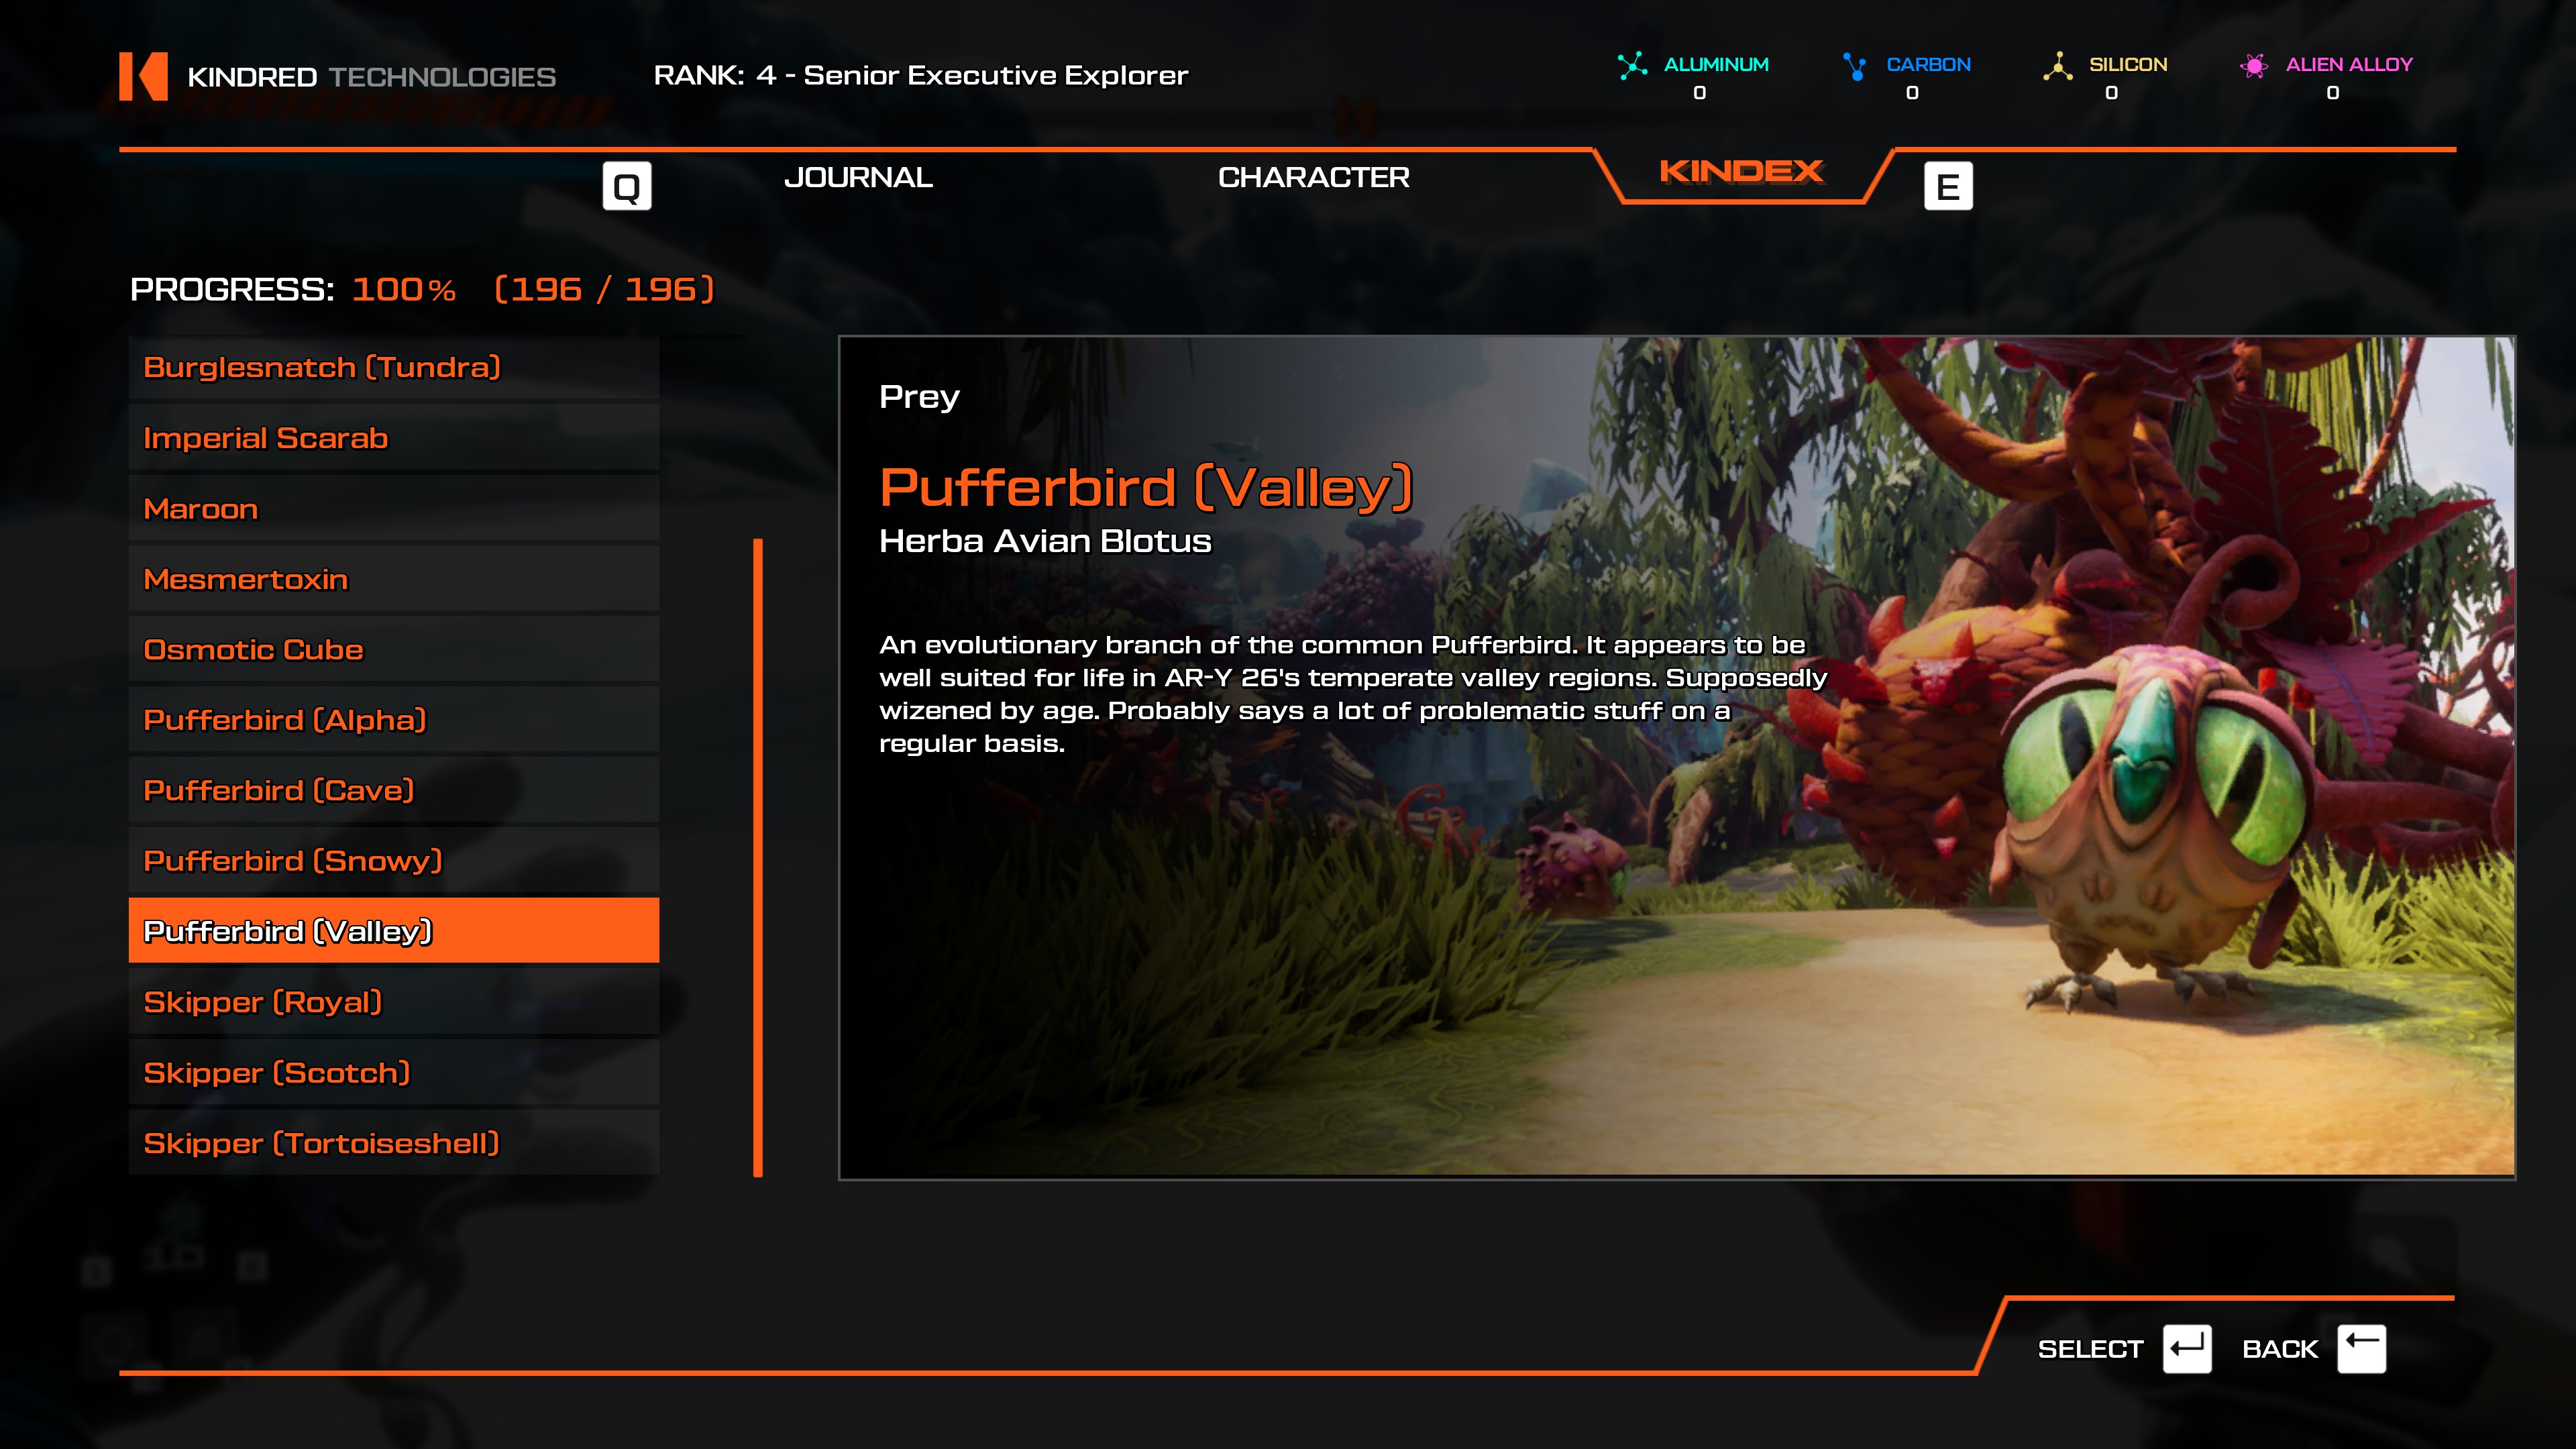
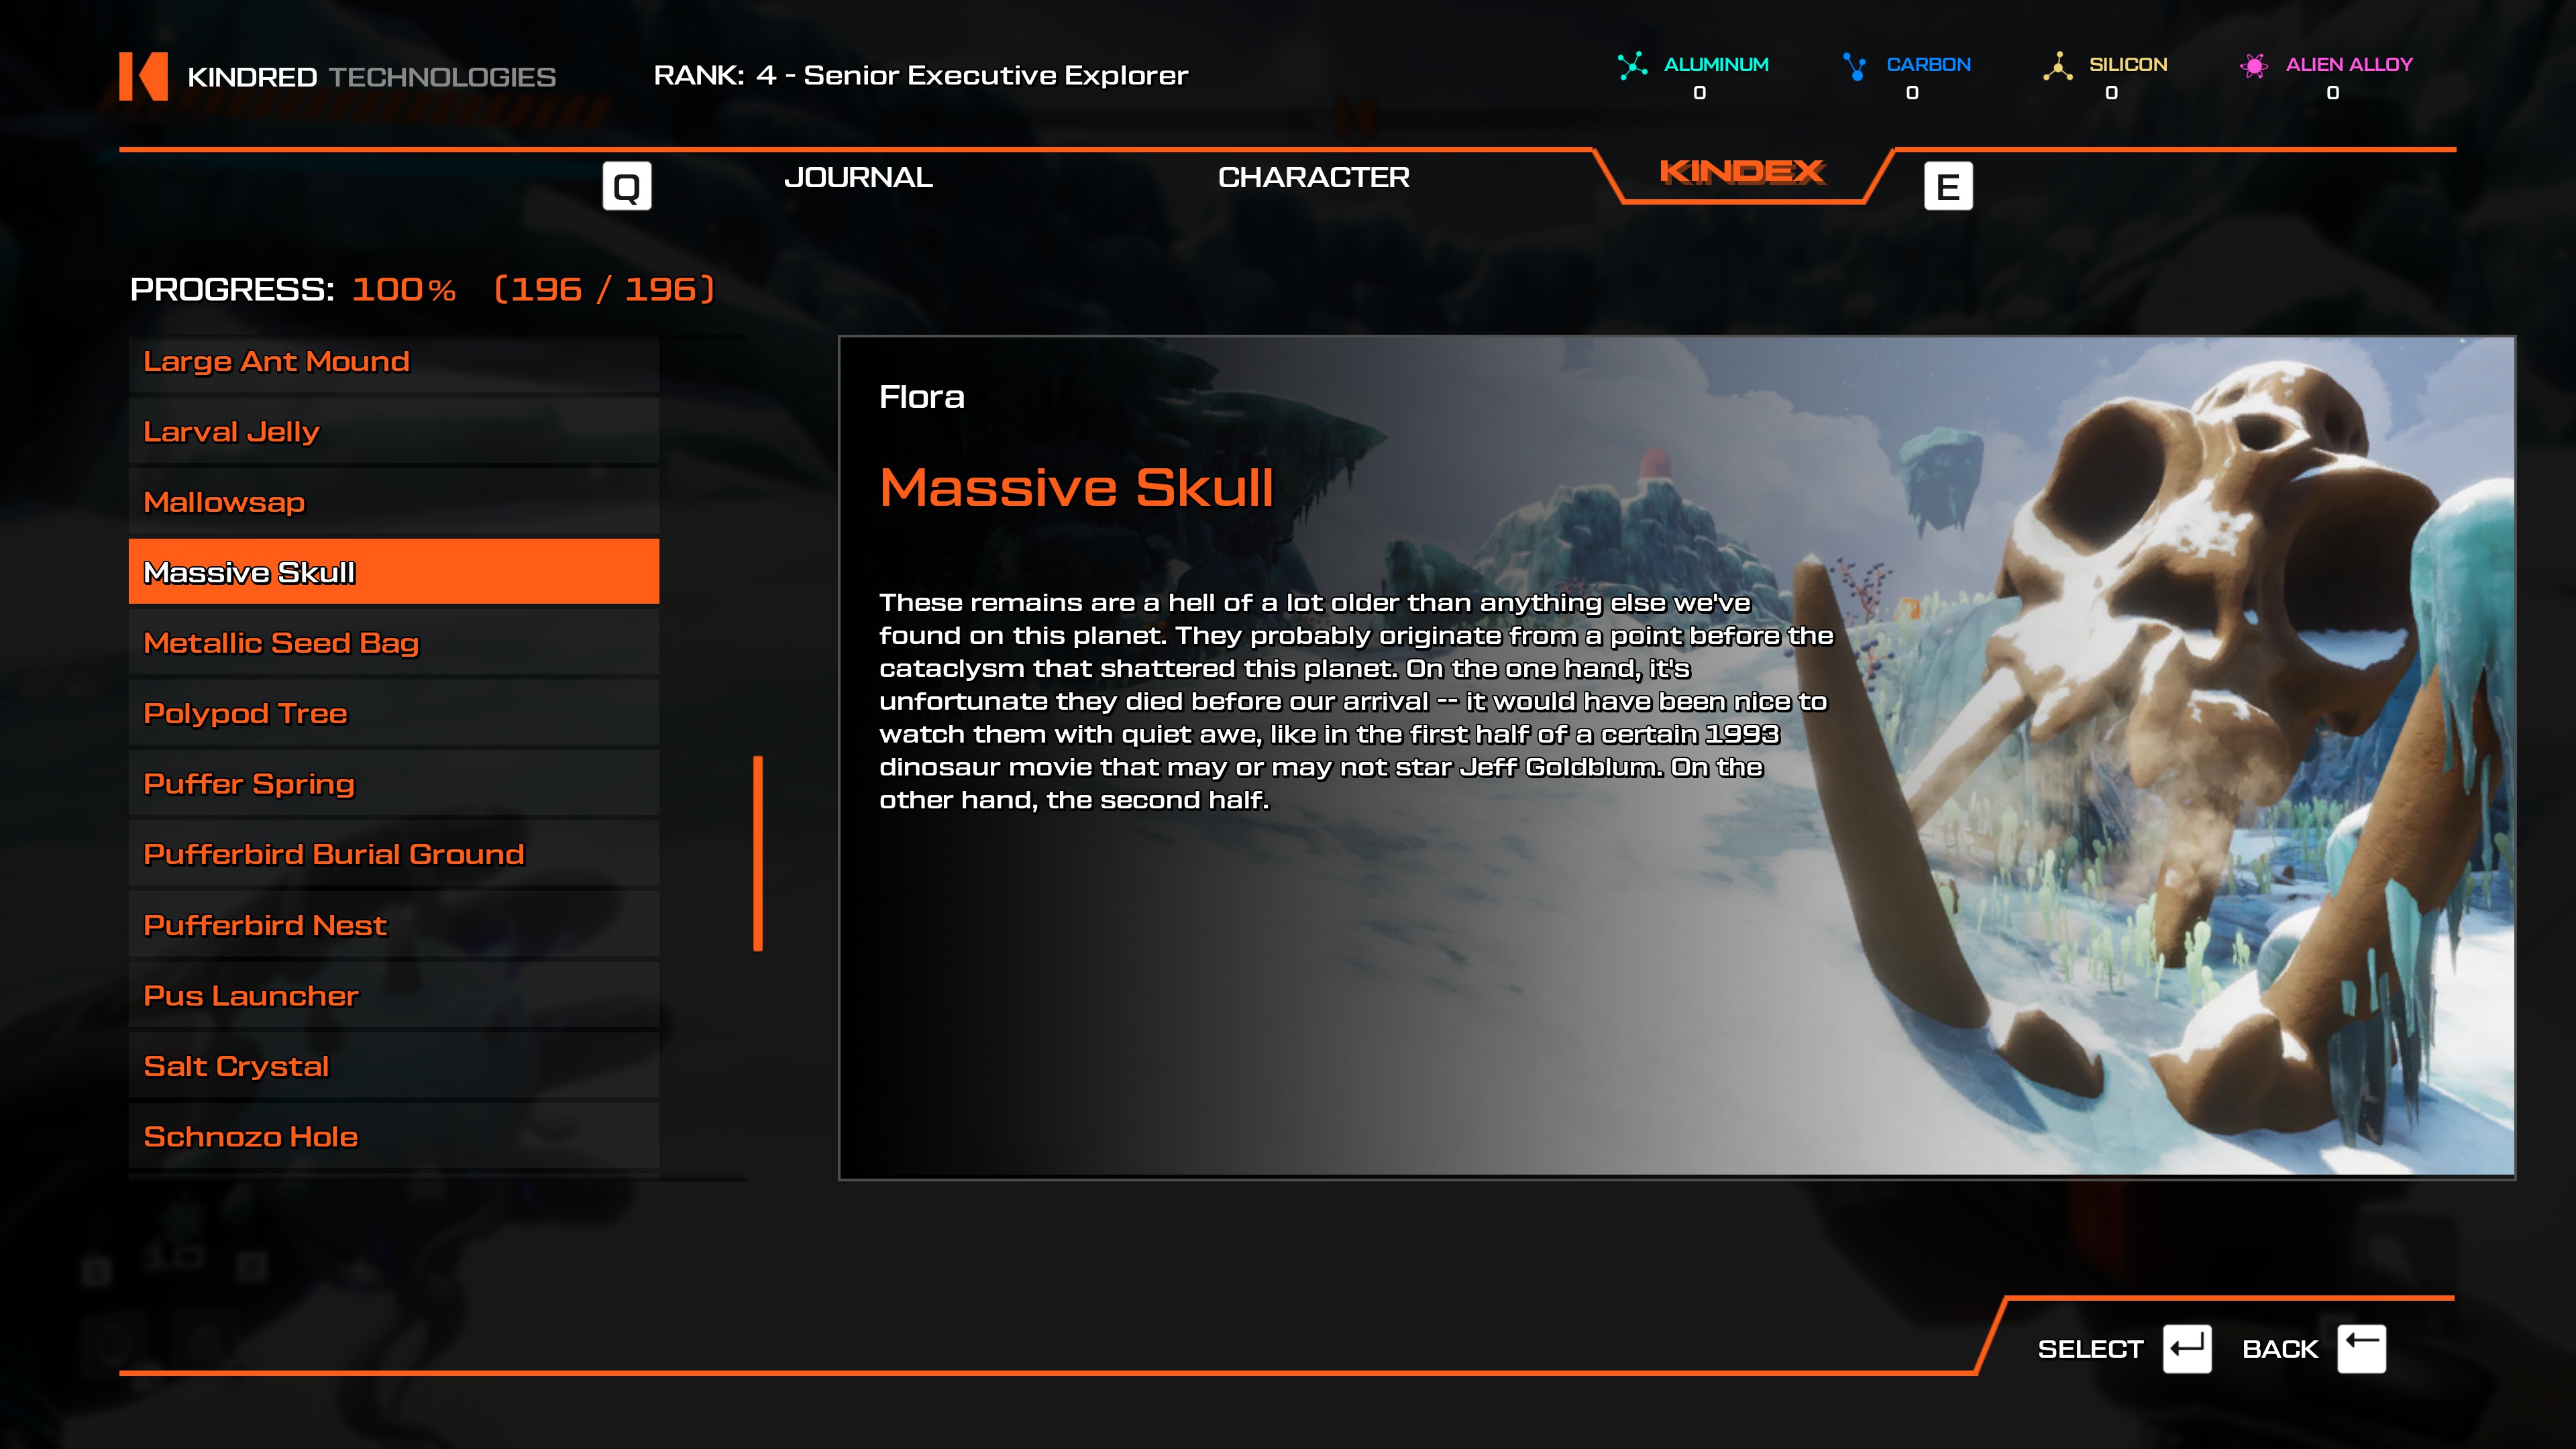
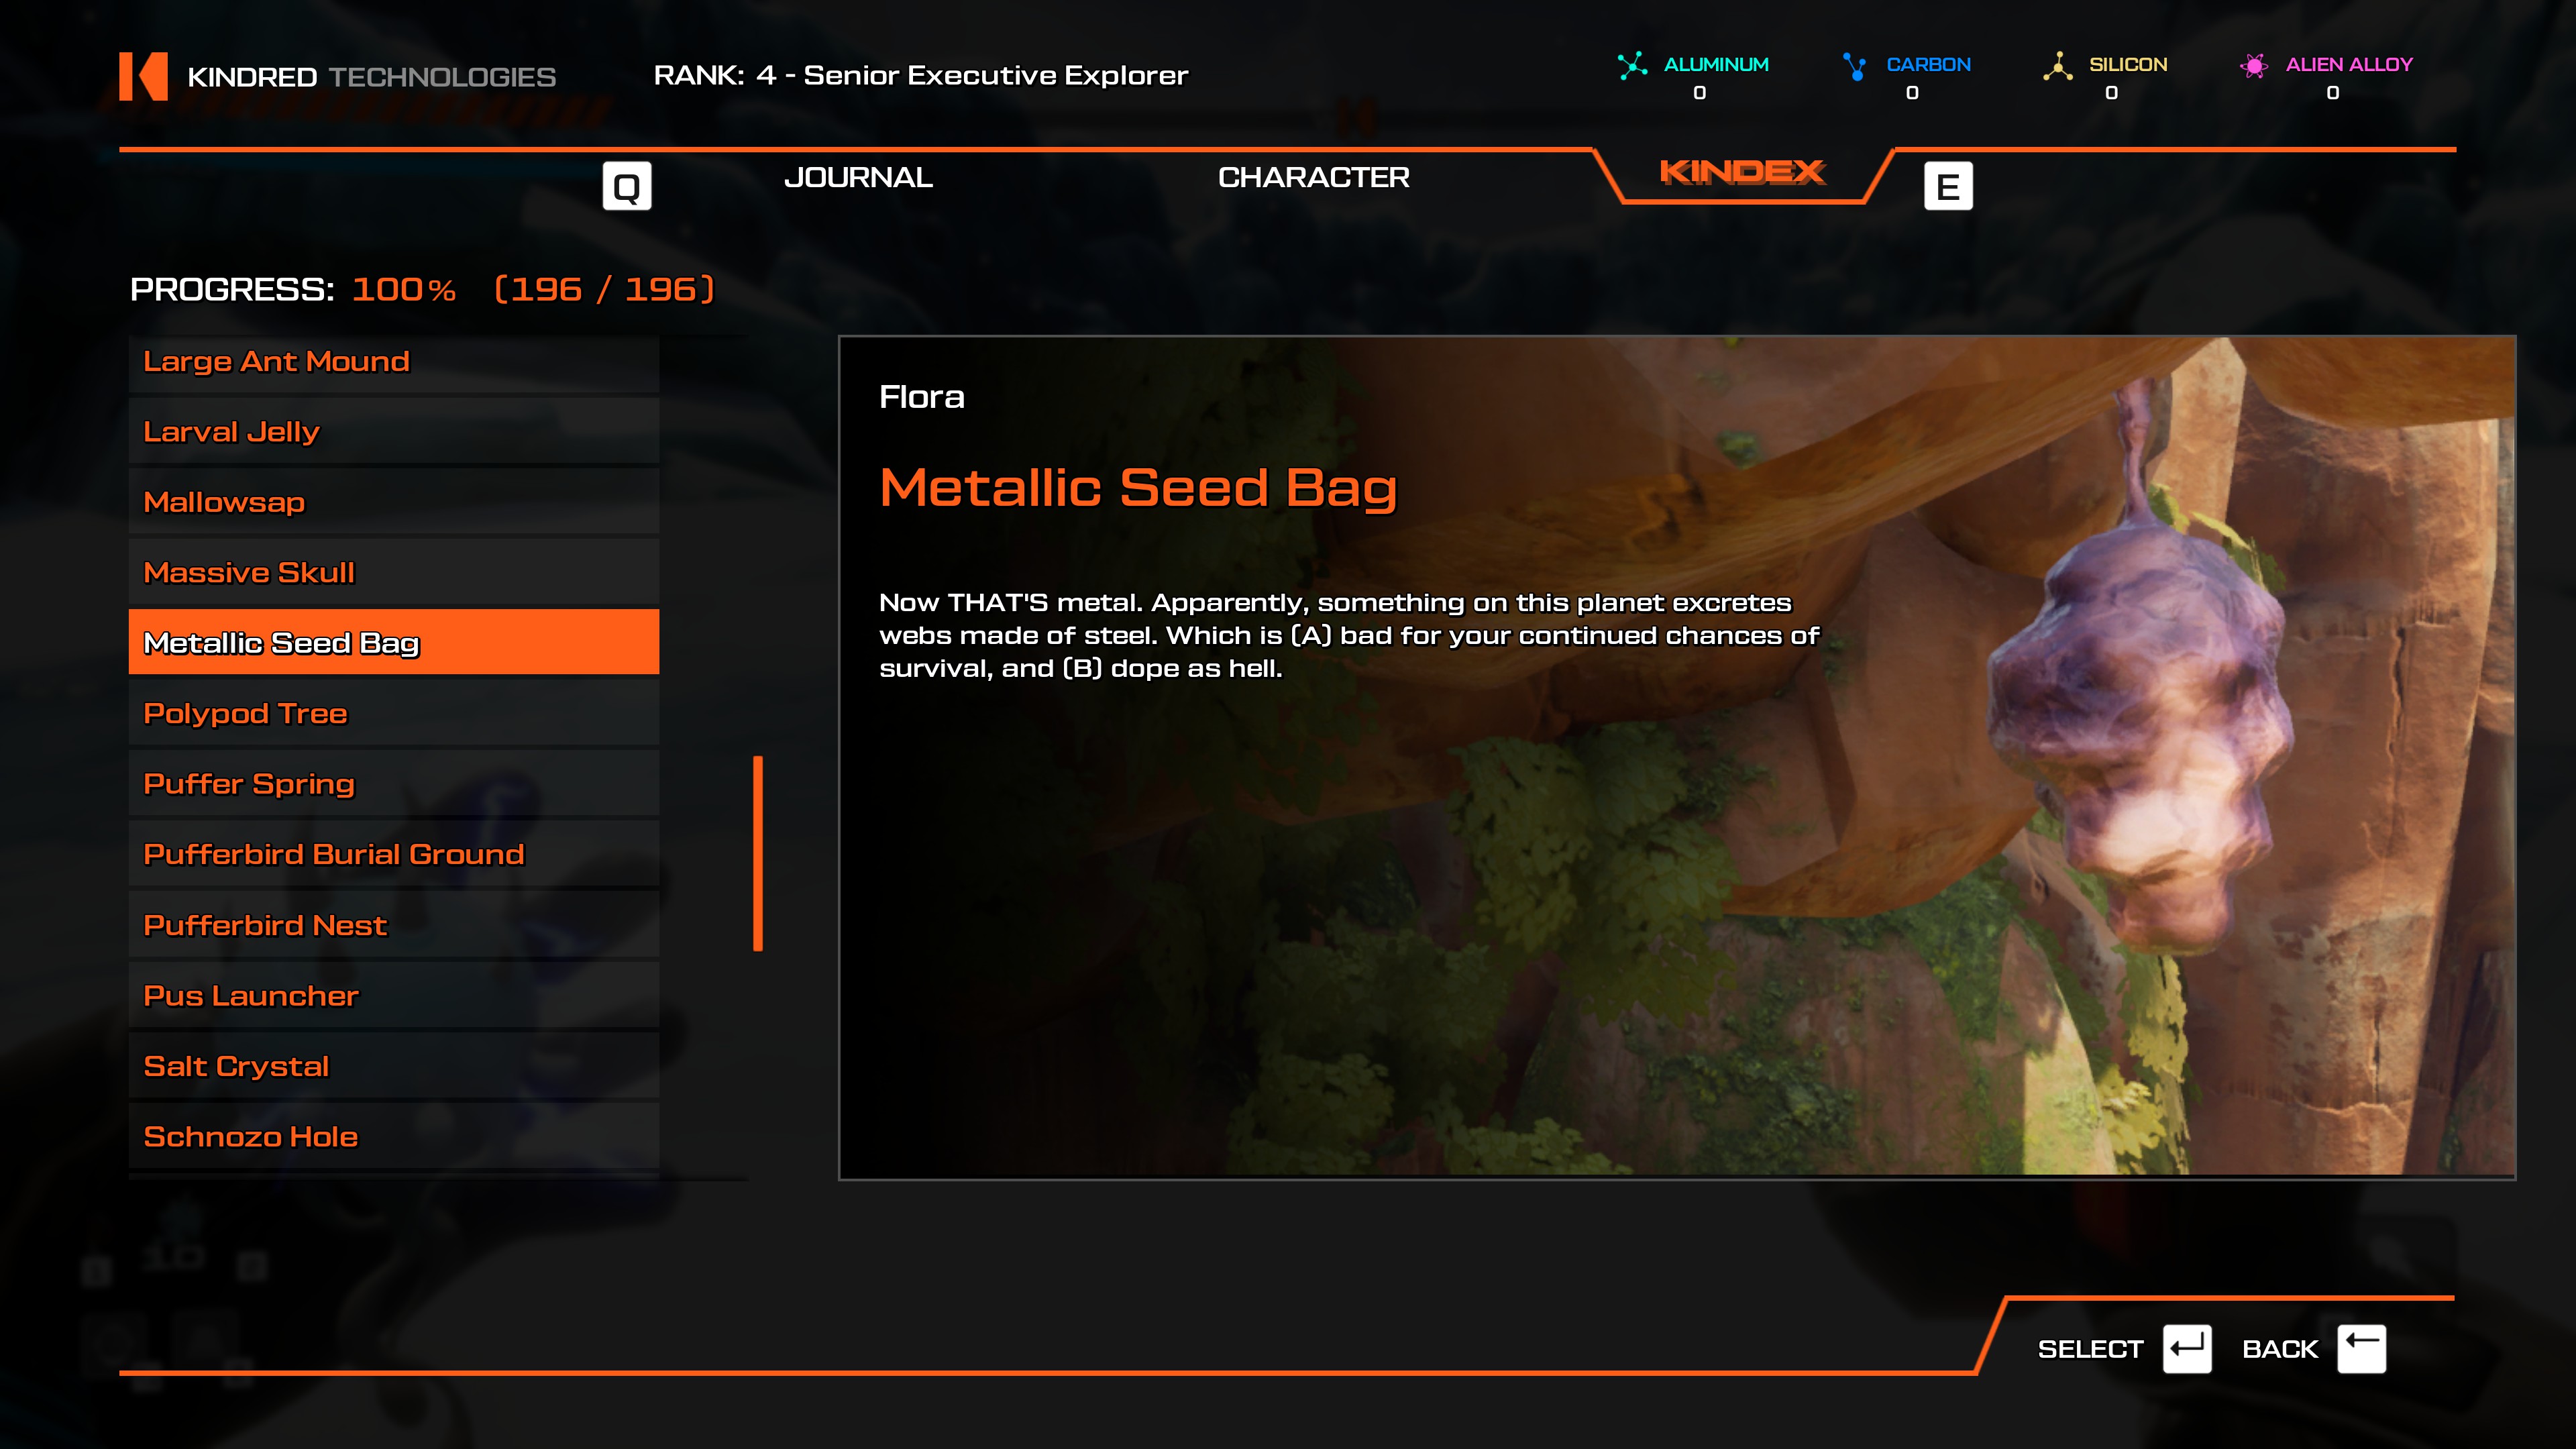
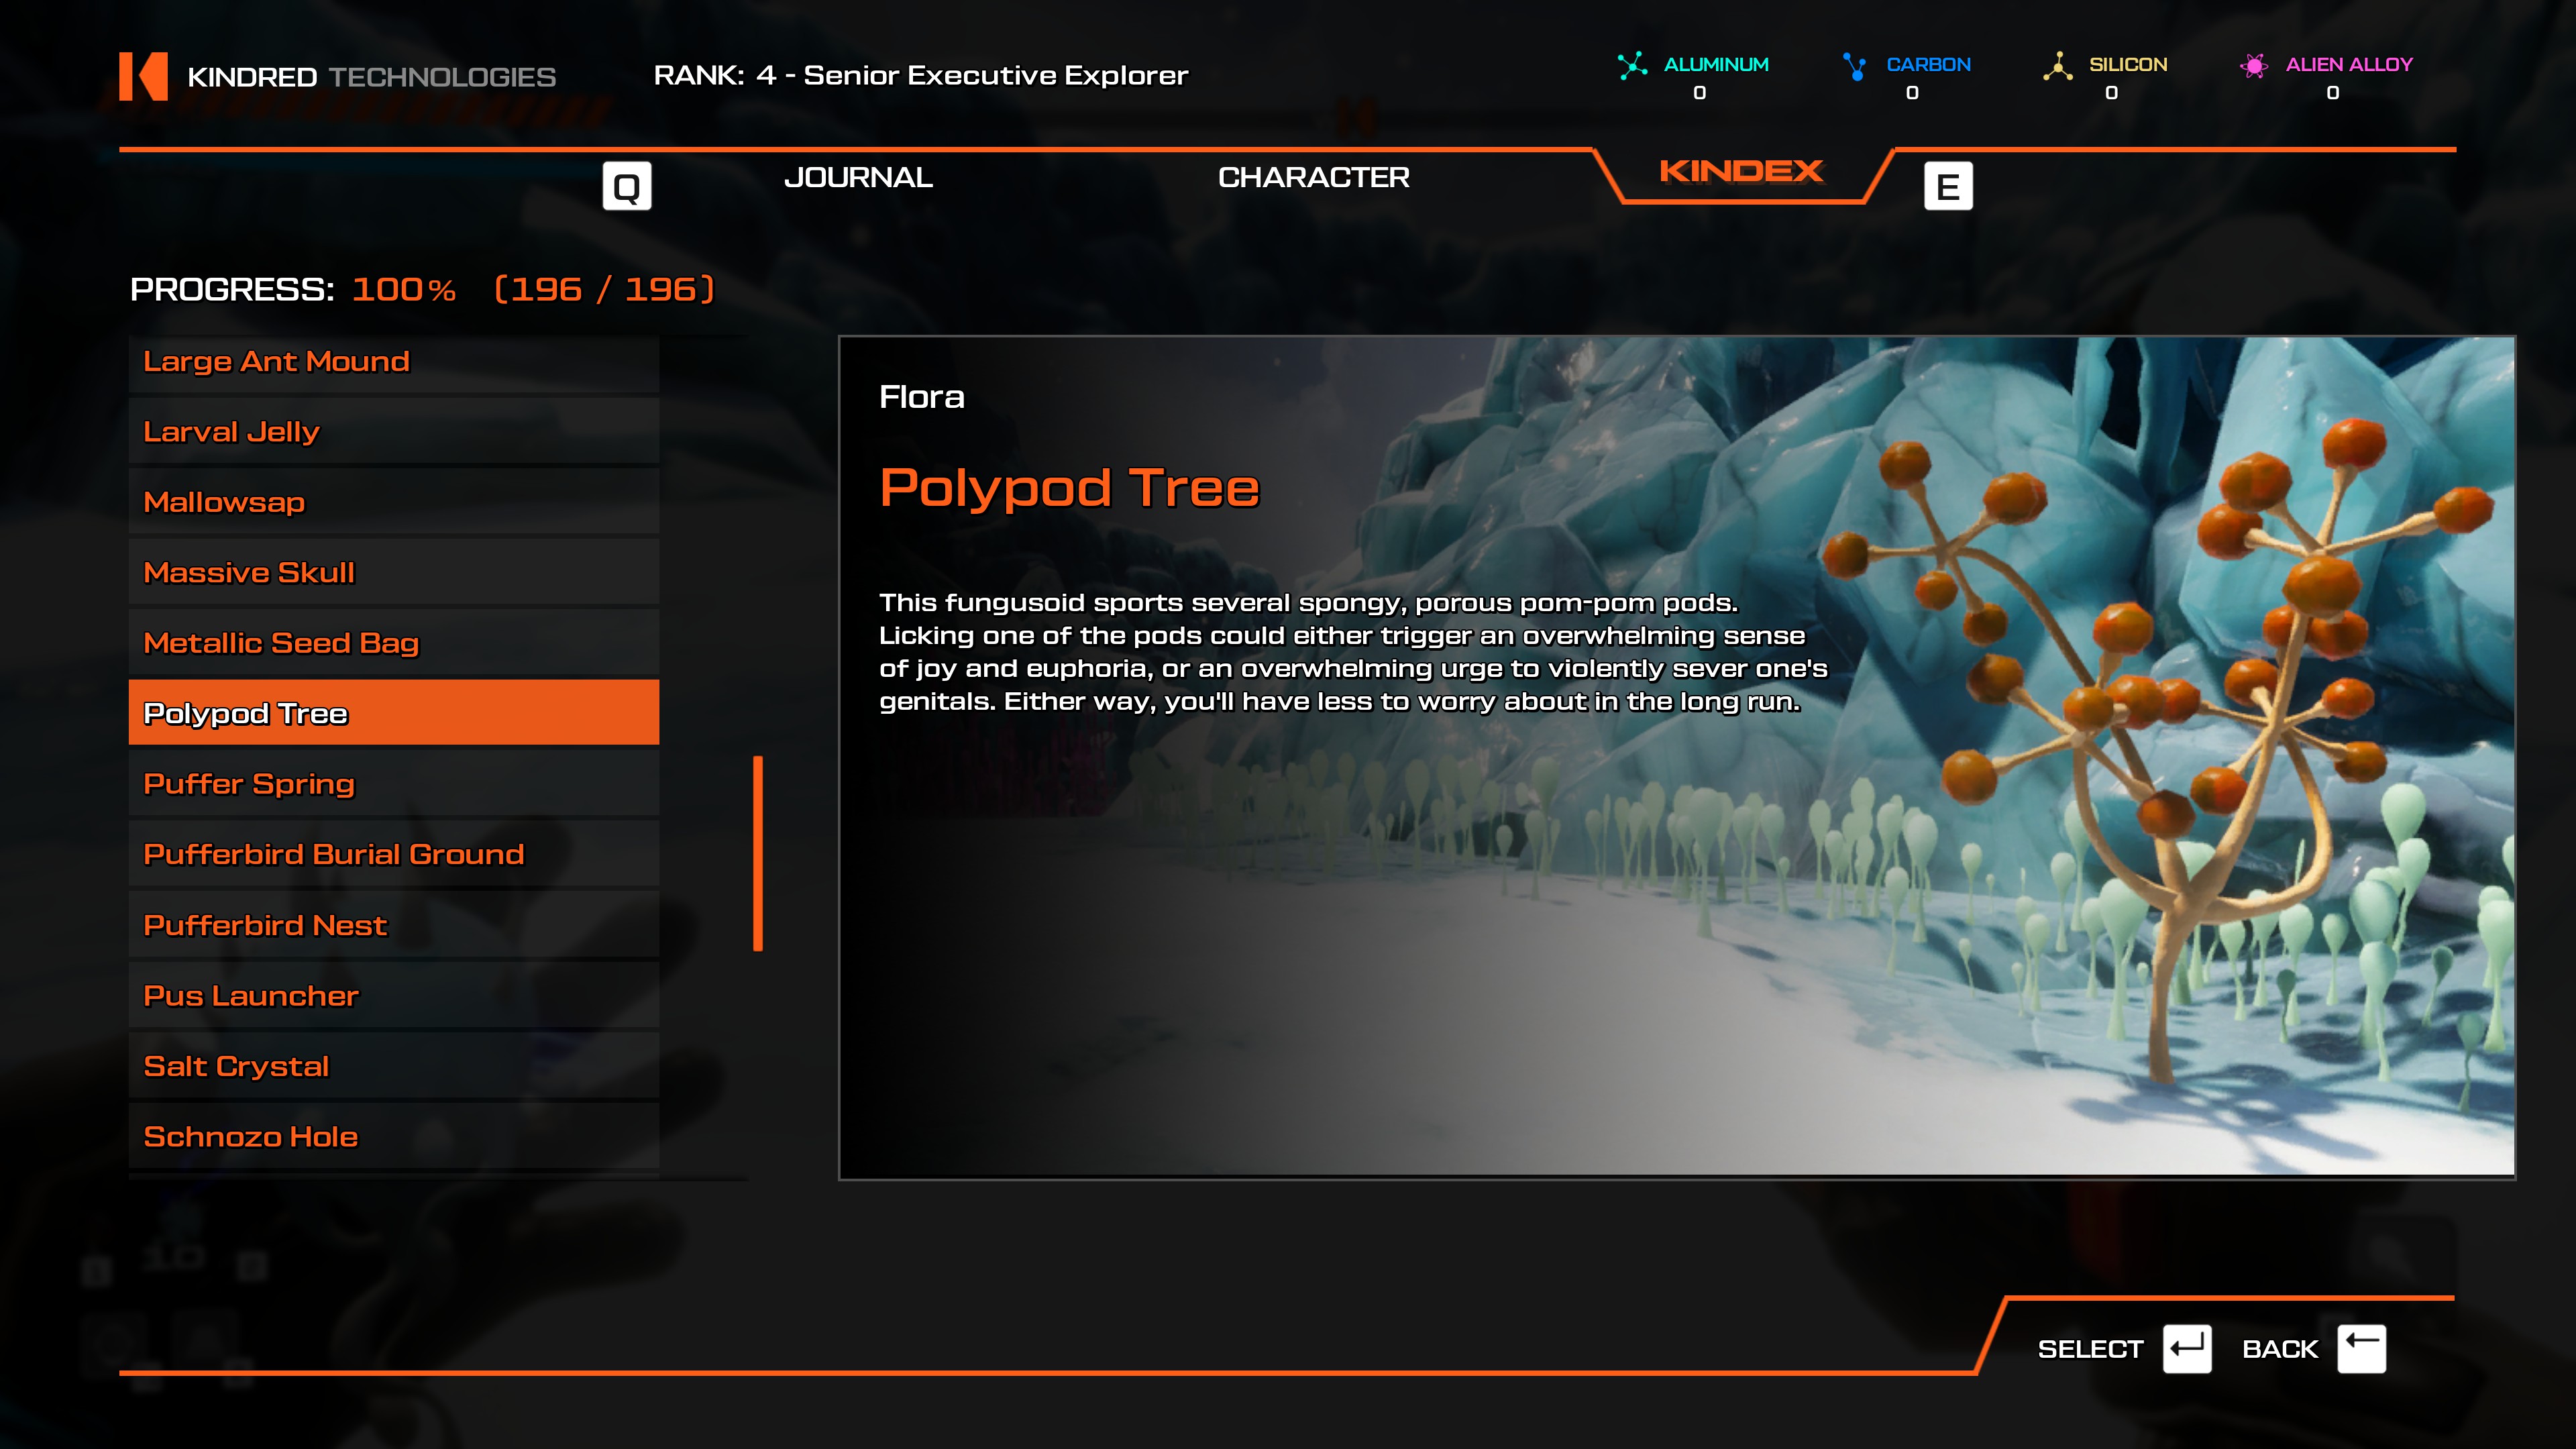
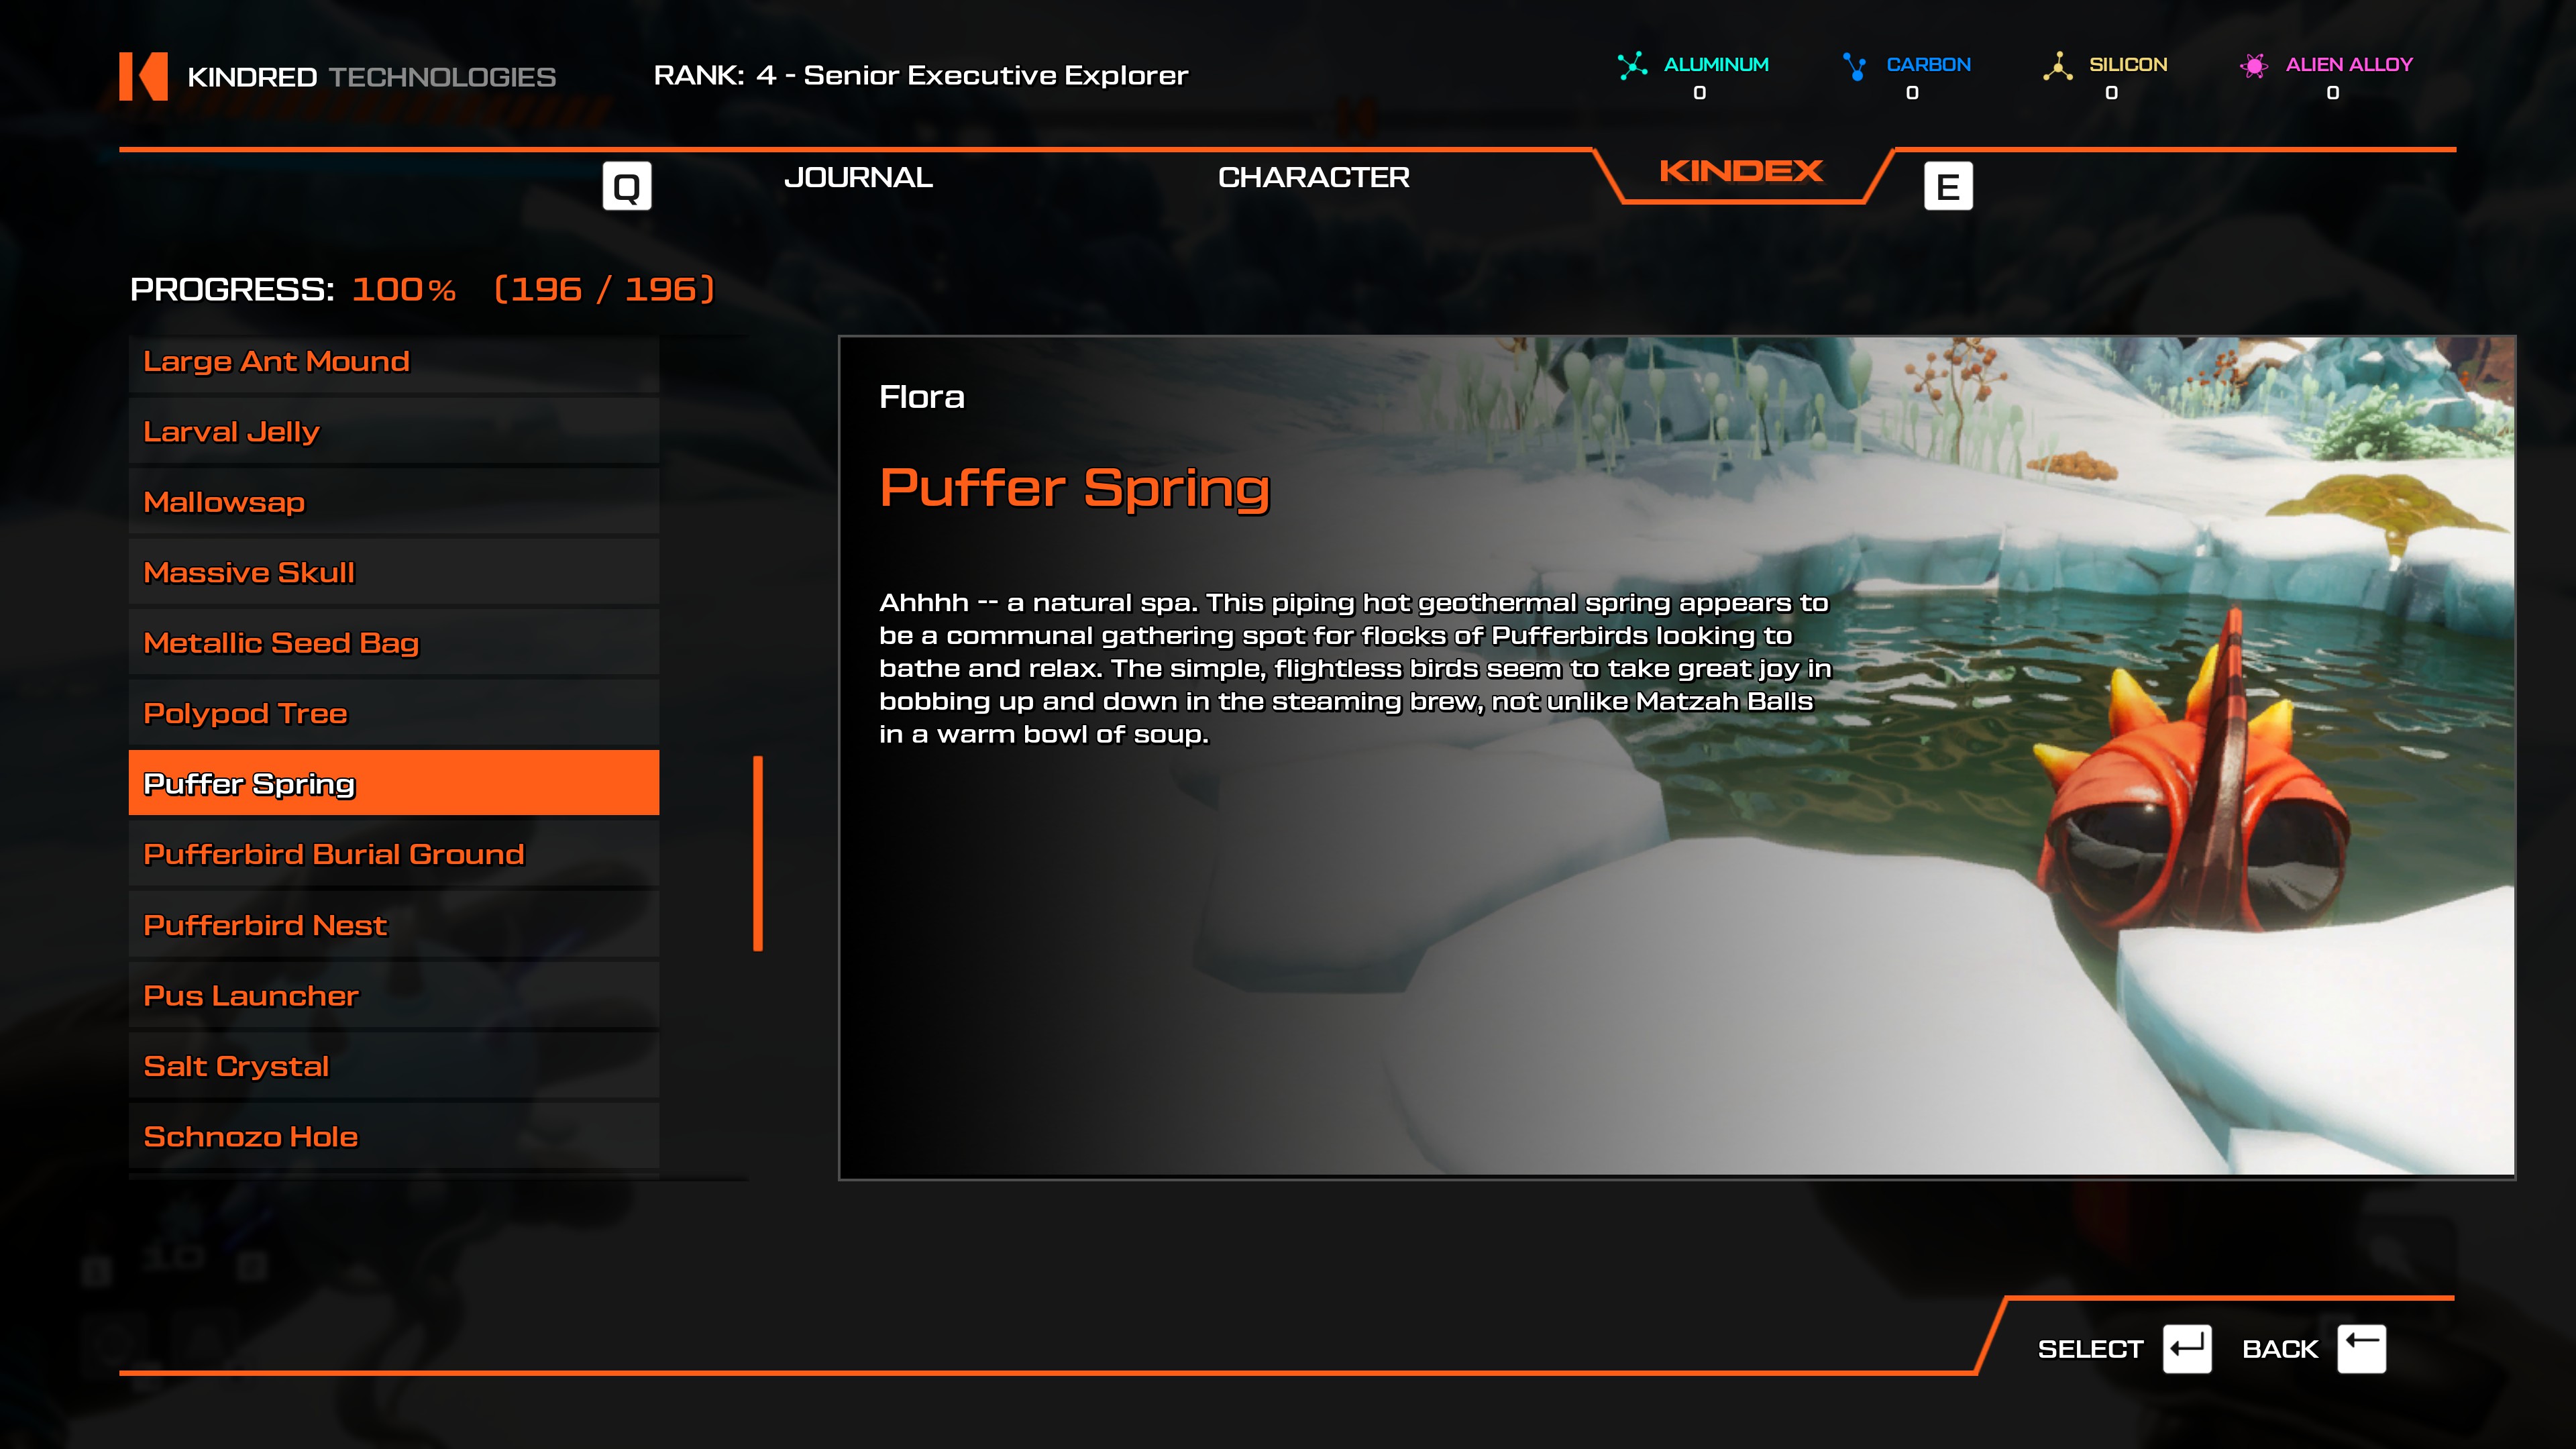
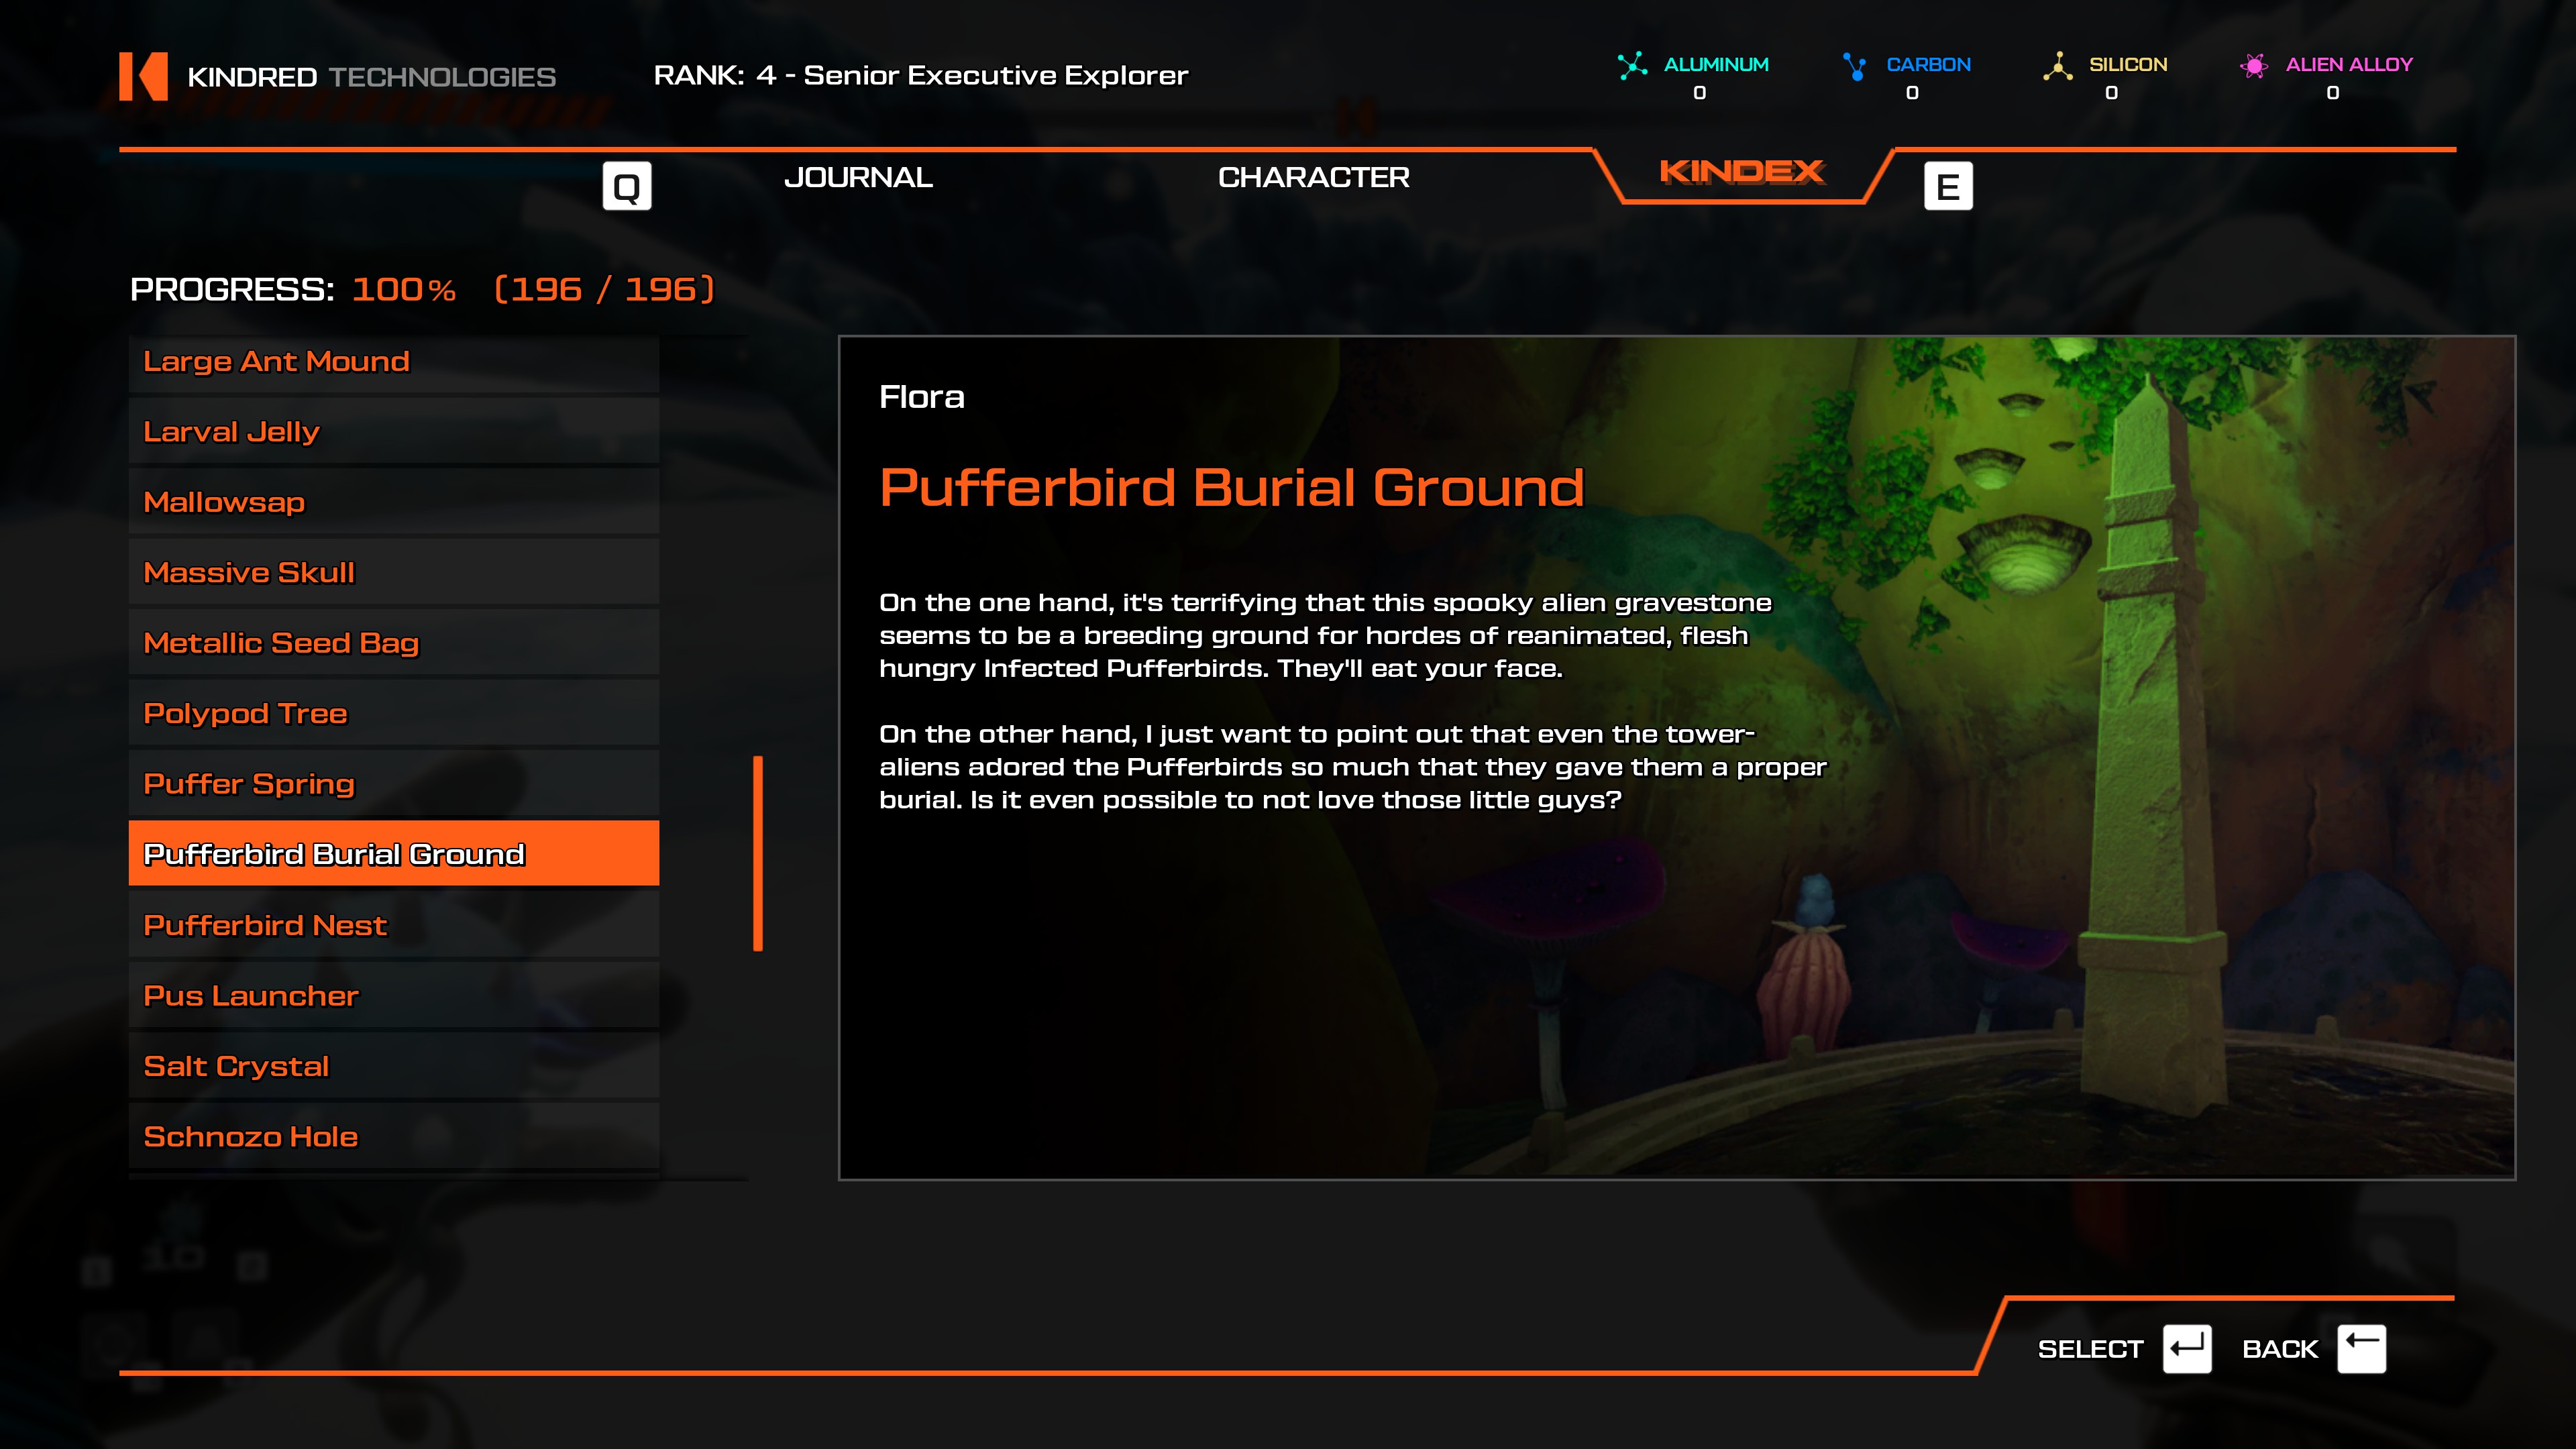
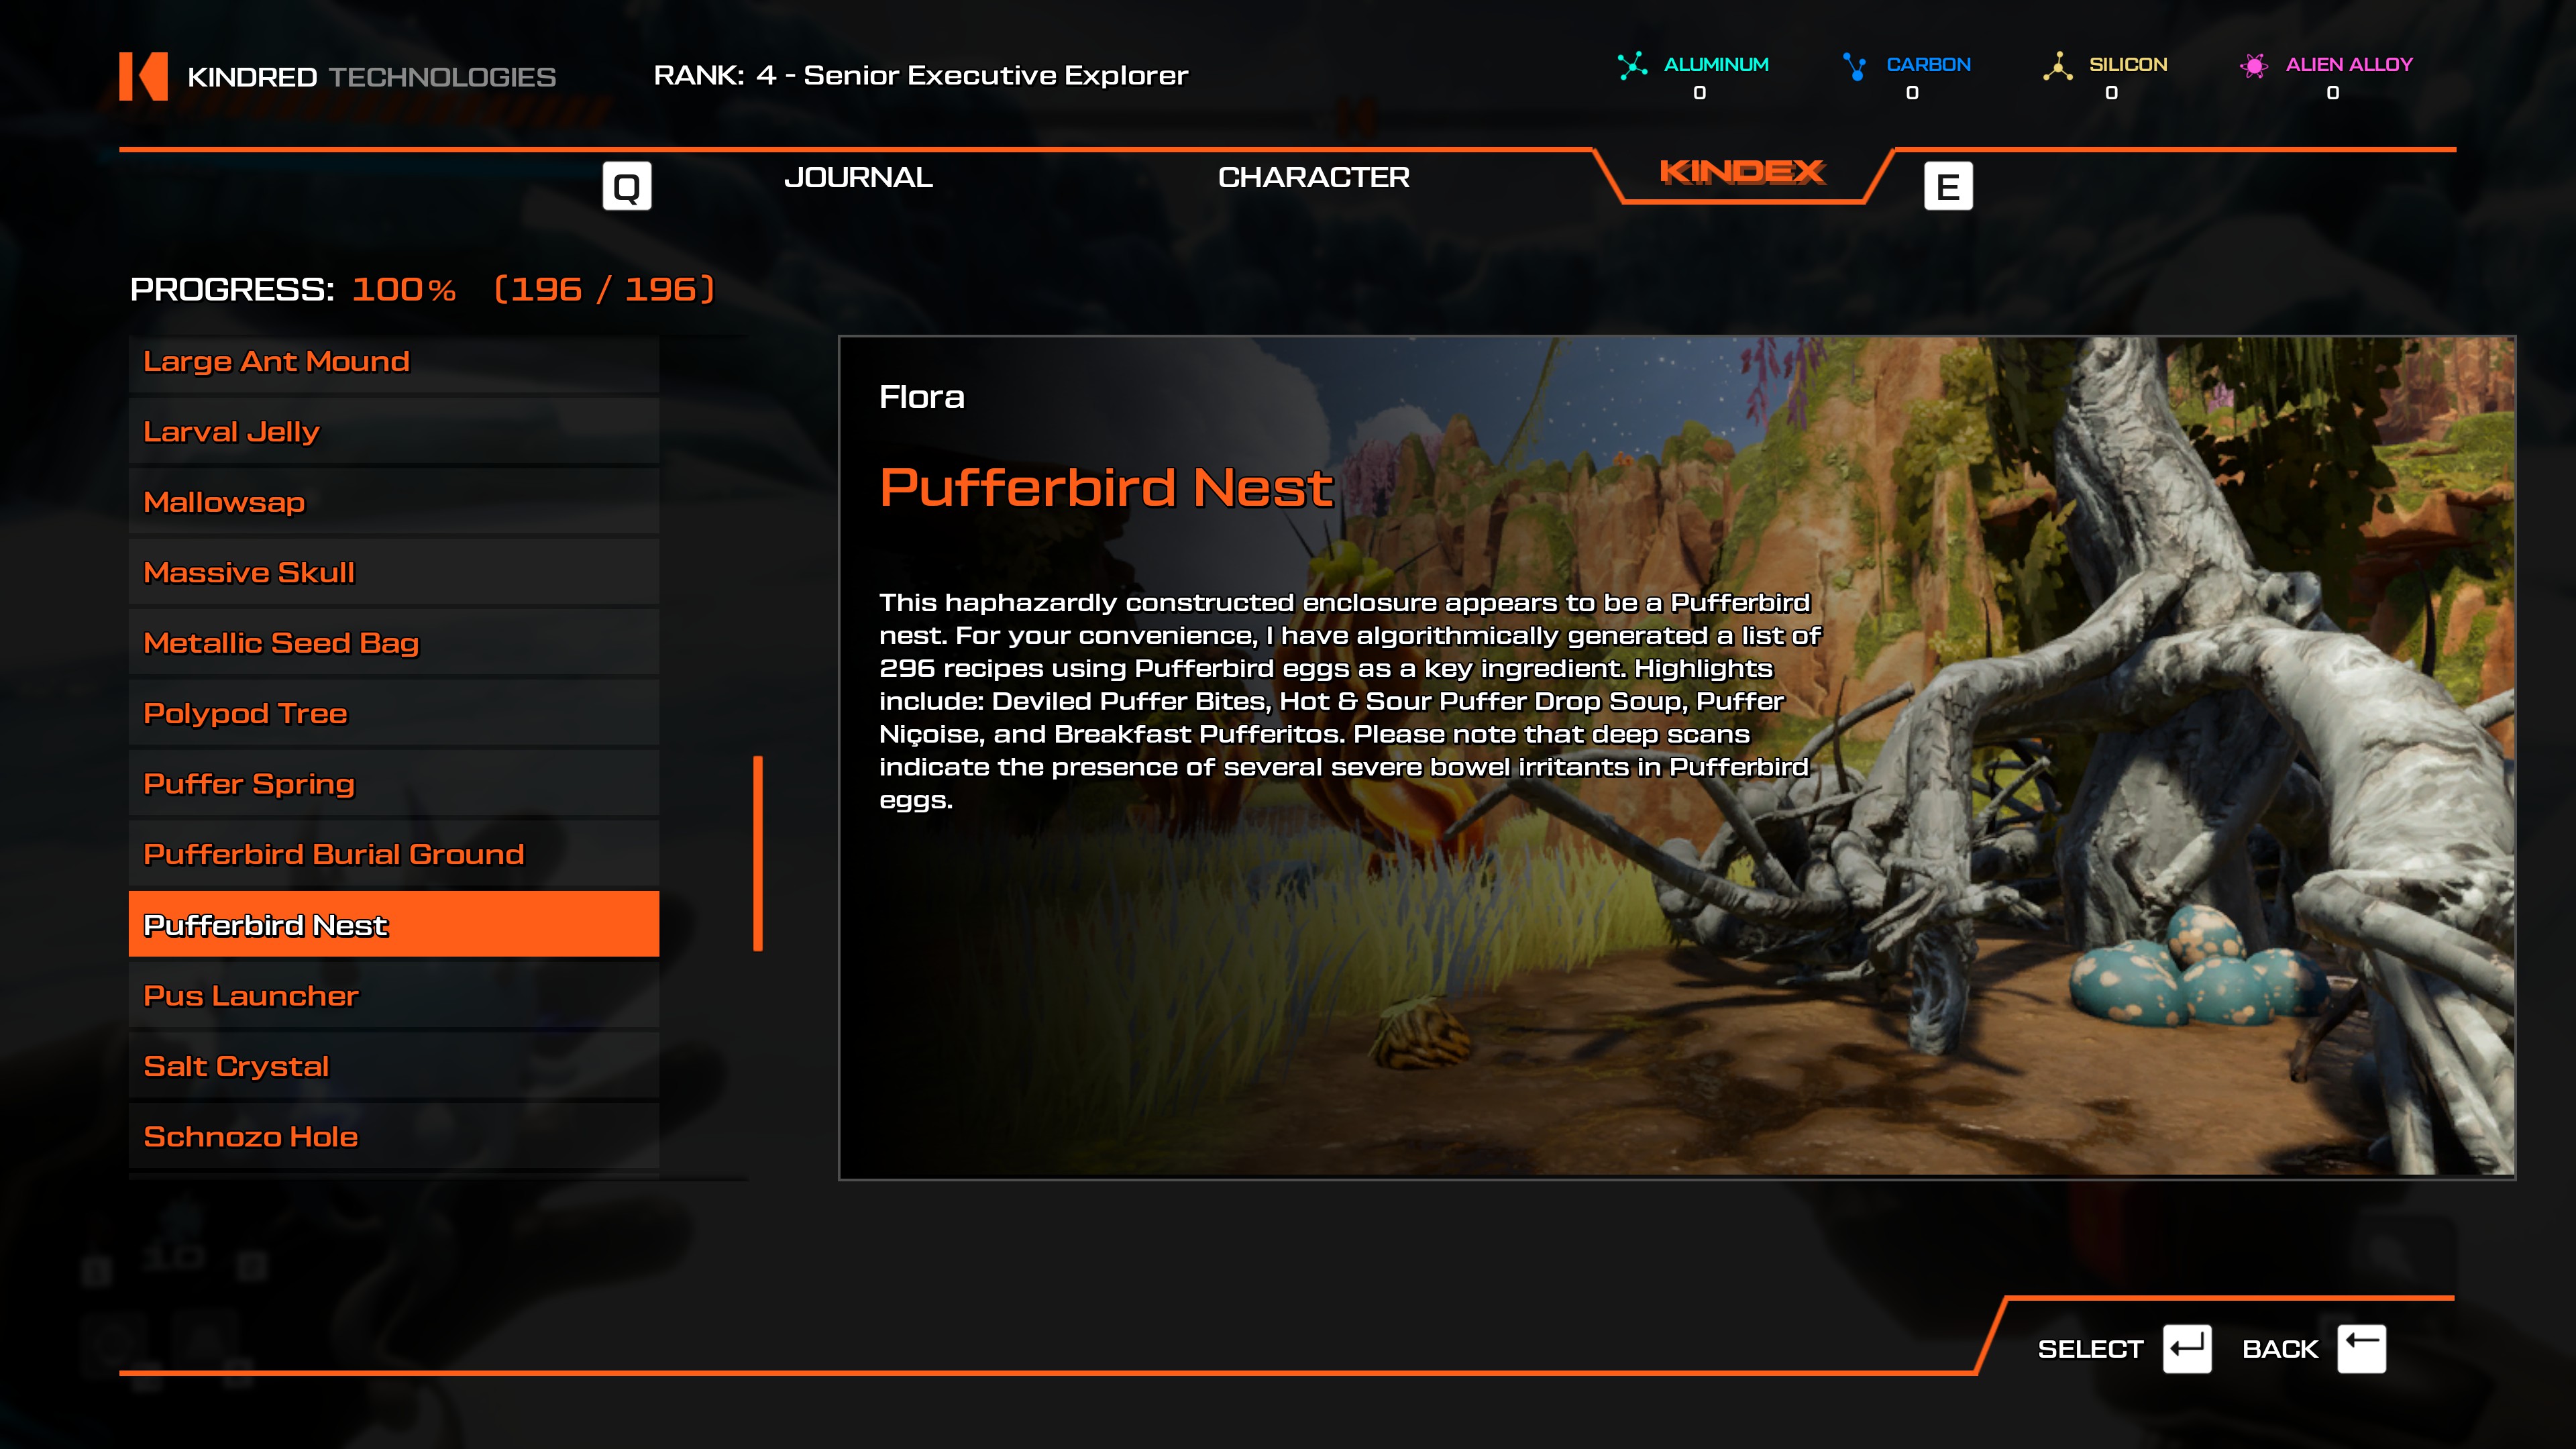
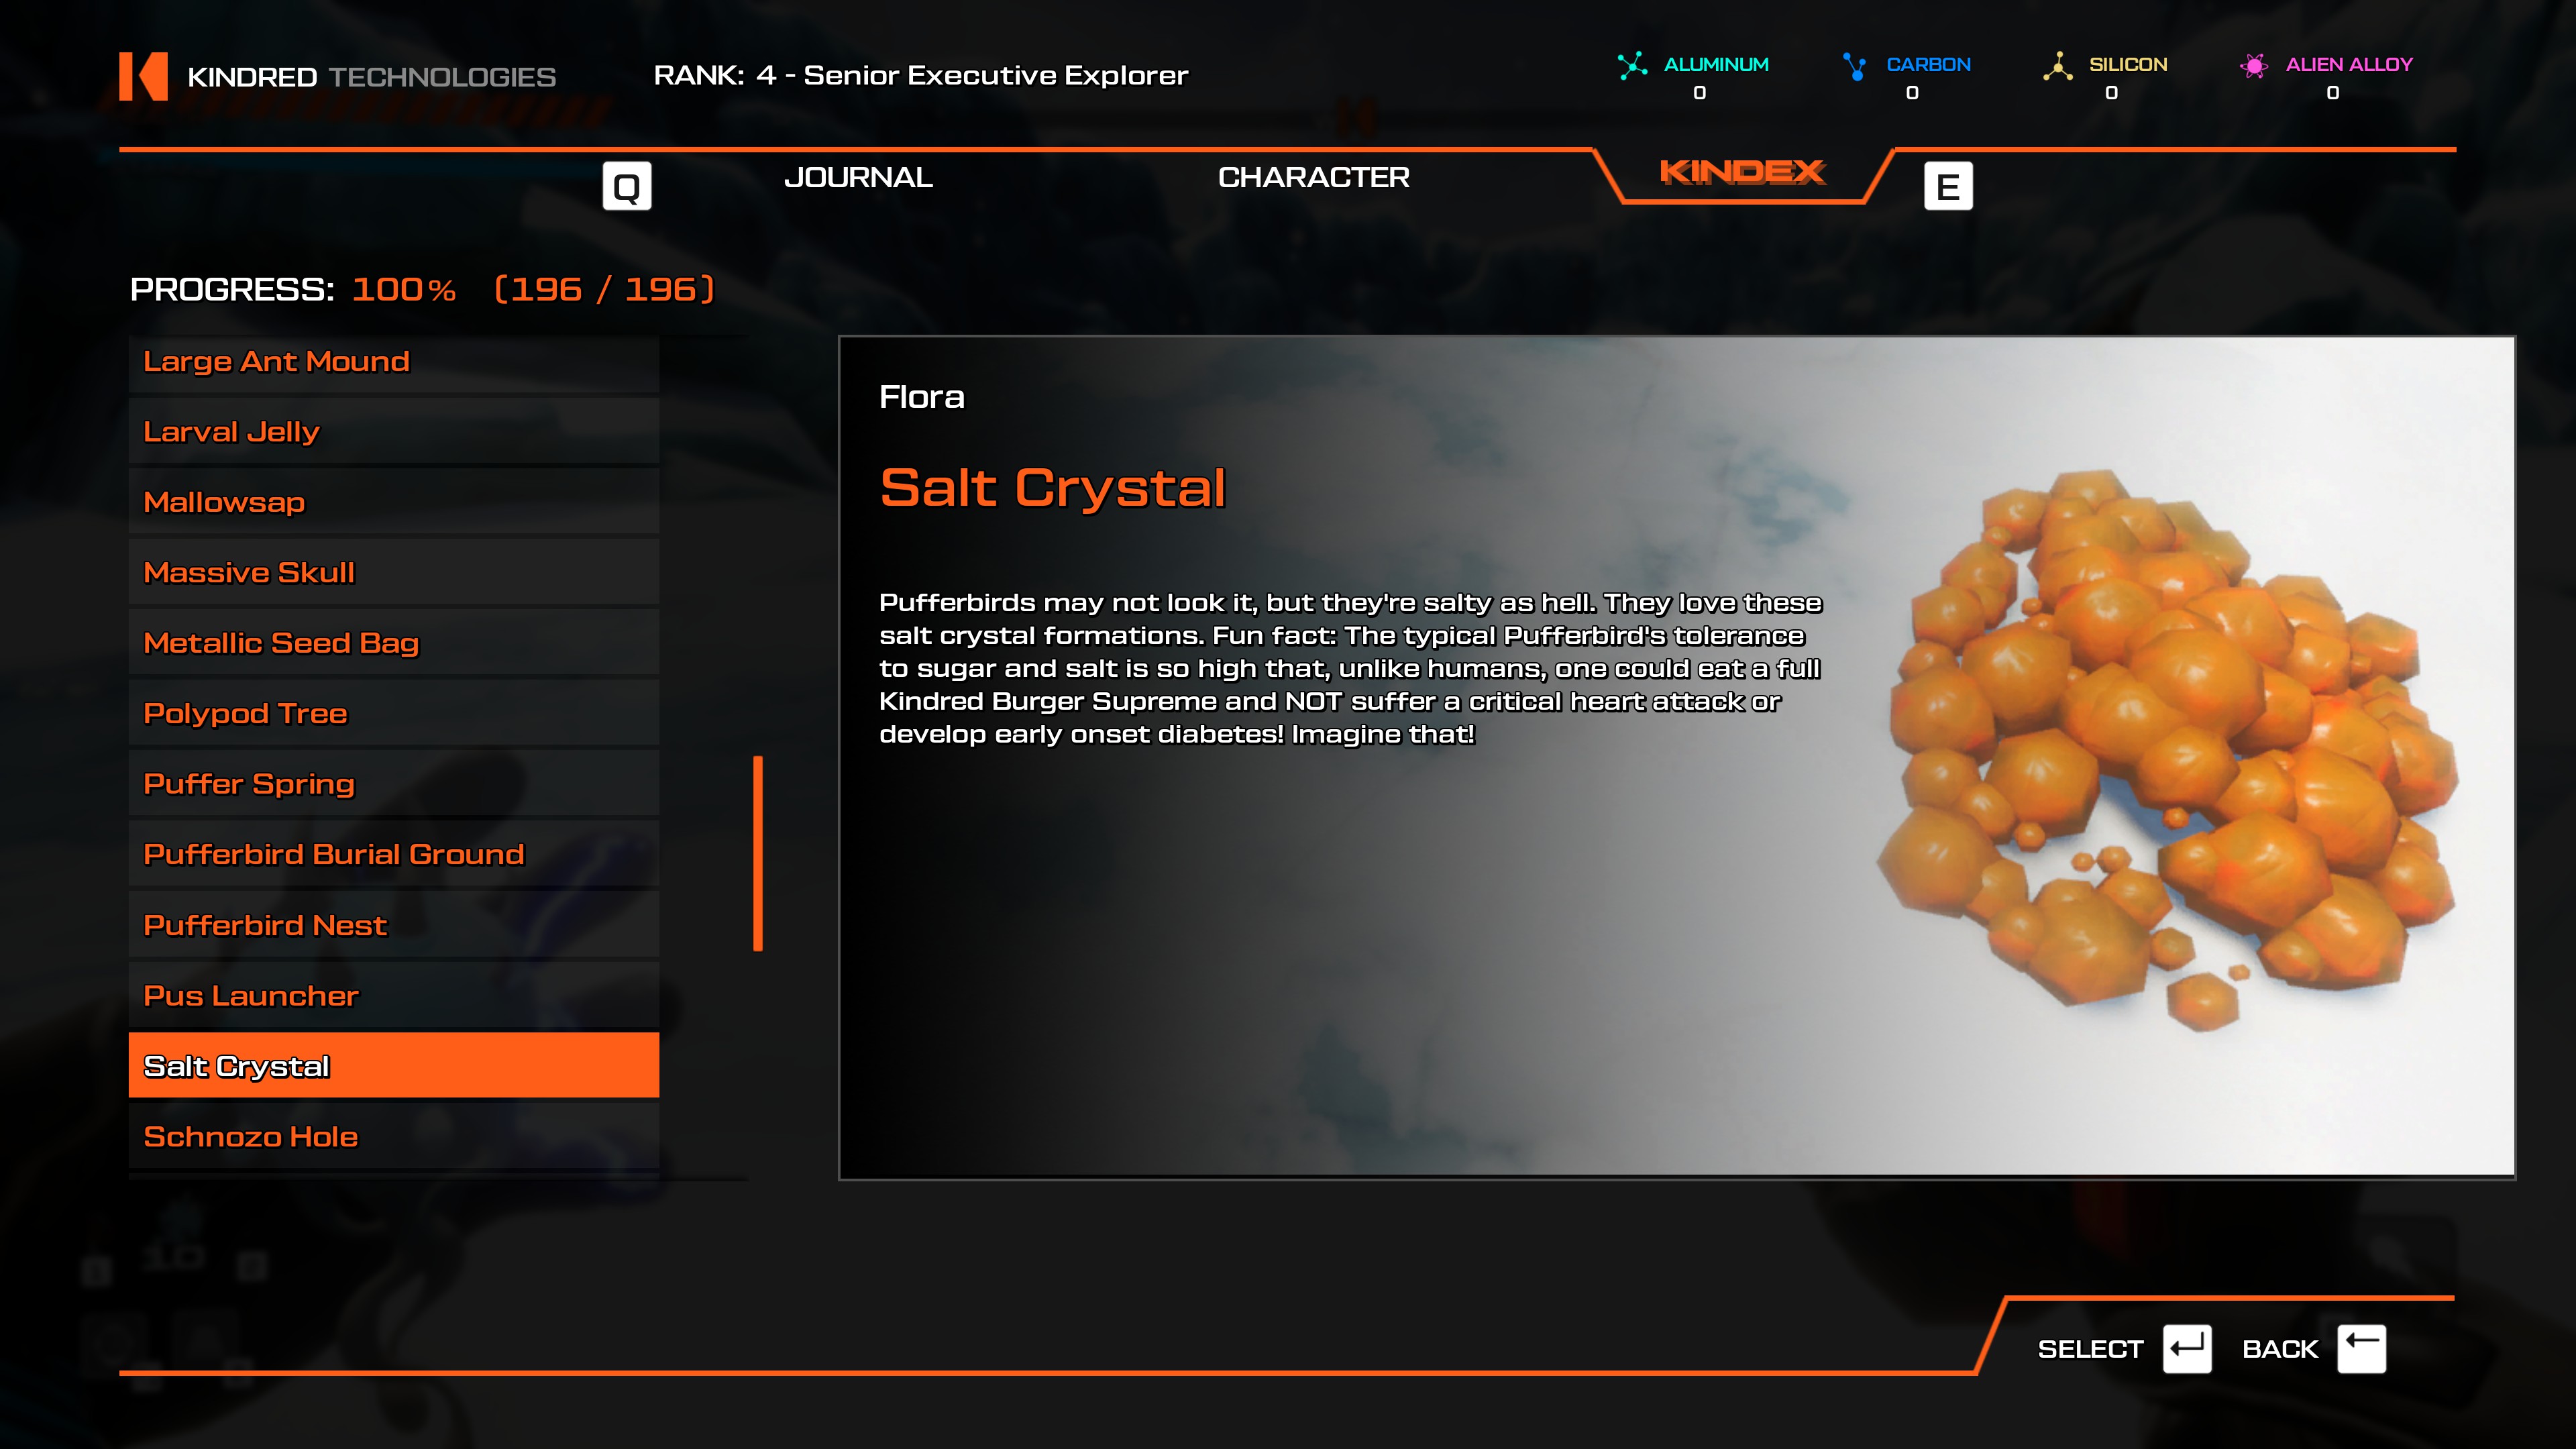
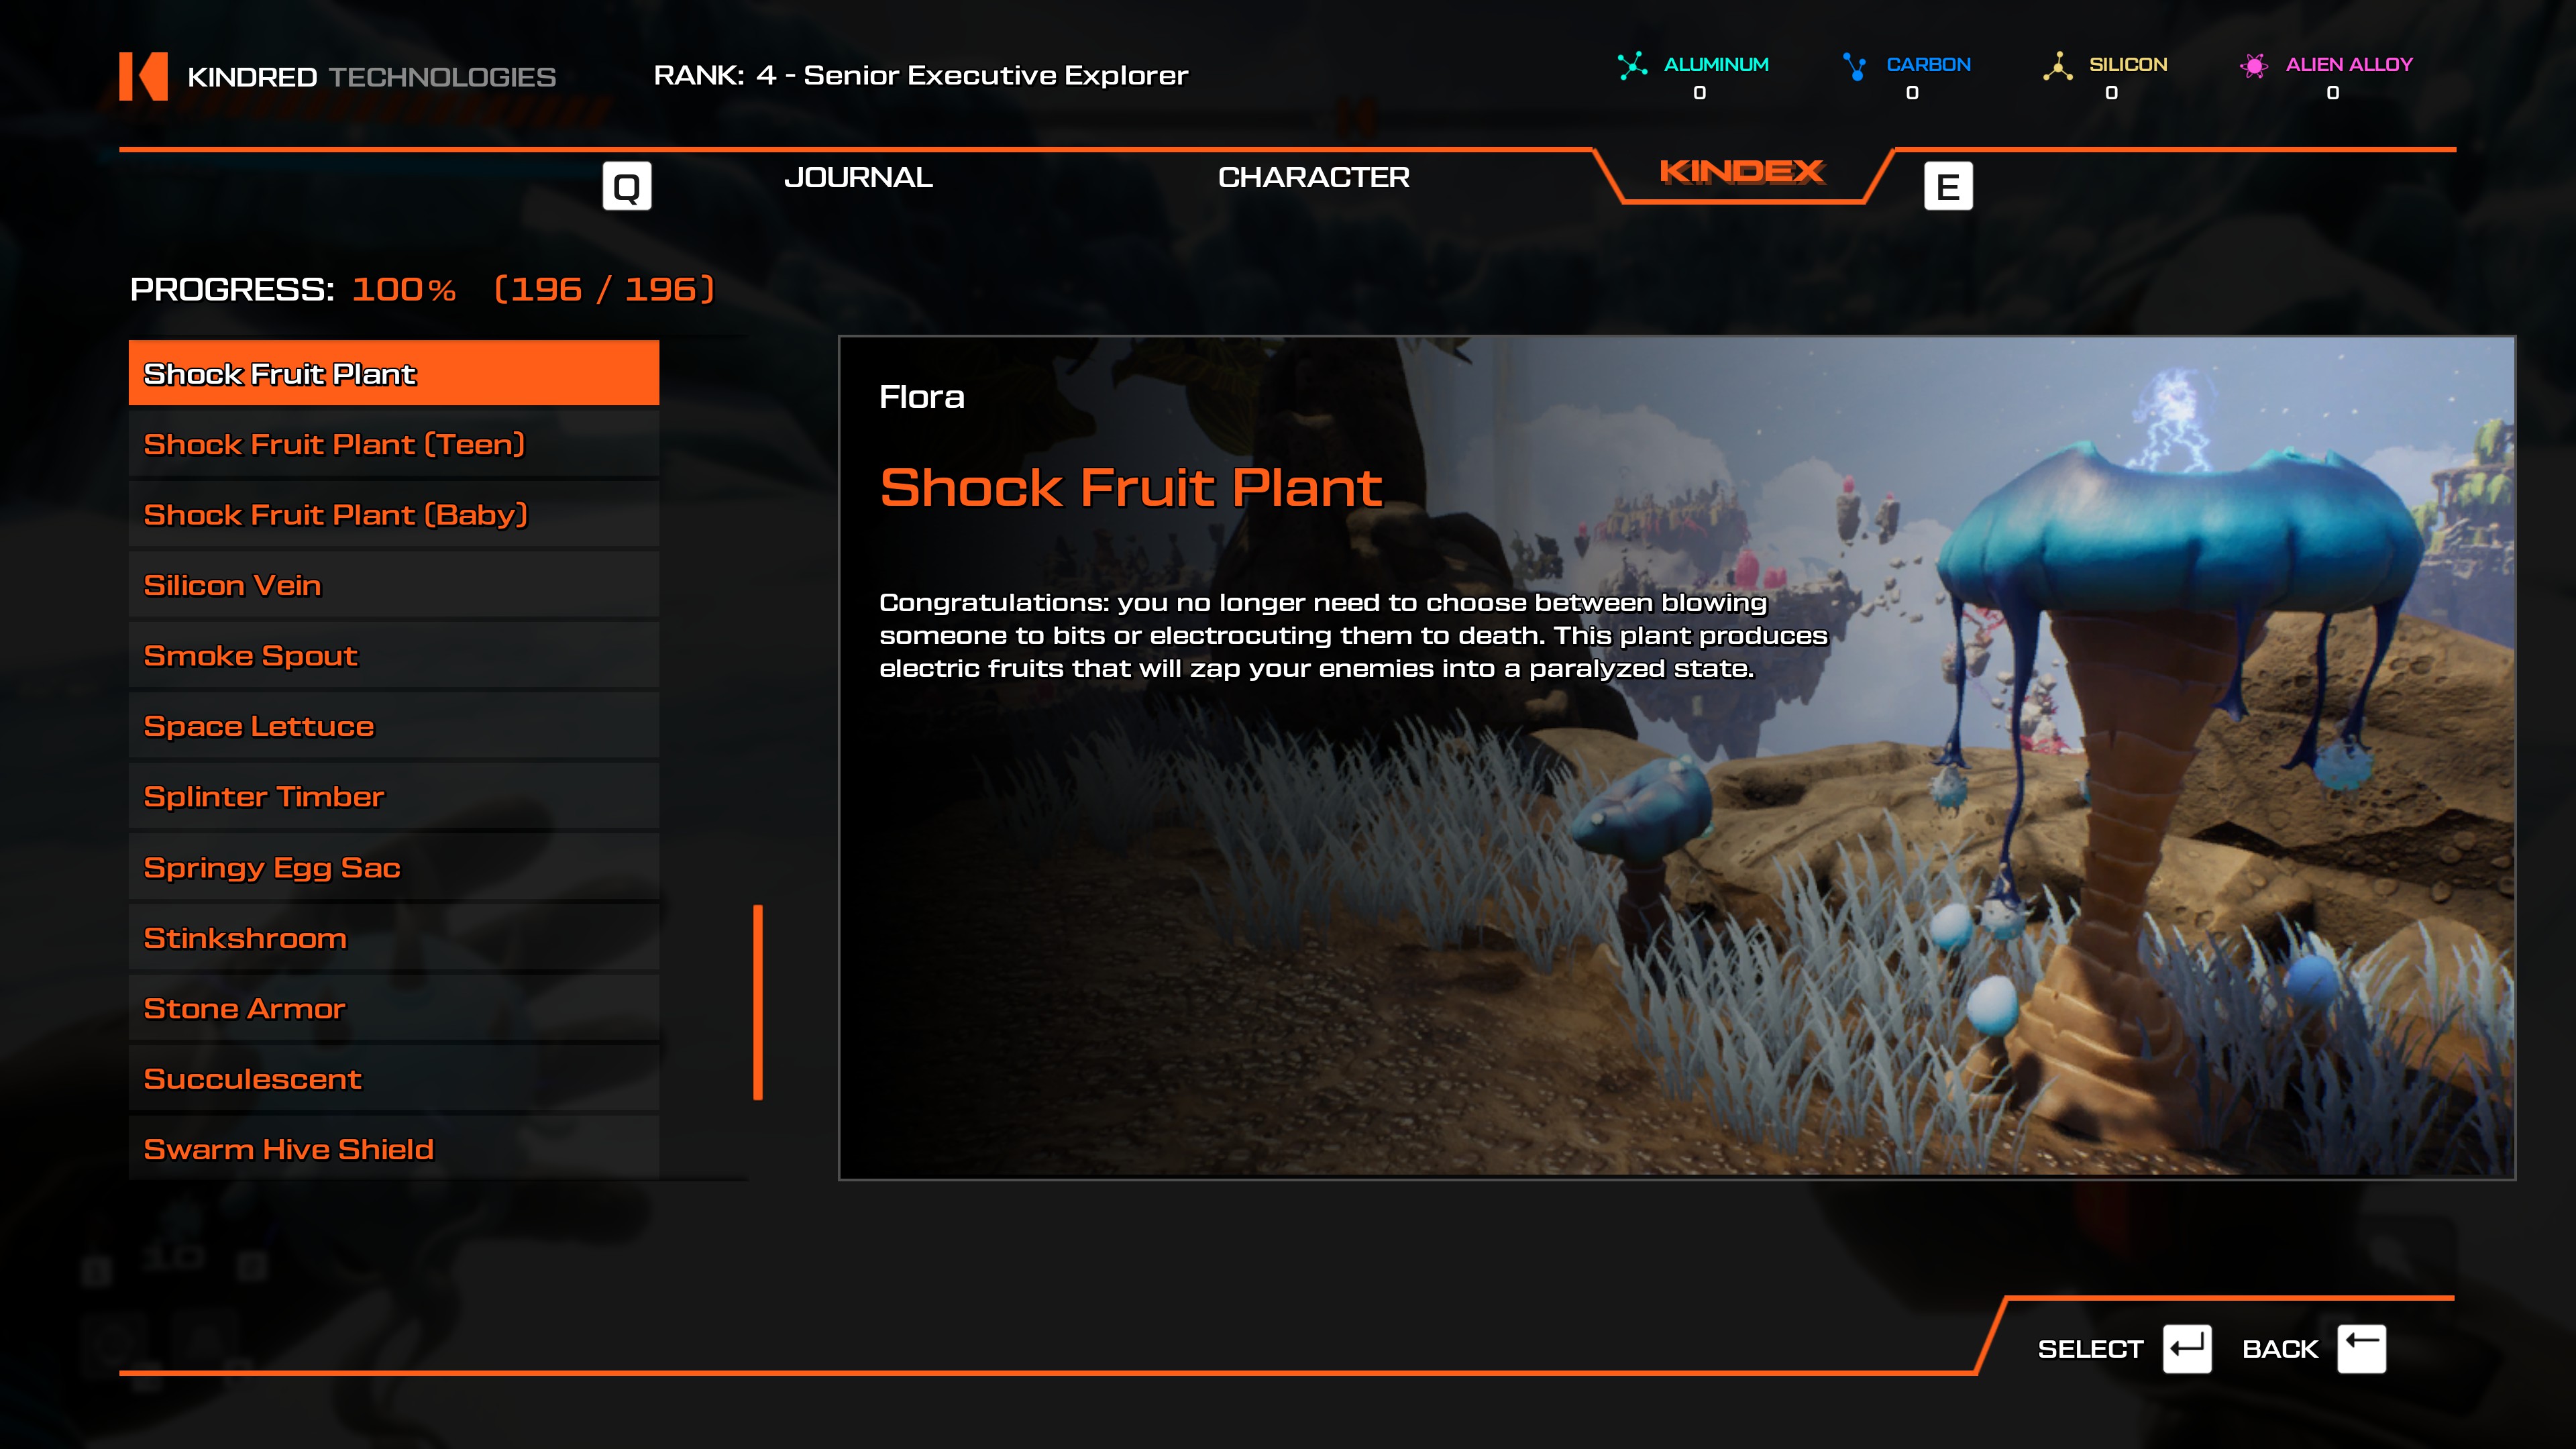
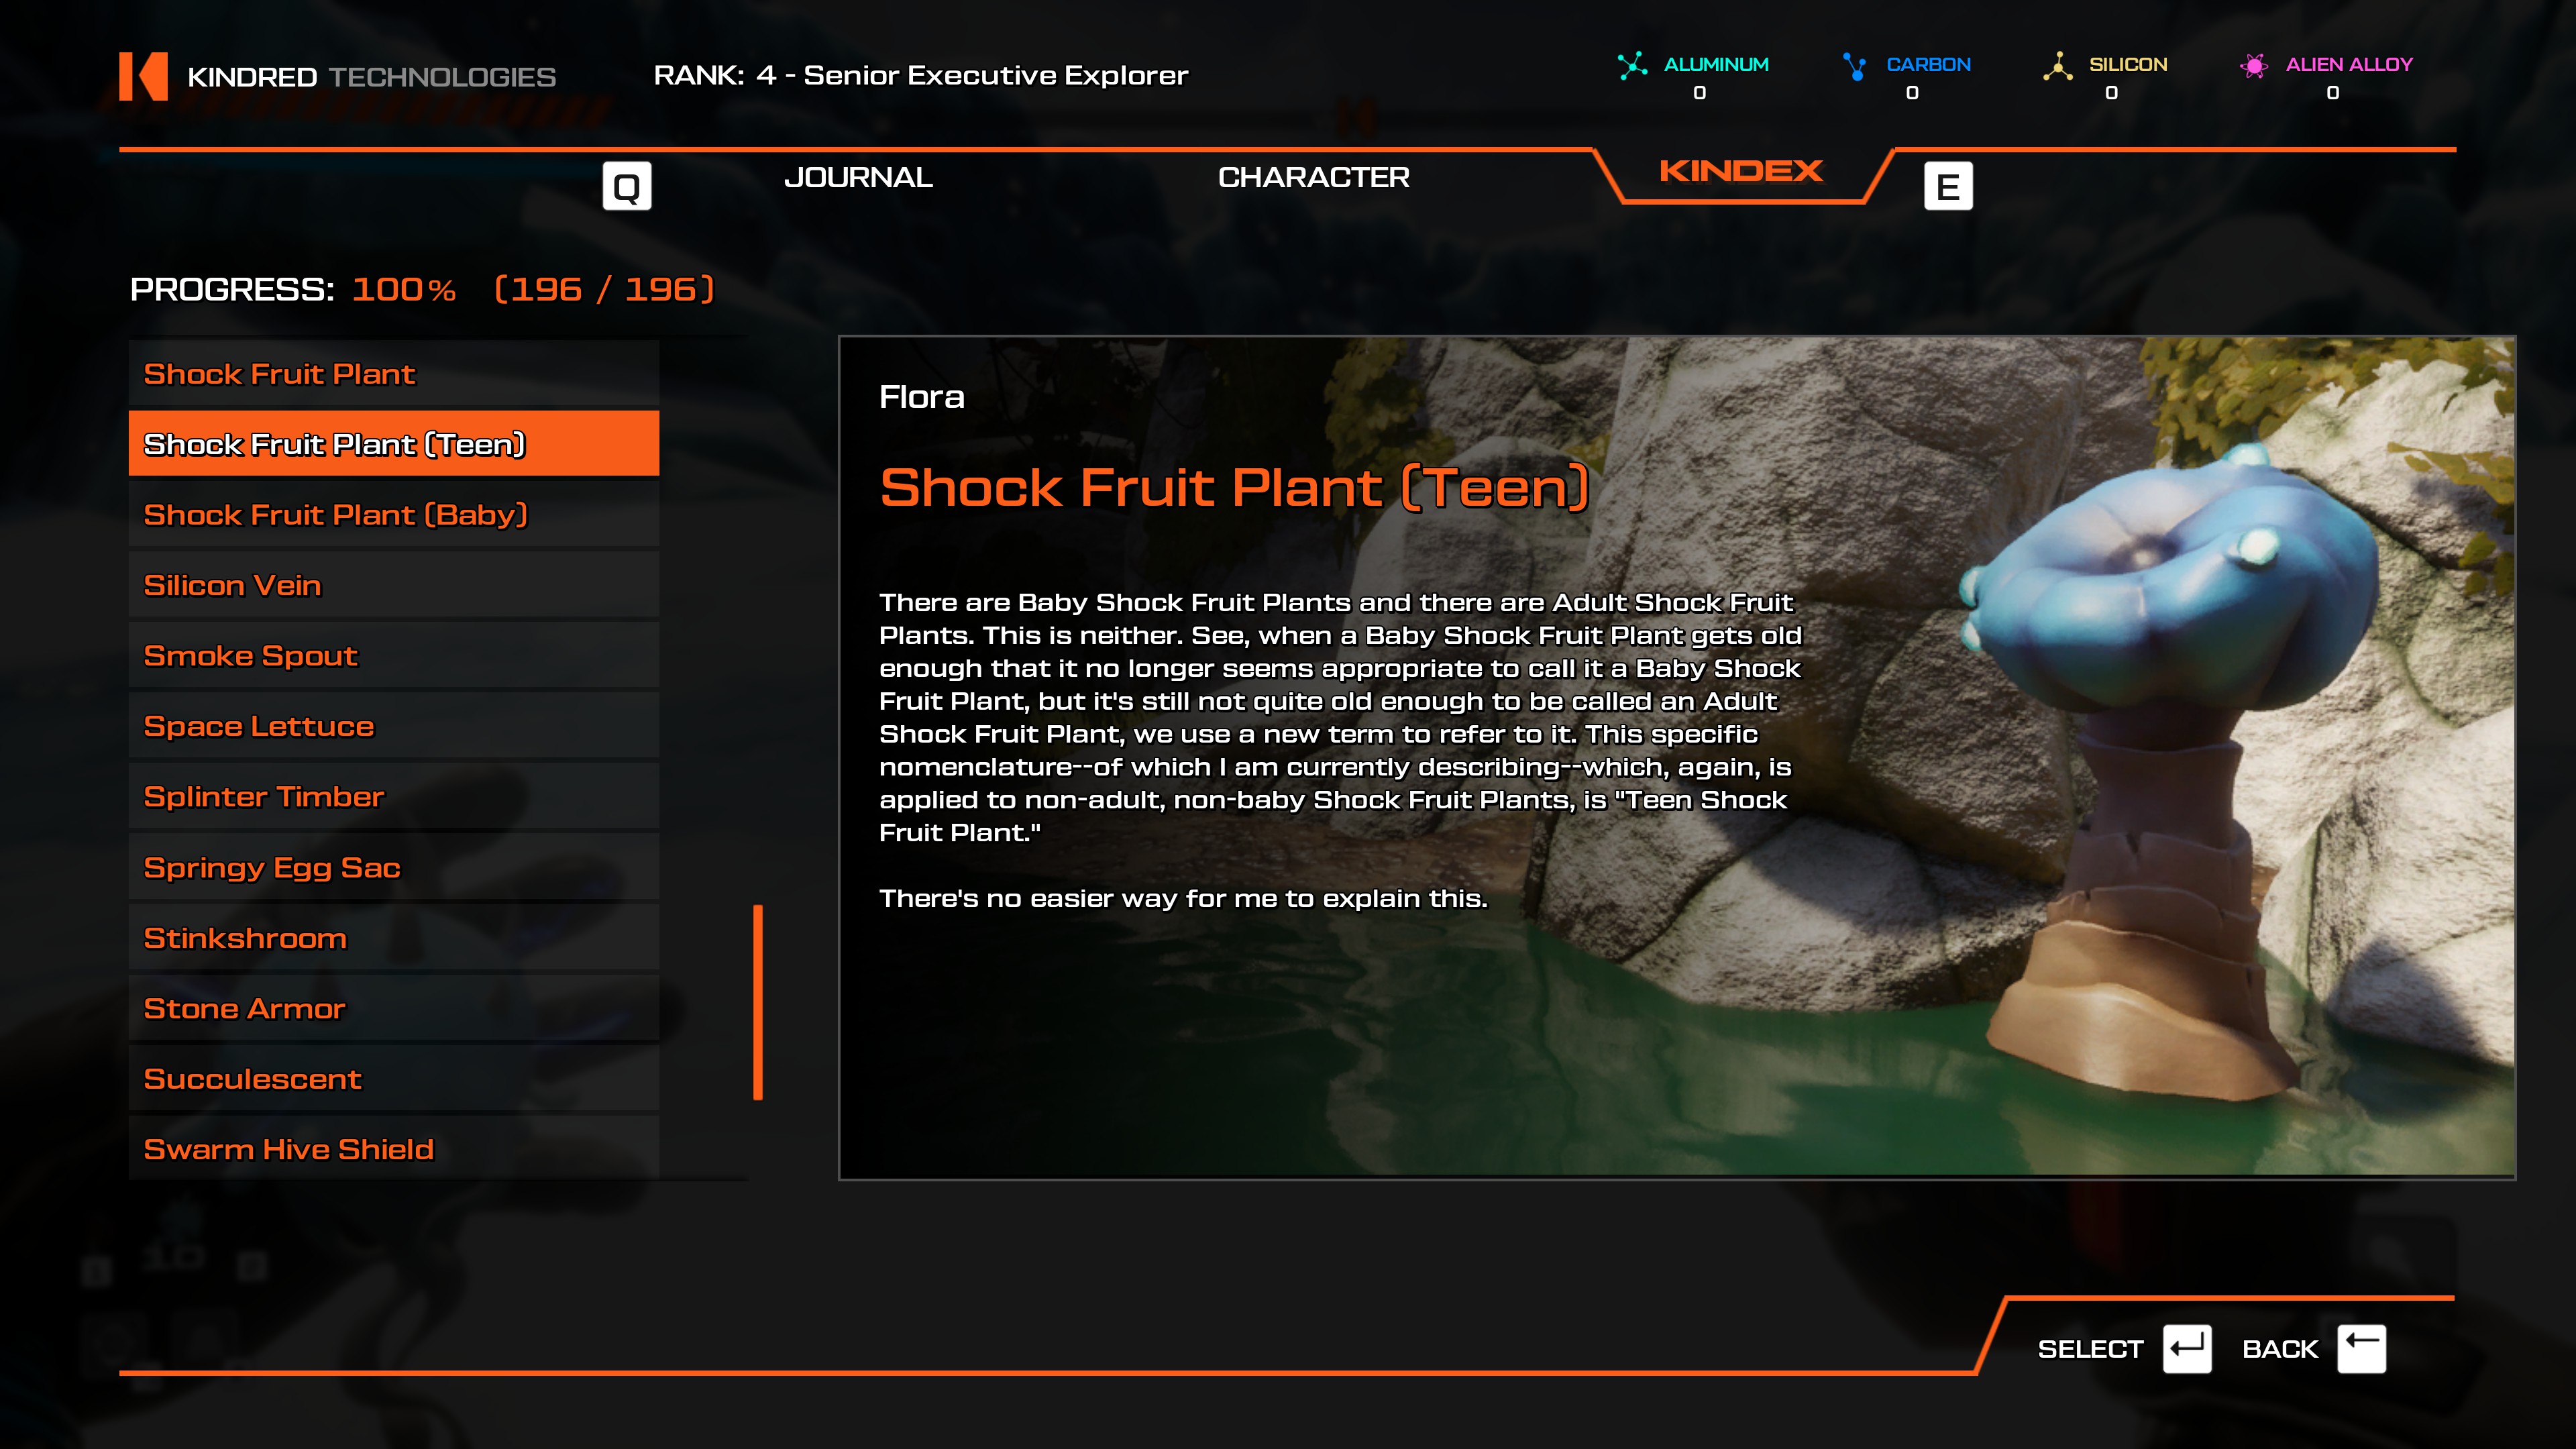
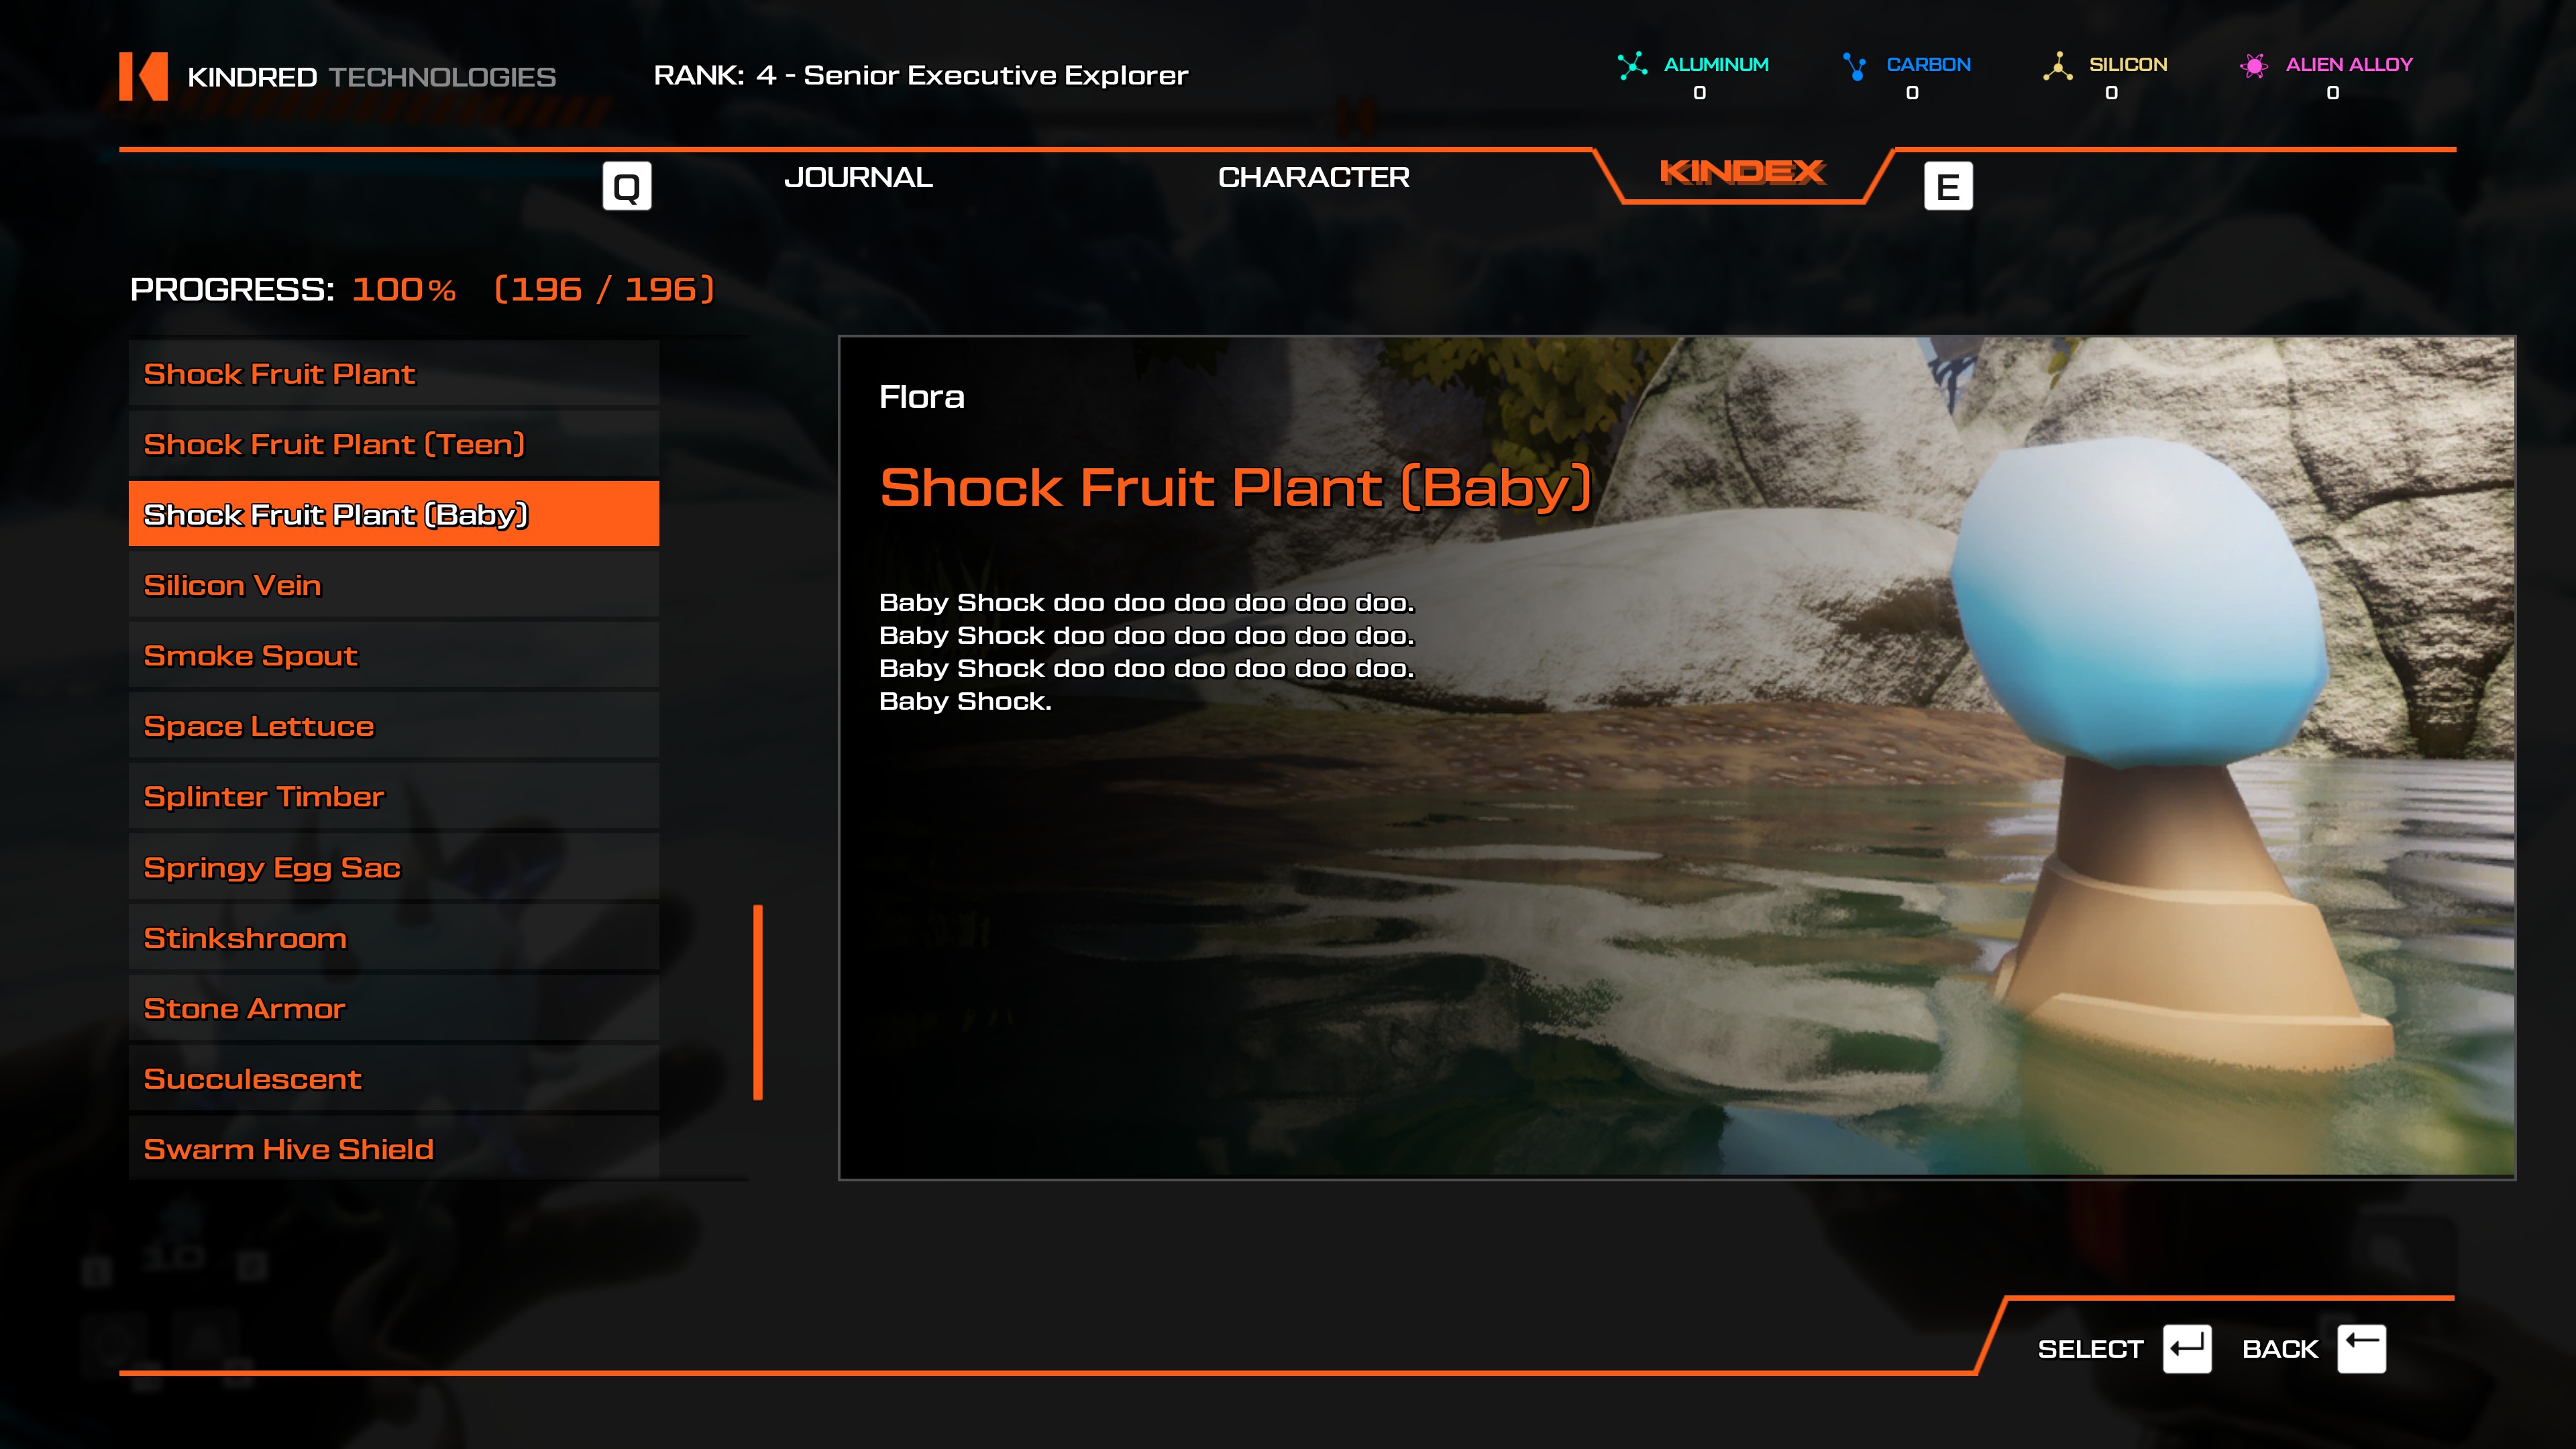
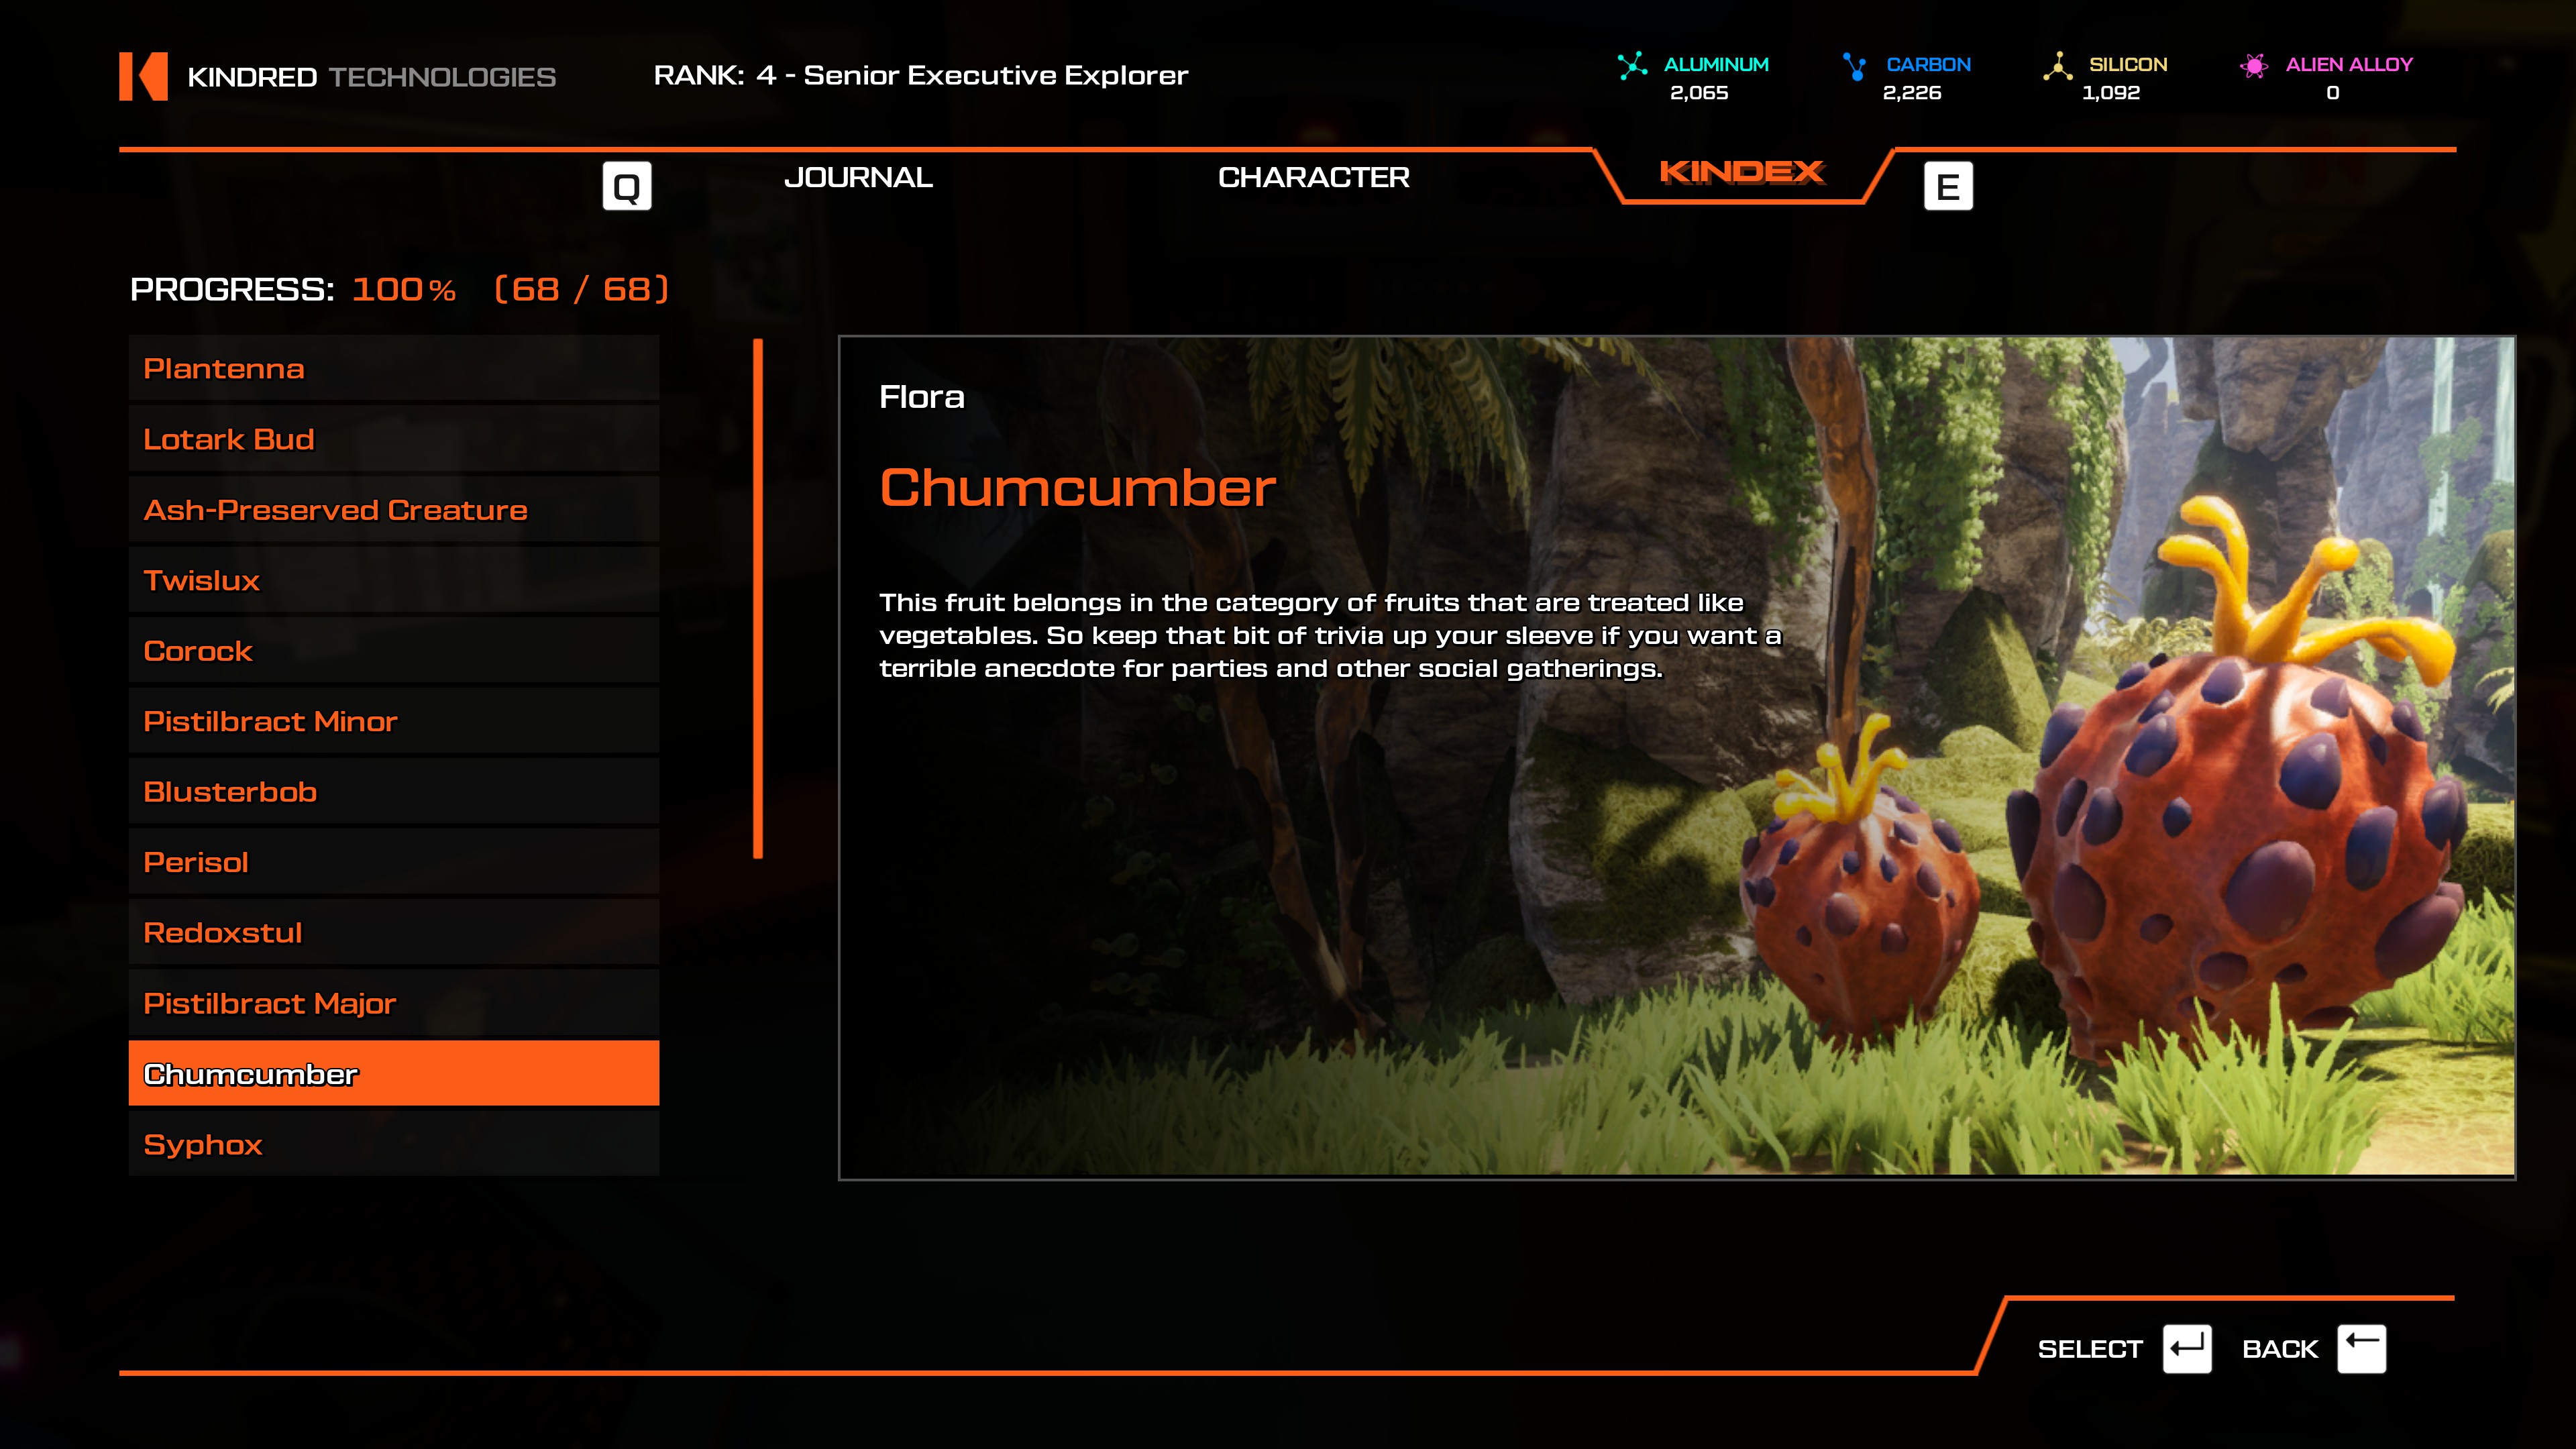
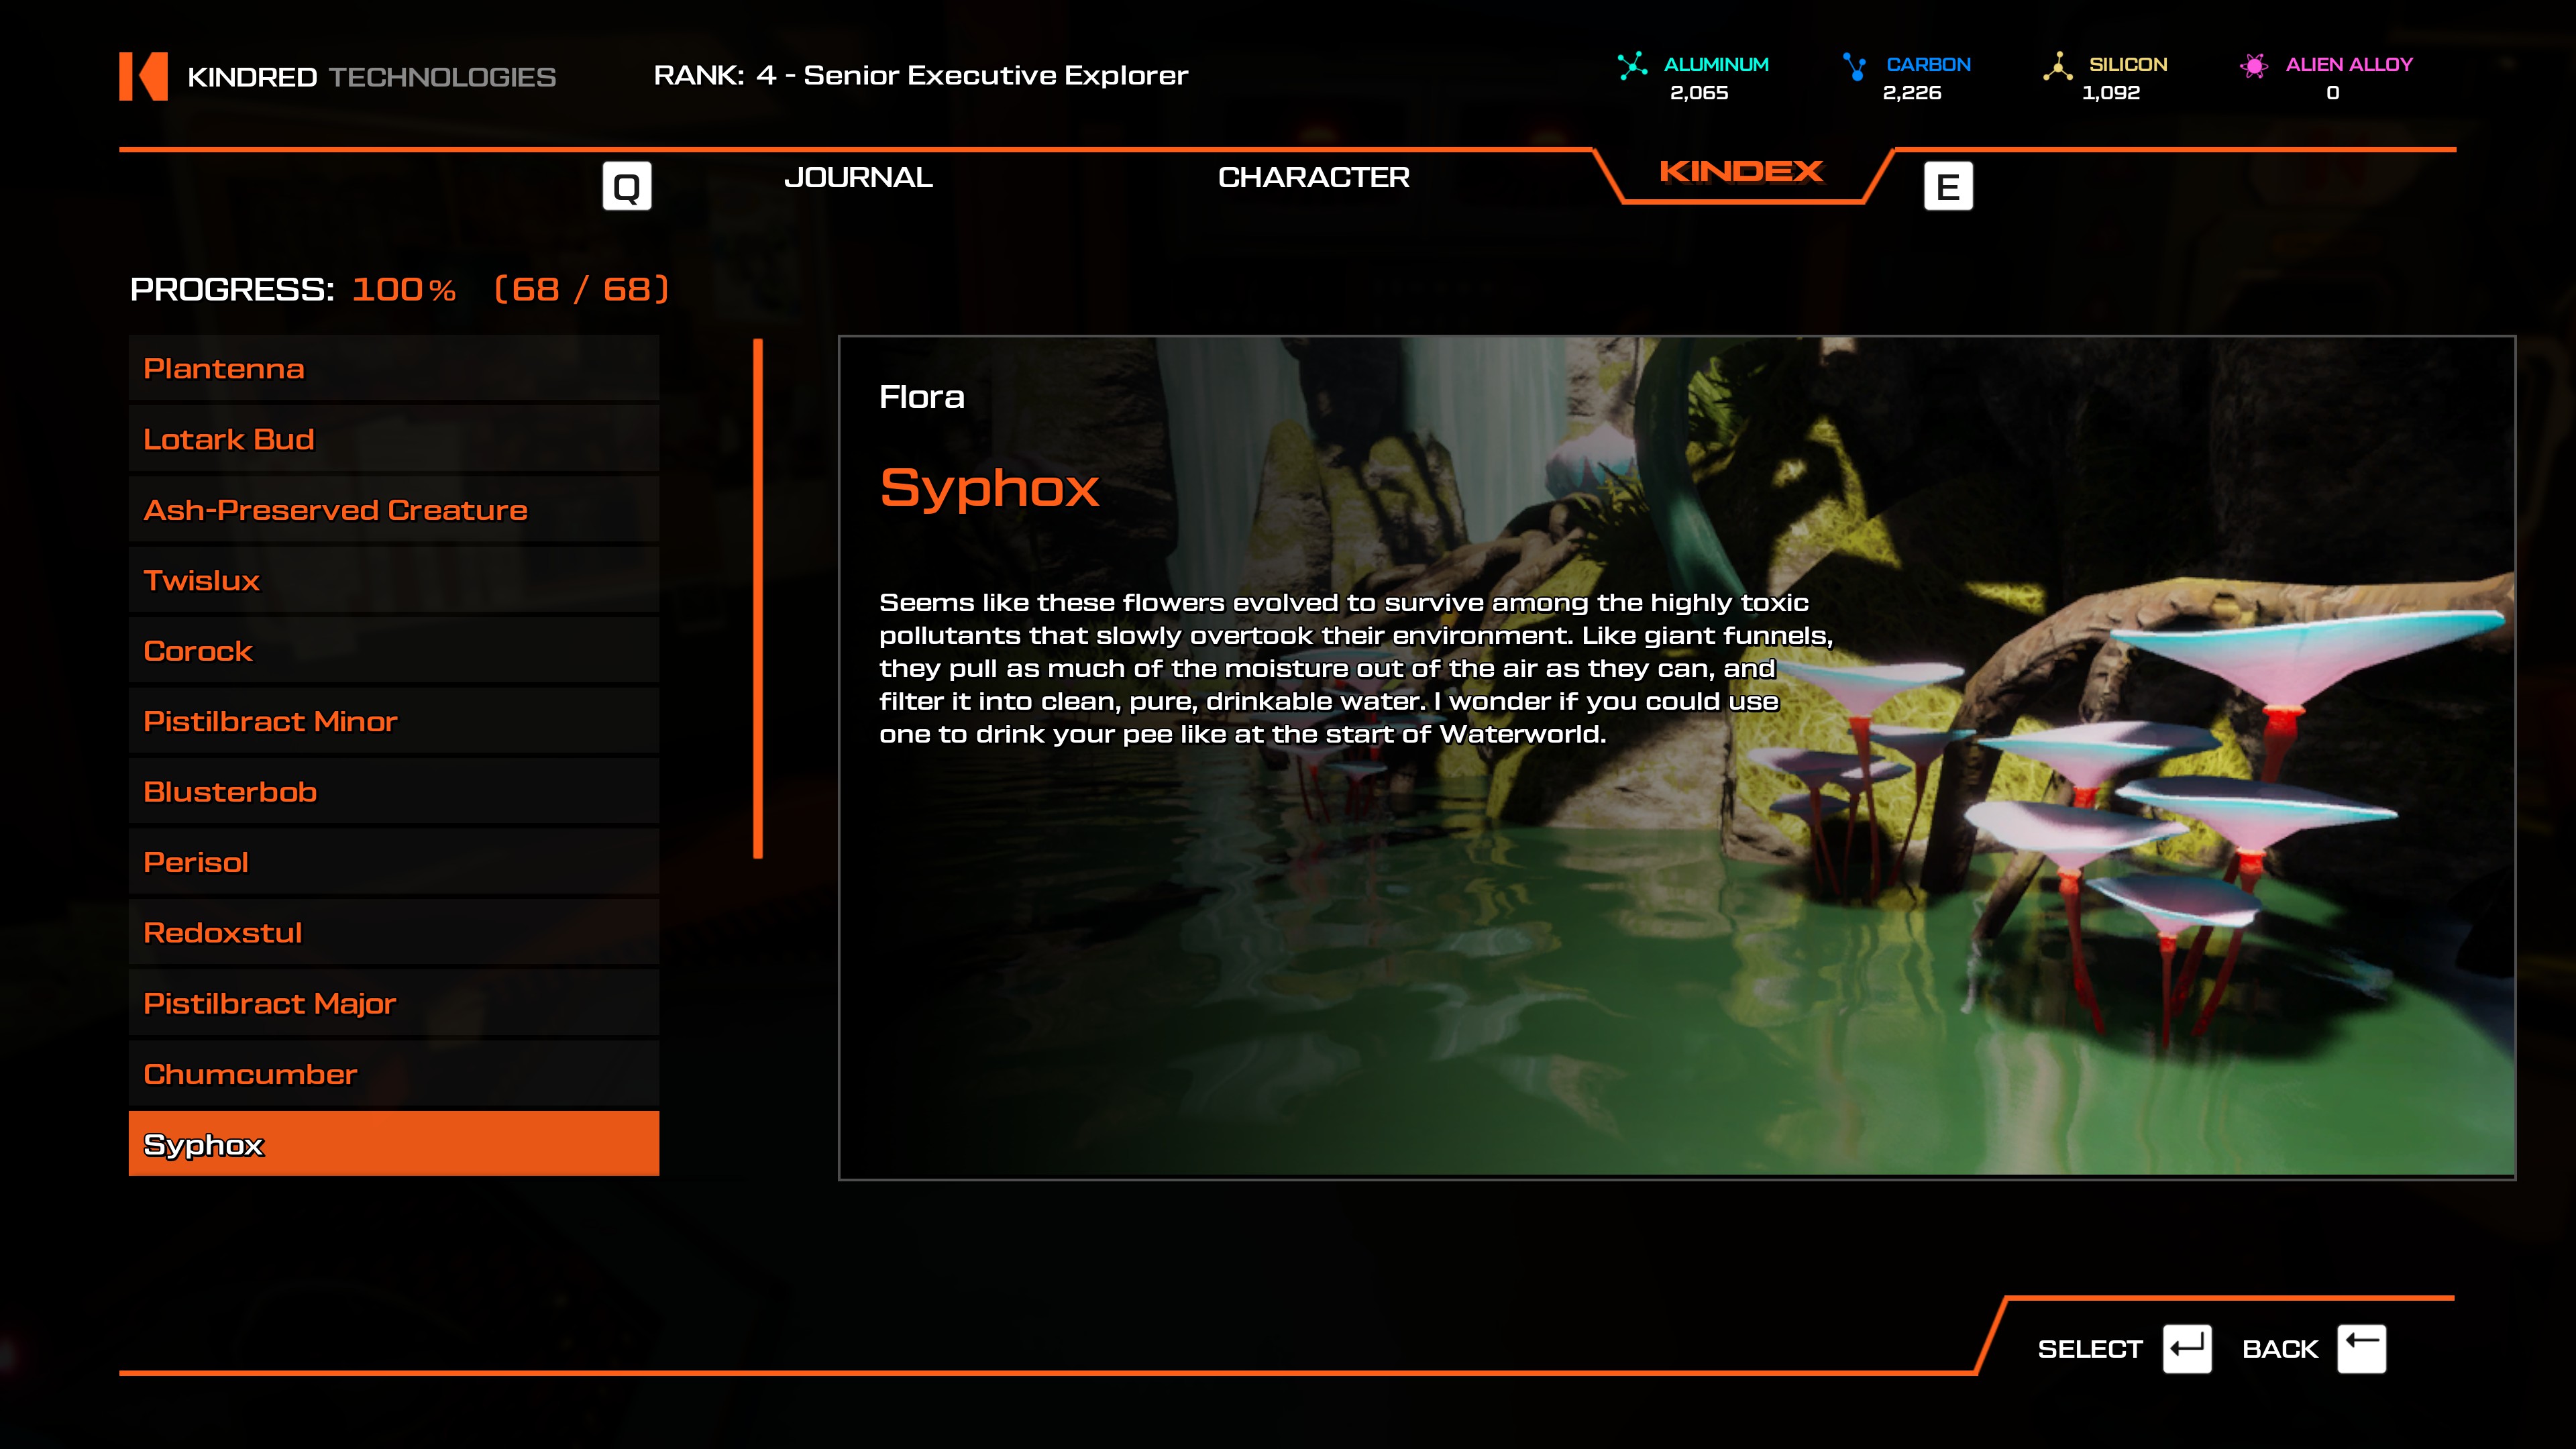
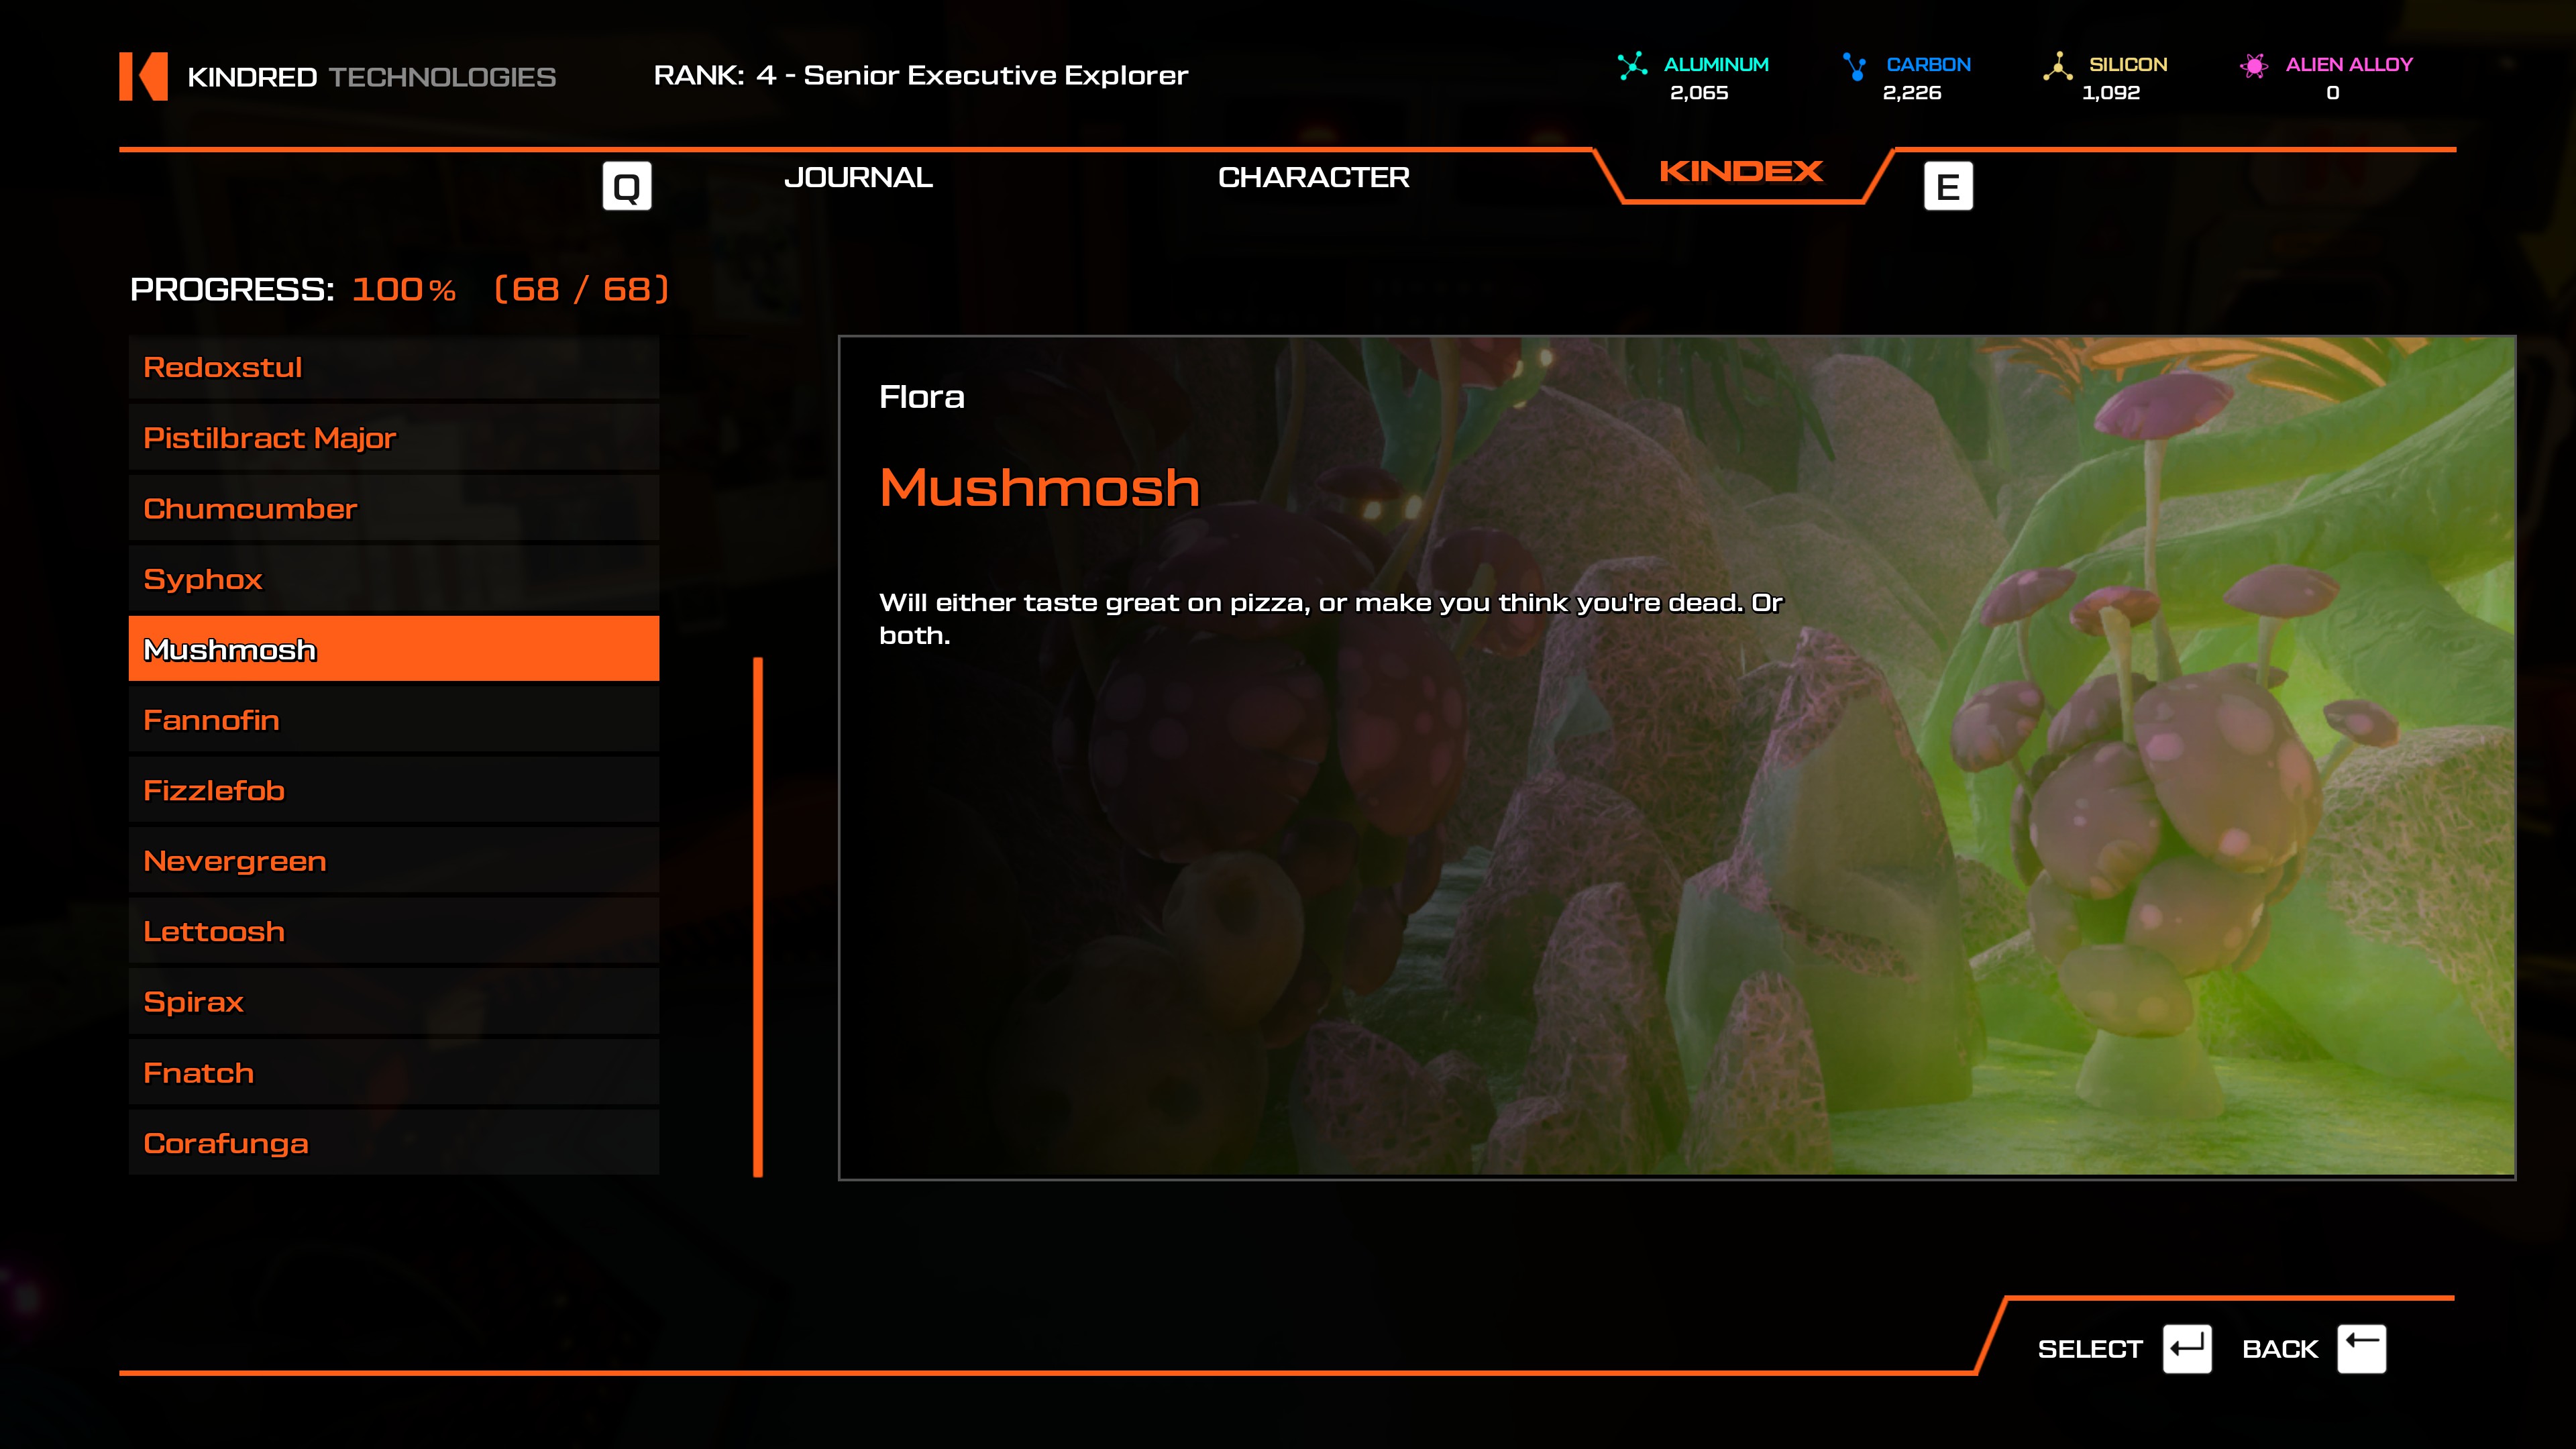
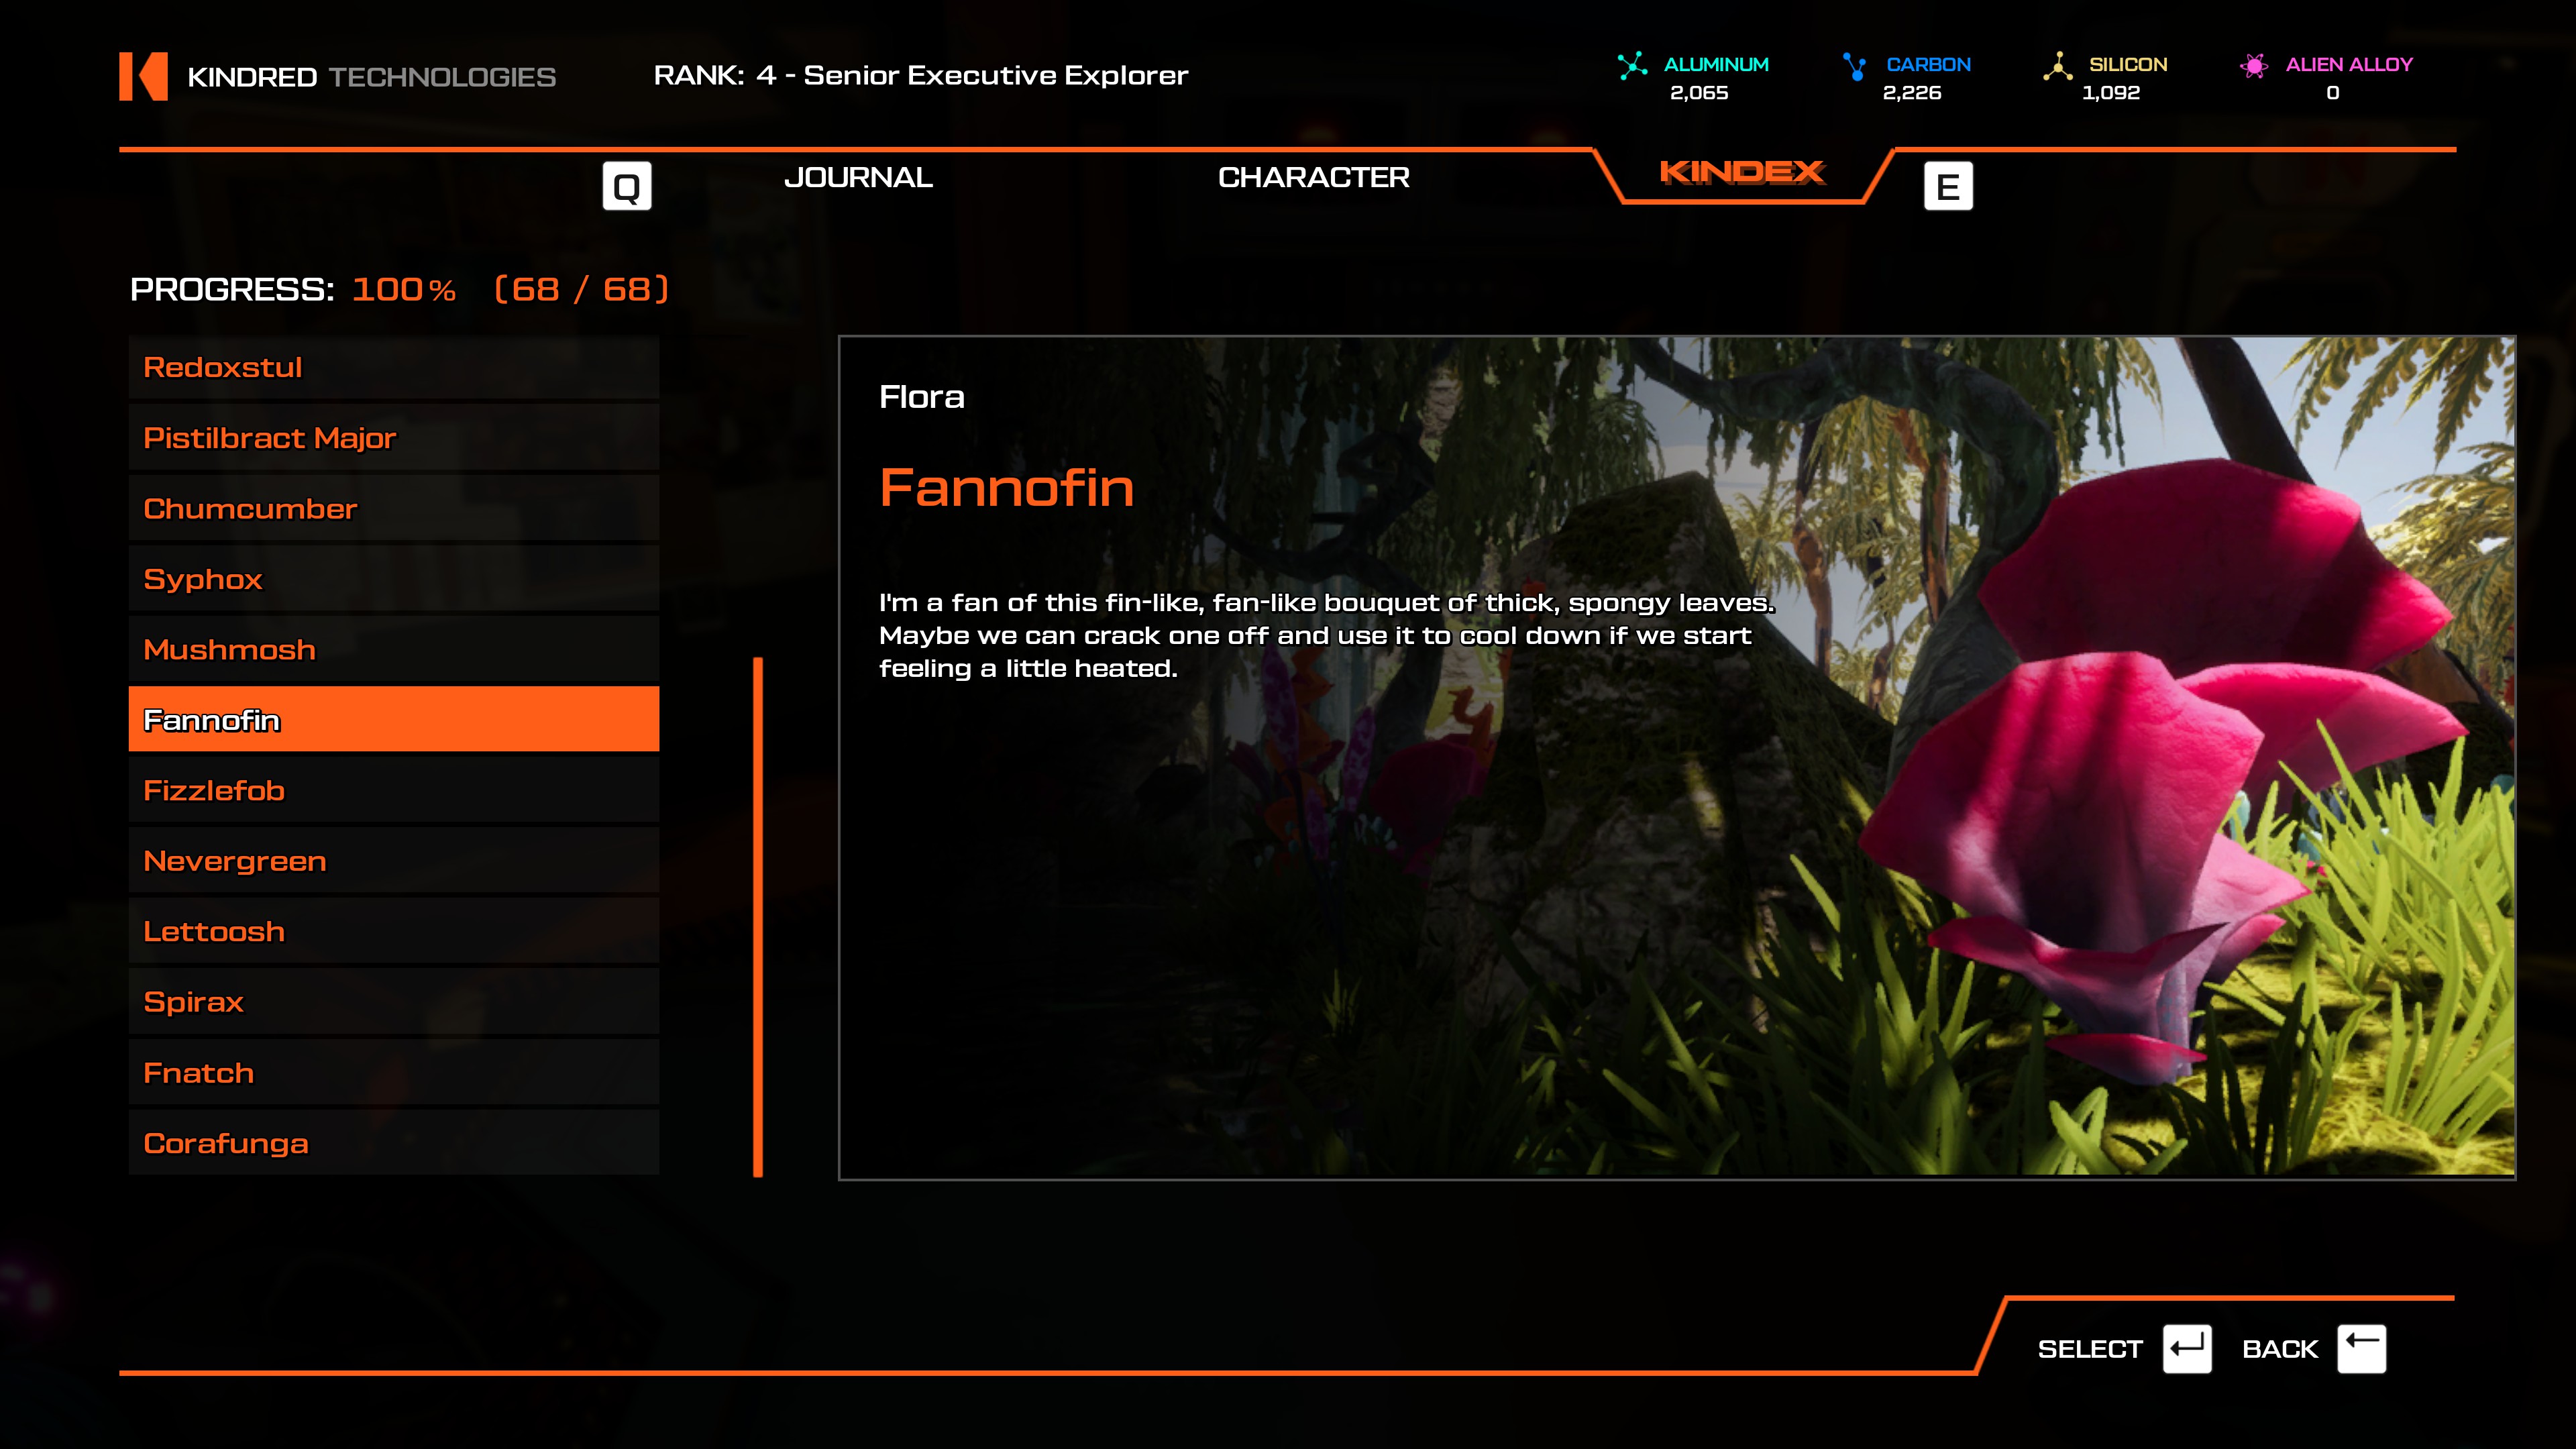
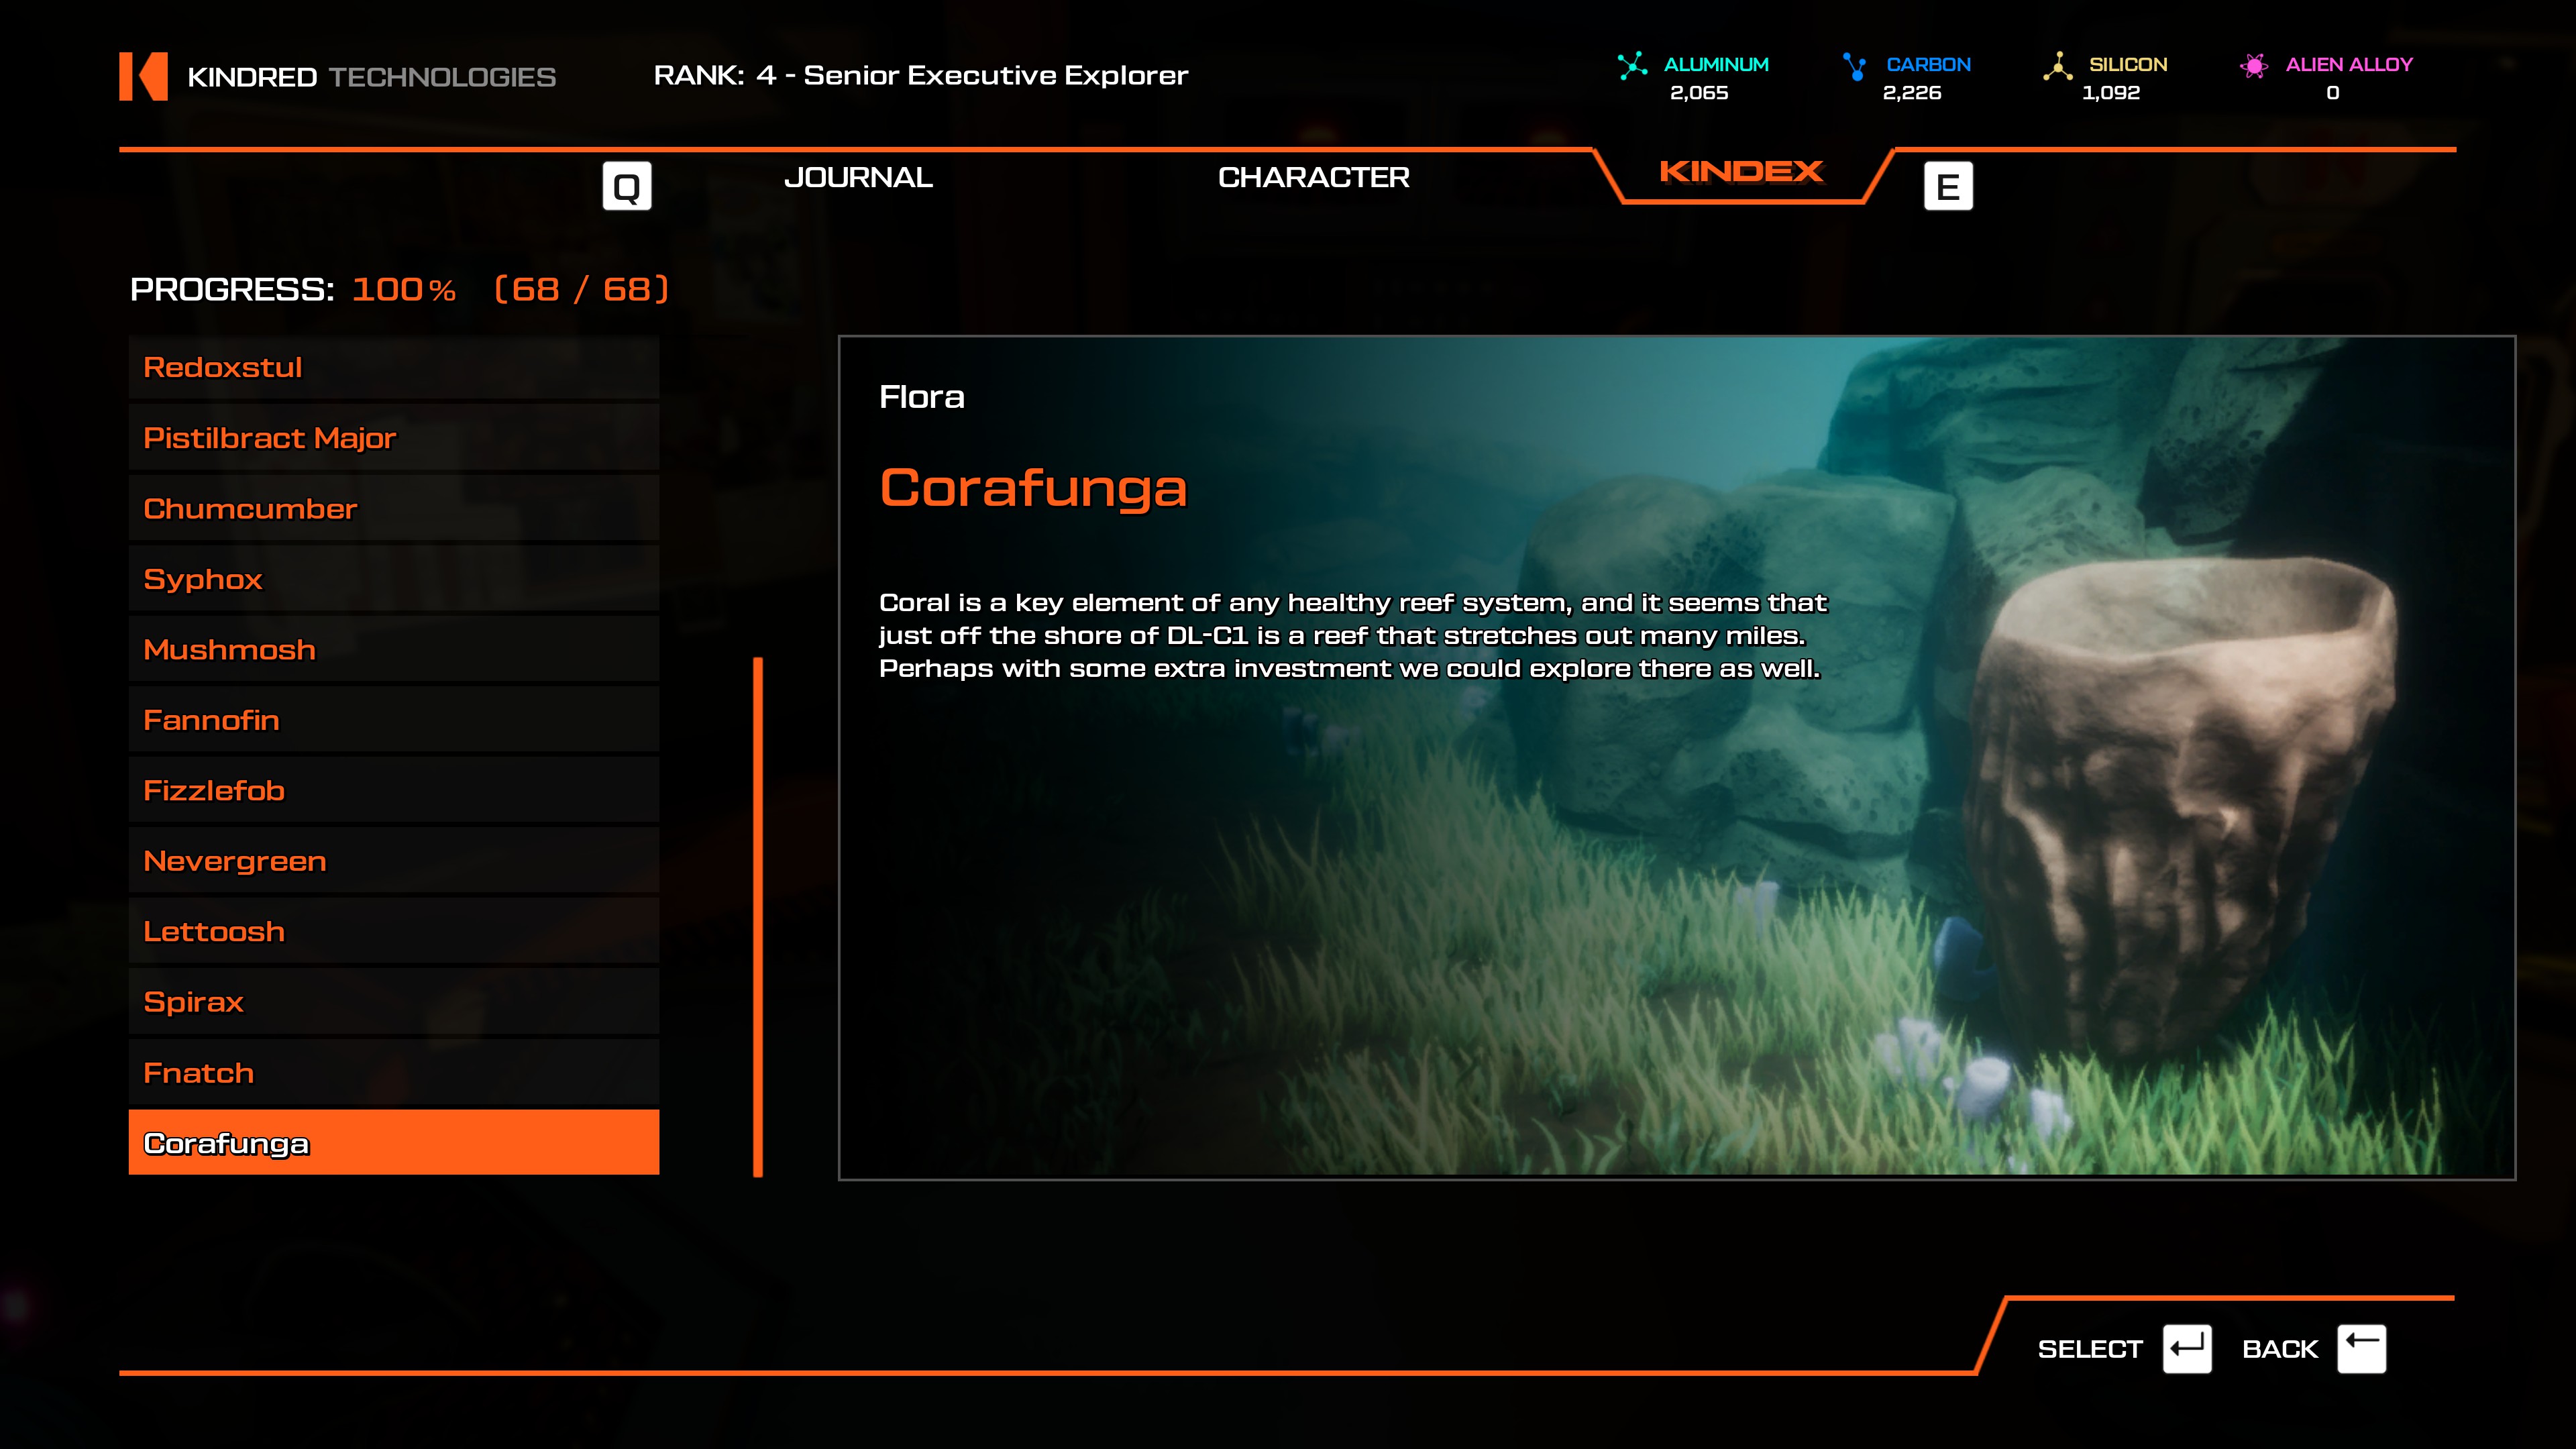
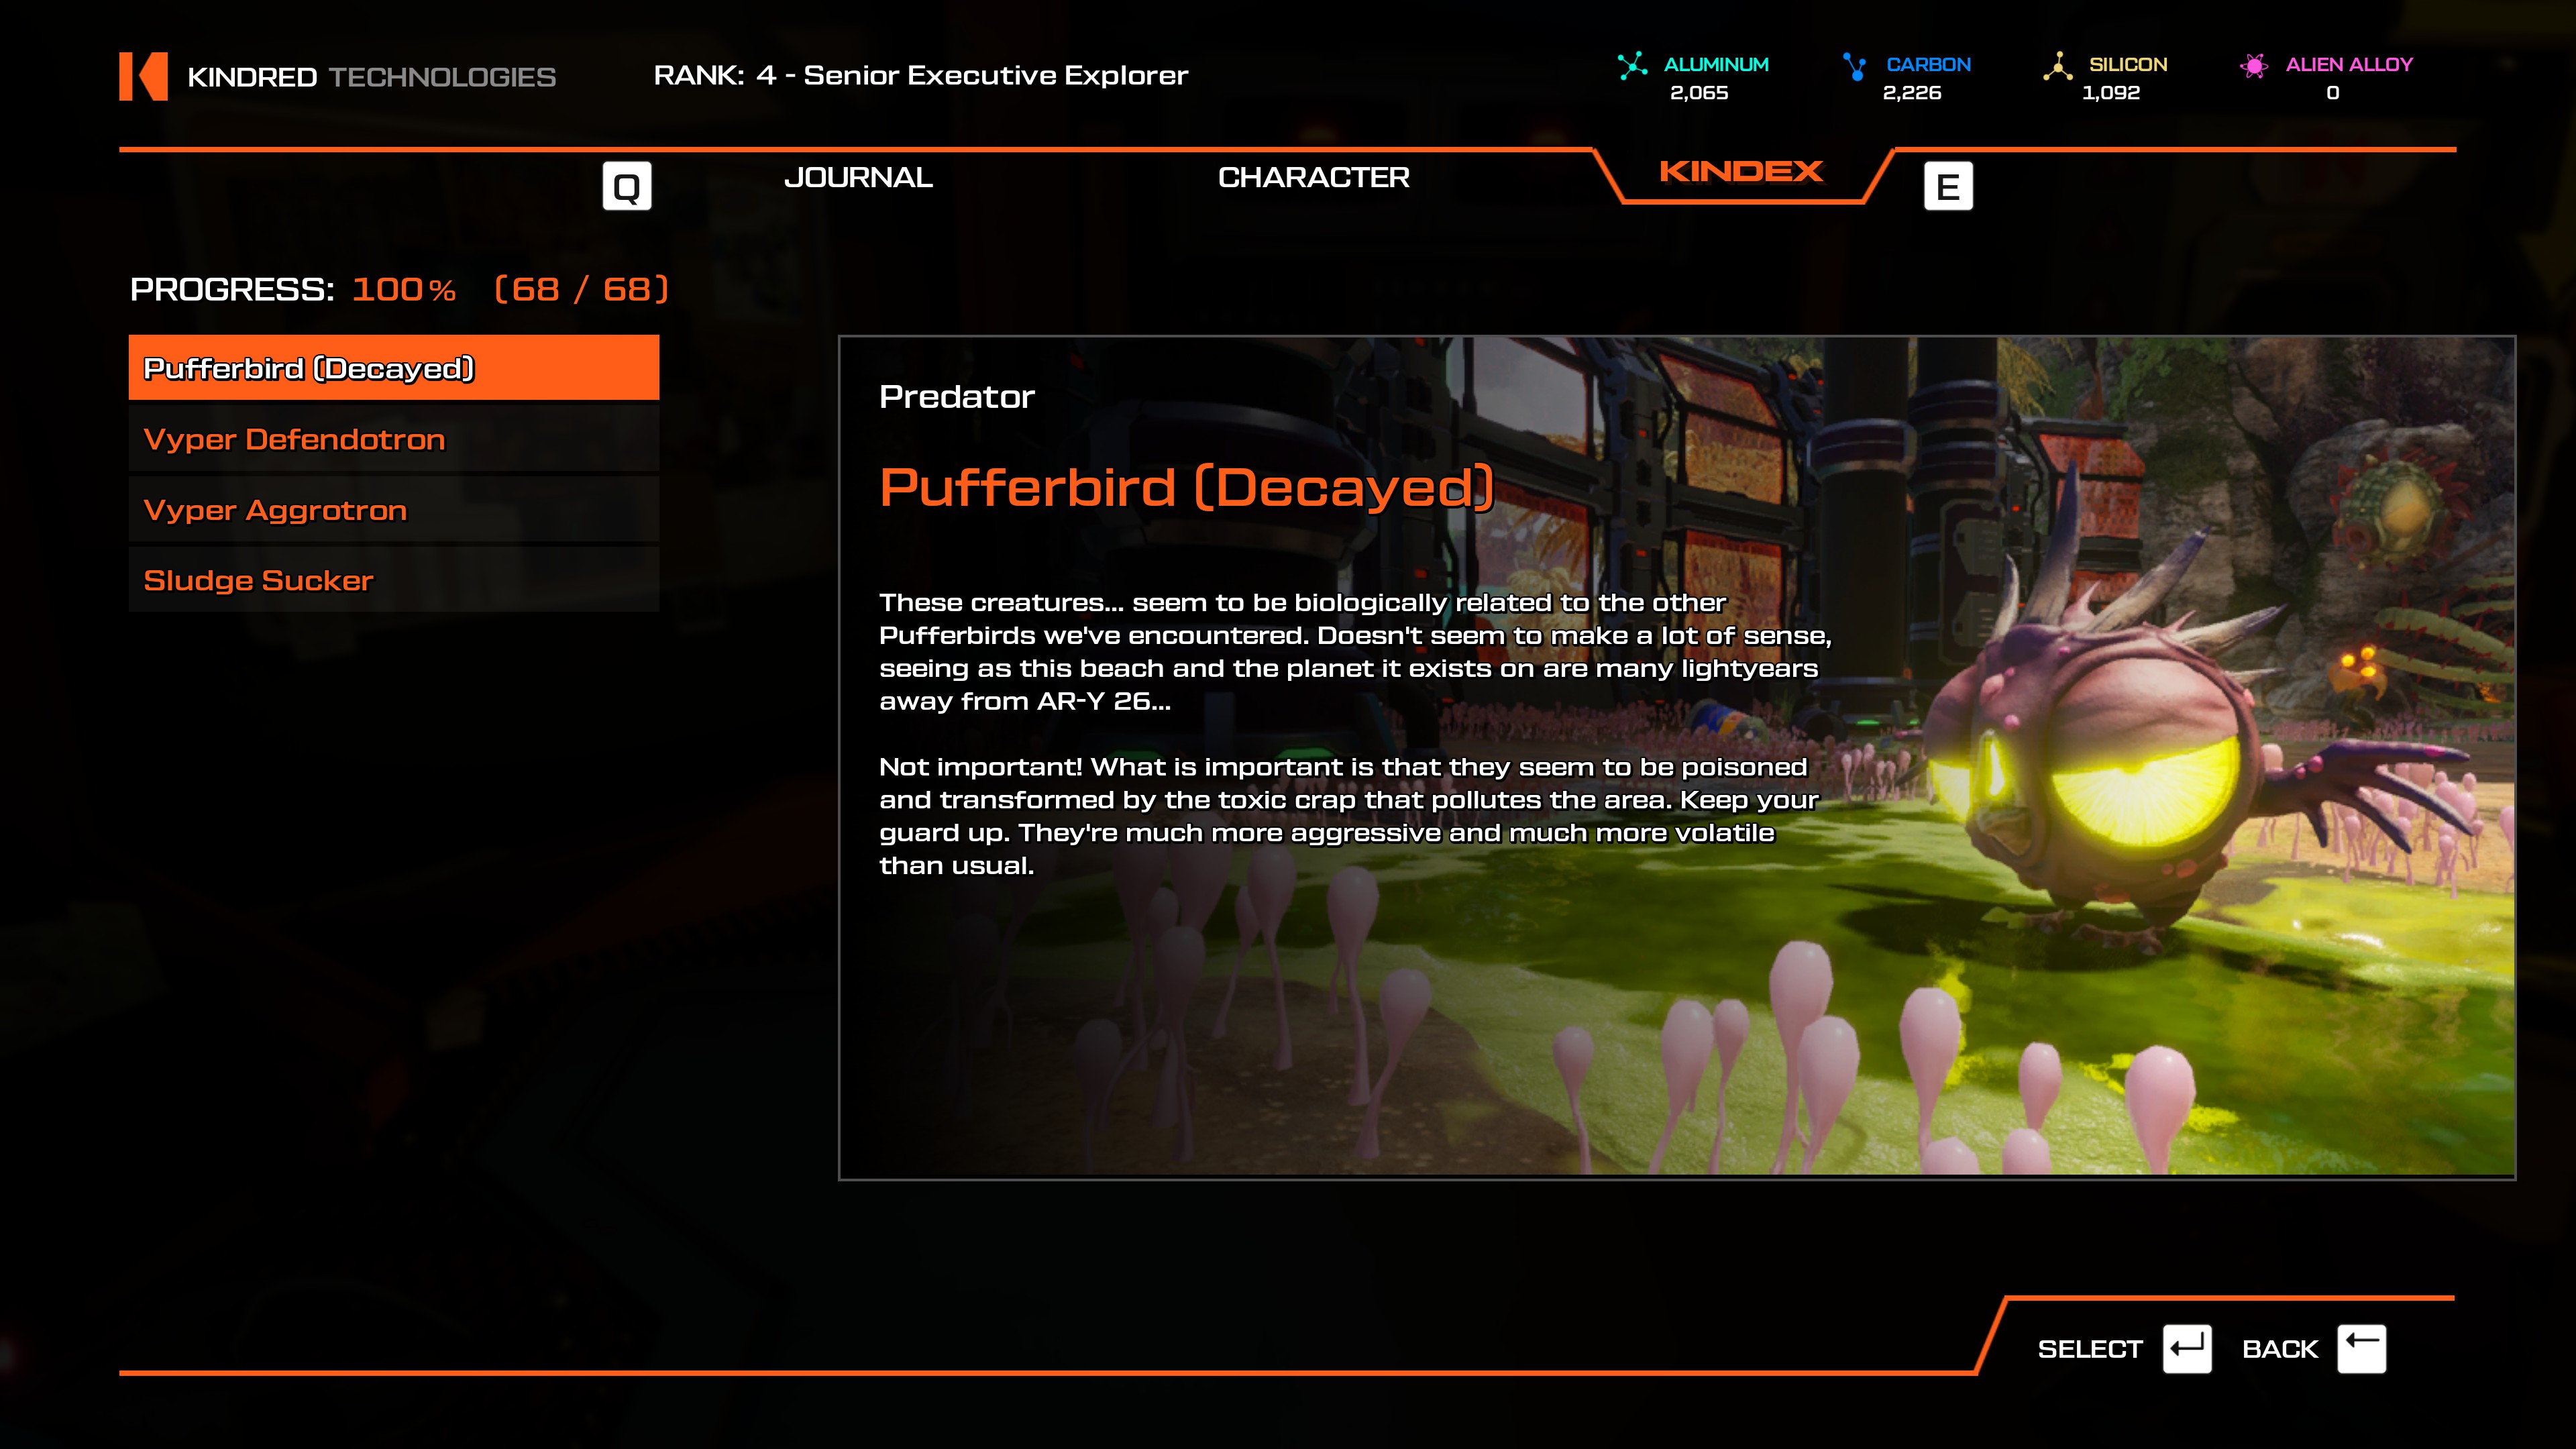
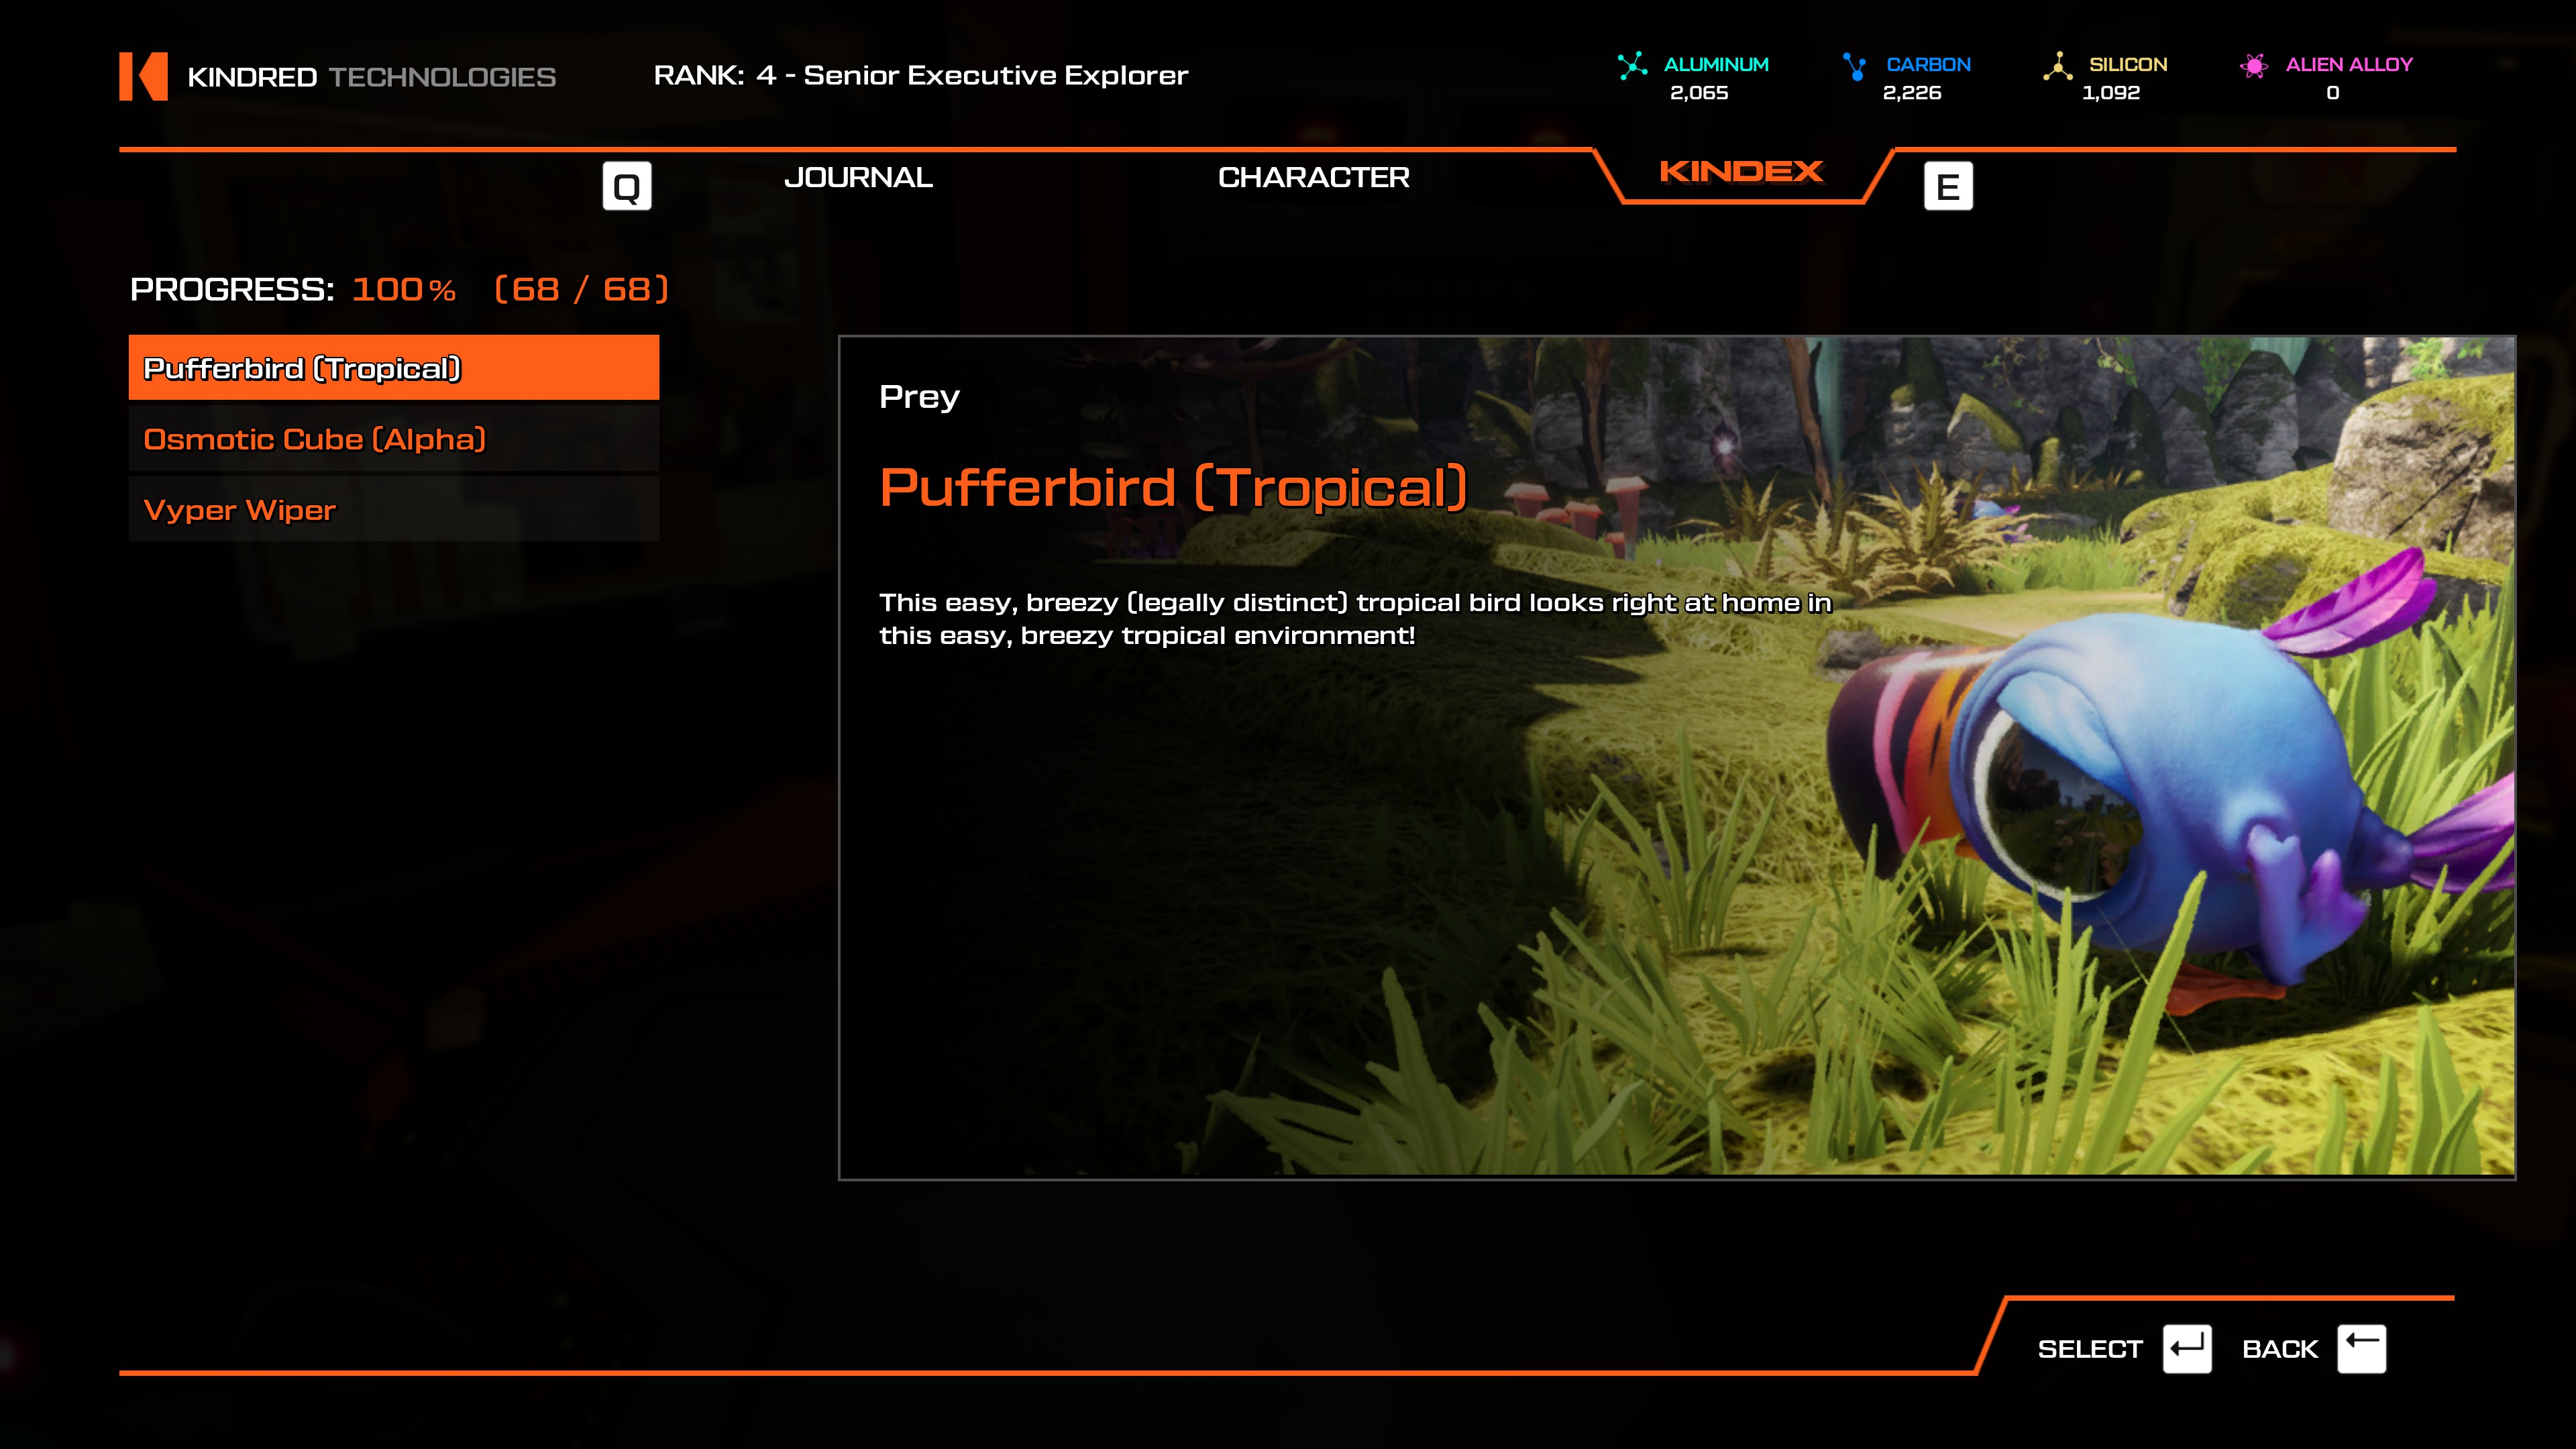
I like to take things slowly when I'm enjoying a game, take screenshots, enjoy the scenery , and I loved this one to bits! I'm normally not good with a gun or with jumping/platforming, but for me the challenge was just right in this one. Towards the end some things became trivial but it was always a blast kicking pufferbirds out of the way or scooting across open spaces with jumps and tethers.

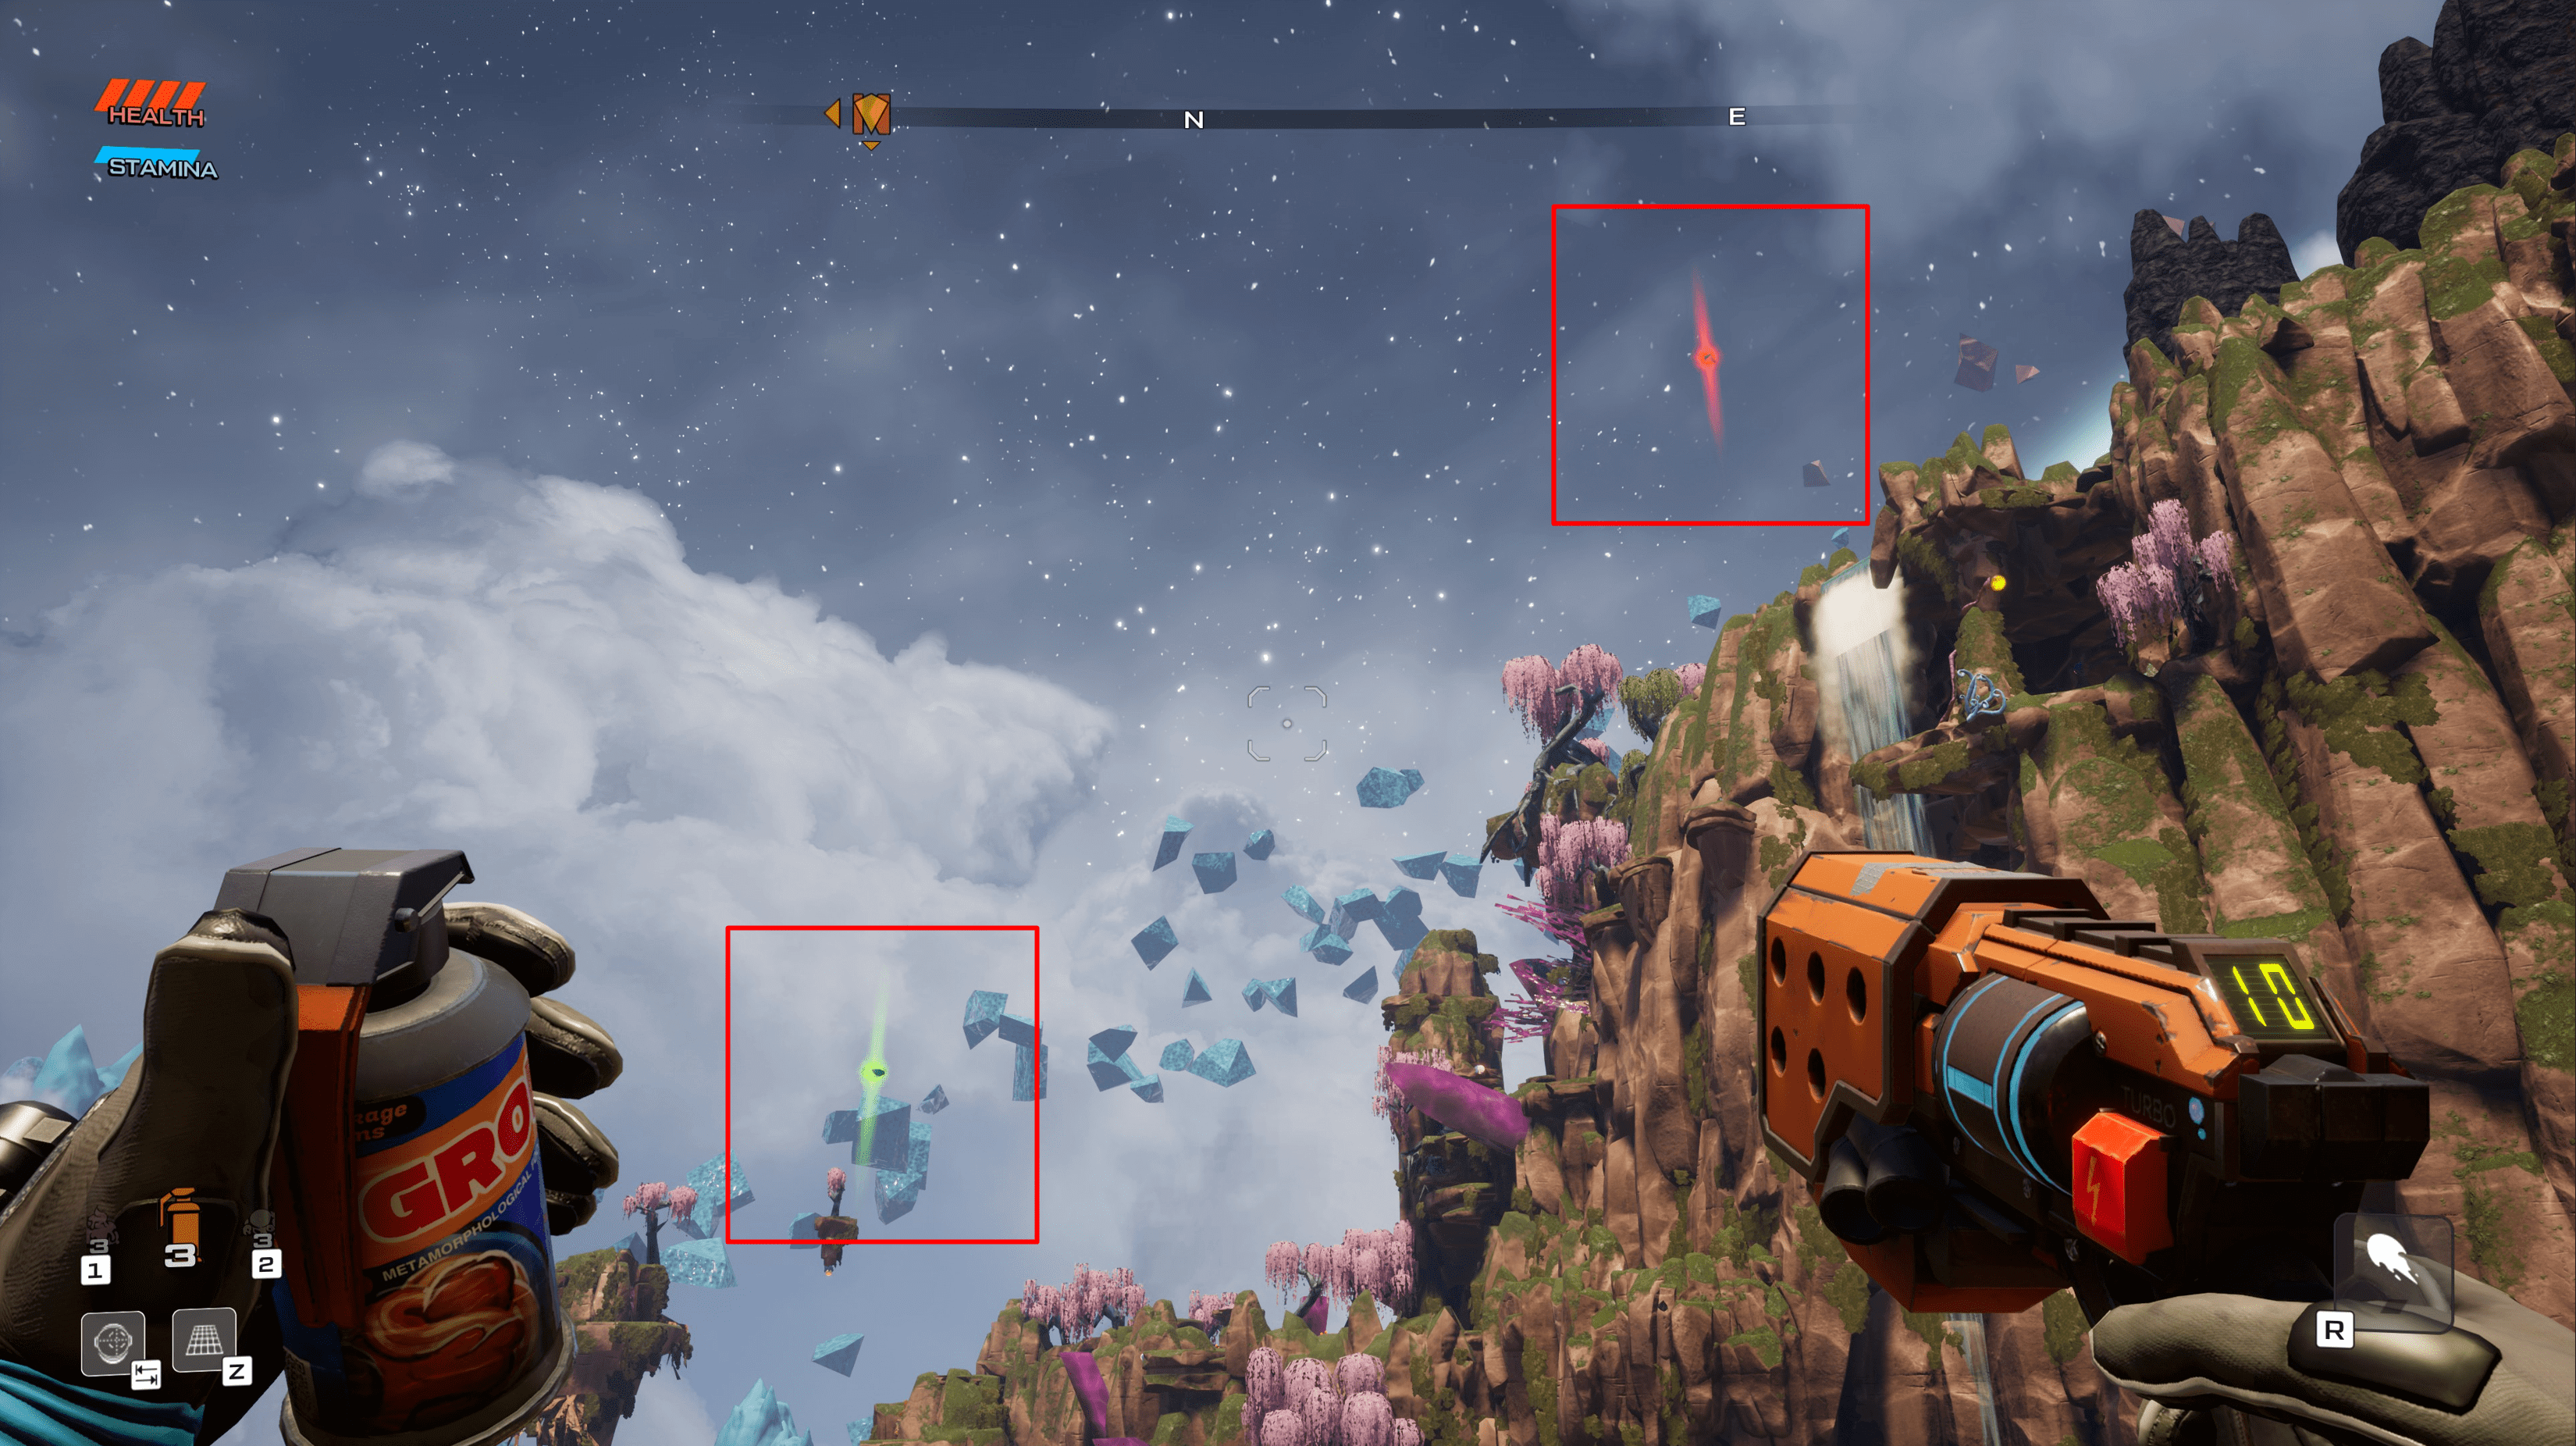
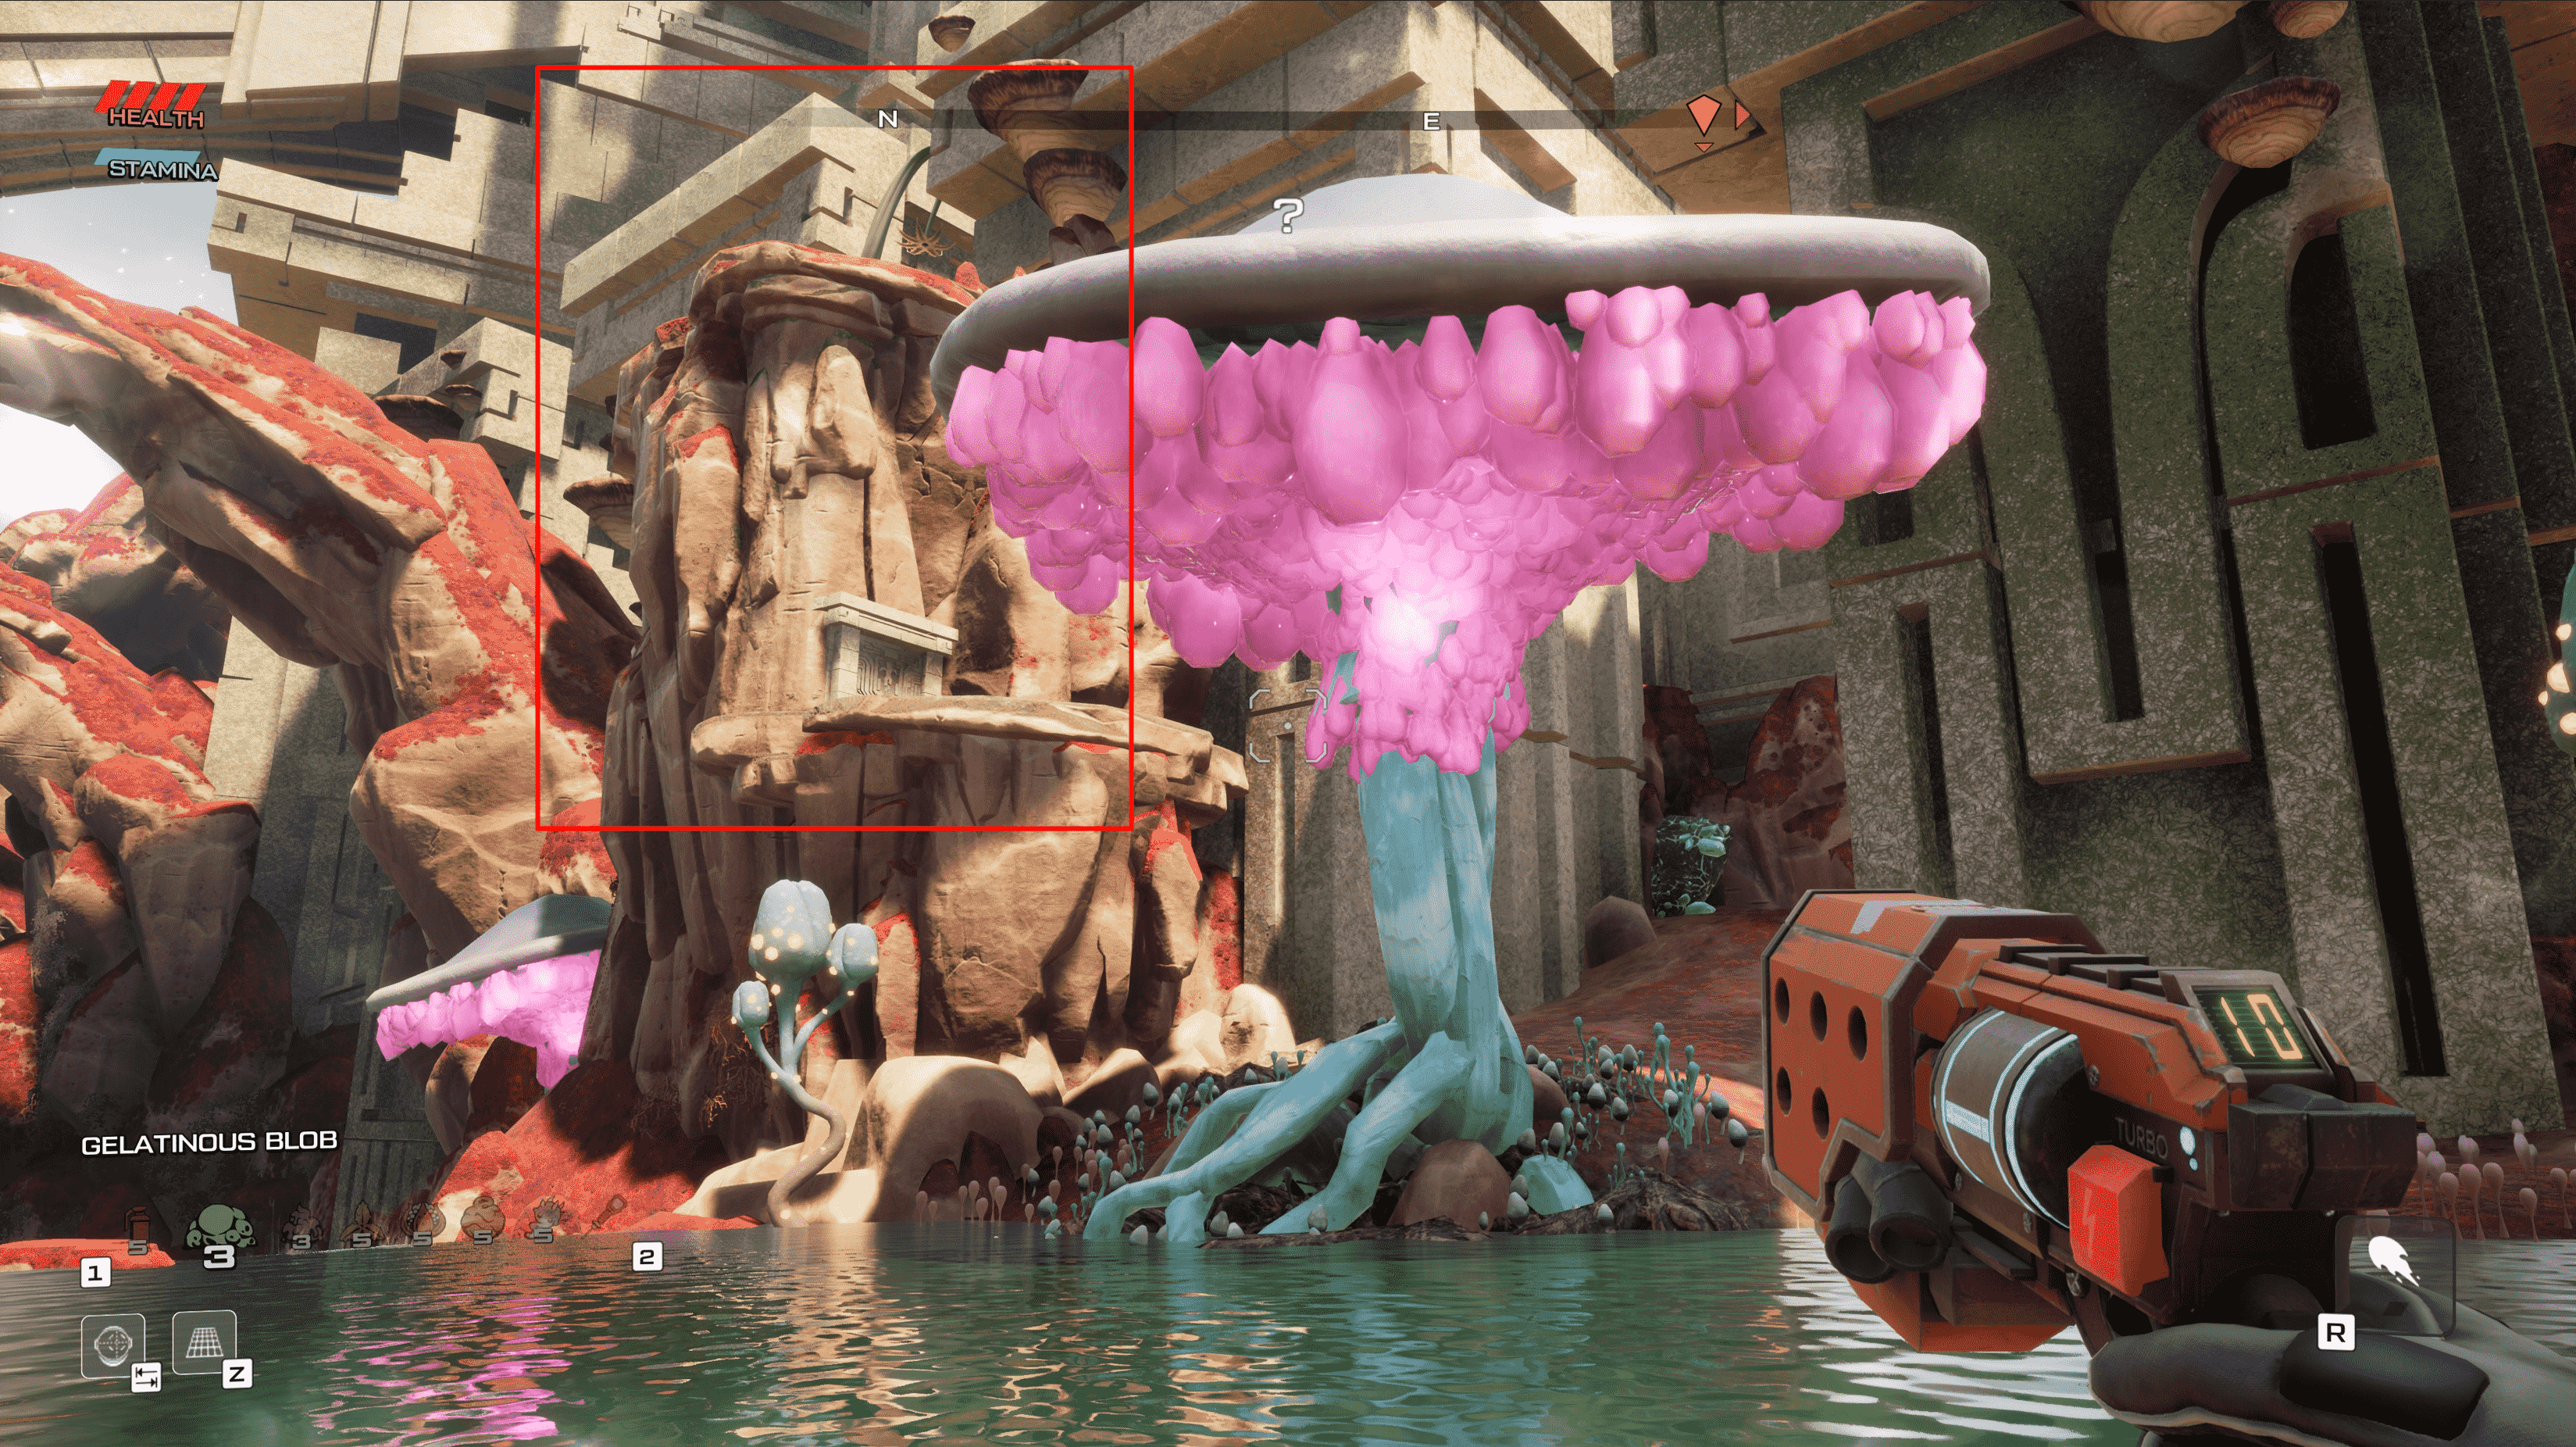
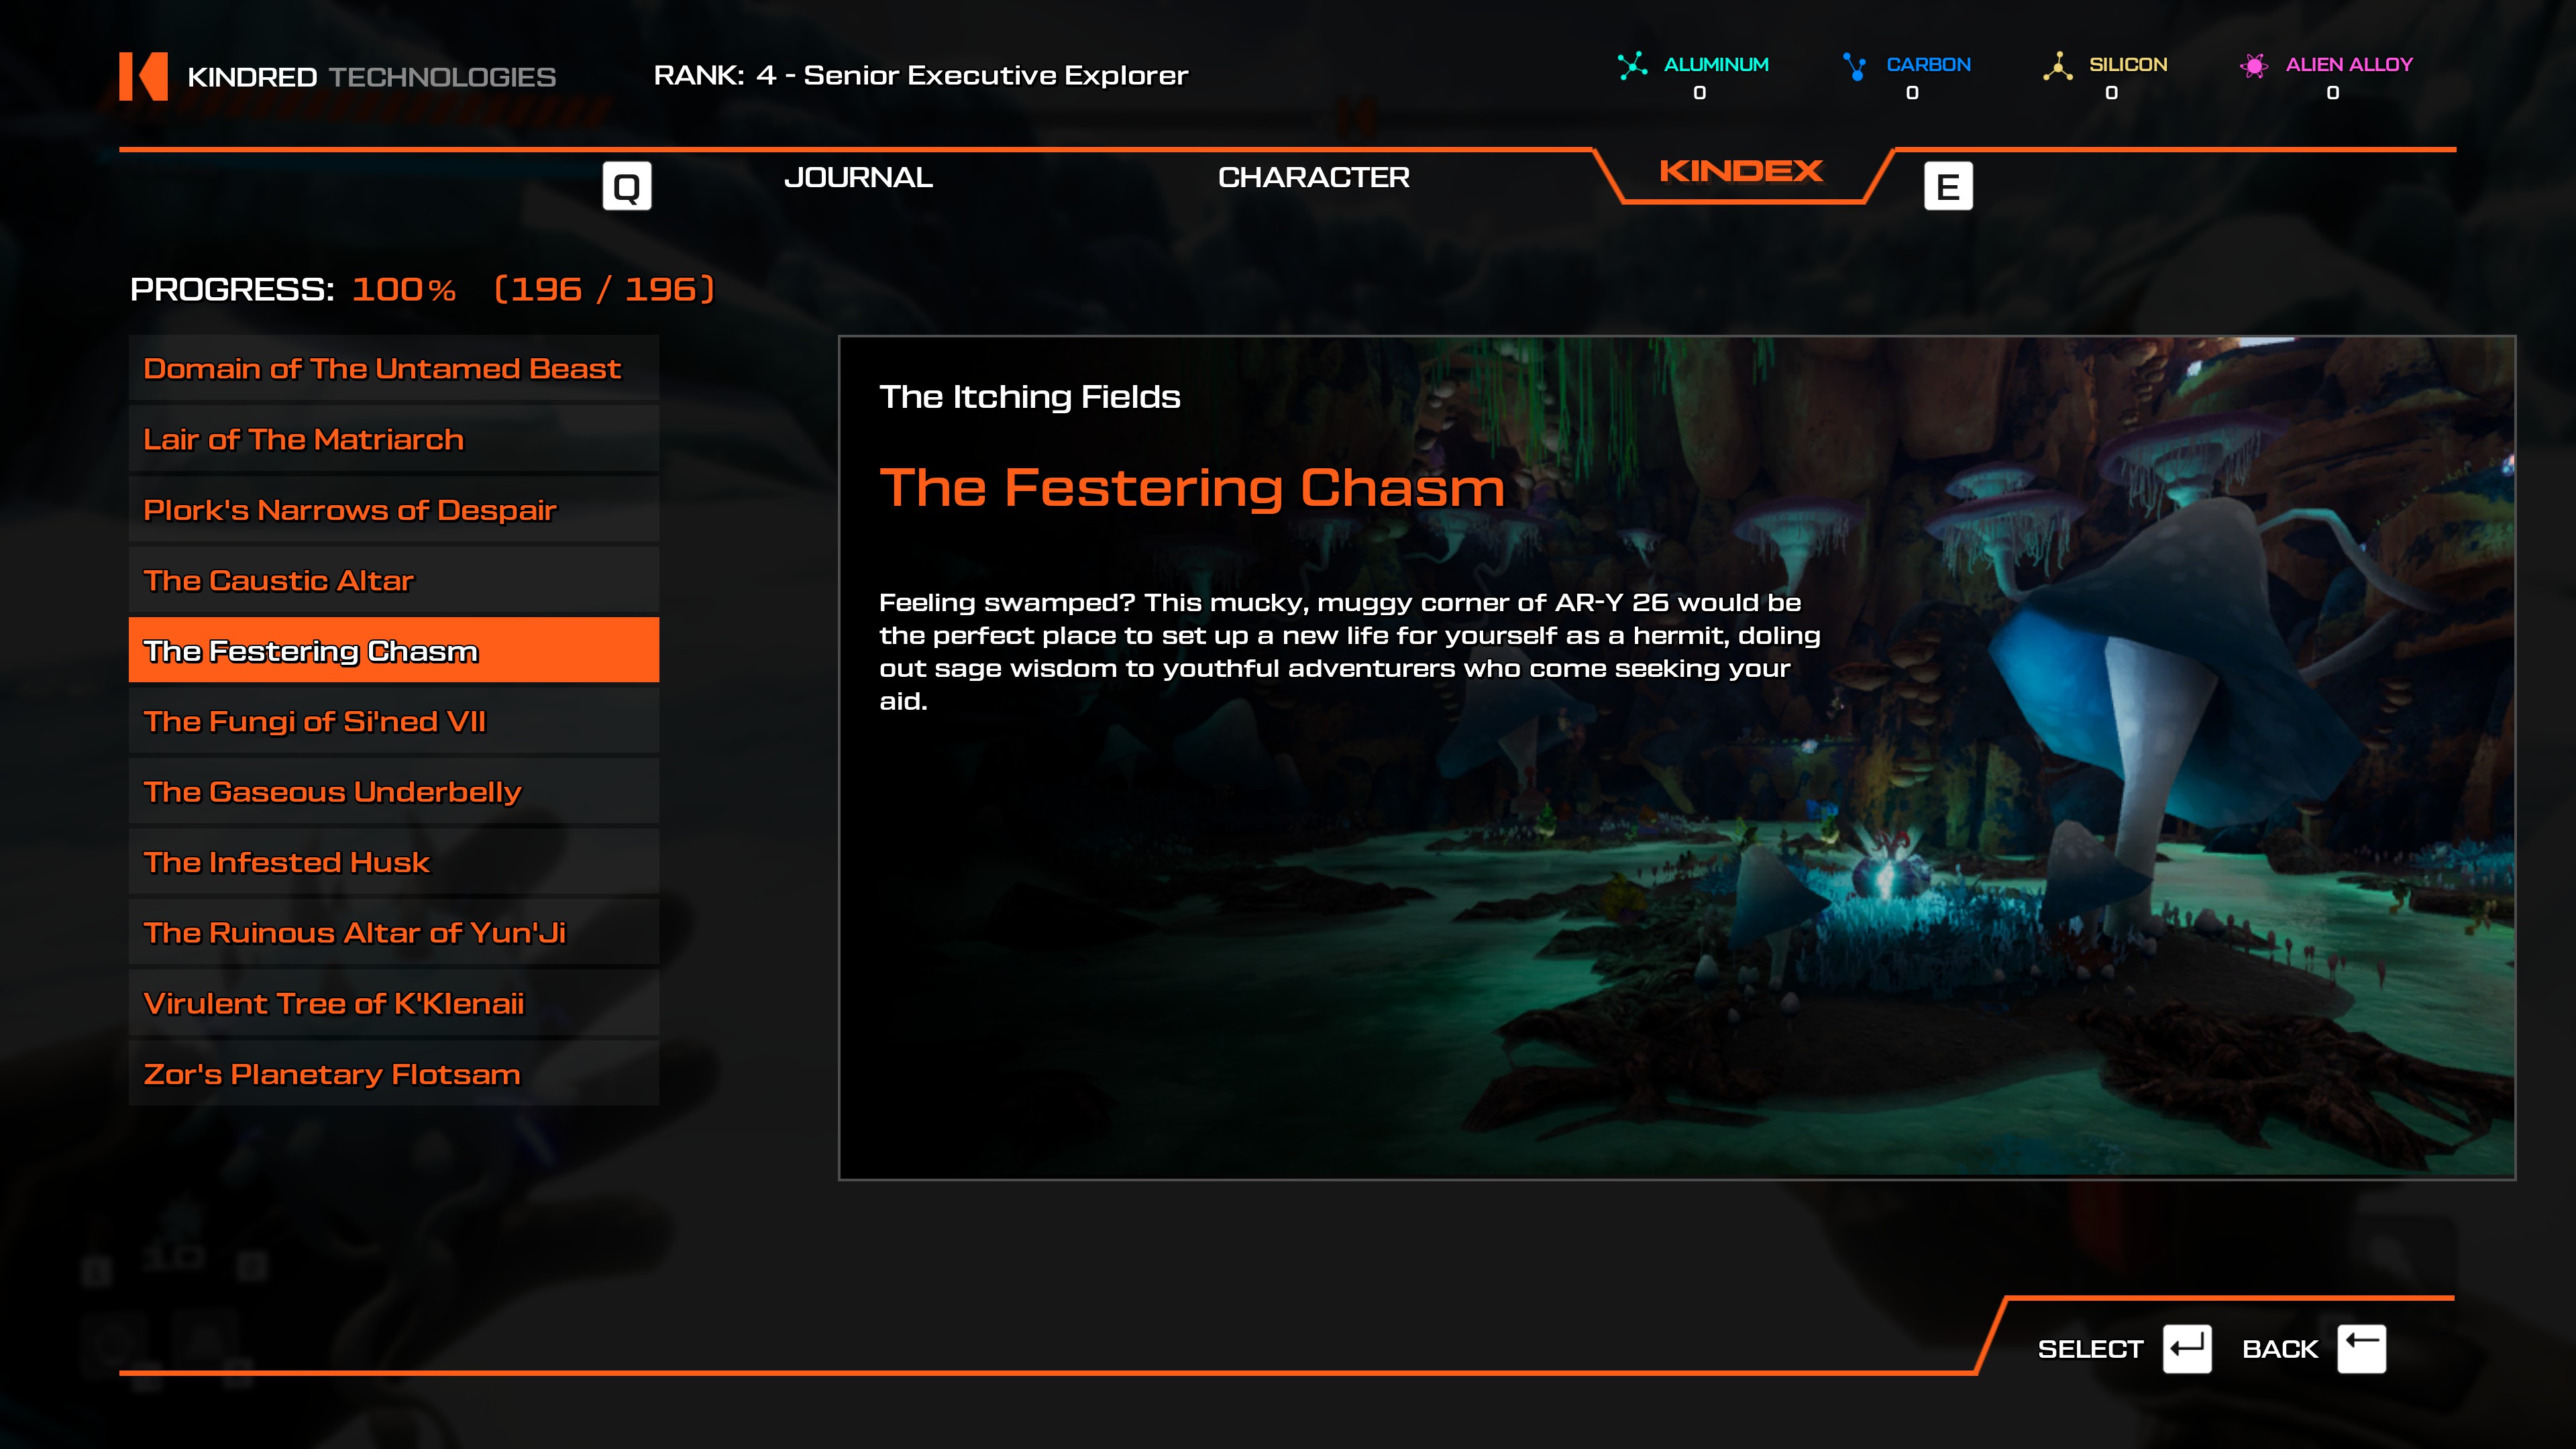
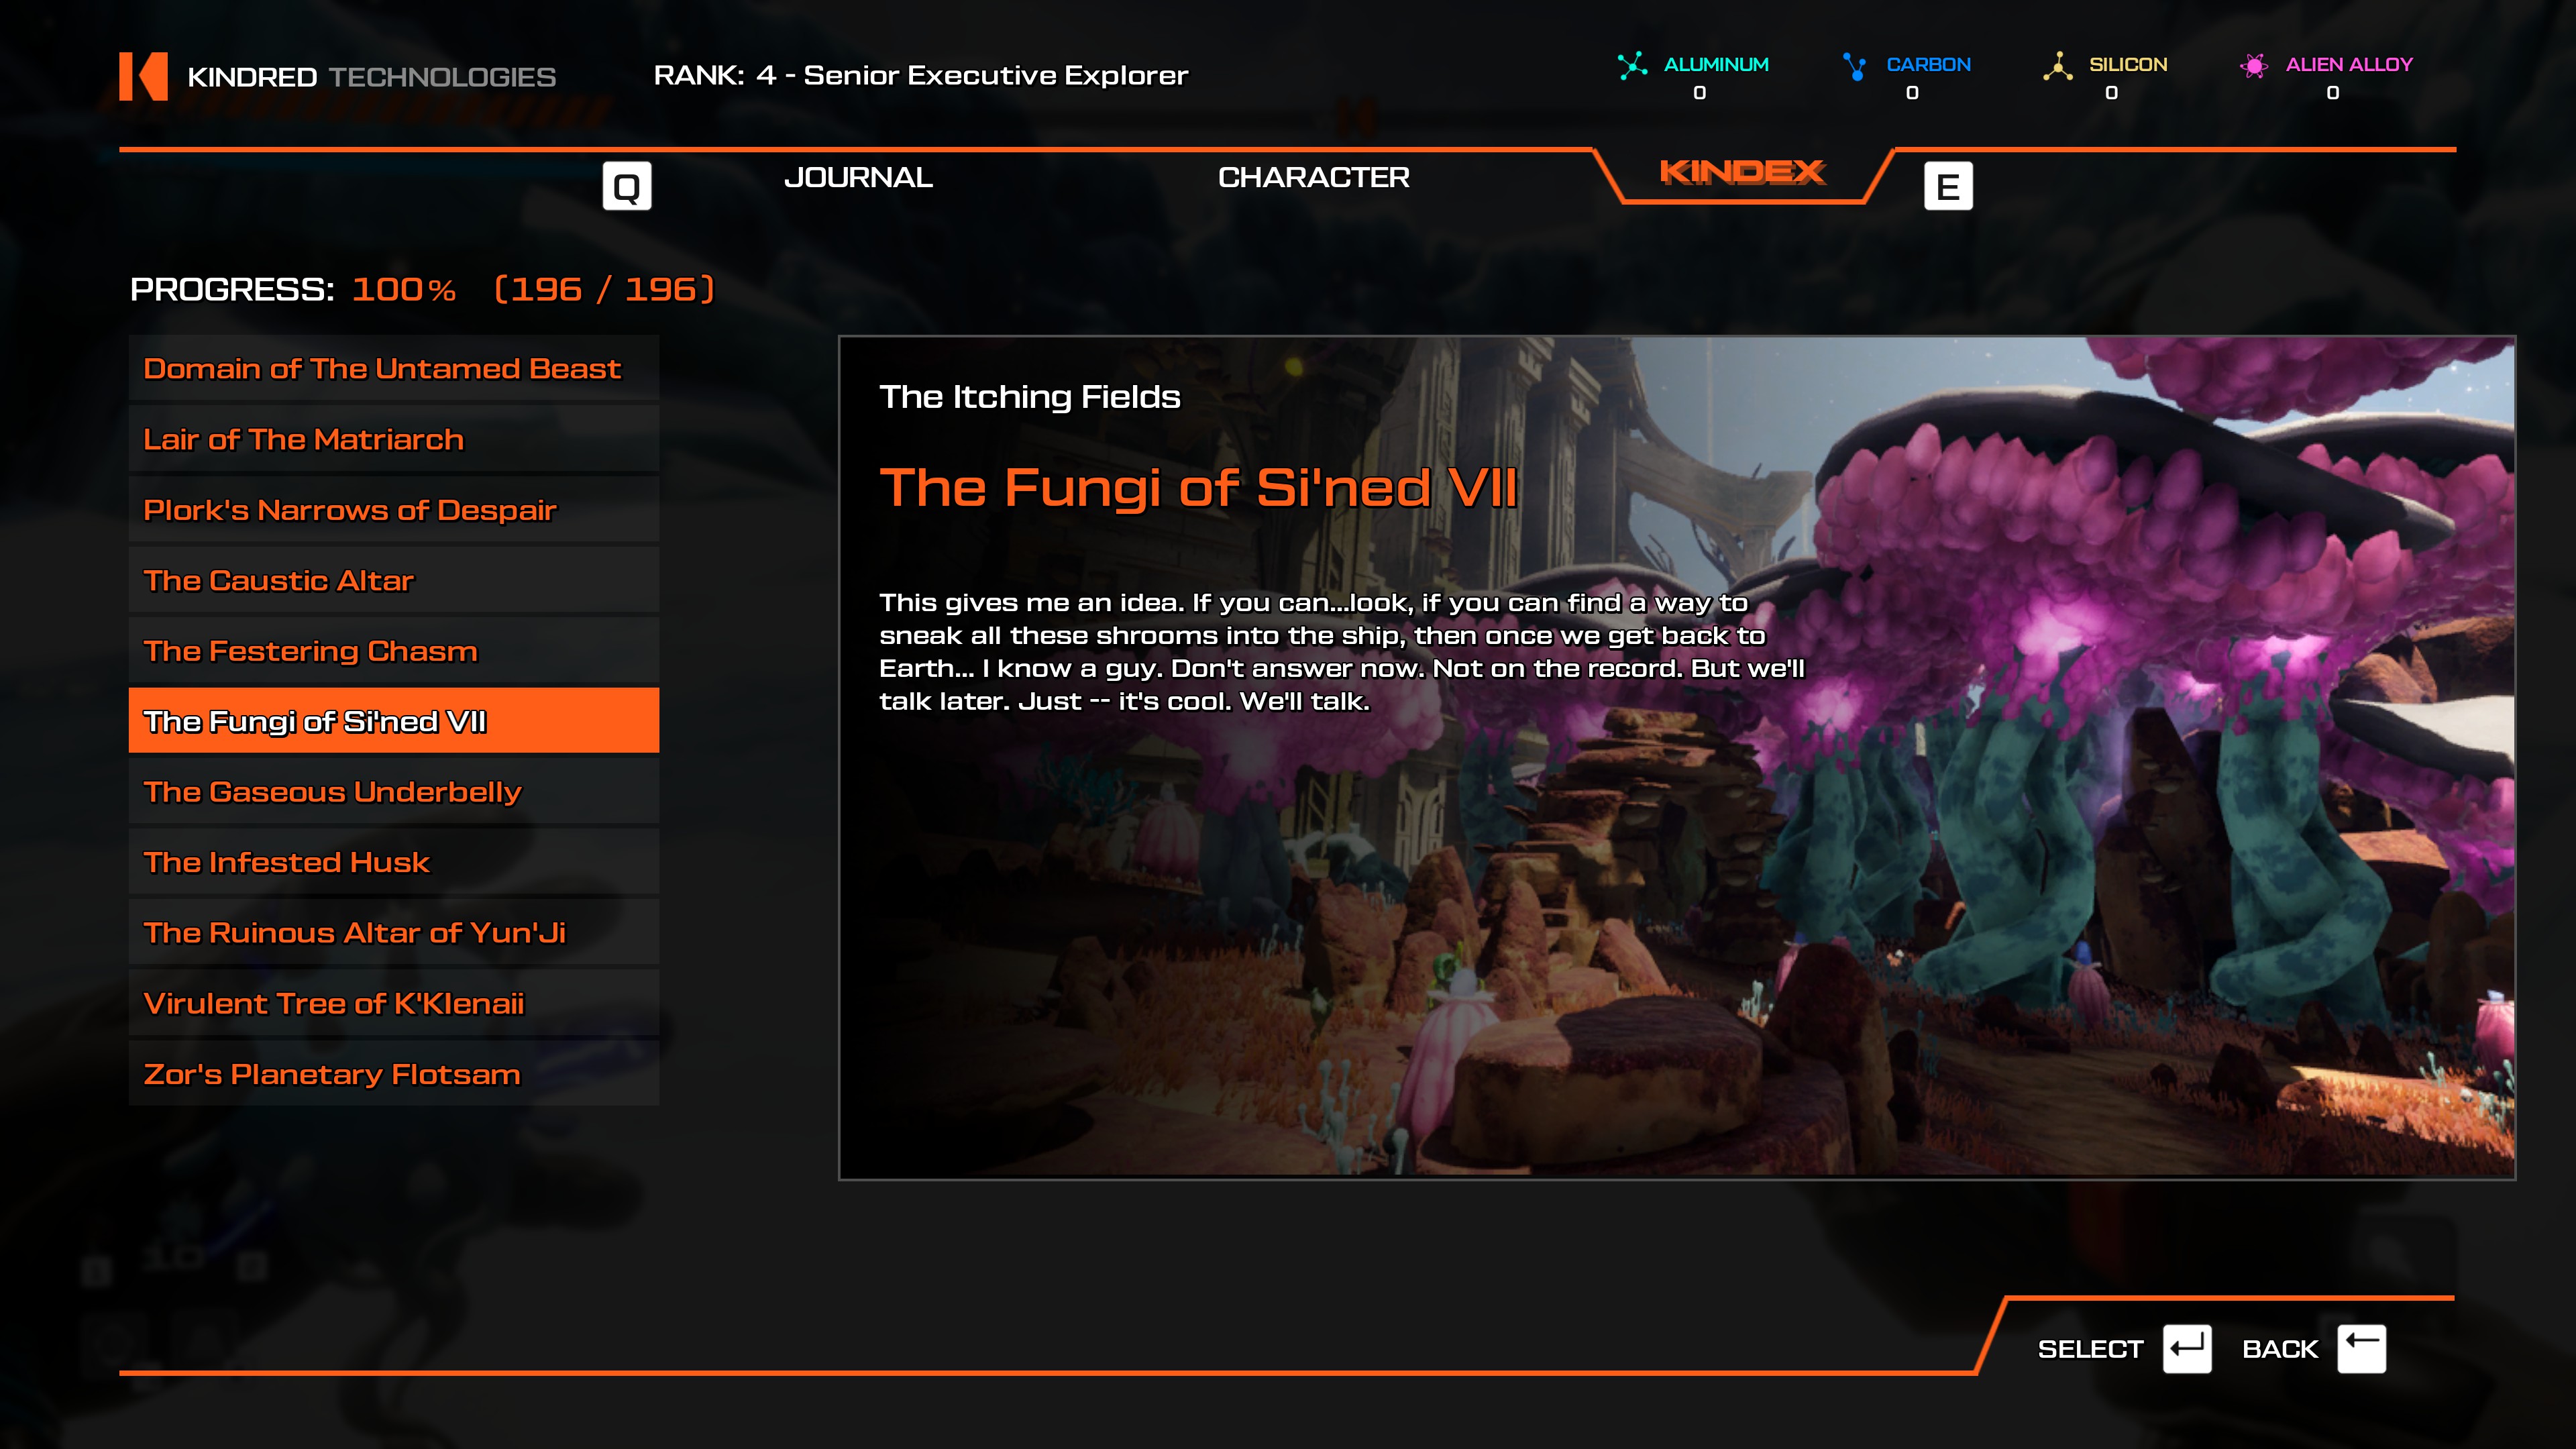
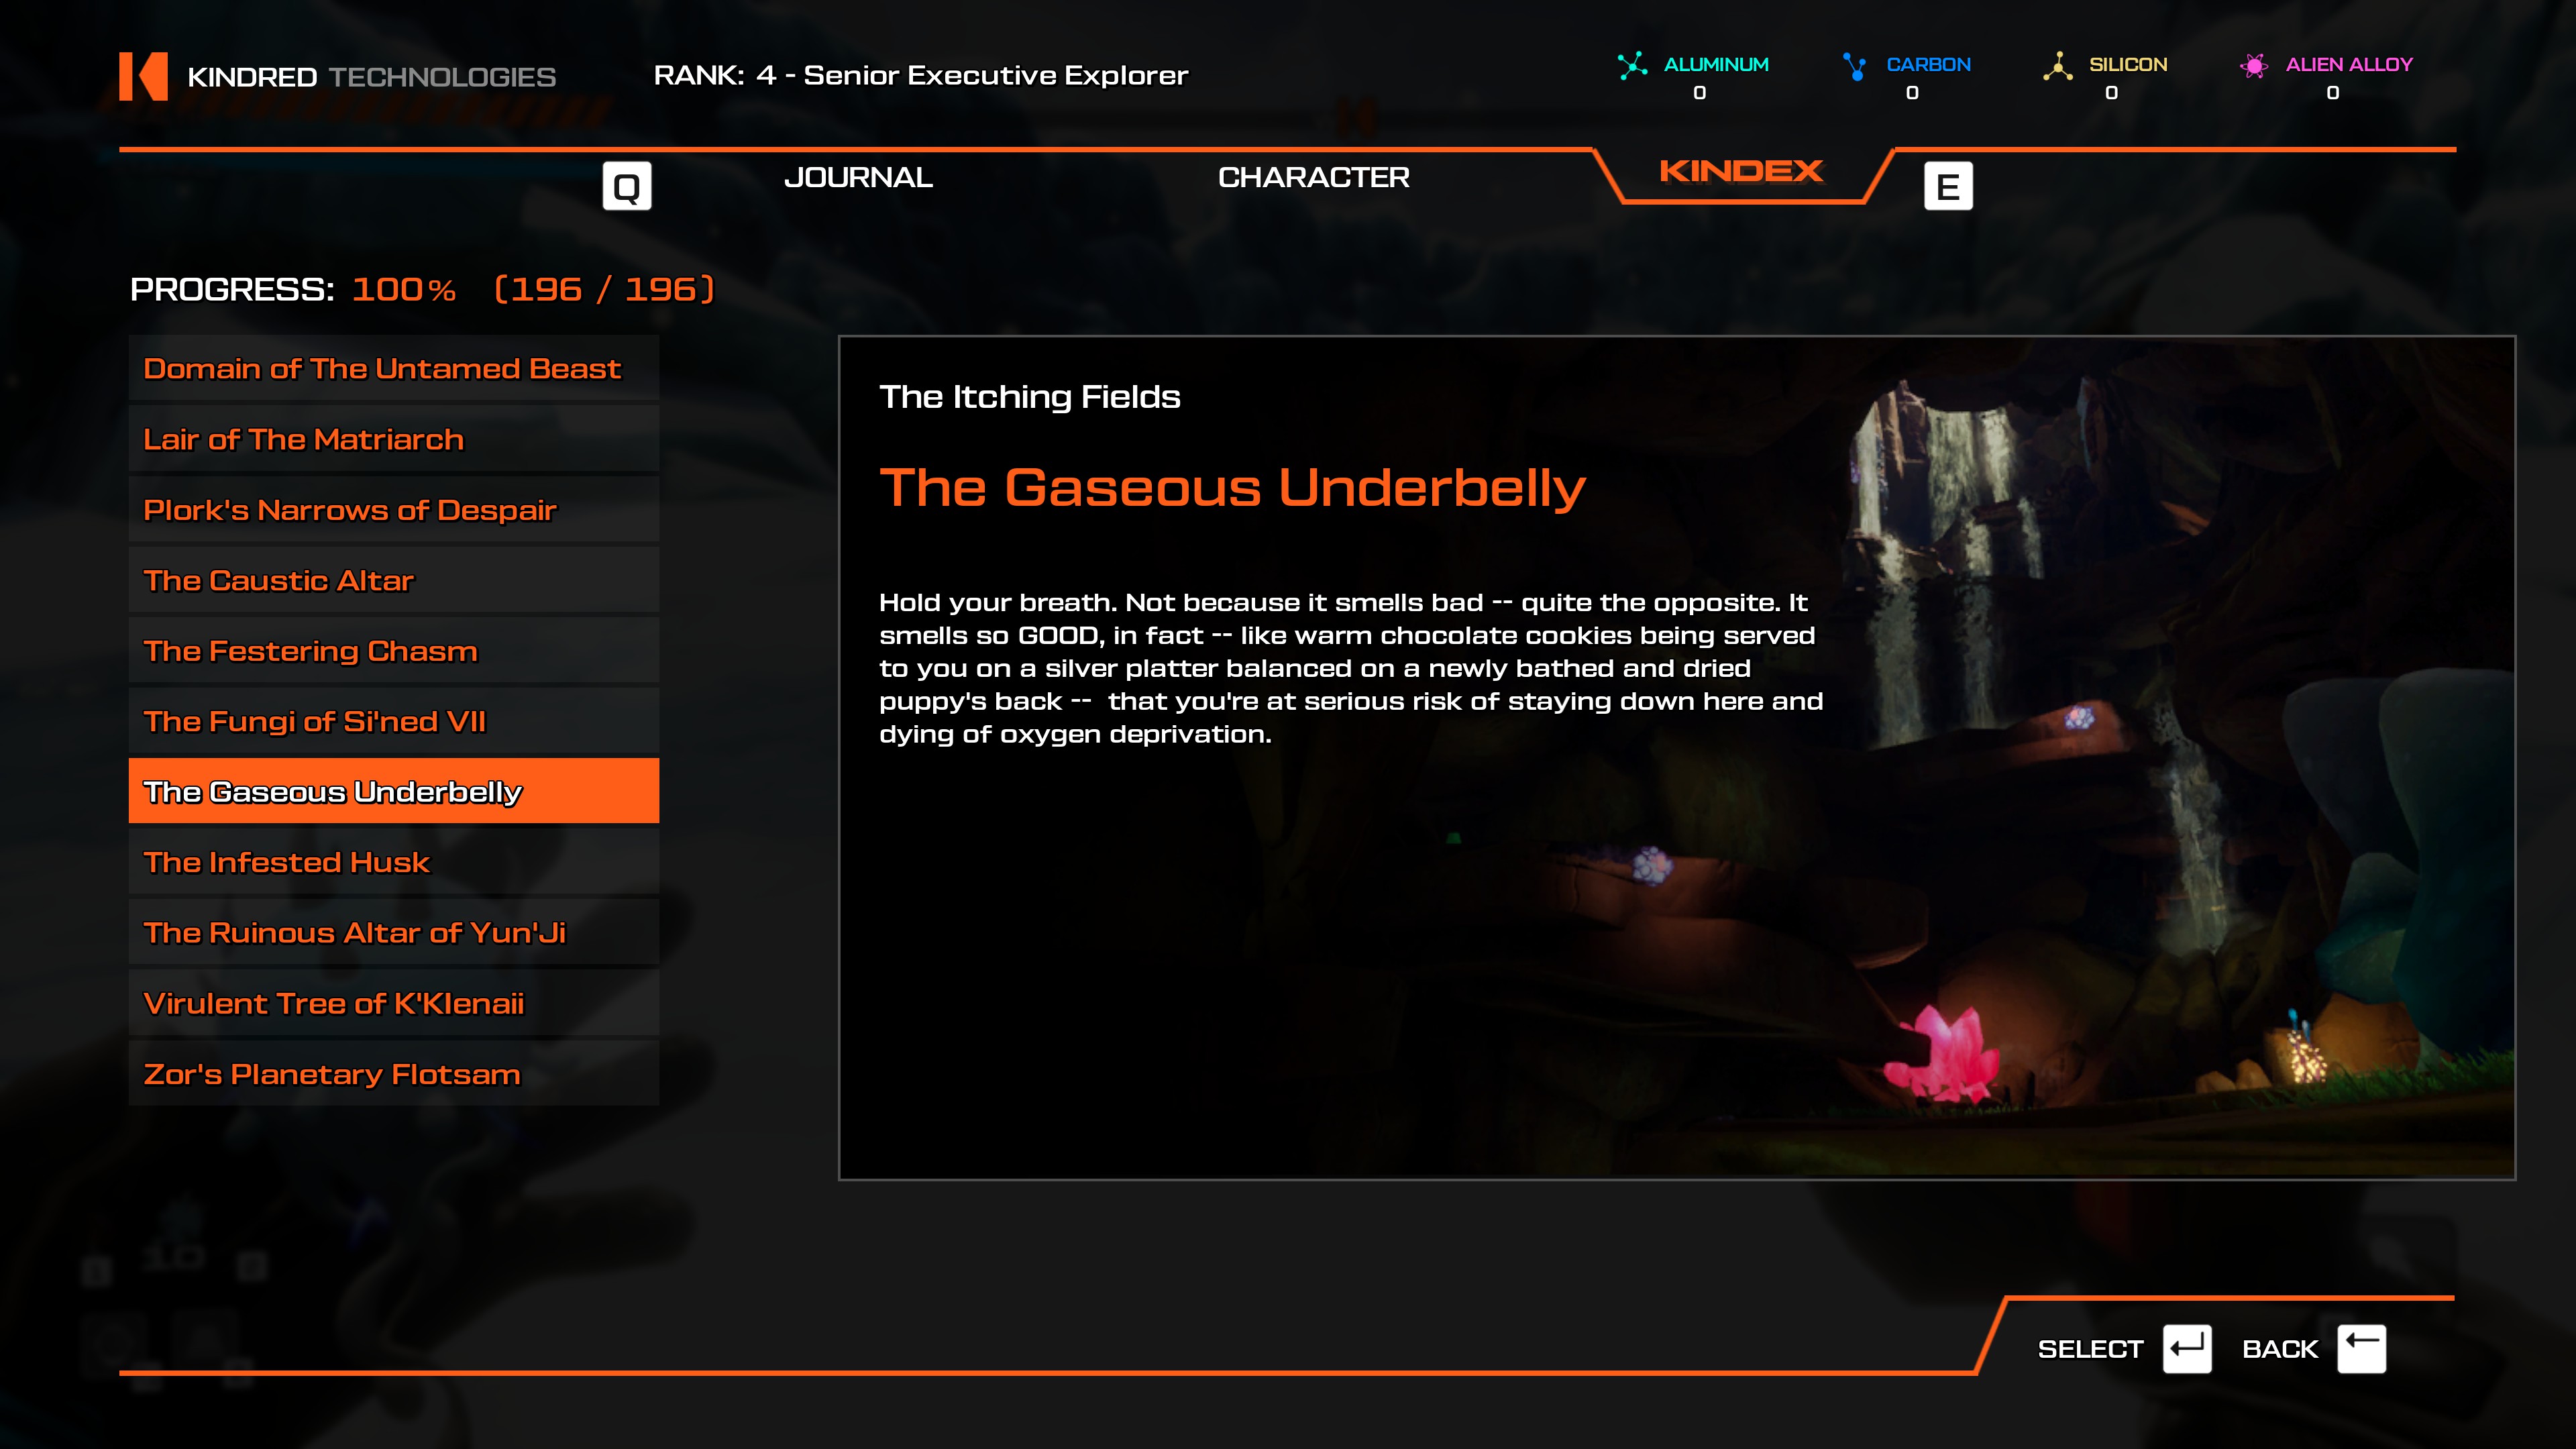
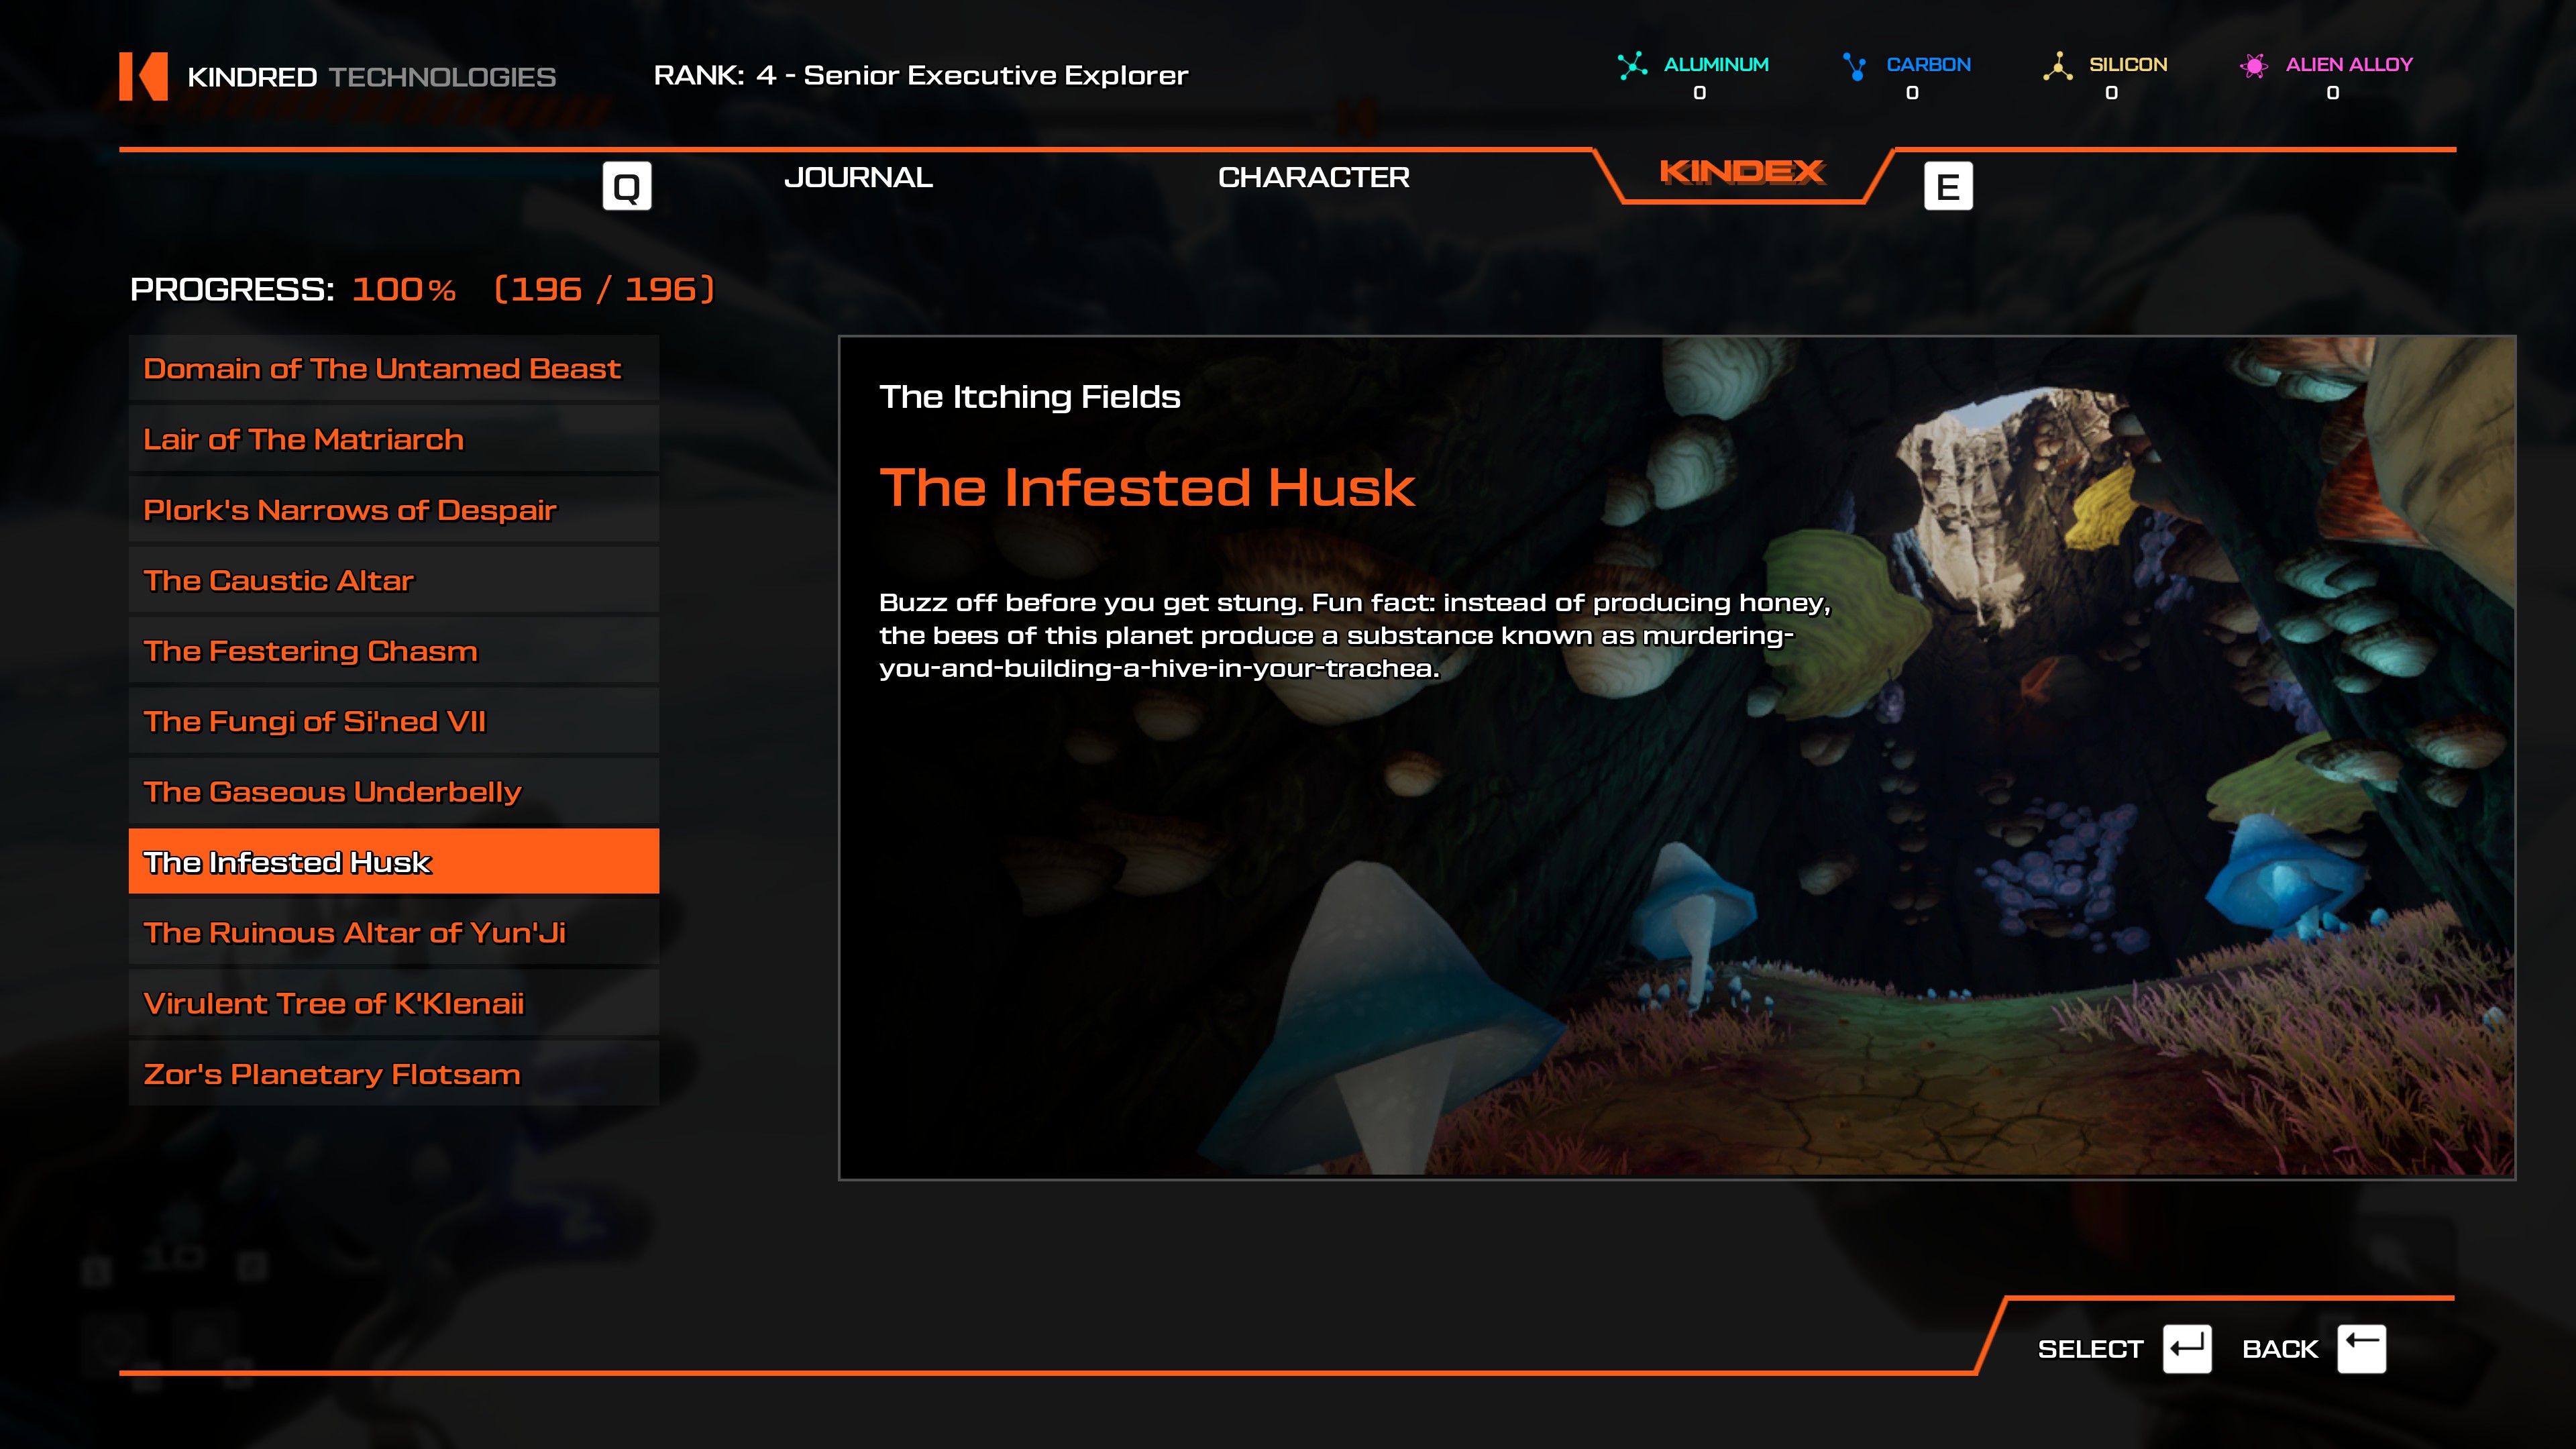
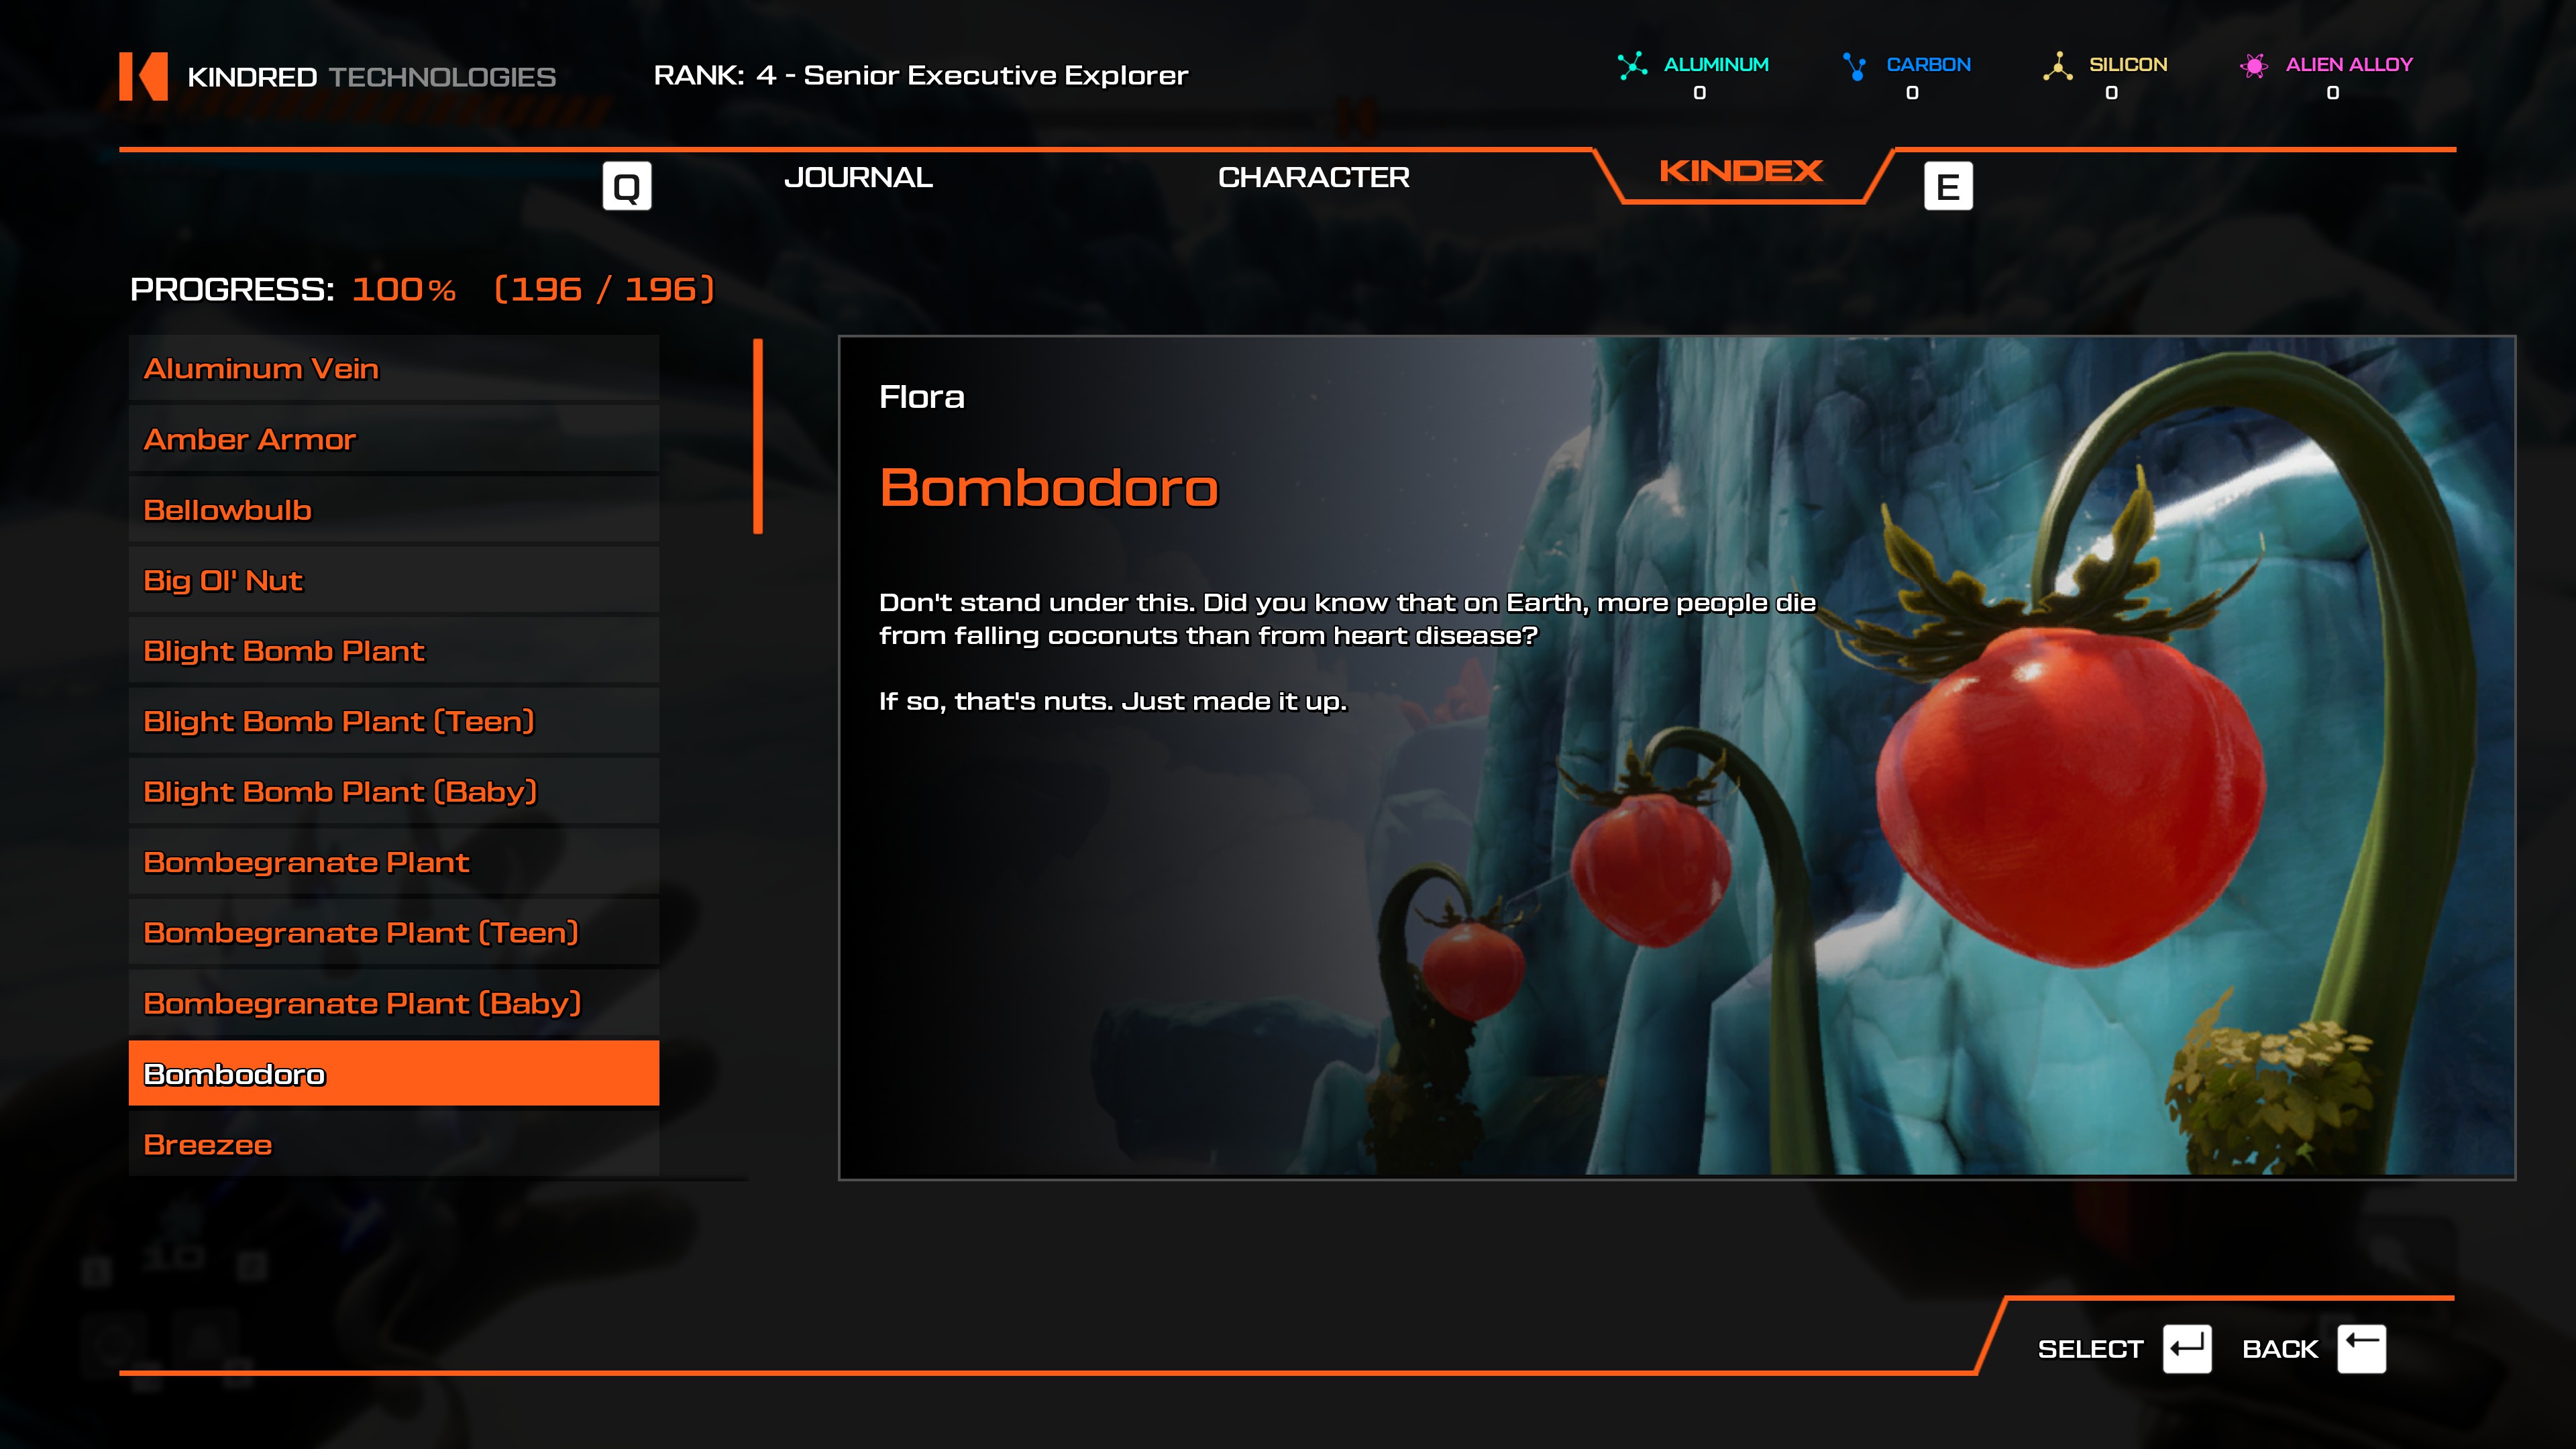
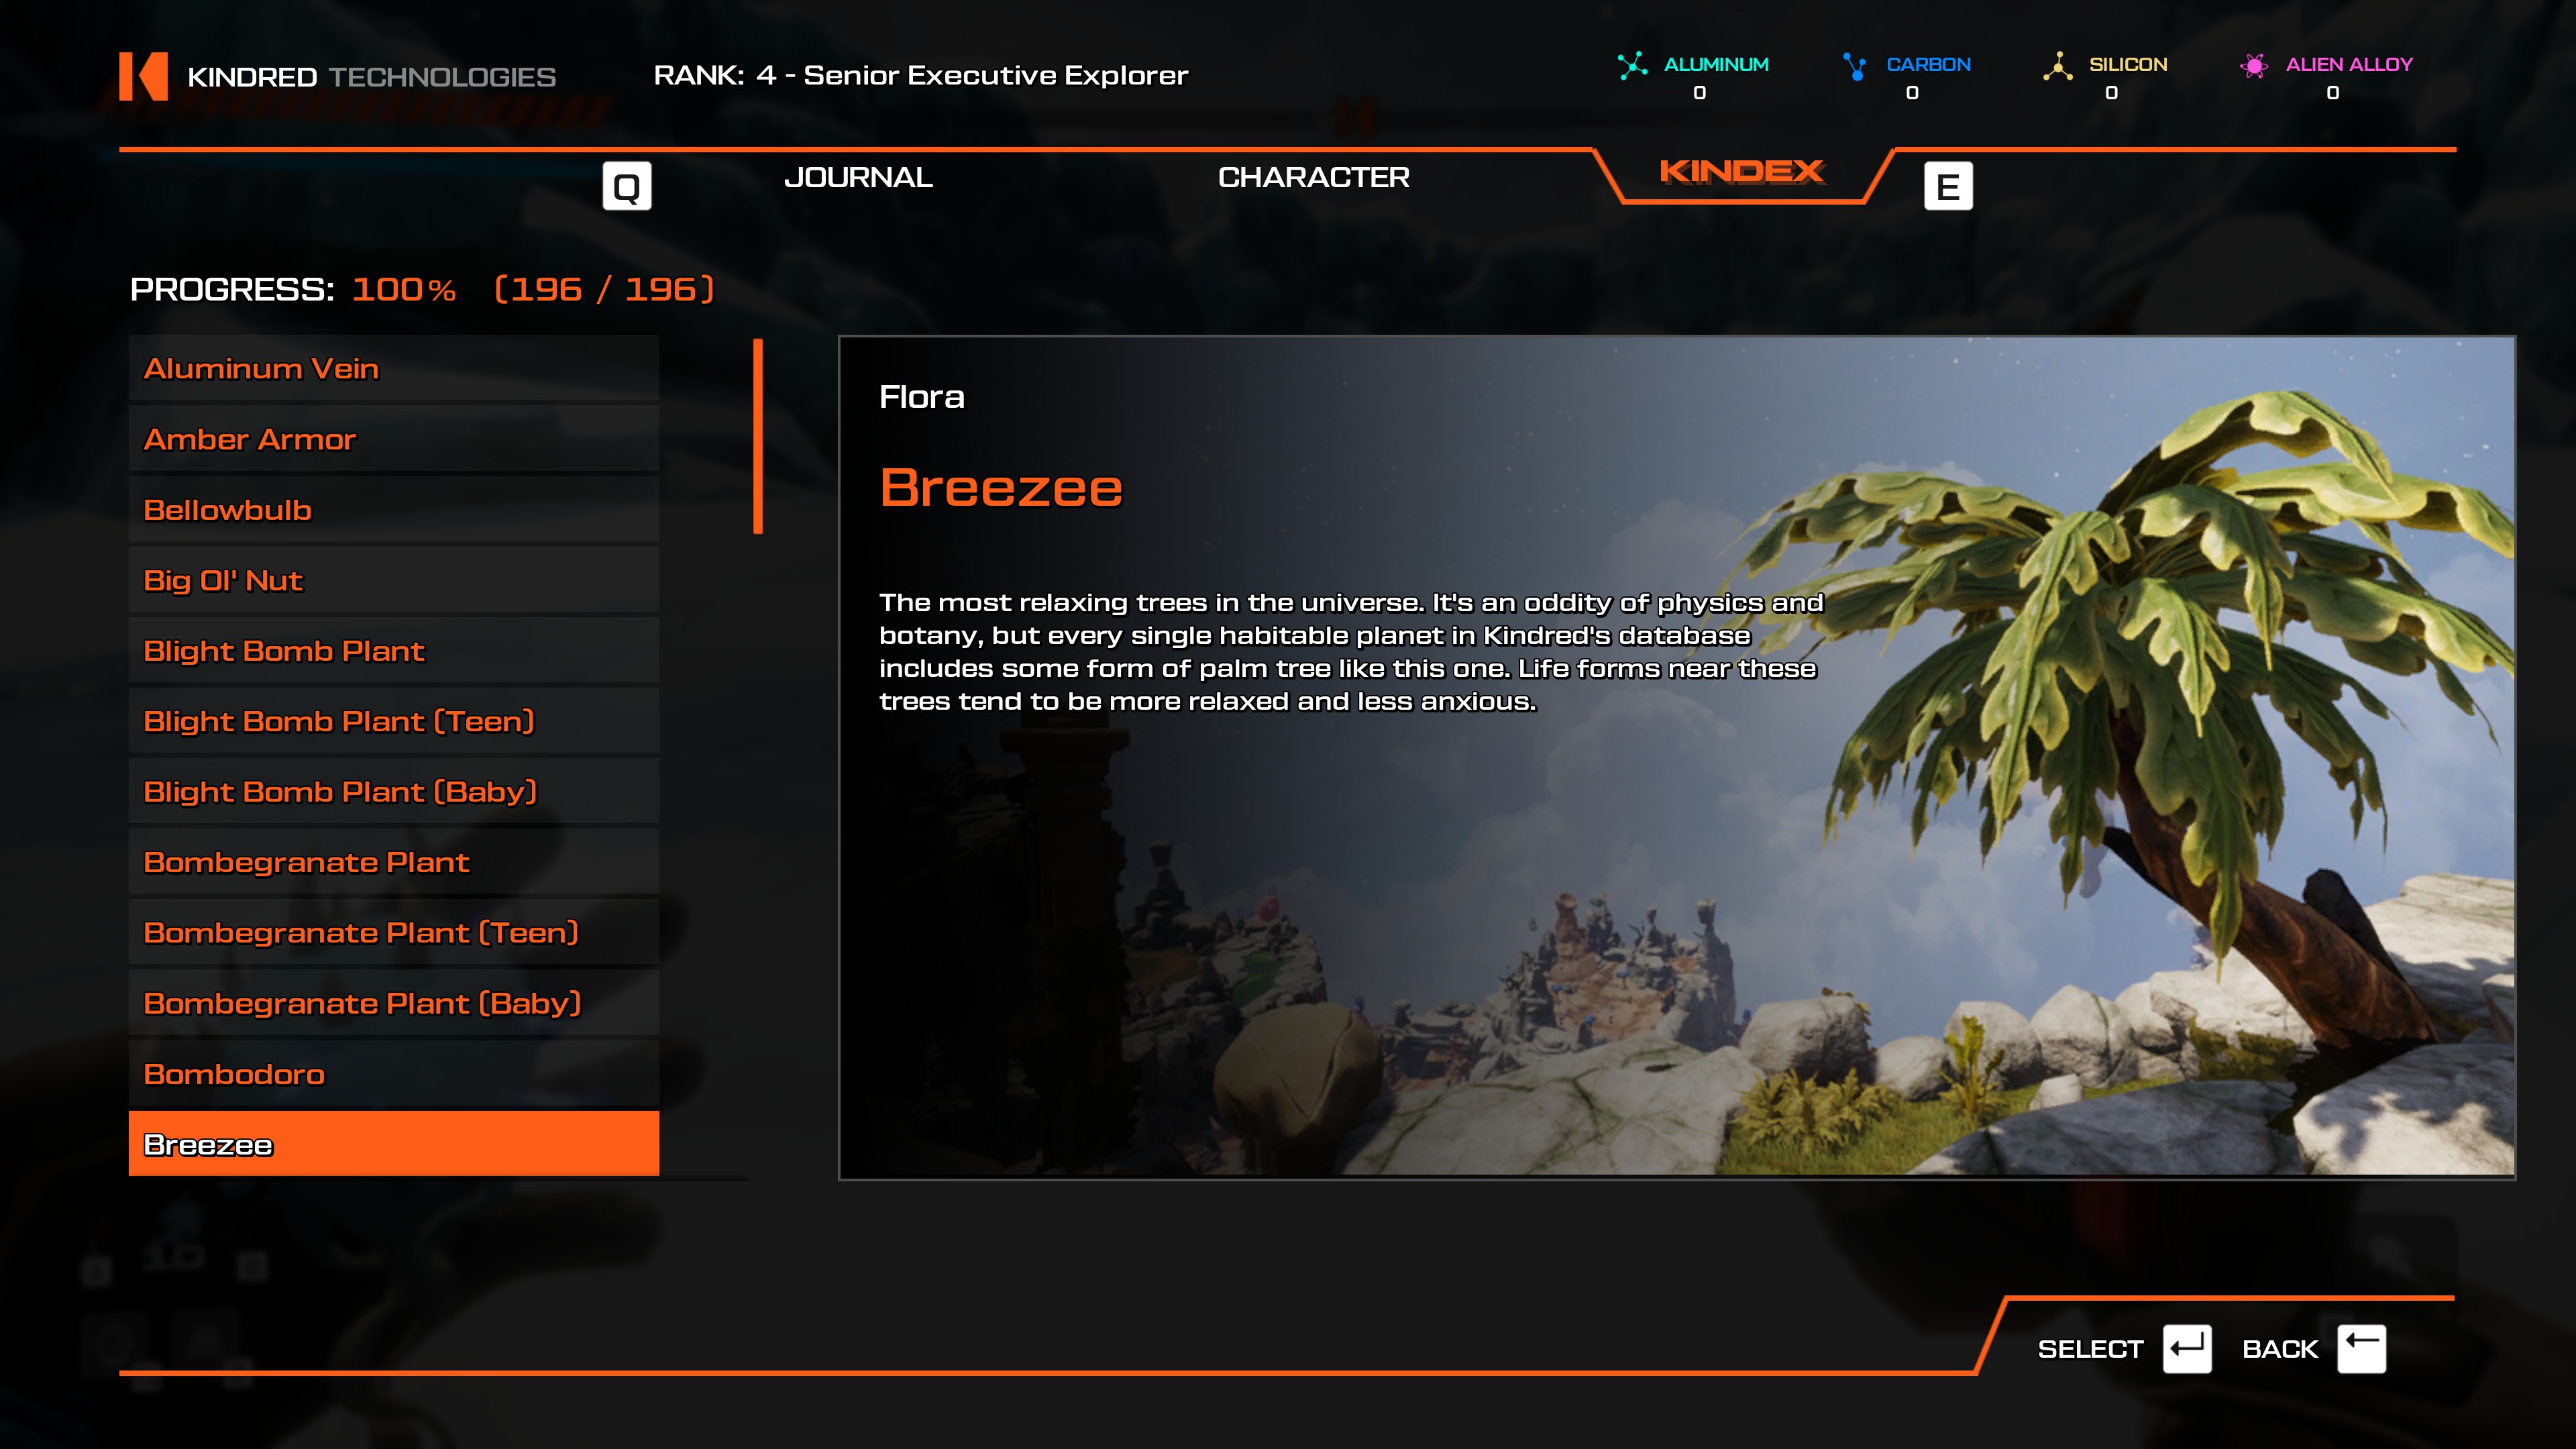
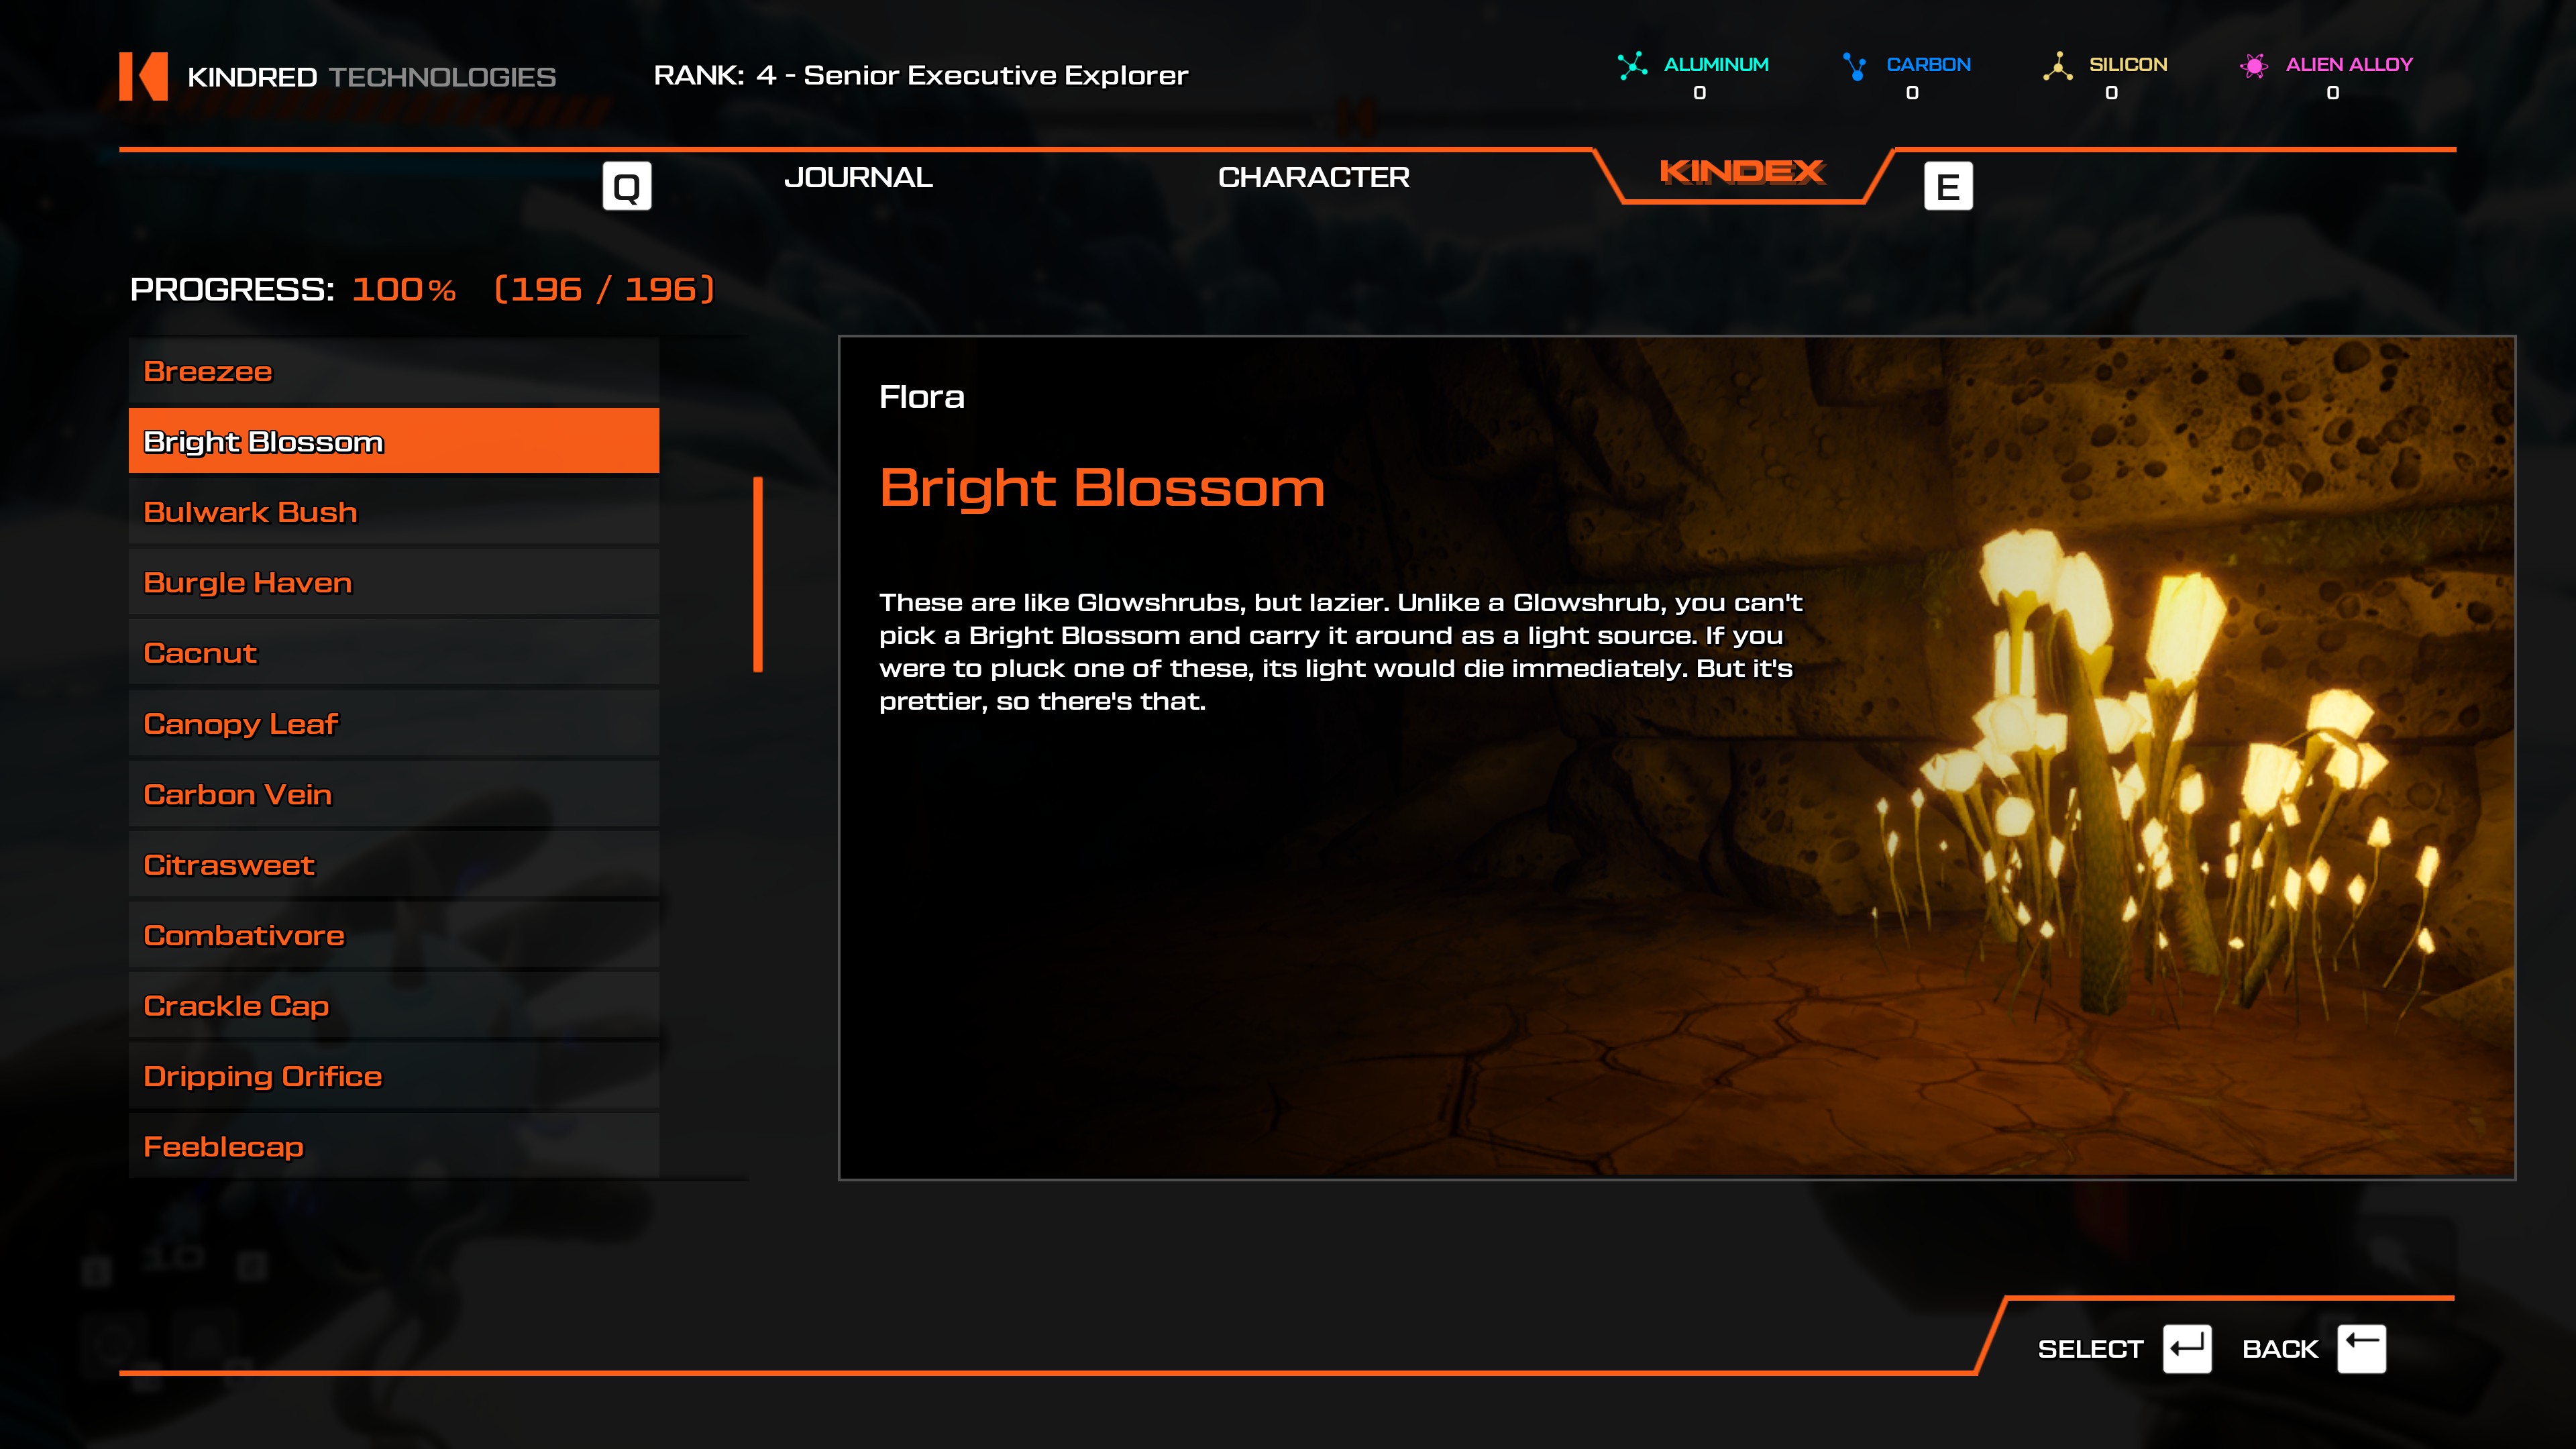
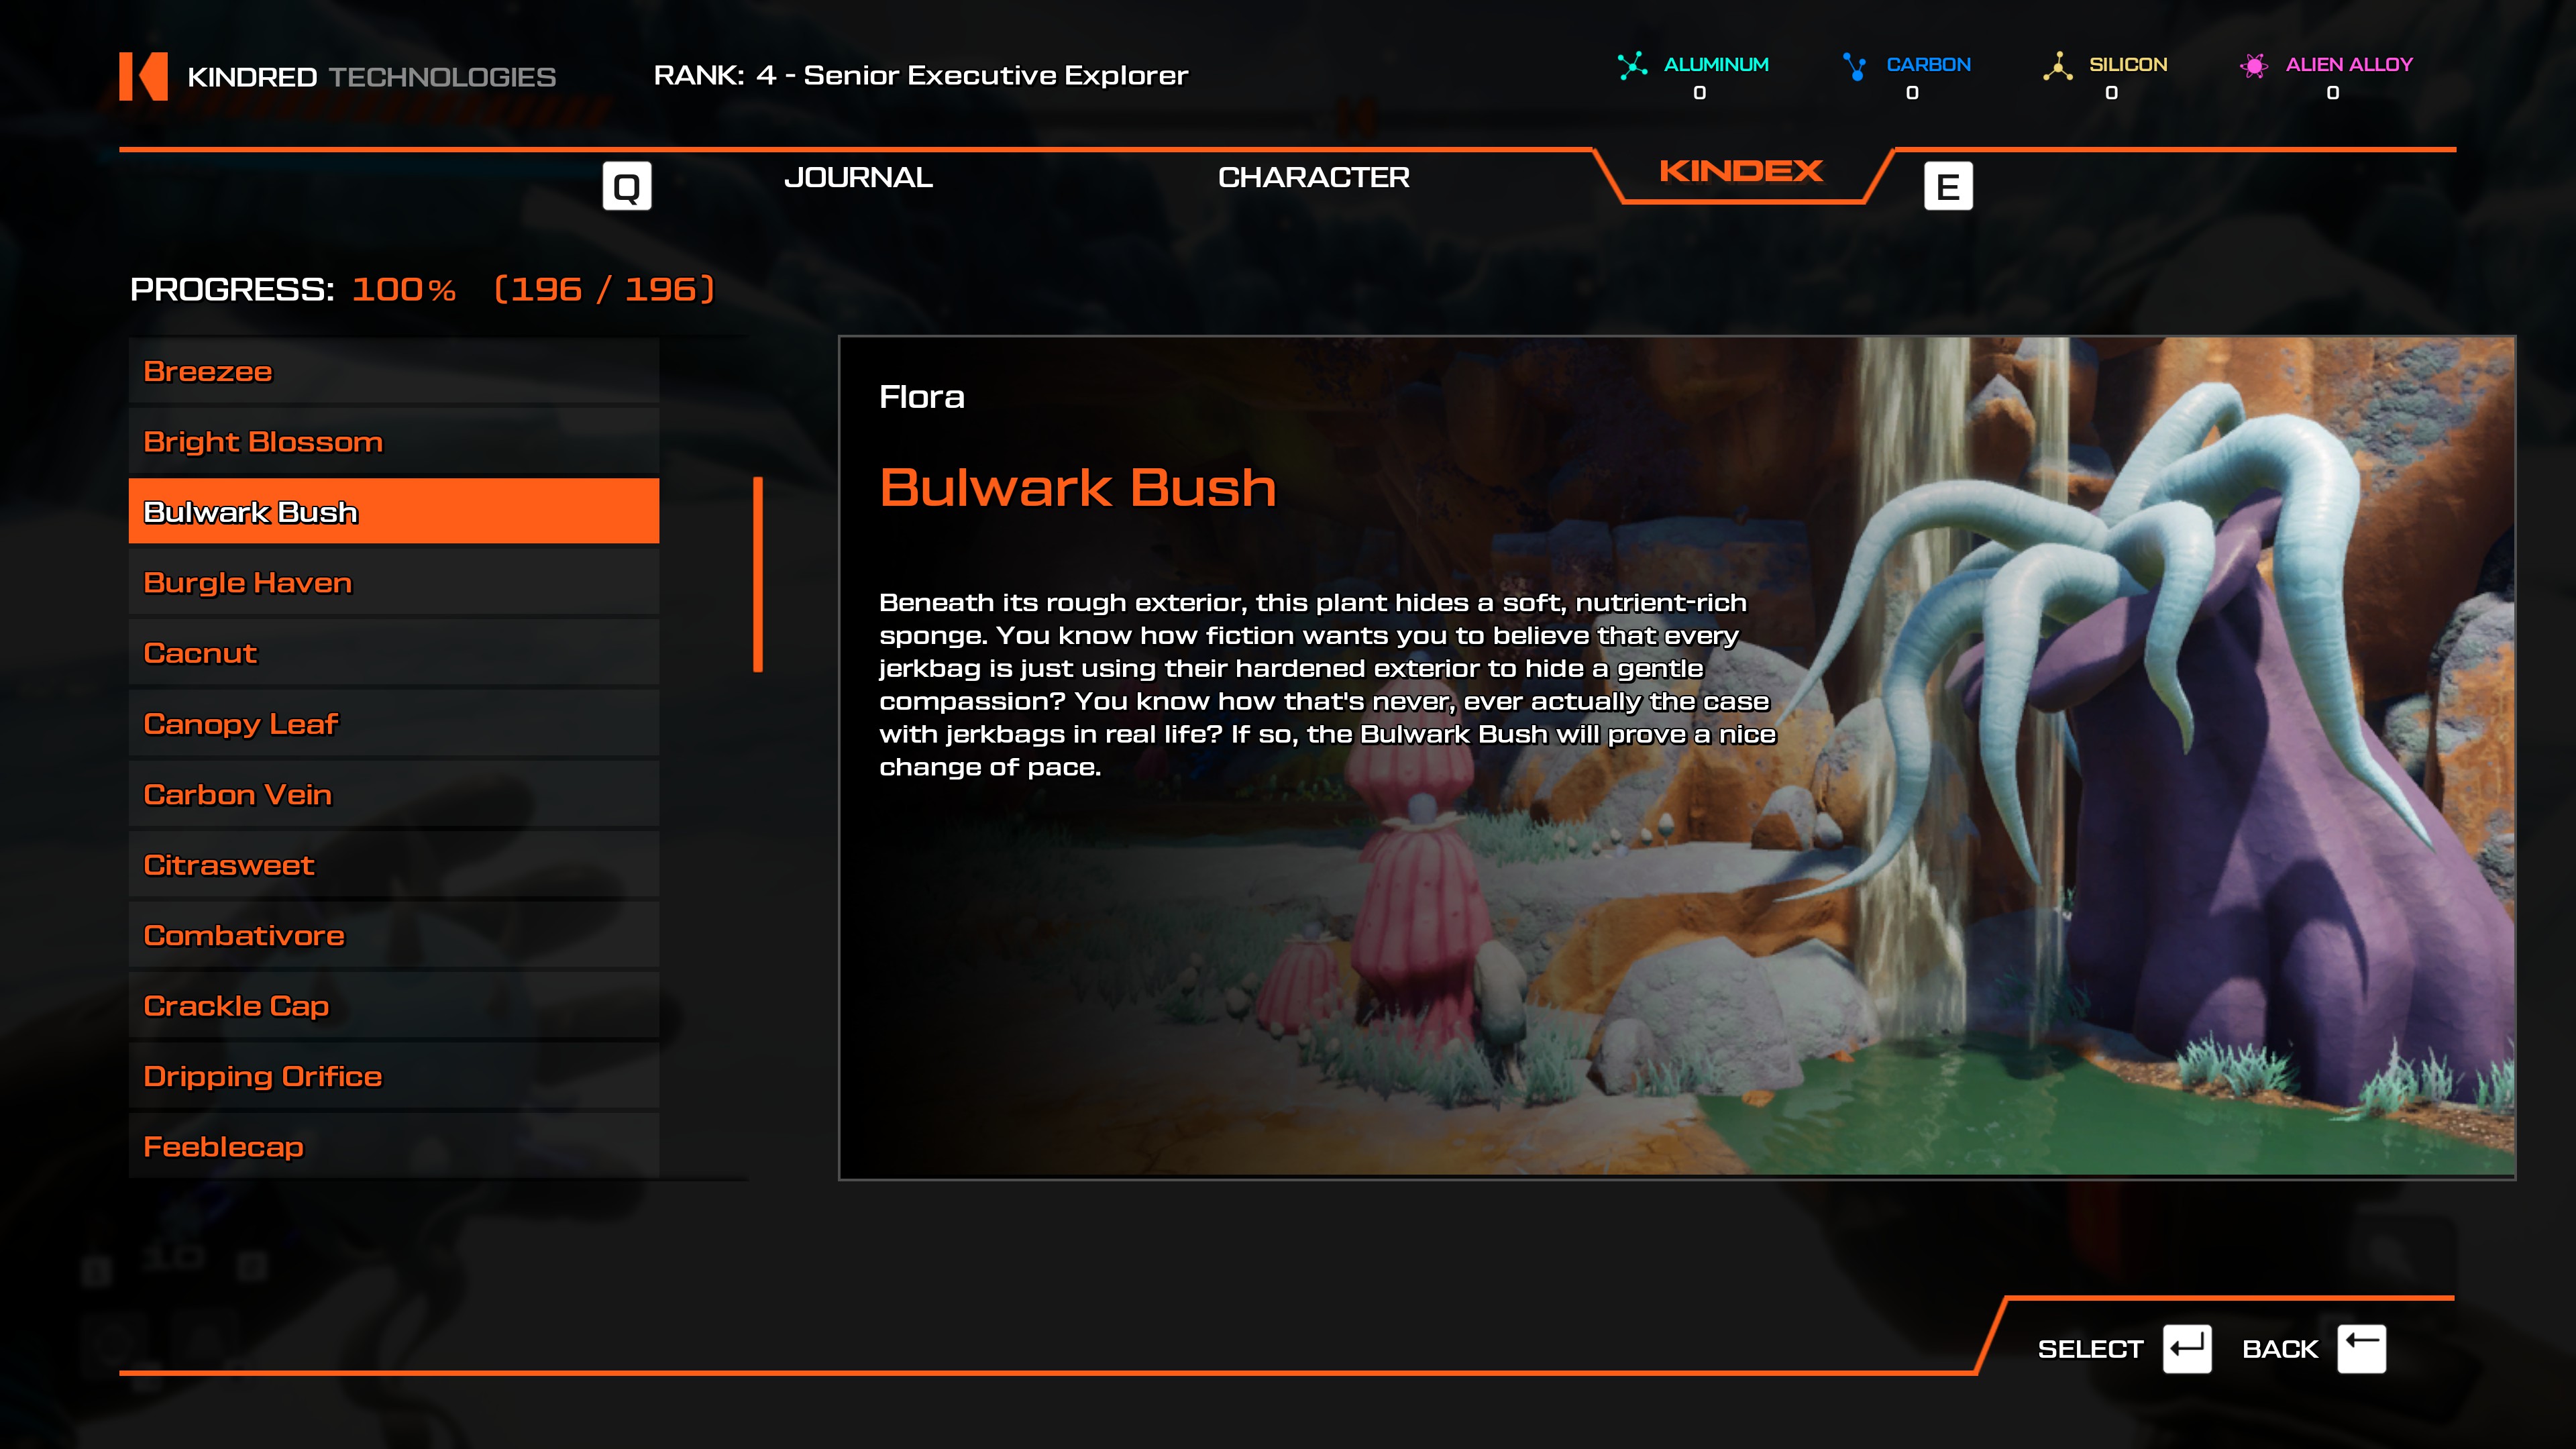
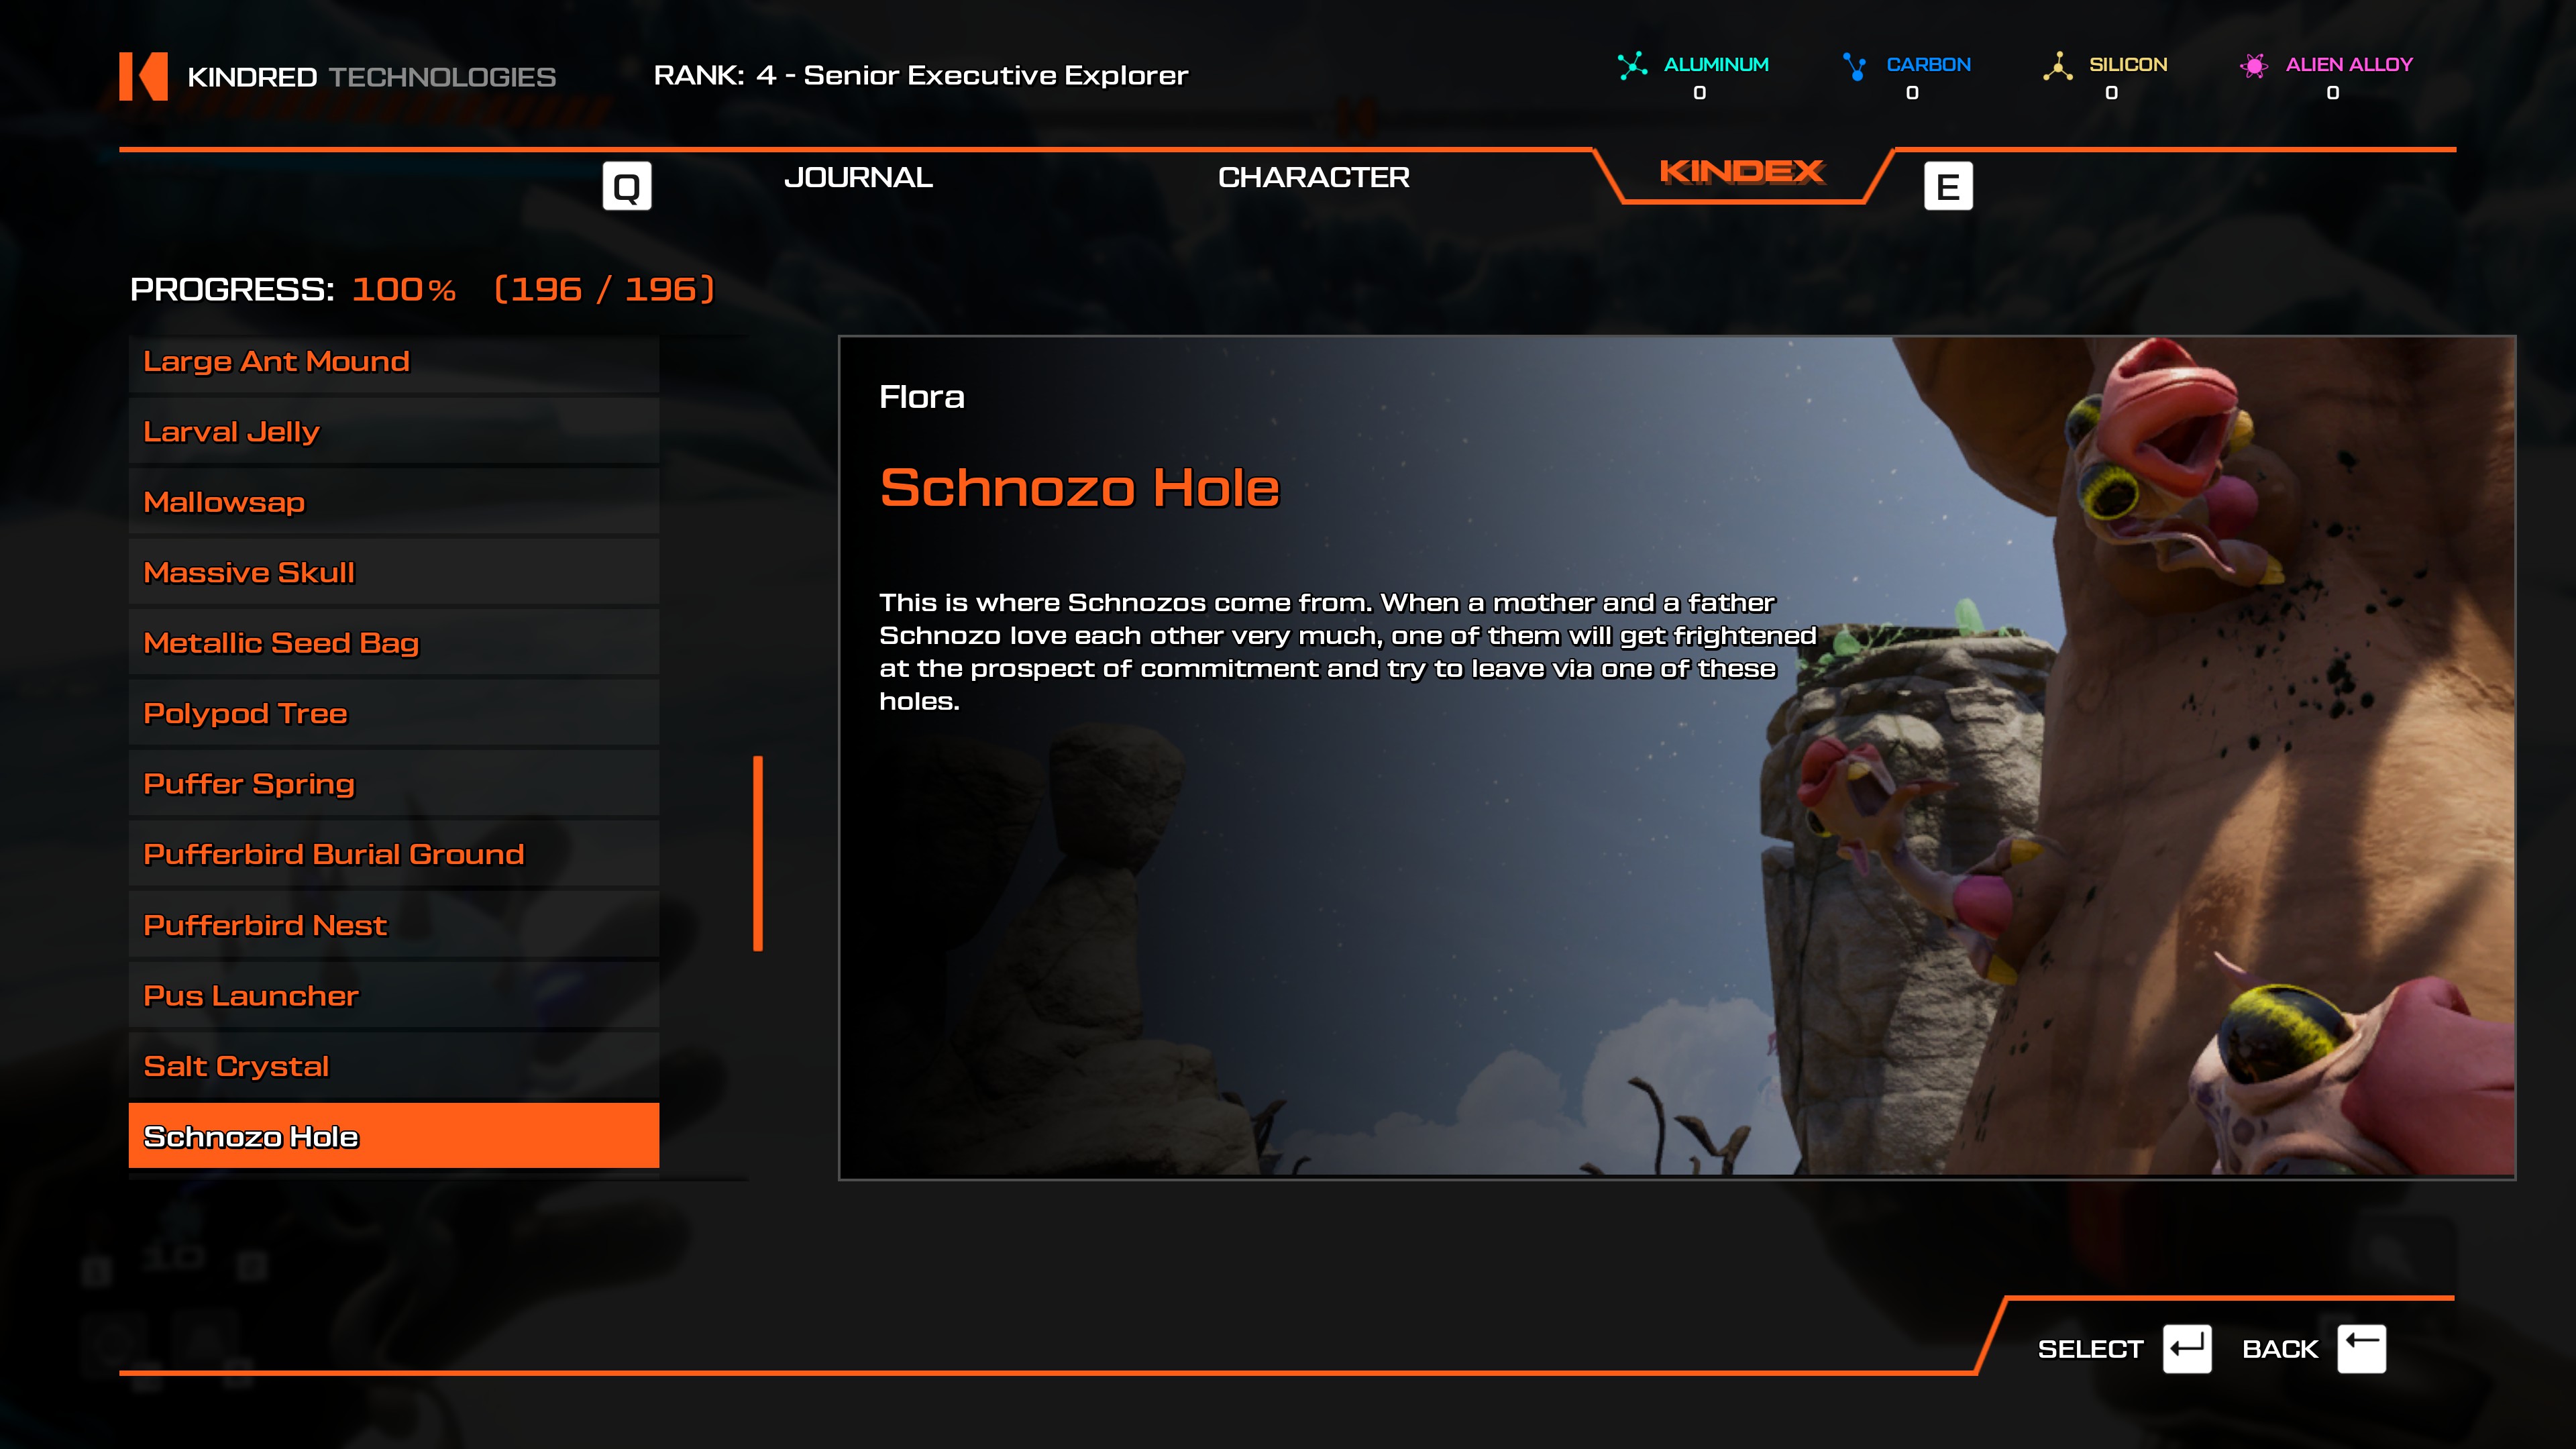
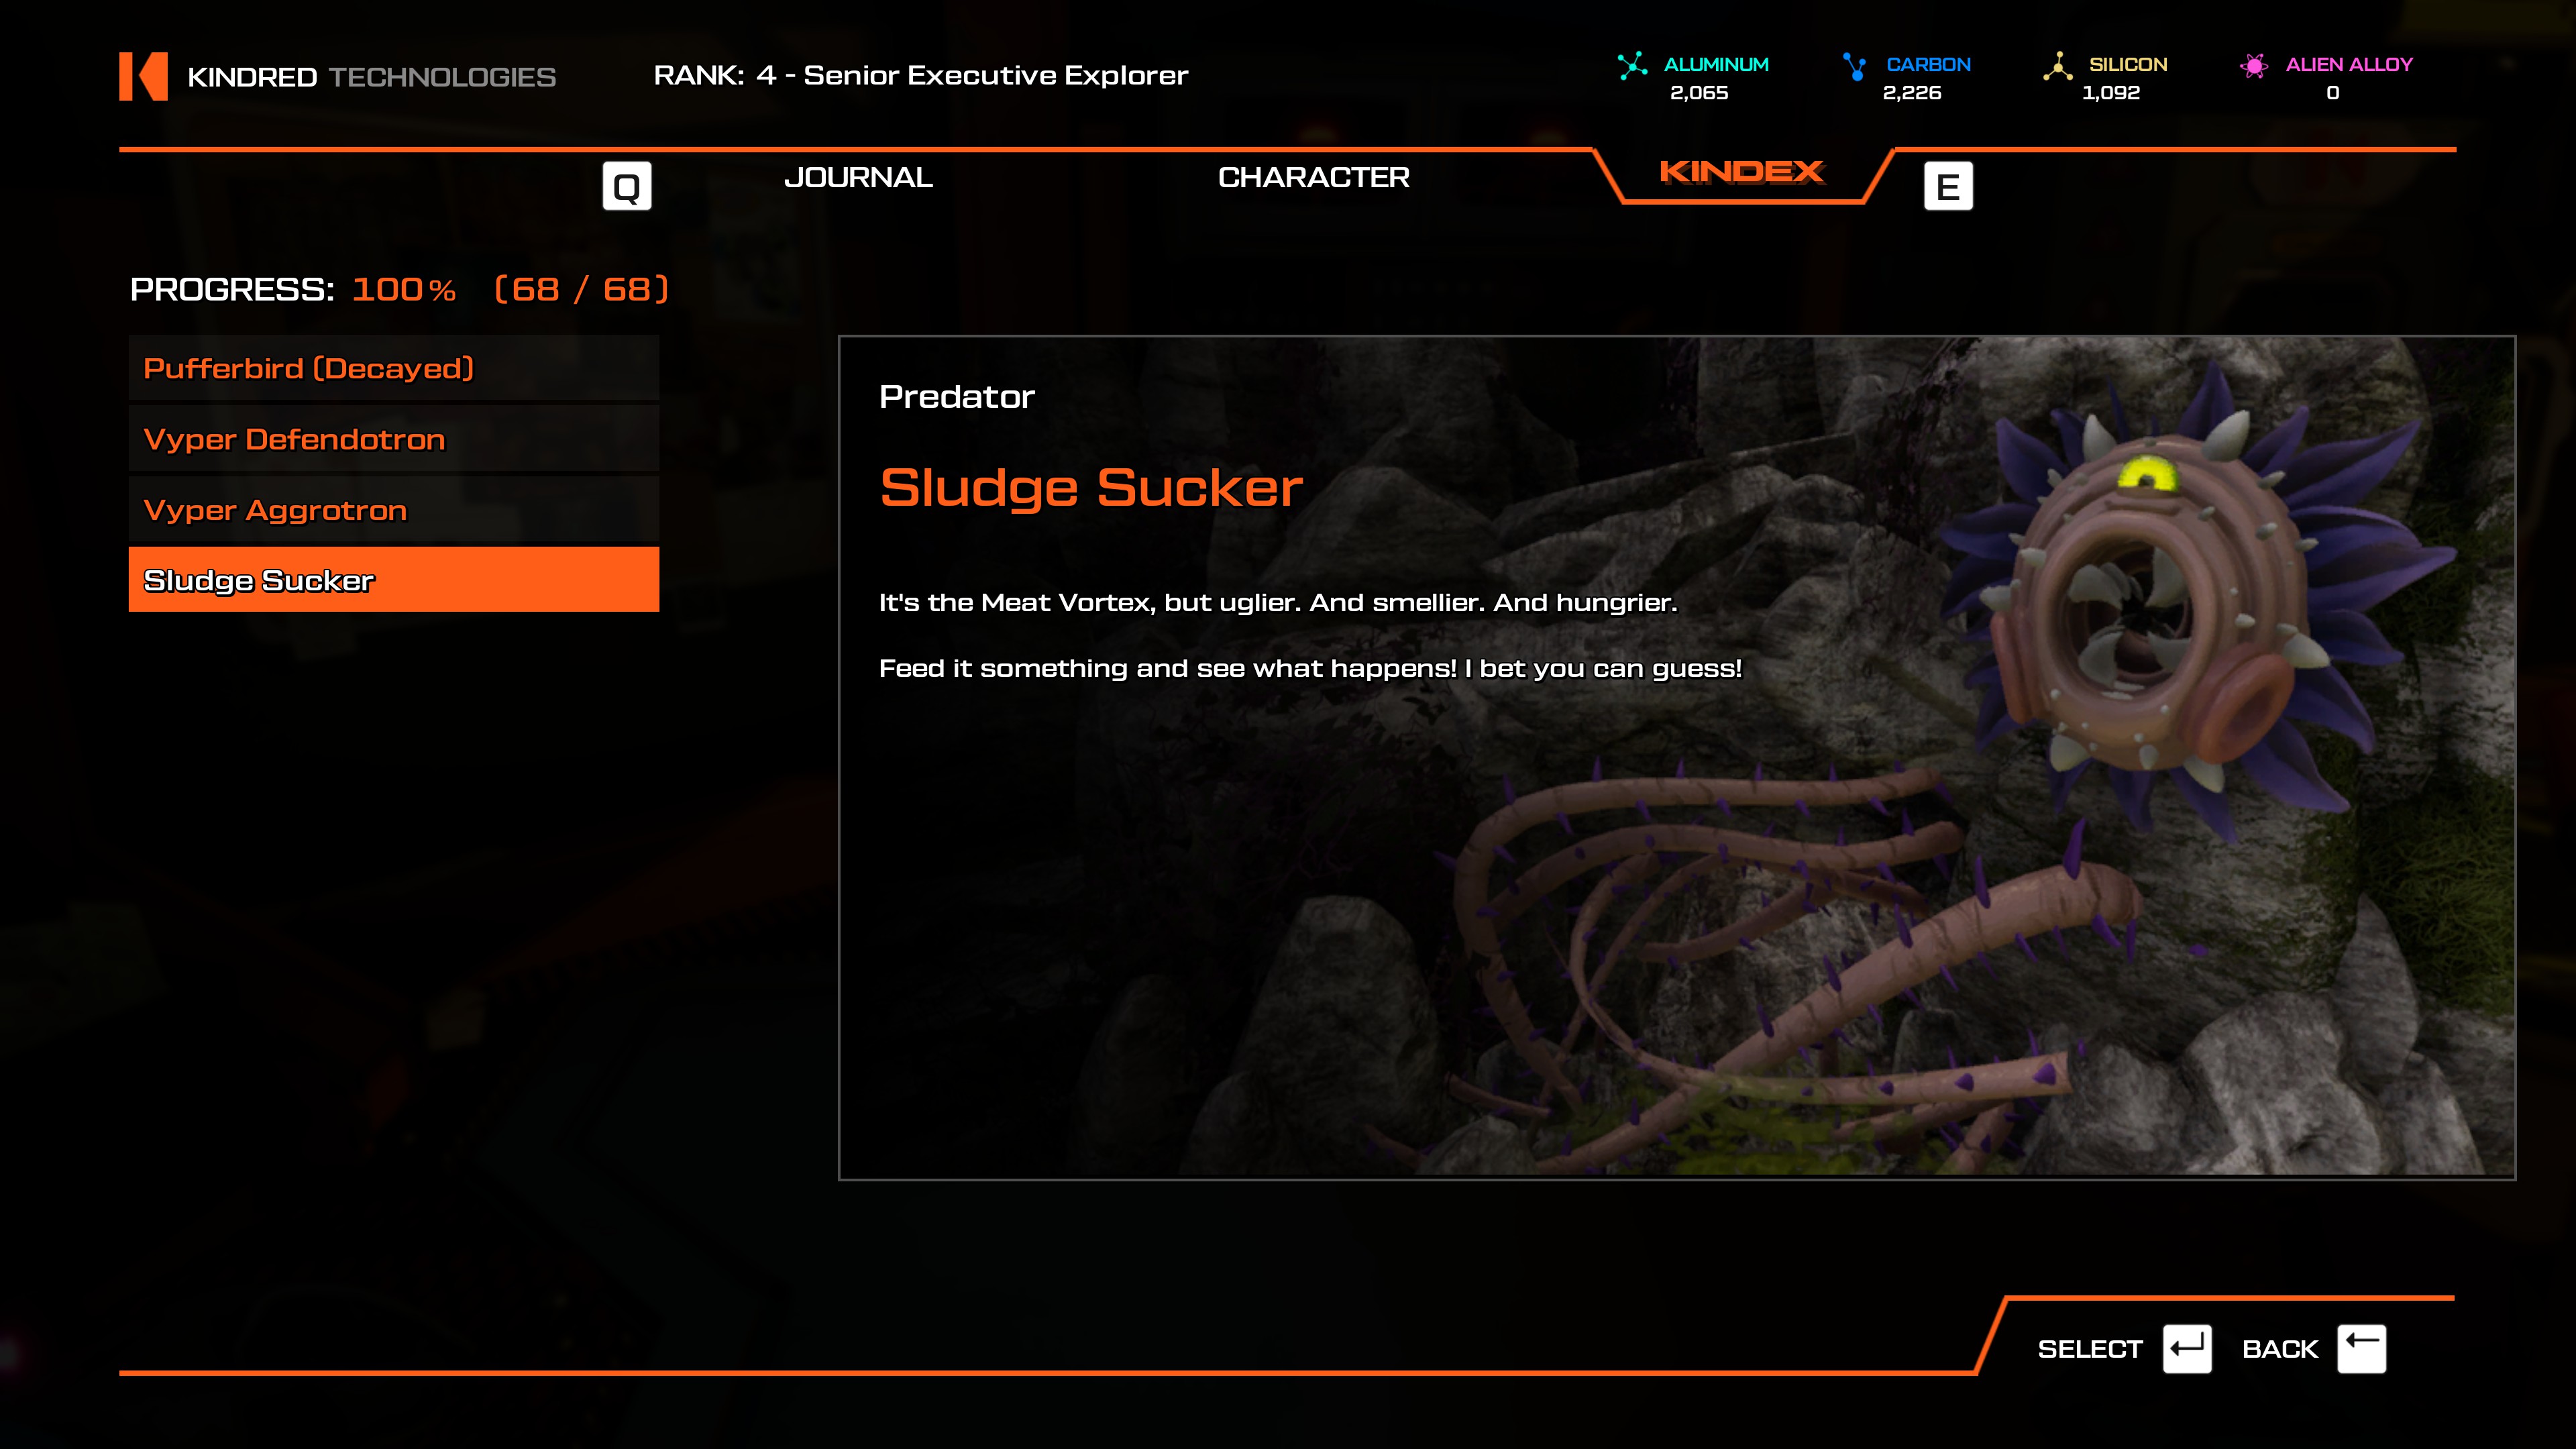
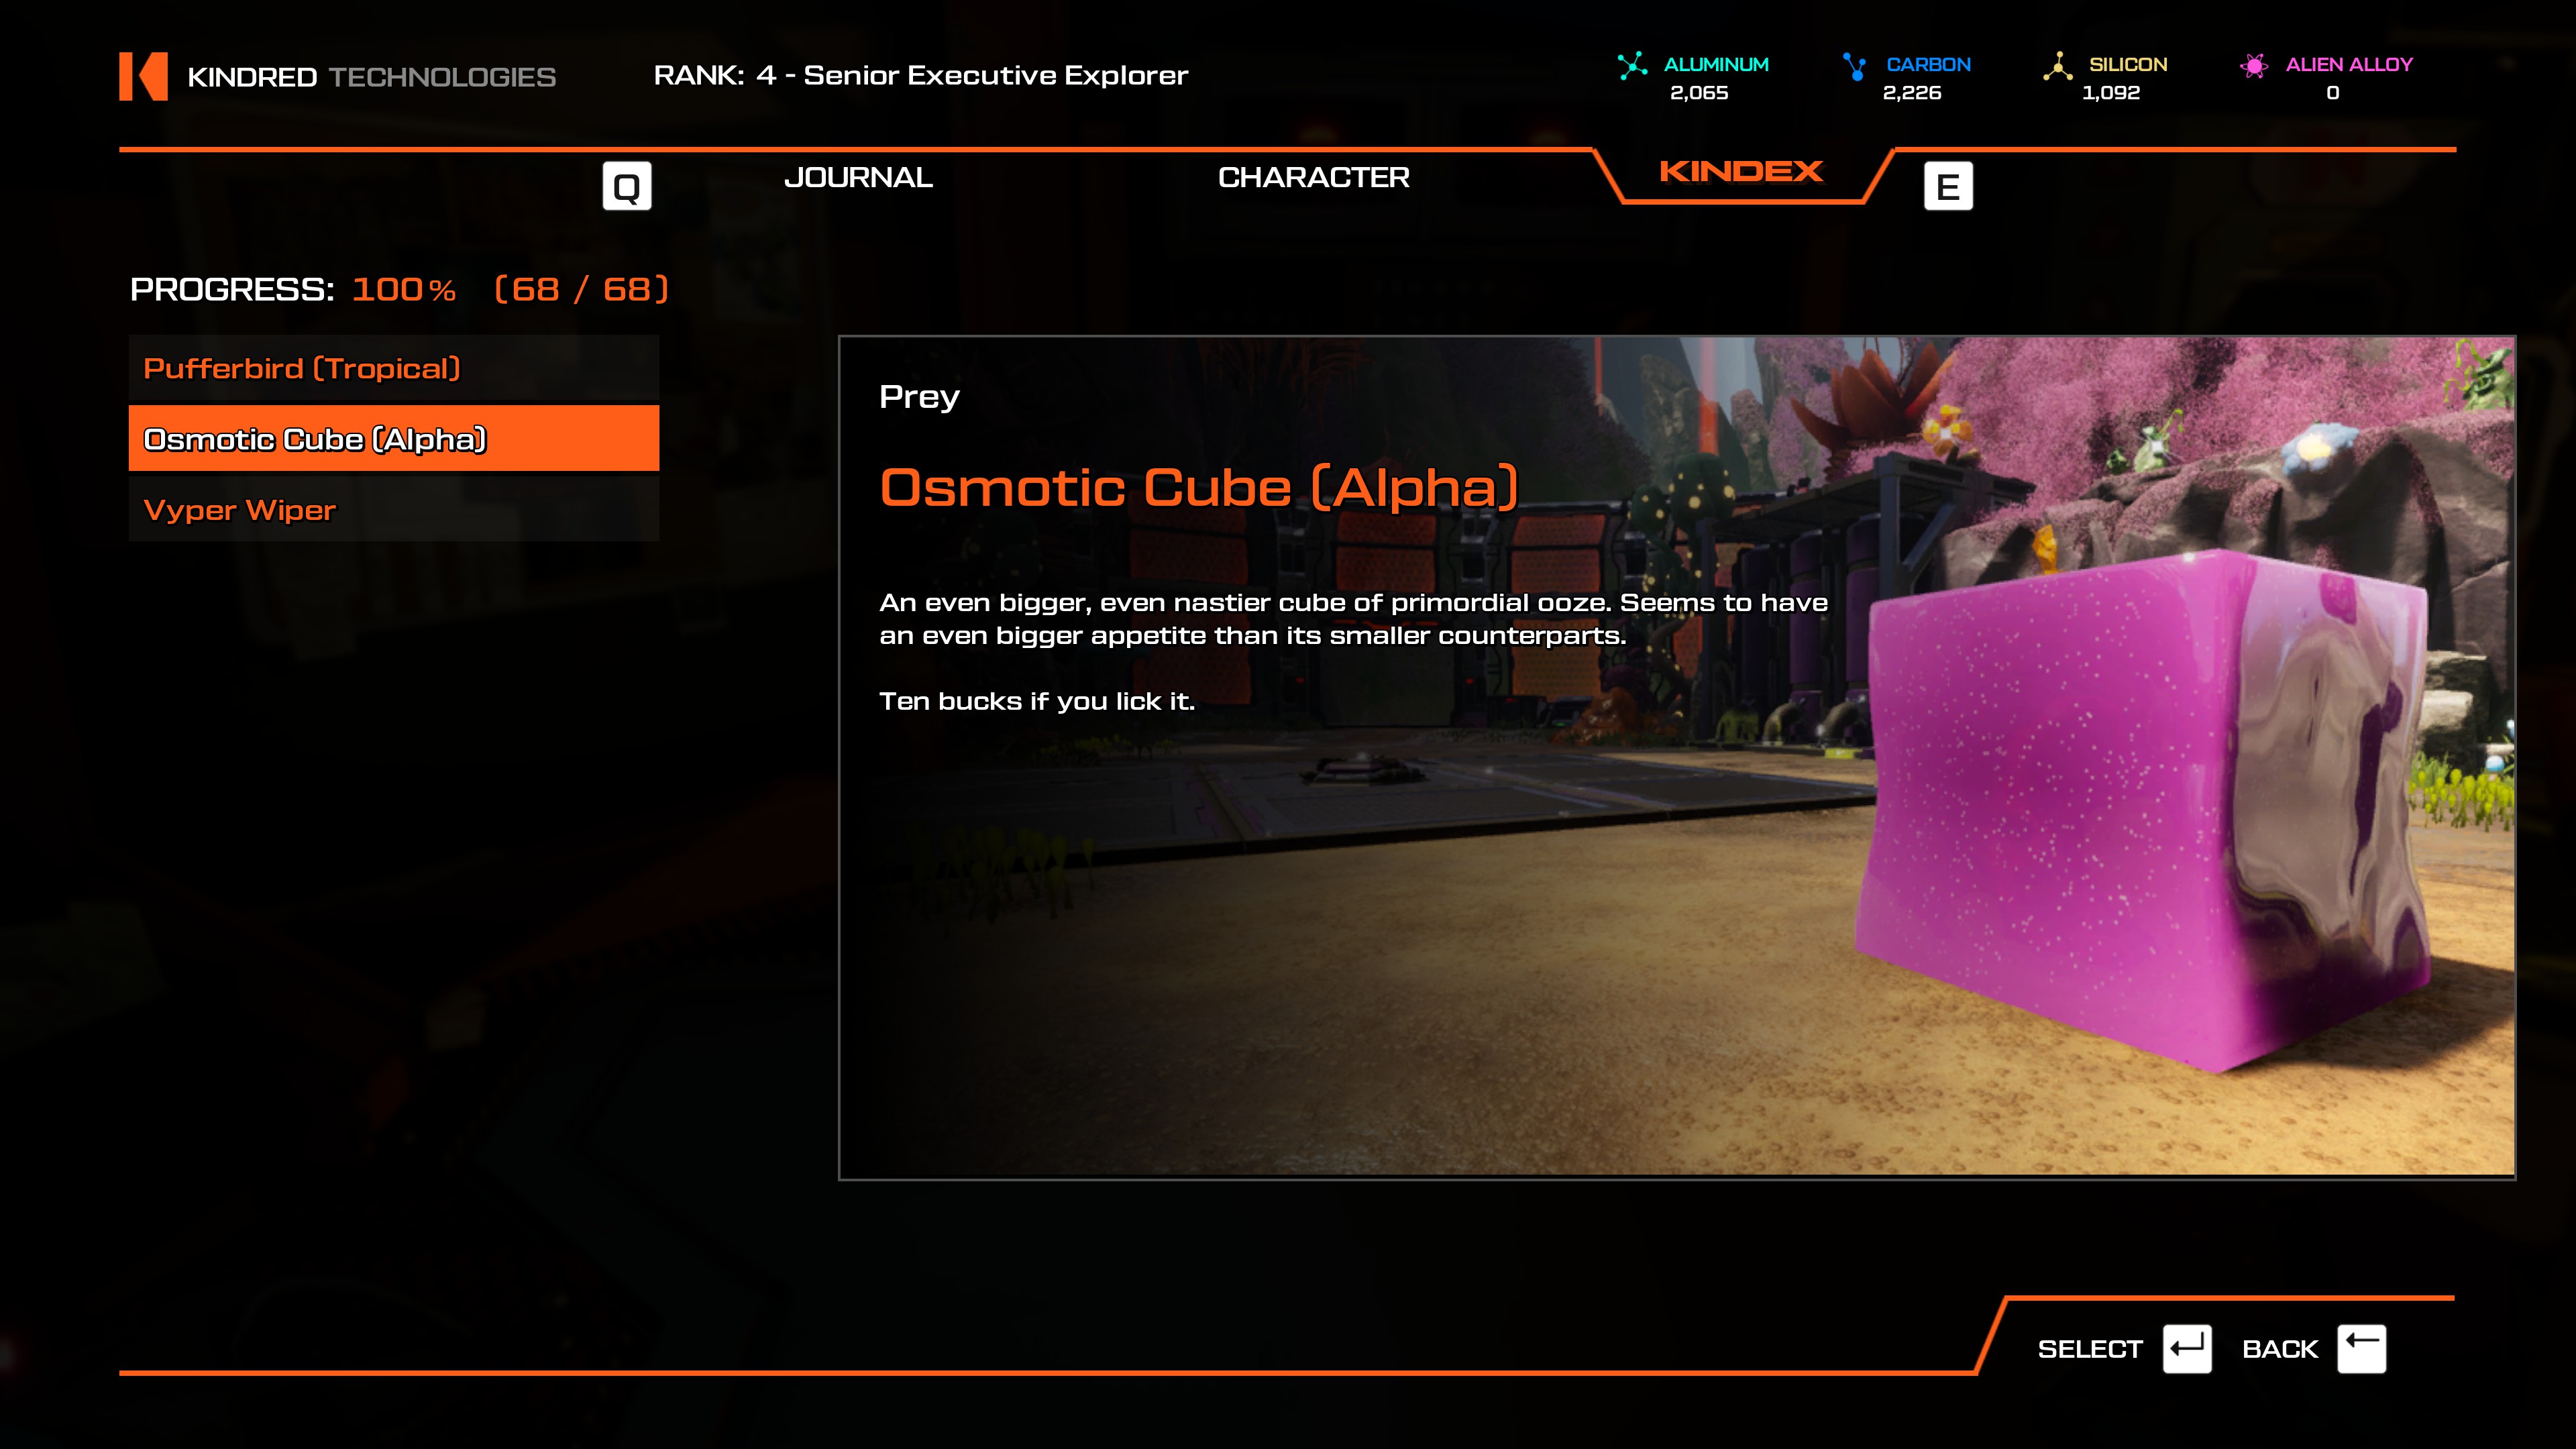
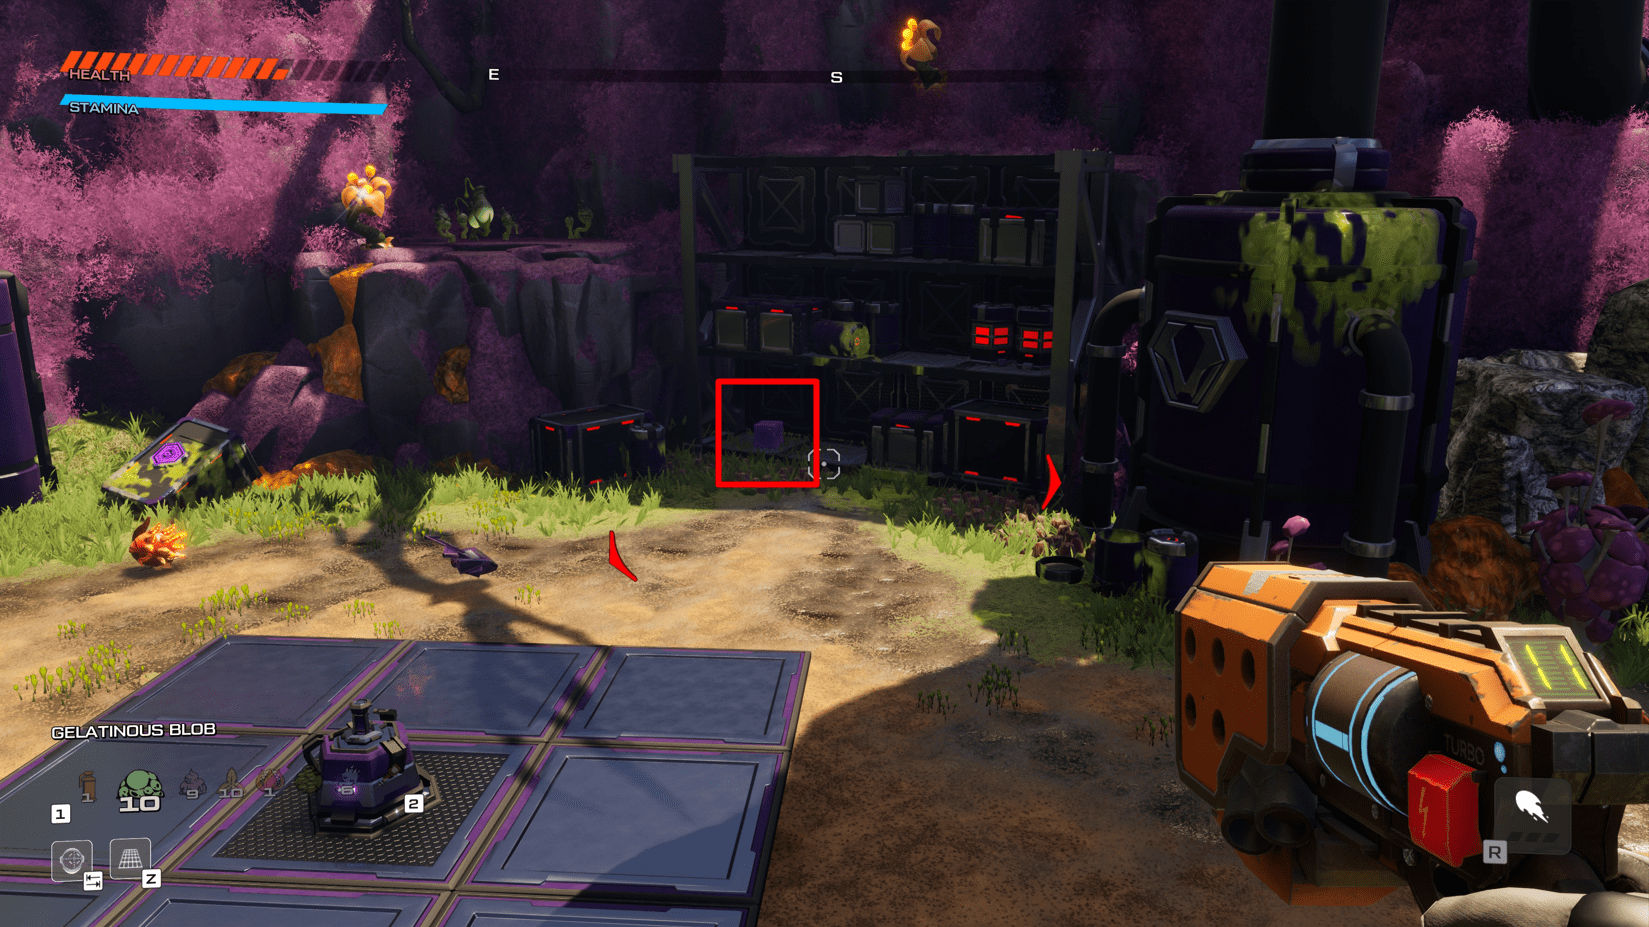
All that's left for me now is one last goo in the Landing Zone. Haven't detected it anywhere on the scanner yet! Wish me luck :steamhappy: