Sailwind

Sailwind

66 ratings
Beginners Guide: Gold Rock City To Dragon Cliffs in the Dhow
By ShankWolf
IMPORTANT NOTE:
Food has been reworked in a recent update. But the sailing and navigation remains the same.

tldr: 3 barrels of water, crate of cheese, fishing rod, crate of hooks, go East

This beginners guide aims to provide new players with a comprehensive overview on what to expect on their maiden blue water passage from Gold Rock City to Dragon Cliffs. This guide will go over some of the required tools, provisioning, and a surface level introduction on the navigation needed to make the trip. There may be spoilers in this guide.

This guide is based around the trip from Gold Rock City to Dragon Cliffs but there will be a lot of information that is considered foundational and can be used for any sailing mission you take.

This is my first steam guide, if something needs to be corrected, please comment below and I'll make the changes.
4
3
5
   
Award
Favorite
Favorited
Unfavorite
Introduction
How and what you'll need to sail from Gold Rock City, Al' Ankh to Dragon Cliffs, Emerald Archipelago in the Dhow.


I'm writing this guide with the aim of trying to better prep you for your first voyage, so you know what to expect during the roughly 14-20 in game day journey. Ill have one section where I'll maintain a captain's log of my trip from Gold Rock City to Dragon Cliffs in the Dhow as I write this guide. I won't be covering the basics on how to sail, but by the time you unlock the cargo missions to Dragon Cliffs, you should have a grasp on how to handle your ship. Ill also add some tips and tricks through out the guide that might be encroaching spoiler territory.
Tools
During the start of the game, you were given a cup for drinking water, sell that and use a bottle instead. It can hold more water/rum and doesn't spill. You also don't need the table that's in the Dhow and selling that to a local merchant can give you a bit of extra cash early on.


The bare minimum in terms and tools and utility items Include:
  • Compass
  • Quadrant
  • Water/Rum Bottle

Some nice to haves Include:
  • Full Ocean Map
  • Sun Compass
  • Navigation Scroll
  • Chip Log
  • Spy Glass

The trip can be made with only a compass and a quadrant. If you struggle with finding the North Star, I'd recommend taking a navigation scroll (purchased at merchant who sells compass) with you so you can reference the well-presented guide on finding the north star. It would also be beneficial to take the sailors handbook scroll to reference sail position based on your heading and wind direction. Everything else is nice to have or fun to use. The sun compass can be used to verify your latitude during the noon. The ocean map will aid you when pulling into the Emerald Archipelago, so you know which island you're aiming for. The chip log is used to get a rough speed reading. You'll be using the third person camera a lot, which makes the spyglass obsolete, but it's fun to use.
Provisions
Since the Dhow is one of the smaller vessels in the game, you won't be able to carry a ton of provisions without compromising room for cargo. There's a balancing game between provisions and cargo while also trying to ensure you don't overload the Dhow causing it to capsize. Since you won't be able to carry a lot of food, fishing is going to play a large roll during this trip.

The bare minimum essential provisions for this trip include:
  • 3 Barrels of Water
  • 1 Box of Cheese
  • 2 Boxes of Hooks
  • Fishing Rod

The nice to haves:
  • extra box of cheese
  • Barrel of Rum
  • 4 lanterns
  • 2 lantern hooks


A Barrel of Rum is good for making the time go by quicker, reducing real world time spent on the trip.

The Stove Dilemma
Taking a stove on the Dhow is a touchy subject. Many advise against it, many standby it. The stove weighs a ton thus impacting stability (it affects stability a lot, you will probably capsize if you aren't careful) and speed. Raw fish doesn't fill the hunger bar as much as cooked fish. If you don't mind spending time fishing extra to compensate for eating the fish raw, then more boxes of hooks and no stove and wood is the way to go.

The stove makes the trip a little sketchier during storms, leading to higher instances of needing to reef the sails and reduce speed, but the benefits come from reduced time spent fishing. So, if you plan on playing the game on a second monitor or doing something else as you sail, it's probably best to take a stove and wood. During my first trip, I had taken a stove freeing up more of my time, but during storms or strong swells I was making little to no progress on the trip due to the heavily reefed sails. I placed the stove at the centre aft of the cockpit to try and balance the weight of the ship. You could move it port to starboard as your boat heels to stabilise it.

Fishing
Fishing becomes a mundane task after a while so extra food is always nice to have if you have the room to spare. Since one hook can be used multiple times, it doesn't hurt to spend a few minutes early on each day to catch 3-4 fishes so you can cook it all at once if you decide to take a stove. It also helps to have food ready during storms so you can focus your attention on sailing and not catching a meal.

I've remapped the "scroll down" to Z so I can hold down the button instead of scrolling my mouse wheel to reel in fish. Once the rod starts shaking, stop reeling, wait for it to steady out and resume reeling.
Ship Layout and Mission Cargo
It is always important to keep the Dhows size in mind. Since it's one of the smaller ships in the game, I would advise choosing the lighter cargo loads when deciding on delivery missions to Dragon Cliffs. You can make enough money in one trip to buy the Junk for 14500 even when opting for lighter loads. Lamb, Sunspot Fish, Spices, and pork are great to start with. Avoid gold, copper, and things of that nature due to weight.

Here are a few pictures of various cargo loads I took during my numerous crossings from GRC to DC in the Dhow. The layout is made so I don't need to leave the cockpit for anything other than controlling the main halyard. I've attached one lantern on the mast and one in my cockpit near the helm for better visibility during the night. Extra crates can be placed on top of the cockpit canopy on the supporting pillar, but there is a risk of them falling off, so keep an eye on them. Placing most of the weight further stern and evenly distributing the weight port to starboard is an important aspect to consider. You can always move things around when under way if you feel you might capsize. Centre of mass is a crucial aspect of this game. You won't notice a huge difference in calm waters, but once you hit large swells and storms it'll become a make or break factor. The Dhow is a great learning platform since it is very sensitive to weight distribution, even the players weight plays a large roll in keeping things balanced.


Starting the trip
The gist of this whole guide is "go straight east".

Set sail, make your way around the island and head straight east. Keep an eye out for sandbars when exiting Gold Rock City.

The first stint of the trip should have favourable winds for the most part so you won't need to spend time tacking.


Storms and Swells
Sailing in rough condition just comes down to practise and getting a feel for things. When in doubt just raise your sail and wait it out. If you catch yourself heeling over too much on the verge of a capsize, run up to the main sheet (controls sail angle) and 'Shift' + 'W'. This will release sail angle rapidly which can hopefully prevent a tip over. Not overloading your boat really pays off in these situations.

Swells
When the waves get choppy and the wind starts to pick up, it would be wise to start reefing the sails. The less sail area you have, the less heeling you should experience. It might also be time to consider rearranging cargo on your boat to try and counter act the heeling. If you start taking on water from large waves, no need to panic, just reef some more, move stuff around, and the water should start to clear after a couple minutes.

Storms
You'll likely encounter a few storms, and they can generally be avoided by sailing around them. Storms should be easily visible as you approach them, but if its to late to avoid them then you probably have to sail through it. When things start to get rough, my go to tactic is raise the sails, point the boat into the wind, get drunk, go to sleep, and hope for the best.


Naviguessing
Early on you likely won't be able to afford some of the nicer tools such as the chronocompass or the chronometer. Luckily, since Dragon Cliffs is dead down East of Gold Rock City, you shouldn't have too much trouble finding it if you're able to hold your heading.

Checking your compass often, especially after sleeping to ensure you're heading East is very important. Your heading may have changed while you were asleep or during heavy storms.

The Emerald Archipelago sits between latitudes 31 and 32. Using the quadrant you can always get a rough idea on if you're heading too far North or South. Just point your quadrant at the North Star and get a reading. Keep the bar slightly above the 30 mark. If you're having trouble finding the North Star, it would be a good idea to purchase the navigation guide from one of the merchants which has useful pictures dictating the position of the north star. If your having trouble lining up the quadrant with the North Star, you can go into your in game settings and reduce the opacity of your cursor to 2, this should allow you to see the North Star through the cursor dot. Below is a crude drawing of what the route would look like if you were tack the way to Dragon Cliffs. The red lines are the boundaries which you should stay within, and the green line is a course the ship might take.


Once you get a reading you can use your scroll wheel to get a better look since it may be hard to see degree or two of difference. In order to reset the quadrant just hold down 'Q' and scroll with scroll wheel.


The sun compass is an optional but recommended accessory for this trip and can be used to confirm your latitude during noon. Its a good item to have if you like to monitor your latitude around the clock. Check on it during noon, and wait for the tip of the shadow to line up along the centre. The picture below, the tip of the shadow is sitting just above the 30, indicating I'm roughly along 31 degrees of latitude.


There are ways to check your longitude using the sun compass and the Chronometer, but you wont need it for this trip, and won't be covered in this guide.


Eventually the water will go from a Blue to a Green, which means you're entering the Emerald Archipelago. You still have a long way to go though!

The Final Leg


Land Ho!
After a few real world hours and 14-18 in game days you should start to see islands form the Emerald Archipelago start to stick out from the horizon. You're almost there. In just another few days you should start to pull into the Dragon Cliff harbour. Now's the time to pull out your Ocean map or Emerald Archipelago map to try and figure our which of the islands is Dragon Cliffs.


There are two entrances into Dragon Cliffs. The Northern entrance is the main entrance, and the harbour is to your port side as you pull in through the gates. The South entrance (technically it opens on the east side of the island) requires you to manoeuvre the Dhow through narrow channels for a few minutes before the harbour comes into view on your starboard side. I highly recommend taking the Southern entrance purely for aesthetic viewing pleasures. Its a narrow channel with cliffs on both sides featuring bridges crisscrossing over head. Regardless of which entrance you take, make sure you take care pulling into the harbour. The narrow channels paired with frequent underwater sand bars, and shallow waters can make for a challenging ride.


Closing Thoughts
Hopefully this guide gives you all the info you need to make your first long passage. If you complete the trip from Gold Rock City to Dragon Cliffs in the Dhow, there is no doubt you're ready to set sail to any archipelago or secret island in any ship. Good luck on your pilgrimage.

If you enjoyed this guide please give it a rating!

If you need help during your trip or want to share a cool Sailwind moment, head on over to the official Sailwind discord group. The link to the discord group can be found on the store page or the Raw Lion Workshop website.


Fair winds!

Captains Log
I'll be making the trip form GRC to DC in the Dhow on a new save file, with beginner missions, and only a few essential low cost tools. Below is a captains log to give a rough idea of what it would look like.

Day 0: Prep
Day 1: Chillin, Chip log 5
Day 2: Choppy waves, heeling heavy, took on water, moved cargo around to fix the lean, chillin, chip log 6
Day 3: reefed a bit early on, running down wind, chillin
Day 4: heavy swells, sail stayed reefed for a while, taking on a decent amount of water. Might have brought too much cheese. Stuck in irons, in the swells. Boat going backwards? had to move few crates over to starboard. not chillin
Day 5: Chillin, chip log 7
Day 6: Silky Smooth Sailing, chillin, Chip log 5
Day 7: Chillin, chip log 4, slow sailing, no waves, calm water
Day 8: Woke up to the boat heading North, fixed that, Chillin, calm sea, chip log 5
Day 9: Chilling, mild waves. Just noticed water turned green, may have turned green earlier, but I'm just noticing it. Finished a box of cheese, got 1 more box left. Going to solely fish from now on, save cheese for emergency
Day 10: chillin chip log 6
Day 11: Chillin chip log 5
Day 12: A little tooooo smooth of a sail, boat is getting dirty, should've brought a broom, chip log 4
Day 13: Wind is weak, chillin, chip log 3
Day 14: Strong winds, Med. waves, great sailing, chip log 7
Day 15: Strong Winds and Big waves, taking on bit of water, nothing to stress, Boat was literally side ways but didnt sink cause Dhow life, chillin
Day 16: A storm in my path, could go around but going to go through for screen shots, glad I got cheese left, fishing would've been a nightmare
Day 17: LAND HO! chillin
Day 18: Rough sailing even with a reef in the sail, but manageable
Day 19: Pulling into the harbour, this voyage took a couple days longer than expected, I think I wasted time getting stuck in irons when asleep, but nevertheless a good sail in the Dhow
13 Comments
pkrw07 25 May, 2024 @ 12:47pm 
Found a good trick:
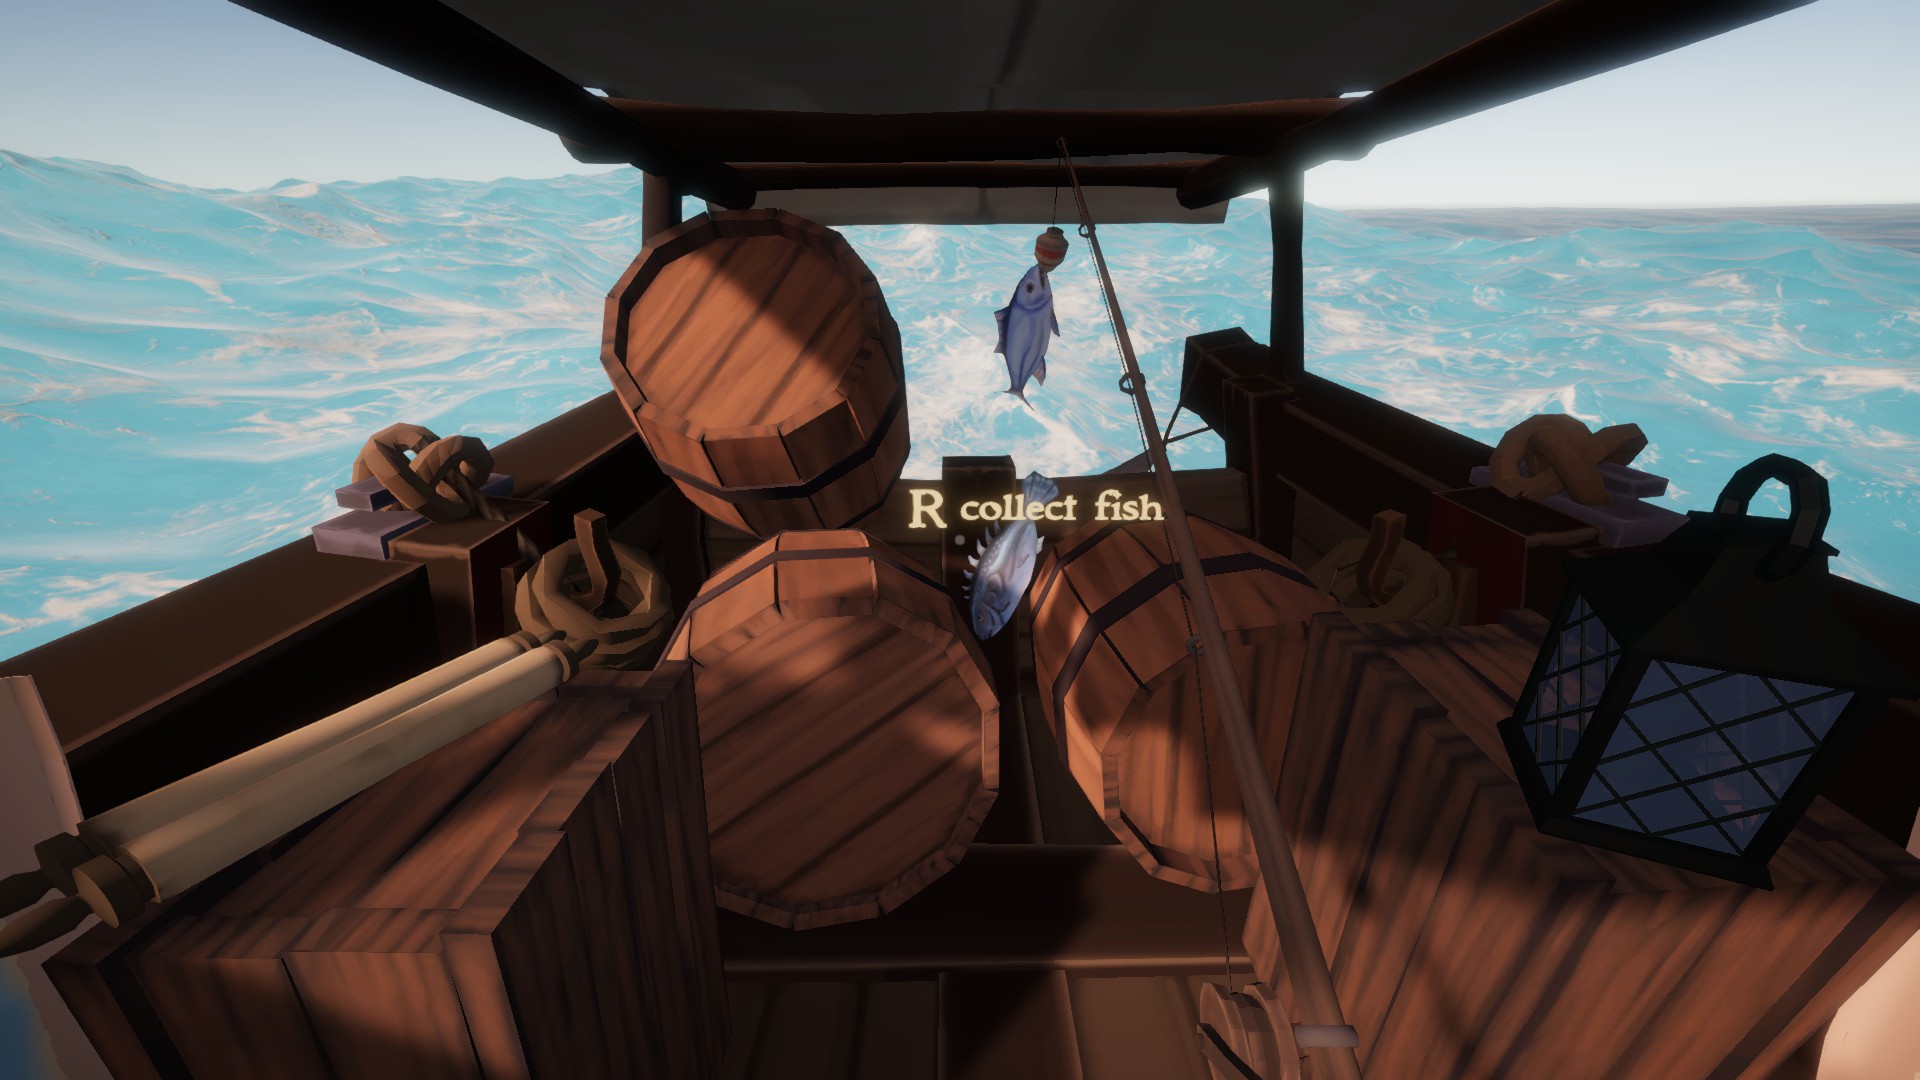
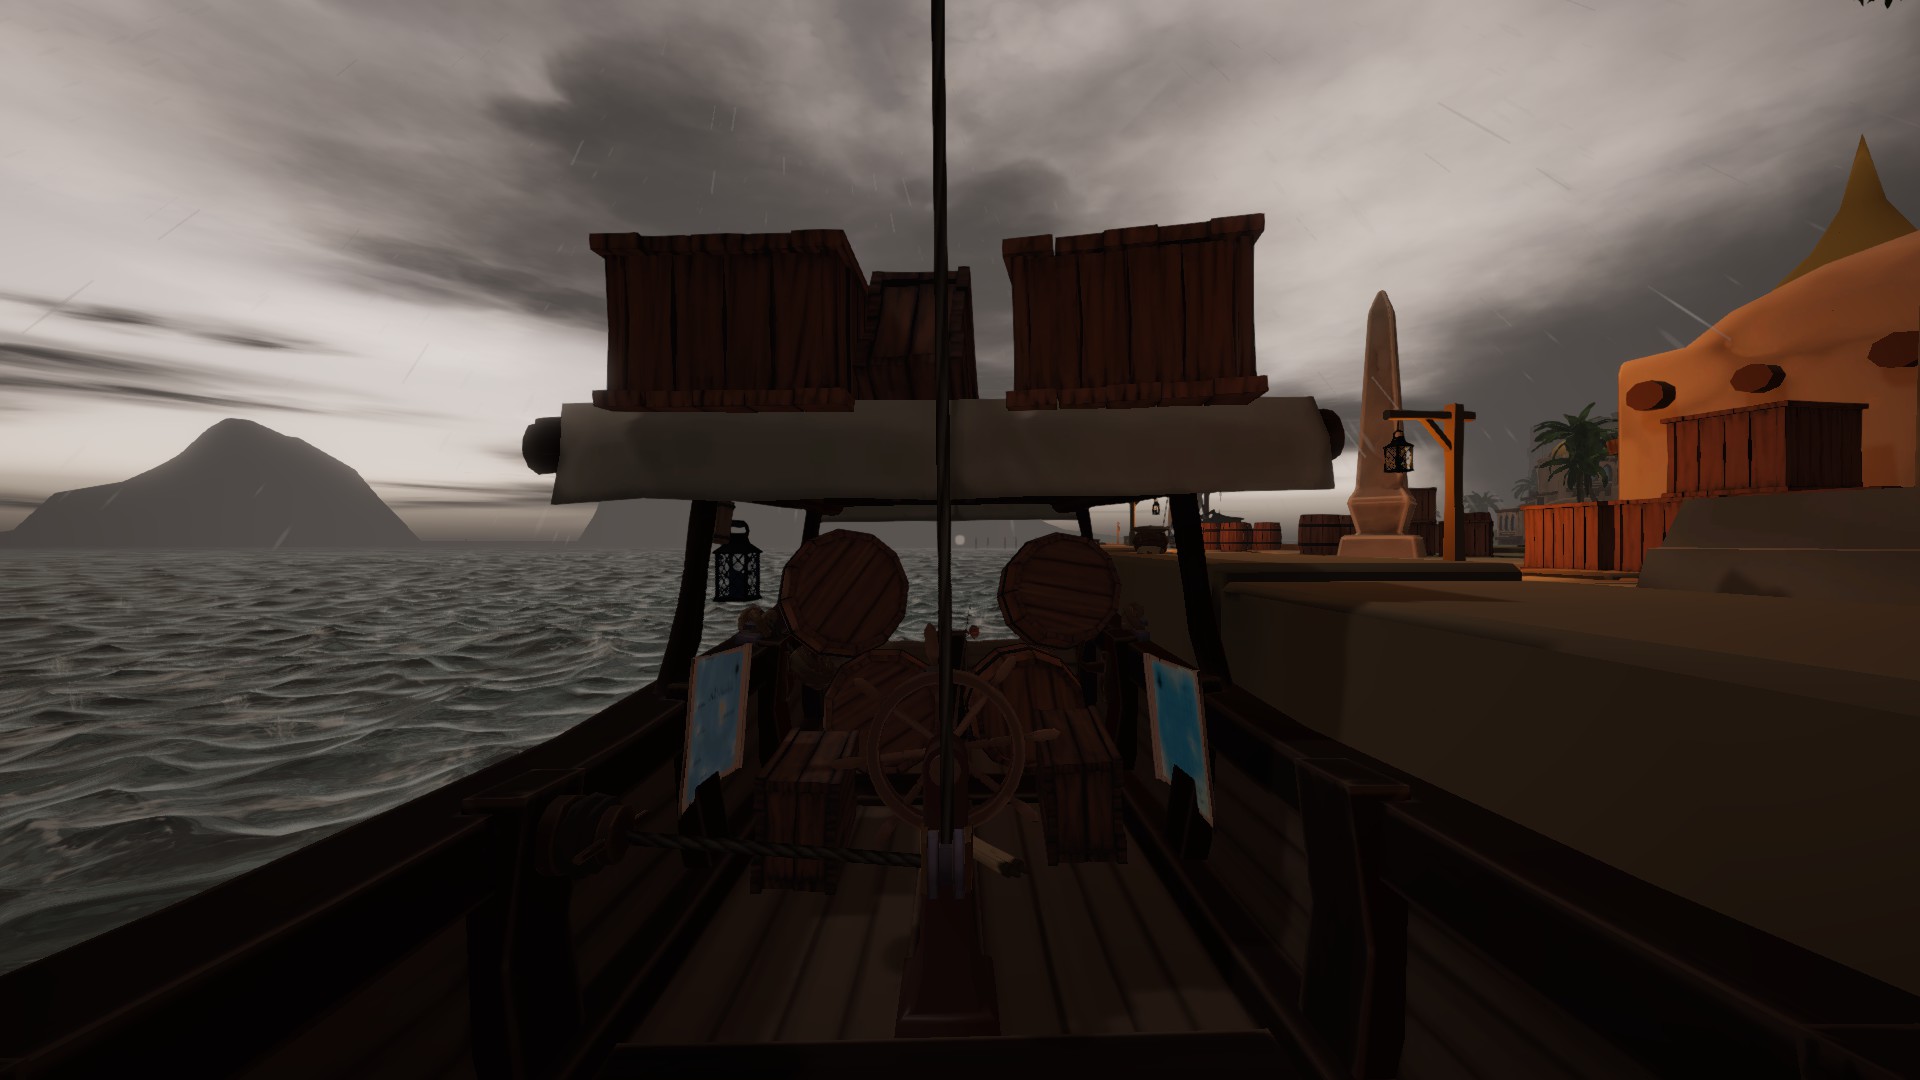
If you are willing to accept a small rep loss, take a mission with some barrels of rum.
If you pick up the barrels and rotate them so that you can see inside the barrel, you will drink from it.
Each rum barrel is of the standard volume (ie 60 sips).
This allows you to stay hydrated, while also allowing you to complete the voyage promptly by passing time while asleep (alcohol accelerates the rate at which you become tired).
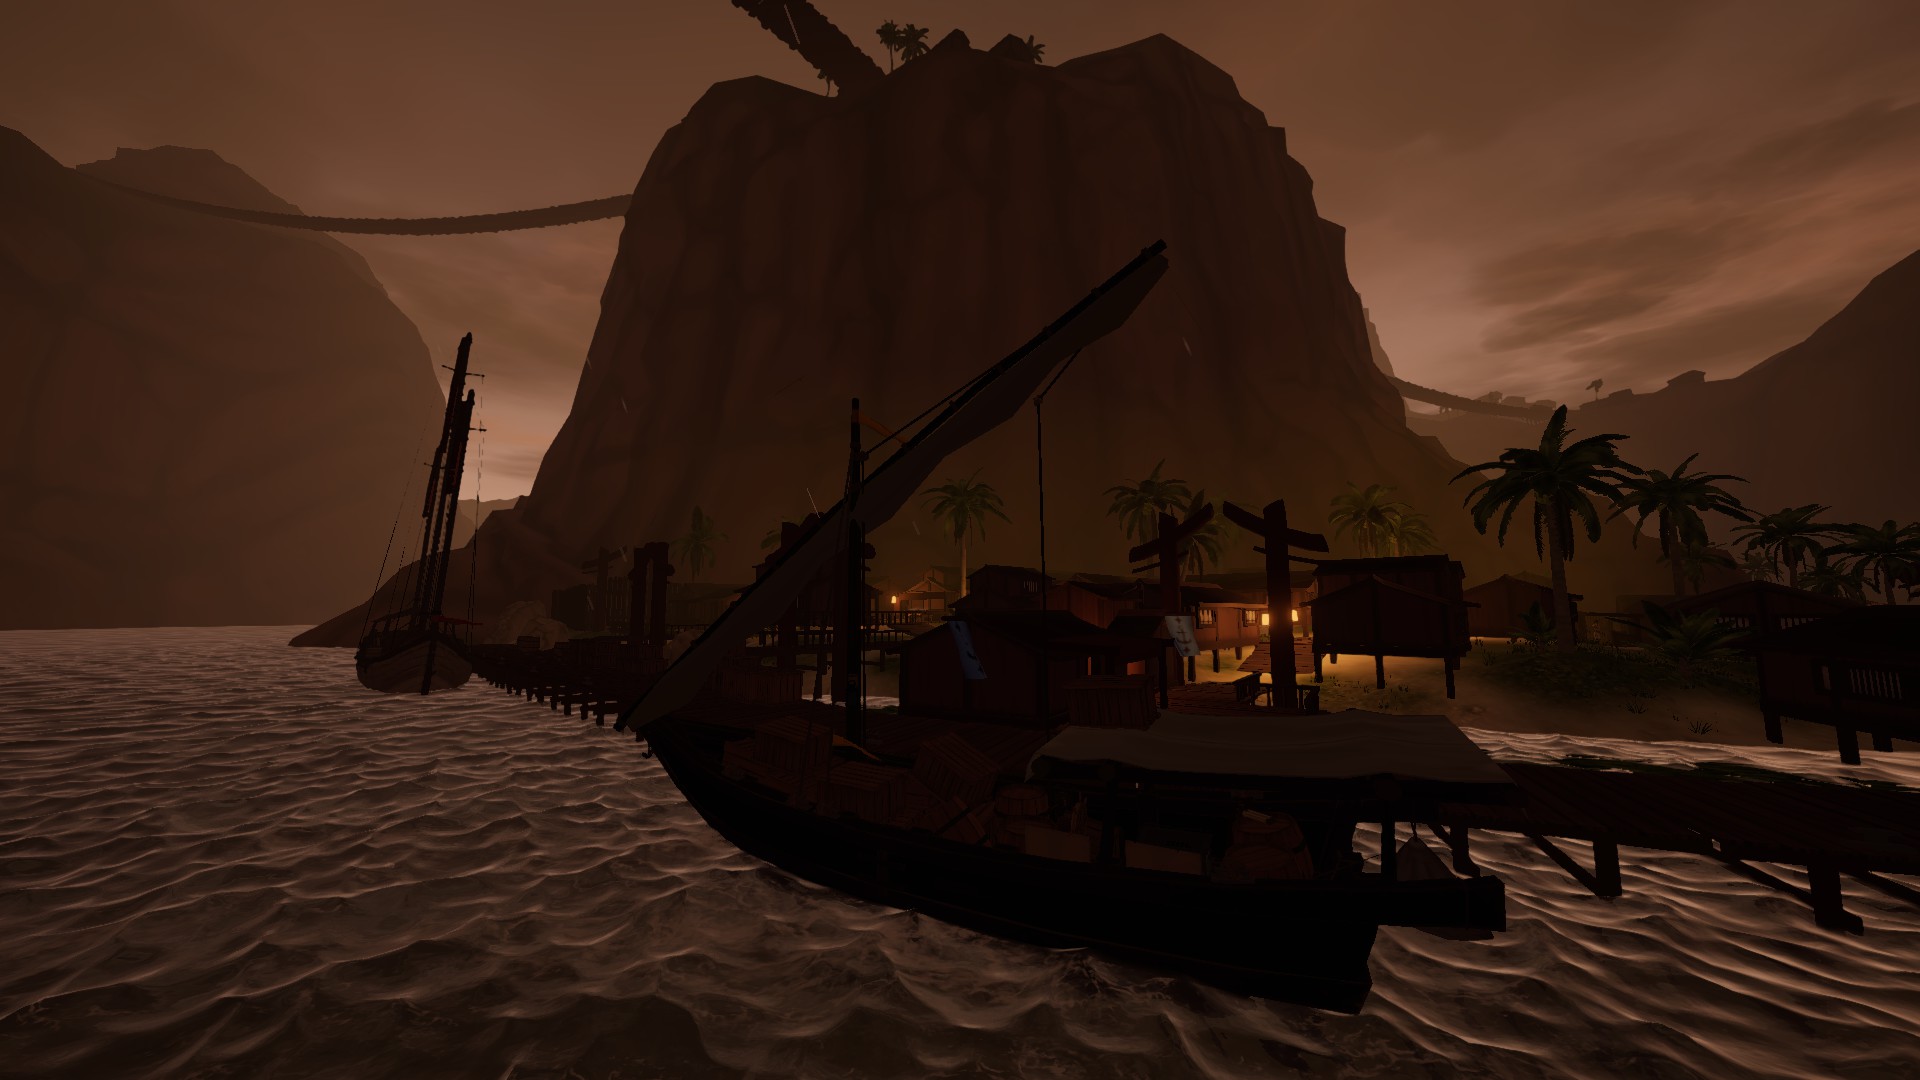
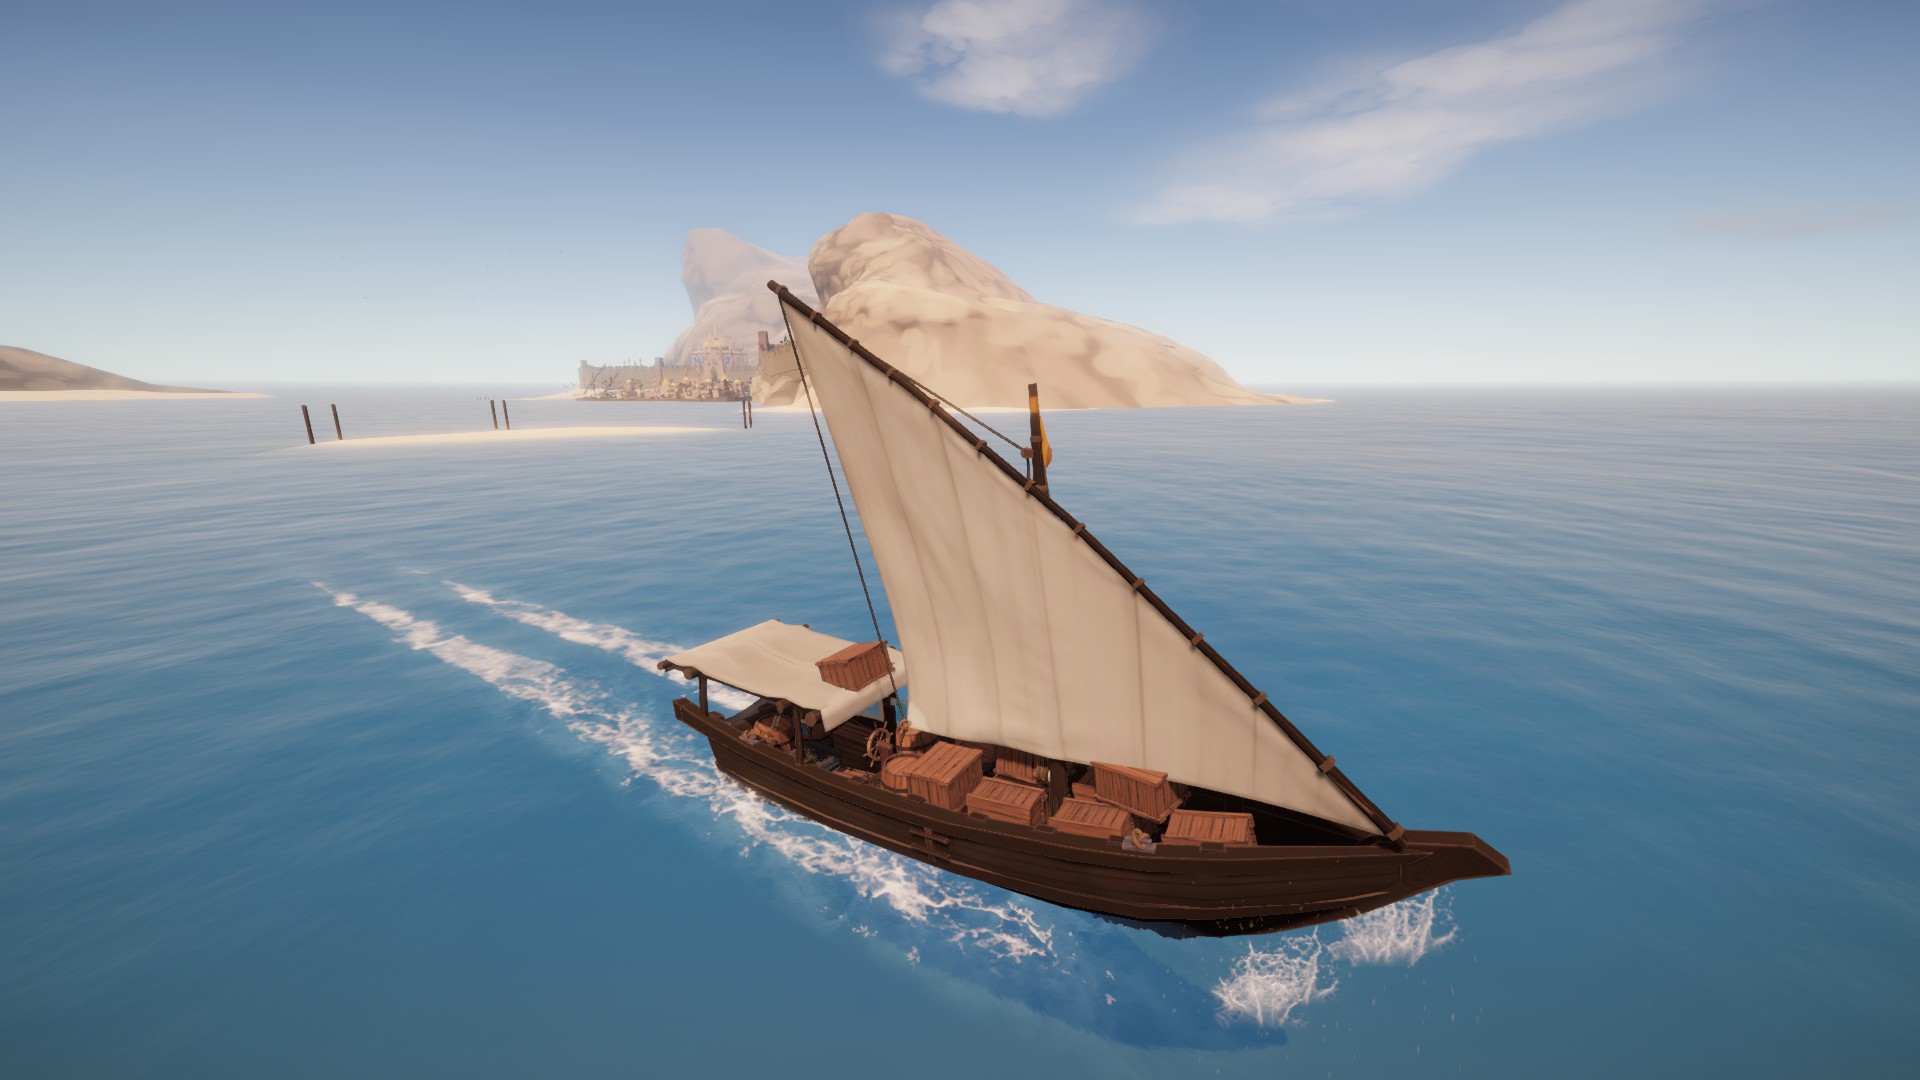
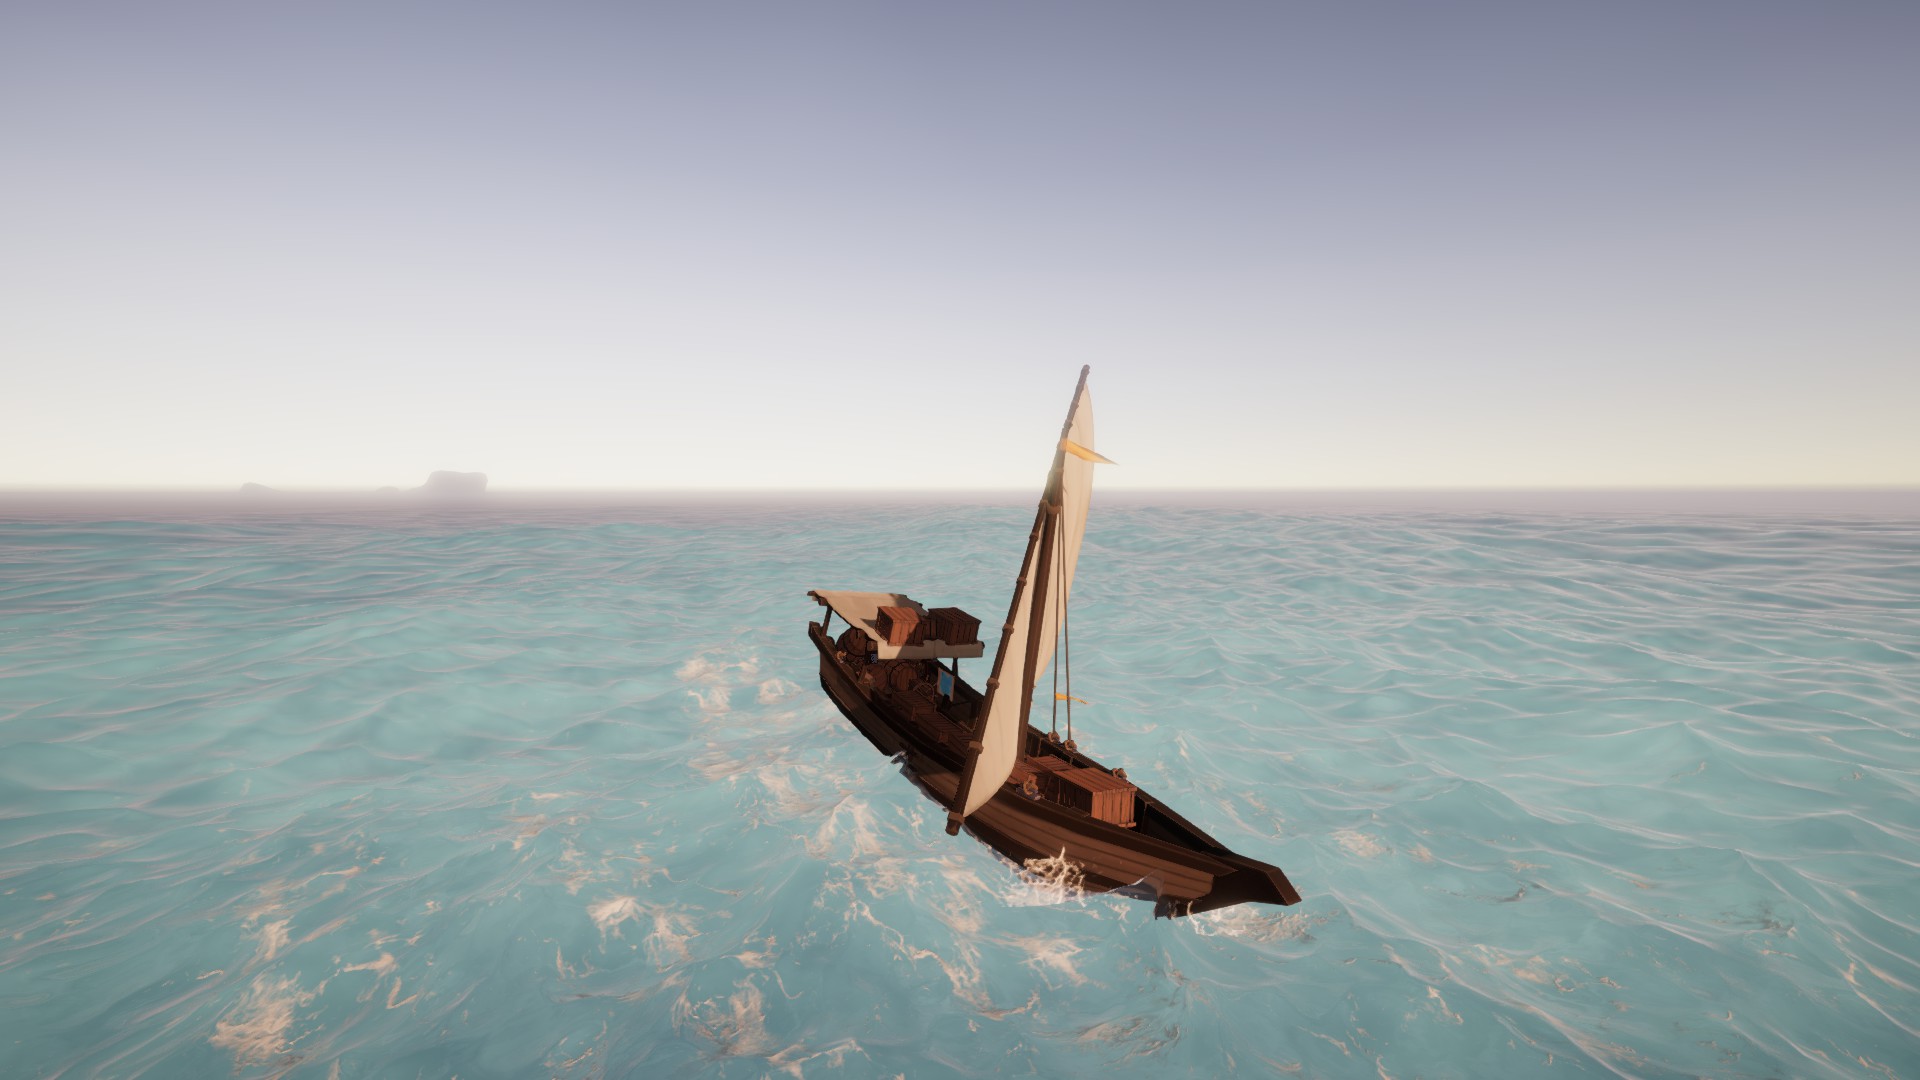
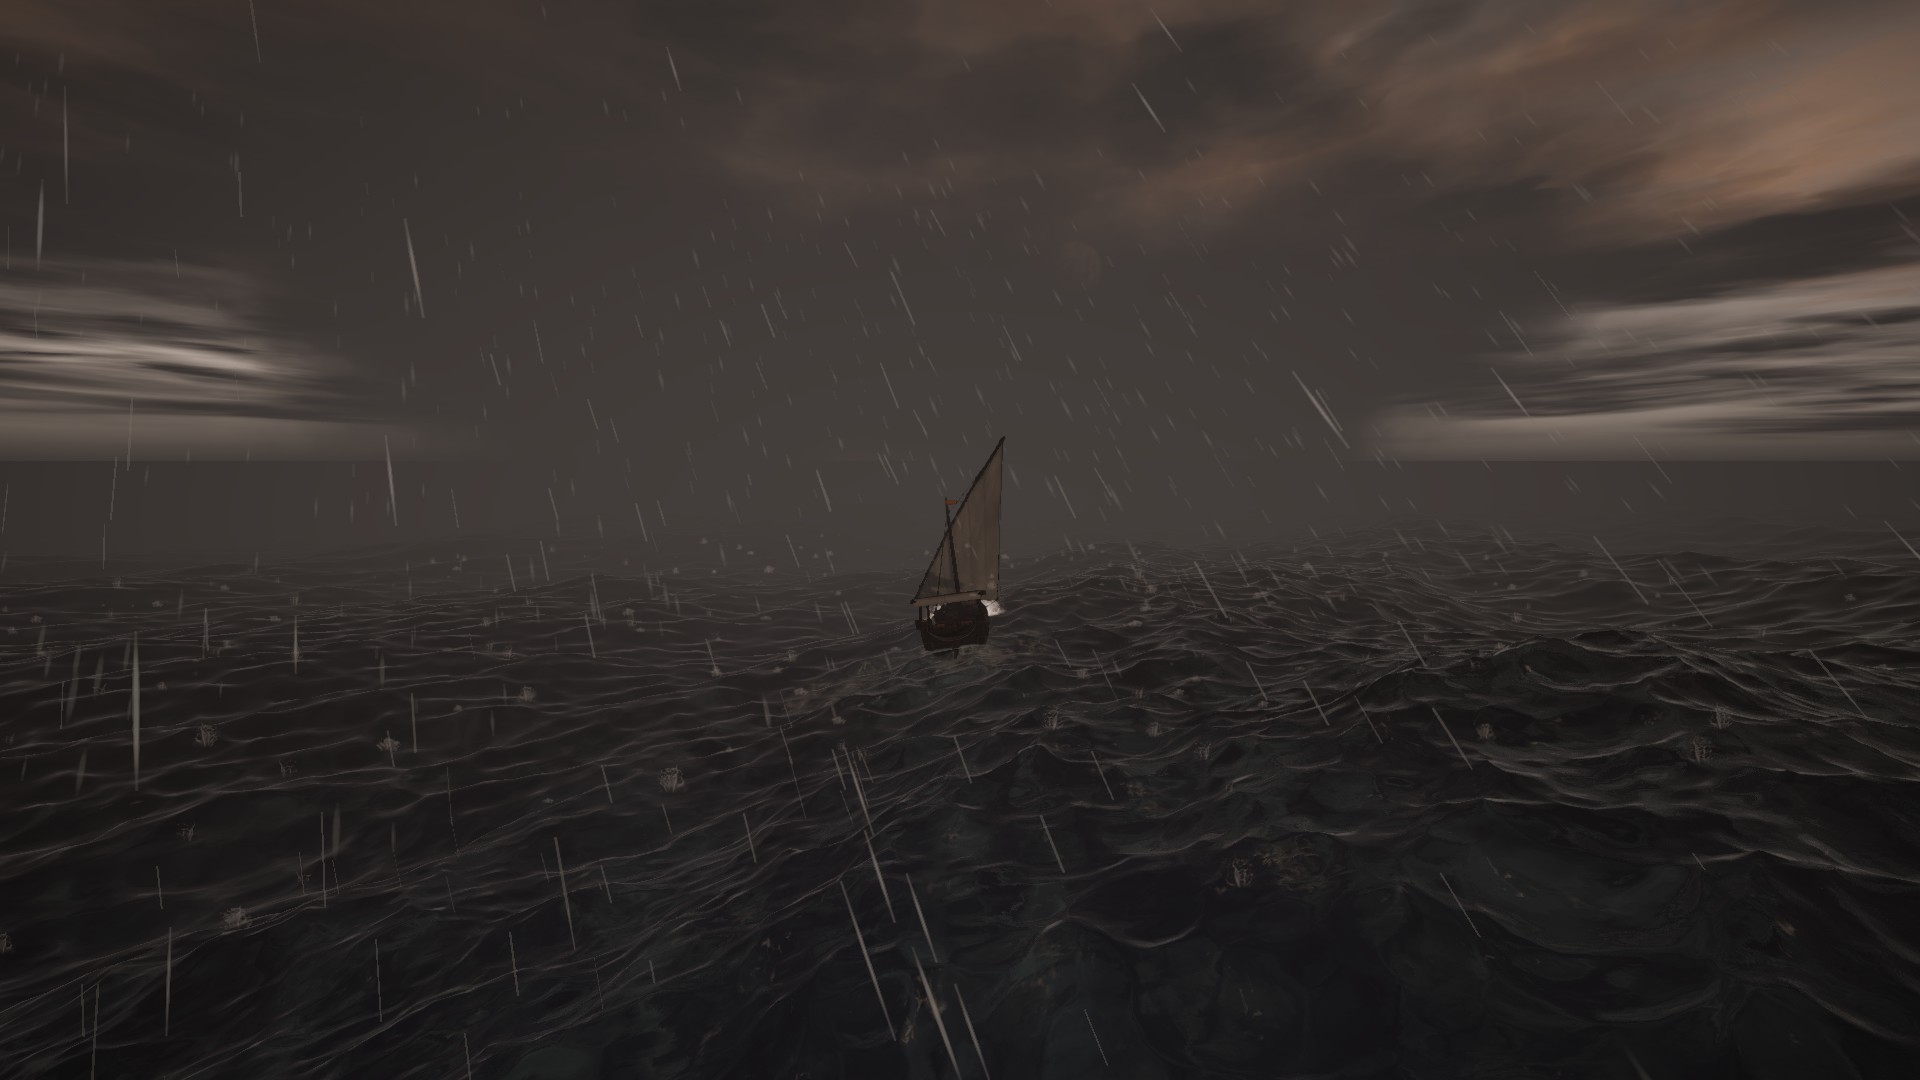
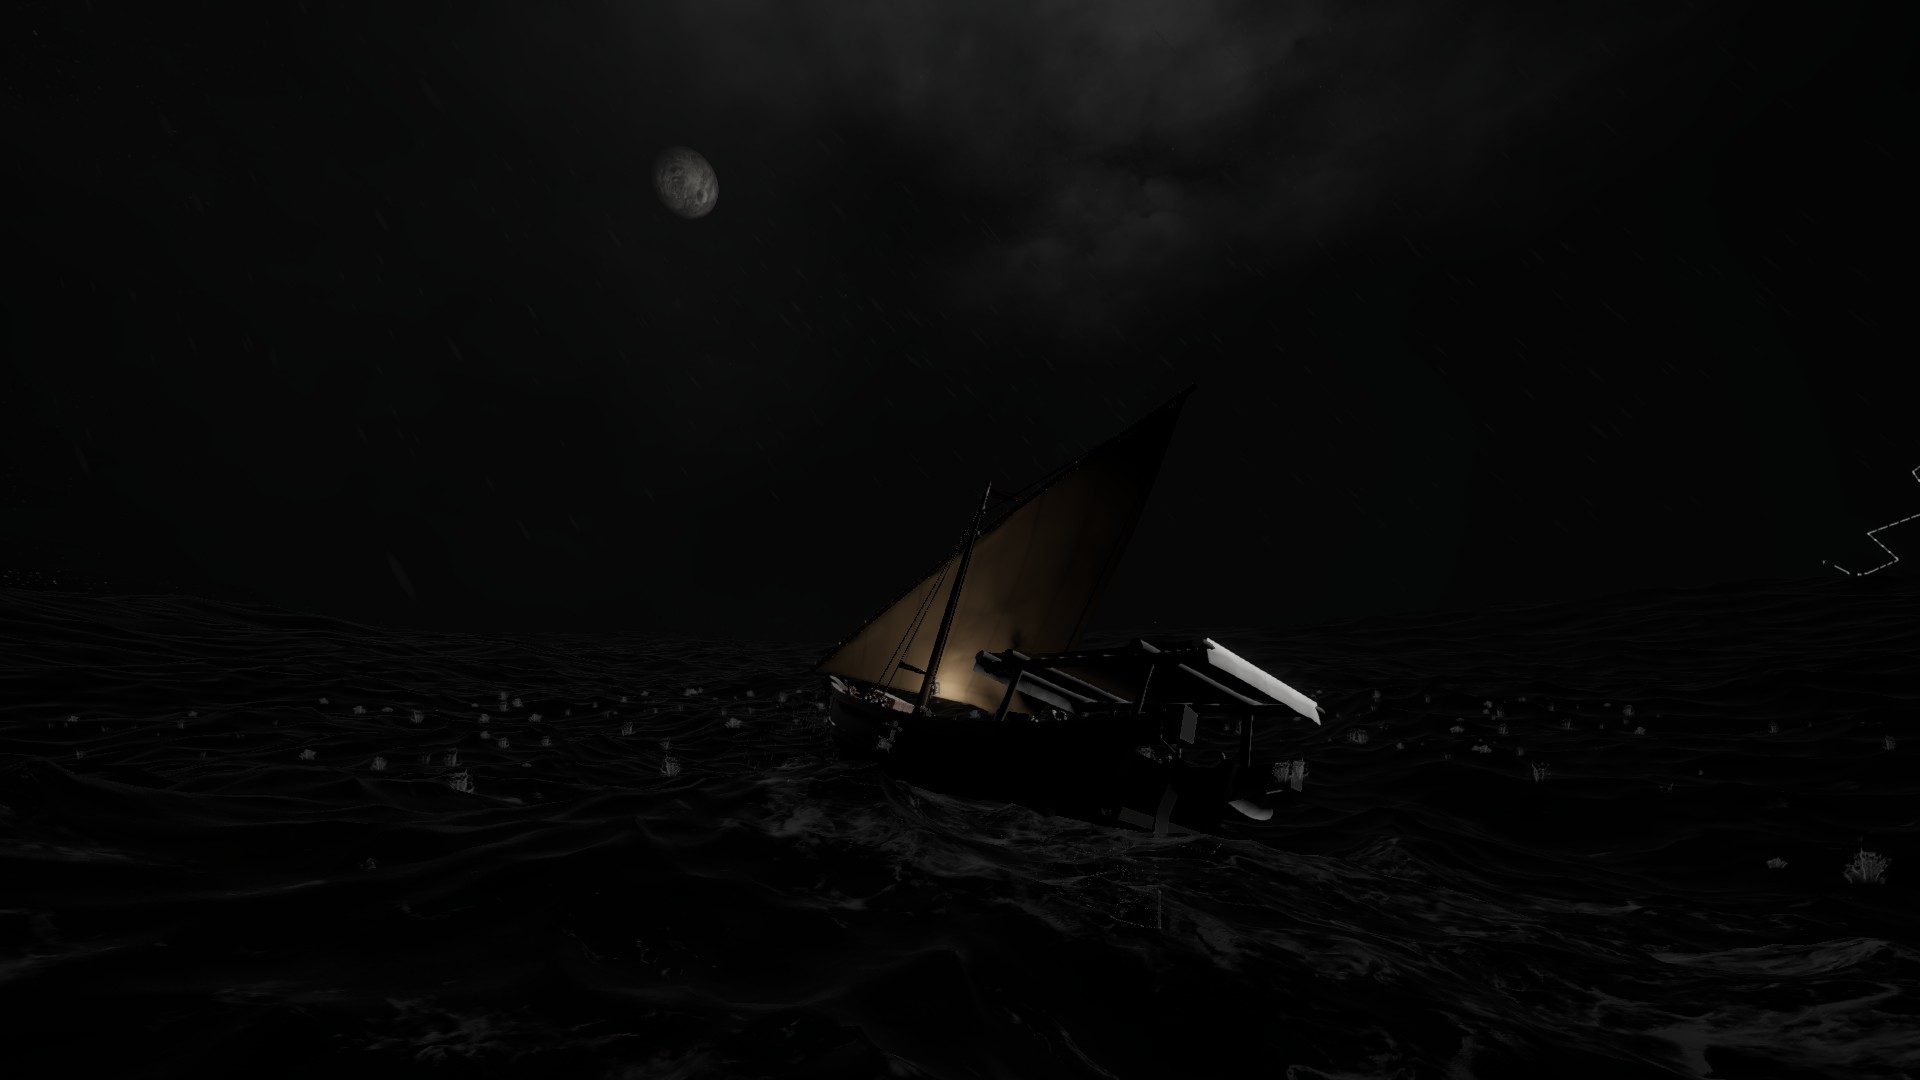
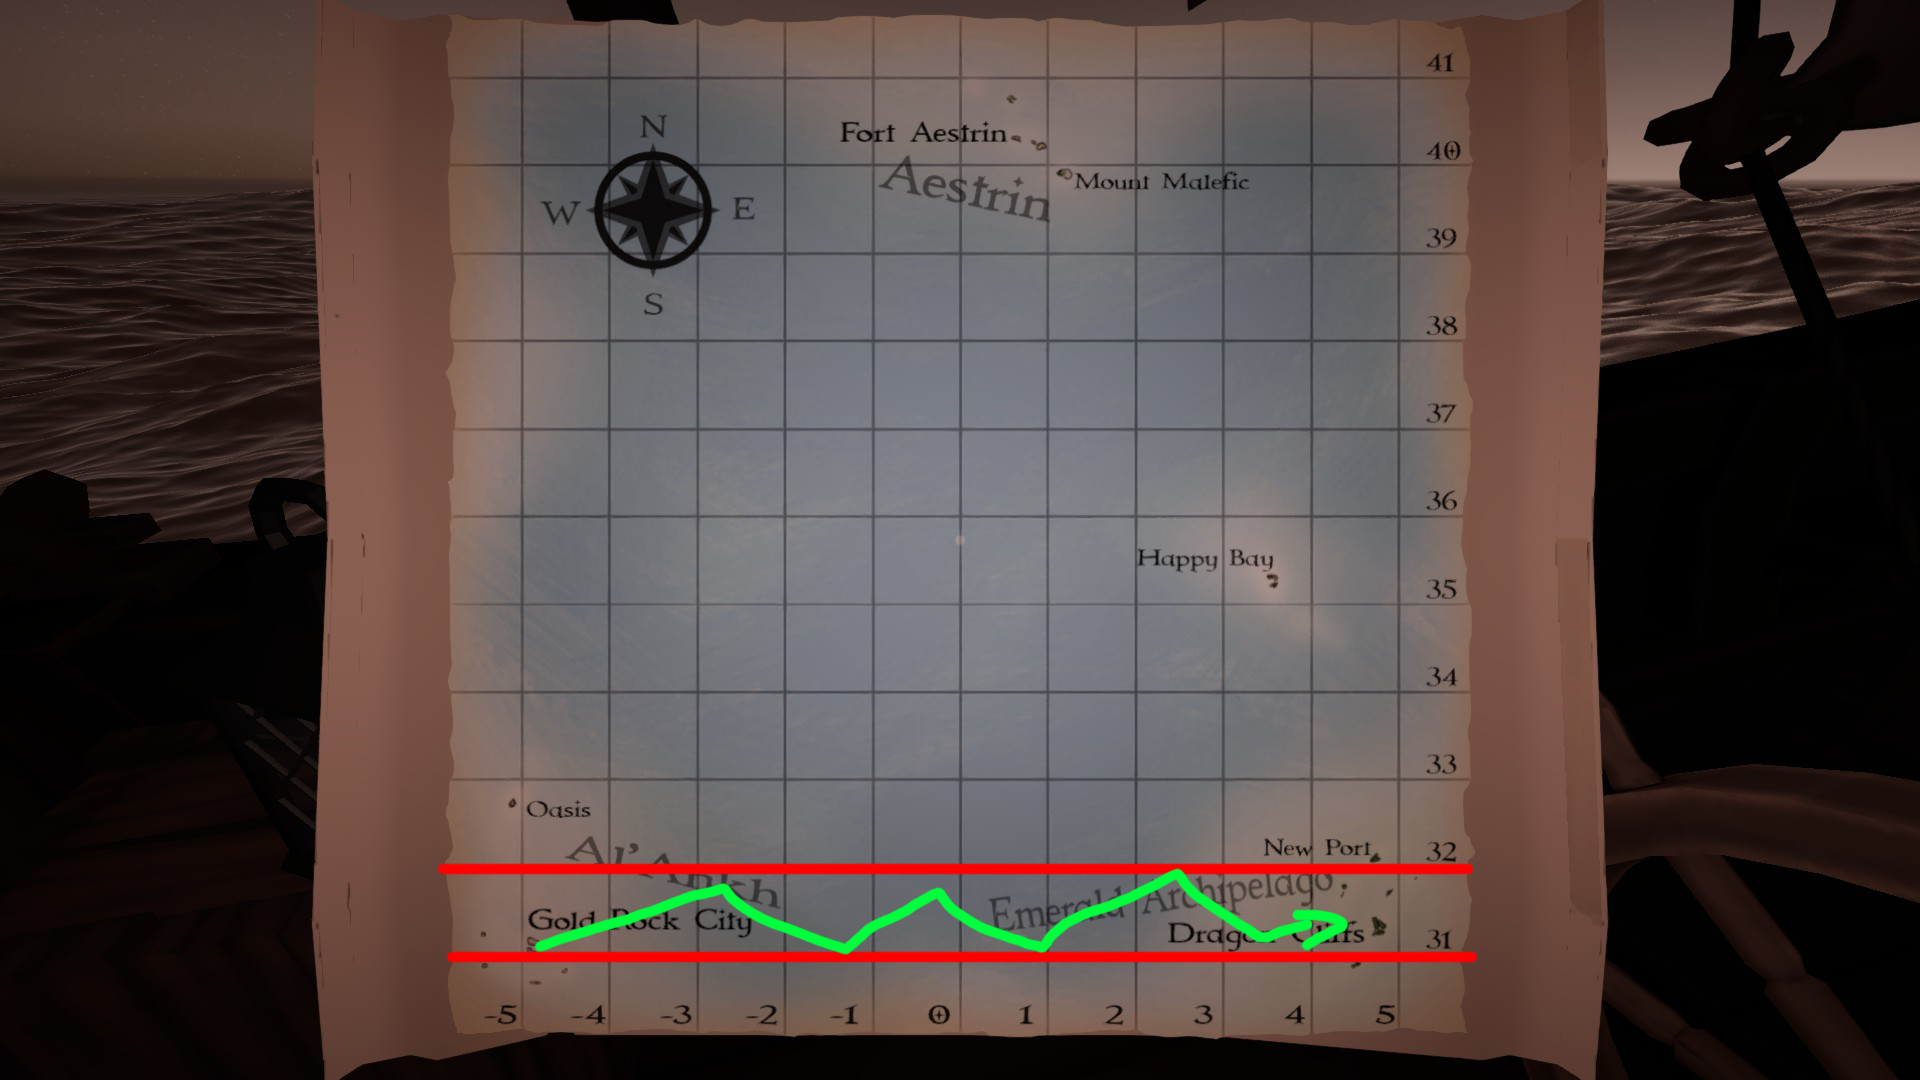
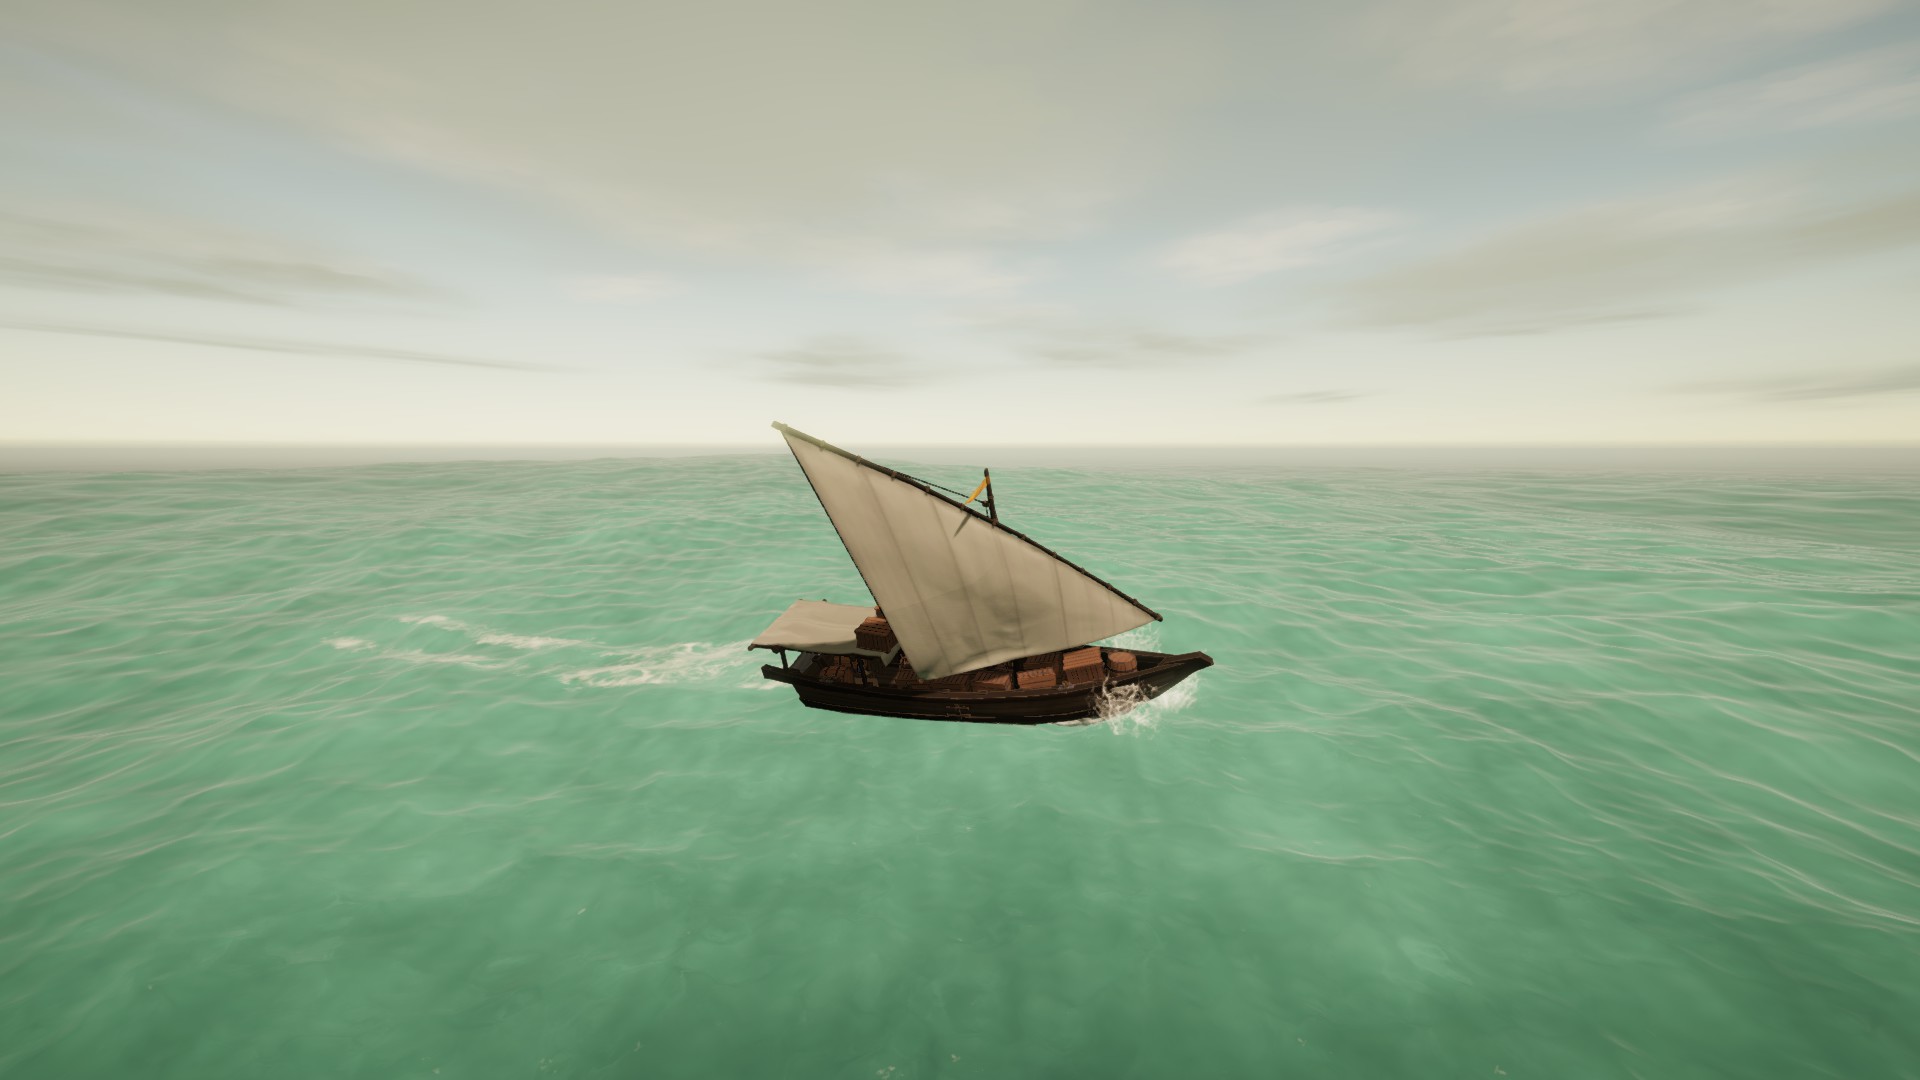
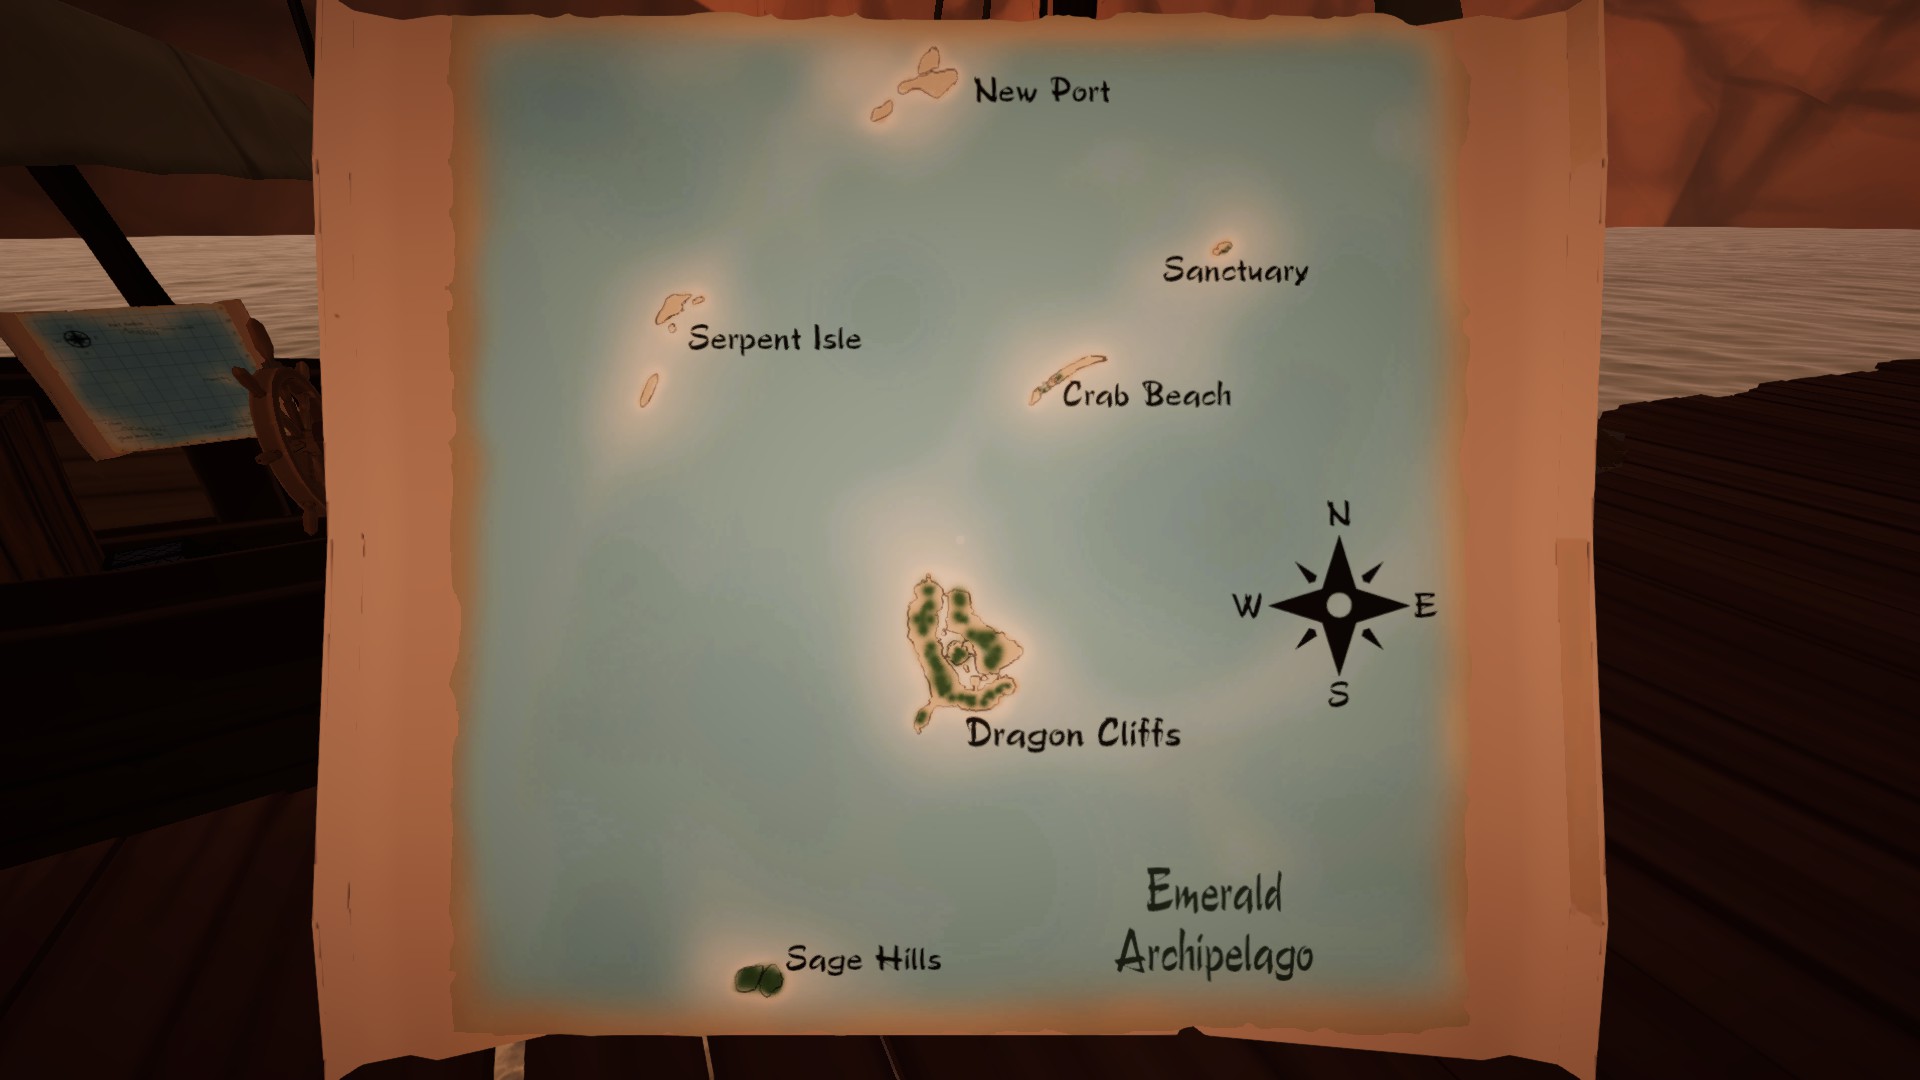
I managed to head from Dragon Cliffs to Gold Rock in around 2 hours, using the Sanbuq.
Boomer 19 Apr, 2024 @ 12:18pm 
How much real life time did this voyage take?
Rafterman 24 Feb, 2024 @ 3:04am 
Good guide, but I failed. I spent 30 days trying to tack against the wind close to Dragon Cliffs until I ran out of supplies. What was I doing wrong? The wind always shifted against me no matter what I did. Made me lose interest in the game and play something else.
Third 10 Dec, 2023 @ 2:17am 
Eng version:
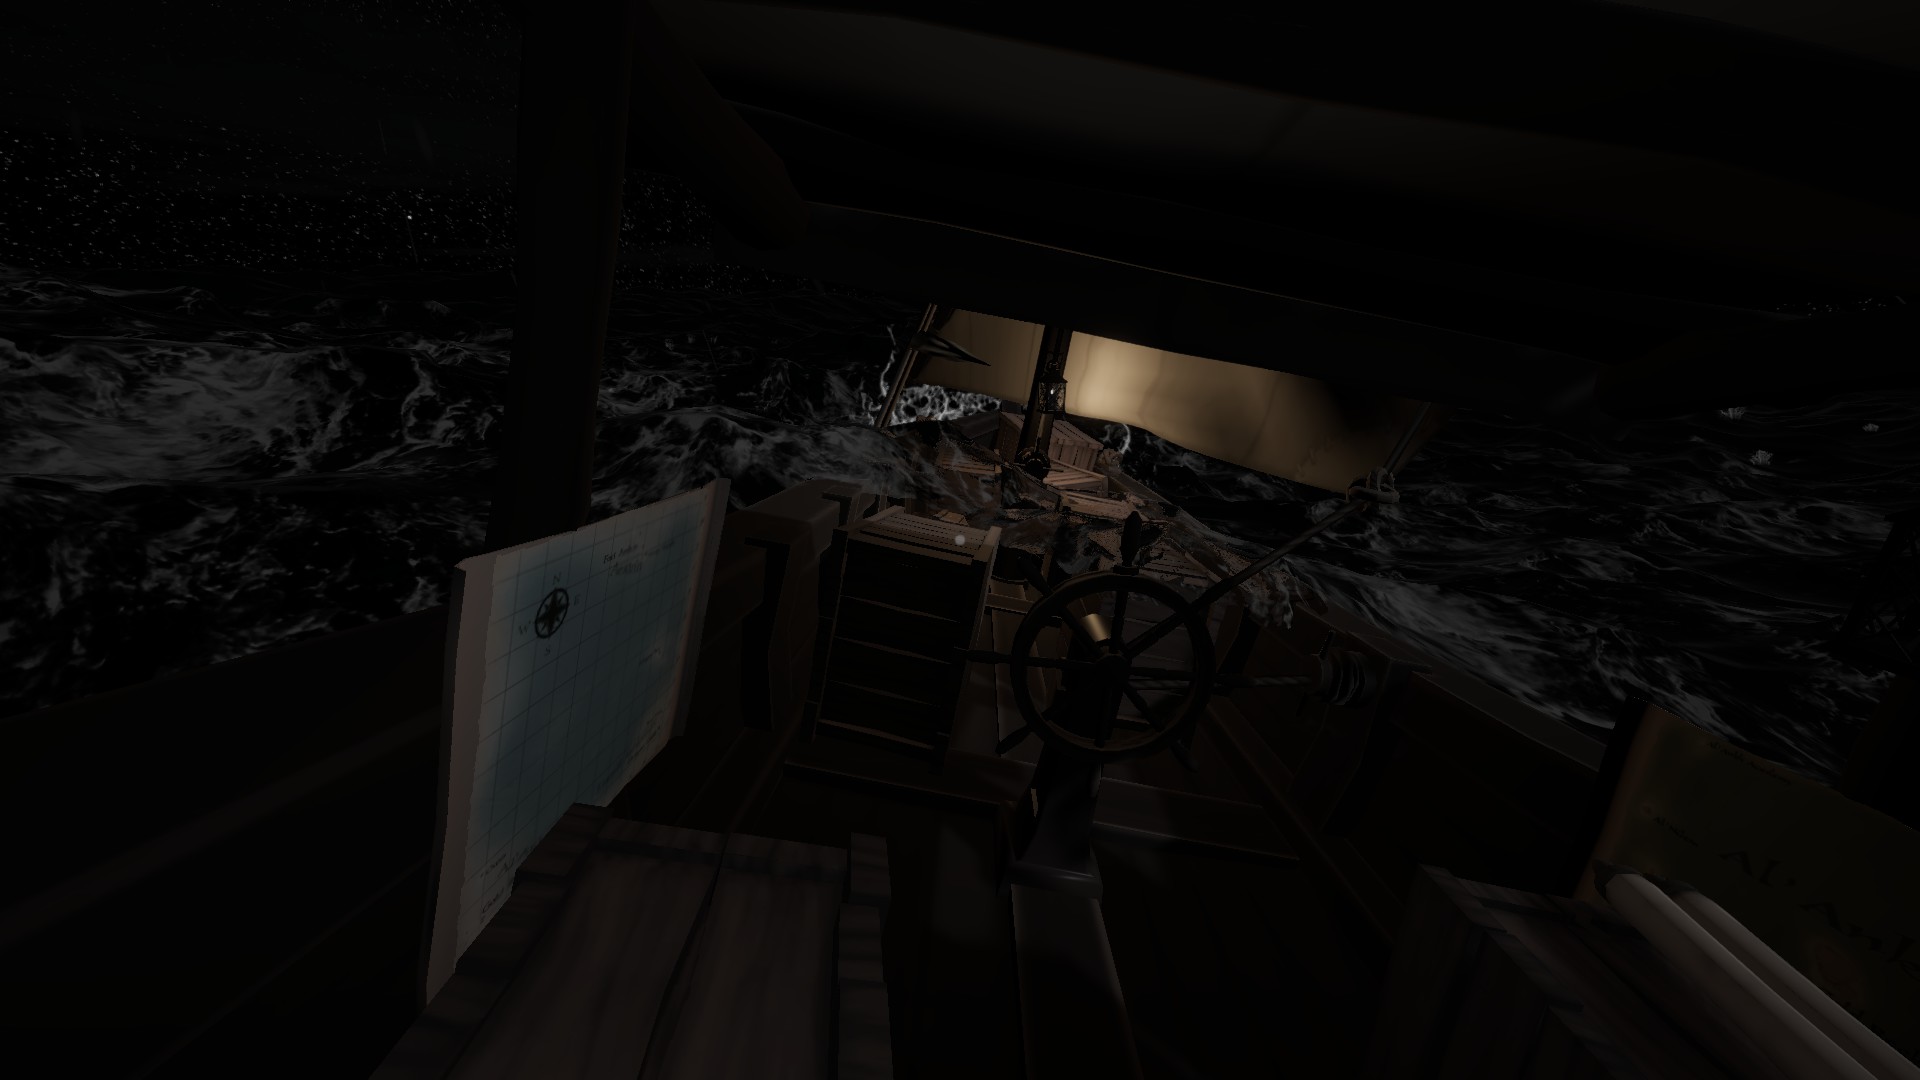
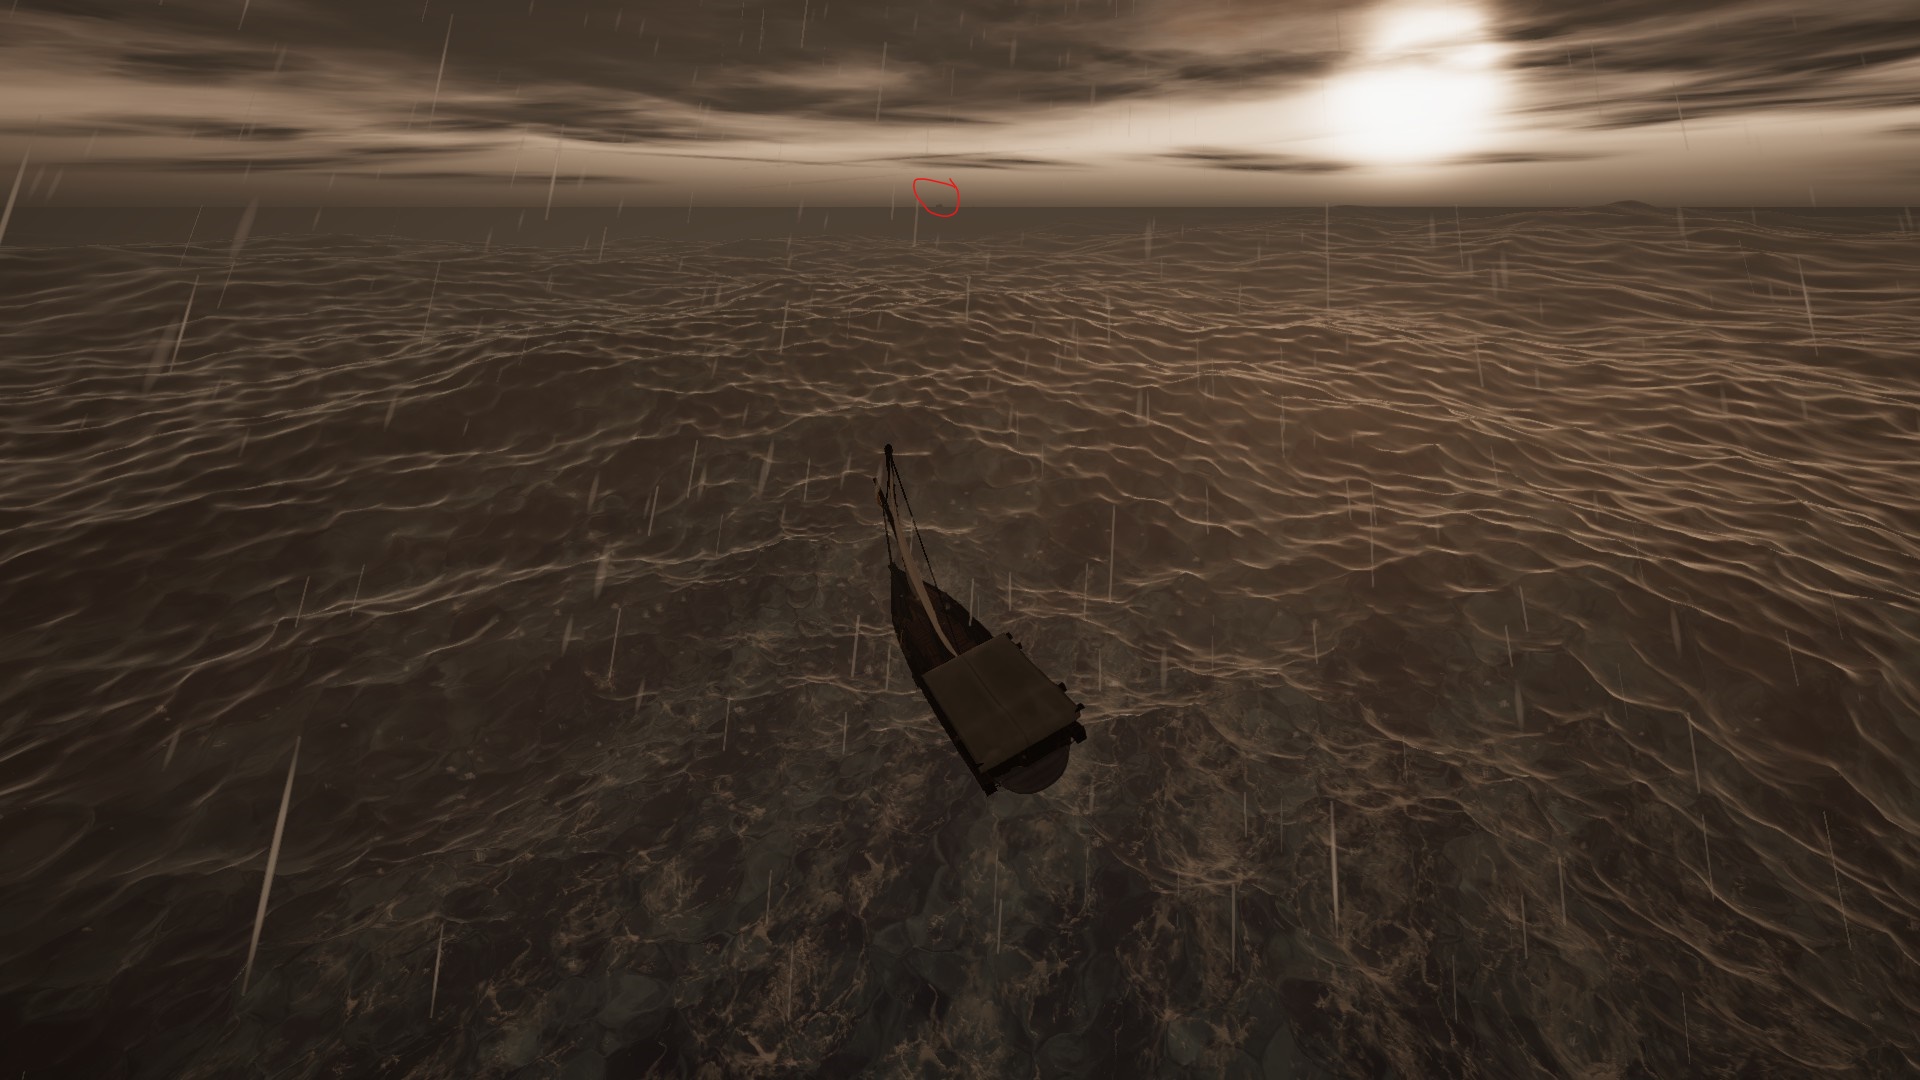
Bravo, excellent manual, very interesting experience. This feeling when you have been swimming for 10 days and with each new day there are more and more thoughts that you may not make it... And when you see the land, you rejoice like a child. Award to the author, thanks for this manual.

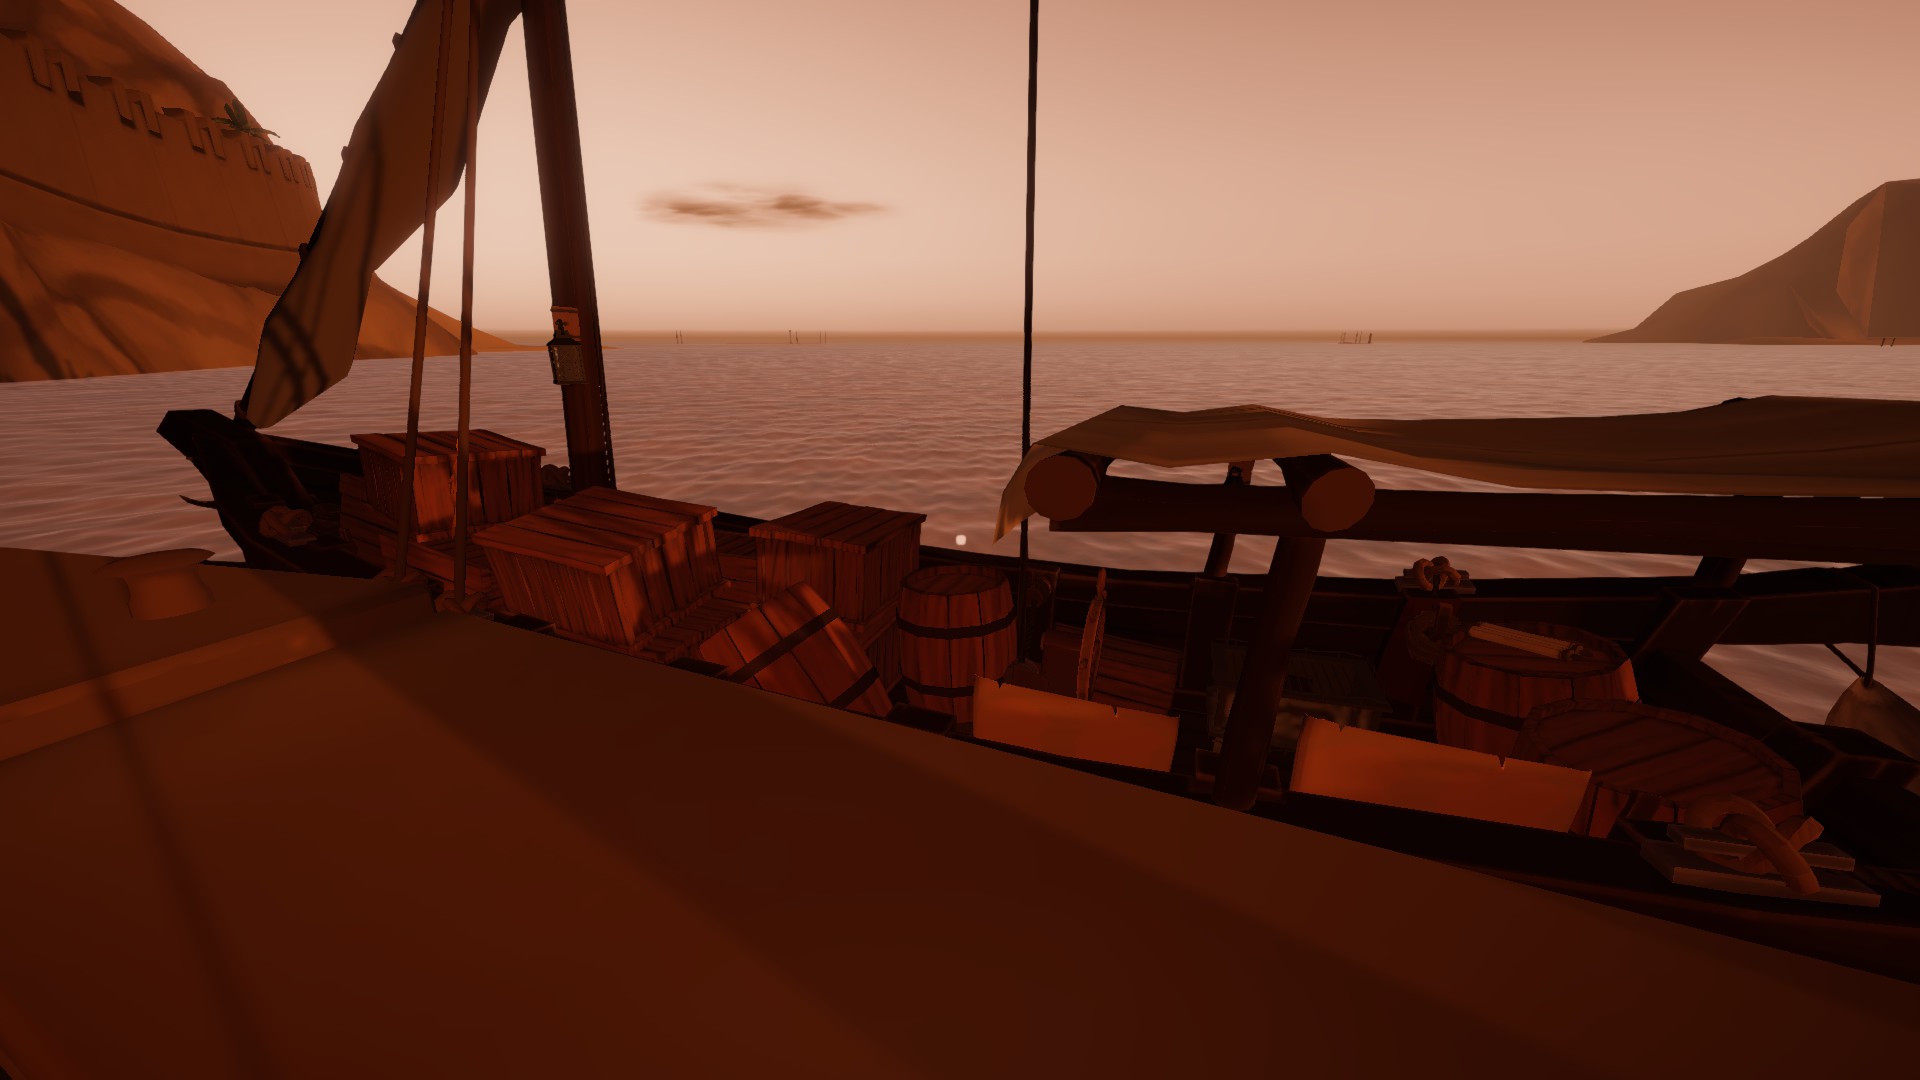
I sailed on the starting boat, but with two sails. The average speed was 6-8 knots, sometimes reaching 10. I sailed in 11 days. Two barrels of water, one barrel of rum, three boxes of cheese were enough. I didn’t fish, I didn’t carry goods.
Third 10 Dec, 2023 @ 2:17am 
Браво, отличный мануал, очень интересный опыт. Это чувство, когда плывешь уже дней 10 и с каждым новым днем все больше мыслей о том, что можешь не доплыть.. А когда видишь землю, радуешься как ребенок. Награду автору, спасибо за этот мануал.

Я плыл на стартовой лодке, но с двумя парусами. Средняя скорость была 6-8 узлов, иногда доходило до 10. Доплыл за 11 дней. Хватило две бочки воды, одна бочка рома, три ящика сыра. Не рыбачил, товары не вез.
.Cody. 4 Oct, 2022 @ 5:41am 
14-18 days. Thank you. I grow worried that I just managed to get tossed around while I was asleep and I'm like an entire cell North or South and will miss it...
dr.Yang 29 Jul, 2022 @ 12:24am 
Автору награда!
dr.Yang 28 Jul, 2022 @ 11:35pm 
Однако всё таки думаю, что такие дальние путешествия лучше совершать после модернизации парусов. На кливере лодка хорошо держит курс при шторме, без страха опрокинуться. А наличие двух парусов: кливера и гафеля гарантирует стабильное поддержание курса.
dr.Yang 28 Jul, 2022 @ 11:23pm 
Очень интересный опыт. Мне только что удалось утопить! свой корабль после модернизации парусов, буду начинать с начала и обязательно пройду этим путем. Тем более, что нам теперь известно, что количество дней в пути около 19.
LinkInDescription 19 Jul, 2022 @ 1:00am 
lmao. I realized a good hour in that the mission item "spice" comes in a barrel. Miscounted due to that and only had 2 barrels of water. Tried to make it but dehydrated and was forced to boat recover. Washed up on the dock of Dragon Cliffs. All of the cargo was still with me, and I redeemed it.
Mission complete I guess?