Age of Wonders III

Age of Wonders III

Not enough ratings
Tutorial: How to make unit icons
By Gladen
Tutorial for Age of Wonders 3 Modding
How to make unit icons in Photoshop and import them to your mod with the content editor.
   
Award
Favorite
Favorited
Unfavorite
Choose a screenshot
1. Take a printscreen from a unit you want to add as an icon.

2. Mark it in a square what you think looks good.

3. Copy that marker.

Placement of your icon, size and adding alpha layer to image
1. Download this icon template and open it with photoshop. It contains a few examples for item icons and unit icons. Aswell I included an empty racial governance with an example included

There is a few layer names for testing purpose I tried to add as instructions. Feel free to use it or not as the official icon template is missing.

https://drive.google.com/file/d/15g-We6x0GpDGHleXN0j7dYabUZnnlPBO/view?usp=drivesdk

2. Open the image file and import your marked unit from the previous step and paste it to here.

3. Resize to a good size. Turn on the circles layer and try to fit your unit inside this circle. (Its okey to be outside abit of the circle. But dont go to far. About 5-10 px is okeyish without ending up on other icons area.

4. In the "layers" section highlight the selected layer your image unit is on and press the button looking like a camera in the bottom right corner with the red circle.

Selecting Alpha and start masking the pictures.
1. Turn off the "Circle" layers. They wont be needed but can be toggled to see how much area you need to mask out. 5-10 px from it. You may want to select "opacity" on the circles layer to make it transparent in order to make it more visible. (Right next to the dropdown list saying "Normal"

2. Add a new black background layer and put it below all the lowest layer so it displayed "behind" units as seen in the picture.

3. Now select the box with a whitescreen on the "layer 9" and press the button "Select and Mask"


Choosing mask tools
1. I often take the third option and select like "10" in size. "Minus" will mask the image while "plus" will unmask the image. Its also possible to zoom in and zoom out.

Start to mask out big areas.
1. Start by slowly masking out big areas that you dont want in the final image.

Choosing the brush setting
1. When done with masking out big areas.

2. Choose a smaller brush size like 4px and then set "hardness" and "spacing" to low amount seenin the pictures.

3. With smaller brush. Take out all the things you dont want in the image and carefully move your brush around the image. You can ctrl + Z to undo things that went to far in order to start over.

Finalize masking process
1. When your happy how the unit went in your masking. Use the button and press "Ok" to apply the mask to an alpha layer.

Selecting correct layers to save
1. Now only select all layer on the image that should be in the final image with icons.

2. Only Layer 7, 8, 9 and 10 in this picture is selected.

3. Make sure that all image with units on them have this alpha layer on the right side enabled shown in the picture.

How to save
1. Select "File" menu with ONLY layer 6,7,8 and 9
2. Select "Save As..."

Saving file in DDS
https://developer.nvidia.com/nvidia-texture-tools-exporter


1. You going to need the Photoshop Nvidia Texture Tool Exporter addon for Photoshop. Head on and install this to your photoshop.

2. Choose the "DDS - NVIDIA Texture Tools Exporter (*.DDS;*DDS)" as seen in the picture.

3. Make sure that the box with "Alpha Channels" is selected as seen in the picture

NVIDIA Texture Tools Exporter - Correct export settings Part 1
1. Select Format

2. Choose "BC2 RGBA" DXT3 as seen in the picture

NVIDIA Texture Tools Exporter - Correct export settings Part 2
1. Choose filter Type: "Kaiser"

2. Choose "Gamma Correct"

3. Choose "Override Filter Width : Value 2.000"

4. Choose "Premultiplied Alpha Blending (Alpha is Transparency)"

5. Choose any preferred Compression Quality. I choose "Highest" since I ride with style. But the file image might be bigger in size by doing that.

6 See the image for references. This tool image exporter might differ depending on version but should be similiar.

NVIDIA Texture Tools Exporter - Correct export settings Part 3
1. Finalize your image by also choosing "Export Premultiplied Alpha"

2. Preview the image in the top right corner by selecting "Color"

3. If done correctly, the background will turn black and will display the icon correctly with alpha enabled from layers.

4. Save the image in the bottom right corner


Setting up icons into the content editor
1. Open the Content Editor

2. Make a new clb or open one that you have in your mod folder example: "C:\User\My Documents\My Games\AoW3\UserContent\MyAwesomeMod\Icon.clb

3. Select Texture as seen in the picture.

Importing icons into the content editor
1. Select File

2. Select import while having the "Textures" section open in the content editor.

Correct setting for icons into the content editor
1. When you have imported your dds picture it appears in the list where textures is.

2. Select "Default"

3. Select Quality Modifier "Increase (+1 mipmap)

4. Select Quality Level Min "100

5. View icons in the "Blended" Mod. If they look as they do in the picture where the background is gray and nothing else is displayed. Congratulations your icons are done and ready to be imported into Age of Wonders 3 Mod editor.

13 Comments
Gladen  [author] 24 Feb, 2023 @ 12:49pm 
Awesome! 😃 Super cool to hear
Werzui M.S 24 Feb, 2023 @ 12:14pm 
It did work out way too good XD
Made some banger icons with it, thx alot :steamthumbsup:
Gladen  [author] 24 Feb, 2023 @ 5:28am 
No problems.

Hope it works out for you. Will update the links in the guide
Werzui M.S 23 Feb, 2023 @ 11:30am 
I used your idea, with screenshotting the icons like dwelling in alpha, at full screen, and it it worked extremely good.
Thx for the help an your reply, im very thankful :er_heart:
Gladen  [author] 23 Feb, 2023 @ 1:59am 
Werzui M.S 23 Feb, 2023 @ 1:11am 
The idea screenshot and displaying in alpha to make it somewhat of a template helped alot, actually i fell pretty dumb not to have thought about this :praisesun:
Werzui M.S 23 Feb, 2023 @ 1:06am 
it says the file is deleted, maybe im too late?
Gladen  [author] 22 Feb, 2023 @ 6:01am 
@Werzui M.S

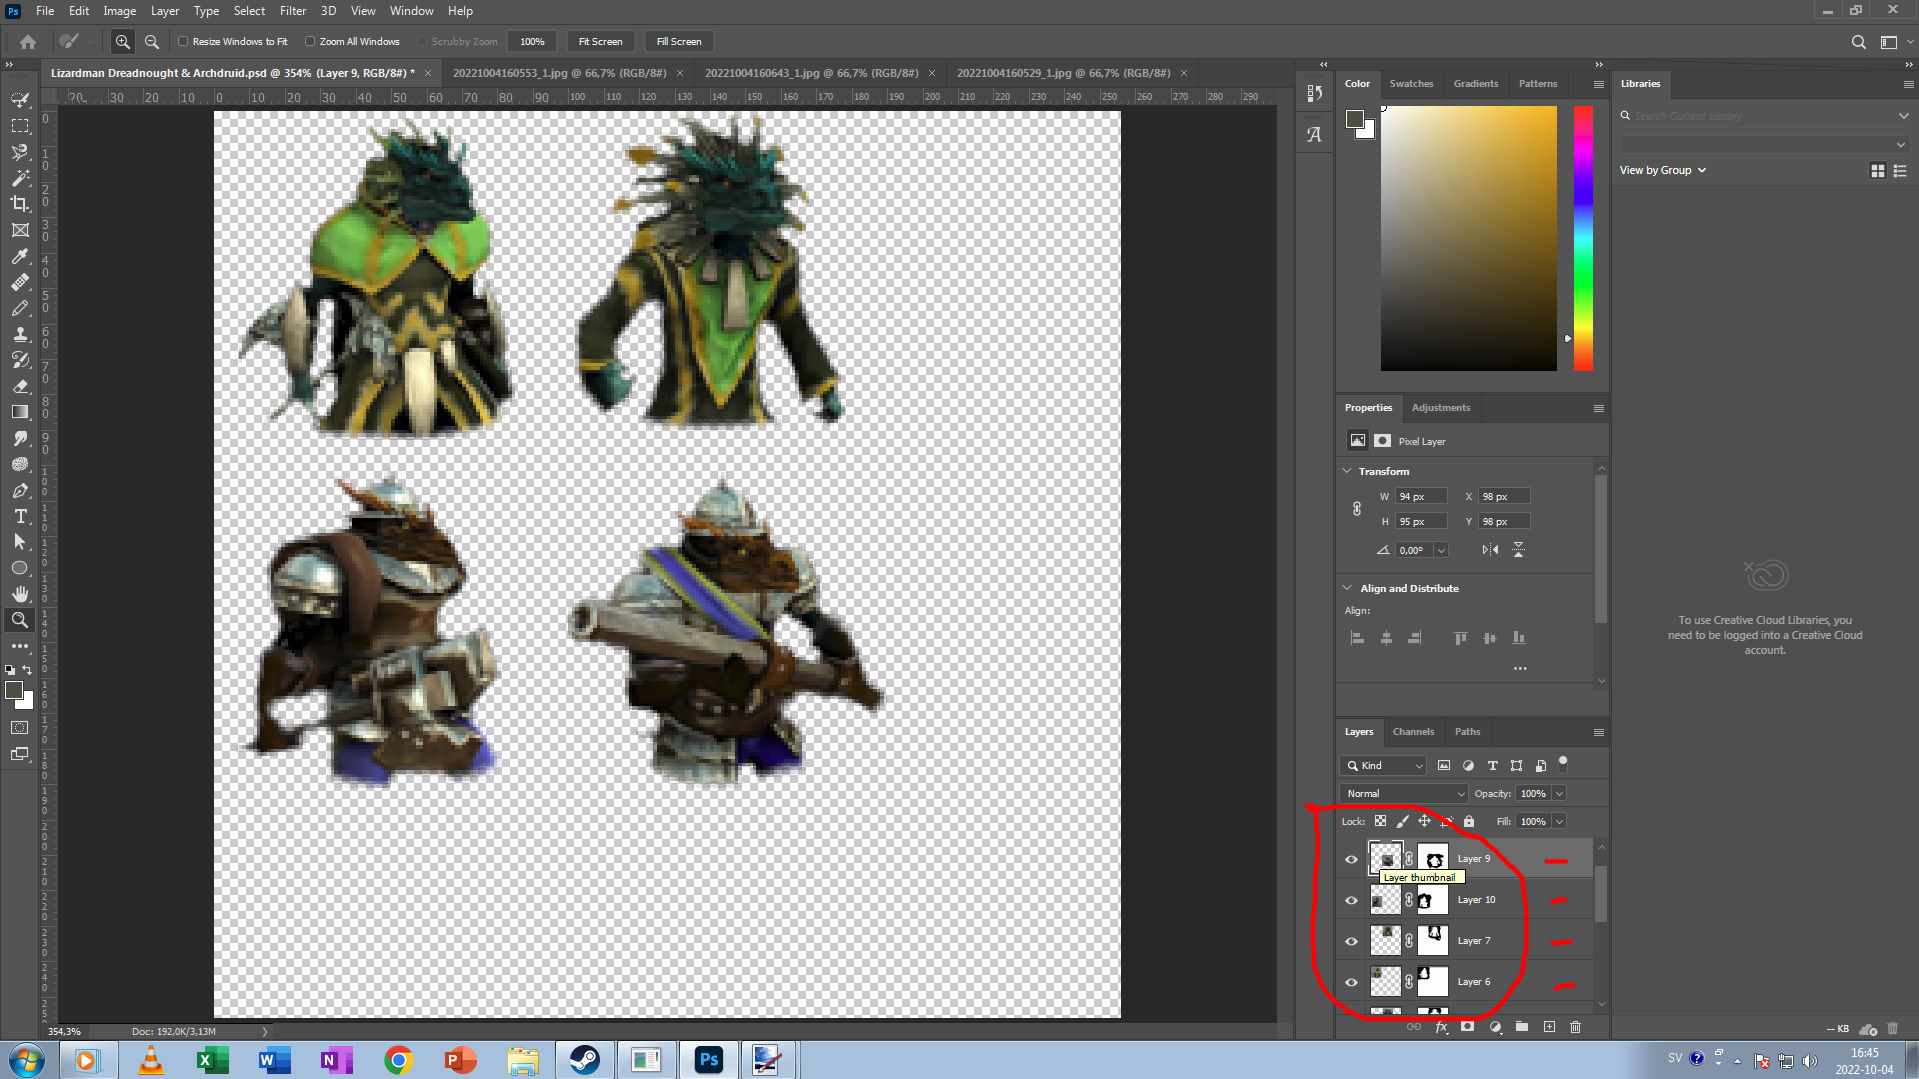
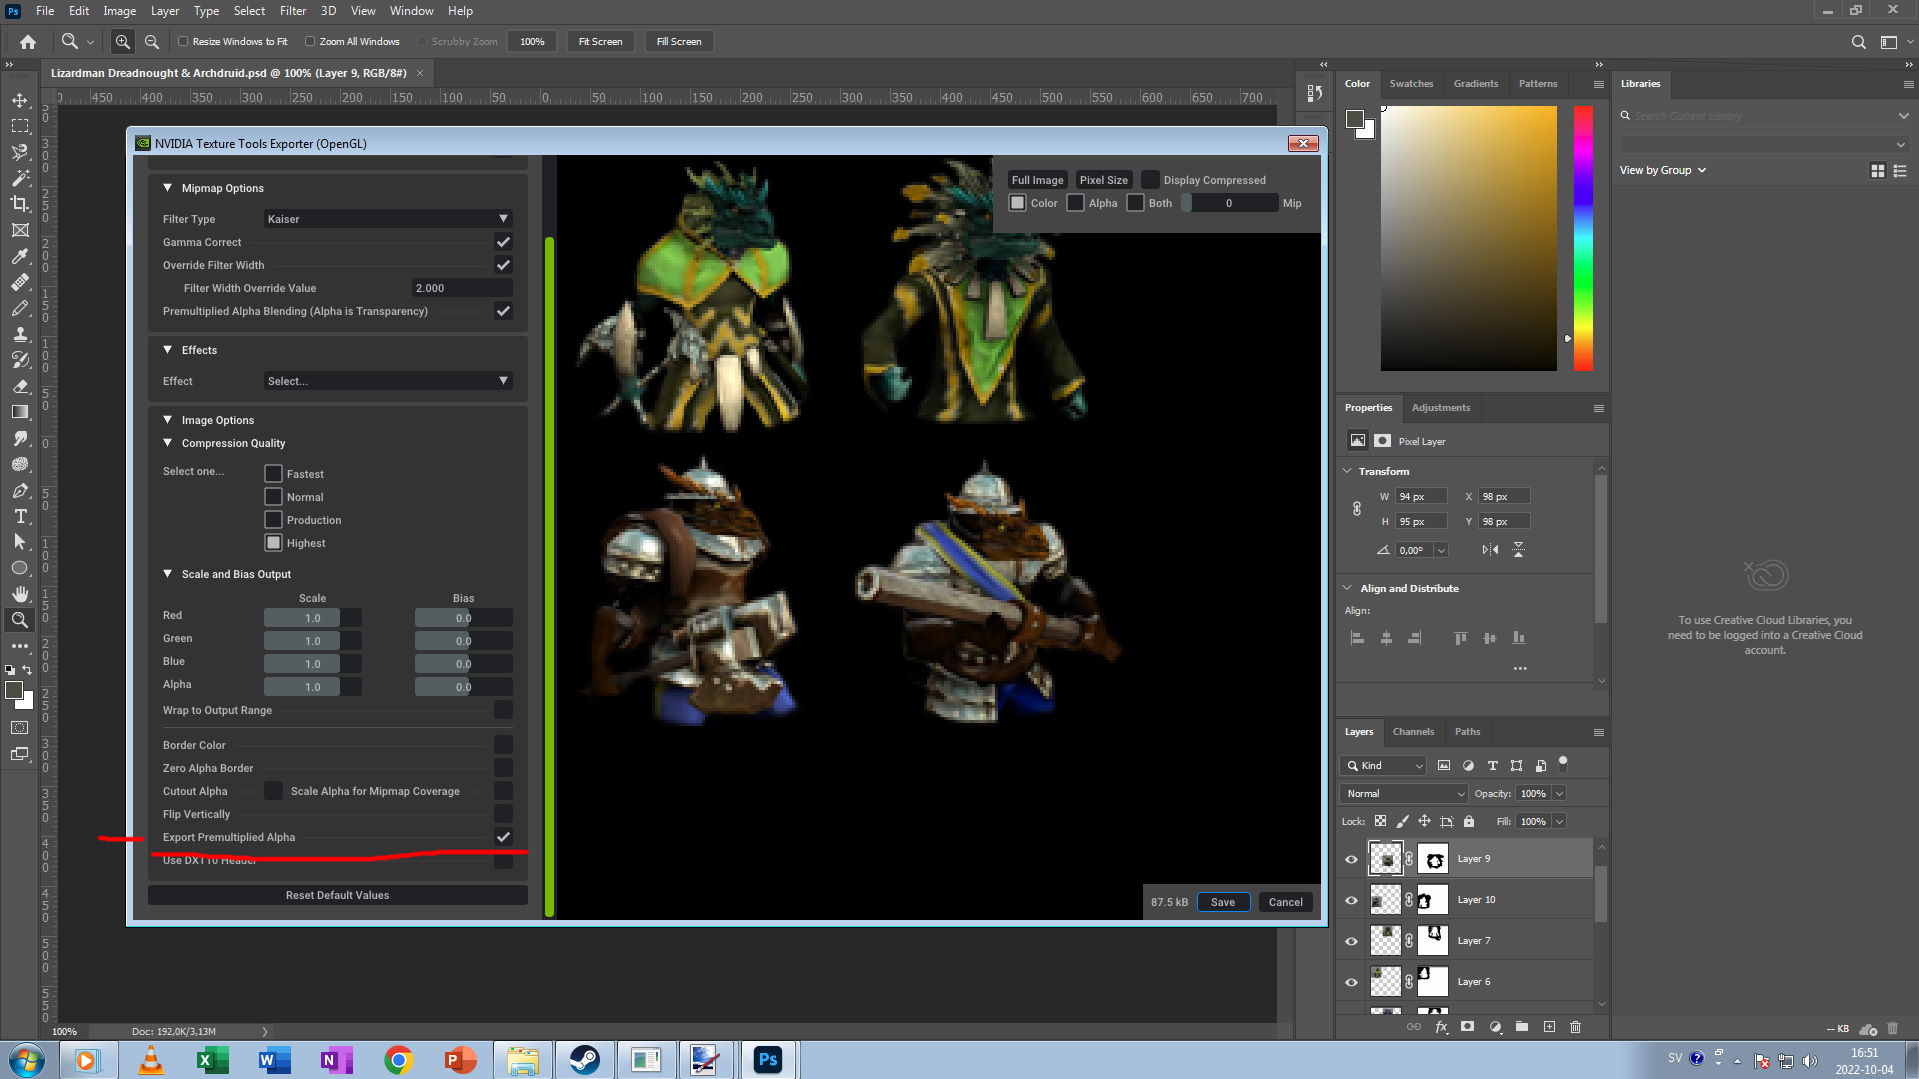
Here is a link. The template is not the official one by Triumph since I could not find it. Hopefully it helps. I created a few photoshop examples included in a new template.

https://file.io/94FbIWNrr05V
Werzui M.S 21 Feb, 2023 @ 12:44am 
thx, thats is a very good idea, im gonna try this :er_heart:
Gladen  [author] 20 Feb, 2023 @ 8:38pm 
For starters. You can create a 512 X 256 PSD in Photoshop. Print screenshots of a icon like dwelling icons in and display it in "alpha" in the content editor in full screen.

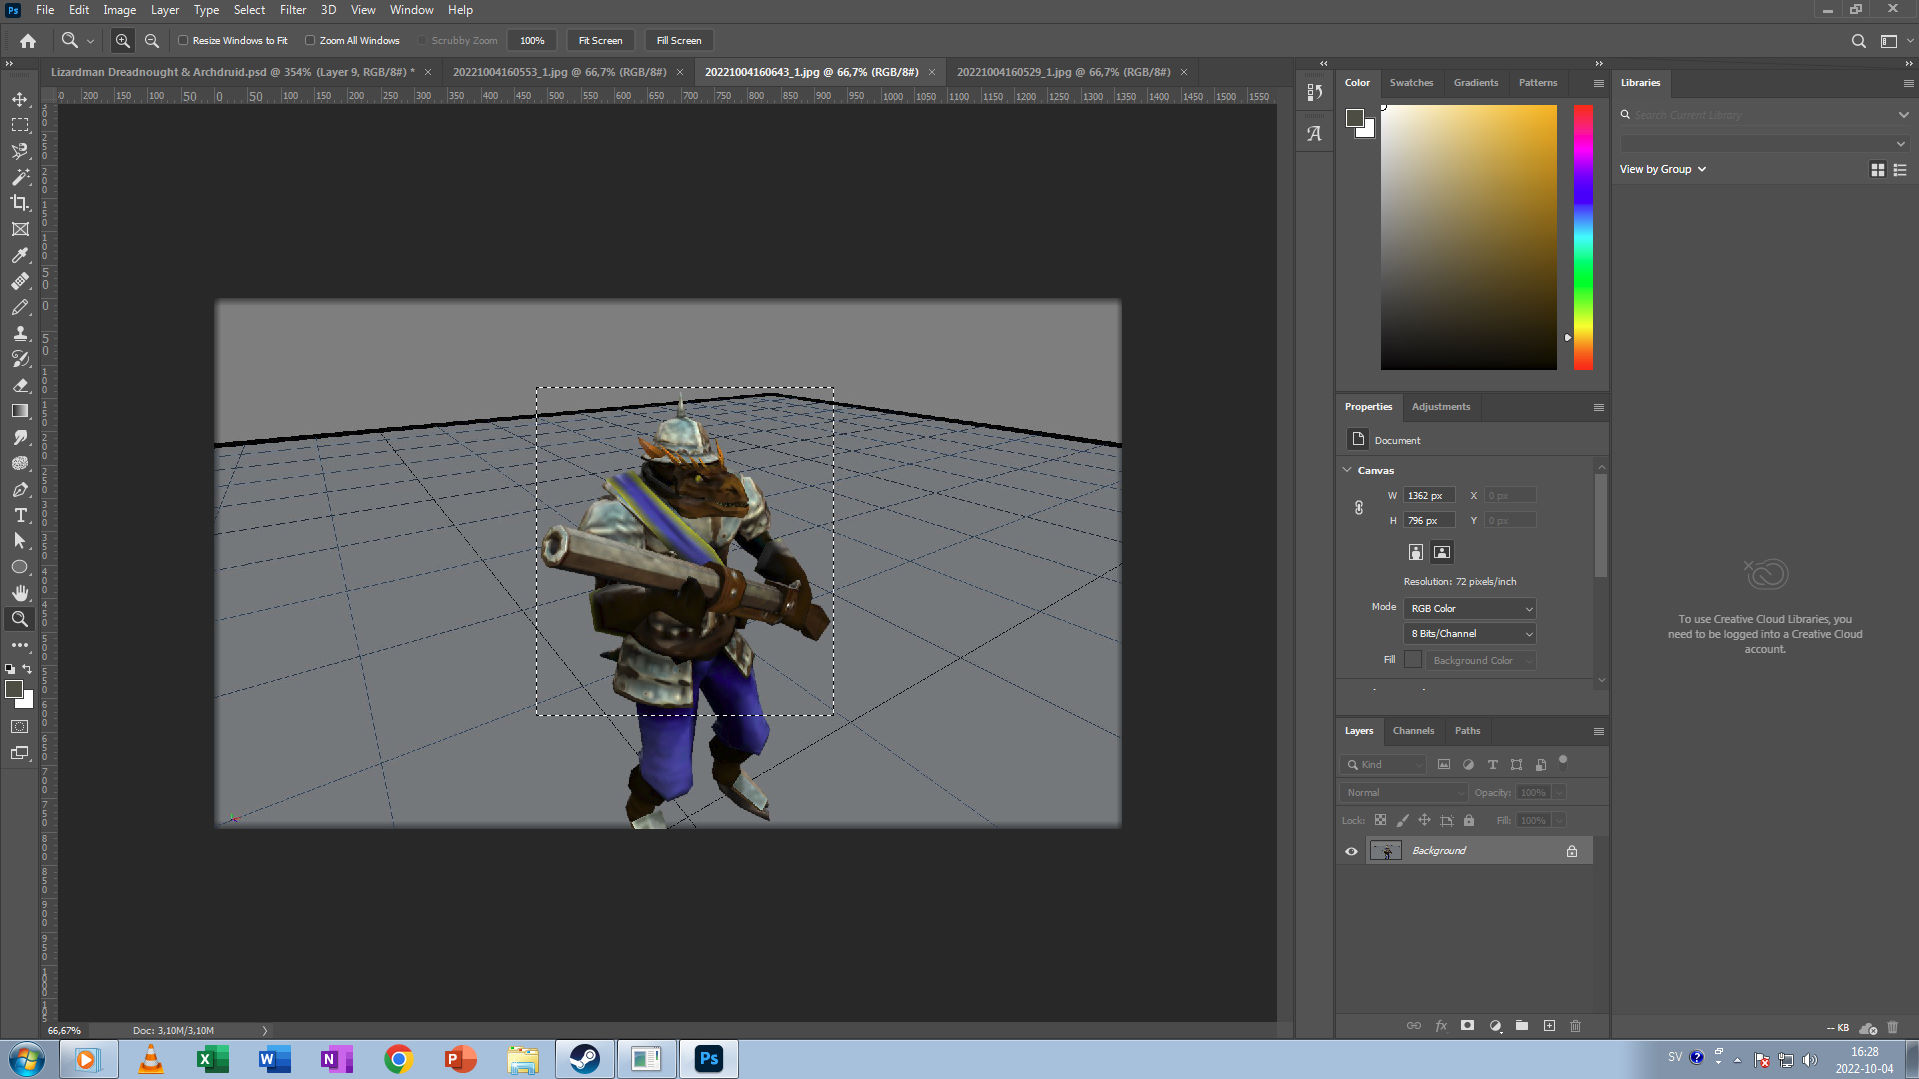
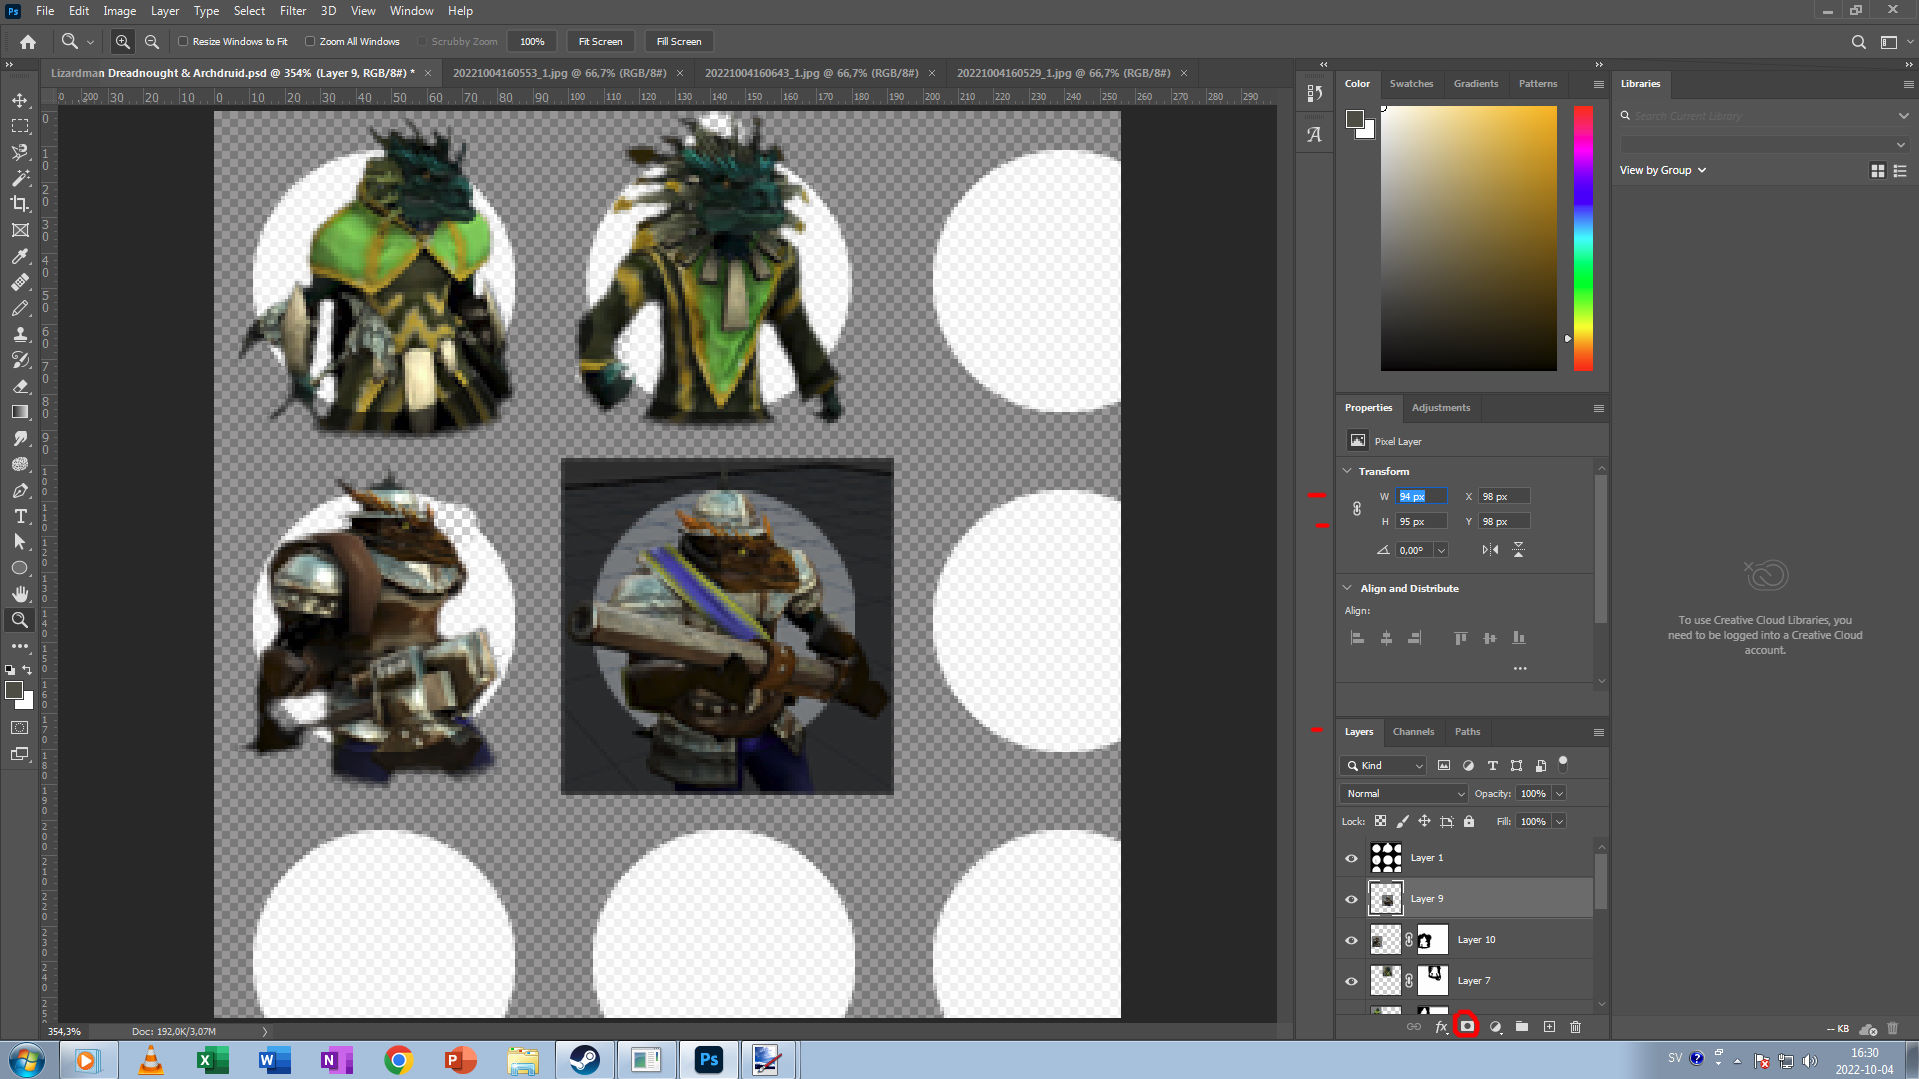
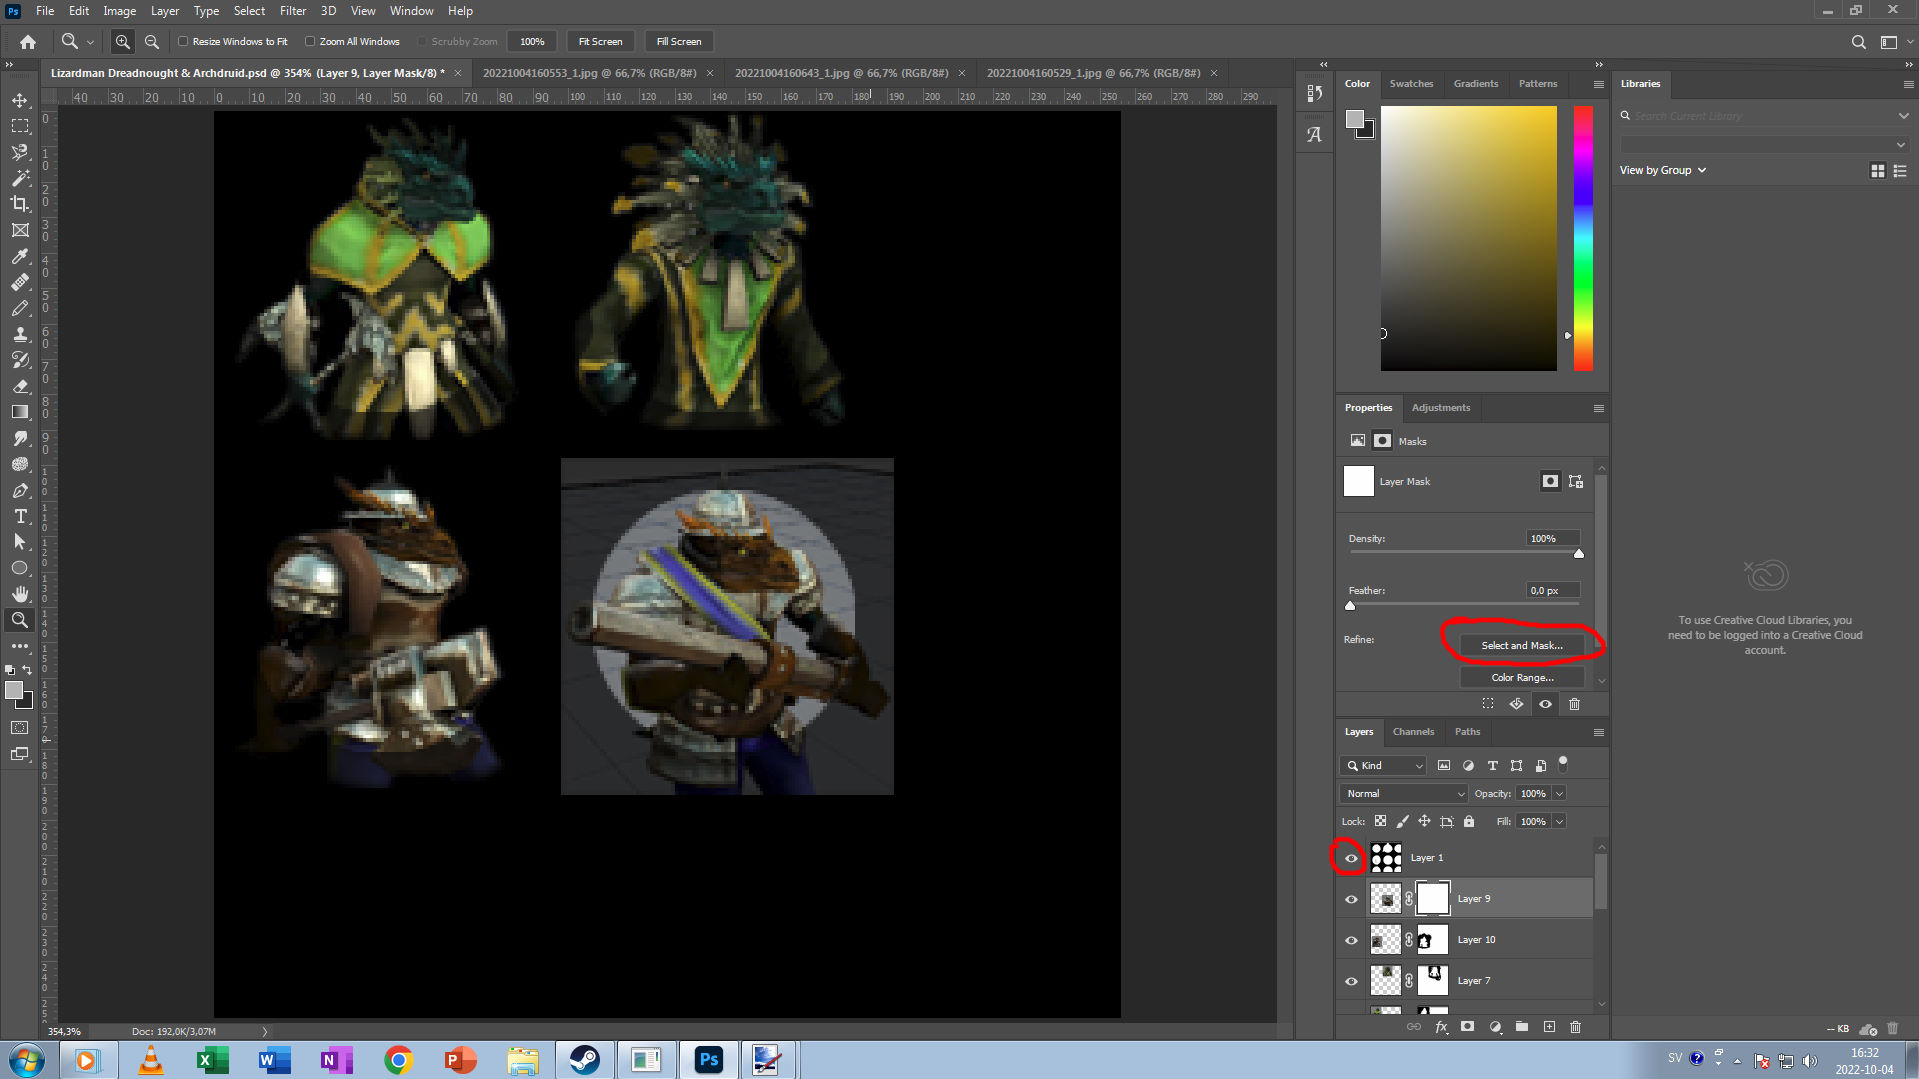
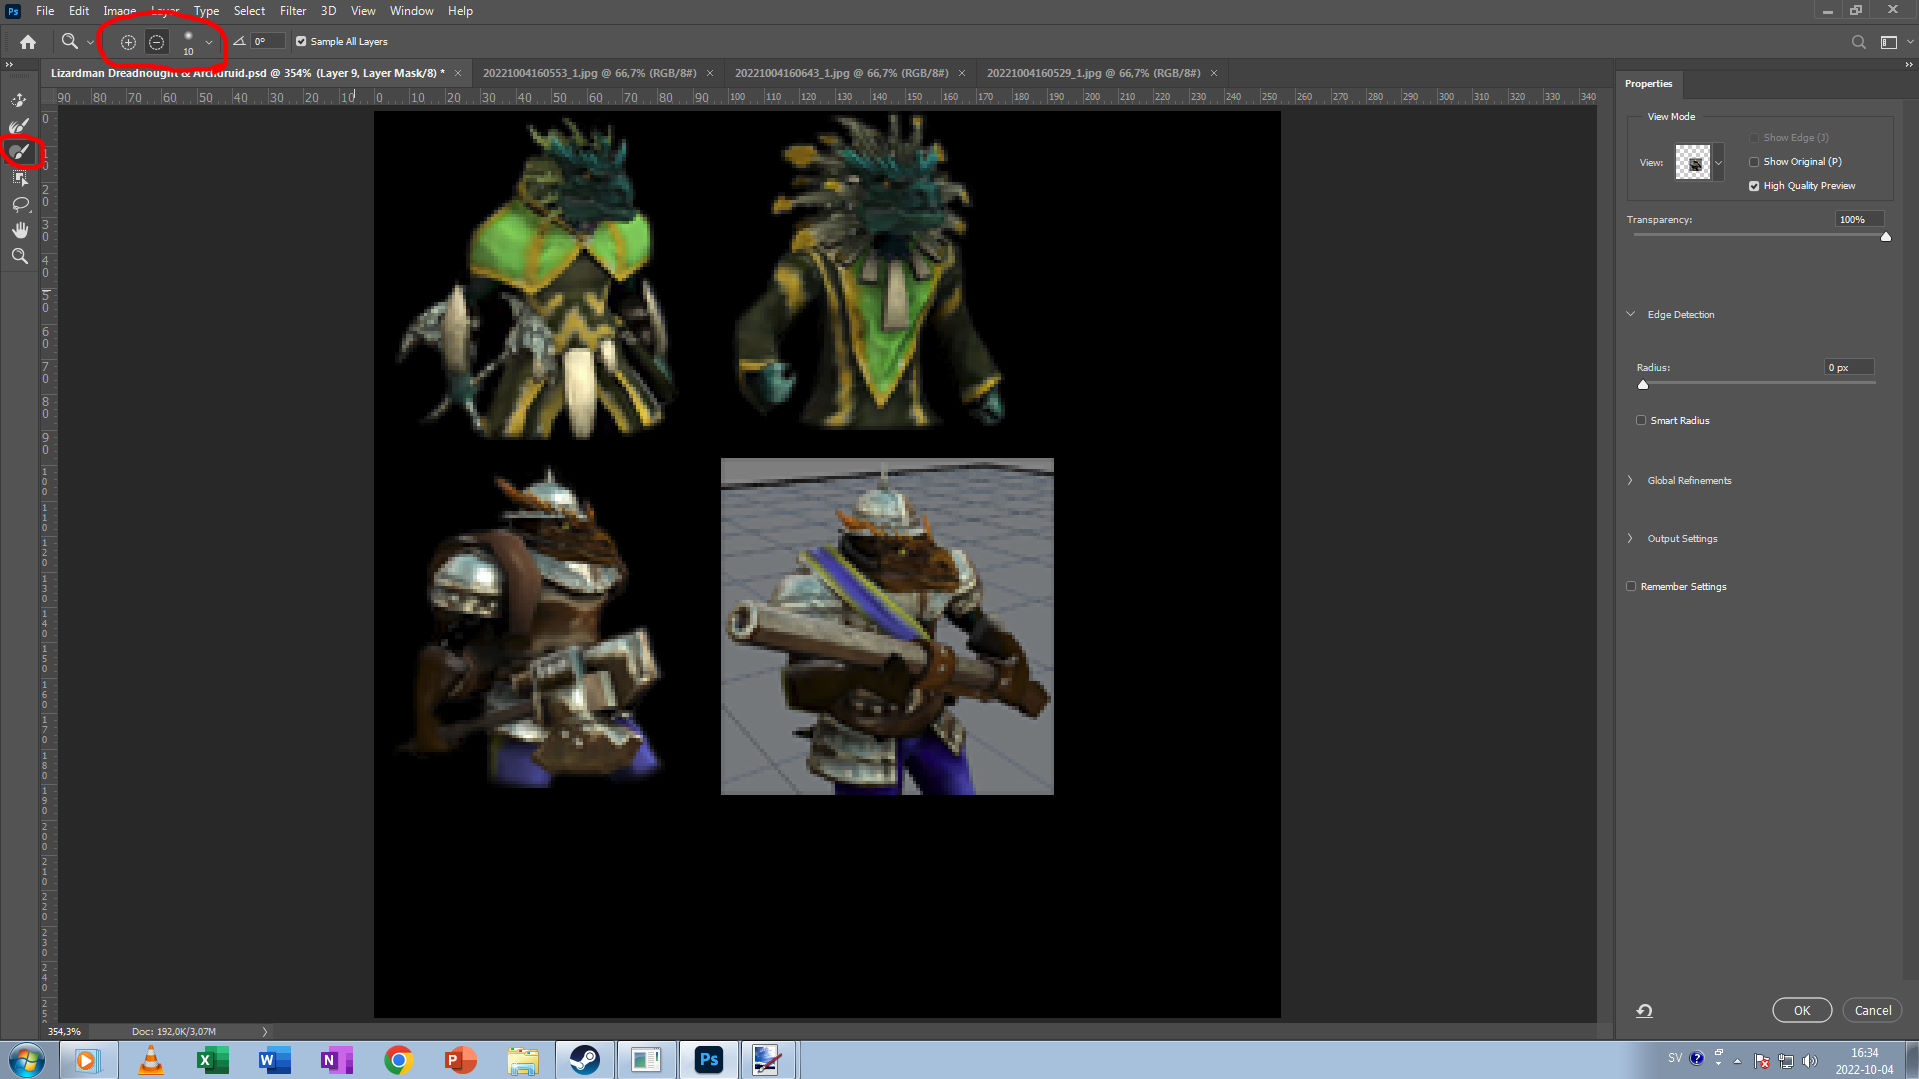
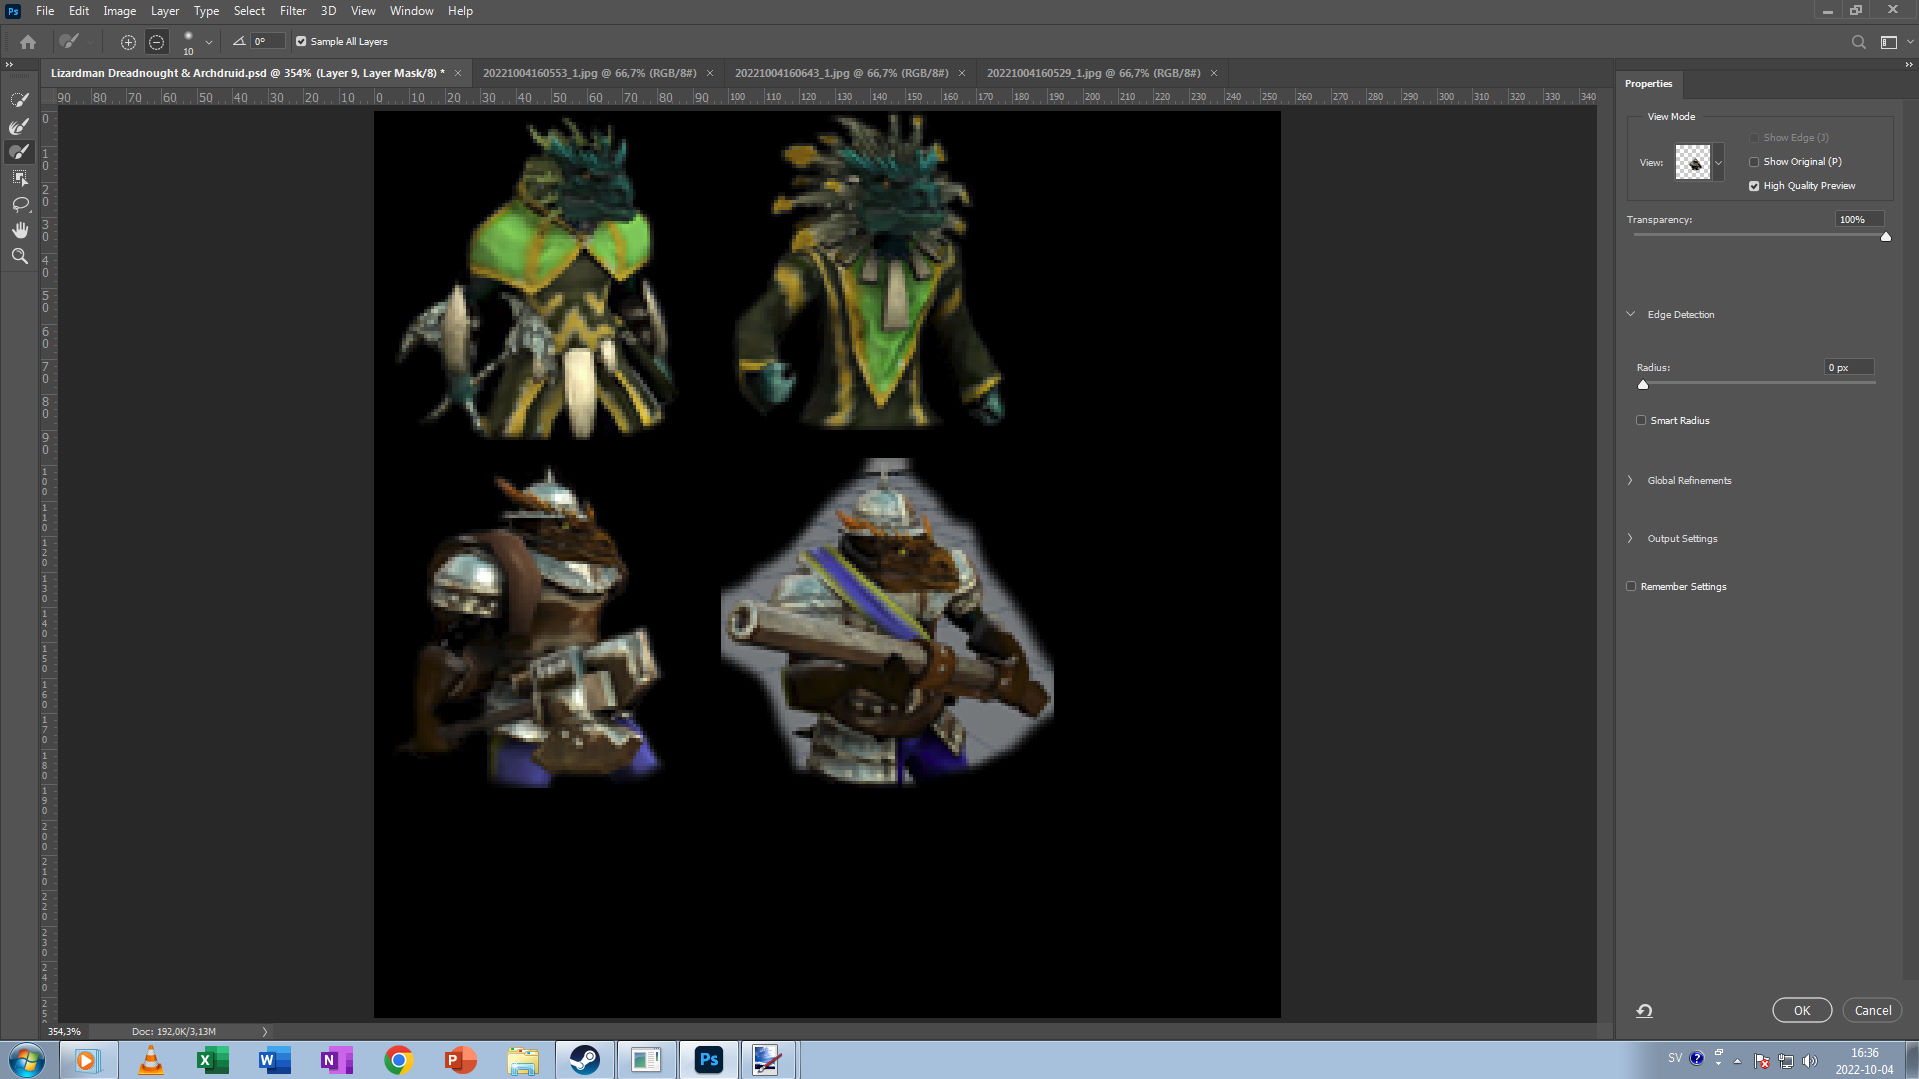
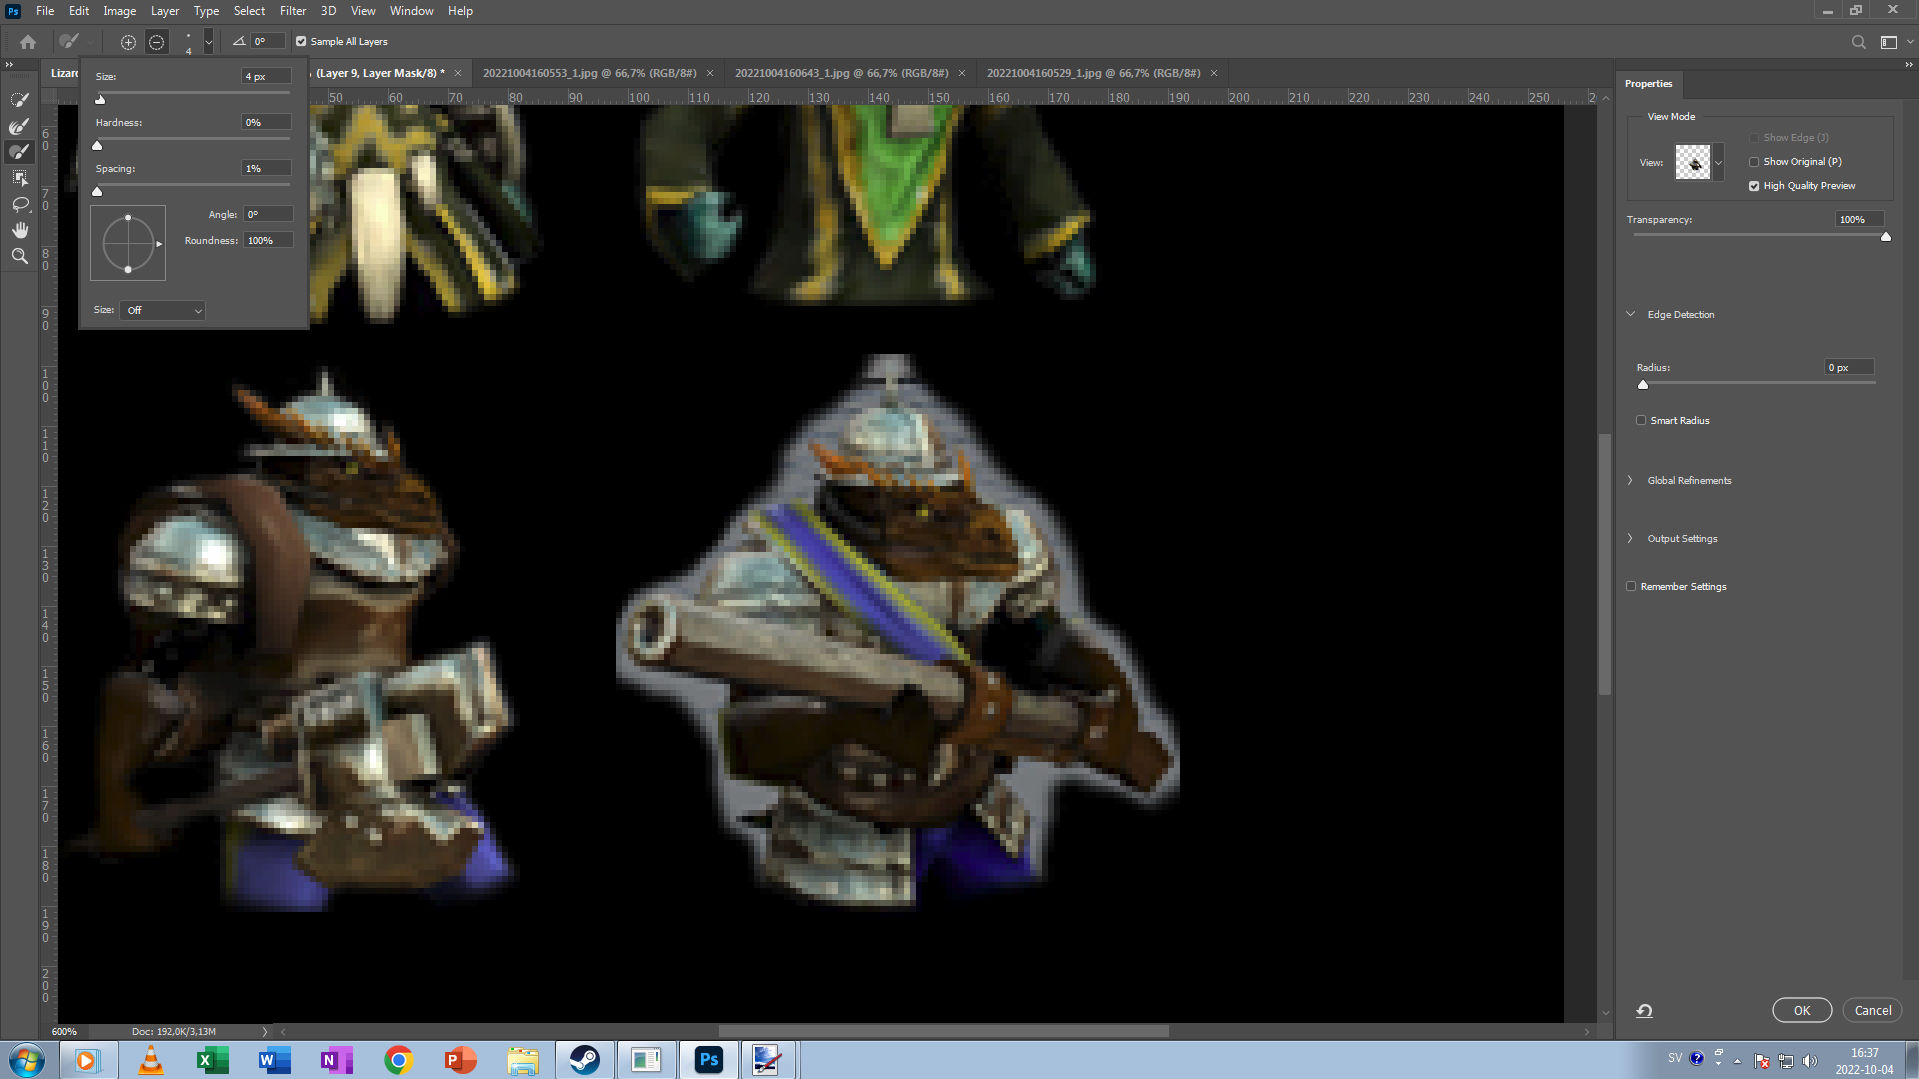
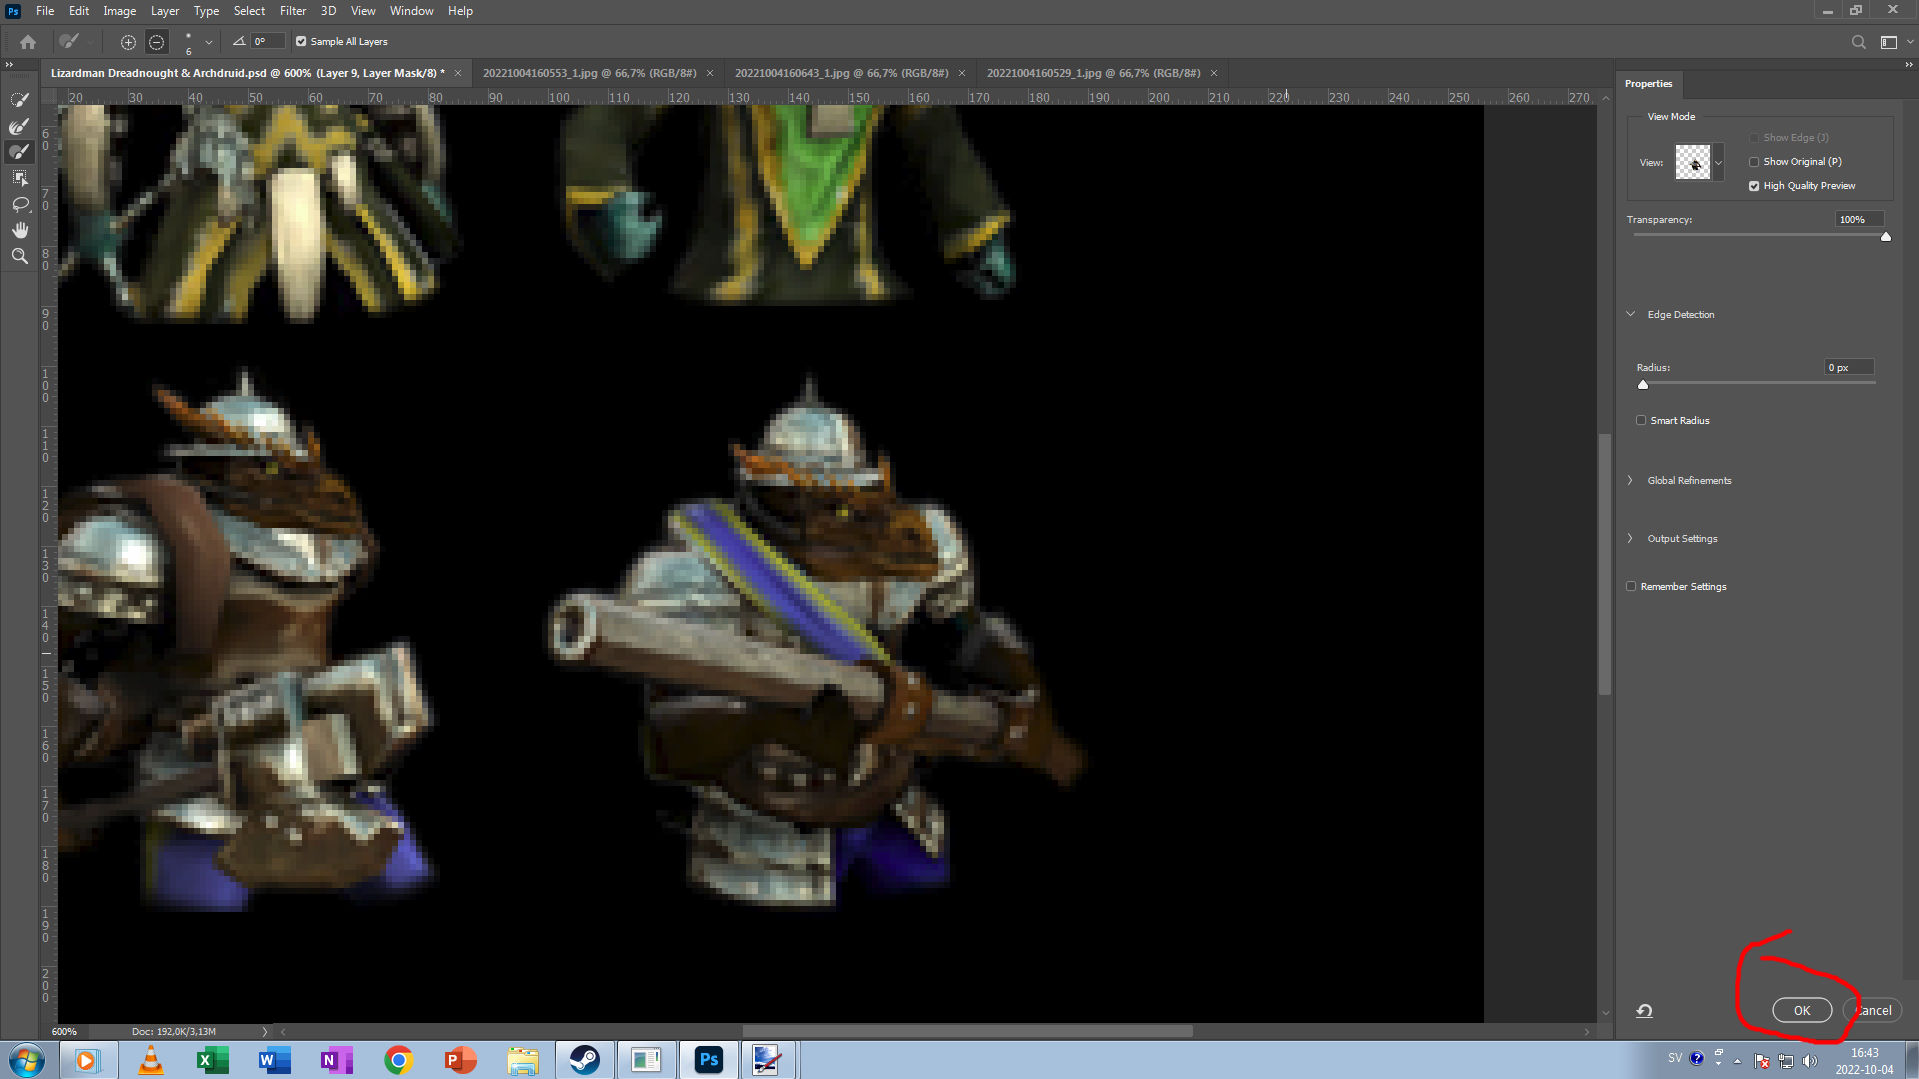
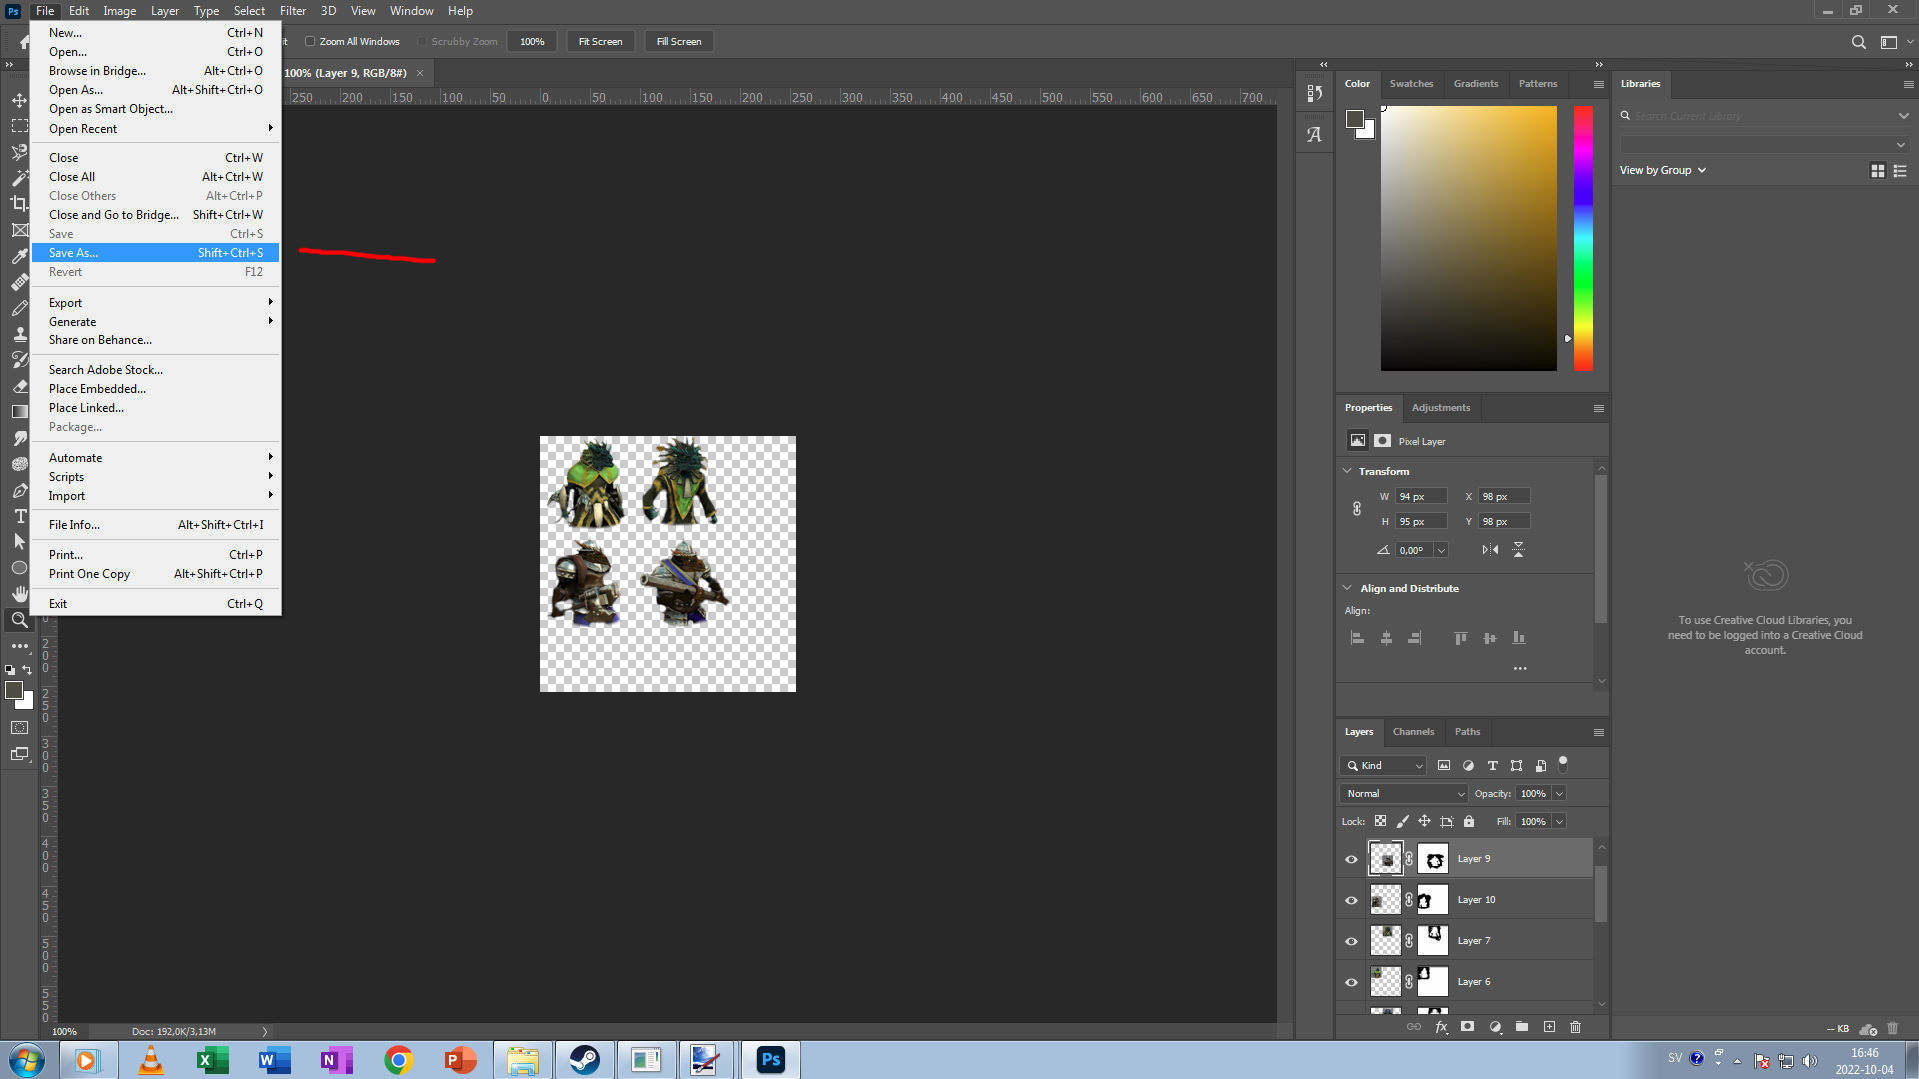
Import it in Photoshop and resize the print screen to 512 X 256 and delete those white circle areas. At least this give a pointer where to place icons/units icons etc.

I will try to conclude a new source of icon template in a few days