Cities: Skylines

Cities: Skylines

Not enough ratings
Modular Signal User Guide
By Strategy Nerd
This is the complete user guide to modular signal addon packs for Railway 2
   
Award
Favorite
Favorited
Unfavorite
1. Introduction
About Modular Signal Packs
While the vanilla signal system is great for quick layouts and basic junction signalling, it only supports two signal props at a time, left and right variations. As the Railway Replacer mod builds on this base system, while it does allow you to change what those two signals are, it doesn't allow for wider variation, which is incredibly important to real-life rail signalling.

Modular signal addon packs aim to address that, by providing a much more varied set of props that allow you to build nearly infinite variations yourself, to match just about any signal in existence.

If you're just here to figure out how to assemble the signal props, skip to part 4.

There are currently two completed and published styles:
https://steamhost.cn/steamcommunity_com/sharedfiles/filedetails/?id=2921590166
https://steamhost.cn/steamcommunity_com/sharedfiles/filedetails/?id=3252256169

Required/Recommended Mods
The following mods are required:
https://steamhost.cn/steamcommunity_com/sharedfiles/filedetails/?id=1619685021
Used to move and snap props together

https://steamhost.cn/steamcommunity_com/sharedfiles/filedetails/?id=2133885971
Used to search for props

https://steamhost.cn/steamcommunity_com/sharedfiles/filedetails/?id=2862882210
Required in order to raise prop heights - any mod that provides prop snapping functionality will work

The following mods are heavily recommended:
https://steamhost.cn/steamcommunity_com/sharedfiles/filedetails/?id=2778750497
Used along with Precision Engineering to perfectly align signals

https://steamhost.cn/steamcommunity_com/sharedfiles/filedetails/?id=445589127
Used along with ACME to perfectly align signals

https://steamhost.cn/steamcommunity_com/sharedfiles/filedetails/?id=2858591409
Used to massively reduce RAM impact of props
2: Understanding North American Signals
Basic Terminology
There are a few terms used in the charts I recommend using, as well as within this guide, that aren't incredibly common outside the rail industry, so here are their basic definitions:

Signal aspect
The visual appearance of a signal, for example a green light over a red light over another red light.

Signal name
What a signal aspect is called, for example the red over green aspect is a Clear signal.

Signal indication
What a signal means a train must do, for example the indication of a Clear signal is to proceed at the maximum speed permitted.

Choosing a Signal Layout
To start, I recommend looking up photos of signals in the region your build is based on. It's a good way to get an idea of what pack you should use once more are available, and to know the basics of what a signal looks like.

North American railroad signals follow a general logic, but each railroad has its quirks. To learn more about the logic behind them, I recommend this archived page[web.archive.org].

To check your aspects against a more up-to-date source or specific railroad, the page https://signals.jovet.net/rules/ has aspect charts from many railroads across the US, as well as the CROR rules that canadian railroads generally use. All the following aspect charts link to pdfs from the above page.

Basic Aspect Charts by Region
These great aspect charts by Joseph Hoevet (Jovet) list the various aspects that can have each indication. To view the full list of charts, you can visit his site (linked above)

Guide
Guide to Signal Rules[signals.jovet.net]

Canada
CROR (Canadian Rail Operating Rules)[signals.jovet.net]

USA
AAR (Association of American Railroads)[signals.jovet.net]

Northeast USA
PRR (Pennsylvania Railroad)[signals.jovet.net]
NORAC (Amtrak)[signals.jovet.net]

Eastern USA
NS (Norfolk Southern)[signals.jovet.net]
CSX (CSX Transportation)[signals.jovet.net]

Midwest & South USA
KCS (Kansas City Southern)[signals.jovet.net]

Western USA
UP (Union Pacific)[signals.jovet.net]
BNSF (Burlington Northern Santa Fe)[signals.jovet.net]

Note: If you're not sure what railroad to base your signals on, the NORAC standards contain modern aspects in several different styles of signal and so are a good option across the US.
3: Parts of a Modular Signal Pack
Wayside vs Overhead
There are two basic categories of prop, which are entirely separate and not compatible.

Wayside signals are standing signals placed to the side of a track, with the signal head and elements mounted directly onto a central mast. In North America, it's generally standard to place them to the right of the track they control wherever possible.

Overhead signals are signals mounted onto a gantry structure above a track, or multiple tracks. In North America, it's generally standard to place them above the track they control, rather than a different track, because that would make no sense for obvious reasons.

Wayside

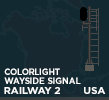
Wayside props include the following:

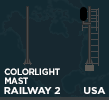
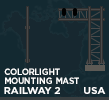
Masts

The mast that other elements are mounted to; different heights hold varying numbers of signal heads

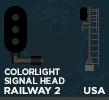
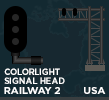
Signal heads

These are the assemblies housing the bulbs and lenses that do the important signalling bit, coming in many different shapes and sizes depending on the signal style.

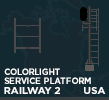
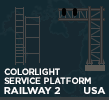
Service platforms

These are used by maintenance personnel to access the signal heads.

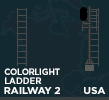
Ladders

These are used to access maintenance platforms

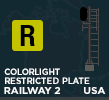
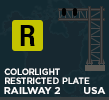
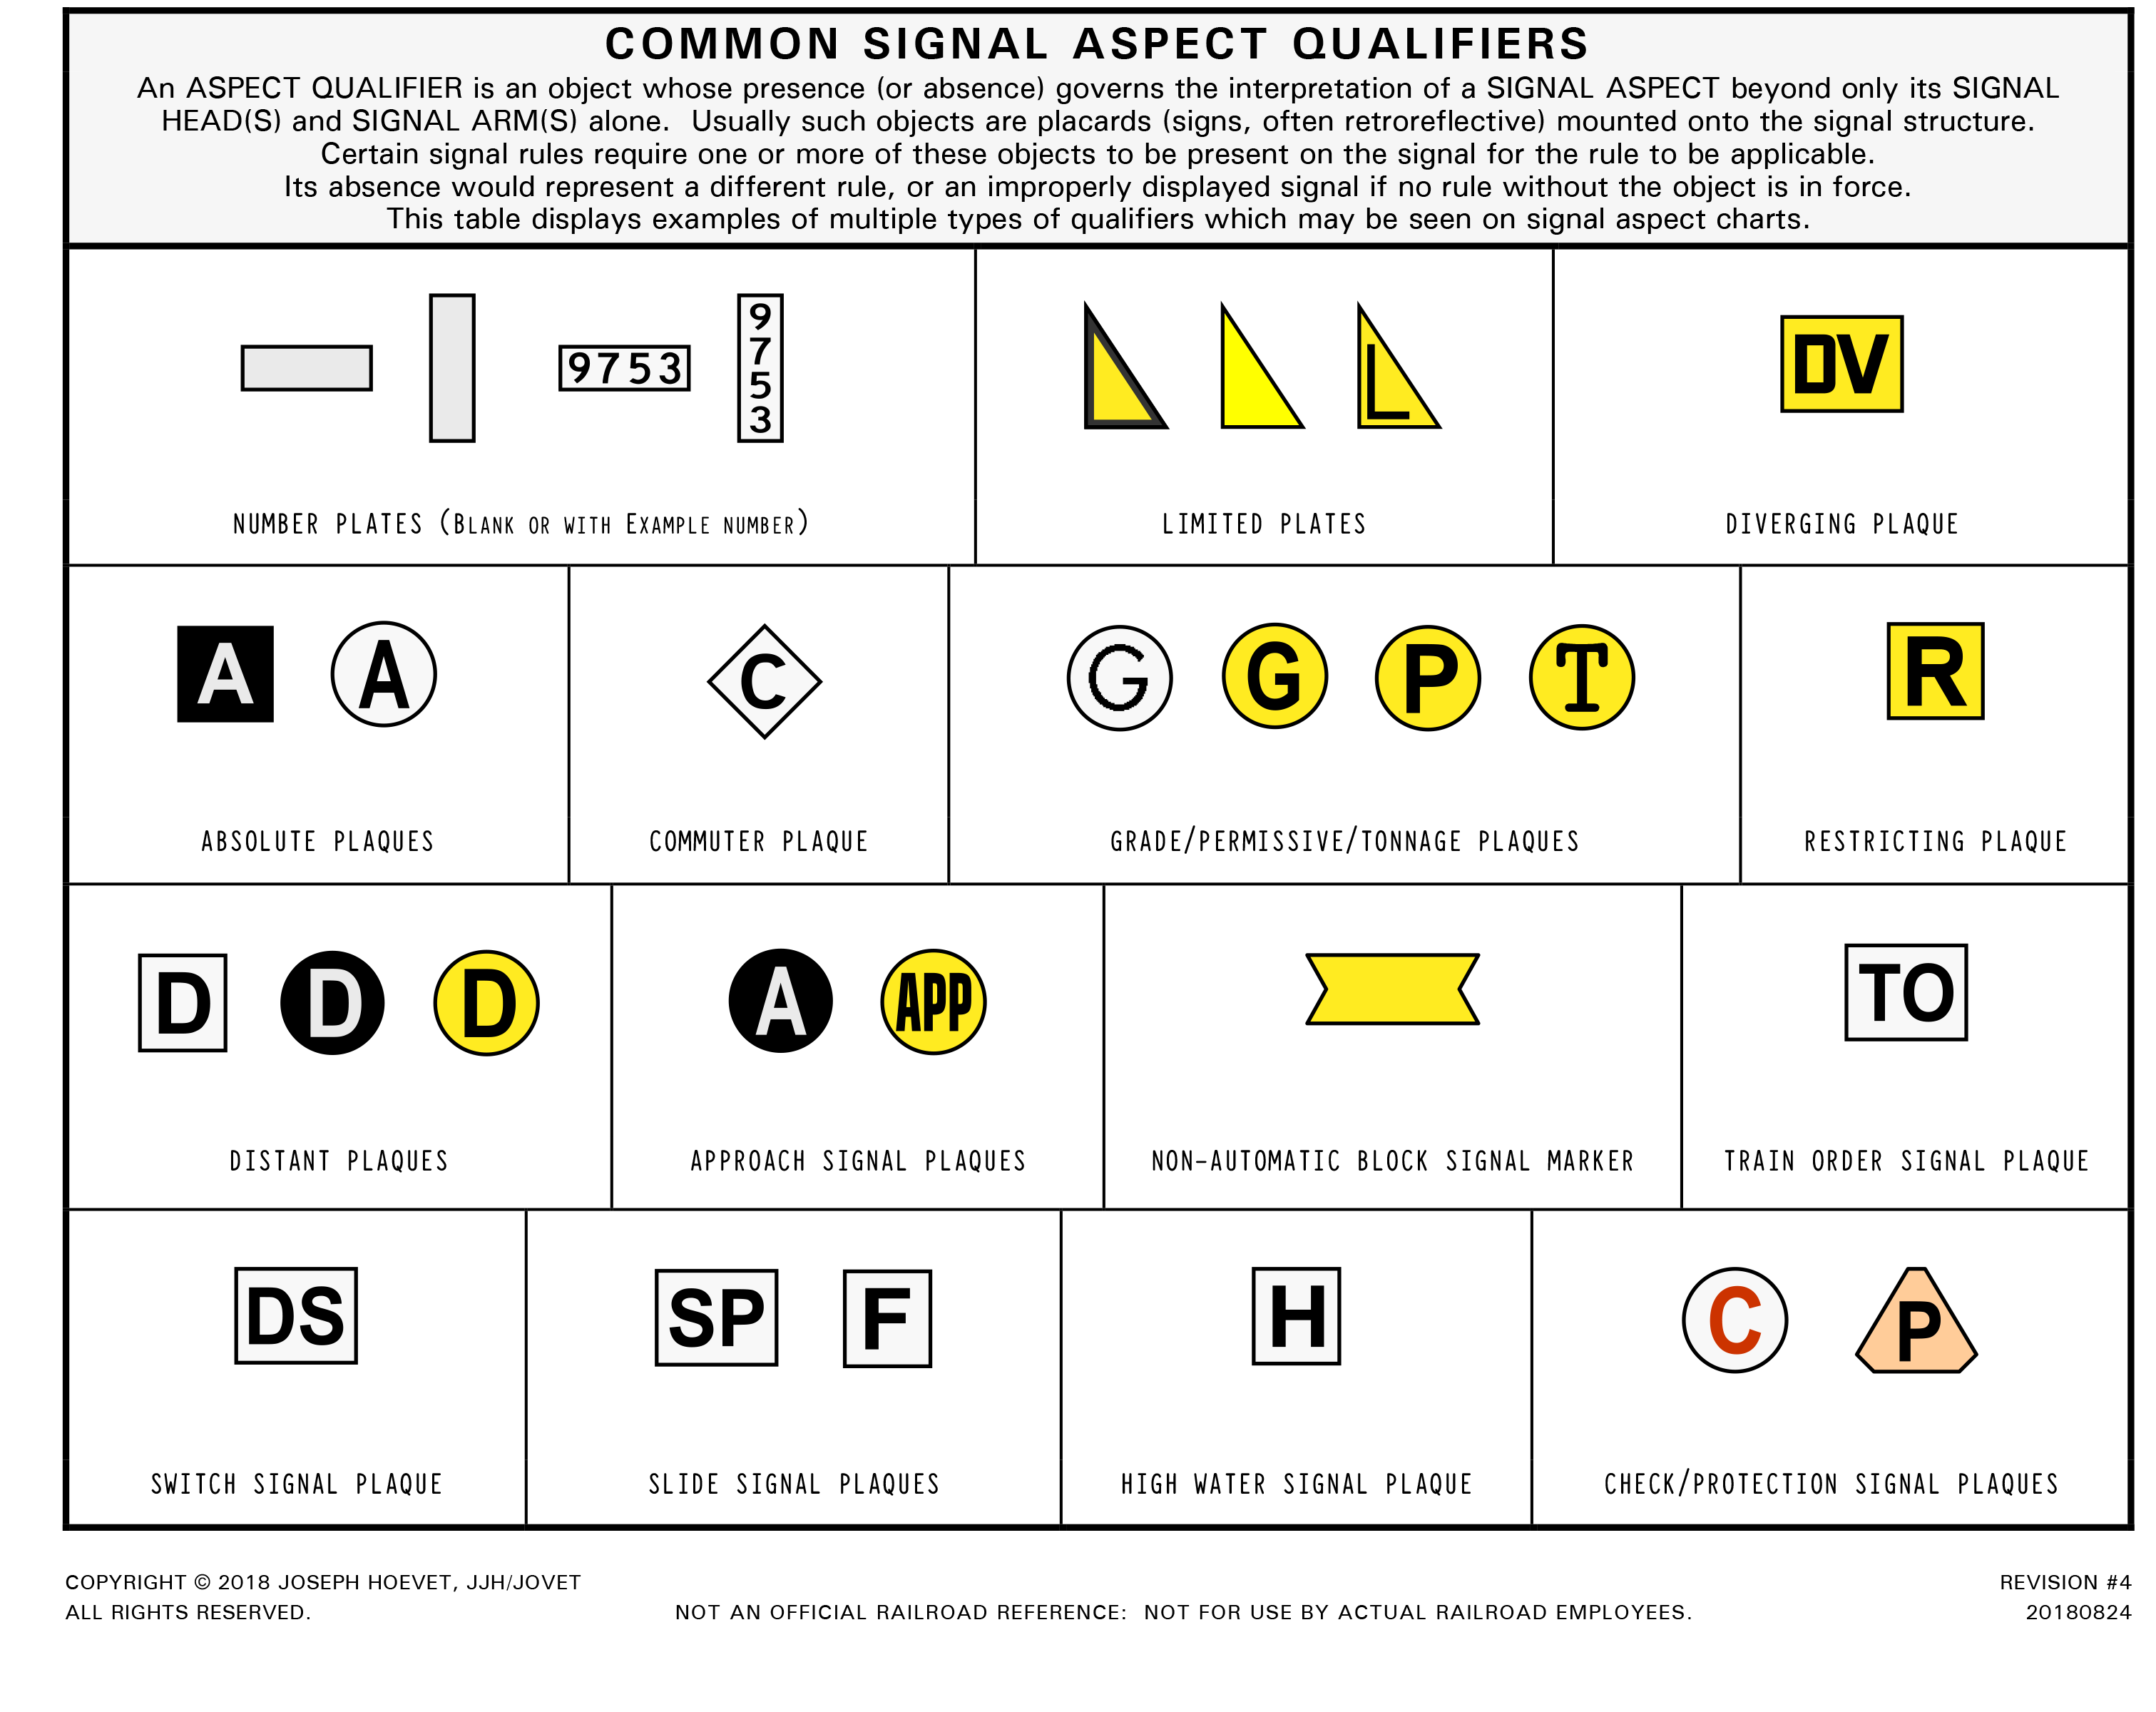
Qualifier plates

Placed on some signals to modify the indication of some signal aspects, they're cheaper than adding an extra signal head.

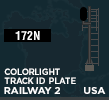
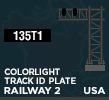
ID plates

More commonly known as number plates, there wasn't a good 2-letter abbreviation for that so here we are. Placed on signals to identify the signal to anyone who might need it and sometimes acts as a qualifier plate; number pattern and meaning depends on the railway that owns the signal.

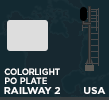
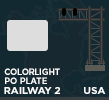
Miscellaneous signs

These are filled in using PO text and carry additional information on some signals - it's generally easiest to use them just to copy a real-life signal, as this information varies.

Overhead

Overhead props include the following:

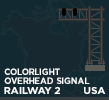
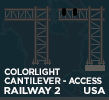
Cantilever structures

One type of gantry structure end that cantilevers over multiple tracks from a single base on one side, holding many signal assemblies. Depending on the style, they can also be used as bridge structures. There may be versions allowing maintenance access and versions that don't: they must generally allow maintenance access, and when used as bridge structures at least one end must generally provide maintenance access.

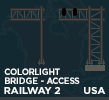
Bridge structures

Another type of gantry structure end that bridges over multiple tracks with a base at each end, holding many signal assemblies. They can never be used as cantilever structures as they lack the structural integrity to cantilever over multiple tracks. Depending on the style, there may be versions allowing maintenance access and versions that don't: at least one end must generally provide maintenance access.

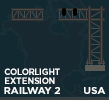
Extension structures

These can be used to extend a cantilever structure and between bridge structures.

Masts

The mast that other elements are mounted to; different heights hold varying numbers of signal heads.

Signal heads

These are the assemblies housing the bulbs and lenses that do the important signalling bit, coming in many different shapes and sizes depending on the signal style.

Service platforms

Used when the gantry structure does not allow easy access to a signal head, such as when it is mounted on a mast too high to reach from the structure.

Qualifier plates

Placed on some signals to modify the indication of some signal aspects, they're cheaper than adding an extra signal head.

ID plates

More commonly known as number plates, there wasn't a good 2-letter abbreviation for that so here we are. Placed on signals to identify the signal to anyone who might need it and sometimes acts as a qualifier plate; number pattern and meaning depends on the railway that owns the signal.

Miscellaneous signs

These are filled in using PO text and carry additional information on some signals - it's generally easiest to use them just to copy a real-life signal, as this information varies.

Note: Some common aspect qualifiers are listed here
From Guide to Signal Rules[signals.jovet.net]
4: Assembling Modular Signals
This assumes you have both the required and recommended mods installed.

Preparation
1. Terraform a completely flat space to keep everything vertically aligned.

2. Construct a standard road with a grid. Using Precision Engineering, hold ctrl before clicking and you should have snapping to the map grid. For full functionality, align this road with one of the map edges, this will be a multiple of 90°.

3. In Find It, search for the style of signal you want to place, follwed by 'wayside' or 'overhead'.

4. Place the props you might need.

5. a) With Move It, select all props and use the Align Individually tool to align them to a segment of the road constructed in step 2.
b) I recommend making sure they're all aligned vertically with the road using the Align height tool as well, to avoid future misalignment.

Note: I recommend assembling signals in the following order, but it is not technically required.

Note: Due to a bug at the moment, when moving props on uneven terrain they may follow it even if that setting is disabled in Move It. To avoid this, instead of moving props directly, I recommend selecting a prop, copying it, and then placing the copy as this will maintain its original height.

Assembly (Wayside)
1. Turn on snapping in Move It, then copy the mast of your choice and place it next to the road; it should snap to a grid square.

2. Repeat for the bottom signal head and bottom service platform. They should snap perfectly onto the mast.

3. For higher signal heads and service platforms, this is where the second part of Move It snapping comes in. Repeat step 2 but with the prop still selected, the following are the vertical movements needed for each pack:
Modern Colorlight signal heads are 1.875m apart from each other vertically. This is equivalent to 2x low-detail moves up (Shift + PgUp) + 1x standard move down (PgUp) OR 1x low-detail move up + 7x standard moves up.

4. For ladders, use the l/r variation matching that of the maintenance platform you used. A maximum of two are required, one at the top signalhead height and one at the bottom signalhead height, are needed, as the top one will overlap a middle signal head if it exists.

5. Place ID plates and signal modifier plates where applicable in the same way, as your reference shows or as you desire.

Assembly (Overhead)
1. Turn on snapping in Move It, then copy the base gantry pieces you intend to use and place them next to each other next to the road; each piece should perfectly snap alongside its neighbours. For bridge structures, one end piece will need to be rotated 180°.

2. For each signal unit, copy the mast of your choice and snap it to its own grid square but not onto the gantry structure just yet.

3. Repeat for the bottom signal heads, snapping each one to a mast.They should snap perfectly onto the masts.

4. For higher signal heads, this is where the second part of Move It snapping comes in. Repeat step 3 but then with the props still selected, the following are the vertical movements needed for each pack:
Modern Colorlight signal heads are 1.875m apart from each other vertically. This is equivalent to 2x low-detail moves up (Shift + PgUp) + 1x standard move down (PgUp) OR 1x low-detail move up + 7x standard moves up.

5. a) Once a signal unit is completed, group select the entire unit and snap it to the gantry structure. It will snap to a point directly between tracks by default, and needs to be moved horizontally one standard movement (arrow keys) in either direction.
b) This is where the third part of Move It snapping comes in: For perfect snapping, using the ACME menu, align your camera view with a multiple of 90° to perfectly match the orientation of the gantry, then move
Note: Optionally, to place signals on both sides of a gantry, use right click to rotate a full signal unit 180° before placing it.

6. Place ID plates and signal modifier plates where applicable in the same way as you did signal units, as your reference shows or as you desire.
5: FAQ
Q: This guide references a number of signal types that aren't available - when are they coming?
A: Each pack takes a lot of work to make assembly as easy as possible for the end user. I also have a number of other ongoing projects, but several more packs should arrive within the next year.

Q: These pack sizes are fairly large, will they affect my performance?
A: Each pack uses a very small number of shared textures across assets, so their overall performance impact will be quite small compared to their filesize.

Q: I don't see a style I want, can I commission you to get it faster?
A: What a great question, thanks for asking! I can't guarantee I'll accept every request, but if you have specific props you want to see made for a style or want me to make an additional style, contact me at astrategynerd@gmail.com
6: Nerd Notes™
Each signal pack contains a large number of props to allow as many variations as exist in real life, plus some (No physics is nice sometimes).

It can be a bit overwhelming, but don't worry - you don't need to build an entire signal for every bit of trackage. I only recommend fully building out one of these for a high-detail zone or where a prefab prop won't work, as it can be quite time-consuming to build a unique signal for every mile. You can also copy pre-assembled modular signals and place them repeatedly along a rail line.

With enough demand, I may assemble a collection of Move It exports of common signal assemblies, if that's something you're interested in then let me know in the comments!

This guide is dynamic and will be updated for simplicity and new content when possible.
5 Comments
Strategy Nerd  [author] 10 Feb, 2024 @ 9:13am 
Oh, thanks for the clarification - will retain the AAR standards link for historical builds but changed the note to recommend NORAC.
Jovet 10 Feb, 2024 @ 4:29am 
I appreciate the kind words regarding my website.
I would like to point out that the AAR standards currently posted on my site are pretty dated—from the mid 1940s—so their application to a modern setting should probably be avoided. NORAC signals are a good substitute for speed signaled lines.
Strategy Nerd  [author] 17 Feb, 2023 @ 10:54am 
Added you to discuss on steam, unless you'd rather communicate via email or Discord
DeBones 17 Feb, 2023 @ 9:43am 
Hello. We from the Transport Fever 2 USA community would like to port this mod for use, expressing our passion for permission to do so.
tommy.ferdian2601 28 Jan, 2023 @ 3:05pm 
good job