Demons Roots

Demons Roots

45 ratings
How to beat Bad End Mode
By POMF =3
A simple guide for those who are having difficulty clearing bad end mode. 
   
Award
Favorite
Favorited
Unfavorite
General
  • You need to have all the characters (Lily permanently joined).
  • The only characters that can attack are Deathpolca & Lily; others can only be used for guarding
  • I'll only mention fights that are necessary; try to avoid others as much as possible.
  • All credit goes to Altterisk on F95Zone. If you are the original author who wrote this guide and want me to remove it, you can DM me. I would gladly remove this guide if you want
Items
  • Reviver: Revive 1 character.
  • Spirit Soul Stone: Revive all characters.
  • Poison: Makes the user able to tank 1 attack (can be used before battle)
  • Dagger: Deals 1 damage, always goes first
  • Scroll: Deals 1 damage (to make your guards deal damage)
Enemy
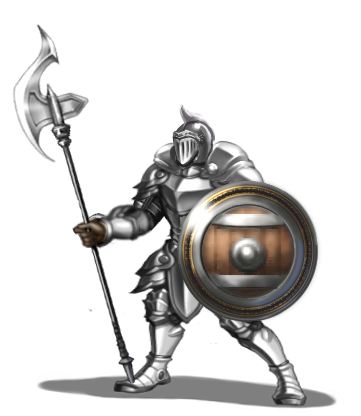
  • Guard(Humanoid Enemy): They're safe, they don't attack.

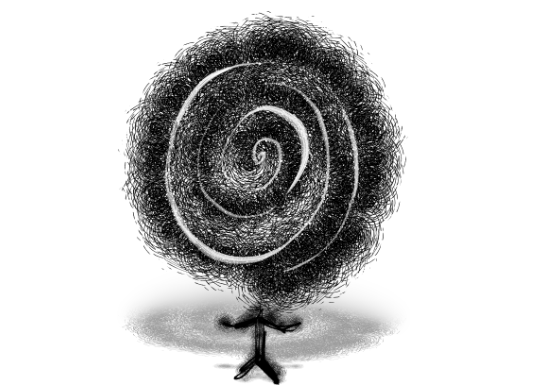
  • Circle: Deathpolca attack, others guard (1 death).

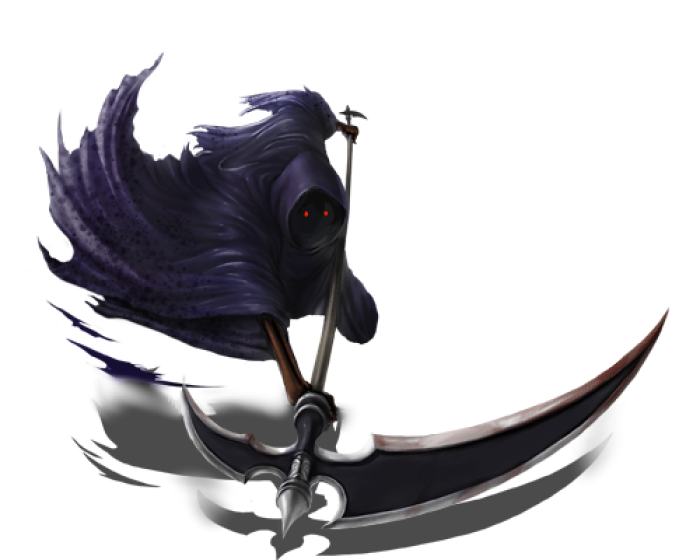
  • Executioner: Deathpolca & Lily attack, others guard (2 deaths).

  • Tripplets: Deathpolca & Lily attack, one other use a scroll to kill the last (0 death).

  • Red Circle (Enemy with red eye): All attack (1 death).

  • Bird (Fast-moving Enemy): They can move before the Guard skill. Deathpolca & Lily attack (1 death), or use a Dagger (0 death).

  • Flow: Use a poison on the tank before the fight. Turn 1, the tank use Guard, everyone else attack. Turn 2, use a dagger (1 death).
B1-B10
  • B1:
    Attack the Circle guarding the key.
    Avoid the enemies and trigger the red crystal.
    Fight the Guard and go down.
    Deaths: 1 / Revivers: 1

  • B2:
    Avoid the enemies and trigger the red crystal.
    Fight the 2 Guards, grab the key, and go down.
    Deaths: 1 / Revivers: 2

  • B3:
    Attack the Circle blocking the way.
    Avoid the enemies, grab the key (top right), trigger the red crystal (bottom left), then go down (top left).
    Deaths: 2 / Revivers: 3

  • B4:
    Trigger the red crystal.
    Avoid the first enemy; there is a hidden passage to the left leading to the center with 2 Circles, fight them.
    The key will appear (bottom left); grab it and go down.
    Deaths: 4 / Revivers: 4

  • B5:
    Trigger the red crystal (top left, middle).
    Get the dagger (top right).
    Revive one character, fight the boss (Executioner) to get the key, then go down.
    Deaths: 5 / Revivers: 4 / Daggers: 1

  • B6:
    Open the gate (not locked).
    Hidden passage to the right before the stair; trigger the red crystal.
    Hidden passage to the left before the stair; revive one character, fight one Circle of the two, and avoid the other; grab the poison and go down.
    Deaths: 5 / Revivers: 4 / Daggers: 1 / Poison: 1

  • B7:
    Trigger the red crystal.
    Revive one character, fight the bottom Circle to get the key.
    Go through the top to unlock the door.
    There is a hidden Guard in the bottom left of the map that drops a Spirit Soul Stone; fight him.
    Revive one character, fight the next Circle.
    There is a hidden passage right to the left of the Circle before the ladder; use it to fight him.
    You should have exactly one character alive now; use the Soul Stone to revive all characters, then go down.
    Deaths: 0 / Revivers: 3 / Daggers: 1 / Poison: 1

  • B8:
    Do not fight the approaching enemy; wait for it to go up.
    Fight the enemy on the top left to obtain the key (others are fake).
    Fight the enemy on the bottom right; continue right through the hidden passage to trigger the red crystal and get a scroll.
    Go back and go down.
    Deaths: 2 / Revivers: 4 / Daggers: 1 / Poison: 1 / Scrolls: 1

  • B9:
    There is a hidden passage right before the first 2 enemies; use it to skip them, go down, and trigger the red crystal.
    Grab the scroll; use it to fight the next enemy (Triplets).
    Fight the next Circle, grab the key, then use the hidden passage 3 tiles below the key to skip the other mob.
    Another hidden passage at the bottom to skip the last enemy; go down.
    Deaths: 3 / Revivers: 5 / Daggers: 1 / Poison: 1 / Scrolls: 1

  • B10:
    Trigger the red crystal (top right).
    You can kill the 2 mobs to get a dagger, but it's not worth it.
    Another Executioner boss like B5; revive 2, kill it to get the key, then go down.
    Deaths: 5 / Revivers: 6 / Daggers: 1 / Poison: 1 / Scrolls: 1
B11-B21
  • B11:
    You can kill the Red Circle to get a dagger, but it's not worth it.
    Go to the left and get the key.
    The Bird can possibly be avoided, but I'll assume you can't, so fight it.
    Either use a dagger or accept 1 death. I choose to use a reviver here.
    Go down.
    Deaths: 5 / Revivers: 6 / Daggers: 1 / Poison: 1 / Scrolls: 1

  • B12:
    Go up and down at the bottom pillar where a mob circles around (not the one with the blue crystal). If the mob approaches you, go to the other side. A key will appear; grab it.
    Avoid the mobs, go to the top, trigger the red crystal, then unlock the door and go down.
    Deaths: 5 / Revivers: 7 / Daggers: 1 / Poison: 1 / Scrolls: 1

  • B13:
    Defeat the Red Circle to get the key, revive whoever died and one other.
    Bottom right, right before the mob turns back up, there is a hidden passage to get a Scroll.
    Go to the top left, there is a hidden passage to the left of the 2 mobs there; try to go in when the left one goes down.
    Ignore the bird and the poison, trigger the red crystal.
    Defeat the enemy guarding the key (Triplets) with a Scroll, get the key, then go down.
    Deaths: 4 / Revivers: 6 / Daggers: 1 / Poison: 1 / Scrolls: 1

  • B14:
    There is a hidden passage to the left of the left Scroll; grab it.
    Defeat the enemy guarding the red crystal and trigger it.
    The one guarding the key will occasionally move out; wait for that to happen to grab the key, wait for another one to move out.
    Go down.
    Deaths: 5 / Revivers: 7 / Daggers: 1 / Poison: 1 / Scrolls: 2

  • B15:
    Trigger the red crystal.
    The "Boss" is another Executioner, but you don't have to fight it (there is another boss).
    The wall to the right of the left Bird has a hidden passage, 1 row above the row of the gate; use it to bypass the boss fight.
    Grab the dagger and revive one character, use the poison on the tank.
    Go to the ladder to trigger the real boss fight (Flow).
    Deaths: 5 / Revivers: 7 / Daggers: 1 / Scrolls: 2

  • B16:
    Trigger the red crystal.
    There is a hidden passage right of the starting room leading to the Scroll.
    If you pick the scroll up, the Red Circle will move to block the entrance; you can run before that happens, or ignore the Scroll.
    Go to the left side through 2 hidden passages in the top row.
    Grab the Poison in the room with the Red Circle.
    If you pick the key up, the Red Circle will move to block the entrance, similar to above; you can run before that happens.
    Go down.
    Deaths: 5 / Revivers: 8 / Daggers: 1 / Poison: 1 / Scrolls: 3

  • B17:
    Grab the Scroll, then fight the Red Circle, revive whoever died.
    Circle around the enemies and grab the dagger and the key.
    Unlock the gate then trigger the red crystal.
    Keep trying left and right doors; the enemy will try to block you but it will disappear after a few times.
    Go down.
    Deaths: 5 / Revivers: 8 / Daggers: 2 / Poison: 1 / Scrolls: 4

  • B18:
    Go to the right, avoid the moving enemy and trigger the red crystal.
    There is a hidden passage below the crystal for another Reviver.
    Revive 3 characters, kill the 3 bottom-left Circles, follow the hidden passage all the way to the key.
    Go back and go to the top, avoid the moving enemy and unlock the gate to go down.
    There is a hidden passage behind the 2 enemies leading to a Poison, but it's not worth it.
    Deaths: 5 / Revivers: 7 / Daggers: 2 / Poison: 1 / Scrolls: 4

  • B19:
    Trigger the red crystal.
    Revive 2 characters, kill the 3 bottom-left Circles leading to the glowing Guard, which drops a Spirit Soul Stone; use it.
    You can go back up, kill 1 Circle and grab the Poison if you want. I will grab it to keep the fighting guide consistent.
    Ignore the key, go down and kill the 2 mobs standing in the way. Continue and kill the one guarding the gate too.
    The gate is not locked, go down.
    Deaths: 4 / Revivers: 6 / Daggers: 2 / Poison: 2 / Scrolls: 4

  • B20:
    Trigger the red crystal.
    You have 2 Poison and 2 Daggers; use the strategy above to kill the 2 Bosses (Flow).
    Alternatively, you have enough Revivers to spam Turn 1 double Guard + Turn 2 dagger, or Turn 1 and 2 double Guard.
    There are hidden passages leading to the left and right sides; each has a dagger. But they're skippable if you followed this guide.
    Deaths: 5 / Revivers: 6 / Scrolls: 4

  • B21:
    And the reward for coming this far is... (drumroll, please)...
    An unwinnable boss fight...
    Forced Deathpolca BADEND...
    And the mysterious doll gives something....
18 Comments
Tourak 30 Mar @ 10:39pm 
@tompuljalmegI figured it out, go to bottom left of the room, circle around clockwise the second pillar from the bottom.
tompuljalmeg 18 Mar @ 1:48pm 
I don't get the instructions for B12
FreeFurret 6 Apr, 2024 @ 2:17pm 
For anyone who lose 3 characters instead of 2 in Executioner fight.
You MUST have Lily in 2nd battle slot for this tactic to work.

Also, the order of character you recruit in cell area is also important because you can't change formation in this mode.
If Lily position in party is last or 2nd last you will need to restart and recruit her first.
Akhlys 7 Nov, 2023 @ 1:44pm 
also in B11, use reviewer after battle. I lost polca but decided to go on because I still had 2 remaining. Then the red circle in B13 finished me off. Perhaps also because I had the other one guard, should have scrolled up
Akhlys 7 Nov, 2023 @ 1:30pm 
Thanks for the guide.
There's a slight error:
In B10, you wrote "Another Executioner boss like B5, revive 2". Following this guide, you actually don't have to revive anyone.
End B9: 3 dead, 5 revivers
In B10, gain 1 reviver, lose 2 to executioner, don't revive anyone
End B10: 5 dead, 6 revivers
Plantszaza 16 Aug, 2023 @ 1:27am 
Character position is important.
AOE attack will start damaging character from the left side first.
[AUT] Kaelty 15 Aug, 2023 @ 11:28am 
Same for me, Executioner kills 3.
GreMar 17 Jul, 2023 @ 7:23pm 
when I fight the Executioner I lose 3 characters not 2, why is that? it forces me to either use a dagger or just lose :DazedKalinka:
Plantszaza 23 Apr, 2023 @ 5:16pm 
@Cheeky Kunt
No, the patrolling Red Circle will leave the path open when it walk up.
Cheeky Kunt 10 Apr, 2023 @ 1:46pm 
Heya, thanks for the guide.

For Floor 18, when you mean kill the bottom-left three Circles", are you supposed to beat all the Circles blocking the way to them also?