ARK: Survival Evolved

ARK: Survival Evolved

Not enough ratings
Alemia Map Infos
By Moonstars
A little Guide about the mod map Alemia.
   
Award
Favorite
Favorited
Unfavorite
Important!
• I do not personally know the creator. But I got permission to use his 3D map.
• I am not an English speaking person. All texts were mainly created by the Google translator.
• Most of the infos is collected or found out by me. Help came from my buddy and the comments. Players can use this guide to exchange more information among themselves. I would add important and interesting information to the guide.

This guide is a work in progress and often incomplete.

=> Workshop Mod Map
=> Discussion Entry
NEWS
* * * Currently paused because of private reasons / illness. * * *
Date always written in dd.mm.yy

_____ 29.07.2023 (Guide) _____
- Re-uploaded and replaced broken pictures.
- Slight text changes
- New category: NEWS

_____ 19.04.23 (Info Map) _____
- better Ingame drawn Map
- new category: Bee Spawn
- 3 category renamed

- 3 new carrots
- 1 new tintoberry
- 1 new narcoberry
many new points in Pine Forest:
- mushrooms, obsidan, azulberry, crystal, red gem, ruin, metal
Ressource / Explorer Map
I've created a kind of resource / explorer map that works similar to the one on the fandom site.
You can switch between the 3D map overview and the drawn ingame map!


=> https://www.mirrormoon.de/ark/alemia <=

The map is still a work in progress, but the most important resources should be on it.
More points will follow over time.

_____ Current planned Updates _____
more metal points in Pine Forest.
Resource Overview
On Alemia, only certain plants or objects will only give a certain resource.
Here are some snapshots of the specific plants / resources involved:

Berrys (Vanilla ARK)
| Mejoberry | Tintoberry | Narcoberry |
| Azulberry | Amarberry | Stimberry |

Edible Resources
| Rare Flower | Rare Mushroom | Banana, Palm Heart |
| Cactus Flower | Snow Lyli | Elderberry |

Other Resources
| Metal Ore, warm bioms | Metal Ore, snow biom | Elderwood |
| Cobald Ore, Dungeon | Cobald Ore, snow biom | Silk |

All in Fjord Dungeon:
| Black Gold Ore / Nuggets | Ruby | Soul Gem |
Egg Tier List
____T2 Eggs____
____T3 Eggs____
____T4 Eggs____
____T5 Eggs____
____T6 Eggs____
• Carbonemys
• Compy
• Dilo
• Dodo
• Gallimimus
• Glowtail
• Lystro
• Microraptor
• Pachy
• Para
• Pego
• Pelagornis
• Raptor
• Triceratops
• (Ruin Loot)
• Ankylo
• Baryonyx
• Carno
• Dimetrodon
• Iguanodon
• Kairuku
• Kentro
• Moshops
• Oviraptor
• Pachyrihno
• Sarco
• Stego
• Styraco
• Vulture
• Argentavis
• Diplodocus
• Kaprosuchus
• Pulmonoscorpius
• Stygimoloch
• Terrorbird
• Thorny Dragon
• Allo
• Brachi
• Bronto
• Rex
• Therizino
_____unknown if usable or exist:_____
_ _Not usable:___
_ __Not exist:___
• Diplocaulus
• Megalosaurus
• Morellatops
• Tapejara
• Pteranodon
• Beelzebufo
• ?
Jobs Overview
Alchemist
Duties/Skills Overview:
The alchemist can use his structures to create healing potions or buff potions against general environmental problems, poison or for more stamina. The Alchemist also has the ability to cultivate plants.
Extra structures:
- Vessel for salt
- Crop Plot (medium, large)
- Alchemical Mortar and Pestle (is faster and produces twice as much.)


Armorer
Duties/Skills Overview:
The Armorer creates the higher armor types on his table. This includes the head protection for monkeys, but not the stealth suit! The different armor types are unlocked as the player levels up. The Armorer also has a core set for forging common metals.
Extra structures / stuff:
- Forge (simple) + Hammer and Anvil
- Improved Tools (Iron)


Breeder
Duties/Skills Overview:
The Breeder can use his structures to hatch eggs, train creatures more effectively or heal them faster. In addition, there is a kind of chicken coop for dodos. Here the dodos are stored so that they produced eggs and feathers.
Extra structures:
- Ember Nest
- Training Enclosure (Level1, Level2)
- Dodo Farm


Chef
Duties/Skills Overview:
The Chef is the only one who can cut the giant meat on his table into useful resources. Furthermore, the Chef takes care of or creates everything that has to do with food. From farming, cooking or storage.
Extra structures:
- Crop Plot (medium, large)
- Chef Preserving Bin (more space)
- Beer Barrel
- Chef Campfire, Cooking Pot


Engineer
Duties/Skills Overview:
The Engineer makes some technical structures as well as stationary weapons with his table. An important task is to modify Gems.
Extra structures / stuff:
- Gem Stuff
- Catapult Turret
- Ballista Turret


Rune Master
Duties/Skills Overview:
The Run Master has the ability to create upgrade-runes for armor, as well as key-runes for dungeons.
Extra structures / stuff:
- Diverse Runes
- Runic Armore Upgrade Table
- Mimic Maker


Saddler
Duties/Skills Overview:
By hand, you can create saddles for simple creature types. Saddles for higher creatures must be made on the Saddle Table. An Upgrade Station can also be created on the table, which requires Leather, Gem Stuff or Metal Sheets depending on the upgrade.
Extra structures / stuff:
- Diverse Saddle
- Upgrade "Station"


Stone Worker
Duties/Skills Overview:
The Stone Worker creates stone house structures with his table.
Extra structures:
- Diverse stone structures
- Fireplace


Tool Worker
Duties/Skills Overview:
The Tool Worker is an important role to advance in the game. With the Heavy Forge you can process higher metals and with the table you get better tools.
Extra structures / stuff:
- Forge (simple / Heavy) + Hammer and Anvil
- Improved Tools (Iron, Steel, Cobalt)


Tracker
Duties/Skills Overview:
The Tracker creates bear traps and the stealth suit on his table. With the suite and the correct use, it is an easy matter to sneak up on wild animals without being detected.
Extra structures / stuff:
- Stealth Suit
- Bear Traps


War Blacksmith
Duties/Skills Overview:
The War Blacksmith assists the Tool Worker in the production of basic and higher grade metals, as well as components for better tools. The table can be used to create ranged or melee weapons.
Extra structures / stuff:
- Forge (simple / Heavy) + Hammer and Anvil
- Melee and Ranged Weapons
- Components for improved Tools (Iron, Steel, Cobalt)


Wood Worker
Duties/Skills Overview:
The Wood Worker or rather "carpenter" has many structures that he can create with his table. This includes house structures or furniture made of wood, but also important structures such as the feeding stable or an insect house.
Extra structures:
- Feeding Stable
- Insect House
- Diverse wood structures / furniture
How do to - How structures work
You are welcome to name structures that I should have a closer look at. :-)


How to create tools/plates, from smelting to crafting
On Alemia, crafting tools or weapons is a bit different than in vanilla ARK.
Here you have to follow the steps below:
(1) Melt your ingots in the forge.
( simple Forge: Metal, Steel Ingots // Heavy Forge: Steel, Cobalt Ingots )
(2) Pour (craft) the ingots into tool heads / plates with the help of the forge.
(3) Now place the raw form on the anvil. (Similar as if you wanted to place a structure).
(4) Use the hammer and hit the form. (Like trying to harvest a resource, until the form breaks).
(5) With the form you get and more resources, you can now build your tool / weapon / armor on the correct table.


Runic Armore Upgrade Table
Unfortunately I can not bring a complete solution for the table. I have not found any instruction page for the table until today, either in the Singleplayer or as a dedicated Server.

My buddy and I spent a whole day with the table to figuring out the basics / placements and stopped with disappointed mood. We found out the following thing, maybe it will help someone:

For each element rune there are at least 2 possible placements on the table. However, it is pure randomness which one works. Each time a rune or armor is placed, everything is rolled again. So you can get an damaging or upgrading sound for the same placement!

Basic Runes
_______ Fire _______
______ Water ______
______ Earth ______
_______ Air _______
=> Better heat protection
=> Better cold protection
=> Better armor
=> Reduces weight
Works from primitive.
Value must be positive.
Works from primitive.
Value must be positive.
Works only with better
parts? (value / color)
Works only with better
parts? (value / color)
Don´t work with cloth.
- up to Level 12 -
not above when mixed
- up to Level 12 -
not above when mixed
- up to Level 8 -
not above when mixed
- up to Level 1 -
not above when mixed
left / bottom
left / right / above
left / right
right / above
left / above
right / bottom
left / right
above / bottom

Basic Runes Combis
No exact tests have yet been made with the following combinations:
Air, Earth, Water
Air, Earth
Earth, Air
Fire, Water
Air, Water

T2 Runes Combis
No exact tests have yet been made with the following combinations:
Earth T2
Earth T2, Fire T2
Air T2, Water T2


Training Enclosure + Totems
Work in process.
Negative Biome Buffs
Some biomes have a negative buff and are meant to bring a gradual level of difficulty to the game. (Similar to the map aberration.)
Here is an overview of where they appear and how to counteract the effect:

__Biome__
__Negative Buff__
____Solution____
______Infos______
Jungle

Mosquito Buff

Bug repellent
-
Canyon

Heat Buff

Desert armor
The armor has
only 4 pieces,
despiteprotection
the biome is still hot.
Mountain
Canyon

Breathless Buff

Cactus Flower
-
Beach Dungeon - Dodo Boss
~~~ Entrance ~~~
76.5 / 39.9
~~~ Useful objects / animals ~~~
Dodo Rune, Archeopteryx (Glider for easy path), Torch, Ranged Weapon, Melee Weapon

~~~ Instructions ~~~
The Beach Dungeon is the easiest. There are no enemies, except for the boss room, and it is rather a small cave. The entrance tunnel has two short dives until you get into a large room with a metal gate and a ruin on the wall. The boss room is behind the metal gate.

To open the gate, you have to get to the top of the ruins. This is where the Archeopteryx can help us most easily. Straight ahead from the entrance, a long rock protrudes into the room. We can use it as a jumping ramp to glide to the other side. The corner is very dark, orient yourself at the end by a few glowing plants.

*** Little info about Archeopteryx ***
Gliding can be canceled with the "Reload" button (default setting "R").
Alternatively, the player can also get to the ruin on foot and with some jumps on the right wall side of the room. However, you get some minor fall damage here depending on how you do it.
(In the picture above a comparison of both ways)

If you have reached the lower balcony of the ruin on foot, or you fall from the upper floor there, you can open a small jump path to the upper floor by pressing the 2 buttons on the wall. This is time-limited and must be triggered again if necessary. At the top, 3 pillars are waiting for the player. You can activate any pillar, each one opens the metal gate. (tested in singleplayer, bug?) But keep the greatest possible distance, because the pillars not only open the gate it also trigger a hail of arrows! Now all you have to do is get down. Either use your Archeopteryx or try to jump straight into deeper water. But be careful! If you hit on shallow water, you'll get a bigger damage + "Bone Break Damage Buff" depending on the height of the fall.

I'm not sure if the gate is time limited or not. It happened in the singleplayer that it closed, but also just stayed open. (bug?) So I found the fastest and safest way for myself. Go to the end of the lower balcony and turn towards the water. (90° to the right) Now use the thick tile here as a guide and simply go straight ahead. Do not run or jump! Just drop yourself off the balcony and you should land safely in the water.


~~~ Boss room / fight ~~~

When the player gets into the boss room, some zombie dodos will greet him, but these can easily be bypassed because we have to get to the opposite side of the room. At the entrance, watch out for large stone slabs on the ground that trigger a hail of arrows. On the other side is the summoning staff into which the "Dodo Rune" must be inserted to summon the boss. This one will appear on a balcony above. But the important thing is the inconspicuous button on the wall behind the staff. This button is called "Soul Eater" and will be important in the battle.

The dodo boss will only stay on the balcony during the fight and will not be available for melee combat. His actions will alternate between creating a temporary protective shield that protects him from all damage, fountains of fire in the room that can cause fire damage, and spawning aggressive Phiomias.

The player must kill the Phiomias to collect their soul. Attention, when you kill a Phiomia it will cause an explosion after a short time which will give a "Burn-Buff" to nearby players. ("Burn-Buff" and "Soul-Buff" can be removed by deeper water) Also, nearby players as well as other creatures will be thrown away. The soul must now be brought to the wall button "Soul Eater" so that it triggers a hail of arrows at the boss. Attention, the boss only gets damage despite the hail of arrows if the protective shield is deactivated! Players can also shoot at the boss, but deal relatively less damage than a hail of arrows.


~~~ Additional info ~~~

  • In the fight against his minions, there are some stone pillars in the room, which, when activated, also trigger a hail of arrows at certain positions. These give weaker players or players who have no more ammo or only have broken weapons the chance to kill Minions.
  • The boss room can be exited at any time.
  • Boss life: approx. 36,000
  • Minions lives can fluctuate greatly with each spawn.
Pine Forest Dungeon - Golem Boss
~~~ Entrance ~~~
72.8 / 17.5
~~~ Useful objects / animals ~~~
Golem Rune, Earth Rune, 2 Torches, Archeopteryx with good lifepoints (Glider for easy path), Ranged Weapon, Melee Weapon, lots of healing potions / bandages and stamina potions, ...

~~~ Instructions ~~~

A basic overview of the dungeon.
• So far all doors seem to have a time limit. So think carefully about which ones you use. Many can be re-triggered if necessary.


~~~ Entrance room (Dilapidated library) ~~~

To enter the room, the player must apply an earth rune as a key. Once you enter the room, the player and animals get a water-debuff that drains life and blocks stamina regeneration. The longer you are exposed to the debuff, the higher the after-effect time increases.
The exit or entrance to the main hall is on the other side. However, the passage is closed and must first be opened with a wall button on the higher floor.
( Right balcony, yellow marker on sketch )

You can get to the upper floor with the help of the bookshelves. However, you must first open the secret shelf door to reveal the way up to the shelves.
( The secret shelf door + button, red marker on sketch. )

Before you press the button, you should use a torch and throw them on the ground or ask another player to light up the marked spot on the sketch. This area is very dark.
After climbing up the barrels in the secret room you now have 2 options to master the jumping course over the shelves. Either you jump yourself with the chance that you fall and have to start all over again or you take the slower but safer option with the Archeopteryx. You can see the way of the lower shelves in the sketch above.

*** Little info about Archeopteryx ***
Gliding can be canceled with the "Reload" button (default setting "R").
When you have reached the left balcony by climbing up the barrels, you must now follow the steps in the sketch above to get to the right balcony. For the people who glided up there with the Archi can now choose between 2 ways.
(1) Either directly through the room. But use the railing of the balcony.
(2) Or use the way with the fallen pillar.
After you press the wall button, you have a specific time until the gate closes.


~~~ Main Hall ~~~
In general I have not much time at the moment. You can find a written solution in the comments. I will add it to the guide with pictures over time.


~~~ Boss fight: ~~~
? (Work in process.)
Dungeon - Other (work in progress)
Jungel Dungeon (Kaprosuchus Boss)
Entrance: 40.5 / 30.1
Useful: Kaprosuchus Rune, ?
Instructions:
?
Boss fight:
?

Fjord Dungeon (Wyvern Boss)
Entrance: 42.1 / 45.2
Useful: Wyvern Rune, Cobalt Pik, Weird Key, strong Tame,...
Instructions:
?
Boss fight:
?
27 Comments
Metalor 29 Jul, 2023 @ 7:49am 
Golem Boss takes a crazy amount of time with one player.

#2 Phases

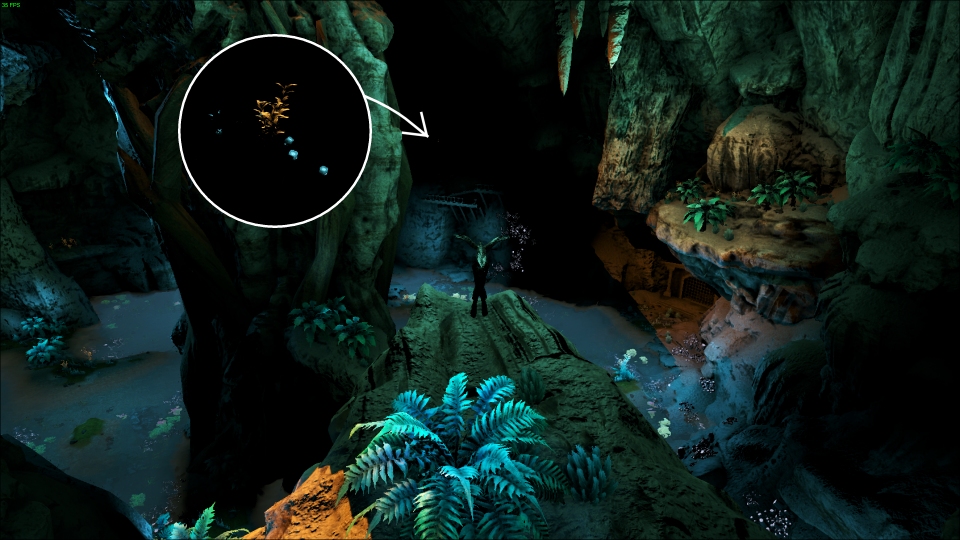
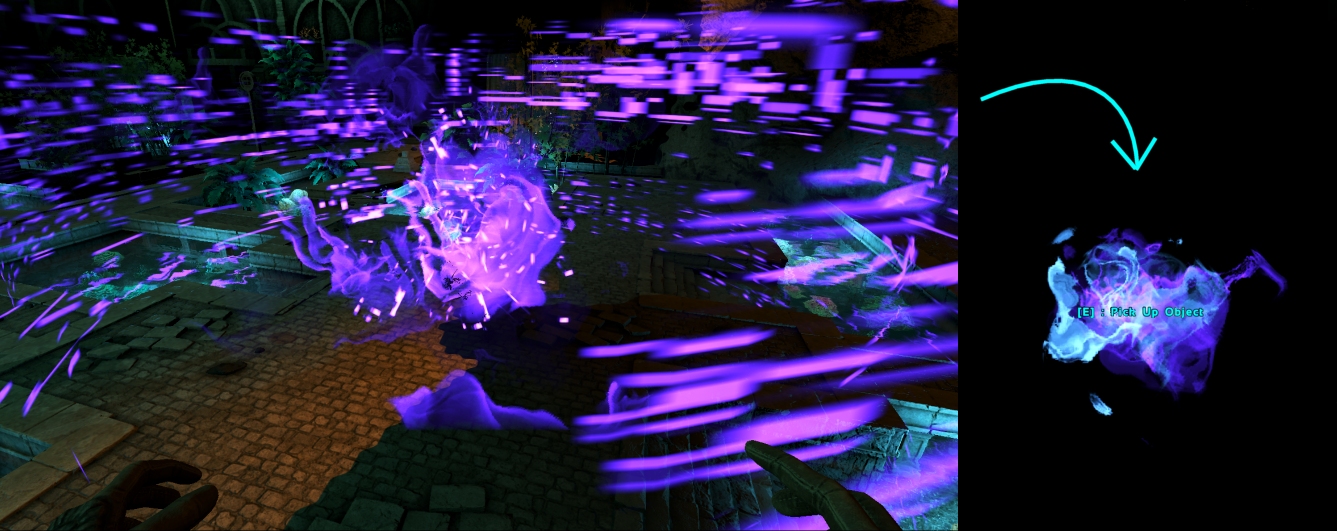
Phase 1 - When the golem is trapped we need to use the counter element that he is showing and activate at the back of the room the counter element, a dodo with that element will drop from the air, kill it and seconds later an essence of that element will apear. Pick it up and activate the correspondent beam. Rinse and repeat until Phase 2 kicks in.

Phase 2 - Same deal but now we use the traps on the floor next to the activated devices while the Golem is chasing us with a debuff shield that harms us and debuffs with Burning Darkness with fire damage over time. Has his HP is decreasing, "element bombs" start to show up and detonate after some time, avoid being near them.

Stamina Potions, water bottles (was running alot), bandages7Healing potions and arrows to kill the dodos.

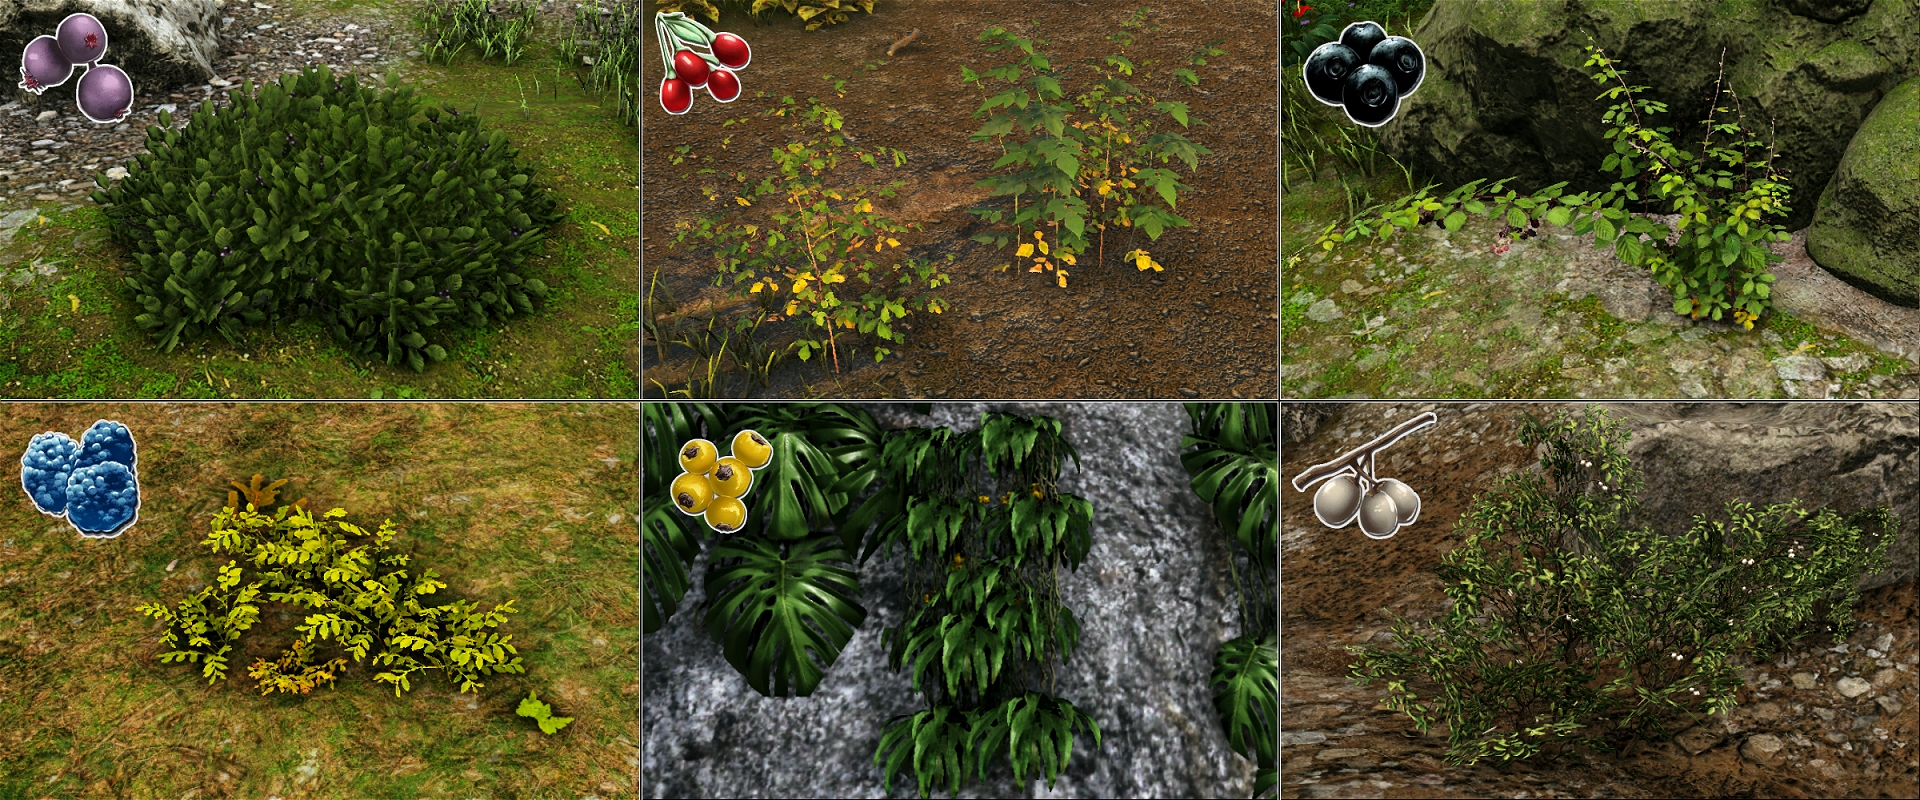
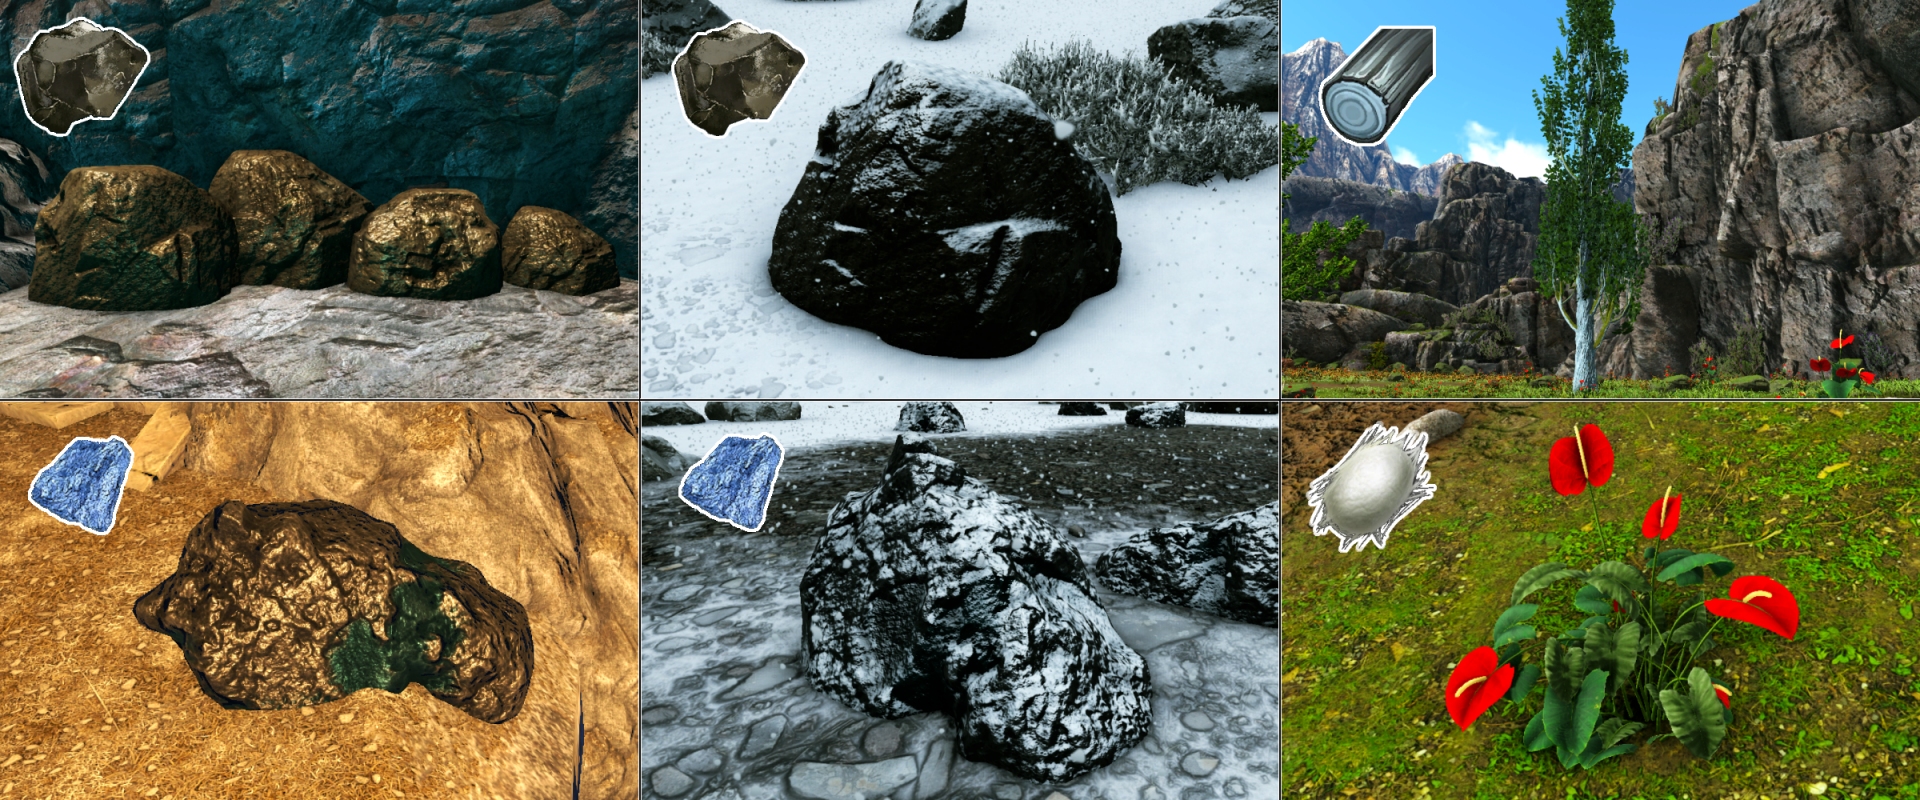
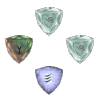
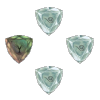
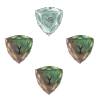
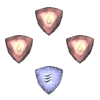
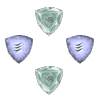
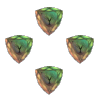
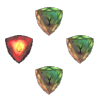
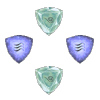
The element part: to fight the fire, use water. To fight Air, use Fire. To fight Water use Earth. To fight Earth, use Air.
Metalor 25 Jul, 2023 @ 10:47am 
The metal gate before the Dodo Boss does shut after some time.
Cadence 13 Jul, 2023 @ 5:13pm 
I found one Runic Note with an earth rune on the left and three air runes in the other slots. I powered up an ascendant chitin helmet first with Air, then Earth before using the Runic Note's placements. This Runic Notes' placement only seems to work successfully after the armor has been powered up with Air and then Earth.
Cadence 11 Jul, 2023 @ 9:27pm 
I cleared the Kapro boss before I cleared the Golem Boss.
LeonaLens 31 May, 2023 @ 12:19pm 
@Haruhi Suzumiya the best dino for the most biomes is carno (not perfect for jungle, but pretty good). We stole one egg from nest and were so lucky cause have twins from it (male and female)
So now we have an army of them XD
Terror bird is pretty good too. Not for fight, but for run. :steammocking:
Springday 19 May, 2023 @ 12:05am 
Yeah that's a hell of a puzzle ro be honest we died a lot because we could not find one of the notes so for the button order we try different things before finding the one. Hoped this helps you ! Now we are trying to get our hand on a dino that would help us survive in the jungle biome xD to explore and find the next dungeon.
Moonstars  [author] 18 May, 2023 @ 3:45pm 
Jesus. To use the buffs as a counterbuff, I didn't even think of it. The partly high damage had scared me off a bit. That's why it didn't even come to my mind. But that's a lot of info for now. I will have a closer look at the coming days. For today, I will change the room number and then I jump into bed. :-P
Springday 18 May, 2023 @ 3:32pm 
hum after rereading what i said i made a mistake : to open the VIII u need to take the earth buff ( it hurts but with it you can open the door) from room X ( have a friend do it or wait for the wind buff to disapear before leaving room X so you have the double buff + hearth buff. I forgot to say => bring Stamina potion and health/bandage it's not mandatory but will help a lot !
Springday 18 May, 2023 @ 3:22pm 
Now you can open the boss door if you use the button in the center room in the correct order. the order is described in the notes, and if you fail you will have to past all the others doors again for the omni buff. i dont remenber exactly the order but in the story they speak of moon and sun and if you care the door all have a moon or sun thing if i remember it's 2 9 6 12 8 10 3. with the last beeing the door before the boss. and then the door will open, i will let you discover the boss he is not that hard :)
Sry for multi comment i can't put more than 1000 characters by comment :c Hopes it helps !
Springday 18 May, 2023 @ 3:21pm 
Go in the door in this order :
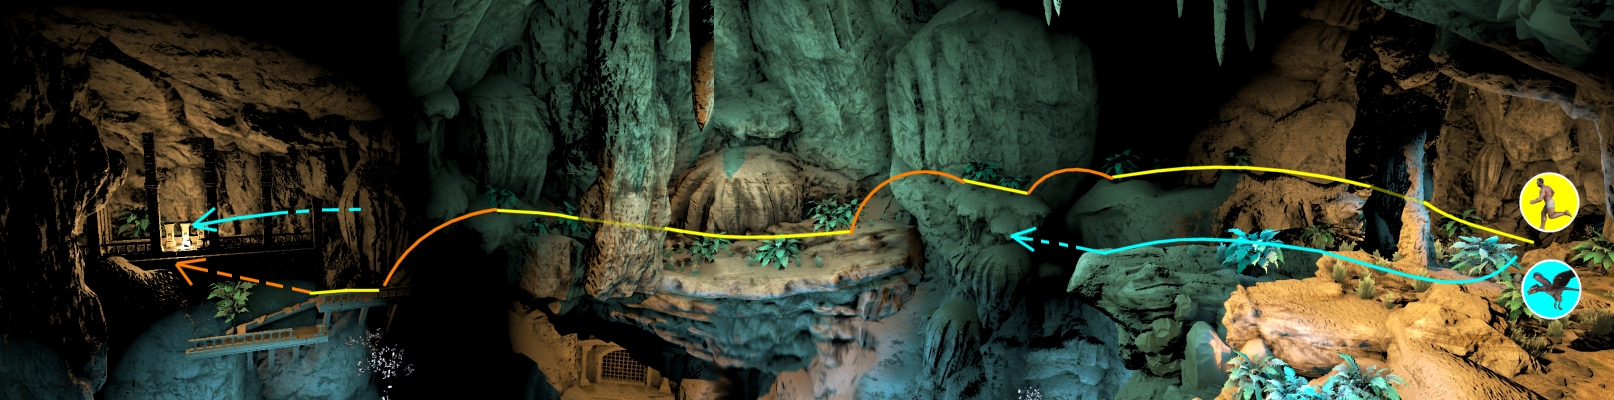
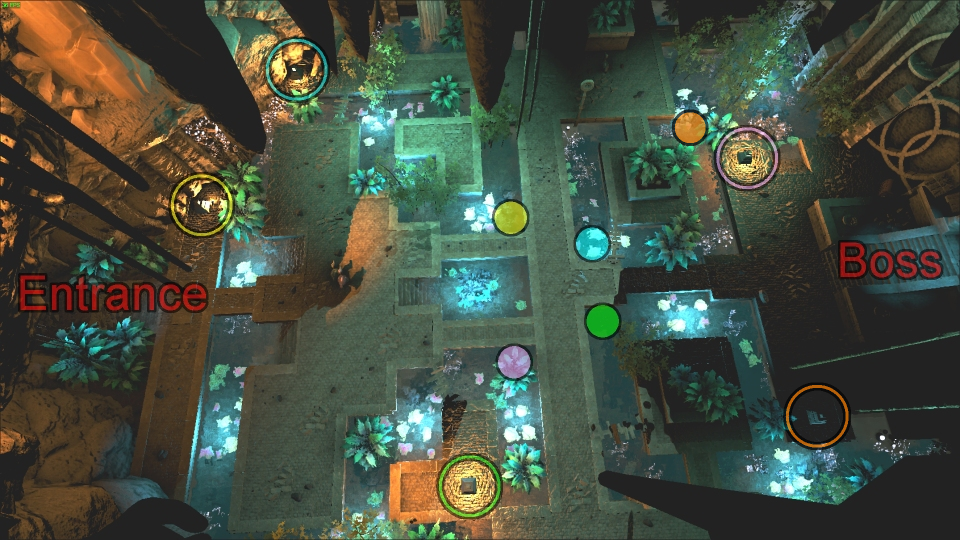
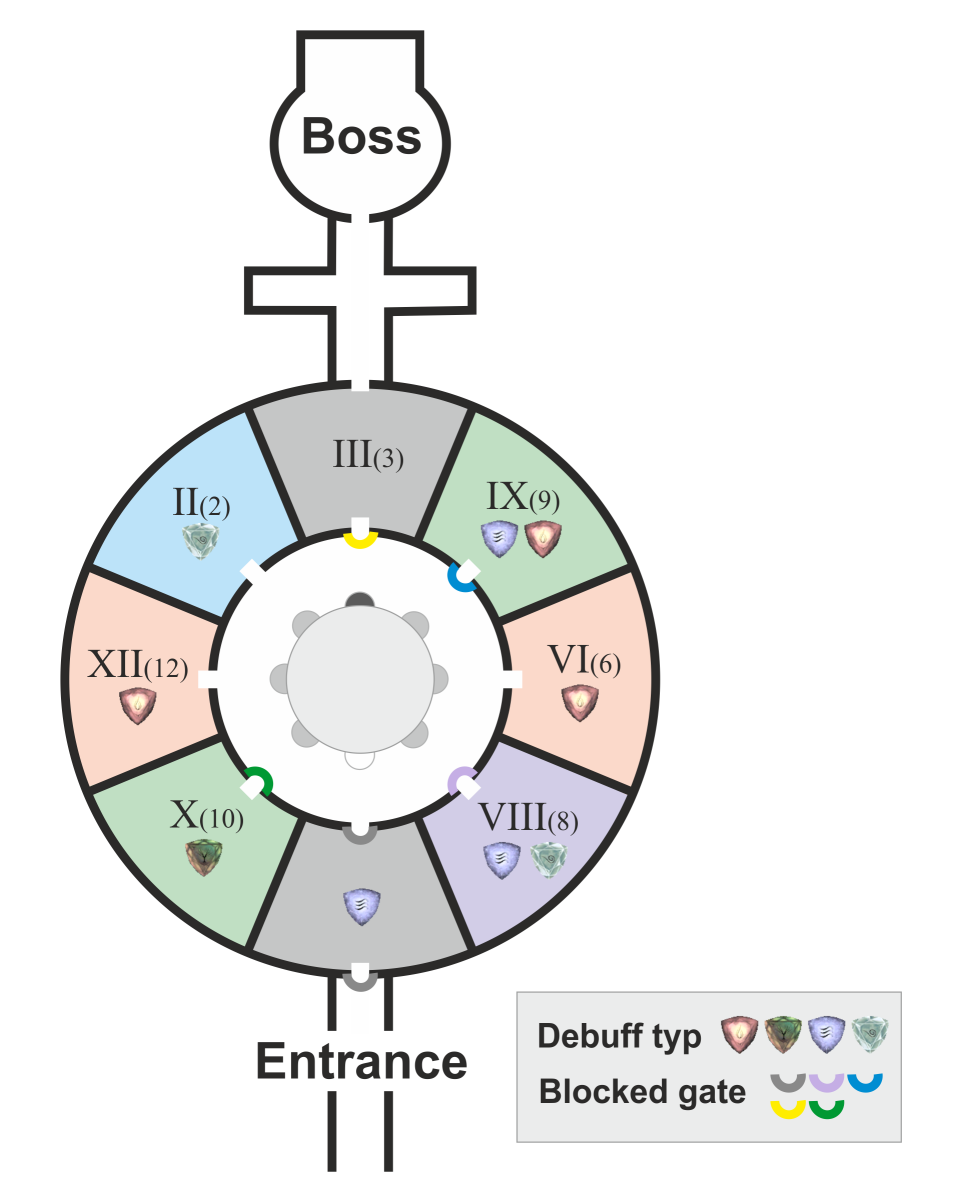
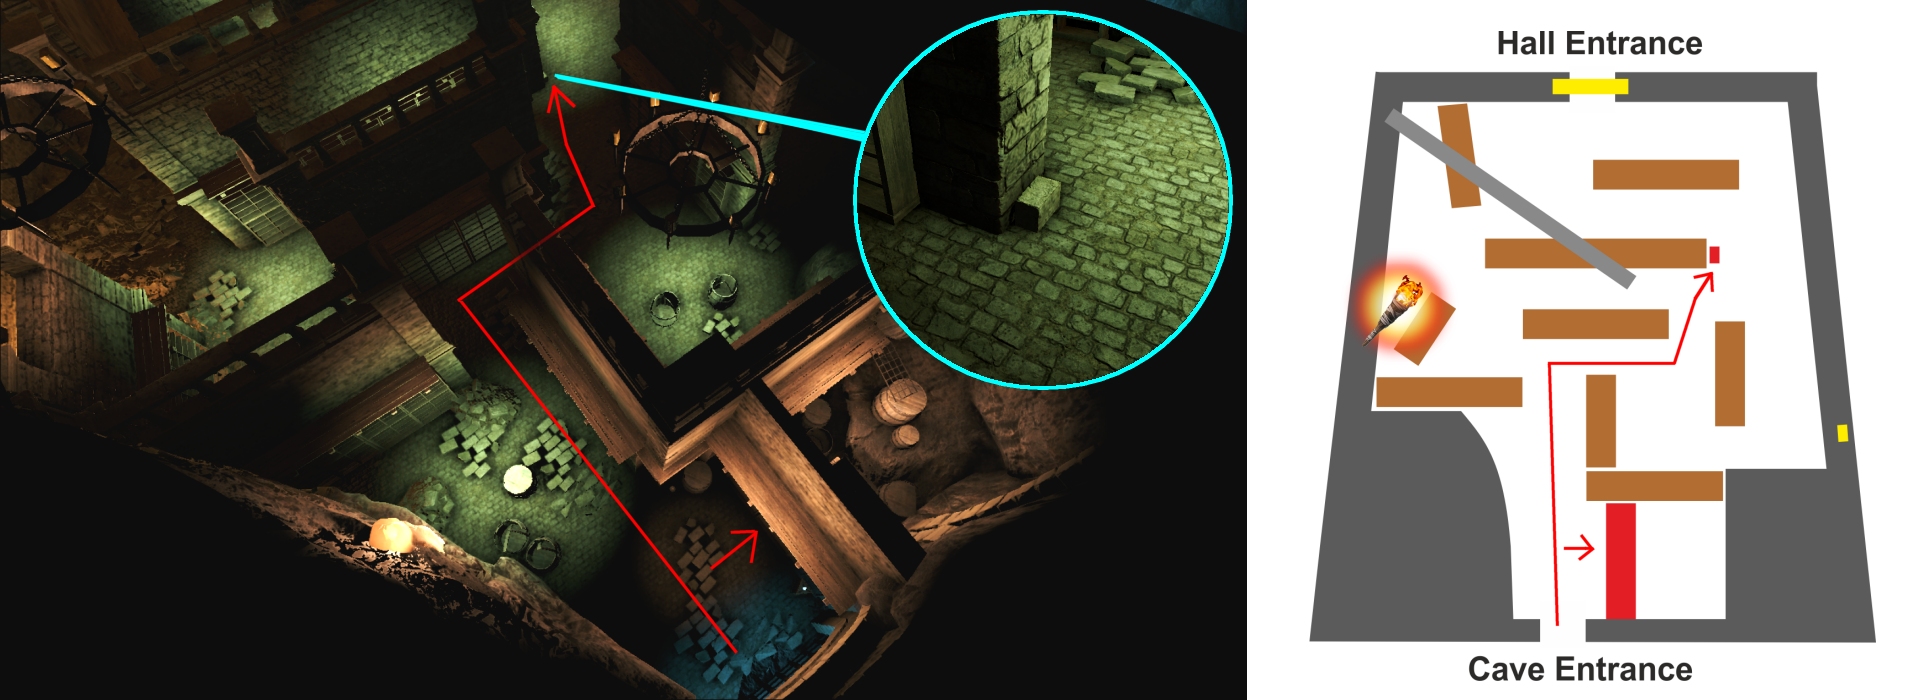
From the entrance take the water buff
then open the X room ( a earth room) but don't enter it go in the II room and stack the wind buff
with it u can then enter the X room ( the wind buff protect you from earth dmg in the room. go behind the rock in the room to get the combined element of wind/earh if i'm not mistaken)
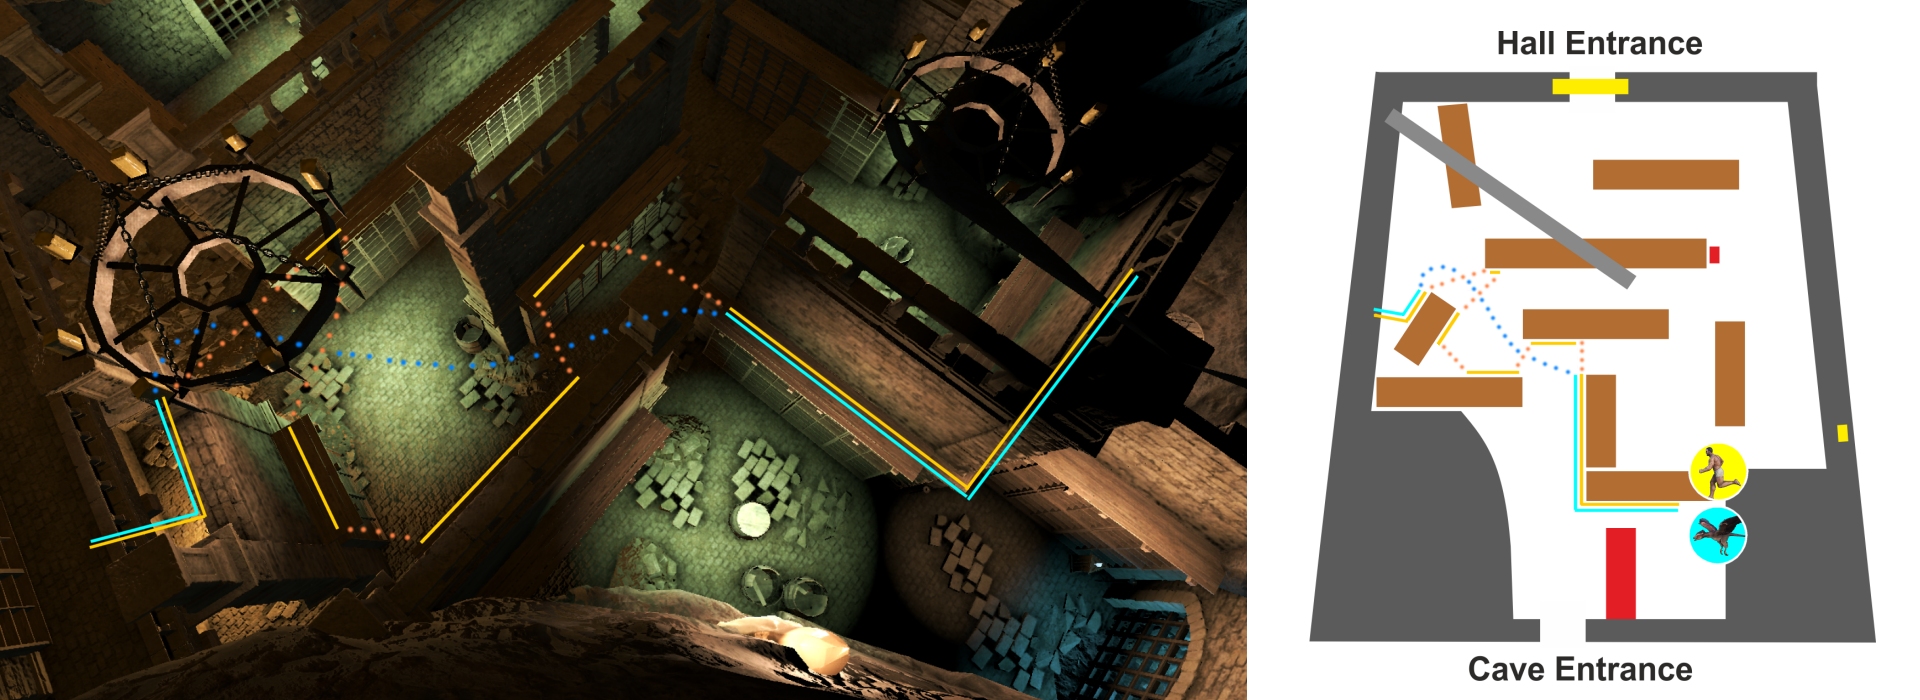
If you are two your friend can open the VIII room with the XII buff for you. but if you have no friend go take some second of the XII buff to open the VIII door.
In this room you will stack the buff that will let you survive the IX room. Take the buff then head to VI if you have no friend to take the fire buff to open the IX door.
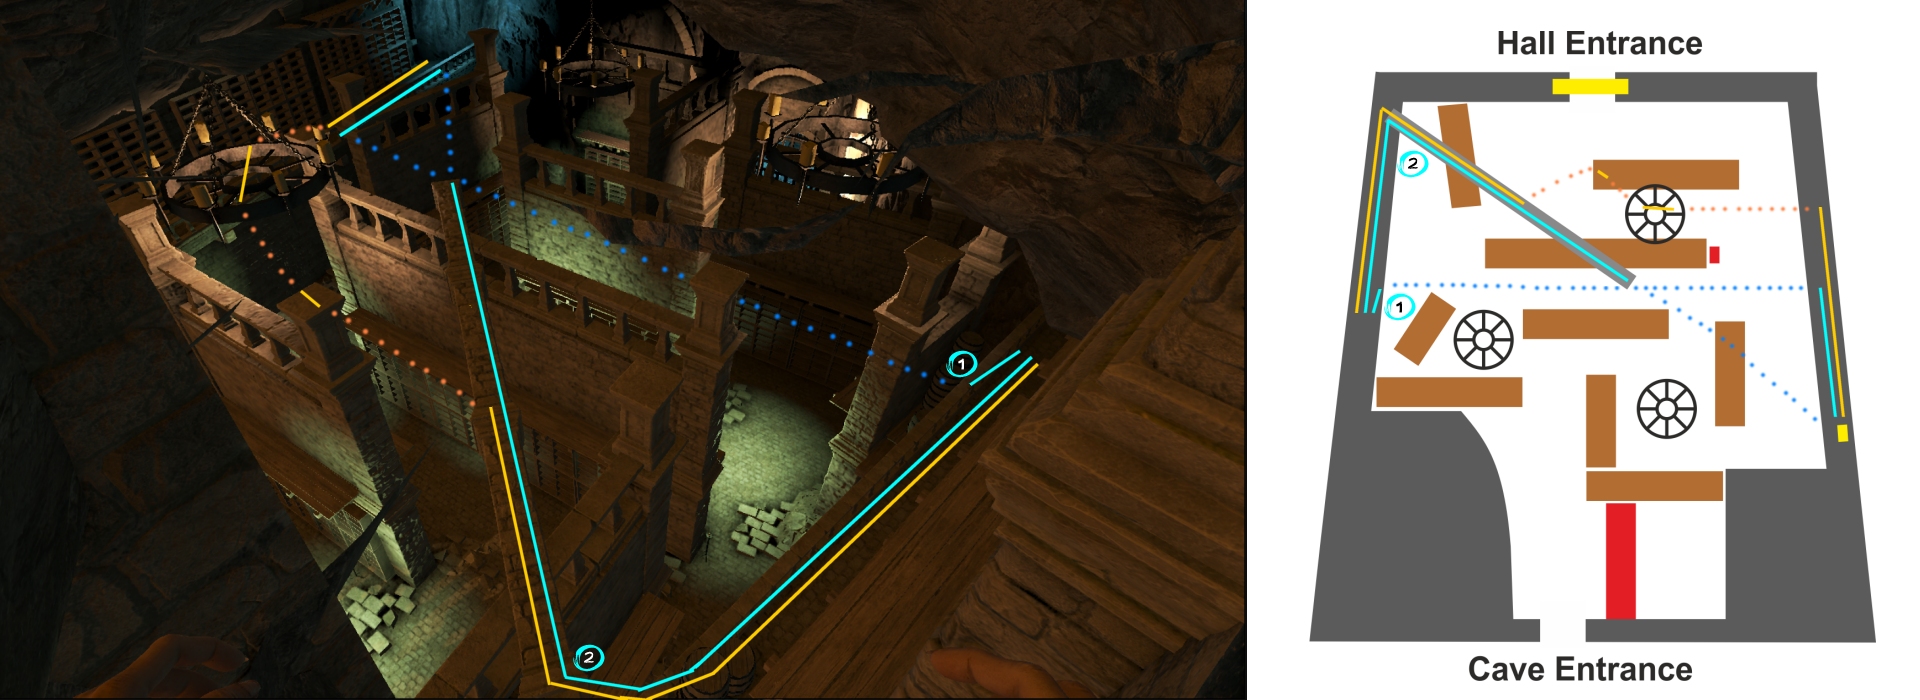
Then finish and rush in the back of the IX room the omnielement. Take at least 90 seconds of the buff to have much time.