
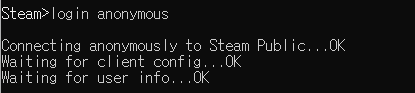
Install Steam
login
|
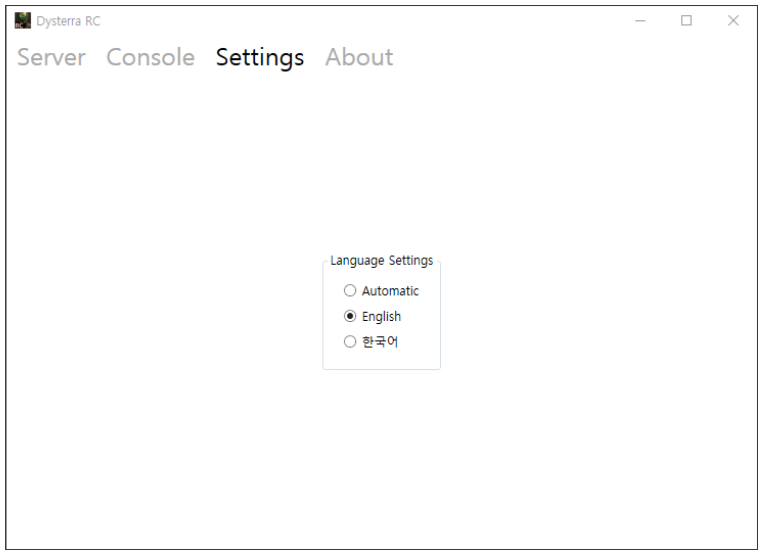
language
简体中文 (Simplified Chinese)
繁體中文 (Traditional Chinese)
日本語 (Japanese)
한국어 (Korean)
ไทย (Thai)
Български (Bulgarian)
Čeština (Czech)
Dansk (Danish)
Deutsch (German)
Español - España (Spanish - Spain)
Español - Latinoamérica (Spanish - Latin America)
Ελληνικά (Greek)
Français (French)
Italiano (Italian)
Bahasa Indonesia (Indonesian)
Magyar (Hungarian)
Nederlands (Dutch)
Norsk (Norwegian)
Polski (Polish)
Português (Portuguese - Portugal)
Português - Brasil (Portuguese - Brazil)
Română (Romanian)
Русский (Russian)
Suomi (Finnish)
Svenska (Swedish)
Türkçe (Turkish)
Tiếng Việt (Vietnamese)
Українська (Ukrainian)
Report a translation problem


A fine example is the information provided here, but also within the documentation linked in regard to the 'world settings'.
Example:
Example of Bad:
Name of Setting Description of Setting
World_Lifetime World Lifetime
How are these helpful?
"World_Lifetime" is "World Lifetime" that's insane...
Especially since the number that goes there makes NO immediate sense.
"World_Lifetime": 14515200,
I still have no idea what most of these mean.
A better description would be:
World_Lifetime: The number of hours the world way be in existence. This refers to game-world hours, not real world hours. You will see in game, this transposed to "Days".
World Setting File:
:::::::::::::::::::::::::::::
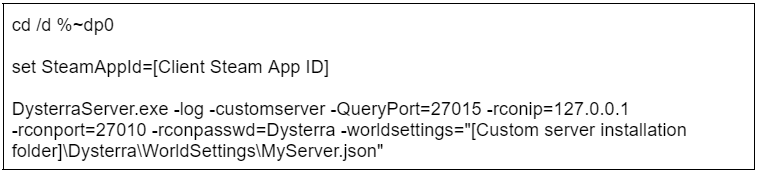
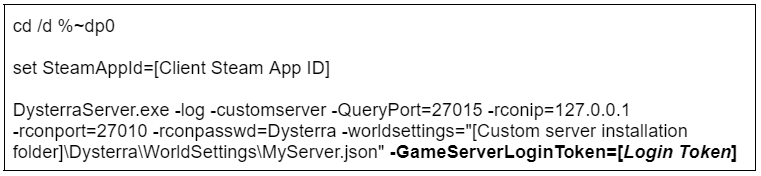
The path of the World Setting File is as follows:
[Custom Server Installation Path]\Dysterra\WorldSettings\Myserver.json
If the file does not exist, you can create it by copying the Survival_Landscape_Template.json file in the same folder. (In Dysterra RC, it is possible with one click of a button)
The file is in JSON format and can be edited with Notepad, etc.
https://i.ibb.co/WF6CdZj/dysterra-2803567968-preview-My-Server.png
---------------------------------------------------------------------------------------------------------
World Setting File Property Description:
:::::::::::::::::::::::::::::::::::::::::::::::::::::::::::::::
https://i.ibb.co/MCxCdM8/dysterra-2-2803567968-preview-2657692765-preview-World-Setting-3.png
;)