The Bloodline

The Bloodline

135 ratings
The Ultimate Beginners Guide to casual Players!
By Tiagoo
This guide will guide you through the early stages of the game,
Showing you game mechanics, quests, tips and tricks, etc.
Hopefully showing the game's potential and avoiding some early-development traps!
6
6
2
2
3
   
Award
Favorite
Favorited
Unfavorite
What can you do when you start?
Welcome to The Bloodline!

This is a sand-box game!!!
Almost everything you do in the game will get you Passive Experience Points* and that will help you level up or do any activity much better.

This means that the more you jump while playing the game the higher and longer your jumps will become. Same thing goes for running, wall-running, swimming, fishing, fighting, sneaking, lute playing, woodcutting, cooking and more!

Useful to know on the long run:
  • Press “U” to quick-save (! IMPORTANT !).
  • Press “X” to sneak (extra DMG).
  • Press “F” for grappling hook (you can “Attack on Titan travel” here).
  • Press “M” to use mouse.
  • Press “T” to Sheathe/Unsheathe weapon.
  • Mouse Wheel Up or Down: wield ranged or melee weapon (sometimes you have to have the right weapon in hand to use a skill).
  • Press “Z” to assign the Consumables Hotkey and
  • Press “ALT + Number” to use the Consumables set with “Z”.
  • Press "Tab" for Quick menu
  • Press "CAPSlock" for Quick Skill menu
  • Press "CTRL+U" to hide/unhide UI
  • Press "N" to spontaneous Ragdoll

After the character creation, you find yourself in your underwear and in your room.


*You can open your inventory "I" and click "Detailed Stats" for more info on all Passive Levels you can get.
Castle Room (3rd floor)


Here you can do 3 things:

Loot some of the furniture
Press “E” to open Crates.


Sleep
Heals, skip time and reset some debuffs.


Talk to Fredrick Woodkin
He is like a Guide NPC that you can ask about some mechanics.


Head downstairs when you are done.

Castle Library (2nd floor)


Here you can do 2 things:
“Rune Reading 101” Quest with Clayton Barrett

He will ask you to rune read once.
Its basically how you level up by training magic.

and Rune Reading on Pyromancy or Cryomancy (Fire or Ice).
First interact with a bookshelf to get a red or blue book.


Place one or both book types on the table near Clayton Barrett.


Sit on the chair (press “E”).


Choose the magic type you want to train.

Rune Reading Mini-Game
Here you are expected to match the letters with the correct runes.


Take your time to translate the whole word before starting to select the runes, because once you start matching the letters a XP combo-chain bonus will begging. If you miss, the combo-chain resets.

Don´t get frustrated! After a while you get used to the cipher and will not need to look at it.

To maintain the combo-chain, you will have 5 seconds to select the second rune, then you will have 3 seconds for the next ones.


If you match correctly all letters with the runes and never breaking the combo-chain you will receive a massive XP boost and the magic type Proficiency Points (augment spells, like add an extra fireball charge).

Leveling your Character
You should have gotten a new level by now.

Ability
Once you get a new level you can press "TAB" to open the radial menu.
Then, select the “Level Up” option on the top.

!!! ATTENTION !!!
Once you click it, don’t do anything else until the ability choices pops up or you might bug.


There are 3 ability options, chose the one that matches your play-style:
Fortitude
Wisdom
Strength


Skills
Learn new Skill
Once you get a new level you can press "TAB" to open the radial menu, then:

Select the “Skill Trees” option ("L") at the bottom right.


On the bottom you can see the Available Skill Points and the skill categories available:
Melee
Ranged
Magic
Tech


Then you can choose the skills's sub-category.


Put Skill Points in the skills you want to learn.


Put Proficiency Points in the skills you want to buff.


Use new Skill
Once you get a new level you can press "TAB" to open the radial menu, then:

Select the “Skill Book” option ("K") on the right.


Go to the skill page and drag the skill to your hotkeys.


You have 2 hotkey bar that you can change between them by pressing CTRL.


Head downstairs when you are done.
Castle Ground-floor
There are 8 NPCs that you can get a Quest from:
  • Varek Osterhout (Climbing)
  • Thomas Dornscheidt (Traveling)
  • Marek Osterhout (Foraging)
  • Geoffrey Woodkin (Fighting)
  • Pembroke Wells (Potioncrafting)
  • Charles Hullett (Cooking)
  • Theo Macgowan (Mining and Smelting)
  • Mary Osterhout (Crafting and Building)
    NOTE: Mary Osterhout is outside in front of the castle.
I´ll go over the quests they give you, ordered by how close they are for you to complete them.

Locations:


Lost Hat Quest - Varek Osterhout (Climbing)


Varek Osterhout gives you the “Lost Hat” Quest.


You need to climb a pillar next to the Castle bridge and retrieve his hat (press “E” to pick it up).
It should be highlighted with a yellow star.


Talk to him again to deliver the quest.


How to Climb?
You need to have no weapon equipped to climb, so sheathe your weapon with "T".

Approach a wall then press space while holding "W" to graple.

Now you can move while grabbing the wall like a climber.


You can also spam Jump button while looking UP.
It will climb and push your self up, then climb and push your self up, etc etc...

In some zones you can do the climbing mini-game.


The green glowing balls are XP points that you can pick up only while climbing.

Mold On the Walls Quest - Marek Osterhout (Foraging)


Marek Osterhout gives you the “Mold On the Walls” Quest.


He needs you to harvest “Goblin Mold” which is located on the outer walls of the castle, on the right side when you go out the big gate.


Harvest 10 Goblin Mold


When you are done talk to him again to complete the quest.

Potion Basics Quest - Pembroke Wells (Potioncrafting)


Pembroke Wells gives you the “Potion Basics” Quest.


He gives you ingredients and asks you to make a potion at the Potion Table next to him on the wall.


Chose the reagents and make any potion.


Talk to him to finish the quest.


NOTE: There are 3 medium potions on top of his table that you can loot.

The Basics of Cooking Quest - Charles Hullett (Cooking)


Charles Hullett gives you the “The Basics of Cooking” Quest.


He gives you ingredients and asks you to make a "Basic Stew".
Head over to the fire behind him!


Select the ingredients to make the stew: Carrot, Potato and Cabbage and Cook!


Talk to him again to complete the quest and receive a new one!

The Basics of Cooking 2 Quest - Charles Hullett (Cooking)


Charles Hullett gives you the “The Basics of Cooking” Quest.


He gives you ingredients and asks you to make a "Loaf of Bread".
Head over to the fire behind him!


Select the ingredients to make 4x Flours first: 2x Wheat and Cook!


Once you know you recipe you can use the auto-cook.
Click on the cauldron icon next to "Flour" 3 times then press the green Play button in the Cooking Queue.


When you have 4 Flours, place all 4 of them and Cook!


Talk to him again to complete the quest.


Talk to him again receive a new one!
The Adventure Begins Quest - Geoffrey Woodkin (Fighting)


Geoffrey Woodkin gives you the “The Adventure Begins” Quest.


He gives you your first weapon.
You can choose between a Short-sword, Throwing Hatchet, Great-sword and a Spear.


Head outside the castle, past the river and if you look a bit to the right.
It should be highlighted with a yellow star.


You will see a Goblin Camp with some enemies around it.


Kill the Goblins and then talk to Geoffrey again to complete the quest and receive a new one.


Traveling
Open your radial menu with "TAB" and choose "Overworld".


Click on the map to move the character. You can use "spacebar" to go faster.

And you can somewhat farm while in this view too, like certain trees and nodes along the way.

To leave the Overworld, go to a zone perimeter.
If you press the MMB, a blue circle will pop up around it.


If you are very near or inside the circle you can hit "Camp"!


Some places, like cities and your stronghold, you have to be very near to it and press "E" to enter.


You will then spawn in the zone.

Cracking Stone Quest - Theo Macgowan (Mining and Smelting)


Theo Macgowan gives you the “Cracking Stone” Quest.


He will ask you to mine 5 Coal nodes.


You can find them near mountains. Like in Elderglen Woods:


Press "E" to start mining. Click when the slider is on the green bar for bonuses.


Talk to him again to complete the quest.


NOTE:
You can do this quest at Elderglen Woods simultaneously with
"The Steps of Esros" and "Dornscheidt's Bot"

Dornscheidt's Bot Quest - Thomas Dornscheidt (Traveling)


Thomas Dornscheidt gives you the “Dornscheidt's Bot” Quest.


He wants you to go buy a Magnifying Lens in Gearbeards store in Elderglen City.


You will find the Gearbeards near the city entrance, a bit ahead and on the right side of the road.


Check his store and buy a Magnifying Lens.


You also need Copper Ore which you will need to mine.


You can find them near mountains. Like in Elderglen Woods:


Then deliver him both the goods back at your Stronghold.


NOTE:
You can do this quest at Elderglen Woods simultaneously with
"The Steps of Esros" and "Cracking Stone"

The Steps of Esros - Geoffrey Woodkin (Praying)


Geoffrey Woodkin gives you the “The Steps of Esros” Quest.


He wants you to reach the top of The Steps of Esros in Elderglen Woods.


Go to the highest point of this zone. It should be marked with a yellow star.


Climb all the way to the top.


Talk to god to complete the quest


You will receive a new Skill and a new Quest from god.

NOTE:
You can do this quest at Elderglen Woods simultaneously with
"Dornscheidt's Bot" and "Cracking Stone"


Blood Tether Quest
Turn around and head back down a bit till you find the cave entrance.


At the end of the cave you will find a "Blood Tether" which you need to destroy.


Set your new Skill given by god "Prayer of Forgiveness" on your hotbar.


Go near it and use the skill.


Once its destroyed you will complete the quest and be asked to go back to the stronghold.


Go back to Geoffrey Woodkin to complete the quest arc "Blood Tether - Stage 2".

Decorating 101 Quest - Mary Osterhout (Crafting and Building)


Mary Osterhout gives you the “Decorating 101” Quest.


She wants you to build 5 "Stick Fences".

Open the radial menu with "TAB" and choose "Crafting"


Use your mouse wheel to select the "Fences/Walls"


And again to select the "Stick Fence" and place them.


Talk to her again to complete the quest.

Renaming the Village Quest - Mary Osterhout (Crafting and Building)


Mary Osterhout gives you the “Renaming the Village” Quest.


She wants you to rename the Village.

Go to the "Overview Board" near by.


Interact with it to open the menu.


Change the name of the Village.


Go back to her to complete the quest.

Beginning Construction Quest - Mary Osterhout (Crafting and Building)

Mary Osterhout gives you the “Beginning Construction” Quest.


She wants you to begin to build a Bakery.
Head over to one of the available building sites.


On the top left, choose the "Baker" and click "Begin Construction".


Talk to her to complete the quest.

Building the Bakery - Mary Osterhout (Crafting and Building)

Mary Osterhout gives you the “Building the Bakery” Quest.


She wants you to finish building the Bakery.

Head over to the construction site and finish donating your materials:
"Pine Log", "Wheat" and "Stone".


When you finish donating all the materials, you will have a new Bakery!


Talk to her to complete the quest.

Where to get Wood, Stone and Wheat?
Wood


You can find wood pretty much anywhere. Head over to a sparkling tree


And then smack it with that axe!


Stone


Stone nodes are the most common.


Once you see the sparkling node, smack it with that pickaxe!


Wheat


Go to "Overworld" and travel to "Millshade"


Once inside the town, go inside the "Wheat" Fields
and press "E" to start farming it.

You can still sprint and jump while farming wheat if you wanna level up while doing it.
Stable Construction and Requisition Office Construction
Since the game is still in alpha, not all elements of the game are implemented yet.

For example, if you want to finish building the "Stable" or the "Requisition Office"

! YOU CAN'T DO IT YET !

Both buildings require "Wood Bundle" and that item is still not implemented.
So anything that requires this item is out of bounds for now.

Grapling Hook
Mounts
About the game
Backstory
The Bloodline is a Open World Fantasy Action RPG where you take the role of a descendant of the Harbinger bloodline - a lineage gifted the power of foresight by an ancient god to protect Eudros from the Unforgiven. A legend that seemed faded in time… but your visions show The Unforgiven marching, the Harbinger defeated, and the land devastated.

Features
  • A journey not written in stone, but in blood – The adventure is yours.
  • Explore the world – the world is yours to enjoy and experience how you desire.
  • Be rewarded by playing how you want – nearly every action you do has a level associated with it.
  • Plan your adventures by using your foresight – the ability to see events that will transpire in the near future.
  • Vast world to explore - There are different biomes with distinctive flora & fauna filled with impressive landmarks.
  • Define your own play style - With over 500 skills to unlock and hundreds of different weapons and equipment at your disposal.
F.A.Q.
  • Performance is across the board while Milo optimizes, please head to #bug-reporting and find the "Performance (Low FPS/Stuttering) thread and follow the posting directions to help us isolate low fps areas.

  • There are no plans for networked multiplayer. Couch coop/splitscreen is a possibility though this is not currently a priority.

  • The infinite money trick (Shift+N) which is also used to sprint and ragdoll will be removed next patch. It is a beta test feature so... use it while it's there ;)

  • Resources can be gathered from glowing nodes around most non-city zones. You will have to use a bit of common sense to locate them (the best mining probably isn't in a marsh, and you might not find many trees in a mountain gulley.

  • You do not need any tools to harvest resources (i.e. a pickaxe to mine, an axe to chop wood) you just need to activate the resource node with your interaction button of choice, default is 'E'.

  • Wood bundles are not currently in the game.

  • You need to have no weapon equipped to climb - approach a wall, sheathe your weapon with 'T' and then press space while holding 'W'.

  • To read a Runeword you must be sitting first.

  • Buffs and Debuffs currently do not have any UI to reflect, this will be added as a stats panel/UI overlay in the future. For now if you contract a disease - head to a bed and sleep it off to cure it.
Usefull Links
Here are some useful links!

Discord - https://discord.gg/thebloodline

If you’re interested in modding The Bloodline head to the Official Modding Discord! -
https://discord.gg/rKy5z54arm

Lost in-game? Head to our wiki - https://thebloodline.wiki.gg/

Stay in touch with the community over at Reddit - https://reddit.com/r/TheBloodline

If you want to check out the publisher, HOOK, check out their linktree here - https://linktr.ee/hookcrew

Twitter - https://twitter.com/ShieldBearerDev

Instagram - https://www.instagram.com/shieldbearerstudios/

TikTok - https://www.tiktok.com/@shieldbearerstudios?fromUrl=%2Fshieldbearerstudios&lang=en
Thank you!
This concludes "The Ultimate Beginners Guide to casual Players!" for now!

I hope this helps you get your bearing right when your are starting to play this game!

Any feedback is appreciated!

Thank you!
13 Comments
btubryno 24 Feb @ 6:48am 
Amazing! This is exactly what I was looking for. Thanks!
Chance 10 Nov, 2024 @ 10:32am 
Learned a lot from this guide when I thought I was doing pretty good! Nice job!
ikeguy222 27 Sep, 2024 @ 3:53pm 
@klauwtje if you want to respec skills just left click on the skill you no longer need. That will free up the skill point you used so you can activate a different skill. No cost is associated with respecing
Klauwtje 18 Sep, 2024 @ 2:34pm 
Thanks for the great guide! Do you know if it's possible to reset the character, or do I need to create a new one if I want to redistribute my skills?
fda87242 10 Jul, 2024 @ 11:37pm 
It would be great to find out how to use lockpicks.
Frostygale 7 Jul, 2024 @ 9:21pm 
This guide is so detailed I’m worried the creator has grinded to mining 99 or whatever the max is XD great guide!
💔💀V1ndead💀💔 25 Jan, 2024 @ 10:41pm 
How do u use proficency points i think they removed that option
Auroboros 18 Jan, 2024 @ 2:15pm 
Would you mind if i shared this on the Official wiki? Like make wiki pages using the knowledge in your post?
BrettAwoo 31 Dec, 2023 @ 12:23pm 
I had no idea that there was a climbing mini game. Very cool guide! Although I already learned most of whats presented here by playing in game. I appreciate the pictures and overall formatting of the guide.
RemyMei 20 Dec, 2023 @ 5:12pm 
I may be asking prematurely, but what about taming? The questline tells you what the animals like to catch them, but how do we know what others like? Through trial and error?

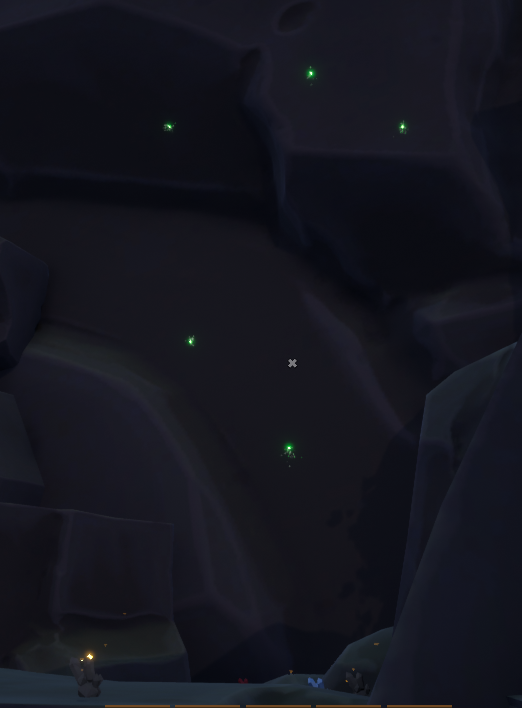
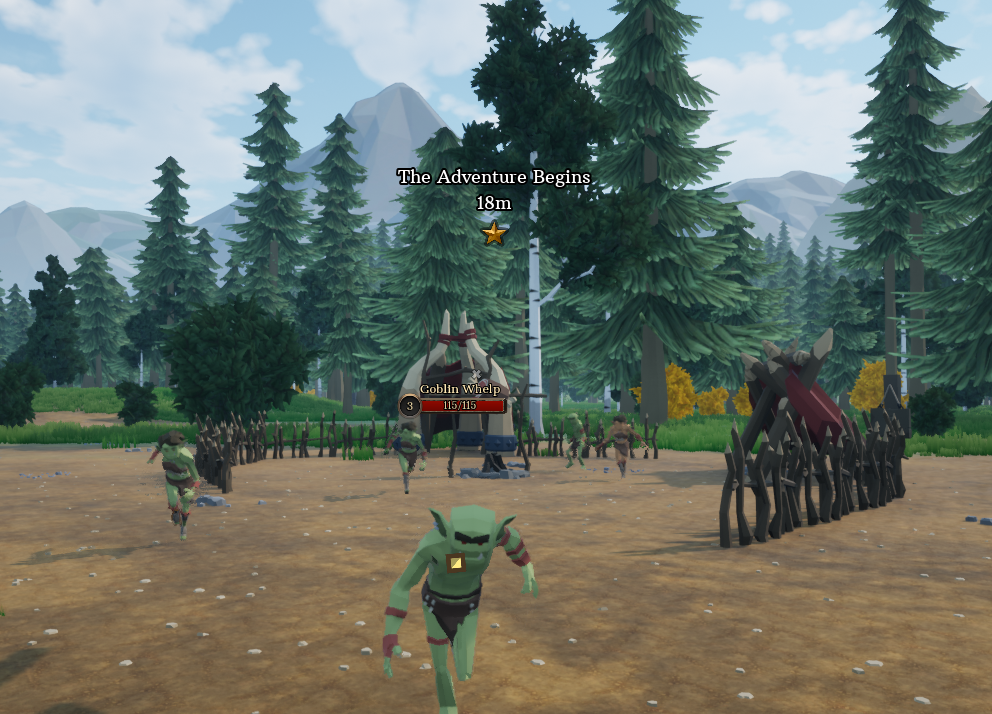
I've taken to aggro'ing the mob and then just throwing the trap in front of me and they run into it, but it's still nice to know in case a change in the future makes that unviable.