
Install Steam
login
|
language
简体中文 (Simplified Chinese)
繁體中文 (Traditional Chinese)
日本語 (Japanese)
한국어 (Korean)
ไทย (Thai)
Български (Bulgarian)
Čeština (Czech)
Dansk (Danish)
Deutsch (German)
Español - España (Spanish - Spain)
Español - Latinoamérica (Spanish - Latin America)
Ελληνικά (Greek)
Français (French)
Italiano (Italian)
Bahasa Indonesia (Indonesian)
Magyar (Hungarian)
Nederlands (Dutch)
Norsk (Norwegian)
Polski (Polish)
Português (Portuguese - Portugal)
Português - Brasil (Portuguese - Brazil)
Română (Romanian)
Русский (Russian)
Suomi (Finnish)
Svenska (Swedish)
Türkçe (Turkish)
Tiếng Việt (Vietnamese)
Українська (Ukrainian)
Report a translation problem


Beating Normal Mode: Unlocks Hero Mode & Boss Rush (in Extras)
Beating Hero Mode : Unlocks Classic Mode
Beating Classic Mode : Unlocks One-Shot Mode (in Extras)
Beating One-Shot Mode : Unlocks Cheats Menu (in Extras)
I've got a little secret: I already had infinite souls. When I got that final 1%, it felt I got nothing in the most unpleasant way I'd ever felt. Hoarding souls was already my scheme!
Very pointless and confusing. No exclamation MARK above her head! The magic upgrade of soul capacity!
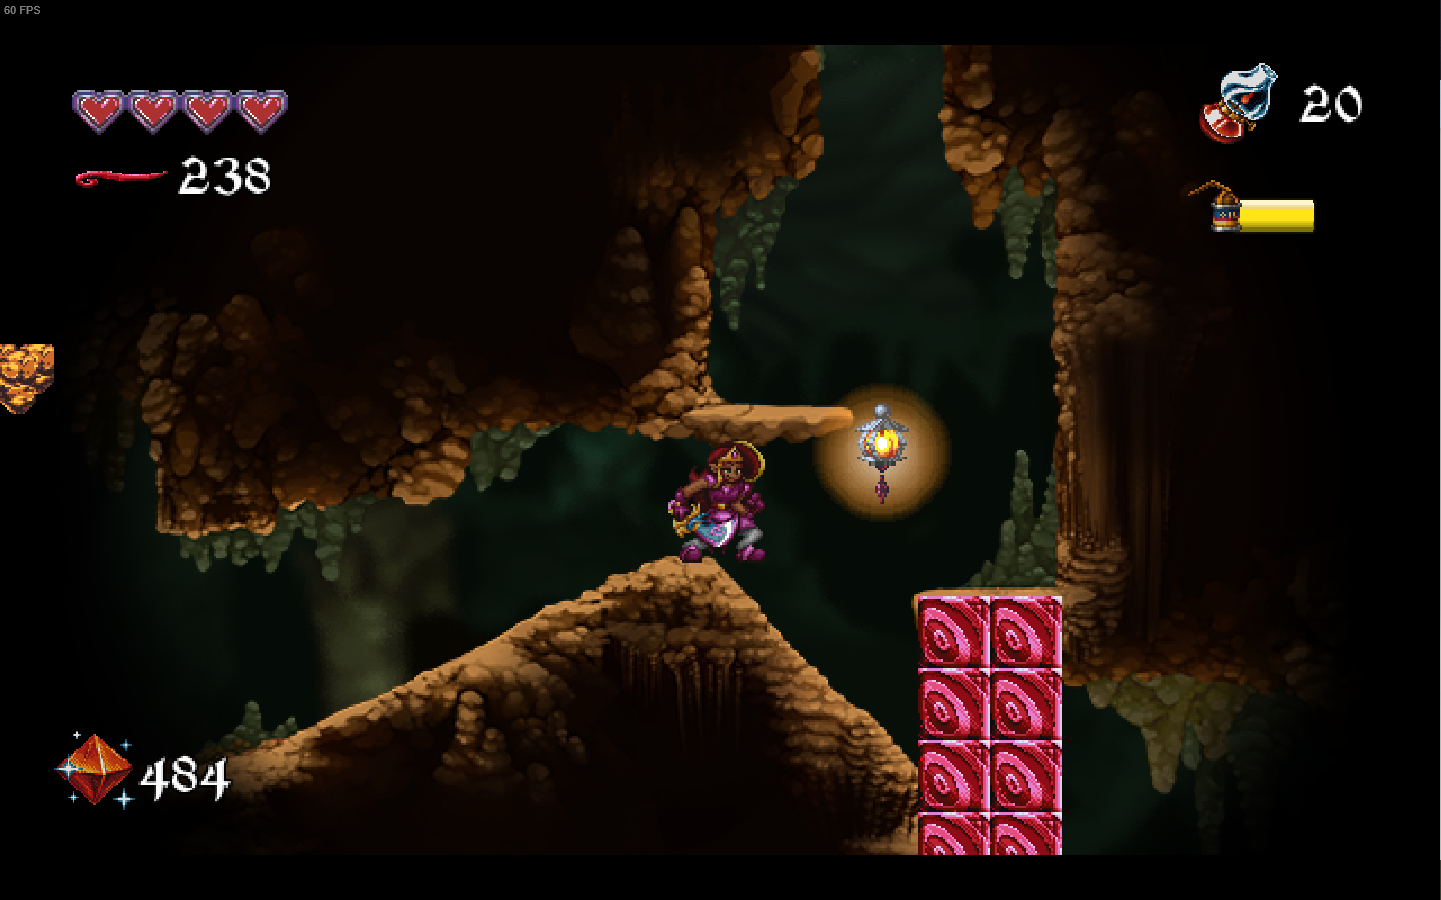
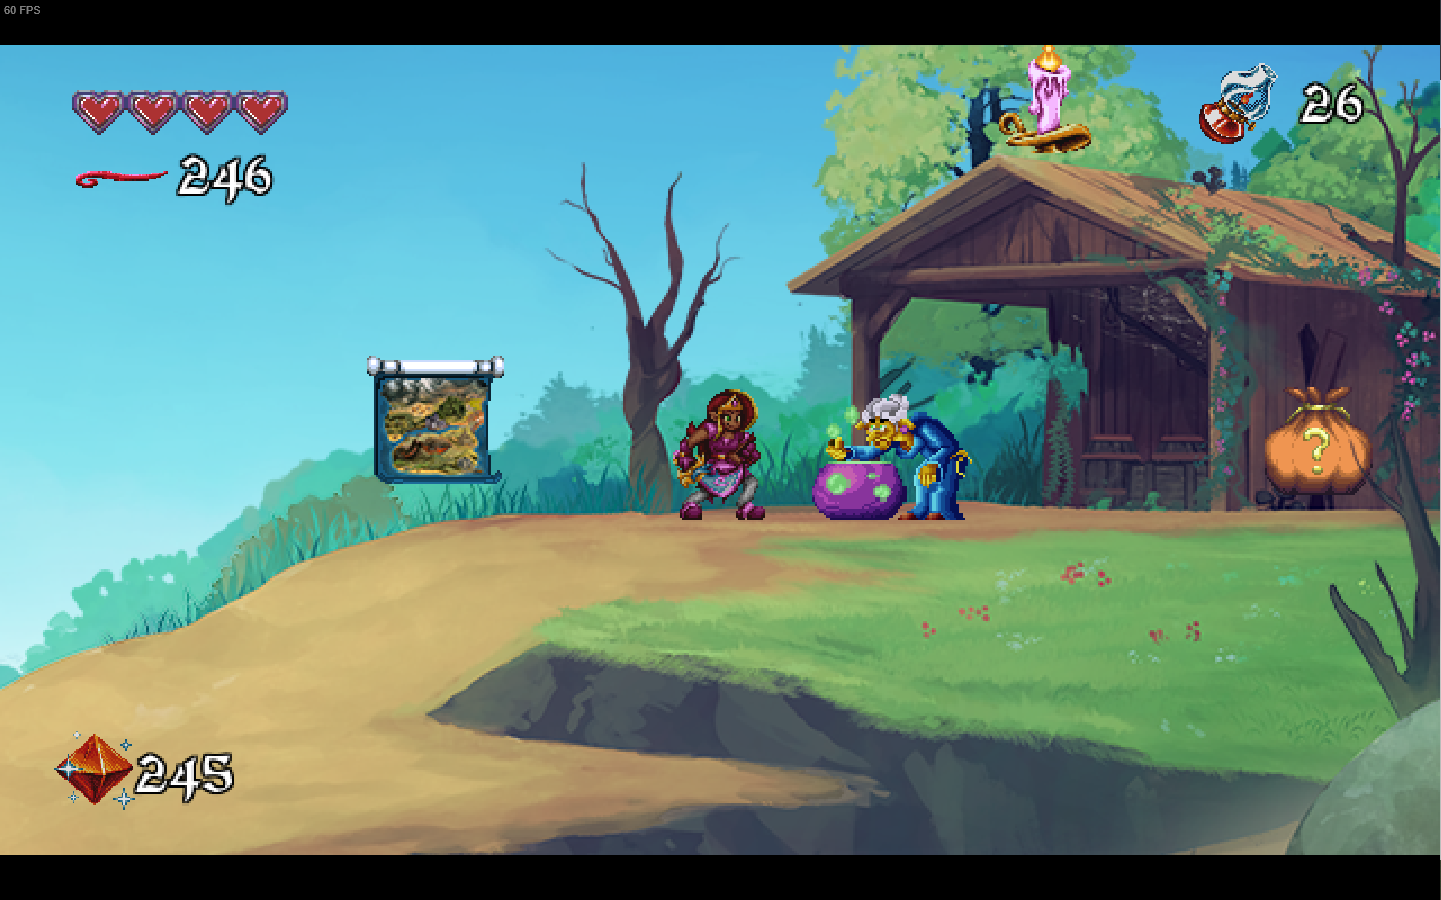
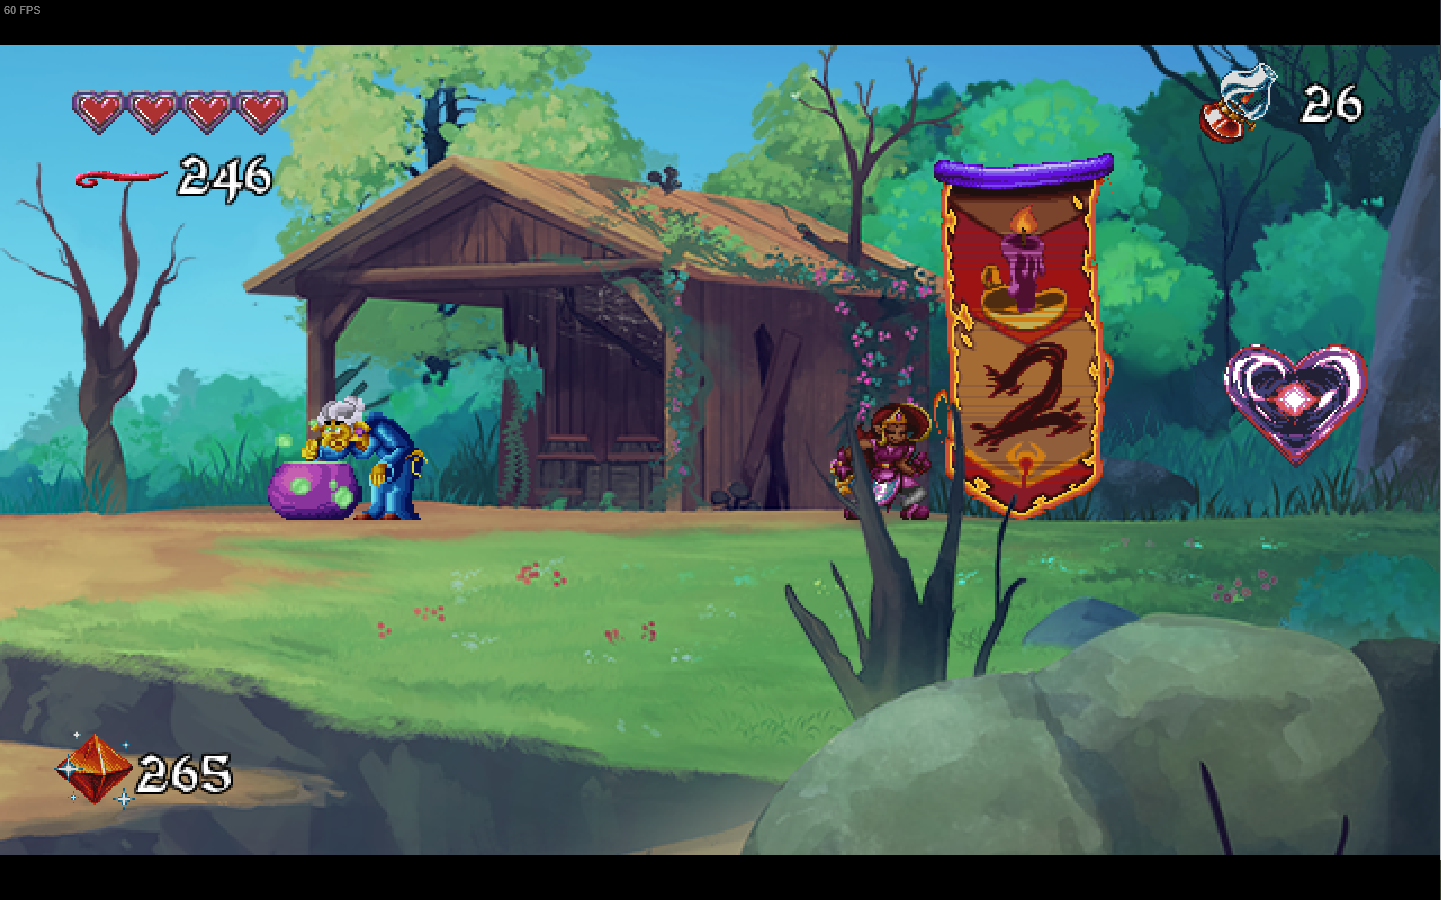
You can get everything else you want. Even the Magic Chainmail armor or the souls upgrades.
Maybe mention the Magic Chainmail doesn't lock you out of the no health upgrades achievement?