Team Fortress 2

Team Fortress 2

Not enough ratings
Yellow Flags - Soldier Banners and how to use them
By CaucasianCrustacean
A guide about Banners, how to use them, and which ones are best in what situation.
   
Award
Favorite
Favorited
Unfavorite
Introduction
Whenever I play soldier, I NEVER use a shotgun.

It's probably a terrible habit of mine, but I just never do.

Here's my logic when picking a soldier secondary:
  • Shotguns are boring
  • Mantreads serve almost no purpose without a rocket jumper
  • Gunboats are out of the question, since rocket jumping doesn't deal much damage to you in the first place
  • B.A.S.E Jumper is only good if you are using the air strike or rocket jumper
  • Banners help out everyone

So, naturally, I play banner soldier every time.

And when you spend your entire time using banners, you learn a thing or two about them.

In this guide, I will explain:
  • What banners are
  • How to use them
  • Good situations for each banner
What are Banners?
A Banner referrs to a certain kind of Soldier Secondary weapon that, when equipped, relaces your shotgun with a horn that you can blow into to give nearby allies certain buffs. As of the time of this guide being published, there are three usable banners in the game:

  • The Buff Banner
  • The Batallion's Backup
  • The Concherer

    To activate these banners, you need to fill a Rage meter in the bottom-right corner of your screen. To fill that up, you deal a certain amount of damage to enemies, depending on the banner. You can use any Weapon you like to deal the damage, It doesn't need to just be your rocket launcher.
The Banners
As of the time of me writing this guide, there are 3 banners in the game. Let's go over them all, shall we?

BUFF BANNER
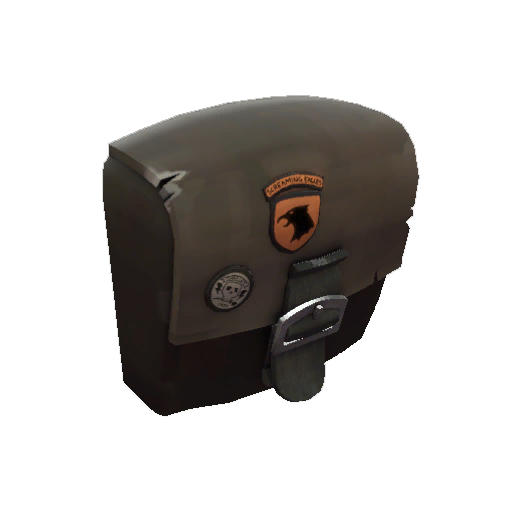
The Buff Banner, when activated, grants you and any nearby allies Mini-crits for 10 seconds.This also applies to an engineer's Sentry gun if the engineer who built it is near you. You get full rage with this banner after you deal 600 total points of damage to enemies in a single life.


BATTALLION'S BACKUP
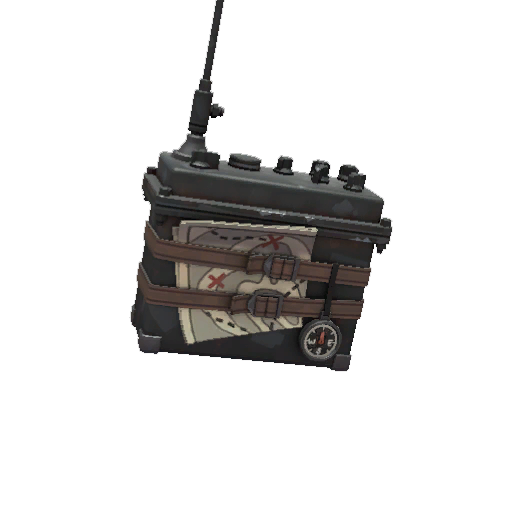
The Batallion's Backup, when deployed, grants you and any nearby allies 35% resistance to all damage, 50% resistance to all sentry gun fire, and immunity to crits and mini-crits for 10 seconds. And, on top of that, it grants the Soldier wearing it an extra 20 max health. You get full rage with this banner after you deal 600 total points of damage to enemies in a single life.


CONCHEROR
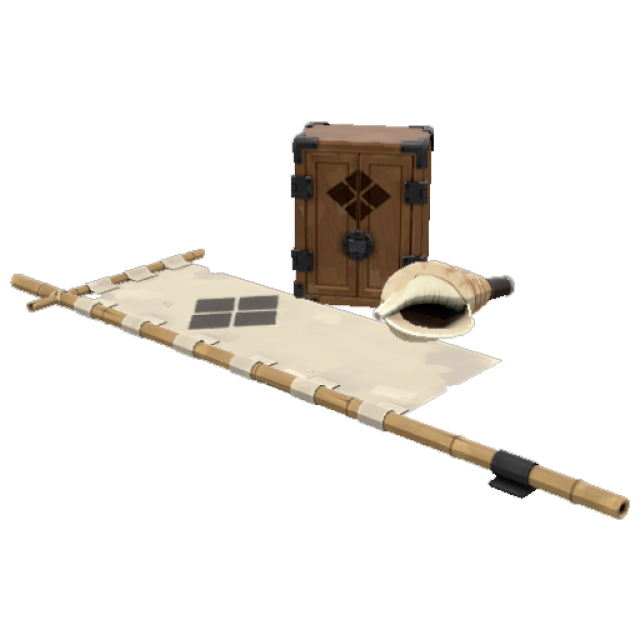
The Concheror, when activated, grants you and any nearby allies a speed boost (varies from class to class) and 35% lifesteal upon dealing damage for 10 seconds. And, on top of that, the soldier wearing it gets 2 health regenerated per second. You get full rage with this banner after you deal 480 total points of damage to enemies in a single life.
The Buff Banner
The Buff Banner is widely accepted as the better of the three banners due to its versatility. It's good offensively, defensively, and can easily turn the tides of a fight in mere moments. If you're not sure what banner would be best for a certain situation, then you probably want to pick this one.

When you activate this banner, you and everyone near you (within 450 hammer units, for you technical people) deal minicrits with any weapon you have for 10 seconds. Once that ten seconds is up, then you need to refill your rage meter again to use it. On a little side note, if you buff an Engineer using this and he has a sentry built, then the sentry AND the engineer will deal minicrits.

The Buff Banner is best against:
  • Heavily guarded areas
  • Pushing back a wave of enemies
  • Helping weaker classes get a little more firepower
  • rekkin 5crubz hard

What it's not good against:
  • Sentry nests
  • Batallion's Backup soldiers
  • Vaccinator Medics
  • Airblasting Pyros
The Battallion's Backup
The Battallion's Backup is more of a defensive weapon, granting you and nearby allies insane resistances to Critical hits, Minicrits, Sentries, and any other form of damage. To get a little more technical, it grants:
  • Compete Crit Resistance (Crits and minicrits deal normal damage)
  • 50% less damage from sentries
  • 35% less damage from anything else
Once again, for only 10 seconds.

The Battallion's Backup is good against:
  • Sentry Nests
  • Kritzkrieg Medics
  • Buff Banner Soldiers
  • Frontier Justice Engineers
  • Crit-a-cola Scouts

Not so much against:
[/list]
  • Concheror Soldiers
  • Anxious Snipers
  • Uber Medics
The Concheror
This banner is more for the supportive Soldier. Dealing damage, getting health back, and it's rage meter fills up within 1 tactial Gabe Newell crit rocket. You don't need a medic, you already have one on your back.

Best with:
  • No friendly medics
  • High damage outputs that get beat up easily (Pyro, Scout, etc)
  • Friendly Kritz medic

Could be better without:
  • Enemy Buff Banner Soldiers
  • Rocket launchers with small clips
  • If there's already a medic on your team
Which is the best?
I feel like this has been a huge debate over the years, which banner is best. Technically, they're all good in their own rights and are situational in their own unique way, but...we don't care, we still wanna know which is best.

So let's pretend there are 2 soldiers, each with a different banner.
If we use all 3 possible matchups:
Buff V.S. Batallion's
Buff V.S. Concheror
Batallion's V.S. Concheror
Then we can figure out which would be best in a 1v1.

Let's start with the Buff Banner and Batallion's Backup matchup. This one is pretty obvious, since the Batallion's Rage give immunity to minicrits, rending the Buff Banner useless in a matchup like that.

In the Buff Banner versus Concheror match, The Buff banner offers much more killing potential than the Concheror, finishing off the conch soldier fairly quickly.

Now this last matchup is tricky: Batallion's Backup versus Concheror. Will the concheror regenerate enough health before the match is over? Or will the Batallion's be able to take all of the damage long enough before round set?
Well, let's set up some variables. Let's assume these soldiers are firing at each other with the stock rocket launcher and dealing mid-range splash damage to each other, about 70 damage. The rocket launcher has a firing speed of 0.8 seconds, so we'll put that into consideration. But also, The Concheror gets that nifty little speed buff and lower damage required for rage, so we'll say Concheror has full rage and Backup needs a few more hits for it. We'll also give the Concheror 65 damage instead of 70, since the speed buff will provide a little bit more dodging ability.
  • Fight starts, Backup at 220 HP and Conch at 200 HP. Conch has full rage and uses it.
  • First shots fired, Backup at 150 and Conch at 162.
  • Second shots fired, Backup at 80 and Conch at 124.
  • Batallion's at full rage, banner used.
  • Third shots fired, Backup at 35 and Conch at 86
  • Fourth shots fired, Backup dies
So, with this hypothesis, Concheror beats Batallion's in a fight.

With all of that out of the way, we can now see whick banner is the be- wait, what?
If you'll notice, each banner seems to counter another banner in a sort of rock-paper-scissors fashion.

Buff beats Conch
Conch beats Backup
Backup beats Buff

That's right, there is no "best" banner. Like I said before, they're all situational in their own ways. If you see a soldier with a buff banner while you have Batallion's, feel free to get your hopes up all you like.
Conclusion
Not sure what else to say here other than the guide's done, I finished this at 1 AM so sue me for not being creative for an ending.

Other guides I made:
Payday 2, If that's your sort of thing.
https://staging.steamcommunity.com/sharedfiles/filedetails/?id=427245326

Made this one awhile back for Digitic's TF College series, go on and check it out
https://staging.steamcommunity.com/sharedfiles/filedetails/?id=353035955

And if you liked that pyro guide, go ahead and give this group a shot, it's where you're gonna find the original creator of that series and some other guides people made, so give that a whirl.
https://staging.steamcommunity.com/groups/tipstrickssubclasses
2 Comments
BigZZZ 21 Apr, 2015 @ 9:11am 
Nice guide, you might want to mention that the battalioins backup damage penalty reduces self damage taken, which reduces rocket jump height significantly
Digitic 18 Apr, 2015 @ 2:58am 
I appreciate the link to my group!

This is very well-written, and it definitely explains this situation very well. However, two things to note. a) you misspelled Engineer in the Buff Banner Section (it happens), and b) there is another advantage to the buff banner, since it is the only thing in the whole game that increases the damage of the Cow Mangler as an applied effect rather than a target effect (jarate, Fan o war, etc.) Still fantastic though, and those things that I pointed out are very minor. Well done!