Rusted Moss

Rusted Moss

Not enough ratings
Juni's Village Bell Puzzle
By Cupid Stunt
A guide to solving the bell puzzle found in The Great Climb, Verse 1 "Juni's Village". This WILL contain spoilers for the climb so please take caution if you wish to avoid any.
   
Award
Favorite
Favorited
Unfavorite
Contents of this guide
This guide will cover the Bell Puzzle found in The Great Climb, Verse 1 "Juni's Village", seen below.

If you do not wish to see the steps to solving the puzzle and just want the solution then check this spoiler: 4 2 1 3 2 4 1 (this should be correct but please let me know if I'm mistaken as I did the puzzle hours earlier and haven't got a clean save to immediately confirm it again)


Some additional tidbits before getting into the guide itself. First off I would highly recommend using the Shotgun, Rocket Launcher and Pistol alongside the following trinkets:
Ruby Slippers: Increases movement speed. If you don't already have this it can be acquired from the Box Girl (Candice) in Mountainside after defeating the Face Stealers.
Heavy Ammo: Shooting pushes you back a little. Purchased from the Fae Merchant in Elfame.

The following two are part of the new content so if you don't want spoilers then I'll hide their locations:
Energy Converter: Changes the behaviour of the Pistol (makes it fire sawblades with a long cooldown). Found as a reward at the end of the Sunken Library after defeating Forgotten Experiment "Noah" and "Julie".
Soft Fae: Lets you bounce off of Pistol saws (only Energy Converter ones?). Found in the room above Juni in the Overgrown Tundra.

Besides that you will want to use some movement techniques to reach multiple of these locations. Note that these are my own terms for them and may conflict with existing terminology in which case I apologise for any confusion:
Shotgun Jumping: Firing the shotgun behind or below you to give yourself momentum. Can be used to gain lots of vertical height, horizontal momentum or to stall your fall while moving through the air.
Rocket Jumping: Similar to Shotgun Jumping, shooting the ground to propel your upwards or horizontally. Only works on solid ground (the rocket simply passes through platforms).
Super Dash/Jump: Combining both Shotgun + Rocket jumping to gain huge bursts of vertical or horizontal movement. A Super Jump (Vertical) would also include using a Rocket combined with a Charge Jump whereas a Super Dash (Horizontal) may instead use the Grapple Hook.
Pistol Bounce: Using the new trinkets allows you to bounce yourself off of your Pistol's sawblades. By firing it below you in the air you can use it to gain lots of height as opposed to just preserving it with your Shotgun.
Hyper Dash/Jump: Combining a Super Dash/Jump with the Pistol Bounce. Try it on any long horizontal screen, trust me it's fun.
The Puzzle itself: Verse 1 "Juni's Village"
Just in case anyone isn't caught up on what this guide is for let's first look at the puzzle itself and its location on the map:


As you can guess the key to solving this puzzle is found in clues spread throughout the climb itself.

One last time, if you want to solve the puzzle yourself then read no further.
First Clue: Interlude 1 "Empty mountains, clear skies"
We'll find the first clue immediately following the "Juni's Village" area in Interlude 1. This section will introduce the new mechanic of holding your weapon select button to use Puck to scout the large maps.

The clue itself won't be found until near the end of the area where you will come across this screen with a save. You may notice another room on the map to your right:

Using Puck to look across the gap you will see a blue healing pad. If you don't want to know the method to reaching it and want to try figuring it out yourself then I'll spoiler it just to be safe.
  • Grapple the ground near the end of the ledge and then pull back towards the Titania Statue. Jump and hold right to quickly build up momentum, releasing the grapple and timing a rocketjump off the ground as you jump and swapping to your shotgun and firing it behind and slightly below you to superdash across. Make sure your grapple has refreshed otherwise you likely won't reach the ledge, though a second shotgun blast might give you the height necessary to mantle it if you're lucky[/strike][/spoiler]
  • Grapple the ledge as it comes into frame. Don't panic if you don't actually mantle it, so long as you've grappled to it you can recover by using the angled wall below you to bounce yourself up and use the shotgun (or your upgraded grapple boost) so that Fern reaches the ledge. Congratulations, you've done it!

Here is a video of this method. Naturally if you don't want to see it and want to figure it out yourself just don't click this link: https://i.imgur.com/usquwU1.mp4


EDIT (24/06): An easier and more reliable method than the one above (for me atleast):
  • Grapple the ground near the end of the ledge and then pull back towards the Titania Statue. Jump and hold right to quickly build up momentum, releasing the grapple and timing a shotgun jump behind you to gain as much distance as possible (you could rocket jump as normal for this too I just feel more comfortable quickswapping between two weapons rather than three)
  • Quickswap to your Pistol and fire it slightly in front of you so that you bounce off of the saw that spawns
  • Fire another shotgun blast (if needed) and you should easily reach the platform or go zooming through the transition. Well done!

Here is a video of the alternative method. Like before if you don't want to see it and want to figure it out yourself just don't click this link: https://i.imgur.com/LfL7HT4.mp4

The code will be on the immediate adjacent screen. If you wish to purely preview the code then check the below spoiler:
Second Clue: Verse 2 "Piercing morning fog"
Like the first clue the second one will be found until near the end of Verse 2, located in the room with the invulnerable spider-like enemy.

You will very clearly see this little tall section just above the room exit (I have a map image too but it currently won't upload so I'll add it later):


To reach it you can grapple the mossy wall above and use the grapple boost and a shotgun jump to get up, or just superjump from the previous screen below. From there you can rocket jump off the ground, follow it with a shotgun blast and grapple the mossy wall next to the platform. A simple grapple boost or another shotgun blast should allow you to land on the platform (or go shooting into the screen above).

Here is the code screen, again spoilered in case you don't want to see it:
Third Clue: Interlude 2 "Dry leaves on narrow paths"
The third clue will be found in Interlude 2 which, if you haven't learnt already, will teach you how to use your Shotgun to gain horizontal momentum (it doesn't tell you but the same can be done with the Rocket Launcher, I find using both interchangeably to be highly effective).

The clue will be on the screen immediately after it teaches you shotgun jumping, cleverly tucked away in the top right of the screen:

Note that if you have already completed this section you won't be able to just turn around and re-access the room, instead you will have to do the earlier screens to reach it. I lied, it's possible to get back here quite easily by hyperjumping from the final screen: https://i.imgur.com/emhDQVi.mp4

The location may seem rather daunting to reach but it's actually quite simple, complete the screen normally but instead of exiting the screen turn around. Using the ledge you're on you can either rocket or shotgun (whichever you find more comfortable), grapple off the platform in between and then hyperdash across. Here is a video example: https://i.imgur.com/rmNEfoK.mp4

Proceed up the jump pad, enjoy a couple really simple jumps and you'll have the third clue.


Again, here is the code:
Fourth Clue: Interlude 3 "The first mire"
The fourth and final hidden clue in the climb. Unfortunately if you already progressed through this area and don't have one of the nearby saves you will have to repeat Verse 3 to get here I also lied here, it's entirely possible to get back from the Mountain Wall teleporter (though it might arguably be easier to just go the Verse 3 Gauntlet).

Interlude 3 re-introduces the timed switches found in the Overgrown Tundra. Just like the third clue you will also need to repeat this area as the clue itself is found in the second last room to which you cannot access if coming from the other side due to the closed door. These puzzles aren't very hard, just a bit grating.

Fortunately the clue itself doesn't actually involve the puzzles at all and there's really no solution for me to spoiler to getting to it. It's just a room transition tucked into the very top right of the room:

Once more, here's the code:
Final Clue: Finale "Blossoming summit"
The final clue is, ironically, the first one you might find if you just progress the climb naturally and don't investigate any of the branching off rooms (though I think the fourth code not being behind anything makes that one more likely).

This one is simply found at the very end of the climb after your fight with Frøy.

Even if this one is pretty much guaranteed anyway I'll still spoiler the code:
Solving the Puzzle and what lies beyond it
Having found all the clues it's now a matter of solving the puzzle. It's.. well, not that complicated so arguably this section of the guide is rather redundant but just in case anyone out there is struggling with it here is your hint: count the symbols on the screens and then line them up from 1 - 7 to figure out the order to shoot the bells in.

After solving the puzzle you'll be greeted by only two small rooms. The second one will feature a rather brutal enemy gauntlet. If you've beat it, well done! The following room will feature a save and a switch to open the shortcut back down to the puzzle room.

Continuing to the room above you will find this:


It explains itself well enough but if you're just reading this guide and want to know what it is, this obelisk offers you the bonus challenge of completing the ENTIRE climb again without dying. Saves will be replaced with infinite-use healing pads (though they only refresh on leaving and re-entering the screen) while the healing pads normally found in the climb will be single-use and despawn if you exit the room to avoid abuse.

If you successfully complete the climb you'll be greeted with a save before fighting the final boss: Frøy 2


I hope you found this guide helpful. I didn't see anything currently available regarding this so I thought I might as well contribute by writing my own. This is also my first proper guide I've ever written so yeah, sorry if there's anything odd with the formatting.

EDIT (25/06): Multiple example videos have been added, some sections rewritten and some information on trinkets and movement tech that's used.
7 Comments
"Having found all the clues it's now a matter of solving the puzzle. It's.. well, not that complicated so arguably this section of the guide is rather redundant"

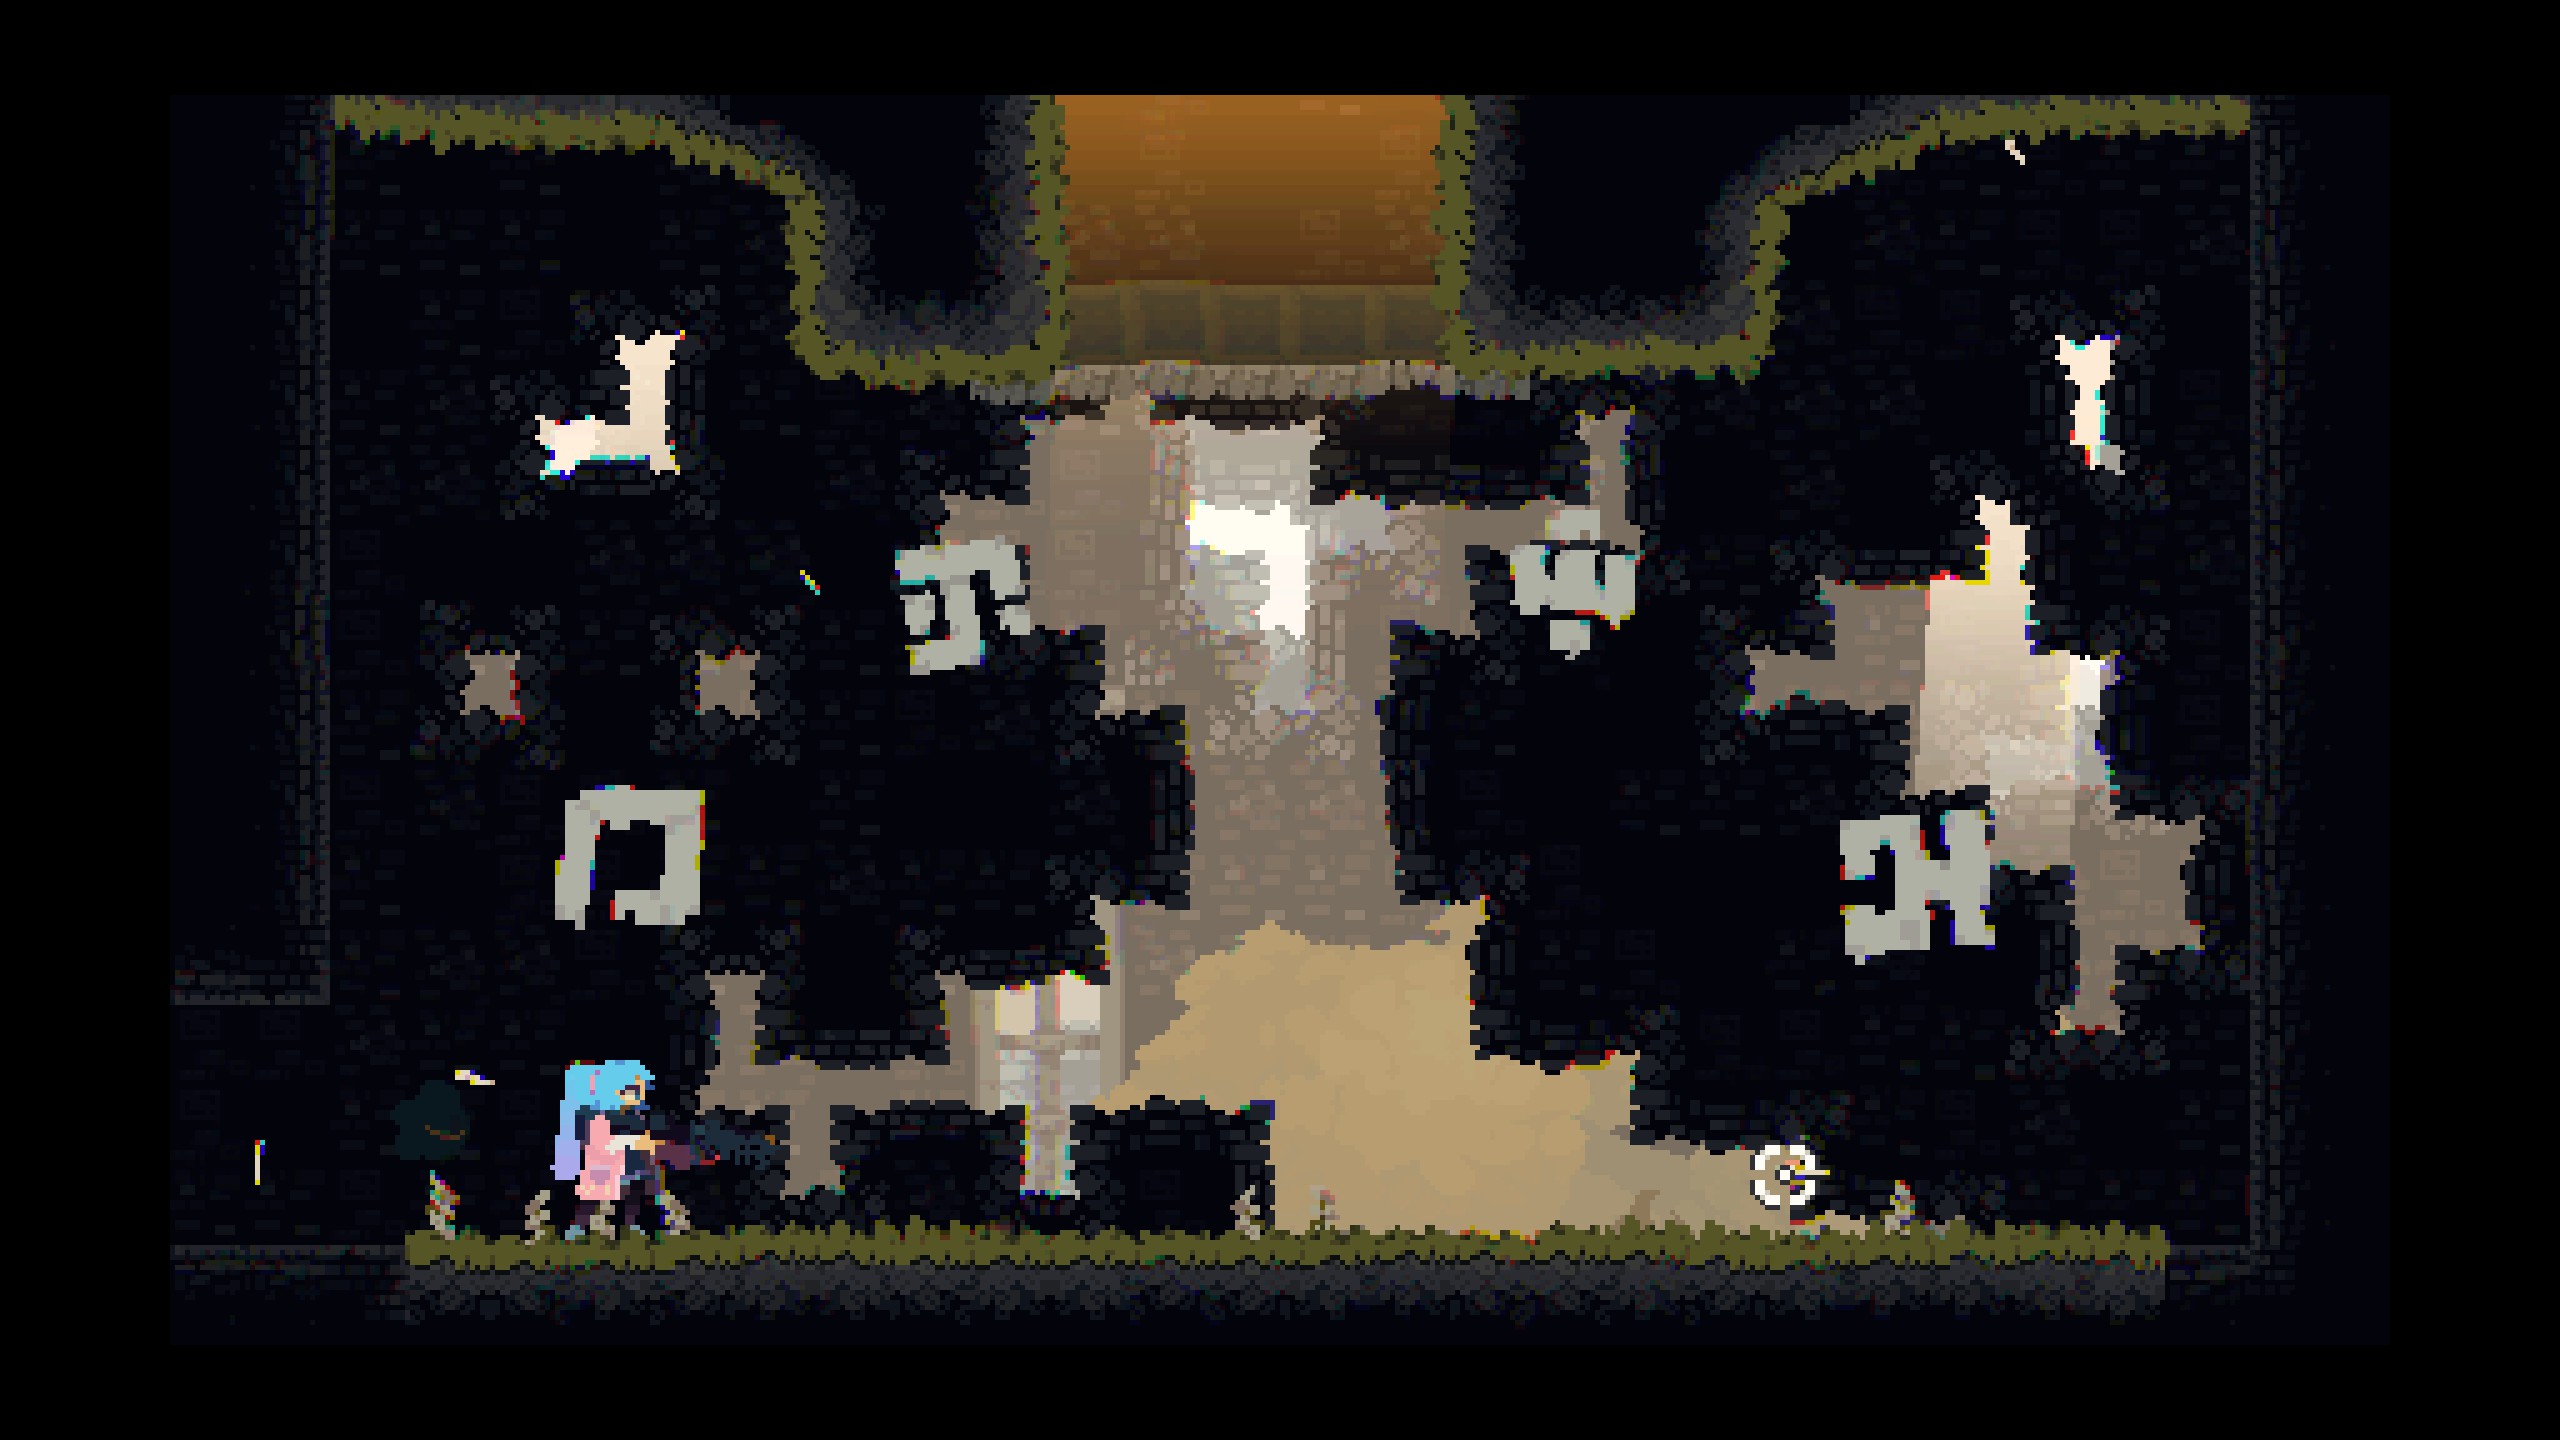
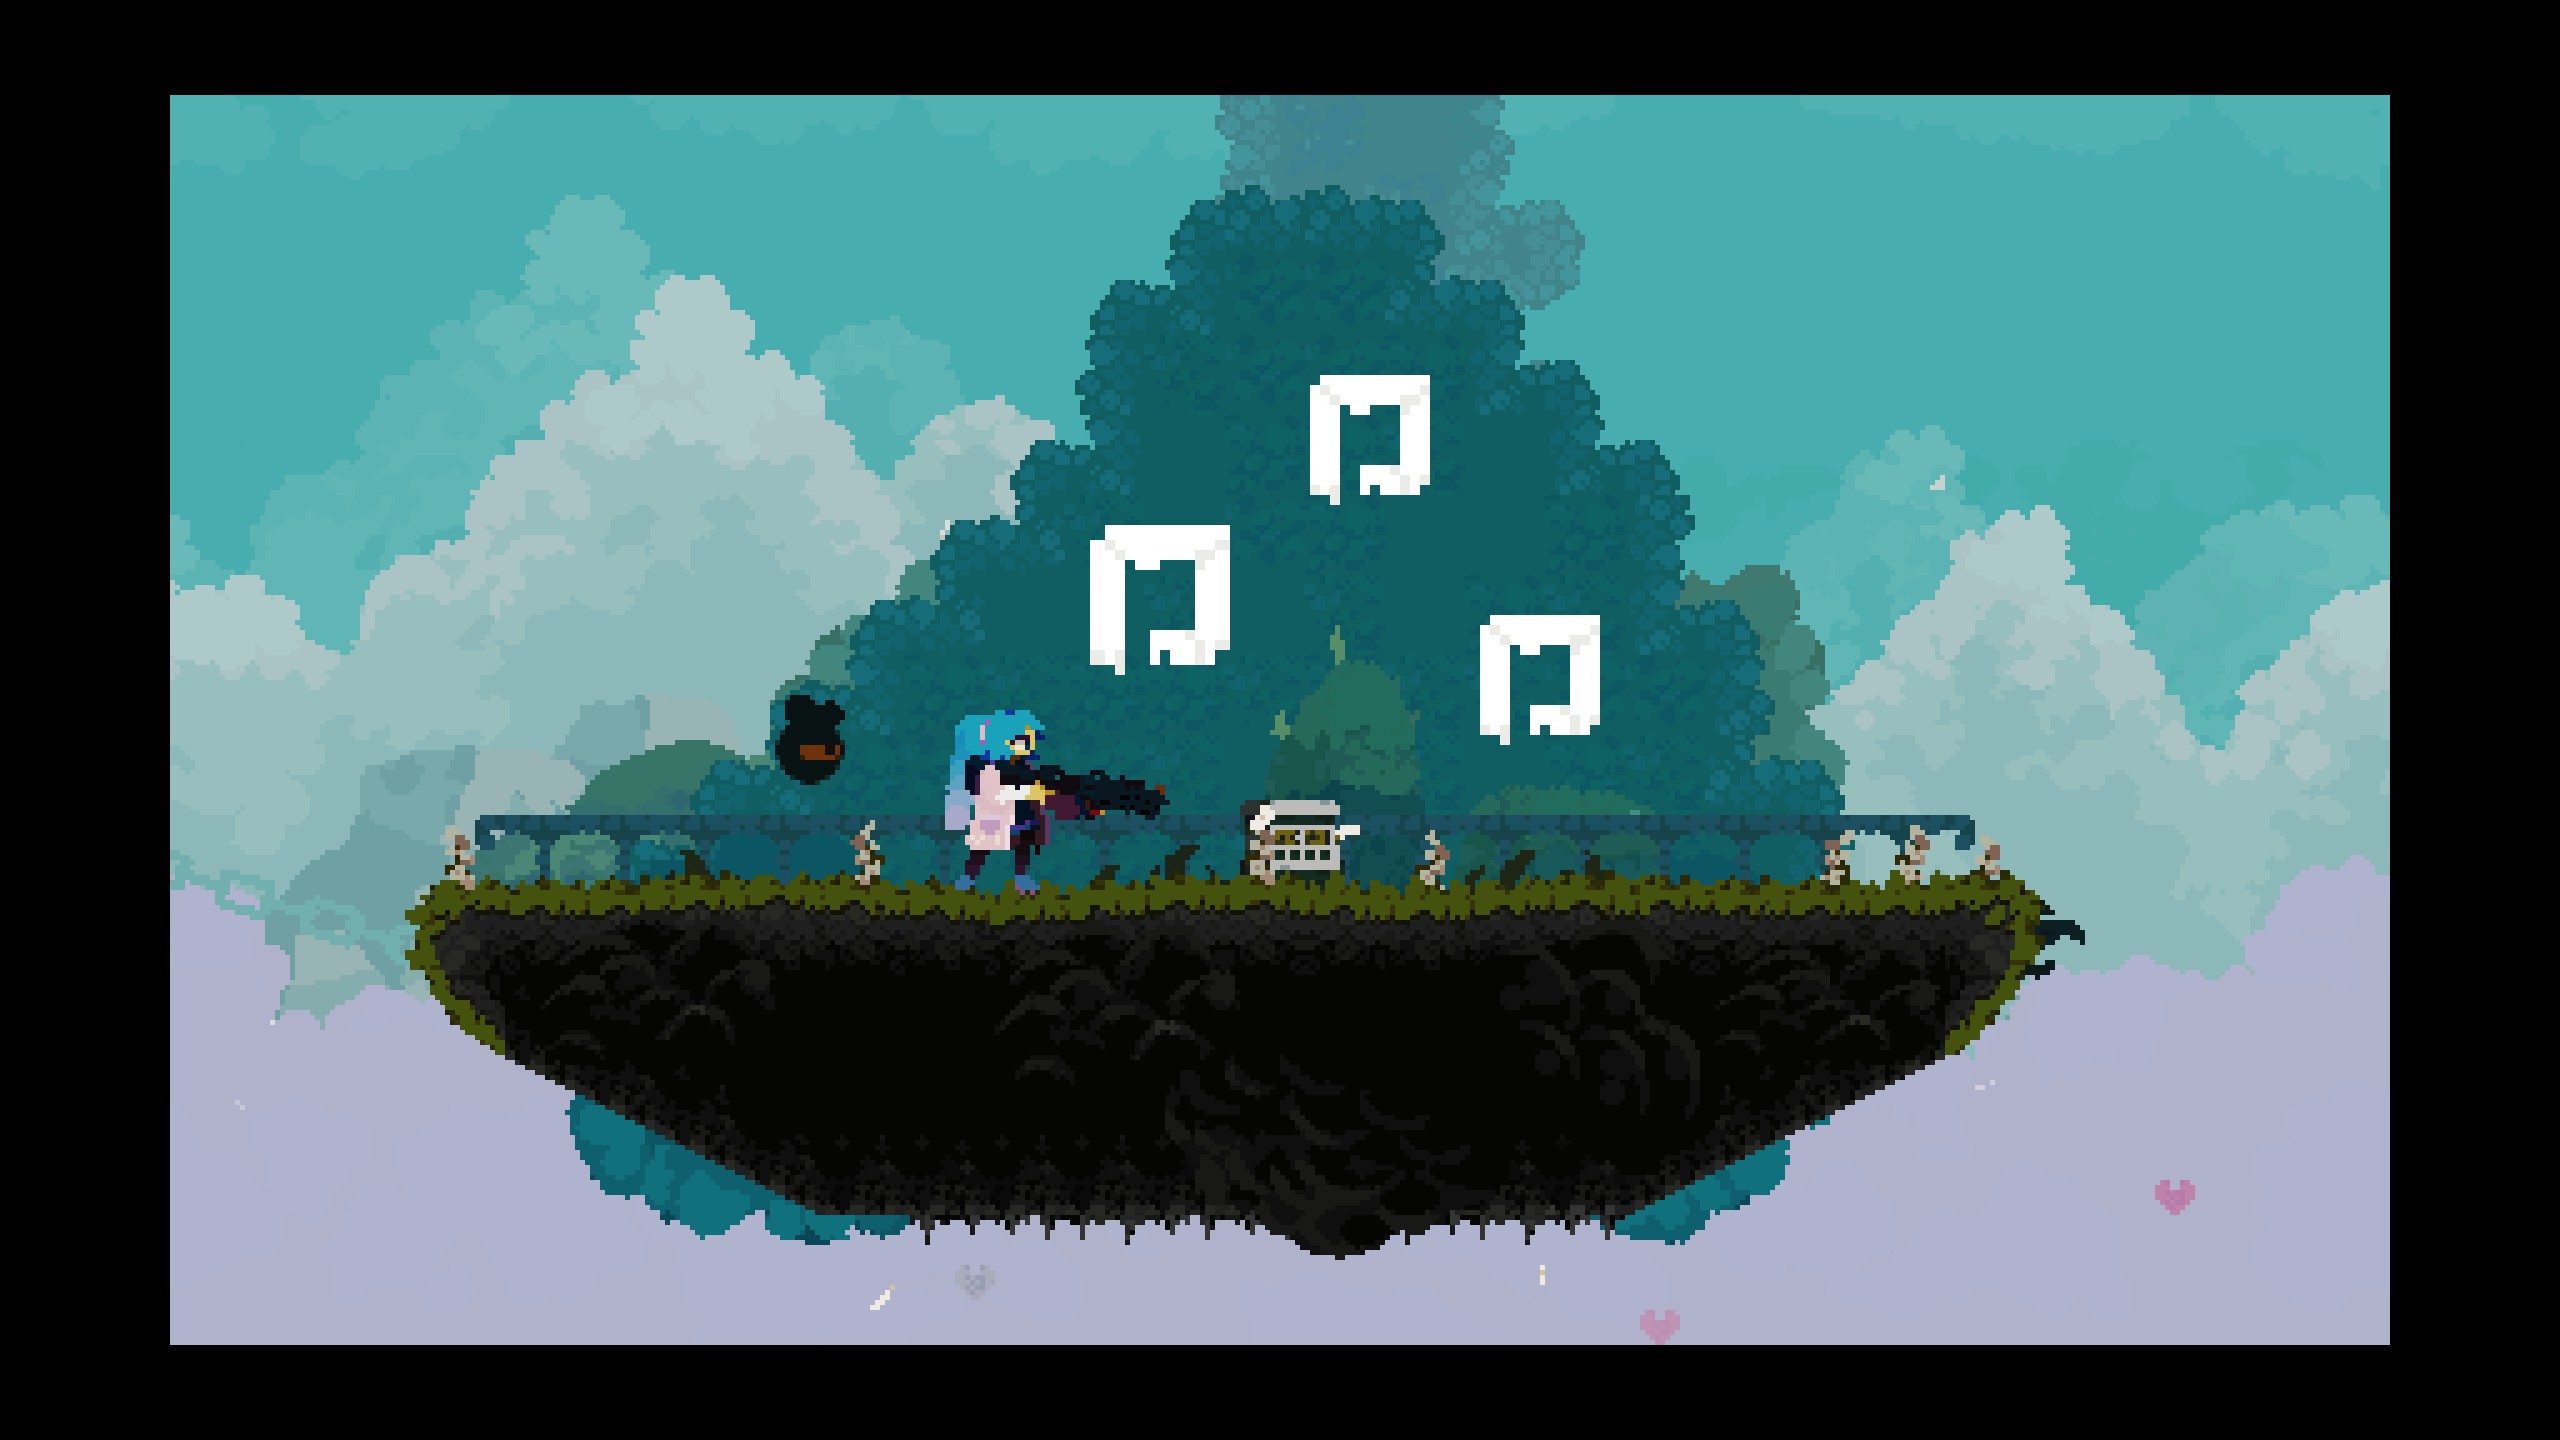
Haha. You say it won't be a problem, but for me it was the hardest part, even harder than getting through all that height without rocketjump and shotgunjum(except for the secret rooms). I thought those symbols were the number of times you need to hit each bell, I experimented a lot with the sequence but I firmly thought it was the number of times, and after several hours of unsuccessful attempts, I decided to give in and look at the guide. And when I found out it was a simple sequence without a number of times, I fell into a frustrated stupor that the solution turned out to be so simple, and also because I had to rely on another person to solve the problem (and I hate relying on others). I hate myself for being so stupid, I hate this game for forcing me to ask for help
OriKami 4 Feb @ 4:24pm 
I'd like to add another solution to the First Clue area. Which is to grapple around the middle of the grass and pull to the terrain near the statue. Rocket jump off it to the side and use the grapple to accelerate that jump and then launch off the ground with a 2nd rocket jump after barely touching the ground. Then maintain air with shotgun and grapple the ledge. I found this to be way more consistent as I also didn't have the saw upgrade.
南城旧事丨北城凉 17 Oct, 2024 @ 9:00am 
thanks for your guide.
Krevedo 14 Jul, 2024 @ 8:07am 
thank very much, i finish grand climb but some area not reveled (
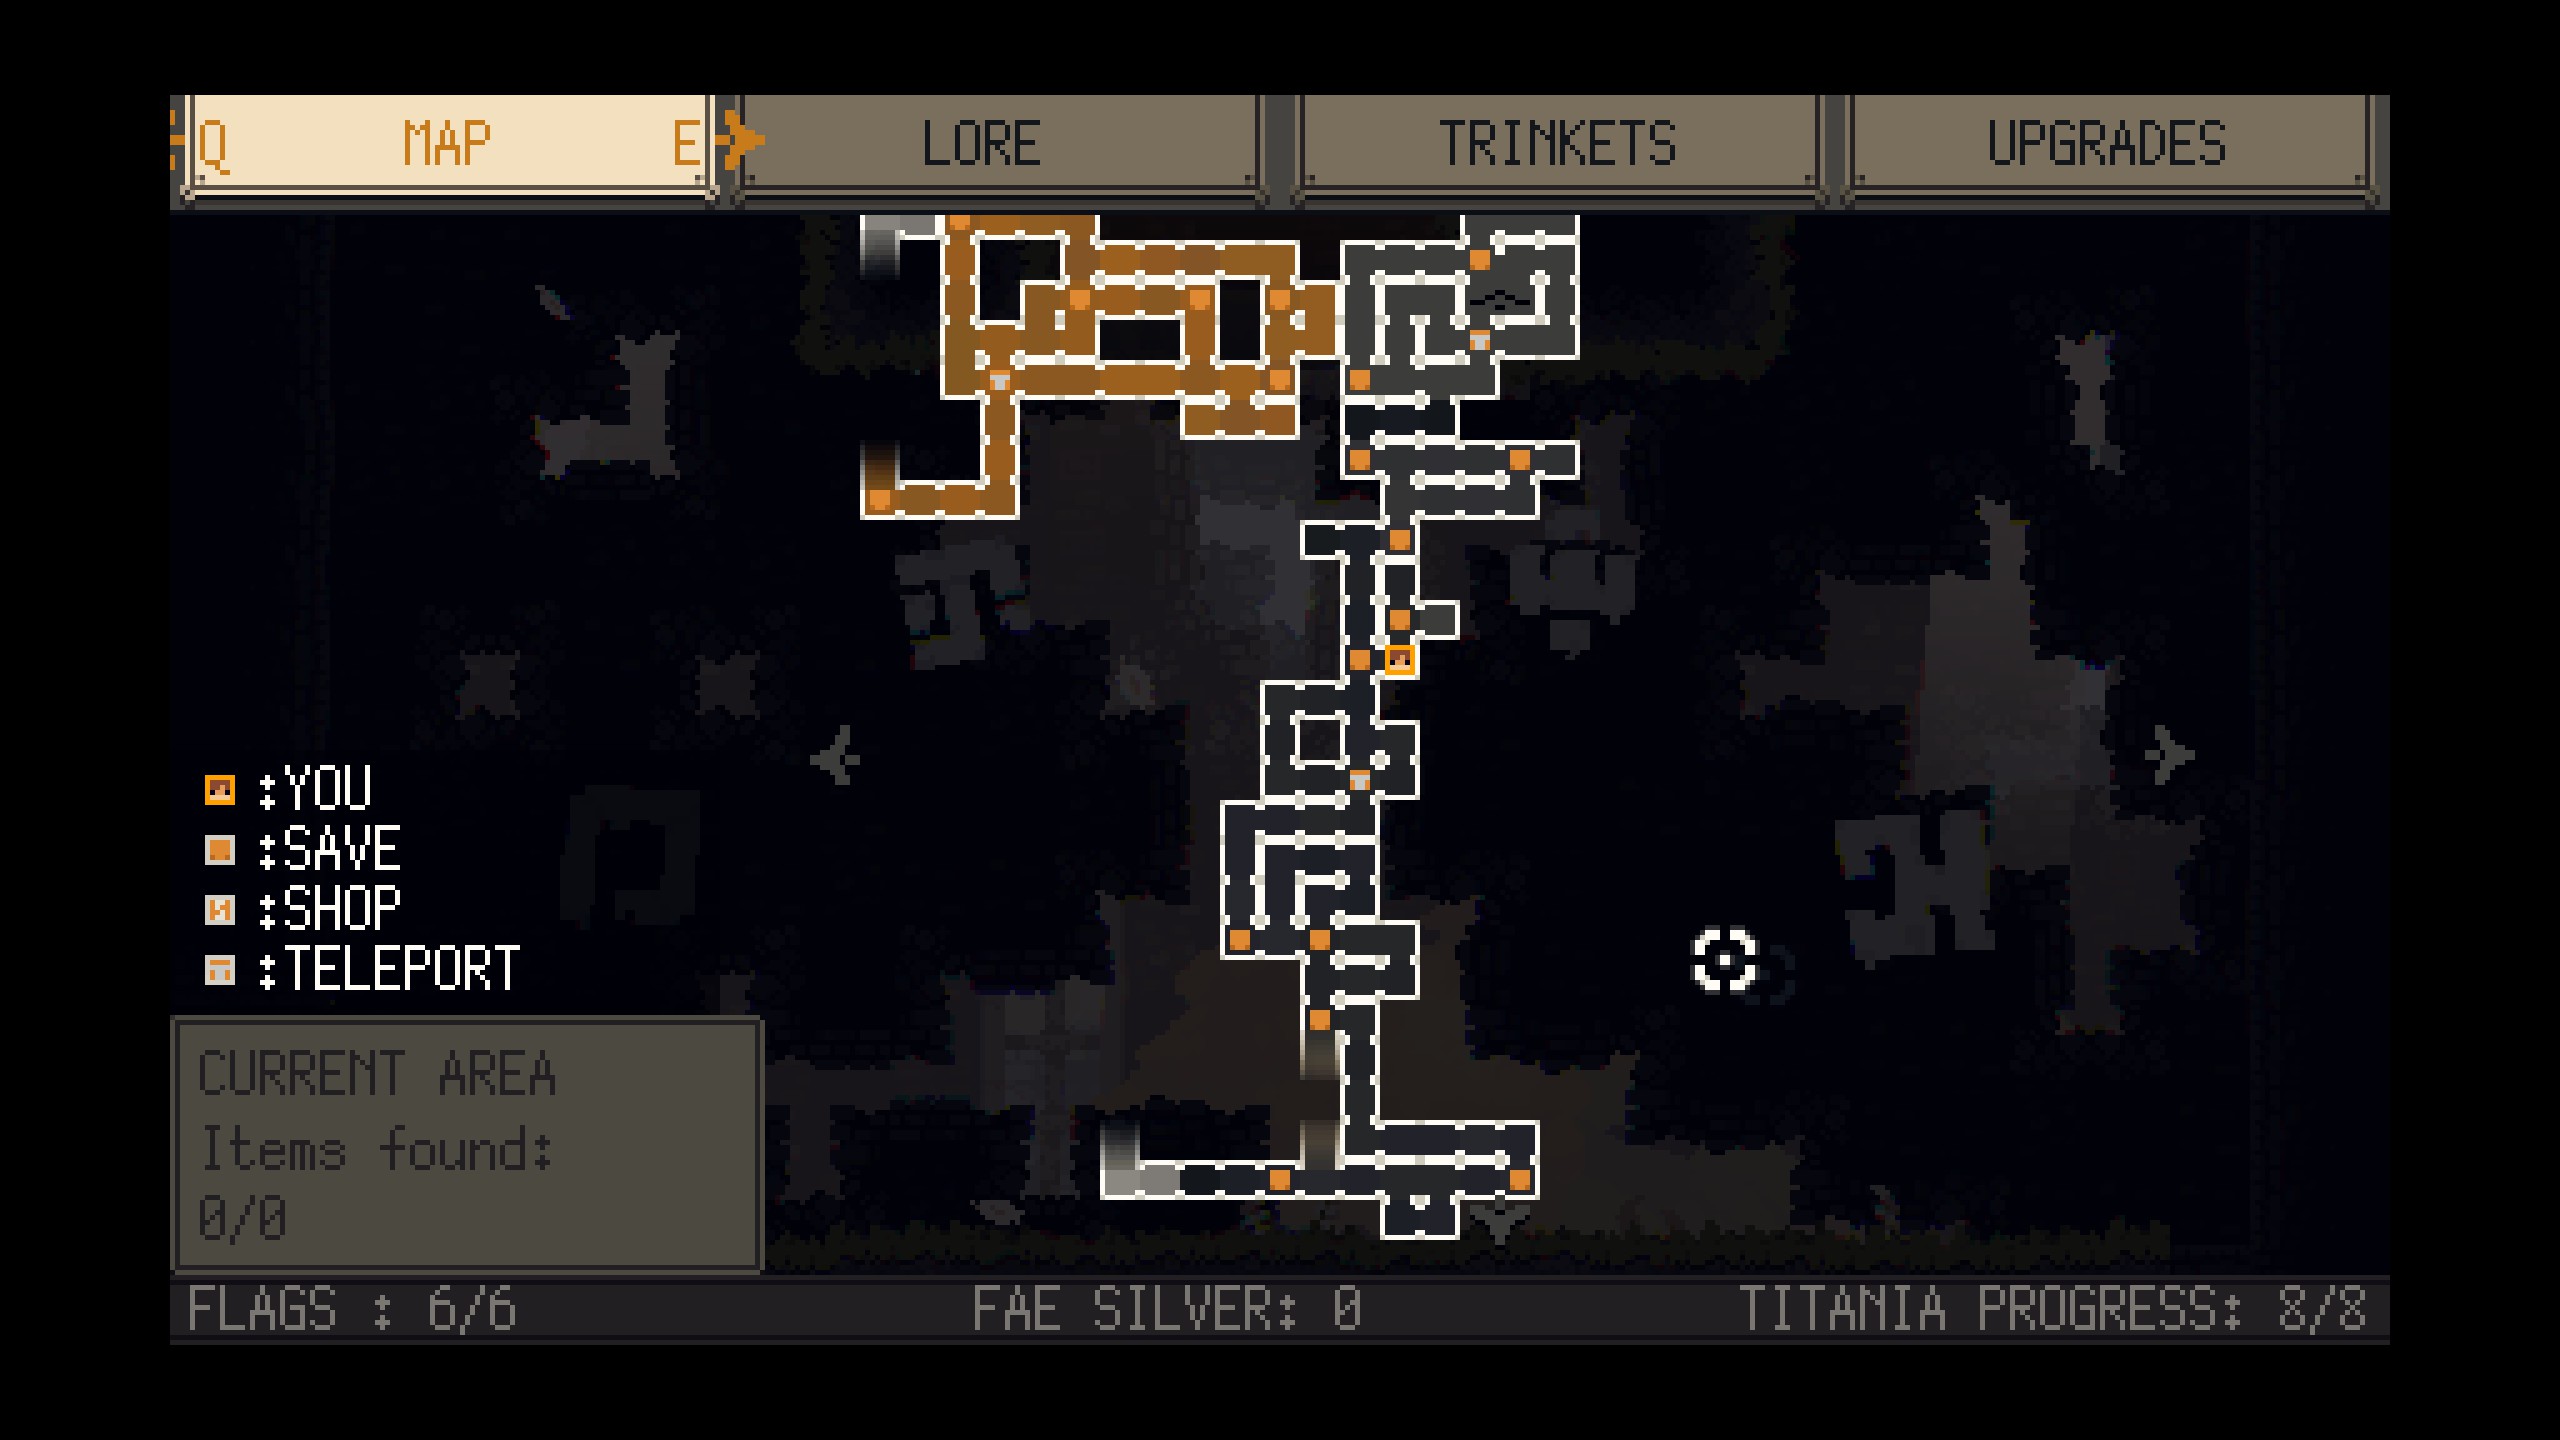
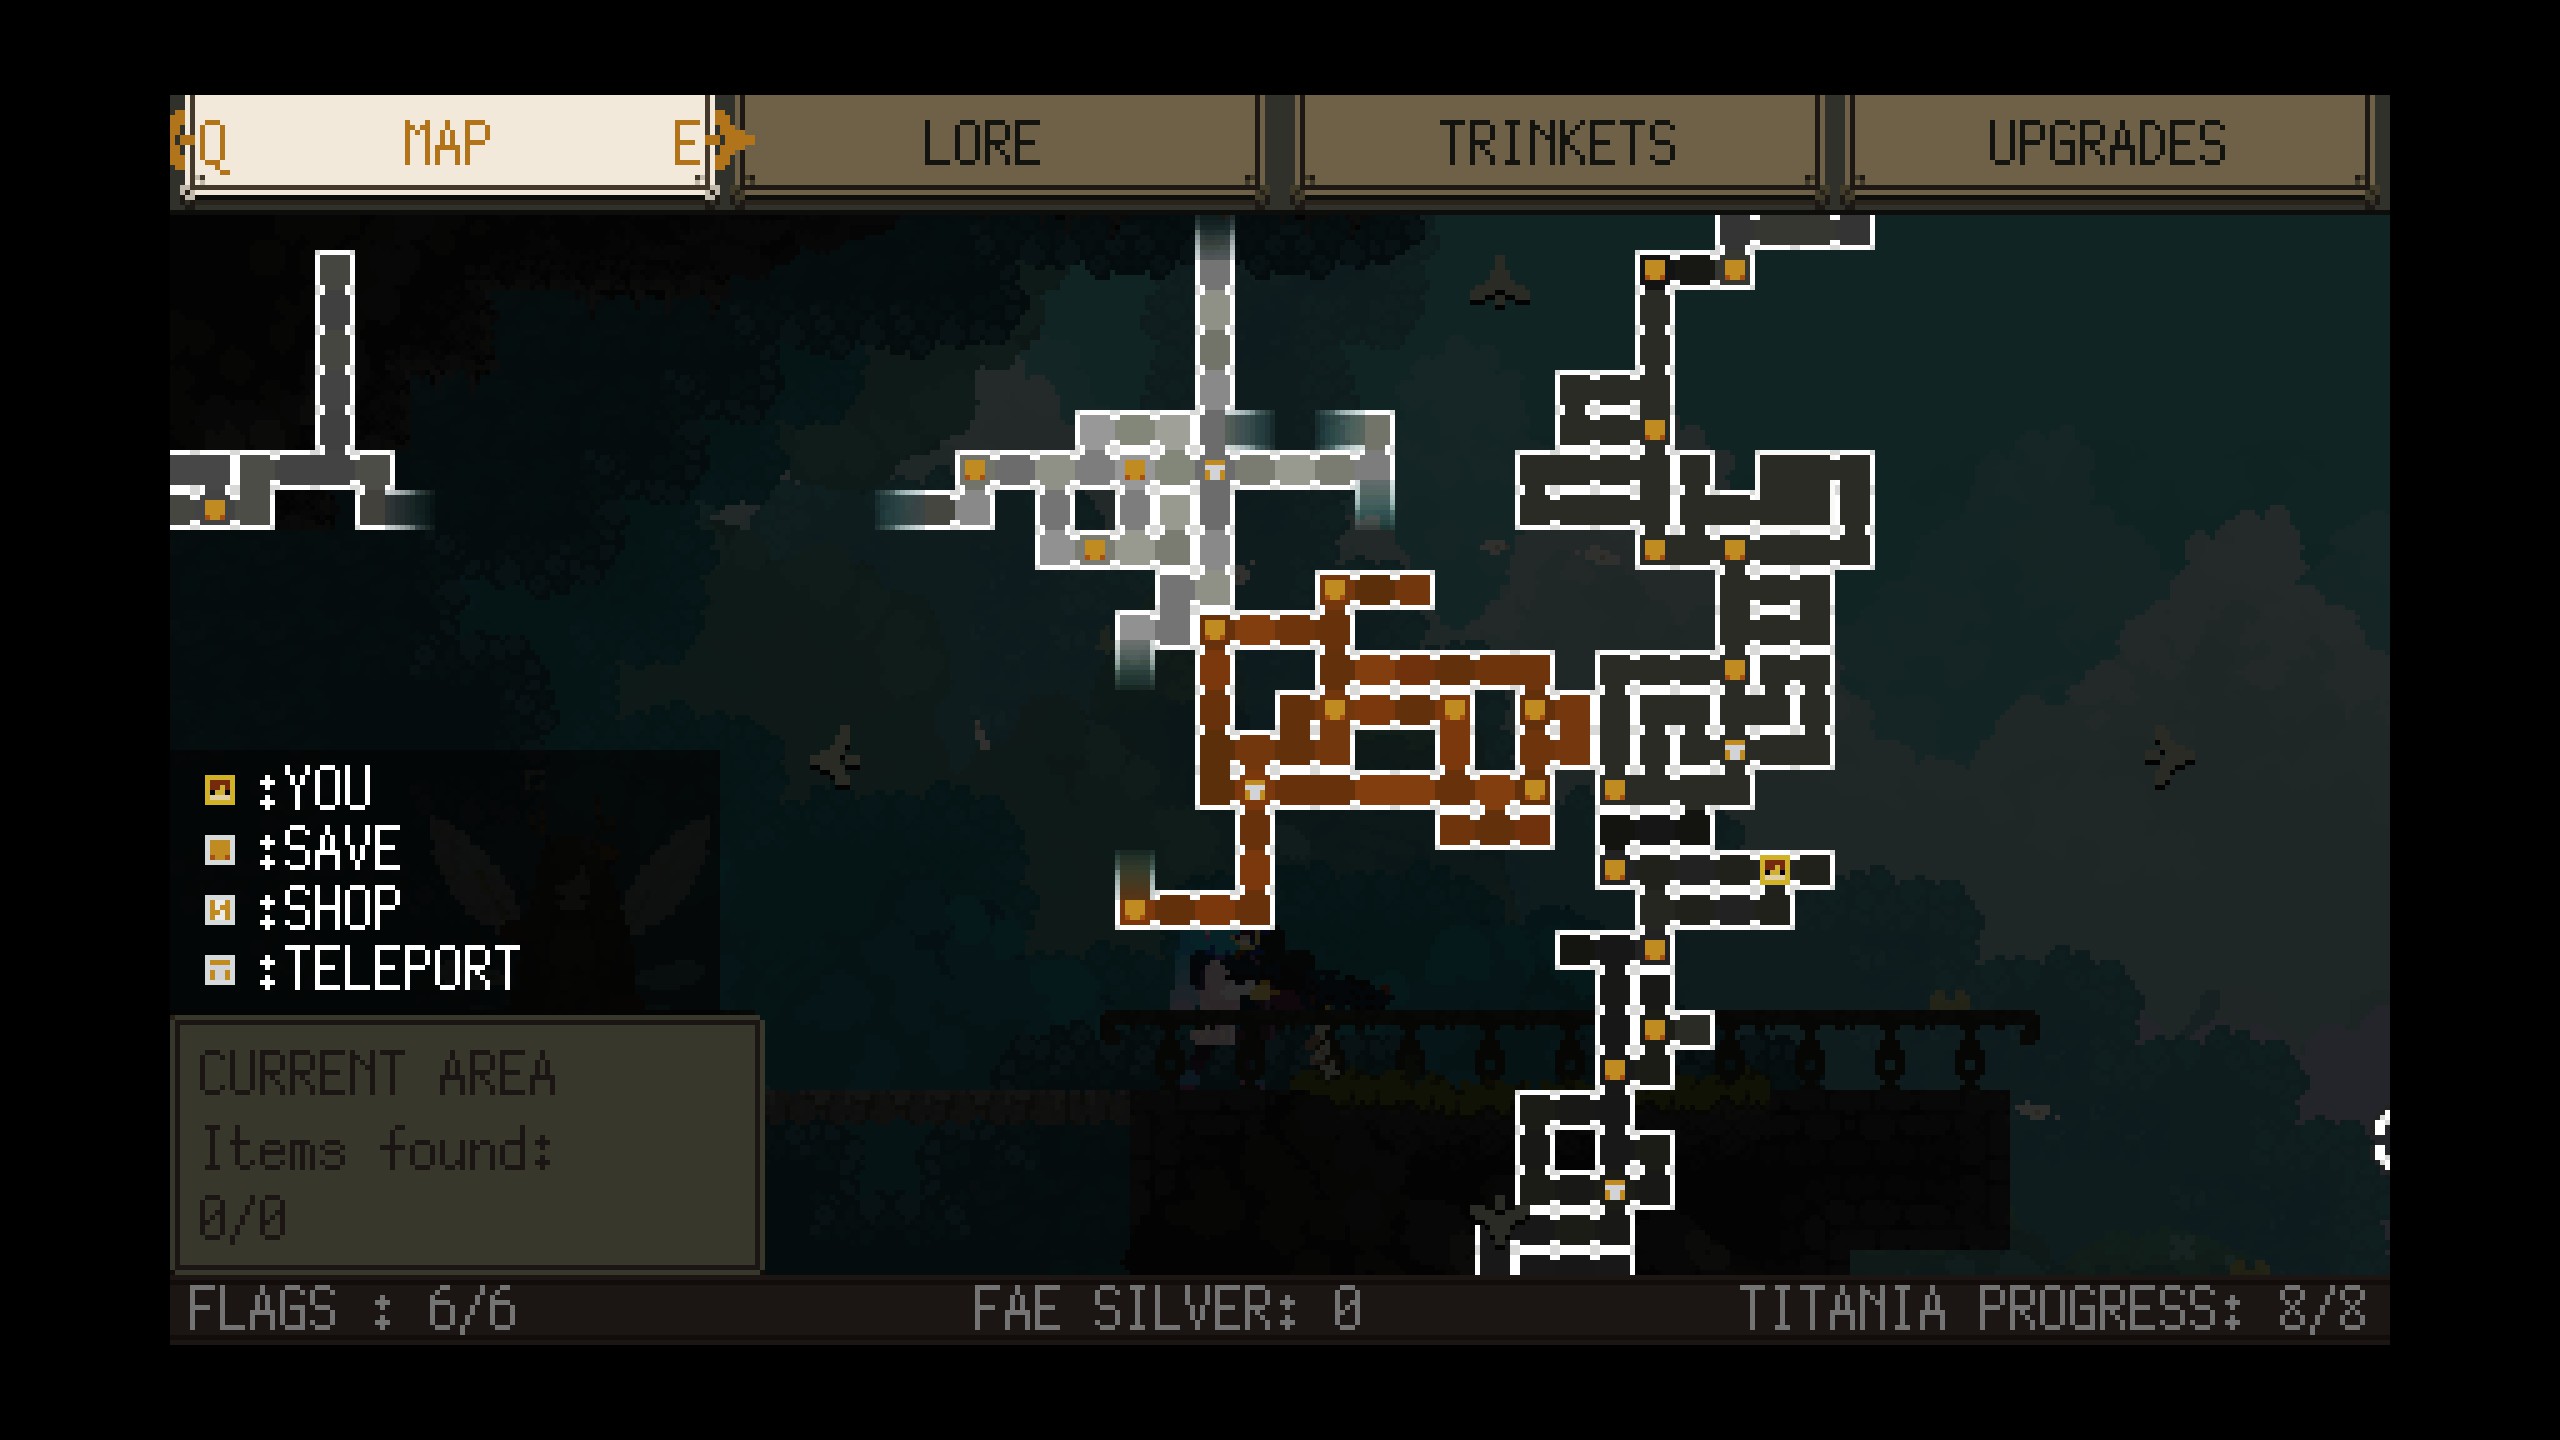
will try to open clue
Cupid Stunt  [author] 3 Jul, 2024 @ 9:19am 
You can drop down by either talking to Juni (if you've met and beaten her challenge in Barrow's Ceiling), or you can attempt the Juni skip by accessing a hidden room above where you get the Soft Fae trinket and going across a massive horizontal room.
DΔEDRΔ 30 Jun, 2024 @ 8:33am 
how to drop down from the tundra region, pls somebody help
忘れえぬ物語 23 Jun, 2024 @ 7:35am 
good work