Golden Lap

Golden Lap

Not enough ratings
Golden Lap Basic Tips and Strategies
By Dr. Isosceles
My basic guide for Golden Lap based on a week or two of experience.
2
   
Award
Favorite
Favorited
Unfavorite
Why Did I Make This Guide?
This is a brand new game, and for that reason, all of the guides that are currently in the workshop basically just show you how the buttons work. That's good and all, but none of the guides actually tell you anything about strategy. This guide will tell you everything I learned from playing this game so far, and also some information about racing in general. I am American but I use the British spelling "tyre" in this guide because that's what the game uses and most of the teams are British anyway.
Choosing Your Team
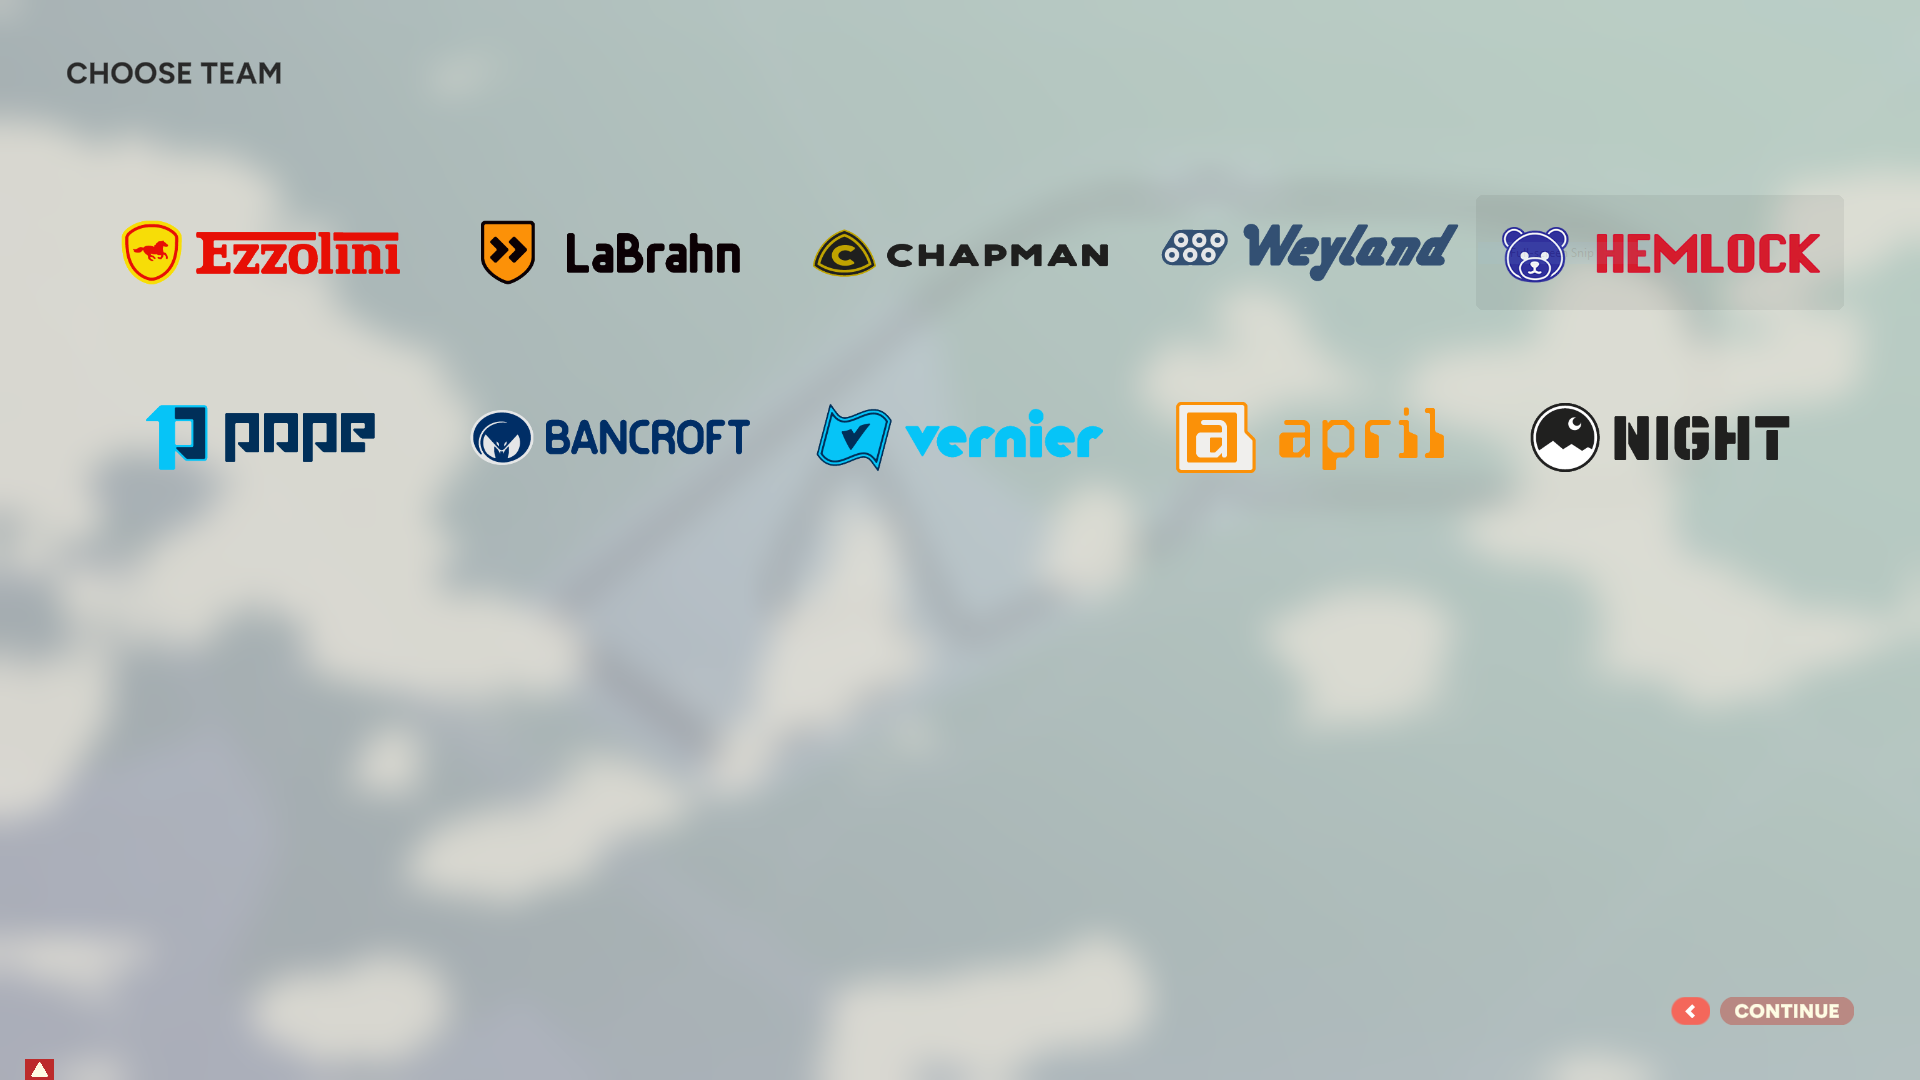
This is basically the difficulty setting of the game, whether you want to start with a good team or a bad team. However, if you're new to the game it would be better to start with a bad team, because it's much easier with no experience to take a bad team and improve than take an already-good team. This is because if you pick Ezzolini (the game's analog of Ferrari) which is predicted to win the first championship, you won't have any idea what improves your team if your team is already likely to get first place! If you pick a team at the back of the pack like Night, your decisions' impact will be more obvious.
Building Your Team
This is an important stage in your campaign. If you picked an already well-funded team like Ezzolini, it should be no problem to get the best team members and the best car, so this section will focus on building a team on a budget.

Your first impulse might be to splurge on two good drivers and cheap out on the Engineer and Crew Chief, but keep in mind that if your cars break down in a race, you're guaranteed to get no points. Also, going with a conservative car design will save you money and help for other reasons explained in the next paragraph.

In this game, and in real-life Formula One, your team's position in the championship is based on a point system. Points are awarded based on drivers' position at the end of a race, with P1 getting 25 all the way down to 1 point for P10.

Why this matters: If you spend an equal amount of money on drivers at this stage, you may end up with two drivers who can't consistently get above P10 in a race. The best strategy because of this points system is once you have the Engineer and Crew Chief selected (still try not to overspend on them), buy the cheapest driver, and spend all of the rest of your money of the best driver you can afford.
Teambuilding Addendum: Stats and Attributes
Drivers' stats are Speed and Focus.

Speed is self-explanatory, it determines how fast their laps will tend to be based on the car's performance and track conditions.

Focus determines how consistently they will be able to set faster laps. During a race, a driver will tell you on the radio if they are especially focused or unfocused during a lap. If they are focused, they will tell you they're "in the zone" and their lap will be faster than average. If they tell you they "can't focus" their lap will be slower than average. This is random but influenced by the Focus stat.

Engineers' stats are Expertise and Precision. Their main role is to design and improve parts of your cars before and during a season. Later on I will go in depth but between races, you can either choose to improve or replace some of the three parts of each of your team's cars. The three "parts" of your cars are the engine, chassis, and steering, and the engineer's stats affect the amount they're improved. Later in this guide there will be more information about building and modifying parts.

Expertise determines the performance of each part designed by the Engineer. The higher your engineer's Expertise, the more they can improve the performance of the part they're either building or modifying. "Performance" is a catch-all term for how well the part of the car performs on the track. The higher the performance, the faster the car goes, but for different parts of the track, different parts of the car will matter more. For example, steering matters more in tight corners and the engine matters more right after corners and before long straightaways.

Precision determines how reliable the car is. Especially early on for an underfunded team, points are hard to come by, so if you want points, it's important to avoid your cars breaking down. This is because if your team is in a position to consistently get points, breaking down in one race per season won't ruin your place in the championship. However, an underfunded team that may only get points in two or three races will be devastated by even a car in P10 breaking down. Therefore, you should prioritize Precision when choosing an engineer for a low team.

Expertise and Precision both influence tuning but that will be addressed later.

Crew Chiefs' stats are Speed and Skill.

Speed determines how quick a typical pit stop will be. In the next paragraph and Tyre Strategy I will explain why it isn't as important as Skill for an underfunded team.

Skill determines how likely a pit stop will proceed normally. There is always a chance that a pit stop will be "botched" meaning it will take around 2-3 times as long as it should. If your funds are limited, you should prioritize Precision because of risk management. You can somewhat manage the higher normal pit stop times with tyre strategy which I will discuss later.

Attributes

I don't have a lot to say about attributes. Mainly, Avoid attributes that increase botched pit stops. Also, if the driver is patriotic. If the driver is a patriot but there are few if any races in their country on the calendar, it won't help you at all. The best countries to have patriots from are probably Italy, the UK, and the United States, just because there are often races in those countries.
Choosing a Sponsor
Rule One: Be Conservative!

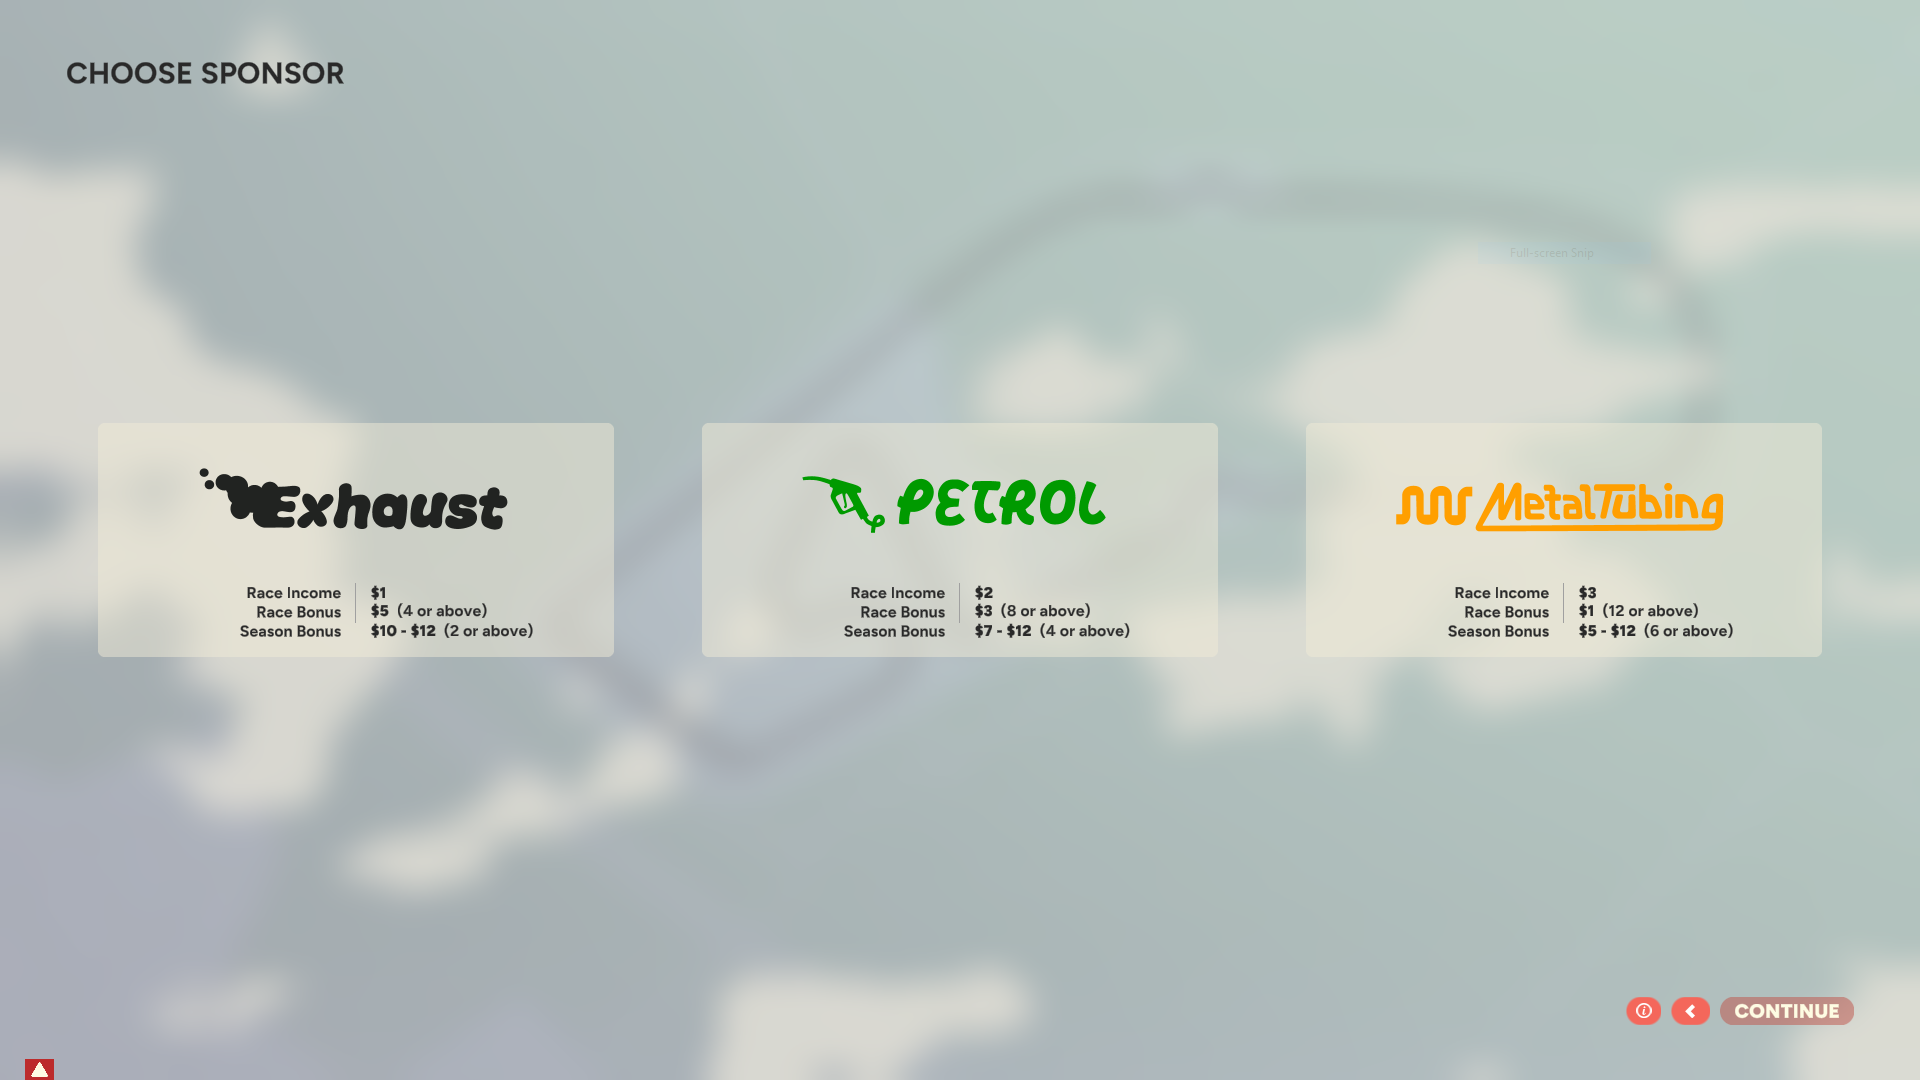
It all depends on what your team's predicted place is. There are ten teams with two cars each. Therefore, for Ezzolini, their predicted places on average are P1 and P2. For simplicity's sake, assume based on what your team's "predicted place" in the championship is, that your drivers will be in the corresponding places: For Labrahn, predicted place is 2, so the average driver plae is P3 and P4, etc. Each sponsor will give you a default amount per race and also a bonus if *one* of your drivers ends up above a certain place. Therefore, if you predict your drivers will end up below the lowest sponsor's cufoff, take the lowest sponsor. Even with the lowest sponsor's money, you can easily advance your team to the level where more lucrative sponsors show up.
Before & Between Races: Parts, Sponsorships, and Analyzing the Next Track
Before Races, you have the option to accept sponsorship challenges, modify your cars, and look at the next track's attributes to inform your car decisions.

Sponsorship challenges are challenges by sponsors who will give you extra money if you do a specific thing during your next one or two races, e.g. use every dry tyre compound in a race (If you don't know what this means I will explain later), or get your drivers in consecutive (one after the other) race positions, or get in the top three without using the Push Engine setting (will explain later). Especially early on you should focus on completing these because you will likely have almost no money. I don't have a lot of advice on choosing which challenge to choose, there are two options. However, if you can see a "wet" attribute on the next track and a challenge says to use every dry compound, don't take it. Also, if it's early on, any challenge involving getting in the top three is also obviously a bad idea to accept.

The Average Performance is the average of the performances of the engine, chassis, and steering of each of your cars, and if any one stat is particularly low, it will bring the average performance down.

Look At the Next Track because depending on its characteristics, it could inform how you modify your cars. If the track has a modifier that increases engine performance, you should probably not upgrade that because another stat will likely be lowering your average performance more. If your engine performance is lowered, consider upgrading it.

Modify Your Cars[/b] by either improving existing parts or building new ones. Improving existing parts improves performance slightly as well as reliability. Building new parts will greatly improve performance and reliability, but sometimes if I remember correctly can . Assuming you choose a low-funded team, you will likely have very little money before each race so early on you'll be stuck improving existing parts. The silver lining is that although parts degrade over time, reliability is important if you want points as an underfunded team. This is because more cars at the back of the pack crash, and the lower your team starts, the higher the chance that will help you get points. Your engineer's Expertise influences the performance gain of each improvement or replacement, and their Precision skill will influence reliability.

Building New Parts is something you should avoid unless you have more money. Parts have a fixed cost that goes up by $1 every time you build a new one. Your first new steering costs $5, your first new engine costs $6, and your first new chassis costs $7. Therefore, unless you make at least that much per race, you probably shouldn't build a new one. If you want to build a new one for each car, you need 2x + 1 dollars, to account for the price increase. If you picked Night for a team, you'll start out making roughly $4 per race, so it will be a season or two before this is practical. However, if you want to build one or two car parts throughout your first season, that could be a good idea, just make sure the predicted reliability is at least as high as the existing part. Reliability should remain your priority until you have more money to burn.
Qualifying and Tuning
The first race has almost begun!

Qualifying is the testing period before a race where your place at the beginning is determined by how fast of a lap you set. When you send your car out of the pit (after a delay of putting the tires on), your car begins its "out lap". Because the pit lane ends after the starting line, your cars need to go around the entire track to begin their timed lap. After their timed lap is over, they start their "in lap" when they come back to the pit. Therefore, each "lap" of qualifying takes just under three laps in distance and just over three in terms of time (because the out and in laps aren't as fast). By multiplying your cars' lap time by three, you can have some idea of how many qualifying laps you can do.

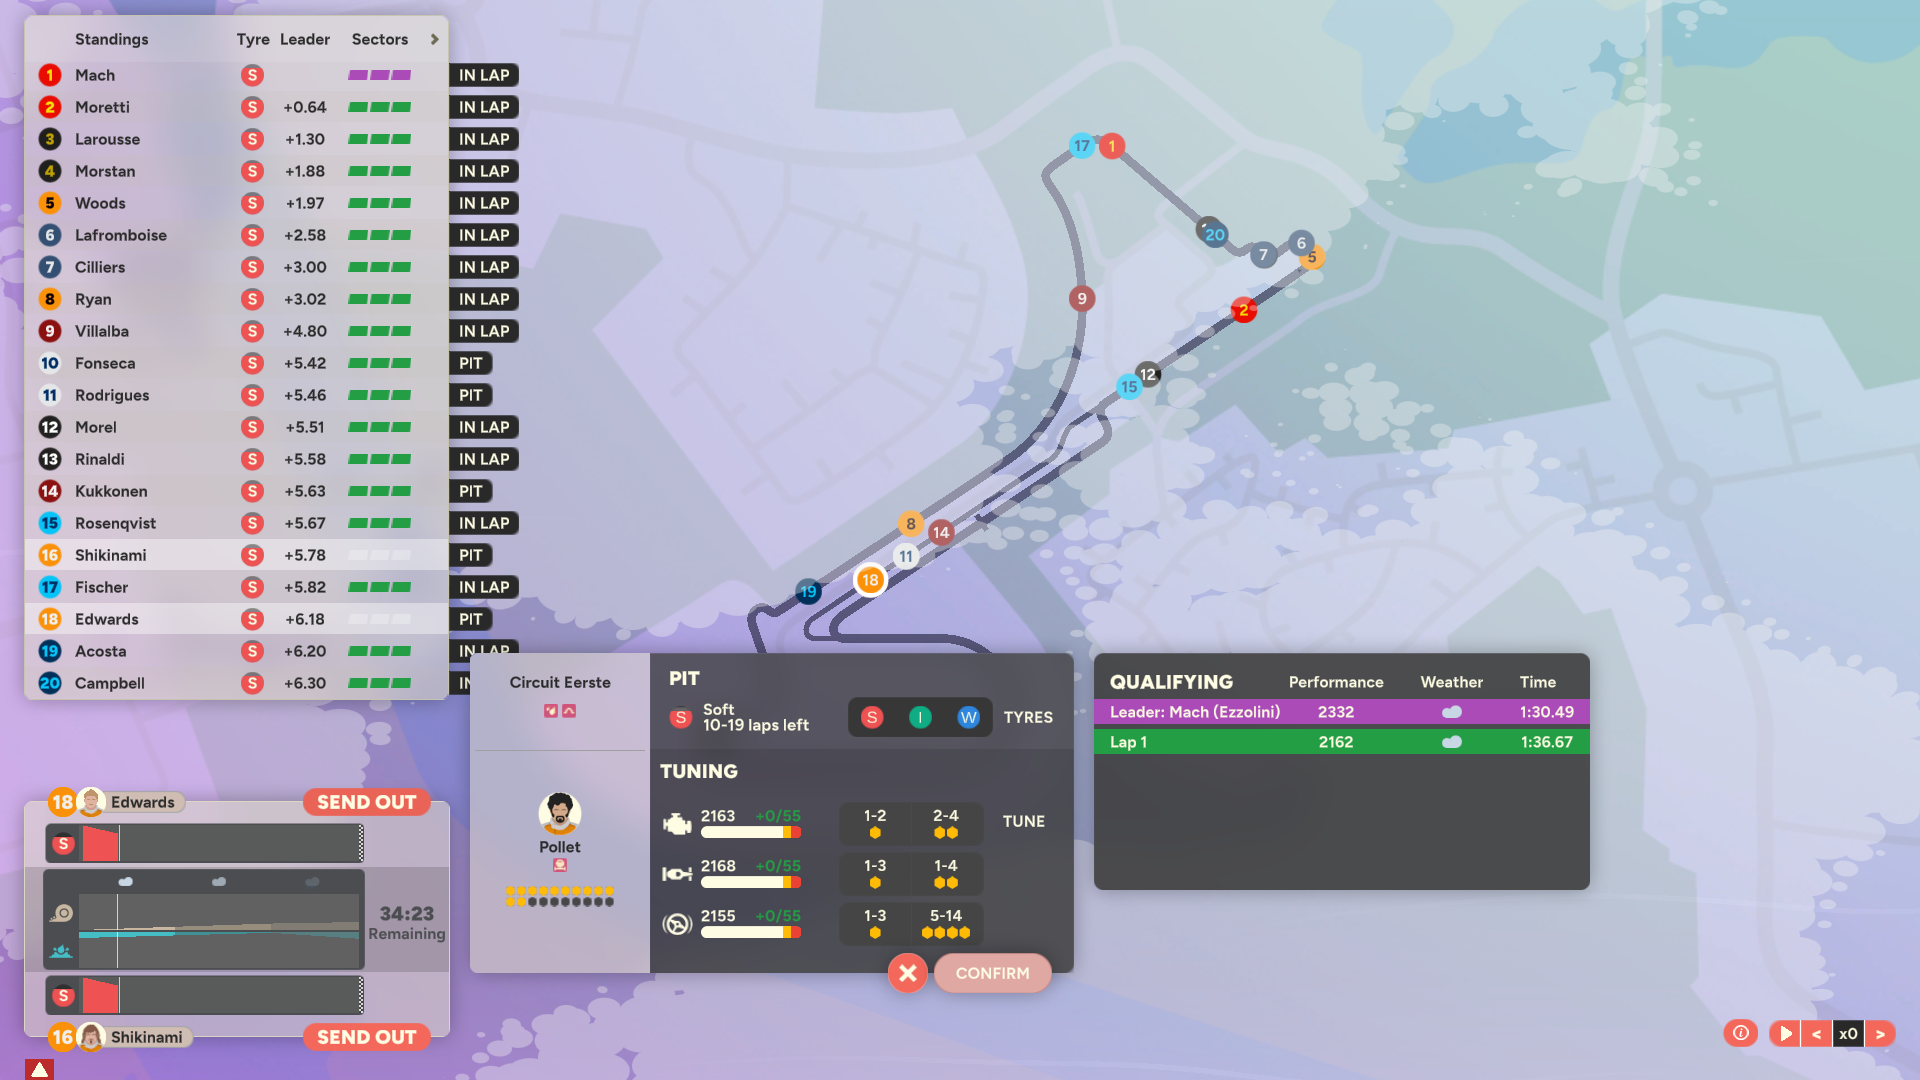
Click on the > at the Top Right of the Leaderboard to see more detailed information. This tells you information such as how much slower their fastest time is than the leader, their fastest lap time, and the sector rhombuses.

The Rhombuses on the Right indicate the progress of each driver during their timed laps between the out lap and in lap. The track is divided up into three sectors. If the rhombus in a sector is white, it means the driver has not set a fastest time for the sector. If it's green, the driver set a new best time for that sector. If the rhombus is purple, it means the driver has set a new best time overall for the sector. Therefore, the first driver to complete a sector of a track in the first qualifying lap will likely have a purple rhombus at least for a second.

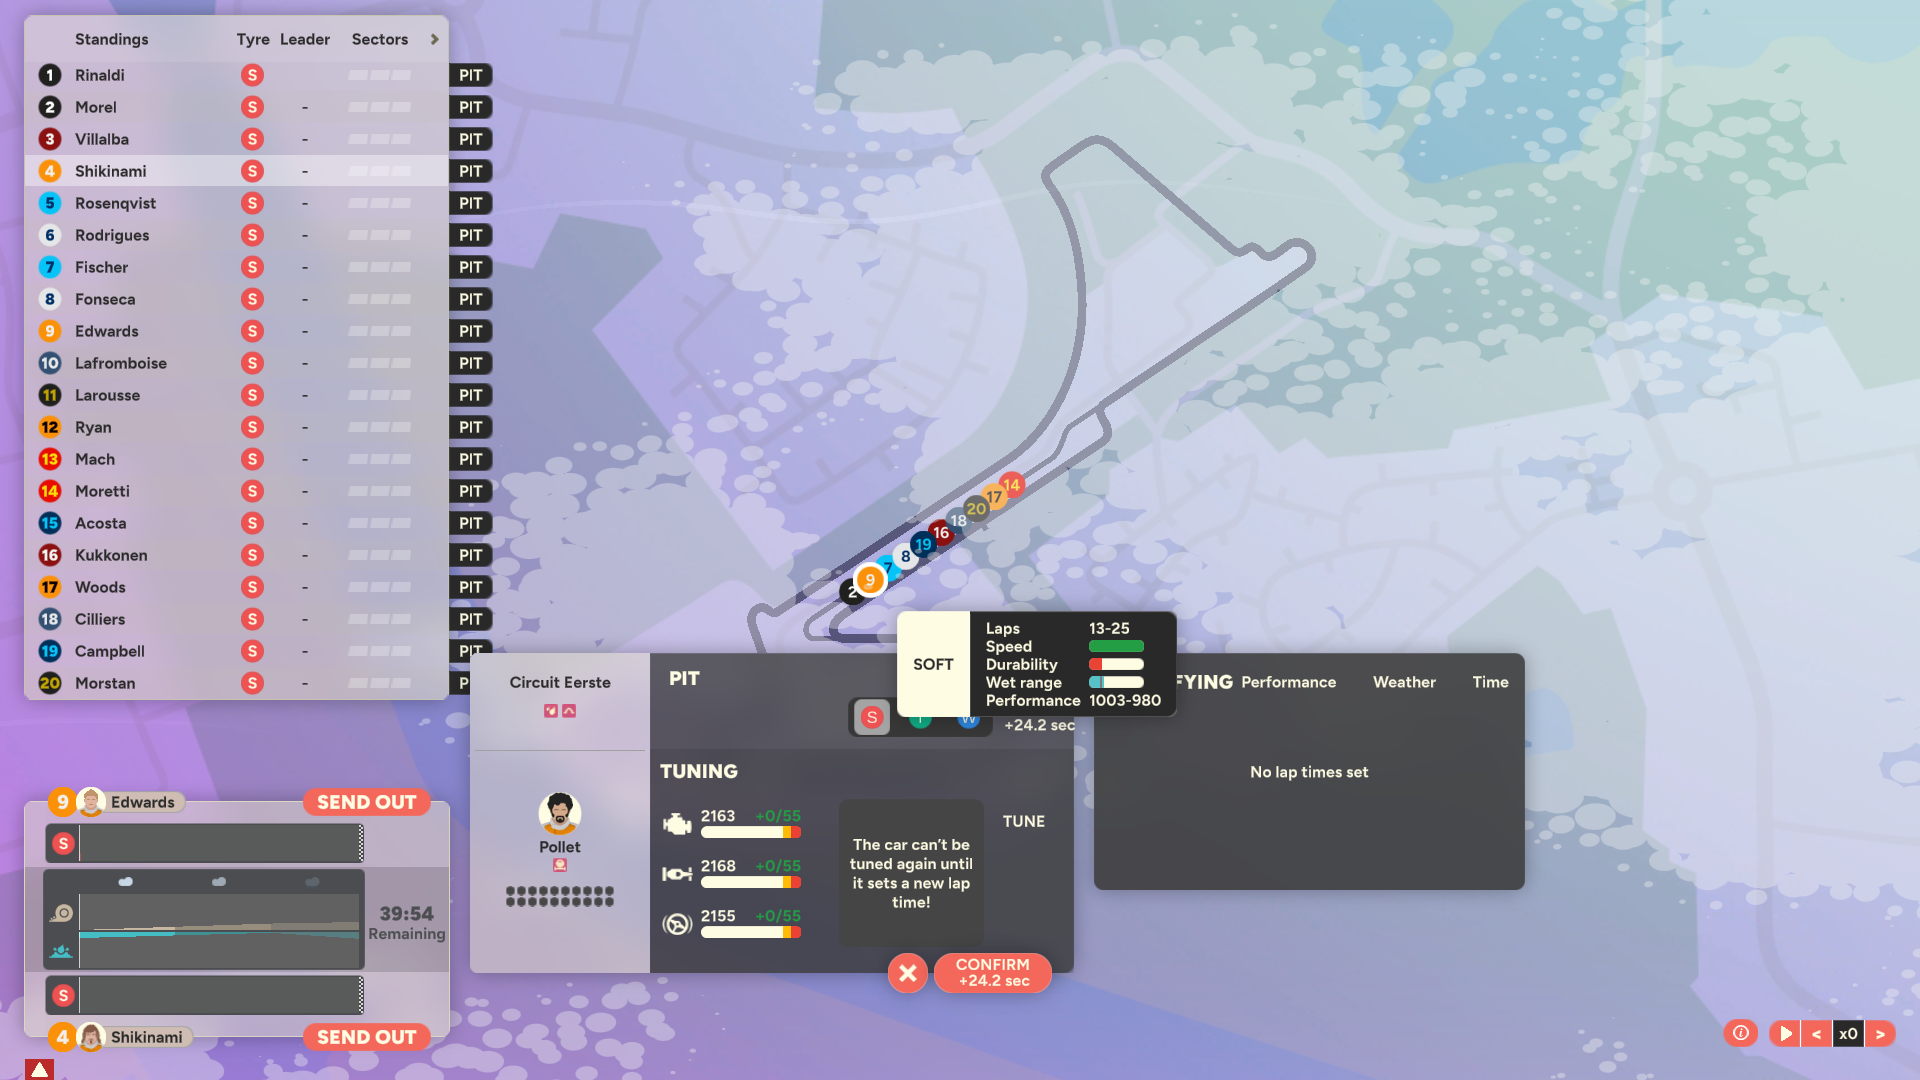
Importantly, tyre strategy is easier in qualifying with only Soft, Intermediate, and Wet tyres. Use Soft unless the track is too wet for them as shown by the "wet range" bar. Whether to use Intermediate or Wet should be clear using that bar too. Keep in mind that if the track gets much wetter during qualifying, it's likely that no drivers will set new best lap times, so the current qualifying positions will be mostly fixed.


Tuning is the important part of qualifying. It allows you to boost the stats of your car before the race. After each qualifying "lap", you are allowed a certain number of tuning points.

Choosing Which Component to Tune can be difficult but there are a few factors that make it easier. On the first qualifying lap, you don't get any information on how tuning affects lap time. However, after the first lap, you will be able to see your cars' parts' actual performance for the race. Here are a couple of strategies:

Using the Track Shape is good especially when your parts' stats are very close together, and also if the track is obviously very curvy or has a lot of straights. Am example of a more curvy track is Circuit de Casino (Monaco in real life) and an example of a more straight track is Potenza (Monza in real life). At more straight tracks, the engine and more importantly the chassis will be the priority, because the chassis gives better top speed and the engine helps accelerate to that speed. At more curvy tracks, the engine will be important and more importantly the steering. The engine helps with acceleration which is useful in low-speed corners and the steering helps with the corners obviously.

Another Good Strategy is to prioritize tuning one part for one of your cars and another part for the other car. Ideally you would do this with the two parts with the lowest stats, unless the character of the track dictates otherwise as discussed before.

After You Have Chosen Which Parts to Tune you have to choose between two options. Both options cost a fixed number of tuning points but offer a random performance boost based on your . The strategy for choosing which option that I use compares the minimum and maximum possible improvement to the fixed tuning cost but isn't exact. For example, if a tune has a maximum improvement of 20 and a cost of 5, and the other tune has a maximum improvement of 5 and a cost of 3, I would pick the first one. This is because 20 is 4*5, but the ratio of costs is only 5/3. Therefore the maximum improvement outweighs the increased cost. The maximum cost of a tune is 5, so for the options to be equally beneficial, the 20 improvement would have to cost 12 tuning points, which is impossible.

However, the minimum of the first option might have been zero. Sometimes it's better to take a worse deal if it's guaranteed to improve the part by a small amount, especially if it's the last opportunity you'll have during qualifying to improve your car.

After the Second Qualifying Lap wait for both drivers to enter the pit and stop. See which driver improved their time the most and take their stats into account. Depending on which driver improved more, you should focus more on tuning that part. Rinse and repeat until qualifying is over.

Golden Tunes are the best result of qualifying. If you can tune a part so its tuning value is between 80 and 90 generally, it will be golden tuned. This will greatly improve the performance of the part, and because of this it can sometimes be beneficial to continue tuning a part even after it stops improving your qualifying lap times. But beware, if you tune a part into the red zone, it will revert to about 50% tuned. For this reason when you're close to a golden tune, you should go for the smaller tunes.

Mechanical Grip is the graph right above the blue graph of the wetness of the track. Mechanical grip depends on two things: Temperature and Time. Temperature affects grip because if the track has been baking in the sun, rubber tyres will grip it better. Also, over the course of a race, tyres will deposit rubber onto the track as they wear down, increasing grip. This is minimal on wet tracks but on dry tracks it matters a lot.

Over the course of qualifying and race day, it will increase decently when it isn't raining, and when it is raining it will increase by a miniscule amount. This increased grip means that as long as the track's moisture isn't increasing, successively faster fastest laps will be set. As said before, if the track gets wetter, new fastest laps are unlikely to be set because a) mechanical grip stays relatively constant, and b) if the track is getting wetter, that has its own adverse effect on grip.

One Final Note on Tuning is that it takes time meaning the more you tune, the longer pit stops take. Almost all of the time it's worth it to sacrifice a few seconds during qualifying to improve performance but it's worth noting.
Race Day
Finally, The Moment We've All Been Waiting For, actually racing the cars!

Before a race, you'll be given the predicted weather for the first third or so of the race as well as options to choose a tyre, a driving strategy, an engine strategy, and whether or not to fight teammates.

Generally, I would recommend that for dry tracks, you pick a medium or hard tyre to start off with if your team is underfunded. This is because your crew chief is likely subpar and so you want to minimize pit stops. Of all the dry compounds, hard tyres last the longest, followed by medium and soft. Hard tyres also have the least performance of the dry compounds but the difference isn't that stark, and if your pit stops tend to take a while, you want to minimize how long they will be.

Dry Compounds as discussed before, are the tyres you use when the track is dry. Soft tyres degrade the most and last the shortest amount of laps, but they perform the best. Early on with an underfunded team, you probably won't be using the soft compound a lot. However, the best case to use them is near the end of the race, if your current tyres won't last long enough. This is because you don't have to worry about replacing them. Generally, for more curvy tracks, start with a medium compound and for more straight tracks, use a hard compound. Even if you lose places due to this choice, you'll likely gain them back spending less time in the pit. Especially because your crew chief is probably not good early on.

Why Do Hard Tyres Last Longer, Dr. Isosceles?
For a basic physics lesson, the reason why car tyres have grip to begin with is because they can deform over the surface of an asphalt track on the micro scale. Cars don't have a lot of grip on a polished tile floor for this reason (any Trackmania players reading this should know), and grip depends on how soft the tyre's rubber is, and how much of the tyre is in contact with the pavement. However, a softer compound will also wear down more quickly. The reason why intermediate and wet tyres have such lower grip is because of their "tread pattern" which pretty much all normal cars have. This decreases grip on a dry track but gives an advantage on a wet track. Dry compounds are completely "slick" meaning they have no tread at all, which maximizes the area "contact patch" between the tyre and asphalt, but carries a strong risk of hydroplaning if the track gets wet enough.

Now That I Know That, How Can I Tell When To Change Them?
Tyre performance, because of tyres wearing down, will naturally decrease over the course of the tyre's lifetime. When you choose to pit during a race, it will tell you the maximum and minimum performance of each compound and their "wet range". Your tyre, depending on your tyre strategy as discussed later, will slowly go from its maximum performance to its minimum performance. This progress is linear until right near the end the tyre's performance begins to radically drop. Importantly, you should definitely change your tyres before that point. Another good indicator of needing to change your tyres is assuming the standings were stable before, your drivers may start to lag behind the driver in front or be caught up to by drivers behind them.

Pit Strategy: Undercutting
In racing there's this strategy called undercutting, where you change tyres one lap before the driver ahead of you. Since you both pit, you both will theoretically lose the same amount of time. However, since you pit when both your and your opponent's tyres are low, and he pits when you have fresh tyres, you will gain time on him from this.

The main pitfall is that you can't be sure when your opponent will get new tyres. For this reason, if you pit and your opponent waits a lap or two, it might be a good idea to adopt a conservative tyre strategy and start pushing as soon as he pits, so you still have close-to-top performance. One good way to know when to undercut someone is if you expand the leader board, it will show you the fastest and last laps set by every car. If a car is on the same compound and consistently performing worse than their fastest lap, and the track conditions haven't worsened, that's a sign their tyre performance is dropping off and they're ripe to be undercut.

More About Wet Tracks:
When you mouse over a tyre before a race or when ordering a pit stop, the tyre will have a "wet range" bar with a black indicator for how wet the track is. Using this and the weather prediction, you might choose an intermediate tyre. If the track is wet enough at the beginning for intermediates or will become so in one or two laps, choose those, and the same goes for wets. Keep in mind that if the track dries out, you may have to switch to a drier compound.

Tyre Strategy is indicated by the color of the steering wheel and determines how much your driver "pushes" the car in the corners mainly. This makes your driver faster but uses the tyre durability up more and also increases driver stress. The bar by the driver's picture is the stress bar, visible during races, and if it gets too high it increases your driver's chance of crashing.

Tyre Strategy is Important in Corners so if you regularly turn it on and off, make sure it's on in the tight sections of a track. Turn it off on the straights because it doesn't matter as much.

Engine Strategy trades off acceleration for fuel consumption. At the beginning of a race, your cars always begin with enough fuel to complete the race plus 5 to 8 laps or so. Some teams begin a race with an aggressive engine strategy but I generally wait until the last third to quarter of a race, when you can put the aggressive strategy on for the entire rest of the race without running out of fuel. You can mouse over the tyre and gas bars of each driver to see what the predicted tyre and durability in coming laps. Engine strategy does not affect tyre wear, which you can probably see, but it's good to note.

Whether They Fight Teammates is up to you and can depend on sponsorship challenges.

Yellow and Red Flags tend to happen when a driver crashes their car. Whether a yellow or red flag is issued depends on the severity of the crash. In yellow flags, the drivers all have to slow down and not overtake for a certain interval. In red flags, the drivers all have to slow down, not overtake, and drive back to the starting line, line up, and remain stationary for an interval. If your tires are low, getting them changed during a yellow flag is a good idea because it minimizes the time you lose.

IMPORTANTLY, during a red flag, you have the option to repair your car. During pit stops you can do this too, but it's rarely worth it unless reliability is dangerously low because of how long it takes. But in red flags, every car is stationary so you lose no time. Therefore, i strongly recommend that you put new tires on your cars and repair every part.
Conclusion
So far this is all I have, if you have any suggestions for improvement let me know.
After the Season
So the Season has Ended:
Hopefully if you followed this guide, your team ended up a place or two above what was predicted. If so, you will have access to more money. My advice would be if your "good driver" has gotten you some points, to get a better "bad driver" and you can likely spend more money on them.

Team Members:
Assuming your better driver scored at least a few points, the best thing to do would be to replace your bad driver with one at least as good as your previous season's good driver. If your better driver already got points a few times, for the next season you'll have two drivers getting a few points. In the teams at the back of the pack, that makes a huge difference in the constructors' championship. After all, there are a good number of teams that get basically no points at the end of every season. Spending more money on a crew chief might also be wise because it will give you more flexibility with pit stops. If you have money left over, spend it on an engineer that has a decent amount of both Expertise and Precision.

Car:
Even though it would be wise for reliability to get a conservative car design early on, I was able on the Night team to do just fine with the medium car design setting. It likely allowed me to get more points early on which helped me get more funding because your sponsorship money depends on what place you came in last year. However, it all depends on how risk-averse you are. I won't tell you to do one thing or another, but the one thing to avoid is an experimental car design until you have more money. You're risking too much with the low reliability and not a lot of money for upgrades.
14 Comments
Michael 29 Jul @ 3:33am 
how to save game?
Flintlock 29 Jun @ 11:47am 
If you're willing to do a little micromanaging, I recommend starting each race on the aggressive engine setting and leaving it there for your entire first stint, or until the first red or yellow flag. You don't know how many red and yellow flags there are going to be during the race. If you assume there will be none, you'll start too conservative and you won't be able to use all your fuel by the end. Better to assume there will be some, start too aggressive and adjust as necessary. This is what F1 teams do in real life by deliberately underfuelling their cars.

The pit stop chief trait that reduces fuel consumption by 5 % seems really good, too.
Stefandreus 15 Oct, 2024 @ 12:13am 
this is what i was told, exactly: "The engine mode affects the car acceleration, while the driving strategy (tire push) affects max speed and overtaking".
i guess i would need an ideal track for practice, it would be a good idea for the game actually.
you could test the track in any condition, if in career mode it could be random or actually similar to qualifying laps, or something like quick race but to test the tracks.
Then you would see difference in various strategy, maybe because it would be like free roam in art of rally i guess. Anyway thanks for explaining!
Dr. Isosceles  [author] 14 Oct, 2024 @ 12:43pm 
An important thing to note is that the outliers will affect the average of any set of values disproportionately. Therefore, if there are any especially slow corners on the track, they will drag your average speed on a track down the most.
Dr. Isosceles  [author] 14 Oct, 2024 @ 12:42pm 
Another note: speed will matter on any part of a race, but if they're talking about "general speed" they likely mean speed in any situation, in corners or on straight sections. As I said before, whether speed in the corners or straight sections matters more depends on the characteristics of the track itself.
Dr. Isosceles  [author] 14 Oct, 2024 @ 12:40pm 
Refueling was reintroduced in 1982, because they began to use turbocharged engines that consumed so much fuel that it became necessary.
Stefandreus 14 Oct, 2024 @ 12:20pm 
yeah, i'm not experienced as well, i'm just trying to understand, i usually use the engine push mode in overtaking, not always works of course, but from what i get from the "official explanation" is that driving speed is...speed, they didn't mention corner (and not even overtaking)
According to the team, the engine push is acceleration, driving/tyre push is top speed and also overtaking. So sorry, i'm not english speaker by the way and language barrier doesn't help, but it seems maybe you were right and i'm confused by the difference in words
It's just that it's easier (maybe in my experience with this game that is probably long as yours, but i'm not expert in real F1 or motorsport) to see the effect of an engine push strategy expecially at start than the effect of speed strategy, but i agree than of course engine push is risky since you can't refuel (btw, was that the case in the 70s?)
thanks anyway for the time in explaining
Dr. Isosceles  [author] 14 Oct, 2024 @ 10:56am 
Aerodynamics is honestly more important than your engine for true top speed and cornering, but engines help you accelerate to that top speed and accelerate during and after corners. This is why I said engine tuning is likely important no matter what. The thing is, if you're on a curvy track, your "overall speed" is heavily bottle-necked by how quickly you can take those curves. Conversely, on a straighter track, "overall speed" depends more on the straights. Acceleration always matters but not so much during a corner as after a corner. In my opinion, an engine push strategy will help you during the corners and also at the beginning of a long straight, but tyre strategy helps as you enter corners more.
Dr. Isosceles  [author] 14 Oct, 2024 @ 10:56am 
To be honest, I could easily be wrong about this because my knowledge about racing is more about real life and my small amount of experience in this game. I didn't make this game and I know nothing about the code, although that's not an accusation that their code is less realistic than what I thought. From what I know about racing, overtaking happens a lot more because of car positioning and the ability to take corners at faster speeds, which depends more on the tyres and aerodynamics than strictly the engine.
Stefandreus 14 Oct, 2024 @ 10:45am 
thanks, according to the devs answering to my question on this topic, engine push is acceleration while driving strategy is overall speed
so i'm confused, since it seems that you're right, but it's strange since acceleration (by logic) should be more for small "burst" in overtaking, while the other strategy should be right driving strategy in a track like Potenza...this according to what said by devs, but not confirmed by my observations.
Like i would use driving strategy to increase the gap, when i'm forward, like in 1st position, while i would use engine push in track like Montecarlo, with a lot of corners and when i need to overtake.
Overall i wasn't ever able to do a golden lap with only the red wheel (push tyre) but only with neutral driving strategy and engine push.
i mean it would be logic, i guess or not? On straight tracks, top speed matters, on tracks with a lot of corners, engine push and temporary acceleration is more important