BlazBlue Entropy Effect

BlazBlue Entropy Effect

31 ratings
The tl;dr of Builds (Very Basic and Quick Rundown)
By Necrobern
(Periodically Updated) Just a quick rundown about how to approach the game, what upgrades to go, and a few highlights.
2
   
Award
Favorite
Favorited
Unfavorite
About this Guide
I expected this game to already have some walkthroughs and a lot of in-depth to go through on Steam. But given there's very sparce guides, I am providing my two cents about this game.

This is not a full meta exploration and how to always 100% every run. Just wanna point some approaches it helped me with most runs.
Characters
First of all, characters. If you are a Blazblue fan and already have a favorite or two, go ahead. If you are expecting for Makoto to show up like me, look for secondary waifus to stick with until her arrival.

HOWEVER, due how the game works, try to get used playing with 3-4 characters minimum. After each run, upgrades and passives can be transfered to your new run. So try to get high rarity upgrades on your secondary mains to stick on your main character, and vice versa. BE VERY AWARE that upgrades transfered cannot be re-transfered once the new characters end their run, so if you are aiming for stronger versions of certain abilities go for something else and hope the run gives you the skill you are looking for (e.g. Wanting a Gold version of a White Ice attack).

Now here's my two cents for the characters I had some experience with.

(I will keep adding characters in the near future)

::RAGNA THE BLOODEDGE::


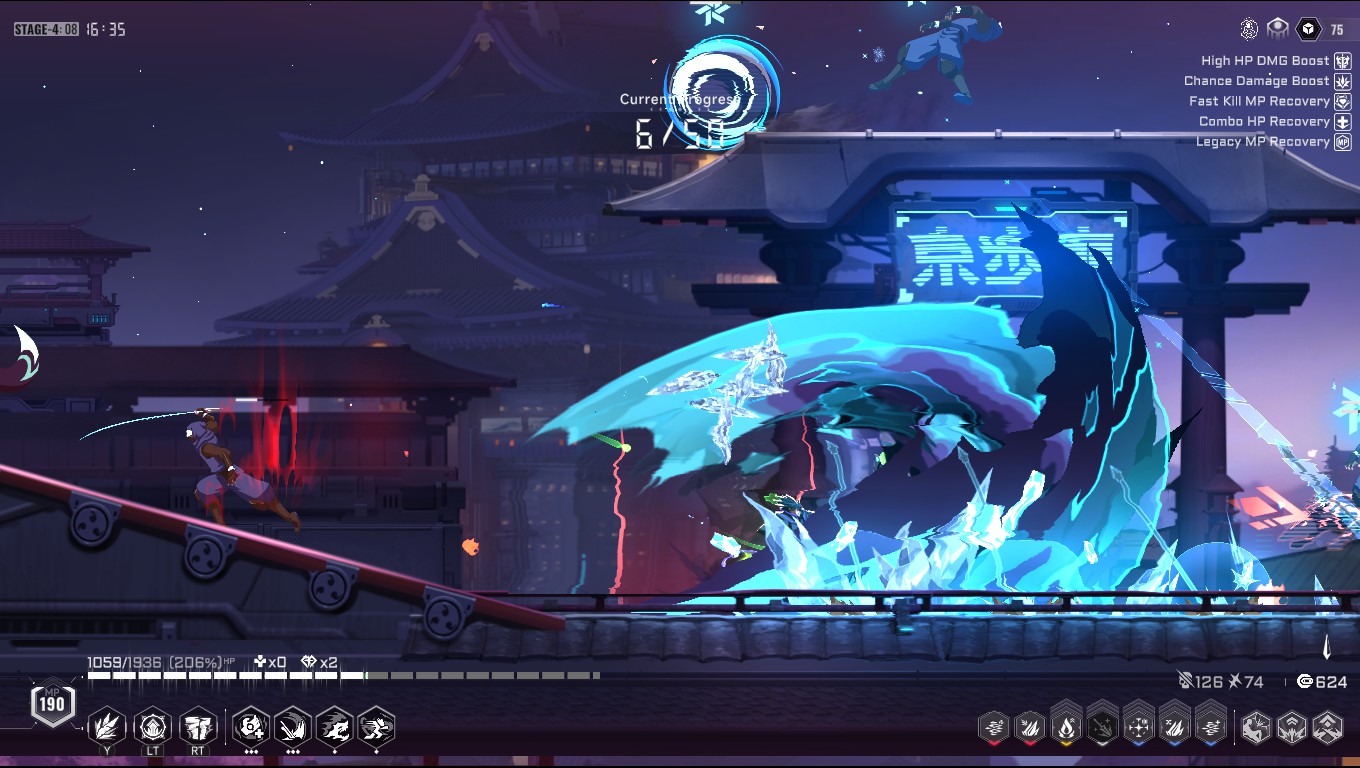
Ragna is, compared to the rest of the cast, the worst character. But that doesn't imply that is a bad character. The problem comes from the fact that his HP will keep draining through our special attacks, mitigated by a variety of drain abilities you will obtain. On the bright side, Ragna starts with very powerful normals right from the very beginning and let's him wipe most enemies early on even on high difficulty settings. This also causes a snowball effect where he turns into a glass cannon that decimates bosses in seconds. But the biggest issue is that to obtain a Ragna that clears areas with a single attack while keeping his HP at full most of the time is completely up to RNG of obtaining the right upgrades, becoming a true challenge and a character not recommended for beginners.

::JIN KISARAGI::


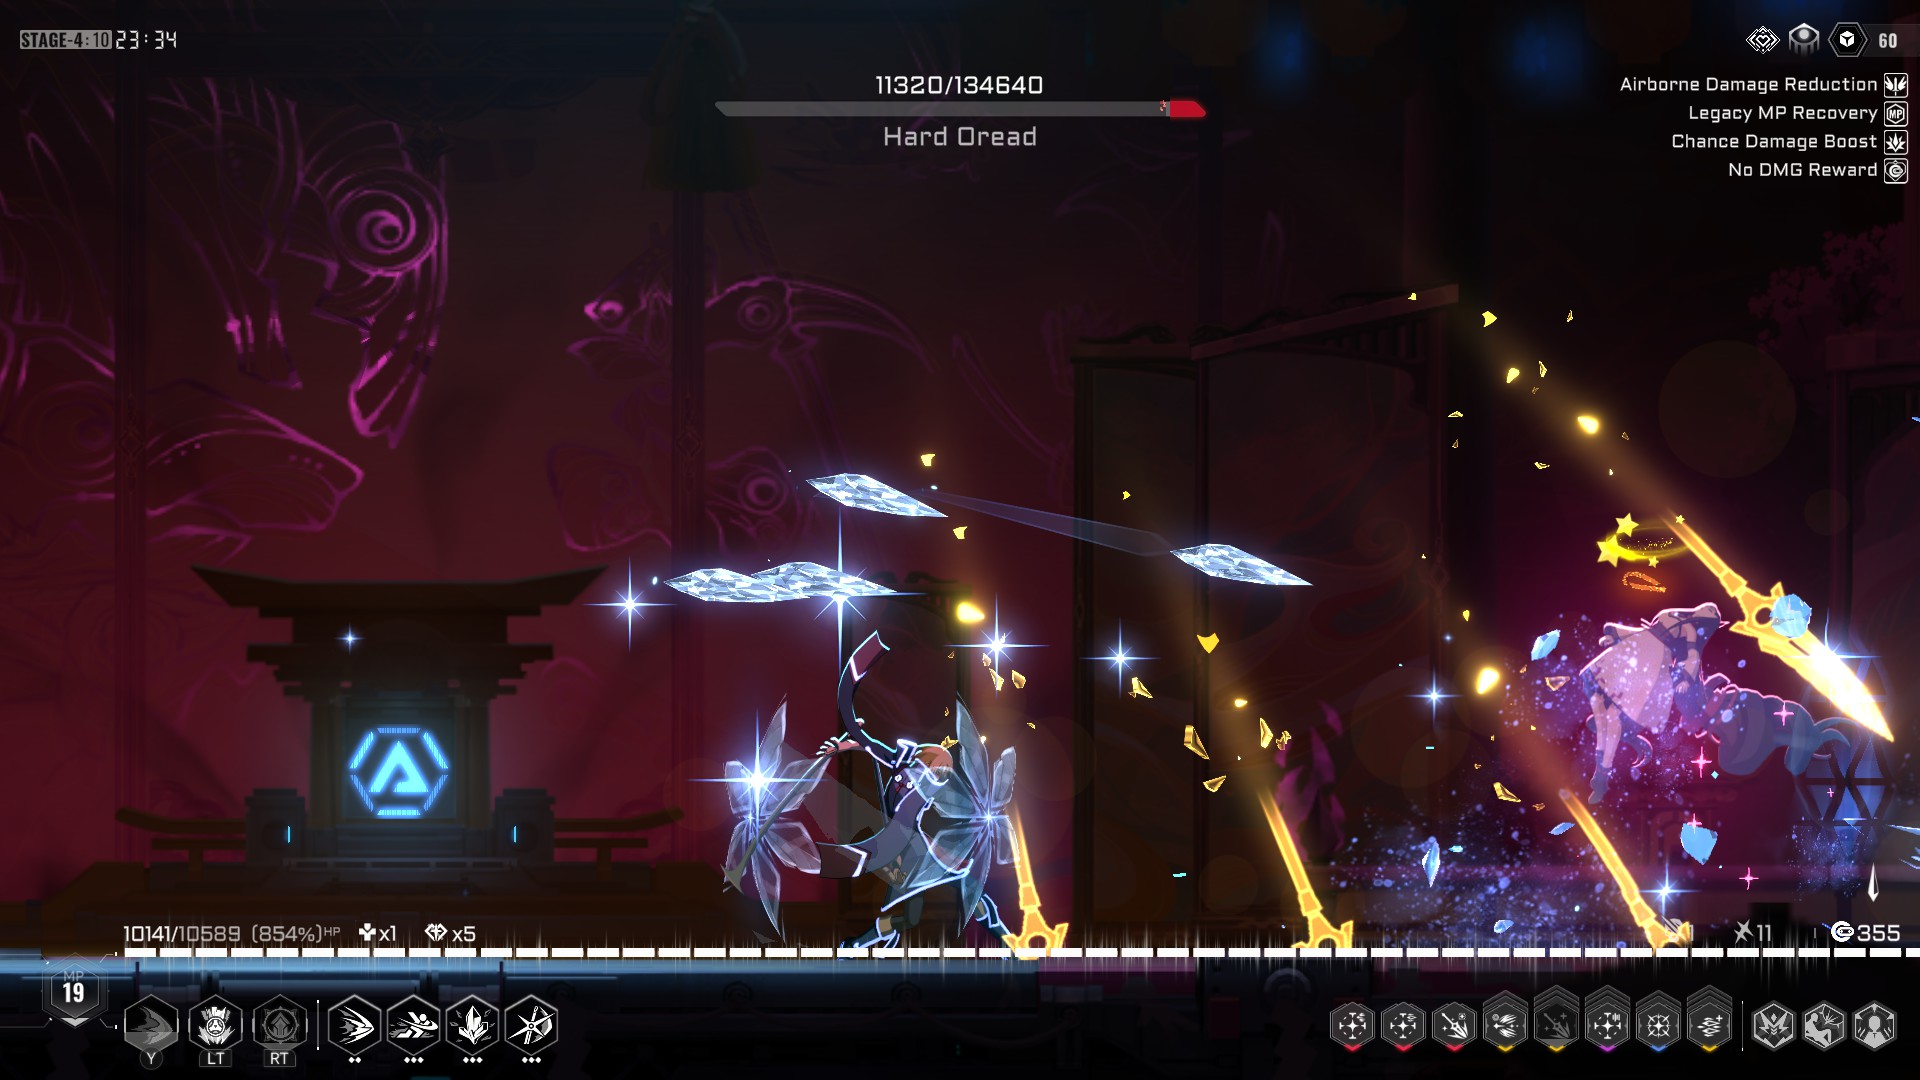
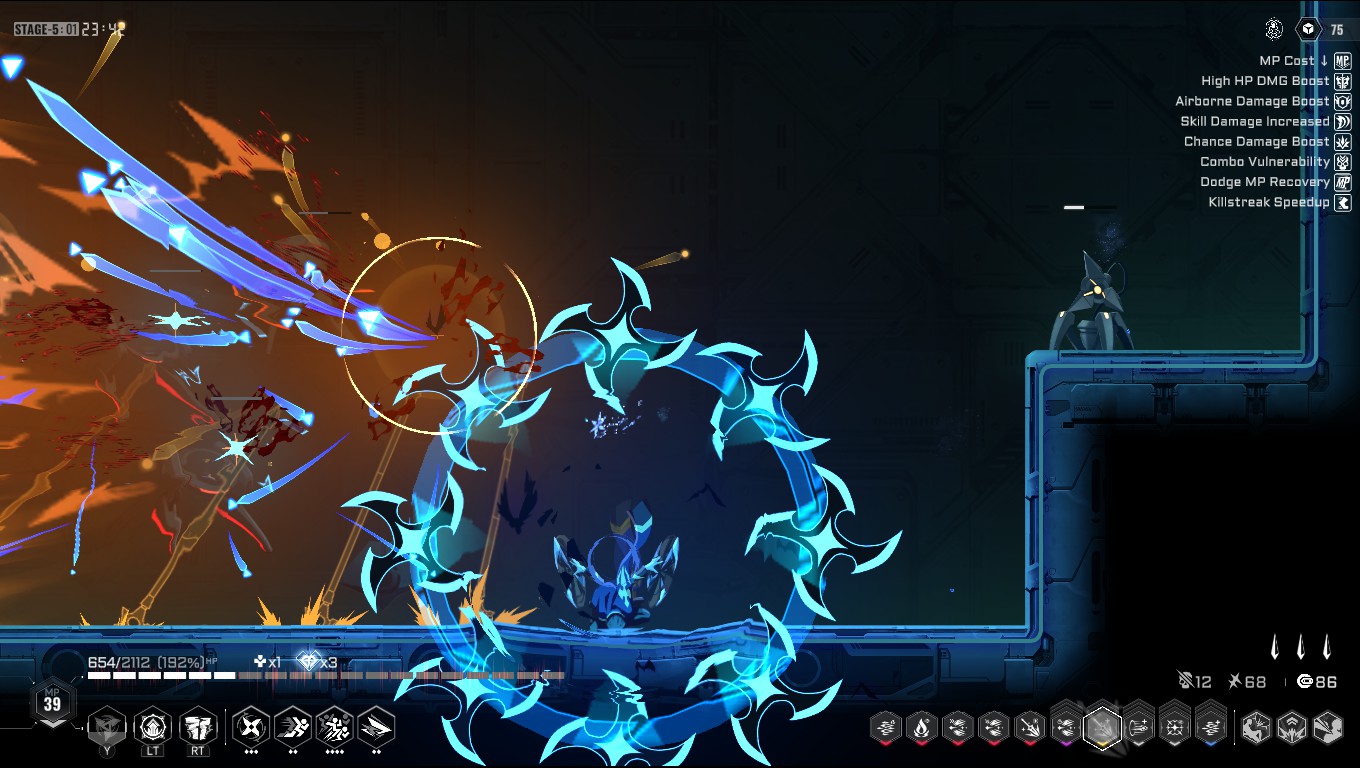
Jin is the completely opposite of Ragna in terms of difficulty, literally baby mode thanks to his sinergy with ice upgrades. Quick attacks, multiple dashes to not only avoid attacks but keep damage, a dodge that slows time briefly, and most importantly the ability to freeze enemies even with just normal attacks. THIS ALSO APPLIES TO BOSSES, although in the cases of Reki and Susanoo mainly happens in their first phase. As soon you max out his freeze ability, you'll rarely get hit aside of some projectiles and scripted boss attacks. Is highly recommended if you wanna go for super high difficulty runs and you are struggling with other characters.


::MAI NATSUME::


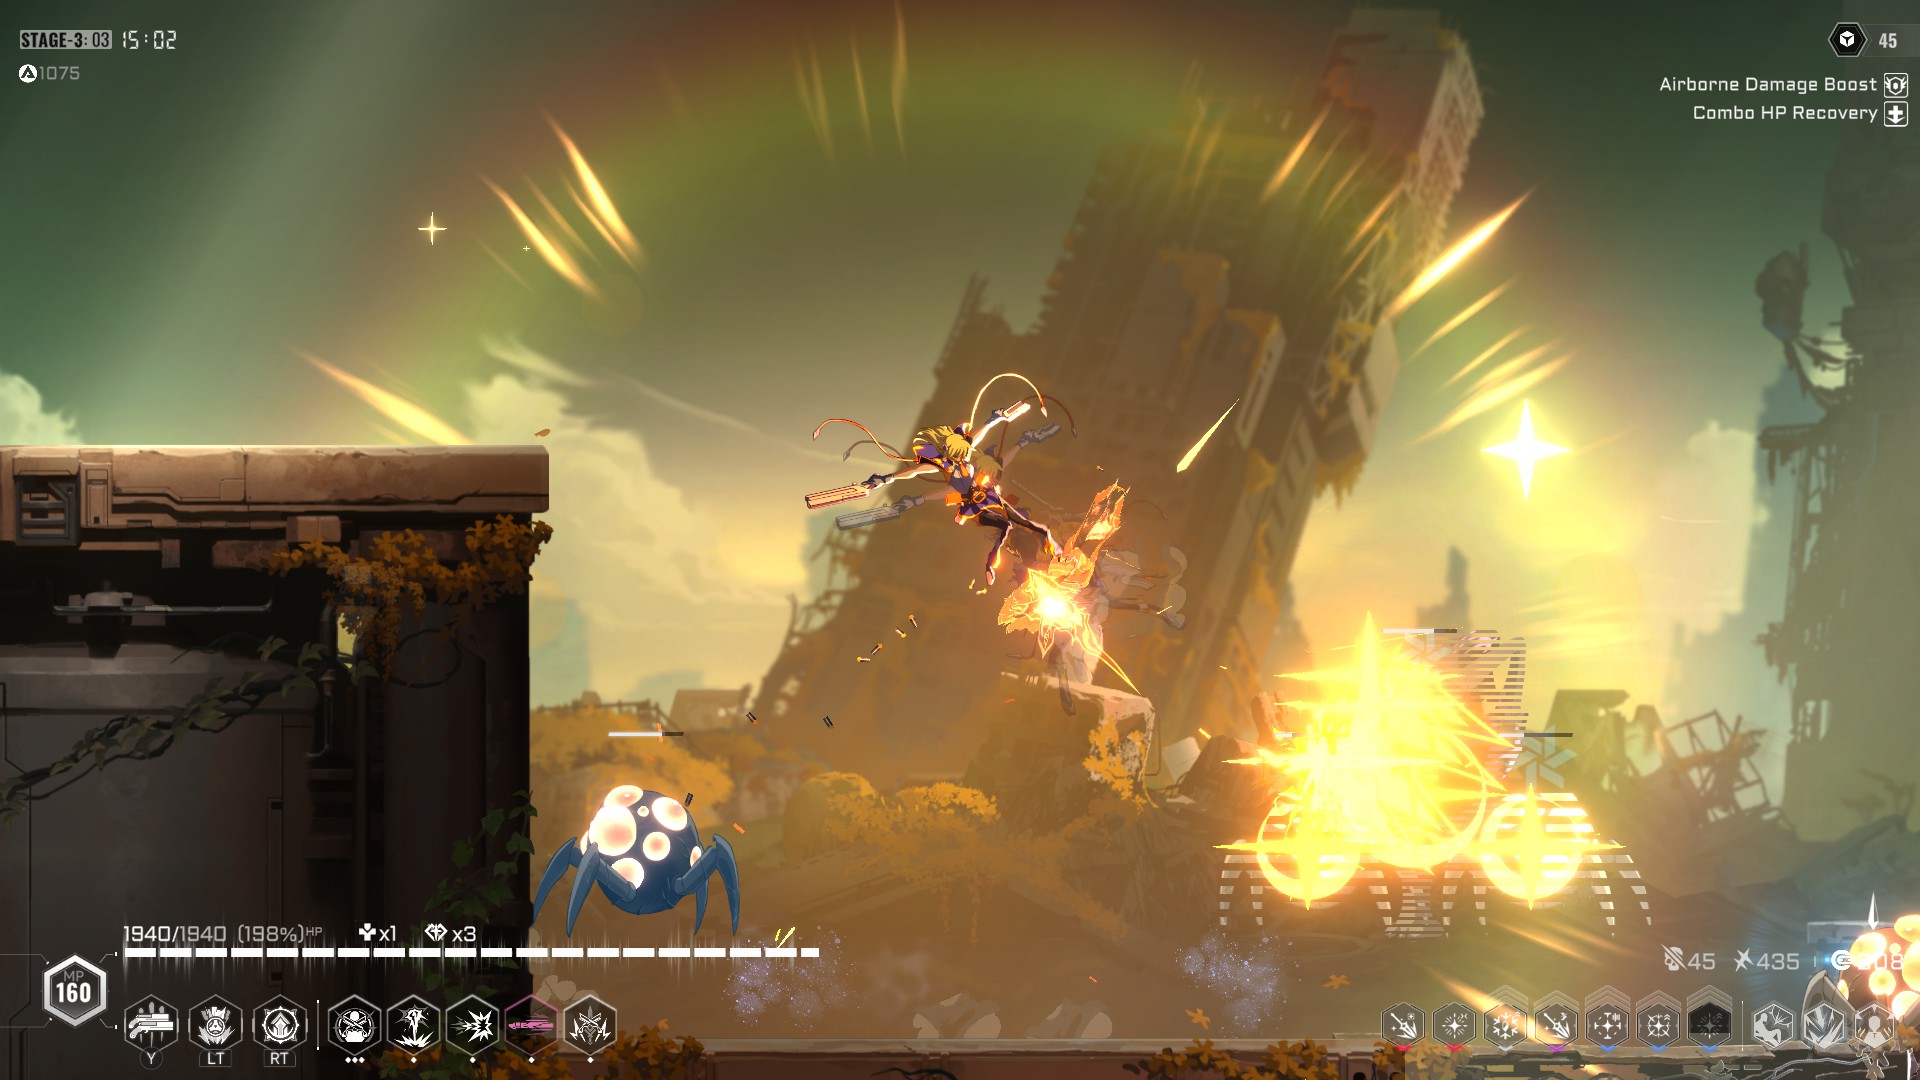
Mai is often seen as mid tier, but my Main is Mai and I can tell you how fun she is to play. With a super quick lance projectile and the ability to dash through stages ramming enemies and dealing constant damage, Mai is a speedster that will barely get hit. Under the right build Mai can clear fights before you realize it.

::ES::


Es is a bit of braindead pick, as once you upgrade her normals (attacks, dash, jumps) will keep spamming projectiles passively. Starts a bit clunky to play, but soon becomes a character that will pile massive blue orbs and slashes on the whole screen.

::RACHEL ALUCARD::


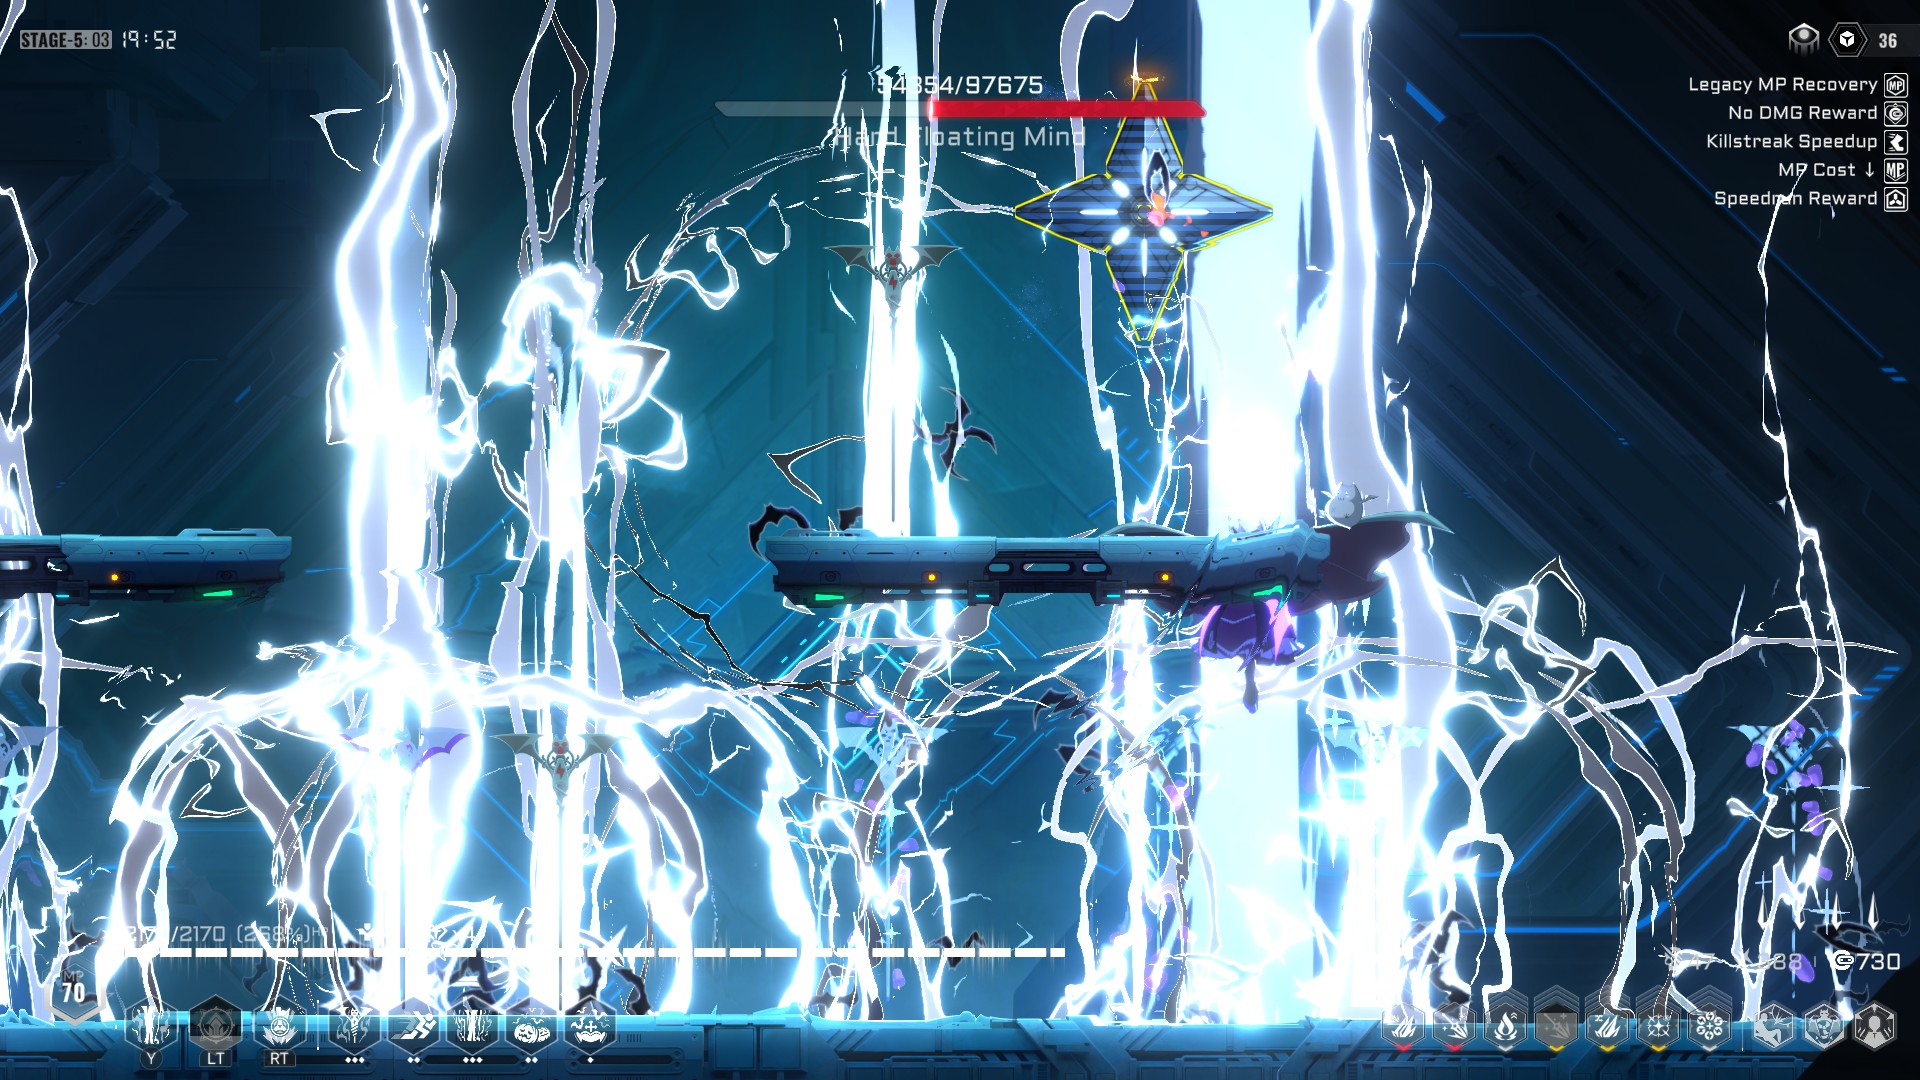
A DLC character, Rachel only needs her main special and Tiny Lobelia to start a thunderstorm in mid to late game. Combined with her dash attack and some upgrades that allows her to deploy Lobelias automatically, Rachel makes it impossible for enemies to avoid her nukes. Just be aware that all the constant lightnings can make boss attacks hard to notice, often ending your run before you notice.

::HAKUMEN::


Hakumen is basically the easy mode, not because is easy to use but because is very hard to be killed thanks to his tank passives and super armor. Due being a defensive character is a bit awkward to play with, specially since most of his attacks are horizontal and enemies can easily avoid them. Nonetheless, get used to his counter and will clear stages peacefully.

::KOKONOE::


Another popular pick. Kokonoe starts as a weird pick to pass through the first levels. But a few upgrades later and becomes a very safe fighter to go through a run. Personally I am not a fan of her moveset, but doesn't deny how her beams and missiles obliterates most enemies with the right build.

::TAOKAKA::


This can be a weird character to highlight for some, but is actually very simple to master and even very fun to go through a run. Her spin attack stays for as long as you like, and with her clones can rush through levels and bosses as avoids attacks and keeps the damage going. Worth giving her a try, I promise.

::NOEL VERMILLION::


First of all, Noel is not beginner friendly. She starts with very poor damage output, her moveset requires a lot of MP to burn, and her range makes it rely on Legacies often. However, a single potential of her equals 10 for other characters, so maxing aerial attacks, as well upgrades that makes her MP and SP usage more spammable, makes her an incredible nimble character that will stay on air while carpet bombing enemies. Her ability to stay in the air for long seconds also puts her out of danger of some bosses, specially a bunch of attacks by Susanoo.

::HIBIKI KOHAKU::


When you boot the game for the first time, this is your tutorial character to do a run with. And honestly, is a disservice because has a particular gimmick where he deals more damage to enemies from behind. This makes a playstyle where you are gonna be dashing back an forth over and over, so is recommended to get a few dodge upgrades. In terms of skills you should prioritize the default, as will become a barrier of constant damage. Hibiki is a bit fragile if an enemy stops our momentum, but on the right hands can easily speedrun through enemy waves and bosses.

::ICEY::


Given she's not from Blazblue and a 3D model disguised as 2D, Icey is an odd character to play with if you are a Blazblue veteran. However, given you have to go through a special mode to unlock her, you can tell her marking ability is her main source of damage. Combined with other skills like a barrier and a full stage wipe, Icey might not have flashy normals but has some strong upgrades to aim for. If anything what makes her not so good is her Legacy to pass to other characters since only affects machine enemies.
Legacies


As you play runs, you'll make a roster of characters to transfer their passives to a new one.

While some Legacies are better than others, is the Legacy Talent and Tactics what you should aim for. Legacies only need an upgrade to become as good as any other else, so don't get too paranoid over them when under some builds you'll barely use them.

The Talents on the other hand, is what really makes your character work. Some Talents worth mentioning are:

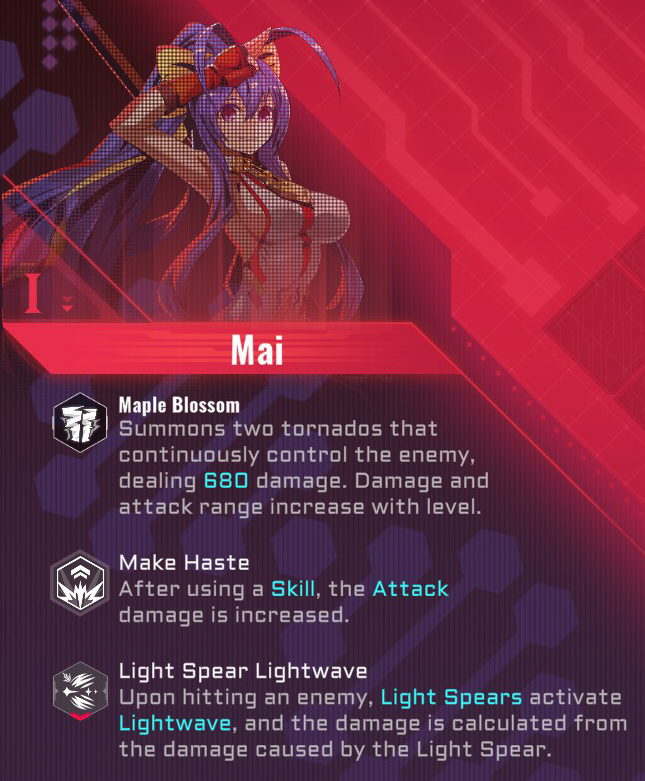
- Make Haste (Mai): A damage boost every time you use an skill. Not sure if you can stack buffs, but nonetheless you get rewarded by simply playing the game. Kokonoe has a similar passive, but needs a slightly more effort.

- Battle Hardened (Hakumen): Super Armor each time you get hit. Might not seem much for some, but let's you keep the damage going against waves of enemies and bosses. Just be careful of your HP and heal before being too reckless.

- The Power of Crests (Es): Spawn a big blue orb when you avoid attacks. Some people might prefer Jin's dodge passive as slows enemies, but in this case you punish enemies with a big projectile than can bring their doom. Up to preference, specially if the main Legacy is prefered.
Upgrades and Routes


You are set to play, maybe for the second time, maybe for the hundredth time. But here's how I approach every run, and often end with a strong build.

- Try to always aim for potentials, atleast in early game: You can have element attacks and high HP, but if your moveset isn't strong you won't do much. Try to focus on 2-3 moves and upgrade them to max, like Rachel only needing Sword Iris and Tiny Lobelia to clear stages. The SP attack is also good to have arround, so pick it if no other choice becomes available. If you haven't beaten the story, is also a key factor to have a character with their best moves maxed out.

- Light is probably the best element: This is mostly personal preference, as I saw some people liking Fire while others despise it. Light creates quick projectiles, provides you with buffs, stuns enemies as well weakening them. Overall a very strong pick to deal constant damage. Ice and Lightning might be close seconds, and some upgrades allows you to mix elements together. So if a route doesn't provide you with Light upgrades, try to go for one of these two.

- Save the shop for the very last, or once you have 300+ credits: The shop won't do much if you keep going over and over, but will often show up before the boss area. Use this trait to save credit, either going through the Exchange Point areas or with some upgrades and bonuses. Then you can clear the shop. If you are lucky enough you can go through several shops in one area (Specially the final one) to stack potions and upgrades for the final boss(es). I will cover a few more things about shops in a section below.

- Go for Trials if possible: Trials often offers strong upgrades worth their challenge(s), so try to visit them when accessible. Usually you only need either the 90% damage boost or the 25% damage reduction (The latter specially for Hakumen), but some others like turning 16 debuffs into buffs are also a strong choice to go with. On a side note, Covenant and Black Market are only recommended if your currenty build is strong enough for their demerits, although Covenant has some buffs with demerits easy to bypass.

- In the last area, go for as many upgrades as you can: Before facing Susanoo, you can go through several areas to get more upgrades. Potencials are often locked behind bosses, while other upgrades and points are obtainable after a wave of enemies. Go for as many times as you like, but be aware that at certain point you'll be only able to access Max HP/MP upgrades.


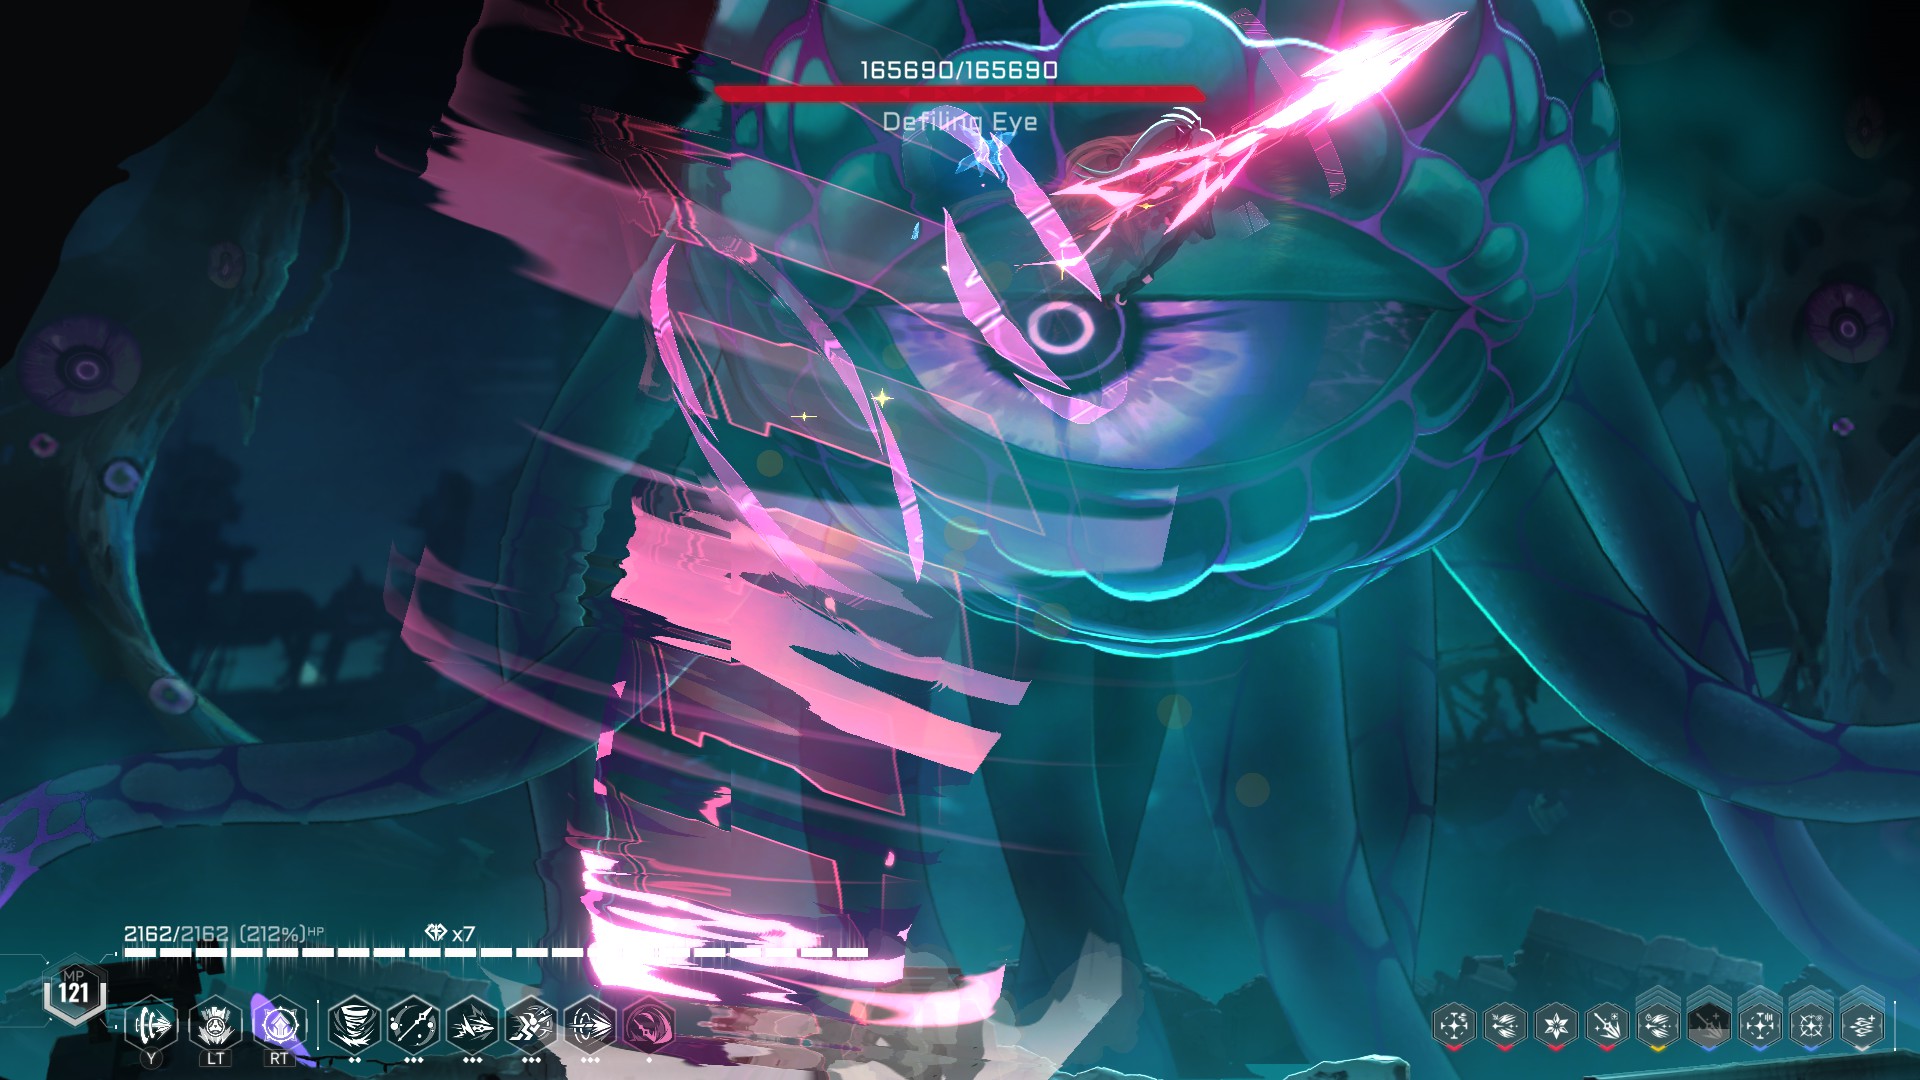
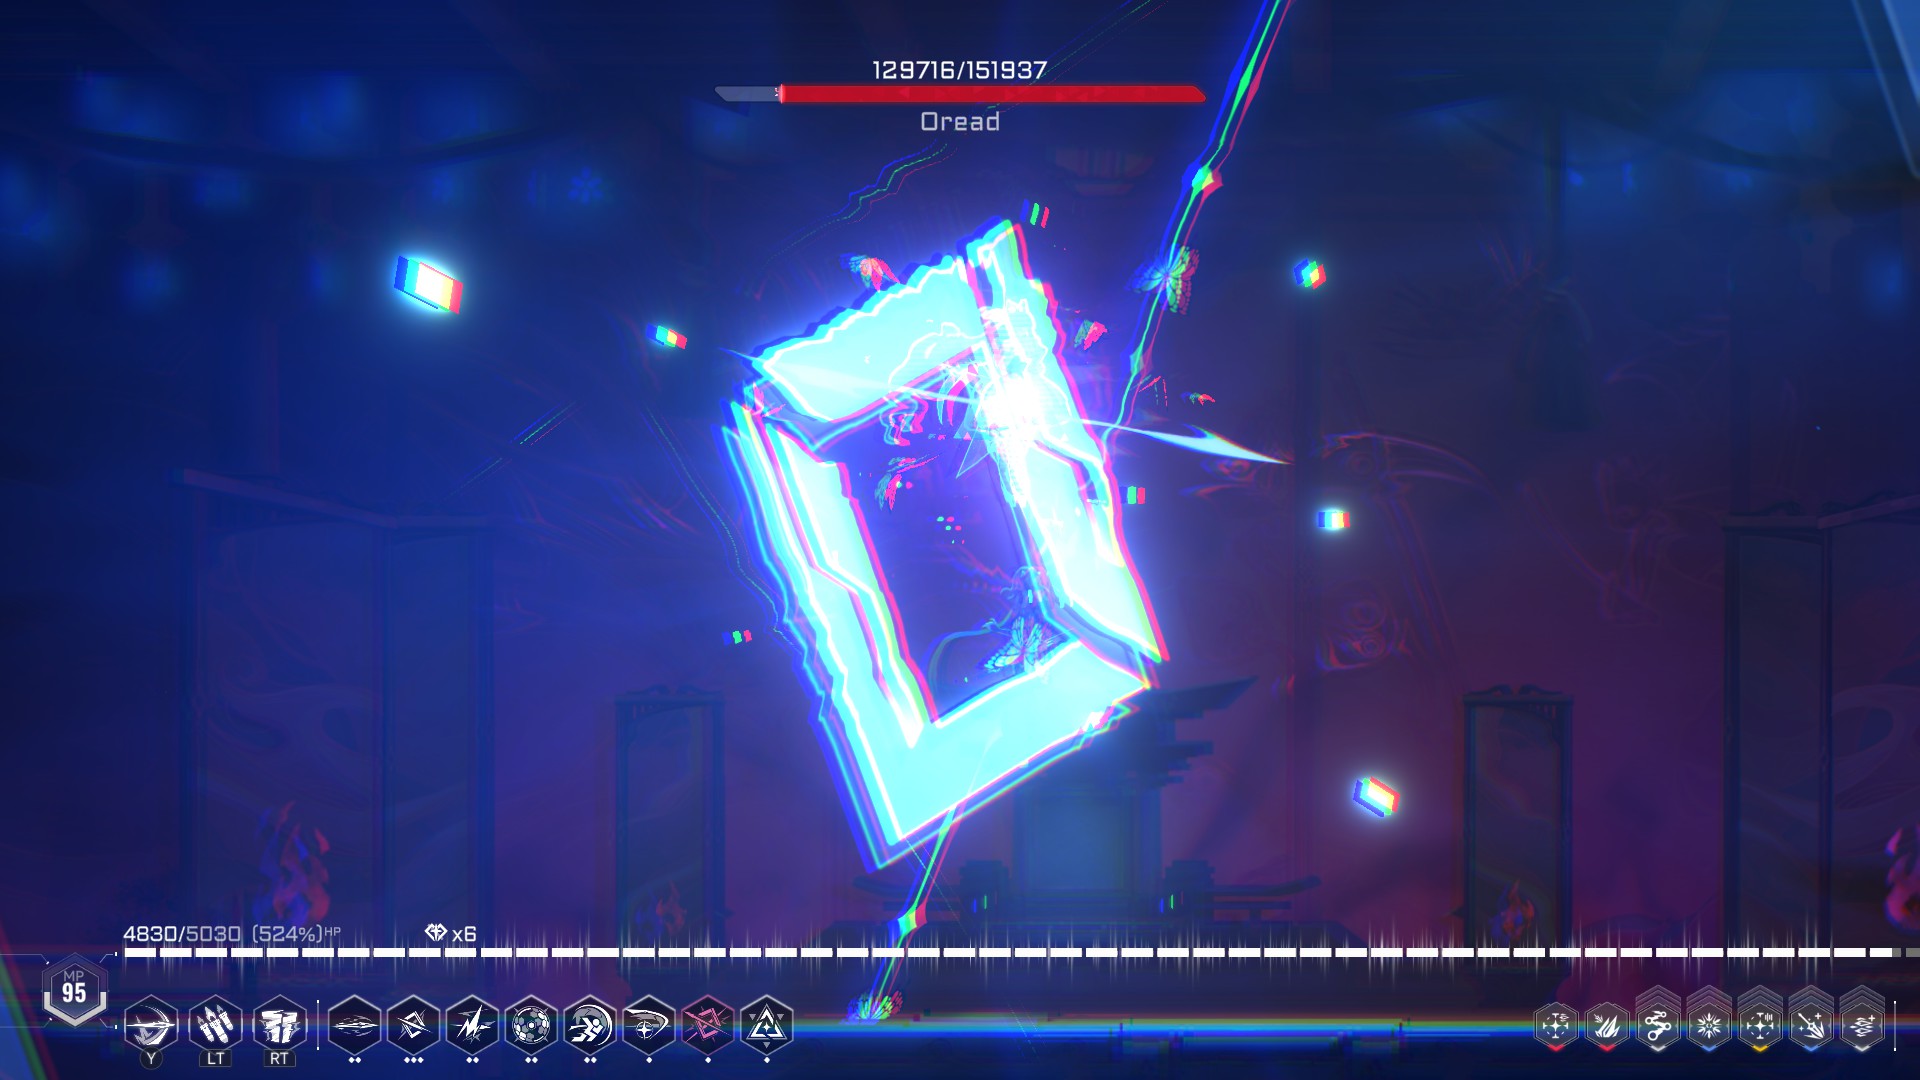
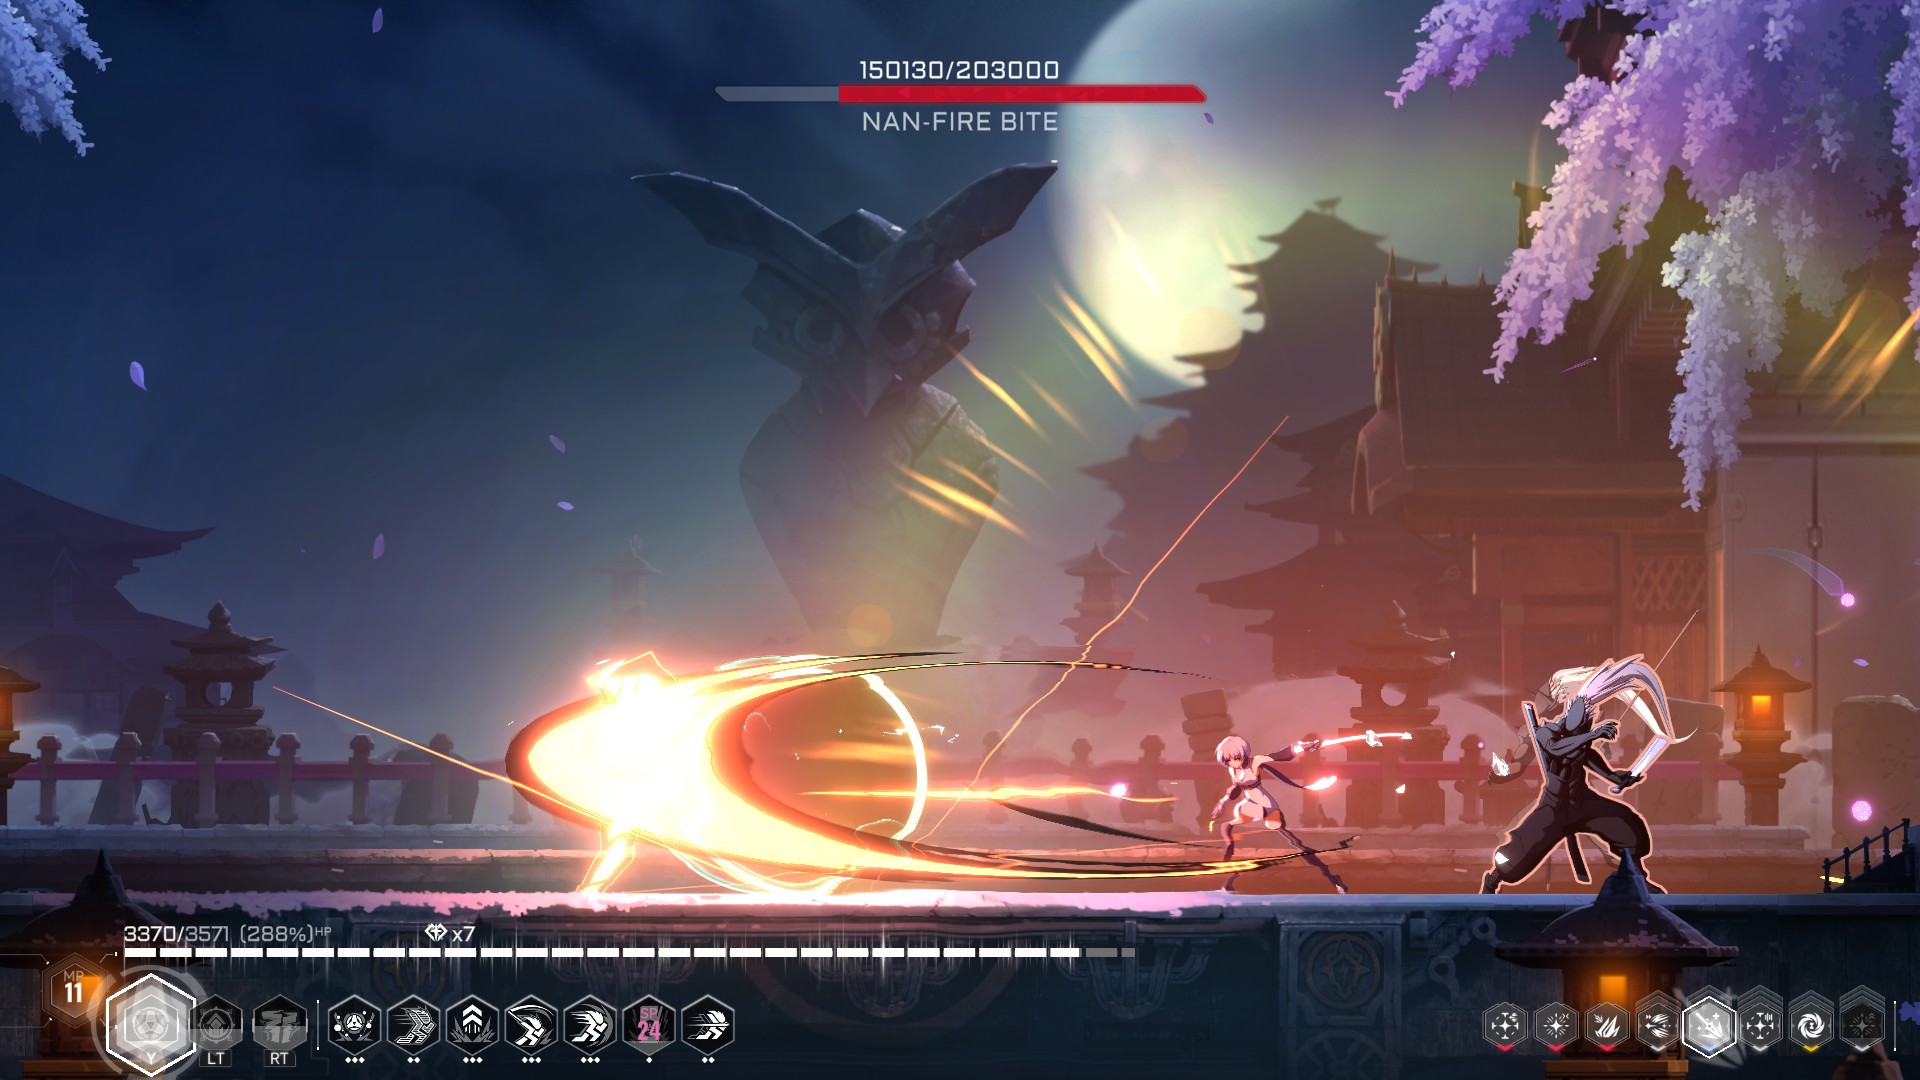
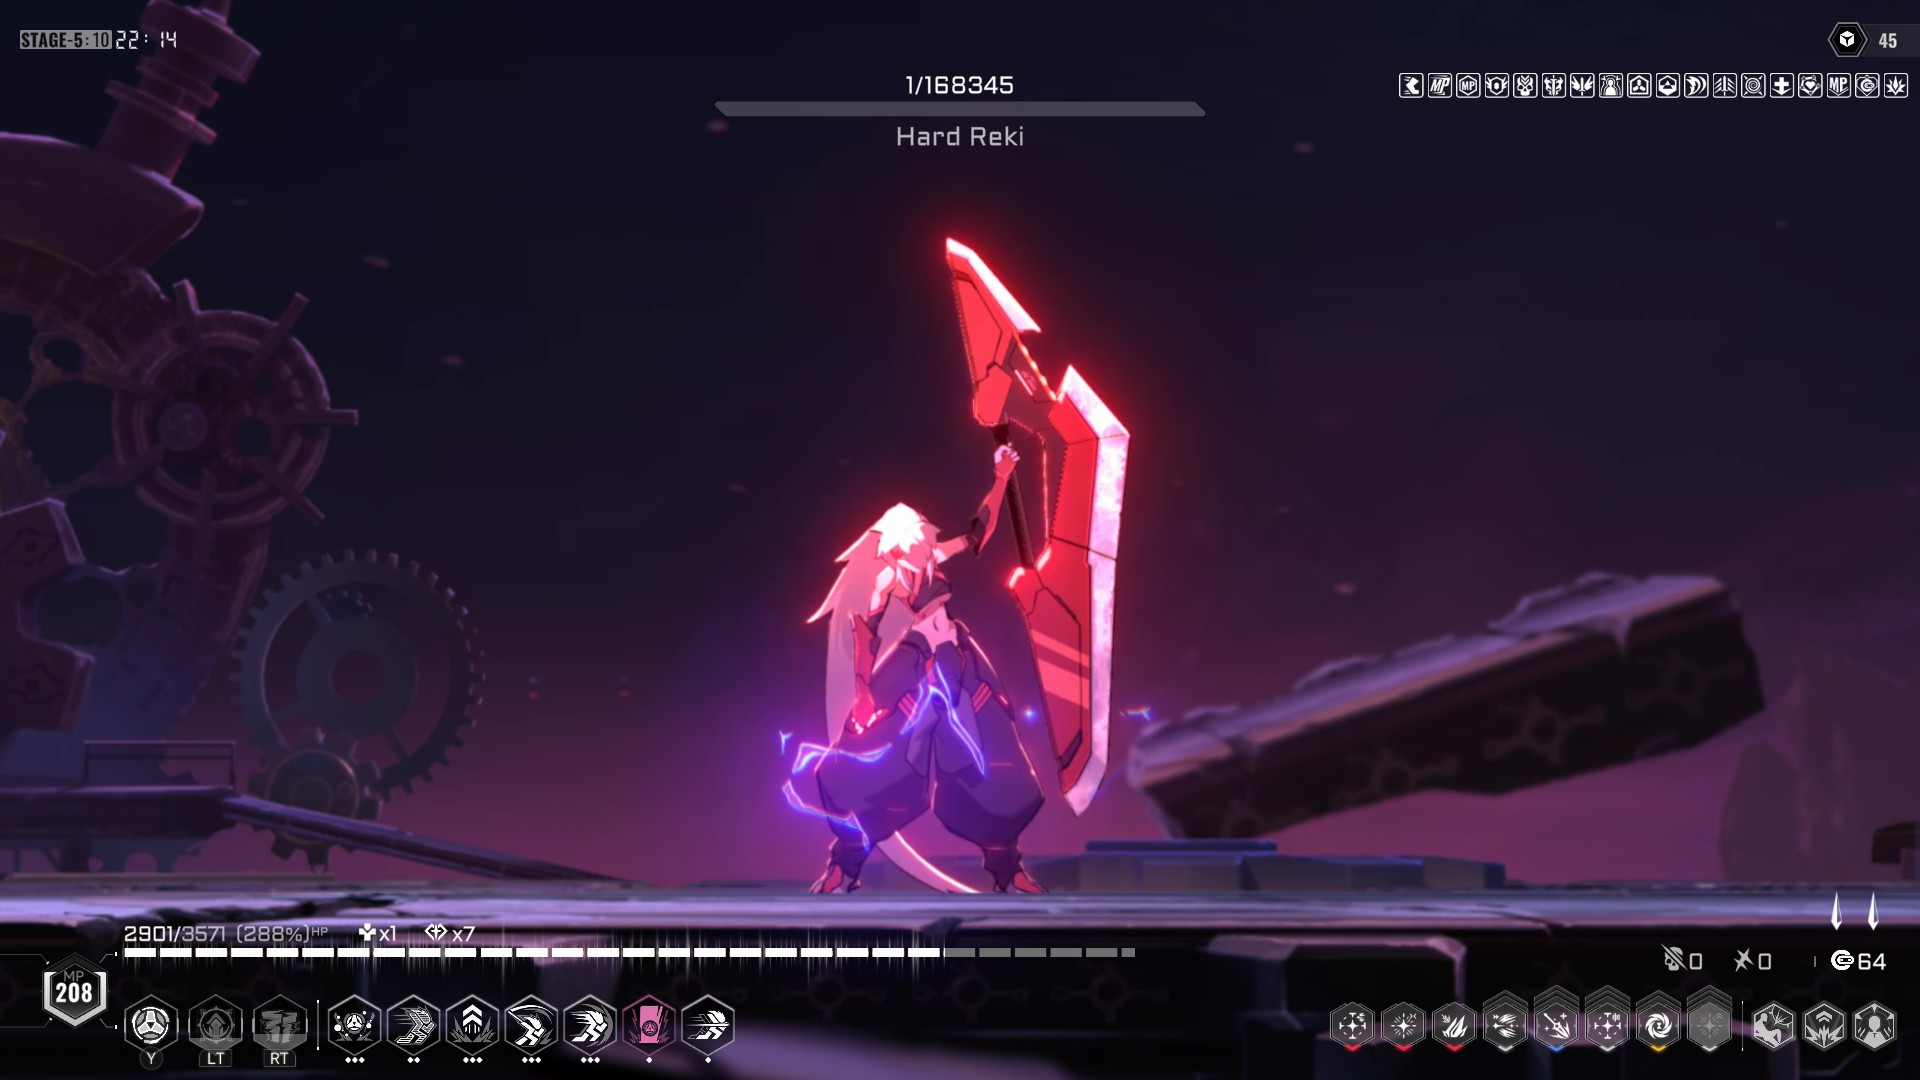
- ONLY FACE REKI IF TRULY READY FOR HER: Reki is, in my opinion, way harder than Susanoo and the real run killer for reckless players. A lot of fast attacks, constant projectiles that cover the whole stage, and ability to create clones to do said tactics, an unprepared character can be wiped out without noticing. Her Phase 2 has the bright side that her HP is going down passively, but is still a challenge if you don't have the right upgrades to face her AND THEN SUSANOO RIGHT AFTER. Be extra aware that the reward of beating her is a Potential upgrade, so you might not even need it if you maxed out your moveset already.
Shops and Sortitio


Excluding events which are up to RNG and rest areas will barely have any uses once you master the basics (Even if in higher difficulties rest areas gives an upgrade), the shops and Sortitio are good routes to take during a stage.

As said early, Exchange Shops are preferably to enter once you have arround 300-450 points to purchase as many upgrades as possible. In high difficulty runs you'll most likely go way beyond that threshold, and that's great since you can refresh the shop for new upgrades. DO SO AFTER BUYING WHAT YOU WANT, as once you refresh you'll get new stock to look through, and thus the possibility to get multiple upgrades from a single shop.

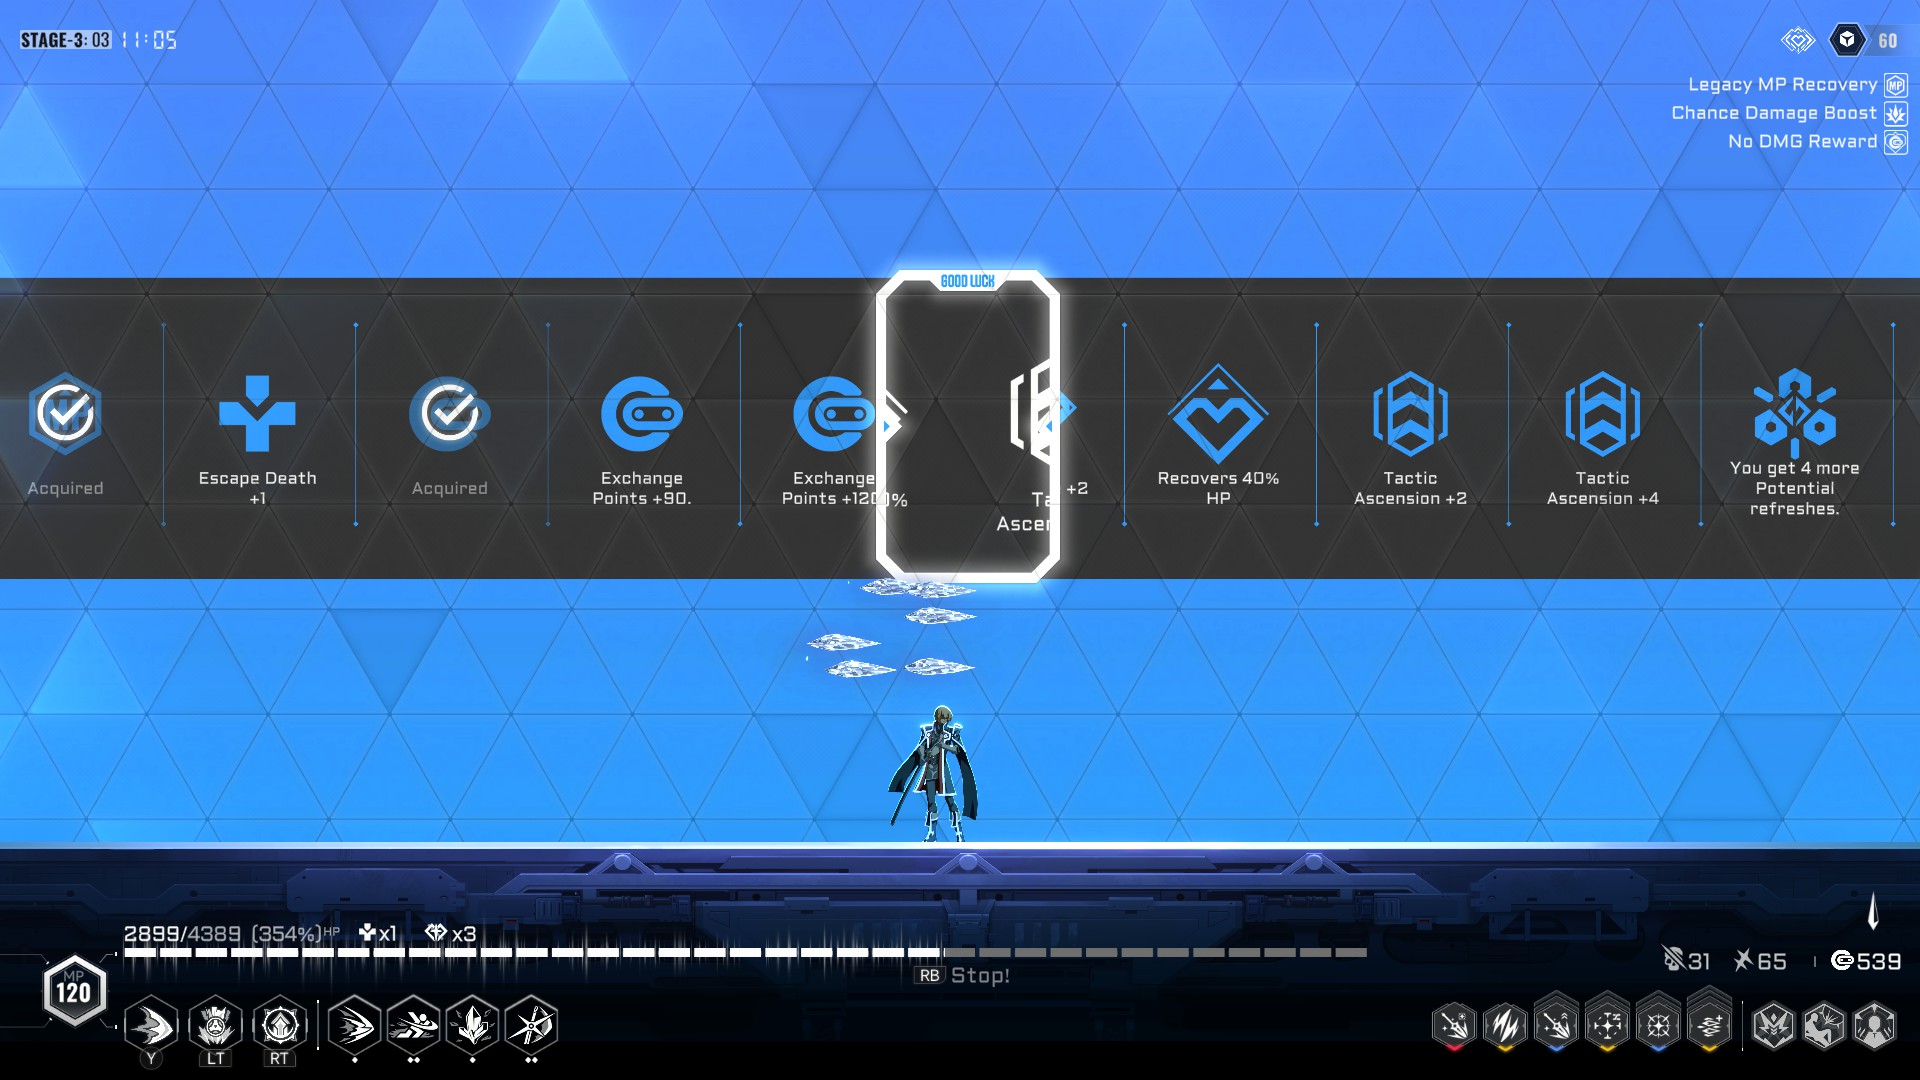
Sortitio, much like events, are completely pure luck to get something good, so is better to avoid them if able. However, in high difficulty runs you'll get additional spins, thus giving you two upgrades most of the time. This is when is worth considering taking a detour towards a bit of free gambling.

Now, the Black Market is the tricky choice to go for. You can only get ONE upgrade, and that upgrade will reduce your max HP. Usually most upgrades this shop provides aren't worth the risk of dying by taking one or two hits from a trap or a big enemy. However, the one upgrade worth investing for is the one that increases your HP after each Perfect Clear (not taking damage by enemies). Not only you'll get refunded after one or two areas, but as you get more upgrades and become harder to get hit you'll reach 8K-10K HP in the final stage and practically unkillable by Susanoo and/or Reki.
Hard Mode


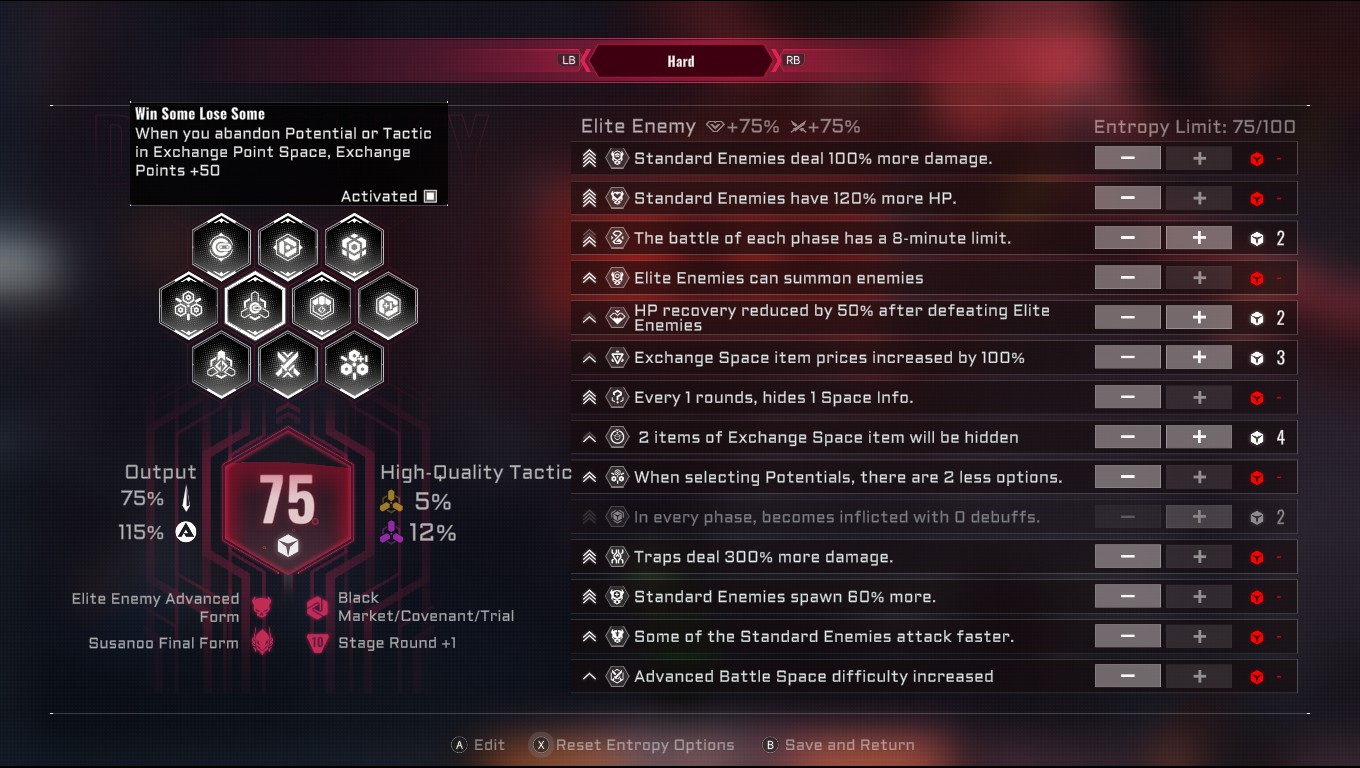
Once you beat your first run, Hard Mode will be unlocked. This is highly customizable, and the higher the difficulty, the higher the rewards.

On one hand, the higher the difficulty, the more rewards and stronger characters you'll get through upgrades, and obviously making runs more interesting by experimentation. On the other hand, isn't worth sweating towards max Entropy runs for upgrades alone, as well achievements only required 50 Entropy maximum. So don't be afraid of lowering settings and/or take it slowly and increase difficulty run after turn.

To be fair, most settings are quite manageable for the average player when compared to other roguelikes. If you know how your character(s) work, and have the right legacies to built arround them, as soon you beat the first area and get some upgrades it won't be that tough besides some boss encounters.

I am going to be a bit of an hypocrite and say you can set everything at max for your runs. HOWEVER, there's two particular settings that can be easy run killers:

- Time Limit: On average a run takes 20-30 minutes to beat, and the max setting is 6 minutes per stage (Rest/Shop areas won't decrease the timer). Is not that is impossible, but with some characters like Hakumen that has a VERY SLOW early game, as well some RNG of level layout and enemy location, there's a chance that things align against you and lose a bunch of time due a misstep or two. The good news is that the timer of a stage will stack with the next, giving you plenty of time in the final areas to catch a breath and farm a few upgrades.

- Less Potential Options: This truly is the most nefarious setting. Sure you get plenty of refreshes in late game, but you still have to deal with pure luck so the game gives your prefered moveset, one or two key moves minimum, or just give you jump upgrades one after another. You can set every setting at maximum and go through levels like nothing, but the moment you toggle this one you'll see your options thrown away. Either avoid completely, or set it that only removes one option so you atleast have a bit of choice.
Epilogue
Compared to other roguelikes, this one is actually quite beginner friendly and quick to learn how to approach your runs. If anything, the main challenge is to RNG through legacies with your 3-4 characters so your main character becomes a powerhouse in the highest difficulties.

Nonetheless, I hope this quick guide assists you on how to go with this game. Don't use all typed here like a bible however, as you might have talent using Ragna or stacking Umbra upgrades. Try experimenting, and you might end correcting me about how Ragna speedruns the game at max difficulty.

I will try to update this guide with a few more things. And if Makoto drops soon or later, it might become a Best Girl Guide when no one notices.
5 Comments
Pinagy | Пинáги 26 May @ 10:39am 
Taokaka is kinda broken when you get infinite all-directionall dodges. As they do some damage you can literally destroy boss rush without getting a hit. Takes a lot of time though, because dodges aren't implied to be main damage source. Anyway she is fun. Rachel can do infinite dodges too, but she has invincibility on her armor skill, so why would she.
Platapoop 25 May @ 1:28am 
I noticed for Noel, if you get dodges and some attacks have iframes, her dash attacks can be perma spammed with 99% full evasion? You can only do 3 dash attacks in mid air, but there seems to be no coolodown when on the ground.

For Hibiki, the potential where you can down+shift to hit 5 times, iframe during the entire time, and cooldown if the 5th hit hits is almost full perma evade, but you gotta aim though. Against the eye boss it's a really slow burn, but if you can also max out the skill where you summon clones, it solves all problems.

Hakumen like you said is a joke. I fully maxed out his up+skill and it can nearly one shot a boss. Very likely 2 shot if you do two charged up+skill. Massacre during boss rush too.
blisstake_the_blue_mushroom 18 Apr @ 6:06pm 
Think you can cover which upgrades tend to be best to invest in? i just noticed that its not covered here at all.
Prince Warhero 18 Apr @ 12:14pm 
Nice one with good information thanks :MHRISE_OK:
Full Metal Jackass 12 Apr @ 12:18pm 
Useful, thanks!