Spirit of the North 2

Spirit of the North 2

Not enough ratings
Collectible Guide Walkthrough
By WhisperingSouls
A list of all the collectible locations (tribe lore, relics, keys, and chests) as well as a full walkthrough
   
Award
Favorite
Favorited
Unfavorite
Introduction
Hello everyone! I hope this guide helps will all your collecting needs.

THIS GUIDE CONTAINS SPOILERS FOR THE GAME! VIEW AT YOUR OWN RISK!!

This guide does not include: Obelisks, portals, or ancient trees! Once you find an obelisk it will put question marks on your map to help you find the other locations.

This guide does include furs, but if you want a more comprehensive list and location guide on the furs check out this guide by Morfie!
https://steamhost.cn/steamcommunity_com/sharedfiles/filedetails/?id=3484479063

Things to remember:
  • The guide was made as I collected the items. Some may be out of order of the way you find them. That's okay! We all play games differently.
  • The game will give you new abilities to help you locate the items! Don't forget your runes.
  • Not all of the chests in the game are needed to get the achievements or cosmetics. Some will contain skill points, eye colors, furs, or shards. As I was making the guide I forgot to label what I got from each chest. I have added all the chests I have found; I started a little too late labeling what I found in the chests.
Raven Tribe: Words of Memory
Words of Memory
1
"In ancient days, a fox came to this island from across the sea, running through the sky, amidst the northern lights. Upon his back was a child called Eona, the last of the Aurorians. We are her descendants."
  • This memory can be found during the tutorial. Following the raven will lead you to a door that needs you to pull a chain to be opened. Next to the door is a skeleton in black robes. At his feet is the first Word of Memory.

2
"In ancient days, Éona, the mother of all, had many children. From them came the Fox Tribe, Bear Tribe, Ram Tribe, Wolf Tribe, Stag Tribe, and Raven Tribe. For hundreds of years the tribes lives in peace and each were blessed by the light of their animal guardians."
  • Upon entering Fox Village, take the right path until you come across a giant archway.

  • go right and you'll find a little opening overlooking the valley. The scroll will be sitting on the bench.

3
"In the days of the ancient, the eldest son of Éona, known as Eynbor, grew to be a large and powerful man. He was prone to anger but found peace on the eastern isle, deep inside the warmth of an isolated mountain. There he met his kindred spirit the Bear Guardian, who also loved warmth, food, and peaceful rest."
  • On the south side of Ashlands is a place called Cavern of Eynbor. The scroll is sitting right inside the cave.


4
"Upon the bountiful land the people of Eynbor grew numerous and were known as the Bear Tribe. They lived idle lives in the cradle of peace. Never waiting for food or drink, never toiling and never contested or provoked."
  • Found a little off the path between Bearclaw Bridge and Ember Crossing. About halfway down the path head to the west and you should find a cave. Enter and the scroll will be just inside.


5
"In the ancient days, Hyskar Stormfather, the second son of Éona, settled in the rugged highlands with his family. He bonded with the Ram Guardian and his people became known as the Ram Tribe."
  • At the top of the Ruins of Hyskar you can find this scroll along with a chest.

6
"In ancient days, Runa the eldest daughter of the Éona was a quiet and peculiar child. She was followed by an old white raven named Memory who told her many things. Runa with wisdom beyond her years, created Runescript to record all that Memory made known unto her. Memory and Runa sought to solitude far from her mother and siblings. She settled in the far north in a land shrouded in mist, where her vast libraries could be safe."
  • This scroll can be found inside Runa's Tower. It should be sitting directly inside near a statue.


7
"In ancient days, Valulf, 3rd son of Éona, was lost as a child. He wandered helplessly in the rugged mountains. He was found my the Wolf Guardians Esmir and Okama who raised him in the shelter of a glacier."
  • This scroll can be found inside Thal'dulian Glacier. Follow the river until you at met with a few icebergs blocking majority of the path.

    There will be one on the left side of the room you can climb to get up to the scroll.

8
"From Valulf came the Great Wolf Tribe. His people honored Okama, the white wolf guardian of the sun and Esmir, the black wolf guardian of the moon."
  • At the start of Wolf Pass you'll find this scroll sitting on an altar between two wolf statues.

9
"When Valulf died there was a disagreement amongst his children about who should lead the tribe. There was a small skirmish and the eldest daughter Eota prevailed. The younger son Mirth who had contested his right to rule was banished with his followers. Thus the Great Wolf Tribe was fractured."
  • Follow through Wolf Pass until you come to a split room. One side for each wolf tribe faction. The scroll will be in the middle before the two rooms.

10
"In ancient days, the 4th and youngest son of Éona, remained close to his mother in her old age. his name was Kotho and he planted an entire forest. his forest became so mighty that even the Stag, Guardian of Life, attended to it. The people called this forest Mosswood."
  • Right in the middle of Lake Kotho is a little island with a burial place. At the front of it is the scroll- a stag head is sculpted into the front.
Raven Tribe: Pieth and Isölda
Pieth
1
"Memory tells me of a war raging south of Misthaven. The shaman Grimnir has awoken the Bear Guardian, infecting it's spirit with a sickness from beyond our realm. How far will he go? Are we safely beyond his reach?"
  • As you progress the main story you'll be chased off a cliff by the Bear Guardian. Now in Misthaven, go to the little river and you'll see the scroll sitting on a few rocks near a small purple flag.

2
"The mist brings me great comfort. It blankets the land like a veil, concealing my tribe from the dangers beyond our borders. Though Grimnir's War rages, we have gone unnoitced for many years.
  • In the middle of Hermit Lake is a platform. Swim over and you'll find the scroll in a basket.

3
"Memory, the white raven Guardian, Keeper of the Past, whispers to me all he has witnessed. Against the vastness of his knowledge, my troubles seem insignificant, like distant stars in an endless night sky."
  • Inside the Misthaven Monastery (the Vault of Sorrows), you'll find a save point statue. To the left is an iron door. There is a little hole you can jump through.

    In a cobweb is a lever you can pull to open the iron doors.

    Going through the north door leads you to this scroll.

4
"I have learned that Grimnir once was a skilled and well traveled shaman. He possessed extensive knowledge about all the tribes and even realms beyond our own."
  • In Misthaven Orchard you'll find a bunch of dead trees. Leaning against one of the trees is a skeleton with the scroll sitting on his lap.

5
"Despite his numerous spiritual talents, the Council of Elders deemed Grimnir unfit for their order. They instructed him to go back to his homeland and utilize his abilities to uplift the Bear Tribe from poverty. Only then would he be considered worthy of their order."
  • Located in the Pieth Homestead . There are multiple ways to get "downstairs" and once you do you'll find the scroll sitting on an altar.


6
"I am filled with grief for the fate of my people. I share my pain with Memory, the wise white raven, my great teacher and dear friend. I can see Memory embodies my sorrow. My pain is now his to bear."
  • Progress through the Misthaven Monastery / Vault of Sorrows to find this scroll.

7
"As I take my final breaths, I see Memory growing into a monstrous form, embodying all our rage and pain. His eyes glow red and his breathing is labored. He has broken through the dungeon roof and has set flight towards his temple, where the Bear Tribe is camped."
  • Located in Misthaven Monastery / Vault of Sorrows, this scroll is found on the path through the vault. Once you have the Skull of Memory, it is hard to miss.

Isölda

1
"In the archives, whispers tell of an age of woe, when the void shall tear asunder and anguish shall creep into our realm like a sickness. Crimson skies will loom, and guardians shall rage. A world in ruins, consumed by despair, shall await salvation."
  • Halfway between Silent Pass Ruins and the Temple of the Ram is an area with dome rock structures and a big rock stack. Behind this is an area with stone shelves. The one to the right contains the scroll.


2
"Long after the 6 tribes have fallen, the fox guardian shall return with healing light and restore it's kindred guardians. Then pass through these halls triumphantly onwards to cleanse the fallen heir of Éona."
  • After teleporting to the Fox Island, you will be met with this scroll at the raven door at the Hall of the Guardians.

3
"I dreamt a fox came to me in my cell. It's light was strong and the darkness recoiled at its presence. it continued on to the Great Library, the brooding lair of our fallen guardian. And then I woke. What sort of tale is this? Either I am a seer or I am drifting into madness."
  • As you progress through the Temple of the Raven you'll enter a room with a giant spiral ramp. Climb up and you'll enter a room with a pulley lever. It opens the iron door next to it. Enter and you'll find the scroll on the ground.


Fox Tribe
Balgair

1
"In my day, a shaman called Grimmnir of the Bear Tribe broke the peace between tribes and began a great and terrible war. Those true to the old alliance united and fought against him."
  • This scroll is found immediately after finishing the first "puzzle" and opening the door to a council room. This scroll is hard to miss.

2
"Grimnir, consumed by envy and hate, sought to corrupt the light of all the animal guardians. One by one, he subjugated them to his will. However, the Fox eluded him and fled far from his realm, never to be seen again."

  • As you progress you'll walk through a cave tunnel. You'll find a fox alter with the scroll sitting on top of it.

3
"Though, in nights calm light when dreams doth take me, I see our guardian run through the sky. The fox yet lives in lands far off and will return long after I have died."
  • When you first enter the Fox Village follow the path until it splits.

  • Take the left path until it circles around to a tree, a tan fox, and skeleton. The paper will be on the alter in front of the three.


    4
    "The staff of Grimnir shall remain here, unmoved, until the Fox Guardians return."
    • As you enter the Palace of Peace you'll notice that your fox grows to be on edge. Progress forward following the red wisp in the air. It'll lead you through the colosseum like building to a little room.

    • Inside is the scroll and a chest.

    Feon
    1
    "The age of man is over, our people are dying. The guardians are all a sickening red, corrupted by realms beyond. Where is the aurora that once painted the sky, where is the fox with its healing light?"
    • You can find this scroll at Stormwind Shrine on one of the stone walls with a ram head.

    2
    "Legend speaks of an era of suffering, when the skies are red and the spirits rage. Yet within those tales lies a glimmer of hope, foretelling the return of the aurora. Shall I live to witness the foxes paint the sky once more?"
    • Found inside the Arctic Fox Guild. When you fall in, head to the left side and you'll find the scroll sitting on the floor.

    Gwyna
    1
    "The fox with healing light will cleanse the spirits of man and beast."
    • This one is easy to miss! As you are climbing higher in the Temple of the Raven, you'll come to a lever that opens a door for you. That door will shut behind you. Progress forward until you see another steam vent. Use the raven companion to get all the way to the top. The scroll is sitting on the highest circular ledge.
Ram Tribe
Taukara, Daughter of War
1
"Like a storm in the night I defend my flock from thieving shadows. With swift action and sharp iron, I protect the helpless from the mouth of wolves. I am shepherd with a warriors heart."
  • Found just outside the Weaver's House.

2
"I am too young to join the warriors of our tribe. Yet, when the skies blacken and lightning strikes, I can see the battle on our border. Oh, how I long to join them and feel the storms of war.
  • At Silent Pass there are short steps leading up to three pillars. The scroll is sitting on this platform.

3
"Our shaman have fallen and their relics are lost amongst the ruins of our strongholds. The Ram's light fades, his eyes glow with a sickly red. There are none left to cleanse him."
  • Found right out front the Temple of the Ram.

4
"In the wake of Grimnir's treachery, our Guardians falter, their noble spirits tainted by his vile deeds. yet, from the depths of our collective anguish, arises a solemn vow to them. We that remain from shattered tribes, both young and old, bind ourselves together in an unbreakable oath to defeat Grimnir. Henceforth, we shall be known as the Northguard, the united people of the Northern isles.
  • Directly inside Thelenök Hall , you'll see this scroll sitting on a table by two throne-like chairs.

5
"We are what remains of the Northguard, the sons and daughters of those slain by Grimnir. Our guardians hath he subjugated to his will and caused us to lead bitter lives of sorrow and war. We wake this day with vengeance upon our lips and justice etched upon our swords."
  • Found at the very end of the Hall of Guardians.


6
"For his atrocities, Grimnir was sentenced to death and the war ceased. Yet the land bore the stain of his ill deeds and the guardians could not be cleansed of their corruption."

Slight story spoiler: continuing down the story path will cause the area to erupt into lava. You might still be able to get this scroll after this happens, but I am not 100% sure.
  • Following the main path will lead you into a big cave. After a quick cutscene you'll see two towers.

  • The one on the left has an open door. Inside is a whole bunch of scrolls and one giant scroll (for you!)


Skogmir the Battle Shaman

1
"Smoke rises from Mosswood, I must swiftly journey to our borders to aid our kin. May the Ram grant us swiftness. My daughter, Taukara, shall guard our flocks in my absence. Woe to any who dare to cross her path.
  • You can find this scroll inside the building at Windsong Trading Post.

2
"Although the Stag and the Raven tribes have fallen, the Ram stands resolute upon the hilltop. The storm clouds blacken as we prepare for war. Grimnir's armies, shall fall before our walls."
  • At Stormgate you can climb up the battlements and find this scroll up there.

Heilda, Shield Maiden
1
"We are the Ram Tribe, shaped by the rain and weathered by the storm. Like the Ram, our guardian, our feet are firmly planted and we can not be moved."
  • Found to the south of Maelstrom Rock. You'll see a few towers along a natural wall.

    One of the towers will have a chest and a lore scroll.
Stag Tribe
Bato the Doubtless
1
"Warriors of immense stature have arrived on our shores from lands far off. they wear the emblems of the Bear Tribe yet also a new mark I do not know. We have welcomed them openly and have shared of our abundance for this is the way of the Stag."
  • At the entrance to Mosswood Mine there is a structure to the left. Inside it is the scroll.


Storkush
1
"Stag be praised, the forest provides bountifully for our tribe. We have more food than we could ever need. This old cavern is an excellent store house."
  • This scroll can be found right at the entrance to Mosswood Mines.

2
"Word has reached me that the City of Mosswood has been sieged. All survivors now flee north to Stormvale and beyond. I am old and cannot make such a journey. There is nothing I can do now. perhaps I will go unnoticed deep within these vaults."
  • Progress through the Mosswood Vault and find the glowing red vines. There will be a nearby lever to pull that will shine a light on the vines, making them disappear. Head into the hallway and the scroll will be on the floor.

3
I hid my relic deep, to elude Grimnir's grasp. But my efforts were in vain as he's found me here at last. Though my spirit soon wanders from this world, my foe I do forgive. Though I die old and alone, I pray my kin yet live."
  • Progress through Mosswood Vault and you'll come across a small puzzle with the torch and waterfall. In order to progress you need to get the torch to the other side without it extinguishing. On the other side of the waterfall is a few ledges and rafters you can climb. Go to the top and you'll find the scroll alongside a chest.

Lady Amara
1
"We have just returned from trading with the Fox Tribe, our ally on the southern isle. Their craftsmanship is beyond compare. Our relations with them continue to strengthen, bringing prosperity to our Great City.
  • East of the Foxview Outpost is a lone boat shipwrecked on the beach. Hop in the boat and you'll find the scroll sitting inside.


2
"The council's fears of Grimnir's ill intent are being manifest. He marches toward our gate in this very moment. I can only assume he seeks to claim my staff in order to subjugate the Stag Guardian. We are attempting to escape but it may be too late."
  • Found inside the City of Mosswood. Inside one of the buildings is an alter to the stag. If you can find the stag carving on the wall, you're in the right place.


3
"The Stag's light is fading under the cruelty of Grimnir. I remain powerless to cleanse our guardian without my staff. Grimnir has taken it from me and soon he will take my life. However, death is not the end and I will soon walk in forests of light."
  • Found inside the Temple of the Stag. Once outside (after solving the first puzzle with your spirit form) you'll see an iron gate blocking a room to the left. There is a small hole you can jump through to get inside. The scroll is lying on a blanket in this room.


King Kumari
1
"By my word this crypt is sealed and I forbid any to enter. let the deeds of him who sought to traverse the void be forgotten and that suffering and hate remain locked away forever."
  • The scroll is located right at the entrance to the Forgotten Crypt.

2
"I spent the day meditating in the forest and communed with the spirit of the stag Oto-Oksu. His light is gentle and patient. He gifted me with an ancient relic, an antler crown, and taught me that I can walk beyond the constraints of my mortal body, in spirit form."
  • Within the King's Glade is a singular house. Inside will be the scroll on a stone table.

3
"Grimnir has destroyed the bridge to the stone tower. I am unable to regroup with our tribe and assist the Stag Guardian Perhaps that is what Grimnir wants, for me to remain here with my relic."
  • This scroll is at the entrance to King's Tower. At the door go to the right and there is a little space for the scroll.

4
"I dreamt the forest was veiled with shadow and death. The stag was lost, his eyes were red with hate, and his domain became a bramble of thorns."
  • Northwest of the Foxview Outpost is a tent surrounded by red brambles. The scroll is sitting inside the tent.


5
"I dreamt a fox came to me, long after I had passed. And searched amongst my bones until, it found my crown at last. Then from this tower yonder, back to the city great. It cleansed the noble stag with light and restored his rightly state."
  • Climb up the King's Tower until you reach a platform near the top with a bunch of paper scrolls. The lore scroll will be next to the light source.
Sun Wolf Tribe
Arkenmar
1
"We are the Wolf Tribe, fractured in days of old. Two halves under one stewardship. Ensnared in an unending dance of hate and mockery. Our guardians bite and howl, forever pursuing one another across the sky. The sun, in its pursuit, drives the moon from the firmament. And when night descends, it stealthily returns."
  • Along the north of Kalu Nol you can find this scroll sitting inside a small open walled arch.

2
"What deceit hath Grimnir sown among the Moon Warriors, provoking their unjust assault upon us? We, rightful stewards of the mountains, akin to the sun's dominion over the earth, sustain ourselves without taking from others. They, cloaked in glacial refuge, are but thieves ignorant of true sovereignty, mere reflections of our unwavering example. Without our guiding light, they dwell in darkness, bereft of our radiant widsom."
  • Southwest of the Frigid Peaks Portal is a broken sled. You can find the scroll nestled into the debris.


3
"We've captured the Moon Wolf Guardian, in hopes to quell the strife between the wolf packs. may this act cause the Moon pack to peacefully submit to our rule and unite with us against Grimnir, just as the Moon submits to the glory of the Sun each day."
  • Inside the Temple of the Wolf there are rooms on the left and the right. Head into the right room and crawl underneath the right stairs. You'll enter a side room with the lore scroll.


Piera
1
"Focus on breathing to calm the beating heart. For a calm heart will settle the mind and a settled mind will unbind the spirit. Just breathe, and the spirit is boundless."
  • Found inside Kalu Nol. There is a house with a balcony overlooking the lake, the scroll will be sat on this balcony.

2
"Ascending the tallest peak, I brave the biting cold, for in harsh elements lies the purest test of body and soul. Upon the mountain's throne, the Sun Wolf rightly reigns. And I must prove the resilience of my own inner-flame."
  • On the path to the Temple of the Wolf you can find this scroll sitting in a small carved stone cranny.


Moon Wolf Tribe
Fennuk
1[/hj3]
"Last night my hunger led me to a valley where the Ram Tribe's flock grazed. Fortune seemed to smile upon me. for it was only guarded by a small girl. Thinking to steal a sheep or two, I approached, only to be met with a whirlwind of fury. With teeth bared and blades flashing like lightning, she drove me back. Never afore have I witnessed such intensity and resolve. Truly, children of the storm they be."
  • This scroll can be found before entering Wolf Pass on the Stormvale side. Look to the left of the mountain and you should see a small camp.


2
"We are the truth and we are the lie. We are bold but often hide. We wax and wane from time to time, just like the moon in the night sky."
  • Can be found along the path of the Thal'dulian Glacier. It is hanging in some ropes on a stone ledge.

3
"Ha! Grimnir, the deceitful knave, hath betrayed us, and our Guardian Wolf, the master of deceit, now sickened by his foul plague. Blinded by his lies, we failed to see the corruption rooted in his soul. Aye, we may have dwelt amongst us, but he is kin to us no more. Oh, the folly of one who seeks to deceive the masters of deceit! Thirsting for vengeance, we shall not rest until he rues the day he crossed us."
  • Found in the first main room of the Temple of the Wolf, after heading down all the stairs. The scroll is on the rafters.

4
"Oh Grimnir, that treacherous fool who dared to outwit the masters of the moon and mischief, now treads unwittingly into a snare I have deftly woven. He imagines that the Northguard shall bend to his will, but alas, 'tis not so. For he walks to his execution."
  • Climb the center building at Grimhold Fortress and you can find this scroll at the very top of the tent/roof.

5
"Ah, the honeyed delight of a scheme well-played! Grimnir's is no more, and the final laugh is mine, ahaha!"
  • After defeating the final boss you can find this scroll on the wall of the Palace of Peace

Eyma
1
"I Eyma, of the Moon Pack, endure my nights in sorrow in the Sunken City of Outcasts. I nurture my fatherless son, bestowing upon him the name Grimnir, meaning both peace and turmoil. With no birthright, his path will be his own making."
  • Facing away from the portal, along the right side of the room, second floor, there is a room with a few beds. Inside will be the scroll.
Bear Tribe: Grimnir
Grimnir
1
"I am Grimnir the fatherless. Child of Sorrow, a spirit betwixt peace and anguish. My home is a dwelling of falsehoods, and my cradle is a cavern of ice, where death, a frequent guest, beckons my kin to leave me."
  • Found inside the Sunken City of Outcasts. Once in the portal room head up the stairs to find a statue with red lighting. Go left and you'll see the scroll ahead of you.


2
"From sorrow and shame, I shall ascend, forging a path uniquely mine. I will visit all the guardians and seek their blessings."
  • Along the west coast of Ashland there is a small cave with blue lights around it.

    Head inside and find the scroll sitting near a bedroll.


3
"In this place of death and sorrow the veil between realms is thin. I will depart from my body and walk amongst the spirits in the forests of light. And when I return from this great journey I will surely have a place amongst mine elders."
  • Enter into the Forbidden Crypt until you see the floor filled with red vines. Take a right and you'll find the scroll in the beam of light.

4
"The Council of Elders are naive to think that there is but one world beyond our own for I have found another. A place born of anguish and the trials of affliction. A place that finds strength in pain and solace in suffering. I Grimnir, the fatherless, lay claim to this realm as my birthright."
  • Inside the Forbidden Crypt is a room with red vines covering the floor. There is a small hole you can jump through. At the bottom of the hole is a new room with water. Swim over to one of the ledges and you'll spot the scroll sitting off to the side.
3
5
"I am Grimnir the War Maker. Too long hath the Bear slept deep within his mountain. I will descend into the depths of the earth and find his resting place among the halls of molten stone. I will awaken him and shall be his master. Destruction shall flow from me and all will know my name."
  • This scroll is found inside the Slumbering Furnace - the room directly after entering the Temple of the Bear.

6
"The Stag Guardian nurtures and cares for his people as if they were his own children. Oh, then how great his pain will be when he witnesses their destruction. his home will be empty and his kingdom will become a bramble of thorns as anguish chokes his spirit."
  • This scroll is found right outside the doors to the Temple of the Stag.


7
"The Ram Tribe's combative nature shall be their undoing. They will see this war as a contest of strength and will embrace it. Let this war consume them slowly."
  • Right outside the Tomb of Heilda you can find this scroll by giant broken gates on the pathway.


8
"We need not remove the Ram from his hilltop. Let him remain there. Let him remain in endless combat. Let the rage permeate his soul."
  • Follow the path up out of the Temple of the Ram to get to Ram's Hill. The scroll will be next to the save statue.

9
"Let us turn our focus to the Frigid Peaks, where the Wolf Tribe quarrels amongst their own, a mere whisper away from fragmentation."
  • After cleansing the Ram Guardian this scroll will be waiting for you.

10
"In Misthaven there dwelleth a lesser raven, named Thought. Lock her away, she is of no use to us."
  • Located in the Ruins of Nûmhjûk. You'll see a statue holding an outline of a staff. Behind that is a door. The scroll is next to the door.

11
" Memory, the White Raven, guardian of the past, is of great use to me. For memories can be tainted and the past can become a bottomless vessel of sorrow, regret, and shame."
  • Inside the Raven Temple: once you find a save statue in a room with red fog you'll notice an iron barred wall to the right.

    You'll need to pay 50 spirit tokens to enter the room to get this scroll. If you're breaking every pot you see in the temple you should have plenty.

12
"I seek the final guardian, the legendary Spirit of the North, the fox guardian of the aurora. Like the others, it too must be perfected through pain."
  • You can find this scroll inside the Corrupted Village. Look for the building in the middle and the scroll will be on the roof.

13
"The Northguard have surrendered. I sail to the isle of the Fox Tribe to take my position at the head of the Council of Elders."
  • This scroll can be found in the center building at Grimhold Fortress.
Bear Tribe: Mog the Mighty, Rika the Witch, Grimöl
Mog the Mighty
1
[/i]"I am Mog the mighty! Mine arm hath the strength of Eynbor and none can bind me. When I rage the earth shakes and mine enemies fall."[/i]
  • Found inside Thunderhold Dungeon. It will be on the coliseum floor strapped to the back of a skeleton.

2
"We the Bear Tribe, son's of Eynbor, eldest of Éona. Pledge ourselves to Grimnir, the war maker. For he has awakened the bear as legends foretold and shall lead us into battle and deliver unto us the lands of our birthright."
  • This scroll can be found just outside the Grimhold Sanctum.

3
"We have landed on northern coast of Mosswood forest, the home to the Stag tribe. Despite we being heavily armed the people here foolishly welcome us. They must yet be unaware of our plana to besiege their great city. We await Grimnir's signal fires from the south before we lay waste to their homes."
  • As you walk along the beach when you first reach Mosswood, you'll see a giant stag statue. Go south of it and you'll see a lone tent on the beach. The scroll is sitting inside this tent.

4
"Mosswood burns and their Guardian is defeated. We now turn our attention to Stormvale, the fortified highlands of the Ram Tribe."
  • Immediately after leaving Veilgate (after leaving Mosswood) head towards the giant bear statue. Underneath it will be another Bear Tribe Encampment. The scroll will be close to the statue.

5
"We have suffered many losses in capturing this fortress. The Ram Tribe, fearless protectors, boast of a single warrior outmatching a dozen of our own. Yet, notwithstanding their bravery, none can rival the might of Grimnir."
  • Inside Stormgate Fortress (you can enter via the back and a small hole near the roof), you can find this scroll on the second floor on a table.

6
"Grimnir's prowess surpasses even the stoutest warriors. Not even the formidable battle shaman Skogmir could vanquish him, though their clash rent this tower asunder. Skogmir now lies deep within the rubble of this tower, laid low by his own hammer."
  • Climb to the top of Stormgate Tower to find this scroll.

7
"Grimnir's connections to the Moon Wolf pack remains strong. They say he was born here and treat him as one of their own. he has promised them lordship over the mountains should they join us. They relish the idea of over throwing the Sun Wolf Pack and seem all too eager to perform their mischief."
  • Found inside the Sunken City of Outcasts. After you pick up the wolf headed fire stick (after solving a quick puzzle) the gated doors on the left and the right sides of the room will open. Head to the left side to grab this scroll.

8
"I fear Grimnir's trust in the Moon Warriors is misplaced. How can we trust these tricksters? They are master manipulators, liars, and thieves. I will feel much better once I leave this place."
  • You can find this scroll on the second level of the first big room of the Sunken City of Outcasts.

9
"We can not find the Fox Guardian. Perhaps it has abandoned this world and returned to the forests of light."
  • After you exit the Wind Caverns , you'll be set loose on the other side of the river from Misthaven. You can scale across the cliff sides towards a giant snake like cave opening-Snake Shrine. (this serves as a good marker for where to go). Once there you'll see an old torn down camp for the Bear Tribe.


    The scroll will be sitting under one of the canopies.

Rika the Witch
1
"Behold! Grimnir, son of the mighty Bear Tribe, rouses the Bear Guardian from his age old slumber, heralding a new era! The awakening of the bear foretells a time of war, where the Bear Tribe no longer sits idly within their homeland but claims the birthright of Eynbor, the entirety of the Northern Isles."
  • Found at the entrance to the Temple of the Bear.

2
"The Guardians tainted all in red, are bent by Grimnir's cruel embrace. The age of man shall reach its end, and death will lay claim to this place."
  • Head east from the Tomb of Heilda and you'll reach a cliff at the water front. Below you should be the Witch's Lair. The scroll is on a table underneath the skeleton.

3
"Where lies the aurora's radiant hue, adorning night skies in greens and blues? Where roams the fox, in distant far lands? Or has it returned to heal the guardians?"
  • This scroll is a little hard to spot. After traveling through the Charred Pass, you should find a cliff that looks like this:

    Climb up it and look down. You should see the scroll on a ledge near the top.

Grimöl
1
"Here lies Grimöl, the wretched. Unblessed by the bear guardians and drinker of ale. Companion to Eyma of the wolf tribe, and father of Grimnir. Here he lies alone, unclaimed by kin, and far removed from the honorable restgrounds of his people."
  • This scroll can be found on Lover's Hill and sitting on top of a grave. The northern ancient tree of Ashlands can be seen in the distance.
Bear Tribe: Omol the Abandoned
Omol the Abandoned
1
"Our tribe departs to lay claim to lands beyond. Yet, old and crippled, I remain, pondering: Are we of noble heart or ensnared by deceit?"
  • This scroll can be found inside one of the buildings at the Abandoned Dwelling.

2
"Grimnir hath been executed by the Northguard and the war hath ceased. Yet the guardians rage on and there are none left to cleanse them. Scarlet plague fills the air and chokes our bodies and poisons out spirits."
  • West of Grimhold Fortress you can find a little beach with a wrecked boat. The scroll will be sitting on the beach.

3
"The Northguard have forsaken this land and set sail across the sea. Yet again, I remain, unworthy to join them because of the crimes of my people."
  • You can find this scroll by the Foxhaven Harbor. There is a small bridge you can cross with a spirit boost arch at the end.

4
"From the sky, the Ravens witness our ill deeds and our fate is sealed. Atop the hills the Ram splinters our shields with fierce lightning, in the forest below the Stag entangles out feet with thorns. The Bear in fury shakes the earth and out cities crumble while Wolves wander our paths devouring our children. Following Grimnir was folly; our end draws near."
  • This scroll can be found in a destroyed city near the northern end of the eastern peninsula. It will be on top of a tower and is pretty easy to spot.


Relics
Staff of Nûmhjûk
I completed this puzzle before I realized it was a puzzle. My apologies.
  • This can be found in the Ruins of Nûmhjûk. You'll see a little entryway with an empty room.

  • Going in an alter will rise from the floor and a red spirit will dart to the next room.

  • Chase after the spirit and cleanse them, bring them back to the alter, and a door will open with the staff. Bring it back to the statue to collect the relic.


Mask of Thought
  • This is one of the relics needed to move forward with the main story. You'll find it in the Seer's Crypt.

  • Pick it up and take it with you out of the crypt. You'll spot the red wisp guiding you to a big door with two statues. Place the skull on the statue to unlock the relic


Mask of Memory
  • This is one of the relics needed to move forward with the main story. You'll find it in the Vault of Sorrows.

  • Pick it up and take it with you out of the crypt. You'll spot the red wisp guiding you to a big door with two statues. Place the skull on the statue to unlock the relic.

Staff of Mosswood
  • You'll find the Staff of Mosswood in the Mosswood Mines .

  • Take it with you to the red wisp towards the middle of Mosswood. The statues will be sitting right outside of the Temple of the Stag.

Stag Lantern
  • As you finish up in Mosswood Vault you'll get access to the relic. Take it with you to the Temple of the Stag and place it on the statue.


Antler Crown
  • You'll pick this up from the top of King's Tower. Take it back with you to the Temple of the Stag and place it on the statue.


Skydör
  • Jump to the bottom of Stormgate Tower and you'll be met with a room full of water. Solve the puzzle by using the spirit fox on the nearby rune rock to drain the water. Pick up the hammer and use it on the pressure plate in the room to open the door. Solve the next few puzzles to escape the tower.


    One you've left, head after the red wisp to get to the Temple of the Ram. Put in place to claim to relic.

Storm Caller
  • Inside Thelenök Hall you can climb around the building and get to the top. From there you can jump through the roof of the next building (follow the red wisp). The relic will be beside the chest. Pick it up and take it with you back to the Temple of the Ram.


Shield of Heilda
Found inside the Tomb of Heilda. Progress through the tomb and the puzzles to get to the shield. Pick it up and take it with you back to the Temple of the Ram.


Flame Tongue
Inside the Sunken City of Outcasts there will be a small puzzle to get into the back room. Use a torch to light three braziers near a statue with red light. Once all three lights turn blue the room will change. Climb to the top to grab the relic.

Take it with you back to the Temple of the Wolf.


Dream Walker
At the end of the Sunfire Passage will be a puzzle with the braziers. Solve it and the lava around the relic will cool. Collect it and return it to the Temple of the Wolf.


Smoldering Vessel
At the end of Moltenheart Crypt you can pick this relic up. Take it with you to the Temple of the Bear to claim the relic.


Drasnyok
At the end of Grimhold Sanctum you can find this relic on a table before a giant bear statue. Pick it up and take it with you to the Temple of the Bear.


Grimrikr
Defeat Grimnir and cleanse his spirit to be granted this relic.
Keys
1

In Misthaven there is a Raccoon Grotto where you can buy the first key.


2

Along the beach side of Mosswood is another raccoon grotto. When you get inside the cave you'll have to do a bit of climbing to get to the raccoon.


3

Underneath the Silent Pass is a cave opening. Head inside and you'll immediately see the Raccoon Trader. They sell the key (as well as a fur, sink rune, and faster swim rune).


4
This grotto requires a lit torch from elsewhere on the map. You can use the portal by the Wolf Temple to head to another home site, grab a lit torch, and portal back.


5
Bought from a raccoon trader in Ashlands. You can enter this grotto fairly easily.


Chests
1
During the first puzzle you will find this chest. On the right path follow the log up and your raven friend will swoop down to give you a mini tutorial.


2
This chest is a part of the main storyline. It is impossible to miss. You need the contents to open the door to the staff.


3
Found in the Ruins of Nûmhjûk. After completing the puzzle for the relic the door will open to reveal this chest.


4
Upon leaving the Ruins of Nûmhjûk go to the left and around the cliff side.

You'll find a stone structure with two open archways. The one furthest back contains the chest.


5
Inside the Seer's Crypt:
- the left side is a room with blue glowing symbols. Inside there is a door on a timer. Step on the switch to open the door and be quick to get across.

Once inside, grab the statue on the platform.

Take it with you outside the room (there is an exit to the right) and across to the water to the room on the right. There is a switch in the middle of the room that can be weighed down with the statue.

Climb up the slope and you'll find the room with the chest on the right.


6
Solve the puzzle with the giant rock attached to a rope to get into the big room in the Seer's Crypt. You'll find this chest on the right side of the room near one of the raven carvings.


7
At Hermit Lake there is a big rock formation that you can climb up. The chest is at the top.


8
At Misthaven Orchard there is a structure with a small gap you can jump through. Jump through the gap and you'll find the chest just inside.


9
South of Misthaven Orchard is a beach. If you walk along the beach you'll find a rocky cliff side with a wall that will lower when you get close enough to it.


Once inside the chest will be at the end of the path.


10
At Pieth Homestead there is an underground area with a chest and a scroll. There are multiple ways to get down here. There is a giant hole in the floor inside the building or a small climb down outside near the pier.


11
Inside the Misthaven Monastery you'll enter the Vault of Sorrows. Follow the linear path until you find this chest on the left hand side.


12
Inside the Misthaven Monastery / Vault of Sorrows you'll come across a big room with red fog in the middle. On one of the walls will be two pull levers. They open the doors along the opposite wall.


The far right room contains more fog and a chest.


13

This chest is hard to miss when collecting the Skull of Memory. It's found in the Vault of Sorrows.

14
This chest is located inside of the Temple of the Raven. It's hard to miss. Follow the path through the temple and you'll find the chest in a room with a broken bridge.


15
Follow the main story through the Temple of the Raven, gain the ability to glide, and rise to the top of the steam vents. You'll find the chest in the top room with the statue necessary to move forward.


16 and 17
These chests are easy to get and you'll likely find them as you play yourself. Once you cleanse the raven spirit the chests will be sitting in the open for you.


18
After cleansing the raven spirit, use the air geyser to get to the top of the colusseum. Walk around the edge until you see this:

Head down there and the chest will be on the ledge.


19
This one is a little difficult to spot. While you are inside the Wind Caverns, keep a lookout for a cluster of glowing crystals. You'll spot them the easiest if you go all the way to the end of the caverns (past the giant waterslide) and right past the exit tunnel. If you climb up that slope you can see the crystals in the distance. Use the glide ability to get over there and the chest will be between two glowing crystal lamps.


20
This chest is found near an abandoned Bear Tribe camp. You can get here by scaling the cliffs after you exit the Wind Caverns. Look inside the tents until you find this chest.


21
While at the abandoned Bear Tribe camp, you should be able to spot a tower on a higher cliff. Head up there and you'll find the chest on top of the tower.


22
The main story will lead you to Mosswood Mine. You'll notice a staircase nearby the entrance to the mines. Walk up to the top and you'll see the chest in a little hole with a ramp down.


23
Go into the Mosswood Mine and all the way down to the bottom when the cave opens up. You'll find the chest with a skeleton sitting strangely on a stone 'stool'.


24
At the end of the Mosswood Mine you'll be brought into a room with a pond and two stag statues spewing water. Climb up the stairs and the chest will be on the path.


Chests p.2
25
At East Treetop Village are a bunch of ledges attached to the trees. You can find a nearby ledge and use the height to climb across the ledges towards the chest.


26
A little west of the Ancient Tree is a red shrub bush circle. Find the entrance and walk your way inside. The chest will be sitting in the middle.


27
Facing west of Mosswood Vault you'll see a giant dome for the top of the vault. Instead of going inside, climb your way to the top and you'll see a chest at the tippy-top of the dome.


28
Progress through Mosswood Vault and you'll come across a small puzzle with the torch and waterfall. In order to progress you need to get the torch to the other side without it extinguishing. On the other side of the waterfall is a few ledges and rafters you can climb. Go to the top and you'll find the chest alongside a Stag Tribe scroll.


29
As you make your way through Mosswood Vault you'll see this chest right on the path. It's in a room with a bunch of red vines and a gap you need to cross.


30
In the City of Mosswood you'll find a room next to a room that has wooden planks across it. You'll find it on the outside perimeter of the city.

Head into the room and climb up the fallen pole and ledges.

At the top you'll find the chest.


31
Right outside of the Temple of the Stag and directly behind the save statue is a building with multiple access points.

Head inside and climb upwards to the right. At the broken rooftop will be the chest.


32
To the east of King's Tower is a structure with roots growing out of it. Walk around it until you find a few things to climb up. Make your way to the top of the structure and you'll find a chest.


33
South of the southern obelisk in Mosswood is the chest right along the stone pathway.


34
Head into the Forbidden Crypt and straight past the floor of red vines. In the room in the back is the chest.


35
Progressing through the Forbidden Crypt will bring you to a room with a bunch of floating orbs. Go through the room until you reach a space you can crawl through. It should be filled with dead vines.

Crawl through and you'll find the chest.


36
Continue through the crypt and you'll have to cross moving/twisting vines. Across the first one will be a spine of some sort. The chest is nestled next to the spine.


37
In the crypt you'll eventually find some light sources. Proceed forward until you enter a room with greenery and water. The chest should be in the middle of the room.


38
At West Treetop Village you'll find a fallen log that you can climb to get to the ledges on the trees. Jump across them and you'll find the chest on the furthest ledge.


39
North of West Treetop Village and west of Thief's Demise is a mountain/hill on the side of the water. Make your way around to the back and you can climb up to the top. On one of the ledges near the top will be the chest.


40
Right behind the Theif's Demise waterfall is a ledge high up with the chest on it. There are ledges on either side you can use to climb your way across to the chest.


41
This chest is kind of in an odd spot. It's directly north of Wildwood Lodge but it isn't on the beach. Instead it's on a small ledge on the cliff side.


42[/h4]
At the top of King's Tower next to the Antler Crown is the chest. It's be hard to miss.


43
Directly inside the Temple of the Stag is this chest. It's necessary to move forward in the temple.


44
Move forward in the temple until you get back outside. Once outside head straight and you'll run into the chest.


45
Inside the Temple of the Stag. This chest was a little tricky. There is a button on the floor you need to press for the gate to open.

However, once you step off the button the gate will shut. Be quick and as soon as the gate starts lifting sprint over to the door. If you manage to do it quick enough you can squeeze through the gap as the door shuts.

There are a few ledges you can climb up to get to the chest.

46
In the same room as chest 45 there is an opening to the right of the button. Walk out there and the chest will be to the right.


47
At one of the big tents in the Bear Tribe Encampment


48
At Wildwood lodge you can use your spirit ability to collect the various stag head pieces. Pick them all up and a door will open to reveal a chest.


49
In the City of Mosswood (to the west) there is a giant archway that you can get on top of. Start from the Garden of the Stag and glide your way over. There is a chest on one of the pillars.


50
West of Mosswood Vaults is the Mosswood Spire. Climb all the way to the top and you'll find this chest.


Chests p.3
51
The snake shrine for Mosswood is down south by the beach. There is a cave entrance you can get into on the mountain side.

Enter and you'll immediately see a red fog ball. Push it around the snake sculpture and into the hole.

This will open a side panel on the wall to reveal a chest.


52
Opposite chest 51 is chest 52. It's in a small alcove in the wall.


53
At Stormgate there is a cave with red vines covering the entrance. Use the spirit ability to get through. Halfway through the tunnel you'll see red fog.


Run right through the fog (if you have the bright heart rune you can make it through) and you'll find the chest in that room.


54
At the top of Stormgate Tower will be this chest.


55
At the bottom of Stormgate Tower (in the room with the water) is the relic hammer. Follow the underground area until you reach a room with a geyser. Use the geyser to propel yourself high enough to climb up the right side of the room.

Continue as high as you can and you'll run into the chest next to a ram statue.


56
Halfway between Silent Pass Ruins and the Temple of the Ram is a big rock stack next to a save statue. The chest is right beside the rocks.


57
Around the same area as Chest 56, there is a small area with a bunch of ram head pieces to collect, doing so will open a door to this chest.


58
You can find this chest on the second floor of Stormgate Fortress. Climb the back of the building to find an entrance.


59
Follow the wall at Stormgate Fortress and you'll see a chest sitting on top of one of the towers.


60
Within the Valley of the Ancients there is a snake shrine nestled into the mountain.

Find the pathway up to it and head into the cave.


Once inside you'll see a small little puzzle you'll need to solve to get to the chest. Solve it and climb up the new platforms to the chest.


61
North of Keeper's Homestead are two fences blocking you from going further north. The one to the right has an open side to the cliff. If you use the spirit dash you can get enough momentum to jump and glide around to the other side. Head all the way north to and you'll see a grave site on closer to the water (not all the way down!) The chest will be near two flags and a ram statue.


62
At the top of the Ruins of Hyskar you can find this chest along with a Words of Memory Scroll


63
At Windsong Lake you can find a waterfall with something bright blue glowing under the water. Using the rune of the drowned you can get down there and walk into the snake shrine. Make your way inside and you'll find this chest on the surface.


64
Along the east coast of Stormvale you can find a lone tower by a spirit vault (one of the arches that will give you a giant boost). Climb up the tower to get this chest.


65
Next to Thelenök Hall is a small shack with a mini ancient tree besides it. Head inside the building to find this chest.


66
In the middle of the lake outside Thelenök Hall is a small puzzle requiring the drown rune. Solve it and a wall will lower to reveal this chest. It contained an eye color for me.


67
This chest is found inside the Shaman Longhouse. It contained shards.


68
To the south of Thelenök Hall is a waterfall. Besides it is another small building. Make your way inside to find this chest. It contained shards.


69
Follow the waterfall near Thelenök Hall all the way up to the top to find this chest inside a cave. It contained an eye color.


70
Using the same waterfall from Chest 69, climb up the waterfall until you reach the top of the cliff. There will be a tower close by. Head around the back of the tower and climb up to the top to get this chest. It contained shards.


71
The Mines of Atur is south of Thelenök Hall near Stormy Home. Head inside and solve the puzzle with the button on the floor. This opens a passageway to get to the chest. It contained a skill point.


72
Between two mini ancient trees is a tower (south of Thelenök Hall ). You can climb this tower and hop inside. Make your way to the bottom to see the chest and the lever to open the door.


73
Inside Thelenök Hall you can climb around the building and get to the top. From there you can jump through the roof of the next building (follow the red wisp). The chest will be beside the relic.


73
On the south side of Lake Eres are a few buildings. Look for the one with a gated doorway and a fence around it. Hop up to the top and drop inside to get the chest. It contained shards.


74
Along Lake Eres are buildings on the south side. Find the one shaped like an H and climb your way inside. The chest will be on the opposite side that you enter. It contained an eye color.
Chests p.4
75
When you enter the Tomb of Heilda go to the right. Soon you'll enter a room filled with water. If you look under the water you should see some pots. If you look underneath the water on the far left side of the room you'll see the chest right under the surface. It contains shards.


76
Progress through the Tomb of Heilda and you'll end up in a small maze. Once you find a brazier at the end of a water walkway (with a dream catcher) and a small waterfall "door", go through the water fall "door" to find this chest to the left. It contains shards.


77
Continue through the Tomb of Heilda and you'll come to a dead end room with a chest, a pull lever, and a small statue. This is right after you jump over a small river of lava and climb up to the next section (after the maze). The chest contains shards.


78
After finishing the right side of the tomb you'll be brought back to the center. This time go to the left side and finish the puzzles in each room. You'll be brought into a hall with the chest at the end. It contains shards.


79
After finishing the left side of the tomb you'll again be brought to the center. Place the small statue and continue forward. You'll reach the end of the tomb and the chest will be waiting for you. It contains a skill point.


80
Head along the path to leave the tomb and you'll get to a closing door with a wind geyser. Use the geyser but don't go all the way to the top. You'll see a chest on a low platform. It contains shards.


81
Found right inside the Temple of the Ram after collecting the relics. Contains the Fox Dash rune.


82
Found to the south of Maelstrom Rock. You'll see a few towers along a natural wall.

One of the towers will have a chest and a lore scroll.


83
Along the same area as Chest 83, you'll find this chest atop a tower that reveals a wisp. The chest contains an eye color.


84
Between the Witch's Lair and the Stormvale Shipyard is a single stone spire. You can glide over to it and use the Fox Dash to get high enough to climb up to the top where the chest is. It contains shards.


85
At the Stormvale Shipyard there is two halves of a bridge that need to be lowered. Nearby one of the houses (on the fence) will be a block with a rope attached you can use for both pressure plates. Once the bridge is lowered head to the middle and use the statues on the two smaller pressure plates. The chest will reveal itself. It contains an eye color.


86
As you enter the Trial of the Elders you'll find a save statue in a room full of water. Head to the right side and you can climb up the walls and get on top of the door in the center of the room.


87
Inside the Trial of Elders is many puzzles and doors to go through. Once you get the wind geyser started use it to get to the top floor. (It might not open until after the Ram door, I didn't find it until after then). Find a door with a single lantern and enter. Climb the wooden beams to find the chest. It contains shards.


88
Continue through the trials and complete the Ram trial. This will open another door on the third floor. Inside it is a chest containing shards.


89 and 90
After completing all the trials a large door will open on the top floor. Follow the path and you'll run into these two chests. Chest 88 contains a skill point and chest 89 contains shards.


91
There is a mushroom trail around the Wailing Ruins follow it and it should lead you to a turtle with a chest on it's back. The chest contains an eye color. The map below is where the trail led me to.


92
Slightly east of Wailing Ruins is Thunderhold Dungeon. You'll find the entrance on the side of the cliff.


Enter and progress until you find the save statue. There is a small ledge you can jump over to the left. The chest will be down the alley. It contains shards.


93
You'll enter a jail cell area in the Thunderhold Dungeon. There should be a pull lever next to a door. The door will open to reveal the chest. It contains shards.


94
After getting chest 93 you can crawl through the wall to the next cell. Pick up the torch and head outside. One of the pathways will lead you to a room with a pyre. Fall down the ledge and catch the torch on fire. Take that back to the coliseum and light all the braziers. This will open a secret wall to reveal a pull lever. The lever opens a cell nearby. Again, you can crawl between cells. The chest contains a skill point.


95
Finish up in Thunderhold Dungeon and find the chest on the way out near a wind geyser. It contains shards.


96
This chest is on the middle rock of the Three Sisters. You can use the spirit fox to get to one of the rocks (there is a dream catcher waiting there for you). Climb around the three rocks until you reach the chest.


97
Inside the Lost Tunnels you should find a room with only a small well of water. Use the drowned rune to collect the skill point in this chest.

Chests p.5
98
In the big room with water covering the floor (and a few geysers) there is a chest underwater. Bright blue crystals point it out. Use the drowned rune to get to it. It contains shards.


[h3/]99[/h3]
Finish in the Lost Tunels and you'll be brought into a brightly lit room with a giant geyser. Take it to the top and climb the rest of the way. You'll see the chest sitting on the top circle. It contains a skill point.


100
Around Thelenök Hall there is a tower with a chest on top. If you jump from Stormy Home and glide over and at the last moment use the Fox Dash rune you can make it on top of the tower to get this chest. Contains shards.


101
After cleansing the Ram Guardian the chest will be behind them.


102 and 103
Halfway through Wolf Pass you'll come across Skölmu Ruins. Each side of the room poses a different challenge. Pick whichever side you want (they meet in the middle at the end) and cross the obstacles. At the end you can jump to a platform with two chests. One contains shards and the other contains a skill point.


104
Directly out front of the Temple of the Wolf this chest is sitting before the stairs- right as you get the notification of the location.


105
Climb up the stairs of the Temple of the Wolf to the second floor. There should be a save statue on this floor. Next to the save statue is a chest with a skill point.


106
Found on top of the Moon Spire. You can easily jump from a nearby hill and glide over to it. Contains shards.


107- Frostbite Fur
I believe this is a part of the Sage's Hideout. You can reach this chest without going inside the hideout.


108
Around Icy Home you can find Ice Snake Hollow. Follow the linear path until you reach a room with a glowing sword. The chest should be around the corner. It contains shards.


109
In the starting area of Thal'dulian Glaicer there is a pathway full of ice with a downhill river. Use spirit dash to get up the river and you'll find both an exit to the area and a chest. The chest contains shards.


110
After finding the right path in the glacier you'll be dropped into a room with three spirit stones (the wrong one will leave you with a portal to bring you back to the ancient tree). Activate them all and you'll be rewarded with a shards chest.


111
From Chest 110 you'll enter the next area: Sunken City of Outcasts. Sprint past the closing door and you'll find this chest. It contains a skill point.


112
In the back of the sunken city main room- past the black wolf statue- you can see a chest under the water on some steps. Use the drowned rune to get to it. The chest contains shards.


113- Midnight Fur
In front of the wolf staue you can see a giant pot in the water (In the image I've already broken it).

Break the pot using spirit dash (it took me a few tries) and you'll get a mini statue. Take it to the other side and place it on the pedastal.

A door will open to reveal the chest.


114
Behind the Glacier Portal is a tall ledge. If you time the spirit dash correctly you can jump from the second floor onto the portal itself. Climb high enough and you can spirit dash onto the ledge with the chest. There might be an easier way to get here, but this is how I did it. The chest contains shards.


115
After you pick up the wolf headed fire stick (after solving a quick puzzle) the gated doors on the left and the right sides of the room will open. Head to the right side to grab this chest. It contains shards.


116
South of the Glacier Portal is a lone island out in the water. Climb to the top to find the chest. It contains shards.


117
In Misthaven, right next to the western most obelisk there is a chest close to the water. It contains shards.


118
On the island west of Misthaven there is single chest located by some ruins.


119
Inside Misthaven's snake shrine there is a rune stone to activate, doing so will make the chest rise from the floor. It contains shards.


120: Raven Fur
Runa's Tower can be found above Mishaven and past the northern mountains.

Climb the tower and at the very top will be a chest waiting for you.


121: Freckles Fur
At Clearwater Falls there is a chest under the water. Use the drowned rune to get to it.


122
A little north of the western-most obelisk in Frigid Peaks there is a frozen shack. Inside is a chest with shards.


123
West of the Temple of the Wolf, where the snow starts to taper off to stone, there is a destroyed house. There is a chest in the wreckage (as well as two skeletons enjoying a frozen bath).


124
At the bottom of Glacier Lake is this chest. It contains shards.
Chests p.6
125[/h2]
Kalu Nol contains a lot of chests. Starting at the bottom right there are two houses on a taller ledge. One of them will have a pedestal for a statue. You can find the statue in the house opposite it. The chest is on a tall shelf inside the pedestal house. It contains a skill point.


126
East of chest 125 there are a few buildings along the lake. Look for the tower. On the second level will be a chest containing shards.


127
There is an mini ancient tree near the water around chest 126. The building right by the tree contains a chest along the rafters. It contains shards.


128
Right behind the tower for chest 126 is a building with red vines in front of it. Use a torch to remove the vines. The chest directly inside and contains shards.


129
There is a house with a balcony overlooking the lake. The house is on the northern part of the lake. Climb the building to get to the roof. You'll see a tower with gates around it. Either find the door or jump over the gate to get to the chest. It contains shards.


130
Look for a building behind chest 129 that has two stone pillars in front of it. Jump on both to open the door. The chest will be inside, it contains shards.


131
Climb on top of the ancient tree in Kalu Nol and you can see the chest sitting on the second floor of a tower. Using the Fox Jump rune you can get over there. The chest contains shards.


132: Arctic Fox Fur
Inside the Arctic Fox Guild there is a gated door. Look to the left of it to see a crawl space. The chest will be on the other side and contains both a fur and a skill point.


133
Inside Sunfire Passage you'll come to a shut door and two paths to the left and right. Head down the right path and you'll find this chest. Use the Fox Jump rune to get up to it.


134
Progress further down Sunfire Passage and you'll enter a room with a giant drop to the ground. When you reach a giant square stone platform slow down. There is an area to the left you can head down. The chest will be along the (now) left wall and contains shards. You cannot get this chest if you jump down the broken bridge. You'll need to come back.


135
Look down the right side of the room and you should see a chest close to the bottom.

Head down the path and the bridge will break. It shouldn't be a problem (minus a small jumpscare) and you can continue down to the chest. It contains a skill point.


136
Finish up in Sunfire Passage and this chest will be directly on the path.


137
Inside the Temple of the Wolf. You'll find it after going down a bunch of stairs.


138
Opposite chest 137. Contains shards.


139
Inside the Moltenheart Crypt. Continue all the way to the end where you are met with a bear statue. The chest is sitting on the same platform as the statue. It contains a skill point.


140
Found in the Ashlands snake shrine.

You'll need two weights for the pressure plates. You can easily grab them from Kalu Nol.

Bring them both to the snake shrine and put them on two of the three pressure plates. The shrine will open up and lead you to the chest. It contains an eye color and a skill point.


141
Inside the Corrupted Village there are some vines blocking the way. You can find a torch in one of the buildings and there should be a tree on fire nearby to light it. The vines blocking a cave contains a chest with shards.


142
At the docks of Seaside Village there are a few broken ships. Look for one along the water to the west and you'll find the chest inside. The chest contains shards.


143
South of the Ashland Quarry is a path. Along the path you should see a lone cart with a chest inside it. The chest contains shards.


144
Found at the Grimhold, Lower District behind a wooden fence. The chest sits underneath a red tent with quite a few fish bones around. The chest contains shards.


145
This chest can be found in the center building at Grimhold Fortress. It contains a skill point.


146
You can find this at the end of Grimhold Sanctum. It contains a skill point.


147
This chest is on the eastern peninsula of Ashlands. It's along the beach and contains shards.


148
At the top of the Ruins of Asgu Moor, after climbing up and across the moving platforms, you'll find the chest sitting in an empty ruin. It contains a skill point.


149, 150: Kitsune, and 151: Tanuki
From a mushroom trail turtle. The easiest way I found for this to trigger was to wait outside the Mosswood Portal for mushrooms to spawn. I left my computer running and got a snack, by the time I came back the mushrooms had spawned for me. The chest contained an eye color.
Chests p.7
152 and 153
This is a chest I found while I was hunting down wisps. In Mosswood head down to the Mosswood Mines and down to the beach.

You'll find a statue place and will need to find the correct statue to open the door. There will be two chests inside with shards.


154
Another chest I found by wandering for achievements. This one is in the City of Mosswood. From the top of the Temple of the Stag, glide over to one of the towers. Inside you should find a few pots and an archway of red thorns. You can hop over to the arch and get the chest containing shards.


155
After cleansing the Bear guardian you will be brought into a room with this chest- it contains shards.


156
After defeating and cleansing Grimnir, this chest will be in the center of the Palace of Peace.


157
Near the Raccoon Grotto on the Fox Island there are a few pools of water on the map. Look for the one listed below.

There is a tree on a small tower with a chest under the leaves.


158
Head to this location on the beach of Fox Island.

Head into the water and you'll find this chest (containing shards), but be careful of the giant fish.


159: Desert Fur
Inside the Fox Village look a mural on the left side (upon entry at the start of the game) then go up along the wall to locate the chest.


160: Corrupted Tanuki
This must be done after the credits roll. Head back to the Forbidden Crypt. When you enter the room where the balloons float through, turn right.

You should see a wall that looks like this. Use Spirit Jump or the Lift Glide rune to get into the room. A small cut scene will play and you can open the chest.
FULL COLLECTIBLE WALKTHROUGH
Hopefully I get most of this right. Again, these are listed as I find them. For some people, they like to play the game with a walkthrough handy to catch everything the first time. These sections are for you! Each section past here is a different area and the stuff to collect inside it. There will be points where we backtrack to previous areas once we have the necessary runes/abilities.


Fox Village
Raven Tribe Word of Memory 1
"In ancient days, a fox came to this island from across the sea, running through the sky, amidst the northern lights. Upon his back was a child called Eona, the last of the Aurorians. We are her descendants."
  • This memory can be found during the tutorial. Following the raven will lead you to a door that needs you to pull a chain to be opened. Next to the door is a skeleton in black robes. At his feet is the first Word of Memory.

Fox Tribe Balgair 3
"Though, in nights calm light when dreams doth take me, I see our guardian run through the sky. The fox yet lives in lands far off and will return long after I have died."
  • When you first enter the Fox Village follow the path until it splits.

  • Take the left path until it circles around to a tree, a tan fox, and skeleton. The paper will be on the alter in front of the three.


    Desert Fur
    Inside the Fox Village look a mural on the left side (upon entry at the start of the game) then go up along the wall to locate the chest.


    Raven Tribe Word of Memory 2
    "In ancient days, Eona, the mother of all, had many children. From them came the Fox Tribe, Bear Tribe, Ram Tribe, Wolf Tribe, Stag Tribe, and Raven Tribe. For hundreds of years the tribes lives in peace and each were blessed by the light of their animal guardians."
    • Upon entering Fox Village, take the right path until you come across a giant archway.

    • go right and you'll find a little opening overlooking the valley. The scroll will be sitting on the bench.

    Chest 1
    During the first puzzle you will find this chest. On the right path follow the log up and your raven friend will swoop down to give you a mini tutorial.


    Fox Tribe Balgair 1
    "In my day, a shaman called Grimmnir of the Bear Tribe broke the peace between tribes and began a great and terrible war. Those true to the old alliance united and fought against him."
    • This scroll is found immediately after finishing the first "puzzle" and opening the door to a council room. This scroll is hard to miss.

    Fox Tribe Balgair 2
    "Grimnir, consumed by envy and hate, sought to corrupt the light of all the animal guardians. One by one, he subjugated them to his will. However, the Fox eluded him and fled far from his realm, never to be seen again."
    • As you progress you'll walk through a cave tunnel. You'll find a fox alter with the scroll sitting on top of it.

    Ram Tribe Taukara, Daughter of War 1
    "For his atrocities, Grimnir was sentenced to death and the war ceased. Yet the land bore the stain of his ill deeds and the guardians could not be cleansed of their corruption."

    Slight story spoiler: continuing down the story path will cause the area to erupt into lava. You might still be able to get this scroll after this happens, but I am not 100% sure.
    • Following the main path will lead you into a big cave. After a quick cutscene you'll see two towers.

    • The one on the left has an open door. Inside is a whole bunch of scrolls and one giant scroll (for you!)

    Fox Tribe Balgair 4
    "The staff of Grimnir shall remain here, unmoved, until the Fox Guardians return."
    • As you enter the Palace of Peace you'll notice that your fox grows to be on edge. Progress forward following the red wisp in the air. It'll lead you through the colosseum like building to a little room.

    • Inside is the scroll and a chest.

    Chest 2
    This chest is a part of the main storyline. It is impossible to miss. You need the contents to open the door to the staff.


Misthaven
Raven Tribe Pieth 1
"Memory tells me of a war raging south of Misthaven. The shaman Grimnir has awoken the Bear Guardian, infecting it's spirit with a sickness from beyond our realm. How far will he go? Are we safely beyond his reach?"
  • As you progress the main story you'll be chased off a cliff by the Bear Guardian. Now in Misthaven, go to the little river and you'll see the scroll sitting on a few rocks near a small purple flag.

Bear Tribe Grimnir 10
"In Misthaven there dwelleth a lesser raven, named Thought. Lock her away, she is of no use to us."
  • Located in the Ruins of Nûmhjûk. You'll see a statue holding an outline of a staff. Behind that is a door. The scroll is next to the door.

Staff of Nûmhjûk
I completed this puzzle before I realized it was a puzzle. My apologies.
  • This can be found in the Ruins of Nûmhjûk. You'll see a little entryway with an empty room.

  • Going in an alter will rise from the floor and a red spirit will dart to the next room.

  • Chase after the spirit and cleanse them, bring them back to the alter, and a door will open with the staff. Bring it back to the statue to collect the relic.

Chest 3
Found in the Ruins of Nûmhjûk. After completing the puzzle for the relic the door will open to reveal this chest.


Chest 4
Upon leaving the Ruins of Nûmhjûk go to the left and around the cliff side.

You'll find a stone structure with two open archways. The one furthest back contains the chest.


Black Fur
There is a small cliff near Chest 4 where a Raccoon Grotto is hidden away. The store contains the black fur.


Chest 5
Inside the Seer's Crypt:
- the left side is a room with blue glowing symbols. Inside there is a door on a timer. Step on the switch to open the door and be quick to get across.

Once inside, grab the statue on the platform.

Take it with you outside the room (there is an exit to the right) and across to the water to the room on the right. There is a switch in the middle of the room that can be weighed down with the statue.

Climb up the slope and you'll find the room with the chest on the right.


Chest 6
Solve the puzzle with the giant rock attached to a rope to get into the big room in the Seer's Crypt. You'll find this chest on the right side of the room near one of the raven carvings.


Mask of Thought
  • This is one of the relics needed to move forward with the main story. You'll find it in the Seer's Crypt.

    Pick it up and take it with you out of the crypt. You'll spot the red wisp guiding you to a big door with two statues. Place the skull on the statue to unlock the relic.

Chest 7
At Hermit Lake there is a big rock formation that you can climb up. The chest is at the top.


Raven Tribe Pieth 2
"The mist brings me great comfort. It blankets the land like a veil, concealing my tribe from the dangers beyond our borders. Though Grimnir's War rages, we have gone unnoitced for many years.
  • In the middle of Hermit Lake is a platform. Swim over and you'll find the scroll in a basket.

Raven Tribe Pieth 4
"I have learned that Grimnir once was a skilled and well traveled shaman. He possessed extensive knowledge about all the tribes and even realms beyond our own."
  • In Misthaven Orchard you'll find a bunch of dead trees. Leaning against one of the trees is a skeleton with the scroll sitting on his lap.

Chest 8
At Misthaven Orchard there is a structure with a small gap you can jump through. Jump through the gap and you'll find the chest just inside.


Chest 9
South of Misthaven Orchard is a beach. If you walk along the beach you'll find a rocky cliff side with a wall that will lower when you get close enough to it.


Once inside the chest will be at the end of the path.


Raven Tribe Pieth 5
"Despite his numerous spiritual talents, the Council of Elders deemed Grimnir unfit for their order. They instructed him to go back to his homeland and utilize his abilities to uplift the Bear Tribe from poverty. Only then would he be considered worthy of their order."
  • Located in the Pieth Homestead . There are multiple ways to get "downstairs" and once you do you'll find the scroll sitting on an altar.


Chest 10
At Pieth Homestead there is an underground area with a chest and a scroll. There are multiple ways to get down here.


Chest 11
Inside the Misthaven Monastery you'll enter the Vault of Sorrows. Follow the linear path until you find this chest on the left hand side.


Raven Tribe Pieth 3
"Memory, the white raven Guardian, Keeper of the Past, whispers to me all he has witnessed. Against the vastness of his knowledge, my troubles seem insignificant, like distant stars in an endless night sky."
  • Inside the Misthaven Monastery (the Vault of Sorrows), you'll find a save point statue. To the left is an iron door. There is a little hole you can jump through.

    In a cobweb is a lever you can pull to open the iron doors.

    Going through the north door leads you to this scroll.
Misthaven P.2
Raven Tribe Pieth 6
"I am filled with grief for the fate of my people. I share my pain with Memory, the wise white raven, my great teacher and dear friend. I can see Memory embodies my sorrow. My pain is now his to bear."
  • Progress through the Misthaven Monastery / Vault of Sorrows to find this scroll.

Chest 12
Inside the Misthaven Monastery / Vault of Sorrows you'll come across a big room with red fog in the middle. On one of the walls will be two pull levers. They open the doors along the opposite wall.


The far right room contains more fog and a chest.


Chest 13

This chest is hard to miss when collecting the Skull of Memory. It's found in the Vault of Sorrows.

Raven Tribe Pieth 7
"As I take my final breaths, I see Memory growing into a monstrous form, embodying all our rage and pain. His eyes glow red and his breathing is labored. He has broken through the dungeon roof and has set flight towards his temple, where the Bear Tribe is camped." {/i}
  • Located in Misthaven Monastery / Vault of Sorrows, this scroll is found on the path through the vault. Once you have the Skull of Memory, it is hard to miss.

Key 1 and Brown Fur

In Misthaven there is a Raccoon Grotto where you can buy the first key you can also get a fur here.


Chest 14
This chest is located inside of the Temple of the Raven. It's hard to miss. Follow the path through the temple and you'll find the chest in a room with a broken bridge.


Chest 15
Follow the main story through the Temple of the Raven, gain the ability to glide, and rise to the top of the steam vents. You'll find the chest in the top room with the statue necessary to move forward.


Fox Tribe Gwyna 1
"The fox with healing light will cleanse the spirits of man and beast."
  • This one is easy to miss! As you are climbing higher in the Temple of the Raven, you'll come to a lever that opens a door for you. That door will shut behind you. Progress forward until you see another steam vent. Use the raven companion to get all the way to the top. The scroll is sitting on the highest circular ledge.

Raven Tribe Isölda 3
"I dreamt a fox came to me in my cell. It's light was strong and the darkness recoiled at its presence. it continued on to the Great Library, the brooding lair of our fallen guardian. And then I woke. What sort of tale is this? Either I am a seer or I am drifting into madness."
  • As you progress through the Temple of the Raven you'll enter a room with a giant spiral ramp. Climb up and you'll enter a room with a pulley lever. It opens the iron door next to it. Enter and you'll find the scroll on the ground.


Bear Tribe Grimnir 11
" Memory, the White Raven, guardian of the past, is of great use to me. For memories can be tainted and the past can become a bottomless vessel of sorrow, regret, and shame."
  • Inside the Raven Temple: once you find a save statue in a room with red fog you'll notice an iron barred wall to the right.

    You'll need to pay 50 spirit tokens to enter the room to get this scroll. If you're breaking every pot you see in the temple you should have plenty.

Chests 16 and 17
These chests are easy to get and you'll likely find them as you play yourself. Once you cleanse the raven spirit the chests will be sitting in the open for you.


Chest 18
After cleansing the raven spirit, use the air geyser to get to the top of the colusseum. Walk around the edge until you see this:

Head down there and the chest will be on the ledge.


Chest 19
This one is a little difficult to spot. While you are inside the Wind Caverns, keep a lookout for a cluster of glowing crystals. You'll spot them the easiest if you go all the way to the end of the caverns (past the giant waterslide) and right past the exit tunnel. If you climb up that slope you can see the crystals in the distance. Use the glide ability to get over there and the chest will be between two glowing crystal lamps.


Bear Tribe Mog the Mighty 9
"We can not find the Fox Guardian. Perhaps it has abandoned this world and returned to the forests of light."
  • After you exit the Wind Caverns , you'll be set loose on the other side of the river from Misthaven. You can scale across the cliff sides towards a giant snake like cave opening-Snake Shrine. (this serves as a good marker for where to go). Once there you'll see an old torn down camp for the Bear Tribe.


    The scroll will be sitting under one of the canopies.

    On a side note, the snake shrines are necessary for an achievement! There are five of them total for you to visit.

Chest 20
This chest is found near the same abandoned Bear Tribe camp. Look inside the tents until you find this chest.


Chest 21
While at the abandoned Bear Tribe camp, you should be able to spot a tower on a higher cliff. Head up there and you'll find the chest on top of the tower.
Mosswood
Bear Tribe Mog the Mighty 3
"We have landed on northern coast of Mosswood forest, the home to the Stag tribe. Despite we being heavily armed the people here foolishly welcome us. They must yet be unaware of our plana to besiege their great city. We await Grimnir's signal fires from the south before we lay waste to their homes."
  • As you walk along the beach when you first reach Mosswood, you'll see a giant stag statue. Go south of it and you'll see a lone tent on the beach. The scroll is sitting inside this tent.

Key 2 and Chestnut Fur

Along the beach side of Mosswood is another raccoon grotto. When you get inside the cave you'll have to do a bit of climbing to get to the raccoon. You can by the second key and another fur here.


Chest 22
The main story will lead you to Mosswood Mine. You'll notice a staircase nearby the entrance to the mines. Walk up to the top and you'll see the chest in a little hole with a ramp down.


Stag Tribe Bato the Doubtless 1
"Warriors of immense stature have arrived on our shores from lands far off. they wear the emblems of the Bear Tribe yet also a new mark I do not know. We have welcomed them openly and have shared of our abundance for this is the way of the Stag."
  • At the entrance to Mosswood Mine there is a structure to the left. Inside it is the scroll.


Chest 23
Go into the Mosswood Mine and all the way down to the bottom when the cave opens up. You'll find the chest with a skeleton sitting strangely on a stone 'stool'.


Chest 24
At the end of the Mosswood Mine you'll be brought into a room with a pond and two stag statues spewing water. Climb up the stairs and the chest will be on the path.


Staff of Mosswood
  • You'll find the Staff of Mosswood in the Mosswood Mines .

    Take it with you to the red wisp towards the middle of Mosswood. The statues will be sitting right outside of the Temple of the Stag.

Bear Tribe Grimnir 6
"The Stag Guardian nurtures and cares for his people as if they were his own children. Oh, then how great his pain will be when he witnesses their destruction. his home will be empty and his kingdom will become a bramble of thorns as anguish chokes his spirit."
  • This scroll is found right outside the doors to the Temple of the Stag.


Chest 25
At East Treetop Village are a bunch of ledges attached to the trees. You can find a nearby ledge and use the height to climb across the ledges towards the chest.


Chest 26
A little west of the Ancient Tree is a red shrub bush circle. Find the entrance and walk your way inside. The chest will be sitting in the middle.


Chest 27
Facing west of Mosswood Vault you'll see a giant dome for the top of the vault. Instead of going inside, climb your way to the top and you'll see a chest at the tippy-top of the dome.


Stag Tribe Storkush 1
"Stag be praised, the forest provides bountifully for our tribe. We have more food than we could ever need. This old cavern is an excellent store house."
  • This scroll can be found right at the entrance to Mosswood Mines.

Stag Tribe Storkush 2
"Word has reached me that the City of Mosswood has been sieged. All survivors now flee north to Stormvale and beyond. I am old and cannot make such a journey. There is nothing I can do now. perhaps I will go unnoticed deep within these vaults."
  • Progress through the Mosswood Vault and find the glowing red vines. There will be a nearby lever to pull that will shine a light on the vines, making them disappear. Head into the hallway and the scroll will be on the floor.

Stag Tribe Storkush 3 and Chest 28
I hid my relic deep, to elude Grimnir's grasp. But my efforts were in vain as he's found me here at last. Though my spirit soon wanders from this world, my foe I do forgive. Though I die old and alone, I pray my kin yet live."
  • Progress through Mosswood Vault and you'll come across a small puzzle with the torch and waterfall. In order to progress you need to get the torch to the other side without it extinguishing. On the other side of the waterfall is a few ledges and rafters you can climb. Go to the top and you'll find the scroll alongside a chest.

Chest 29
As you make your way through Mosswood Vault you'll see this chest right on the path. It's in a room with a bunch of red vines and a gap you need to cross.


Stag Lantern
  • As you finish up in Mosswood Vault you'll get access to the relic. Take it with you to the Temple of the Stag and place it on the statue.


Chest 30
In the City of Mosswood you'll find a room next to a room that has wooden planks across it. You'll find it on the outside perimeter of the city.

Head into the room and climb up the fallen pole and ledges.

At the top you'll find the chest.


Chest 31
Right outside of the Temple of the Stag and directly behind the save statue is a building with multiple access points.

Head inside and climb upwards to the right. At the broken rooftop will be the chest.

Mosswood P.2
Stag Tribe Lady Amara 2
"The council's fears of Grimnir's ill intent are being manifest. He marches toward our gate in this very moment. I can only assume he seeks to claim my staff in order to subjugate the Stag Guardian. We are attempting to escape but it may be too late."
  • Found inside the City of Mosswood. Inside one of the buildings is an alter to the stag. If you can find the stag carving on the wall, you're in the right place.


Stag Tribe King Kumari 4
"I dreamt the forest was veiled with shadow and death. The stag was lost, his eyes were red with hate, and his domain became a bramble of thorns."
  • Northwest of the Foxview Outpost is a tent surrounded by red brambles. The scroll is sitting inside the tent.


Stag Tribe Lady Amara 1
"We have just returned from trading with the Fox Tribe, our ally on the southern isle. Their craftsmanship is beyond compare. Our relations with them continue to strengthen, bringing prosperity to our Great City.
  • East of the Foxview Outpost is a lone boat shipwrecked on the beach. Hop in the boat and you'll find the scroll sitting inside.


Chest 32
To the east of King's Tower is a structure with roots growing out of it. Walk around it until you find a few things to climb up. Make your way to the top of the structure and you'll find a chest.


Chest 33
South of the southern obelisk in Mosswood is the chest right along the stone pathway.


Stag Tribe King Kumari 2
"I spent the day meditating in the forest and communed with the spirit of the stag Oto-Oksu. His light is gentle and patient. He gifted me with an ancient relic, an antler crown, and taught me that I can walk beyond the constraints of my mortal body, in spirit form."
  • Within the King's Glade is a singular house. Inside will be the scroll on a stone table.

Stag Tribe King Kumari 1
"By my word this crypt is sealed and I forbid any to enter. let the deeds of him who sought to traverse the void be forgotten and that suffering and hate remain locked away forever."
  • From the King's Glade continue south and you'll end up at the Forgotten Crypt. The scroll is located right at the entrance.

Bear Tribe Grimnir 3
"In this place of death and sorrow the veil between realms is thin. I will depart from my body and walk amongst the spirits in the forests of light. And when I return from this great journey I will surely have a place amongst mine elders."
  • Enter into the Forbidden Crypt until you see the floor filled with red vines. Take a right and you'll find the scroll in the beam of light.

Chest 34
From the middle room of the Forbidden Crypt go to the right once more. In the next room is the chest.


Bear Tribe Grimnir 4
"The Council of Elders are naive to think that there is but one world beyond our own for I have found another. A place born of anguish and the trials of affliction. A place that finds strength in pain and solace in suffering. I Grimnir, the fatherless, lay claim to this realm as my birthright."
  • There is a small hole you can jump through in the middle of the crypt. At the bottom of the hole is a new room with water. Swim over to one of the ledges and you'll spot the scroll sitting off to the side.

Chest 35
Progressing through the Forbidden Crypt will bring you to a room with a bunch of floating orbs. Go through the room until you reach a space you can crawl through. It should be filled with dead vines.

Crawl through and you'll find the chest.


Chest 36
Continue through the crypt and you'll have to cross moving/twisting vines. Across the first one will be a spine of some sort. The chest is nestled next to the spine.


Chest 37
In the crypt you'll eventually find some light sources. Proceed forward until you enter a room with greenery and water. The chest should be in the middle of the room.


Raven Tribe Words of Memory 10
"In ancient days, the 4th and youngest son of Éona, remained close to his mother in her old age. his name was Kotho and he planted an entire forest. his forest became so mighty that even the Stag, Guardian of Life, attended to it. The people called this forest Mosswood."
  • Right in the middle of Lake Kotho is a little island with a burial place. At the front of it is the scroll- a stag head is sculpted into the front.

Chest 38
At West Treetop Village you'll find a fallen log that you can climb to get to the ledges on the trees. Jump across them and you'll find the chest on the furthest ledge.


Chest 39
North of West Treetop Village and west of Thief's Demise is a mountain/hill on the side of the water. Make your way around to the back and you can climb up to the top. On one of the ledges near the top will be the chest.


Tuft Brown Fur
West of Thief's Demise is a small beach area. Walk along the beach until you spot a cave opening. Head inside and the raccoon will sell you the fur.


Chest 40
Right behind the Theif's Demise waterfall is a ledge high up with the chest on it. There are ledges on either side you can use to climb your way across to the chest.


Chest 41
This chest is kind of in an odd spot. It's directly north of Wildwood Lodge but it isn't on the beach. Instead it's on a small ledge on the cliff side.


Mosswood P.3
Stag Tribe King Kumari 3
"Grimnir has destroyed the bridge to the stone tower. I am unable to regroup with our tribe and assist the Stag Guardian Perhaps that is what Grimnir wants, for me to remain here with my relic."
  • This scroll is at the entrance to King's Tower. At the door go to the right and there is a little space for the scroll.

Stag Tribe King Kumari 5
"I dreamt a fox came to me, long after I had passed. And searched amongst my bones until, it found my crown at last. Then from this tower yonder, back to the city great. It cleansed the noble stag with light and restored his rightly state."
  • Climb up the King's Tower until you reach a platform near the top with a bunch of paper scrolls. The lore scroll will be next to the light source.

Chest 42
At the top of King's Tower next to the Antler Crown is the chest. It's be hard to miss.


Antler Crown
  • You'll pick this up from the top of King's Tower. Take it back with you to the Temple of the Stag and place it on the statue.


Chest 43
This chest is directly inside the Temple of the Stag is this chest. It's necessary to move forward in the temple.


Chest 44
Move forward in the temple until you get back outside. Once outside head straight and you'll run into the chest.


Stag Tribe Lady Amara 3
"The Stag's light is fading under the cruelty of Grimnir. I remain powerless to cleanse our guardian without my staff. Grimnir has taken it from me and soon he will take my life. However, death is not the end and I will soon walk in forests of light."
  • Found inside the Temple of the Stag. Once outside (after solving the first puzzle with your spirit form) you'll see an iron gate blocking a room to the left. There is a small hole you can jump through to get inside. The scroll is lying on a blanket in this room.


Chest 45
Inside the Temple of the Stag. This chest was a little tricky. There is a button on the floor you need to press for the gate to open.

However, once you step off the button the gate will shut. Be quick and as soon as the gate starts lifting sprint over to the door. If you manage to do it quick enough you can squeeze through the gap as the door shuts.

There are a few ledges you can climb up to get to the chest.

Chest 46
In the same room as chest 45 there is an opening to the right of the button. Walk out there and the chest will be to the right.


Chest 47
At one of the big tents in the Bear Tribe Encampment


Chest 48 and Champaign Fur
Now that we have the spirit ability we can head back to Wildwood lodge you can use the ability to collect the various stag head pieces. Pick them all up and a door will open to reveal a chest.


Chest 49
In the City of Mosswood (to the west) there is a giant archway that you can get on top of. Start from the Garden of the Stag and glide your way over. There is a chest on one of the pillars.


Chest 50
West of Mosswood Vaults is the Mosswood Spire. Climb all the way to the top and you'll find this chest.


Chest 51
The snake shrine for Mosswood is down south by the beach. There is a cave entrance you can get into on the mountain side.

Enter and you'll immediately see a red fog ball. Push it around the snake sculpture and into the hole.

This will open a side panel on the wall to reveal a chest.


Chest 52
Opposite chest 51 is chest 52. It's in a small alcove in the wall.

Stormvale
Bear Tribe Mog the Mighty 4
"Mosswood burns and their Guardian is defeated. We now turn our attention to Stormvale, the fortified highlands of the Ram Tribe."
  • Immediately after leaving Veilgate (after leaving Mosswood) head towards the giant bear statue. Underneath it will be another Bear Tribe Encampment. The scroll will be close to the statue.

Ram Tribe Skogmir the Battle Shaman 2
"Although the Stag and the Raven tribes have fallen, the Ram stands resolute upon the hilltop. The storm clouds blacken as we prepare for war. Grimnir's armies, shall fall before our walls."
  • At Stormgate you can climb up the battlements and find this scroll up there.

Chest 53
At Stormgate there is a cave with red vines covering the entrance. Use the spirit ability to get through. Halfway through the tunnel you'll see red fog.


Run right through the fog (if you have the bright heart rune you can make it through) and you'll find the chest in that room.


Chest 54
At the top of Stormgate Tower will be this chest.


Bear Tribe Mog the Mighty 6
"Grimnir's prowess surpasses even the stoutest warriors. Not even the formidable battle shaman Skogmir could vanquish him, though their clash rent this tower asunder. Skogmir now lies deep within the rubble of this tower, laid low by his own hammer."
  • This scroll is on the other side of the top of Stormgate Tower.

Skydör
  • Jump to the bottom of Stormgate Tower and you'll be met with a room full of water. Solve the puzzle by using the spirit fox on the nearby rune rock to drain the water. Pick up the hammer and use it on the pressure plate in the room to open the door. Solve the next few puzzles to escape the tower. BEFORE YOU LEAVE snag Chest 55 by the water geyser.


    One you've left, head after the red wisp to get to the Temple of the Ram. Put in place to claim to relic.

Chest 55
At the bottom of Stormgate Tower (in the room with the water) is the relic hammer. Follow the underground area until you reach a room with a geyser. Use the geyser to propel yourself high enough to climb up the right side of the room.

Continue as high as you can and you'll run into the chest next to a ram statue.


Chest 56
Halfway between Silent Pass Ruins and the Temple of the Ram is a big rock stack next to a save statue. The chest is right beside the rocks.


Chest 57
Around the same area as Chest 56, there is a small area with a bunch of ram head pieces to collect, doing so will open a door to this chest.


Raven Tribe Isödola 1
"In the archives, whispers tell of an age of woe, when the void shall tear asunder and anguish shall creep into our realm like a sickness. Crimson skies will loom, and guardians shall rage. A world in ruins, consumed by despair, shall await salvation."
  • To the area right of Chest 57 is another little space with stone shelves. The scroll is sitting in the middle of that space.


Ram Tribe Taukara, Daughter of War 2
"I am too young to join the warriors of our tribe. Yet, when the skies blacken and lightning strikes, I can see the battle on our border. Oh, how I long to join them and feel the storms of war.
  • Start heading back towards Stormgate Tower . Along the way you should pass a place called Silent Pass. There are short steps leading up to three pillars. The scroll is sitting on this platform.

Bear Tribe Mog the Mighty 5
"We have suffered many losses in capturing this fortress. The Ram Tribe, fearless protectors, boast of a single warrior outmatching a dozen of our own. Yet, notwithstanding their bravery, none can rival the might of Grimnir."
  • Inside Stormgate Fortress (you can enter via the back and a small hole near the roof), you can find this scroll on the second floor on a table.

Chest 58
You can find this chest directly next to Mog the Mighty 5.


Chest 59
Follow the wall at Stormgate Fortress and you'll see a chest sitting on top of one of the towers.


Chest 60
Within the Valley of the Ancients there is a snake shrine nestled into the mountain.

Find the pathway up to it and head into the cave.


Once inside you'll see a small little puzzle you'll need to solve to get to the chest. Solve it and climb up the new platforms to the chest.


Key 3 and Grey Fur

Underneath the Silent Pass is a cave opening. Head inside and you'll immediately see the Raccoon Trader. They sell the key (as well as a fur, sink rune, and faster swim rune).


Chest 61
Head up northeast towards the edge of the island. On the way you should find a place called Keeper's Homestead. North of Keeper's Homestead are two fences blocking you from going further north. The one to the right has an open side to the cliff. If you use the spirit dash you can get enough momentum to jump and glide around to the other side. Head all the way north to and you'll see a grave site on closer to the water (not all the way down!) The chest will be near two flags and a ram statue.


Stormvale P.2
Raven Tribe Words of Memory 5 Chest 62
"In the ancient days, Hyskar Stormfather, the second son of Éona, settled in the rugged highlands with his family. He bonded with the Ram Guardian and his people became known as the Ram Tribe."
  • From Chest 61 you can do a bit of climbing (and spamming jump) to get up the side of the mountain and back up to the top where a big tower is. Once you manage to do so follow the path towards the tower. At the top of the Ruins of Hyskar you can find Words of Memory Scroll along with a chest.


Marble Fur
North of the Ruins of Hyskar you'll find a Raccoon Grotto. The entrance is located on the beach below. You'll know you're in the right area if you see a big boat beached inside a cave. The raccoon inside will sell you the fur.


Fox Tribe Feon 1
"The age of man is over, our people are dying. The guardians are all a sickening red, corrupted by realms beyond. Where is the aurora that once painted the sky, where is the fox with its healing light?"
  • Head directly south from Keeper's Homestead and you'll run into Stormwind Shrine. You can find this scroll on one of the stone walls with a ram head.

Ram Tribe Skogmir the Battle Shaman 1
"Smoke rises from Mosswood, I must swiftly journey to our borders to aid our kin. May the Ram grant us swiftness. My daughter, Taukara, shall guard our flocks in my absence. Woe to any who dare to cross her path.
  • Heading back up northeast from the last scroll, you can find this scroll inside the building at Windsong Trading Post.

Ram Tribe Taukara, Daughter of War 1
"Like a storm in the night I defend my flock from thieving shadows. With swift action and sharp iron, I protect the helpless from the mouth of wolves. I am shepherd with a warriors heart."
  • Found just outside the Weaver's House. Short distance up the road from the trading post (heading towards the water on the east side).

Chest 63
At Windsong Lake you can find a waterfall with something bright blue glowing under the water. Using the rune of the drowned you can get down there and walk into the snake shrine. Make your way inside and you'll find this chest on the surface.


Chest 64
Along the east coast of Stormvale you can find a lone tower by a spirit vault (one of the arches that will give you a giant boost). Climb up the tower to get this chest.


Chest 65
Follow the main story red wisp until you end up at Thelenök Hall. To the right of it is a small shack with a mini ancient tree besides it. Head inside the building to find this chest.


Chest 67
This chest is found inside the Shaman Longhouse. You can find it directly opposite Thelenök Hall. It contains shards.


Chest 68
To the south of Thelenök Hall is a waterfall. Besides it is another small building. Make your way inside to find this chest. It contains shards.


Chest 69
Follow the waterfall near Thelenök Hall all the way up to the top to find this chest inside a cave. It contains an eye color.


Chest 70
Using the same waterfall from Chest 69, climb up the waterfall until you reach the top of the cliff. There will be a tower close by. Head around the back of the tower and climb up to the top to get this chest. It contains shards.


Chest 71
The Mines of Atur is south of Thelenök Hall near Stormy Home. Head inside and solve the puzzle with the button on the floor. This opens a passageway to get to the chest. It contains a skill point.


Taukara, Daughter of War 4
"In the wake of Grimnir's treachery, our Guardians falter, their noble spirits tainted by his vile deeds. yet, from the depths of our collective anguish, arises a solemn vow to them. We that remain from shattered tribes, both young and old, bind ourselves together in an unbreakable oath to defeat Grimnir. Henceforth, we shall be known as the Northguard, the united people of the Northern isles.
  • Directly inside Thelenök Hall , you'll see this scroll sitting on a table by two throne-like chairs.

Storm Caller and Chest 73
  • Inside Thelenök Hall you can climb around the building and get to the top. From there you can jump through the roof of the next building (follow the red wisp). The chest will be beside the relic. Pick up the relic and take it back to the Temple of the Ram.


Chest 73
On the south side of Lake Eres are a few buildings. Look for the one with a gated doorway and a fence around it. Hop up to the top and drop inside to get the chest. It contains shards.


Chest 74
Along Lake Eres are buildings on the south side. Find the one shaped like an H and climb your way inside. The chest will be on the opposite side that you enter. It contains an eye color.


Bear Tribe Grimnir 7
"The Ram Tribe's combative nature shall be their undoing. They will see this war as a contest of strength and will embrace it. Let this war consume them slowly."
  • Right outside the Tomb of Heilda you can find this scroll by giant broken gates on the pathway.


Chest 75
As soon as you enter the Tomb of Heilda go to the right. Soon you'll enter a room filled with water. If you look under the water you should see some pots. If you look underneath the water on the far left side of the room you'll see the chest right under the surface. It contains shards.


Stormvale P.3
Chest 76
Progress through Tomb of Heilda and you'll end up in a small maze. Once you find a brazier at the end of a water walkway (with a dream catcher) and a small waterfall "door", go through the water fall "door" to find this chest to the left. It contained shards.


Chest 77
Continue through the Tomb of Heilda and you'll come to a dead end room with a chest, a pull lever, and a small statue. This is right after you jump over a small river of lava and climb up to the next section (after the maze). The chest contained shards.


Chest 78
After finishing the right side of the tomb you'll be brought back to the center. This time go to the left side and finish the puzzles in each room. You'll be brought into a hall with the chest at the end. It contained shards.


Chest 79
After finishing the left side of the tomb you'll again be brought to the center. Place the small statue and continue forward. You'll reach the end of the tomb and the chest will be waiting for you. It contains a skill point.


Shield of Heilda
Found inside the Tomb of Heilda. Progress through the tomb and the puzzles to get to the shield. Pick it up and take it with you back to the Temple of the Ram. BEFORE YOU LEAVE! CHECK FOR CHEST 80!


Chest 80
Head along the path to leave the tomb and you'll get to a closing door with a wind geyser. Use the geyser but don't go all the way to the top. You'll see a chest on a low platform. It contains shards.


Ram Tribe Taukara, Daughter of War 3 and Chest 81
"Our shaman have fallen and their relics are lost amongst the ruins of our strongholds. The Ram's light fades, his eyes glow with a sickly red. There are none left to cleanse him."
  • Found right out front the Temple of the Ram. Once you have collected all the relics the door will open and you'll get the Fox Dash rune in chest 81. Now that we have this rune we are going to head back to collect things in Stormvale before cleansing the Ram Guardian.

Ram Tribe Heilda, Shield Maiden 1 and Chest 82
"We are the Ram Tribe, shaped by the rain and weathered by the storm. Like the Ram, our guardian, our feet are firmly planted and we can not be moved."
  • Found to the south of Maelstrom Rock. You'll see a few towers along a natural wall.

    One of the towers will have a chest and a lore scroll.

Chest 83
Along the same area as Chest 83, you'll find this chest atop a tower that reveals a wisp. The chest contains an eye color.


Bear Tribe RIka the Witch 2
"The Guardians tainted all in red, are bent by Grimnir's cruel embrace. The age of man shall reach its end, and death will lay claim to this place."
  • Head east from the Tomb of Heilda and you'll reach a cliff at the water front. Below you should be the Witch's Lair. The scroll is on a table underneath the skeleton.

Chest 84
Between the Witch's Lair and the Stormvale Shipyard is a single stone spire. You can glide over to it and use the Fox Dash to get high enough to climb up to the top where the chest is. It contains shards.


Chest 85
At the Stormvale Shipyard there is two halves of a bridge that need to be lowered. Nearby one of the houses (on the fence) will be a block with a rope attached you can use for both pressure plates. Once the bridge is lowered head to the middle and use the statues on the two smaller pressure plates. The chest will reveal itself. It contains an eye color.


Storm Gray Eyes
You can find these at a raccoon grotto on the east side of Stormvale.


Chest 86
Head slightly west of the raccoon grotto to get to the Trial of Elders. Inside the Trial of Elders is many puzzles and doors to go through. As you enter the Trial of the Elders you'll find a save statue in a room full of water. Head to the right side and you can climb up the walls and get on top of the door in the center of the room.


Chest 87
Once you get the wind geyser started use it to get to the top floor. (It might not open until after the Ram door, I didn't find it until after then). Find a door with a single lantern and enter. Climb the wooden beams to find the chest. It contains shards.


Chest 88
Continue through the trials and complete the Ram trial. This will open another door on the third floor. Inside it is a chest containing shards.


Chests 89 and 90
After completing all the trials a large door will open on the top floor. Follow the path and you'll run into these two chests. Chest 88 contains a skill point and chest 89 contains shards.


Chest 91
There is a mushroom trail around the Wailing Ruins follow it and it should lead you to a turtle with a chest on it's back. The chest contains an eye color. The map below is where the trail led me to.


Chest 92
Slightly east of Wailing Ruins is Thunderhold Dungeon. You'll find the entrance on the side of the cliff.


Enter and progress until you find the save statue. There is a small ledge you can jump over to the left. The chest will be down the alley. It contains shards.


Bear Tribe Mog the Mighty 1
[/i]"I am Mog the mighty! Mine arm hath the strength of Eynbor and none can bind me. When I rage the earth shakes and mine enemies fall."[/i]
  • Found inside Thunderhold Dungeon. It will be on the coliseum floor strapped to the back of a skeleton.
Stormvale P.4
Chest 93
You'll enter a jail cell area in the Thunderhold Dungeon. There should be a pull lever next to a door. The door will open to reveal the chest. It contains shards.


Chest 94
After getting chest 93 you can crawl through the wall to the next cell. Pick up the torch and head outside. One of the pathways will lead you to a room with a pyre. Fall down the ledge and catch the torch on fire. Take that back to the coliseum and light all the braziers. This will open a secret wall to reveal a pull lever. The lever opens a cell nearby. Again, you can crawl between cells. The chest contains a skill point.


Chest 95
Finish up in Thunderhold Dungeon and find the chest on the way out near a wind geyser. It contains shards.


Chest 96
This chest is on the middle rock of the Three Sisters. You can use the spirit fox to get to one of the rocks (there is a dream catcher waiting there for you). The rocks are out in the middle of the water. Climb around the three rocks until you reach the chest.


Chest 97
Since we have the Fox Dash rune, we can head back to the Lost Tunnels to finish Stormvale. Inside the Lost Tunnels you should find a room with only a small well of water. Use the drowned rune to collect the skill point in this chest.


Chest 98
In the big room with water covering the floor (and a few geysers) there is a chest underwater. Bright blue crystals point it out. Use the drowned rune to get to it. It contains shards.


[h3/]Chest 99[/h3]
Finish in the Lost Tunels and you'll be brought into a brightly lit room with a giant geyser. Take it to the top and climb the rest of the way. You'll see the chest sitting on the top circle. It contains a skill point.


Chest 100
Travel back to Stormy Home. Around Thelenök Hall there is a tower with a chest on top. If you jump from Stormy Home and glide over and at the last moment use the Fox Dash rune you can make it on top of the tower to get this chest. Contains shards.


Bear Tribe Grimnir 8
"We need not remove the Ram from his hilltop. Let him remain there. Let him remain in endless combat. Let the rage permeate his soul."
  • Follow the path up out of the Temple of the Ram to get to Ram's Hill. The scroll will be next to the save statue.

Bear Tribe Grimnir 9
"Let us turn our focus to the Frigid Peaks, where the Wolf Tribe quarrels amongst their own, a mere whisper away from fragmentation."
  • After cleansing the Ram Guardian this scroll will be waiting for you.
    [/list
    Chest 101
    After cleansing the Ram Guardian the chest will be behind them.

Frigid Peaks
Moon Wolf Tribe Fennuk 1
"Last night my hunger led me to a valley where the Ram Tribe's flock grazed. Fortune seemed to smile upon me. for it was only guarded by a small girl. Thinking to steal a sheep or two, I approached, only to be met with a whirlwind of fury. With teeth bared and blades flashing like lightning, she drove me back. Never afore have I witnessed such intensity and resolve. Truly, children of the storm they be."
  • This scroll can be found before entering Wolf Pass on the Stormvale side. Look to the left of the mountain and you should see a small camp.


Raven Tribe Words of Memory 8
"From Valulf came the Great Wolf Tribe. His people honored Okama, the white wolf guardian of the sun and Esmir, the black wolf guardian of the moon."
  • At the start of Wolf Pass you'll find this scroll sitting on an altar between two wolf statues.

Raven Tribe Words of Memory 9
"When Valulf died there was a disagreement amongst his children about who should lead the tribe. There was a small skirmish and the eldest daughter Eota prevailed. The younger son Mirth who had contested his right to rule was banished with his followers. Thus the Great Wolf Tribe was fractured."
  • Follow through Wolf Pass until you come to a split room. One side for each wolf tribe faction. The scroll will be in the middle before the two rooms.

Chests 102 and 103
Halfway through Wolf Pass you'll come across Skölmu Ruins. Each side of the room poses a different challenge. Pick whichever side you want (they meet in the middle at the end) and cross the obstacles. At the end you can jump to a platform with two chests. One contains shards and the other contains a skill point.


Sun Wolf Tribe Piera 2
"Ascending the tallest peak, I brave the biting cold, for in harsh elements lies the purest test of body and soul. Upon the mountain's throne, the Sun Wolf rightly reigns. And I must prove the resilience of my own inner-flame."
  • Head out from Wolf Pass and continue down the slope until you see two wolf statues. Follow that path towards the Temple of the Wolf you can find this scroll sitting in a small carved stone cranny before the temple.


Chest 104
Directly out front of the Temple of the Wolf this chest is sitting before the stairs- right as you get the notification of the location.


Sun Wolf Tribe Arkenmar 3
"We've captured the Moon Wolf Guardian, in hopes to quell the strife between the wolf packs. may this act cause the Moon pack to peacefully submit to our rule and unite with us against Grimnir, just as the Moon submits to the glory of the Sun each day."
  • Inside the Temple of the Wolf there are rooms on the left and the right. Head into the right room and crawl underneath the right stairs. You'll enter a side room with the lore scroll.


Chest 105
Climb up the stairs of the Temple of the Wolf to the second floor. There should be a save statue on this floor. Next to the save statue is a chest with a skill point.


Key 4, Tuft Midnight Fur, and White Cross Fox Fur
The next thing we are going to do is find a Raccoon Grotto to get a key. The closest one right now requires a lit torch from somewhere else on the map. You can use the portal by the Wolf Temple to head to another home site, grab a lit torch, and portal back. Take the torch to the area shown below. The lit pyre will open the nearby door.


Chest 106
This chest is found on top of the Moon Spire. You can easily jump from a nearby hill and glide over to it. Contains shards.


Chest 107- Frostbite Fur
I believe this is a part of the Sage's Hideout. You can reach this chest without going inside the hideout.


Chest 108
Around Icy Home you can find Ice Snake Hollow. Follow the linear path until you reach a room with a glowing sword. The chest should be around the corner. It contains shards.


Raven Tribe Words of Memory 7
"In ancient days, Valulf, 3rd son of Éona, was lost as a child. He wandered helplessly in the rugged mountains. He was found my the Wolf Guardians Esmir and Okama who raised him in the shelter of a glacier."
  • This scroll can be found inside Thal'dulian Glacier. Follow the river until you at met with a few icebergs blocking majority of the path.


    There will be one on the left side of the room you can climb to get up to the scroll.

Chest 109
In the starting area of Thal'dulian Glaicer there is a pathway full of ice with a downhill river. Use spirit dash to get up the river and you'll find both an exit to the area and a chest. The chest contains shards.


Moon Wolf Tribe Fennuk 2
"We are the truth and we are the lie. We are bold but often hide. We wax and wane from time to time, just like the moon in the night sky."
  • Head back into the glacier and continue down the path. The scroll can be found along the path of the Thal'dulian Glacier. It is hanging in some ropes on a stone ledge.

Chest 110
After finding the right path in the glacier you'll be dropped into a room with three spirit stones (the wrong one will leave you with a portal to bring you back to the ancient tree). Activate them all and you'll be rewarded with a shards chest.


Chest 111
From Chest 110 you'll enter the next area: Sunken City of Outcasts. Sprint past the closing door and you'll find this chest. It contains a skill point.


Chest 112
In the back of the sunken city main room- past the black wolf statue- you can see a chest under the water on some steps. Use the drowned rune to get to it. The chest contains shards.
Frigid Peaks P.2
Bear Tribe Mog the Mighty 8
"I fear Grimnir's trust in the Moon Warriors is misplaced. How can we trust these tricksters? They are master manipulators, liars, and thieves. I will feel much better once I leave this place."
  • You can find this scroll on the second level of the first big room of the Sunken City of Outcasts.

Chest 113: Midnight Fur
In front of the wolf staue you can see a giant pot in the water (In the image I've already broken it).

Break the pot using spirit dash (it took me a few tries) and you'll get a mini statue. Take it to the other side and place it on the pedastal.

A door will open to reveal the chest.


Bear Tribe Grimnir 1
"I am Grimnir the fatherless. Child of Sorrow, a spirit betwixt peace and anguish. My home is a dwelling of falsehoods, and my cradle is a cavern of ice, where death, a frequent guest, beckons my kin to leave me."
  • Found inside the Sunken City of Outcasts. Once in the portal room head up the stairs to find a statue with red lighting. Go left and you'll see the scroll ahead of you.


Moon Wolf Tribe Eyma 1
"I Eyma, of the Moon Pack, endure my nights in sorrow in the Sunken City of Outcasts. I nurture my fatherless son, bestowing upon him the name Grimnir, meaning both peace and turmoil. With no birthright, his path will be his own making."
  • Facing away from the portal, along the right side of the room, second floor, there is a room with a few beds. Inside will be the scroll.

Chest 114
Behind the Glacier Portal is a tall ledge. If you time the spirit dash correctly you can jump from the second floor onto the portal itself. Climb high enough and you can spirit dash onto the ledge with the chest. There might be an easier way to get here, but this is how I did it. The chest contains shards.


Chest 115
After you pick up the wolf headed fire stick (after solving a quick puzzle) the gated doors on the left and the right sides of the room will open. Head to the right side to grab this chest. It contains shards.


Flame Tongue
Inside the Sunken City of Outcasts there will be a small puzzle to get into the back room. Use a torch to light three braziers near a statue with red light. Once all three lights turn blue the room will change. Climb to the top to grab the relic. MAKE SURE TO GRAB MOG THE MIGHT 7 AND CHEST 116 BEFORE LEAVING!

Take it with you back to the Temple of the Wolf.


Bear Tribe Mog the Mighty 7
"Grimnir's connections to the Moon Wolf pack remains strong. They say he was born here and treat him as one of their own. he has promised them lordship over the mountains should they join us. They relish the idea of over throwing the Sun Wolf Pack and seem all too eager to perform their mischief."
  • After you pick up the wolf headed fire stick (after solving a quick puzzle) the gated doors on the left and the right sides of the room will open. Head to the left side to grab this scroll.

Chest 116
Head south after leaving the sunken city and you'll see a lone island out in the water. Climb to the top to find the chest. It contains shards.


Chest 117
Now that we have some more runes (namely the Fox Jump rune and the Drowned rune) we can do some backtracking to get a few missing collectibles. In Misthaven, right next to the western most obelisk there is a chest close to the water. It contains shards.


Chest 118
On the island west of Misthaven there is single chest located by some ruins.


Chest 119
Inside Misthaven's snake shrine there is a rune stone to activate, doing so will make the chest rise from the floor. It contains shards.


Raven Tribe Words of Memory 6
"In ancient days, Runa the eldest daughter of the Éona was a quiet and peculiar child. She was followed by an old white raven named Memory who told her many things. Runa with wisdom beyond her years, created Runescript to record all that Memory made known unto her. Memory and Runa sought to solitude far from her mother and siblings. She settled in the far north in a land shrouded in mist, where her vast libraries could be safe."
  • This scroll can be found inside Runa's Tower. It should be sitting directly inside near a statue.


Chest 120: Raven Fur
Climb the tower and at the very top will be a chest waiting for you.


Chest 121: Freckles Fur
At Clearwater Falls there is a chest under the water. Use the drowned rune to get to it.


Sun Wolf Tribe Arkenmar 2
"What deceit hath Grimnir sown among the Moon Warriors, provoking their unjust assault upon us? We, rightful stewards of the mountains, akin to the sun's dominion over the earth, sustain ourselves without taking from others. They, cloaked in glacial refuge, are but thieves ignorant of true sovereignty, mere reflections of our unwavering example. Without our guiding light, they dwell in darkness, bereft of our radiant widsom."
  • With those three chests out of the way we can head back to the Frigid Peaks. Southwest of the Frigid Peaks Portal is a broken sled. You can find the scroll nestled into the debris.


Chest 122
A little north of the western-most obelisk in Frigid Peaks there is a frozen shack. Inside is a chest with shards.


123
Head up north until you are west of the Temple of the Wolf, where the snow starts to taper off to stone, there is a destroyed house. There is a chest in the wreckage (as well as two skeletons enjoying a frozen bath).


Chest 124
Head back to the Frigid Peaks Portal and head south until you find Glacier Lake, At the bottom of the lake is this chest. It contains shards.
Frigid Peaks P.3
Chest 125[/h2]
Kalu Nol contains a lot of chests. Starting at the bottom right there are two houses on a taller ledge. One of them will have a pedestal for a statue. You can find the statue in the house opposite it. The chest is on a tall shelf inside the pedestal house. It contains a skill point.


Chest 126
East of chest 125 there are a few buildings along the lake. Look for the tower. On the second level will be a chest containing shards.


Chest 127
There is an mini ancient tree near the water around chest 126. The building right by the tree contains a chest along the rafters. It contains shards.


Chest 128
Right behind the tower for chest 126 is a building with red vines in front of it. Use a torch to remove the vines. The chest directly inside and contains shards.


Sun Wolf Tribe Piera 1
"Focus on breathing to calm the beating heart. For a calm heart will settle the mind and a settled mind will unbind the spirit. Just breathe, and the spirit is boundless."
  • There is a house with a balcony overlooking the lake, the scroll will be sat on this balcony. The house is on the northern part of the lake.

Chest 129
Climb, the same building you just got the scroll in, to get to the roof. You'll see a tower with gates around it. Either find the door or jump over the gate to get to the chest. It contains shards.


Chest 130
Look for a building behind chest 129 that has two stone pillars in front of it. Jump on both to open the door. The chest will be inside, it contains shards.


Sun Wolf Tribe Arkenmar 1
"We are the Wolf Tribe, fractured in days of old. Two halves under one stewardship. Ensnared in an unending dance of hate and mockery. Our guardians bite and howl, forever pursuing one another across the sky. The sun, in its pursuit, drives the moon from the firmament. And when night descends, it stealthily returns."
  • Along the north of Kalu Nol you can find this scroll sitting inside a small open walled arch. Head directly north from Piera 1 and you should find it.

Chest 131
Climb on top of the ancient tree in Kalu Nol and you can see the chest sitting on the second floor of a tower. Using the Fox Jump rune you can get over there. The chest contains shards.


Fox Tribe Feon 2
"Legend speaks of an era of suffering, when the skies are red and the spirits rage. Yet within those tales lies a glimmer of hope, foretelling the return of the aurora. Shall I live to witness the foxes paint the sky once more?"
  • Before we head inside Sunfire Passage we're going to take a small detour. Head north up the mountain to the Arctic Fox Guild. When you fall in, head to the left side and you'll find the scroll sitting on the floor.

Chest 132: Arctic Fox Fur
Inside the Arctic Fox Guild there is a gated door. Look to the left of it to see a crawl space. The chest will be on the other side and contains both a fur and a skill point.


Chest 133
Inside Sunfire Passage you'll come to a shut door and two paths to the left and right. Head down the right path and you'll find this chest. Use the Fox Jump rune to get up to it.


Chest 134
Progress further down Sunfire Passage and you'll enter a room with a giant drop to the ground. When you reach a giant square stone platform slow down. There is an area to the left you can head down. The chest will be along the (now) left wall and contains shards. You cannot get this chest if you jump down the broken bridge. You'll need to come back.


Chest 135
Progress further down Sunfire Passage and you'll enter a room with a giant drop to the ground. Look down the right side of the room and you should see a chest close to the bottom.

Head down the path and the bridge will break. It shouldn't be a problem (minus a small jumpscare) and you can continue down to the chest. It contains a skill point.


Dream Walker
At the end of the Sunfire Passage will be a puzzle with the braziers. Solve it and the lava around the relic will cool. Collect it and return it to the Temple of the Wolf.


Chest 136
Finish up in Sunfire Passage and this chest will be directly on the path.


Chest 137
Inside the Temple of the Wolf. You'll find it after going down a bunch of stairs.


Chest 138
Opposite chest 137. Contains shards.


Moon Wolf Tribe Fennuk 3
"Ha! Grimnir, the deceitful knave, hath betrayed us, and our Guardian Wolf, the master of deceit, now sickened by his foul plague. Blinded by his lies, we failed to see the corruption rooted in his soul. Aye, we may have dwelt amongst us, but he is kin to us no more. Oh, the folly of one who seeks to deceive the masters of deceit! Thirsting for vengeance, we shall not rest until he rues the day he crossed us."
  • Found in the first main room of the Temple of the Wolf, after heading down all the stairs. The scroll is on the rafters.
Ashlands
Chest 139
Follow the red wisp into Ashland. Go inside the Moltenheart Crypt. Continue all the way to the end where you are met with a bear statue. The chest is sitting on the same platform as the statue. It contains a skill point.


Smoldering Vessel
At the end of Moltenheart Crypt you can pick this relic up. Take it with you to the Temple of the Bear to claim the relic.


Bear Tribe Rika the Witch 1
"Behold! Grimnir, son of the mighty Bear Tribe, rouses the Bear Guardian from his age old slumber, heralding a new era! The awakening of the bear foretells a time of war, where the Bear Tribe no longer sits idly within their homeland but claims the birthright of Eynbor, the entirety of the Northern Isles."
  • Found at the entrance to the Temple of the Bear.

Key 5 and Cinder Fur
We are going to make a B-Line for the north of Ashlands to finish that area before moving south. This key and fur can be bought from a raccoon trader in Ashlands. You can enter this grotto fairly easily. It is on the north side of Ashlands.


Bear Tribe Grimöl 1
"Here lies Grimöl, the wretched. Unblessed by the bear guardians and drinker of ale. Companion to Eyma of the wolf tribe, and father of Grimnir. Here he lies alone, unclaimed by kin, and far removed from the honorable restgrounds of his people."
  • This scroll can be found on Lover's Hill and sitting on top of a grave. The northern ancient tree of Ashlands can be seen in the distance. It is south of the Mines of Atur.

Chest 140
Found in the Ashlands snake shrine.

You'll need two weights for the pressure plates. You can easily grab them from Kalu Nol.

Bring them both to the snake shrine and put them on two of the three pressure plates. The shrine will open up and lead you to the chest. It contains an eye color and a skill point.


Chest 141
Head down south to the Corrupted Village. Inside the village there are some vines blocking the way. You can find a torch in one of the buildings and there should be a tree on fire nearby to light it. The vines blocking a cave contains a chest with shards.


Bear Tribe Grimnir 12
"I seek the final guardian, the legendary Spirit of the North, the fox guardian of the aurora. Like the others, it too must be perfected through pain."
  • You can find this scroll also inside the Corrupted Village. Look for the building in the middle and the scroll will be on the roof.

Chest 142
Continue south until you find Seaside Village. At the docks of Seaside Village there are a few broken ships. Look for one along the water to the west and you'll find the chest inside. The chest contains shards.


Raven Tribe Words of Memory 4
"Upon the bountiful land the people of Eynbor grew numerous and were known as the Bear Tribe. They lived idle lives in the cradle of peace. Never waiting for food or drink, never toiling and never contested or provoked."
  • You can find this a little off the path between Bearclaw Bridge and Ember Crossing. From Seaside Village head to the west and you should find a river of lava. Look for the bridge and follow the path north. About halfway down the path, head to the west and you should find a cave. Enter and the scroll will be just inside.


Bear Tribe Grimnir 2
"From sorrow and shame, I shall ascend, forging a path uniquely mine. I will visit all the guardians and seek their blessings."
  • Along the west coast of Ashland there is a small cave with blue lights around it.

    Head inside and find the scroll sitting near a bedroll.


Cross Fox Fur
Found at the southern Ashland Raccoon Grotto.


Chest 143
South of the Ashland Quarry is a path. Along the path you should see a lone cart with a chest inside it. The chest contains shards.


Chest 144
Continue down south until you reach the Grimhold, Lower District. The chest will be behind a wooden fence. The chest sits underneath a red tent with quite a few fish bones around. The chest contains shards.


Bear Tribe Mog the Mighty 2
"We the Bear Tribe, son's of Eynbor, eldest of Éona. Pledge ourselves to Grimnir, the war maker. For he has awakened the bear as legends foretold and shall lead us into battle and deliver unto us the lands of our birthright."
  • This scroll can be found just outside the Grimhold Sanctum. Continue from Chest 144 south until you see the red wisp at the entrance.

Bear Tribe Grimnir 13 and Chest 145
"The Northguard have surrendered. I sail to the isle of the Fox Tribe to take my position at the head of the Council of Elders."
  • Instead of heading inside the sanctum, continue south towards a fortress. This scroll can be found in the center building at Grimhold Fortress. There is a chest next to the scroll containing a skill point.

Moon Wolf Tribe Fennuk 4
"Oh Grimnir, that treacherous fool who dared to outwit the masters of the moon and mischief, now treads unwittingly into a snare I have deftly woven. He imagines that the Northguard shall bend to his will, but alas, 'tis not so. For he walks to his execution."
  • Climb the center building at Grimhold Fortress and you can find this scroll at the very top of the tent/roof.

Bear Tribe Omol the Abandoned 2
"Grimnir hath been executed by the Northguard and the war hath ceased. Yet the guardians rage on and there are none left to cleanse them. Scarlet plague fills the air and chokes our bodies and poisons out spirits."
  • West of Grimhold Fortress you can find a little beach with a wrecked boat. The scroll will be sitting on the beach.
Ashlands P.2
Drasnyok
Enter Grimhold Sanctum and head towards the end. You can find this relic on a table before a giant bear statue. Pick it up and take it with you to the Temple of the Bear.


Chest 146
Before leaving the sanctum, grab this chest on the way out. It contains a skill point.


Bear Tribe Omol the Abandoned 1
"Our tribe departs to lay claim to lands beyond. Yet, old and crippled, I remain, pondering: Are we of noble heart or ensnared by deceit?"
  • After leaving the sanctum you'll be tossed around to the other side of Ashlands. Nearby will be the Abandoned Dwelling. This scroll can be found inside one of the buildings.

Bear Tribe Rika the Witch 3
"Where lies the aurora's radiant hue, adorning night skies in greens and blues? Where roams the fox, in distant far lands? Or has it returned to heal the guardians?"
  • This scroll is a little hard to spot. After traveling through the Charred Pass, you should find a cliff that looks like this:

    Climb up it and look down. You should see the scroll on a ledge near the top.

Bear Tribe Omol the Abandoned 4
"From the sky, the Ravens witness our ill deeds and our fate is sealed. Atop the hills the Ram splinters our shields with fierce lightning, in the forest below the Stag entangles out feet with thorns. The Bear in fury shakes the earth and out cities crumble while Wolves wander our paths devouring our children. Following Grimnir was folly; our end draws near."
  • This scroll can be found in a destroyed city near the northern end of the eastern peninsula. It will be on top of a tower and is pretty easy to spot.


147
This chest is on the eastern peninsula of Ashlands. It's along the beach, west of the scroll location, and contains shards.


Chest 148
Head down south towards the end of the map. Past the volcano and near an obelisk you can find some ruins. At the top of the Ruins of Asgu Moor, after climbing up and across the moving platforms, you'll find the chest sitting in an empty ruin. It contains a skill point.


Raven Tribe Words of Memory 3
"In the days of the ancient, the eldest son of Éona, known as Eynbor, grew to be a large and powerful man. He was prone to anger but found peace on the eastern isle, deep inside the warmth of an isolated mountain. There he met his kindred spirit the Bear Guardian, who also loved warmth, food, and peaceful rest."
  • On the south side of Ashlands is a place called Cavern of Eynbor. The scroll is sitting right inside the cave.


Chest 149, Chest 150 : Kitsune Fur, and Chest 151: Tanuki Fur
There are quite a few a mushroom trail turtle chests I have yet to collect. The easiest way I found for this to trigger was to wait outside the Mosswood Portal for mushrooms to spawn. I left my computer running and got a snack, by the time I came back the mushrooms had spawned for me. The chest contained an eye color.


Chests 152 and 153
This is a chest I found while I was hunting down wisps. In Mosswood head down to the Mosswood Mines and down to the beach.

You'll find a statue place and will need to find the correct statue to open the door. There will be two chests inside with shards.


Bear Tribe Grimnir 5
"I am Grimnir the War Maker. Too long hath the Bear slept deep within his mountain. I will descend into the depths of the earth and find his resting place among the halls of molten stone. I will awaken him and shall be his master. Destruction shall flow from me and all will know my name."
  • With some of those random collectibles out of the way, we're finally heading into the bear temple. This scroll is found inside the Slumbering Furnace - the room directly after entering the Temple of the Bear.

Chest 155
After cleansing the Bear guardian you will be brought into a room with this chest- it contains shards.
Fox Island P.2
Raven Tribe Isölda 2
"Long after the 6 tribes have fallen, the fox guardian shall return with healing light and restore it's kindred guardians. Then pass through these halls triumphantly onwards to cleanse the fallen heir of Éona."
  • After teleporting to the Fox Island, you will be met with this scroll at the raven door at the Hall of the Guardians.

Ram Tribe Taukara, Daughter of War 5
"We are what remains of the Northguard, the sons and daughters of those slain by Grimnir. Our guardians hath he subjugated to his will and caused us to lead bitter lives of sorrow and war. We wake this day with vengeance upon our lips and justice etched upon our swords."
  • After greeting the Bear guardian, this scroll can be found between two doors.

Grimrikr
Defeat Grimnir and cleanse his spirit to be granted this relic.


Now that the boss is defeated we can explore Fox Island to pick up the rest of the collectibles

Moon Wolf Tribe Fennuk 5
"Ah, the honeyed delight of a scheme well-played! Grimnir's is no more, and the final laugh is mine, ahaha!"
  • After defeating the final boss you can find this scroll on the wall of the Palace of Peace. The easiest way to get here is to climb down Mount Aurora and walk along the edge of the palace's wall.

Chest 156
This chest will be in the center of the Palace of Peace.


Chest 157
Near the Raccoon Grotto on the island there are a few pools of water on the map. Look for the one listed below.

There is a tree on a small tower with a chest under the leaves.


Bear Tribe Omol the Abandoned 3
"The Northguard have forsaken this land and set sail across the sea. Yet again, I remain, unworthy to join them because of the crimes of my people."
  • You can find this scroll by the Foxhaven Harbor. There is a small bridge you can cross with a spirit boost arch at the end.

Chest 158
Head to this location on the beach of Fox Island.

Head into the water and you'll find this chest (containing shards), but be careful of the giant fish.


Chest 159: Desert Fur
Inside the Fox Village look a mural on the left side (upon entry at the start of the game) then go up along the wall to locate the chest. (If you followed the walkthrough from the beginning you should already have this, but I added it here because I found it at the end of the game- also I didn't wanna end the chests on an odd number).


Chest 160: Corrupted Tanuki
This must be done after the credits roll. Head back to the Forbidden Crypt. When you enter the room where the balloons float through, turn right.

You should see a wall that looks like this. Use Spirit Jump or the Lift Glide rune to get into the room. A small cut scene will play and you can open the chest.


Congratulations! You've completed Spirit of the North 2 to it's fullest capacity! I hope this guide was helpful and you enjoyed playing the game.

27 Comments
magda 29 May @ 11:44am 
we also get some skins and stuff from the turtle when activating the red mushroom trails
Morfie 22 May @ 3:06am 
Thank you for mentioning my Furs guide! :FOXLOVE:
DanMingle 21 May @ 3:34pm 
Just for reference, someone on gamersociaclub has made a full guide for the scrolls as of today. Some of it is a bit incorrect at the moment but might be good to cross check for your own guide!
Nostiel 20 May @ 8:33pm 
I'll leave a question of my own before I put off searching for a while, still missing 11 scrolls, and I feel searching for them will go much slower from here on.
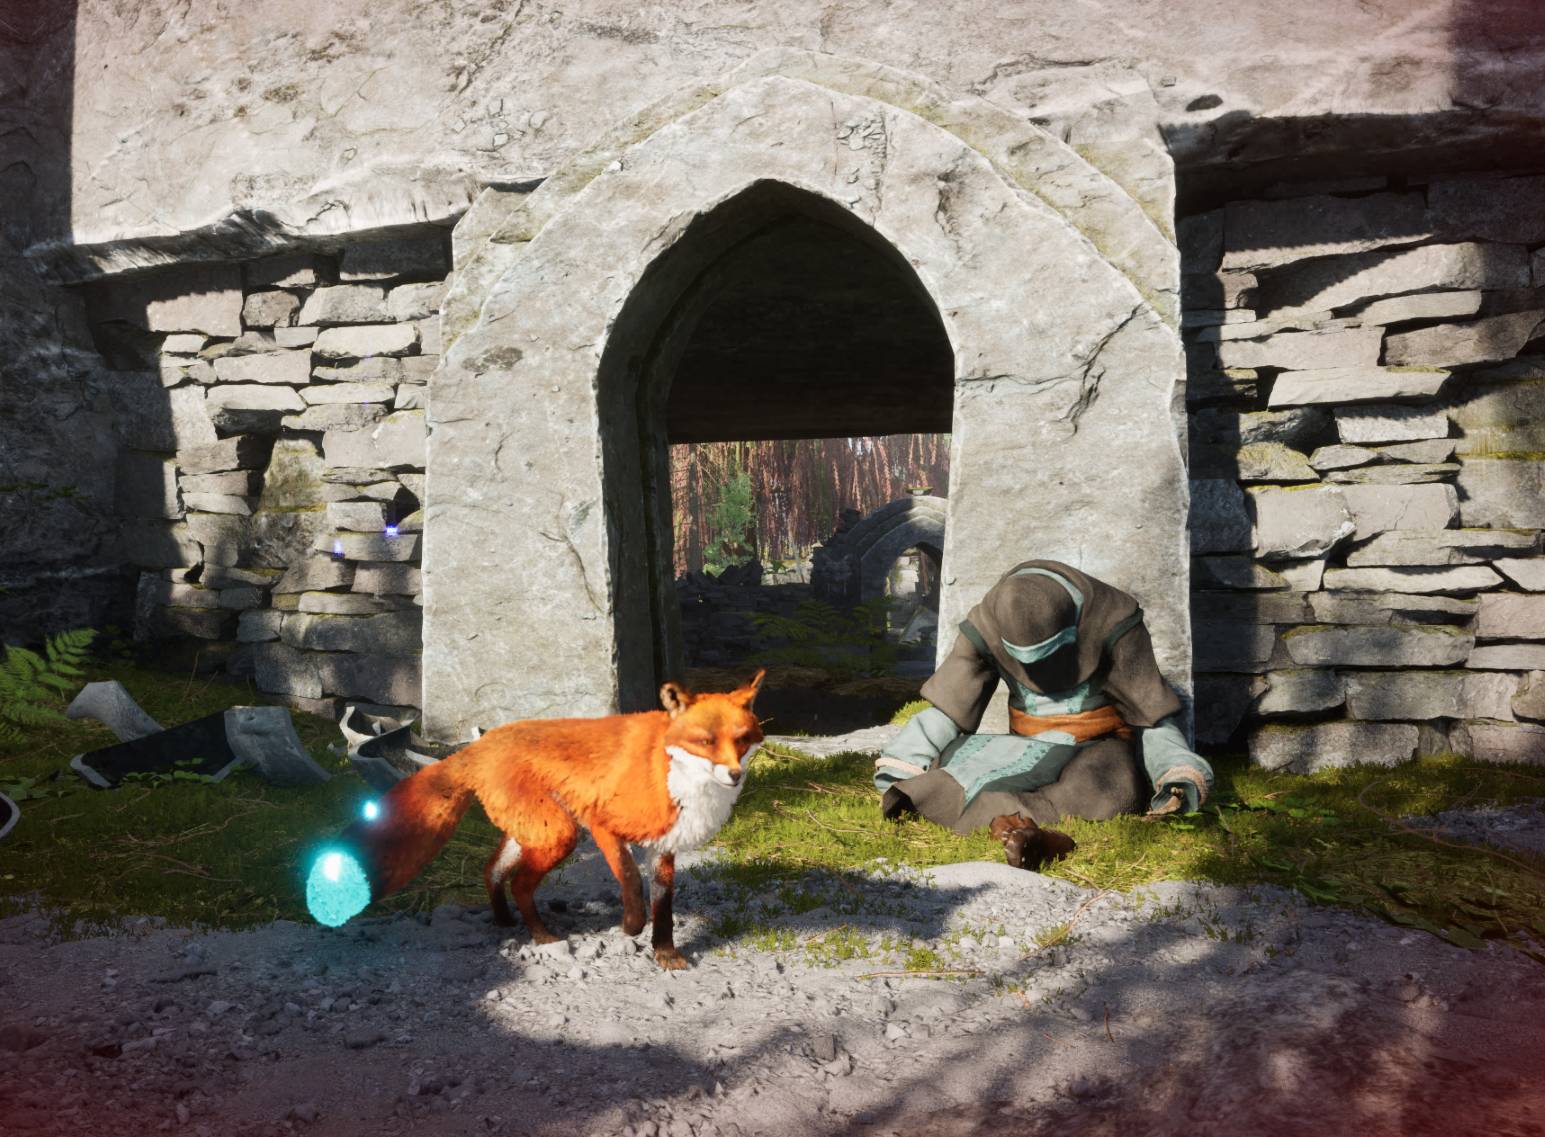
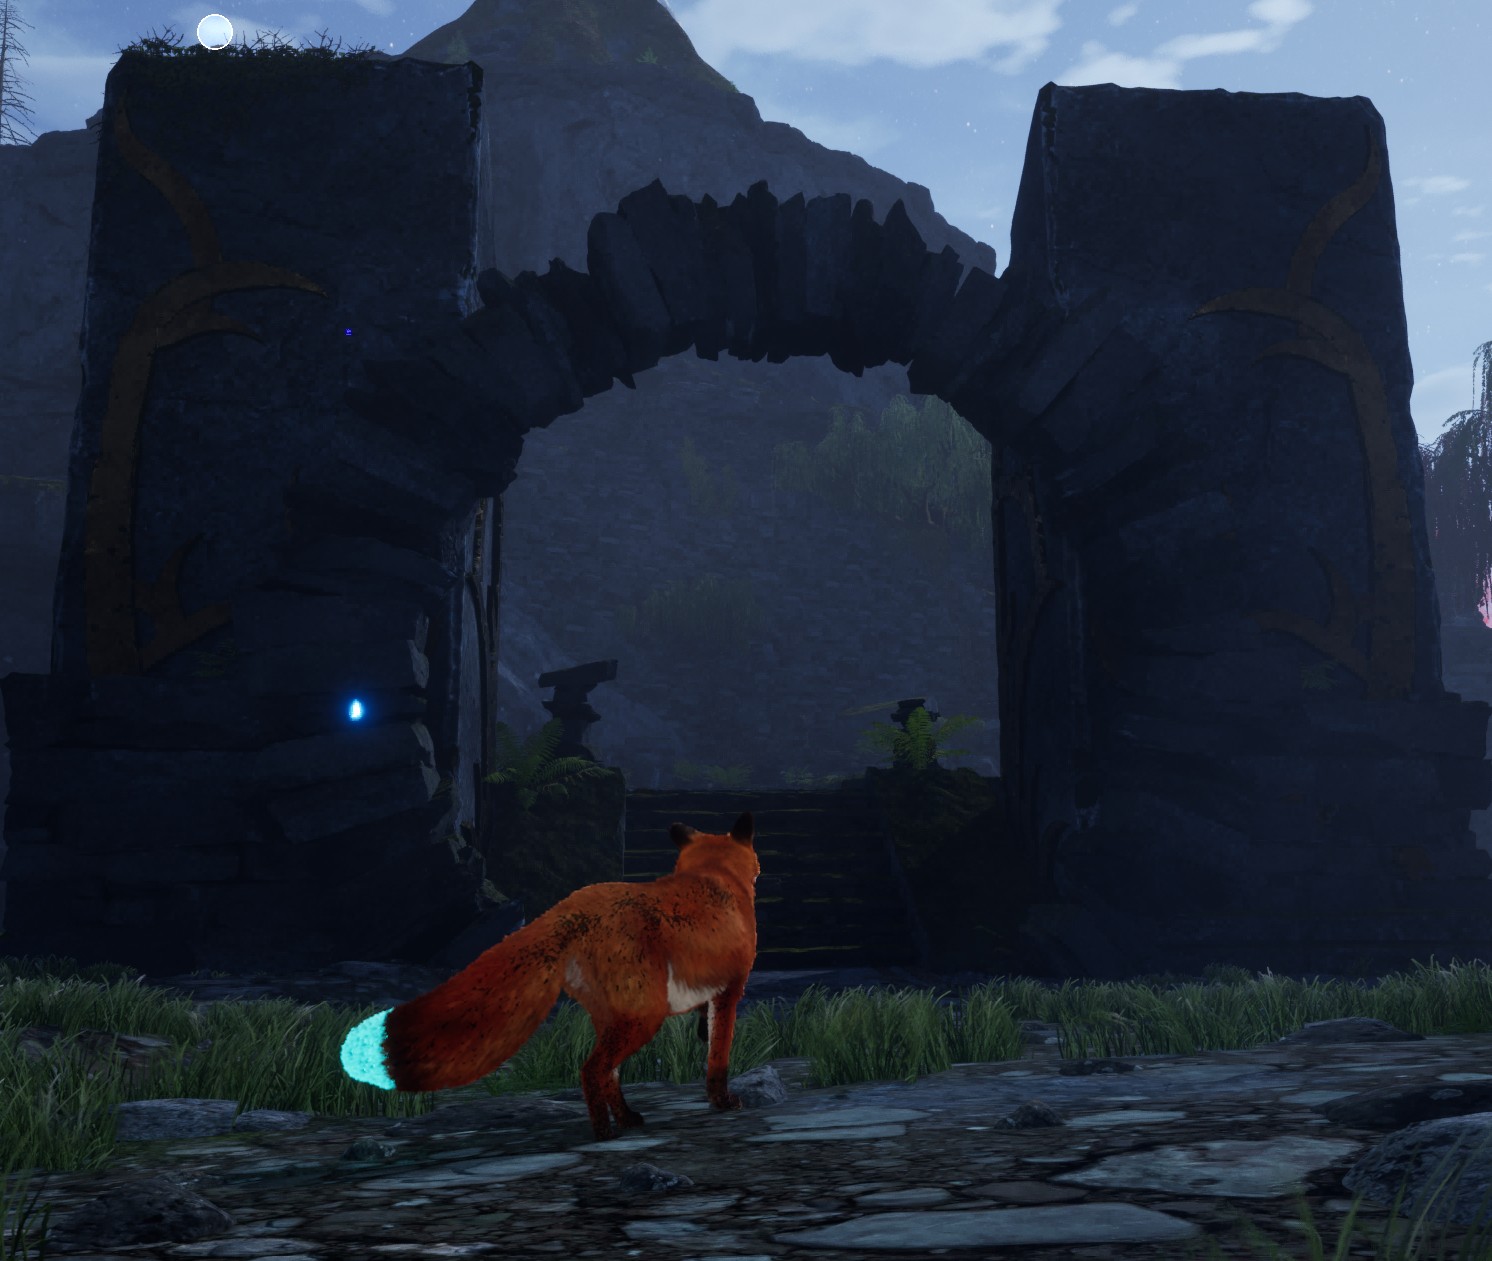
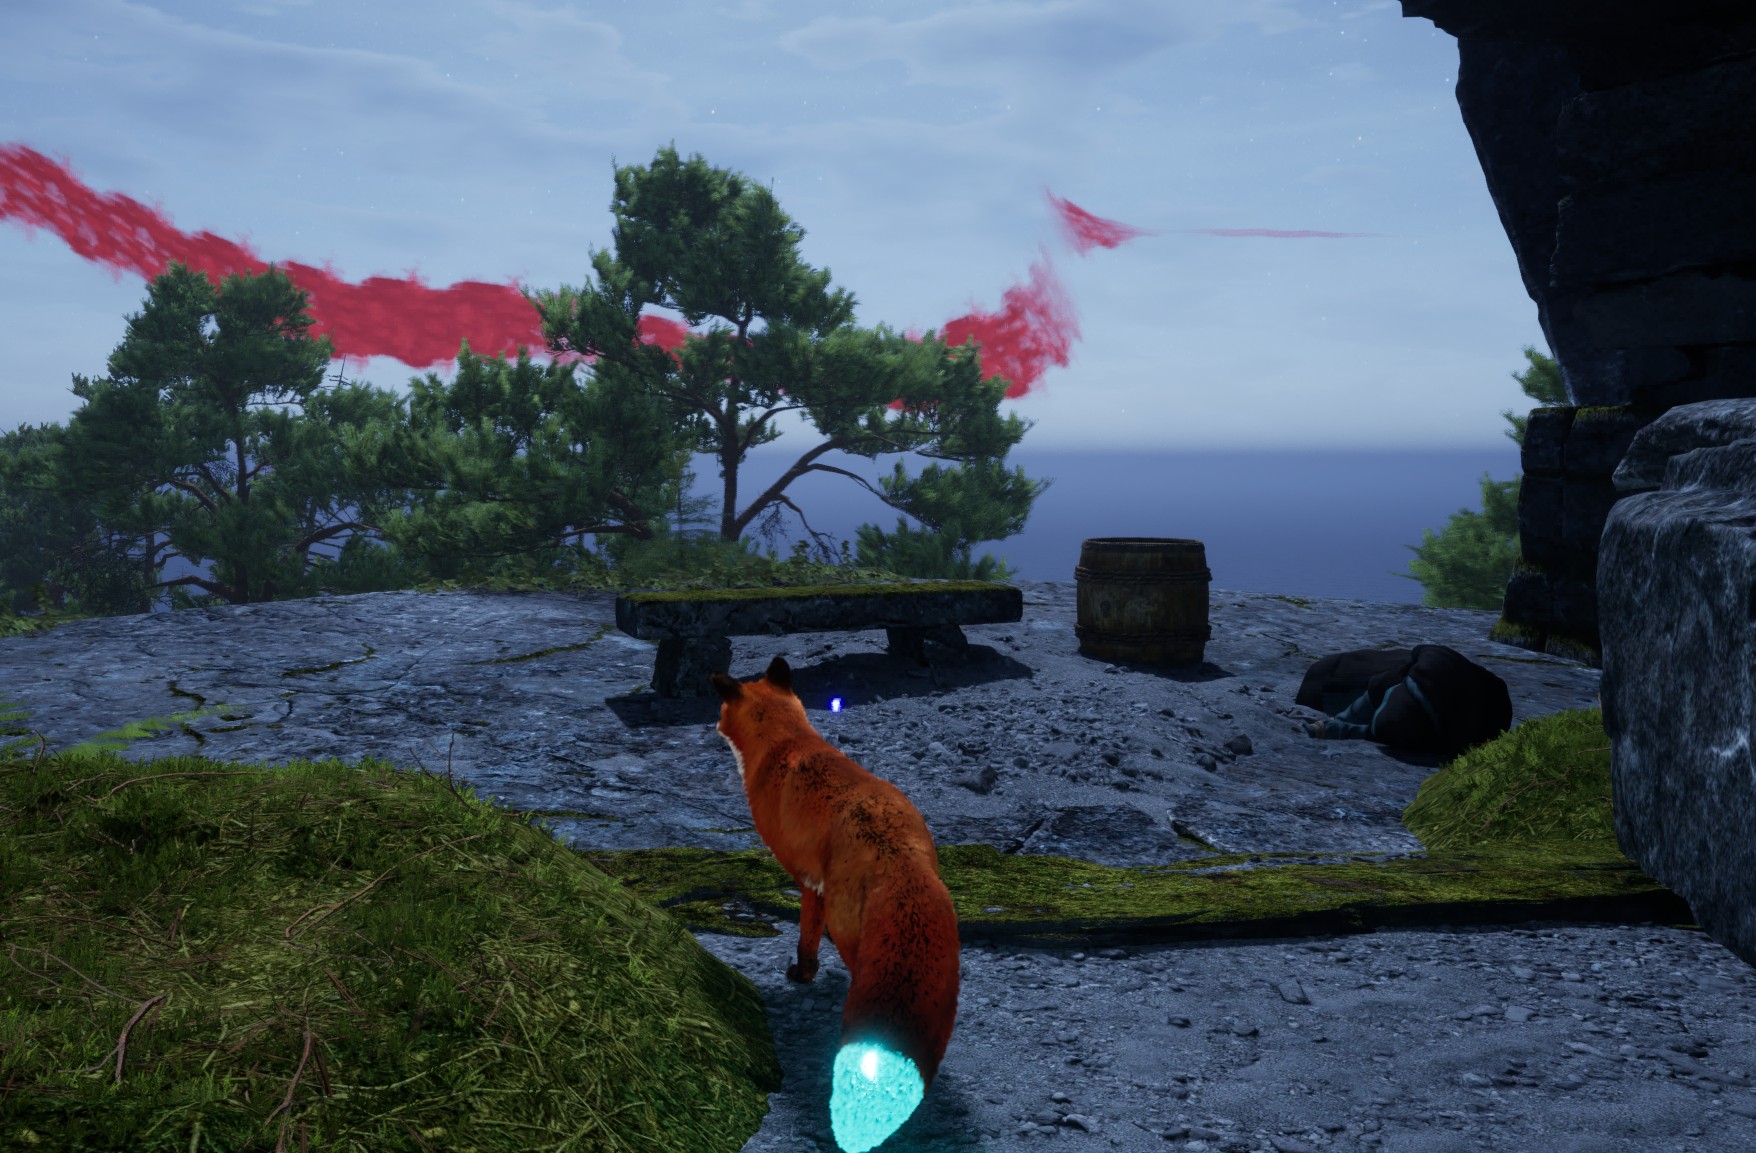
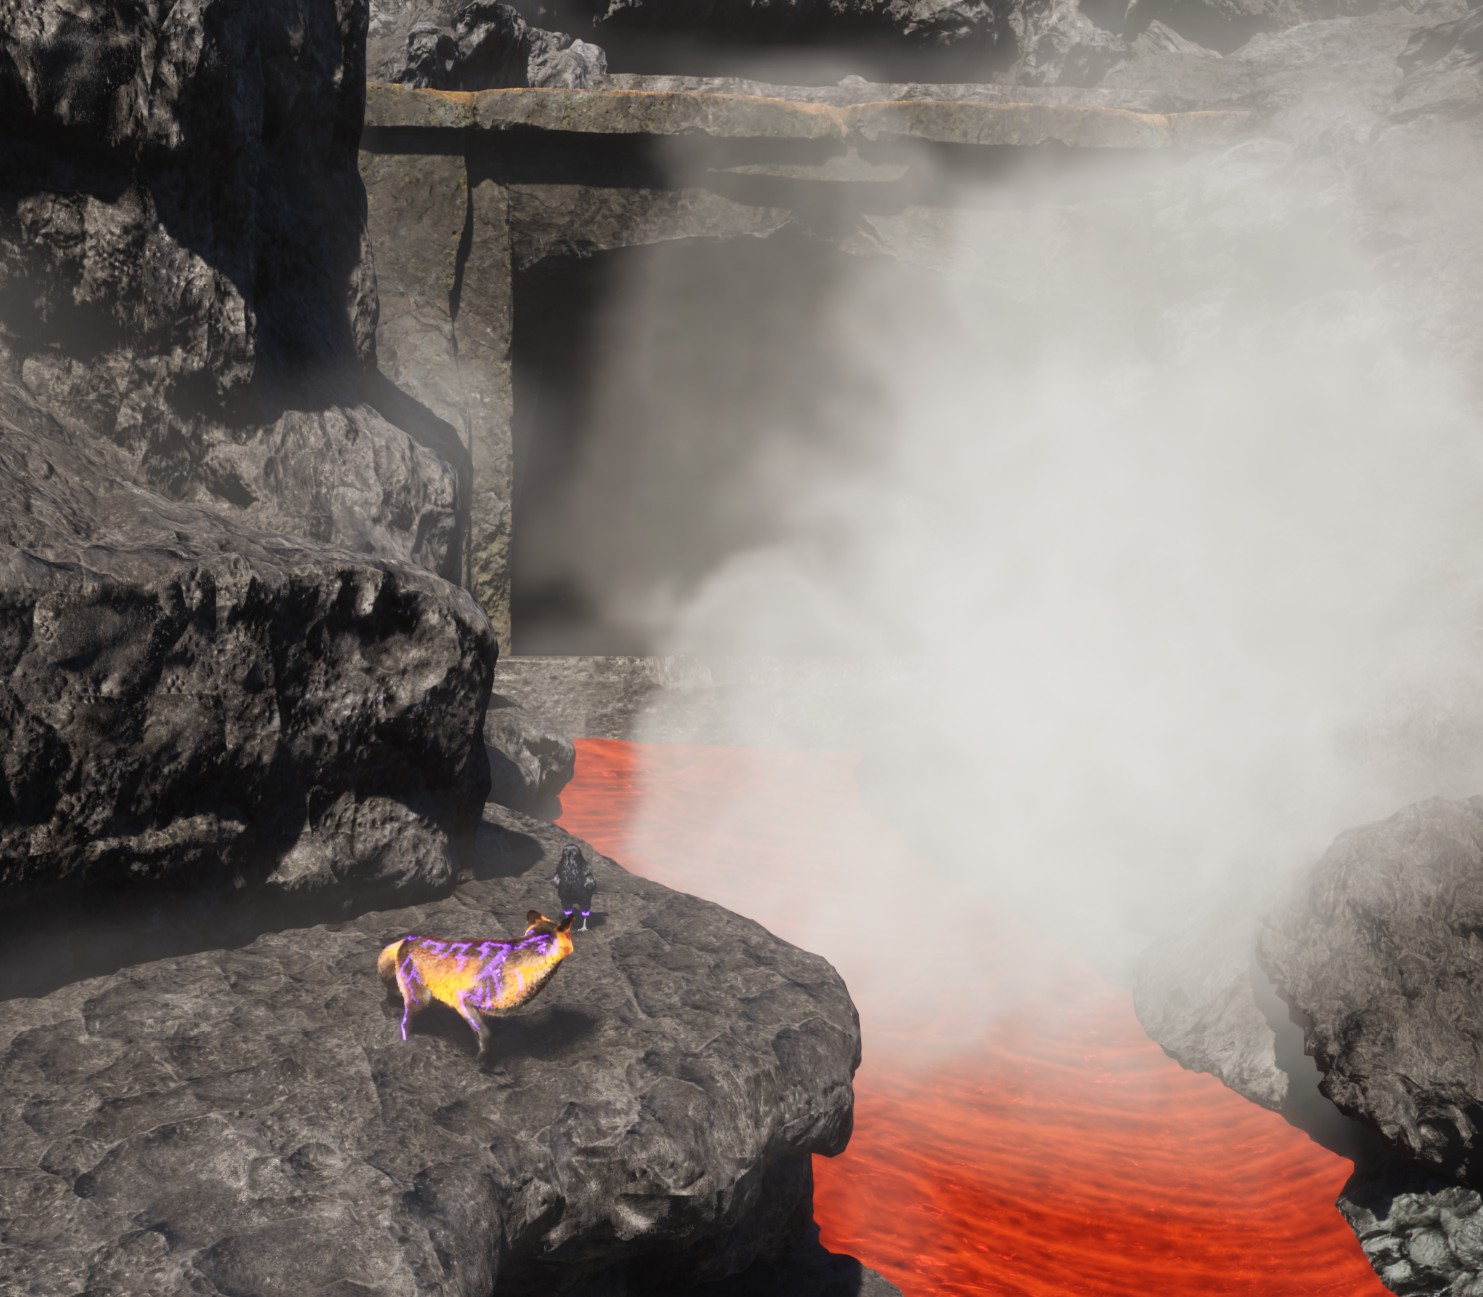
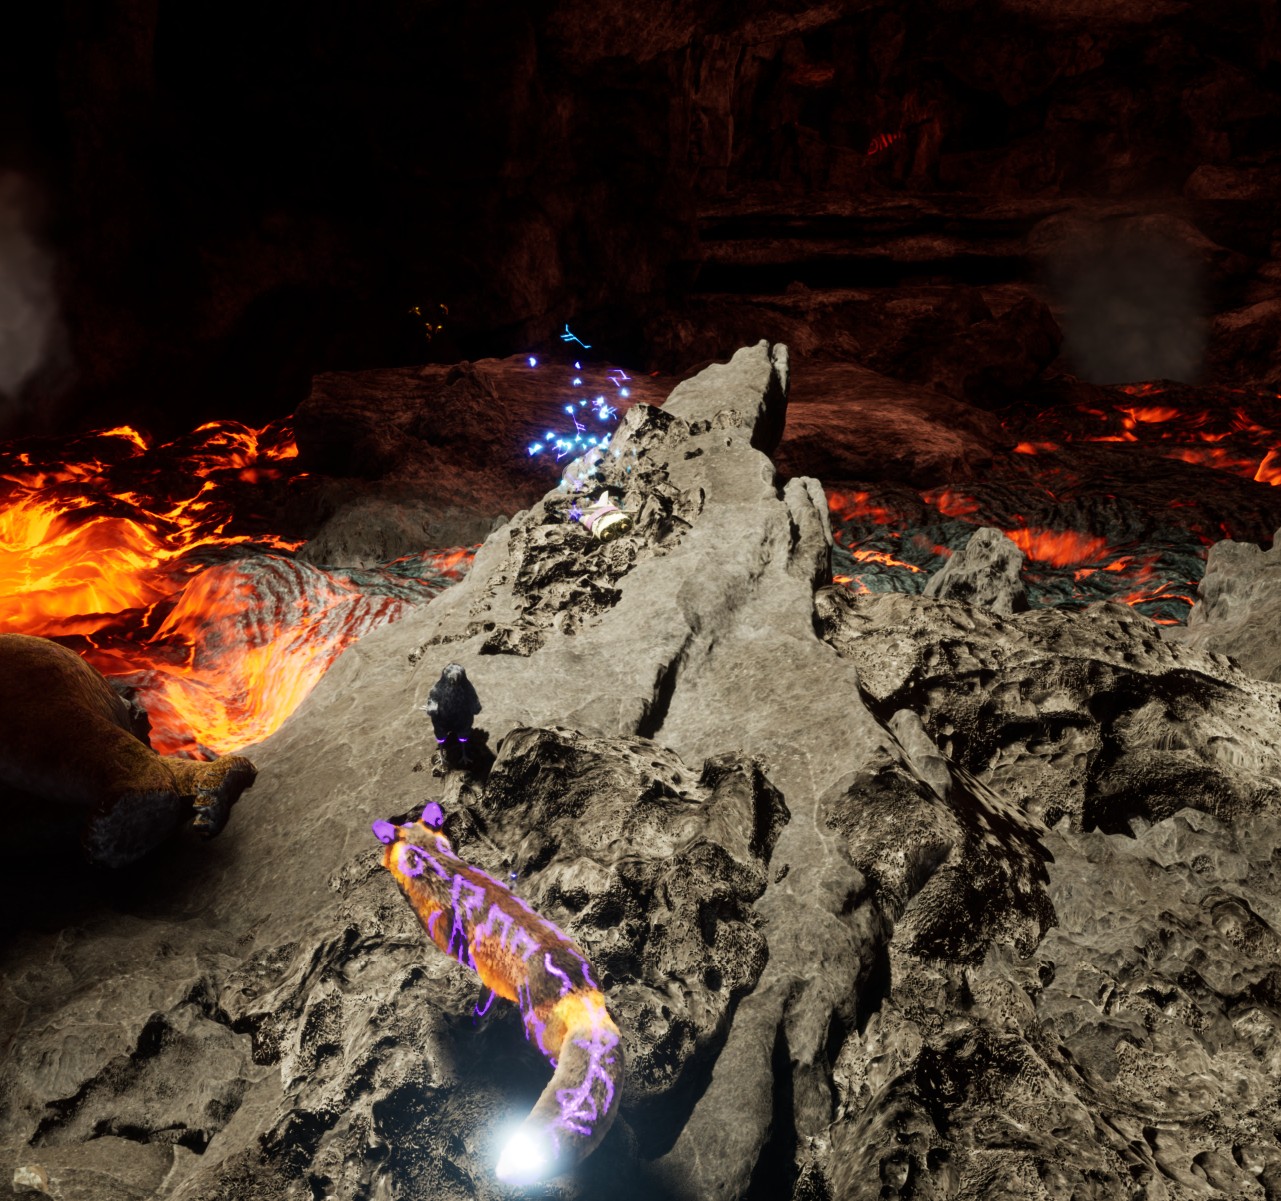
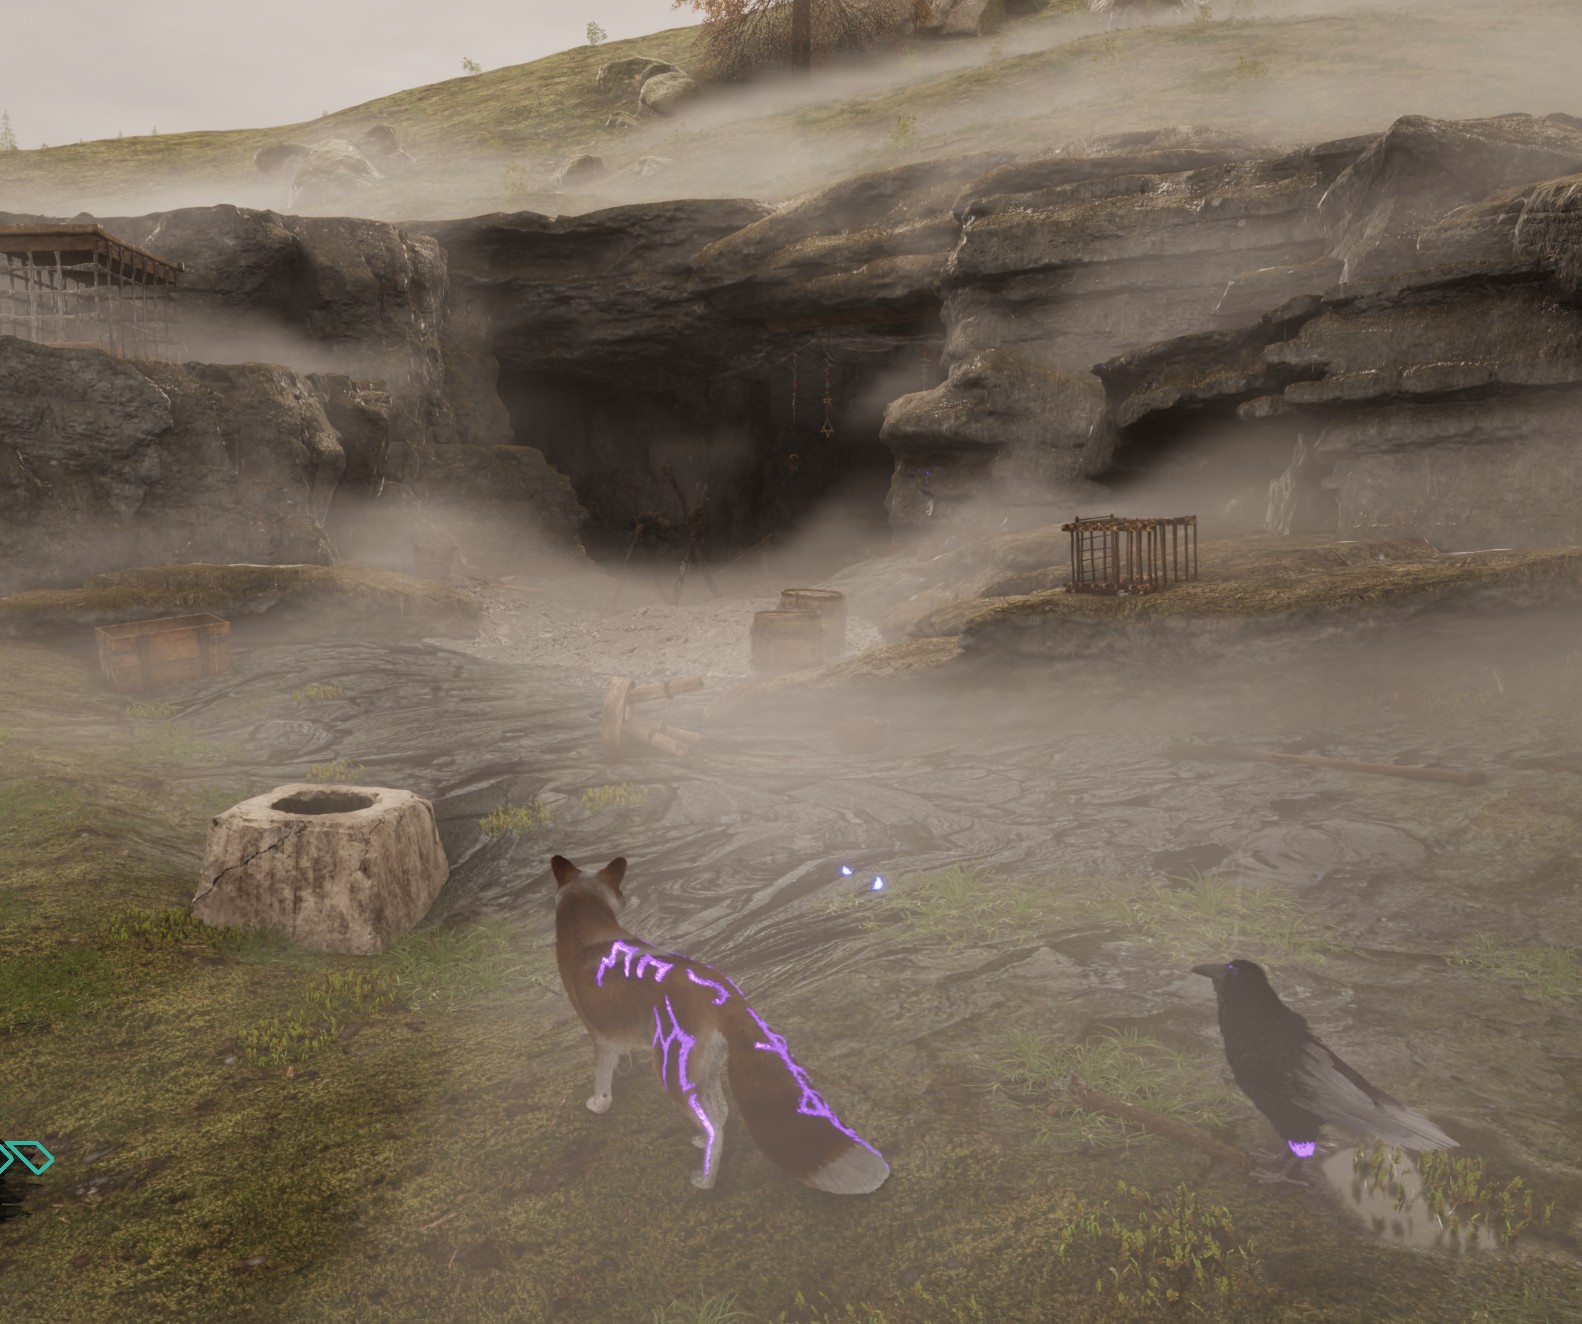
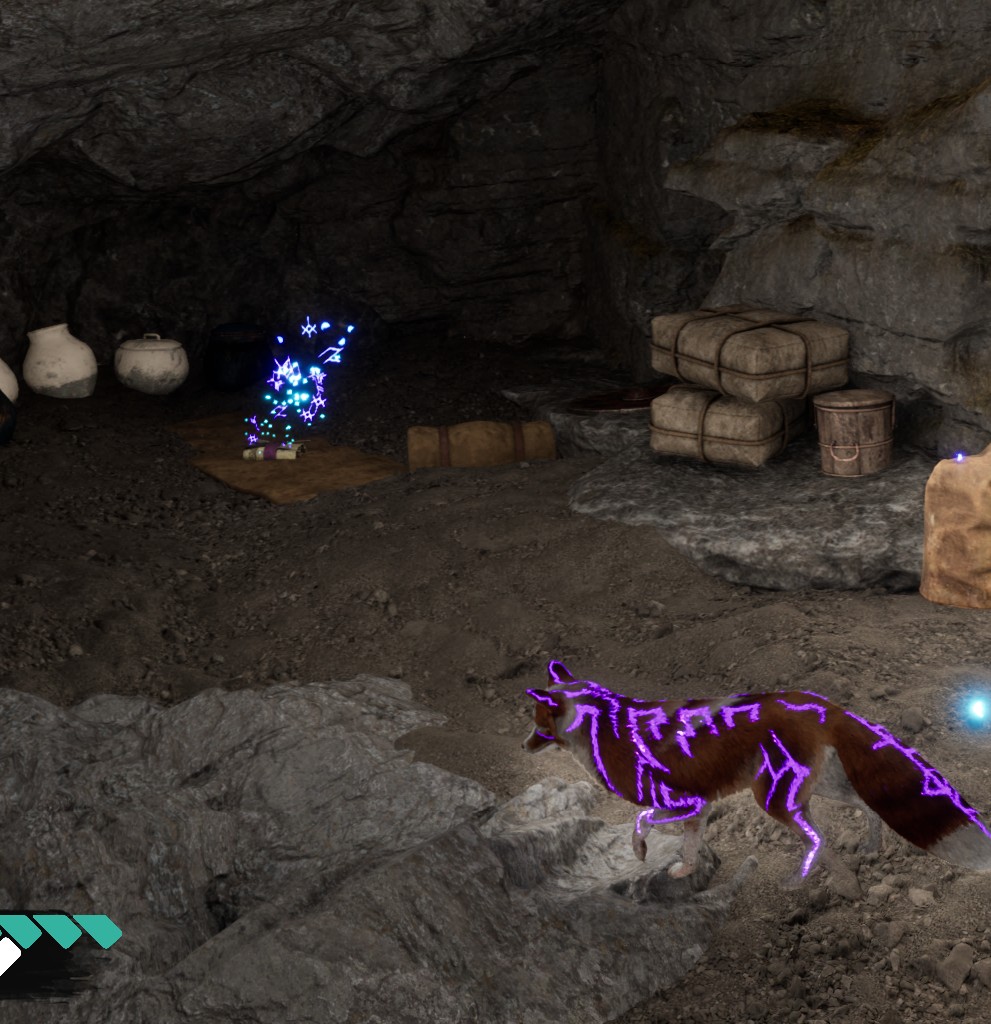
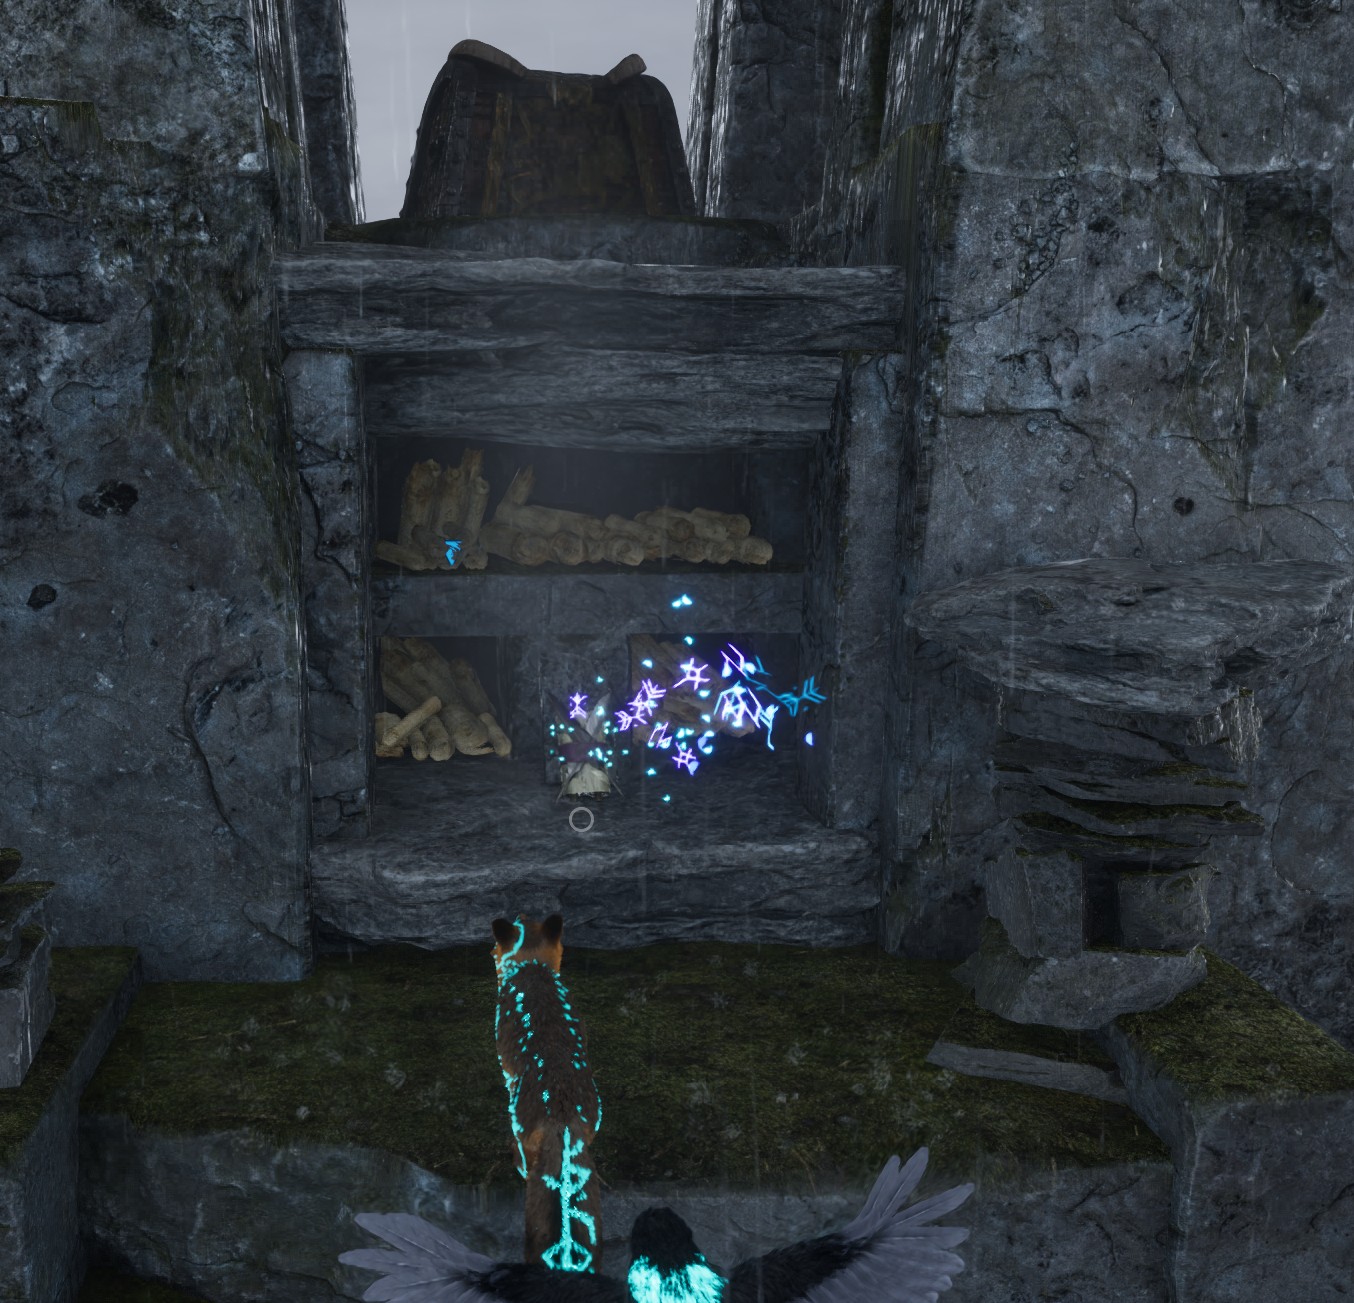
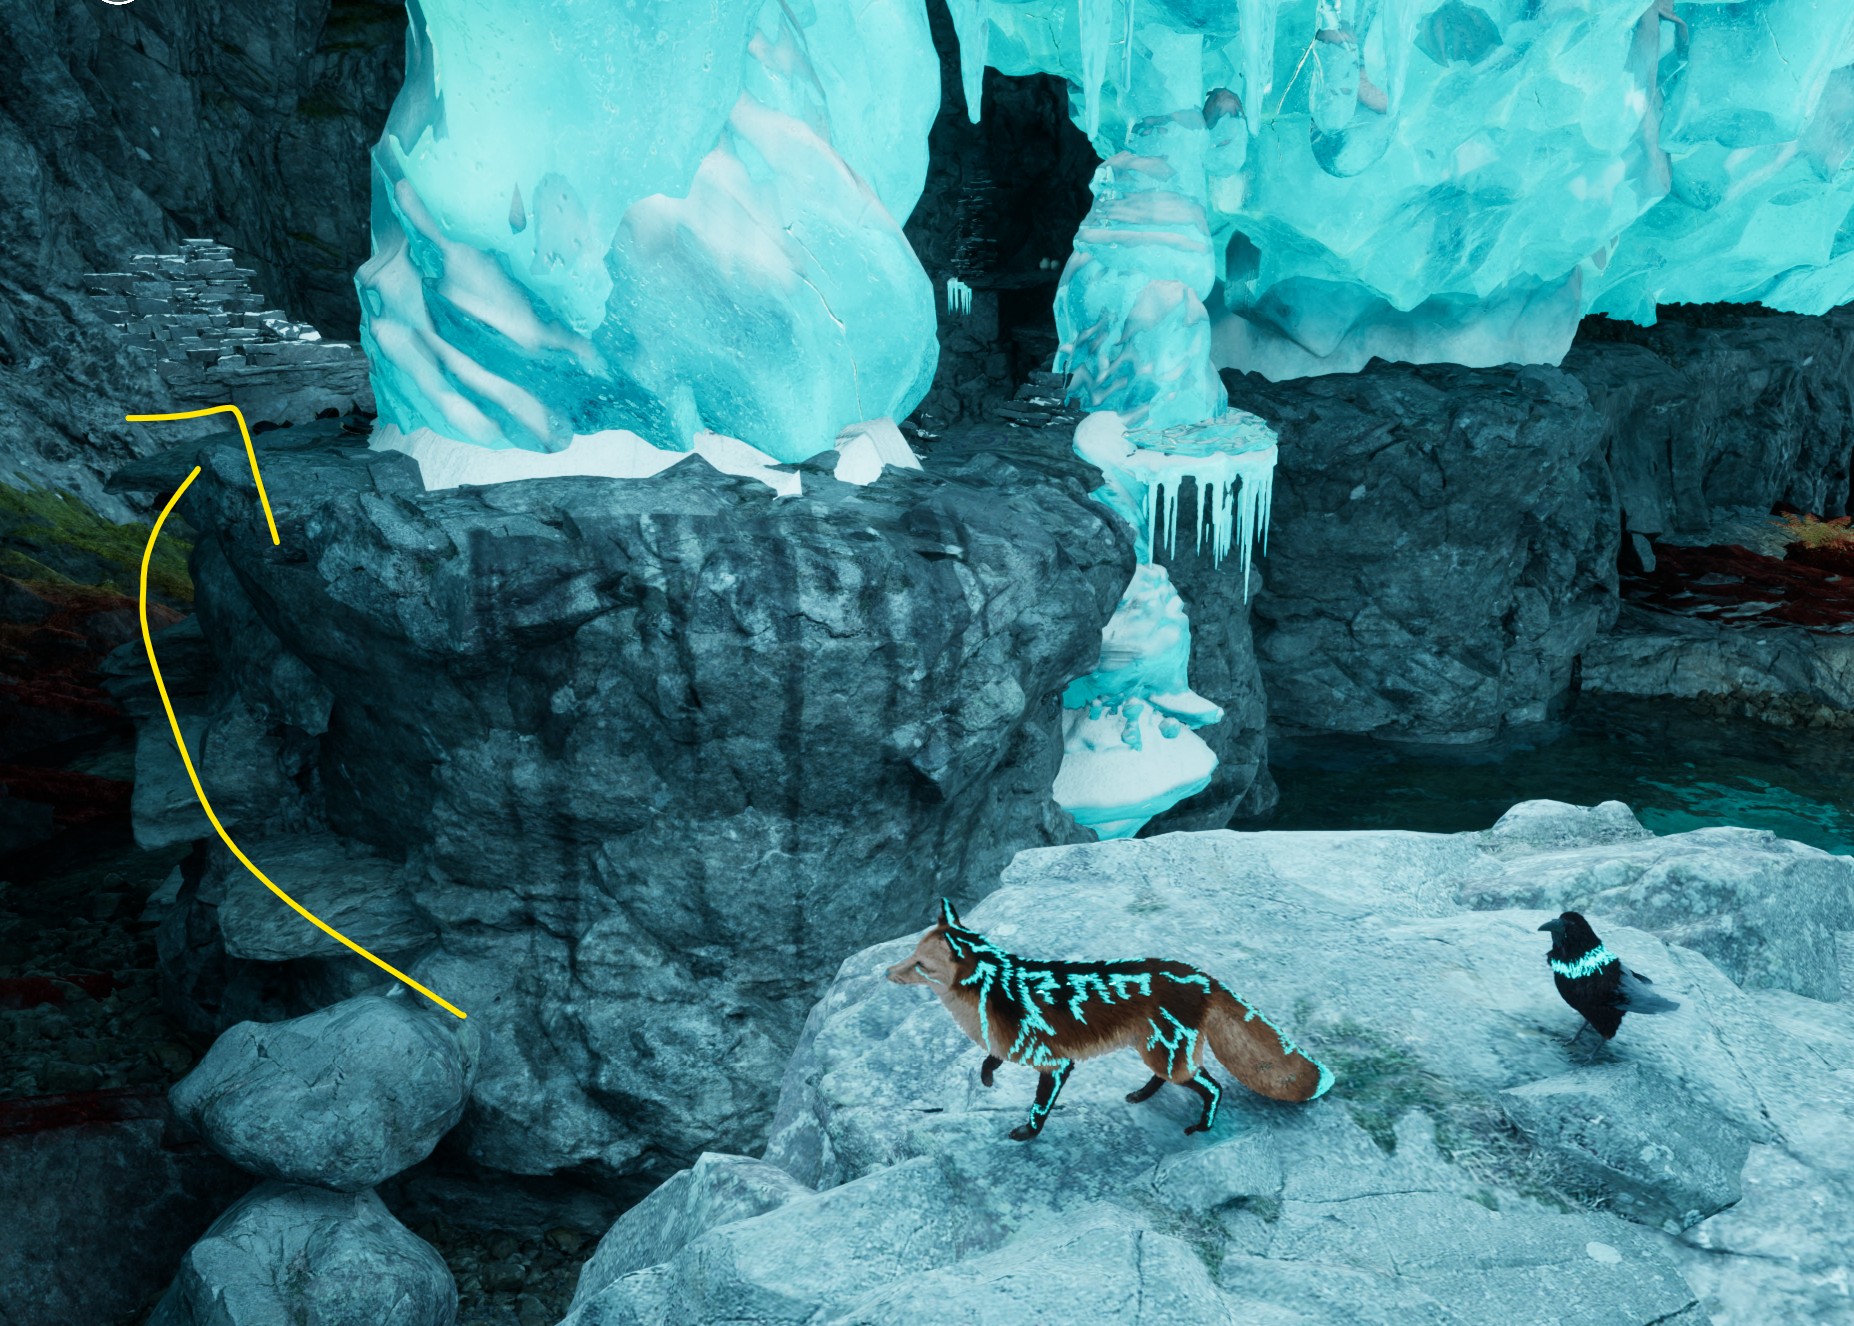
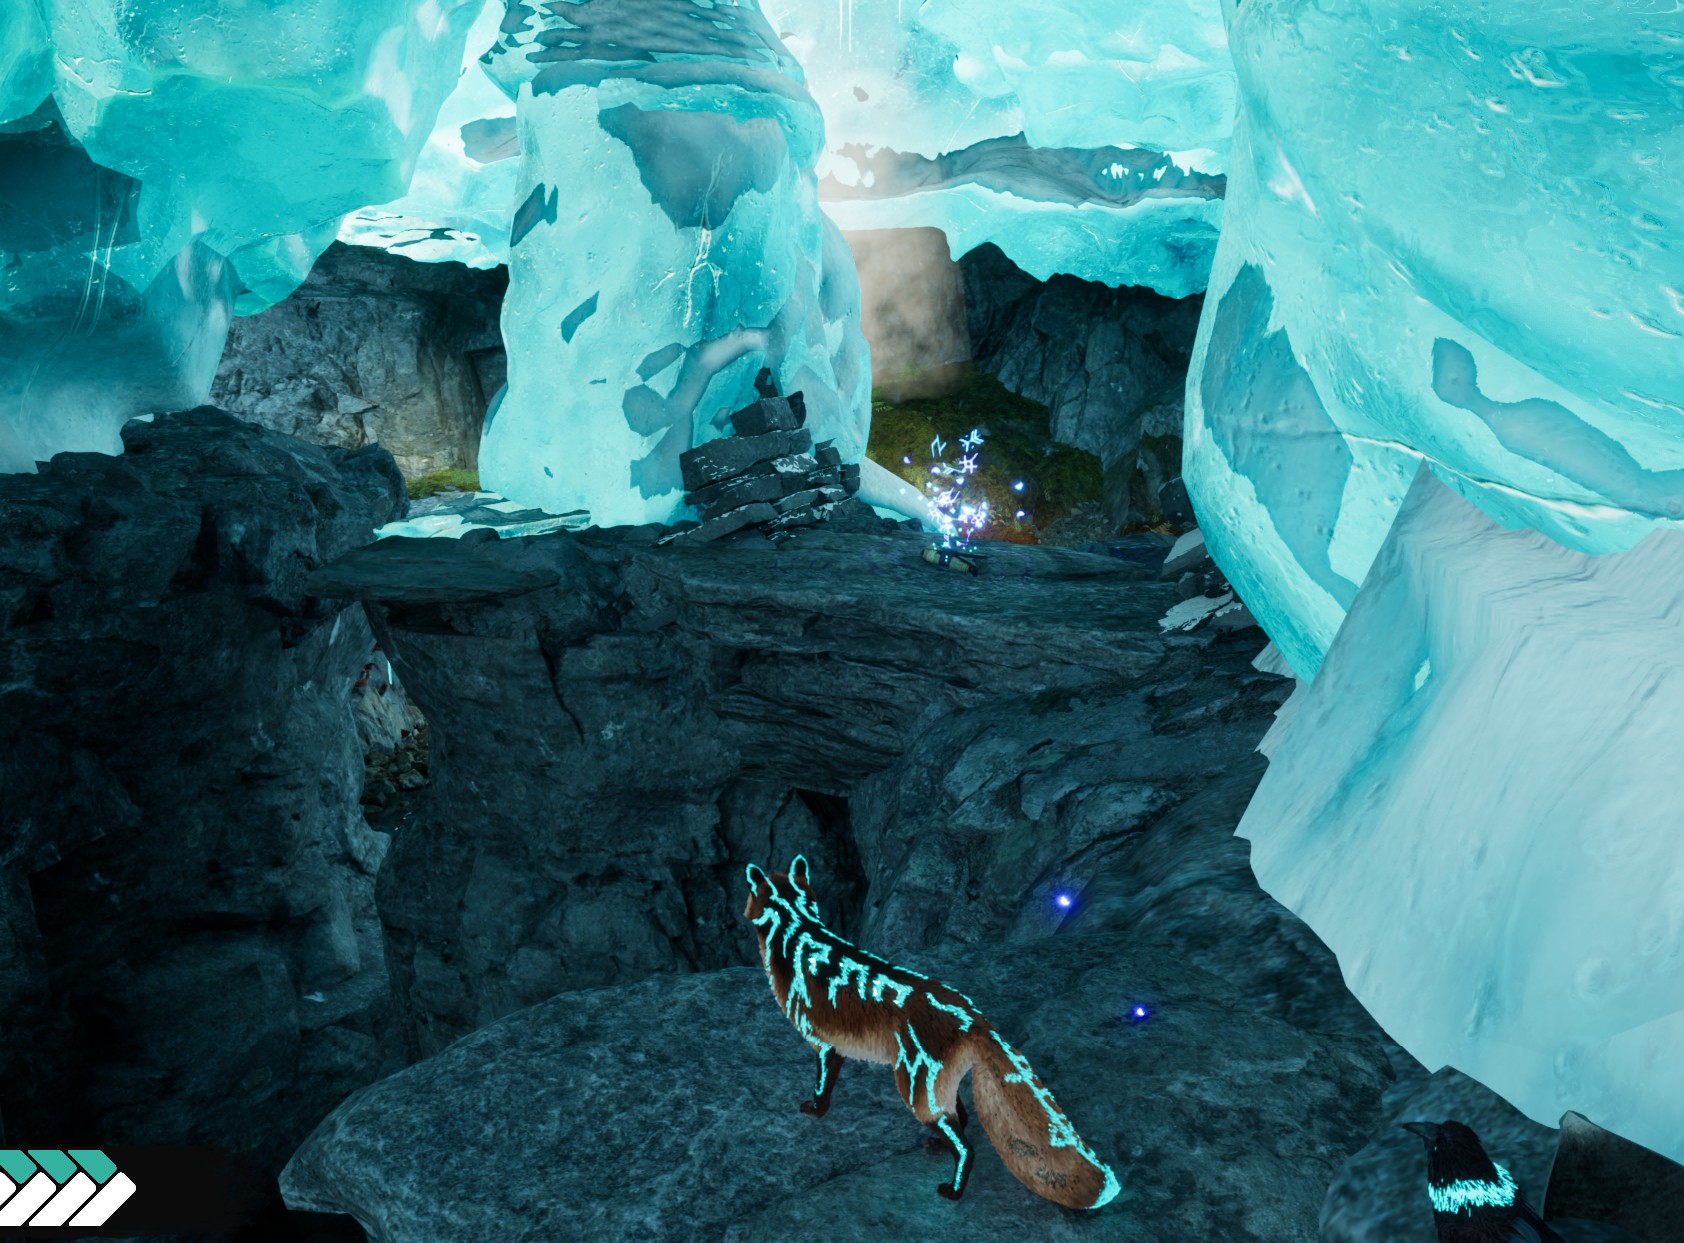
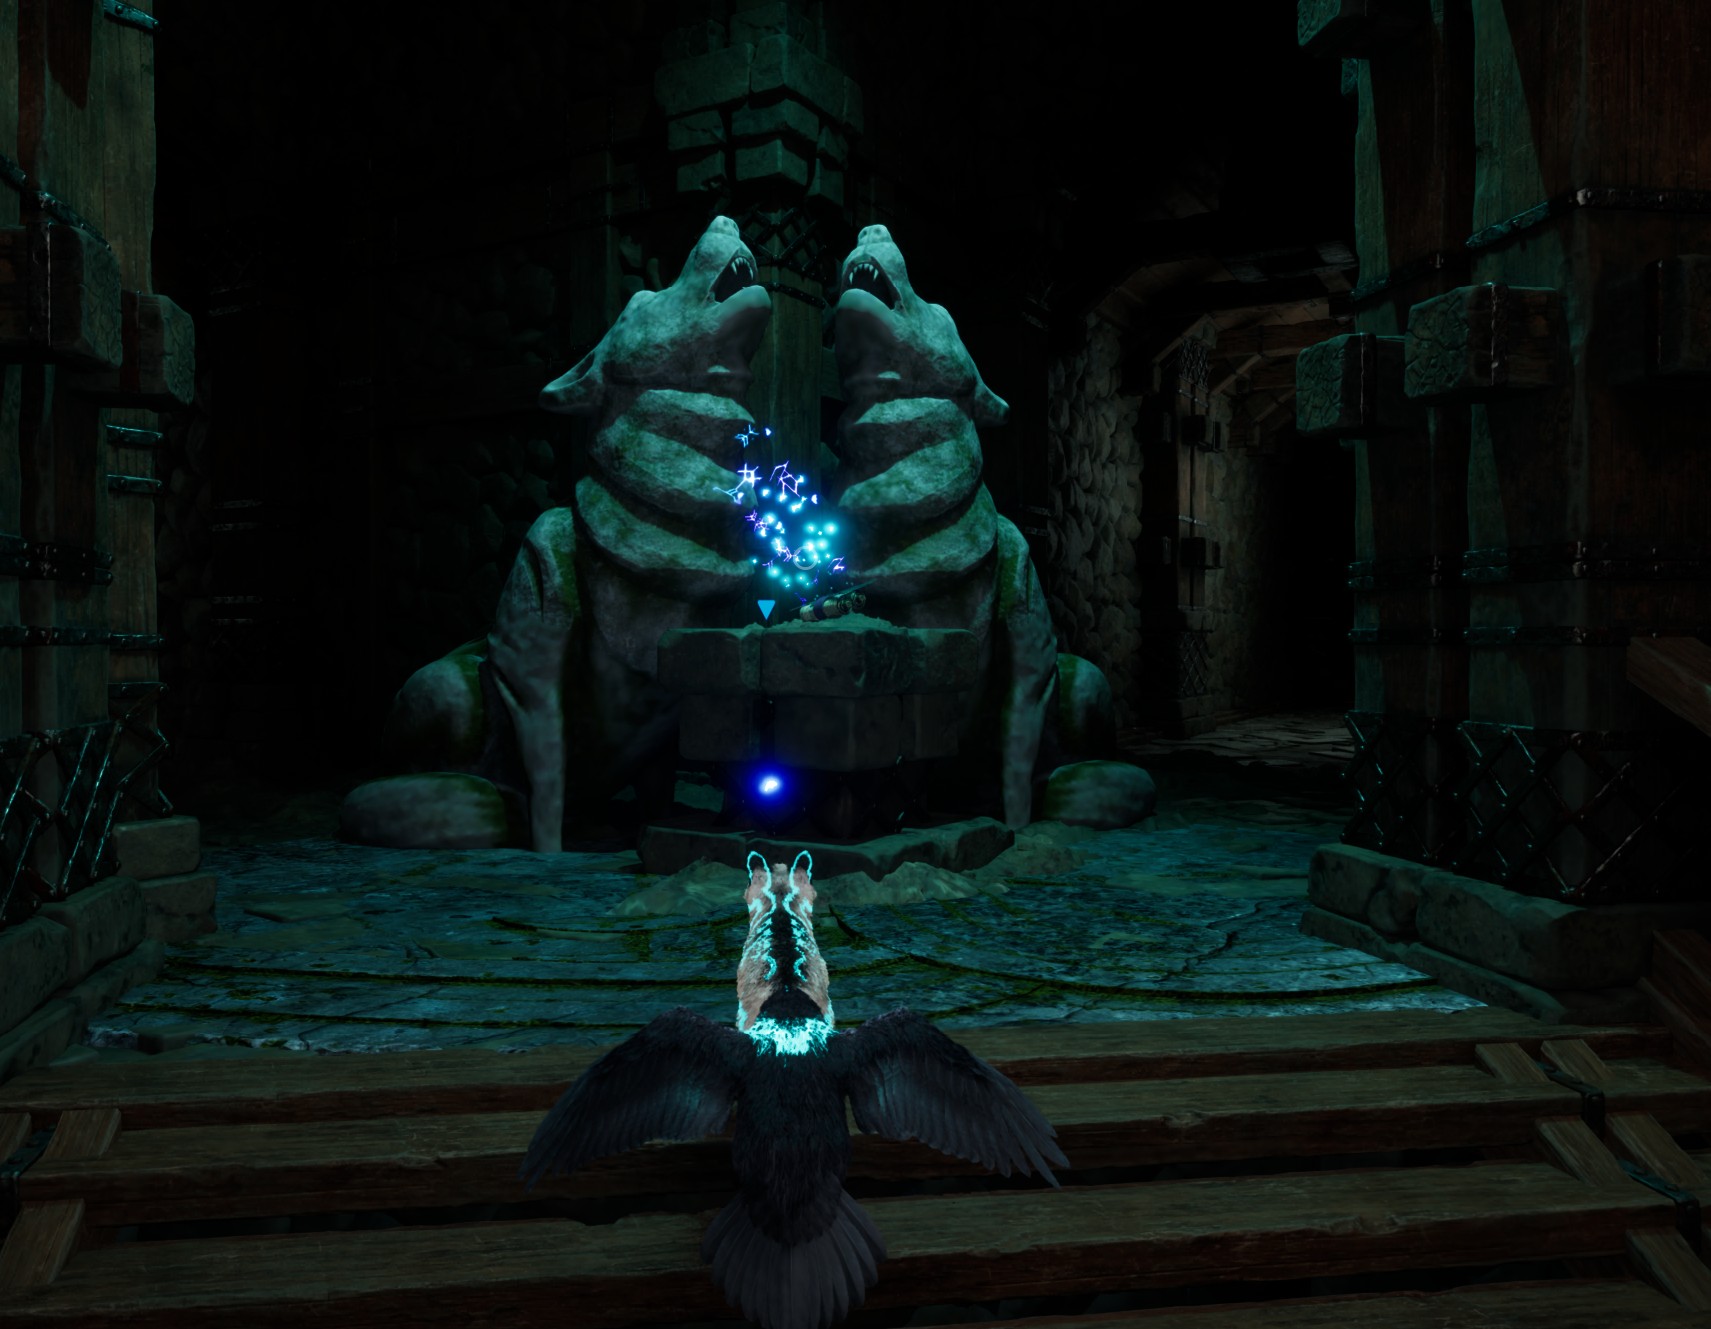
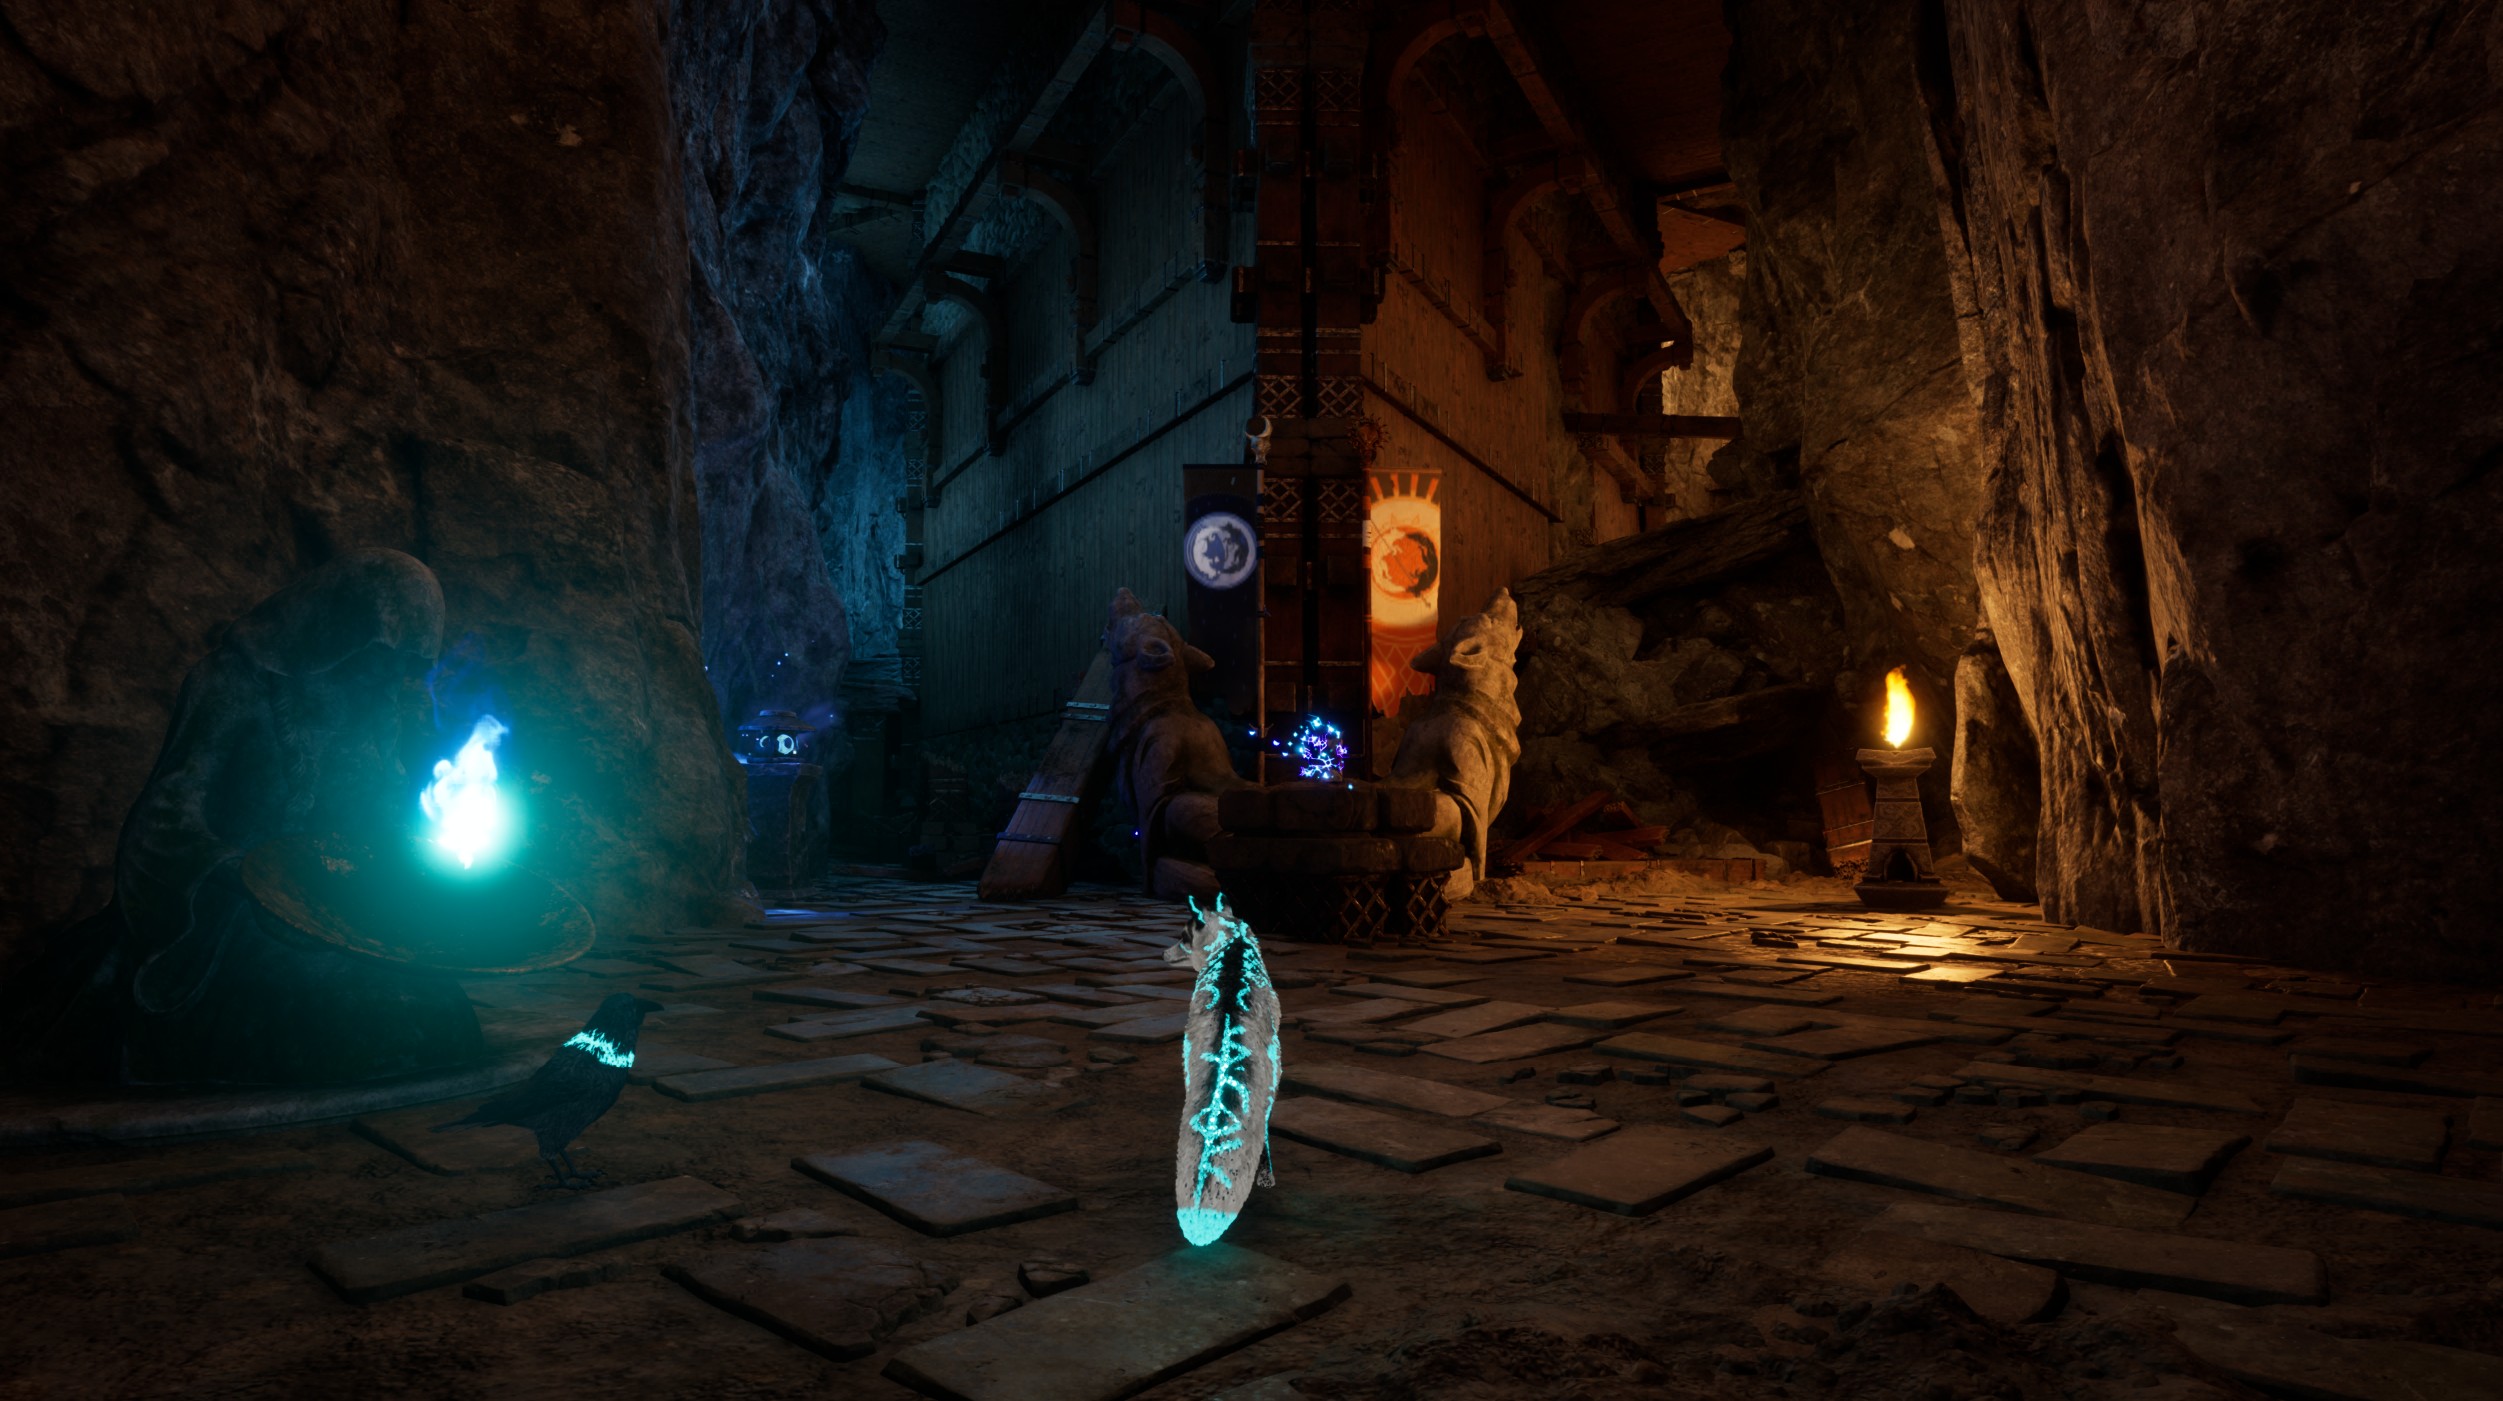
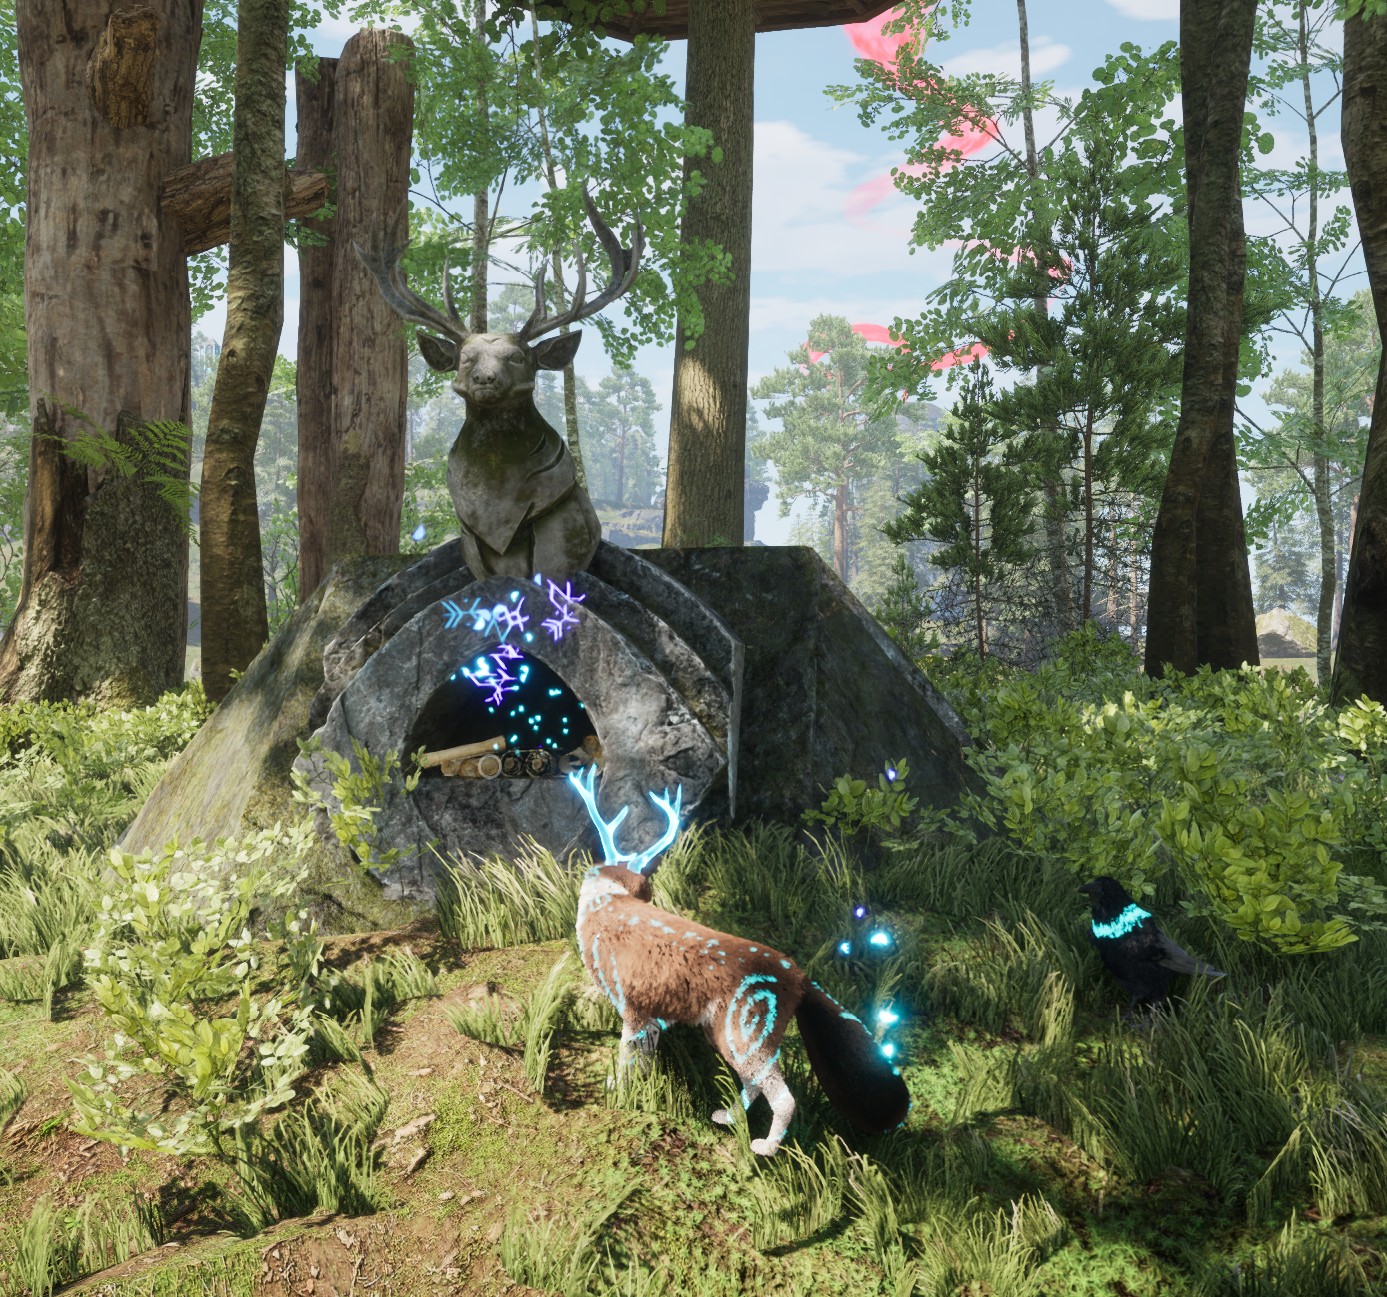
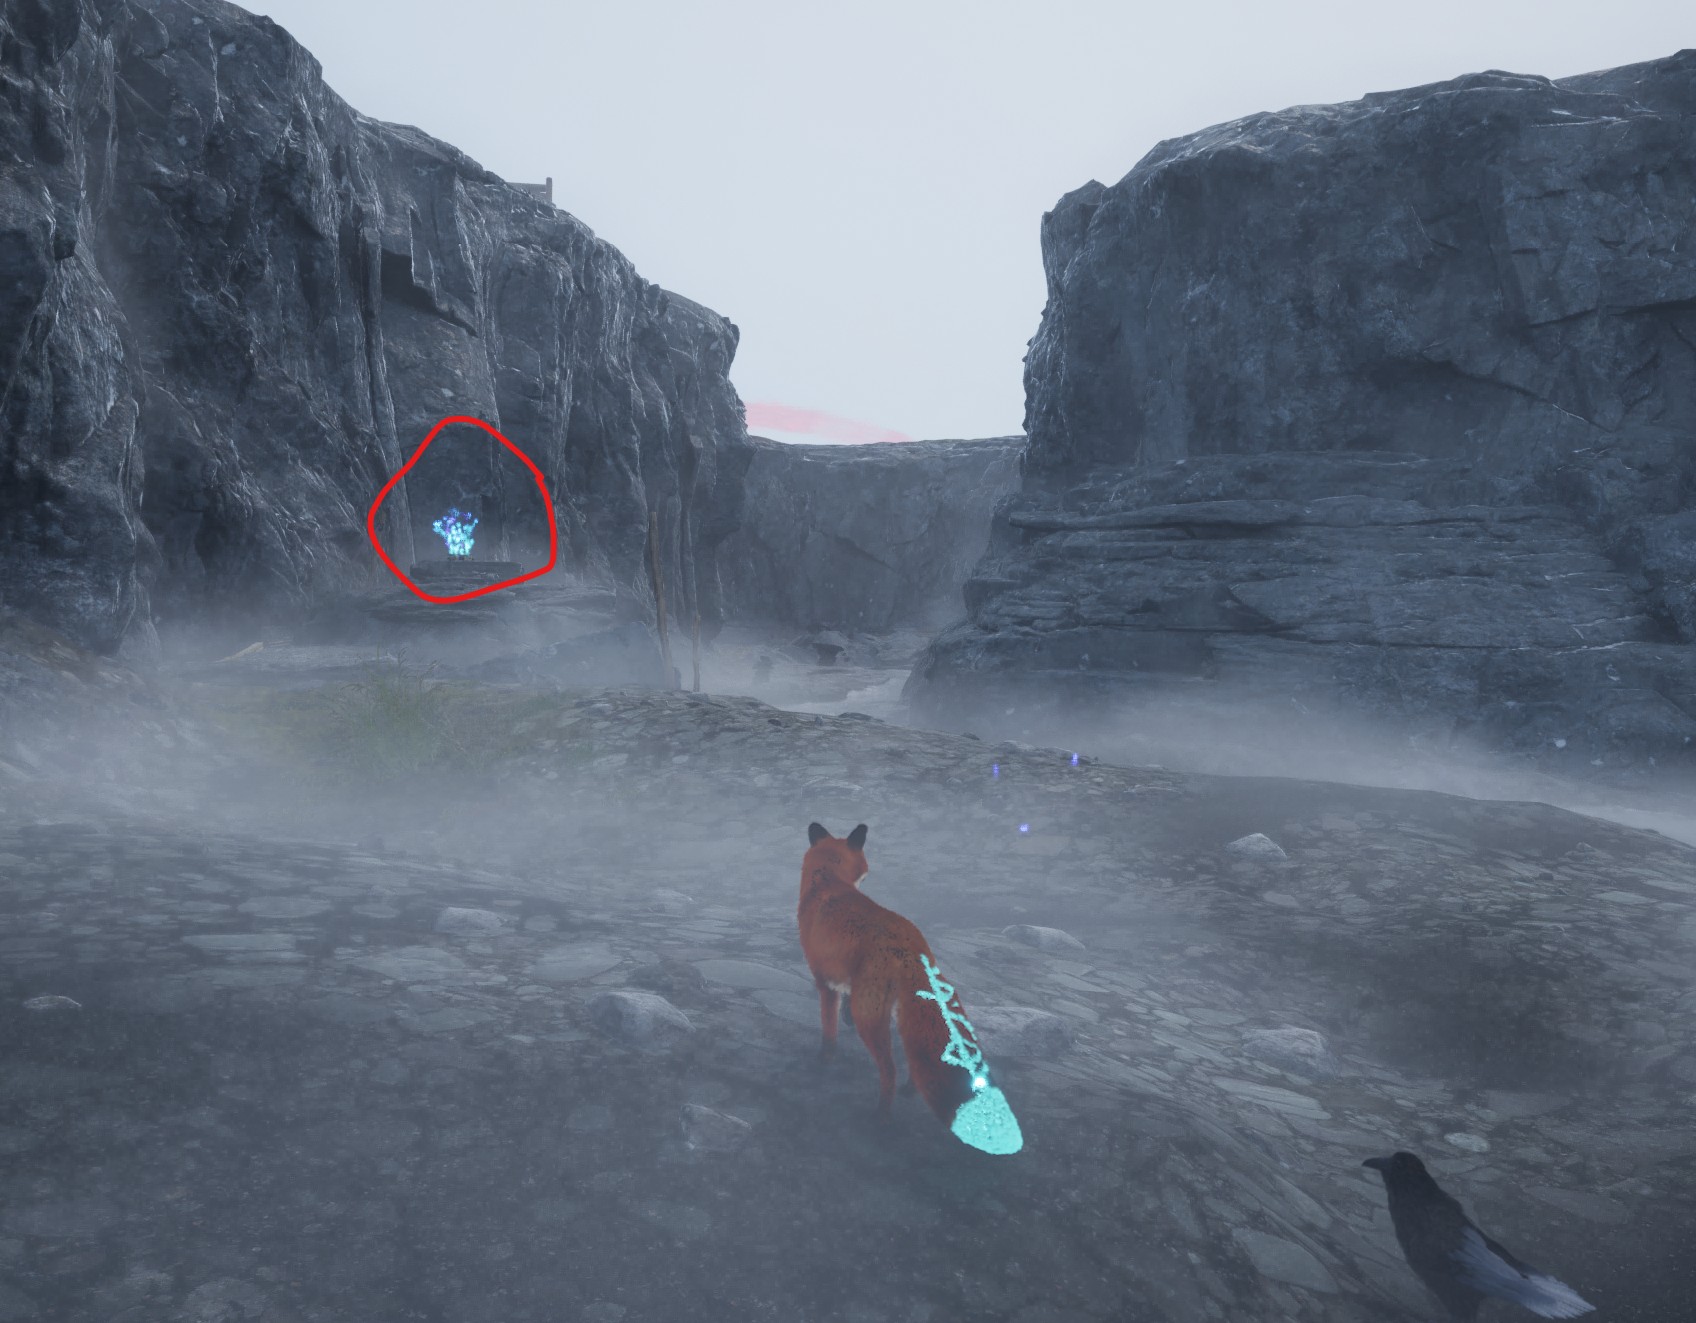
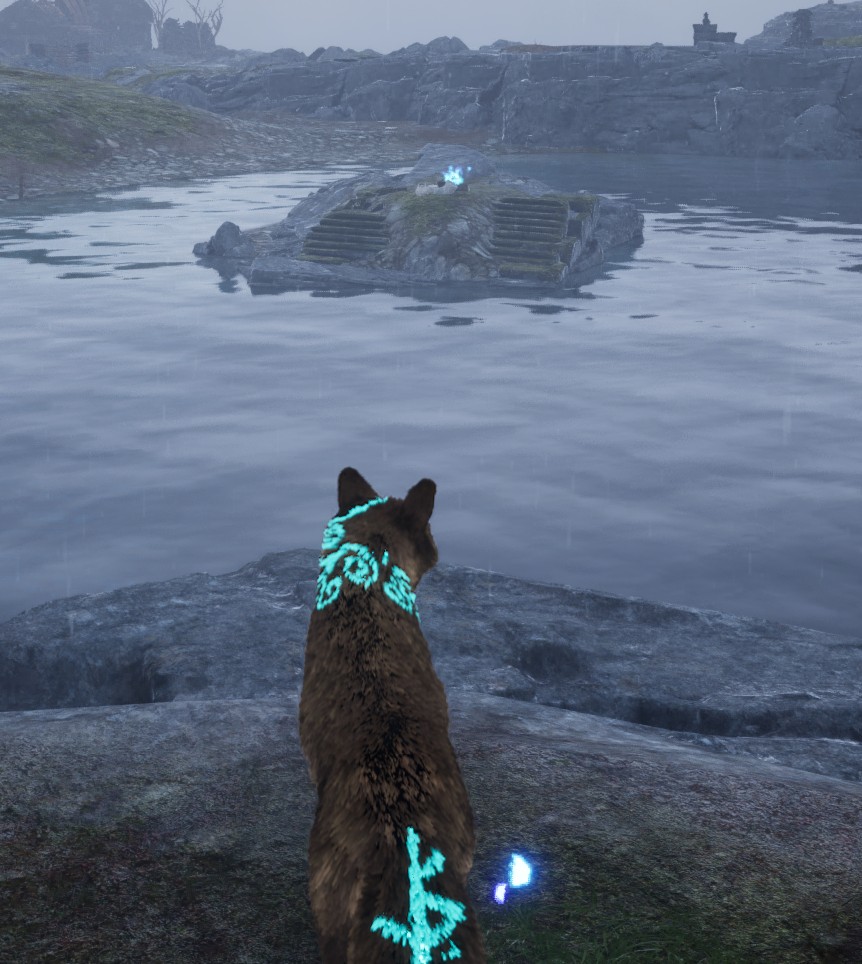
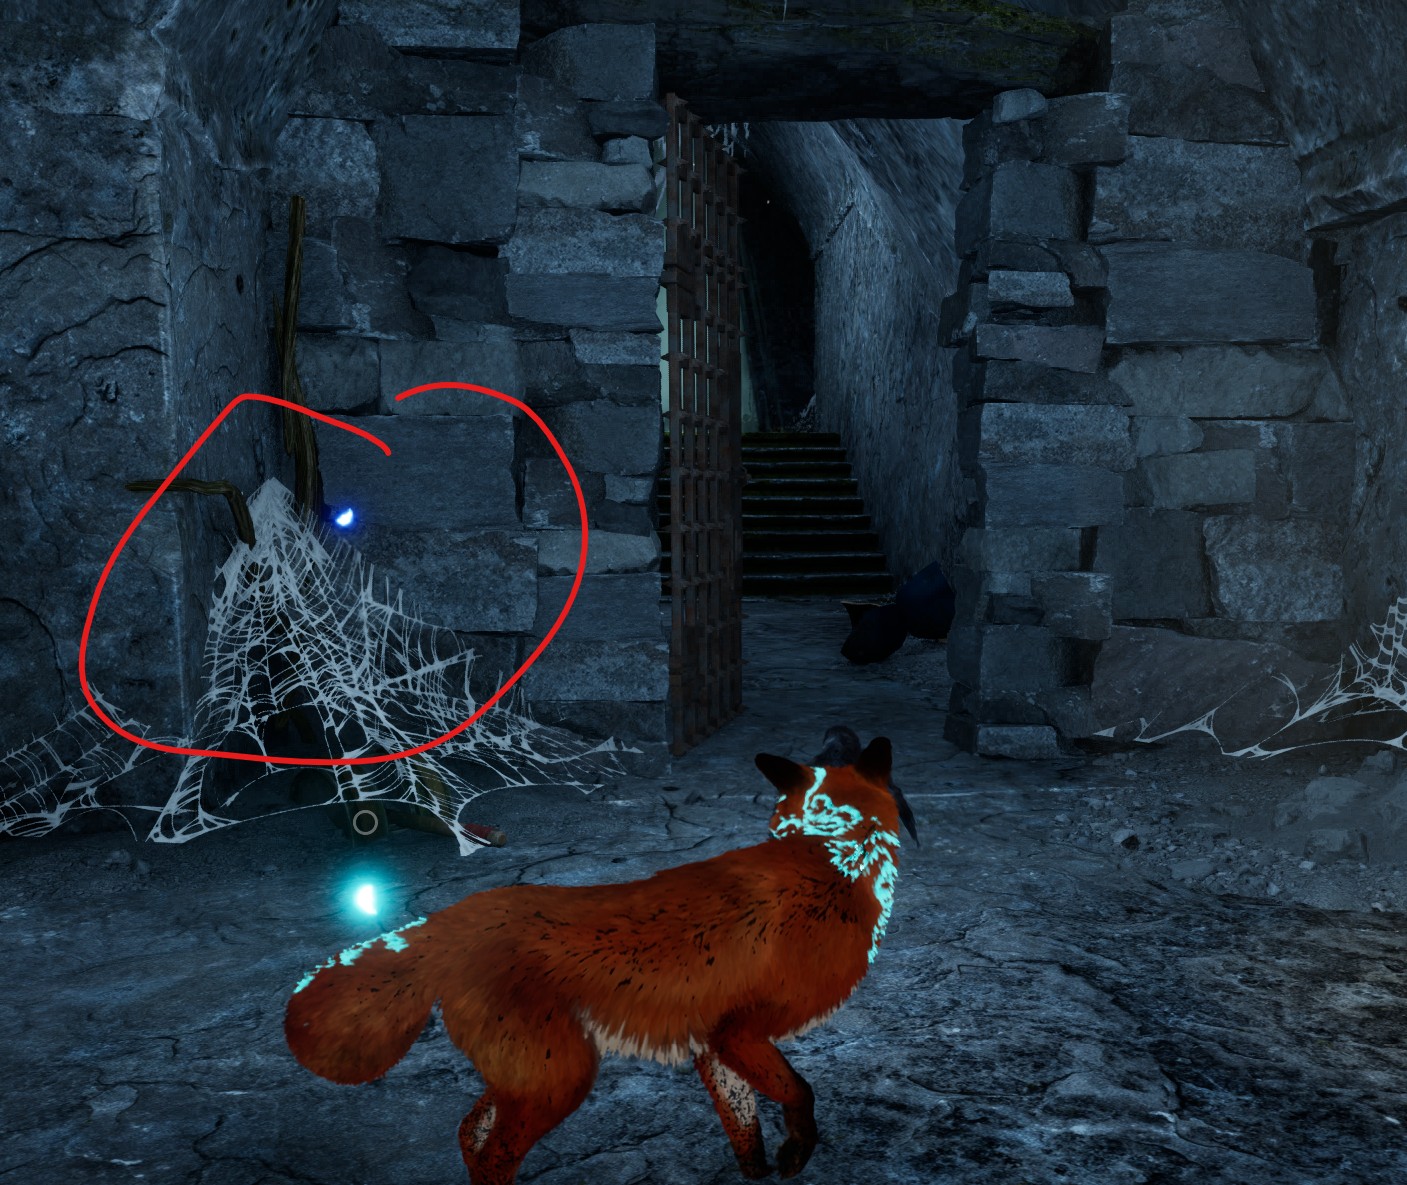
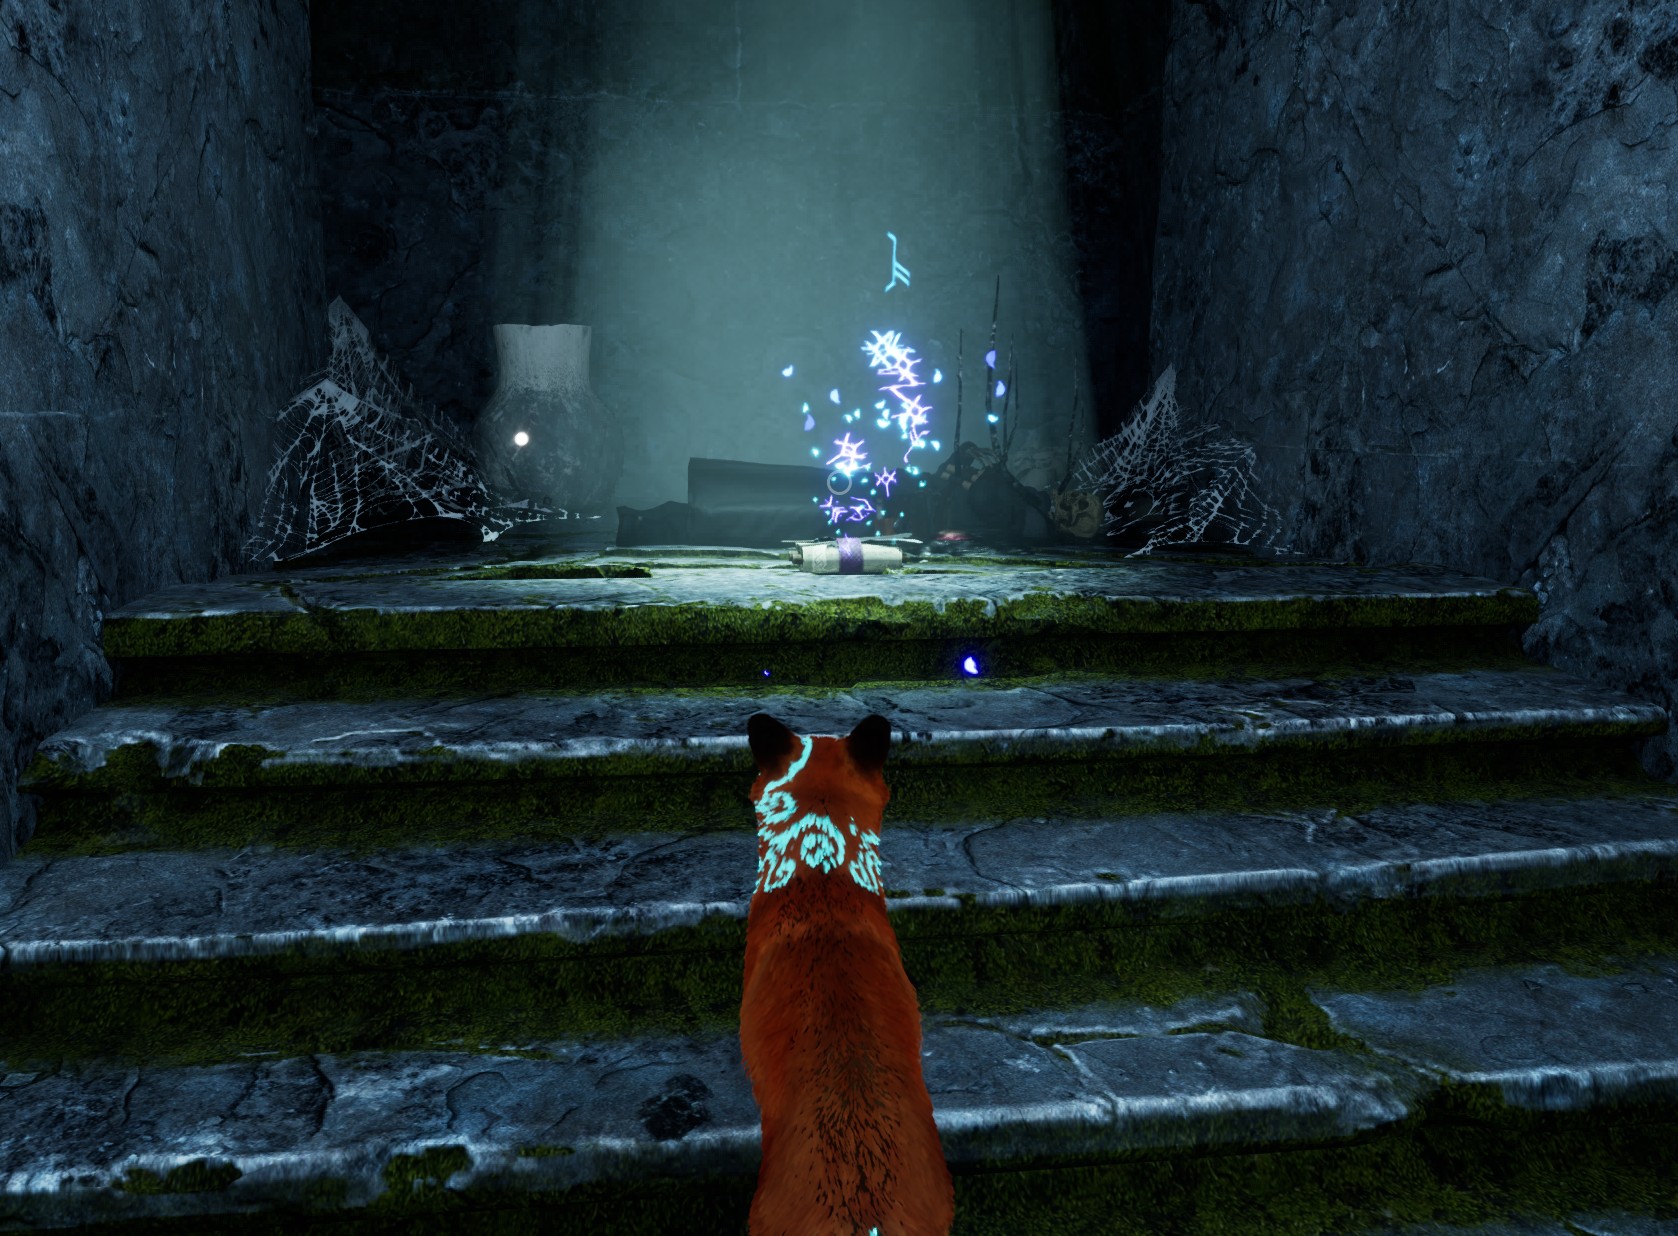
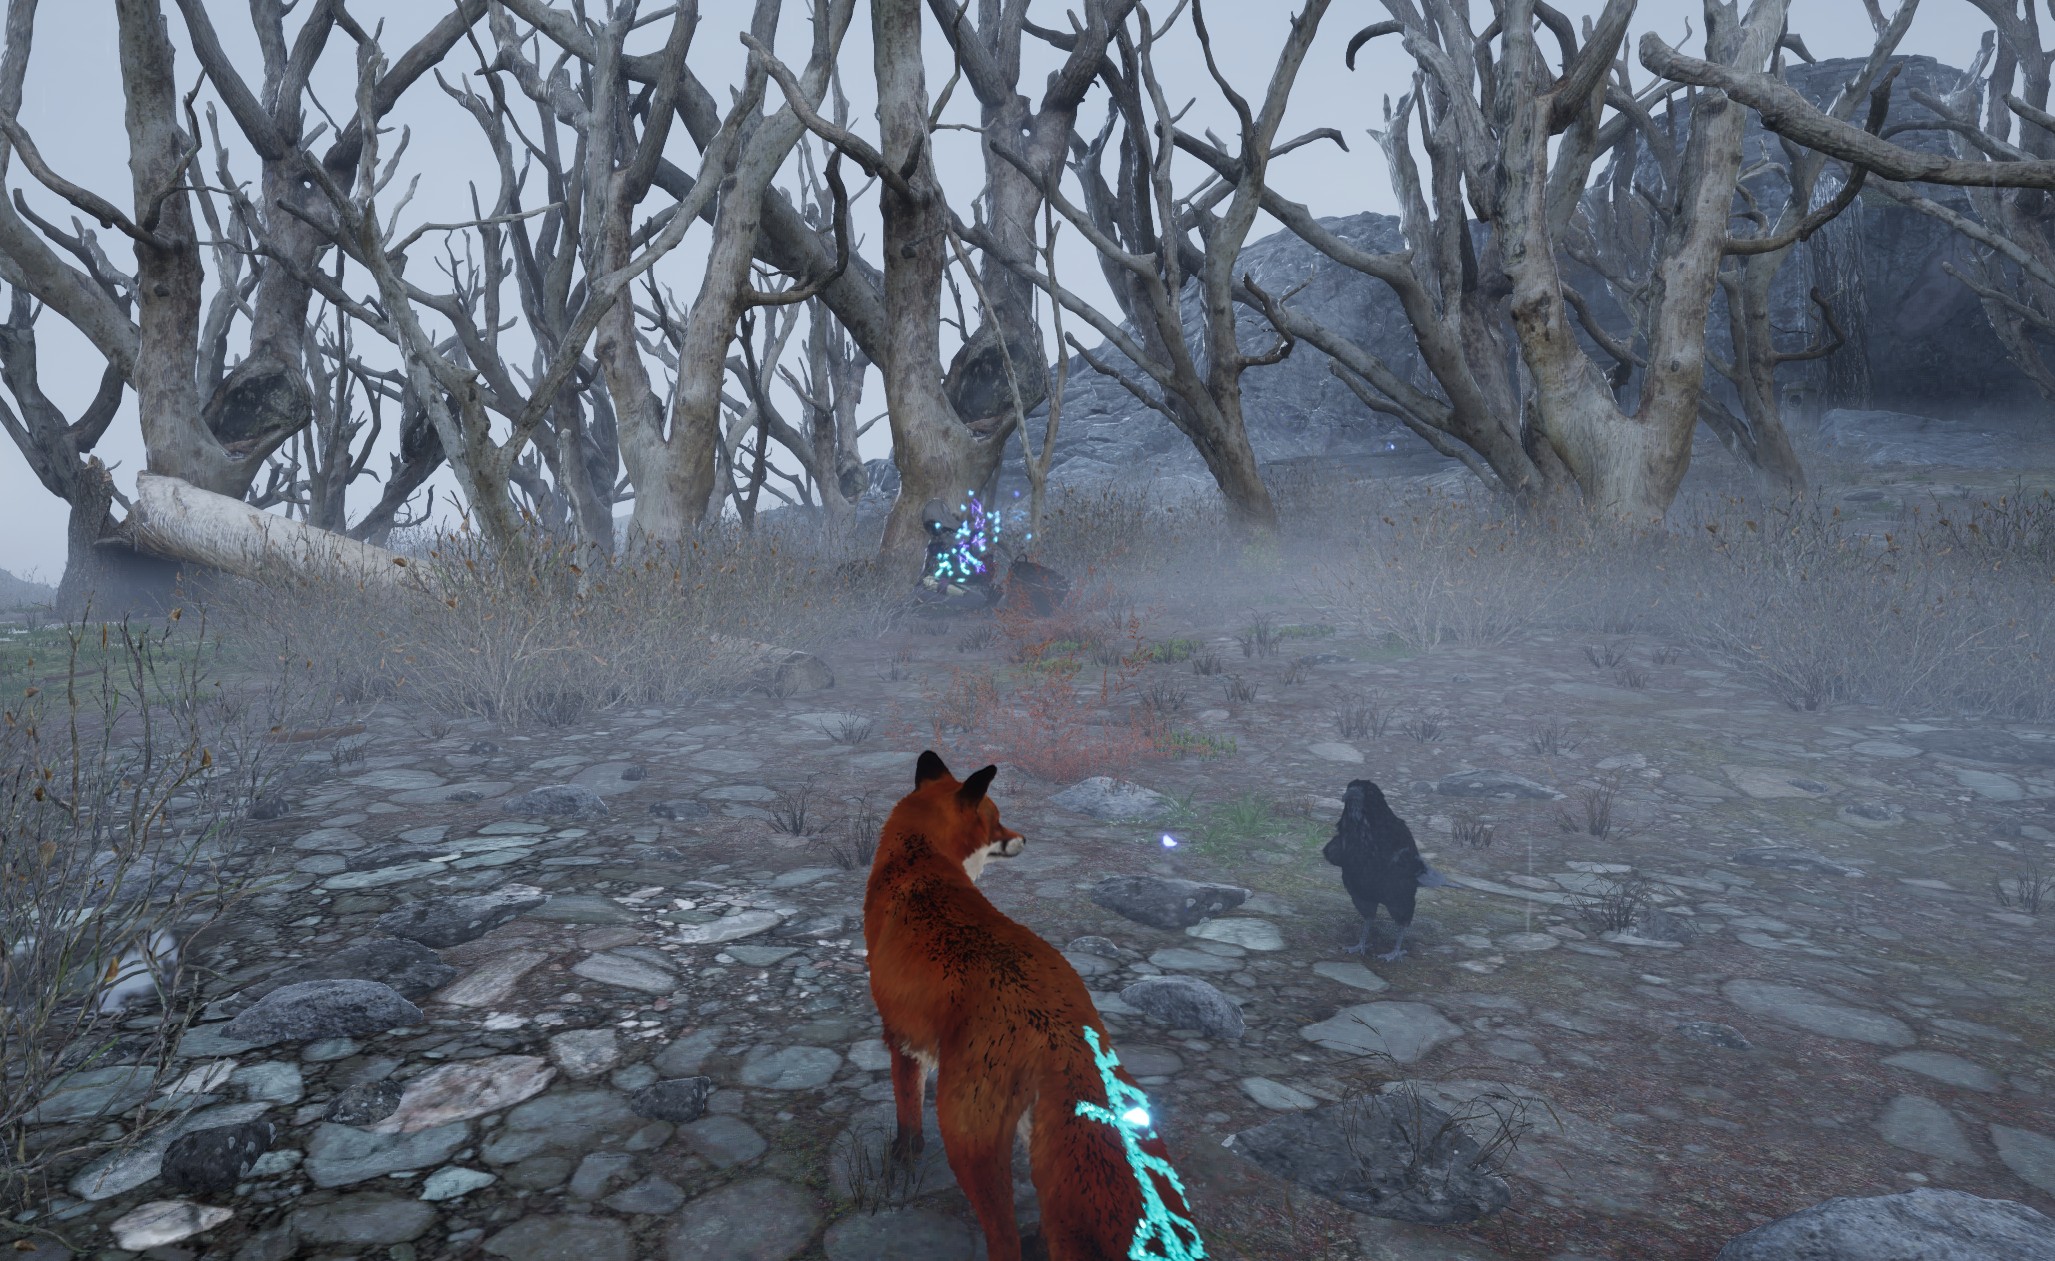
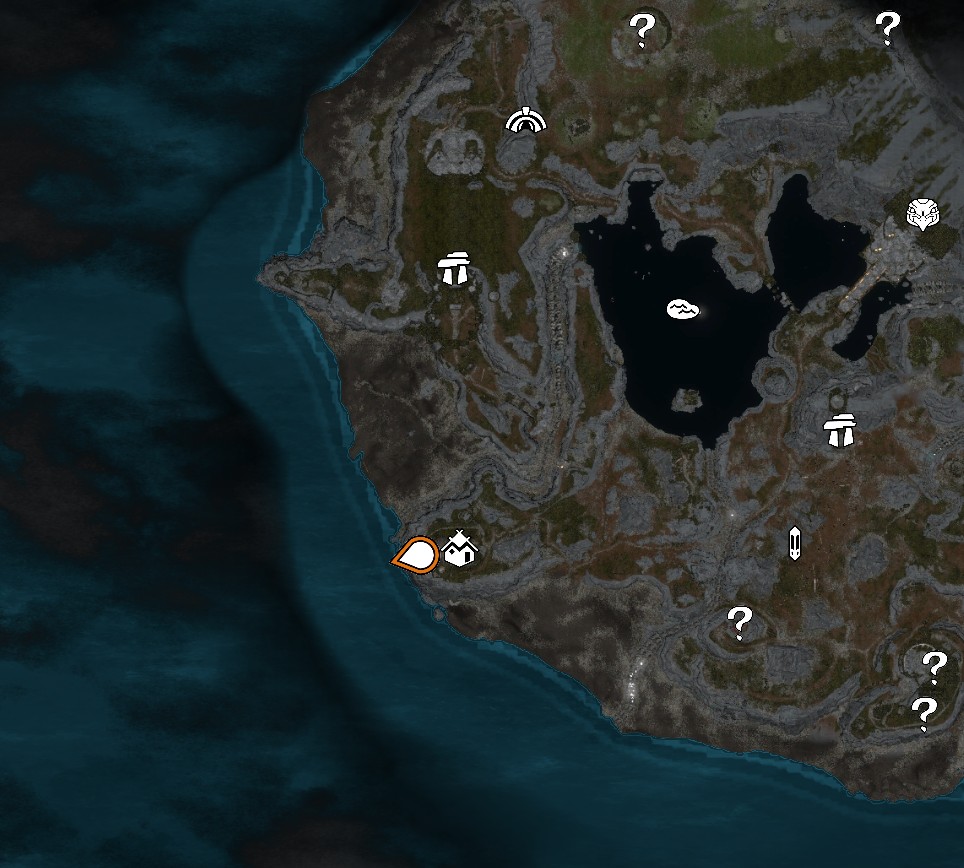
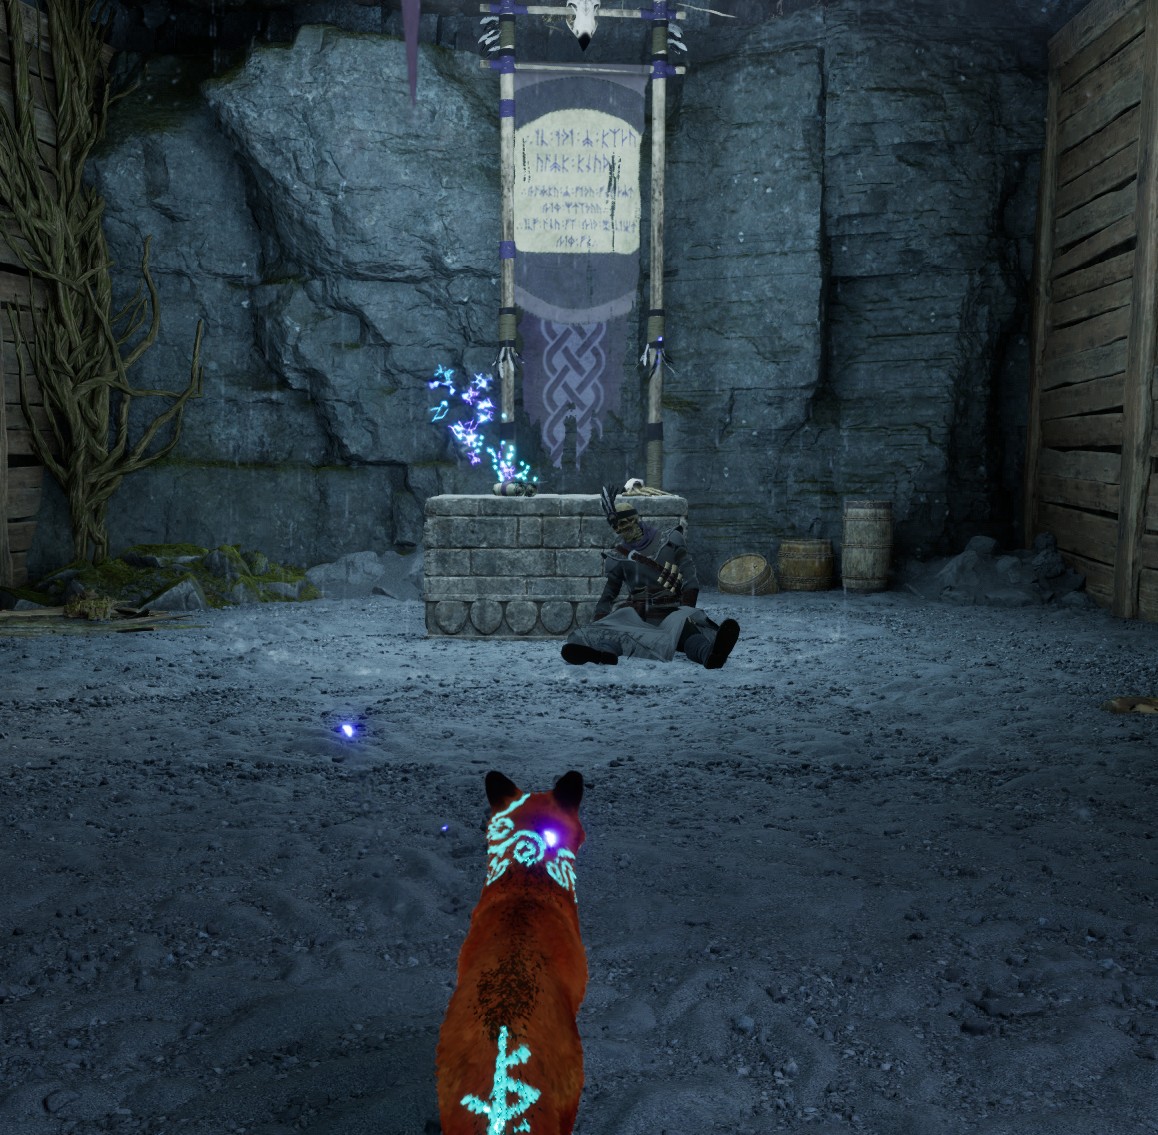
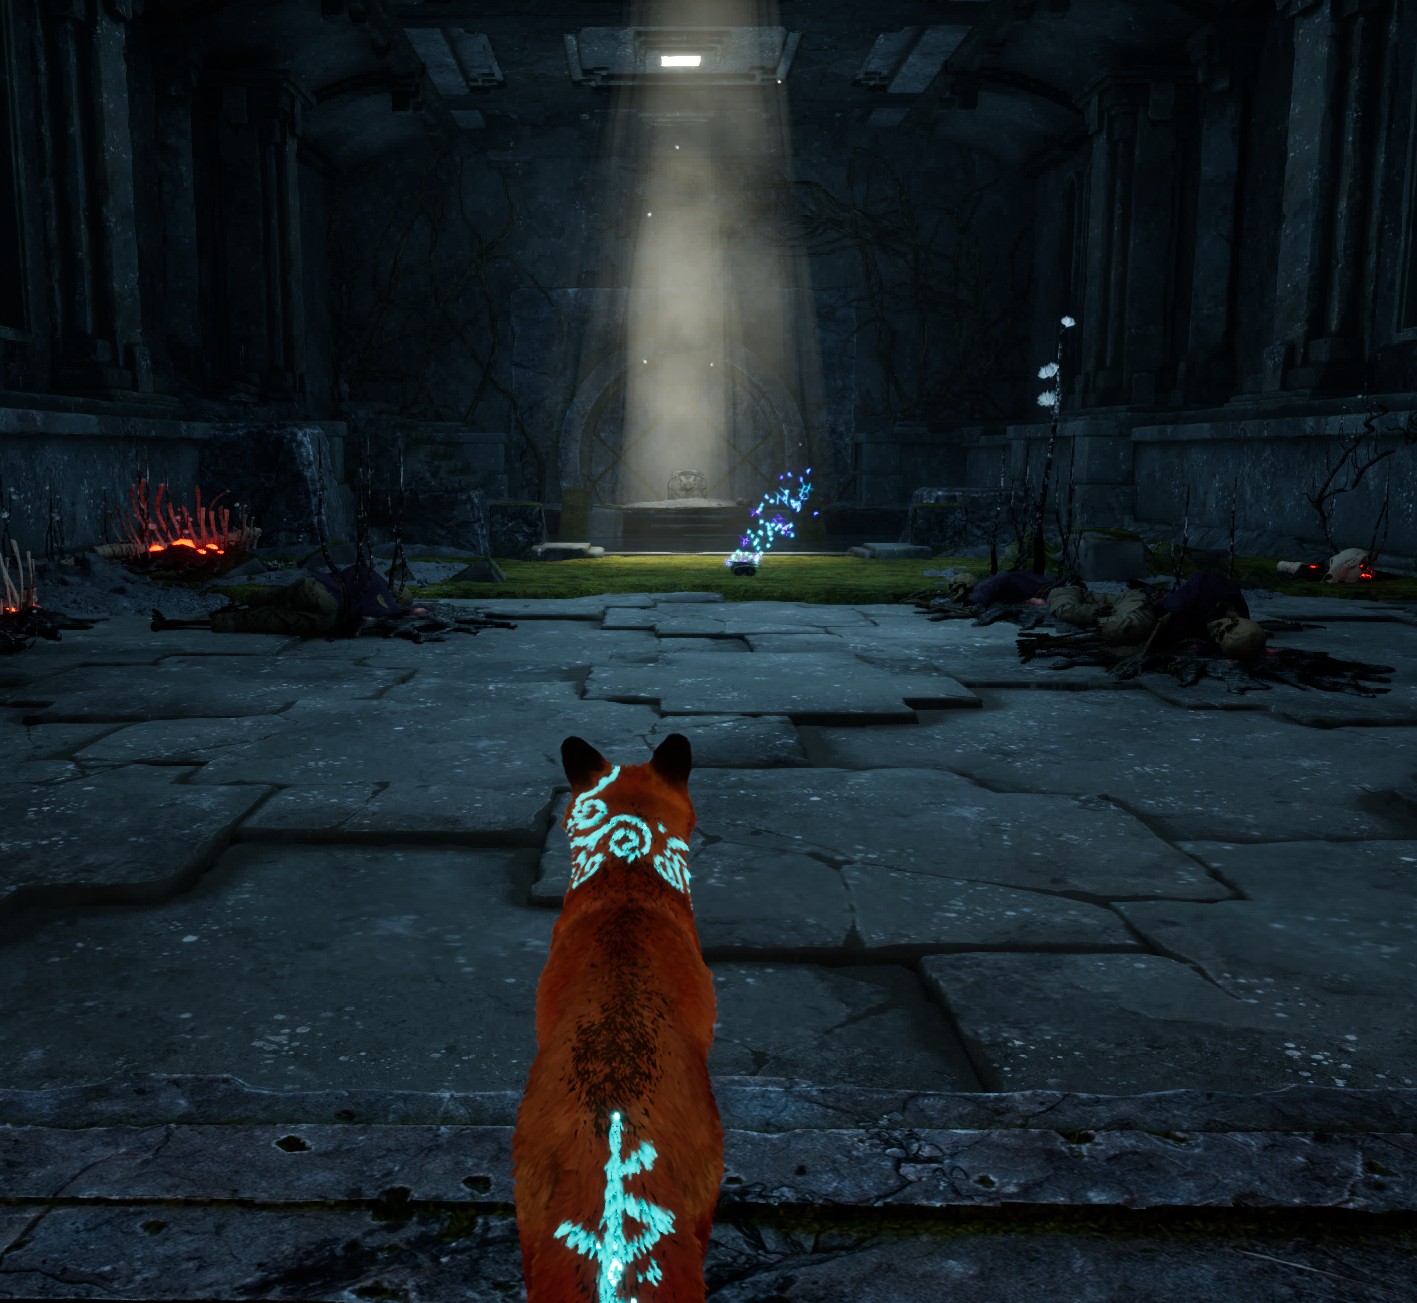
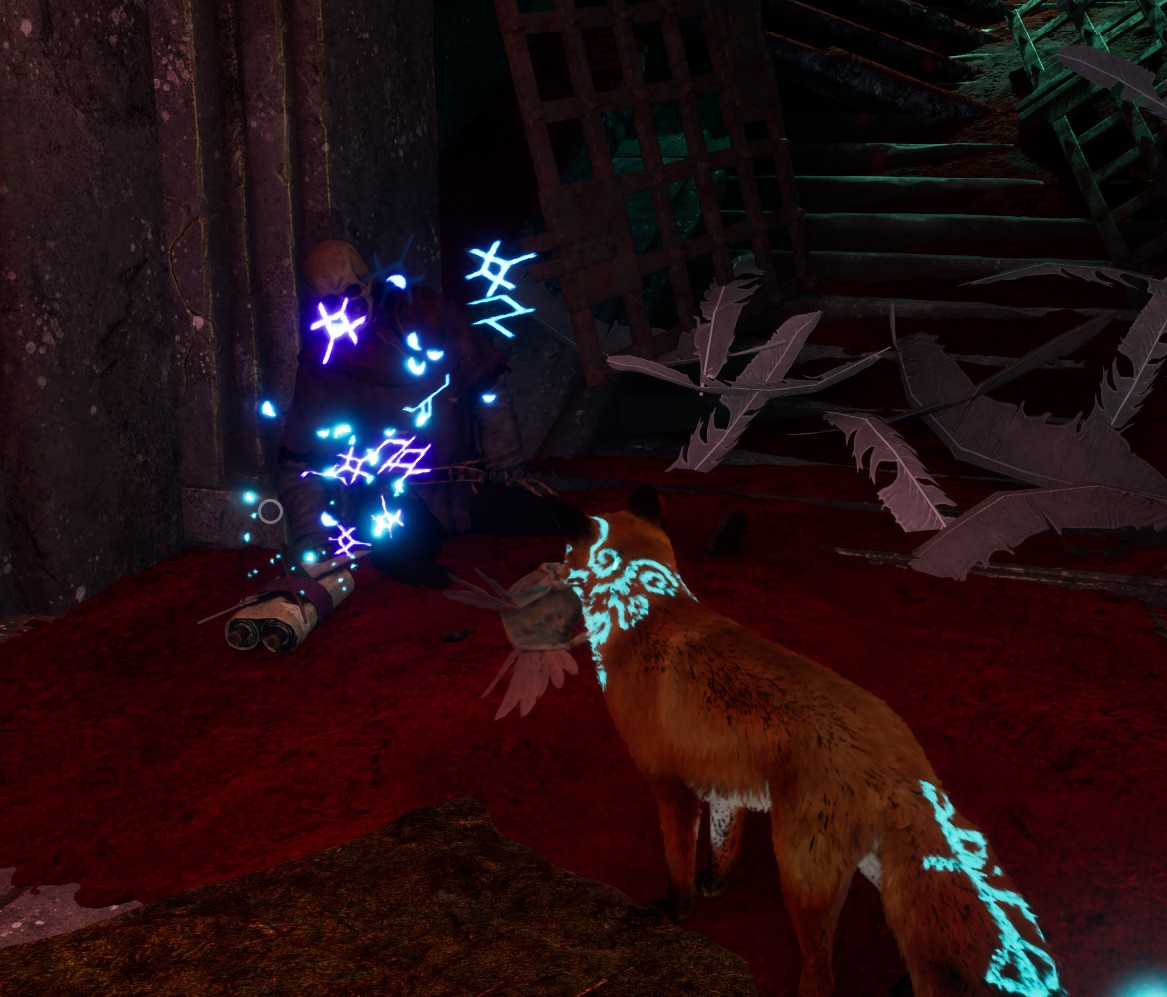
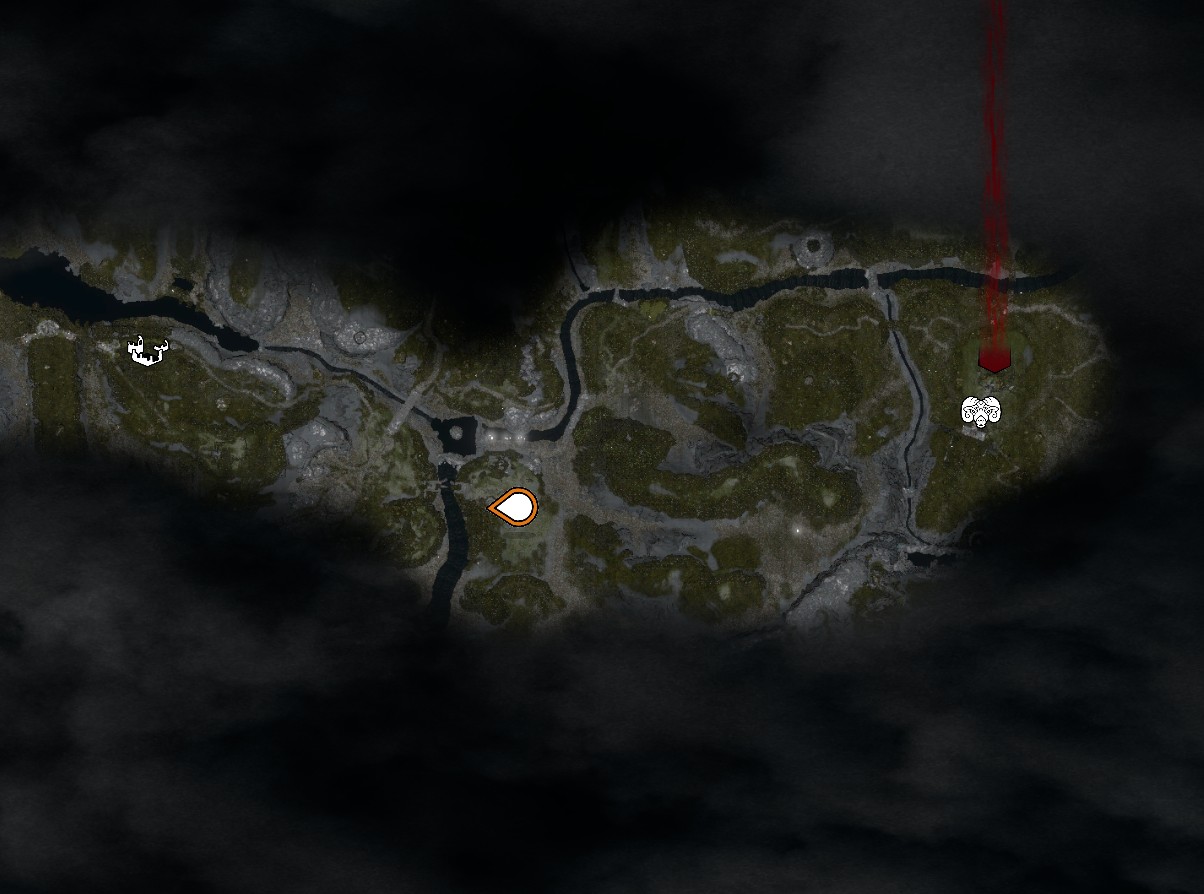
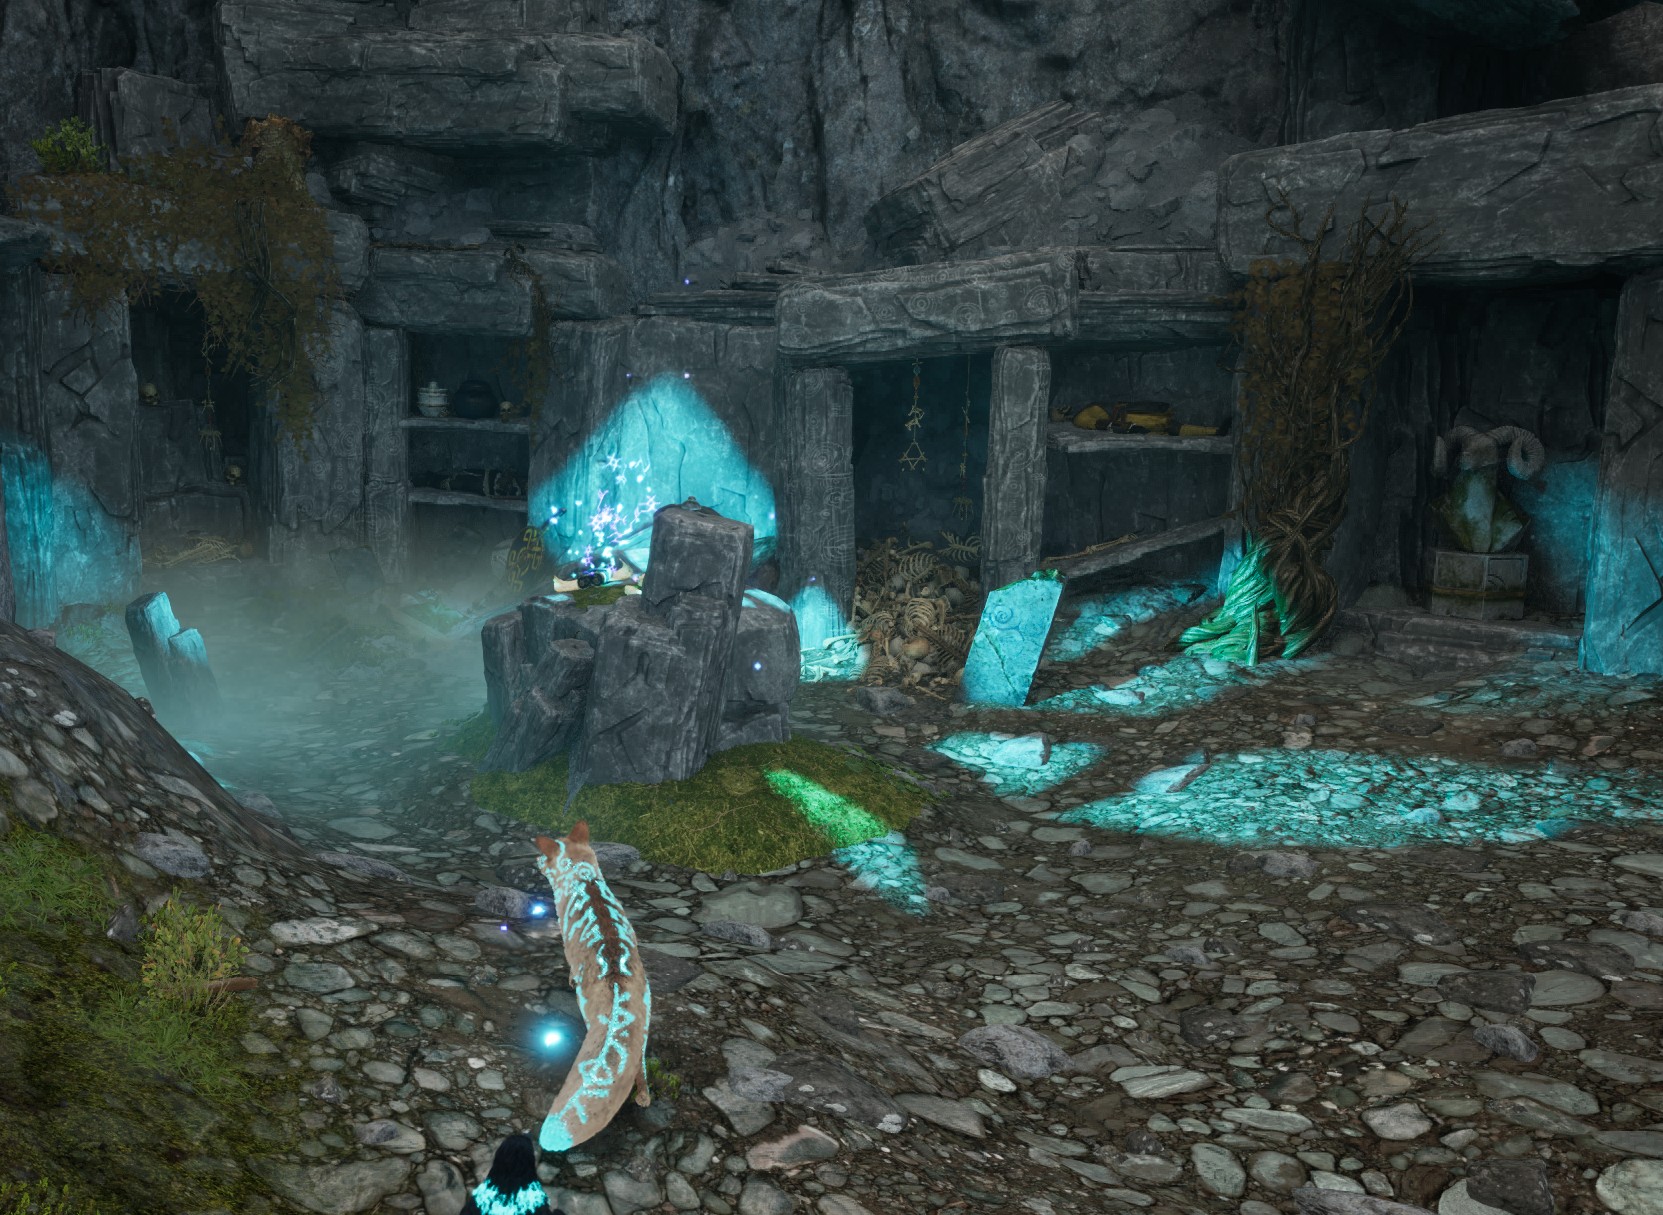
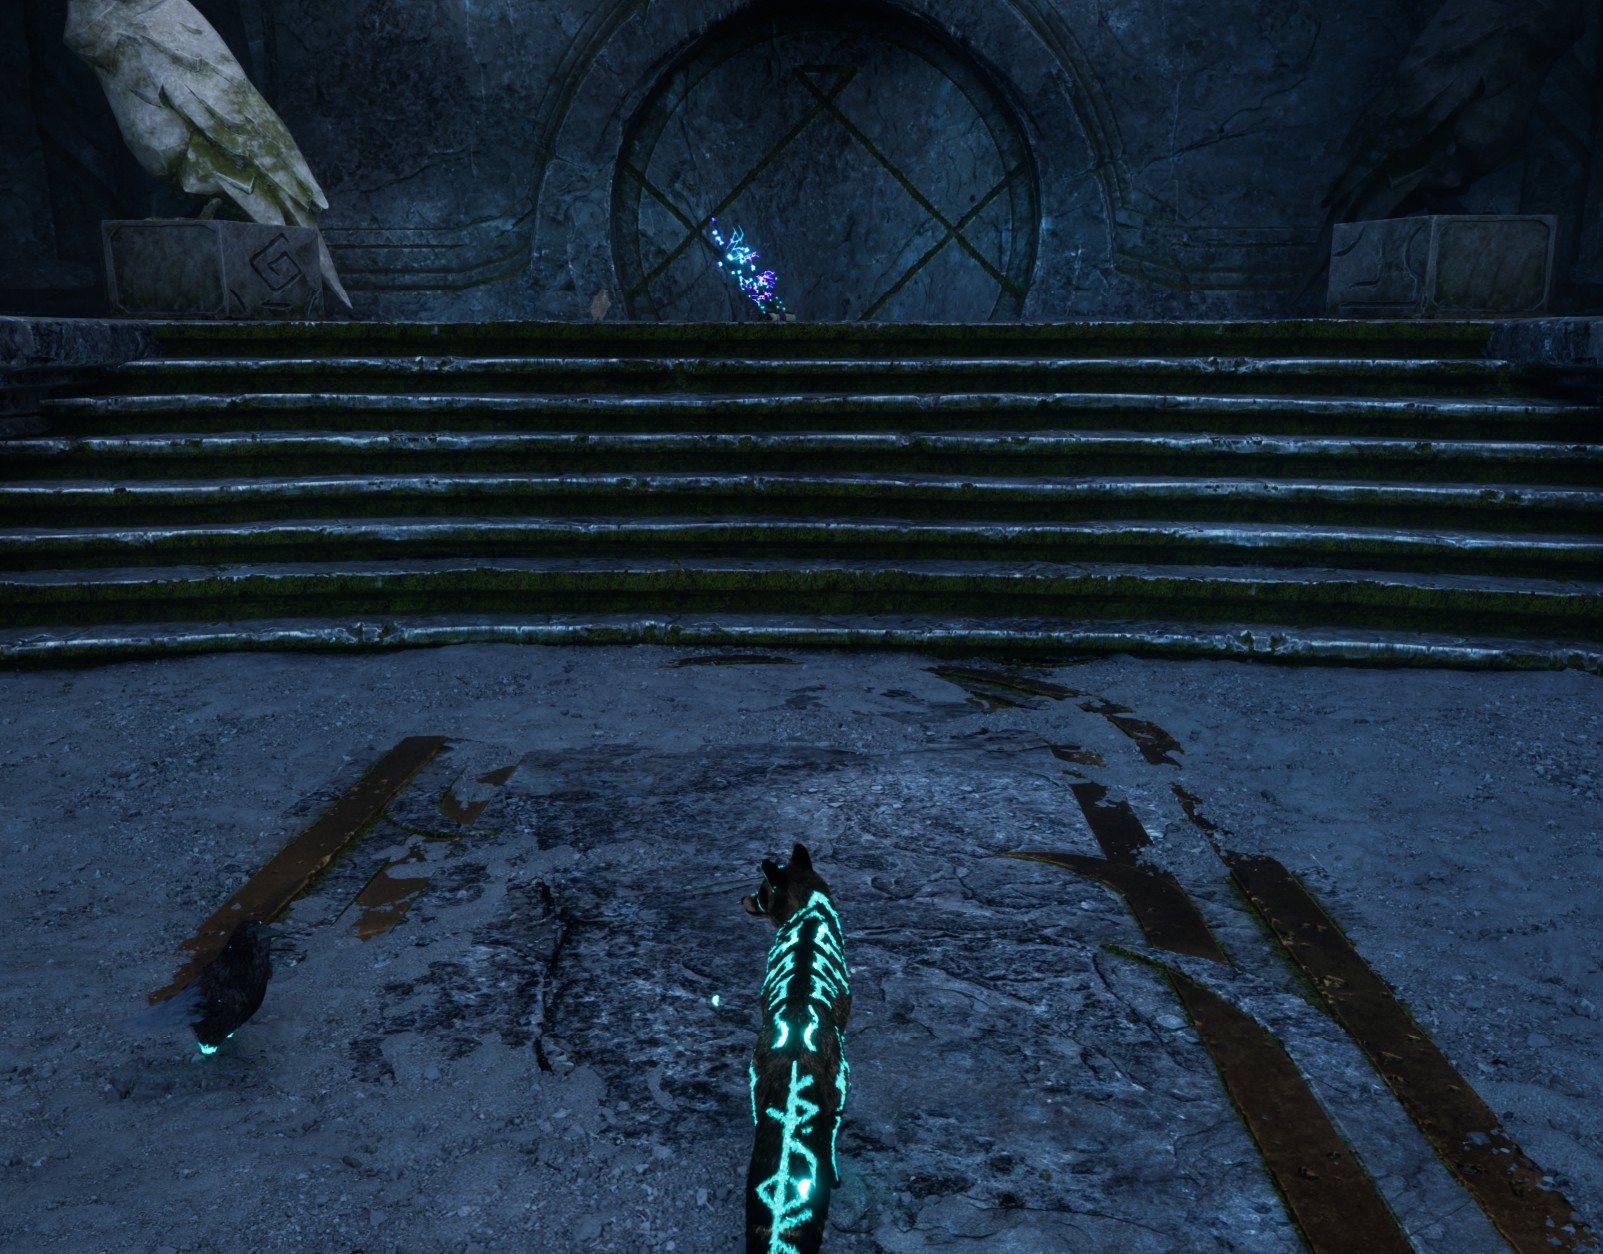
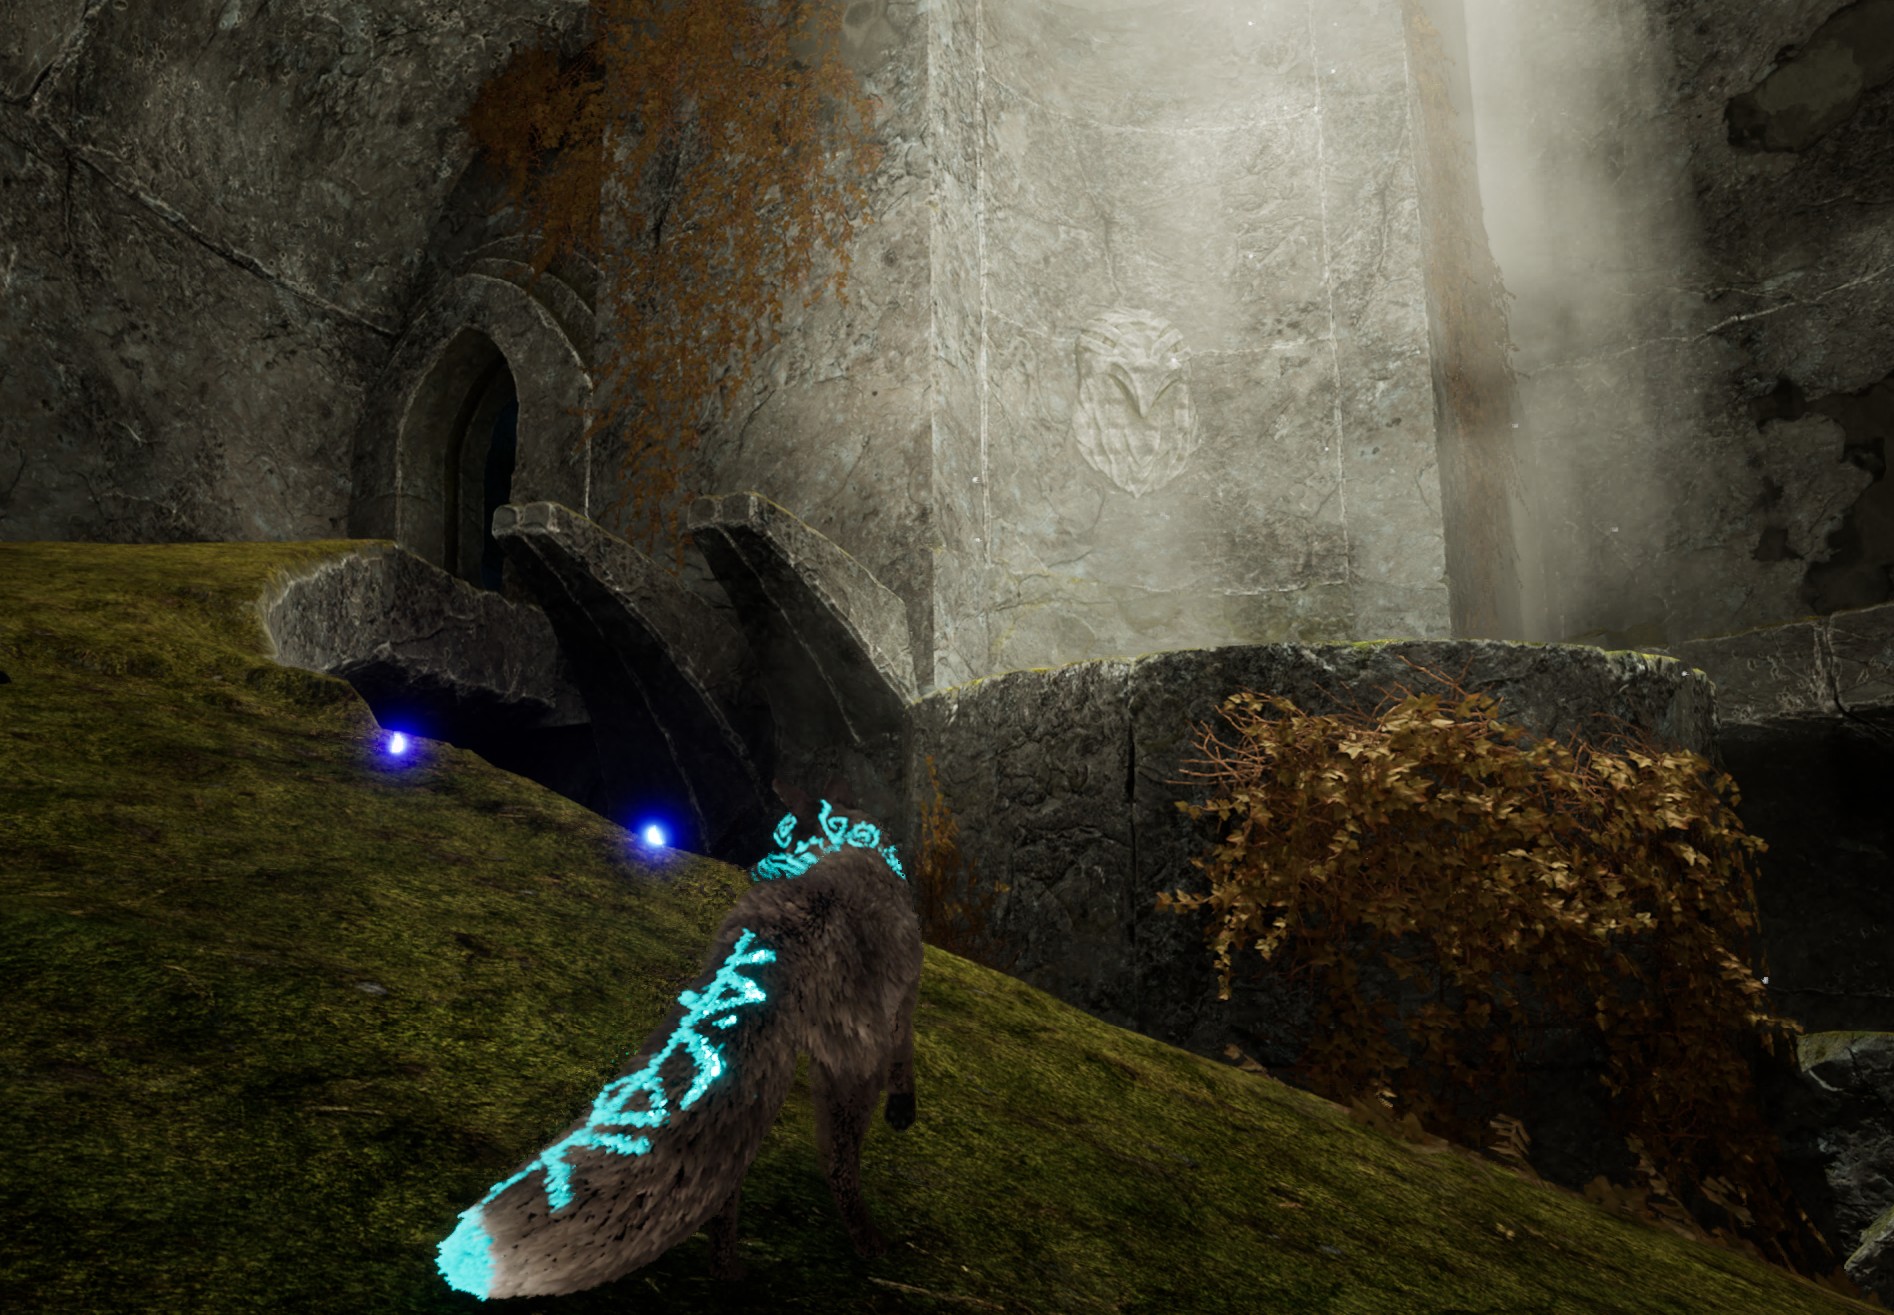
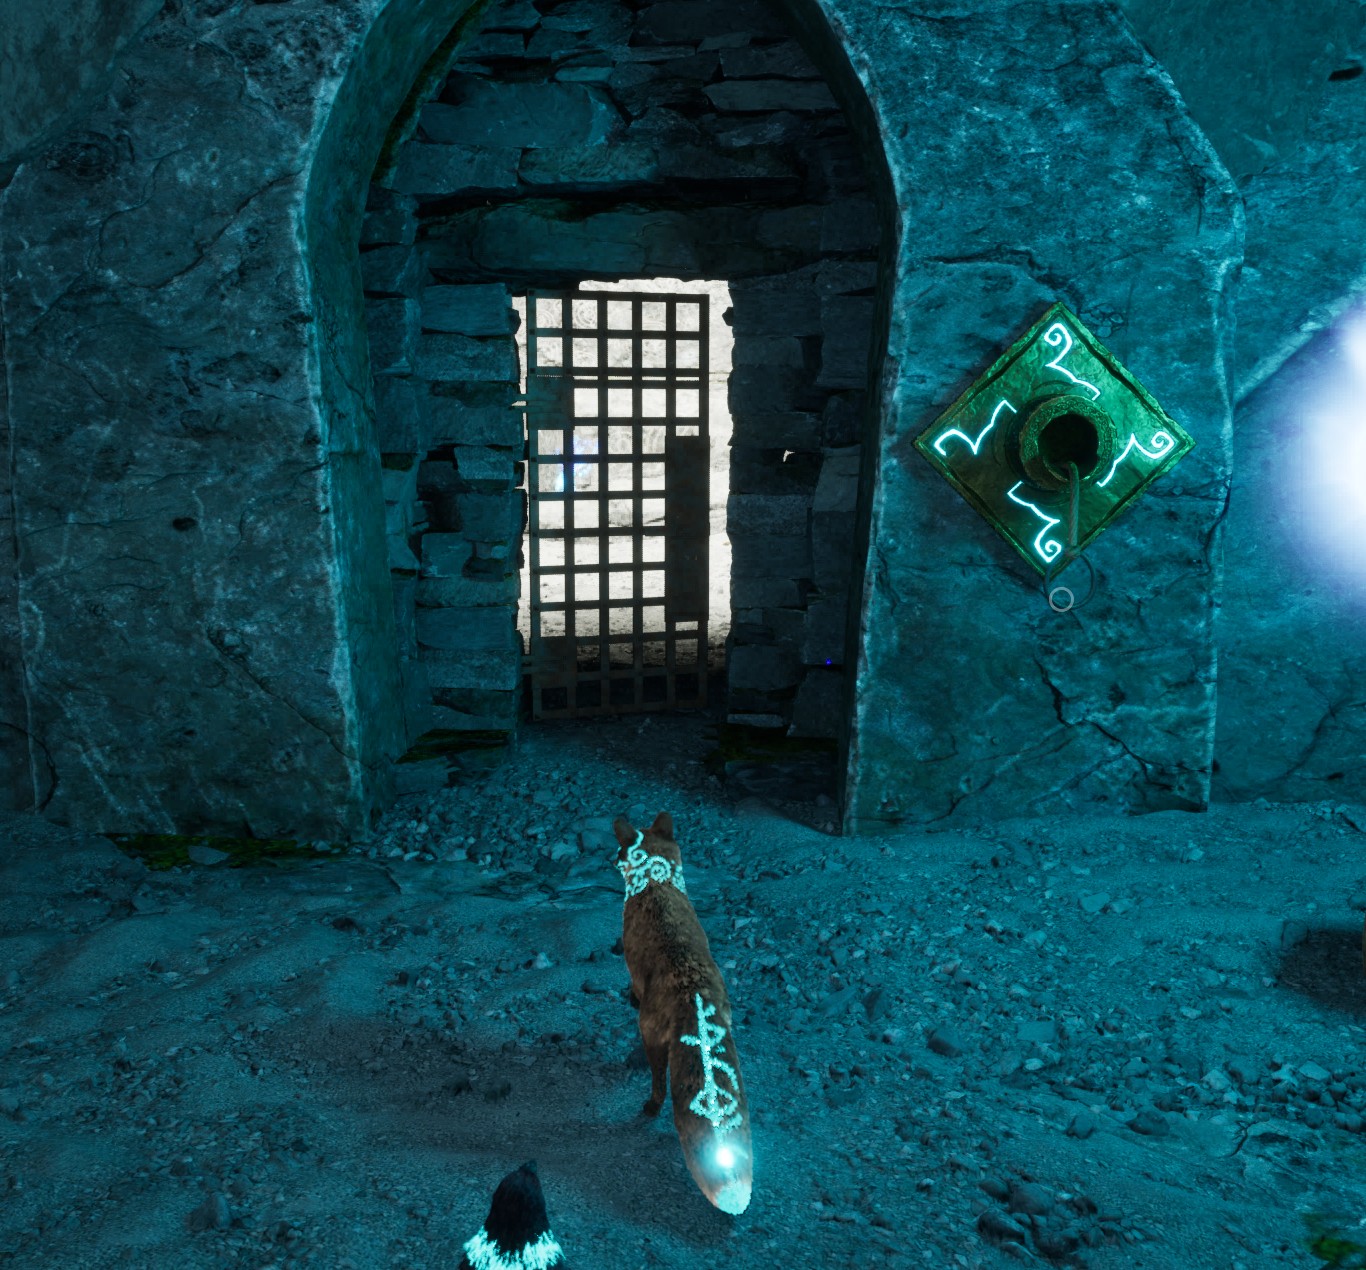
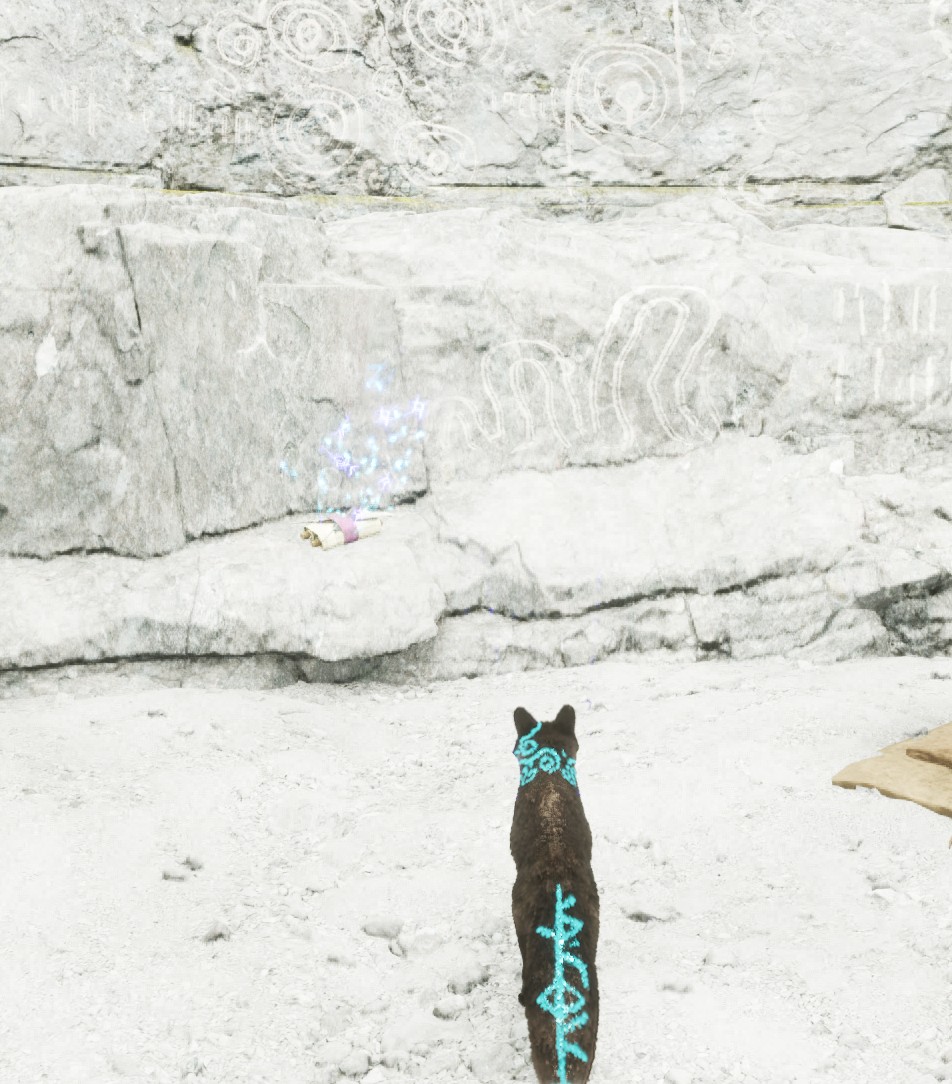
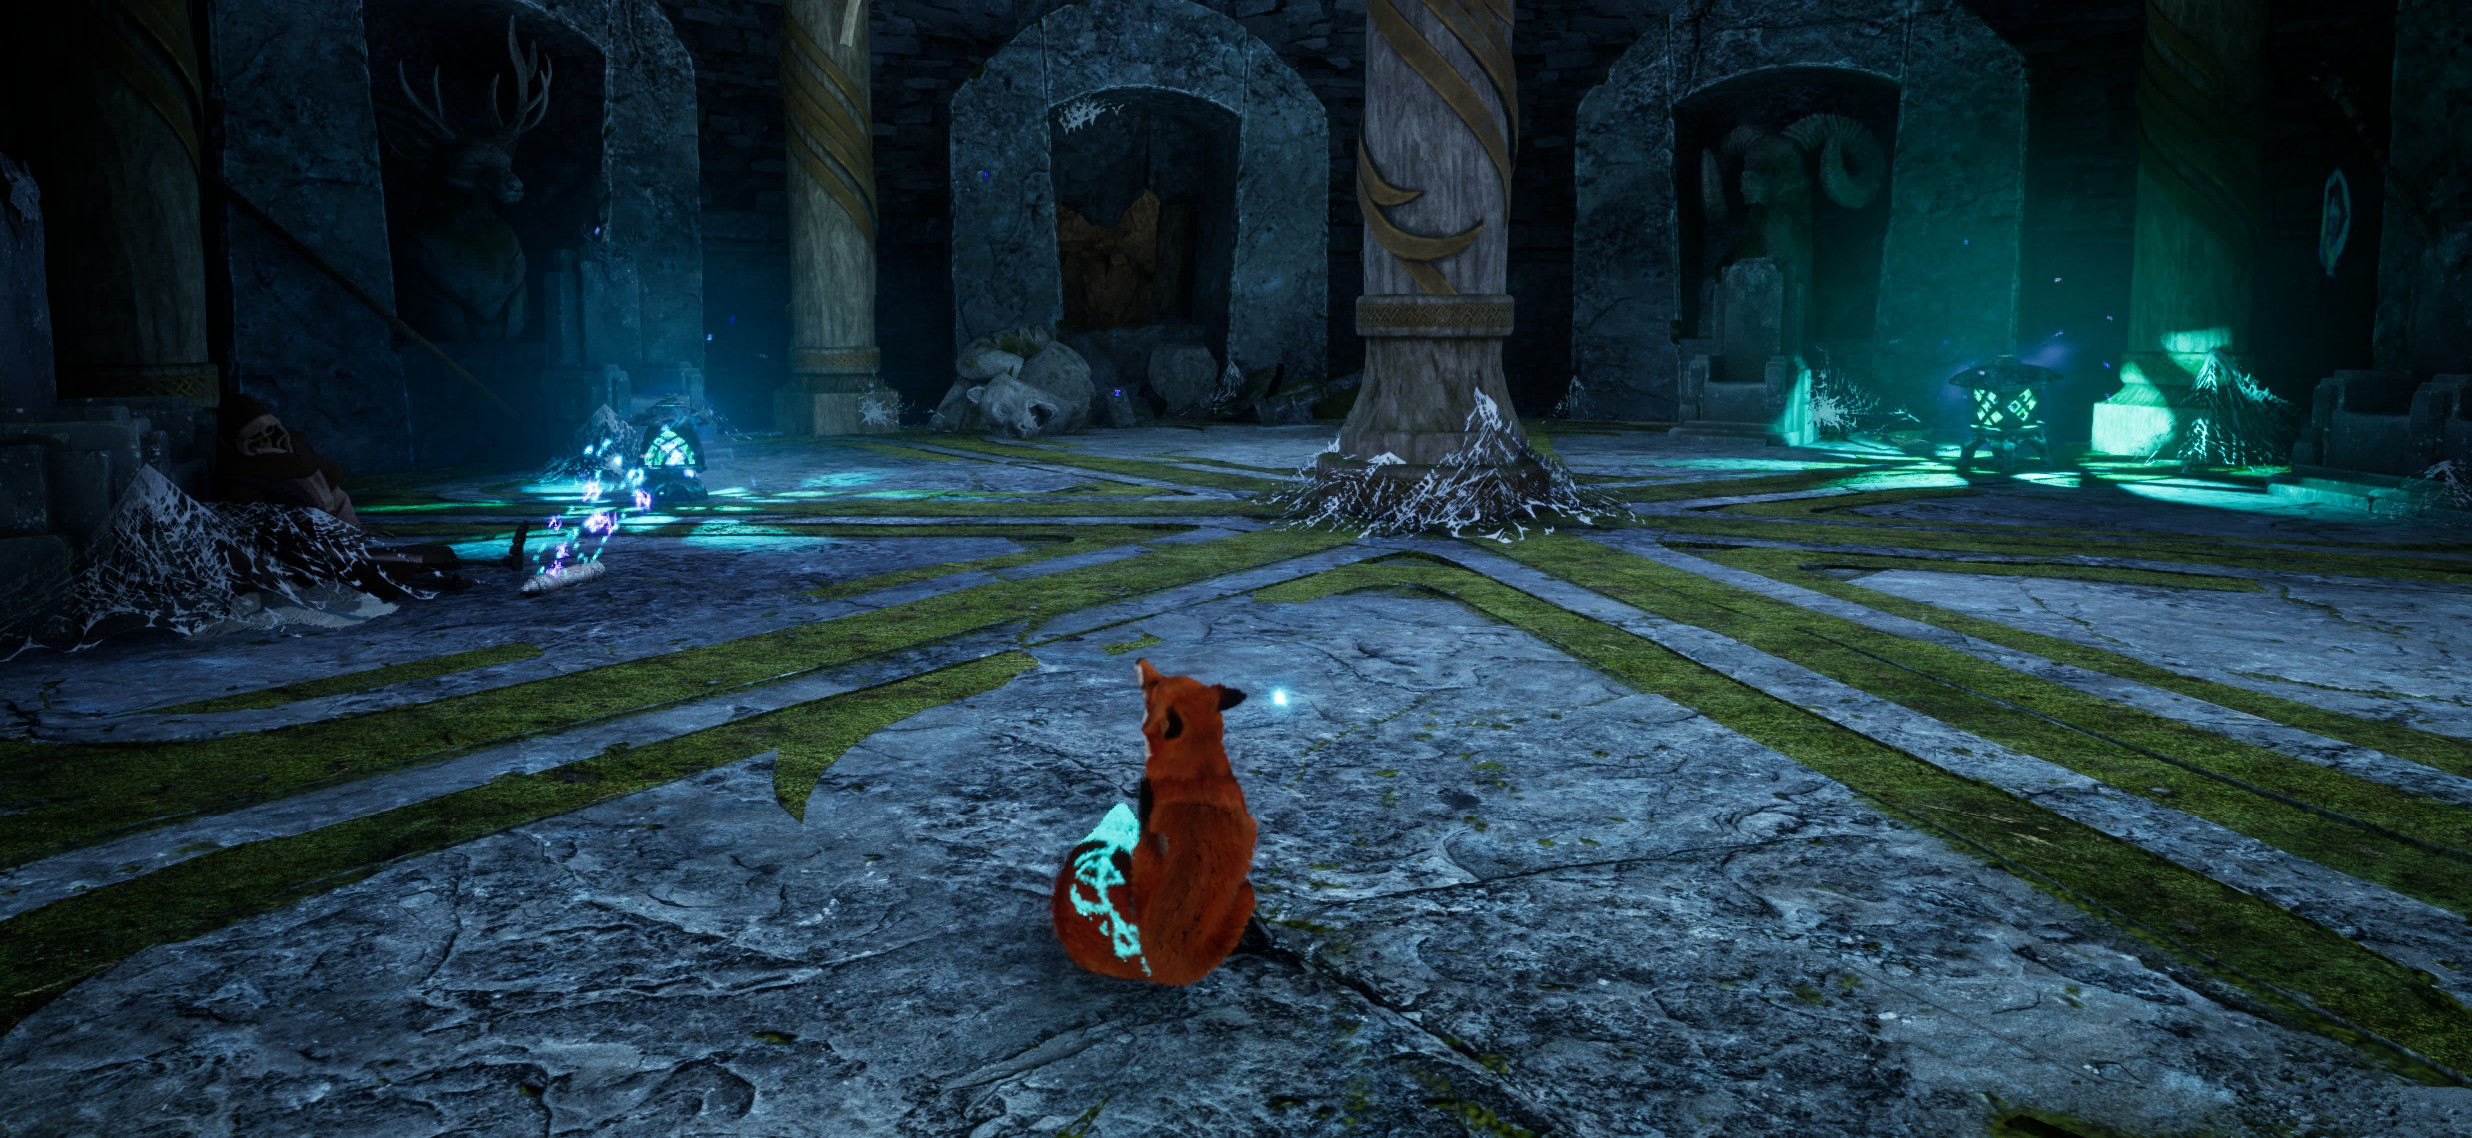
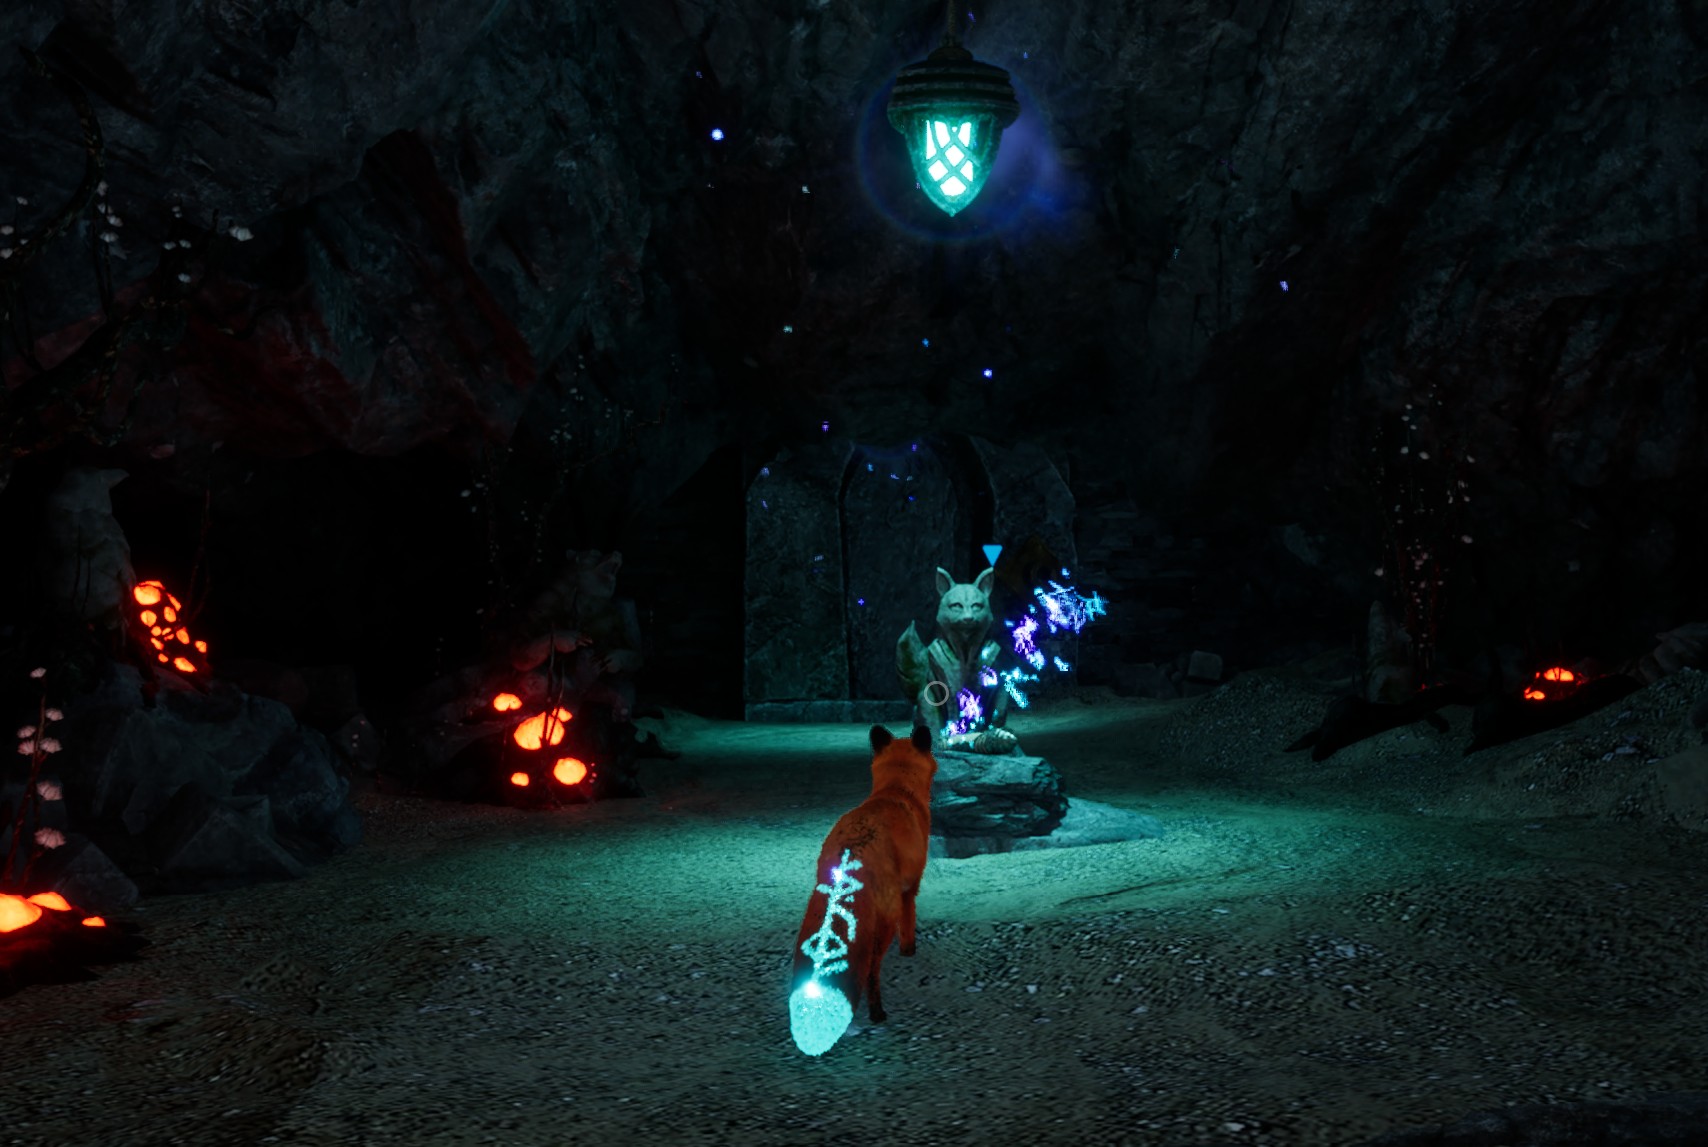
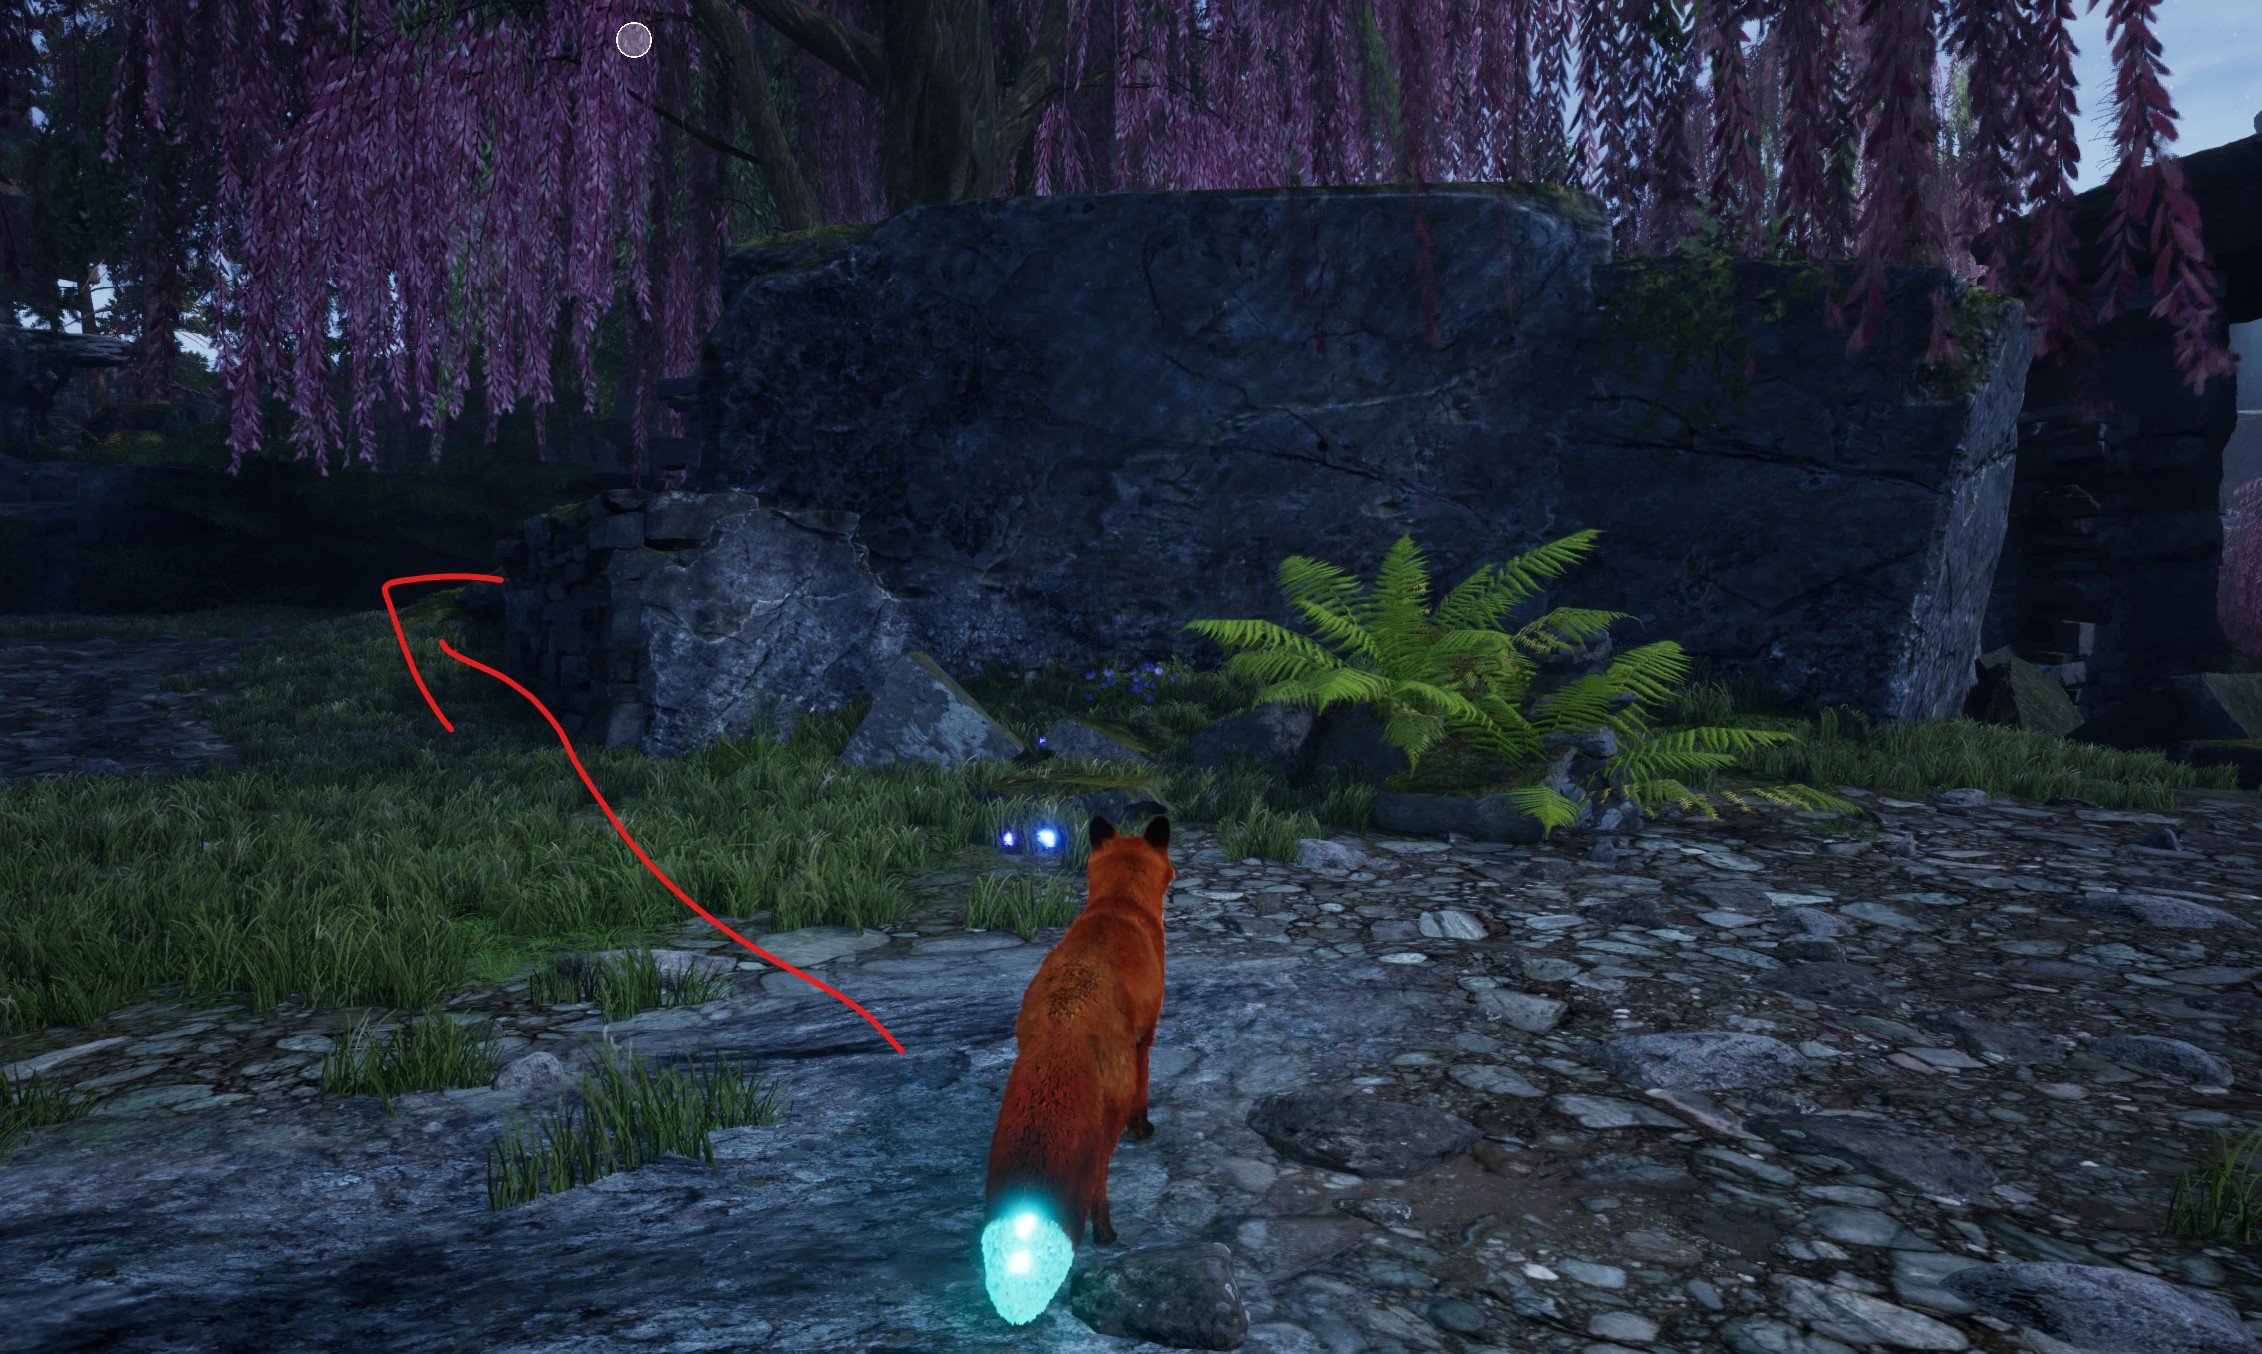
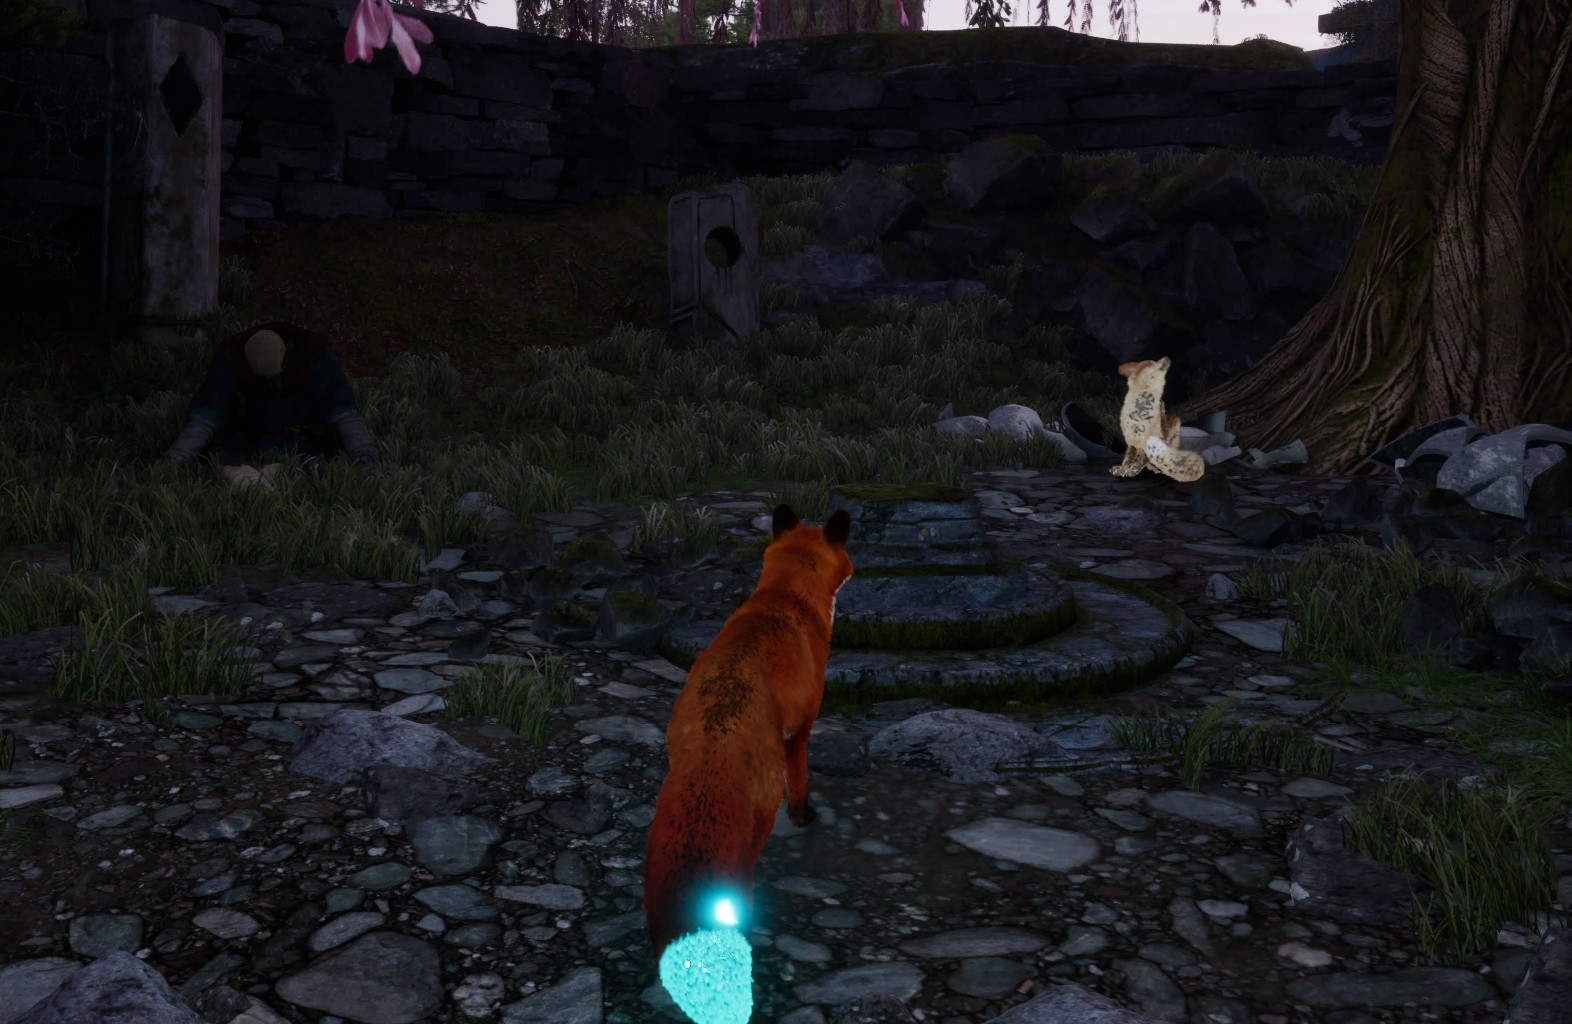
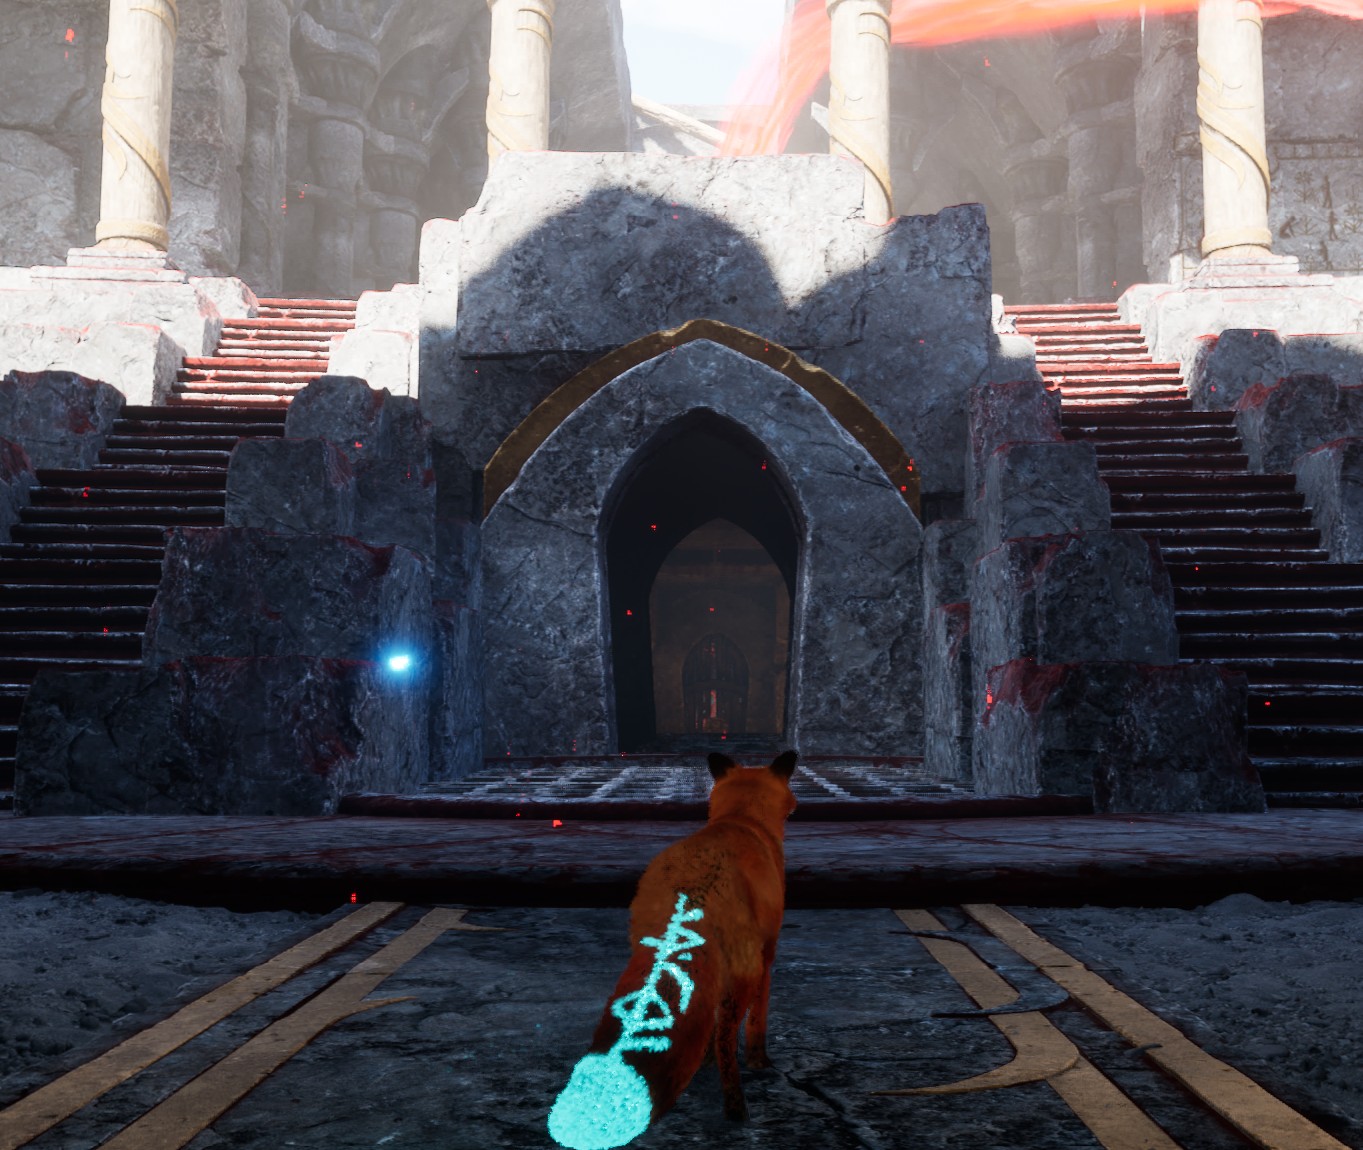
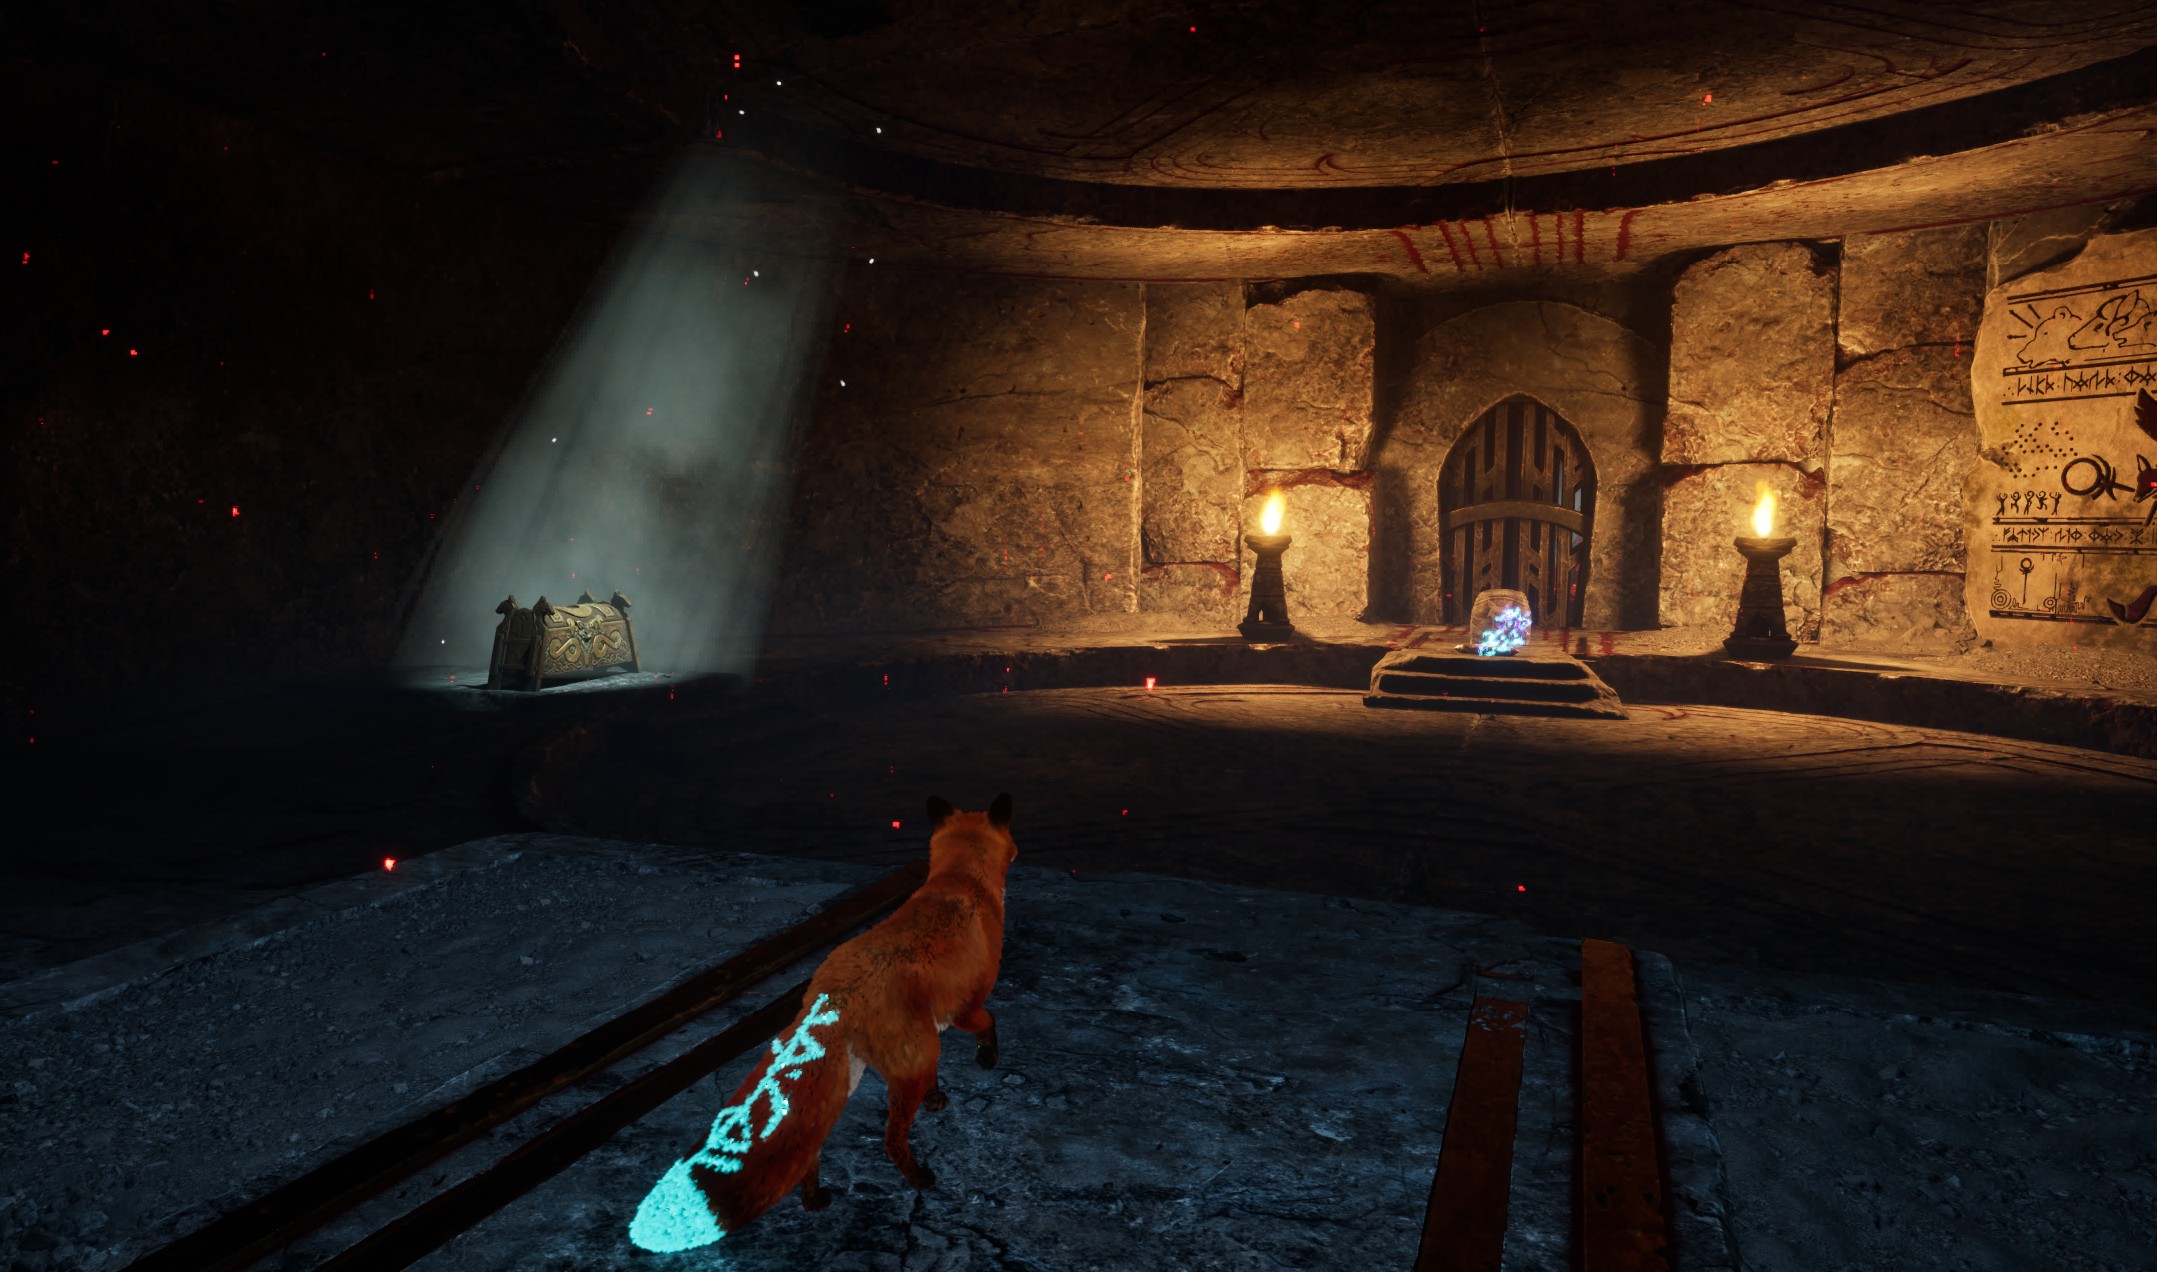
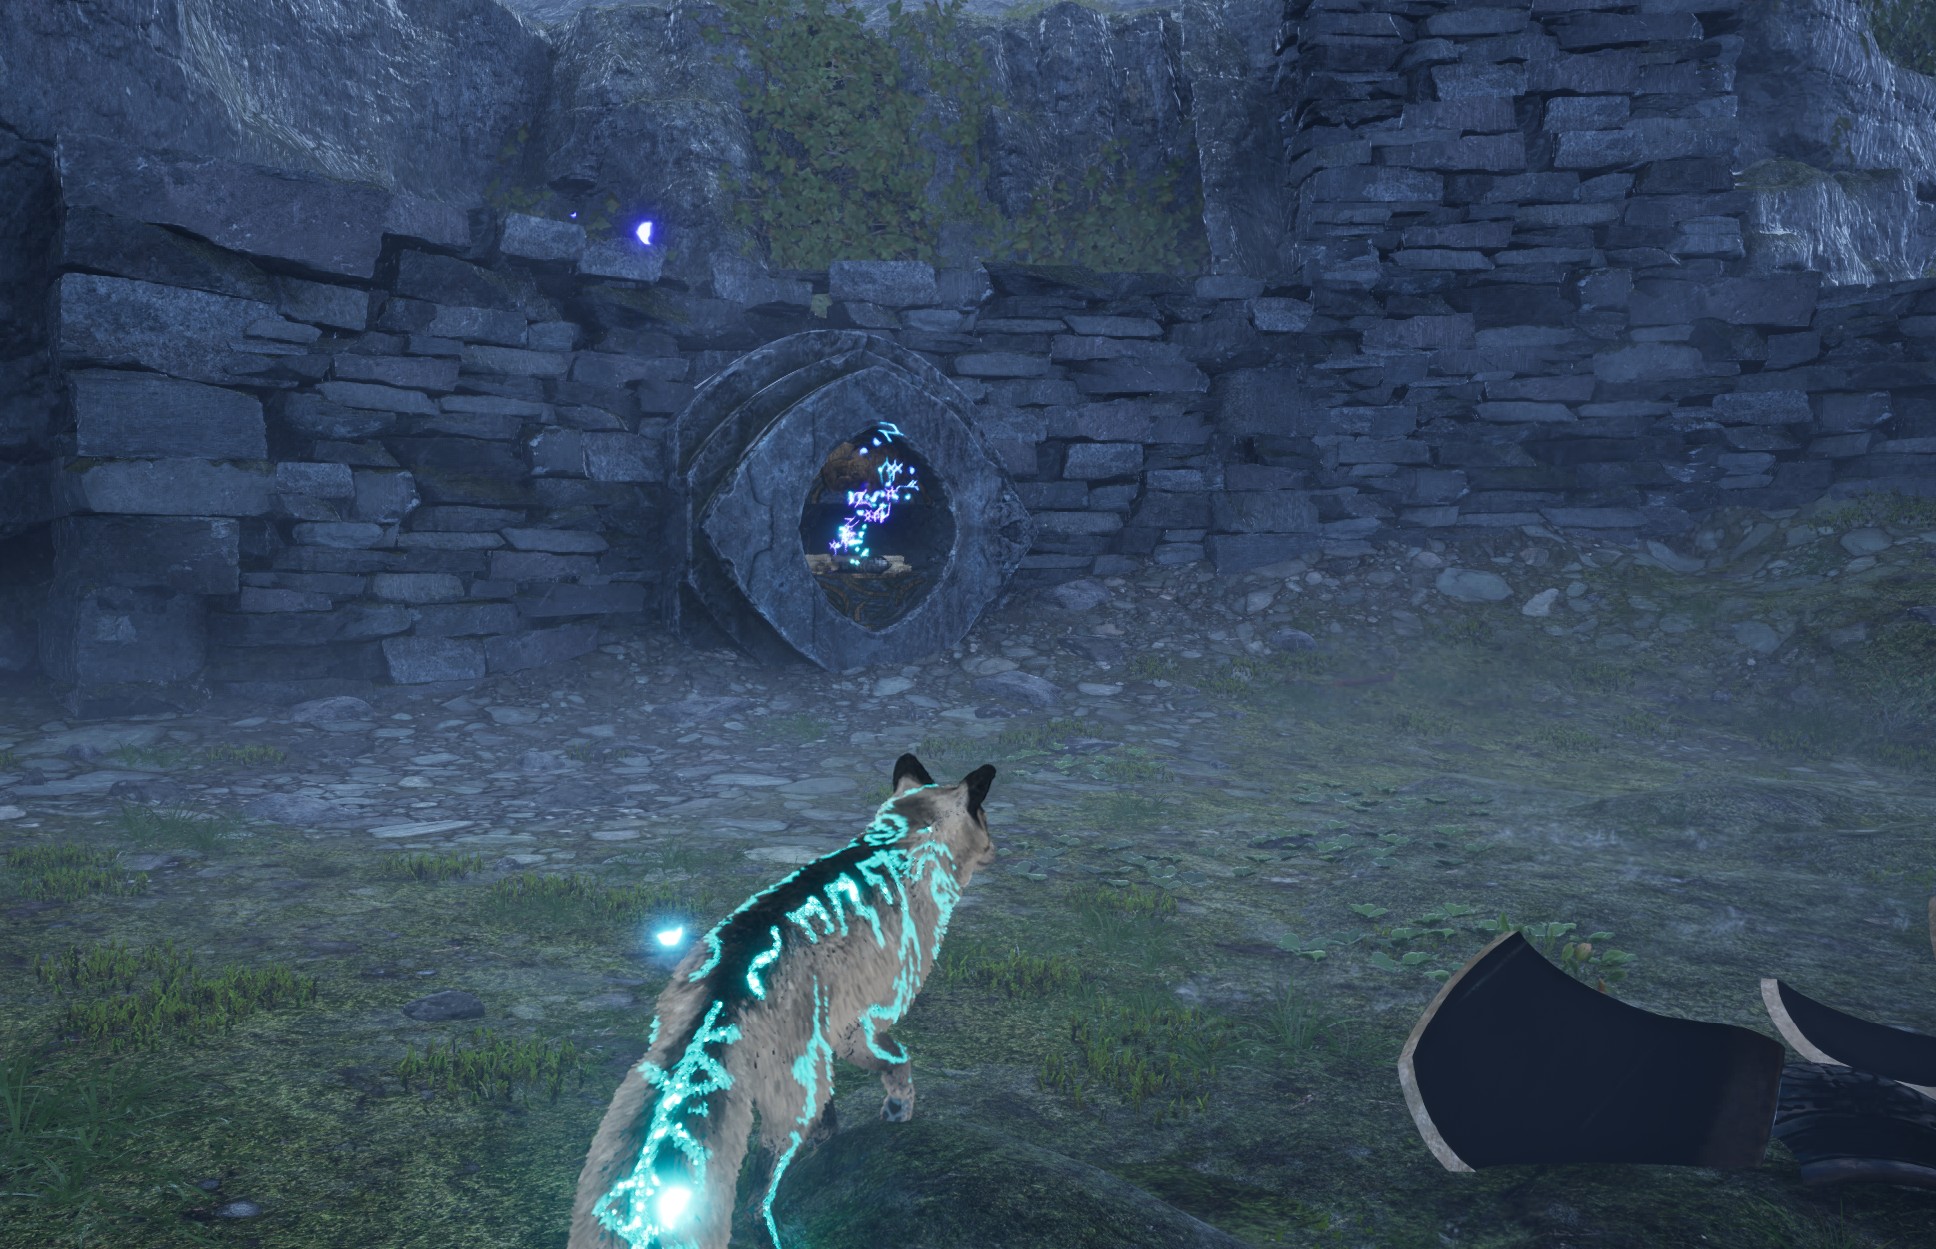
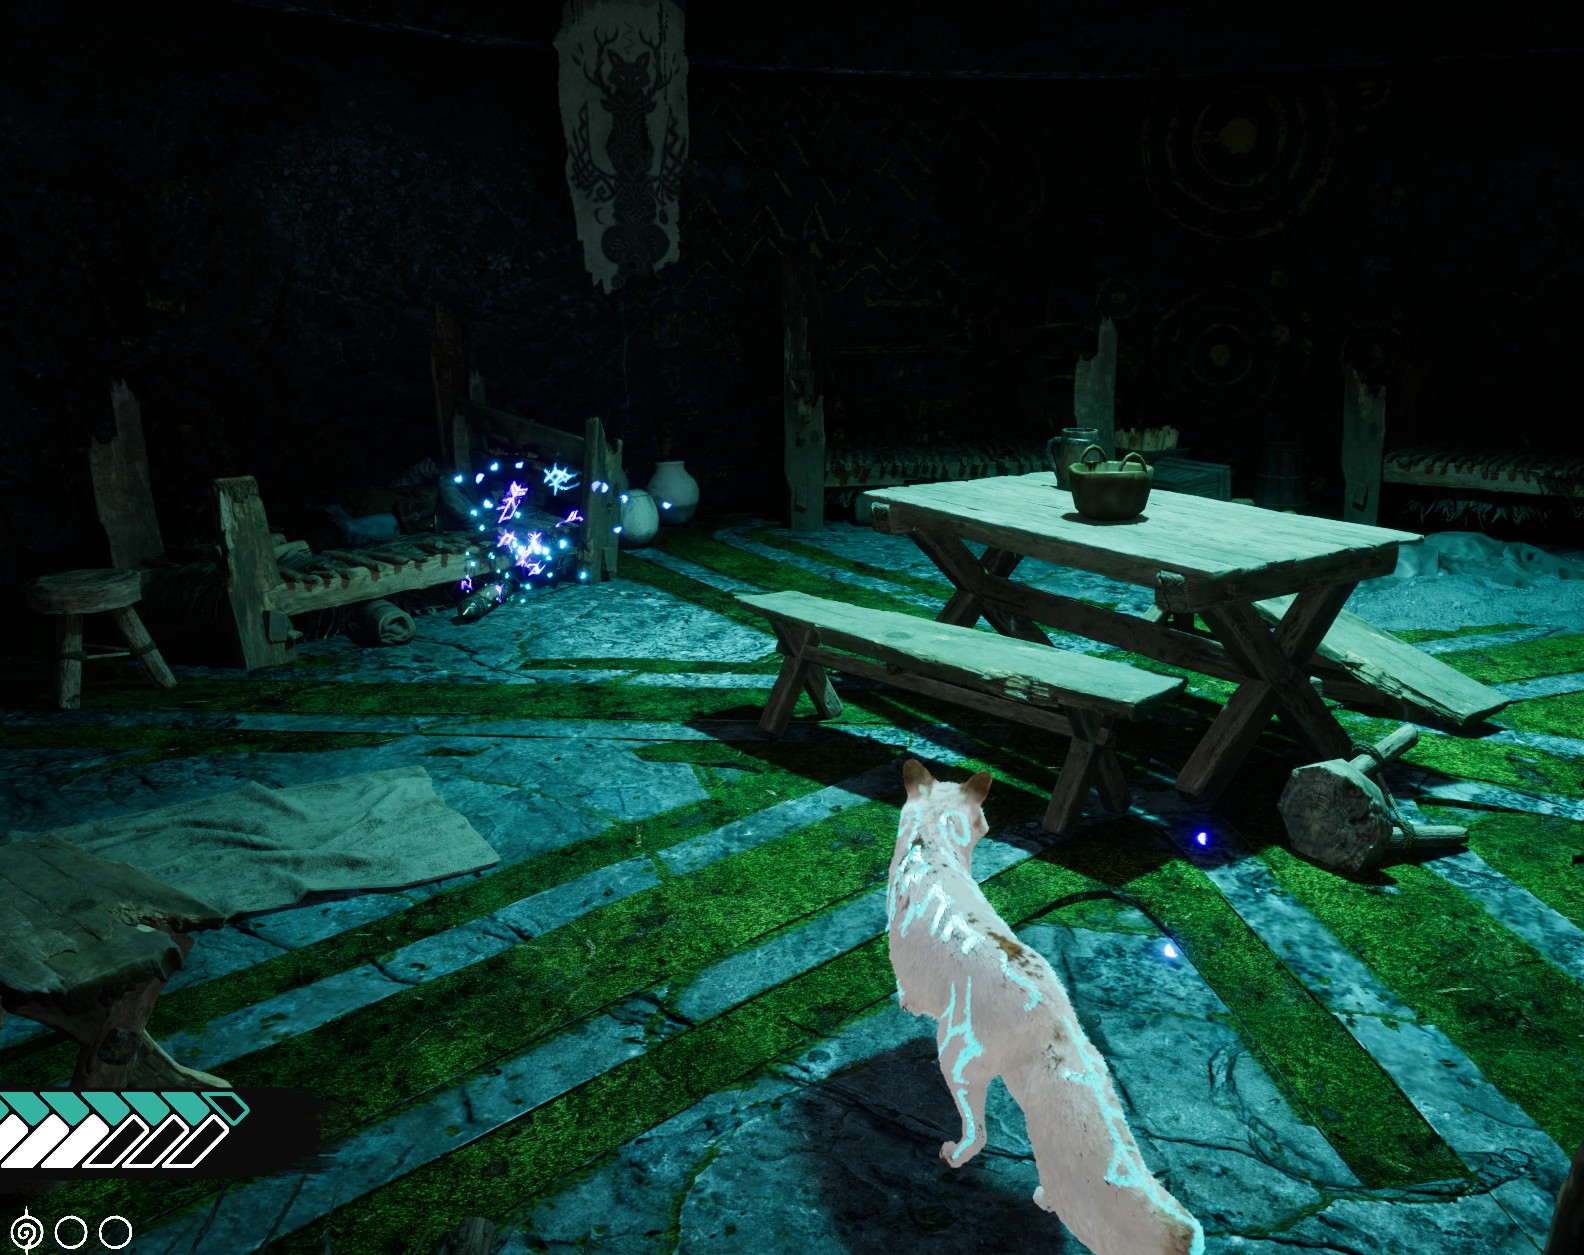
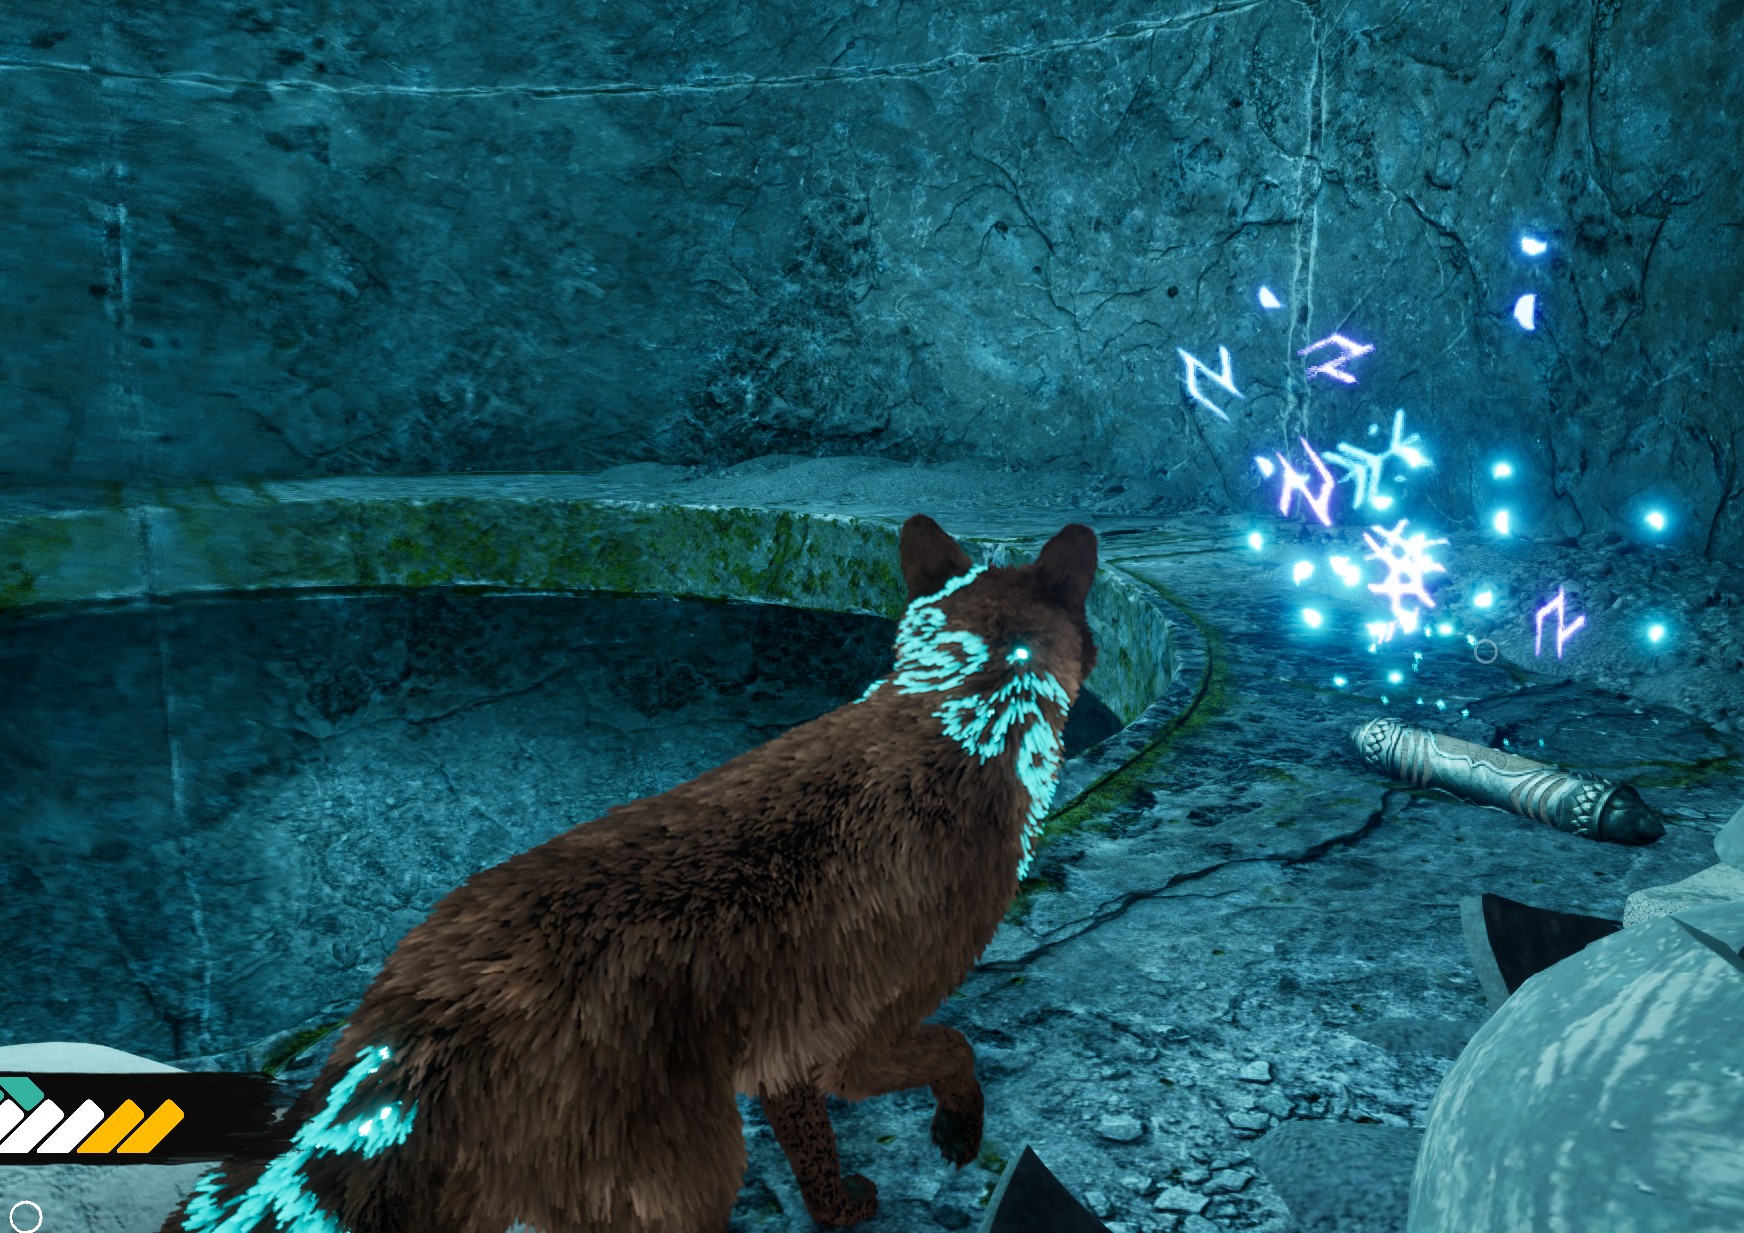
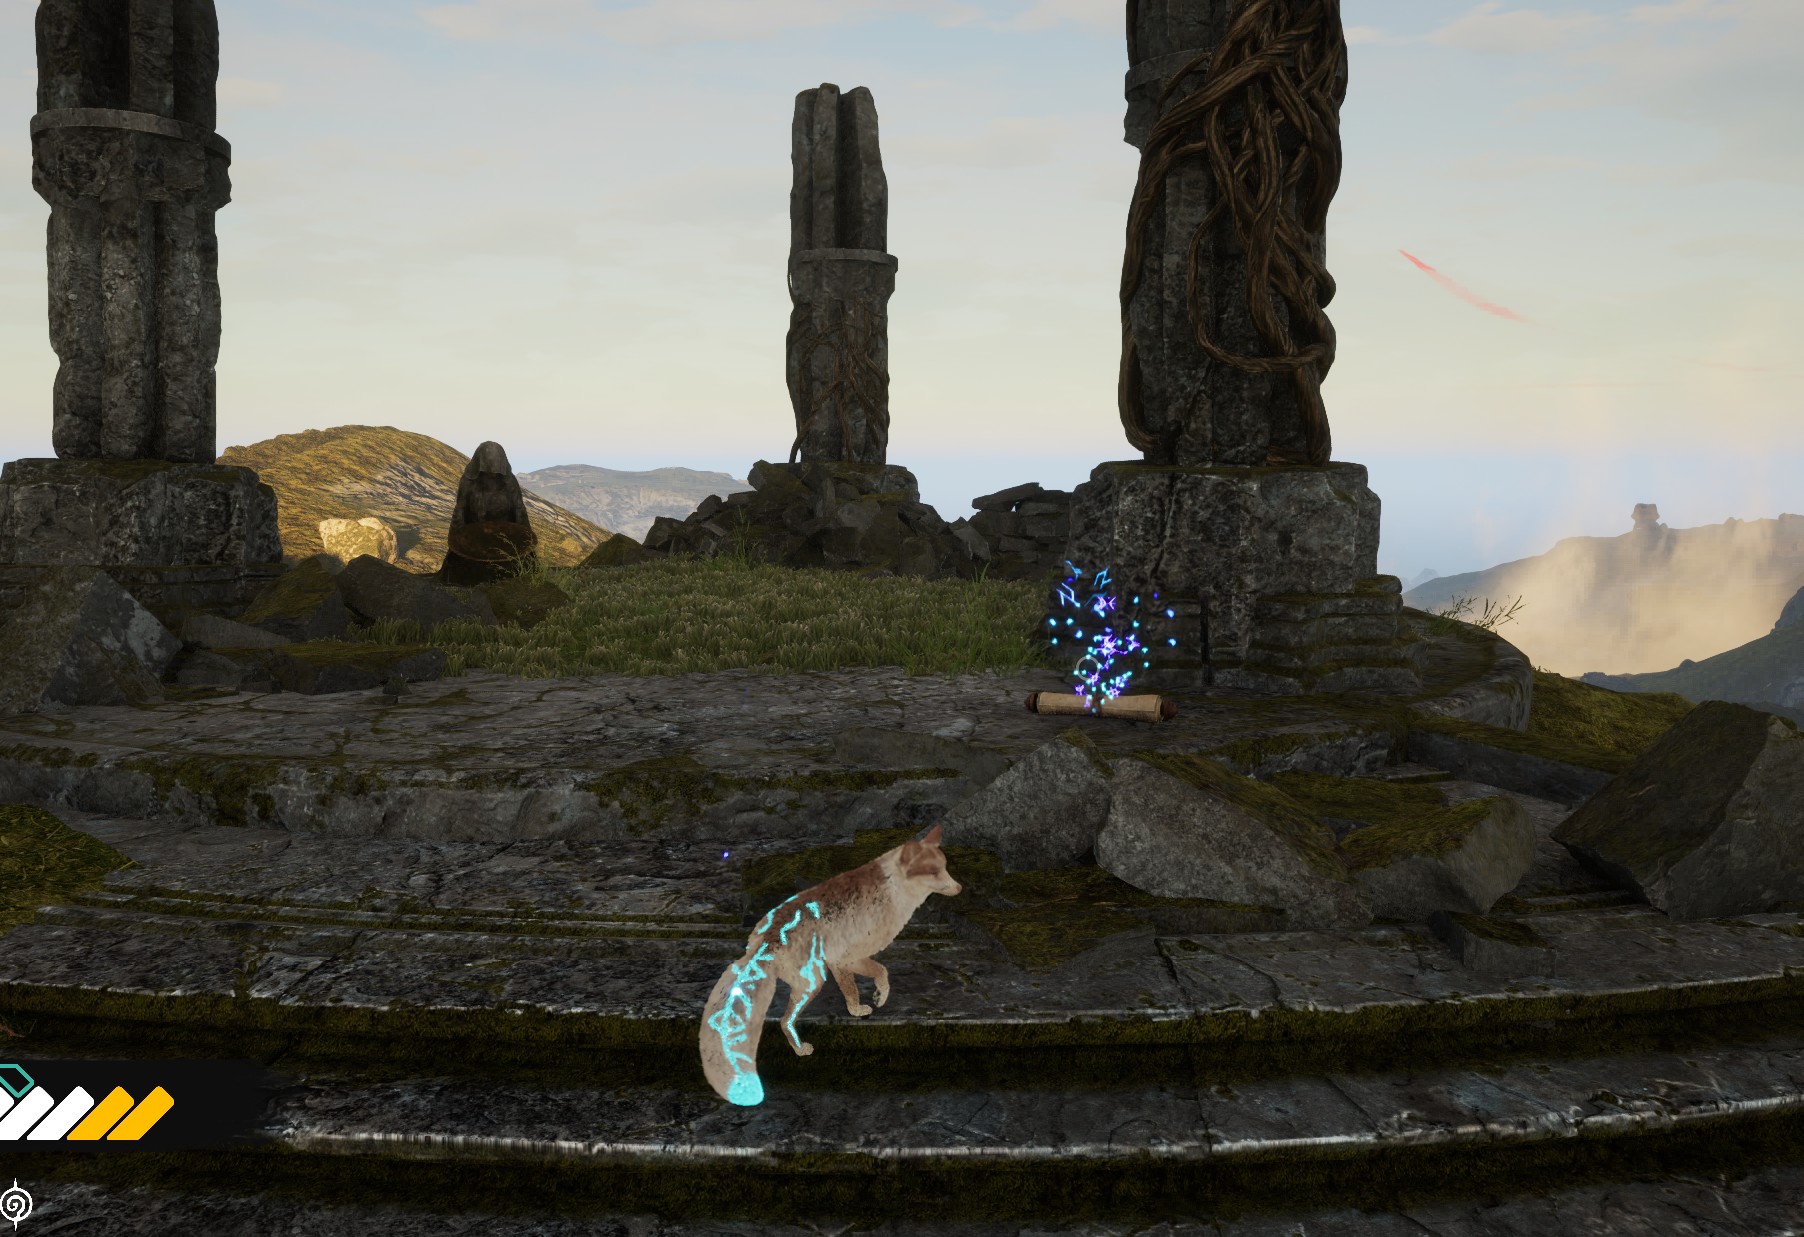
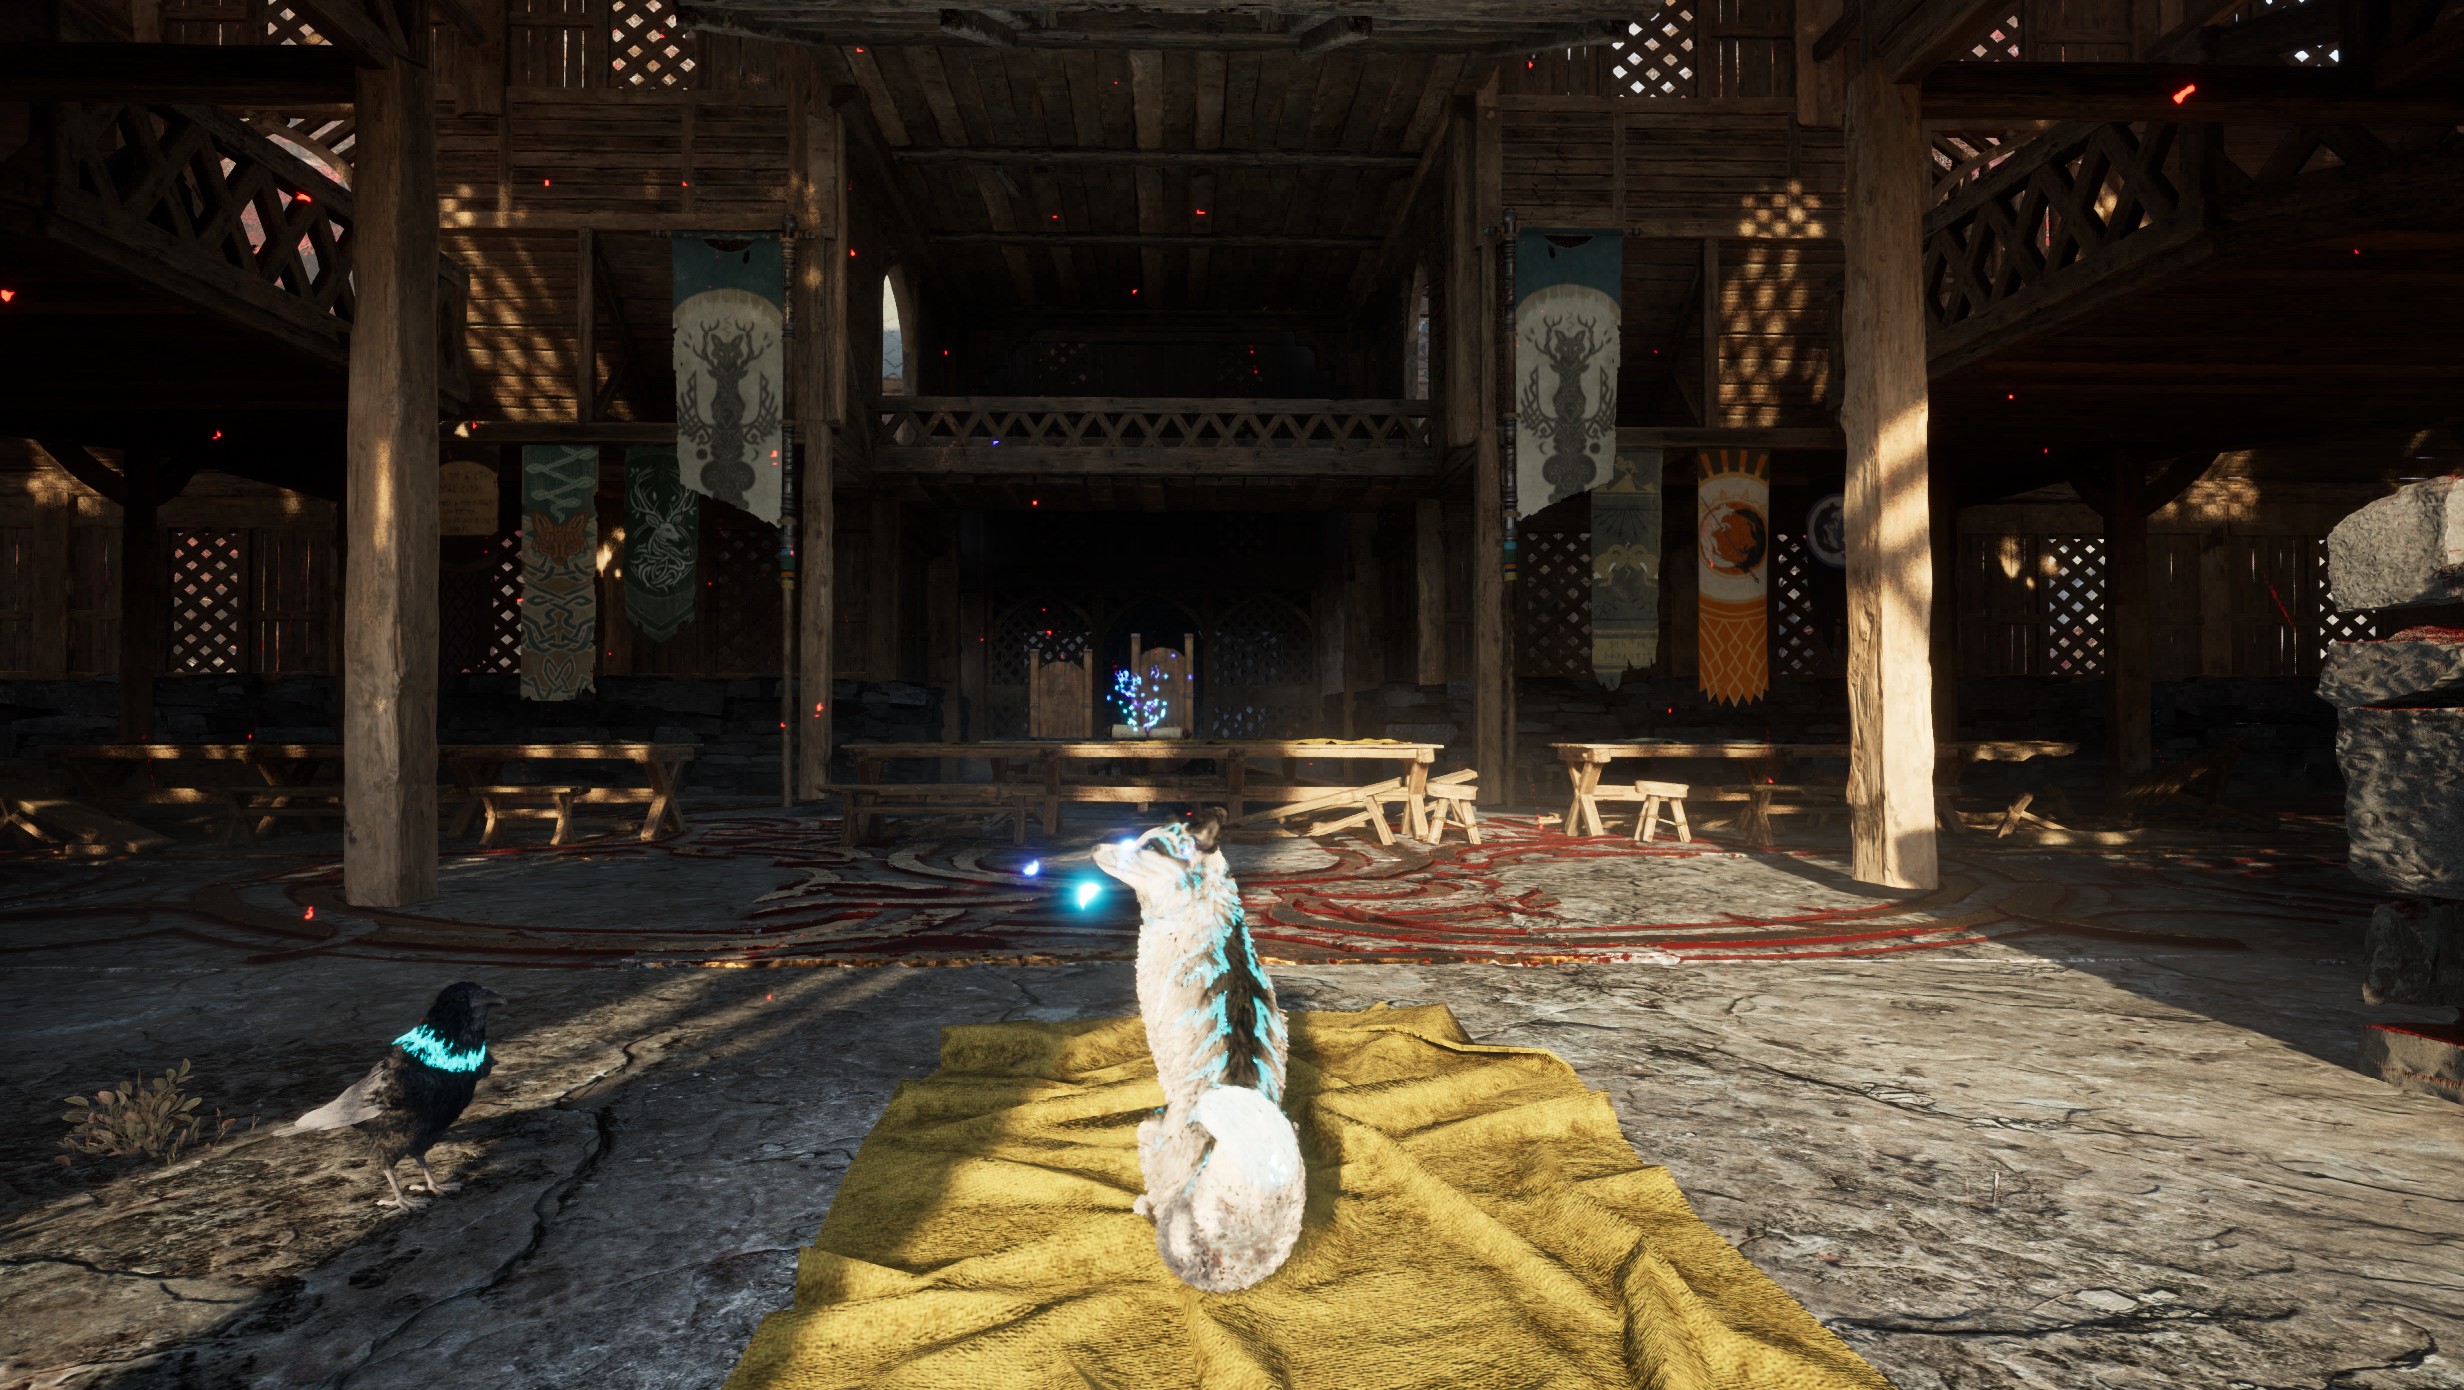
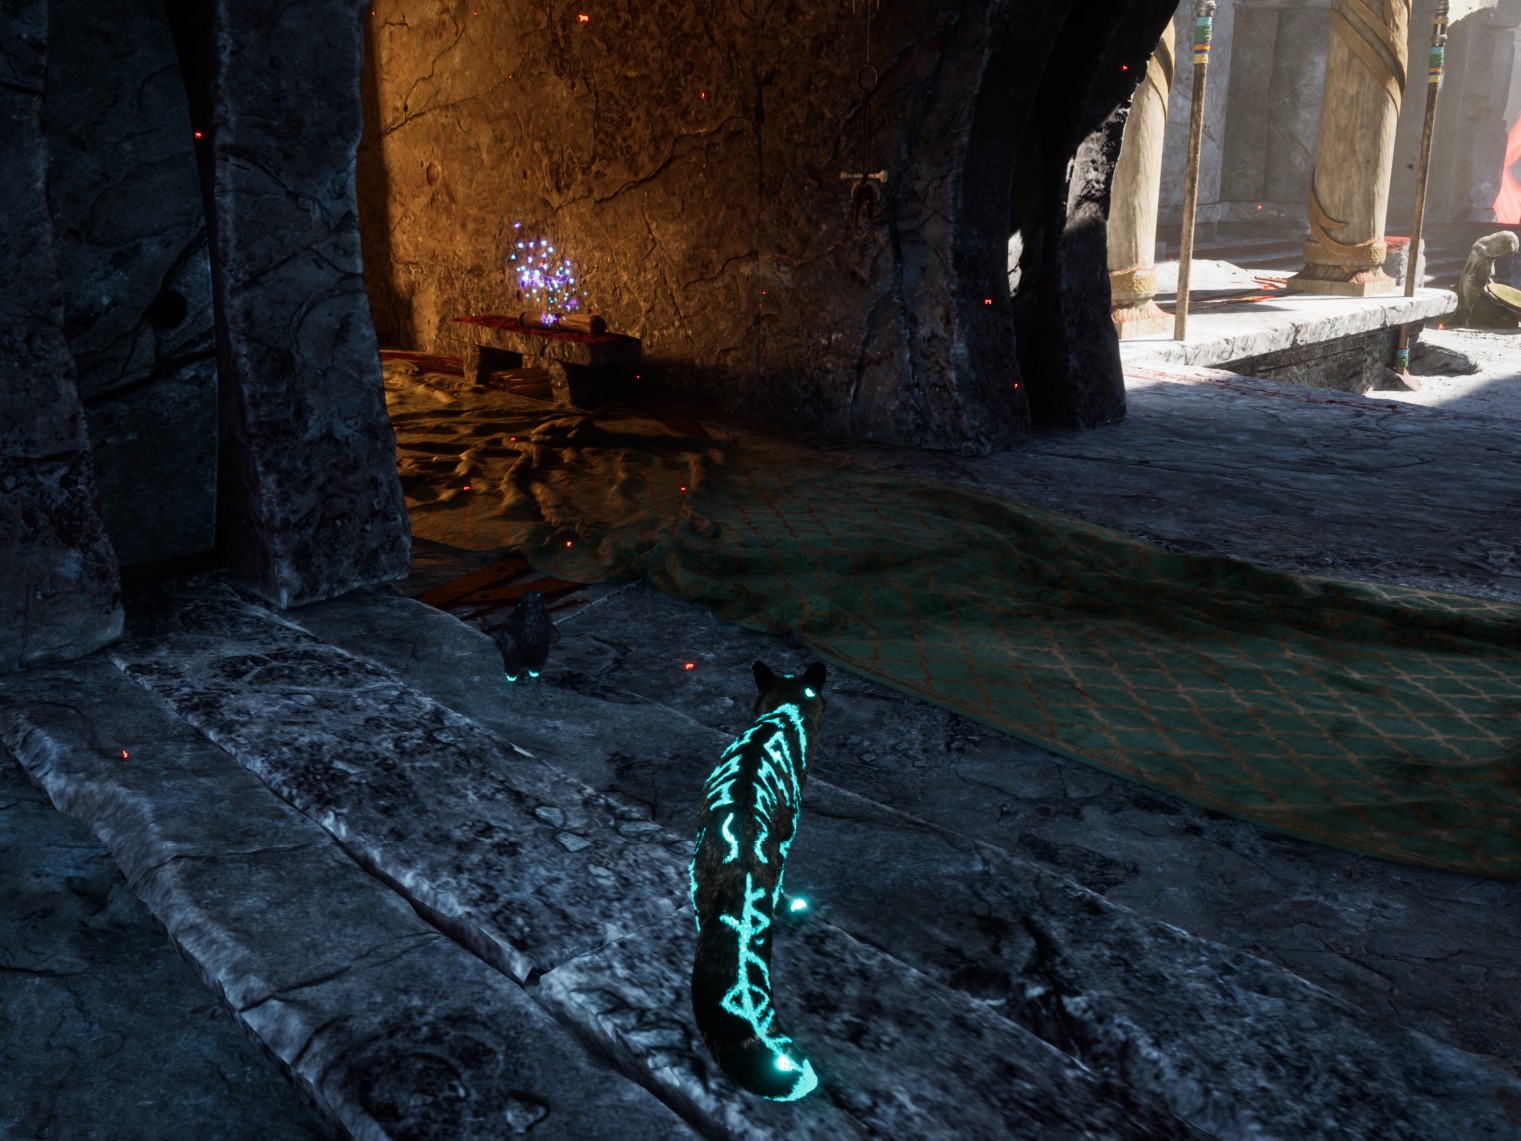
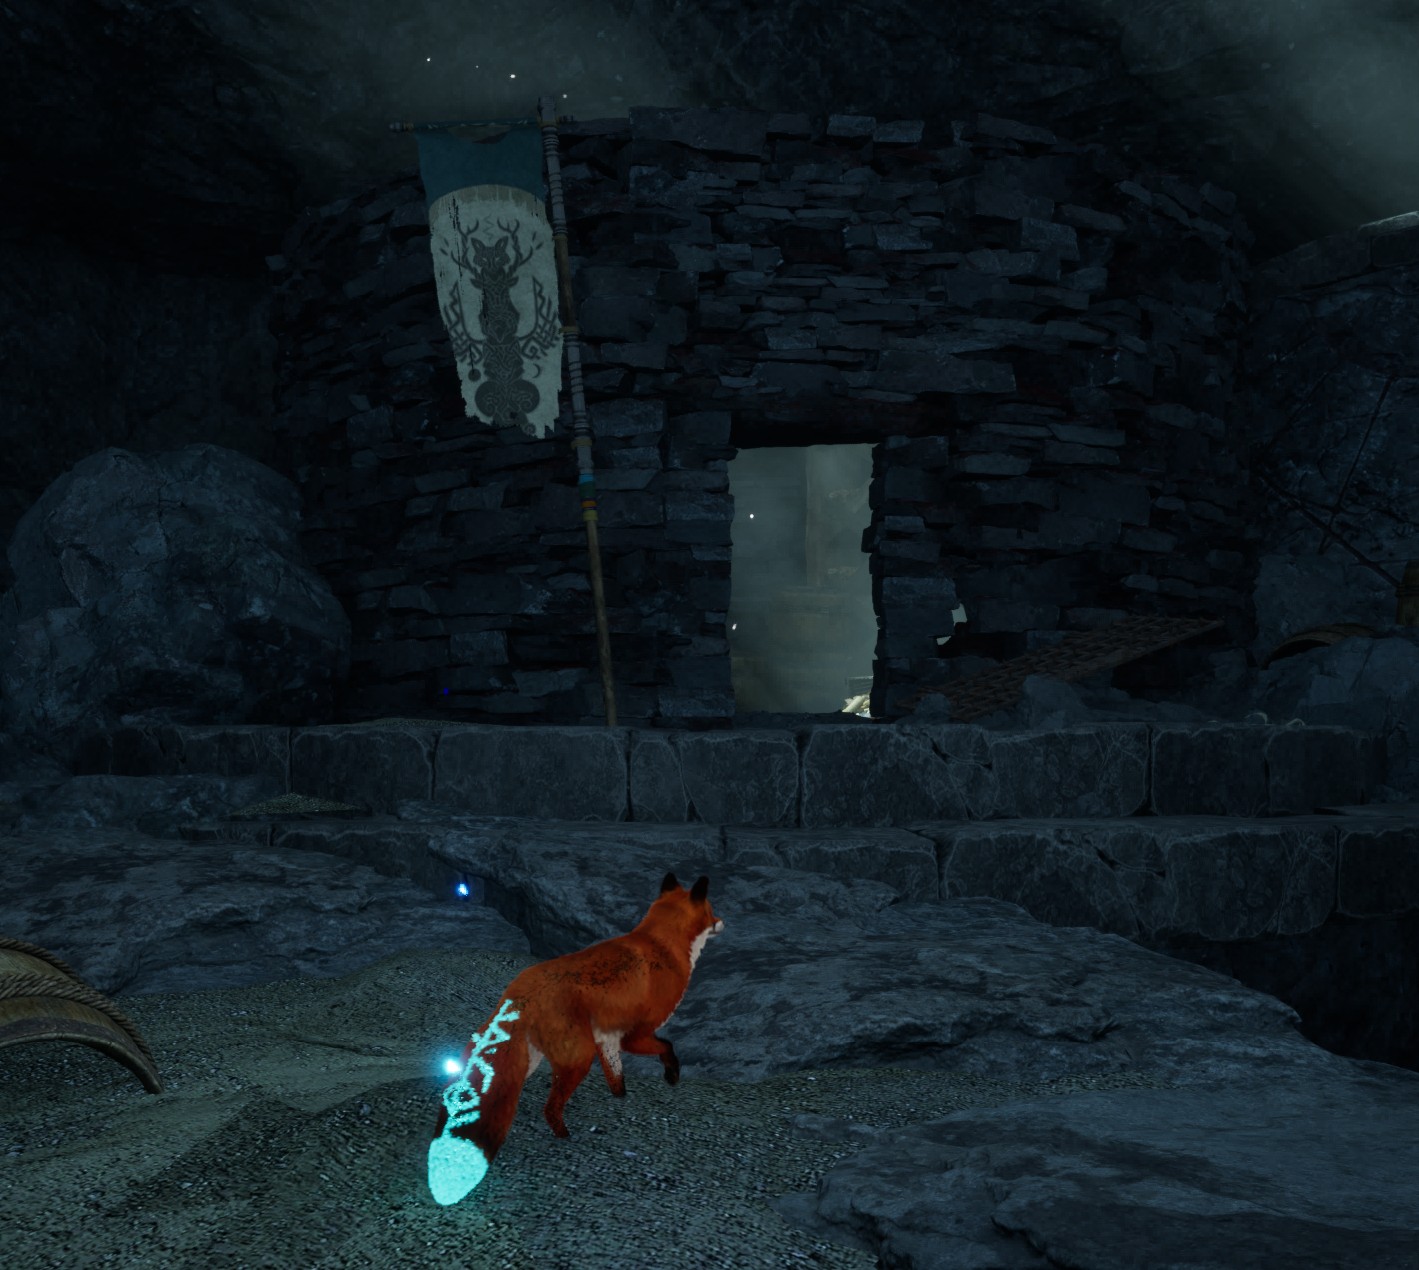
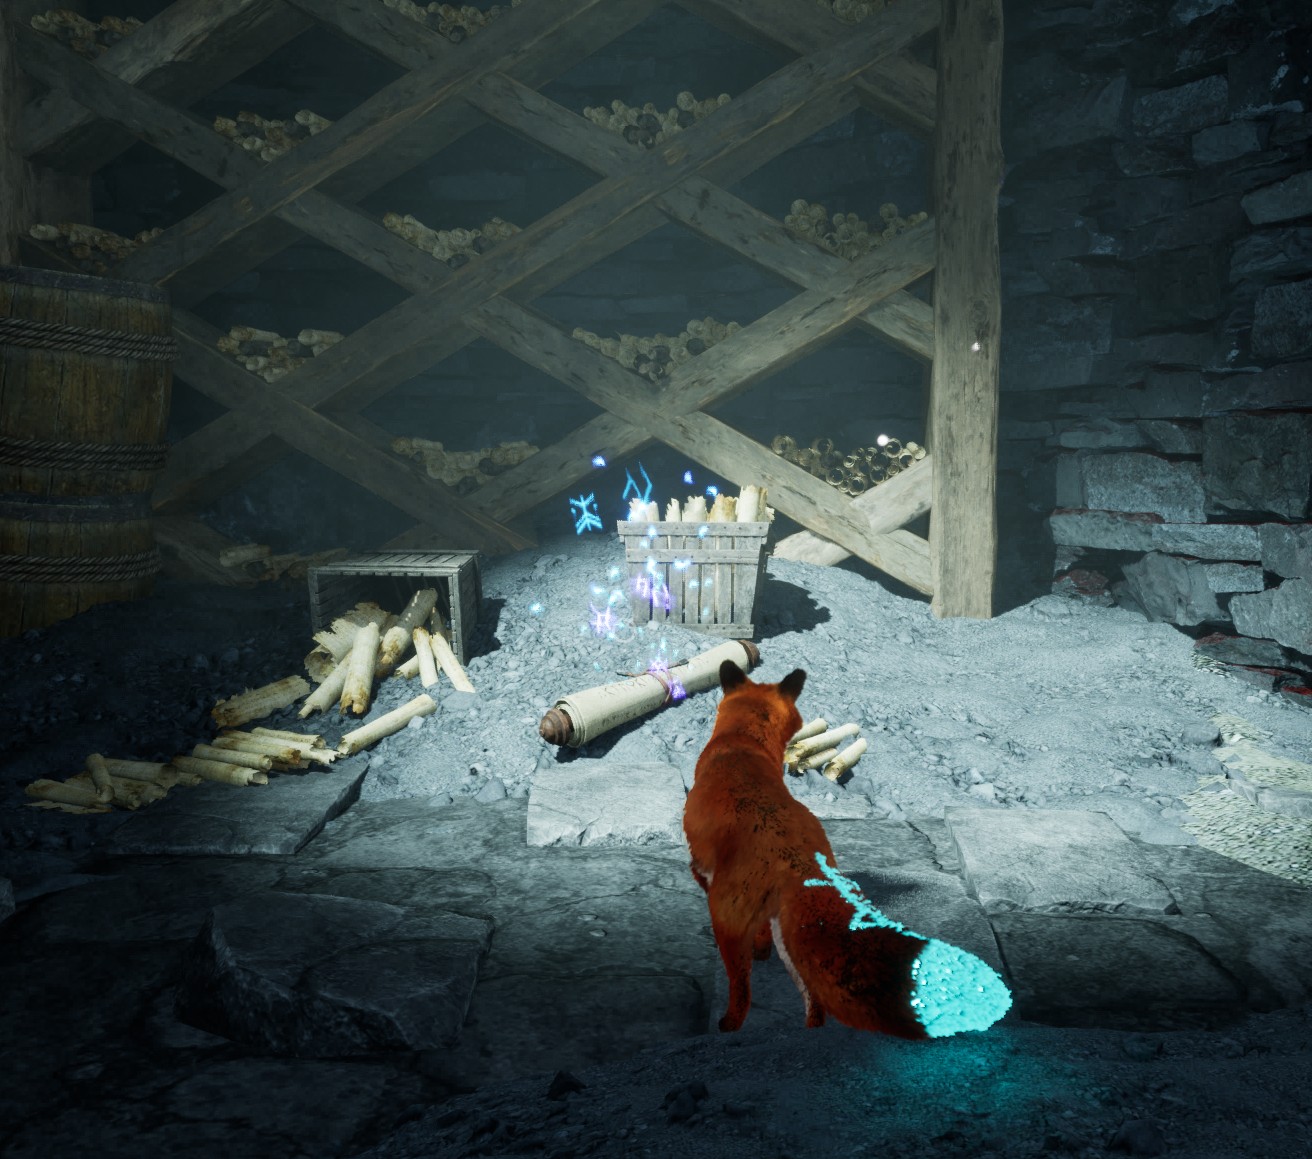
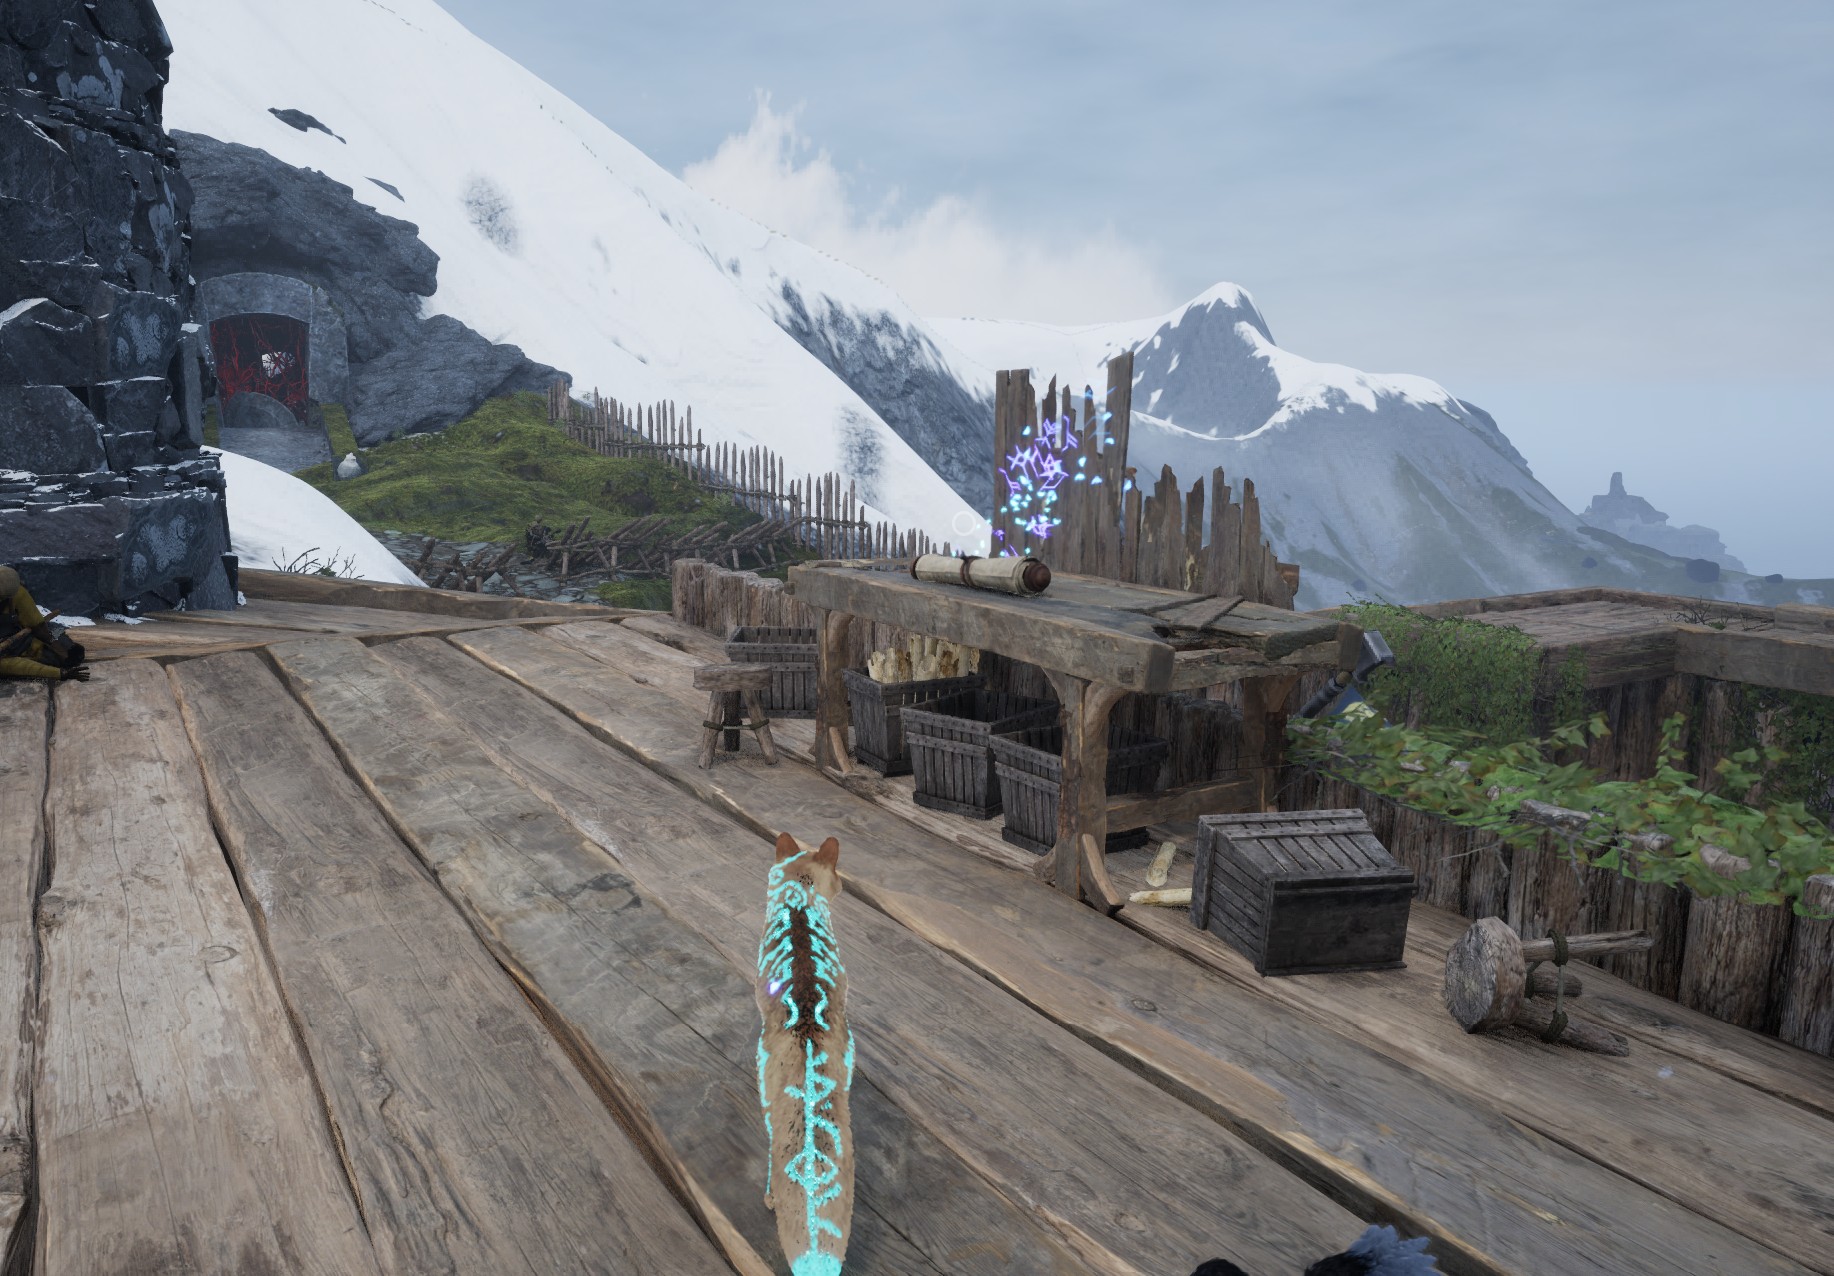
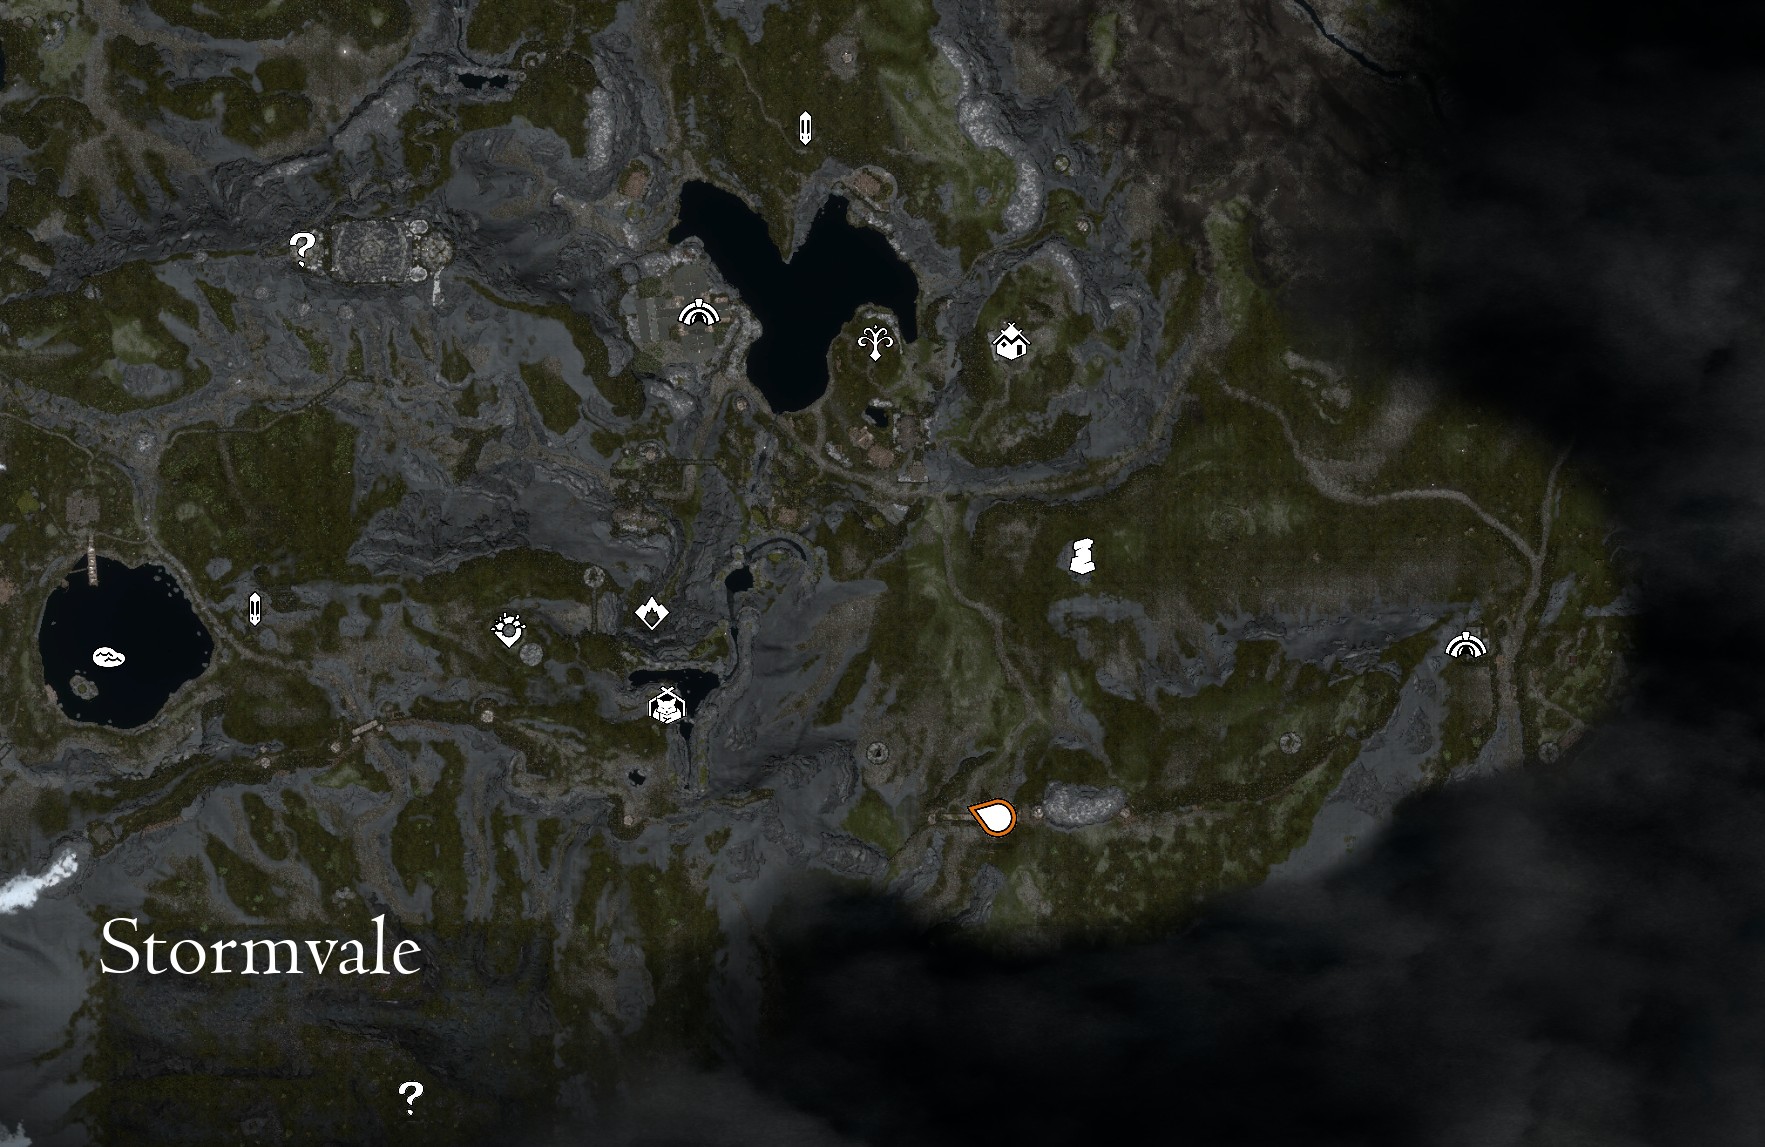
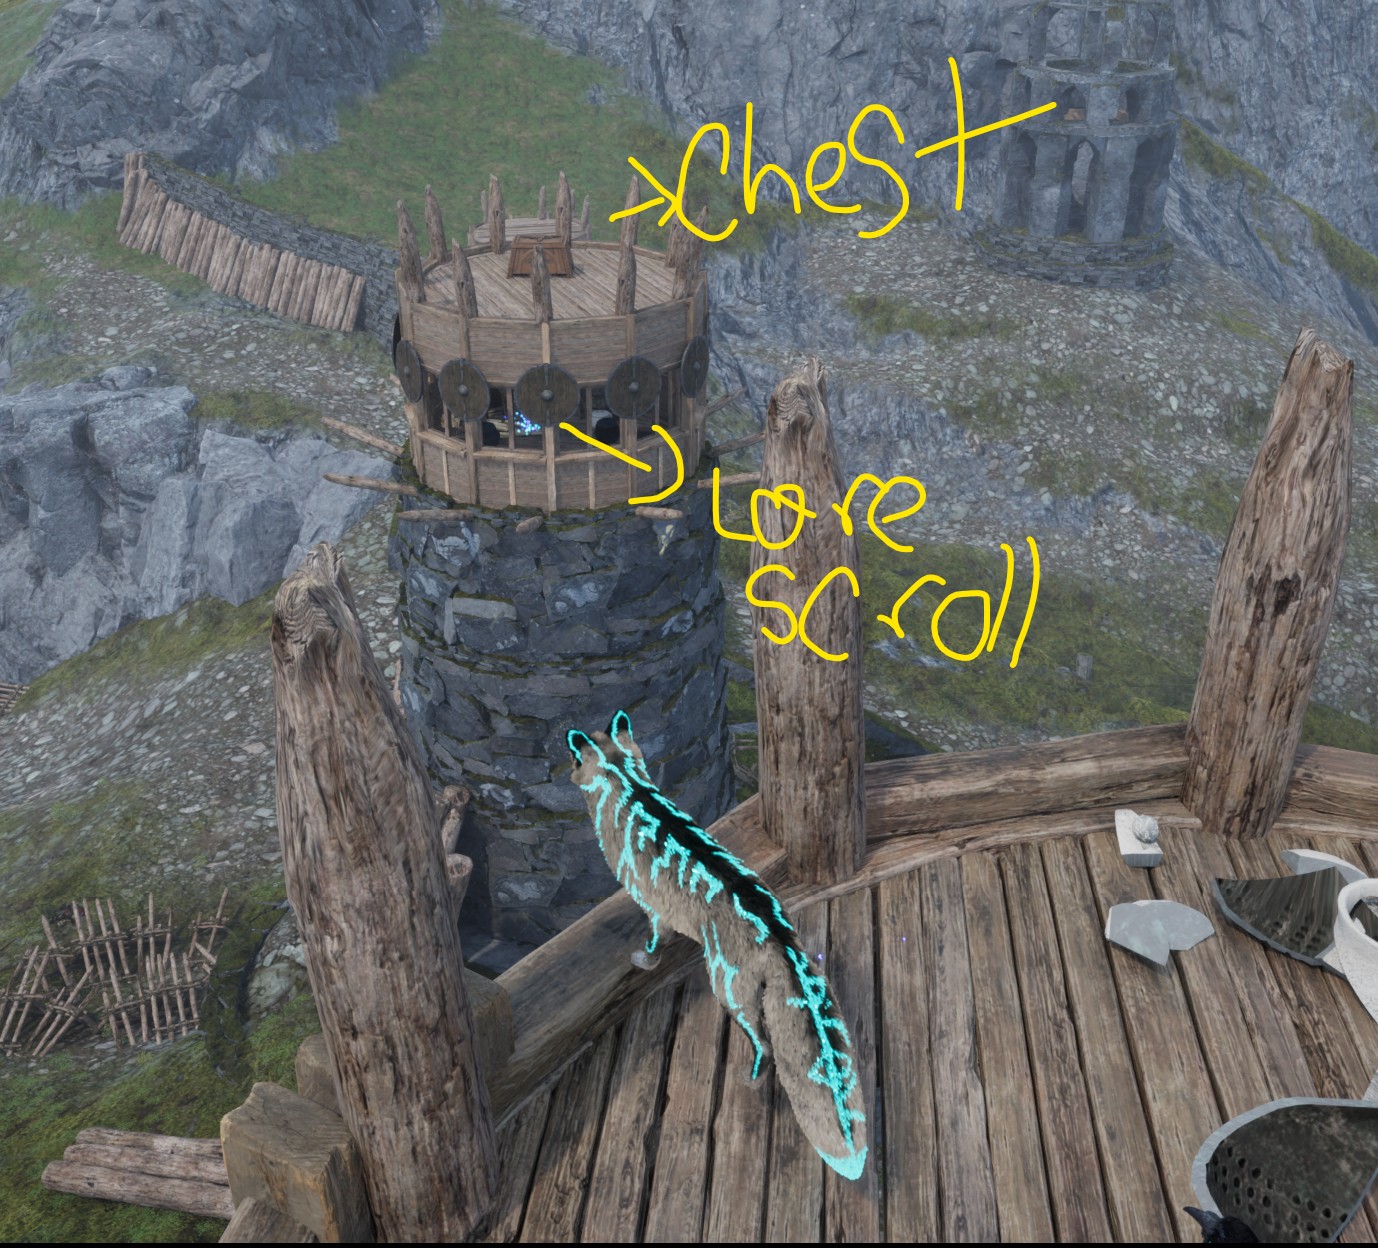
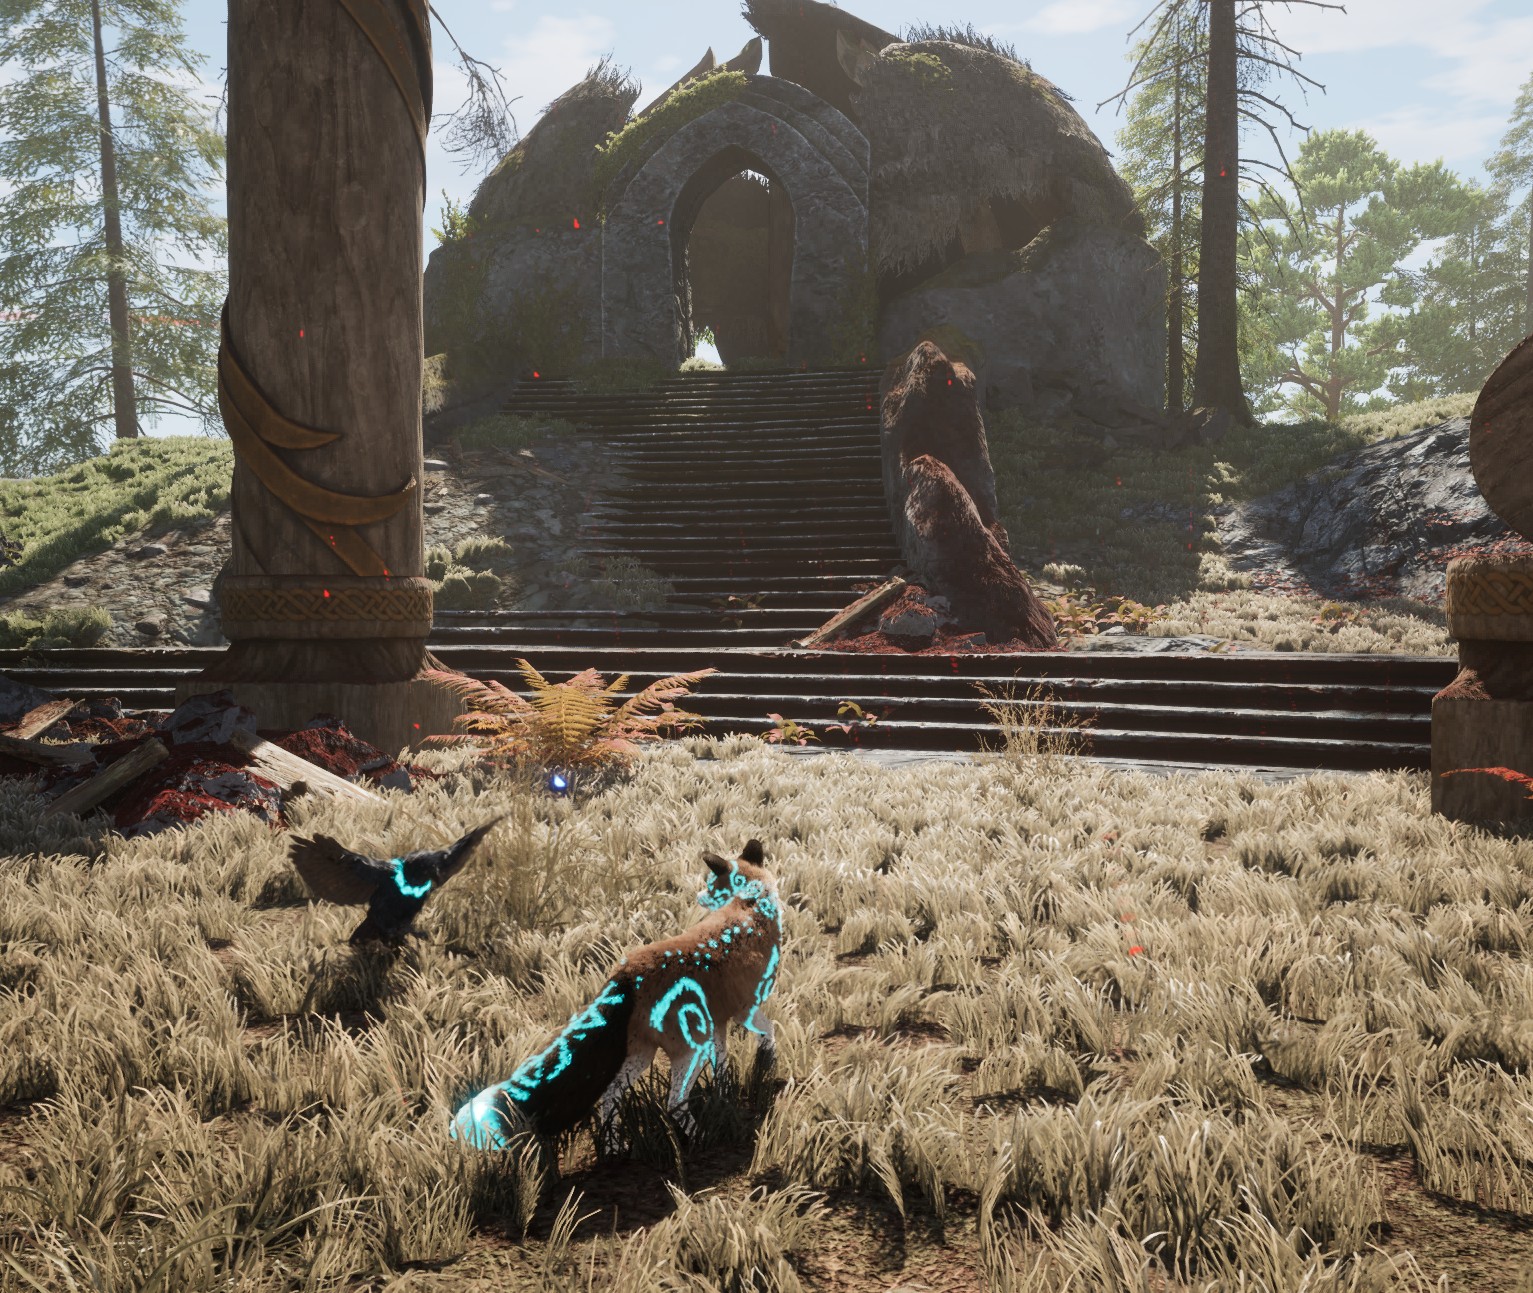
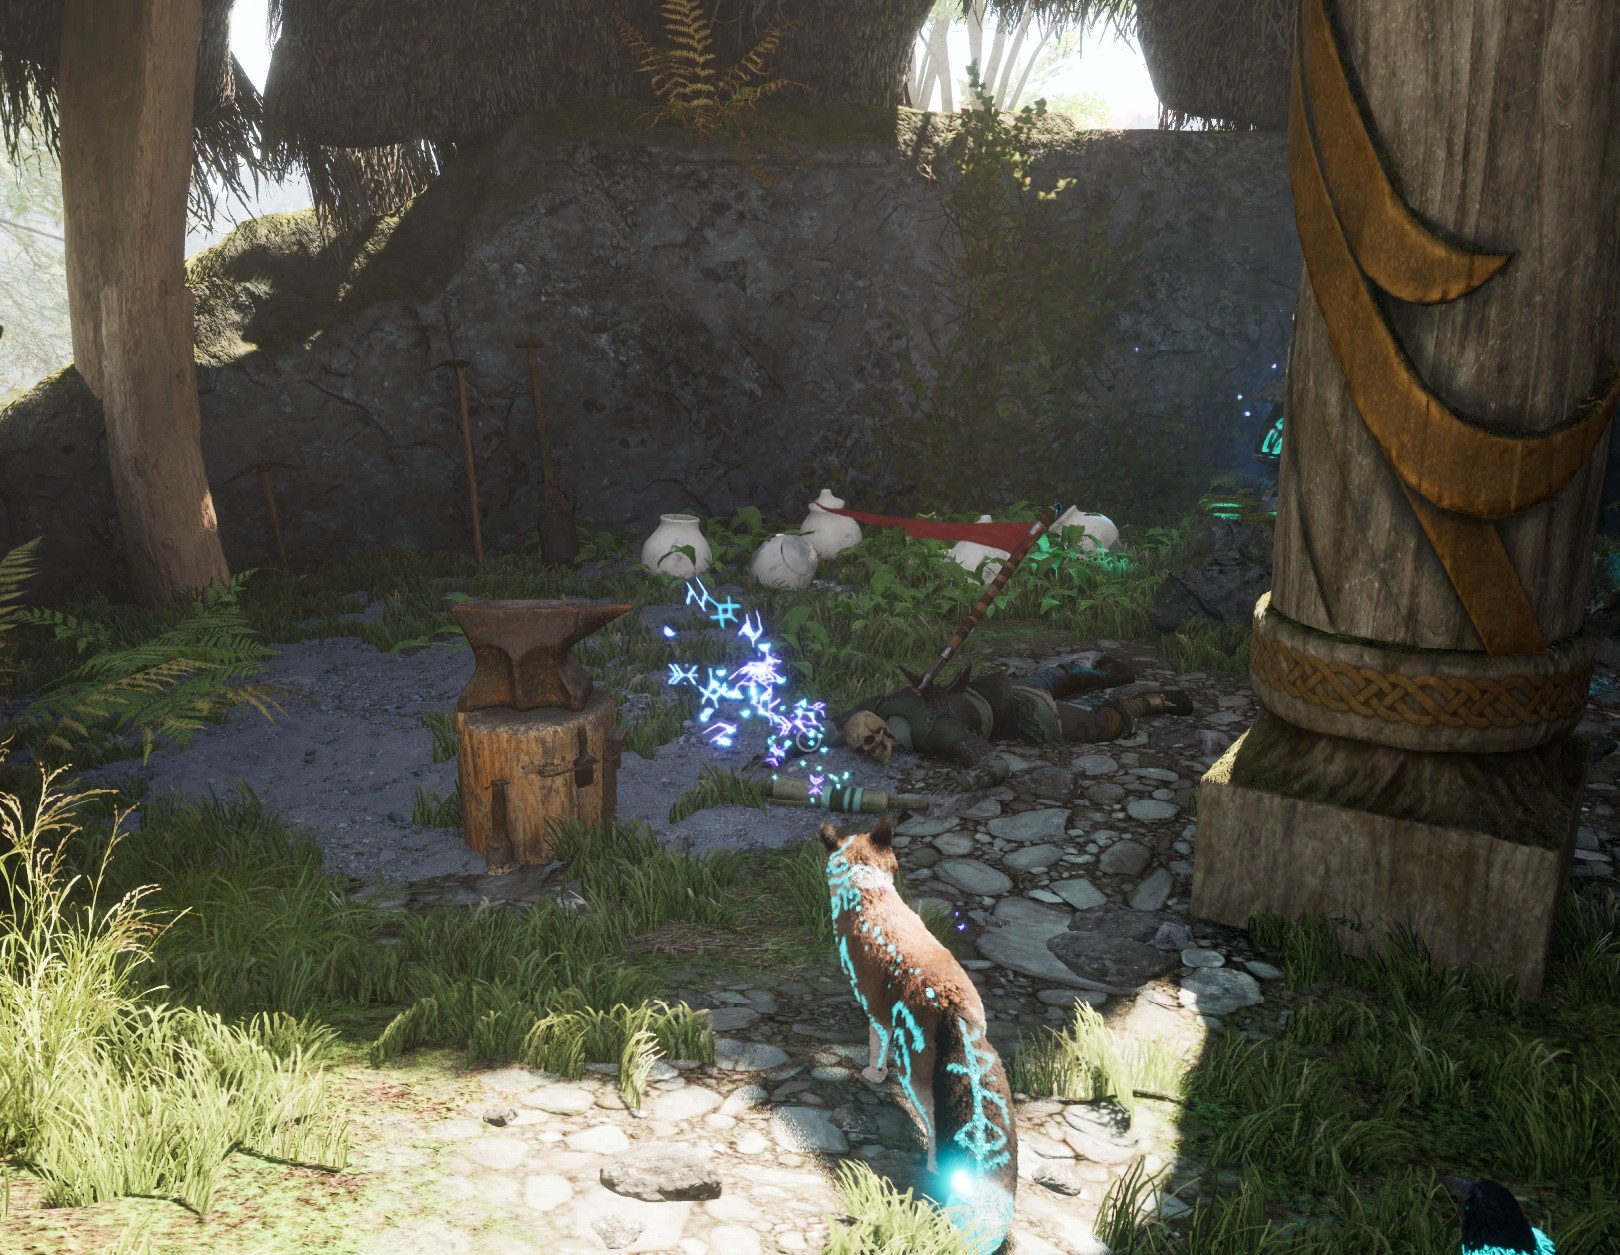
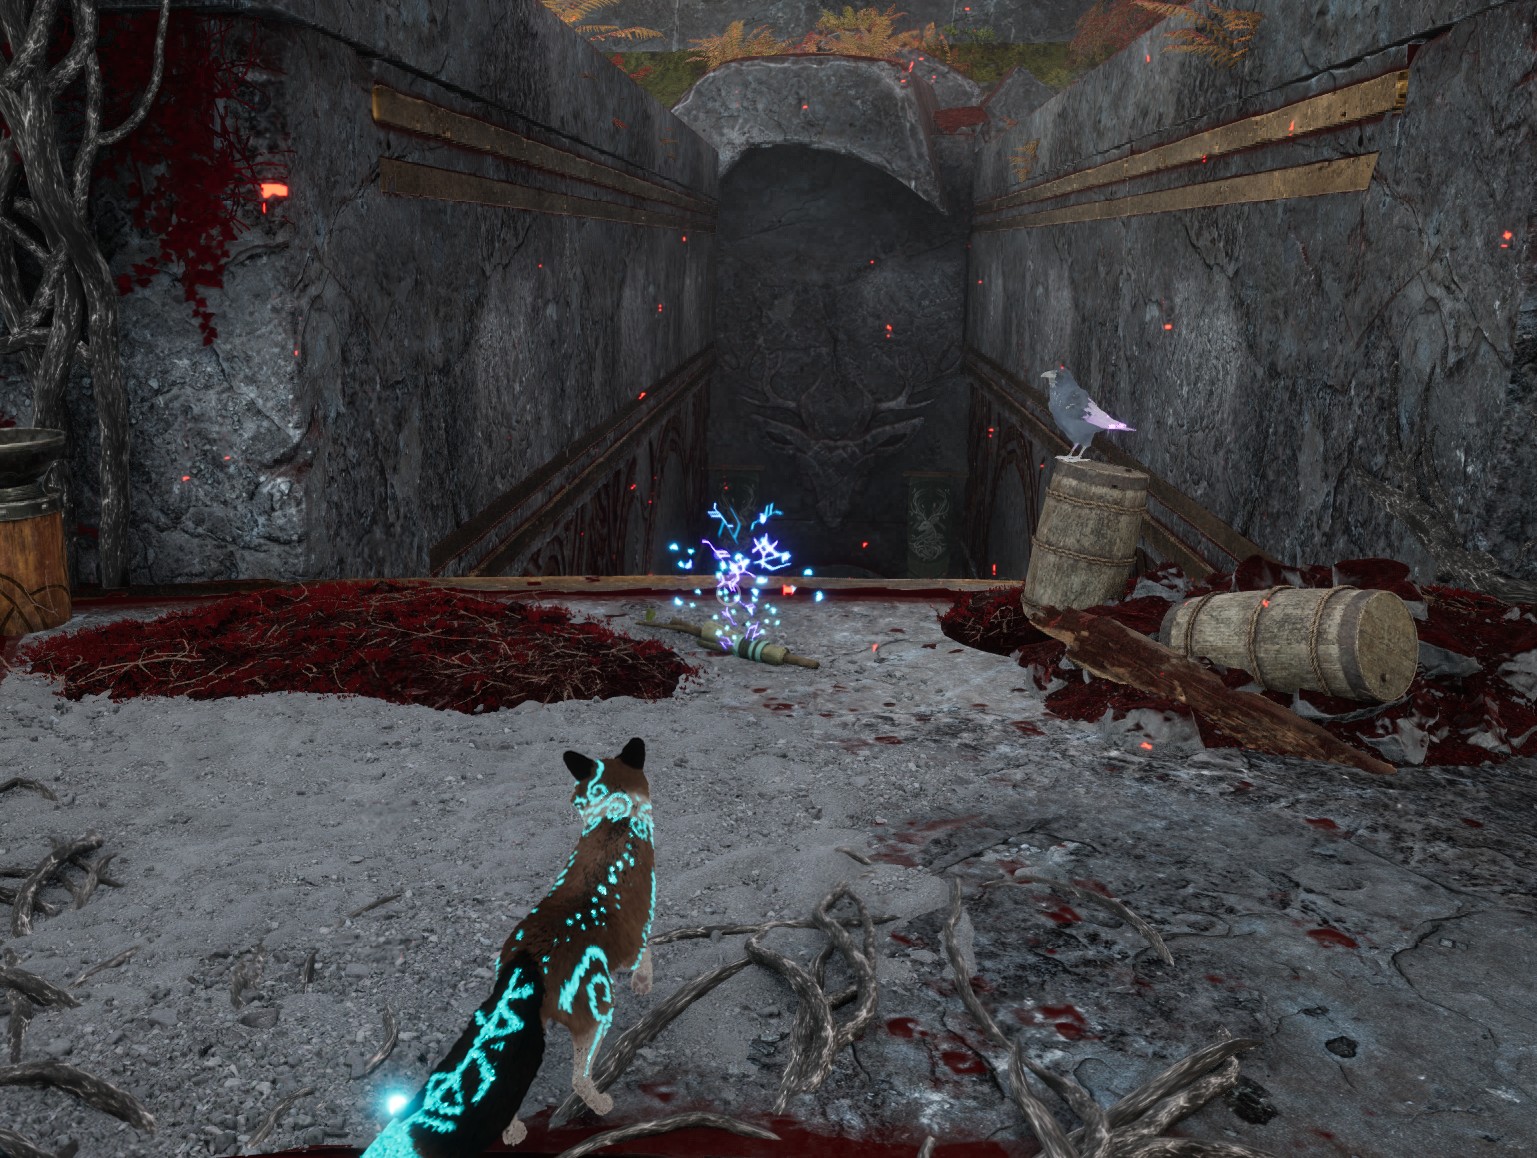
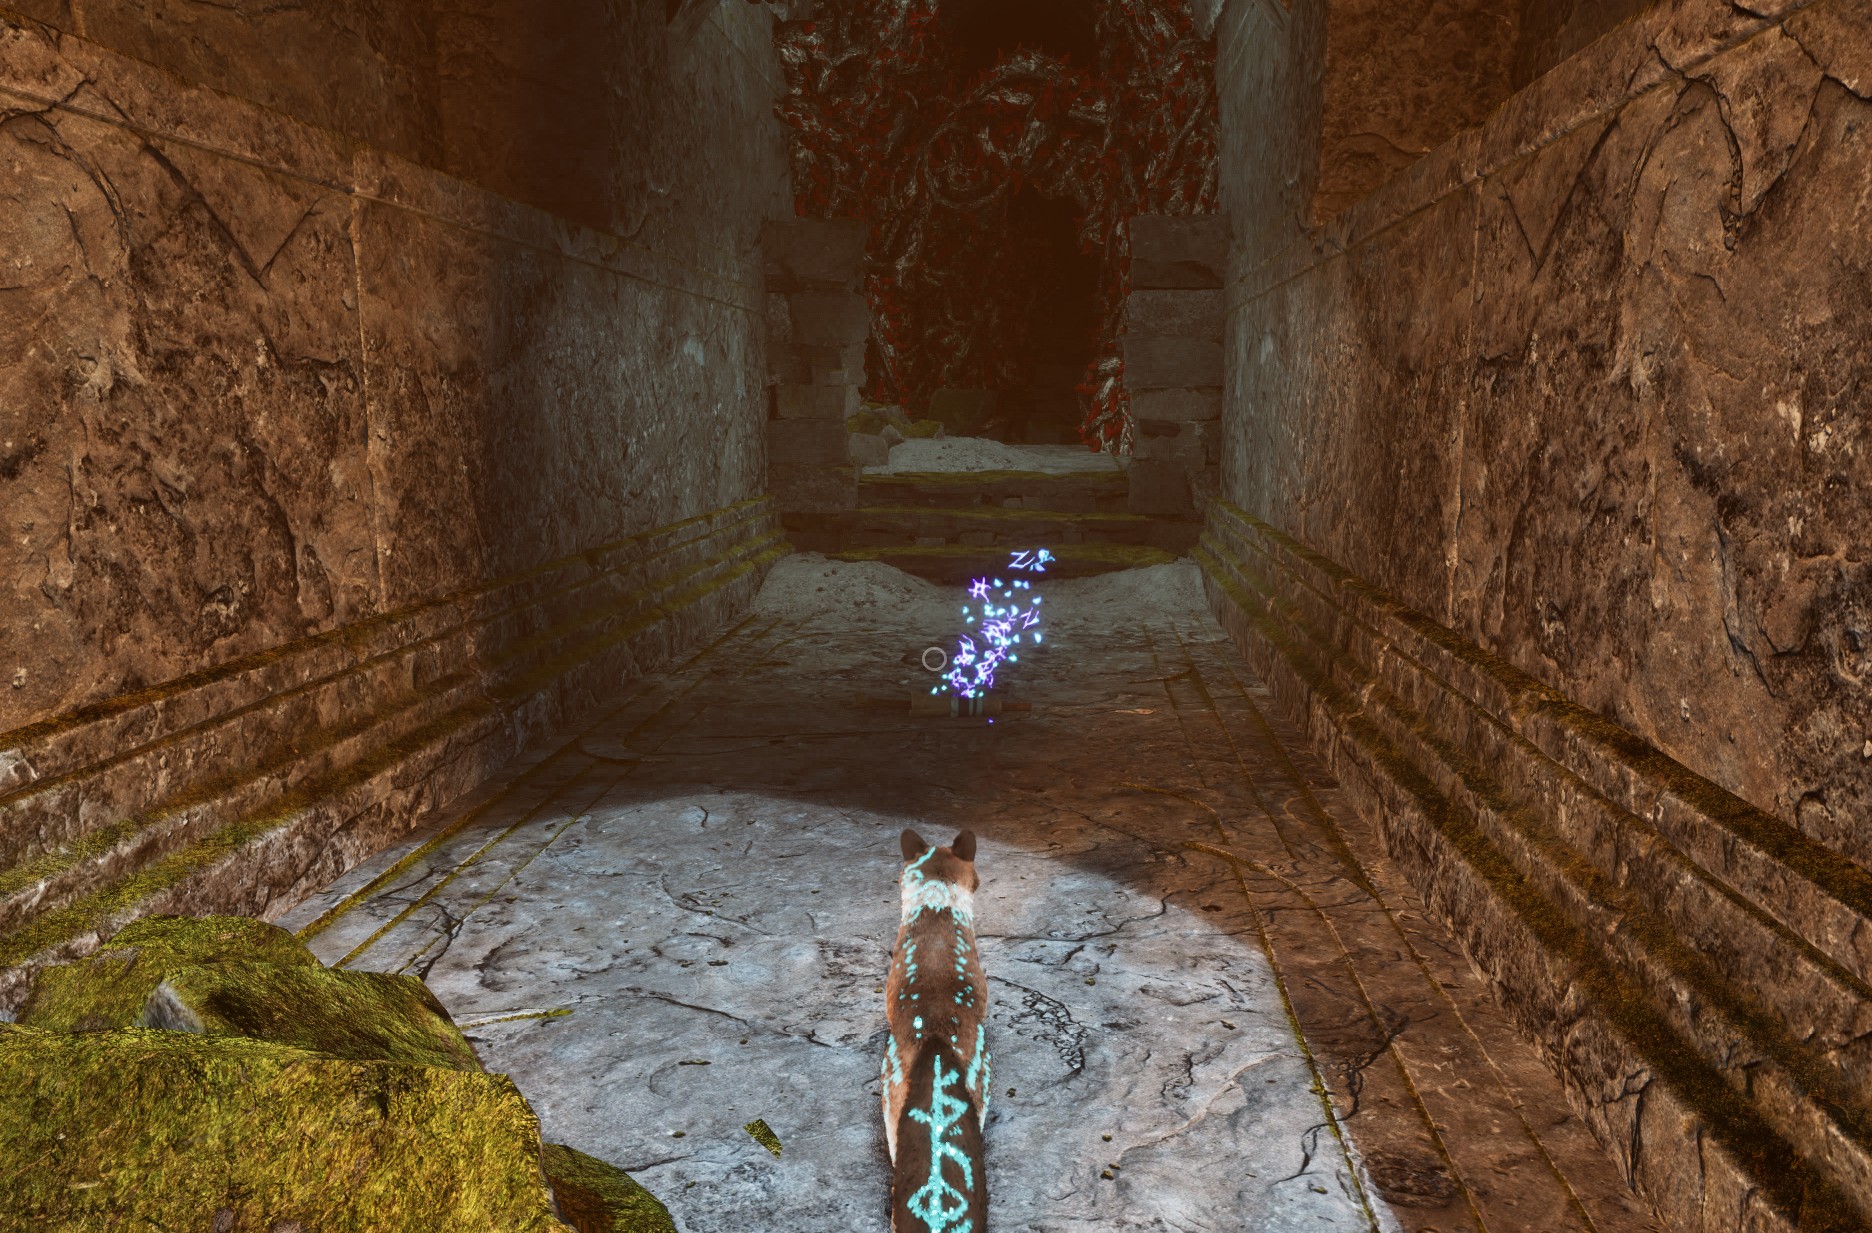
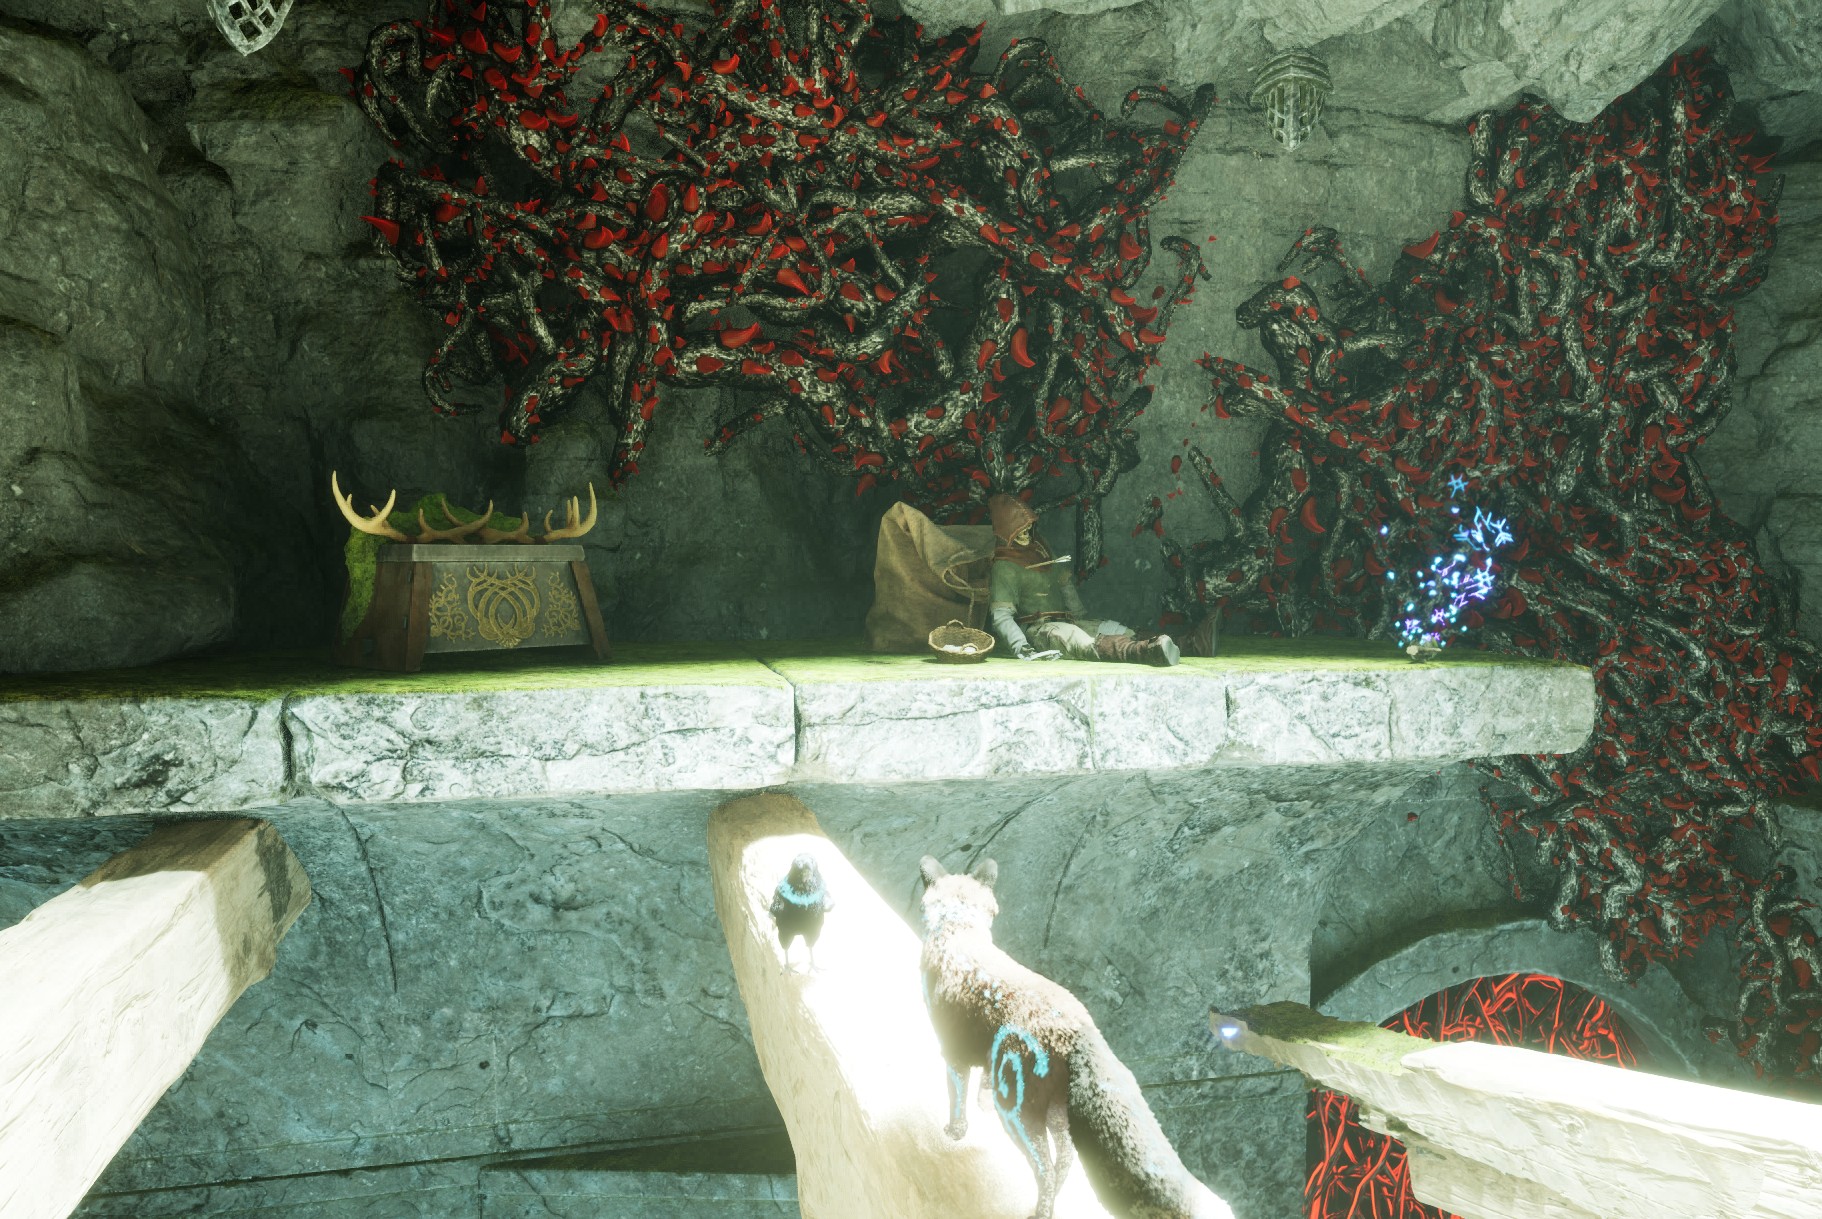
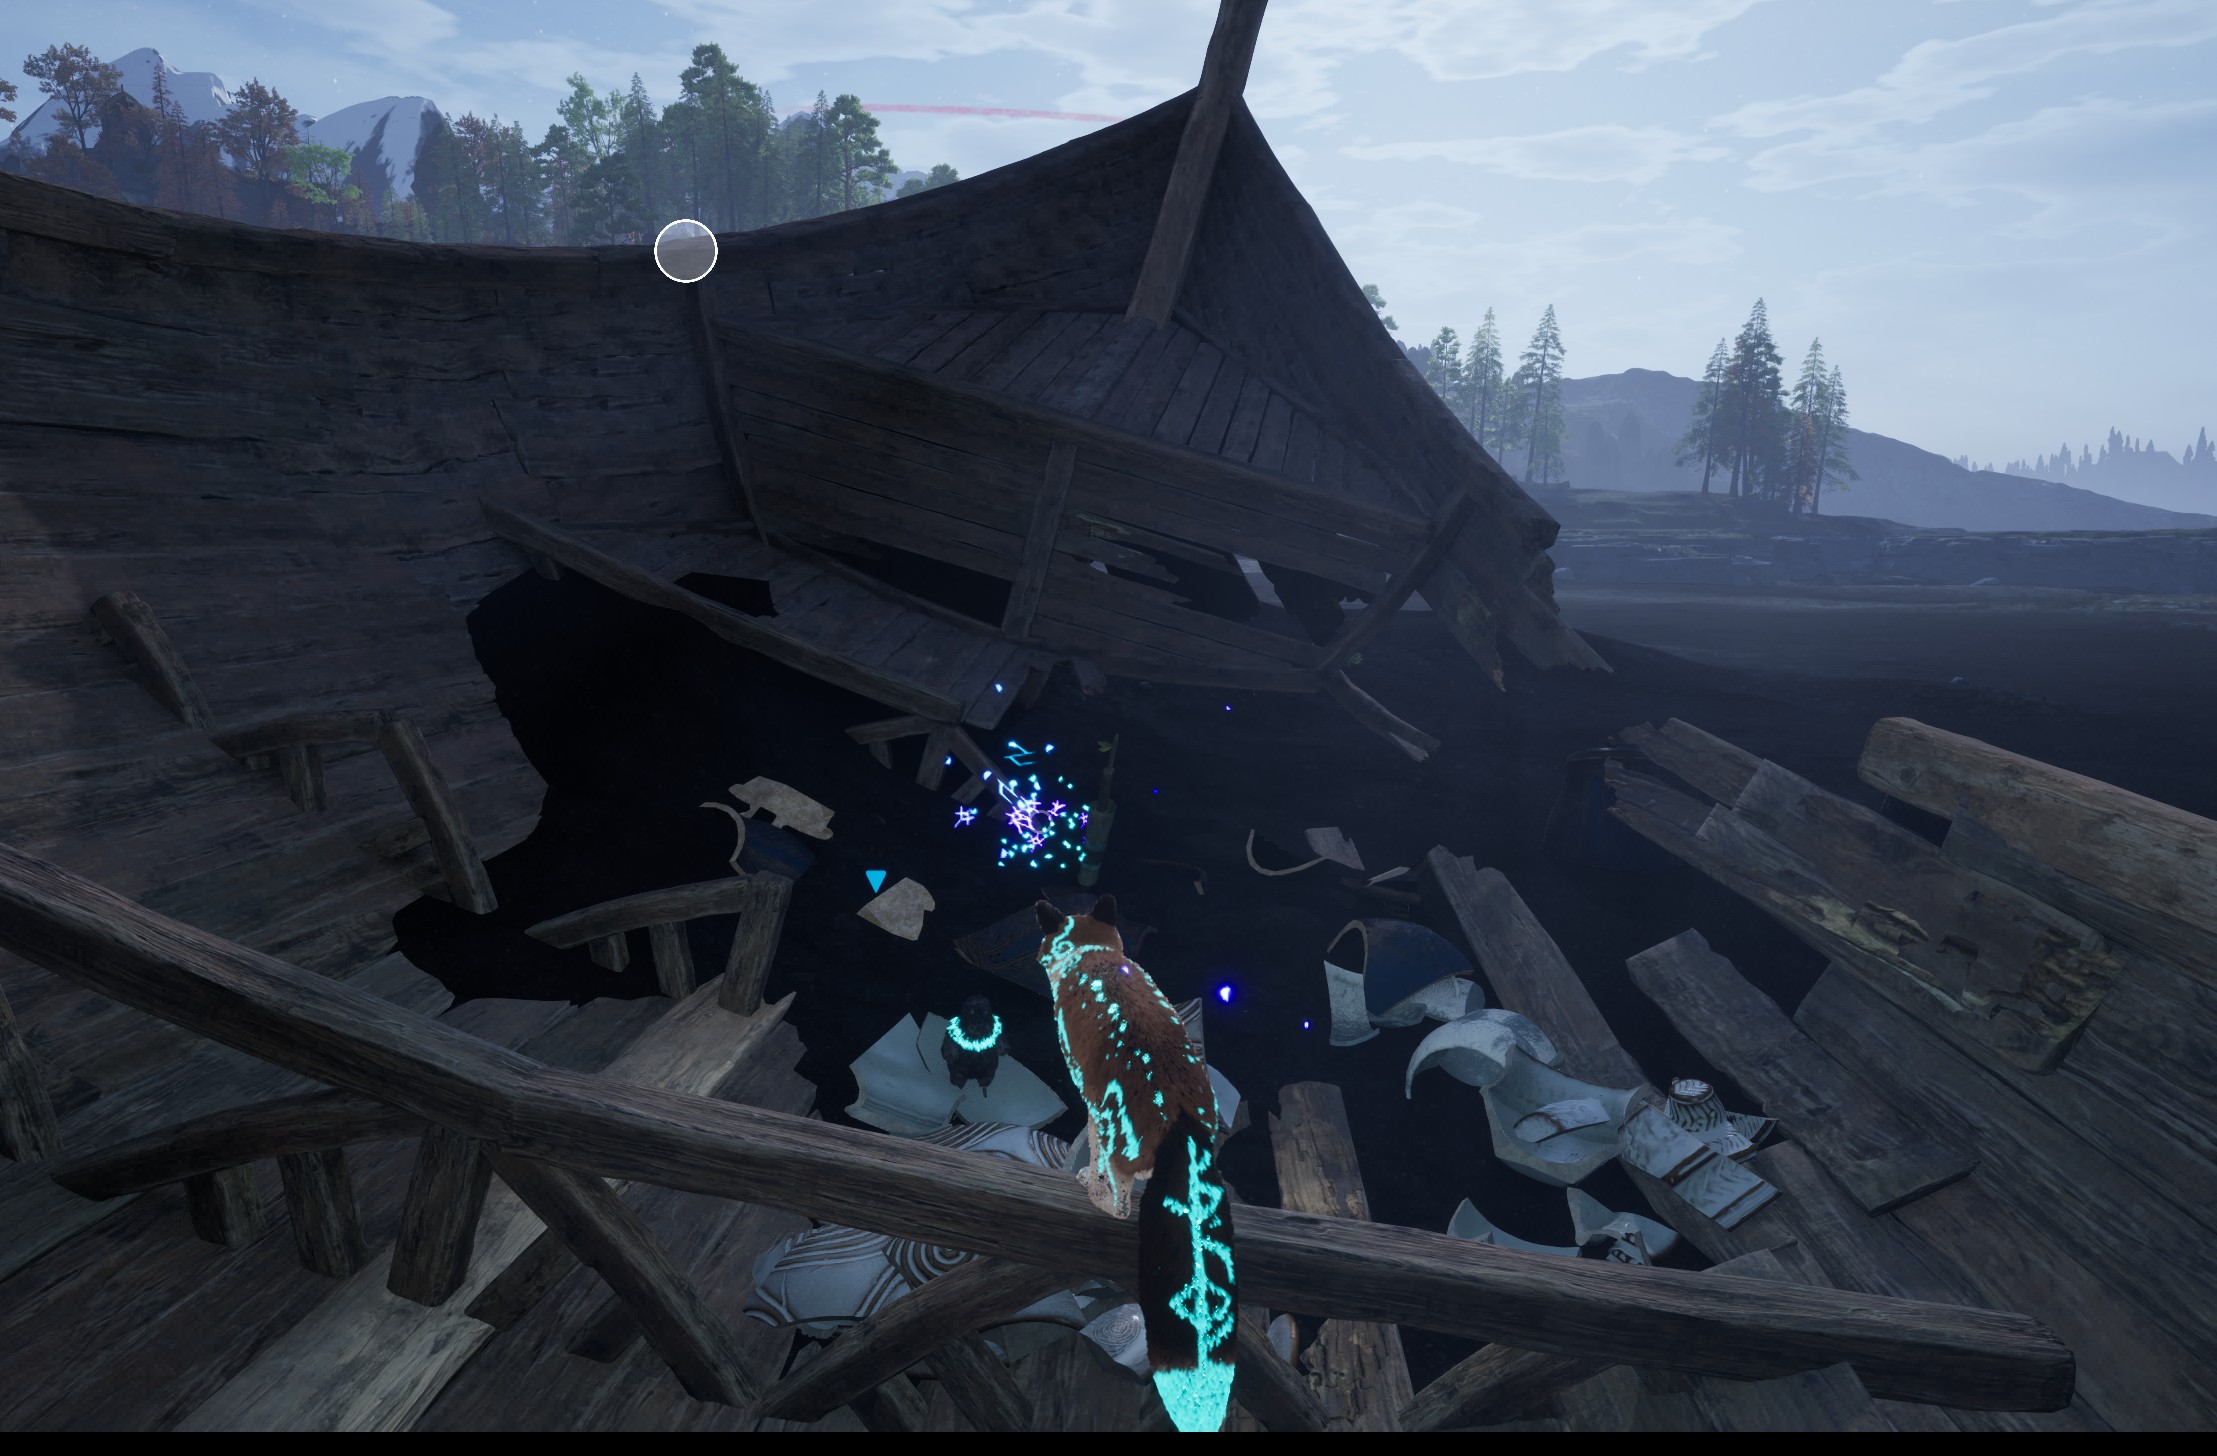
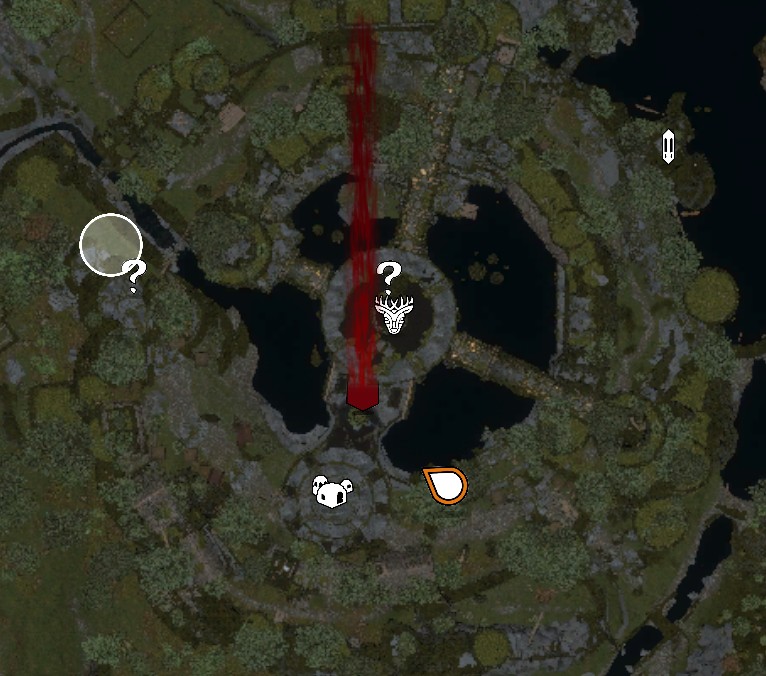
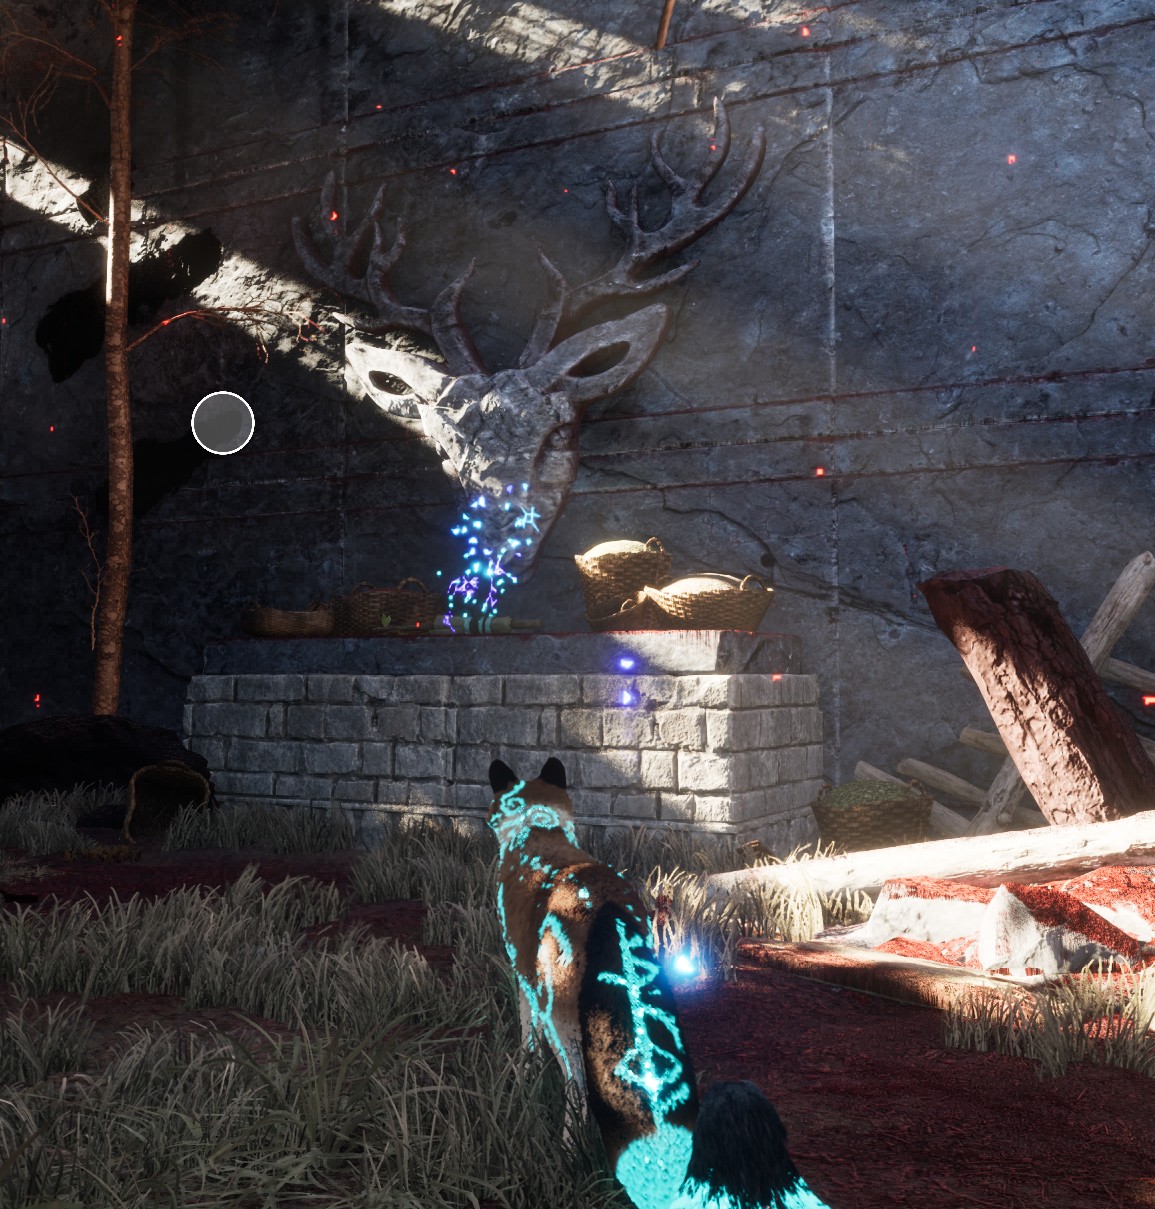
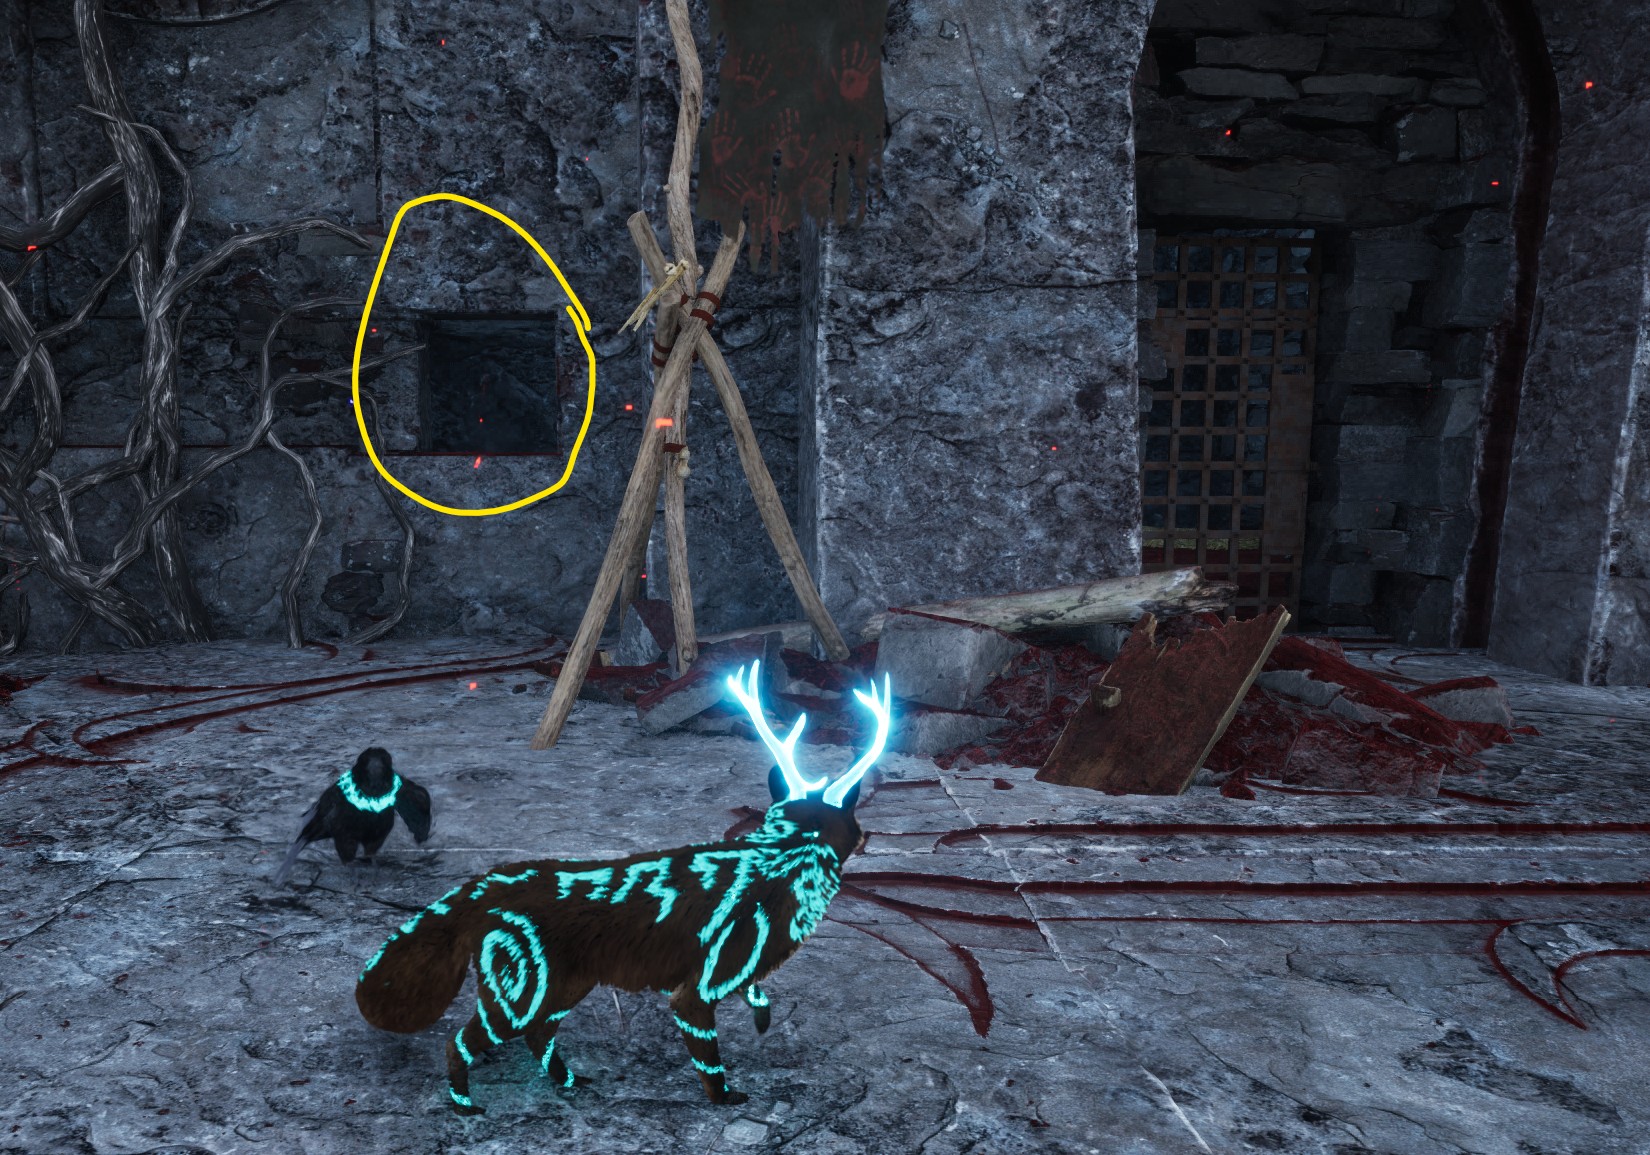
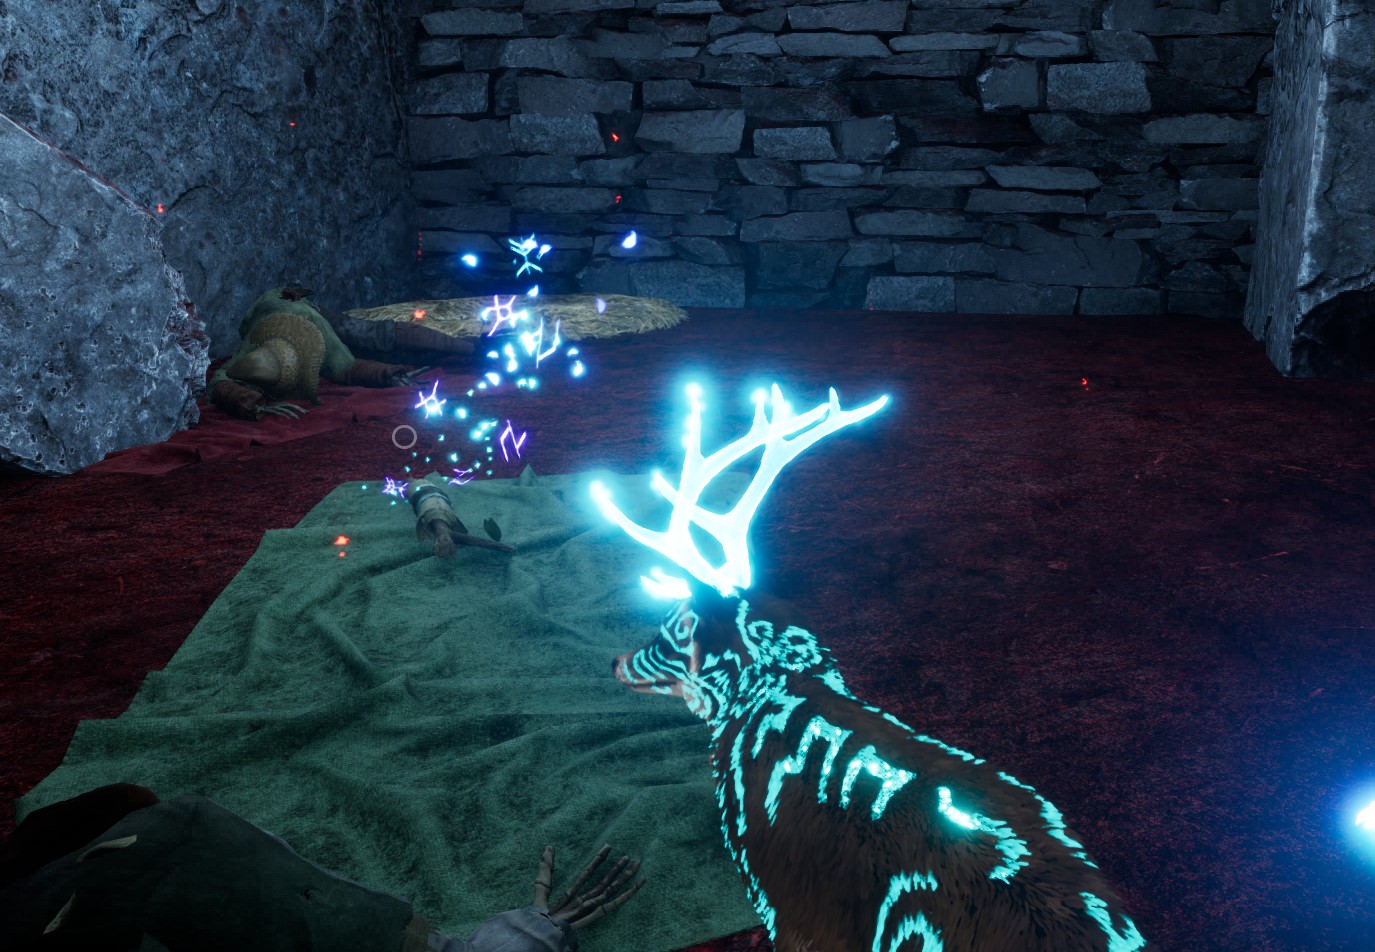
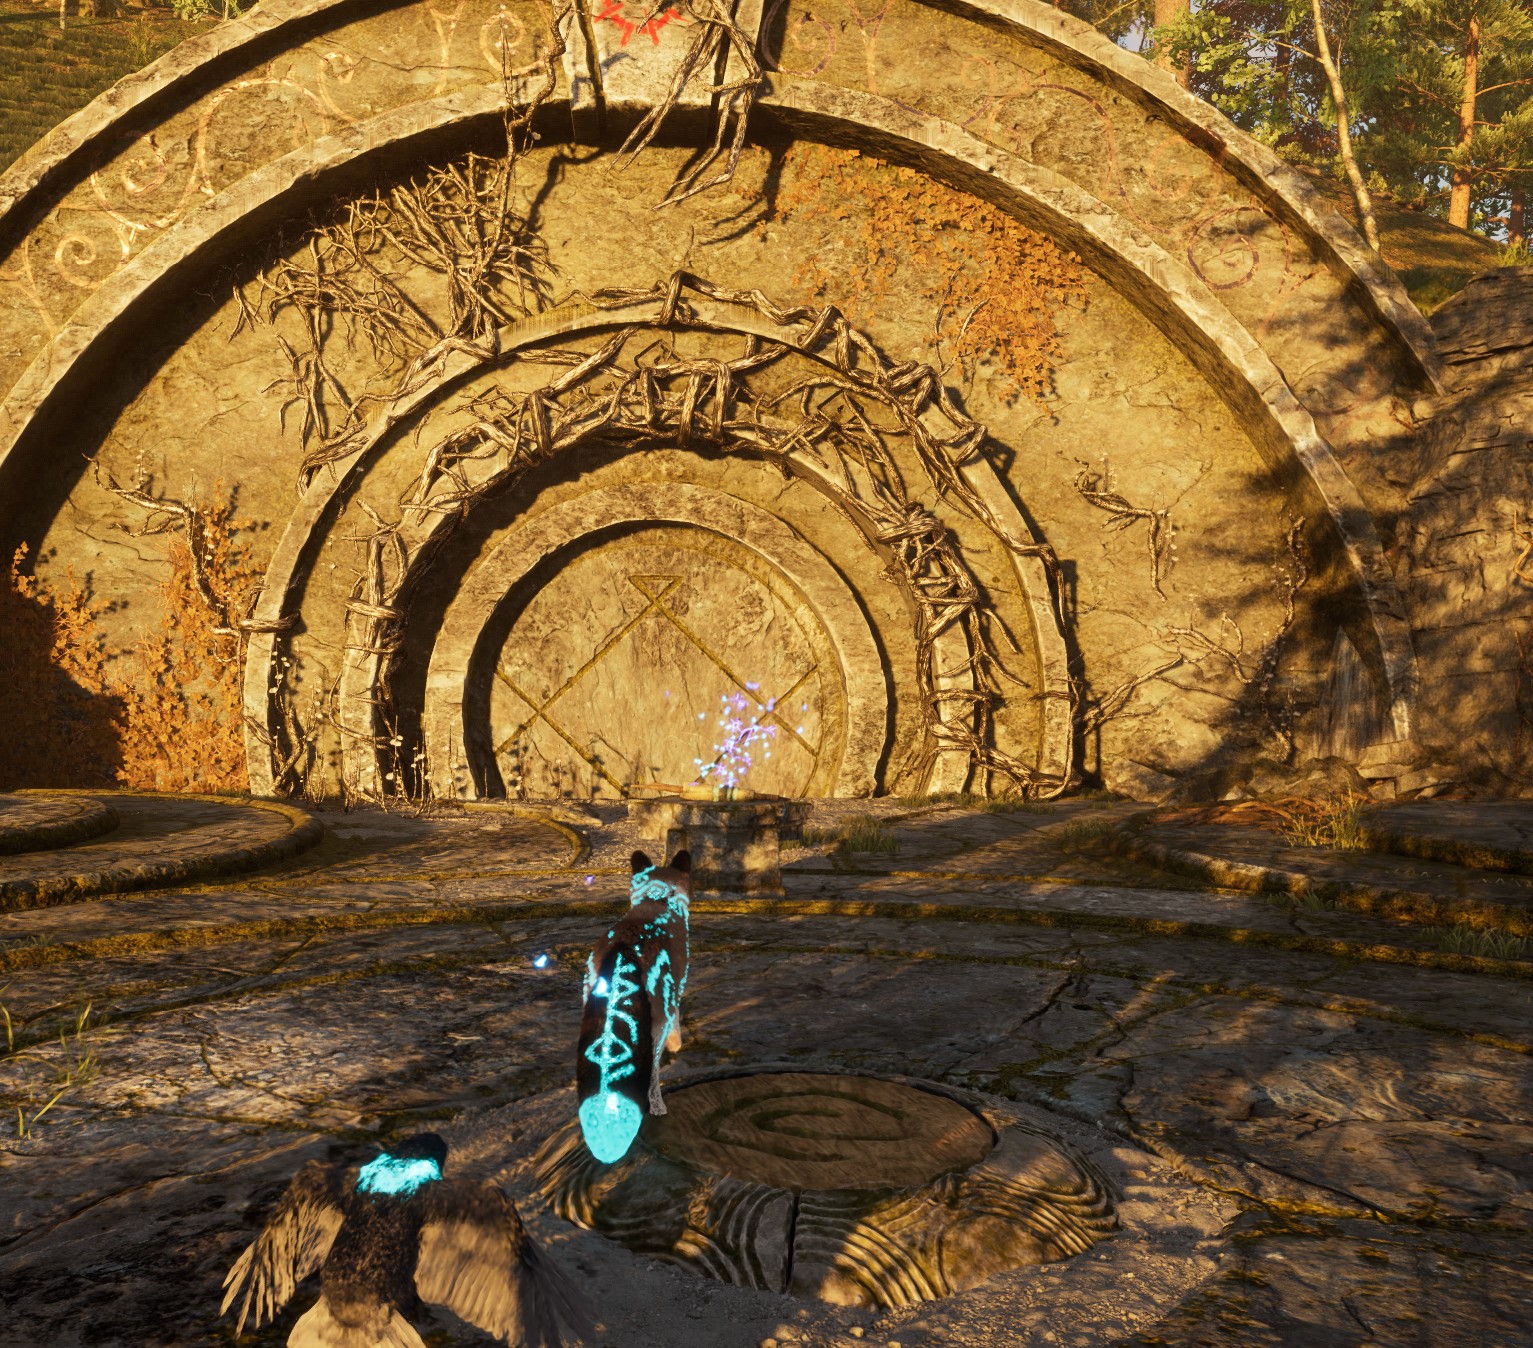
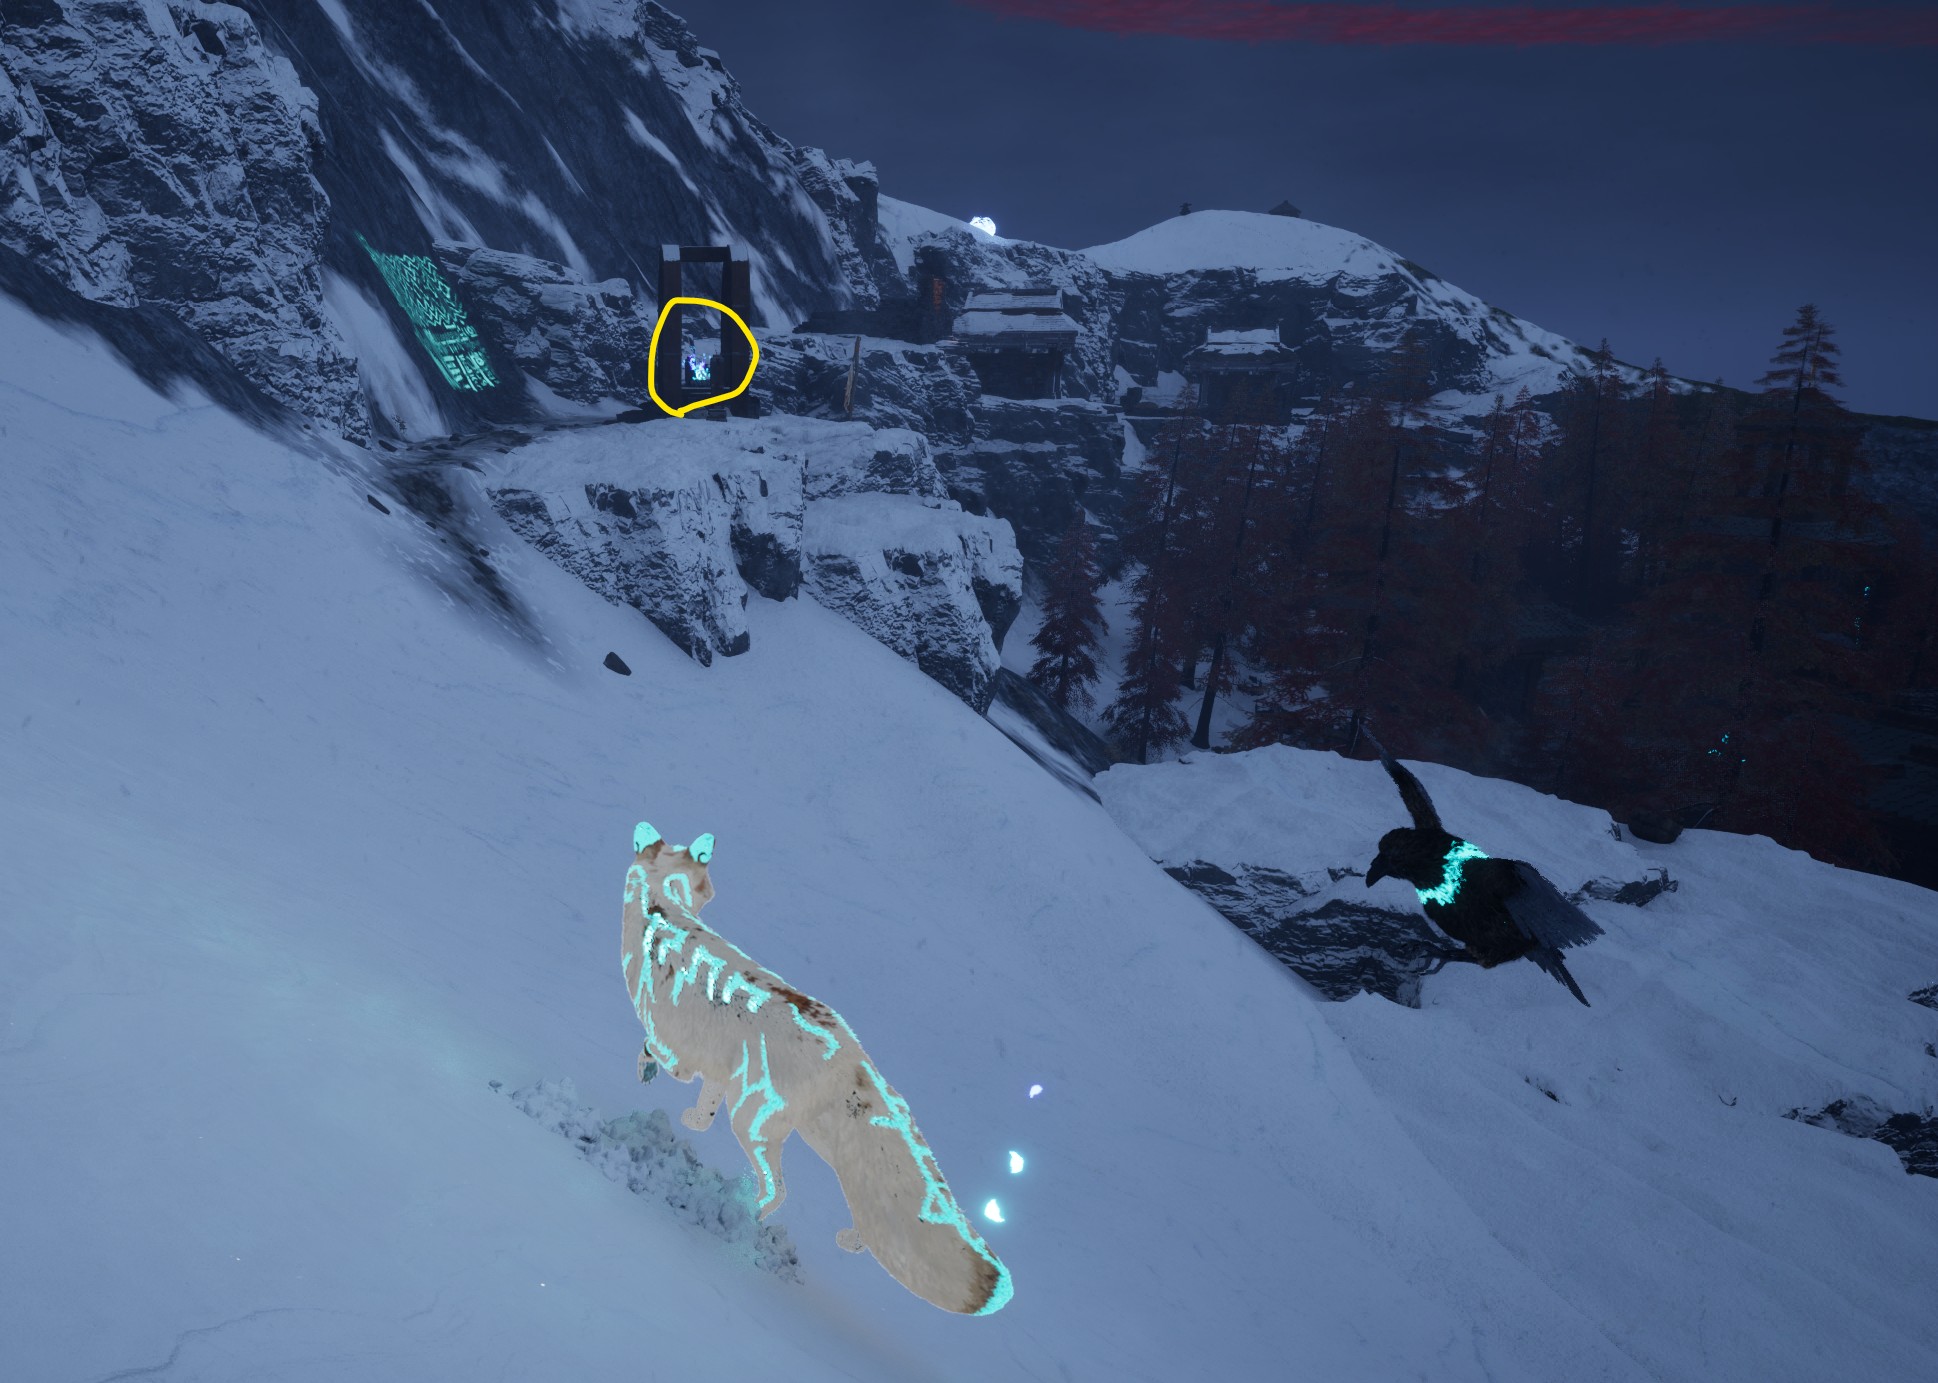
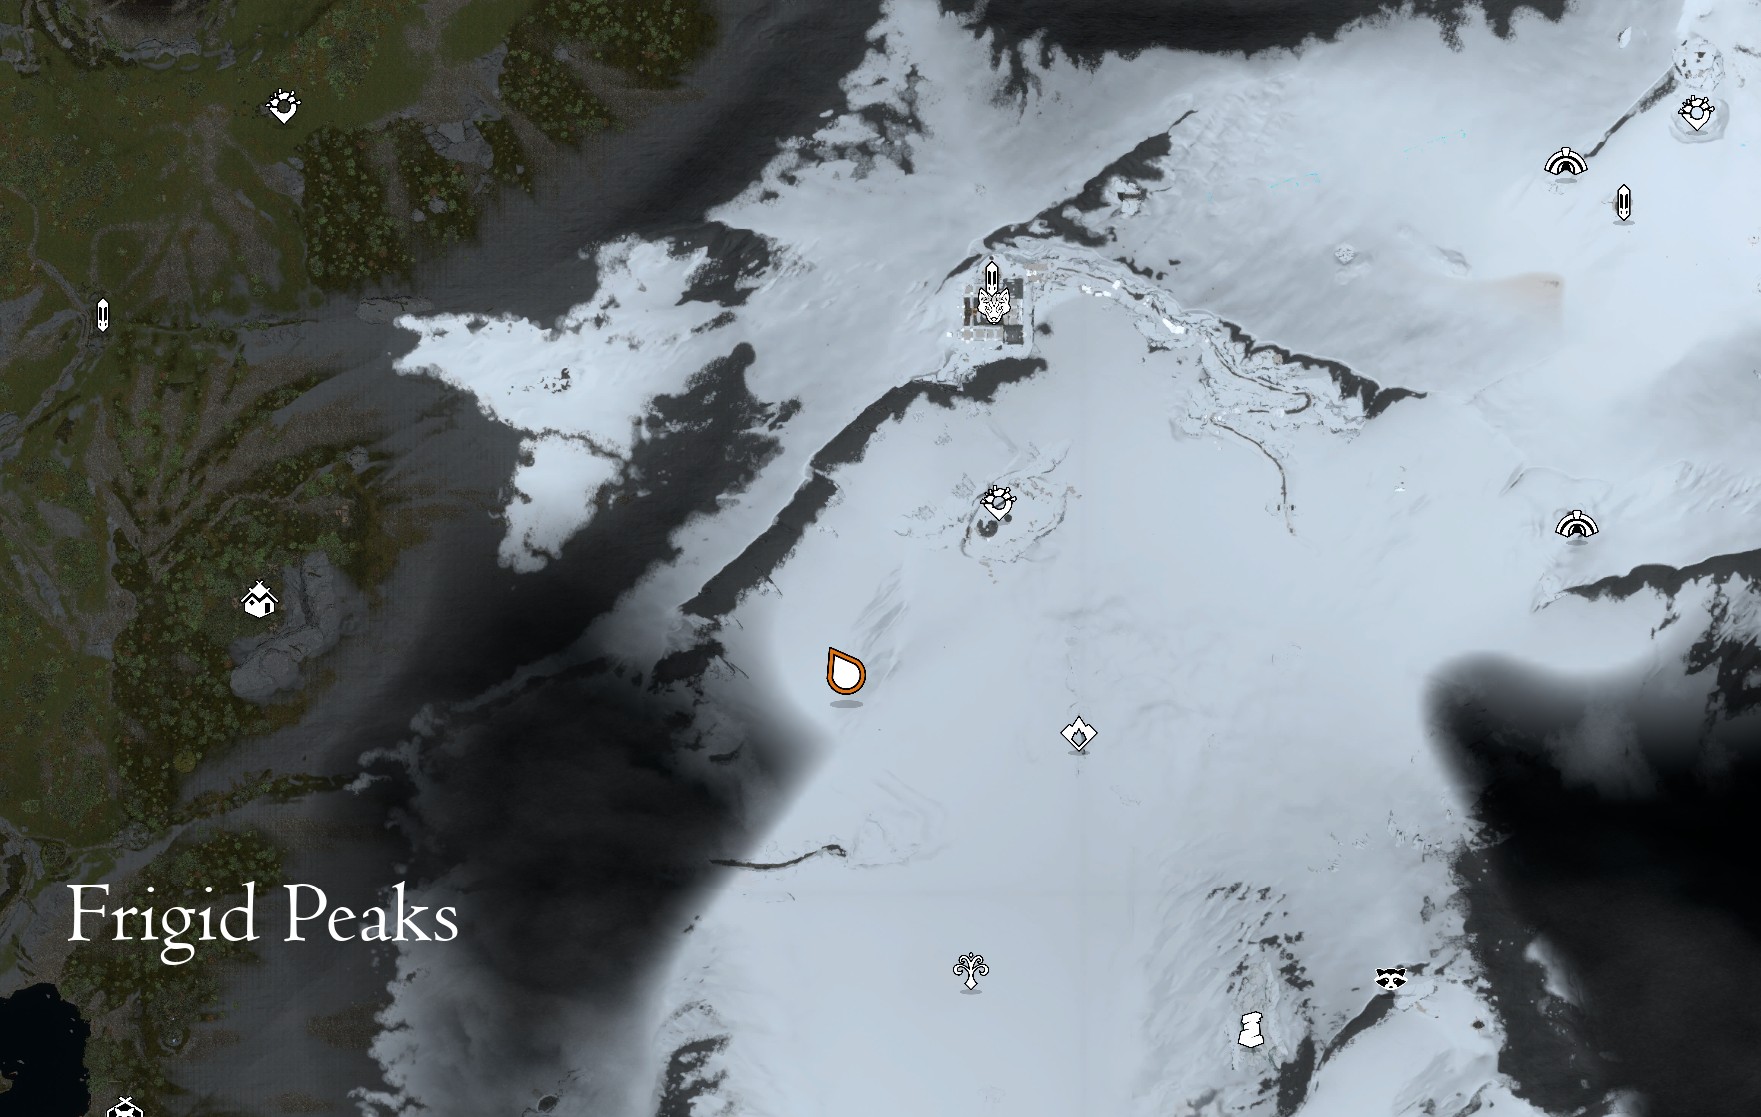
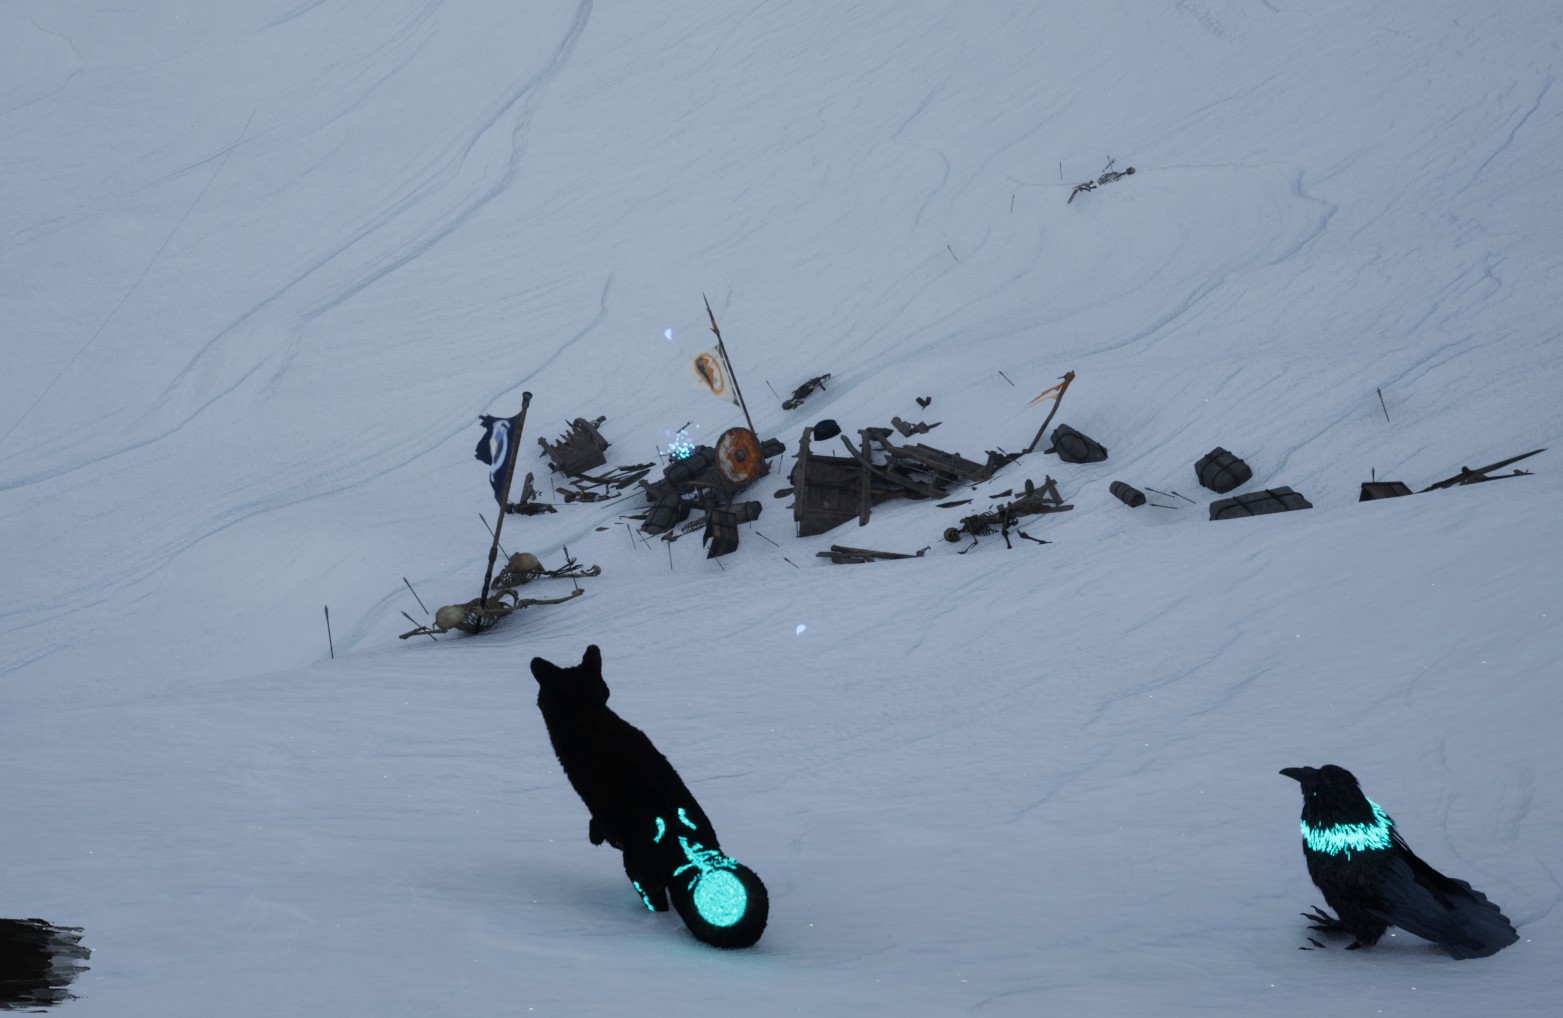
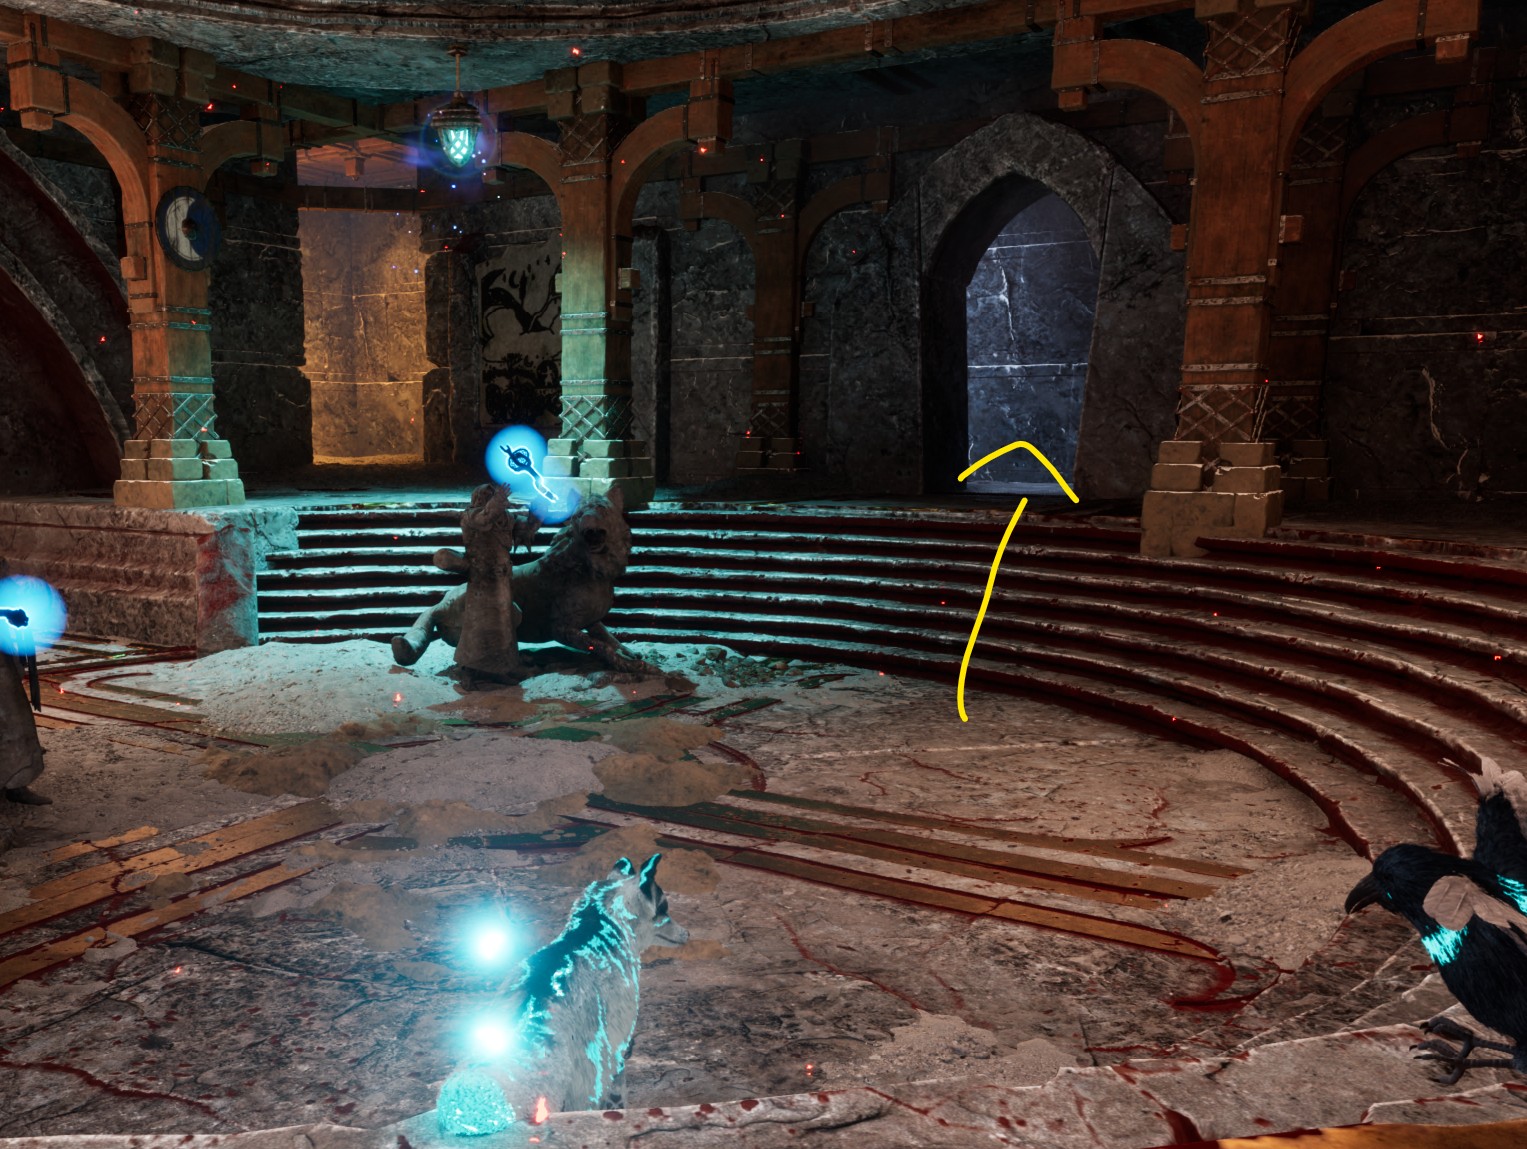
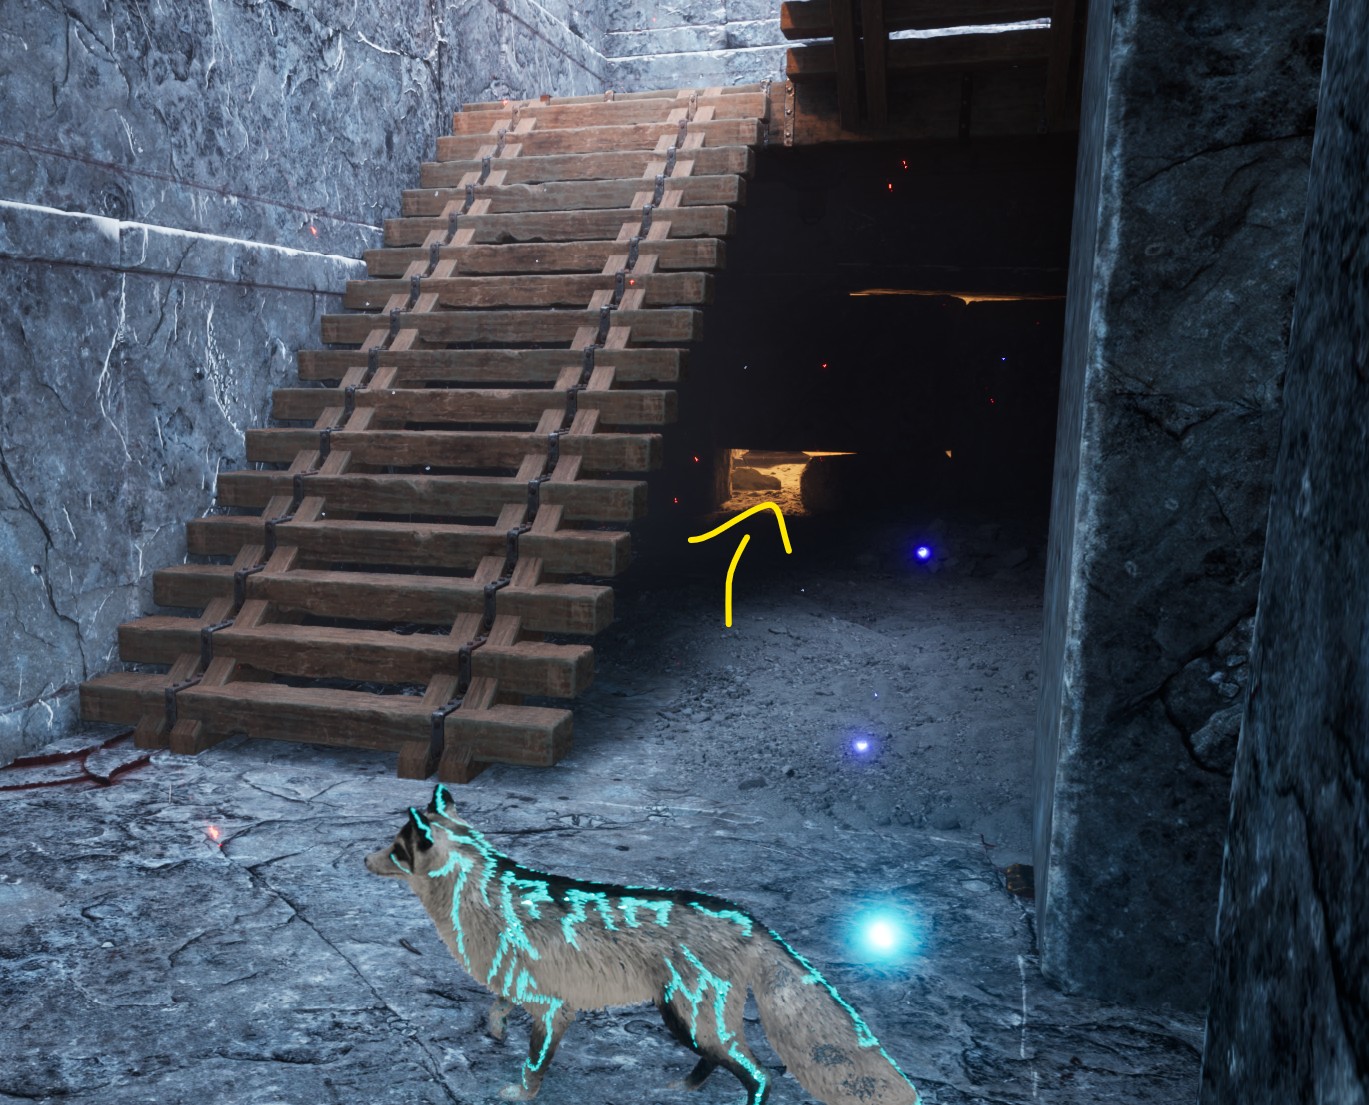
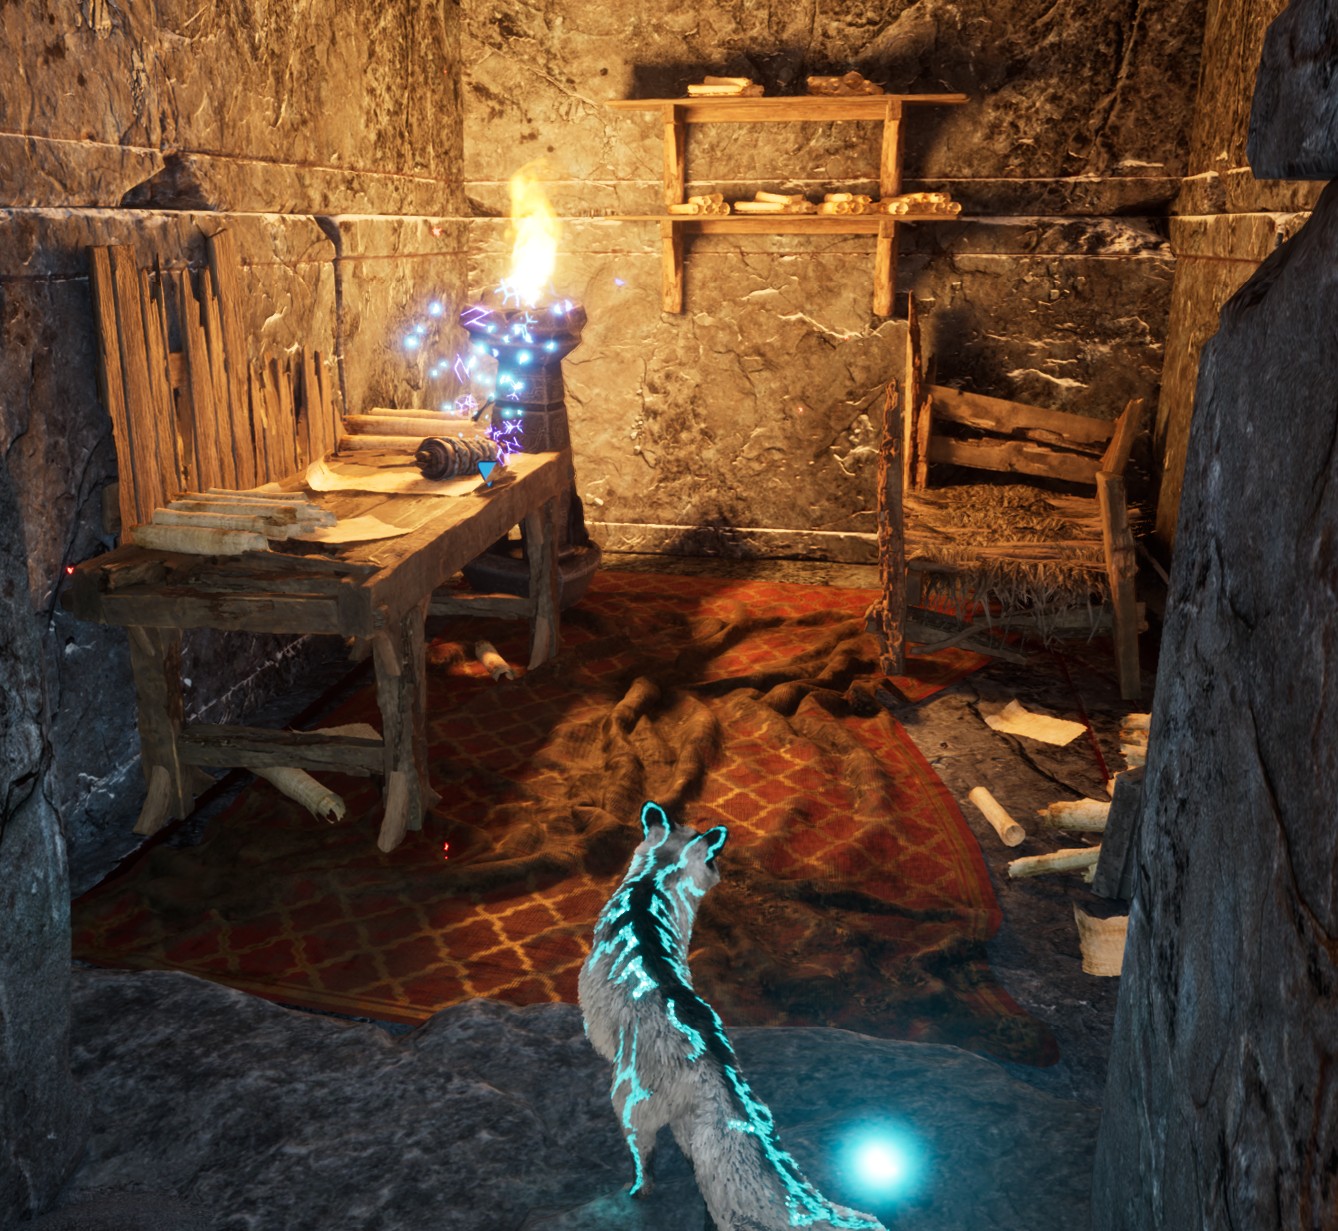
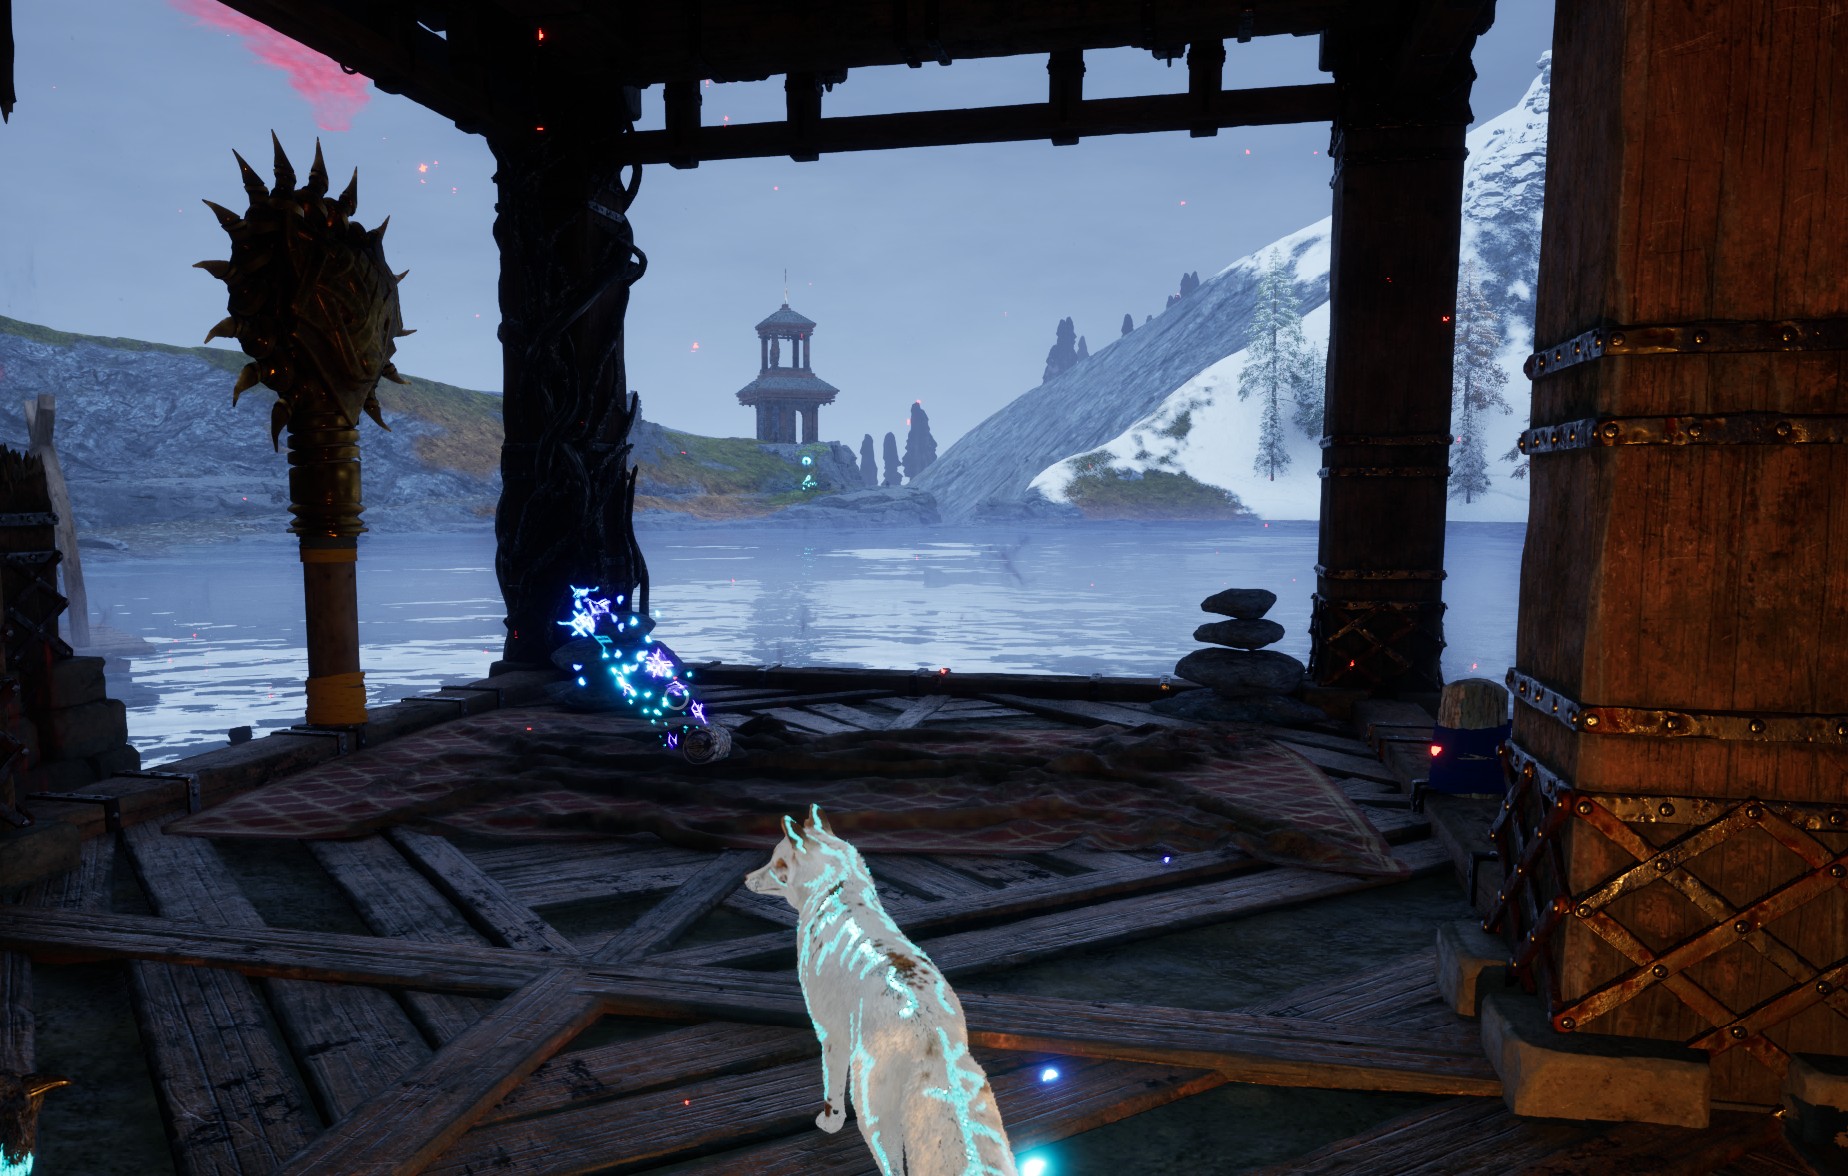
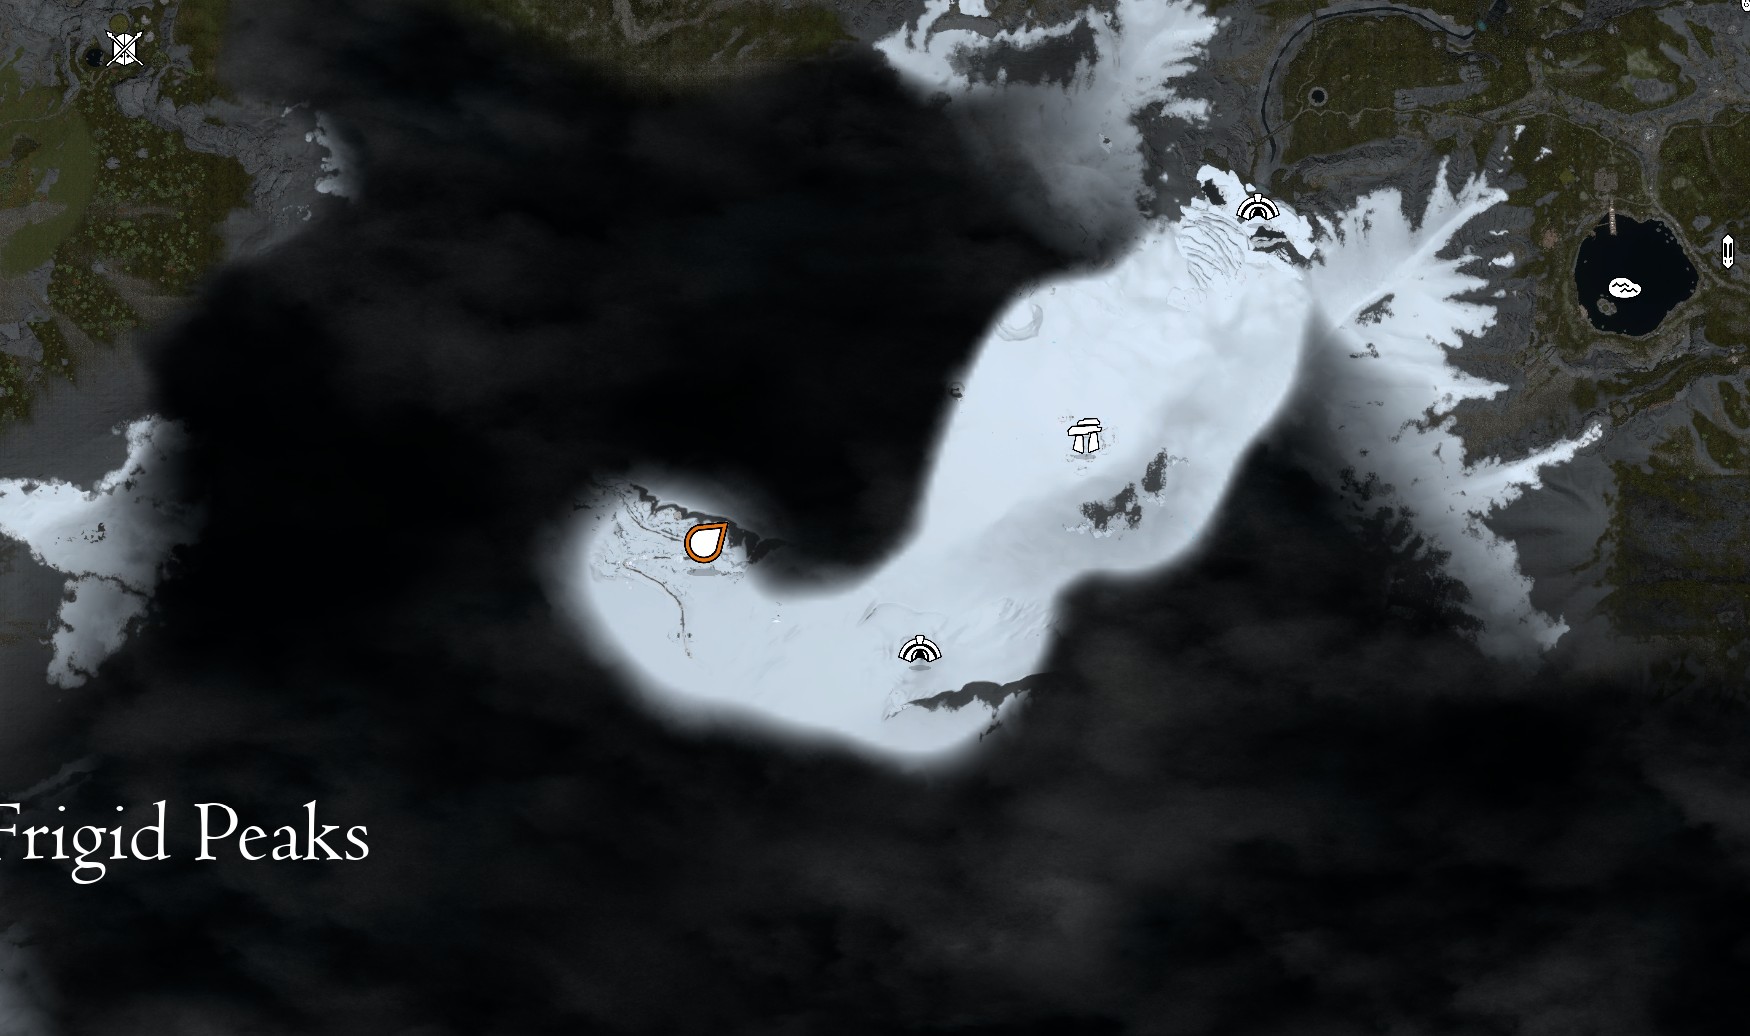
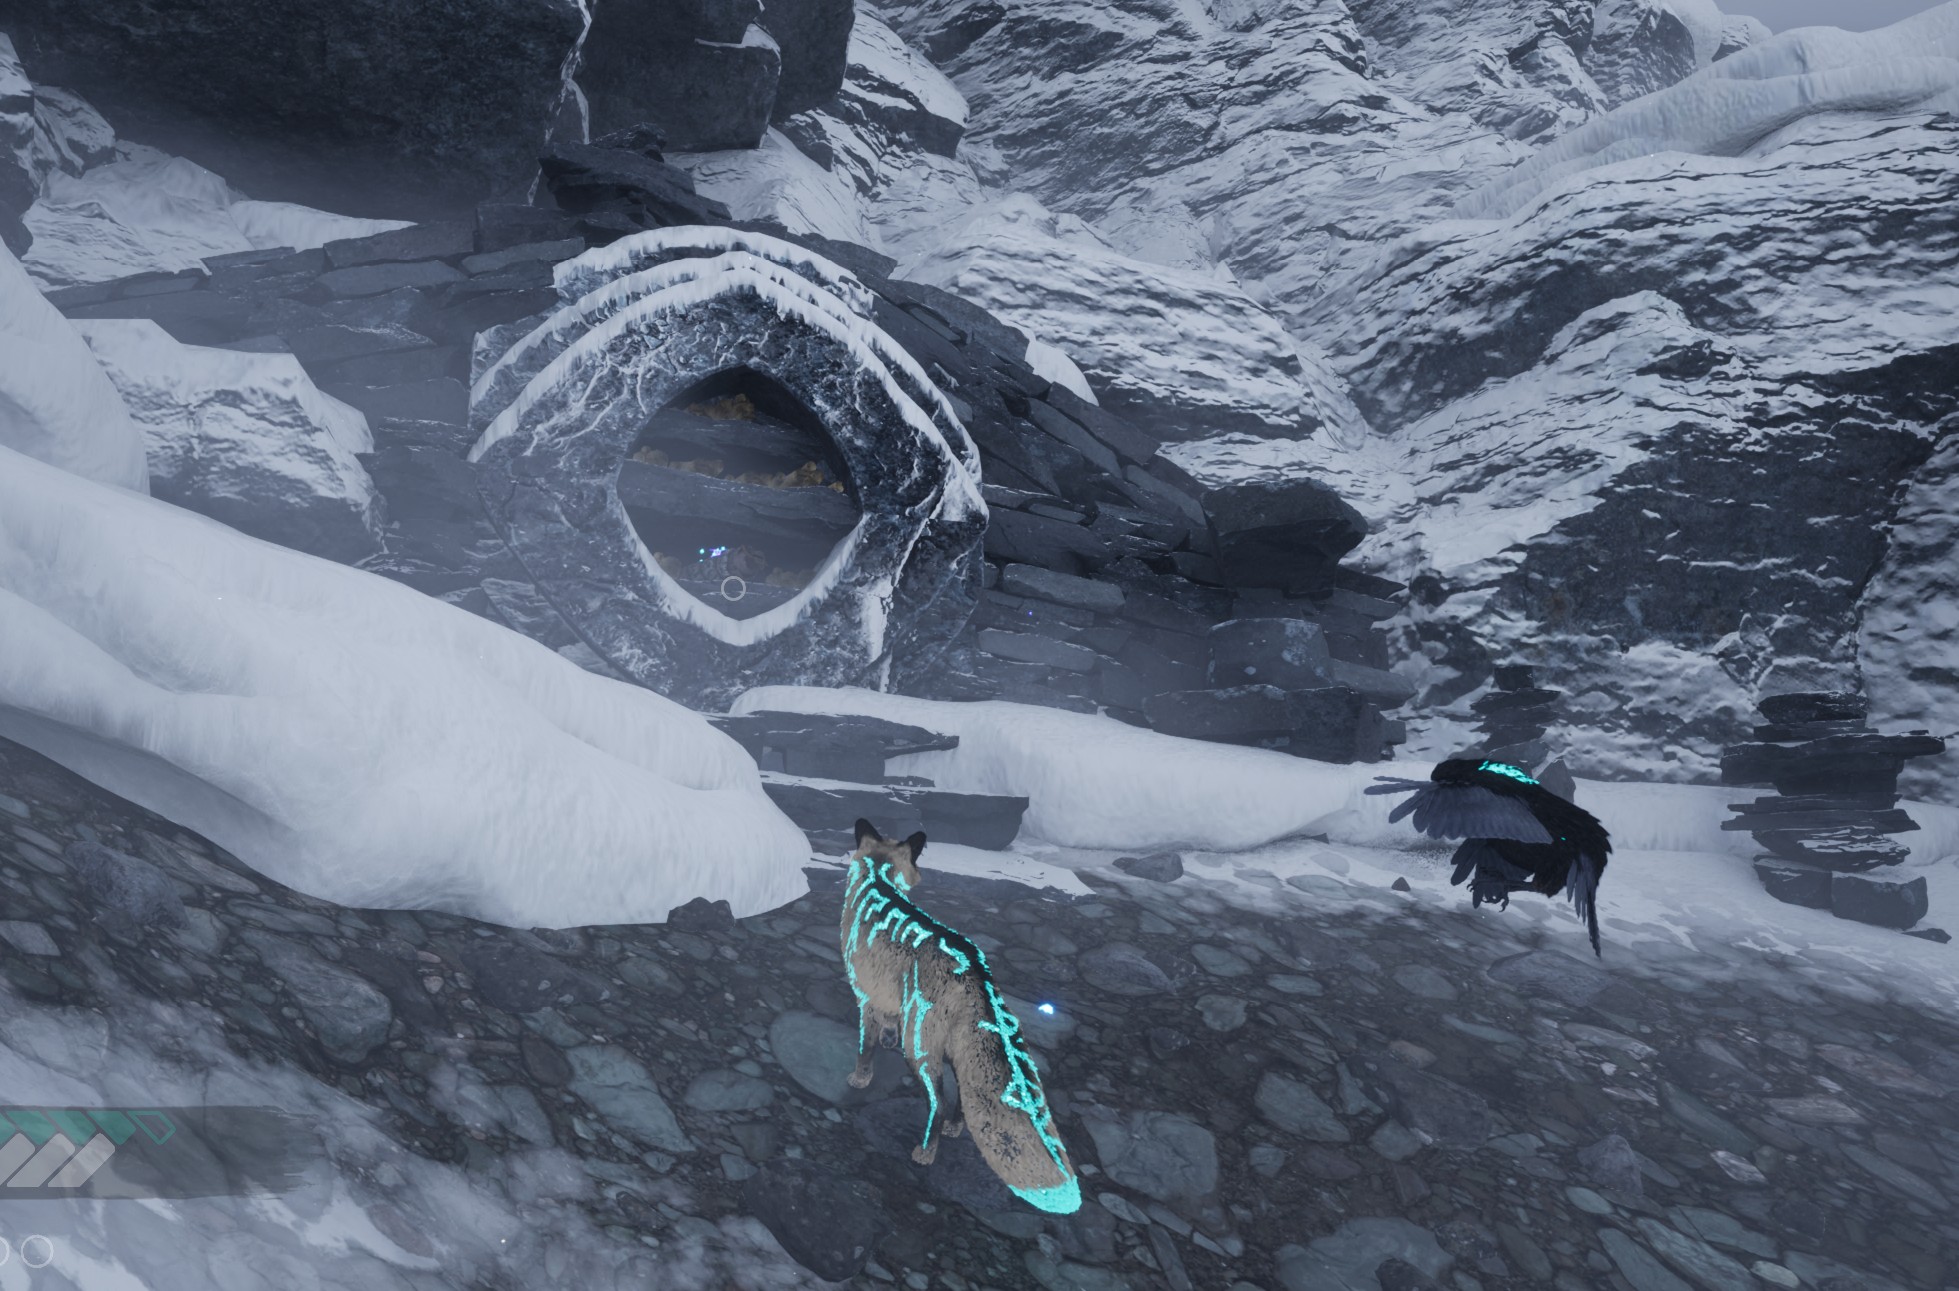
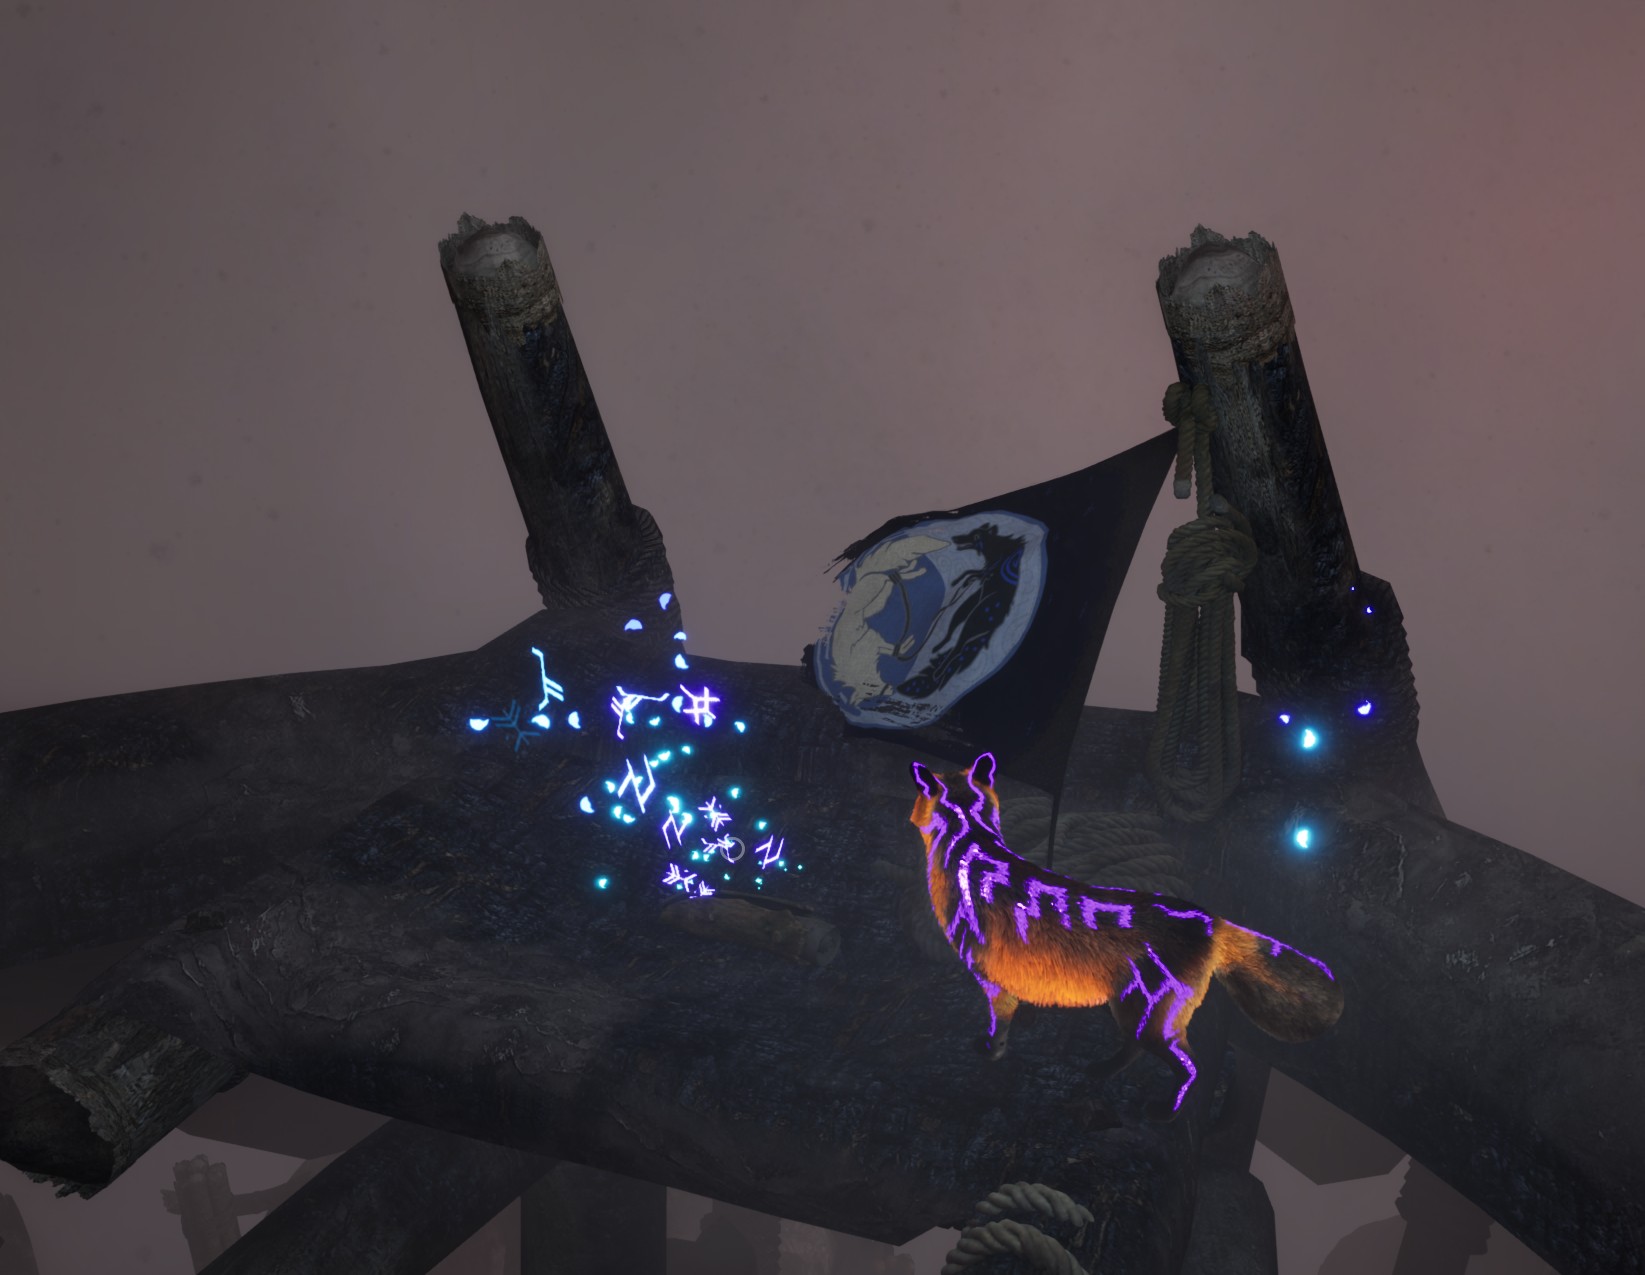
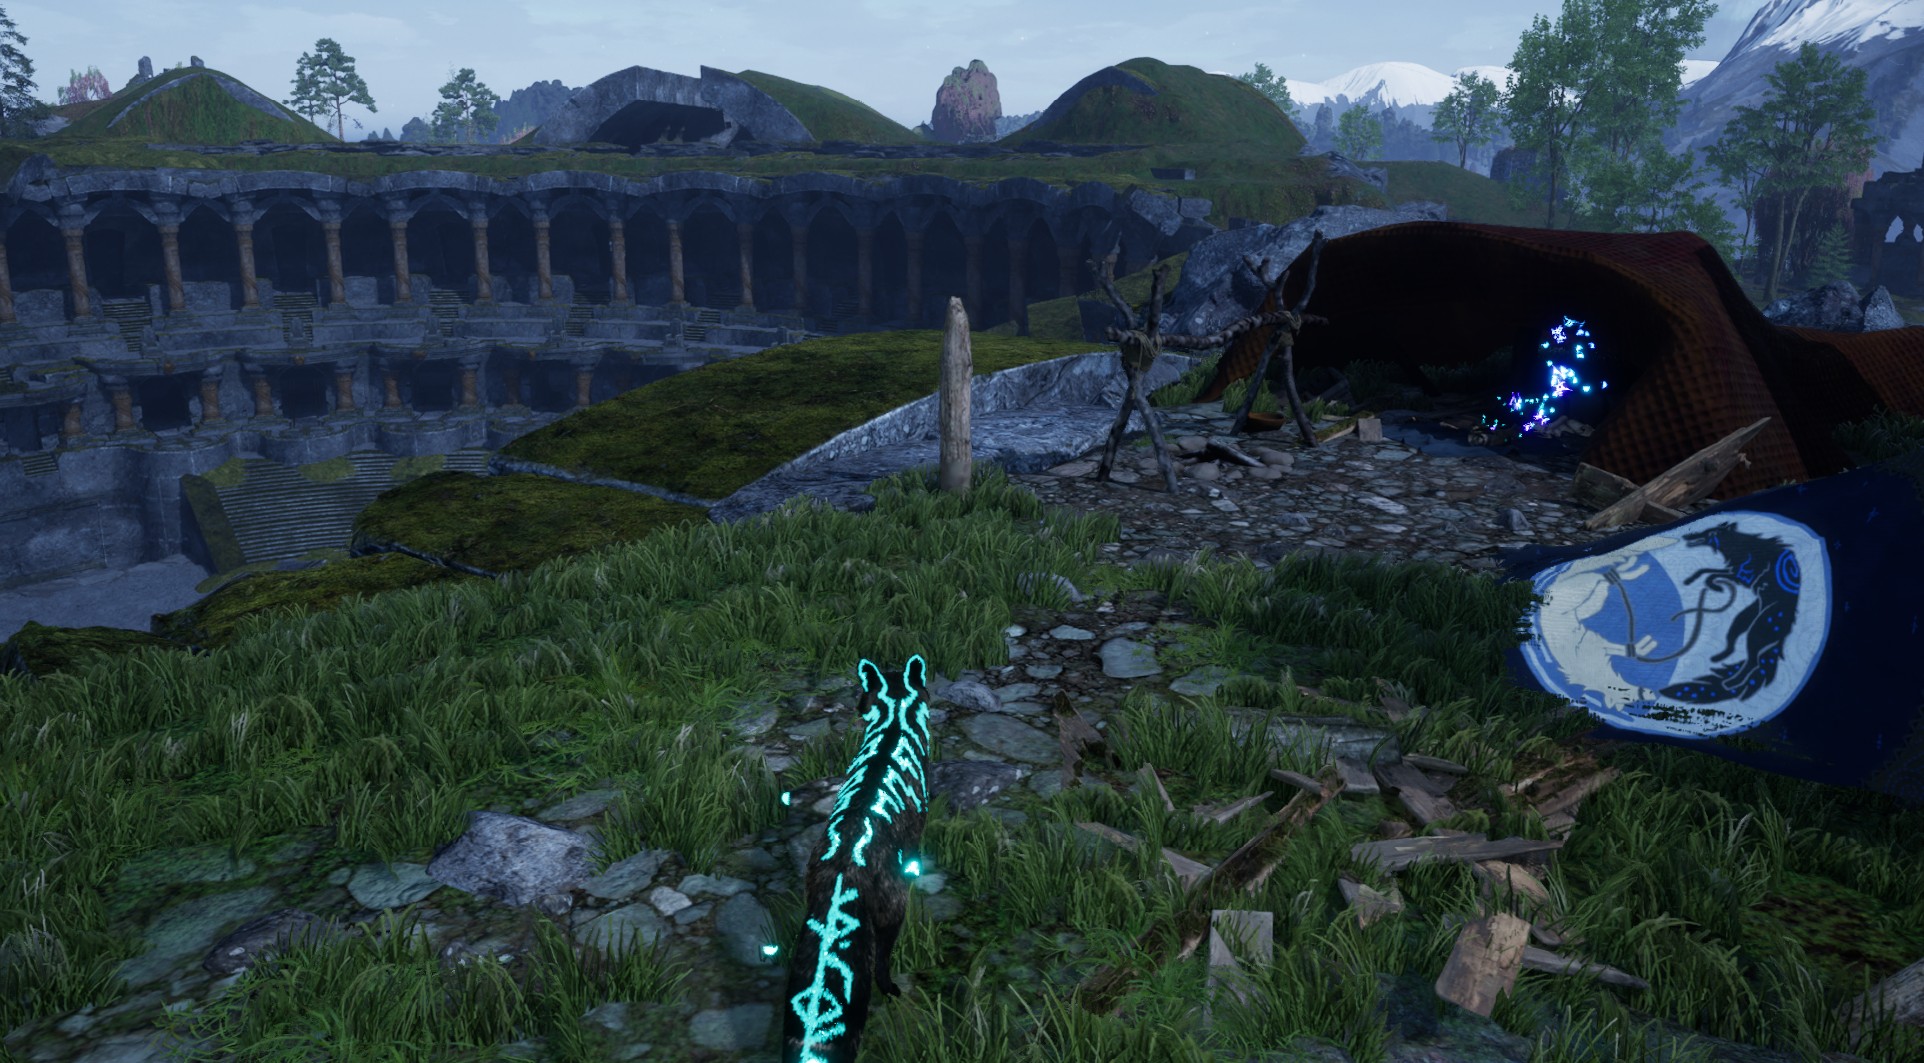
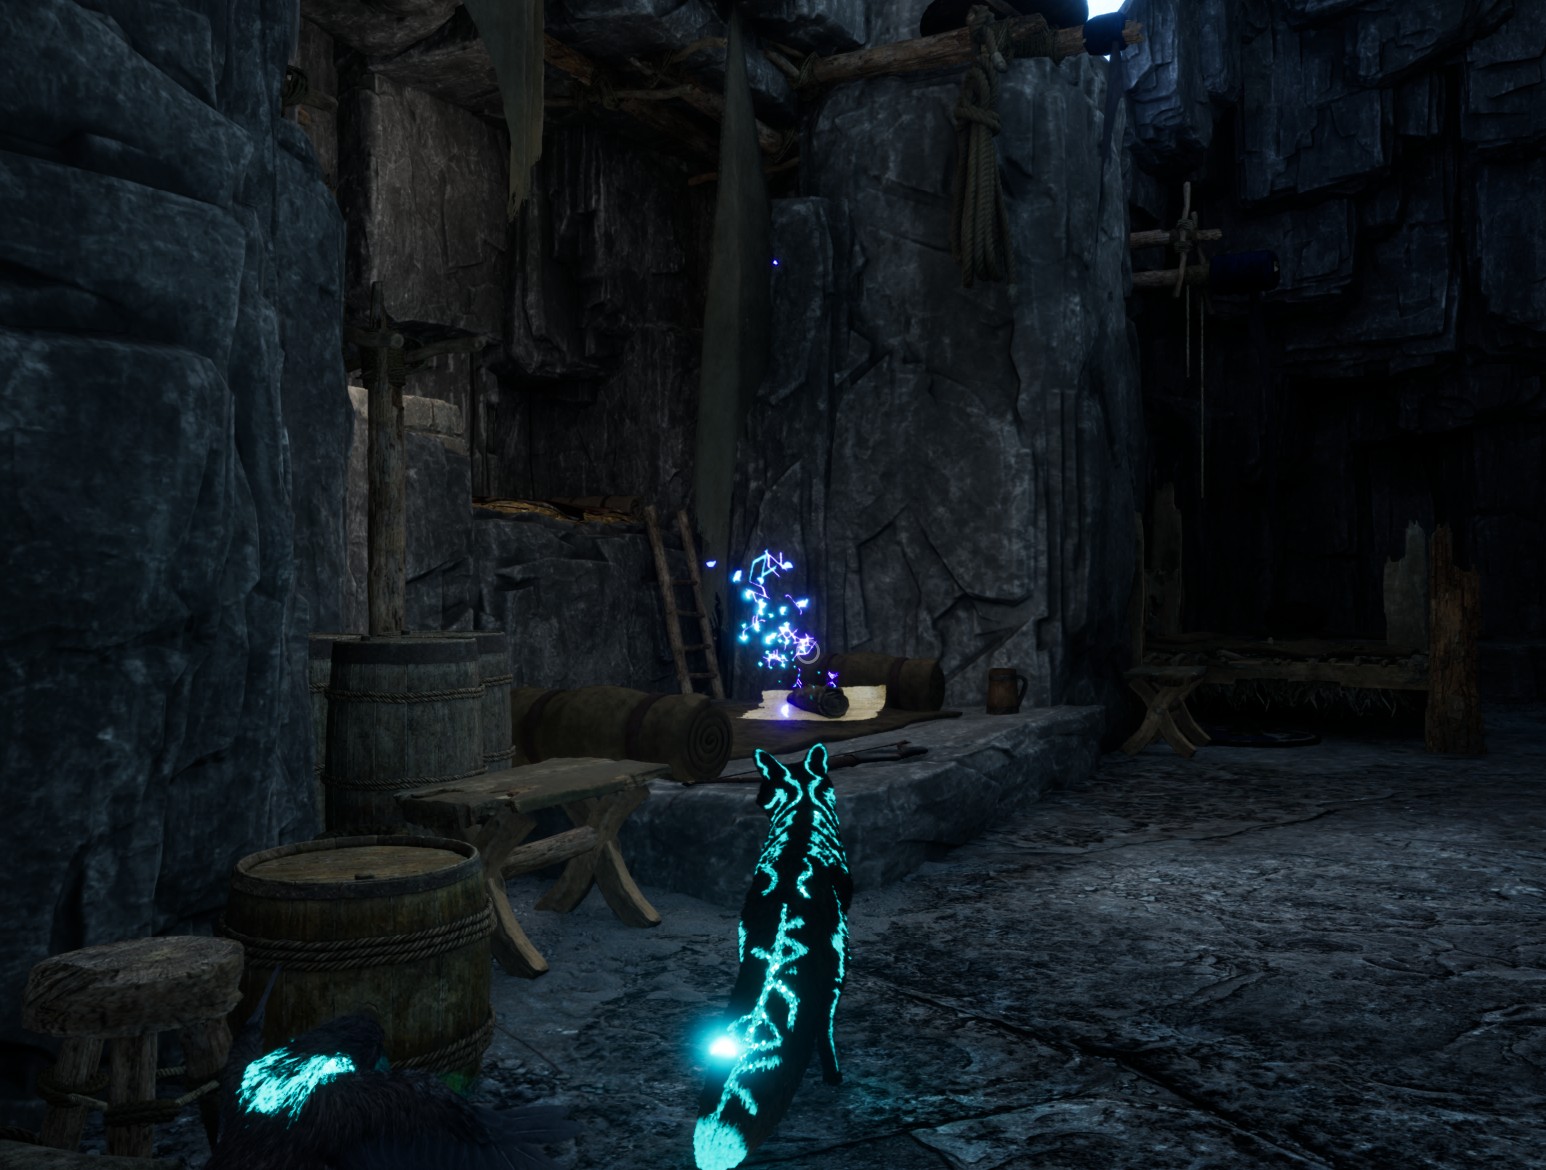
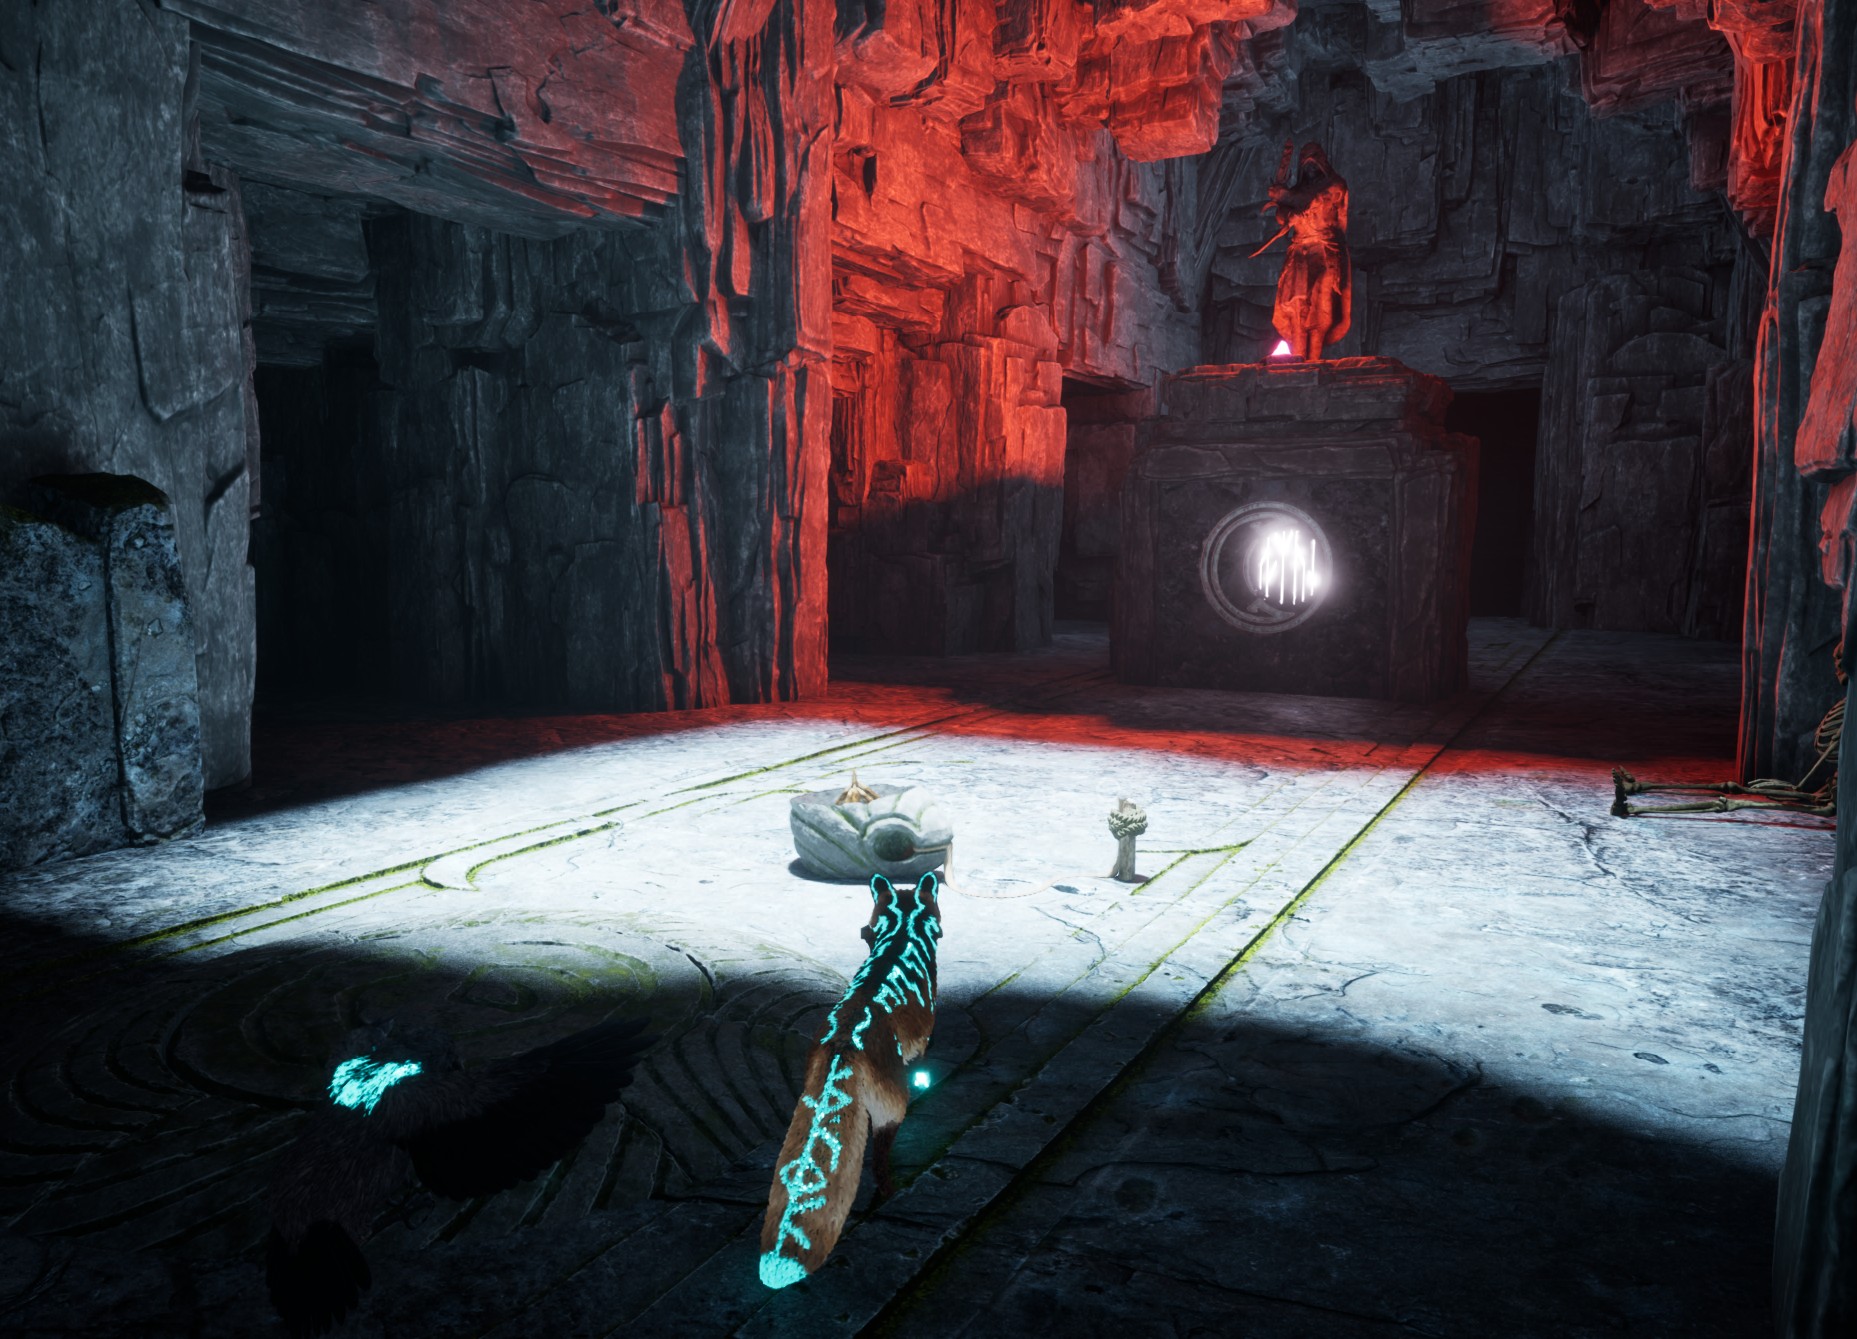
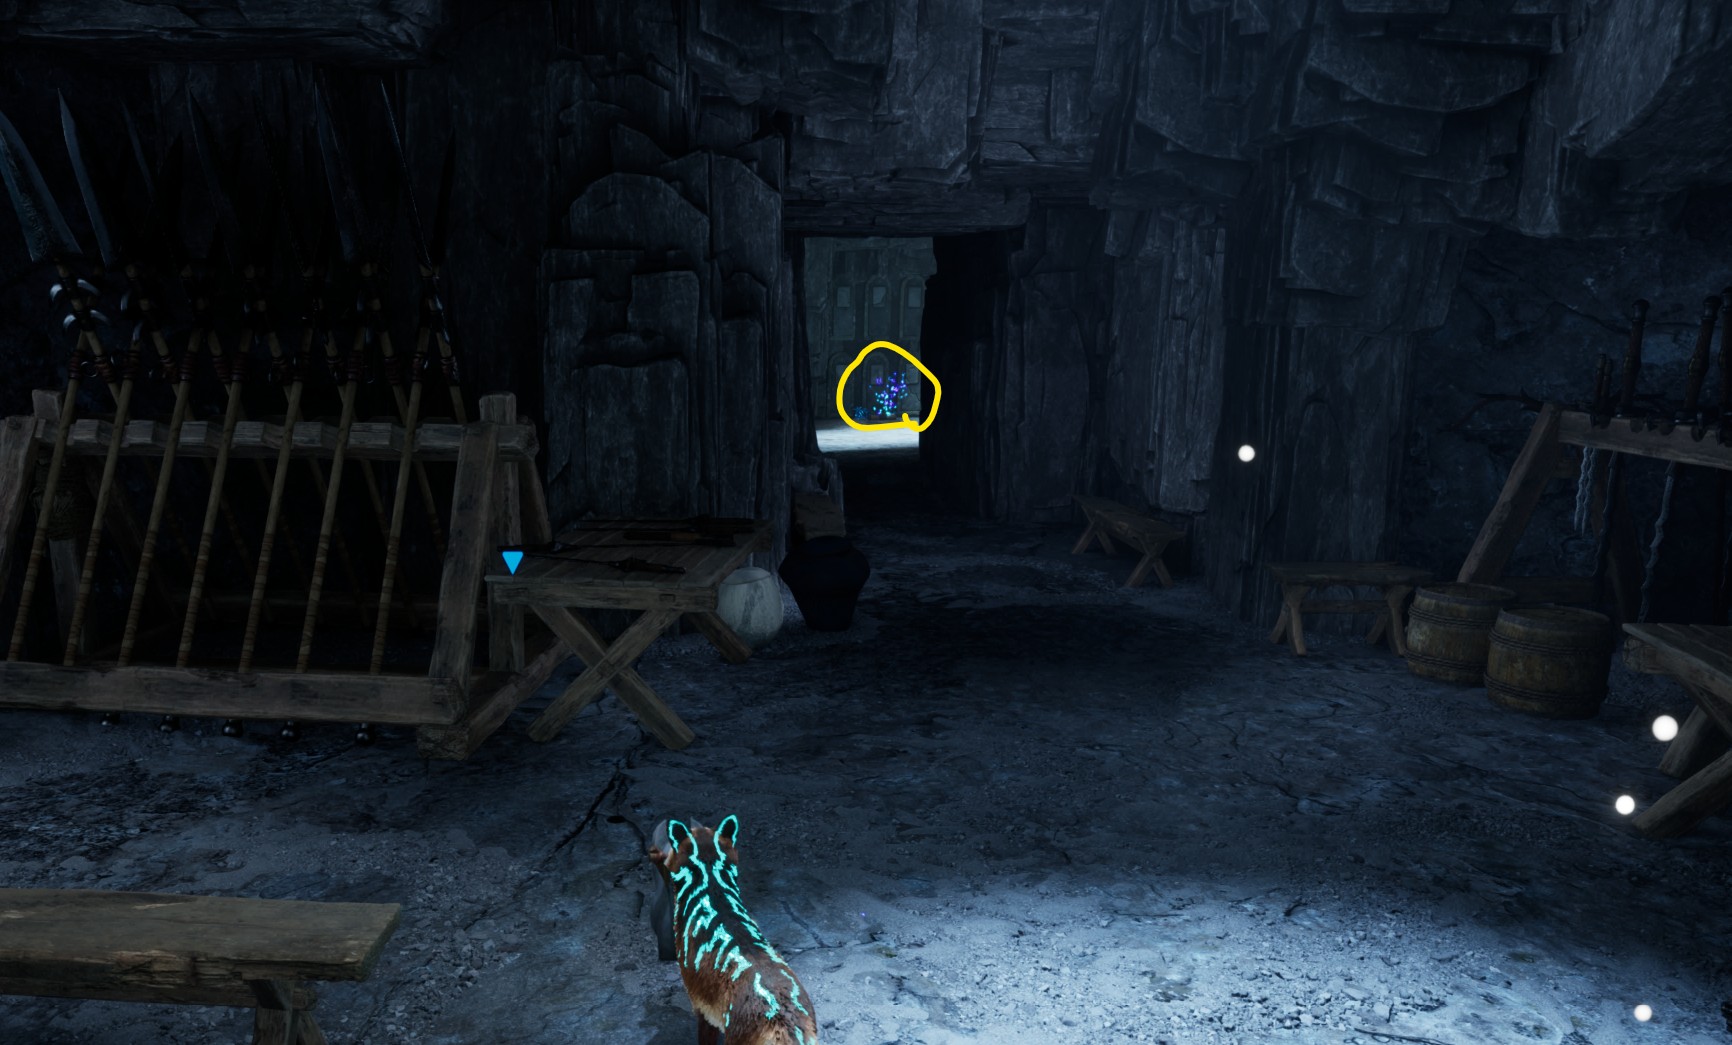
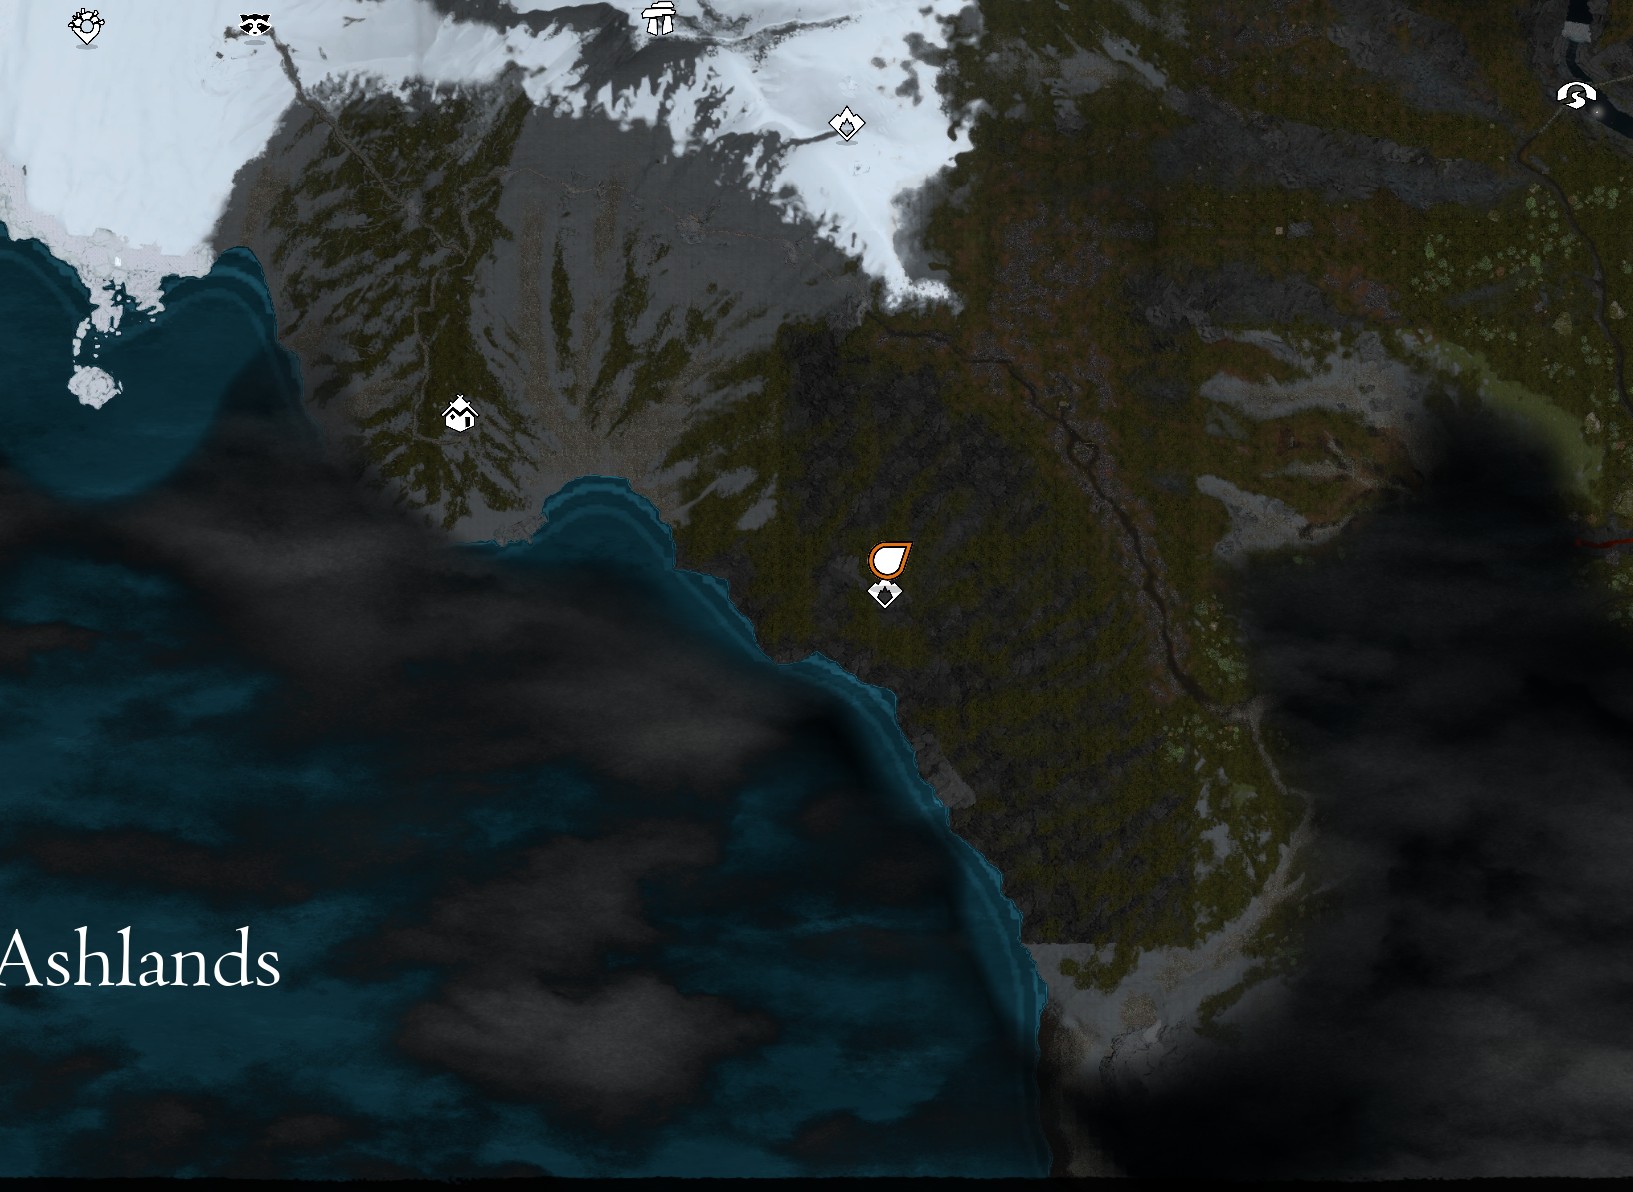
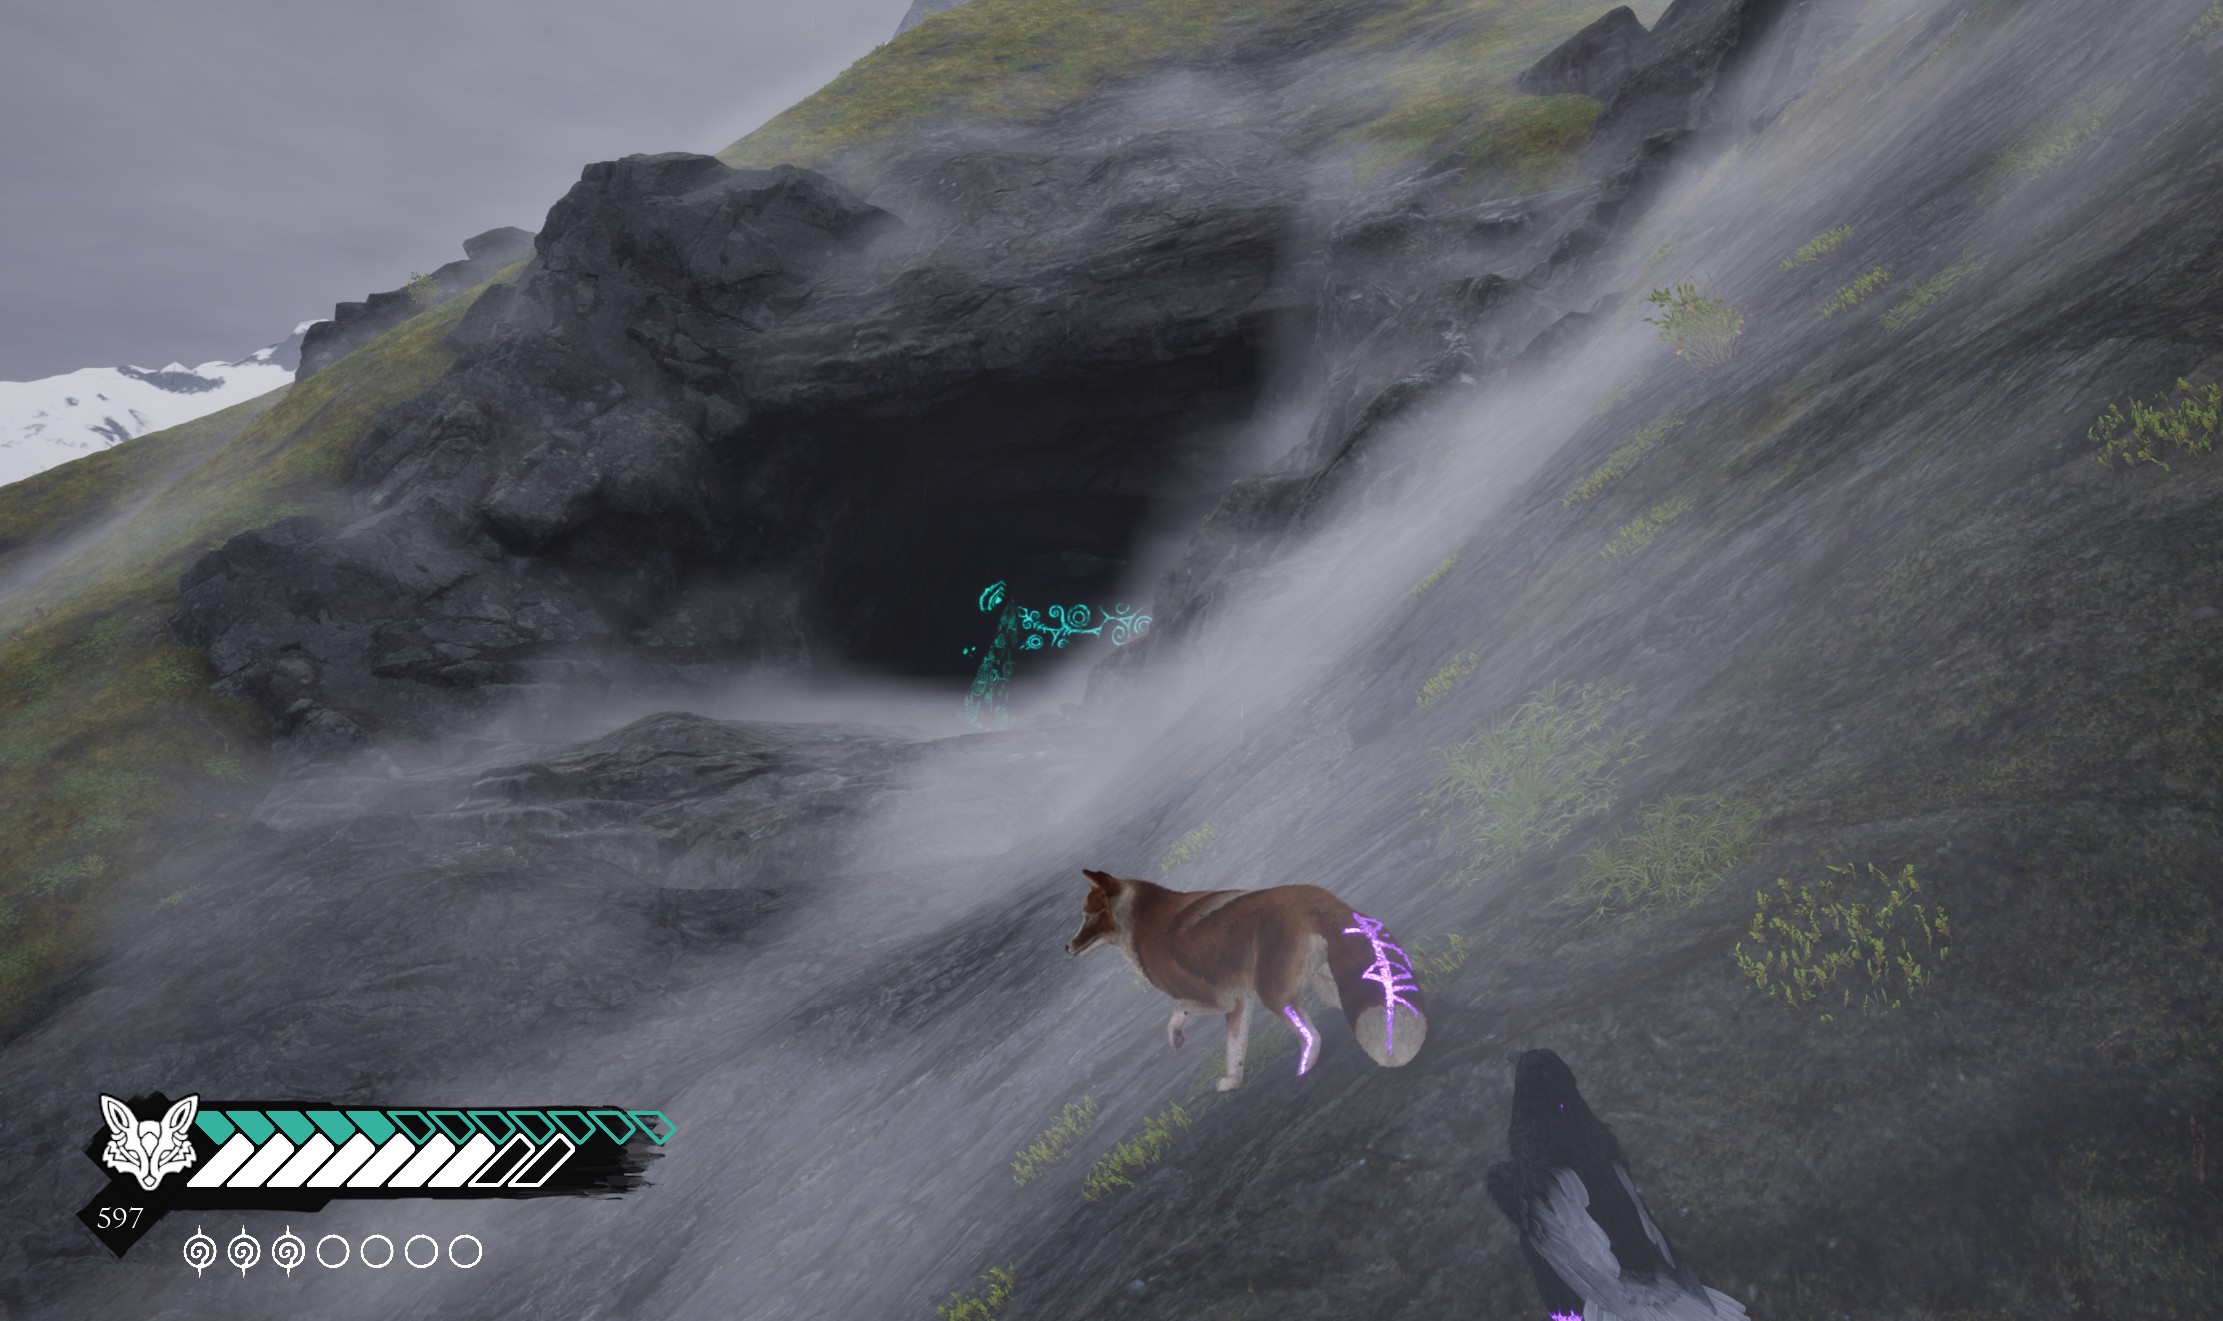
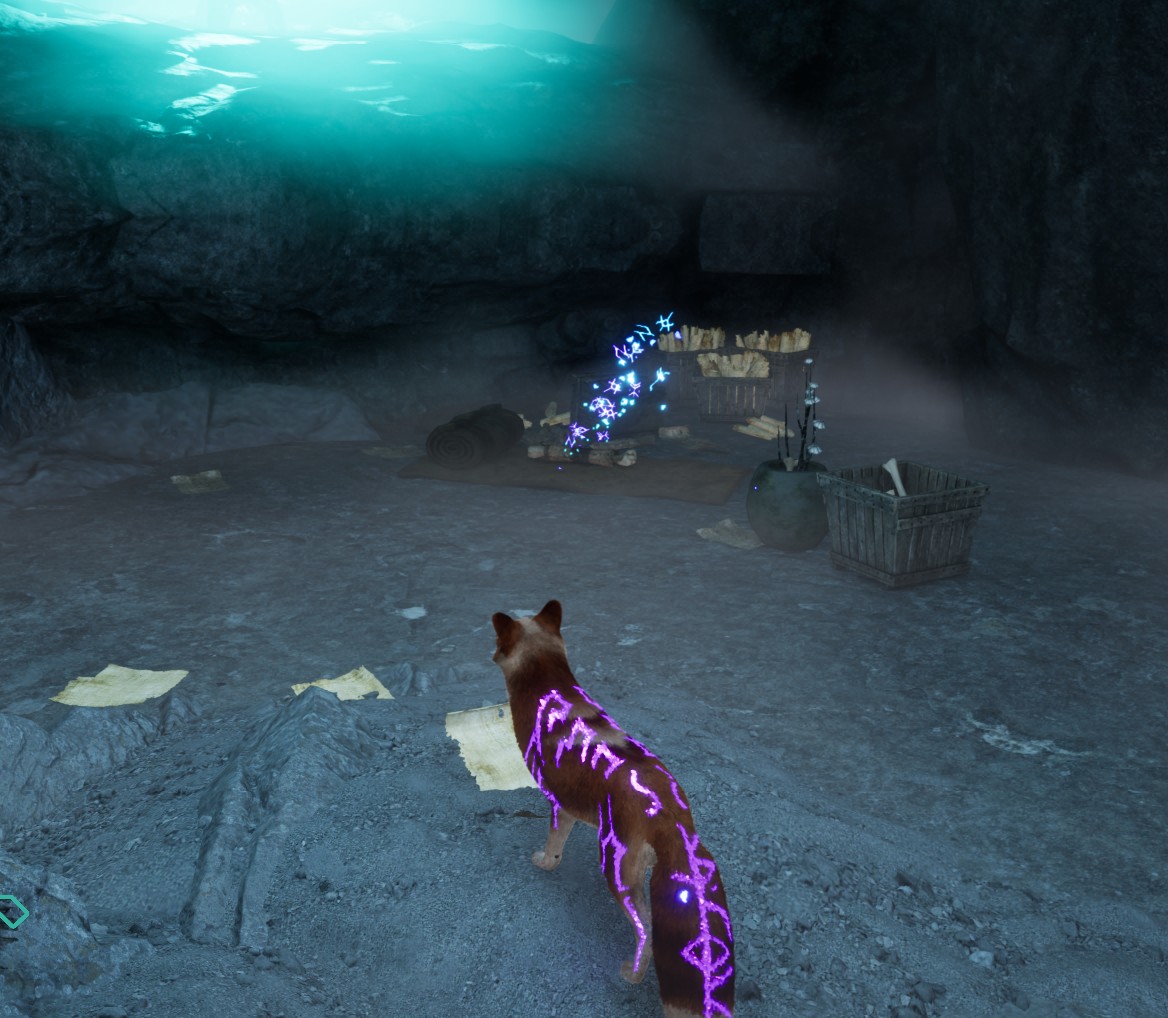
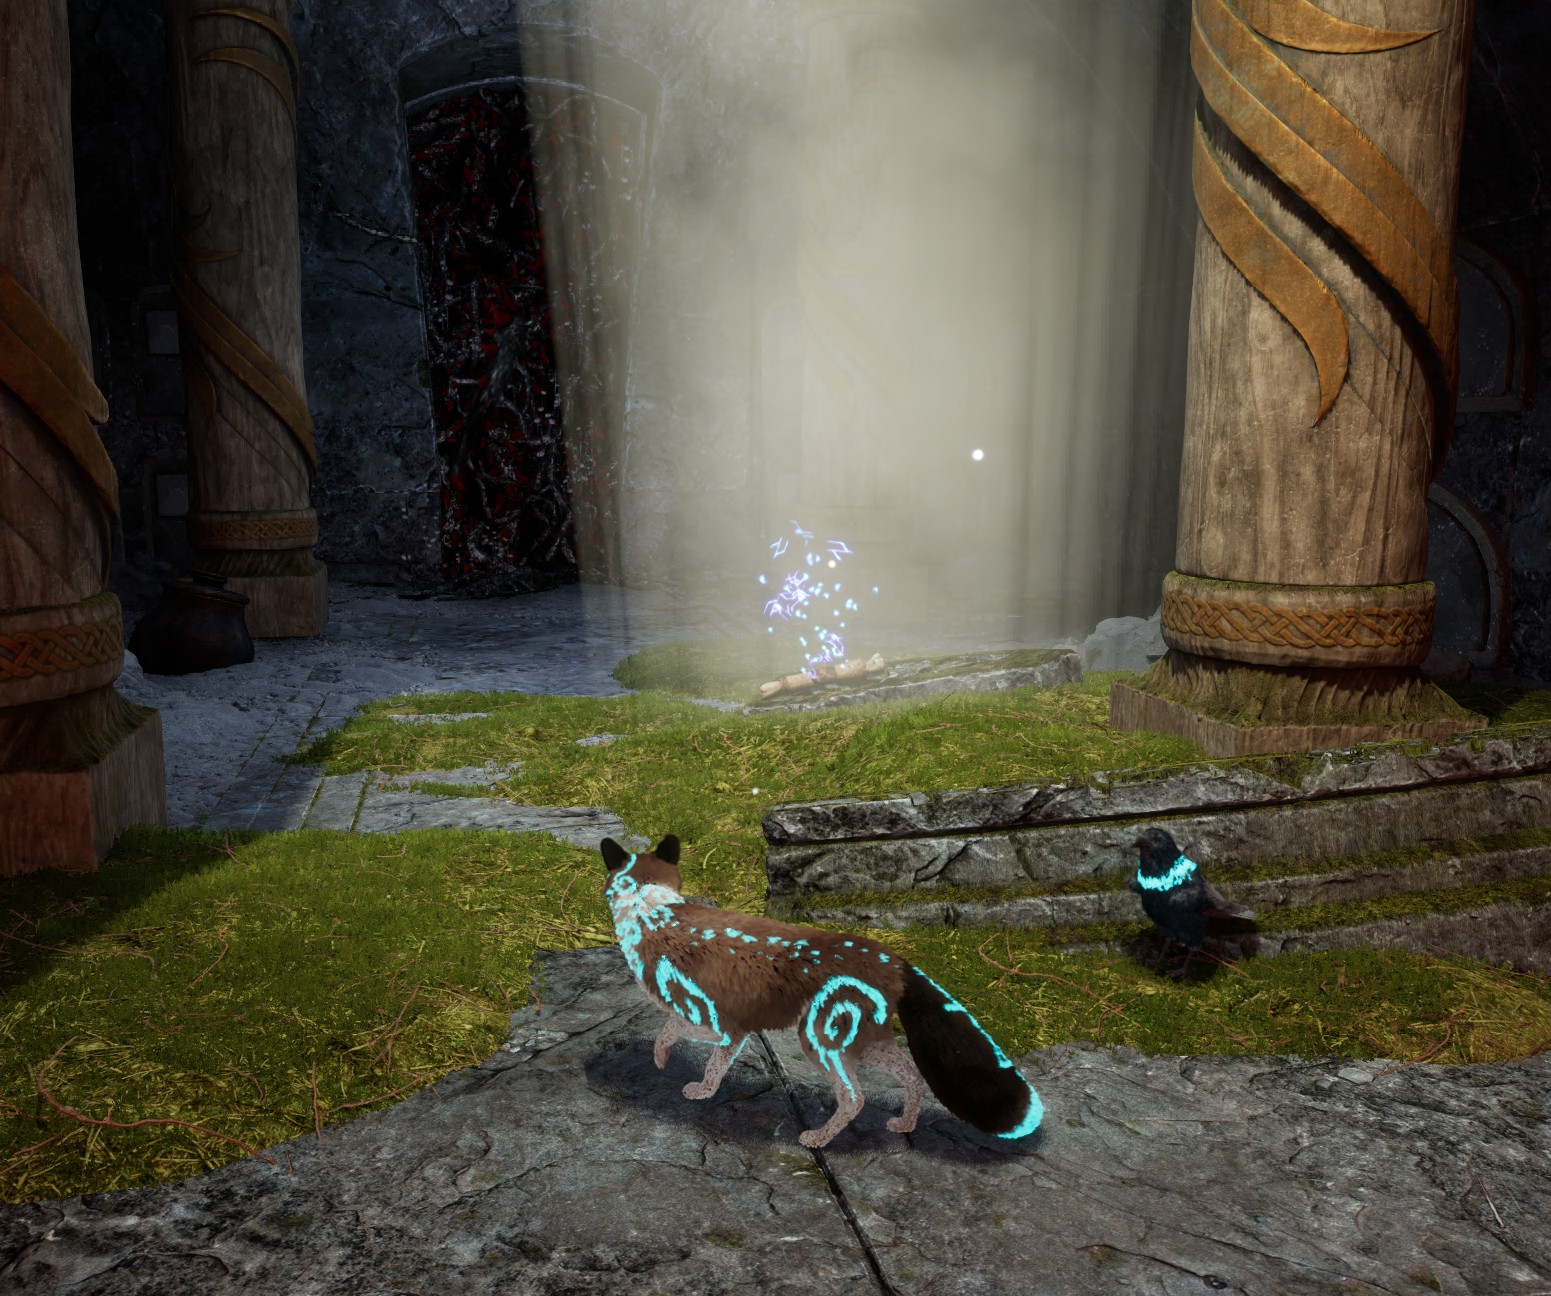
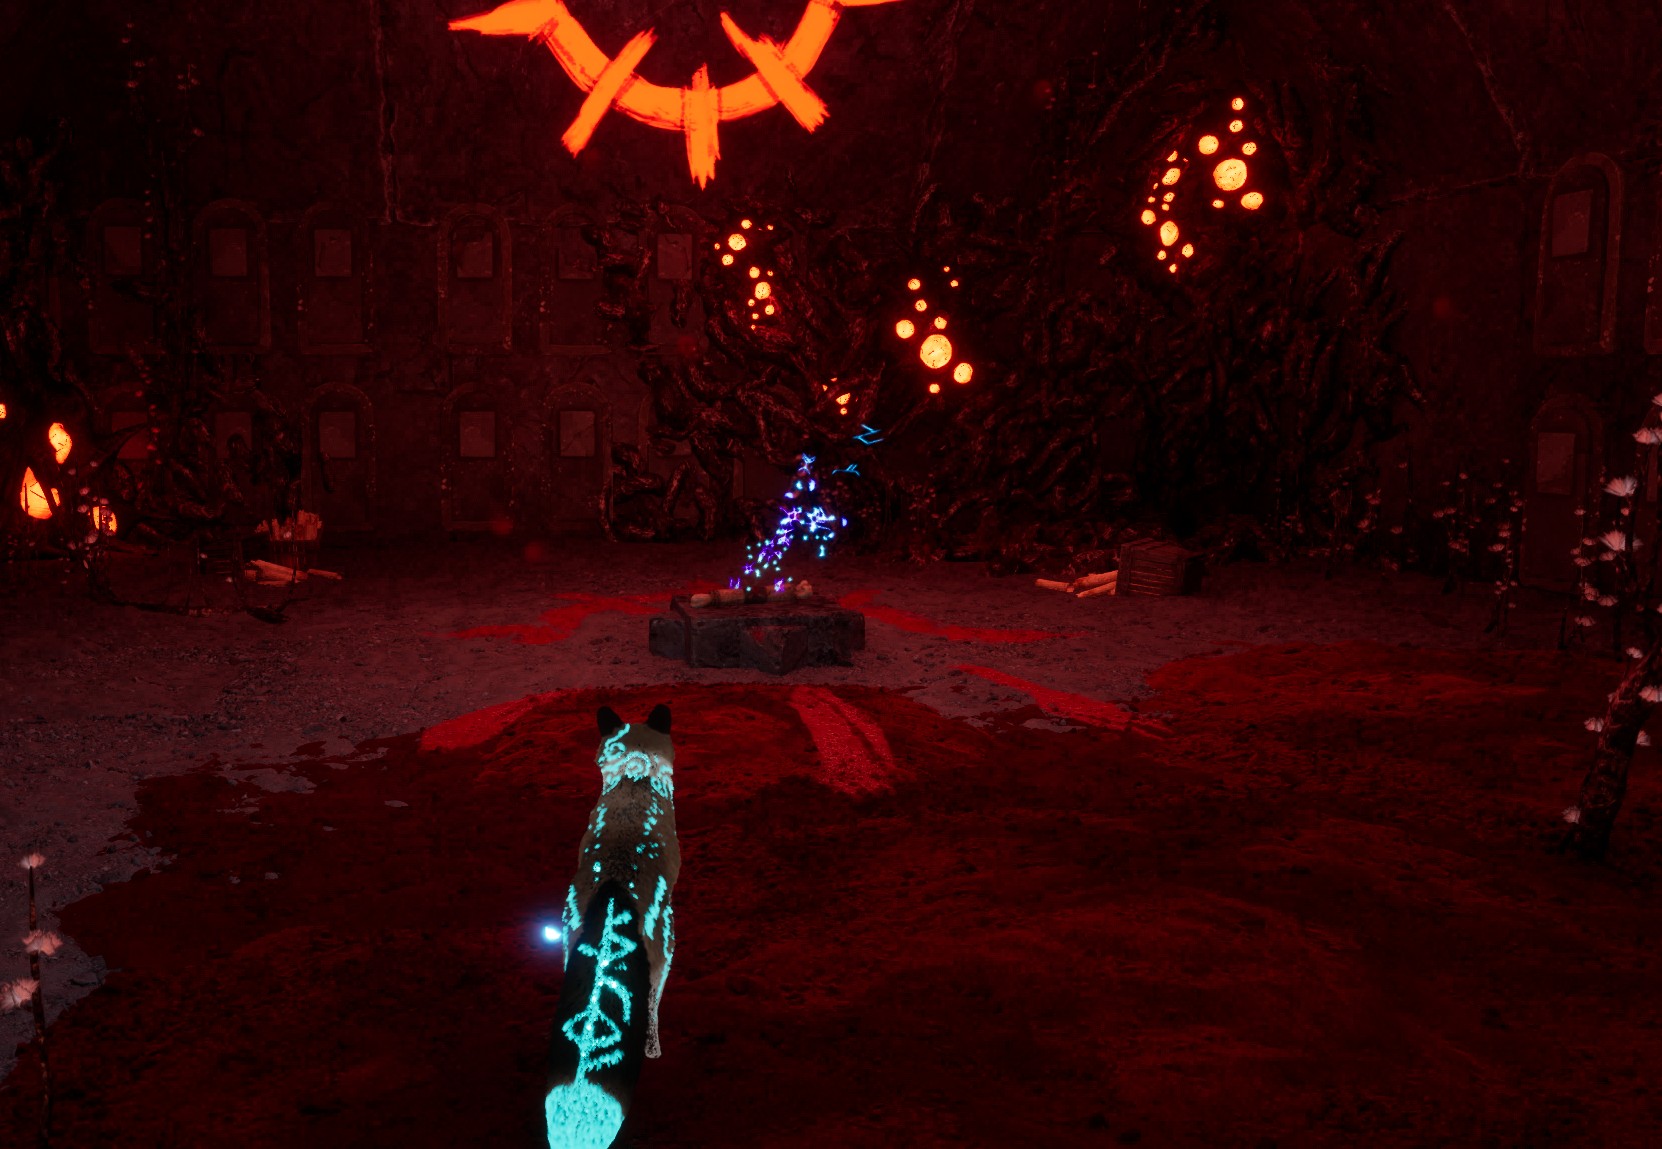
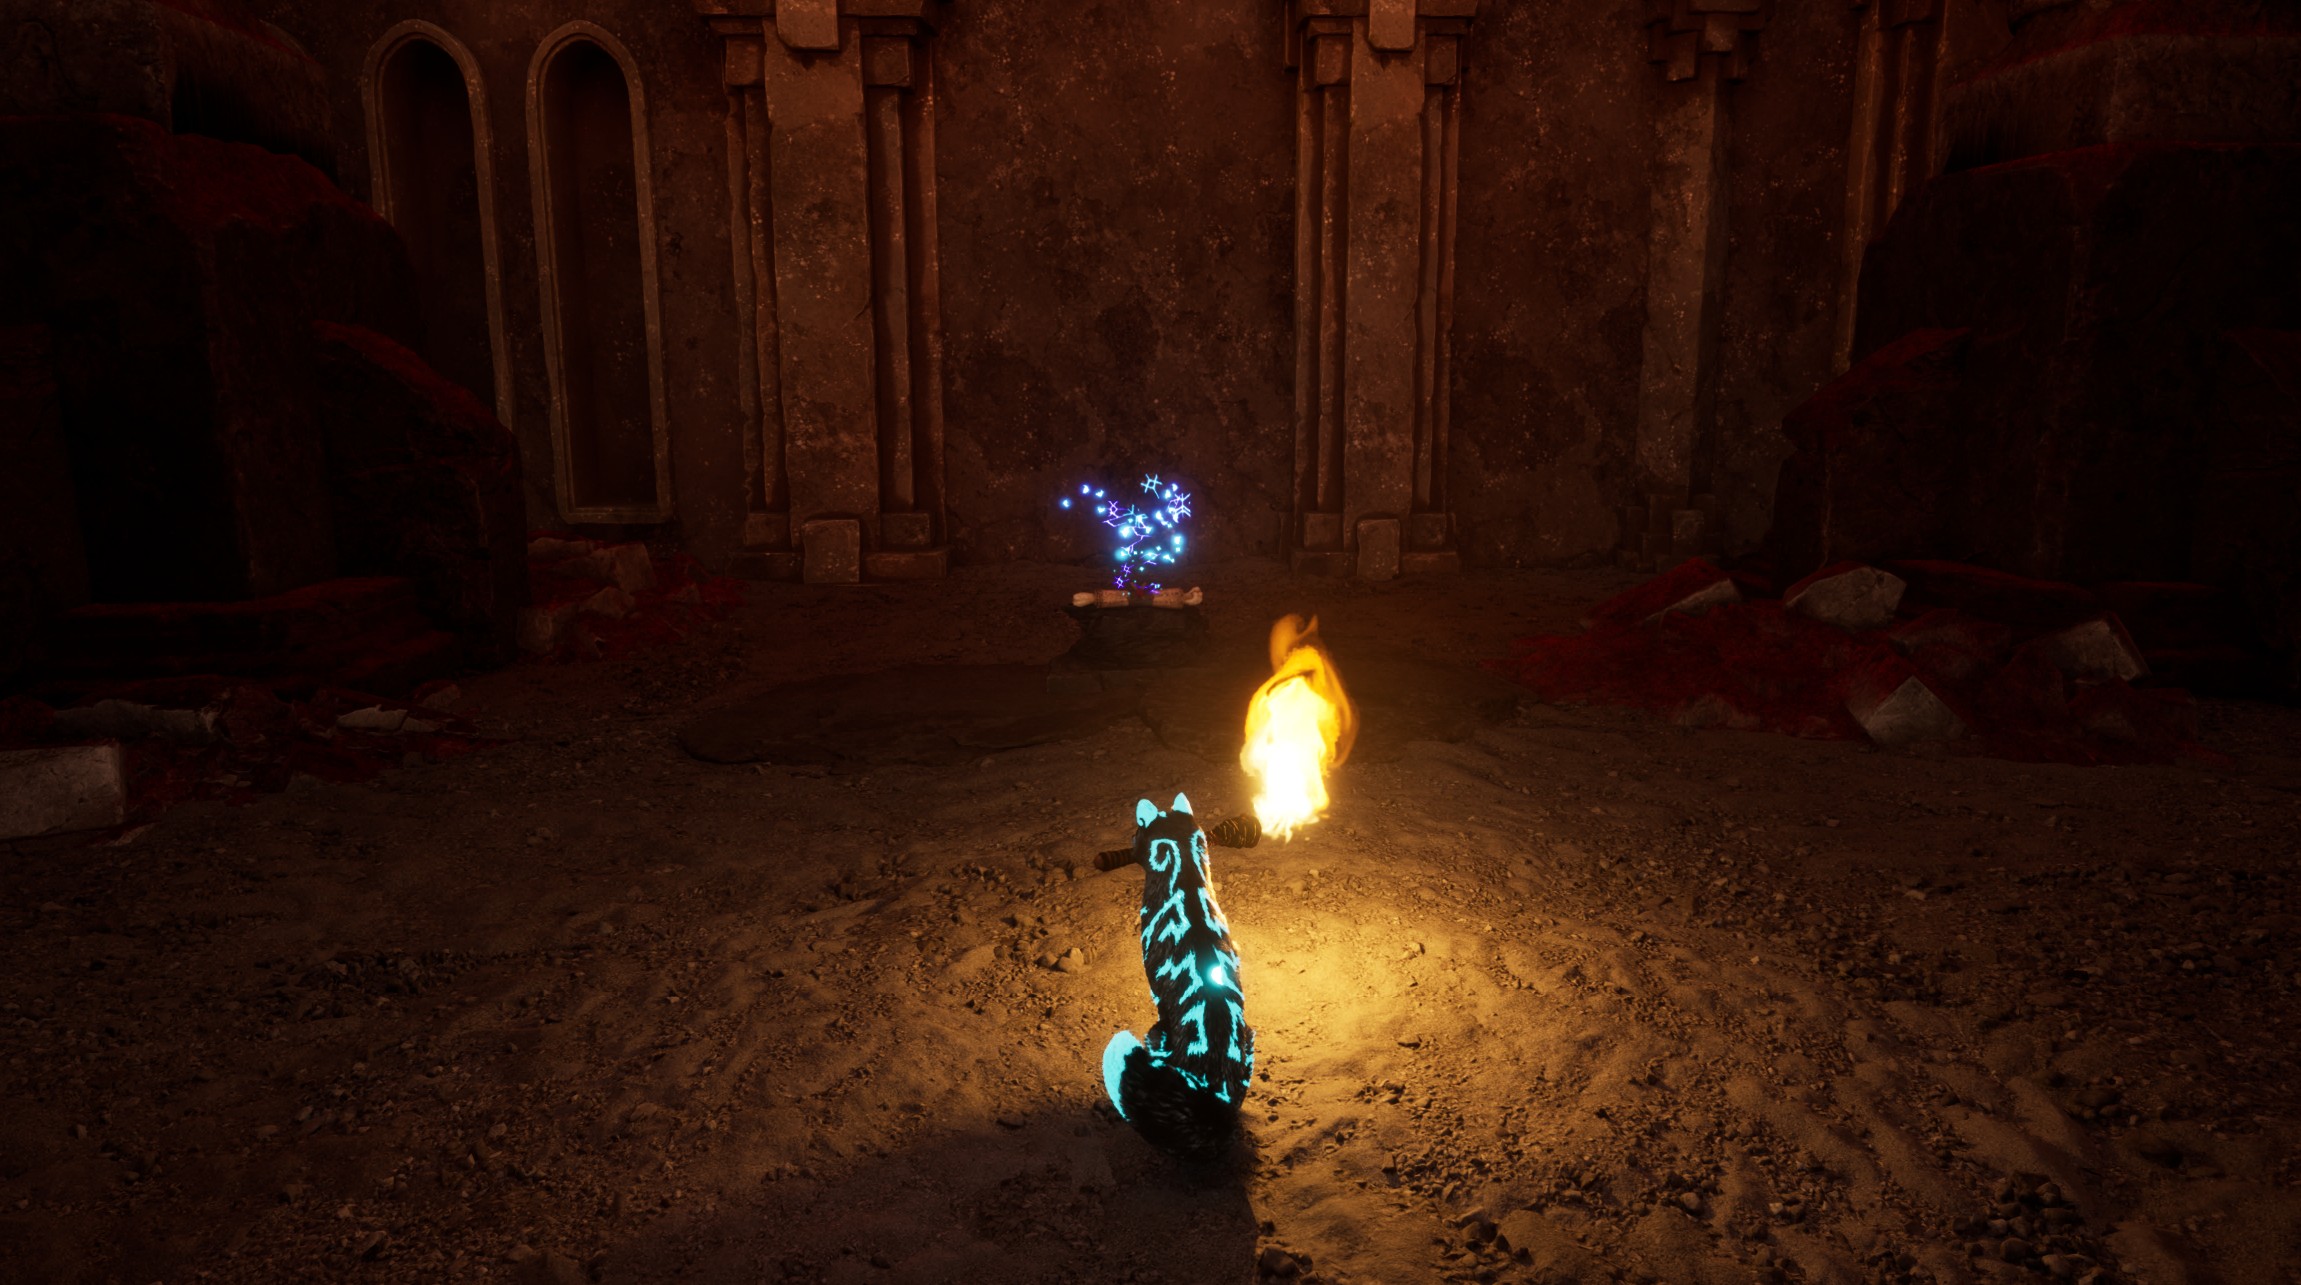
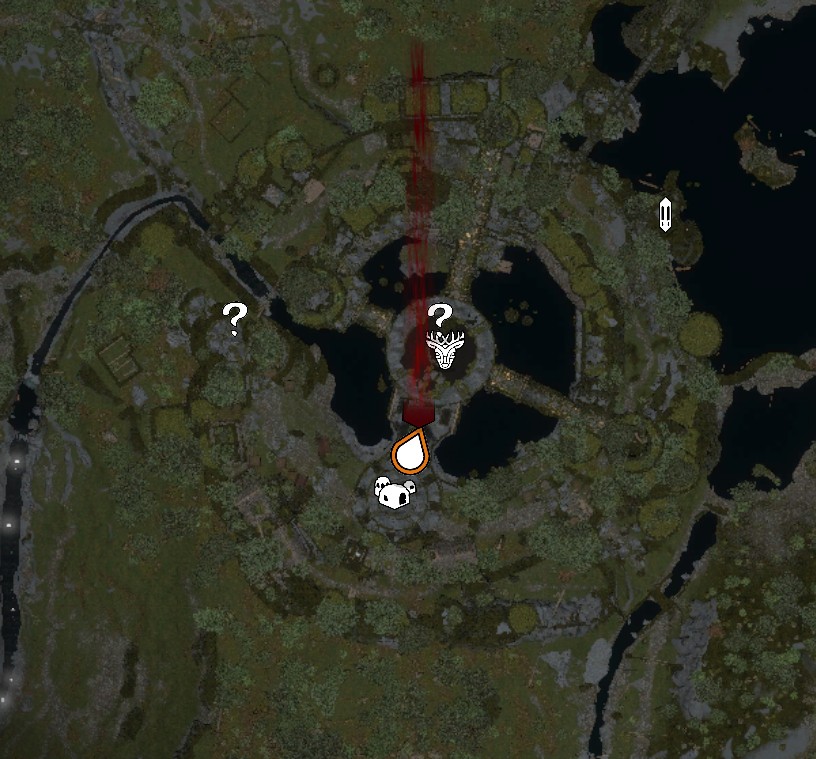
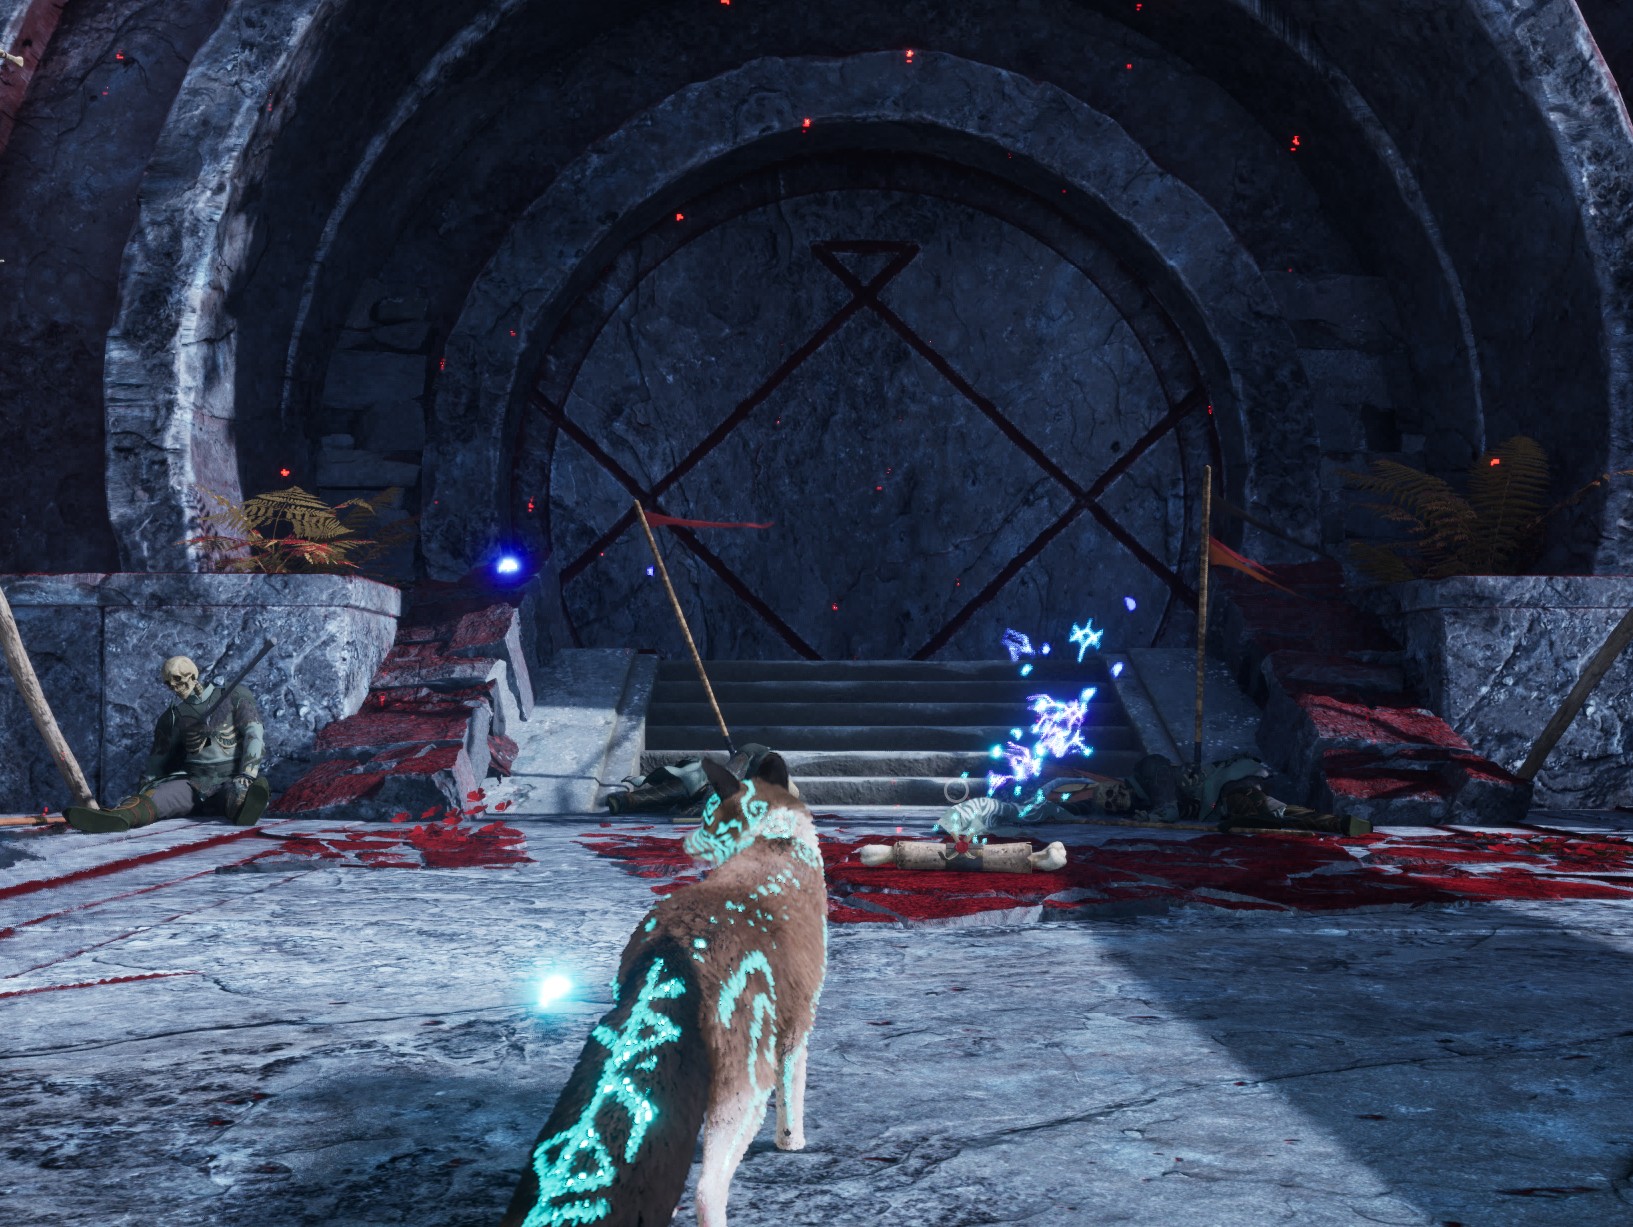
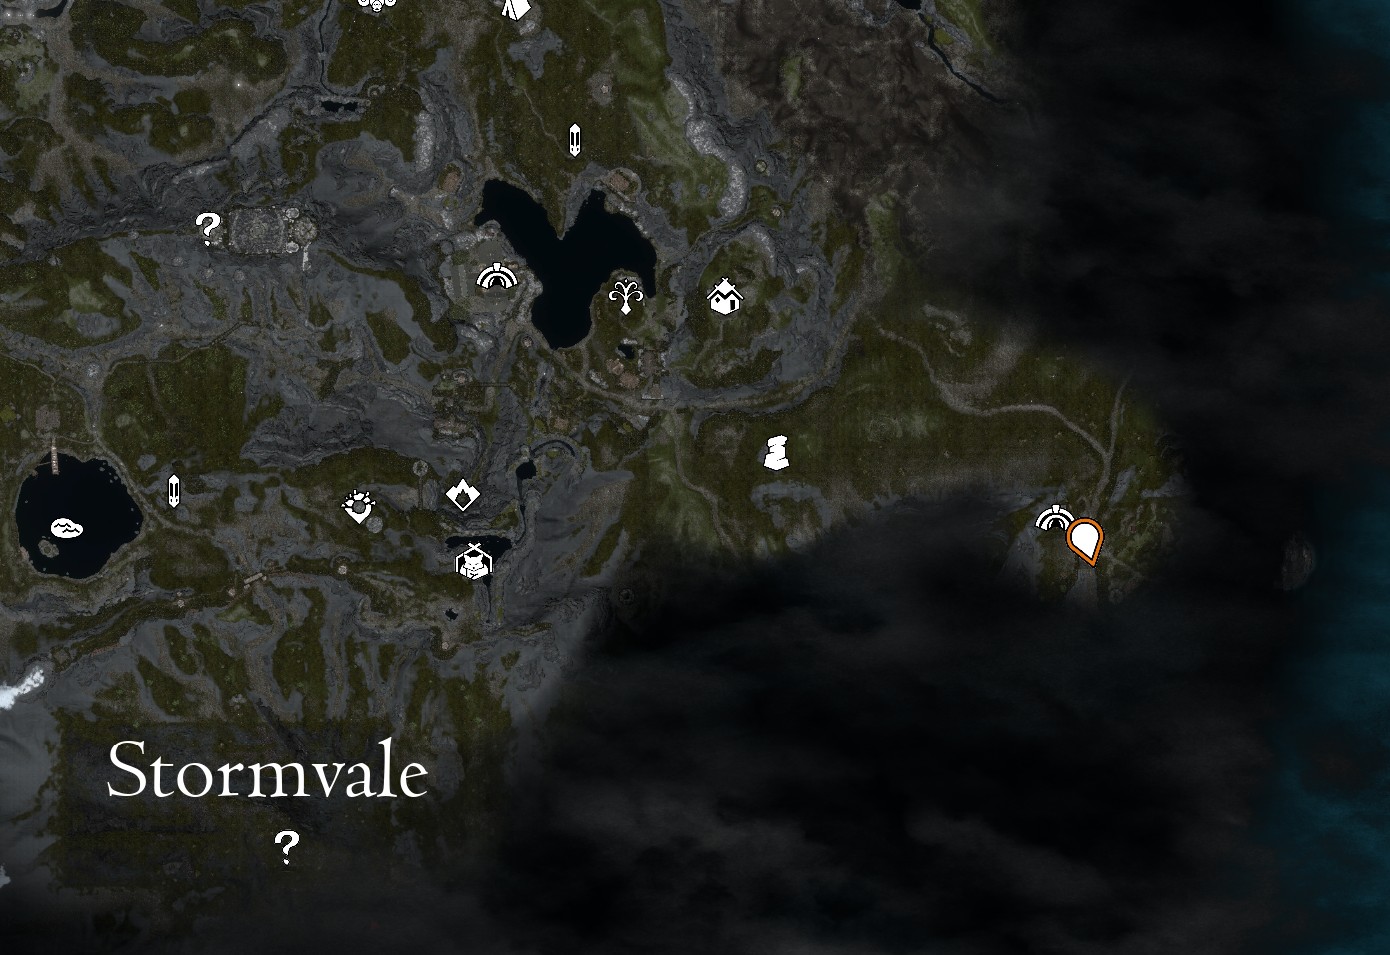
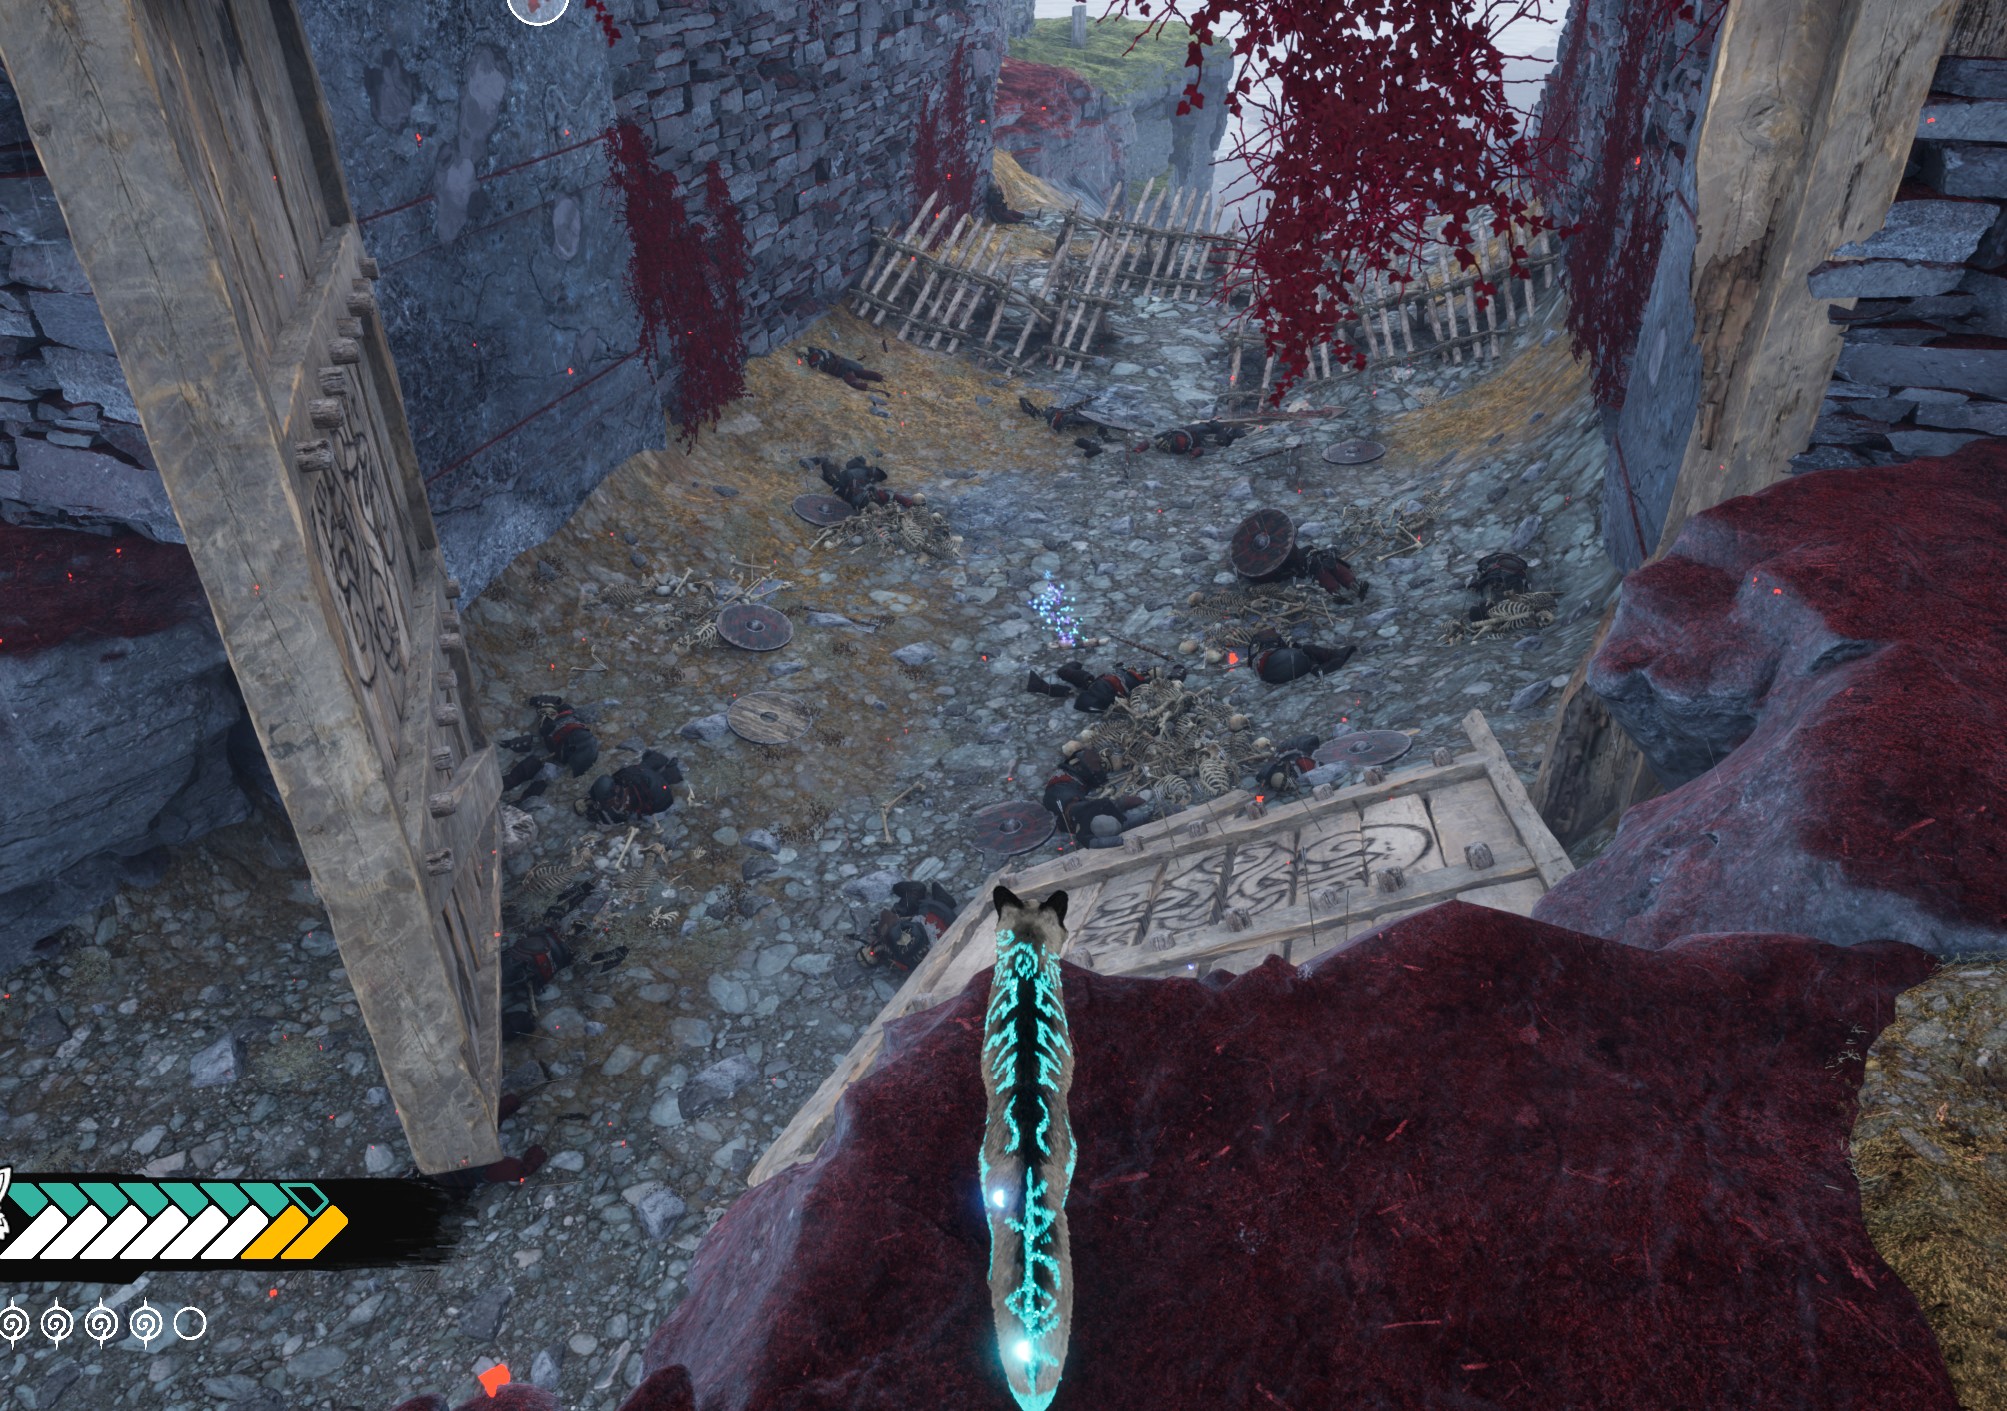
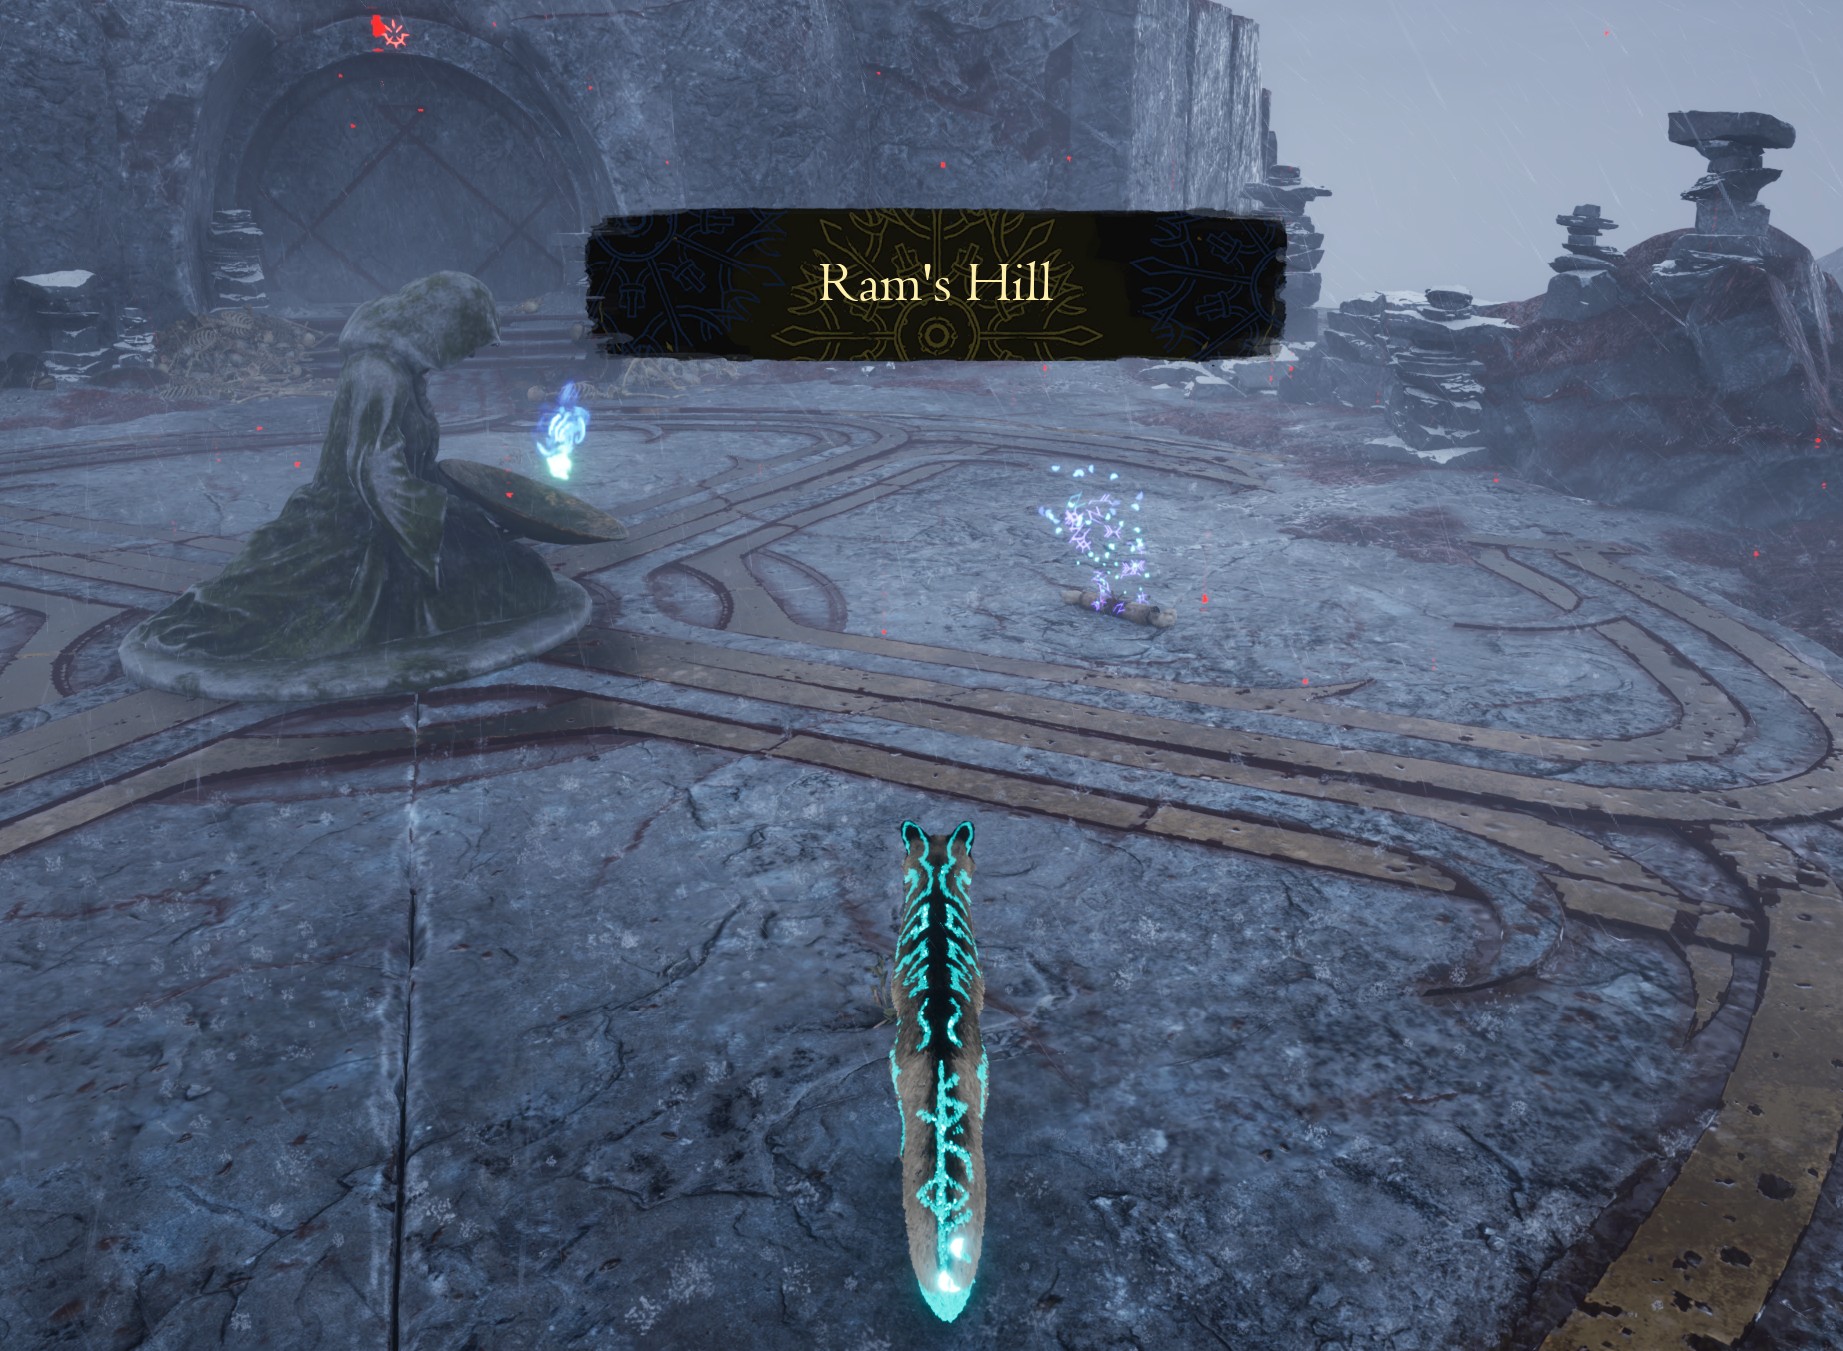
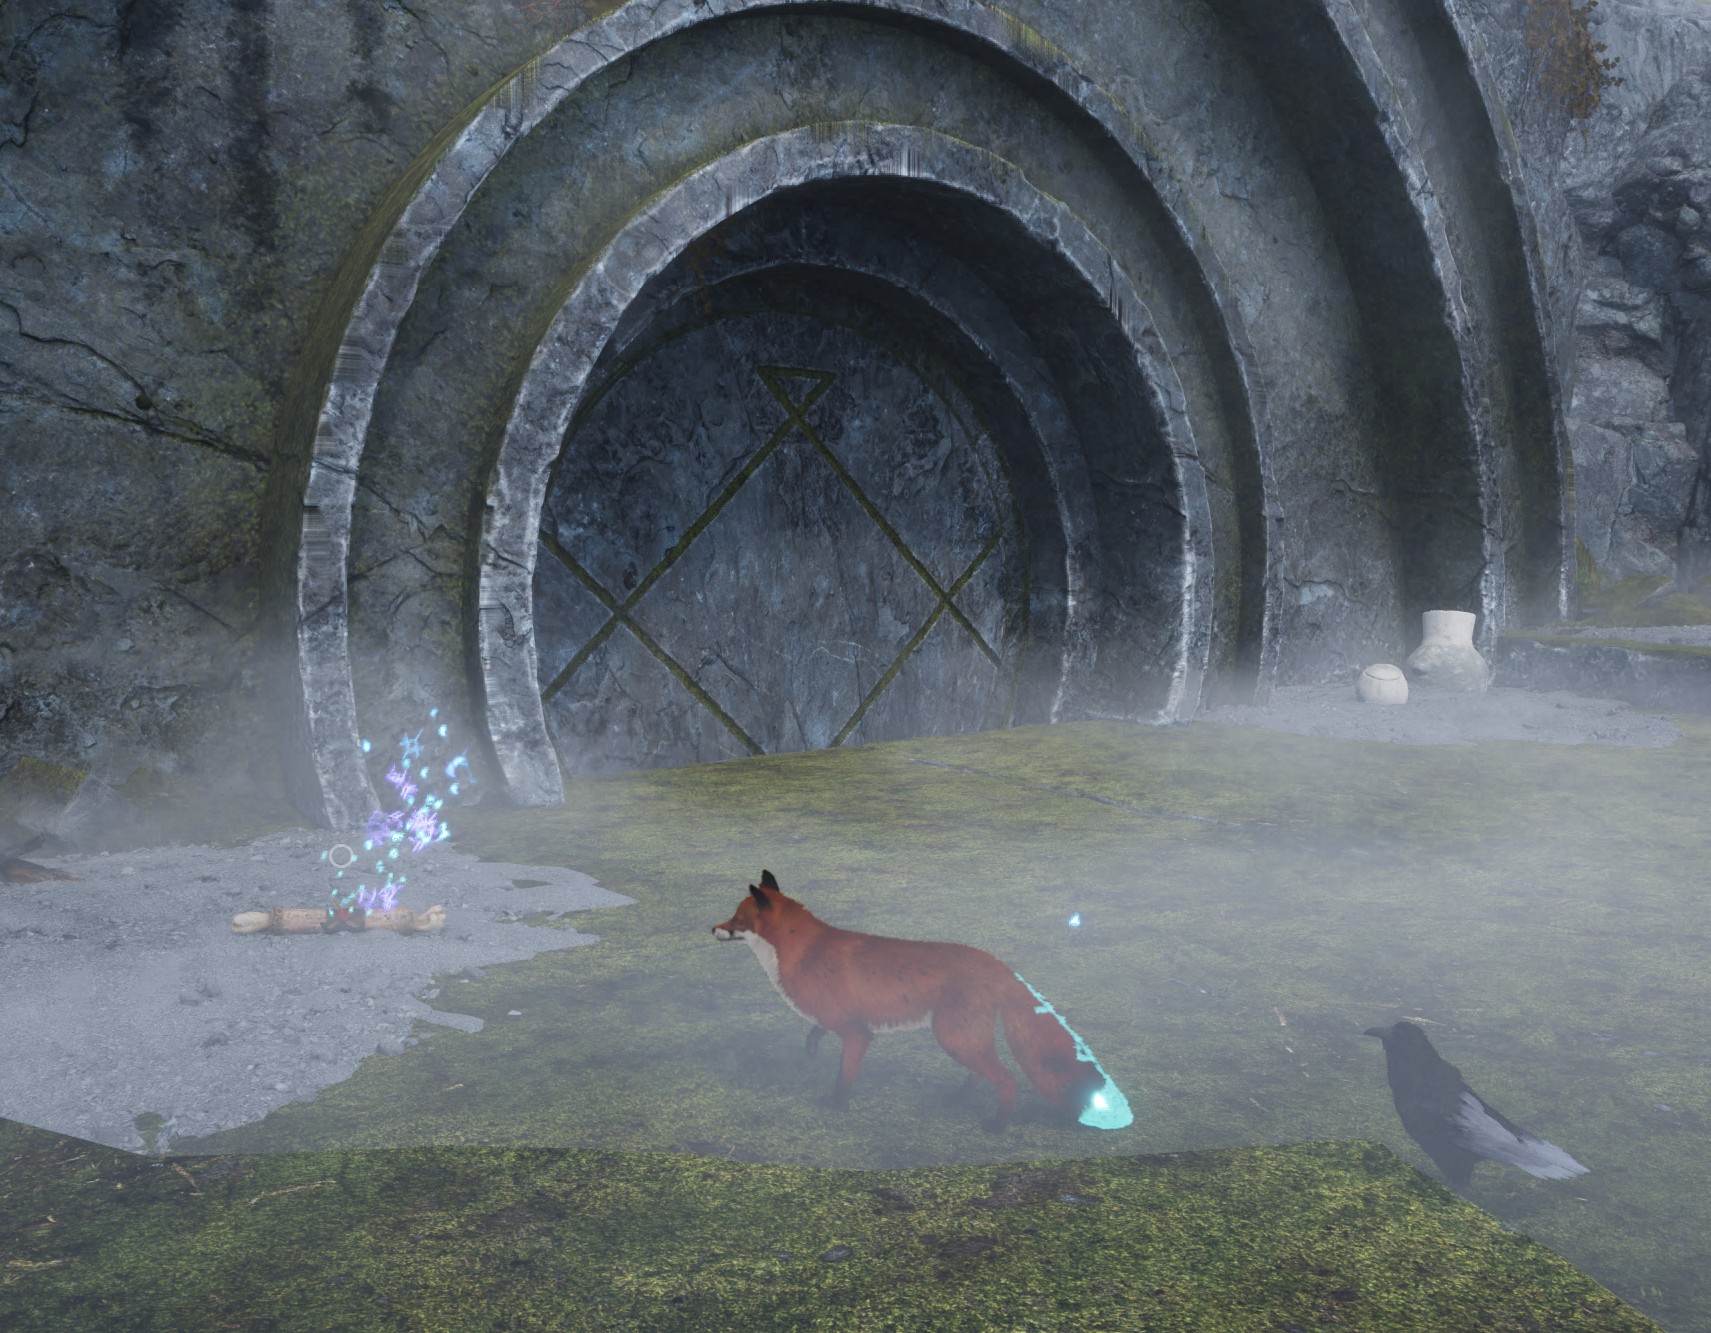
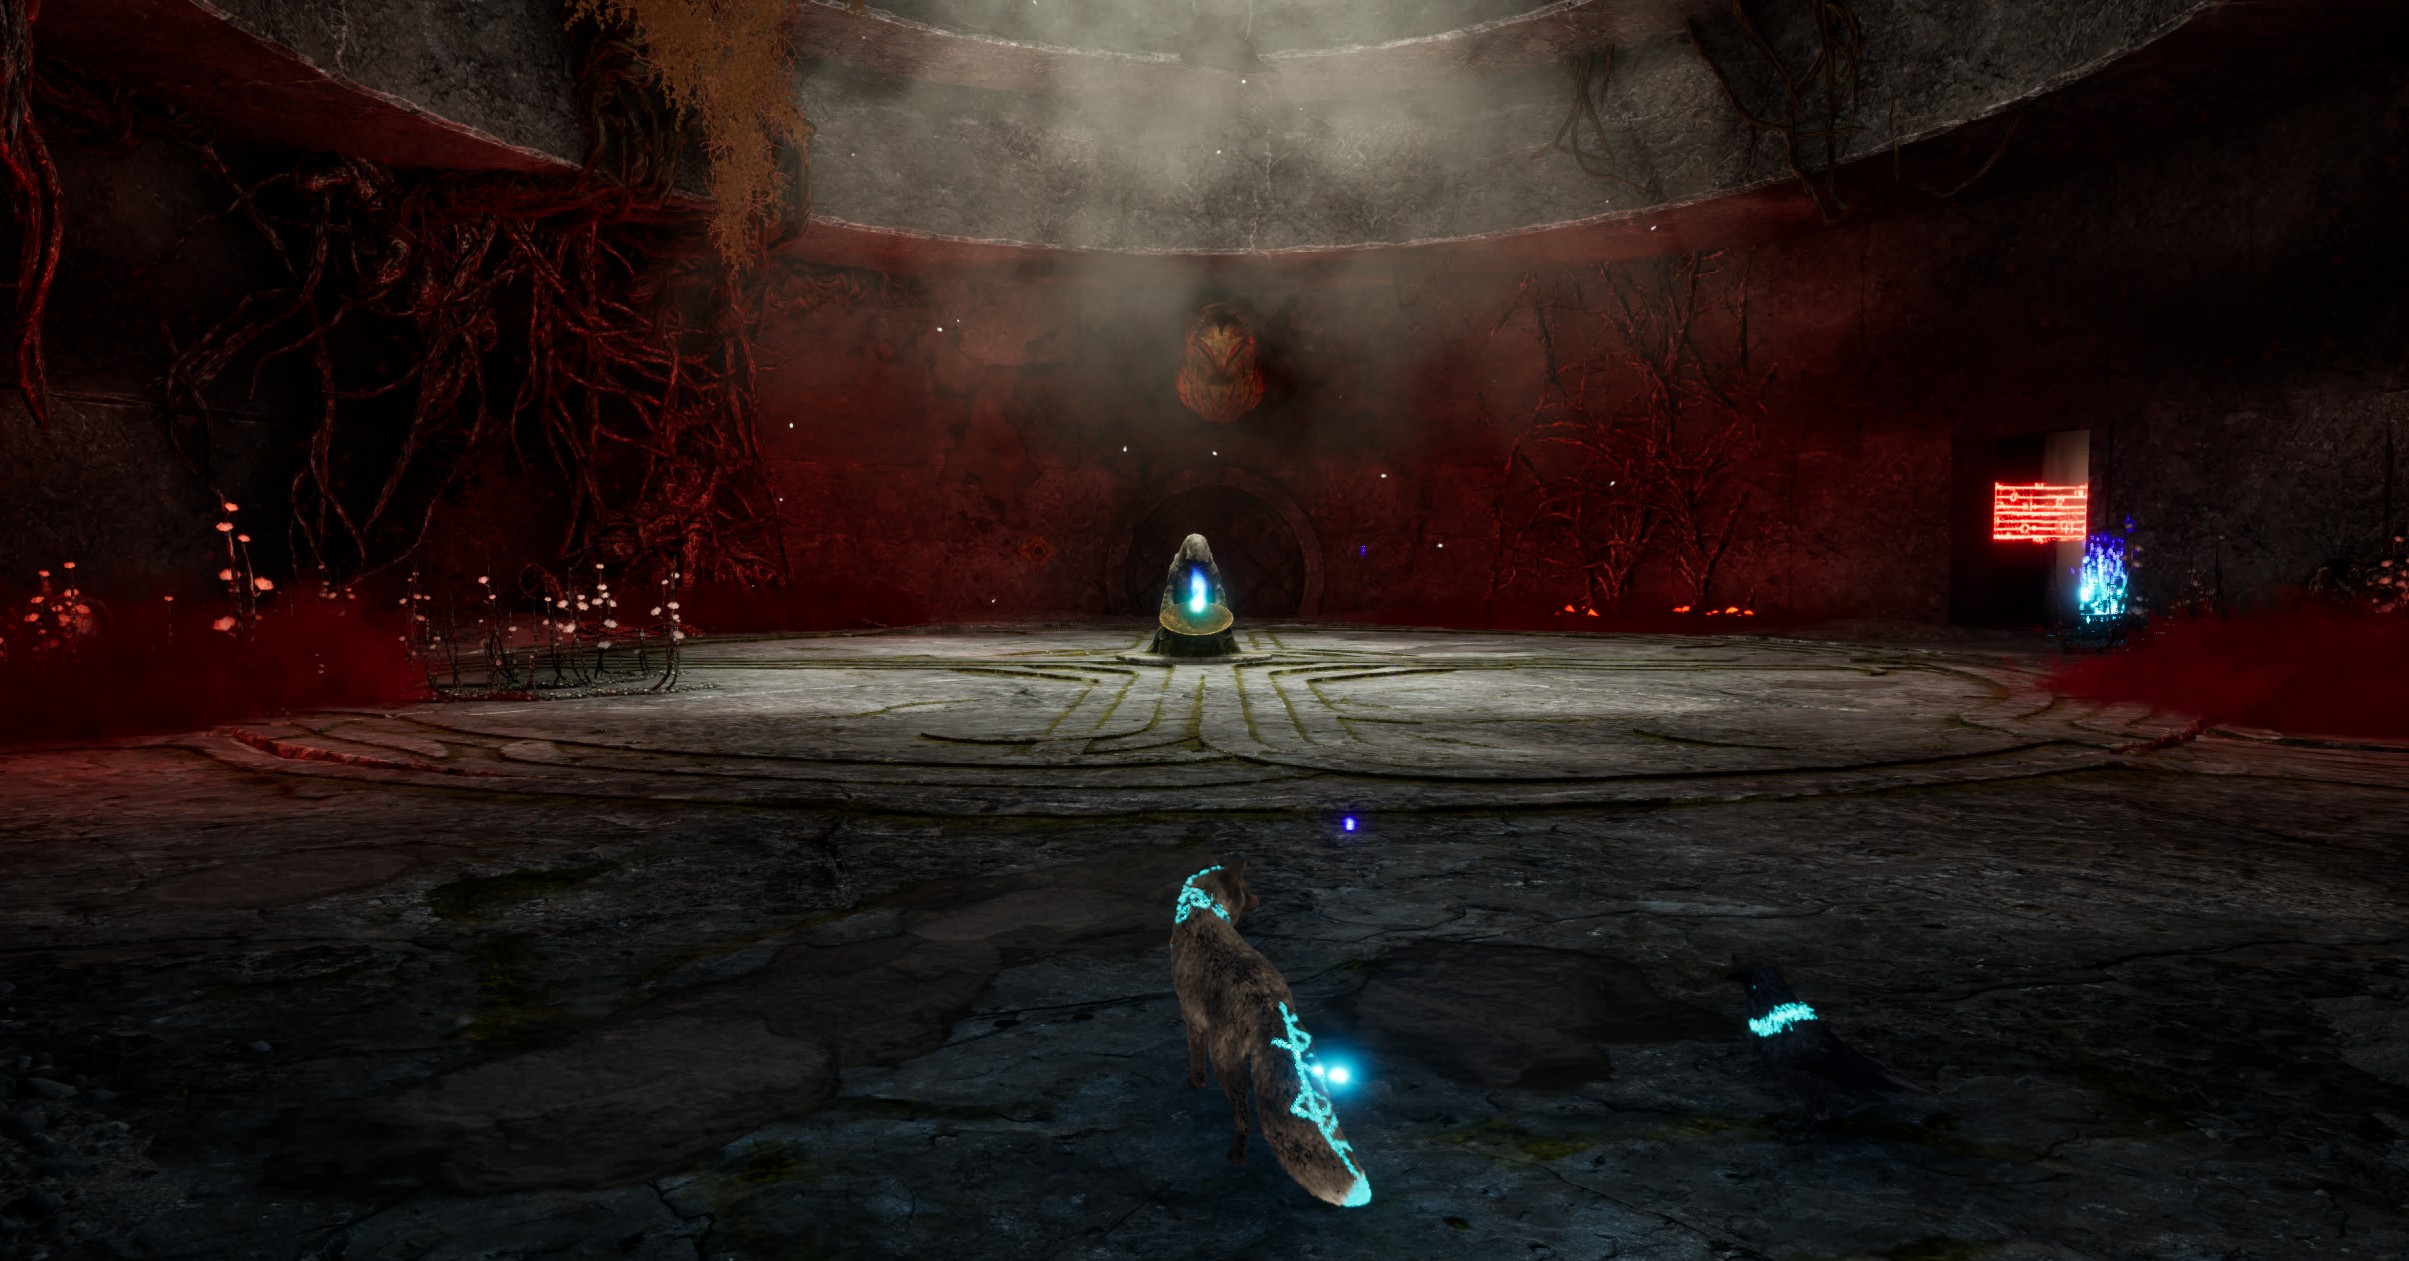
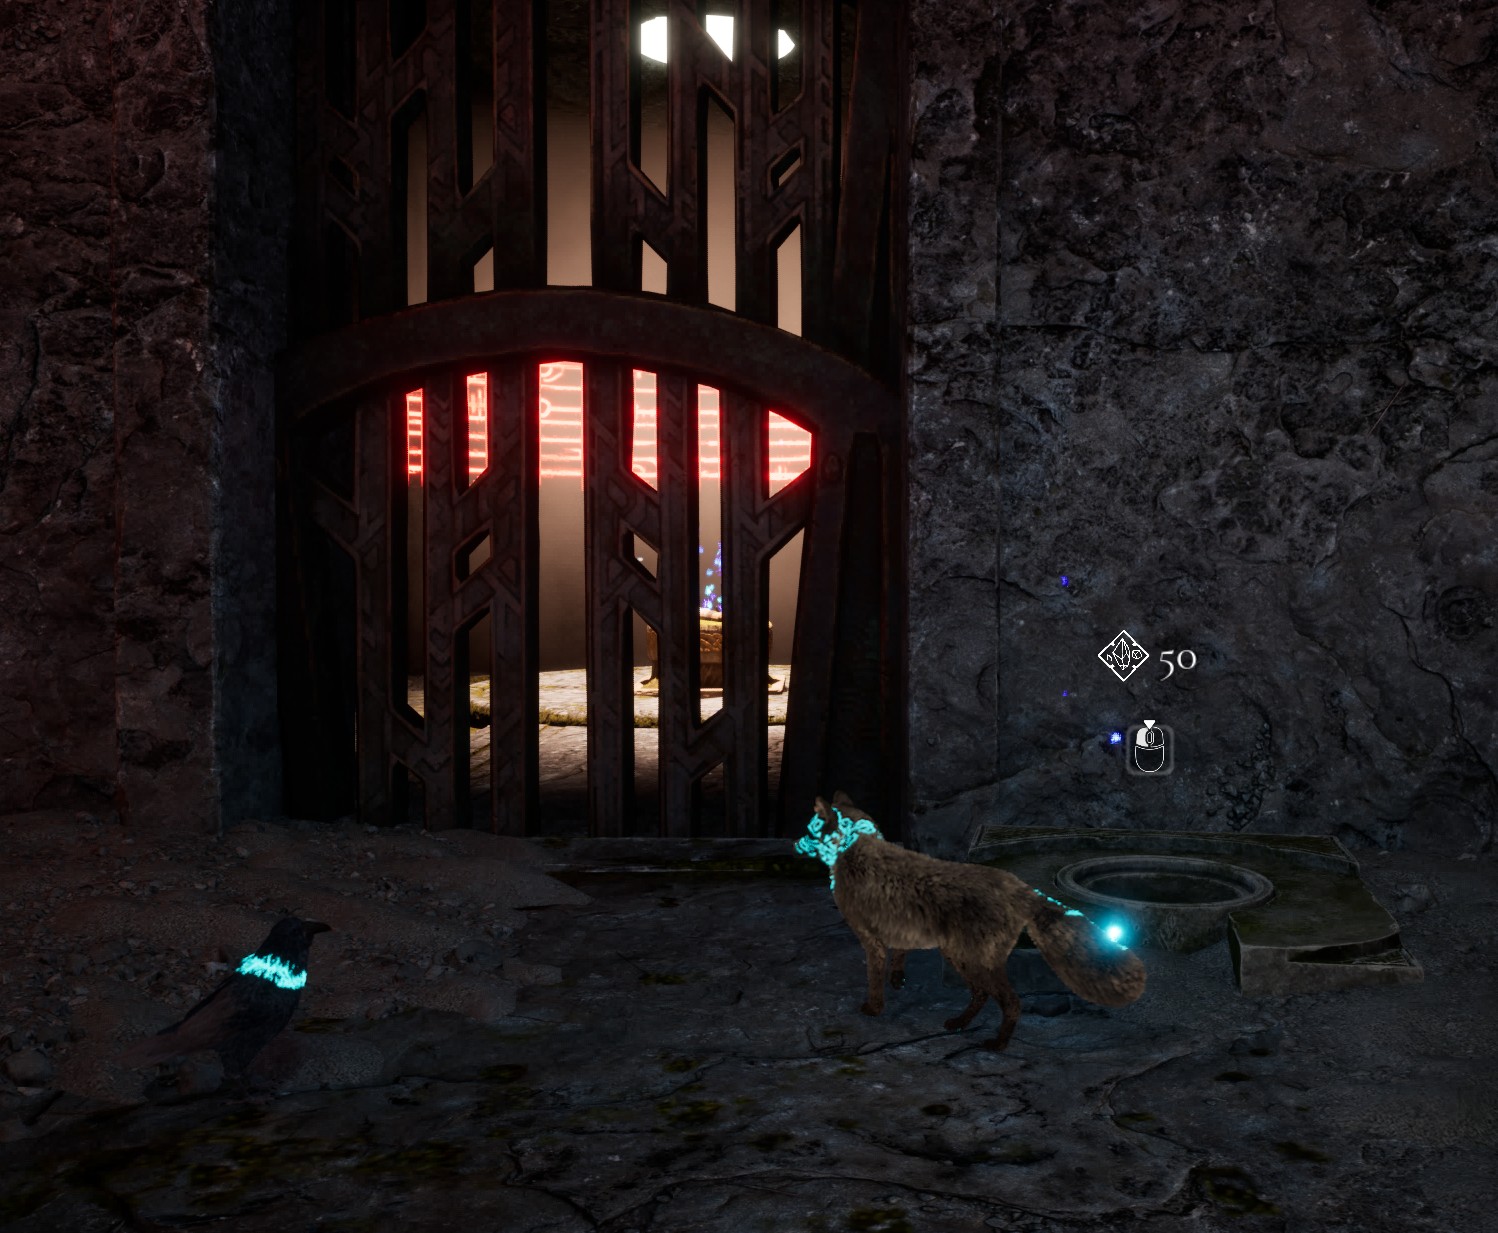
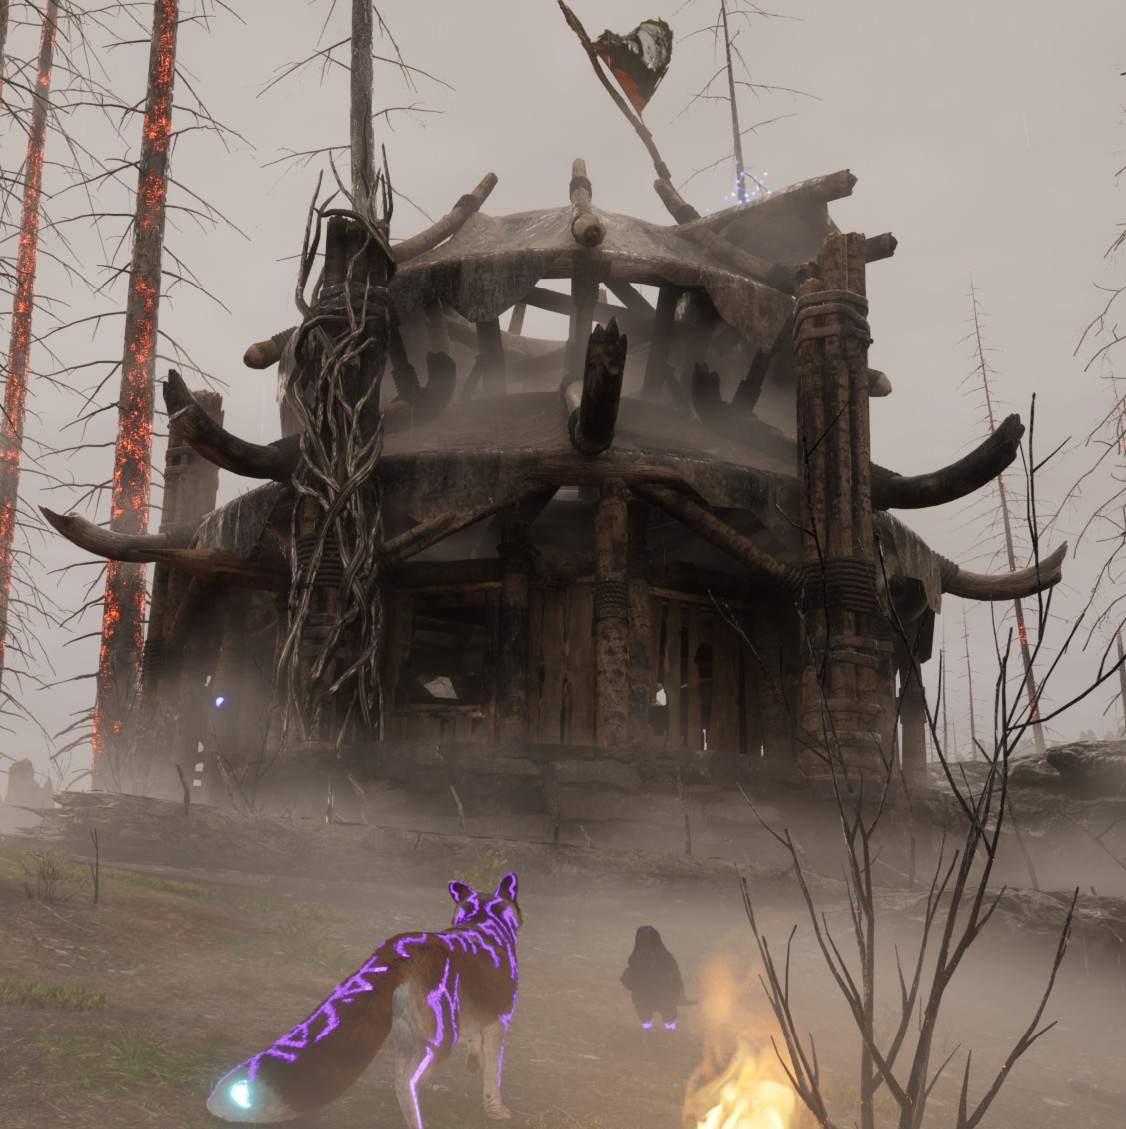
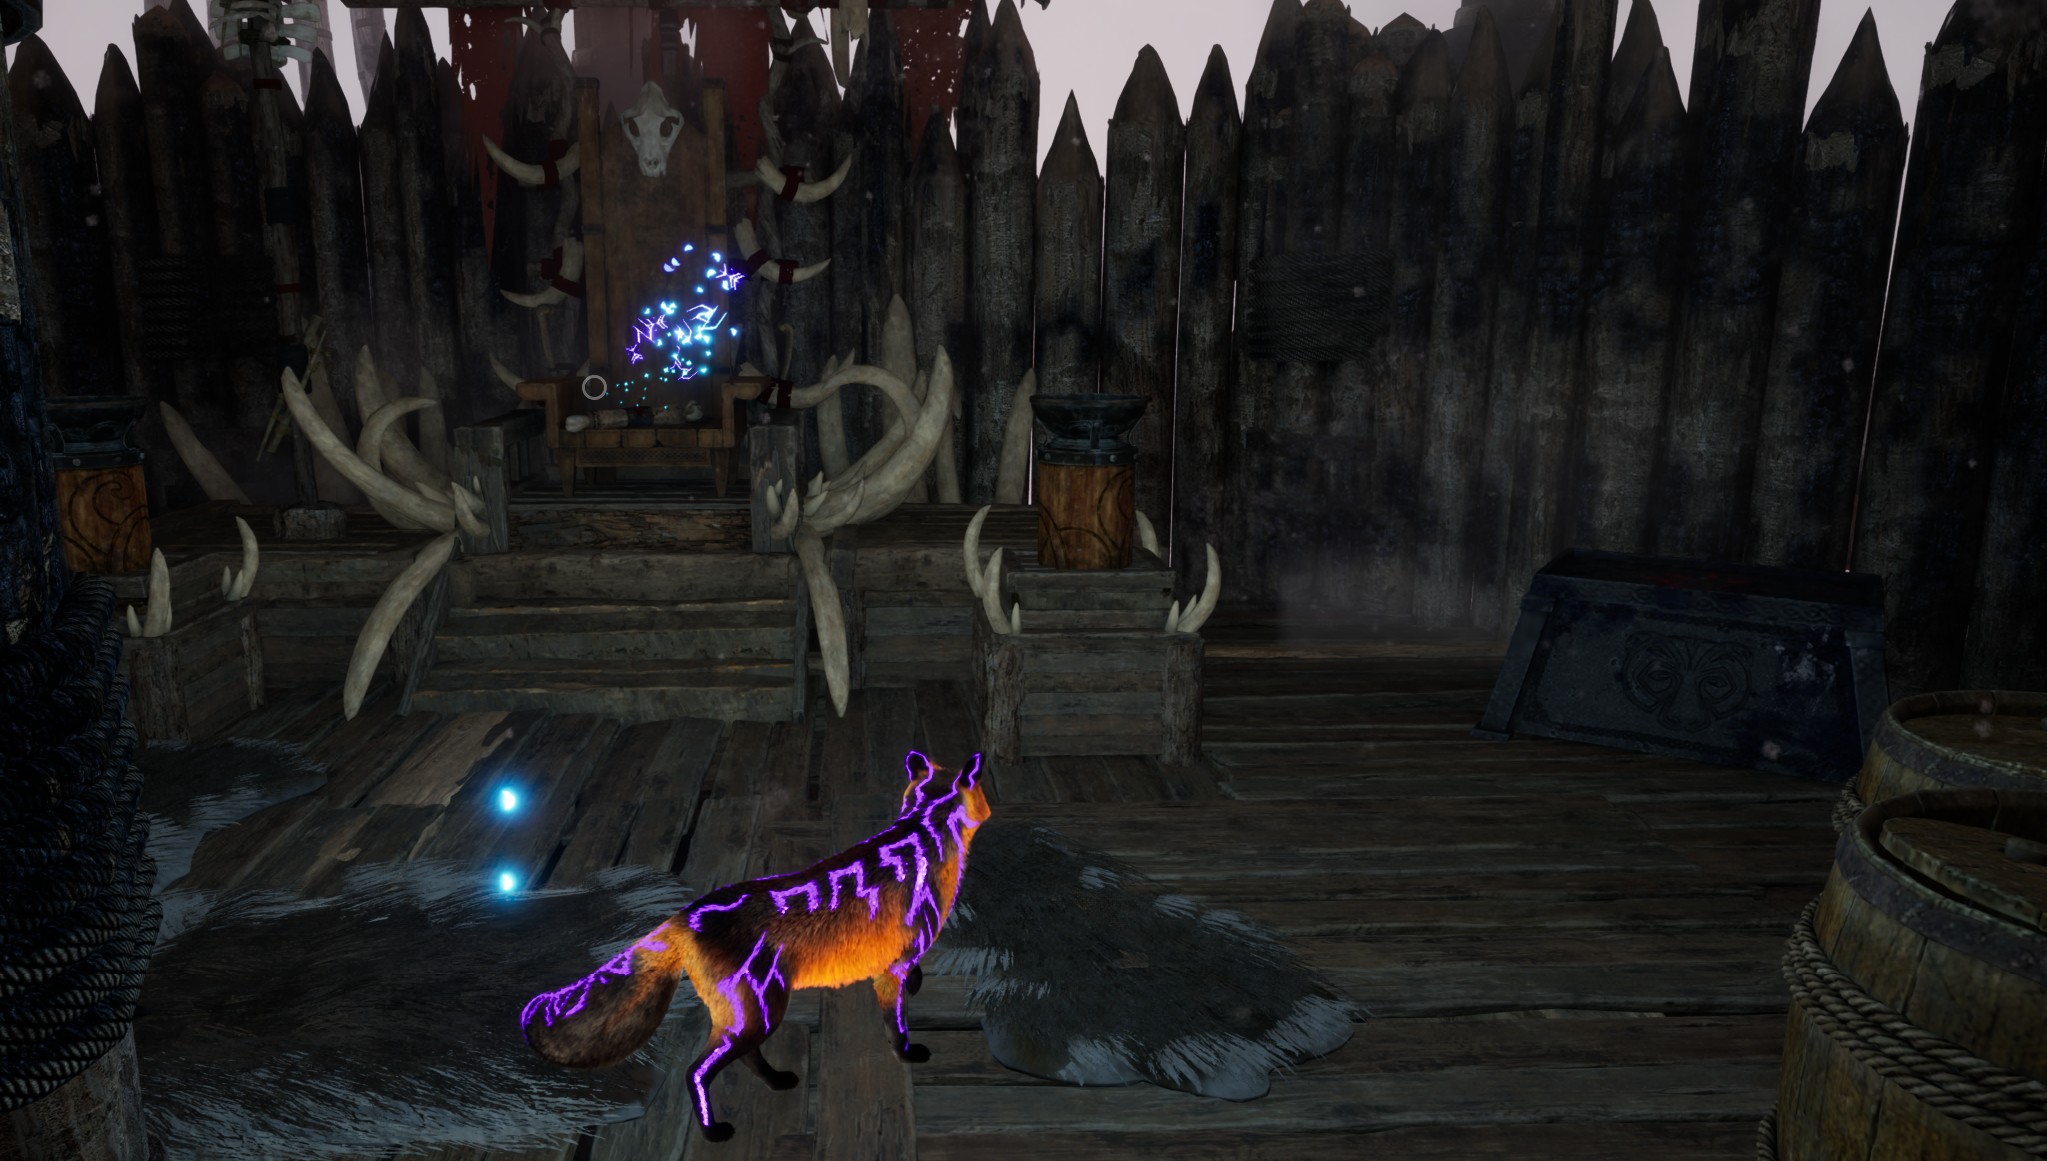
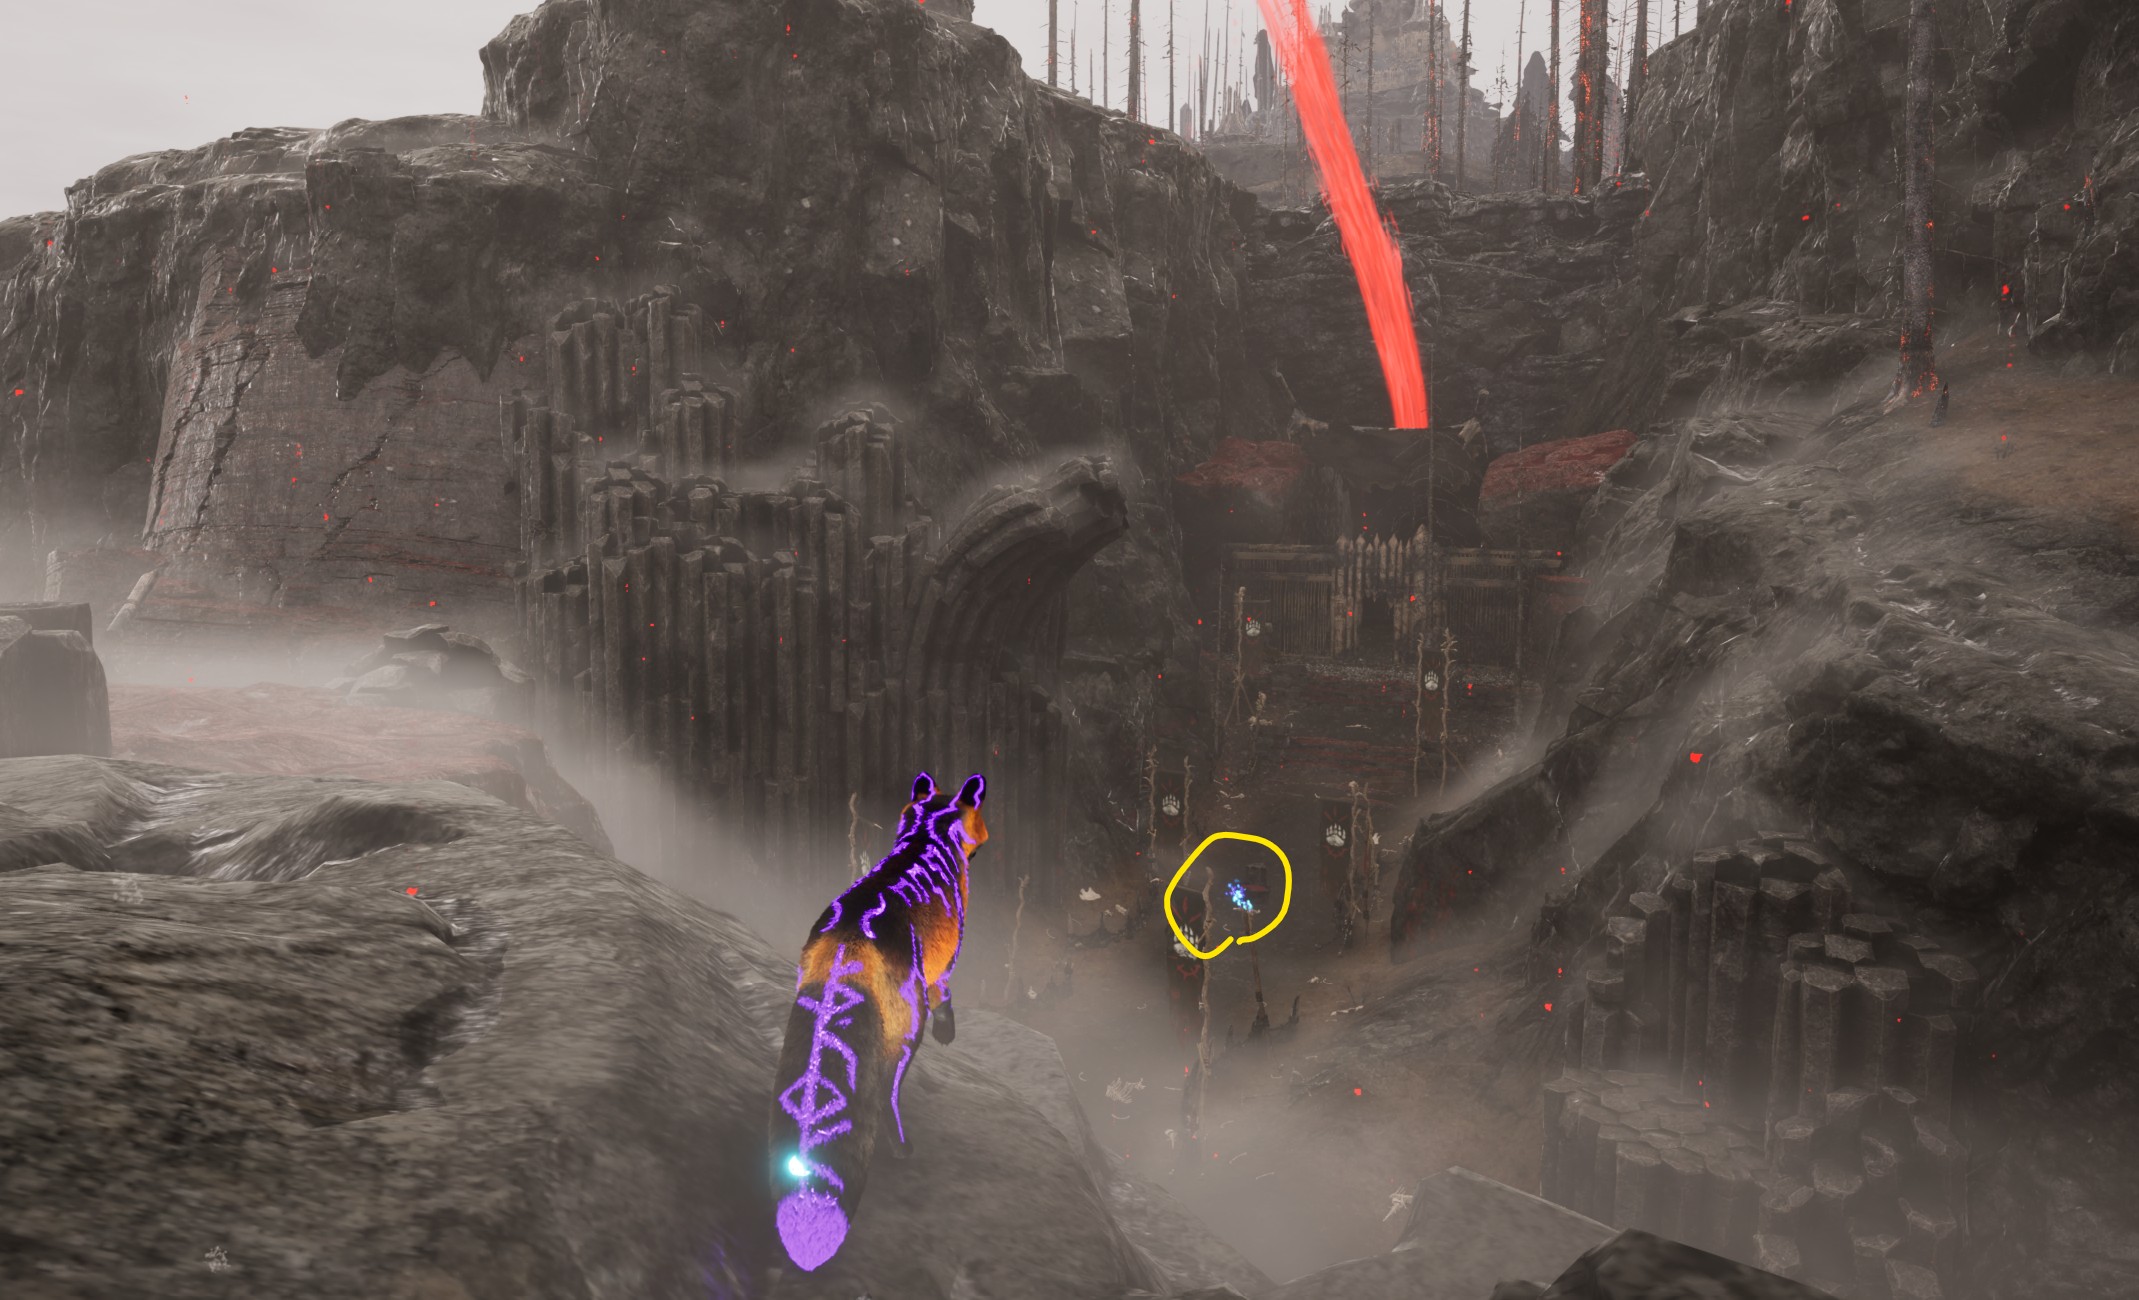
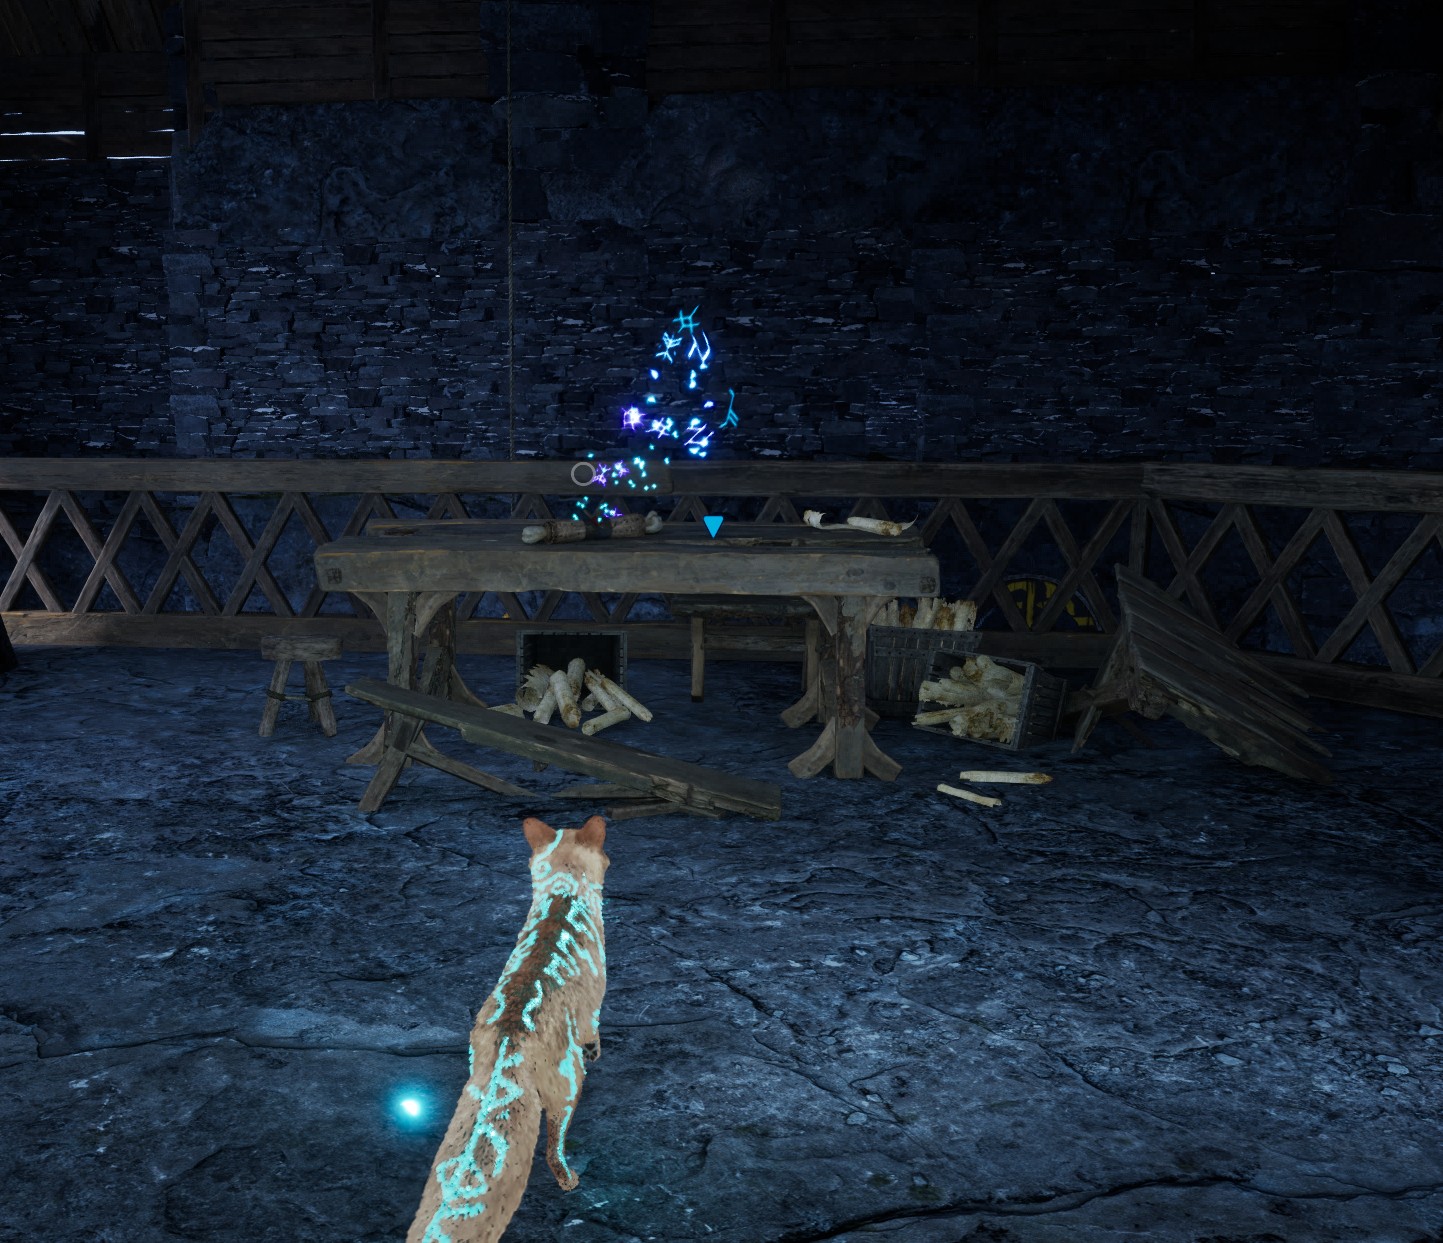
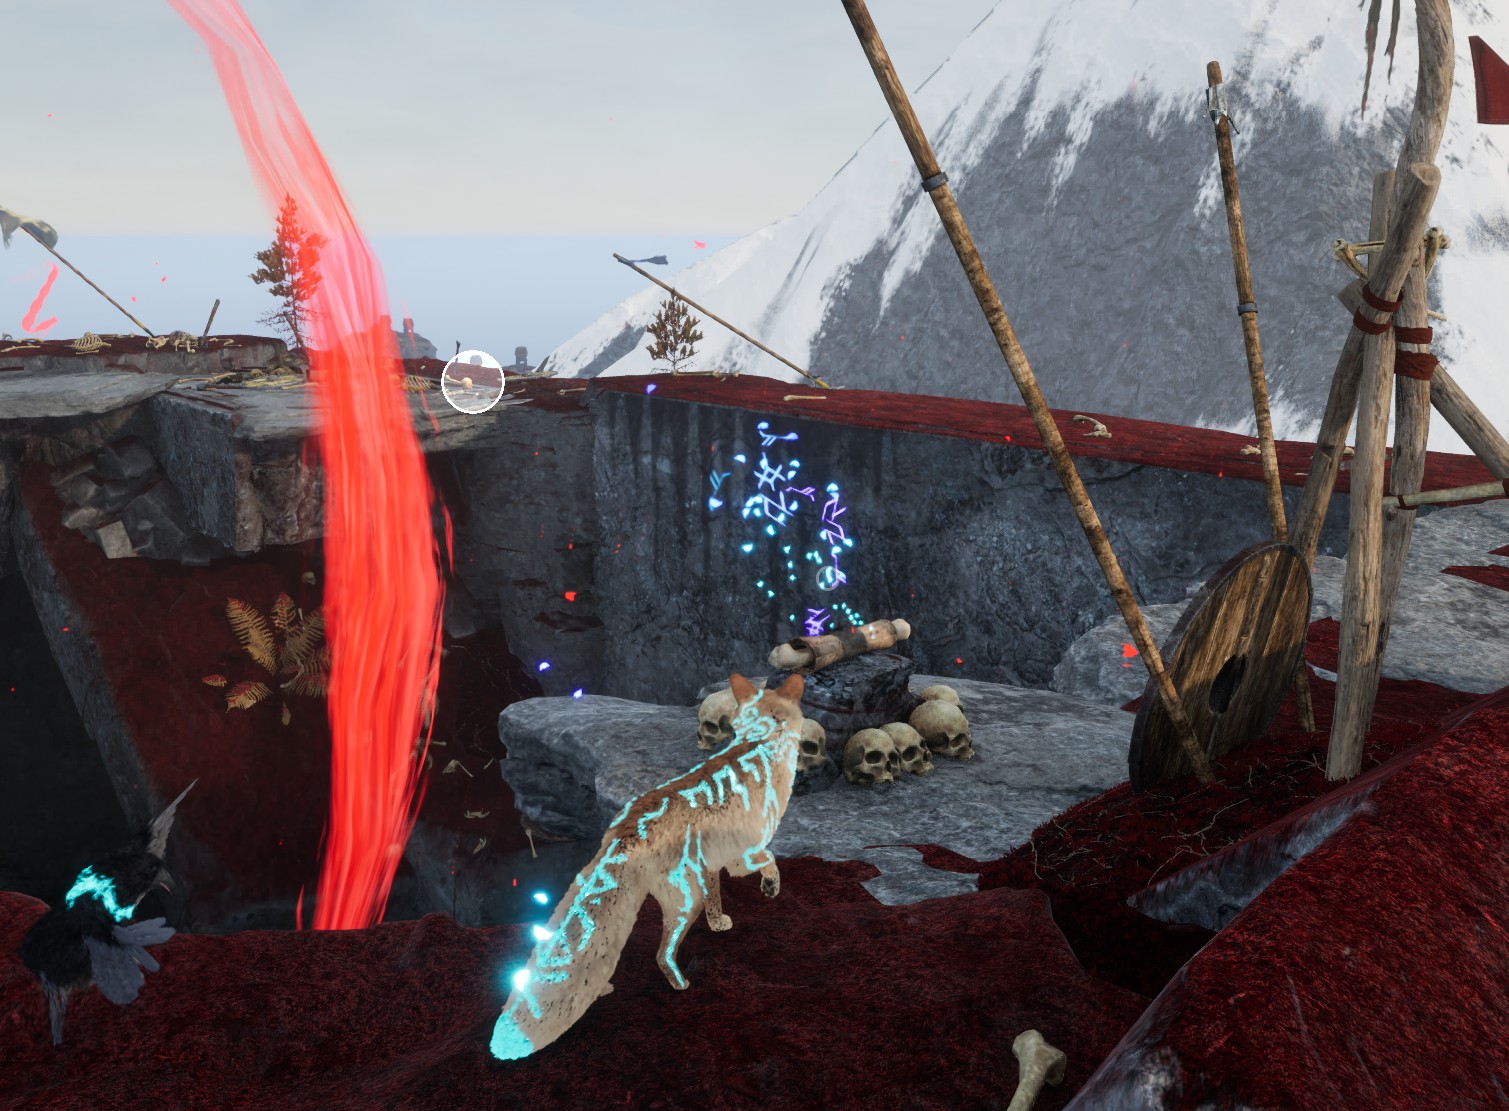
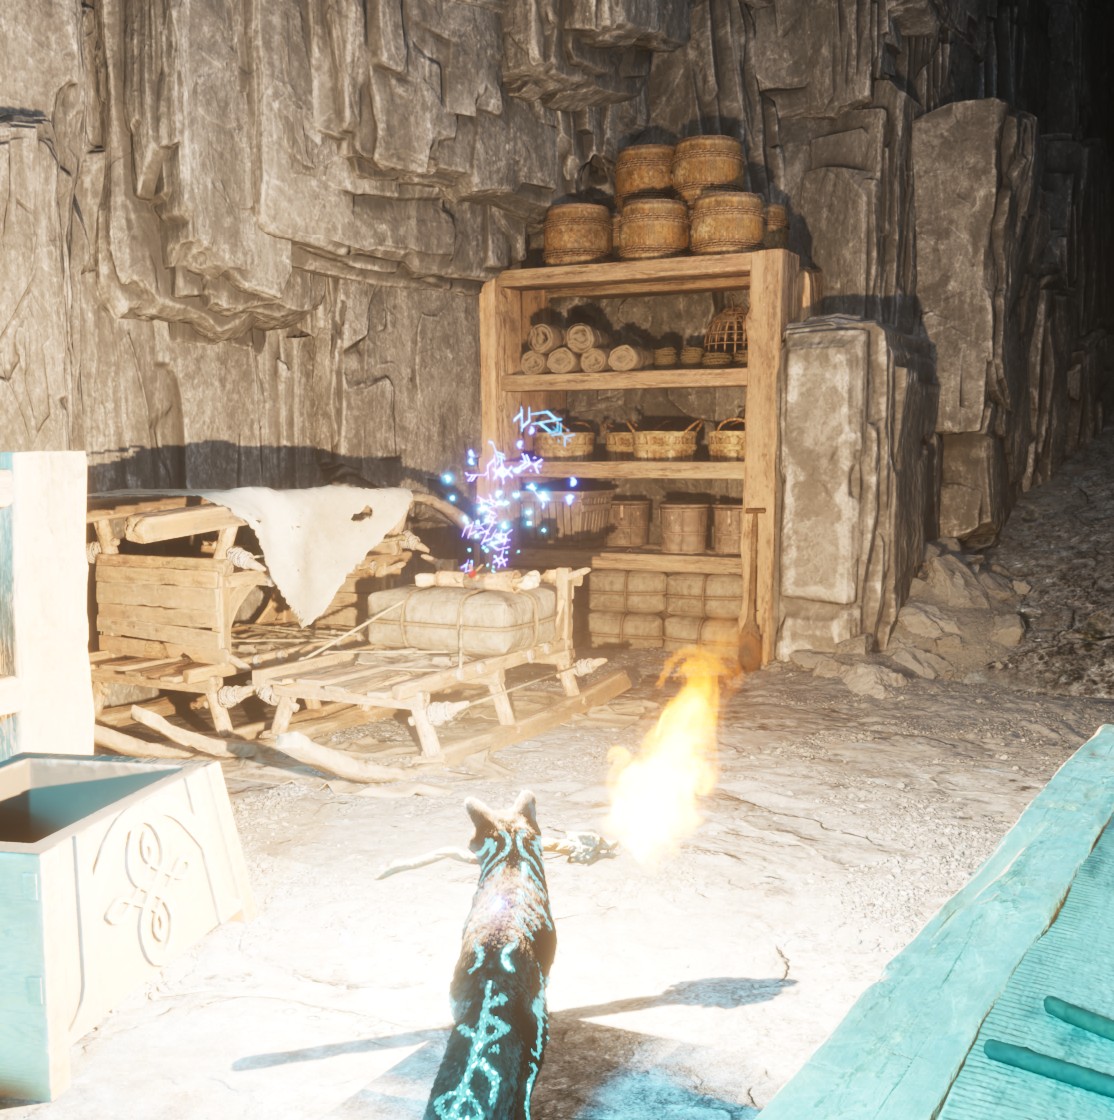
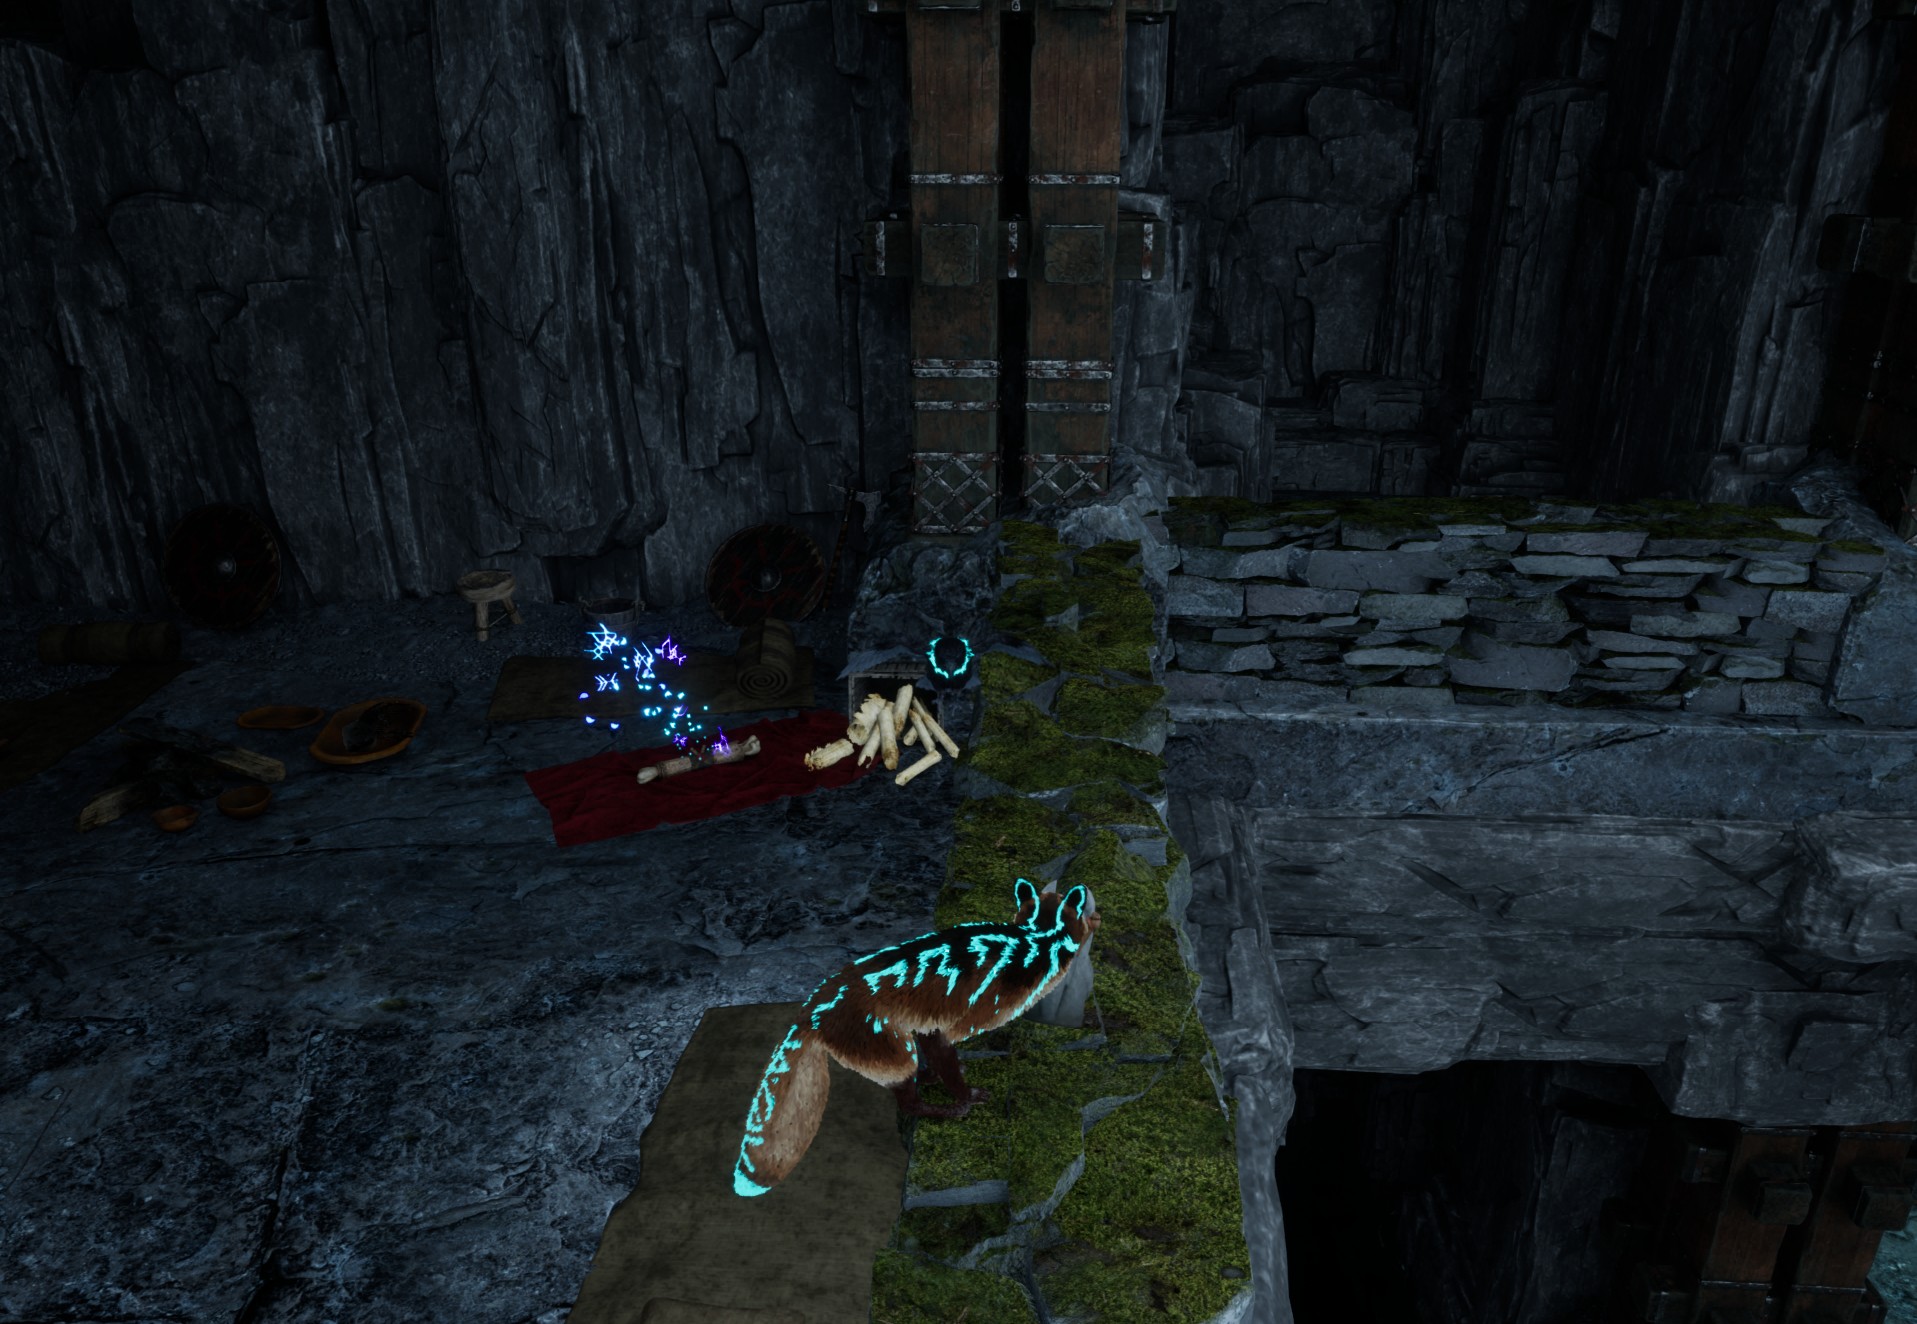
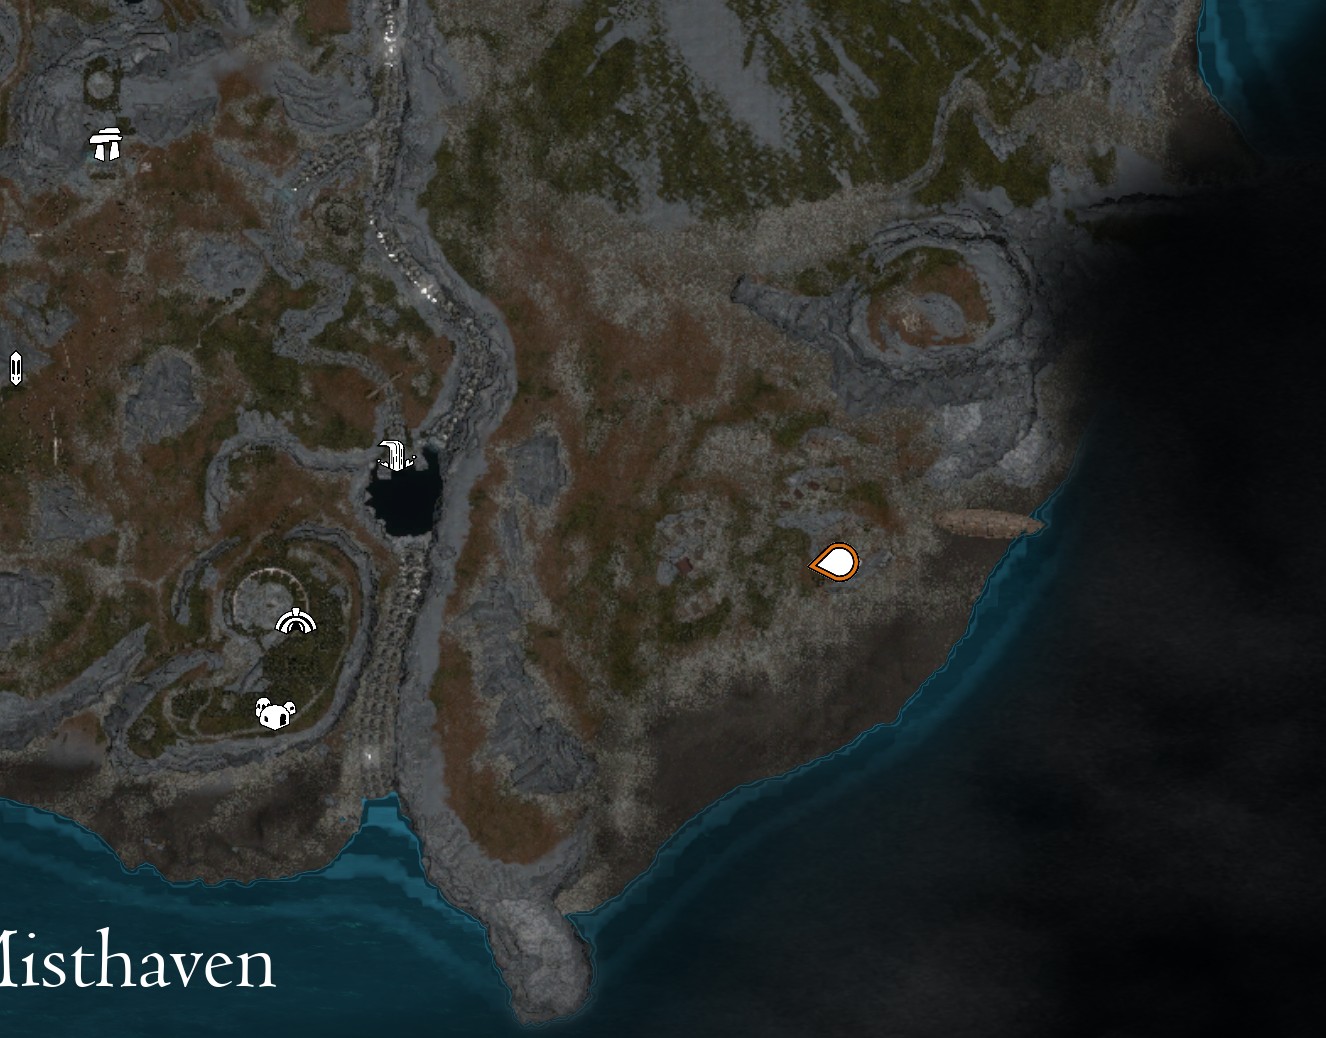
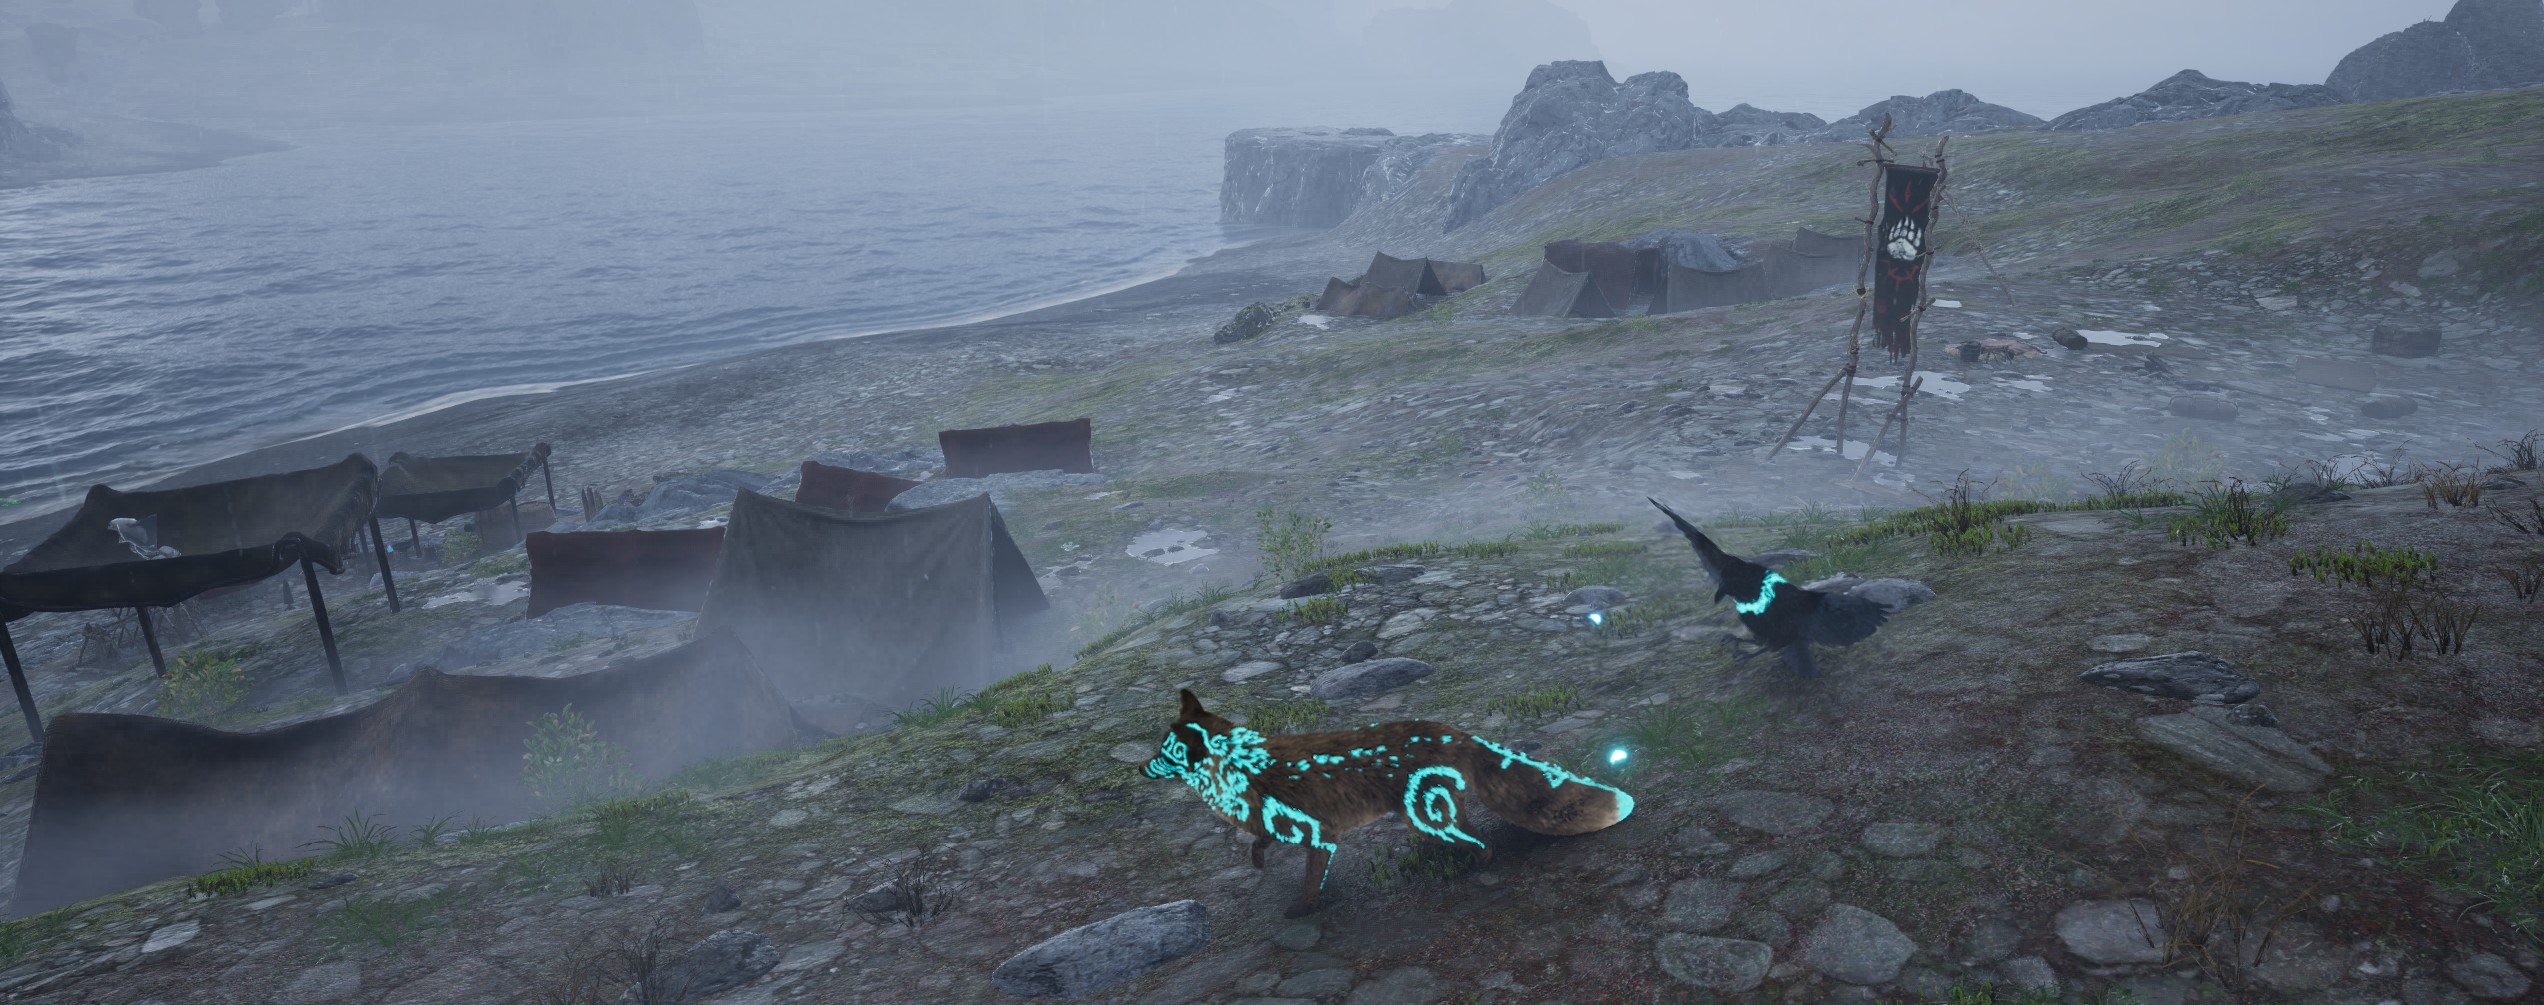
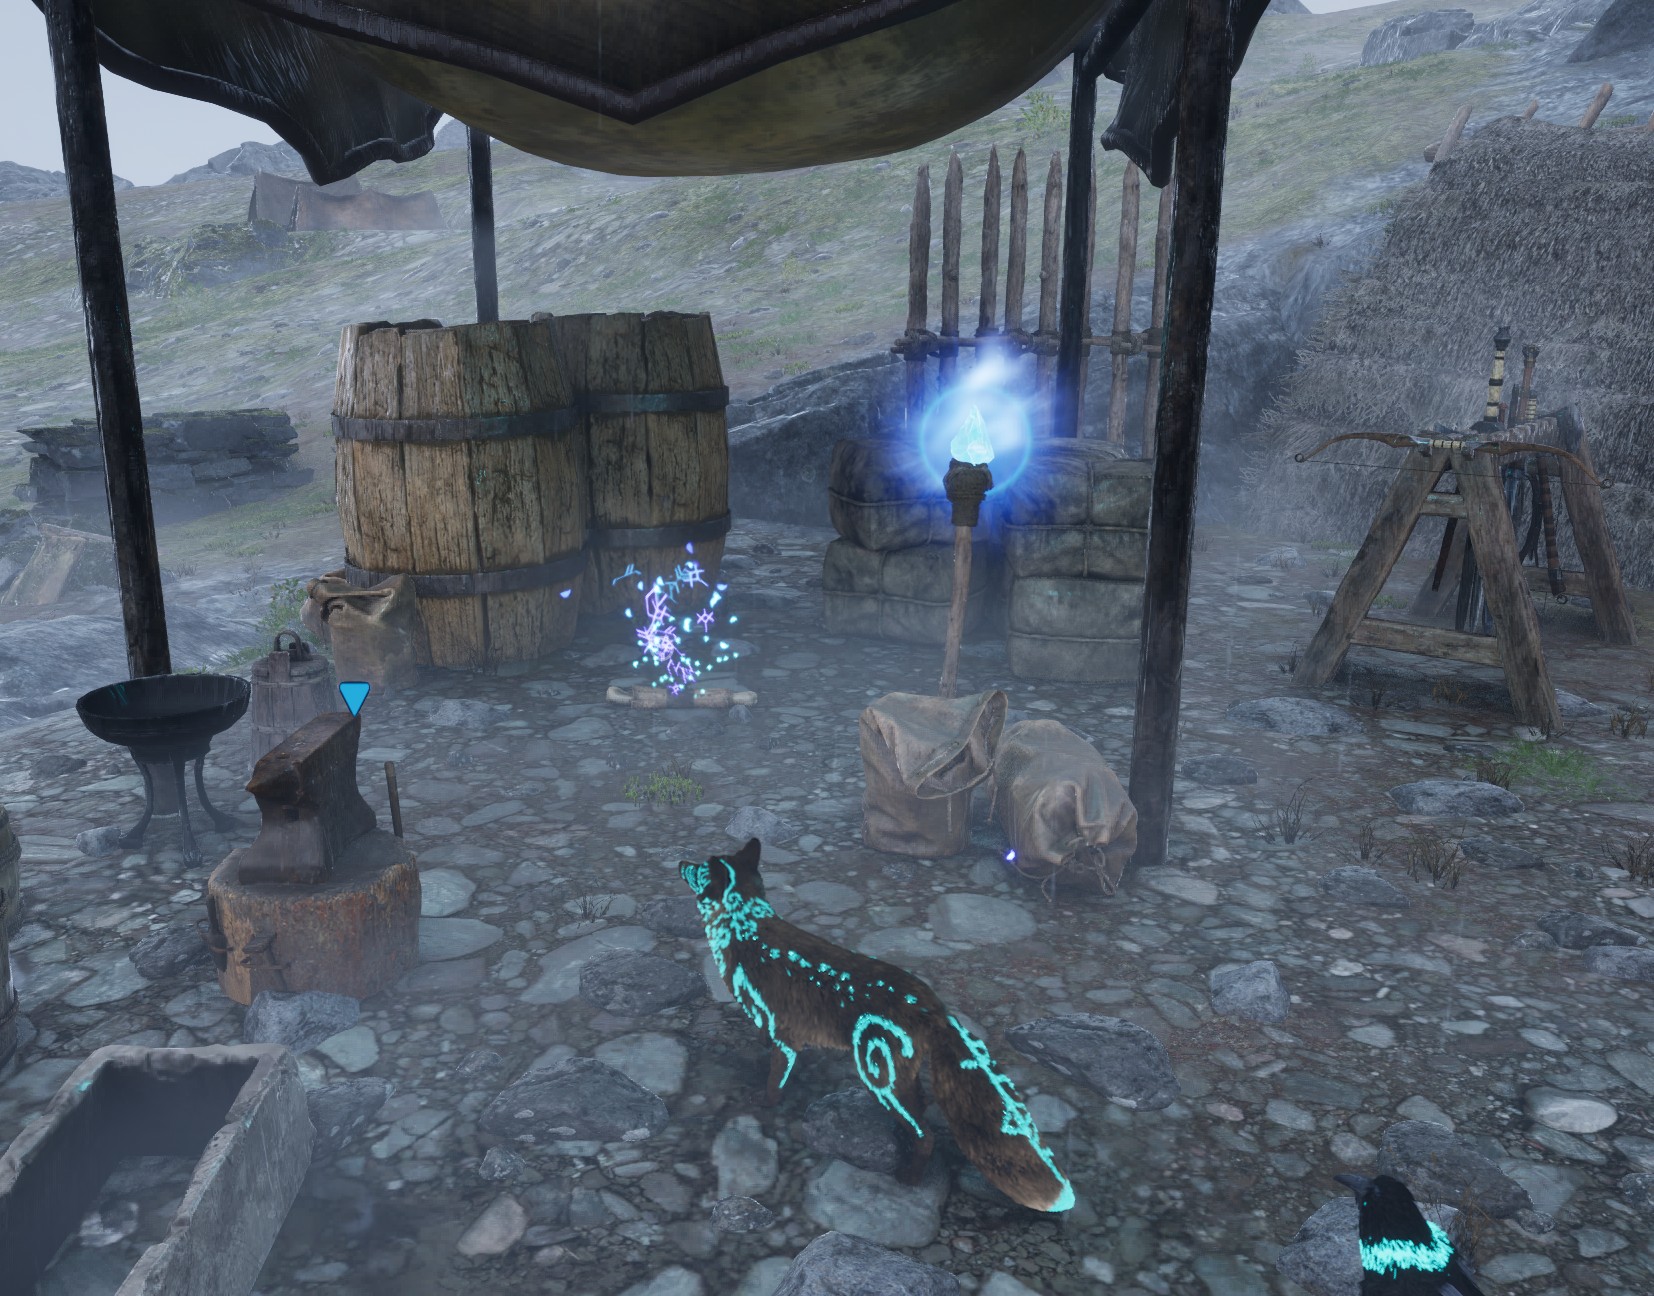
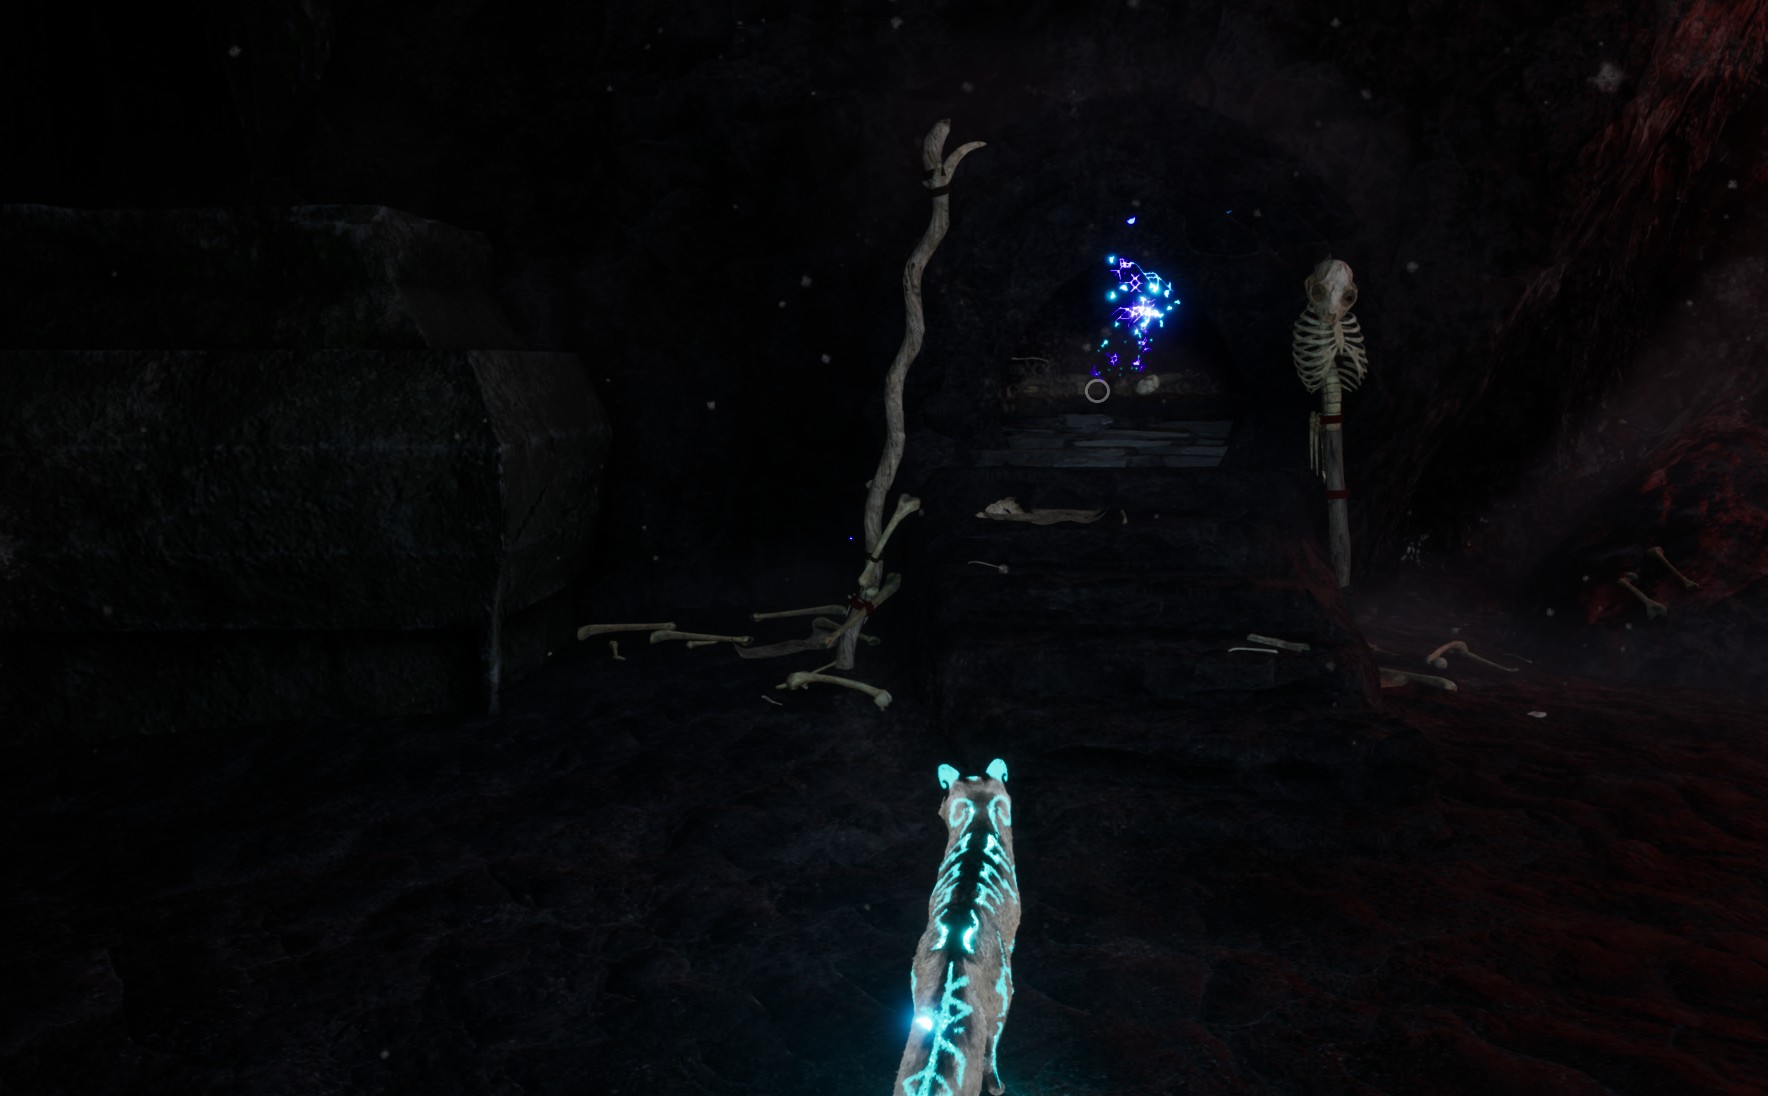
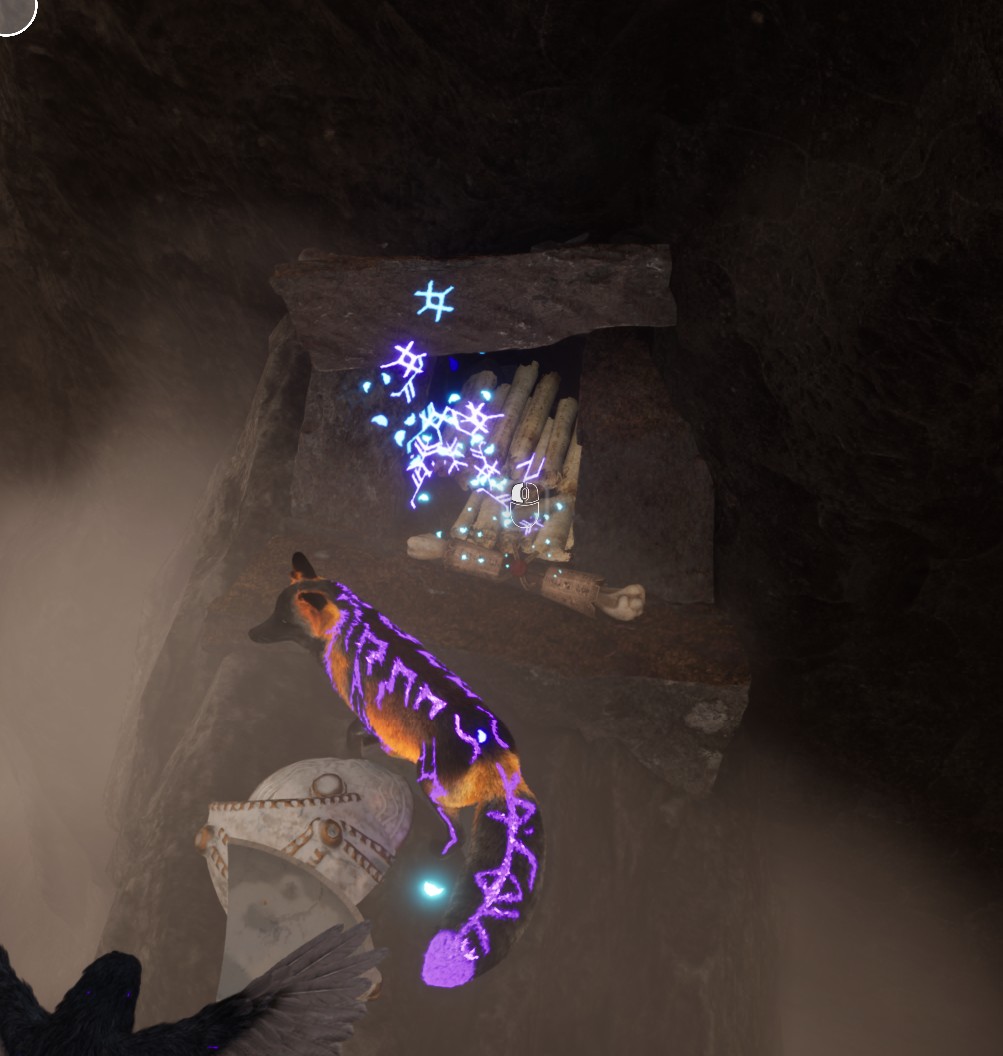
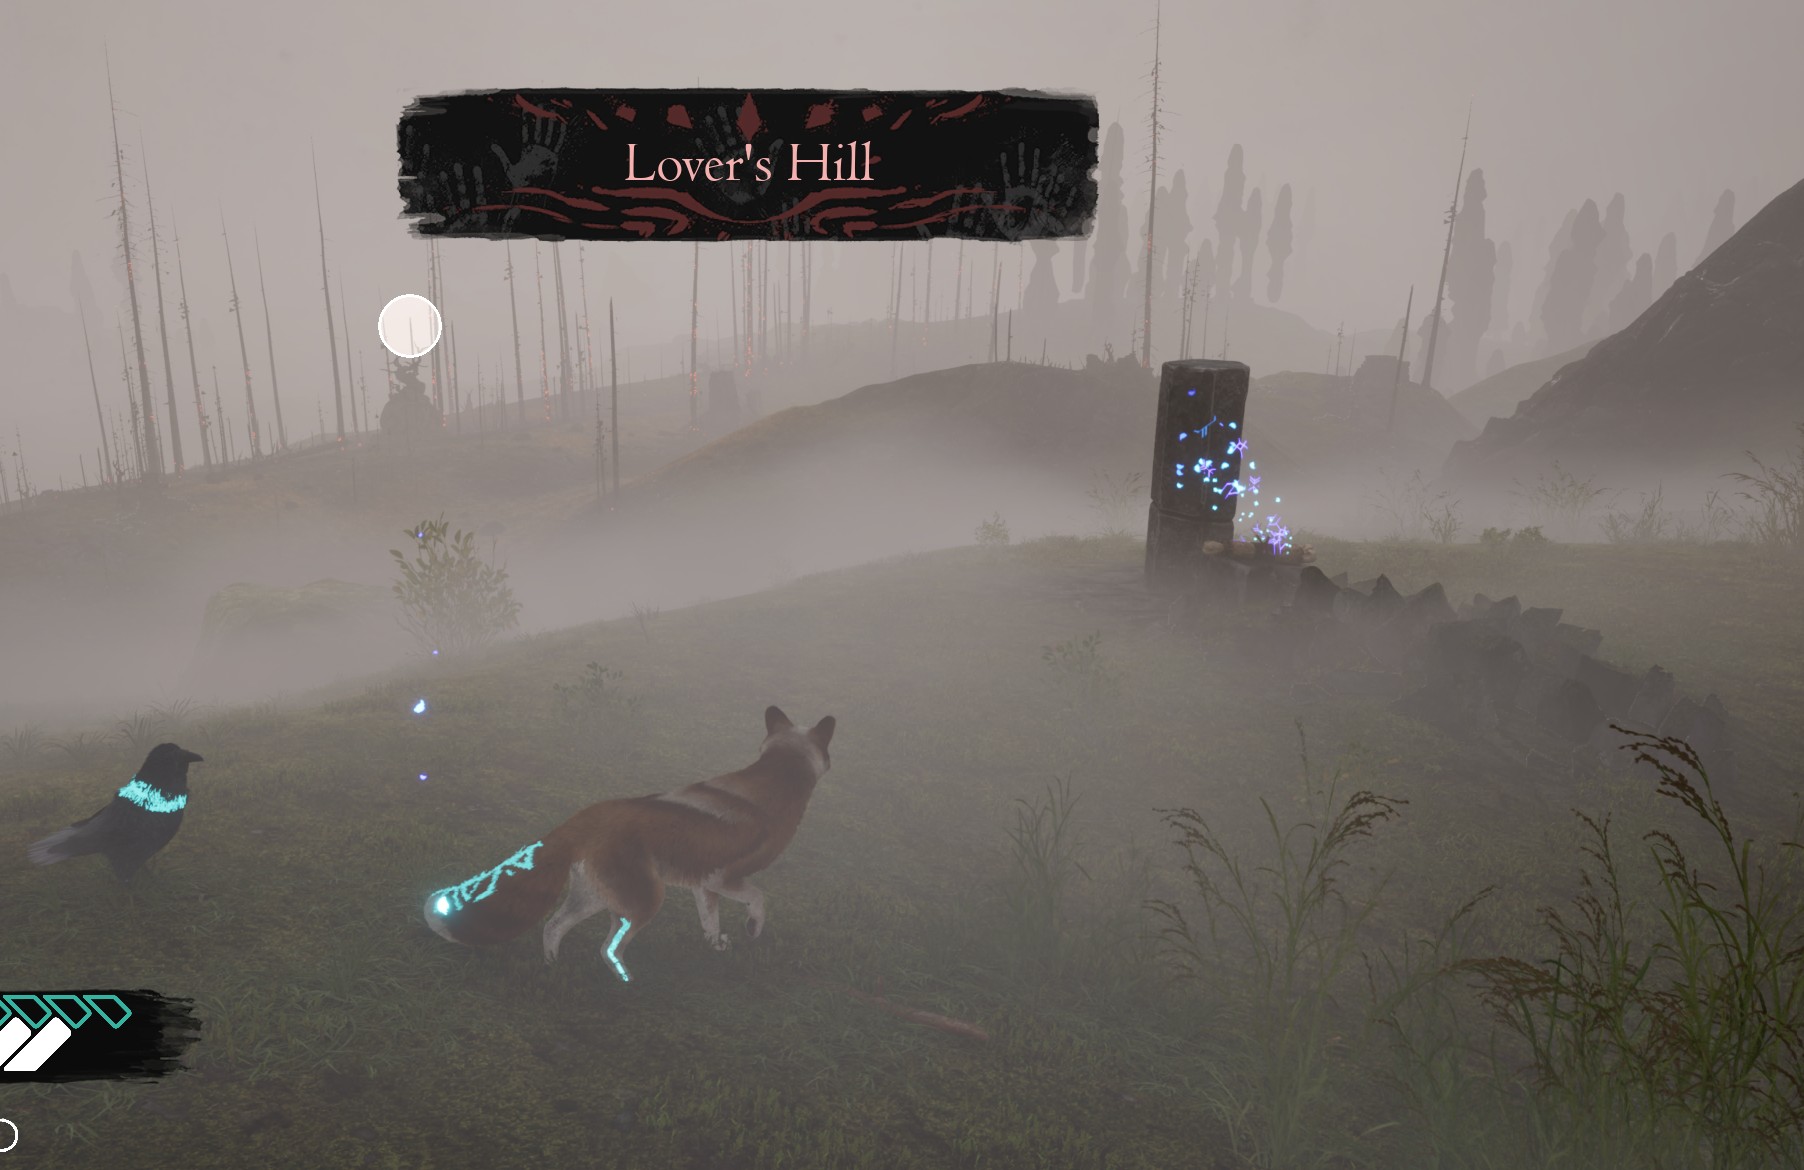
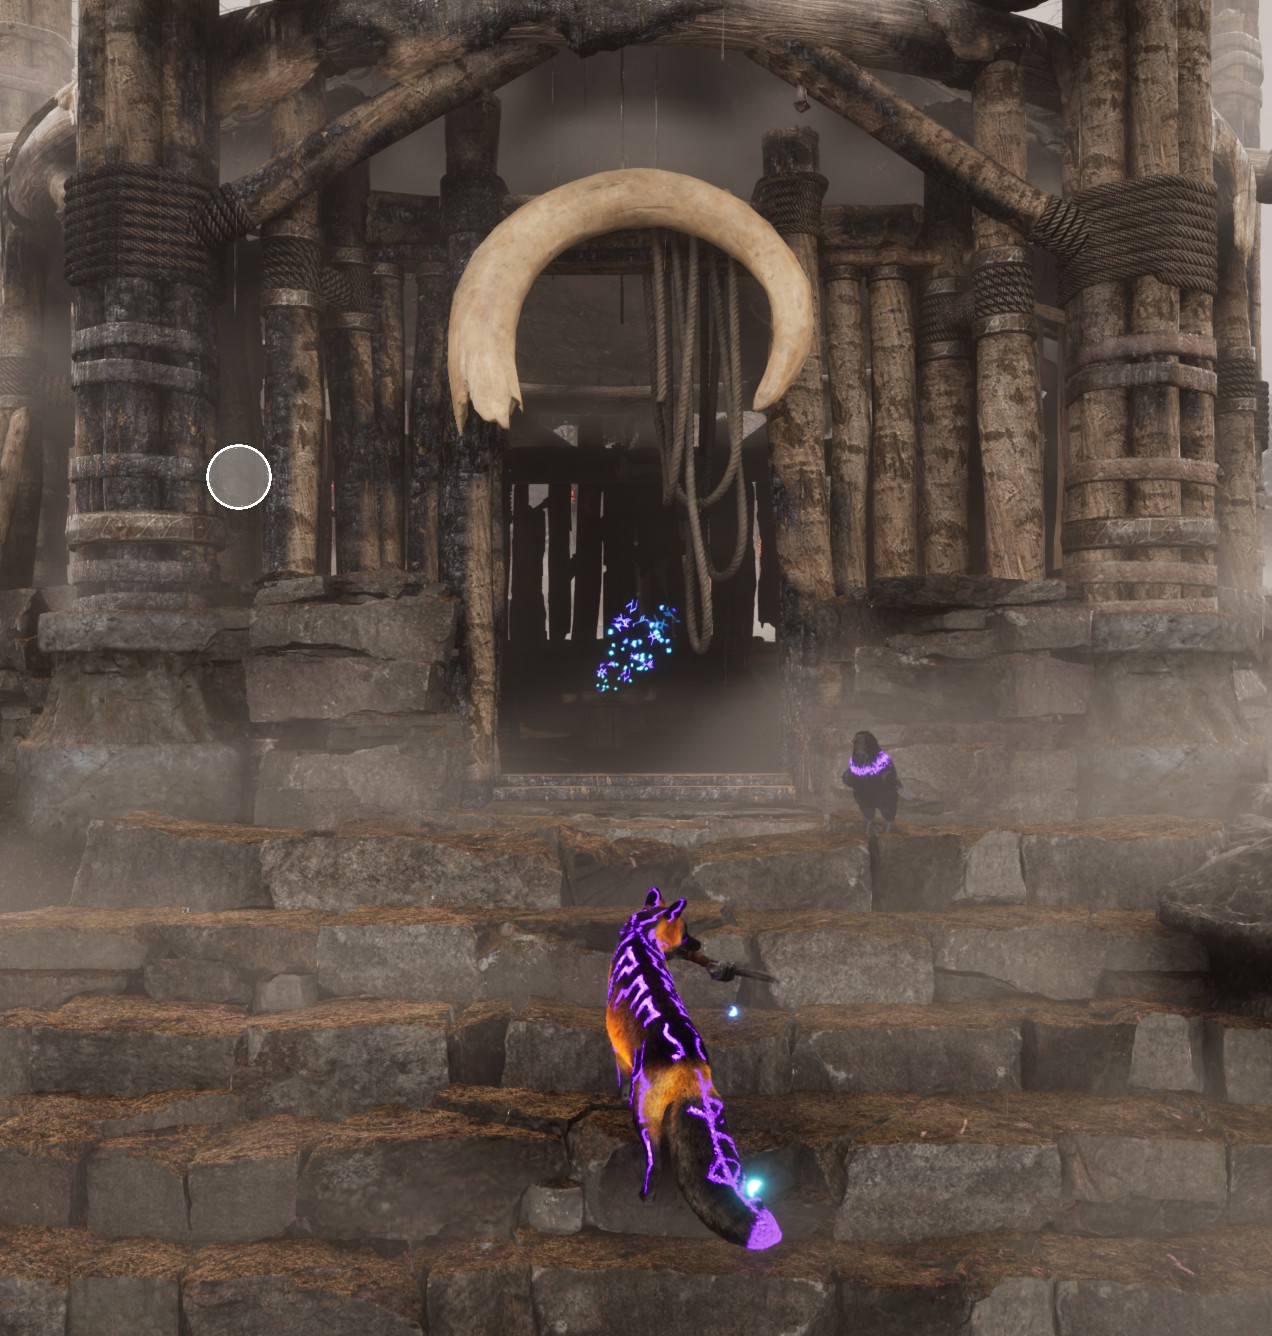
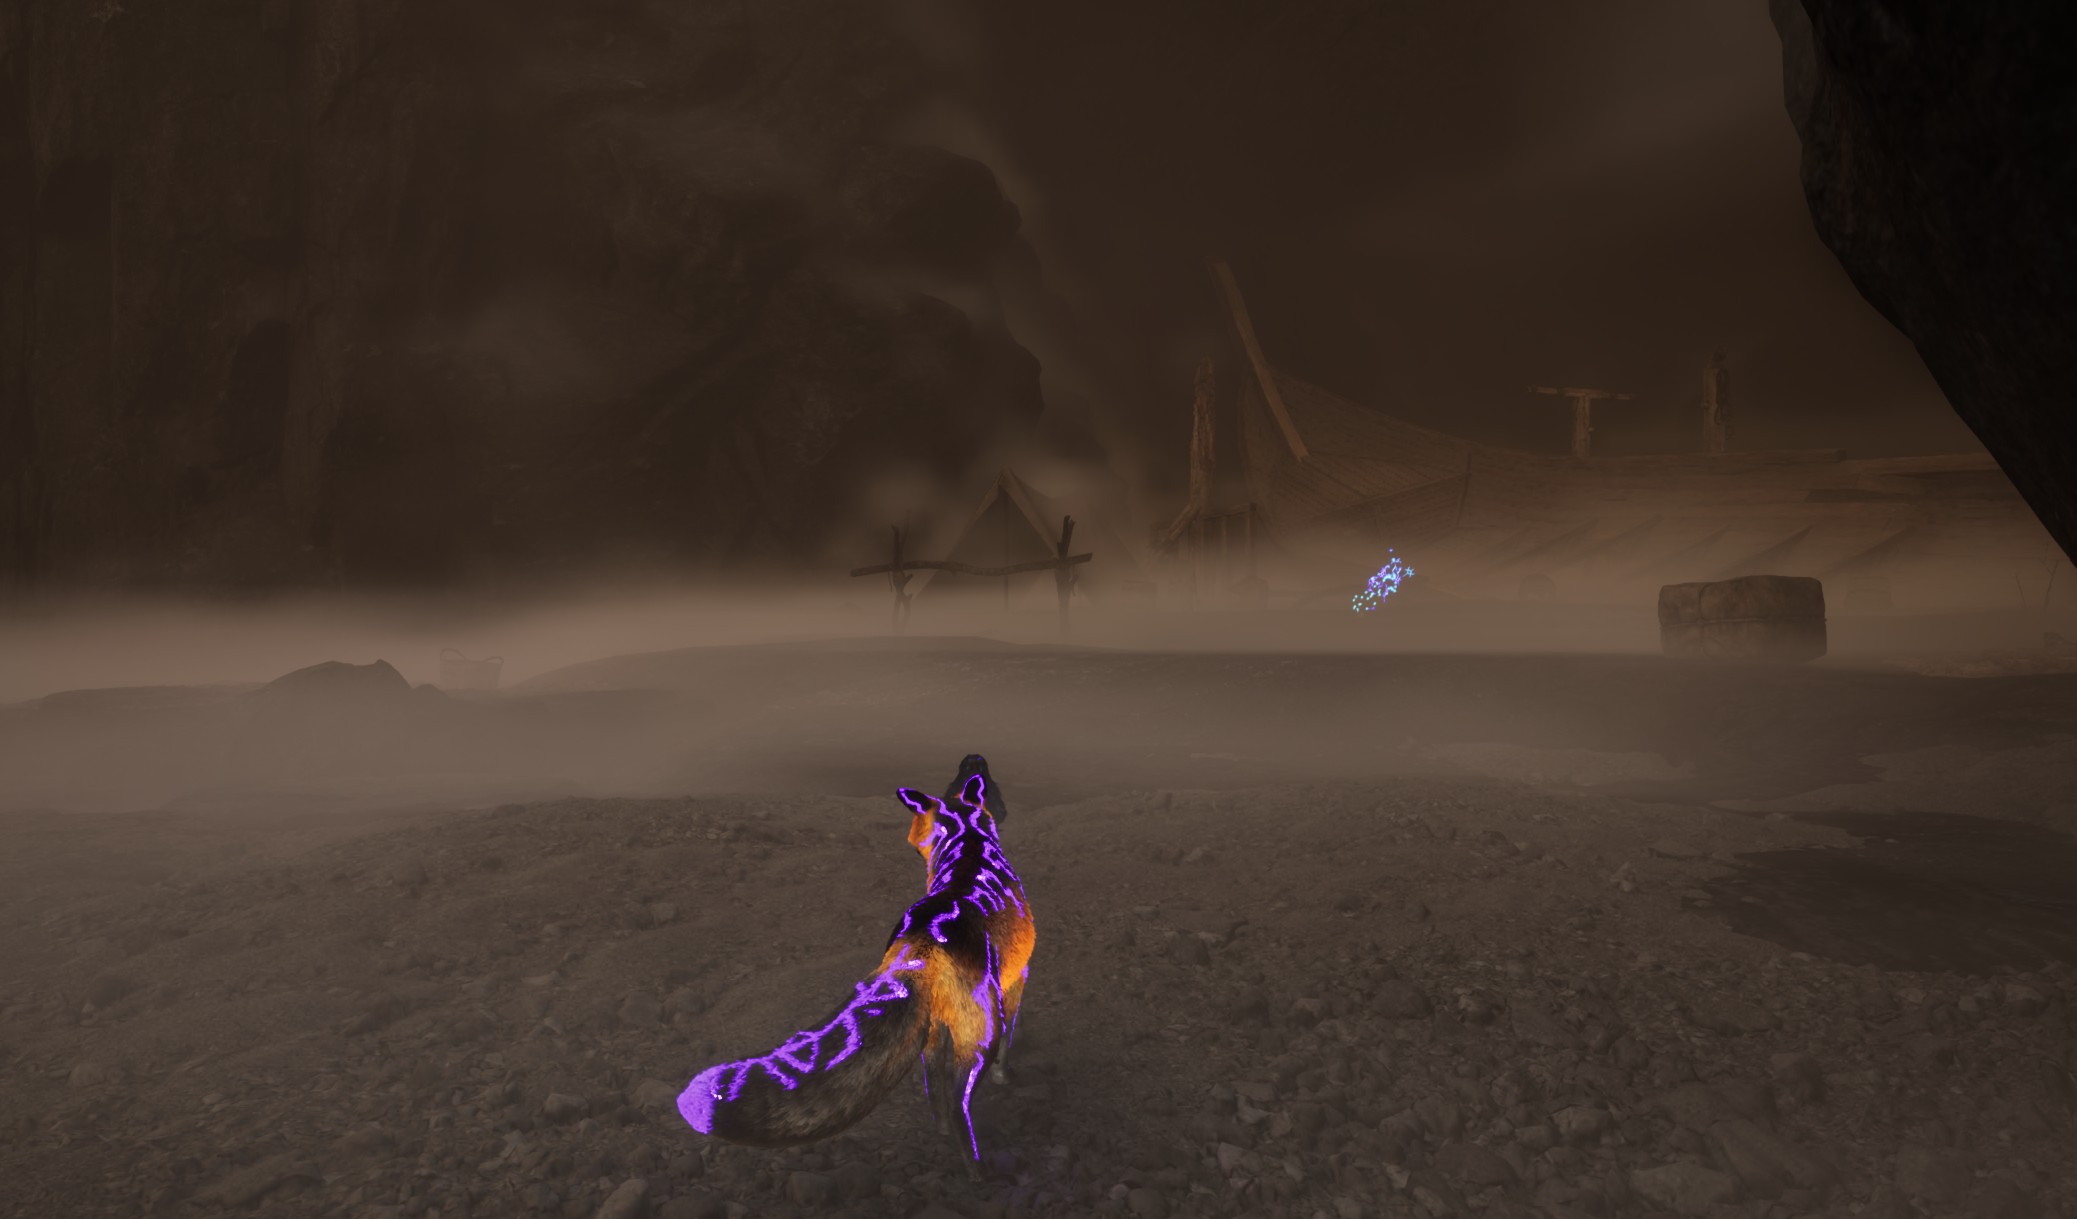
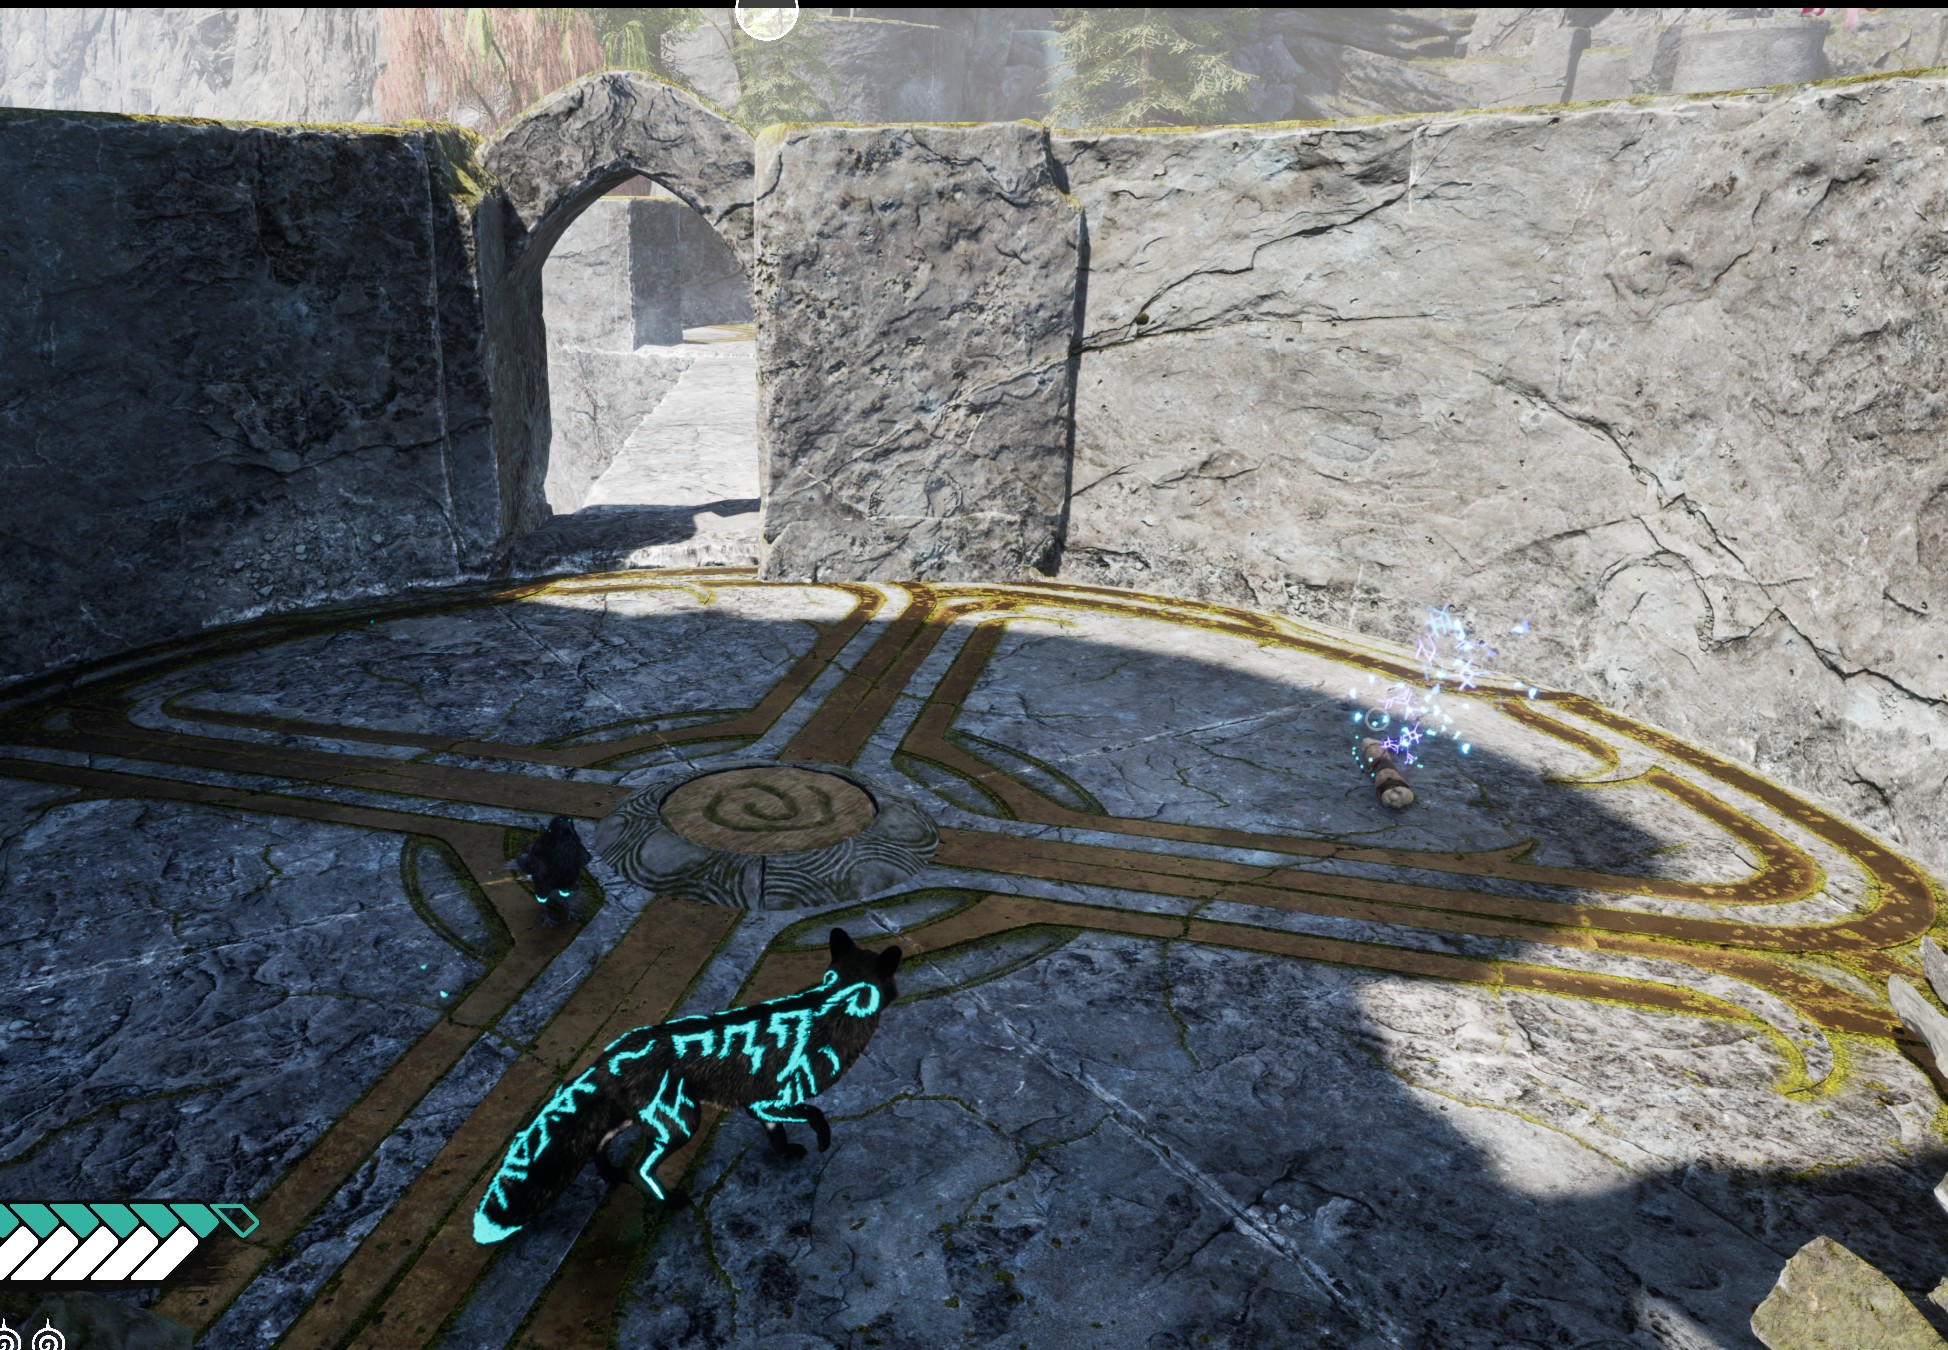
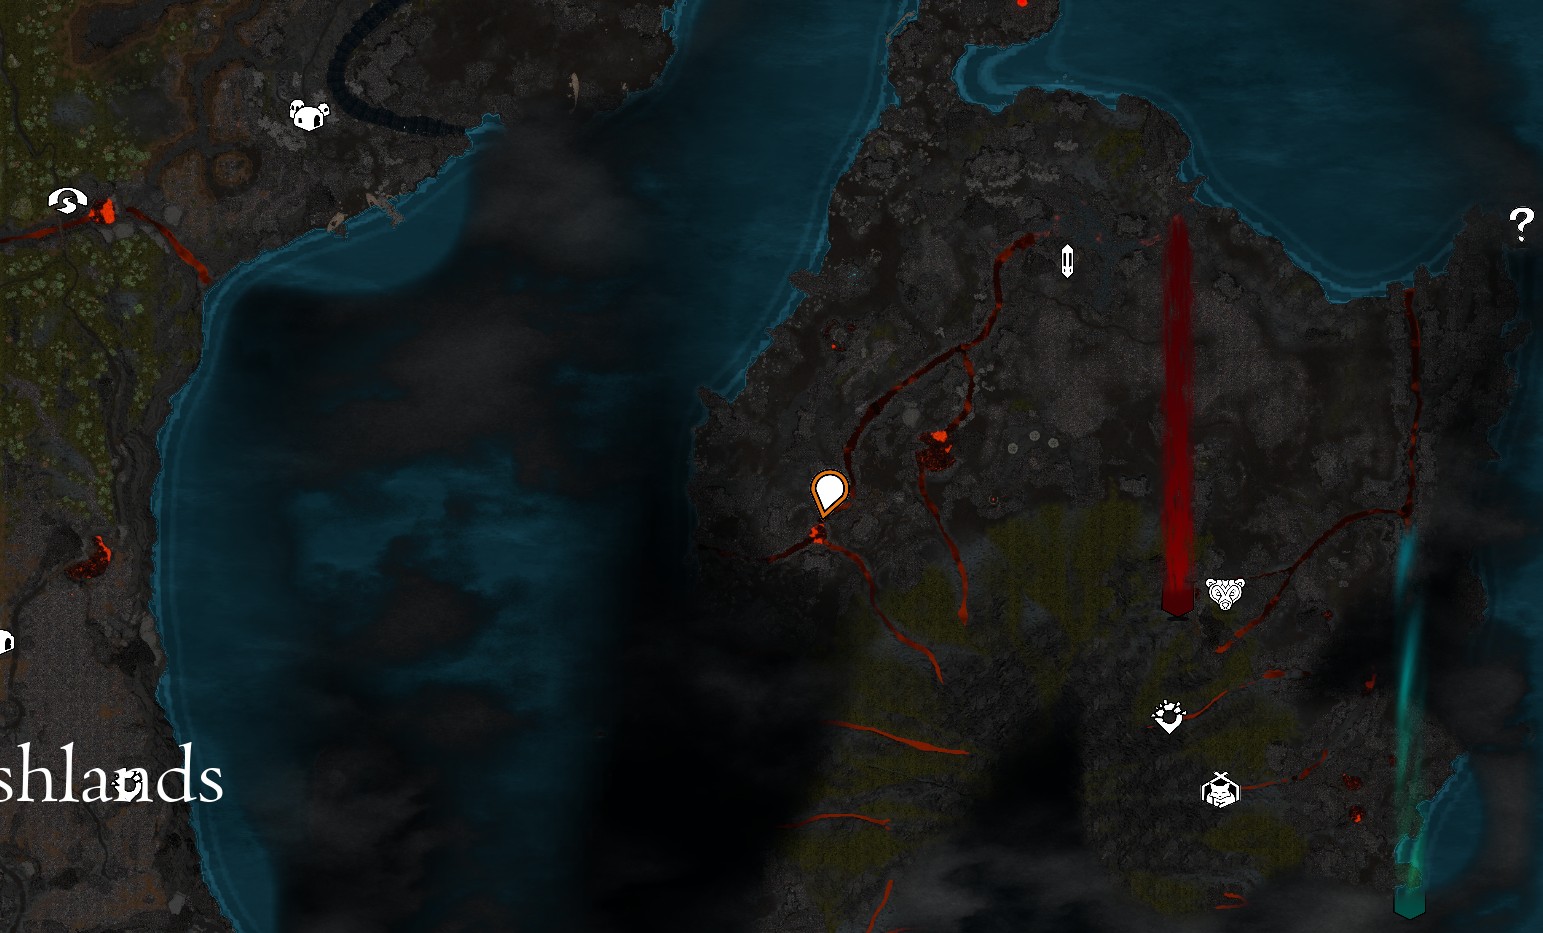
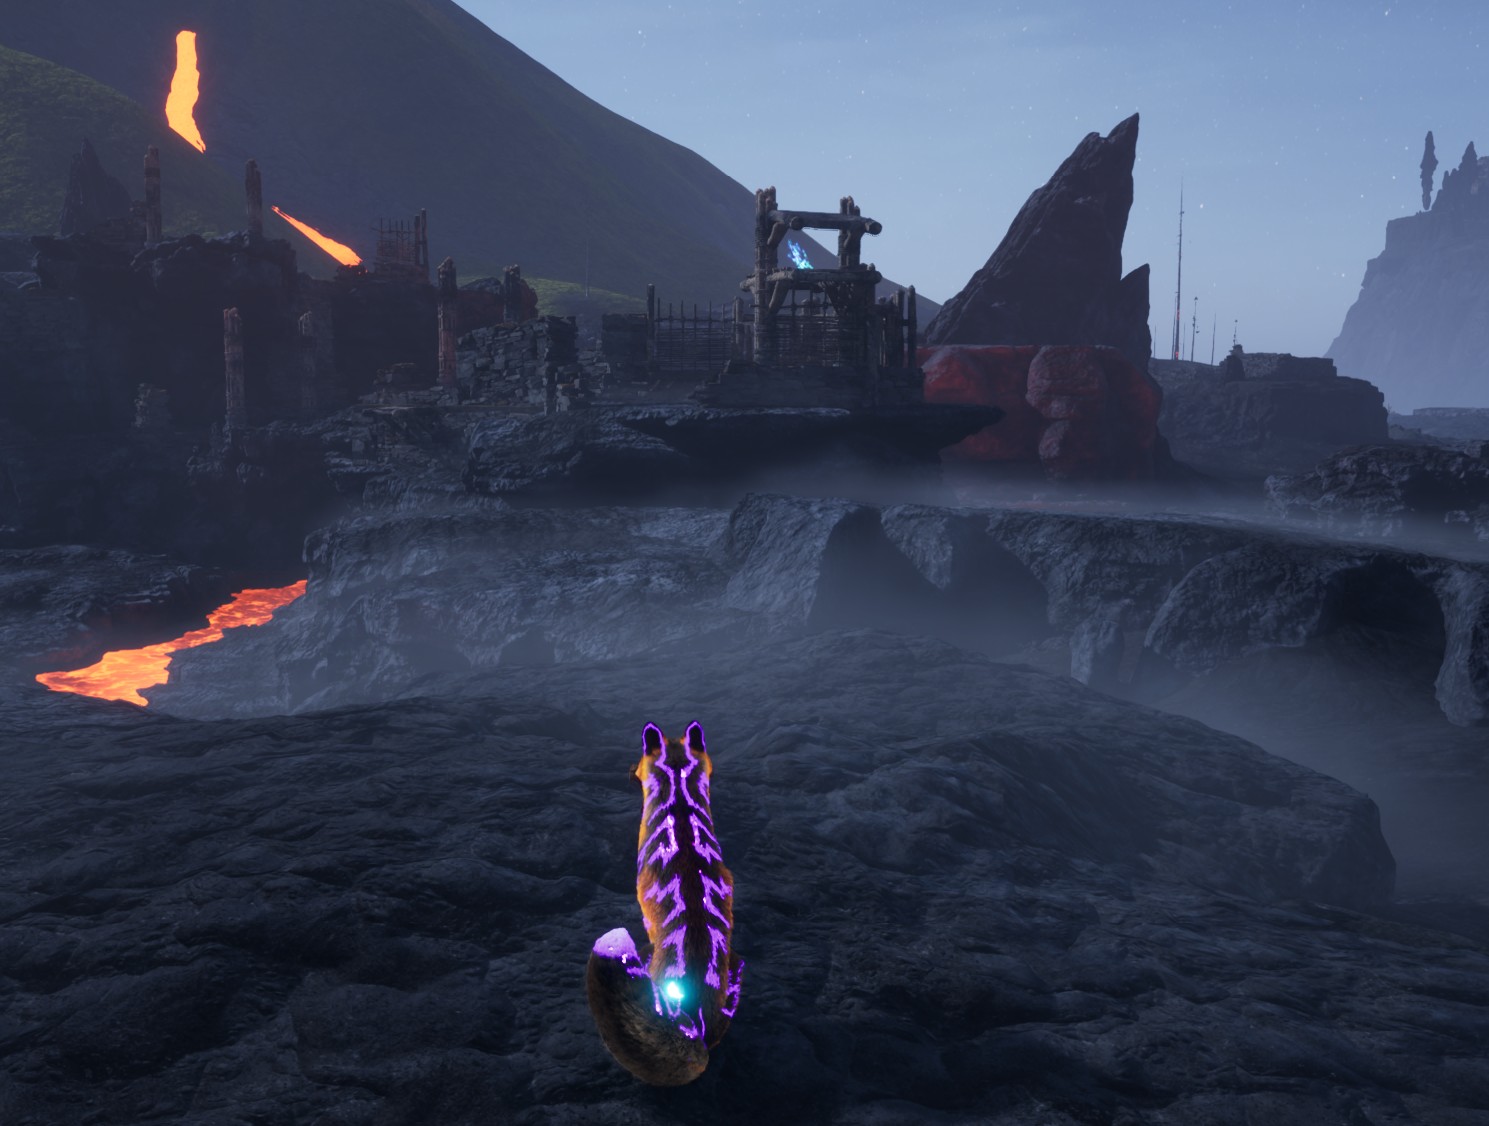
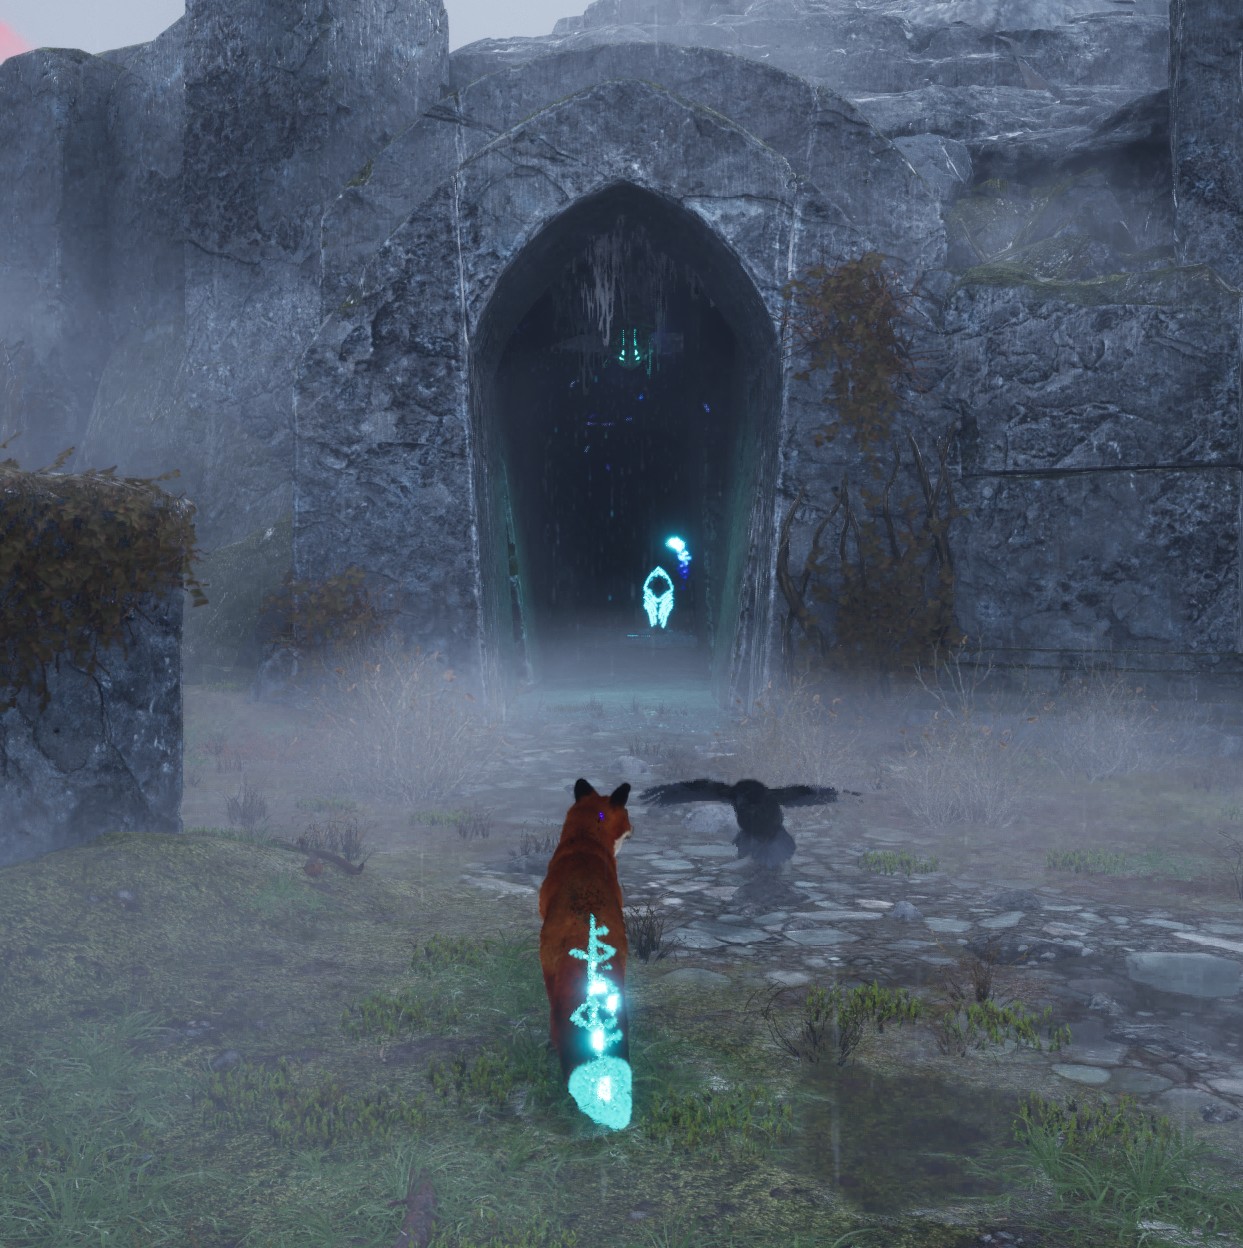
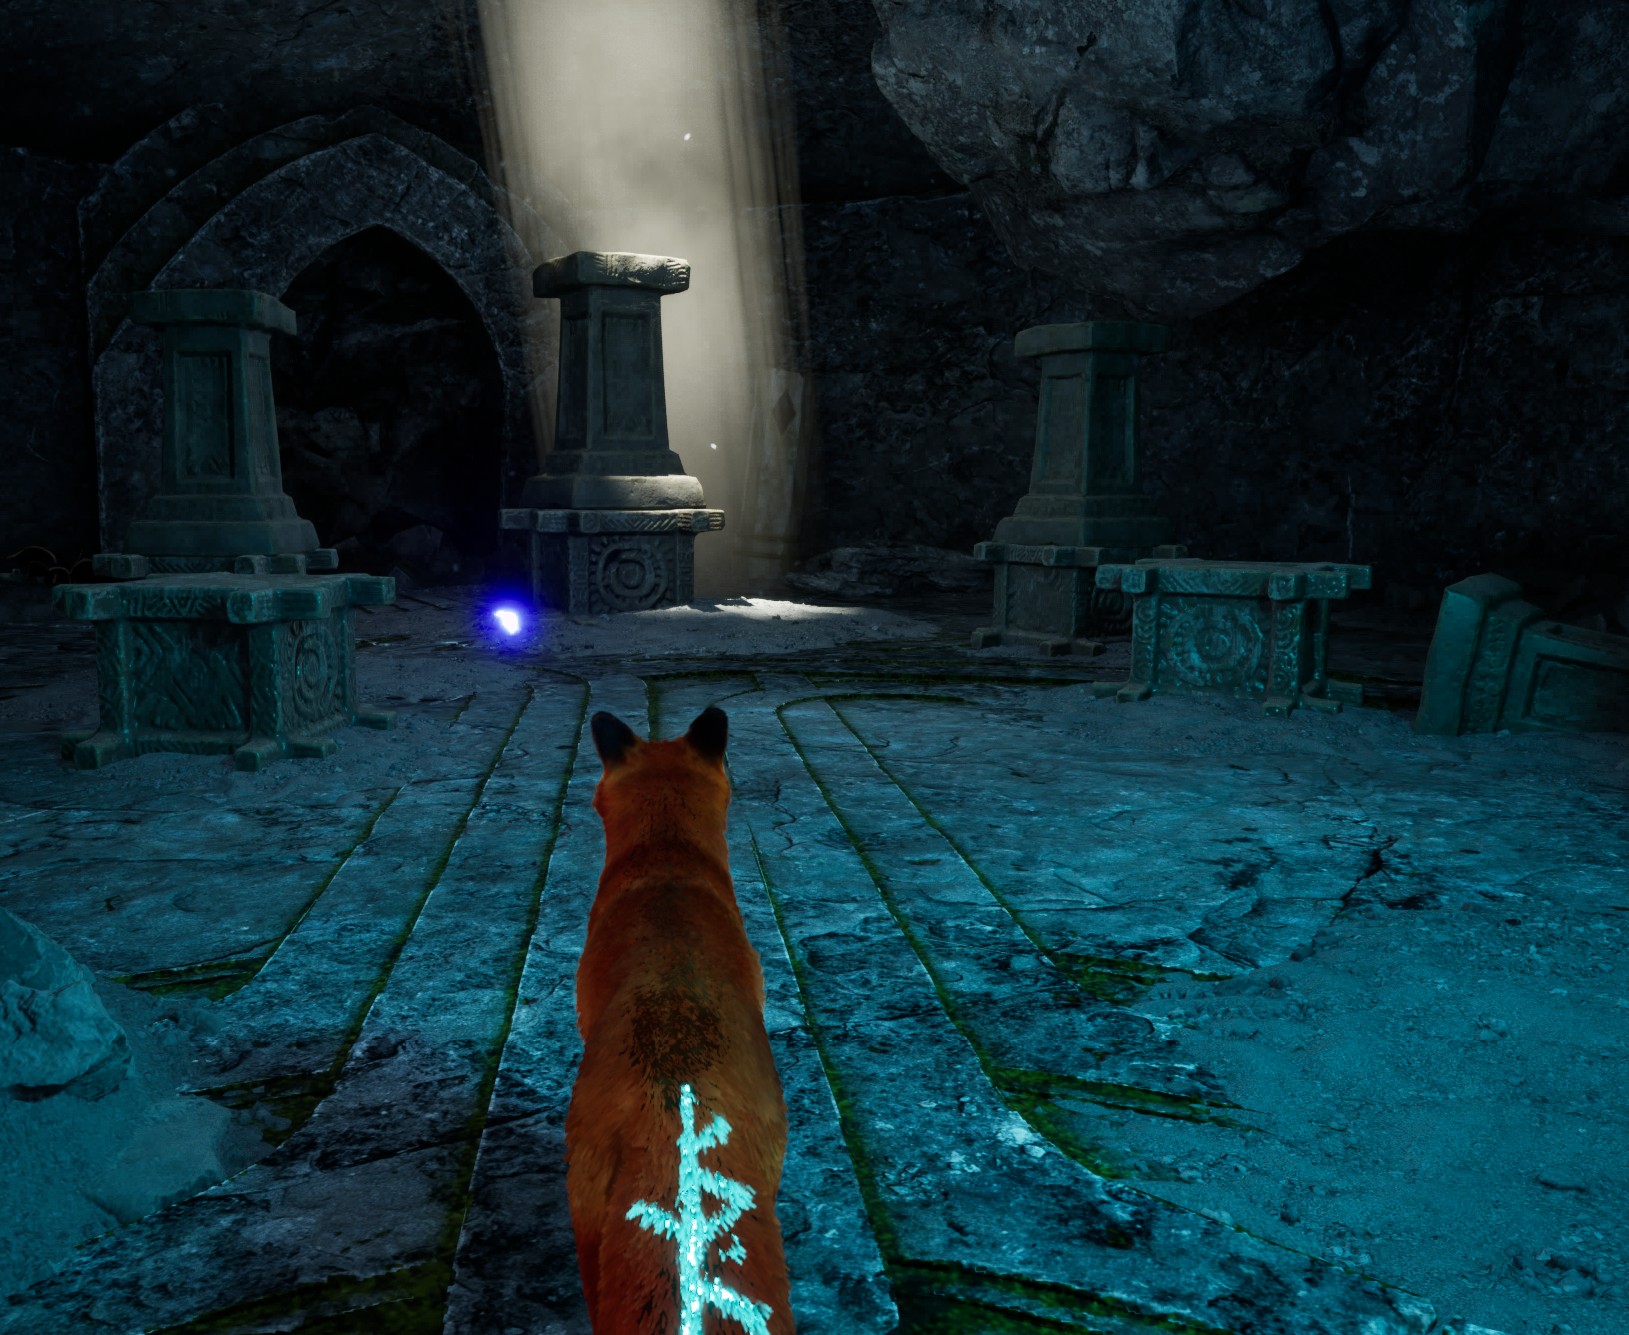
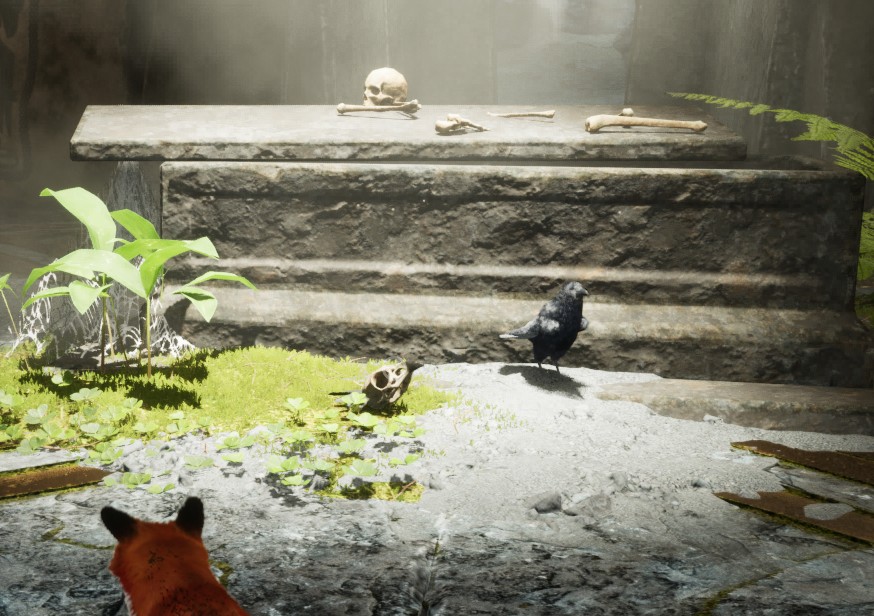
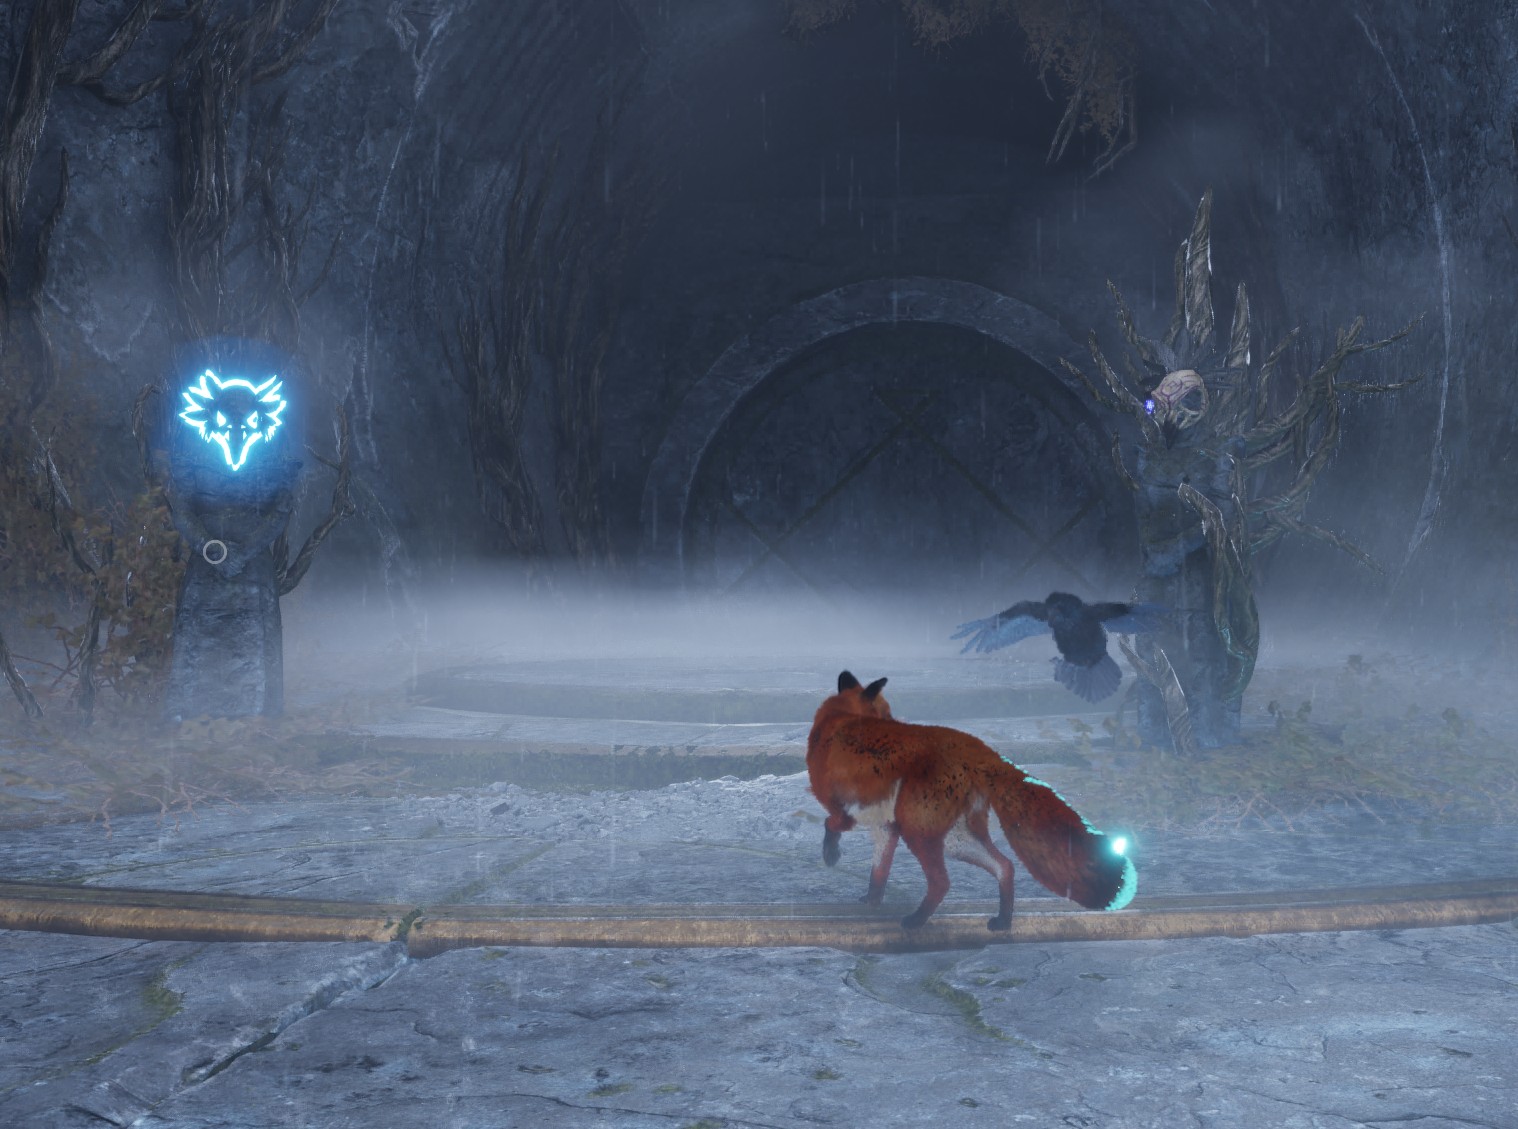
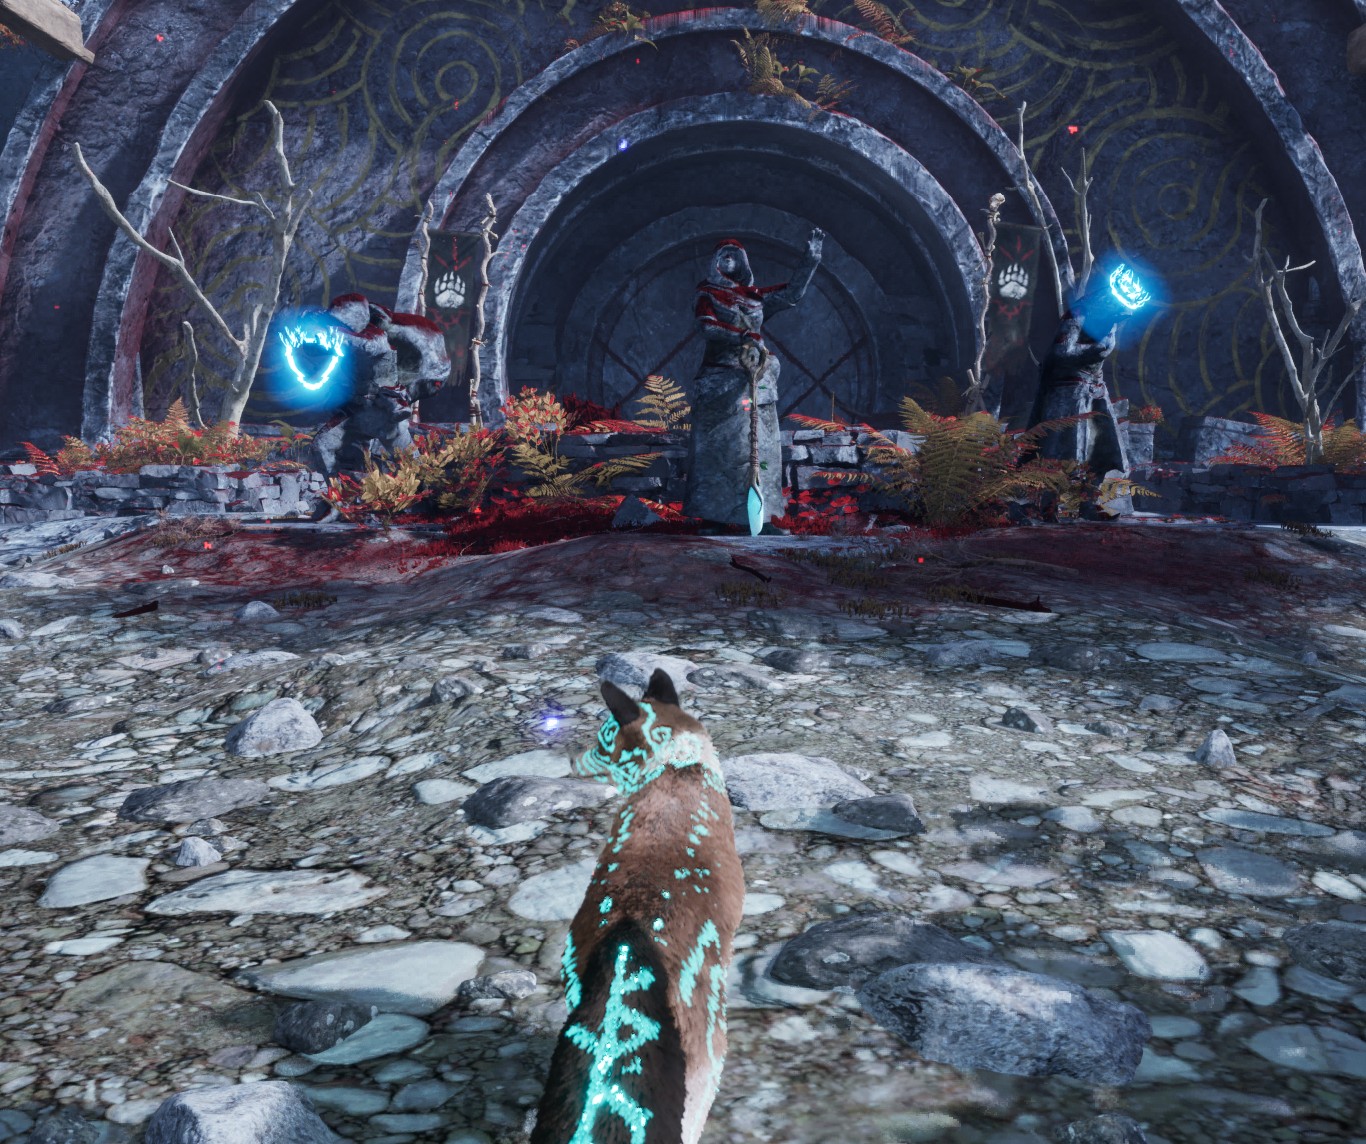
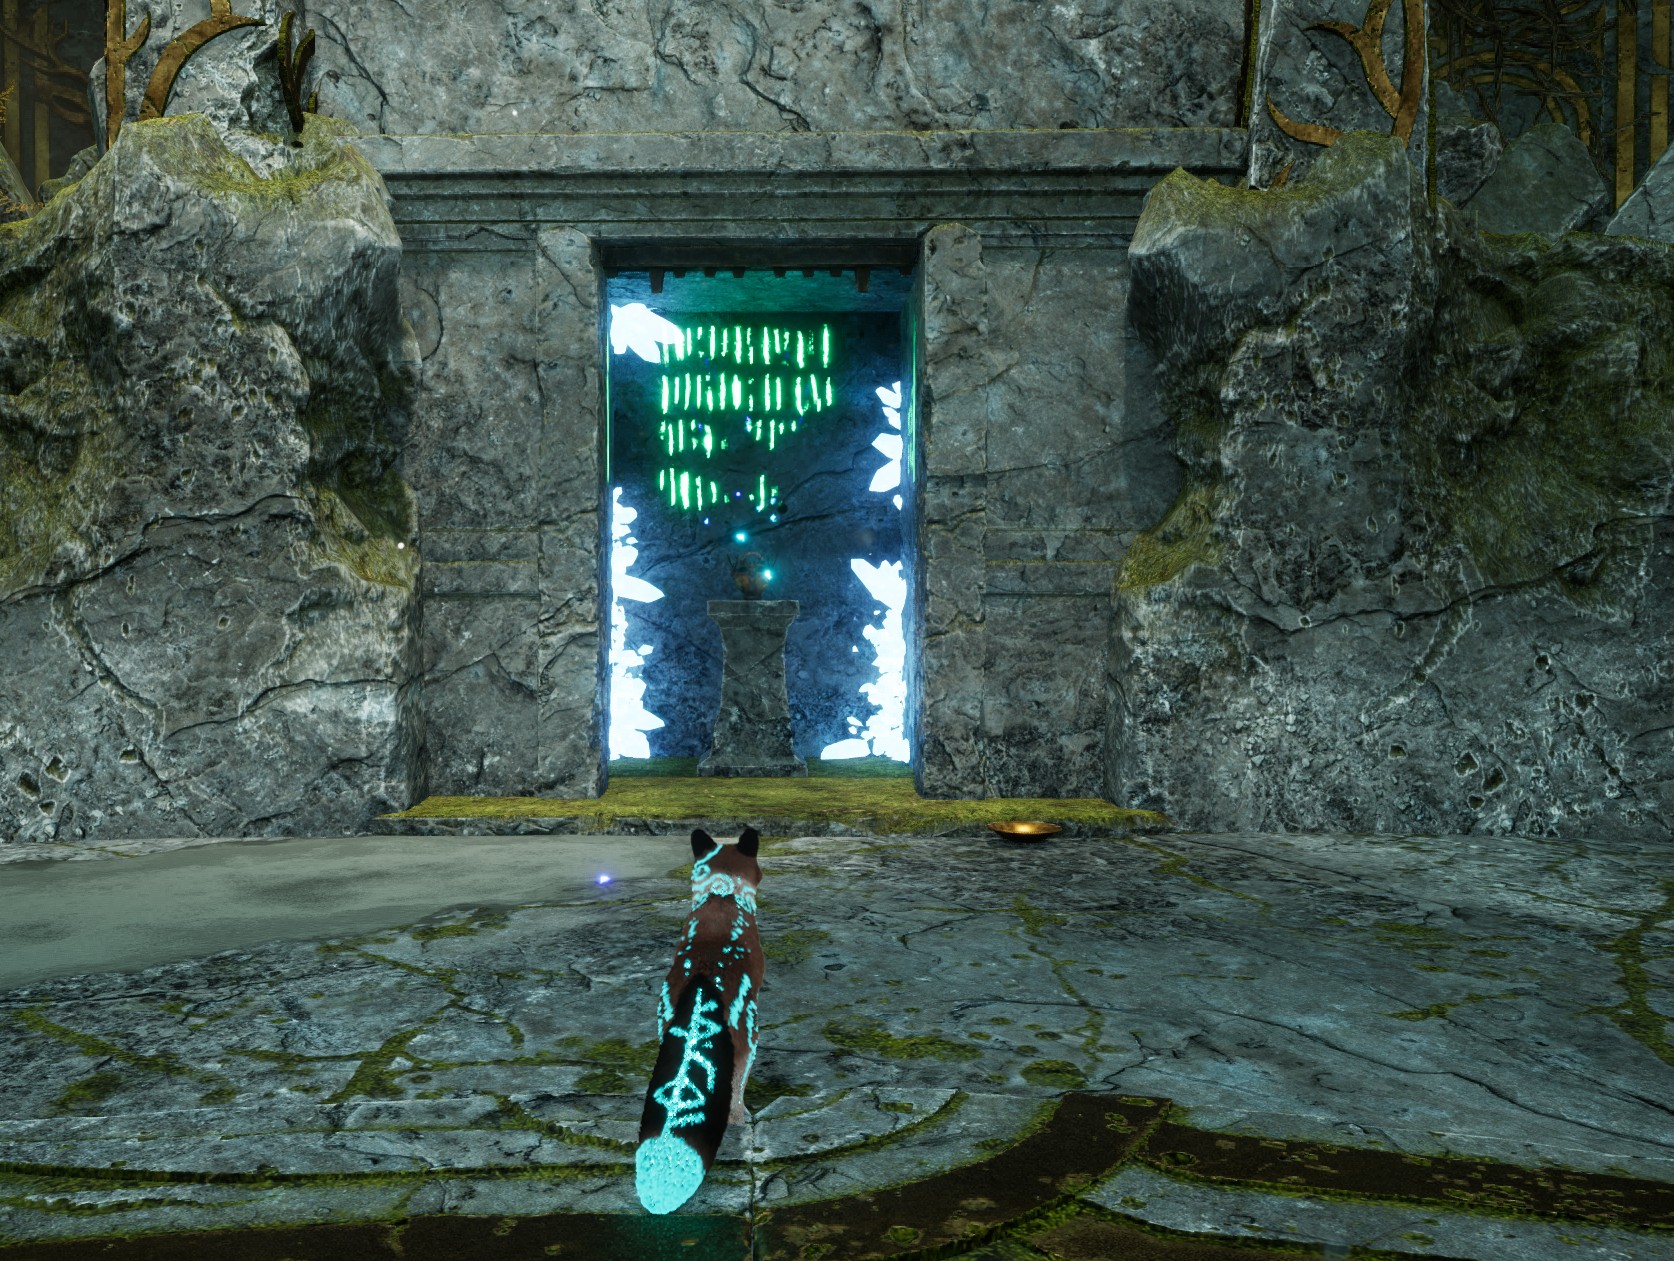
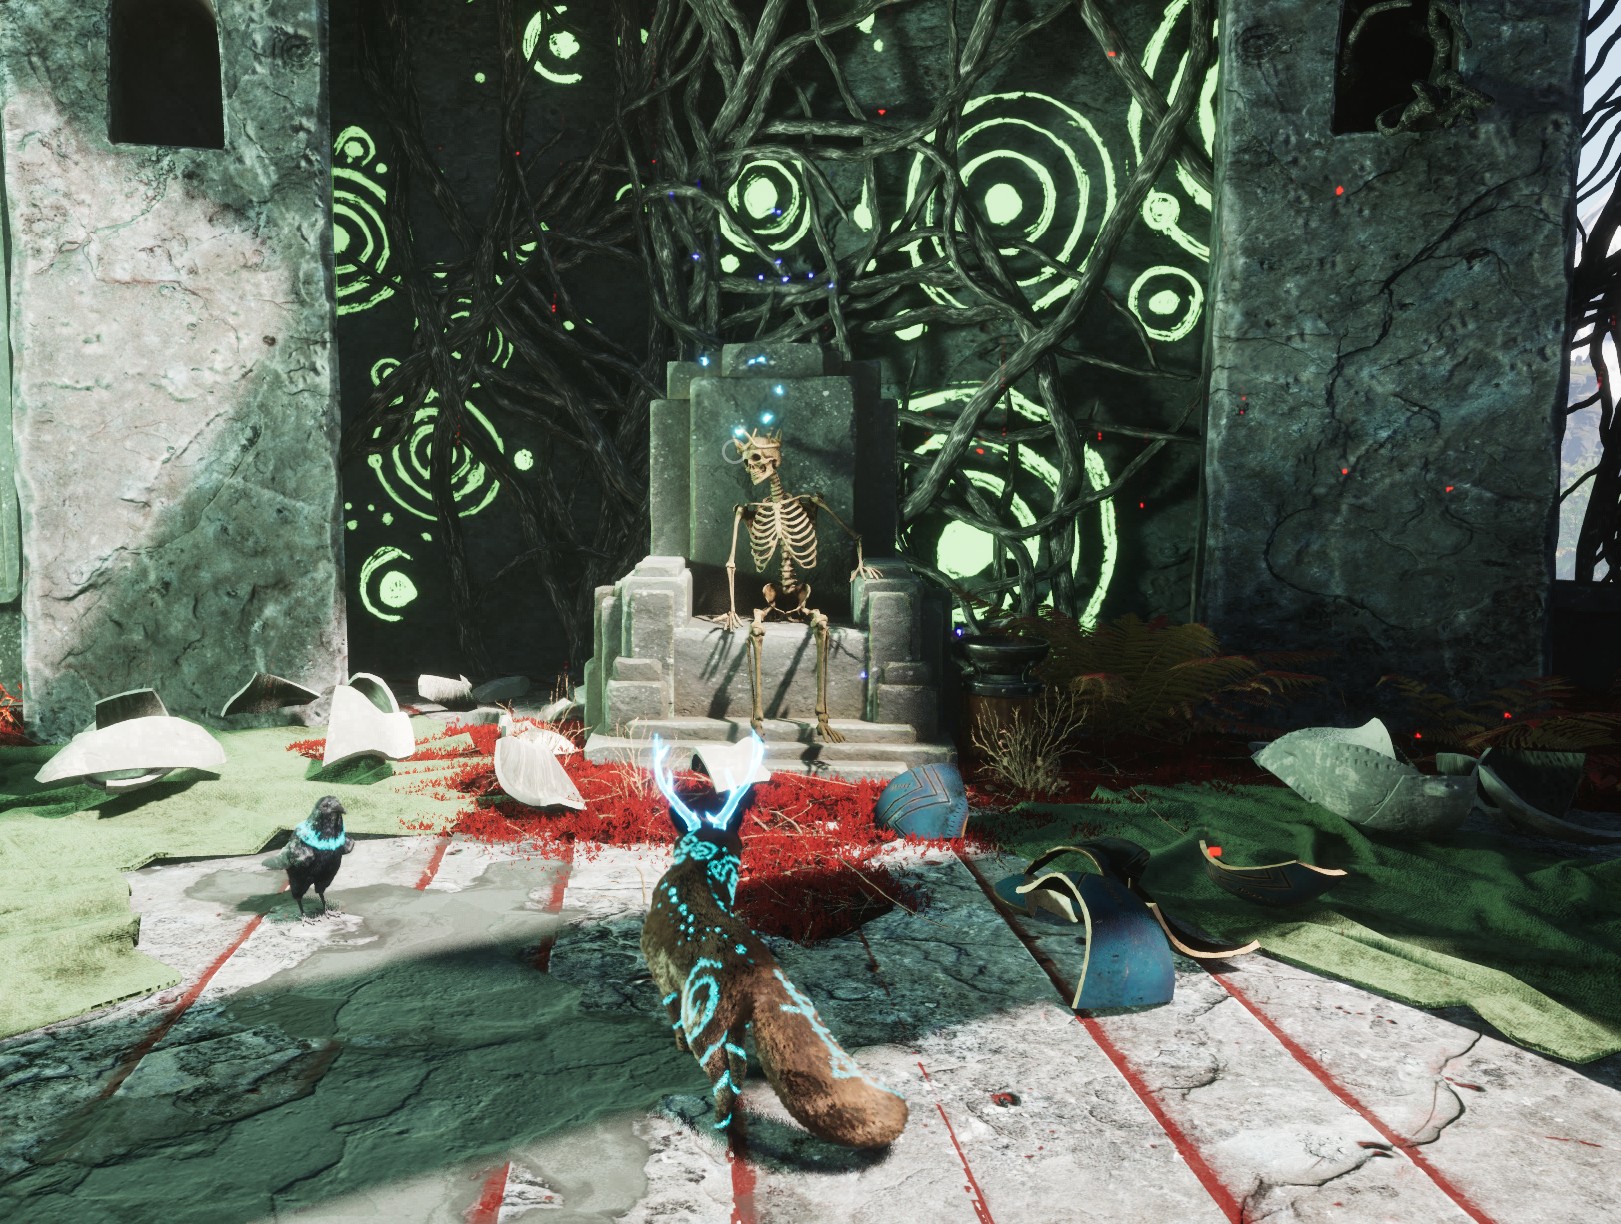
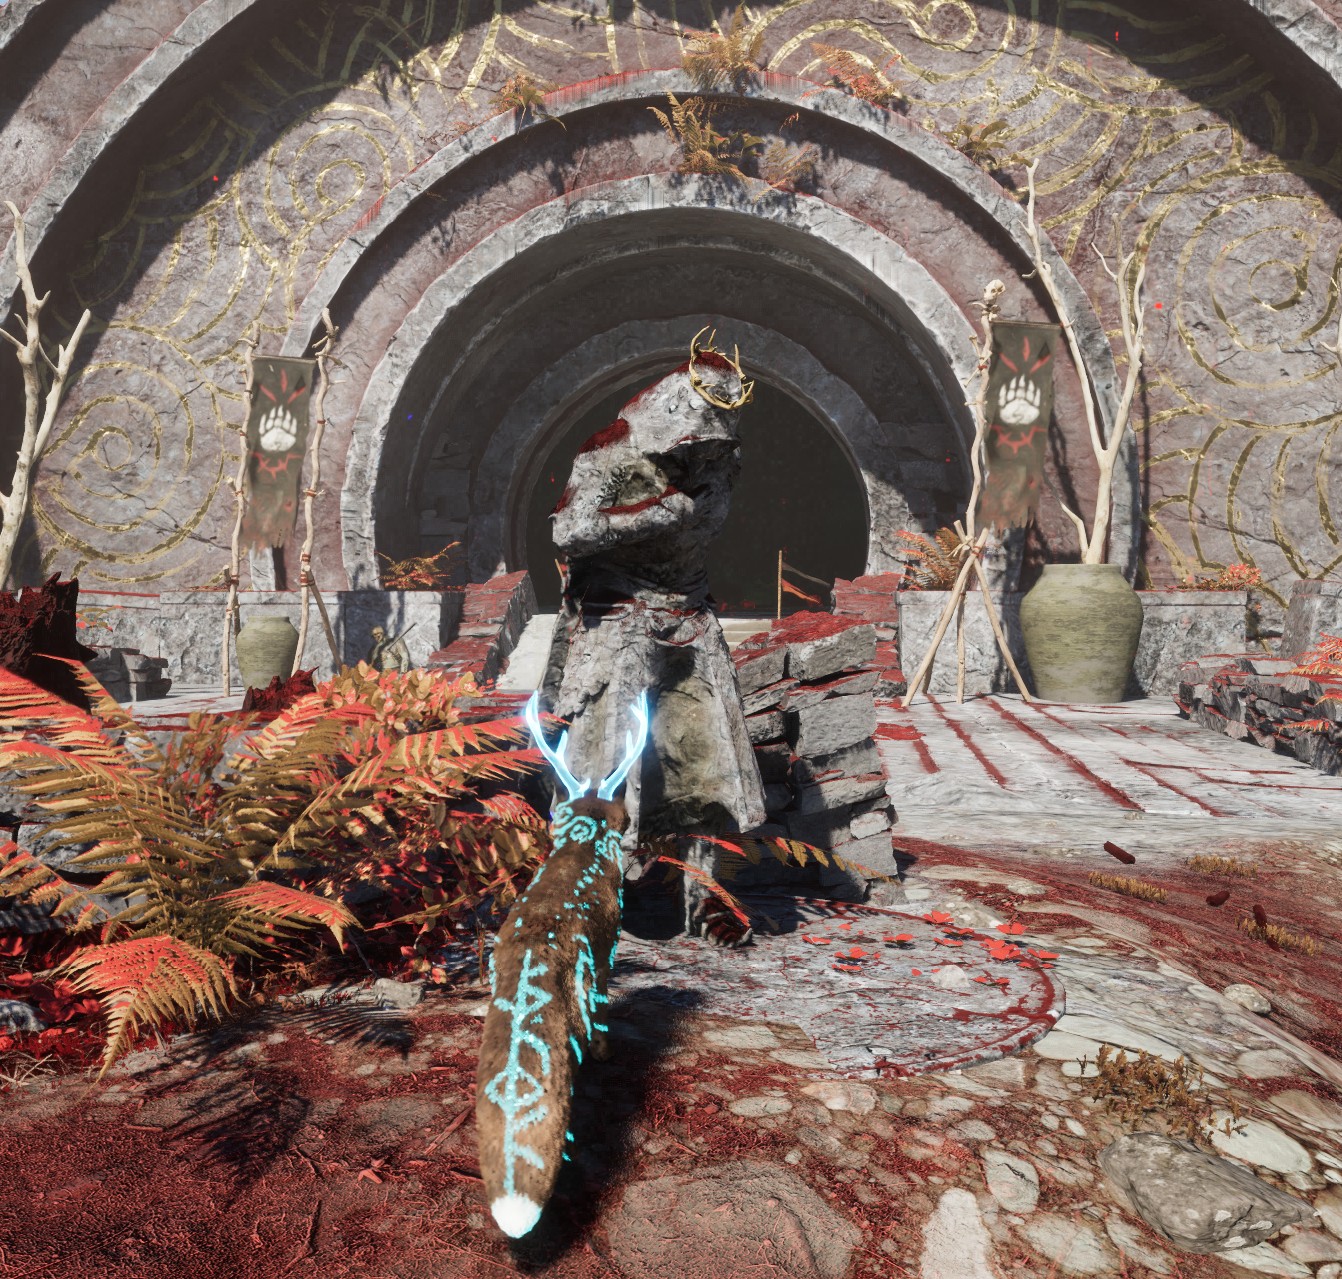
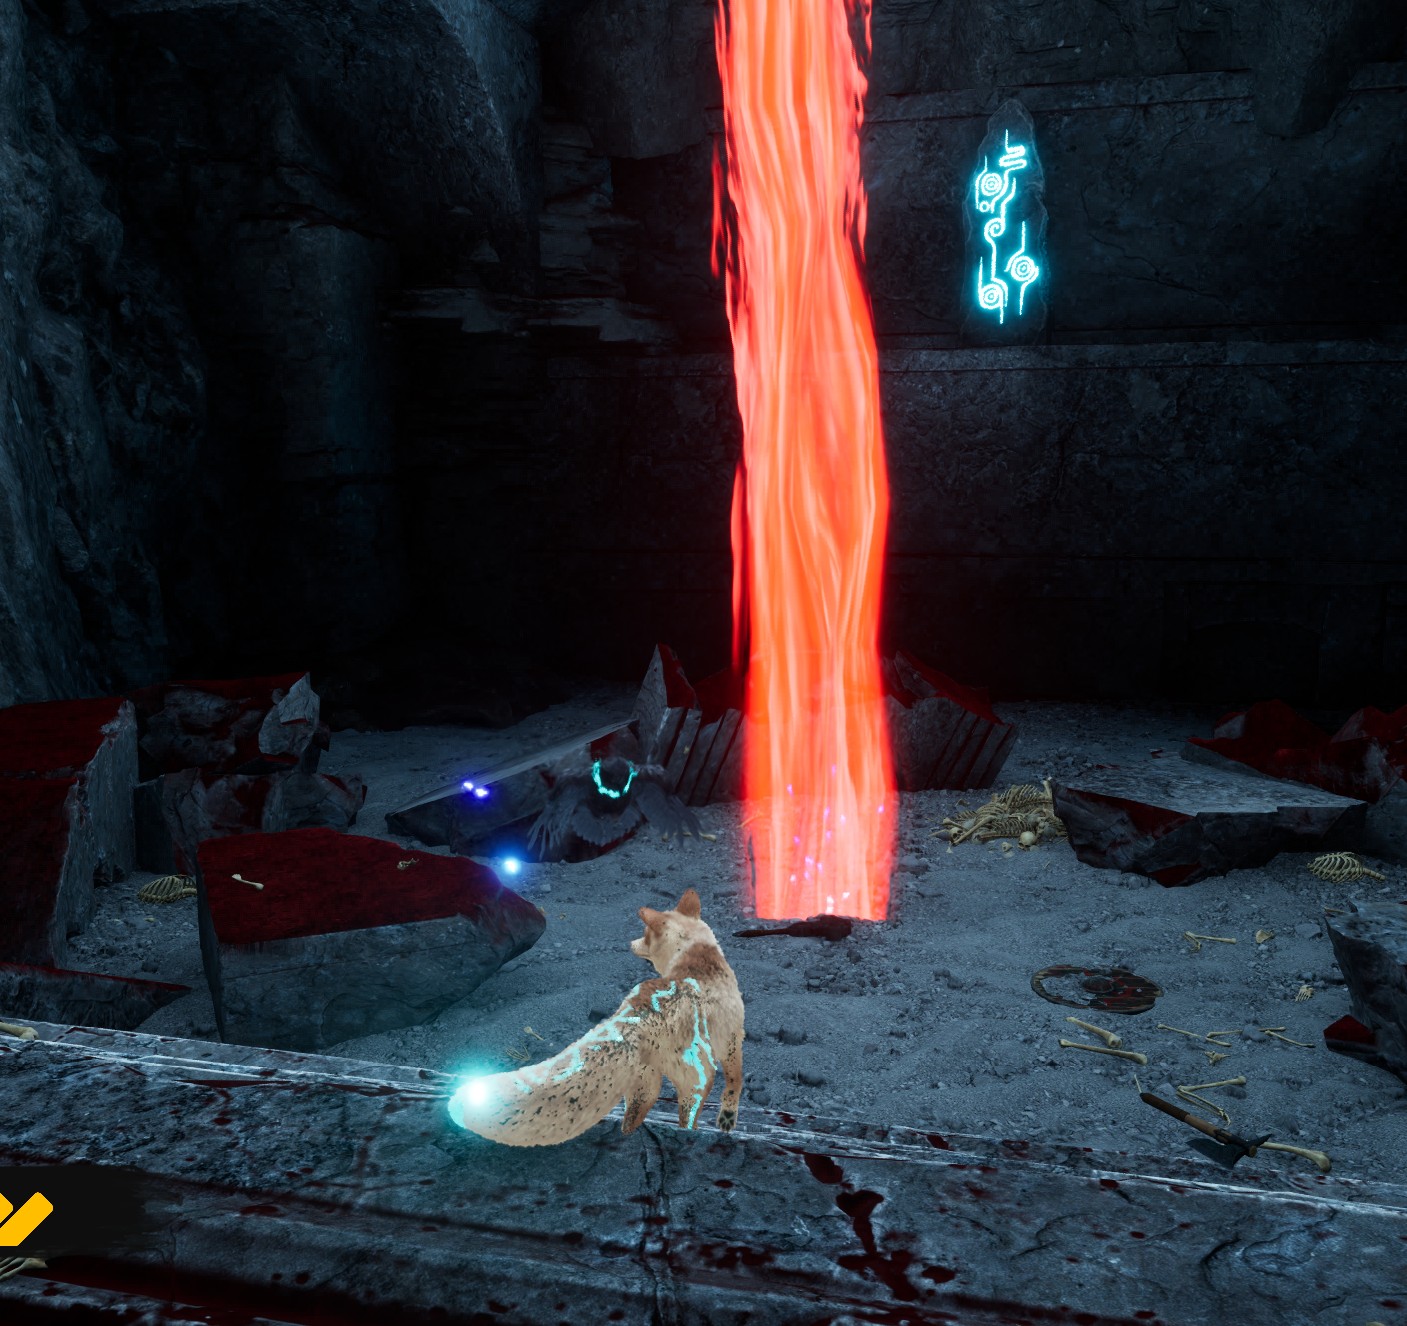
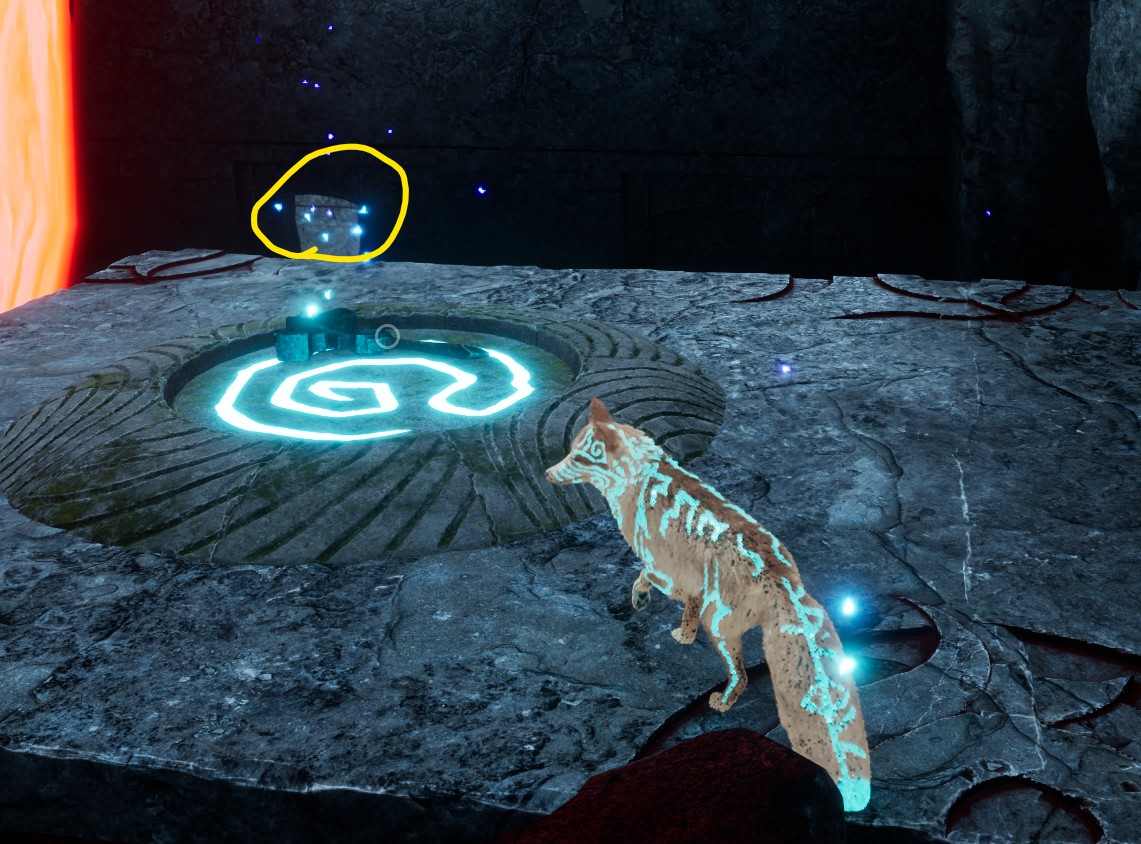
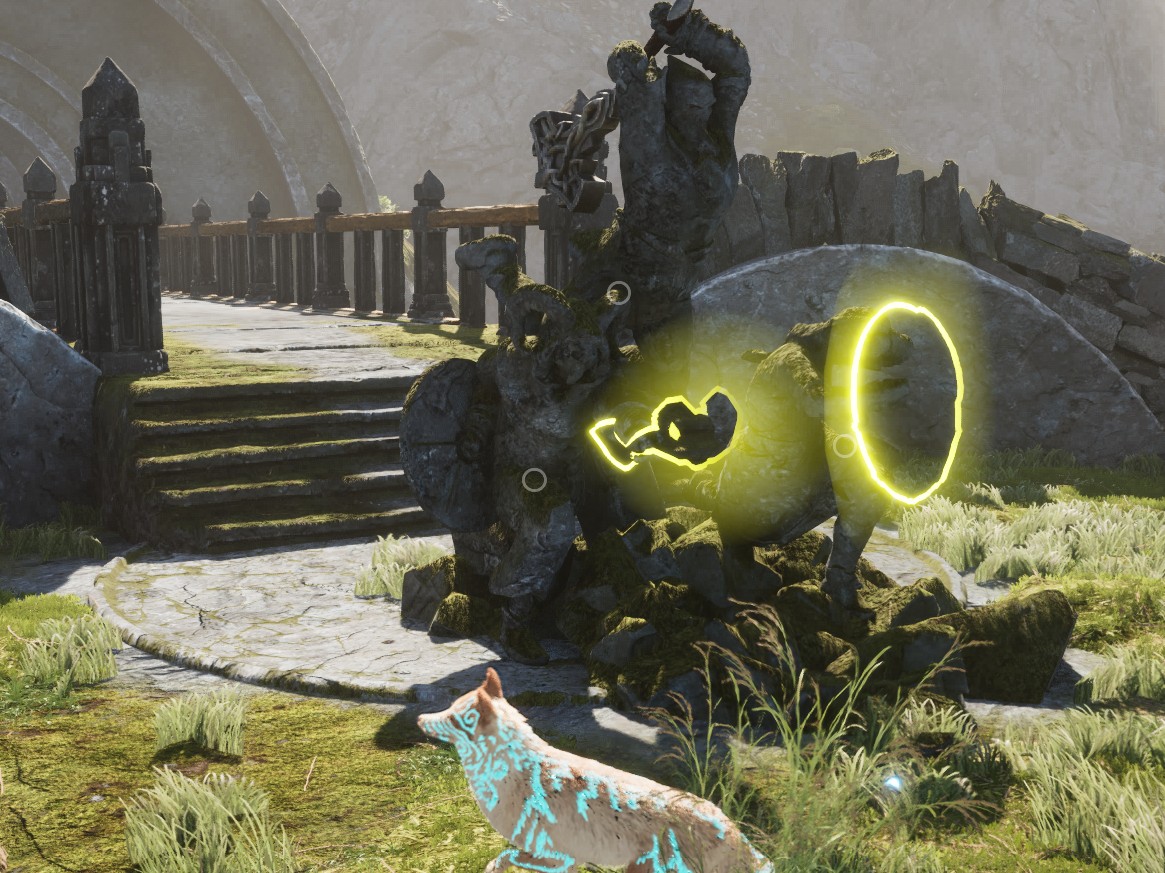
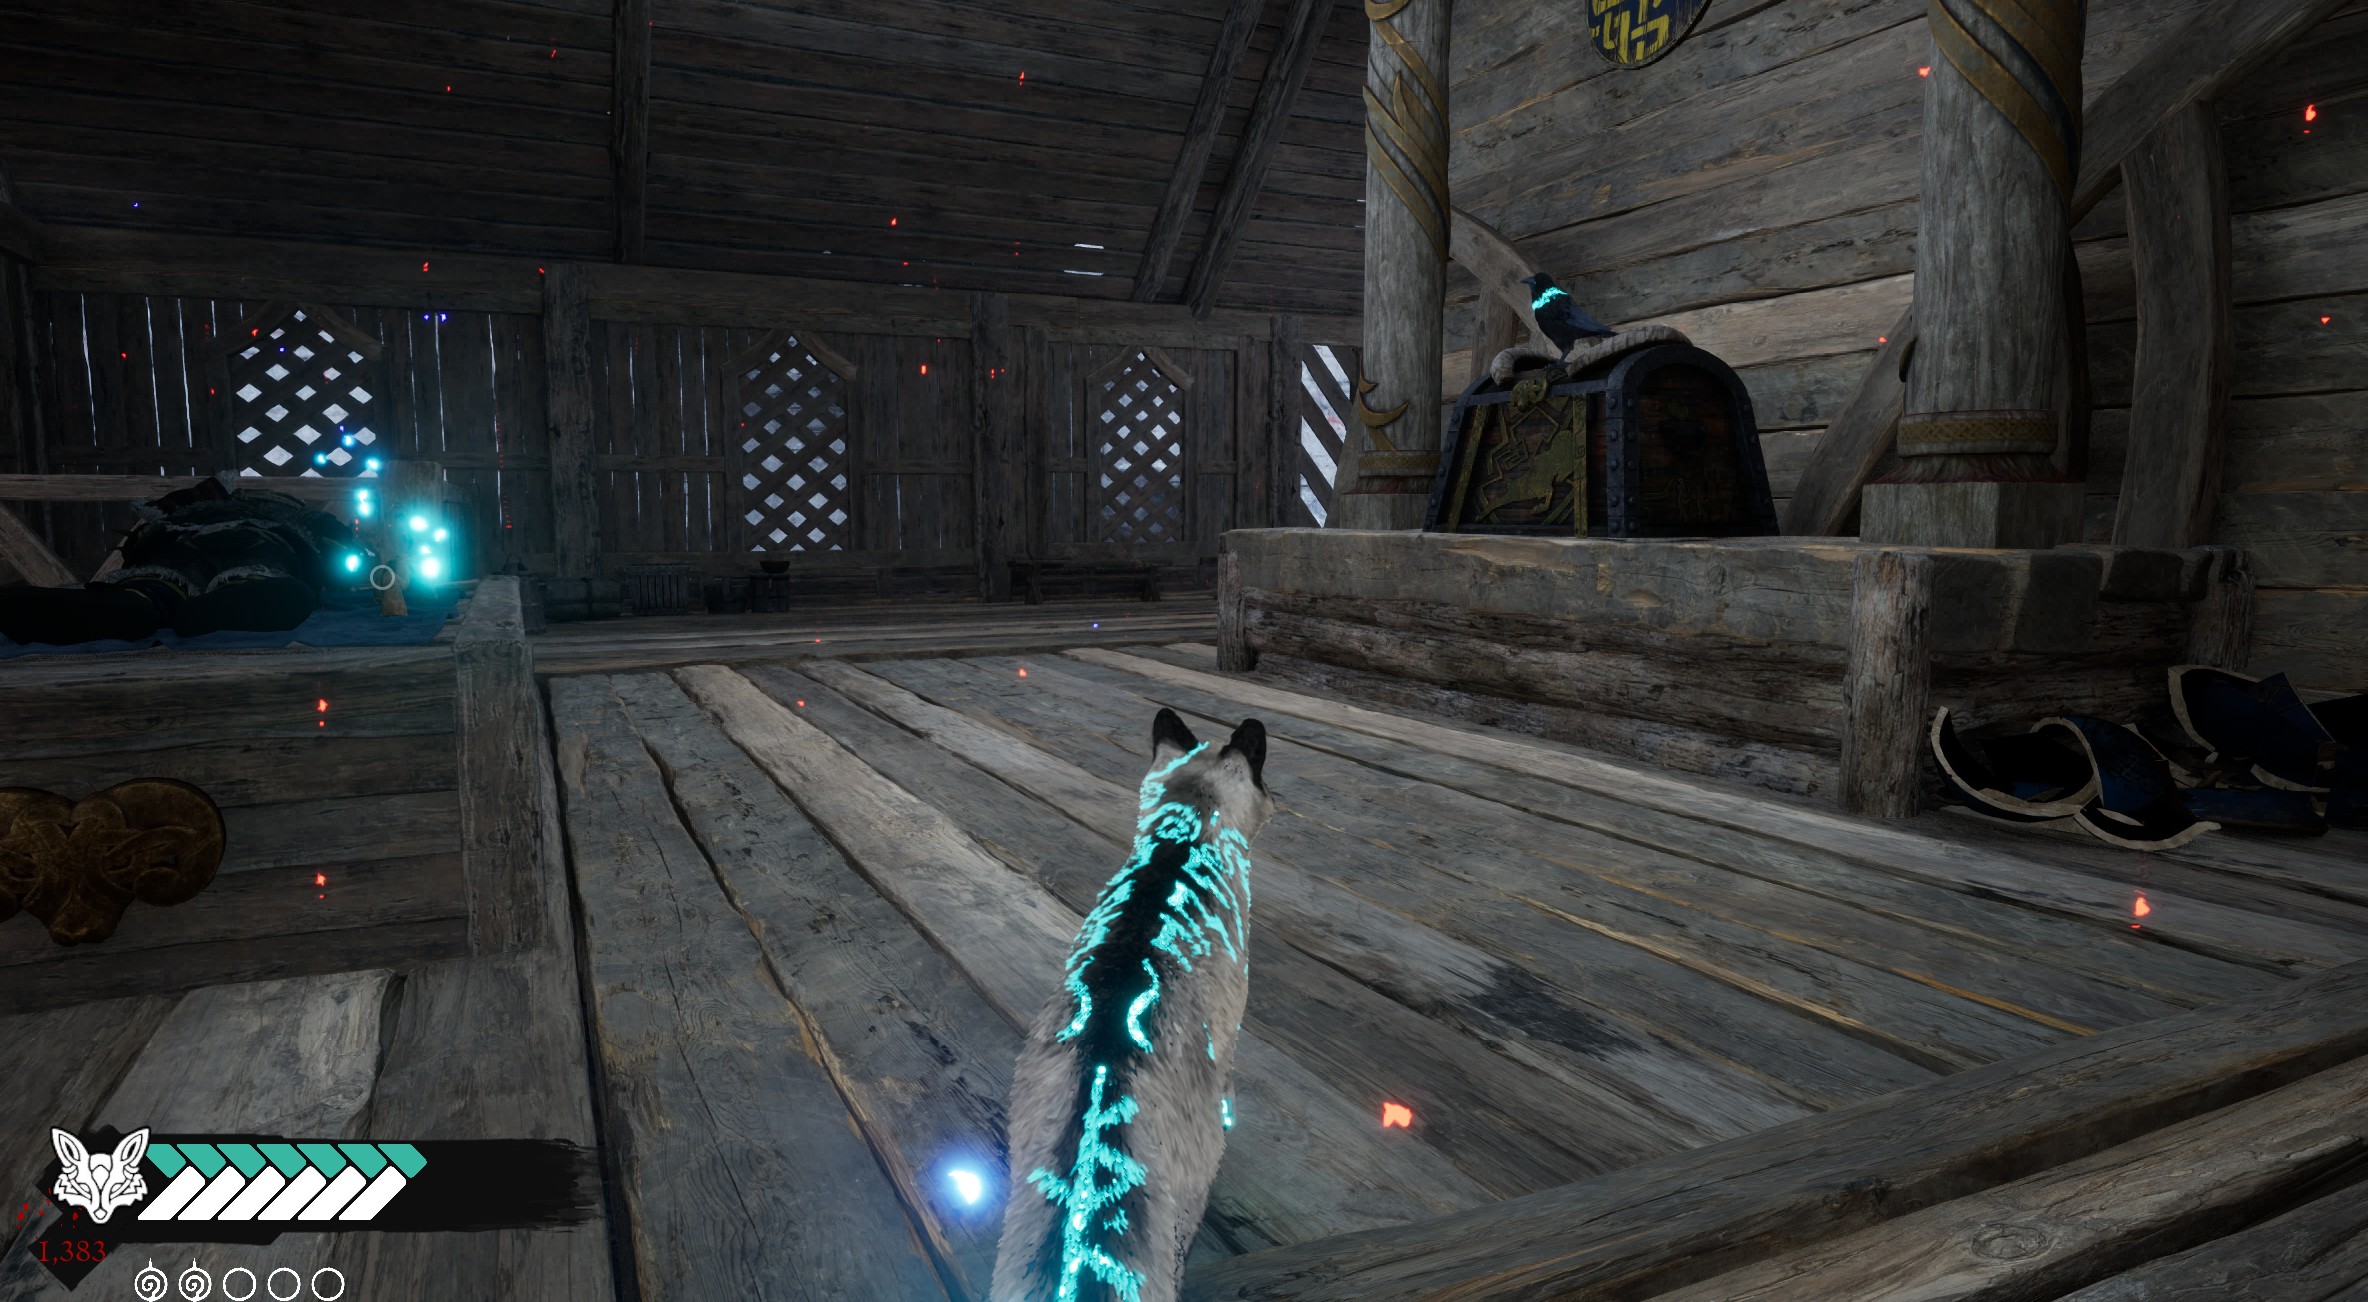
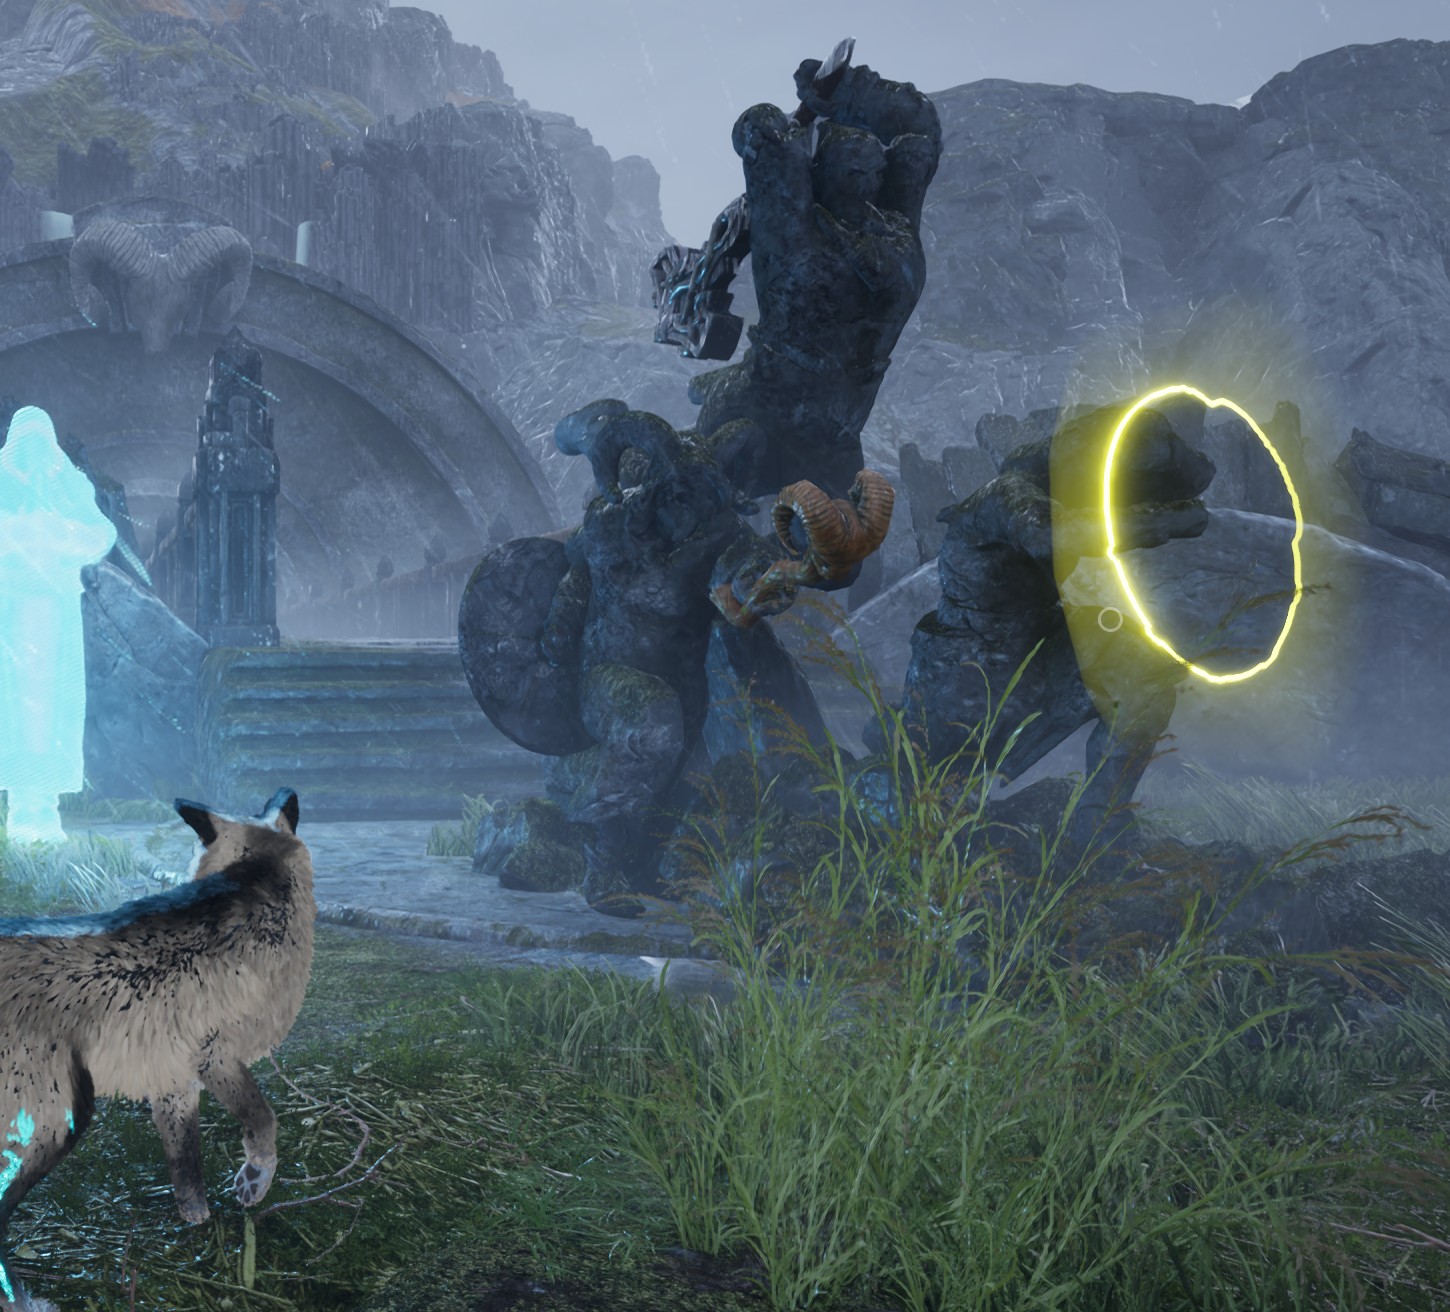
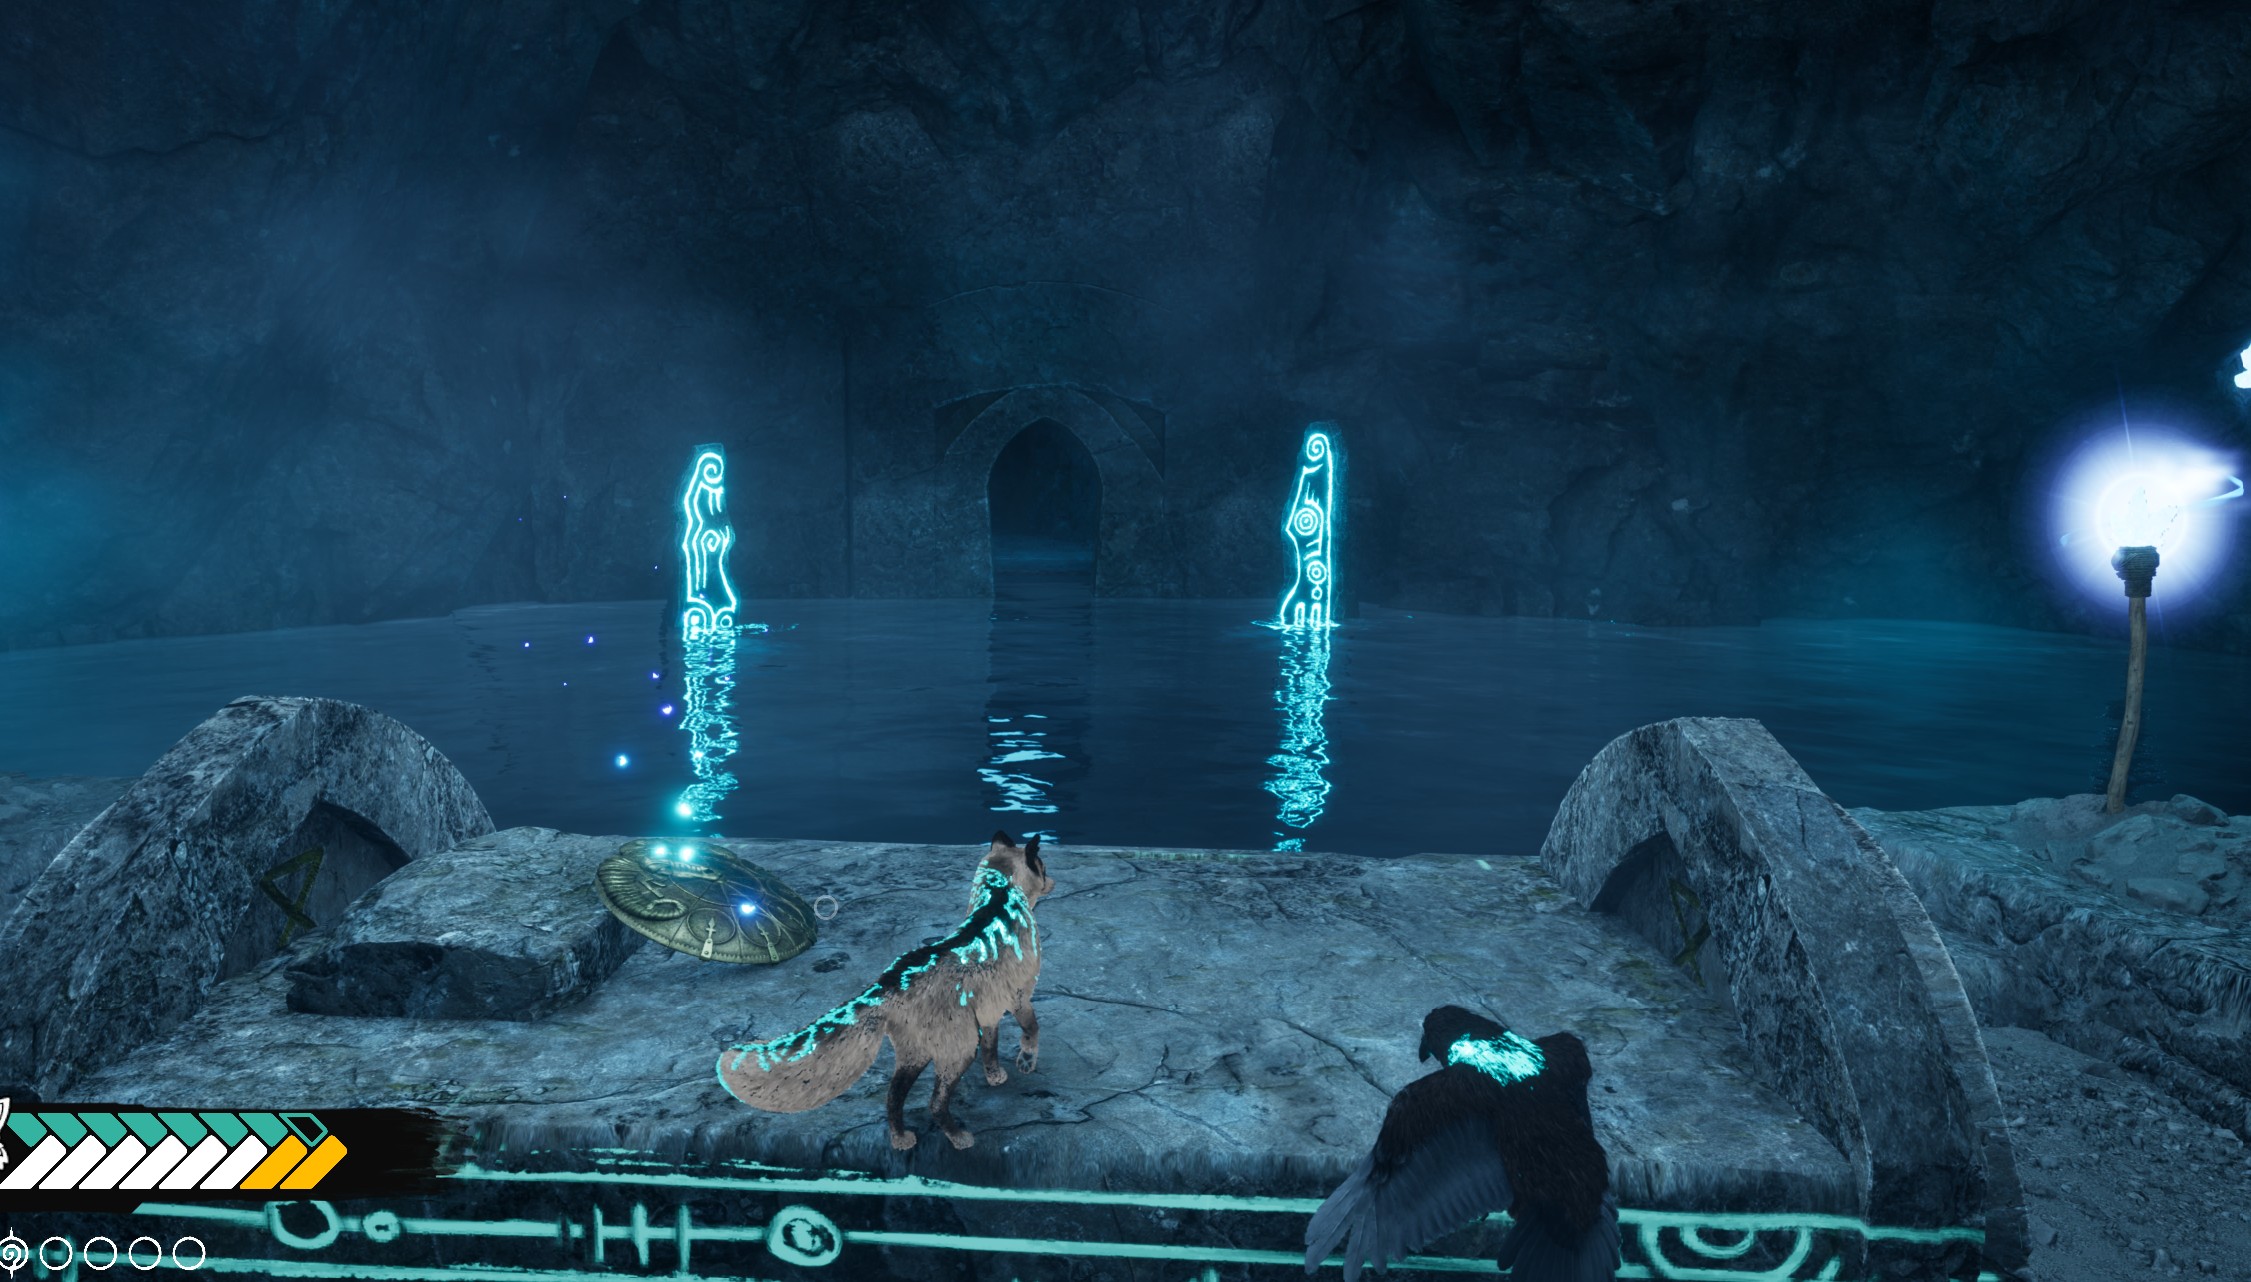
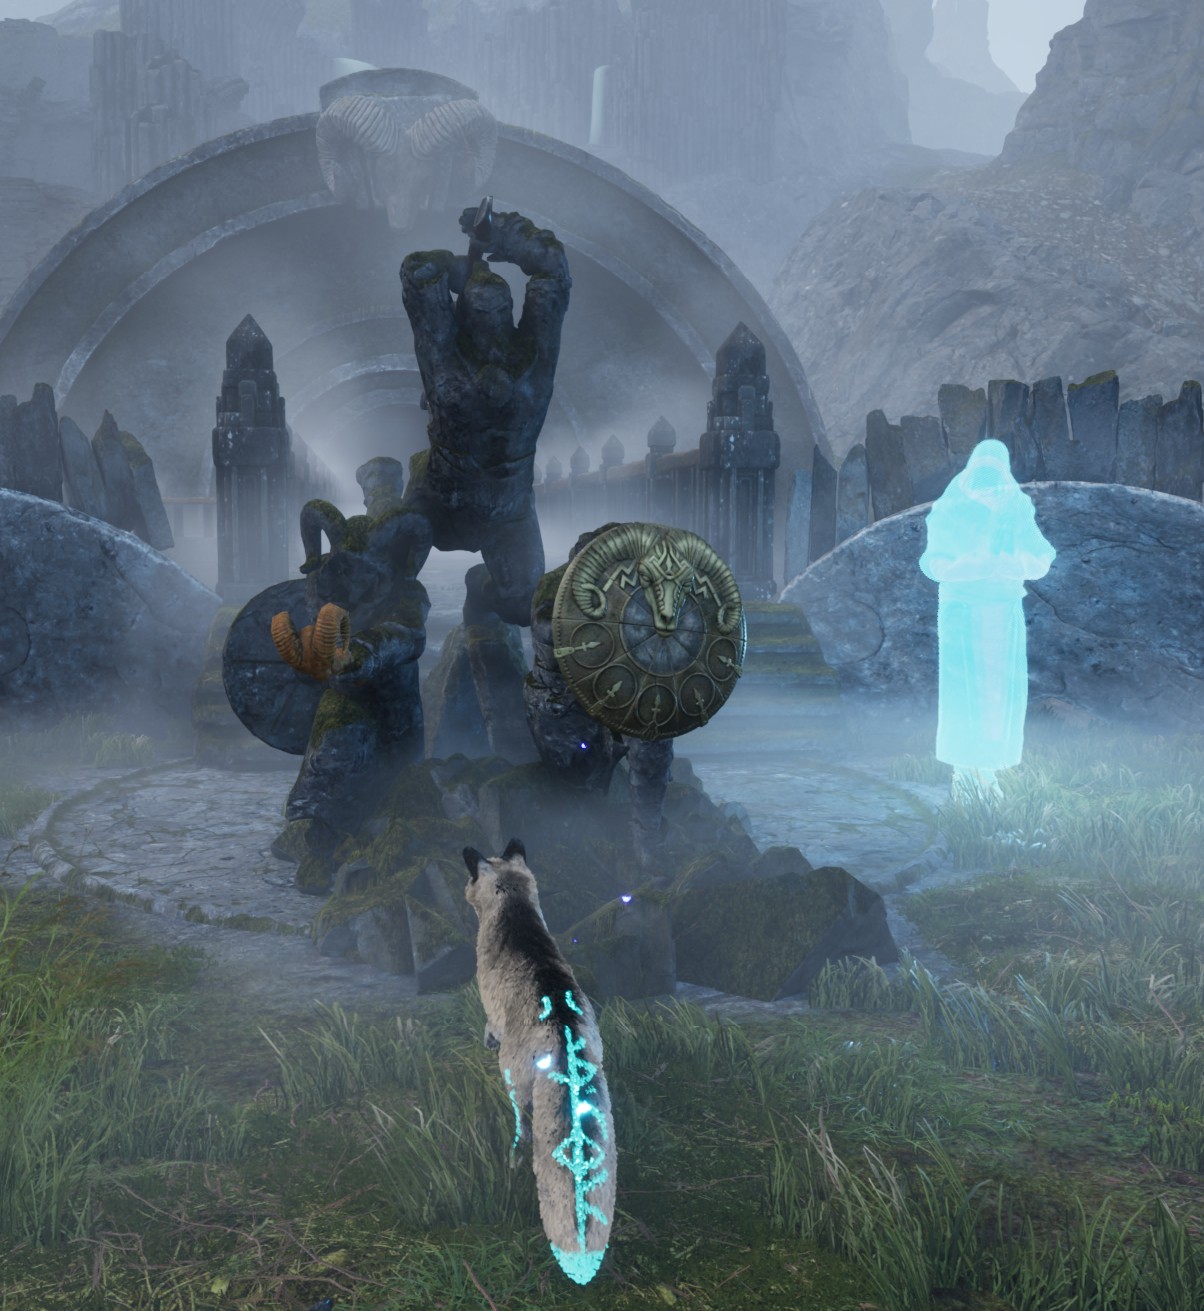
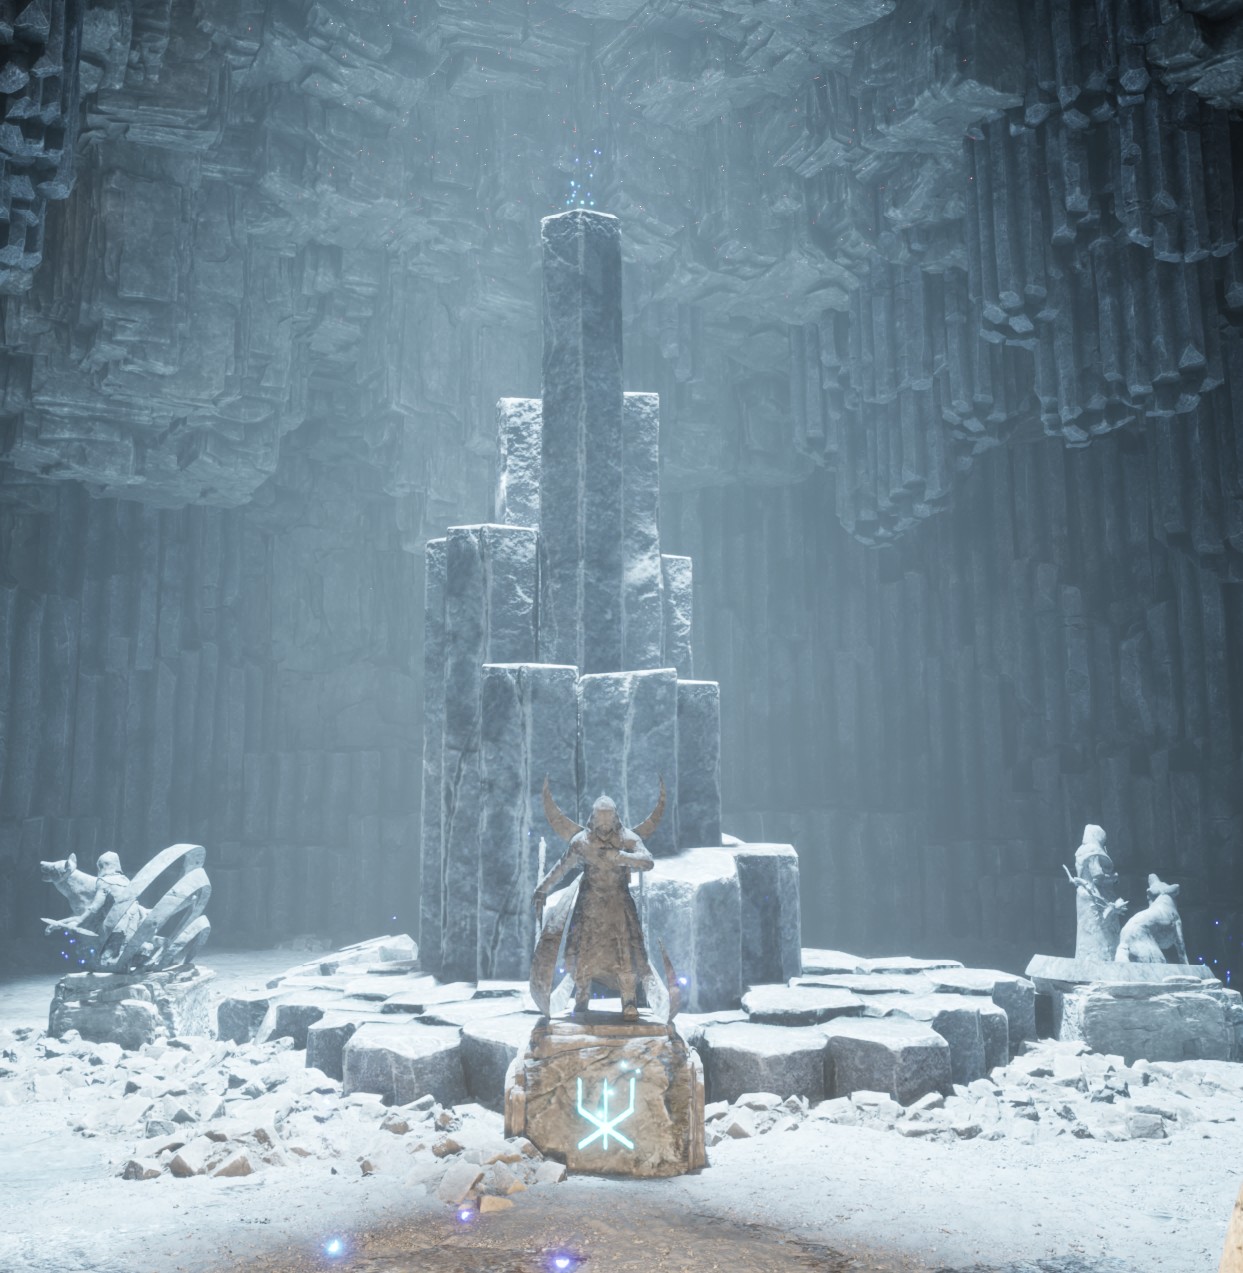
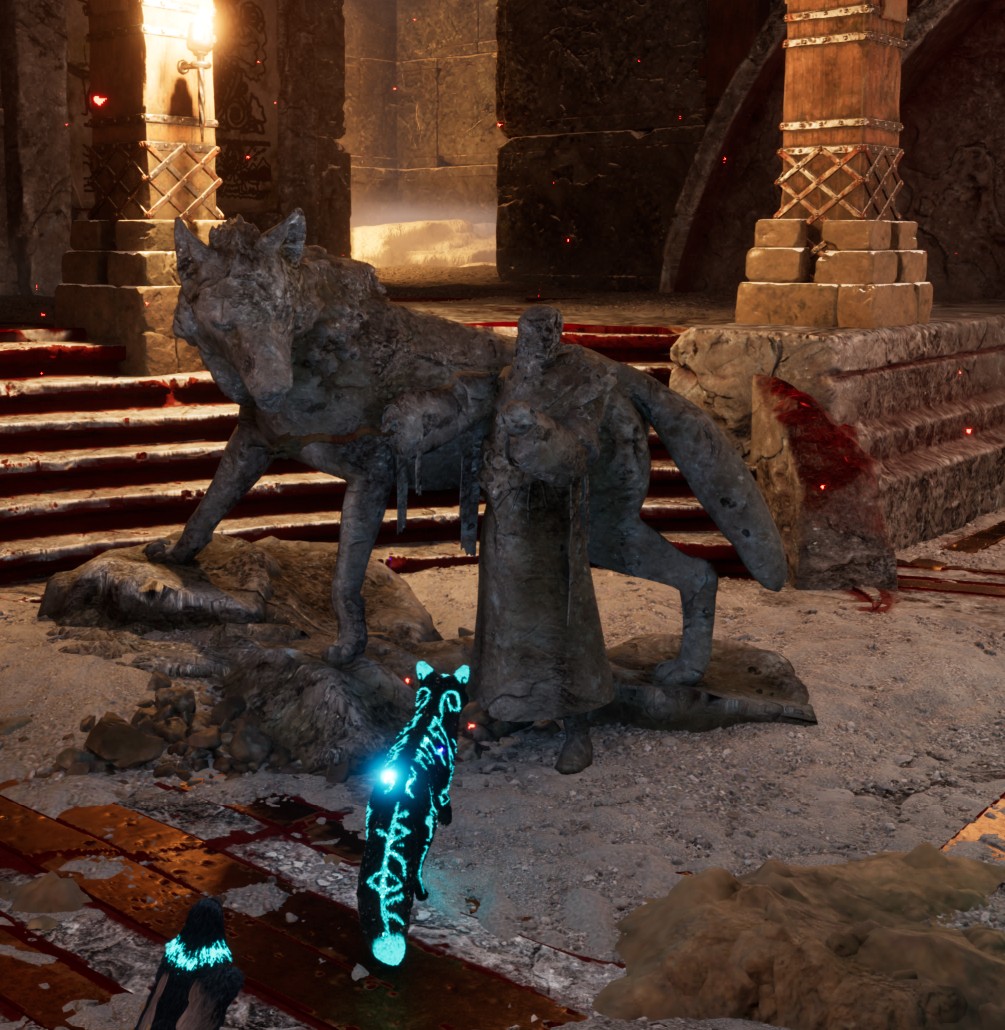
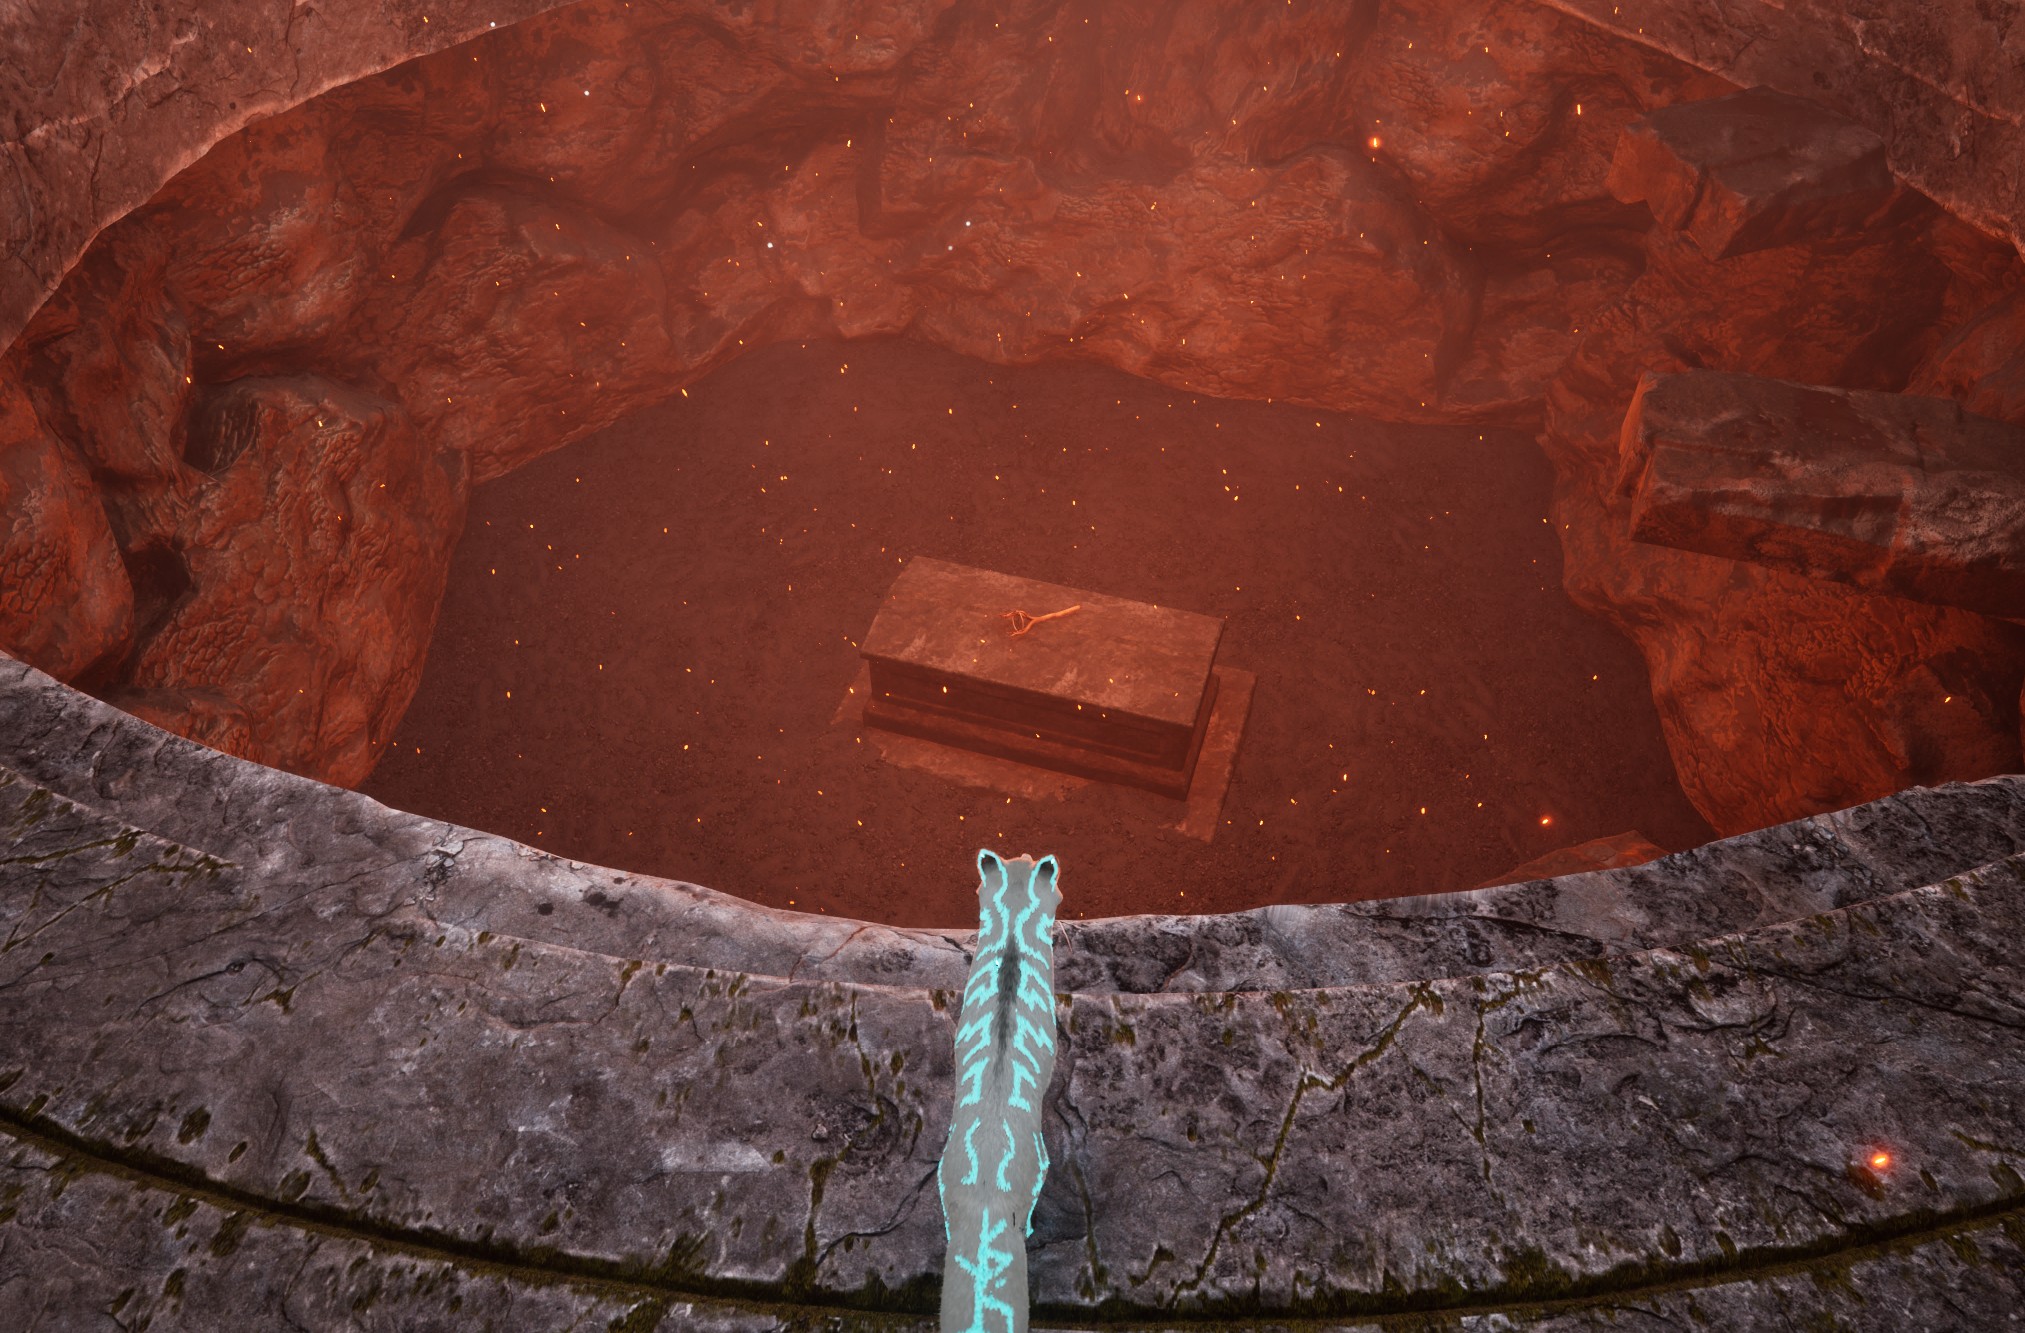
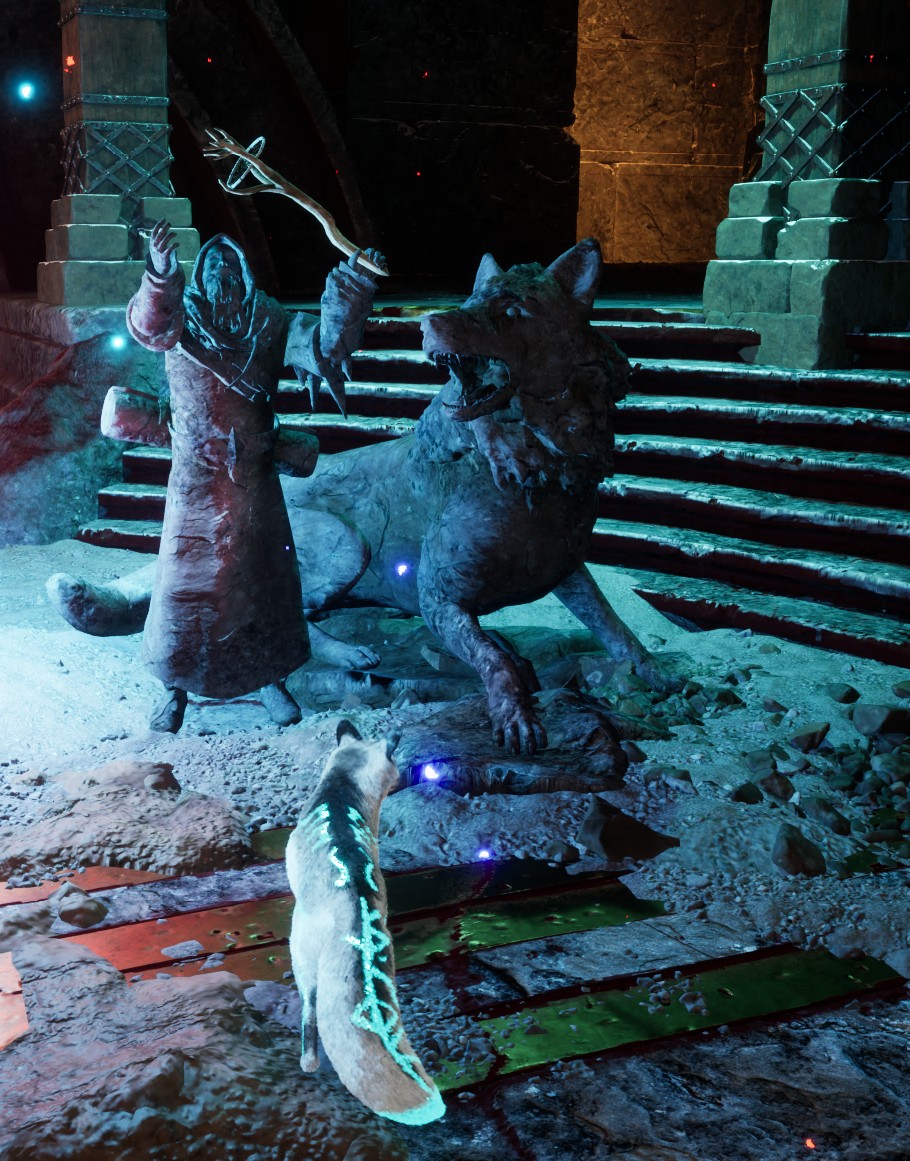
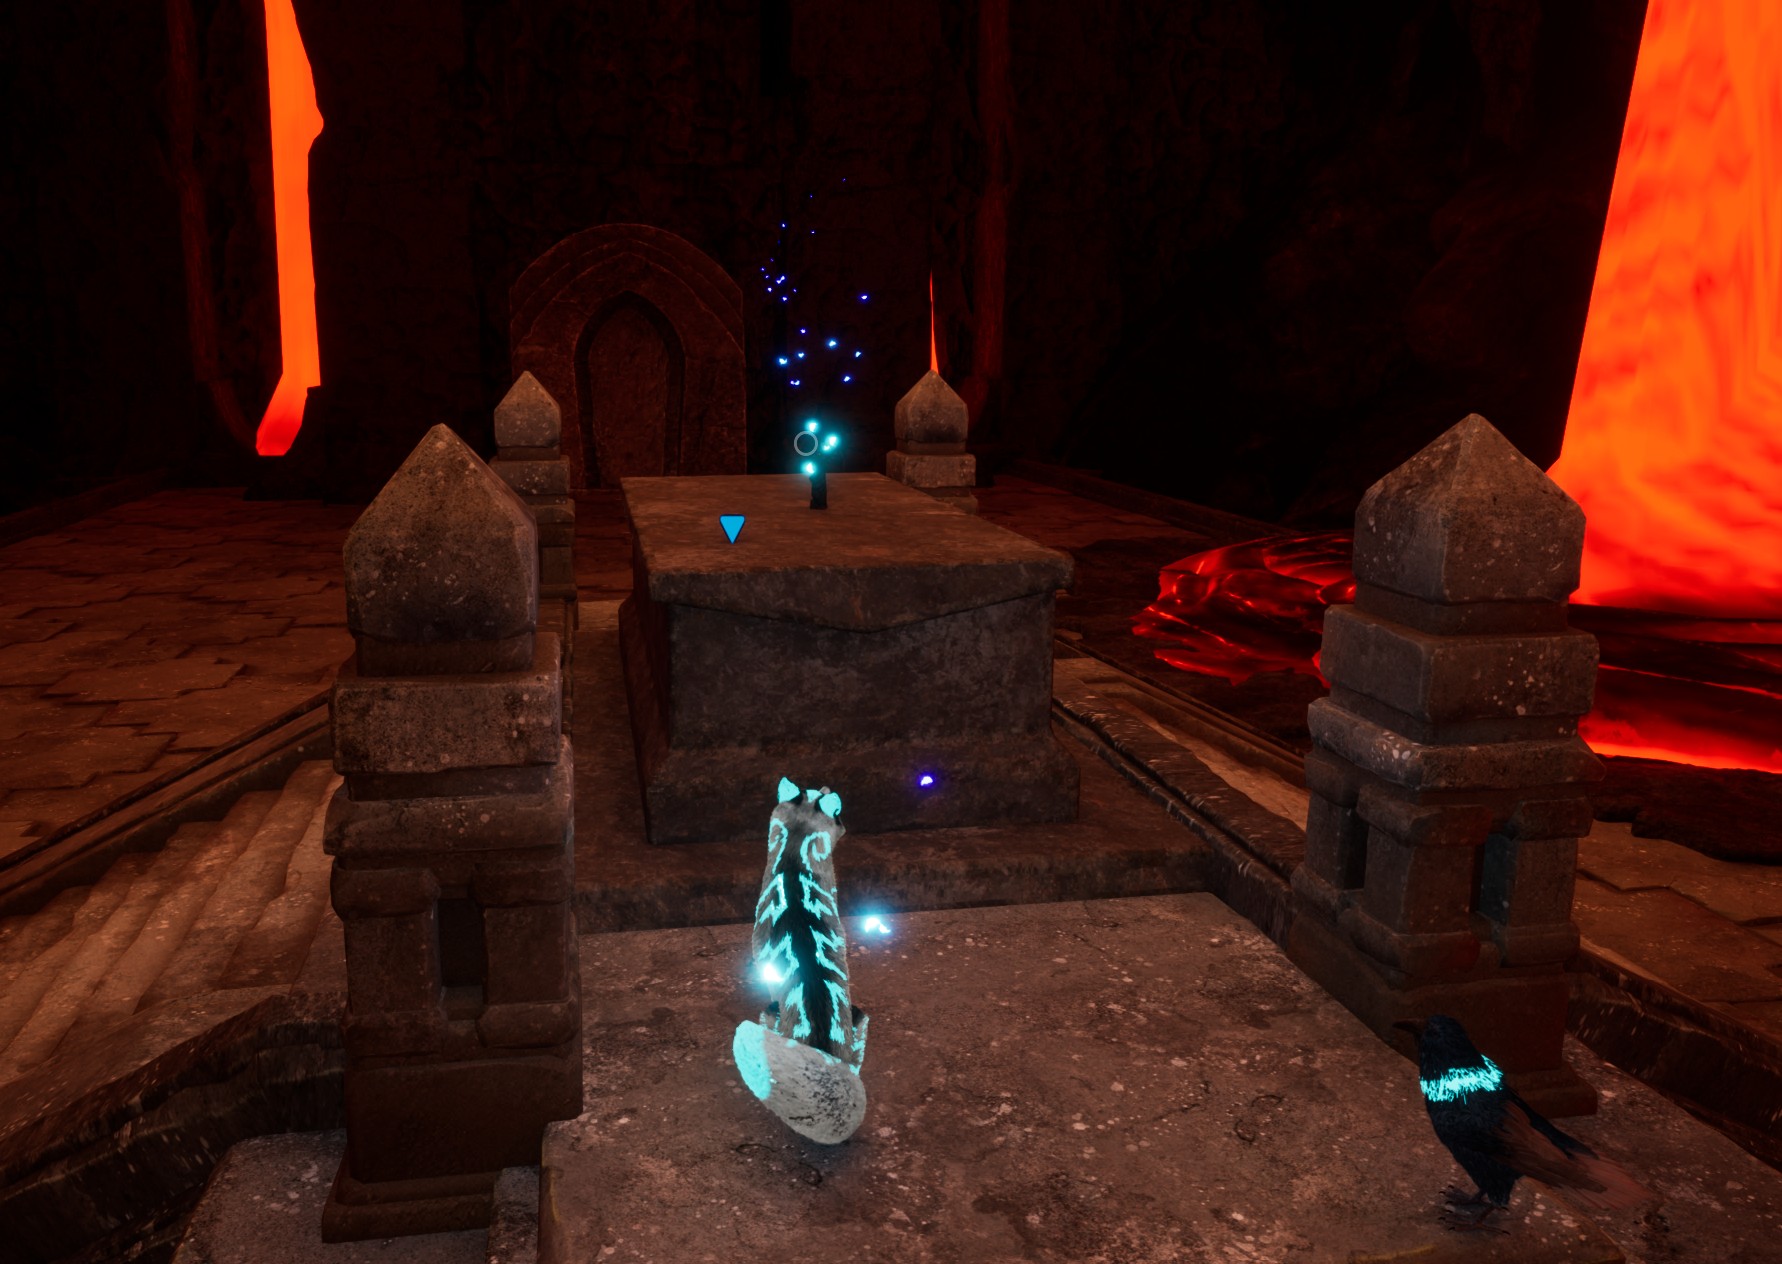
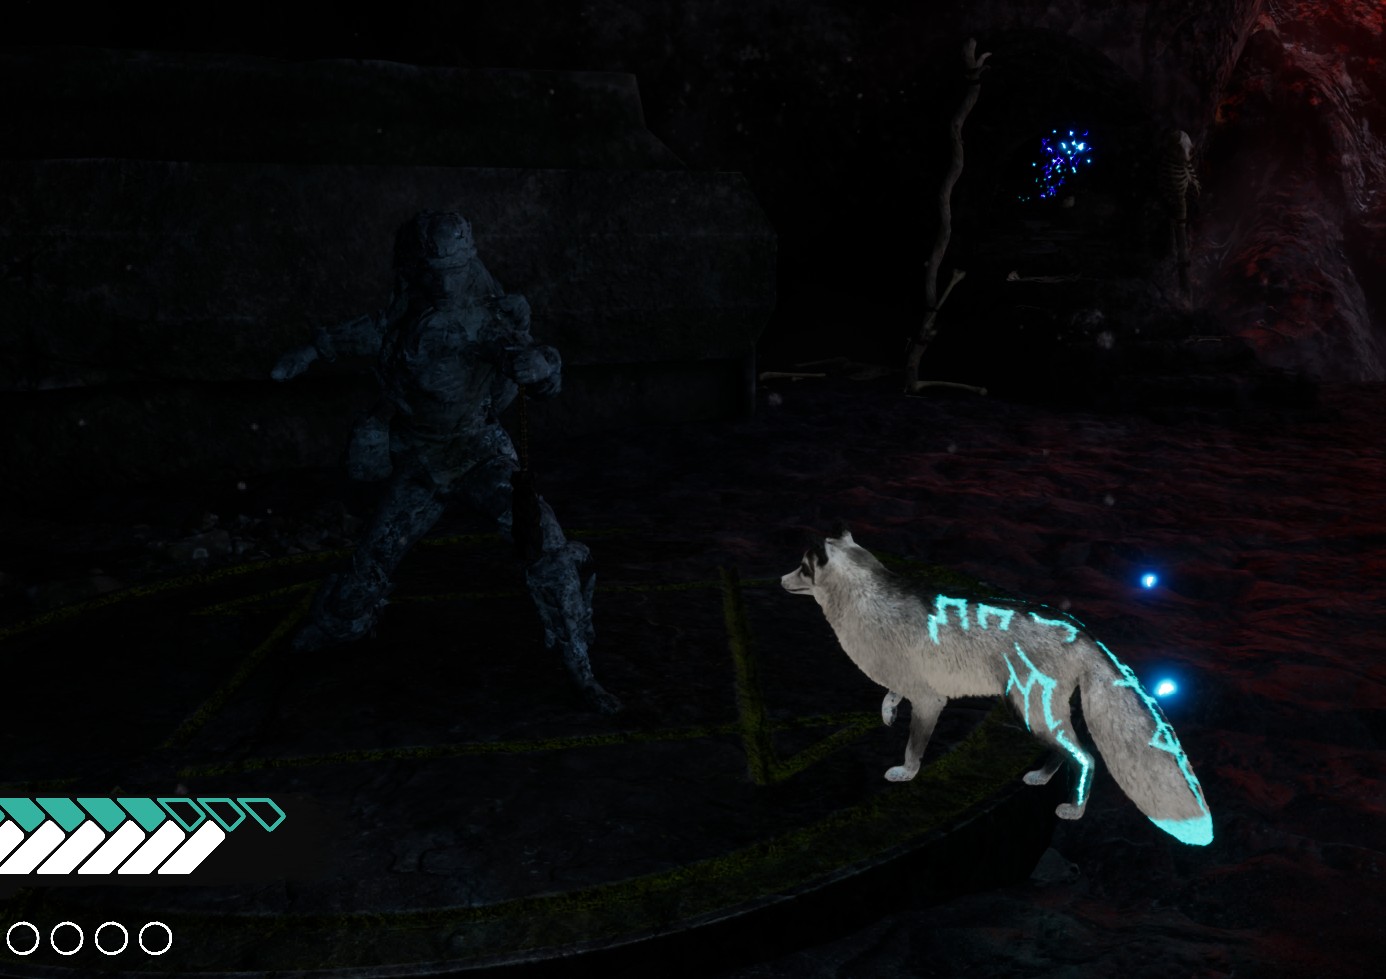
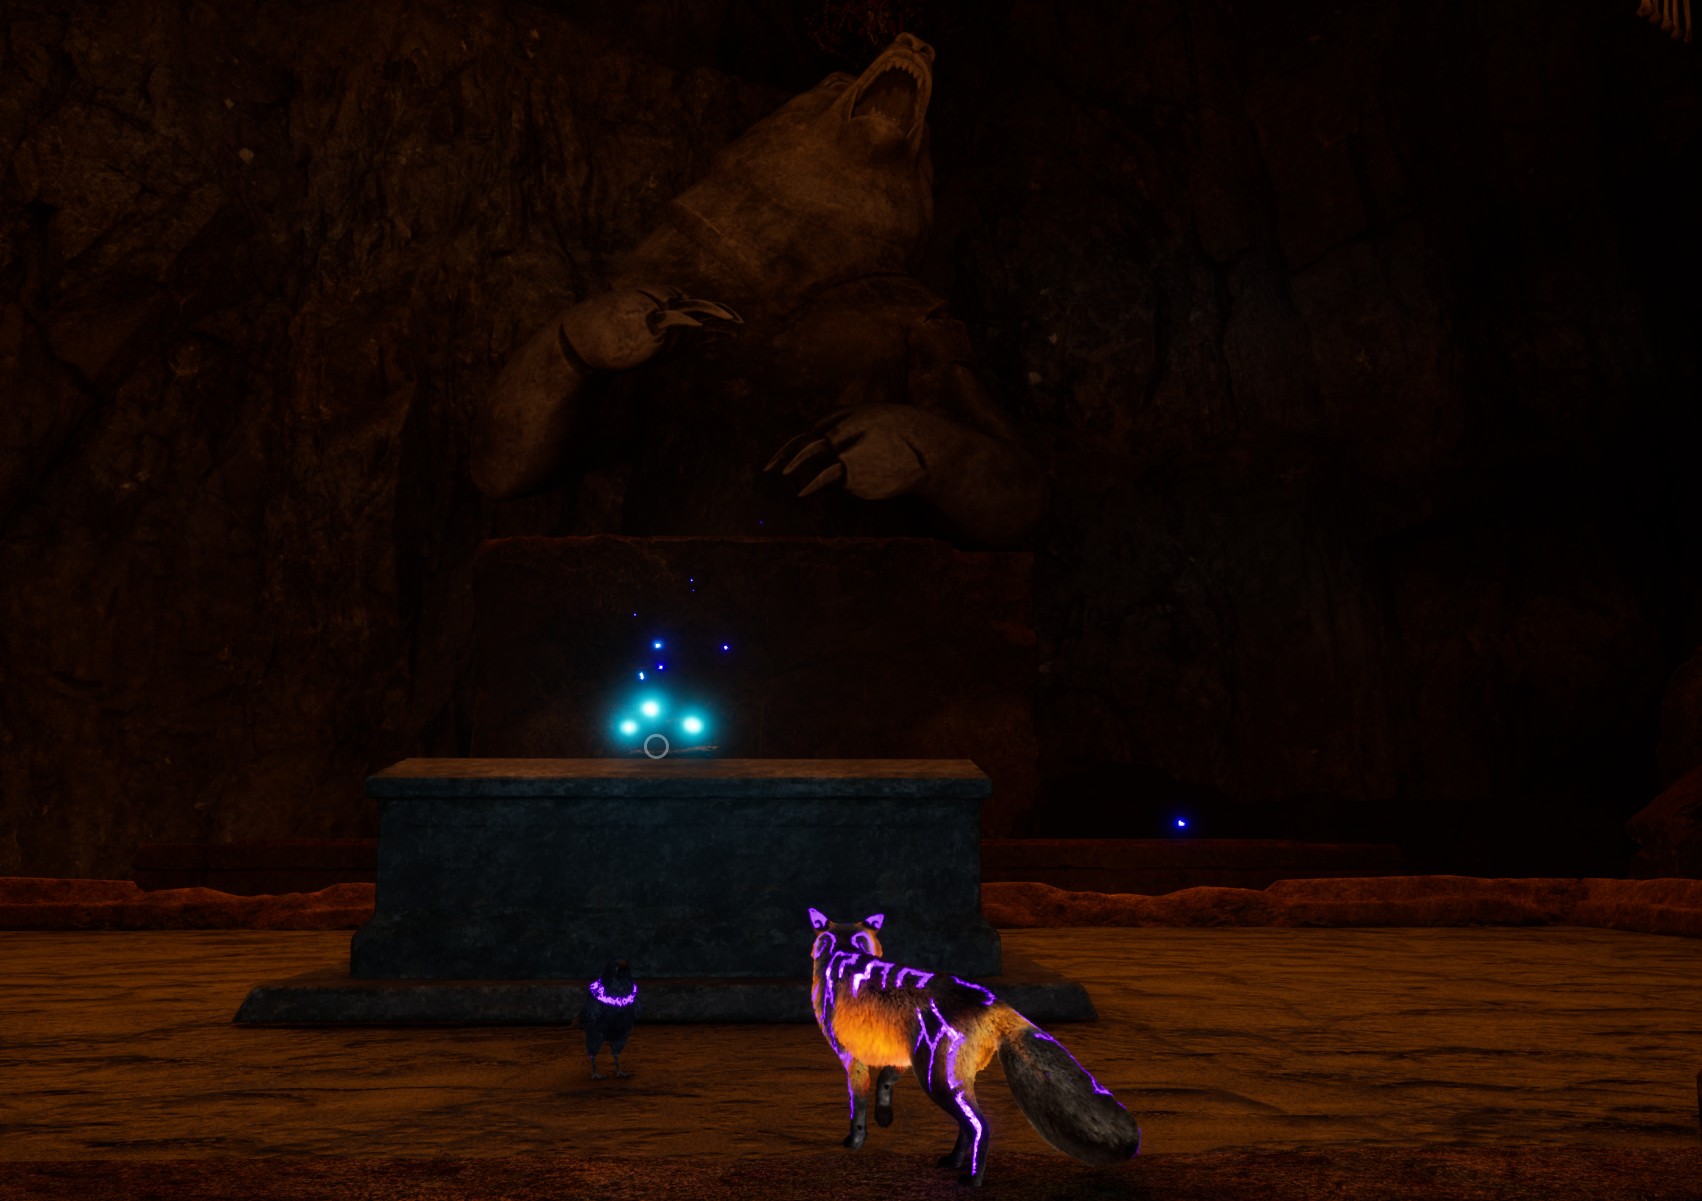
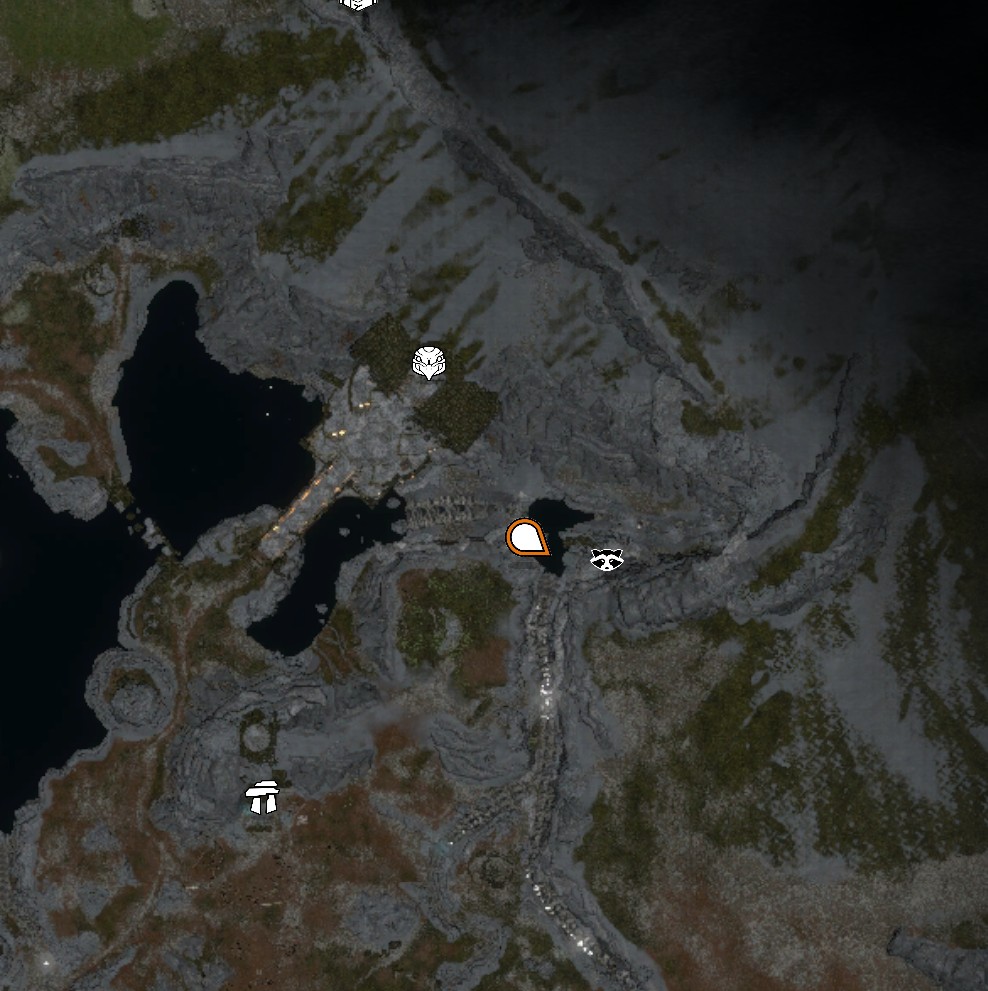
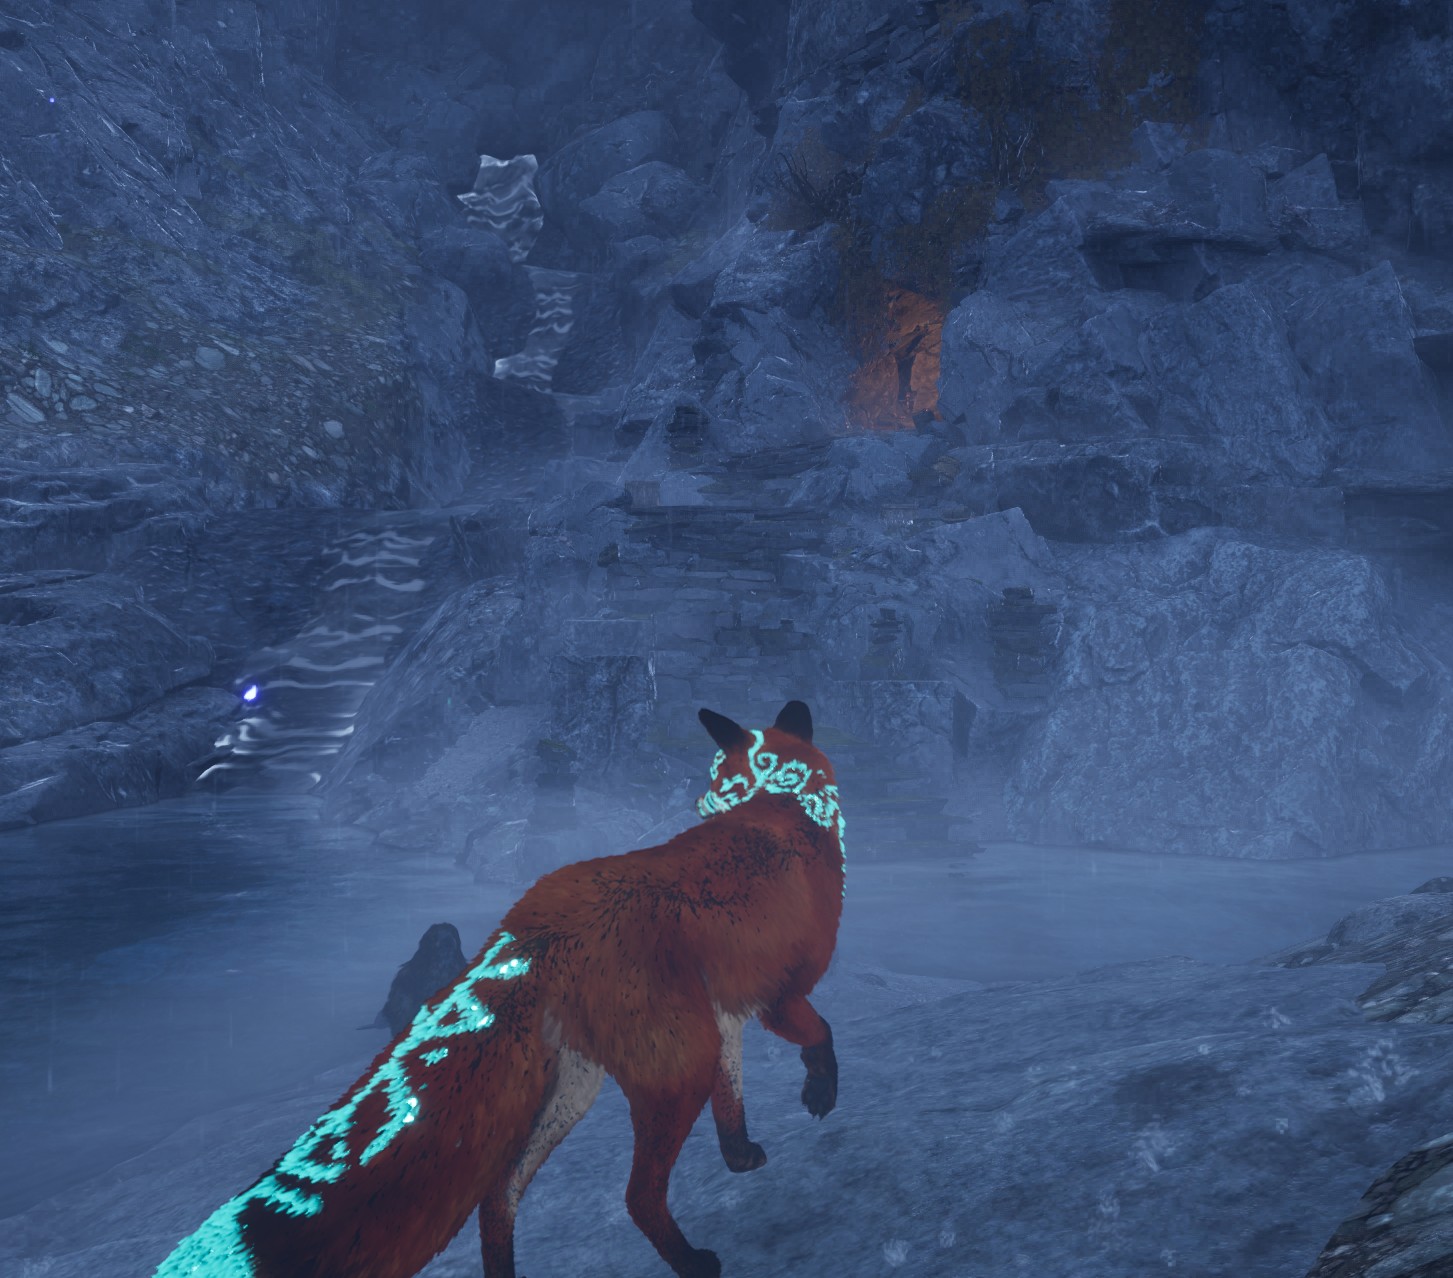
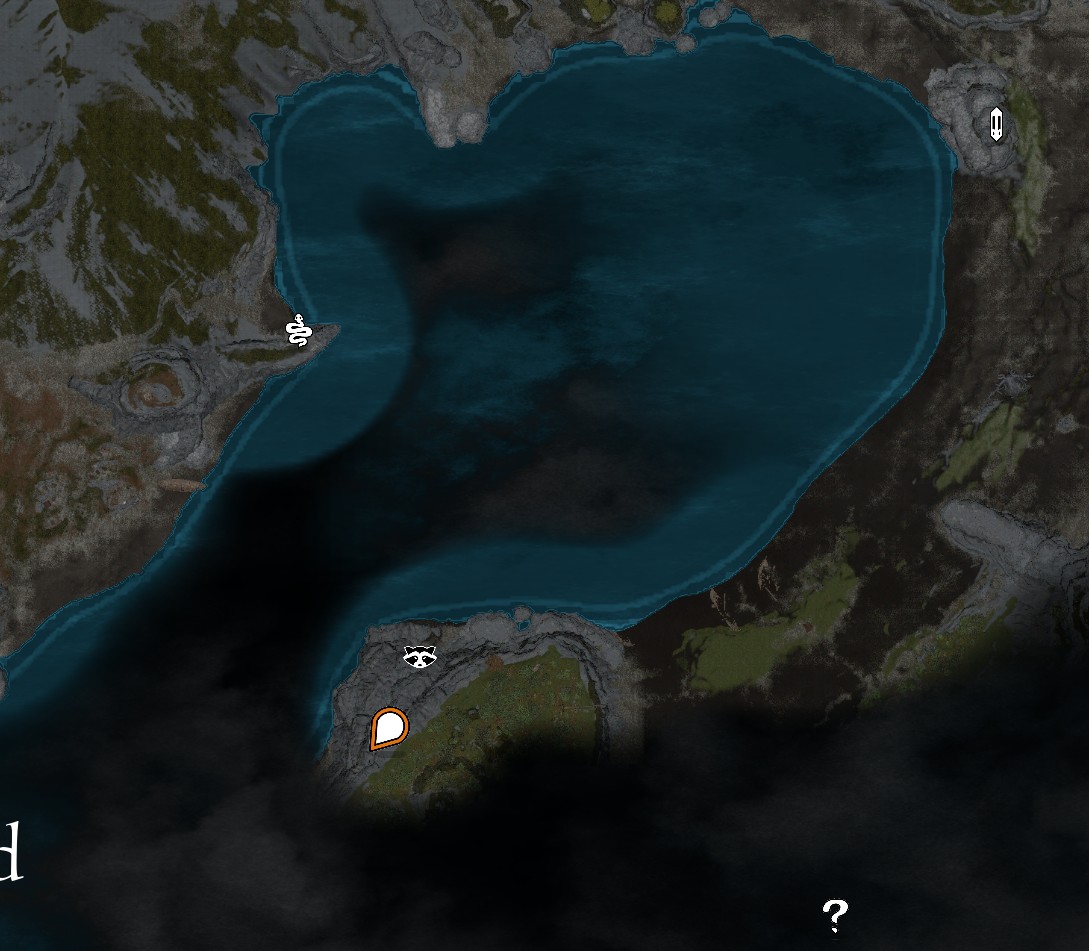
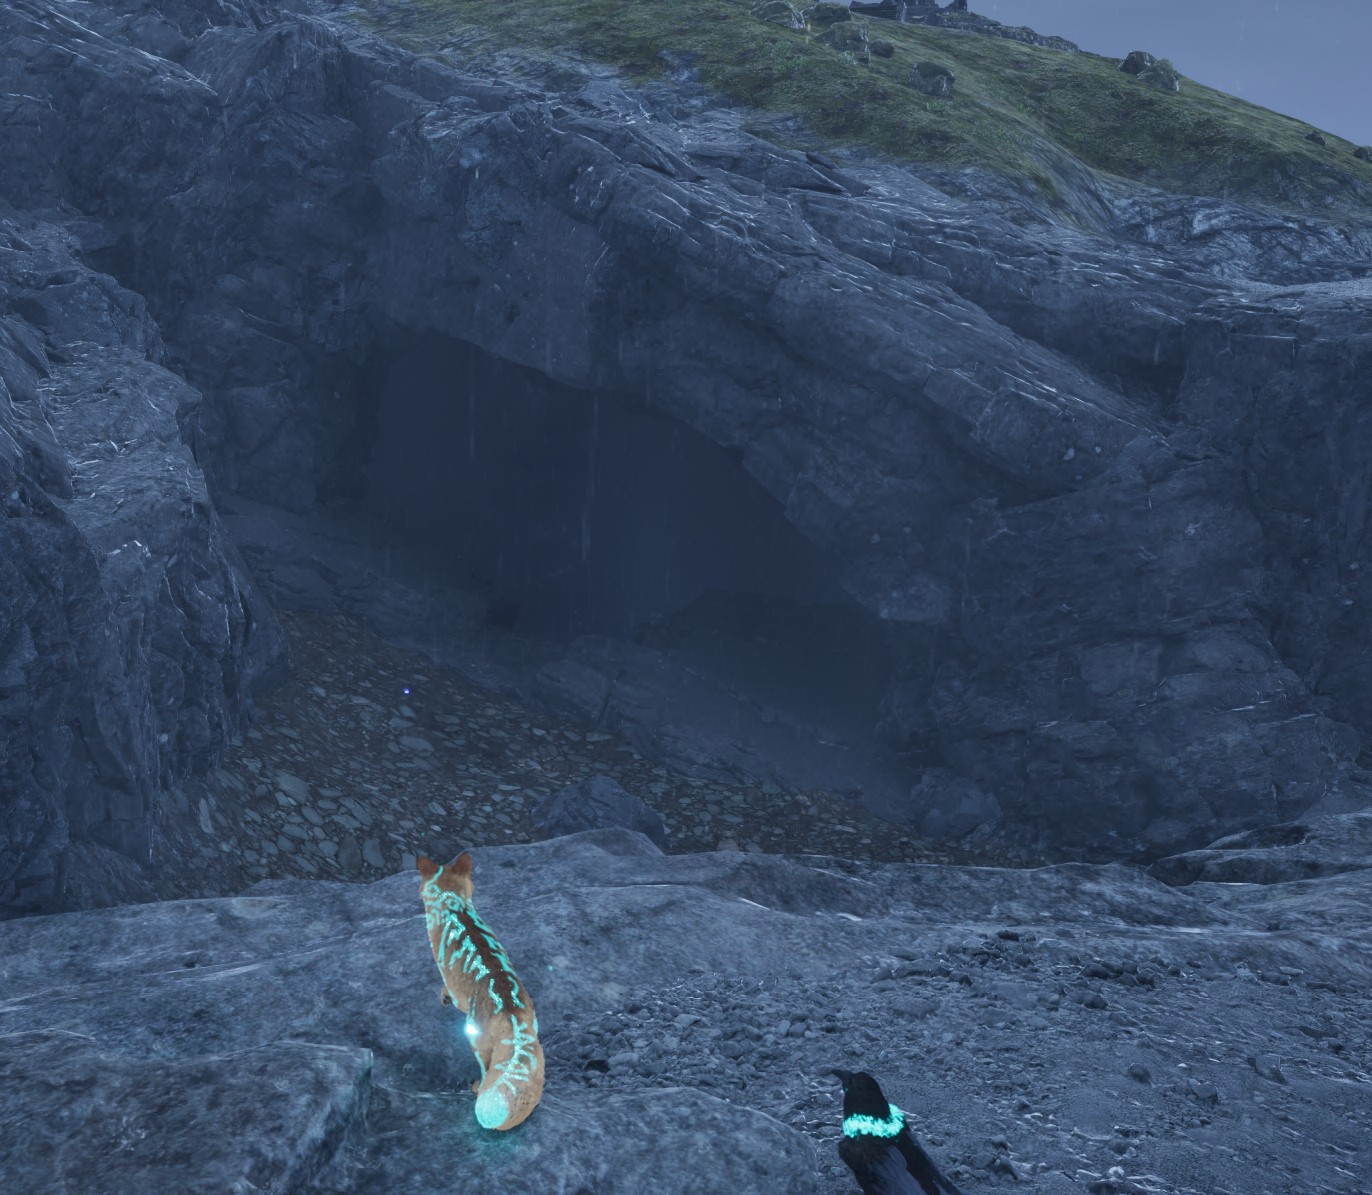
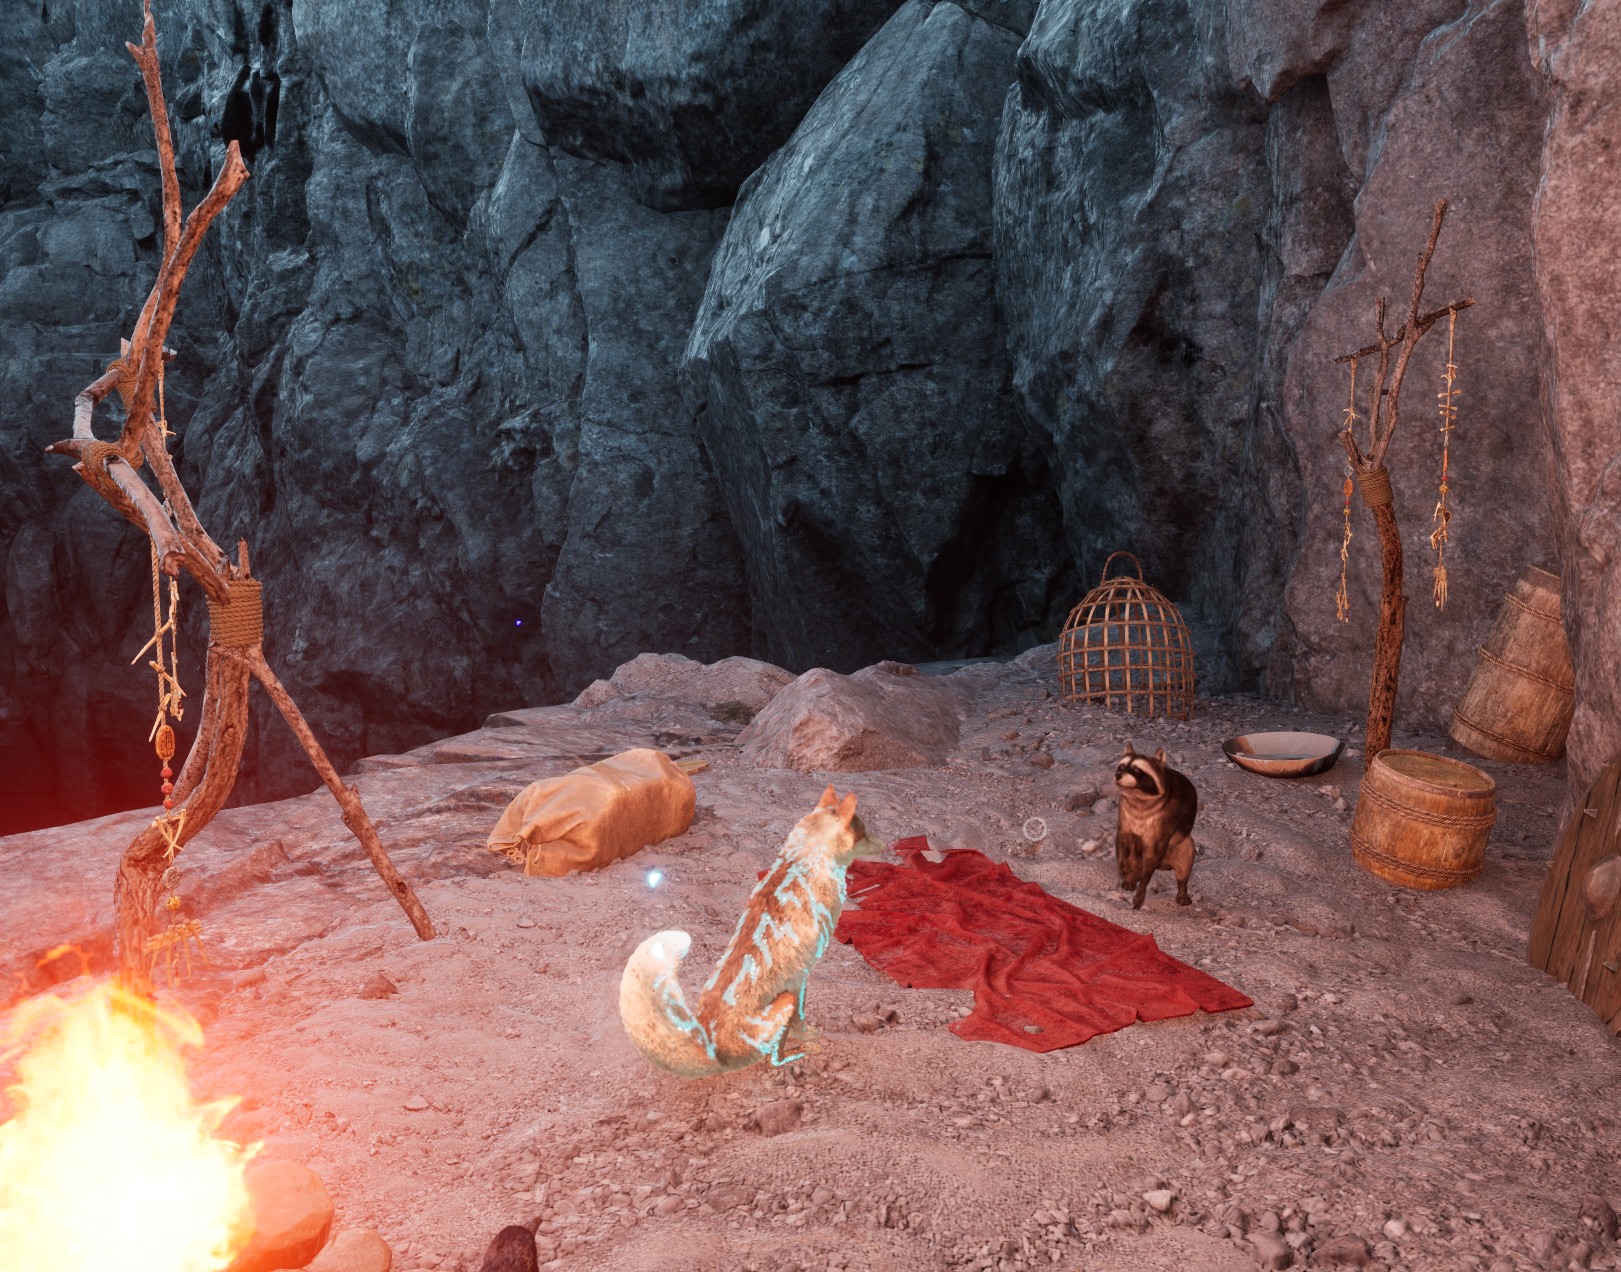
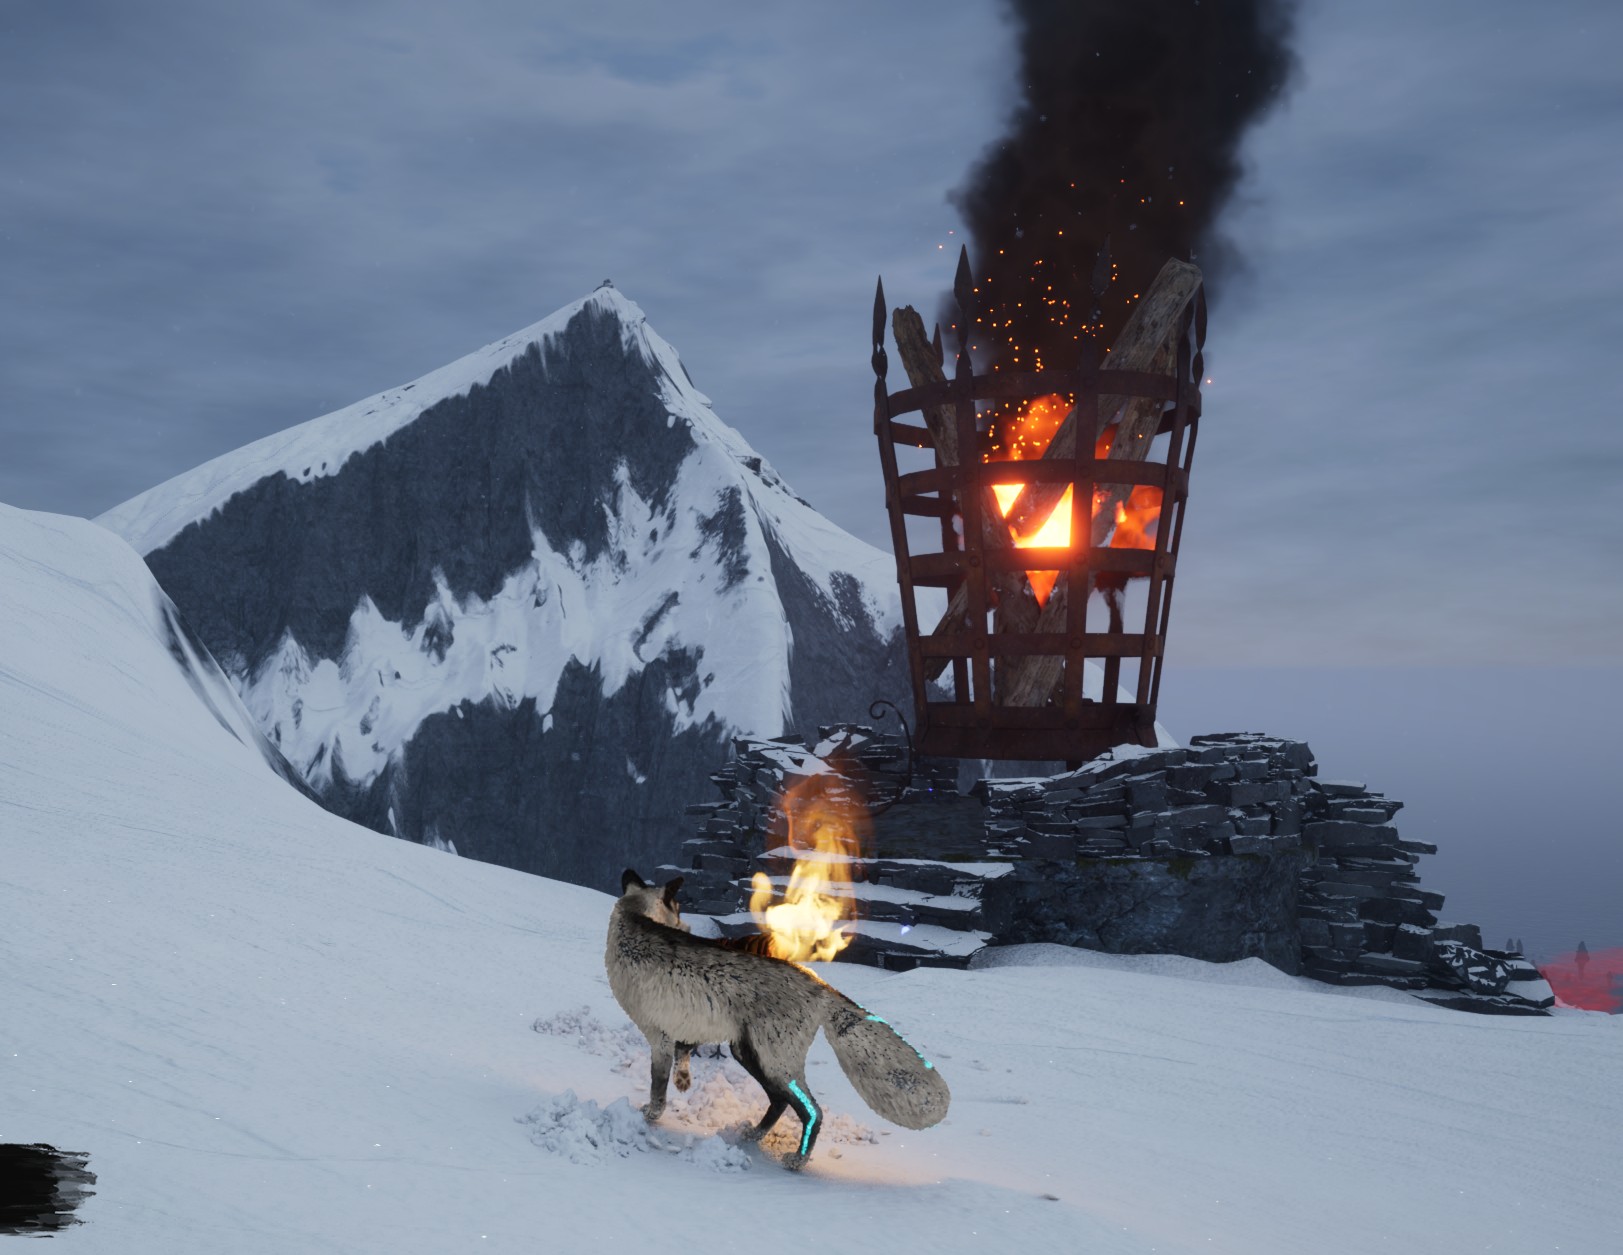
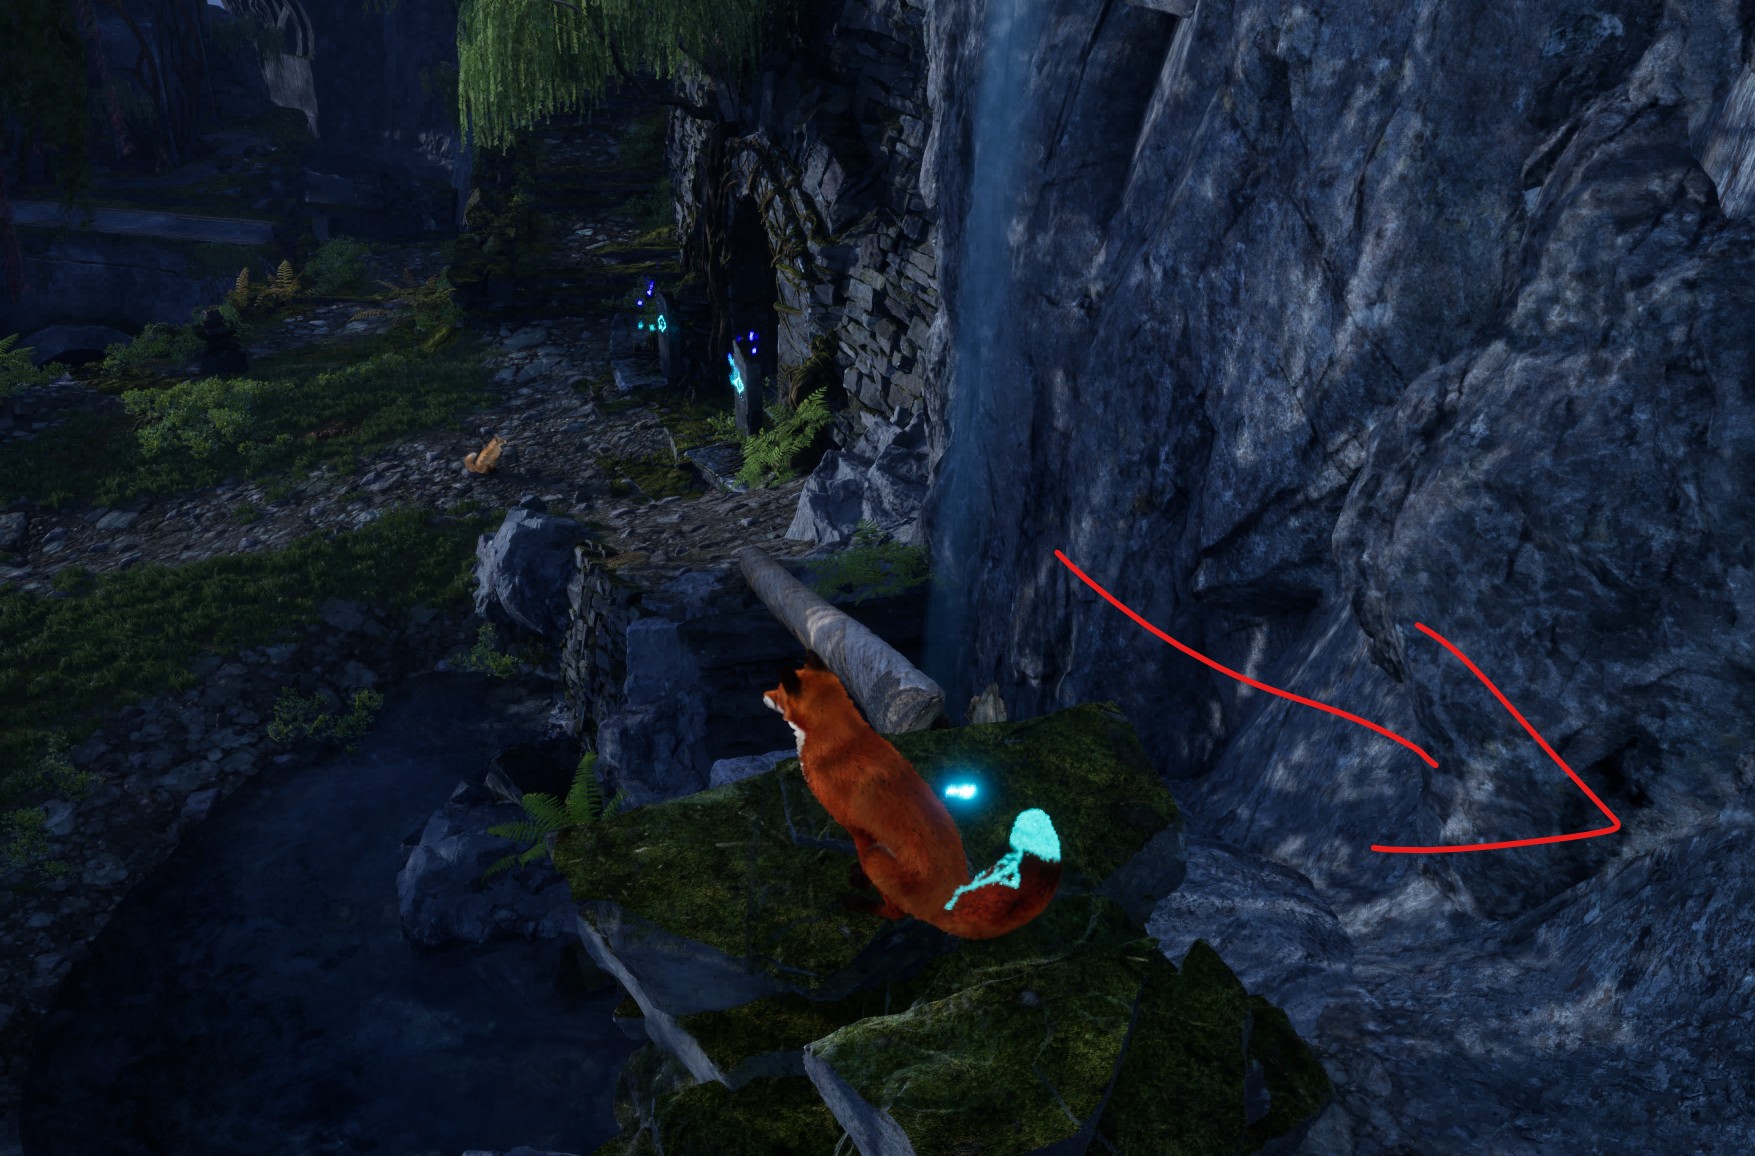
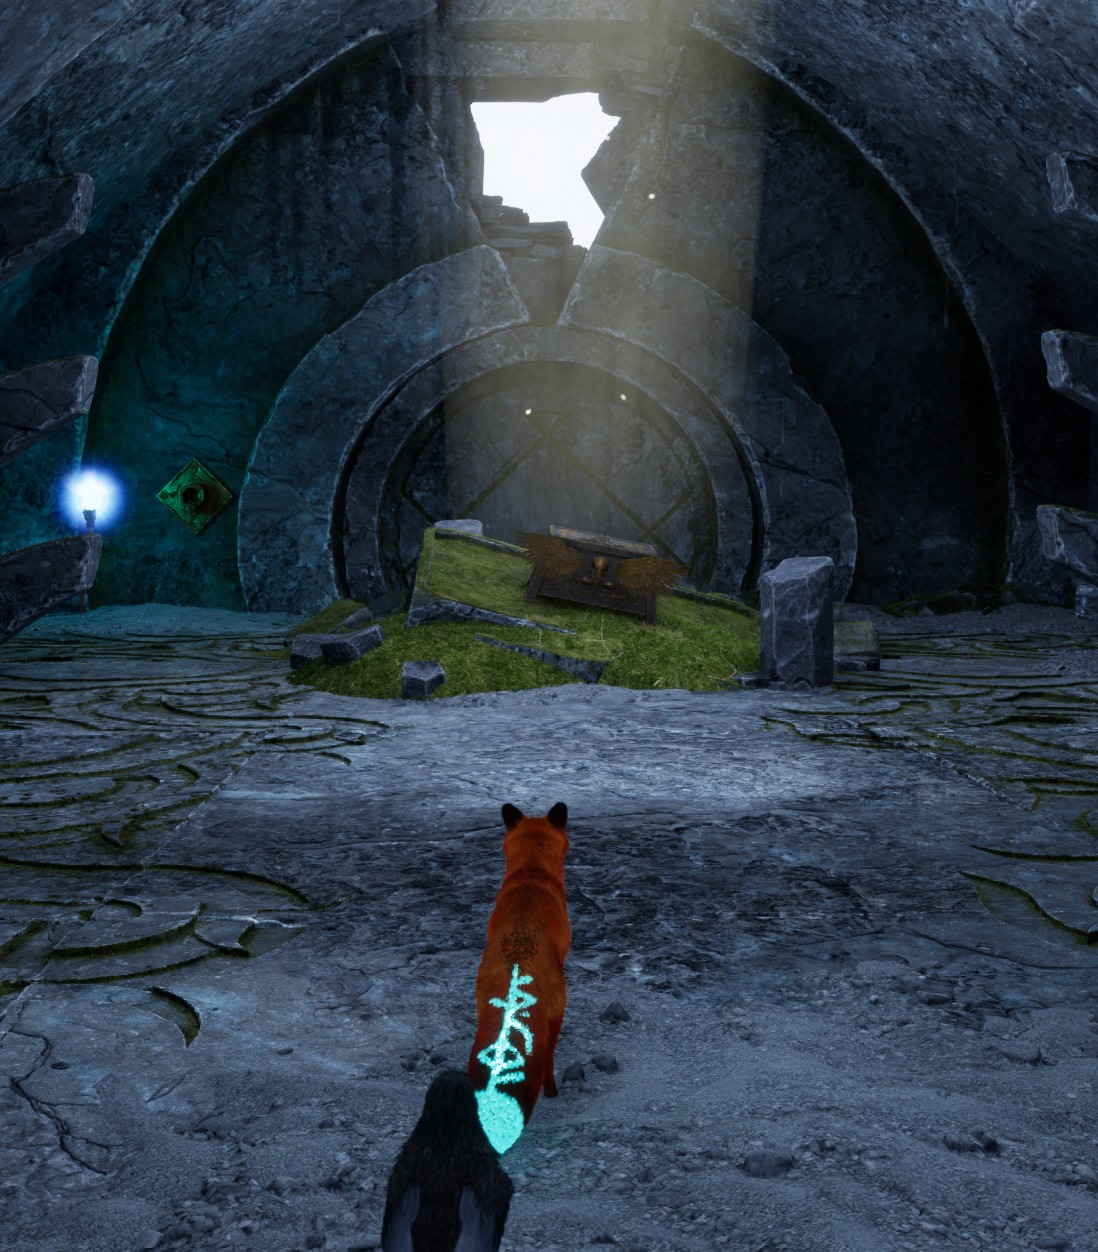
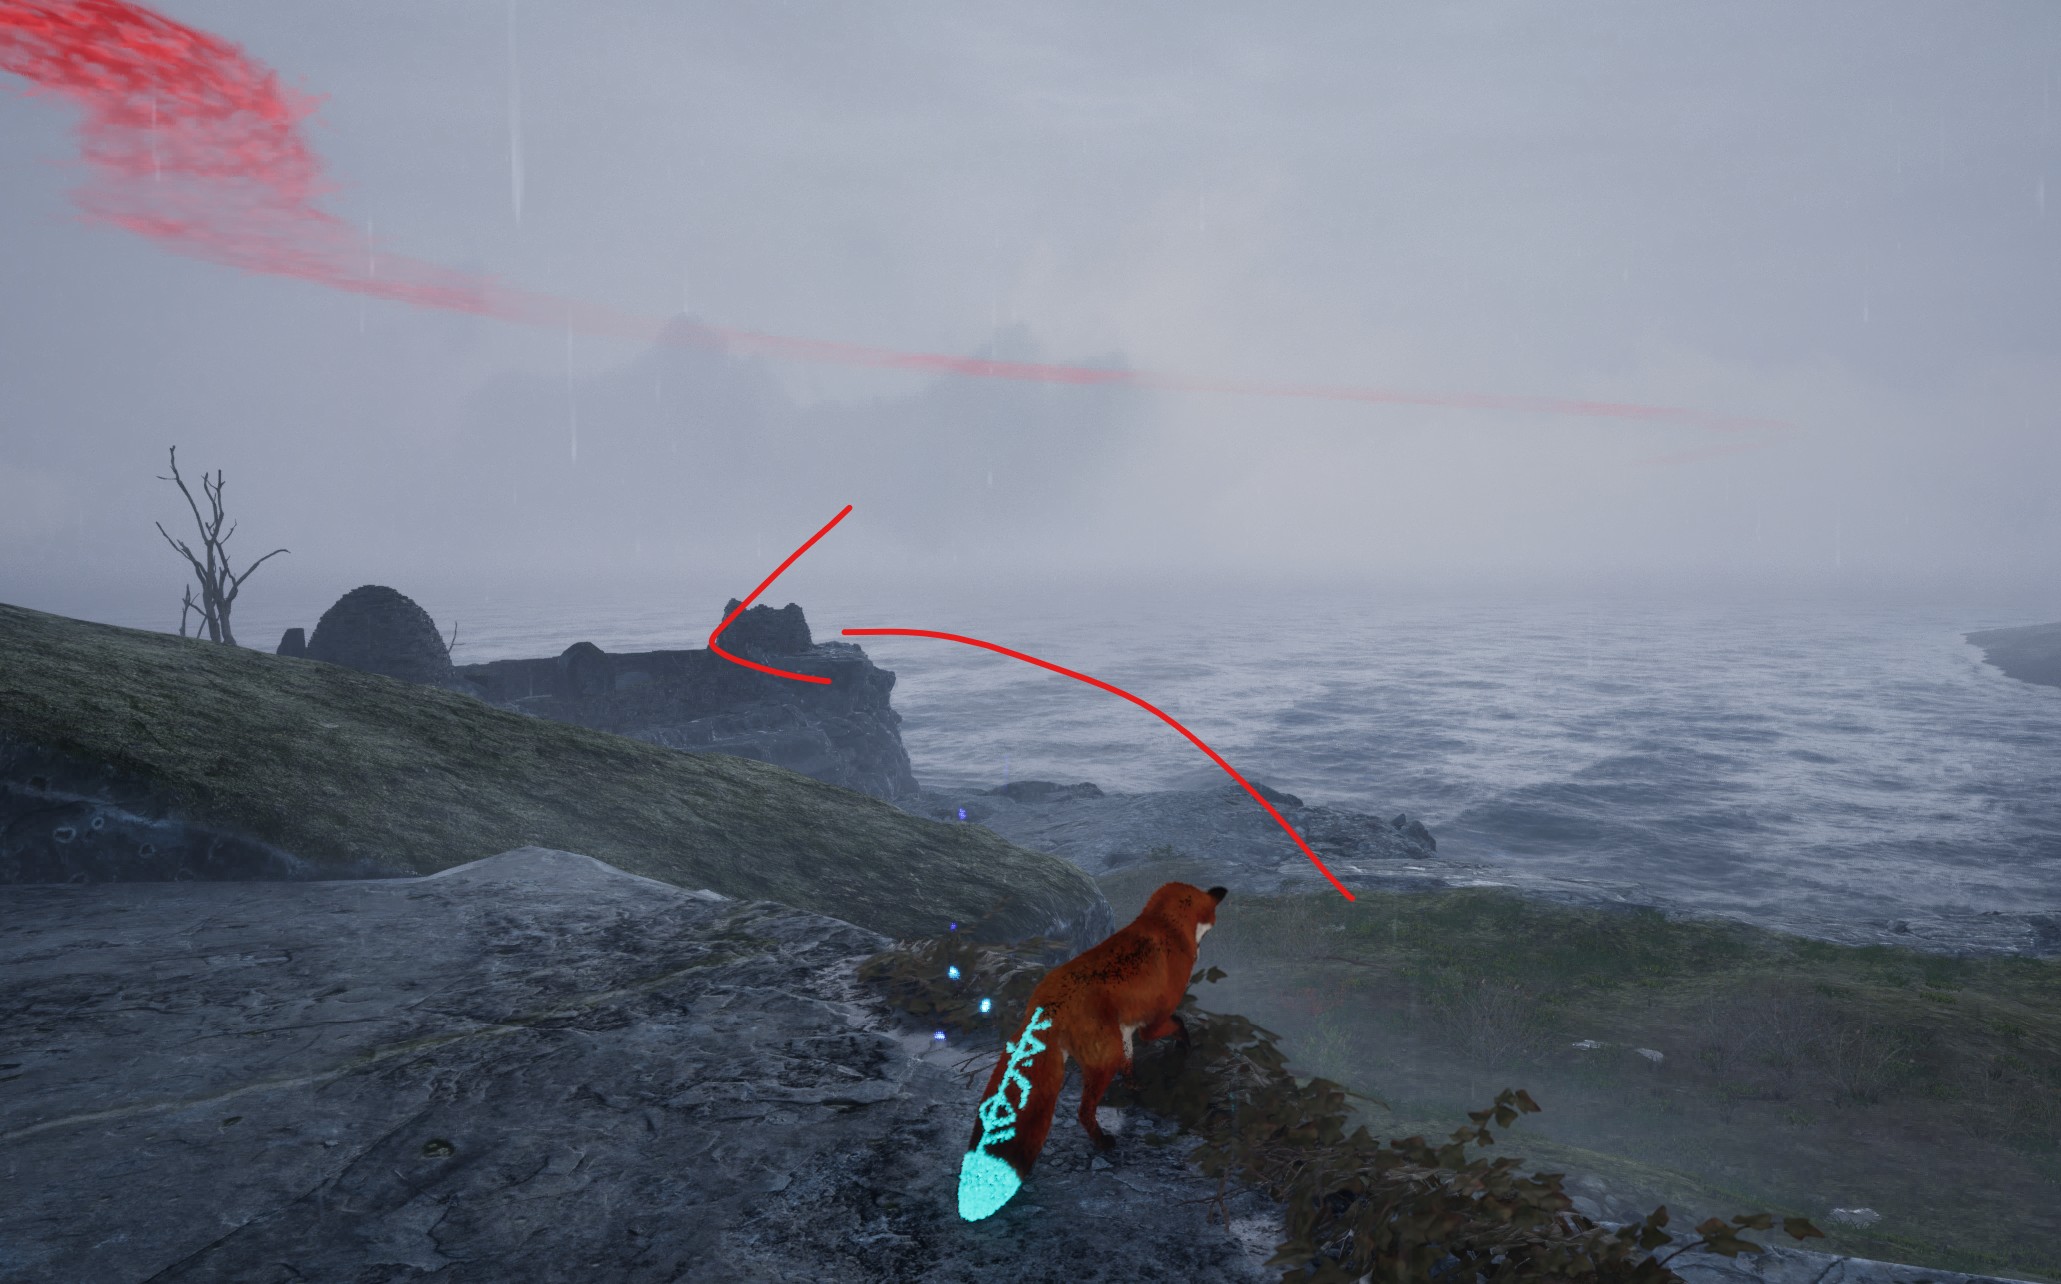
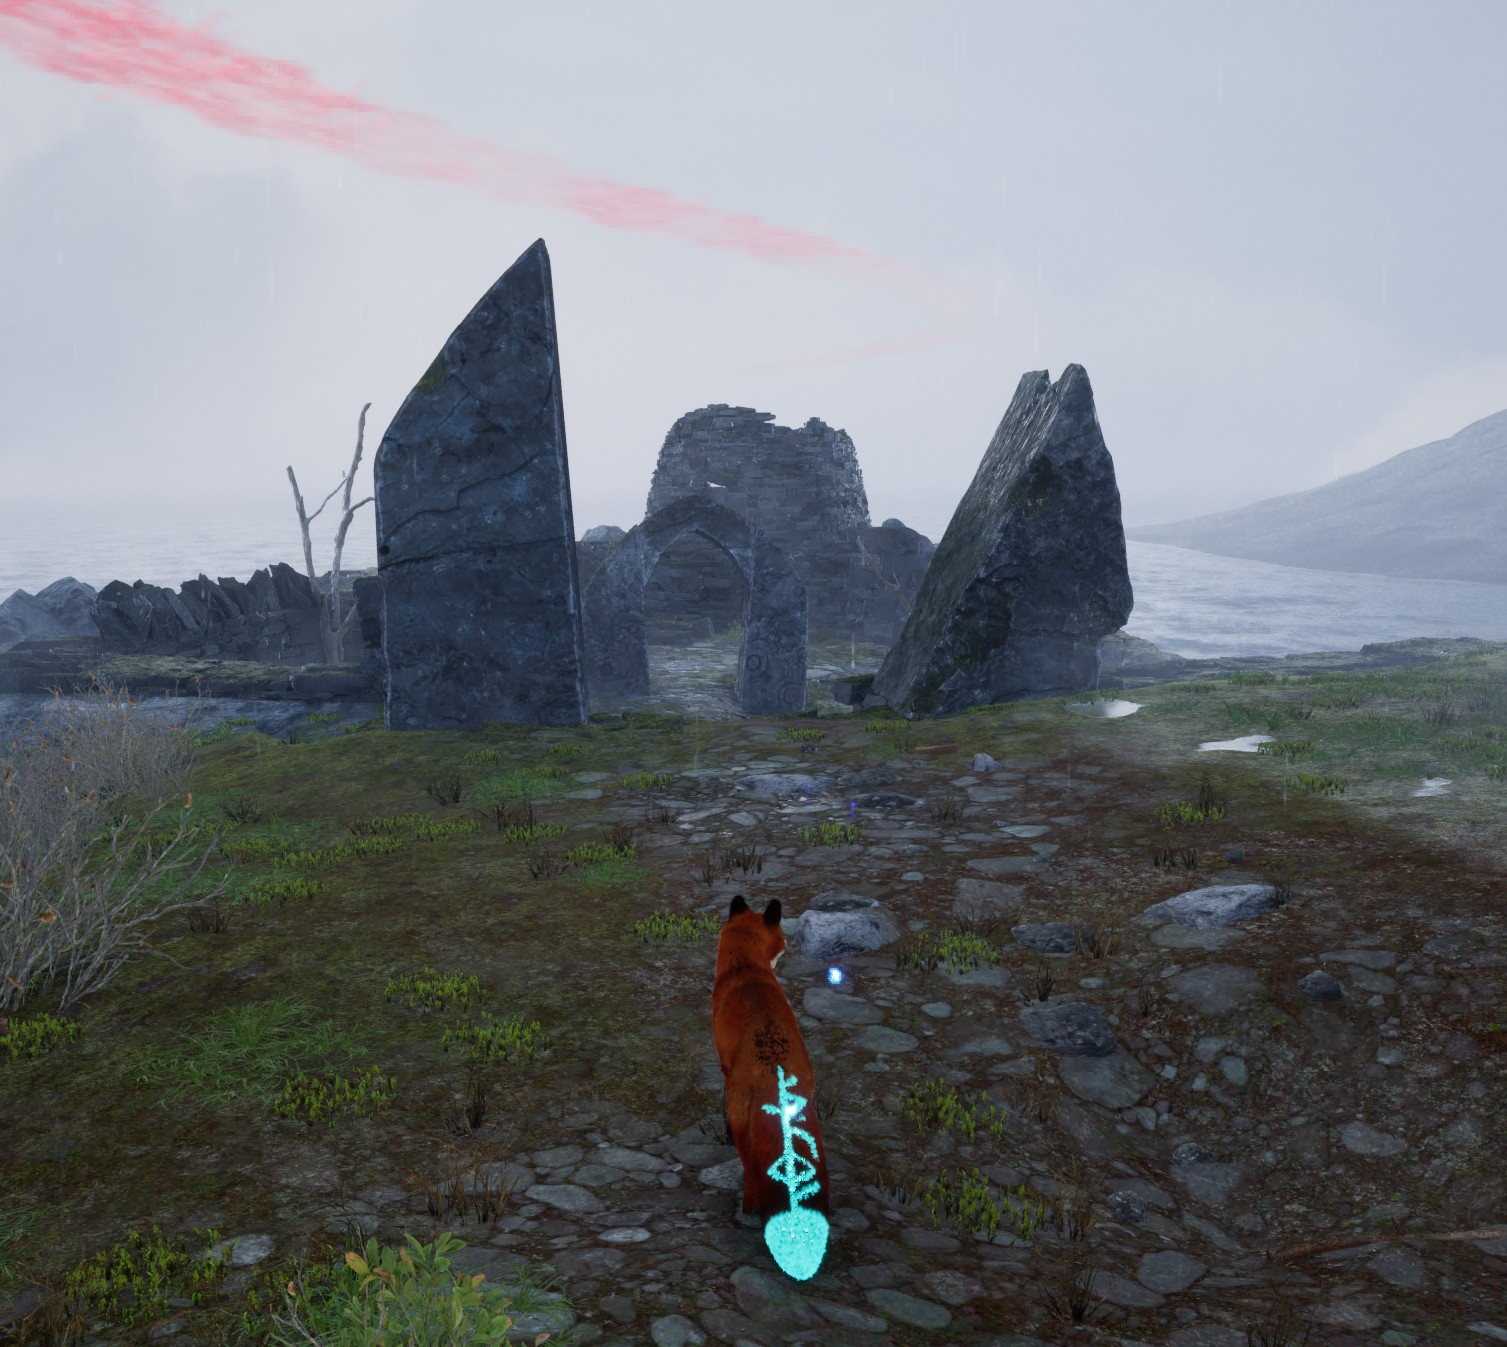
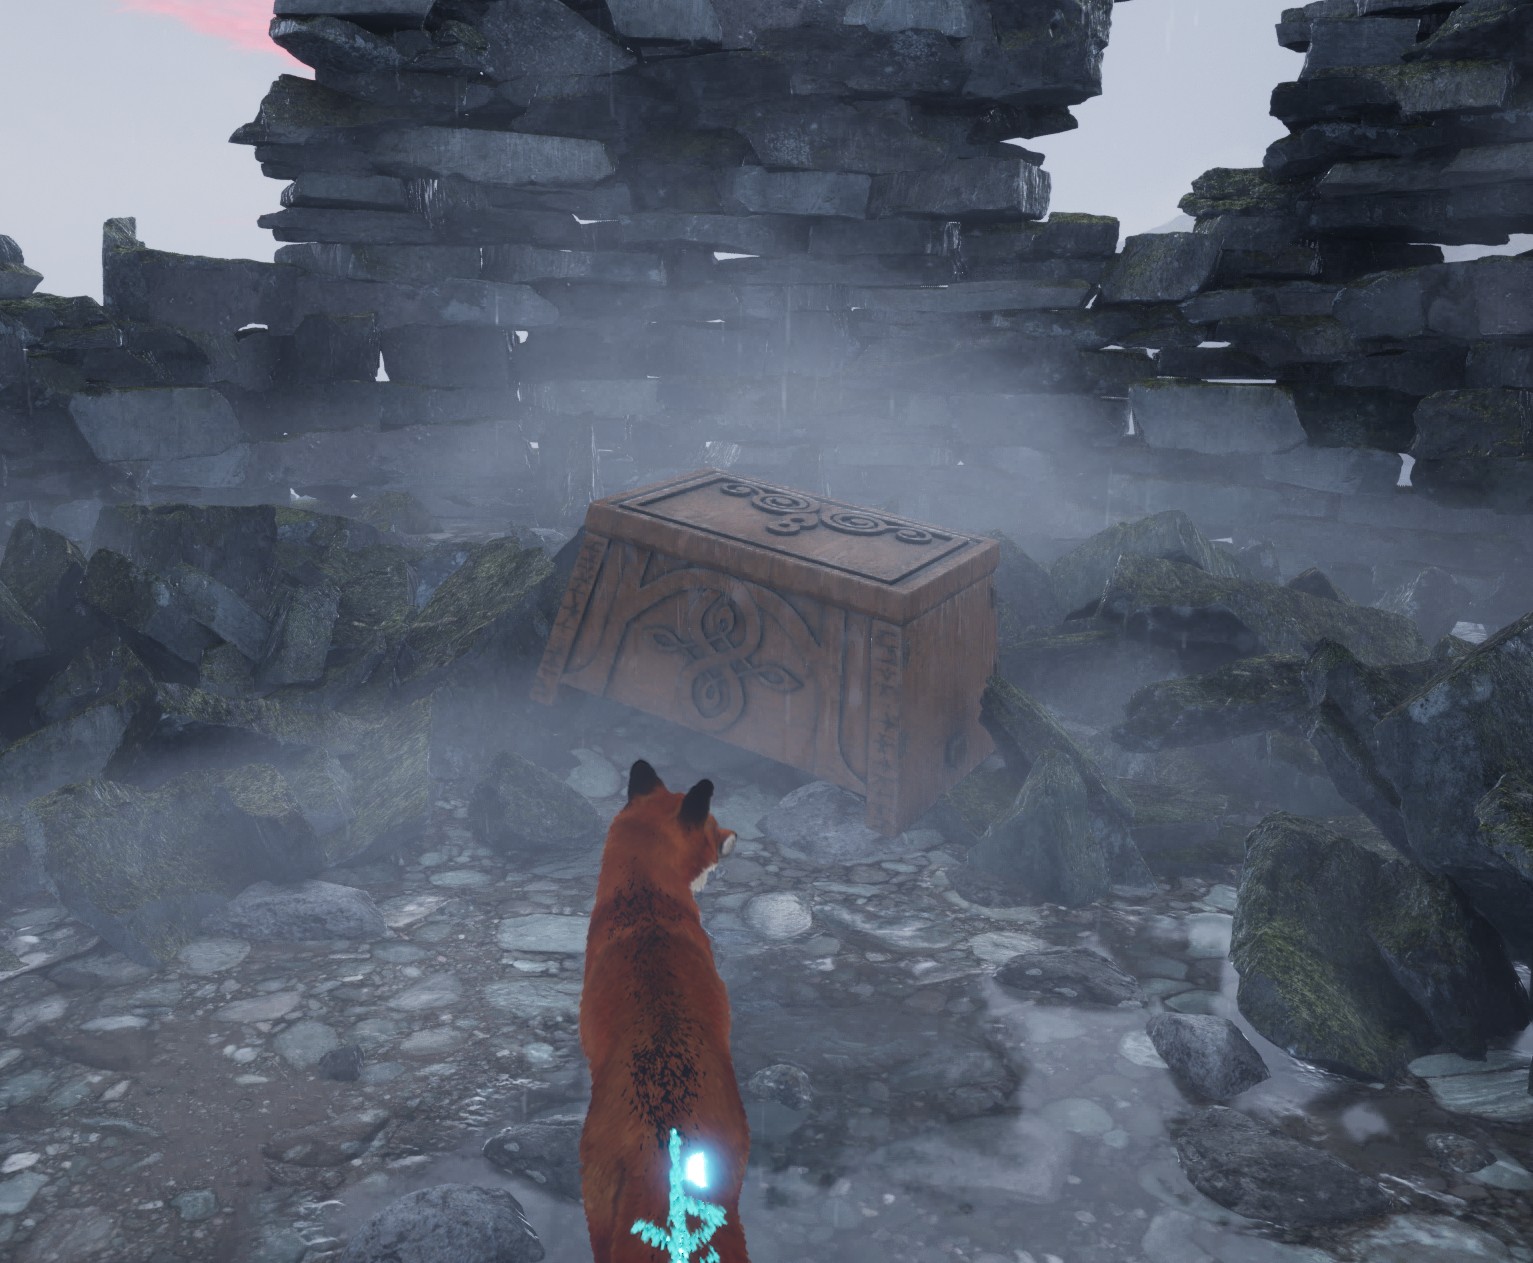
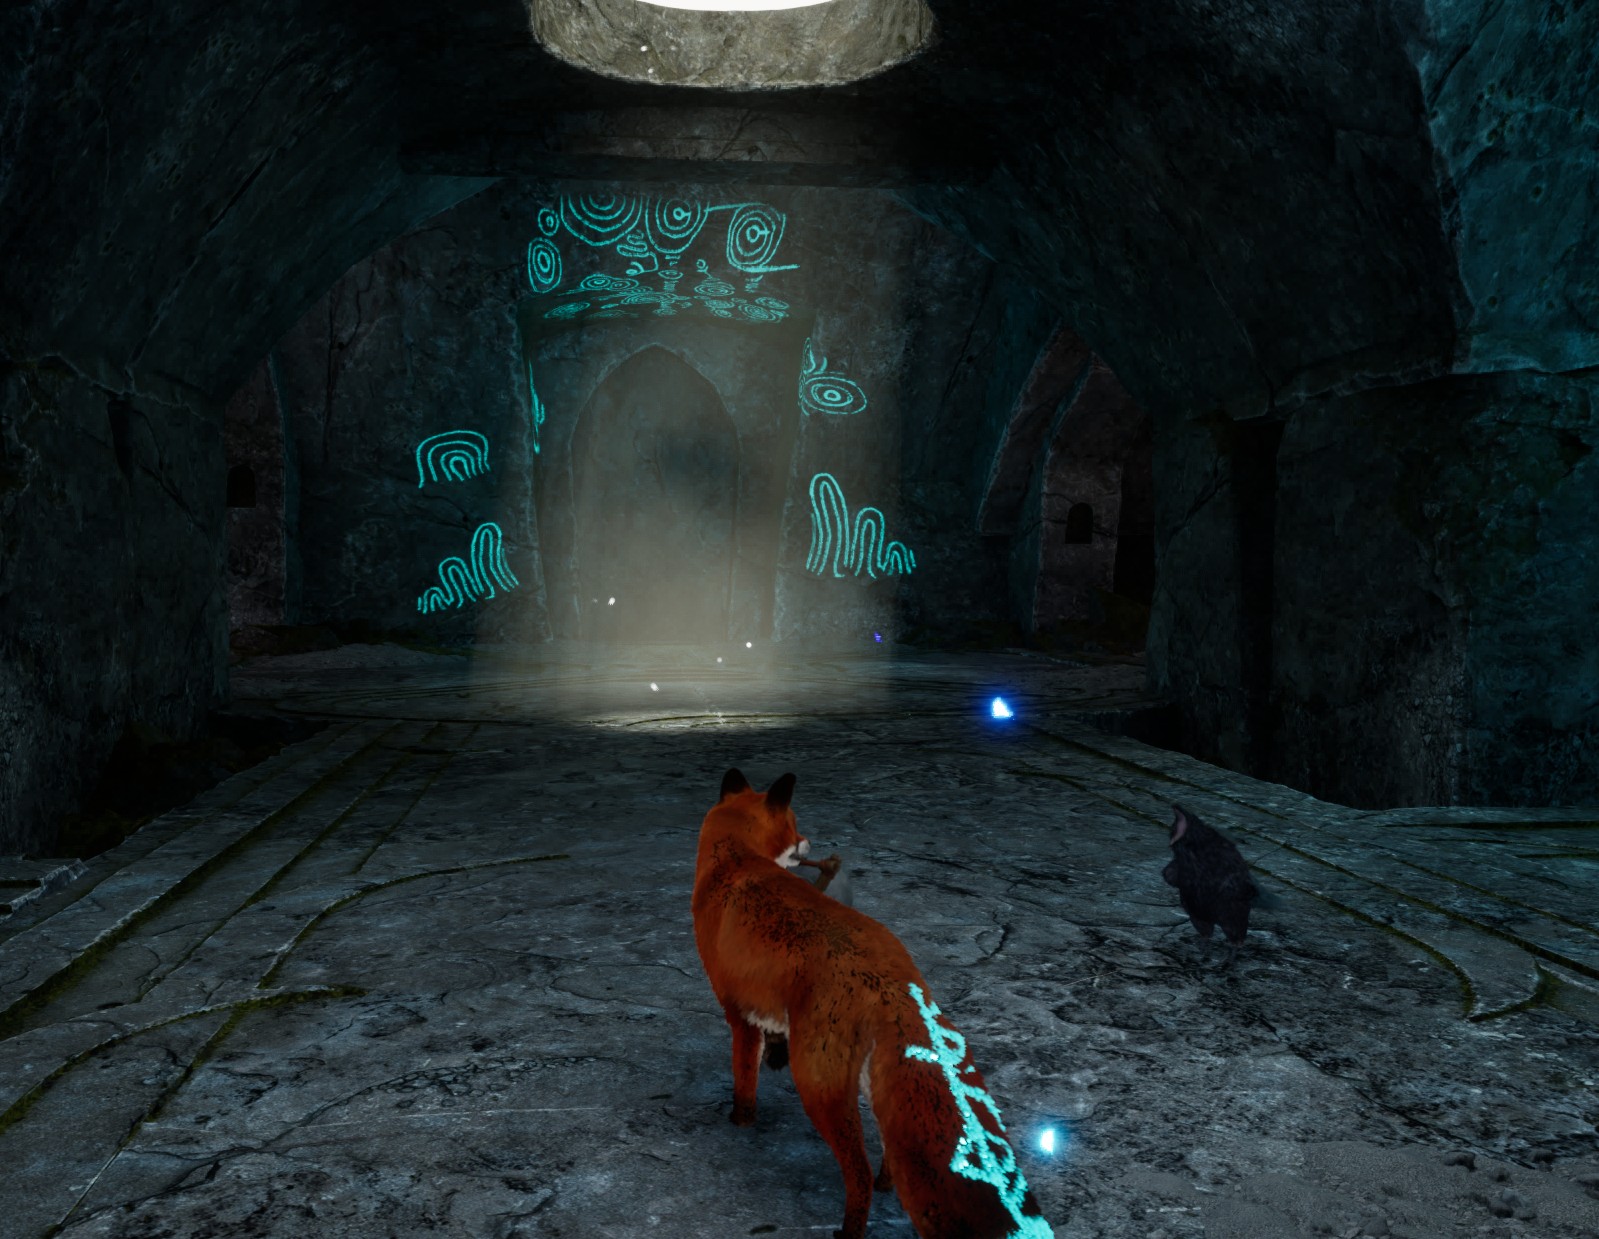
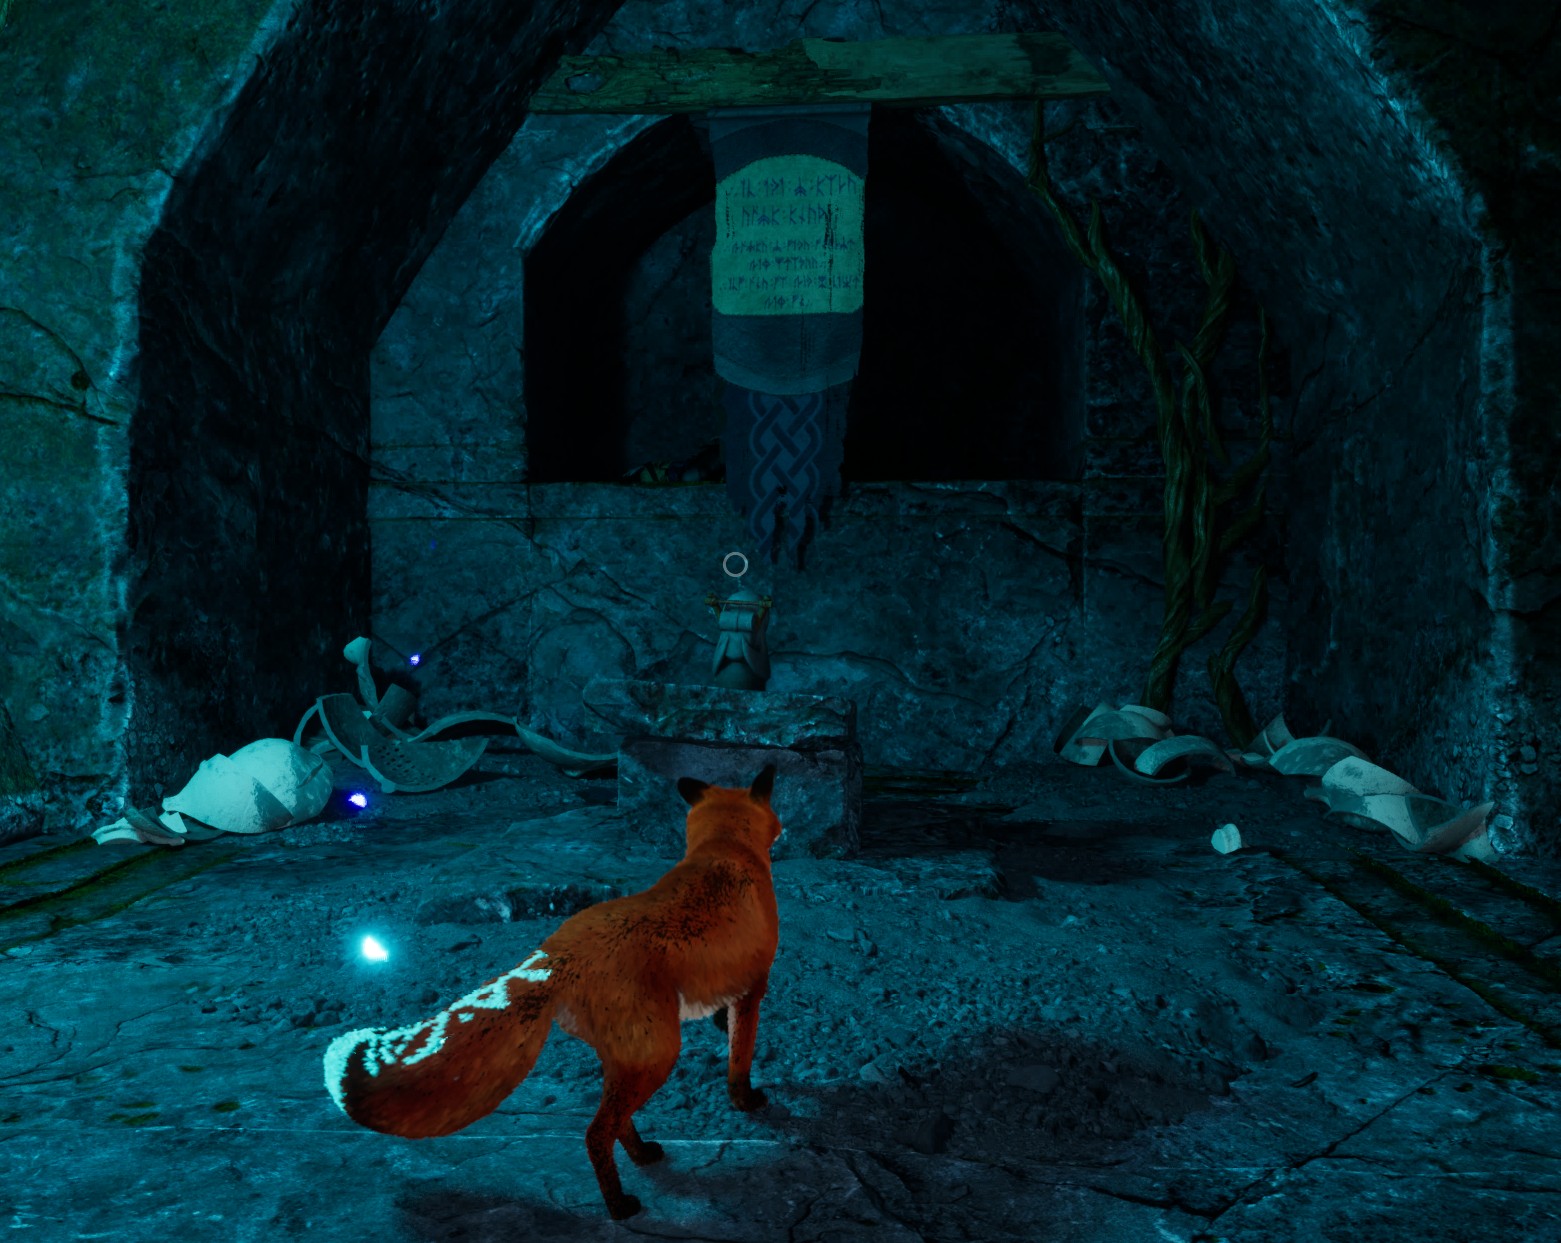
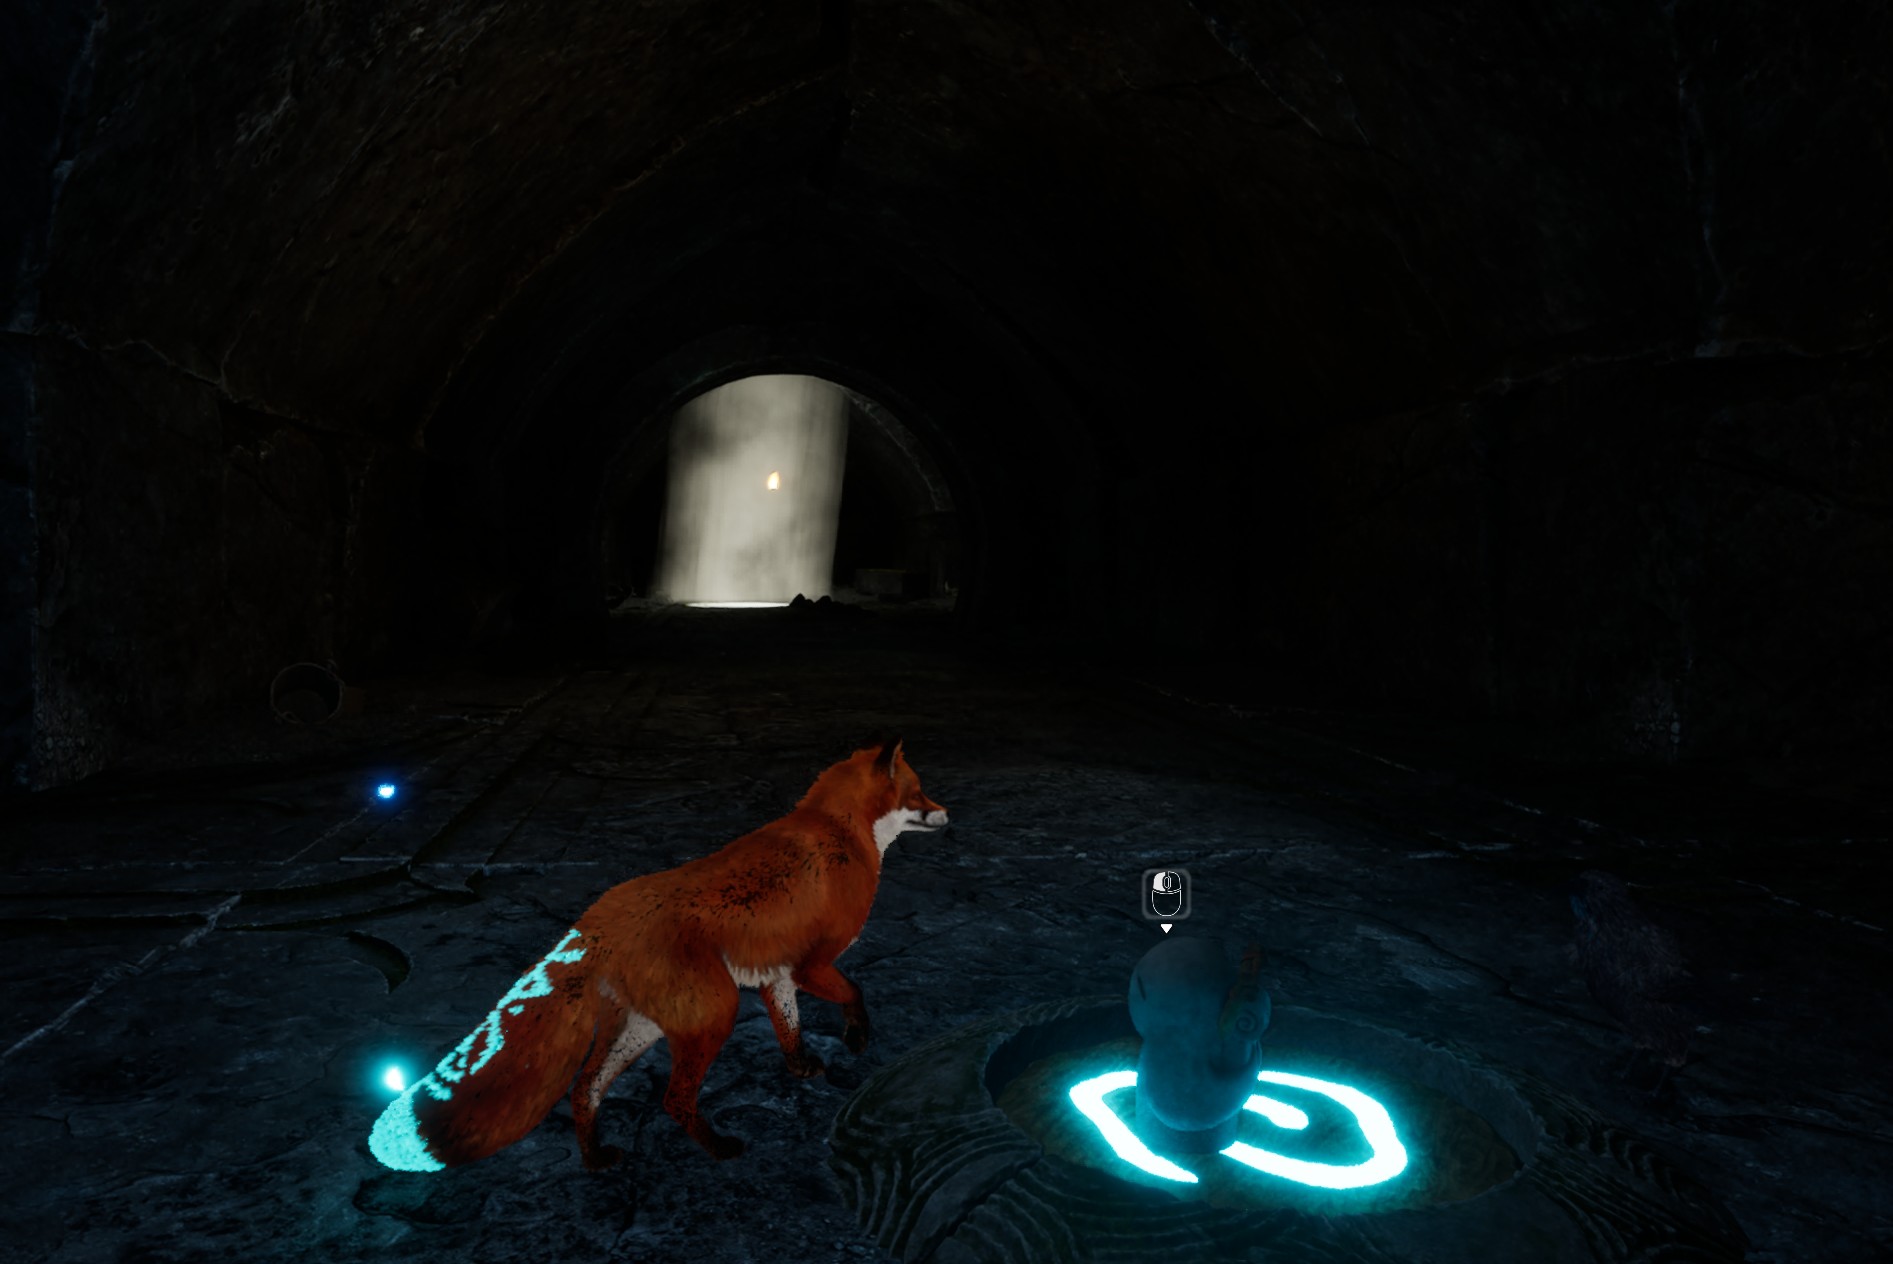
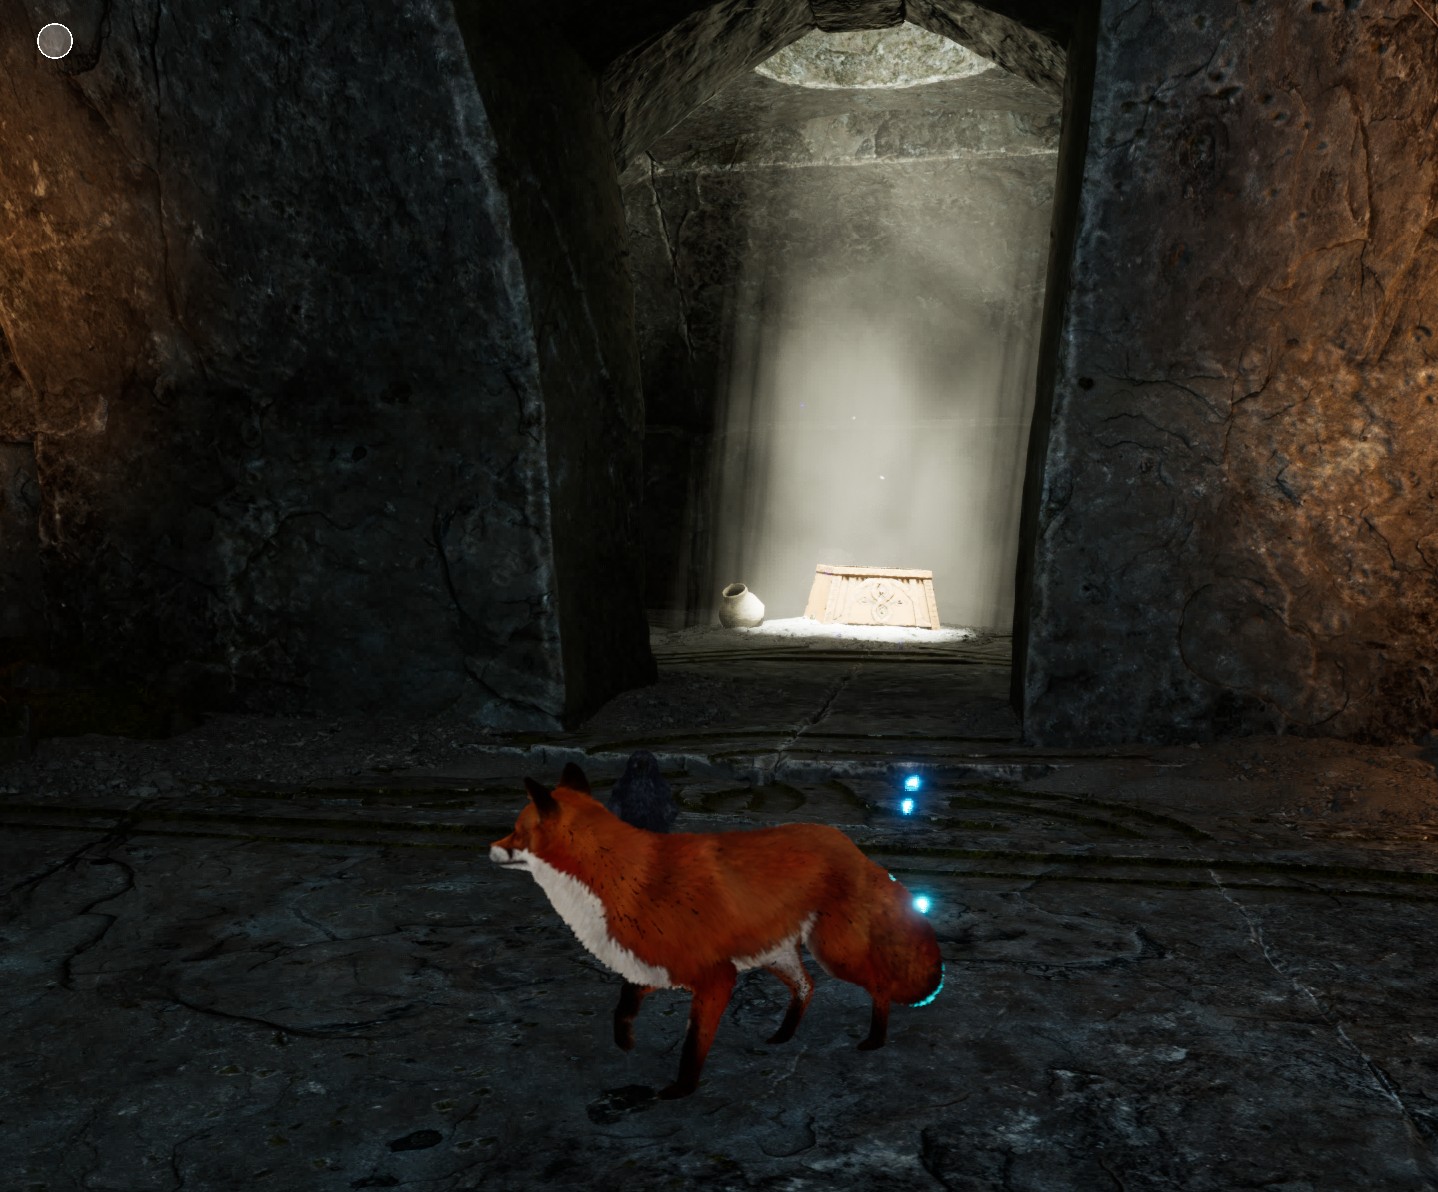
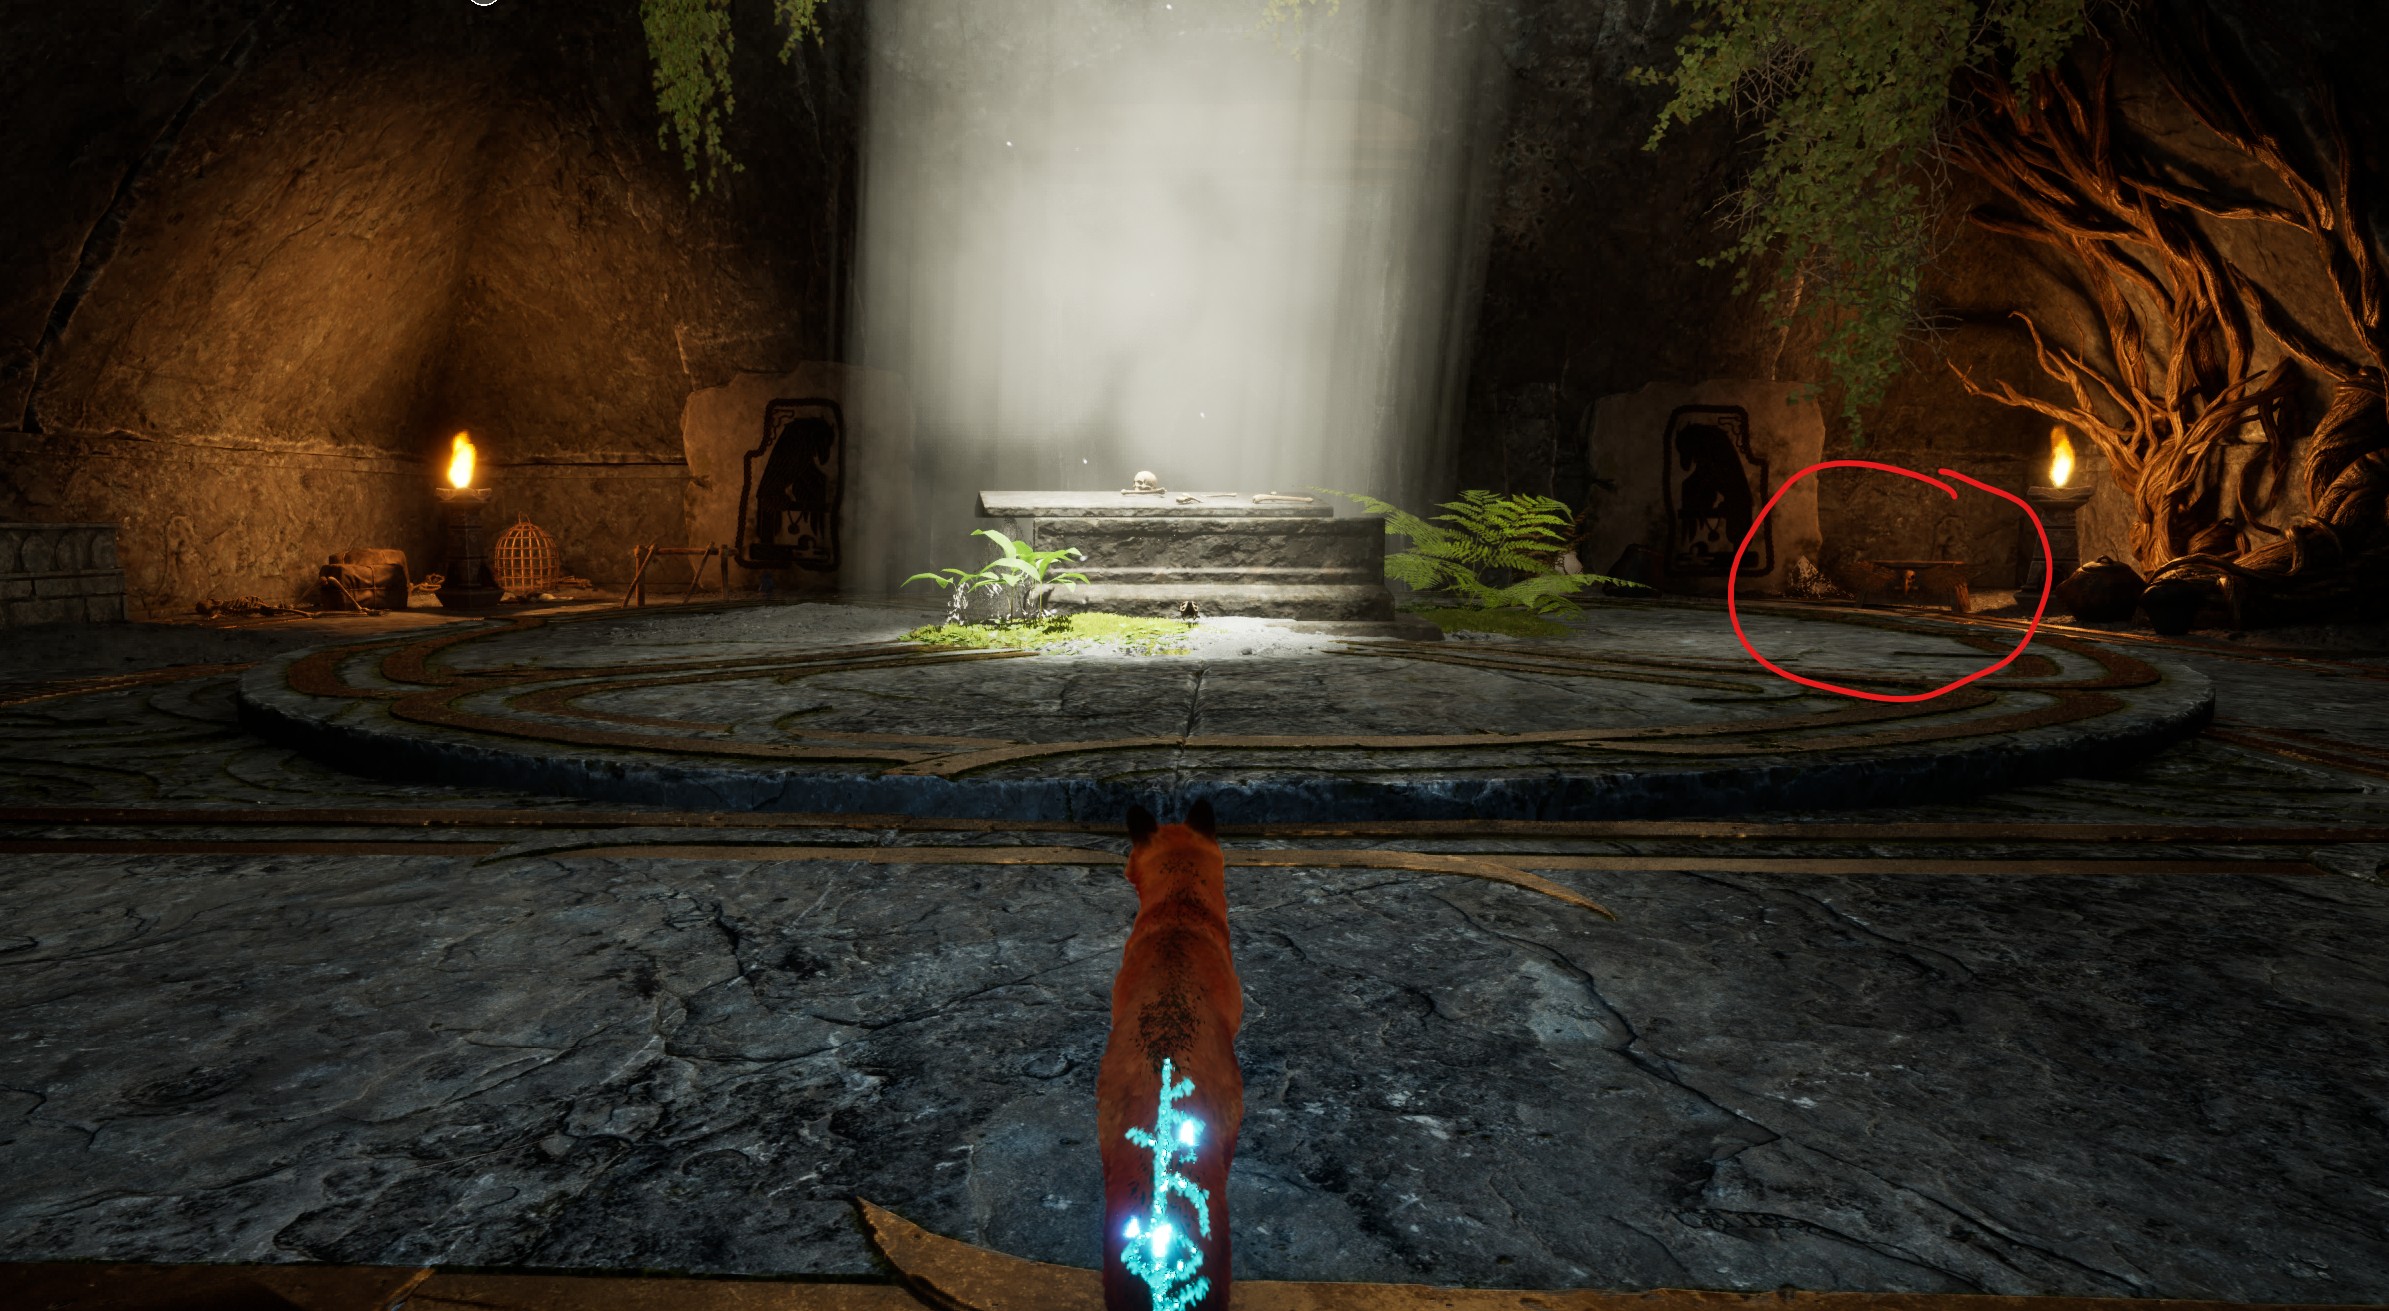
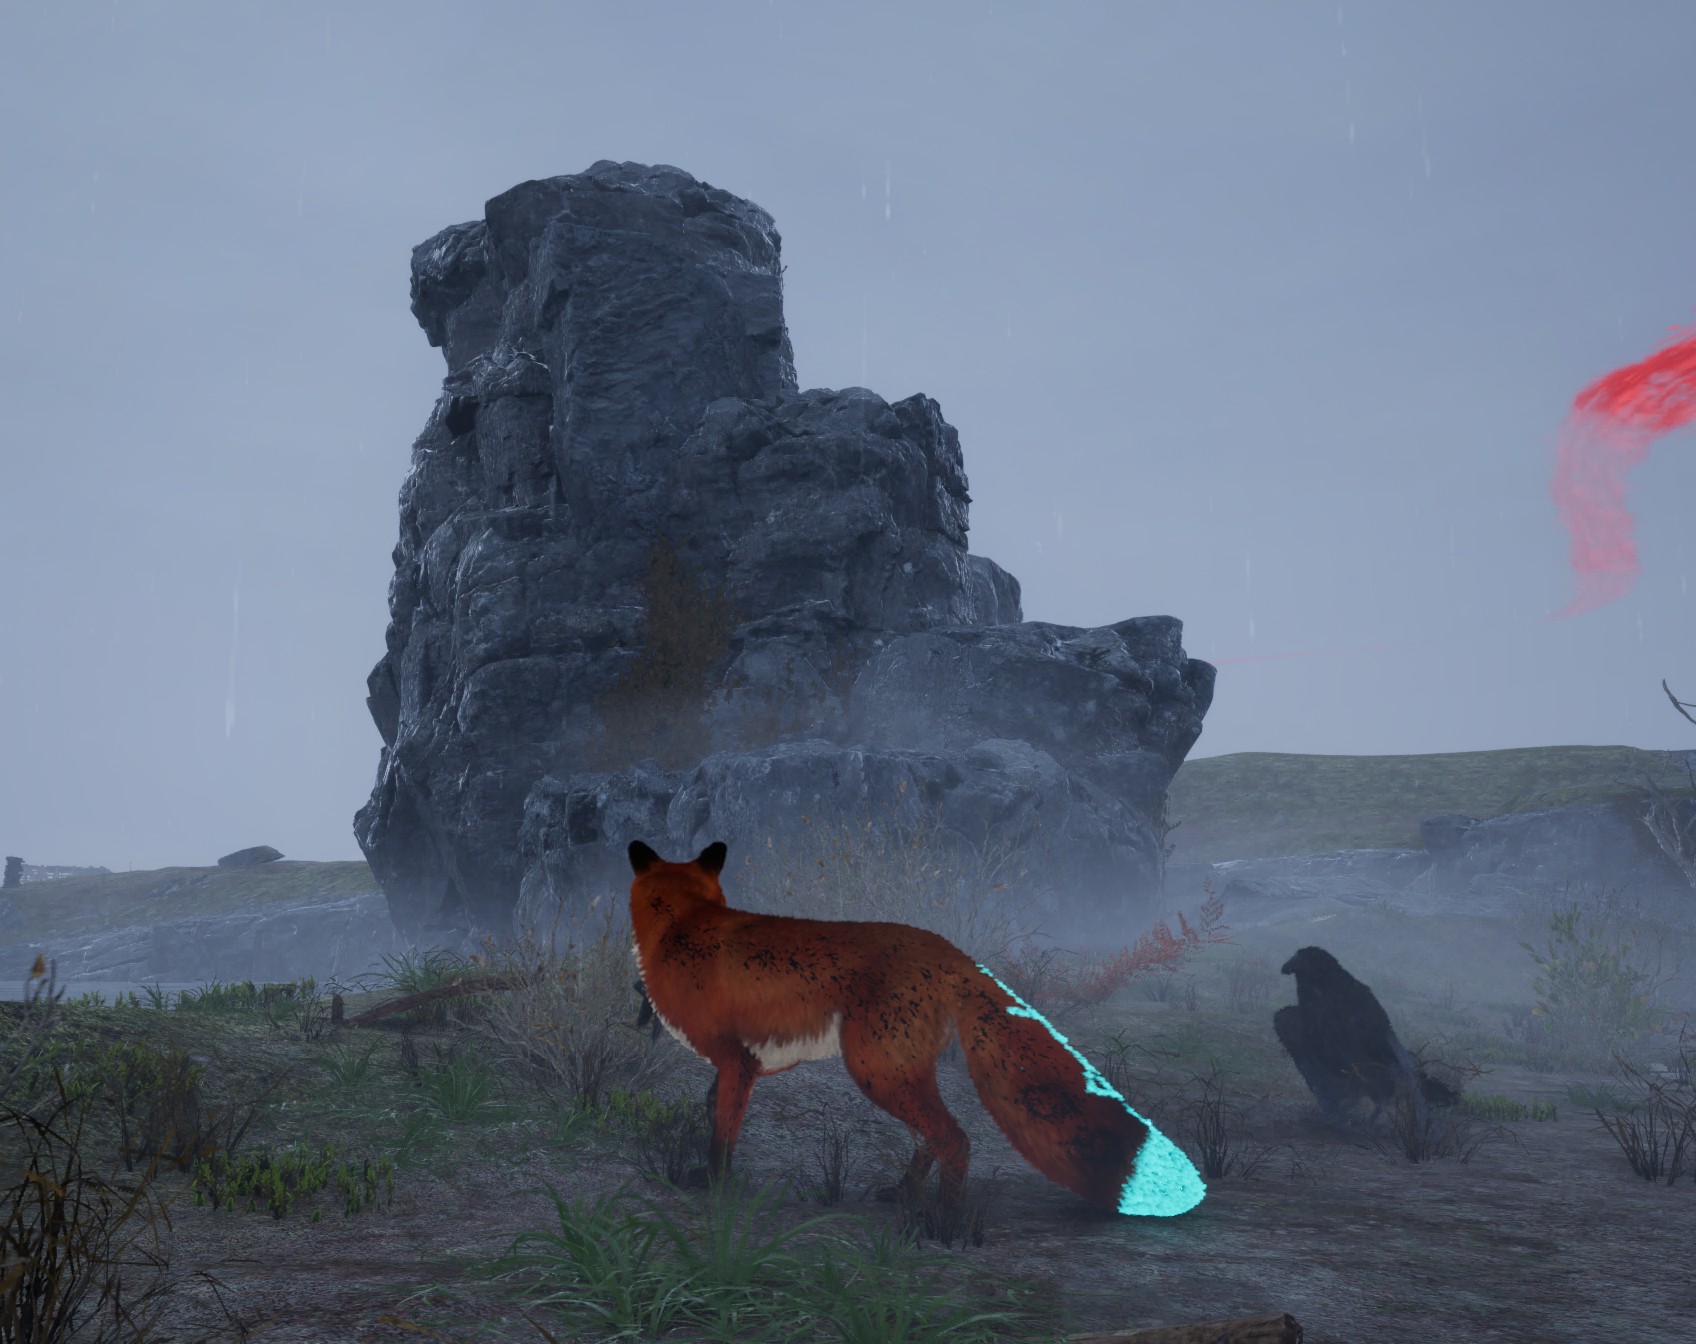
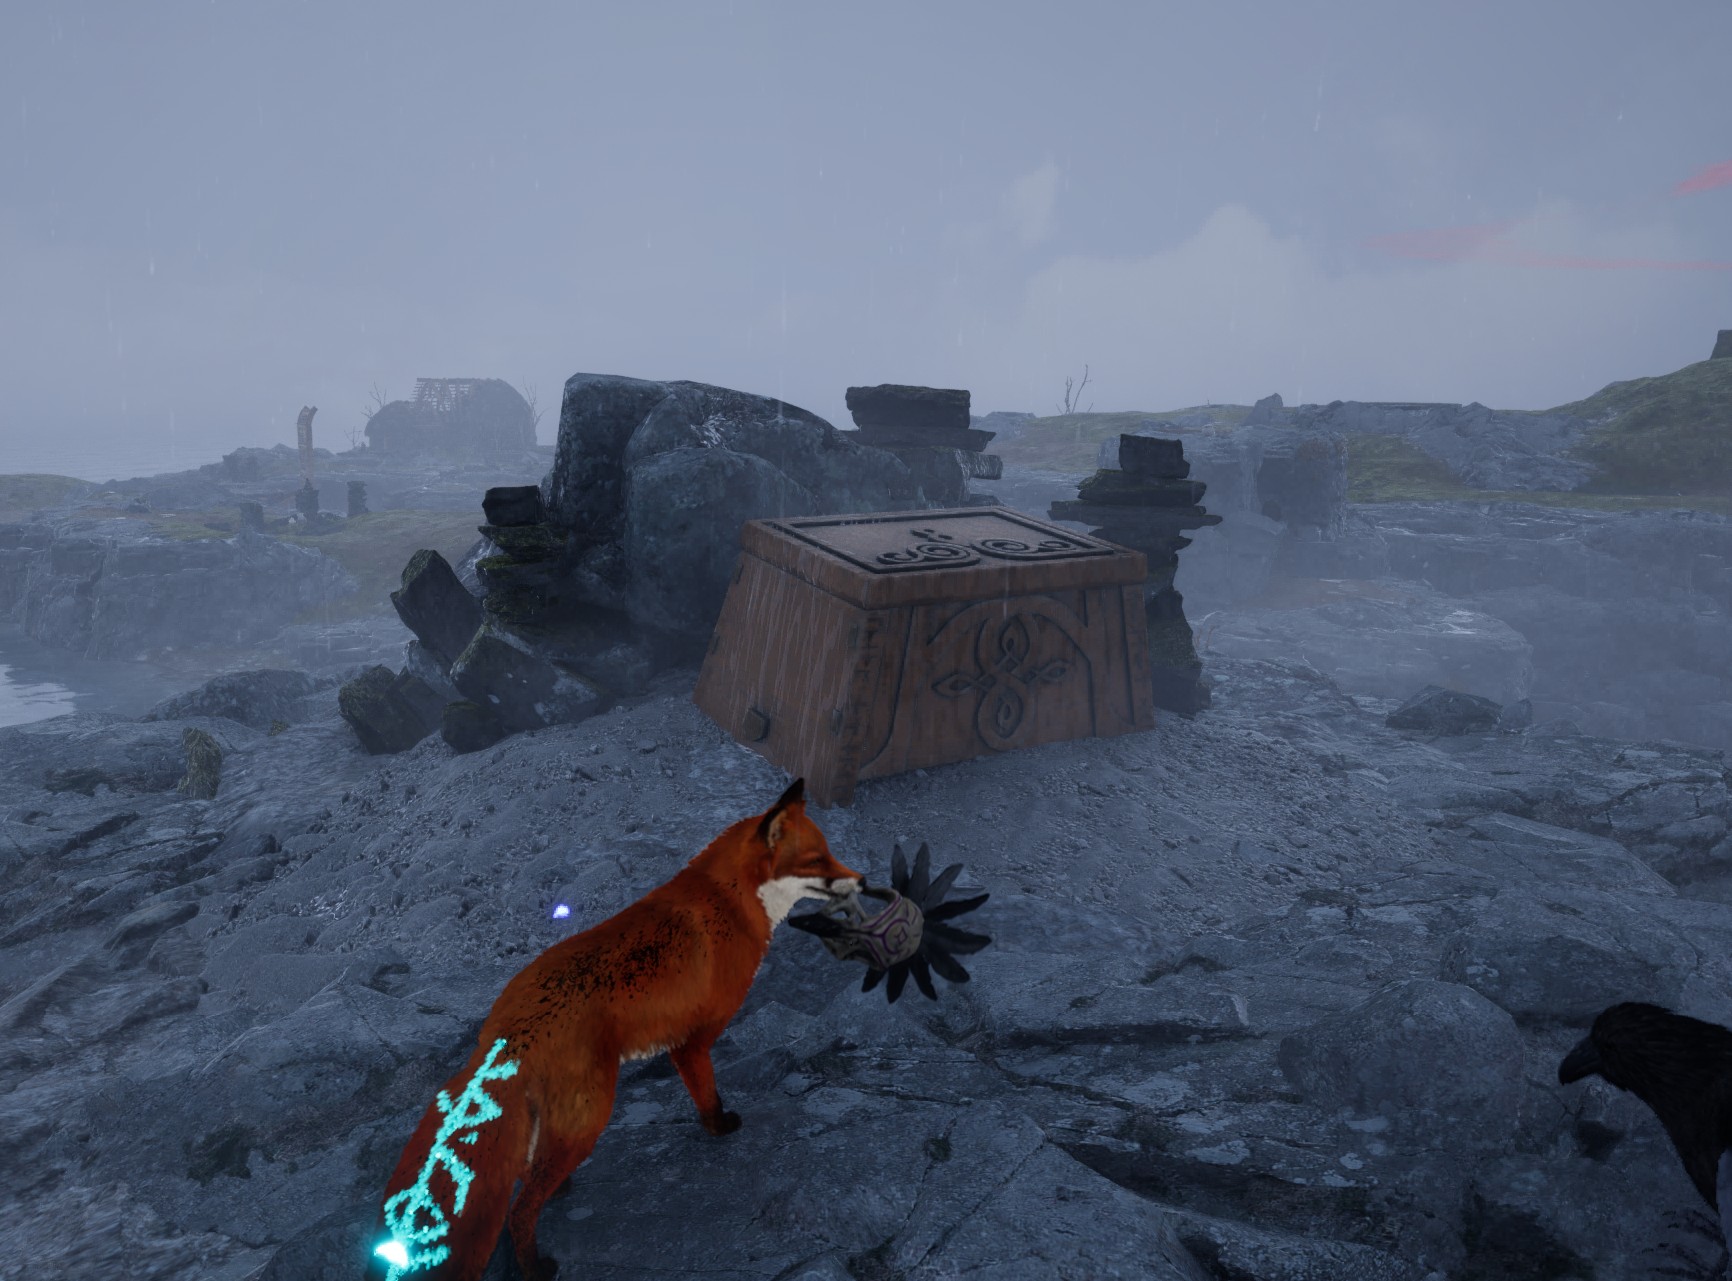
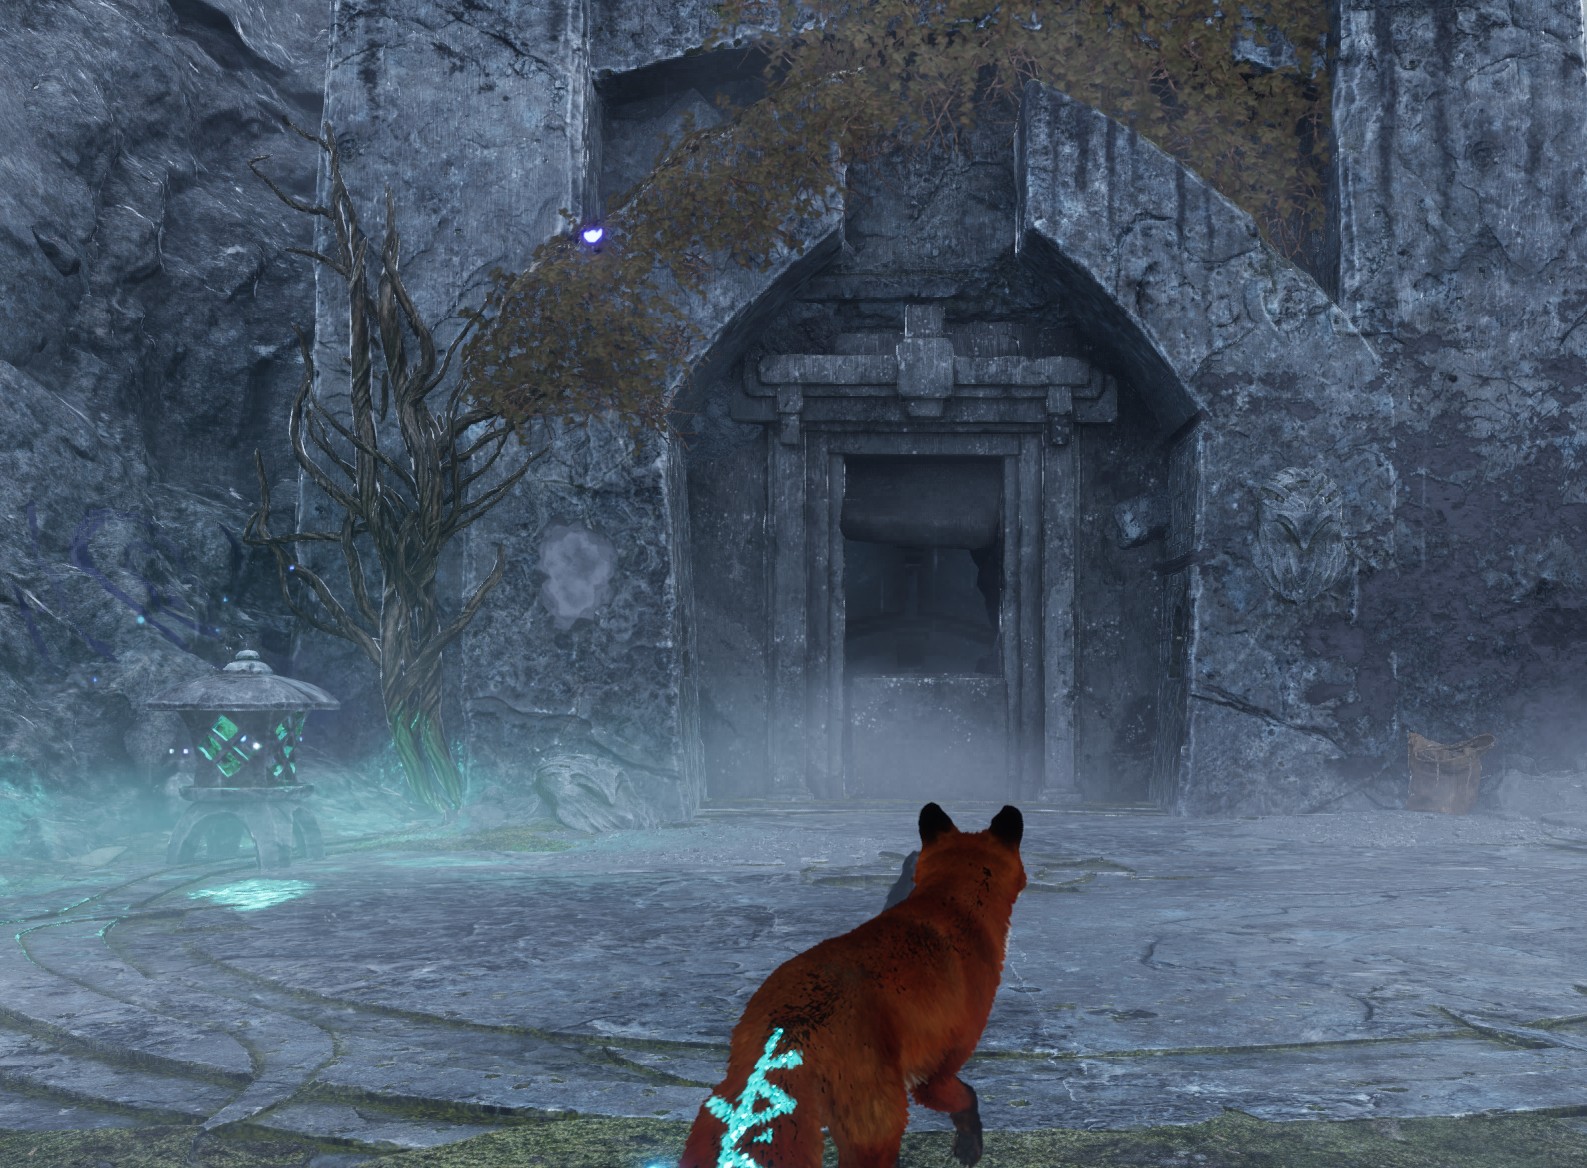
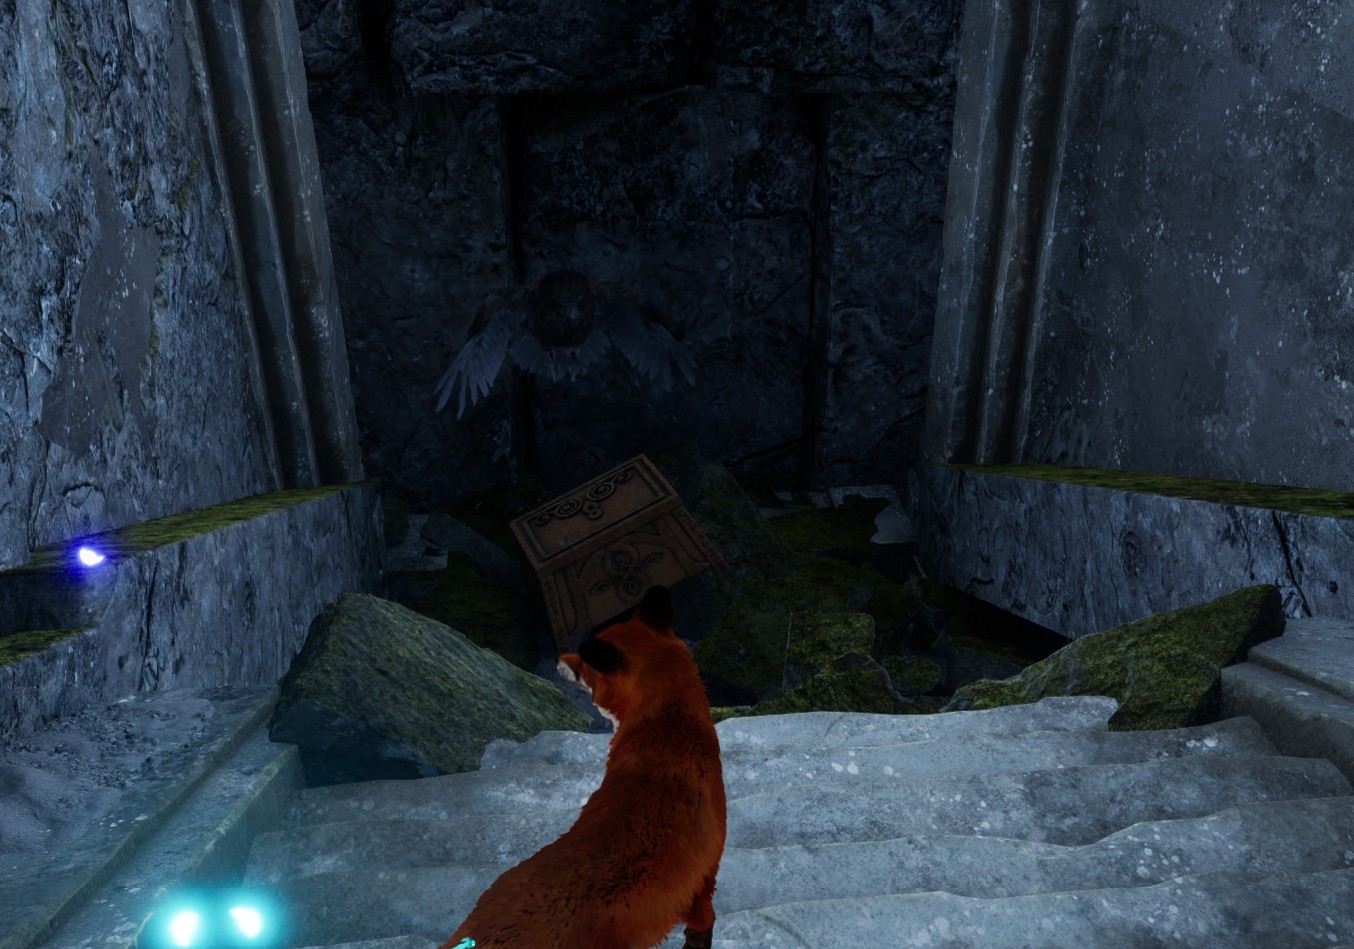
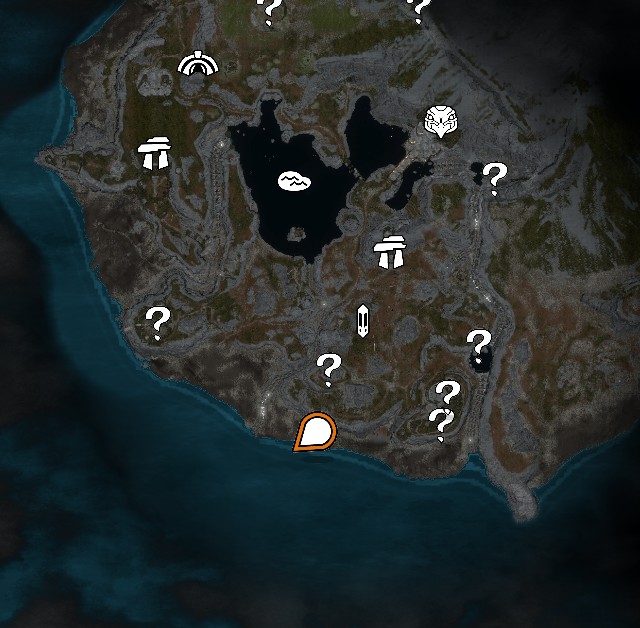
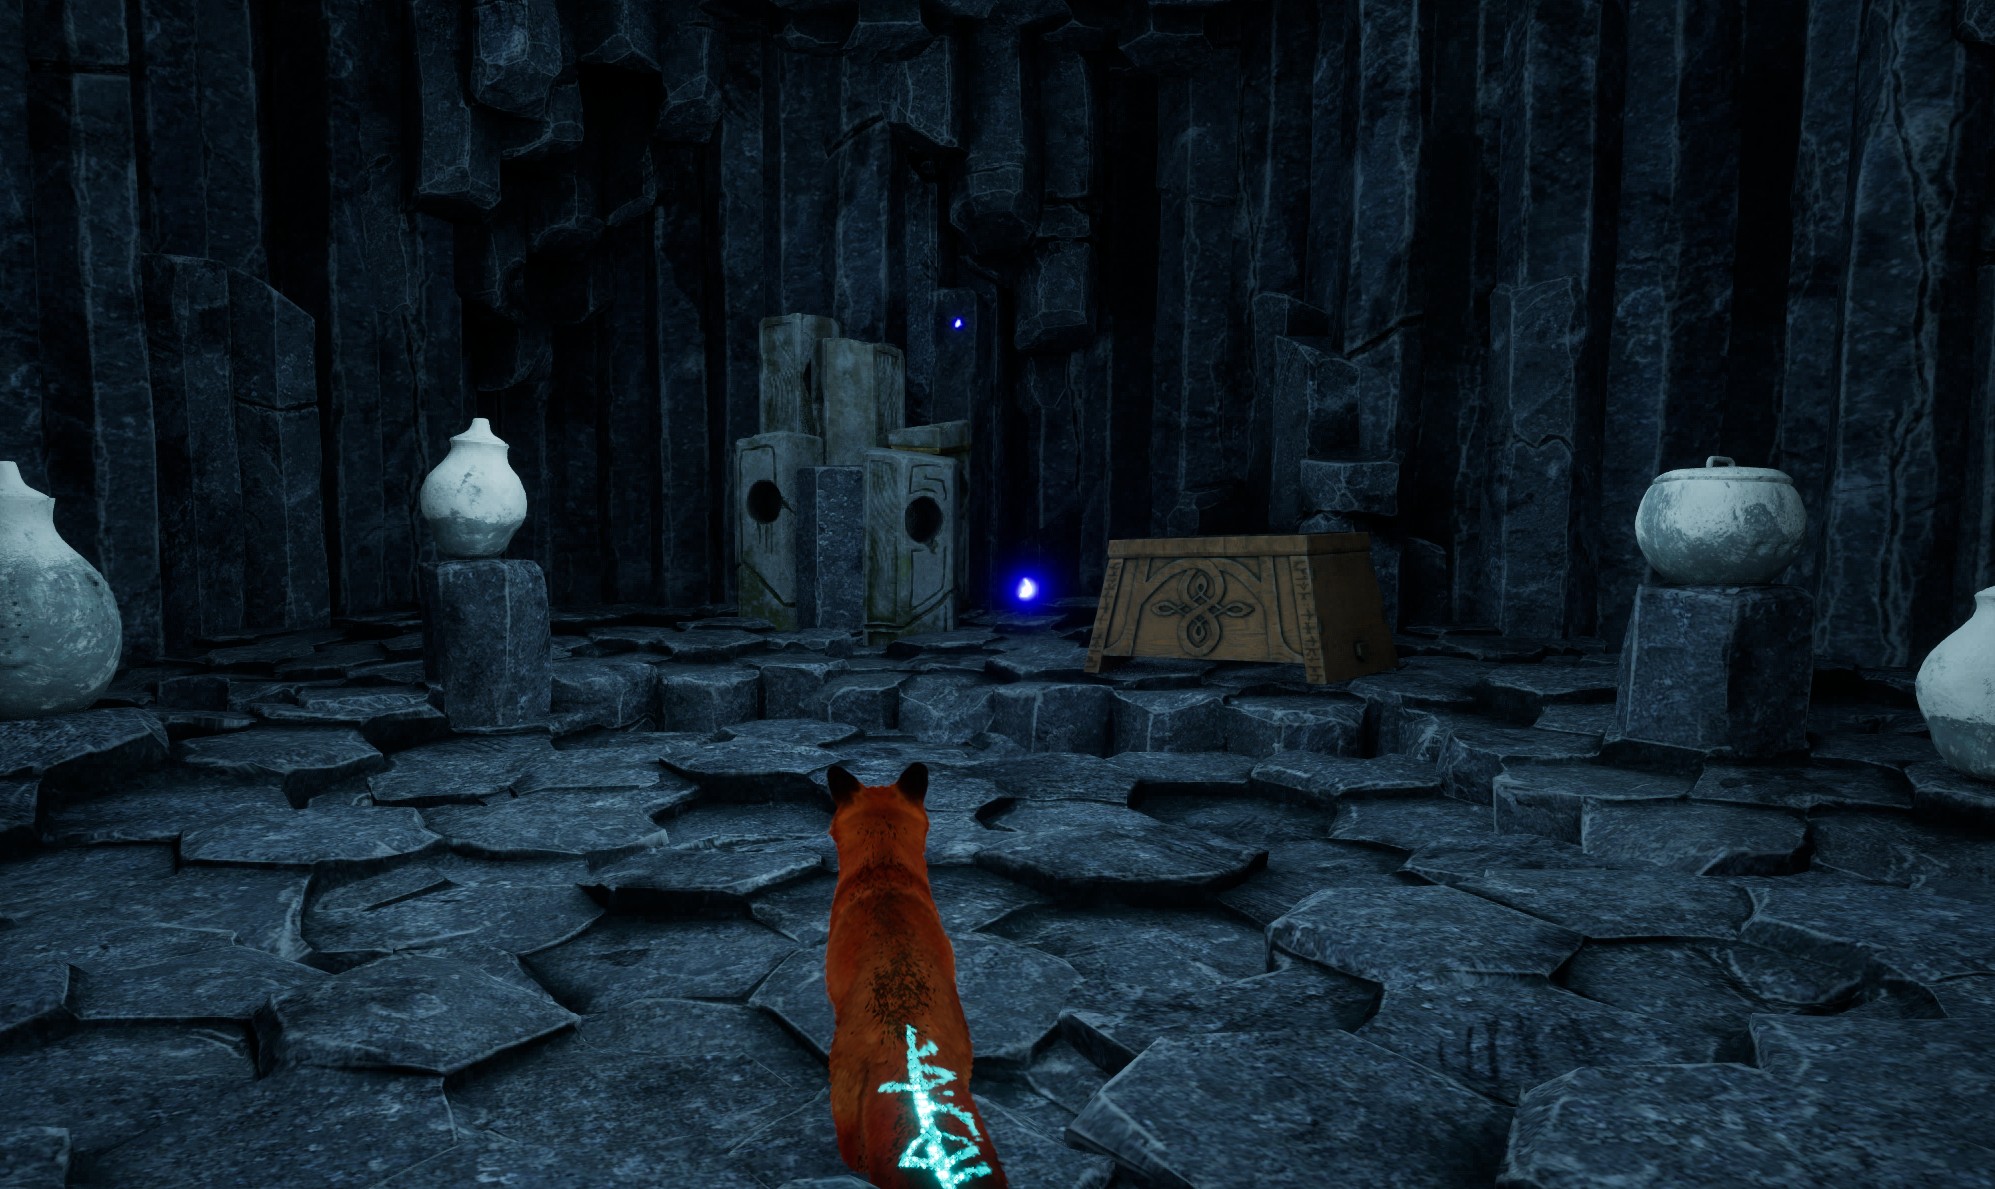
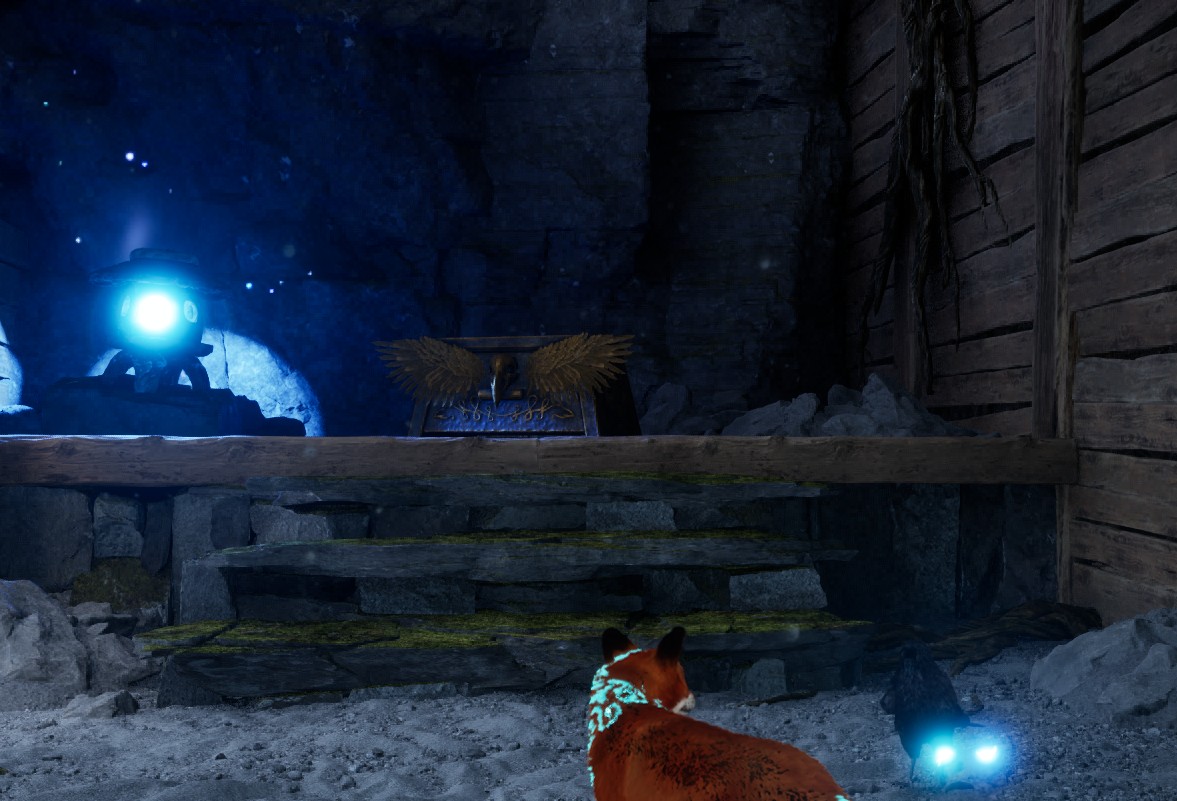
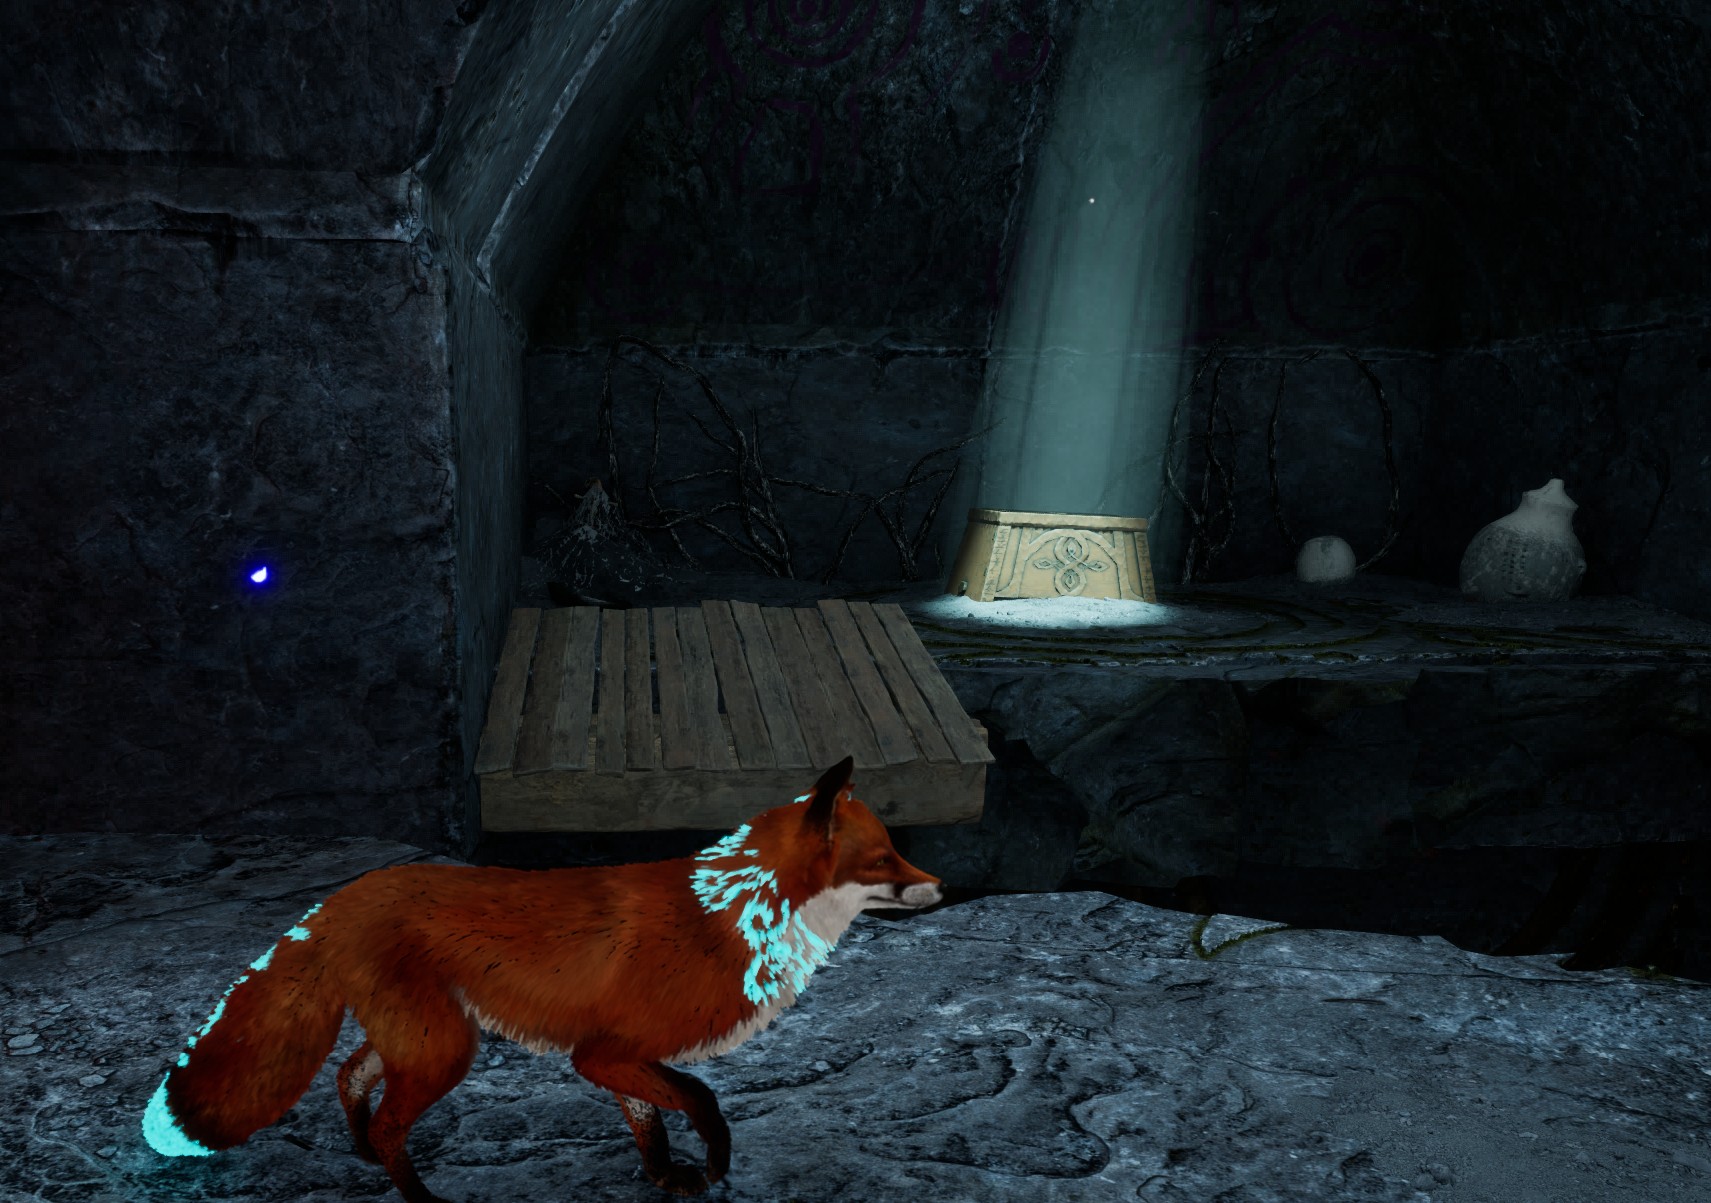
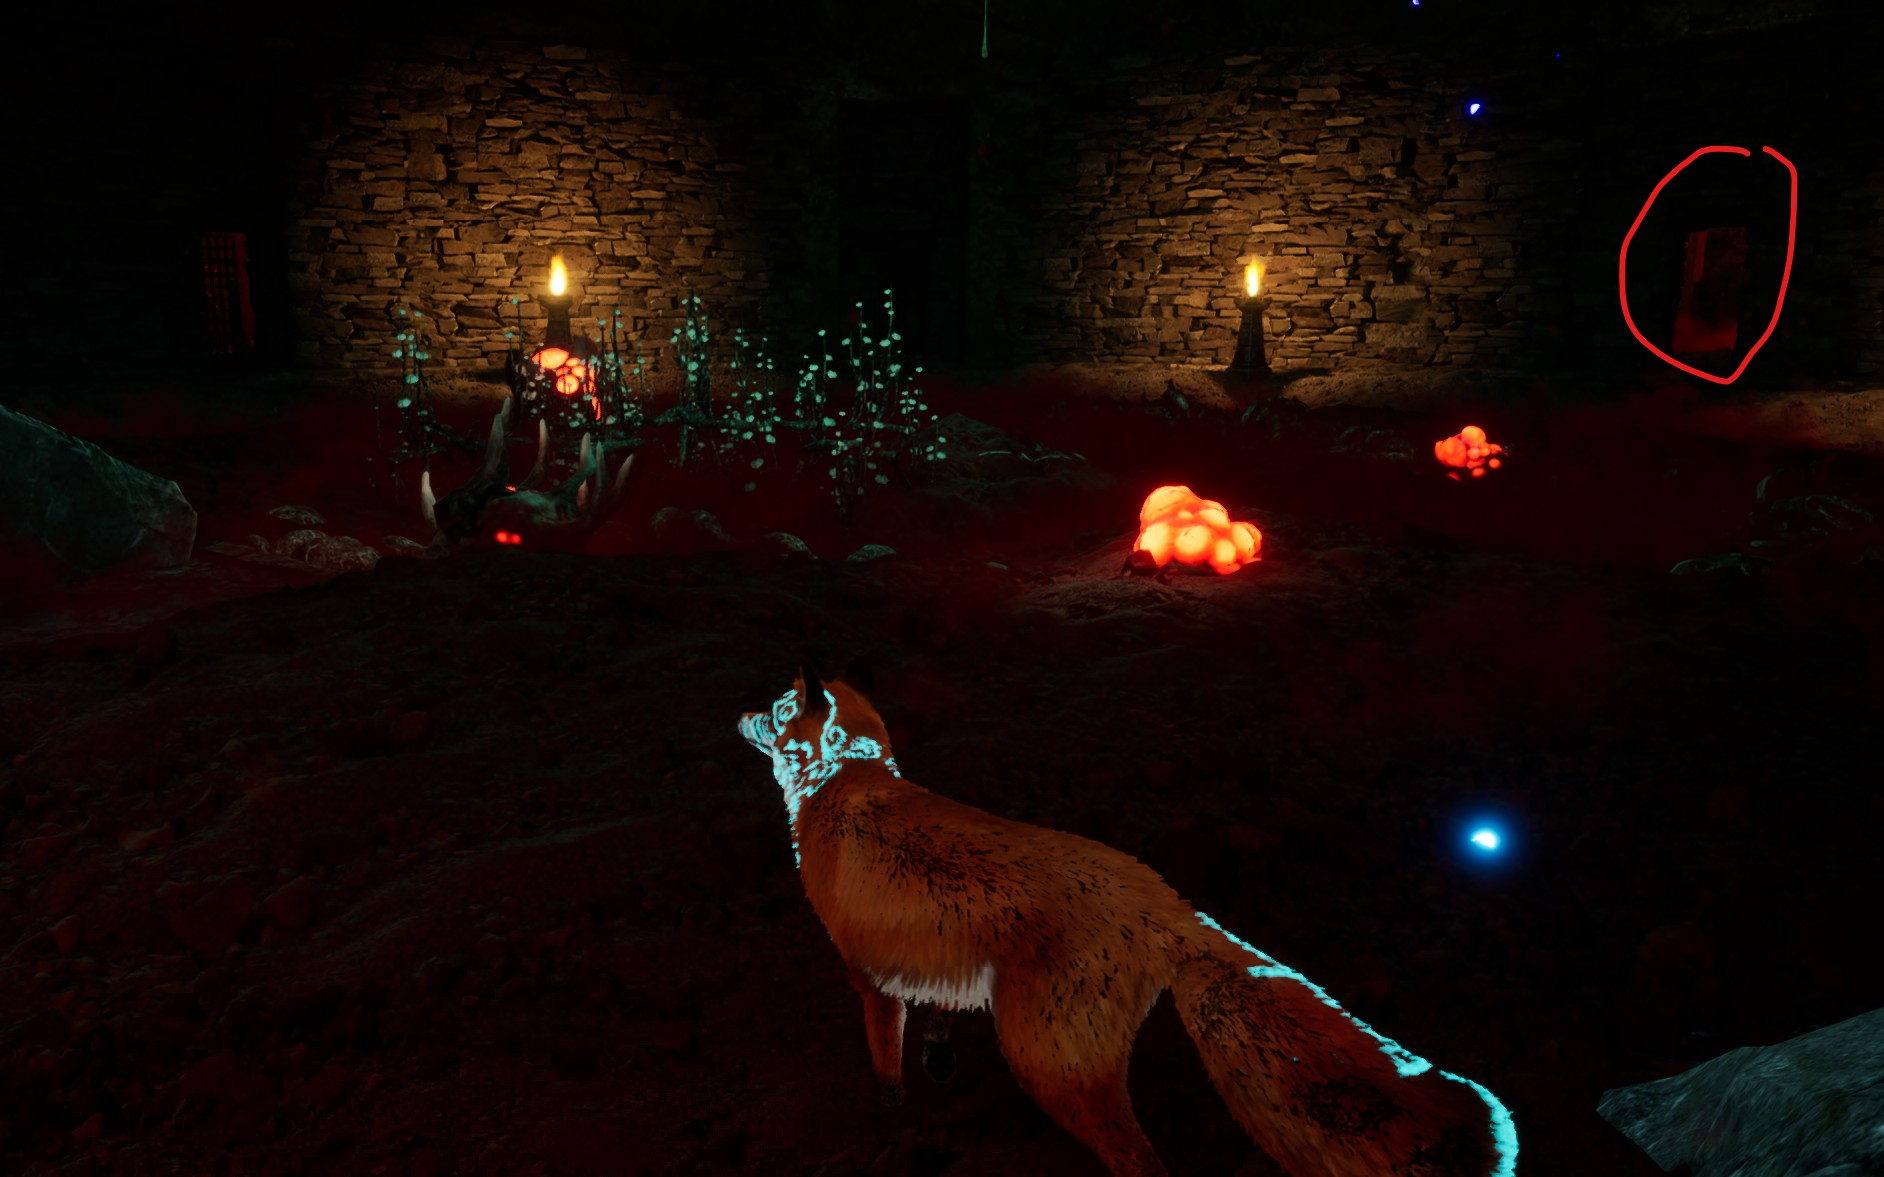
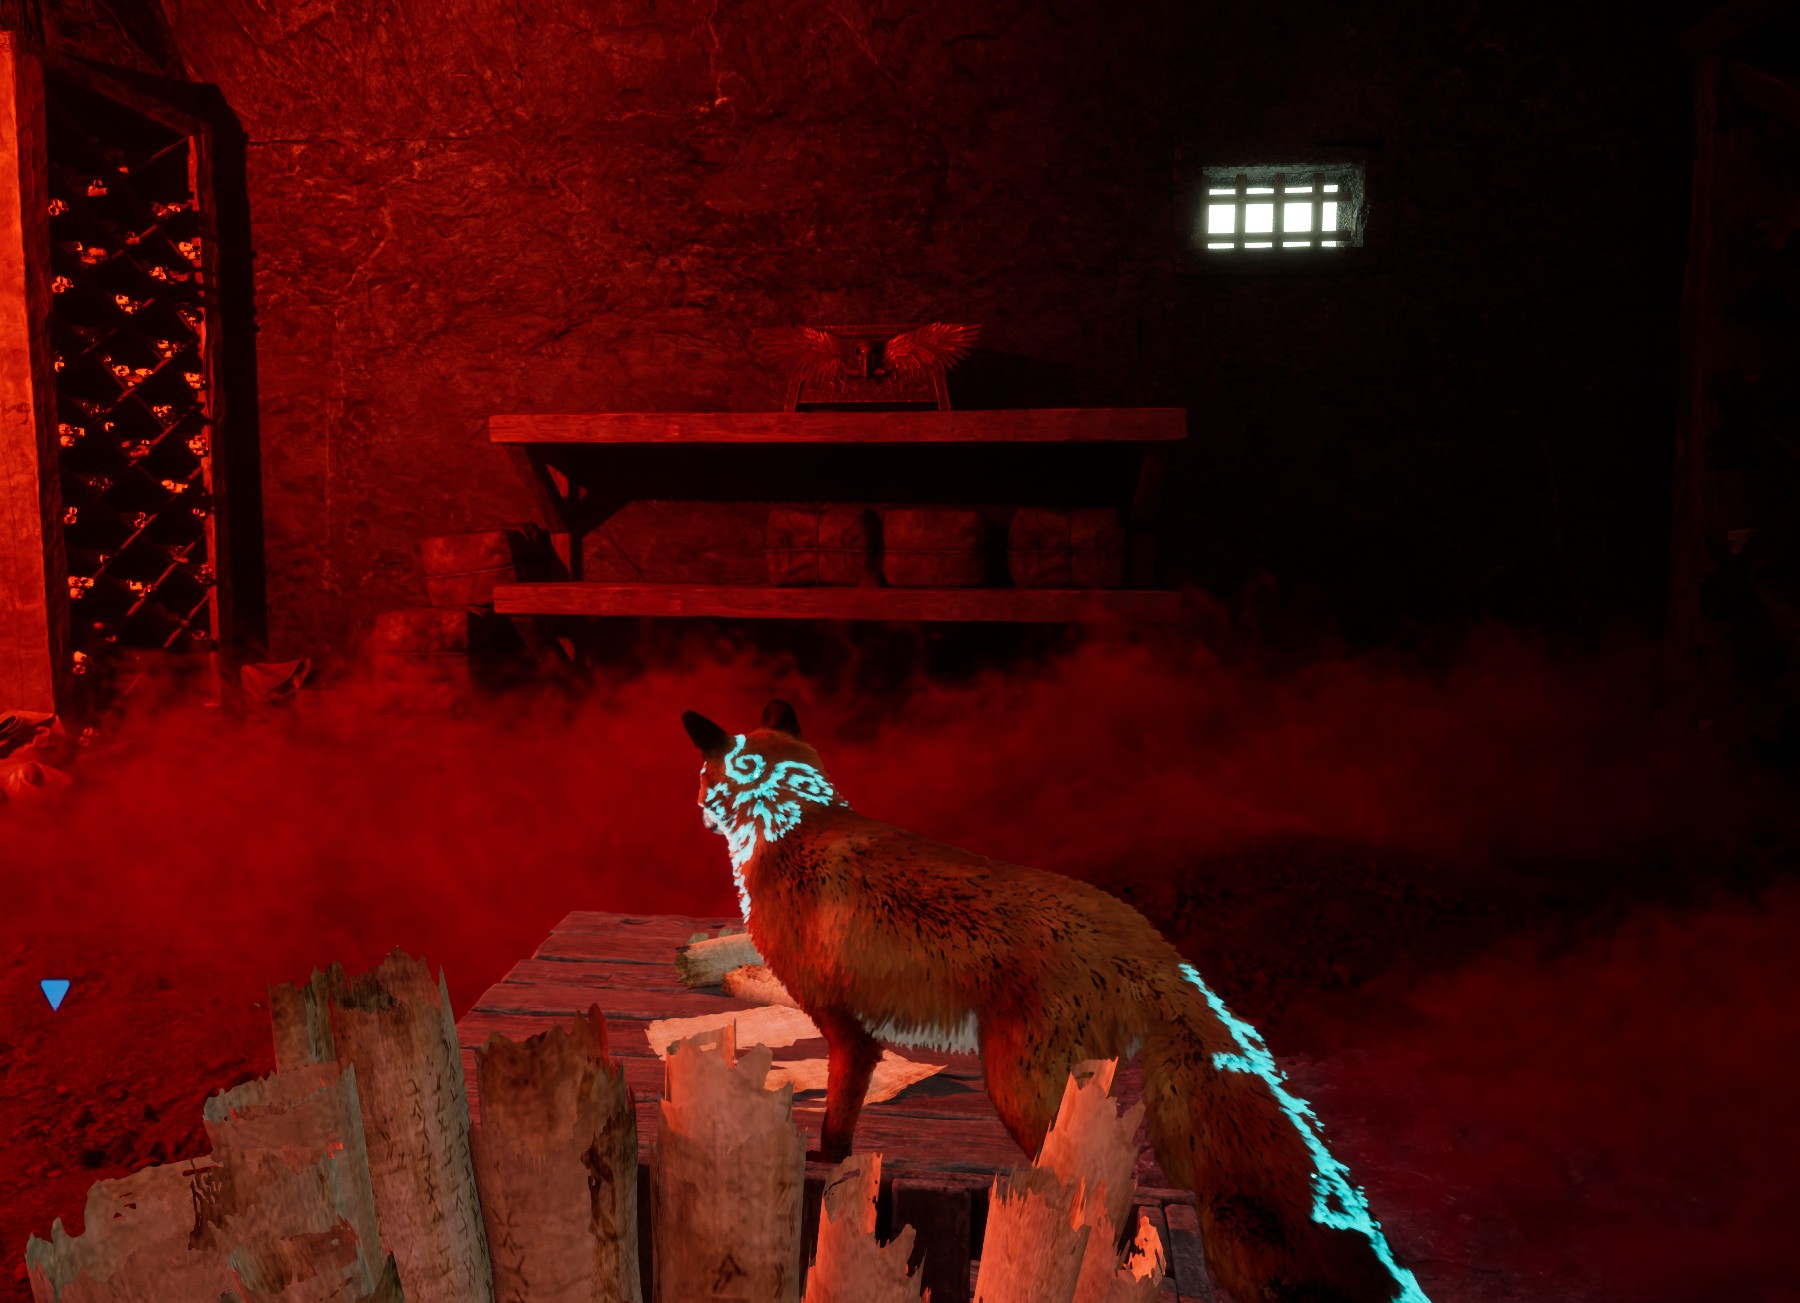
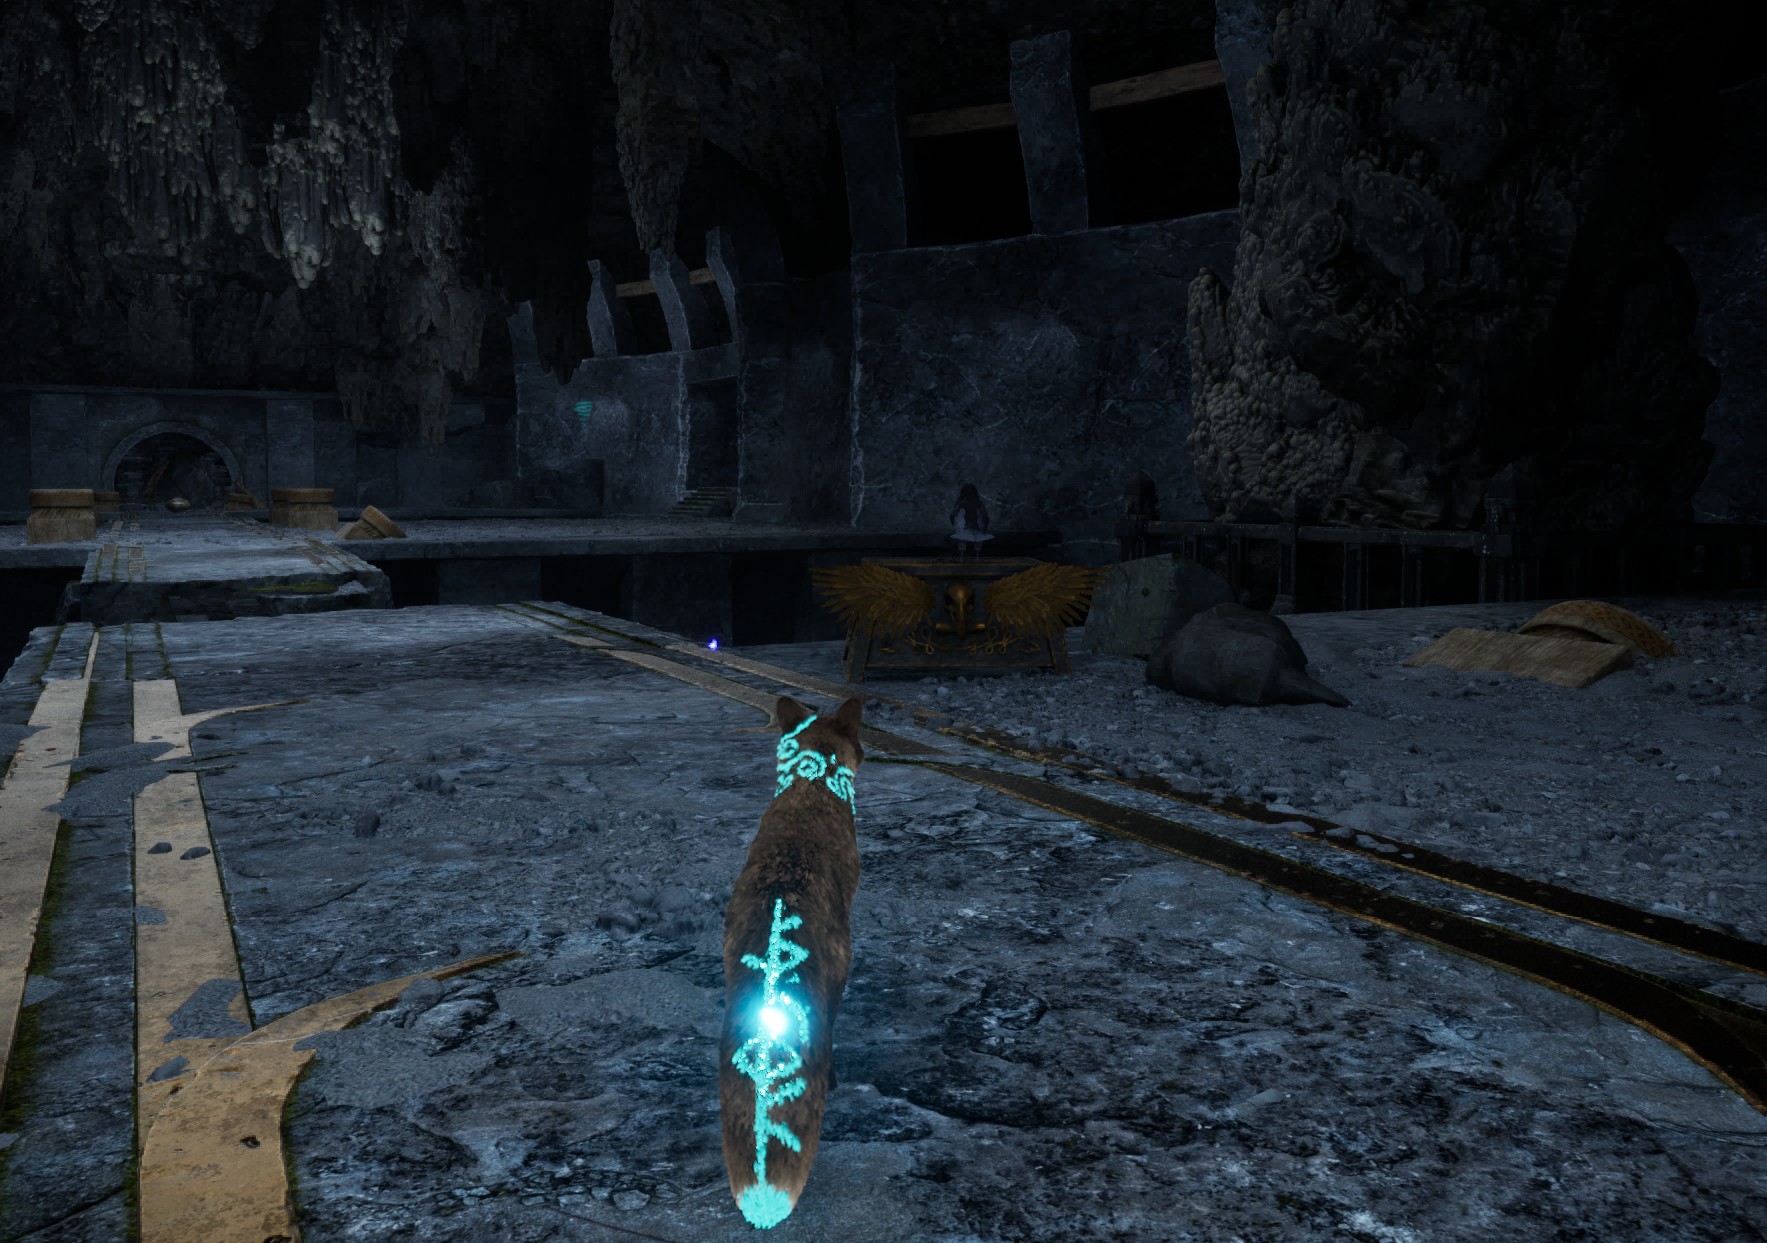
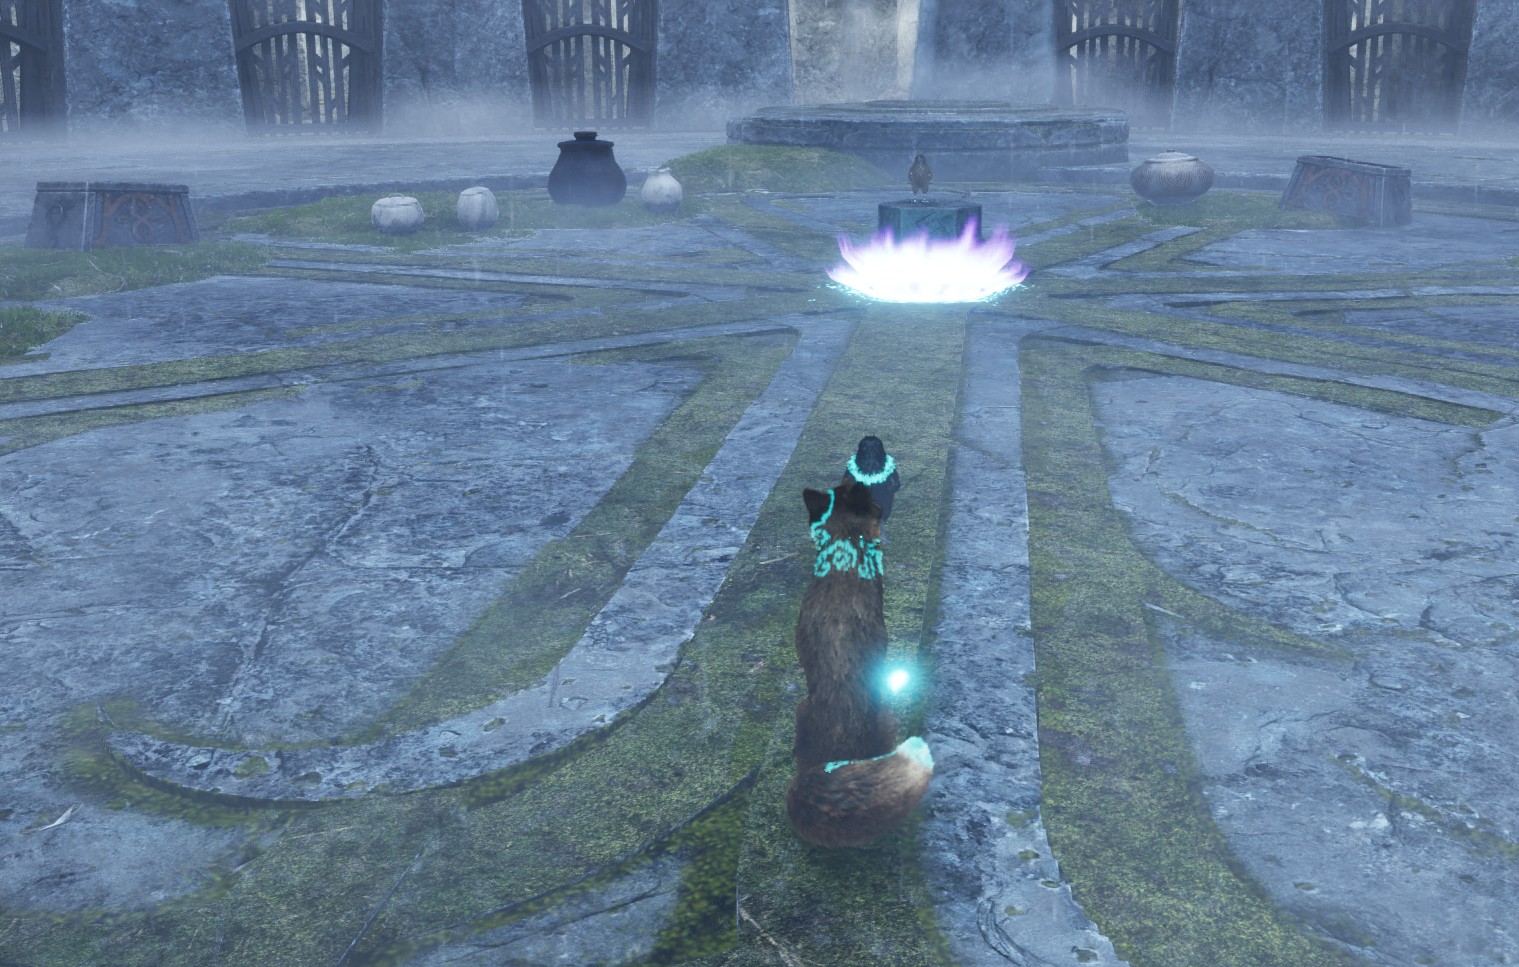
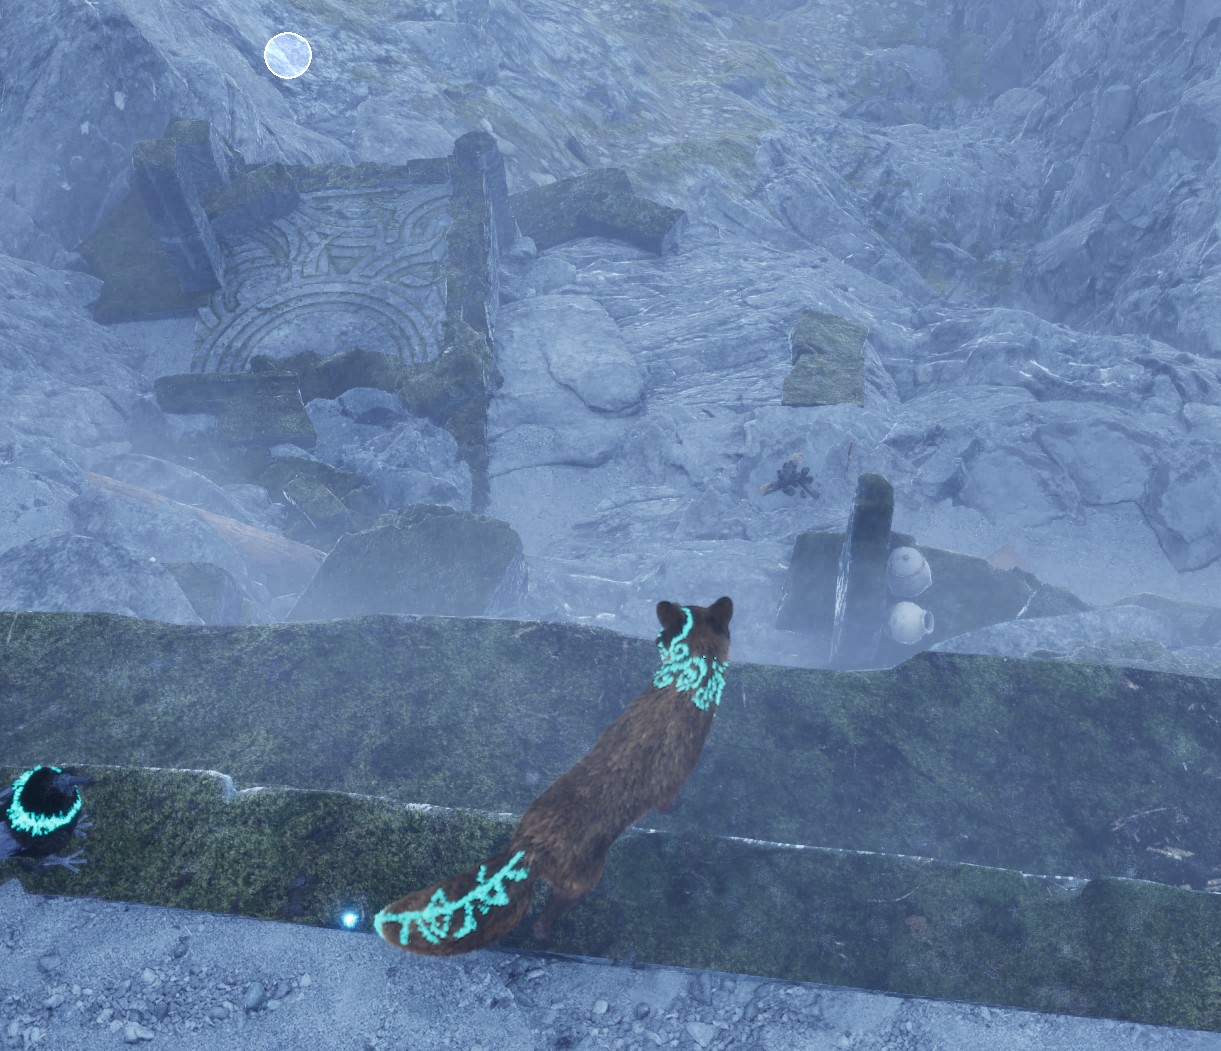
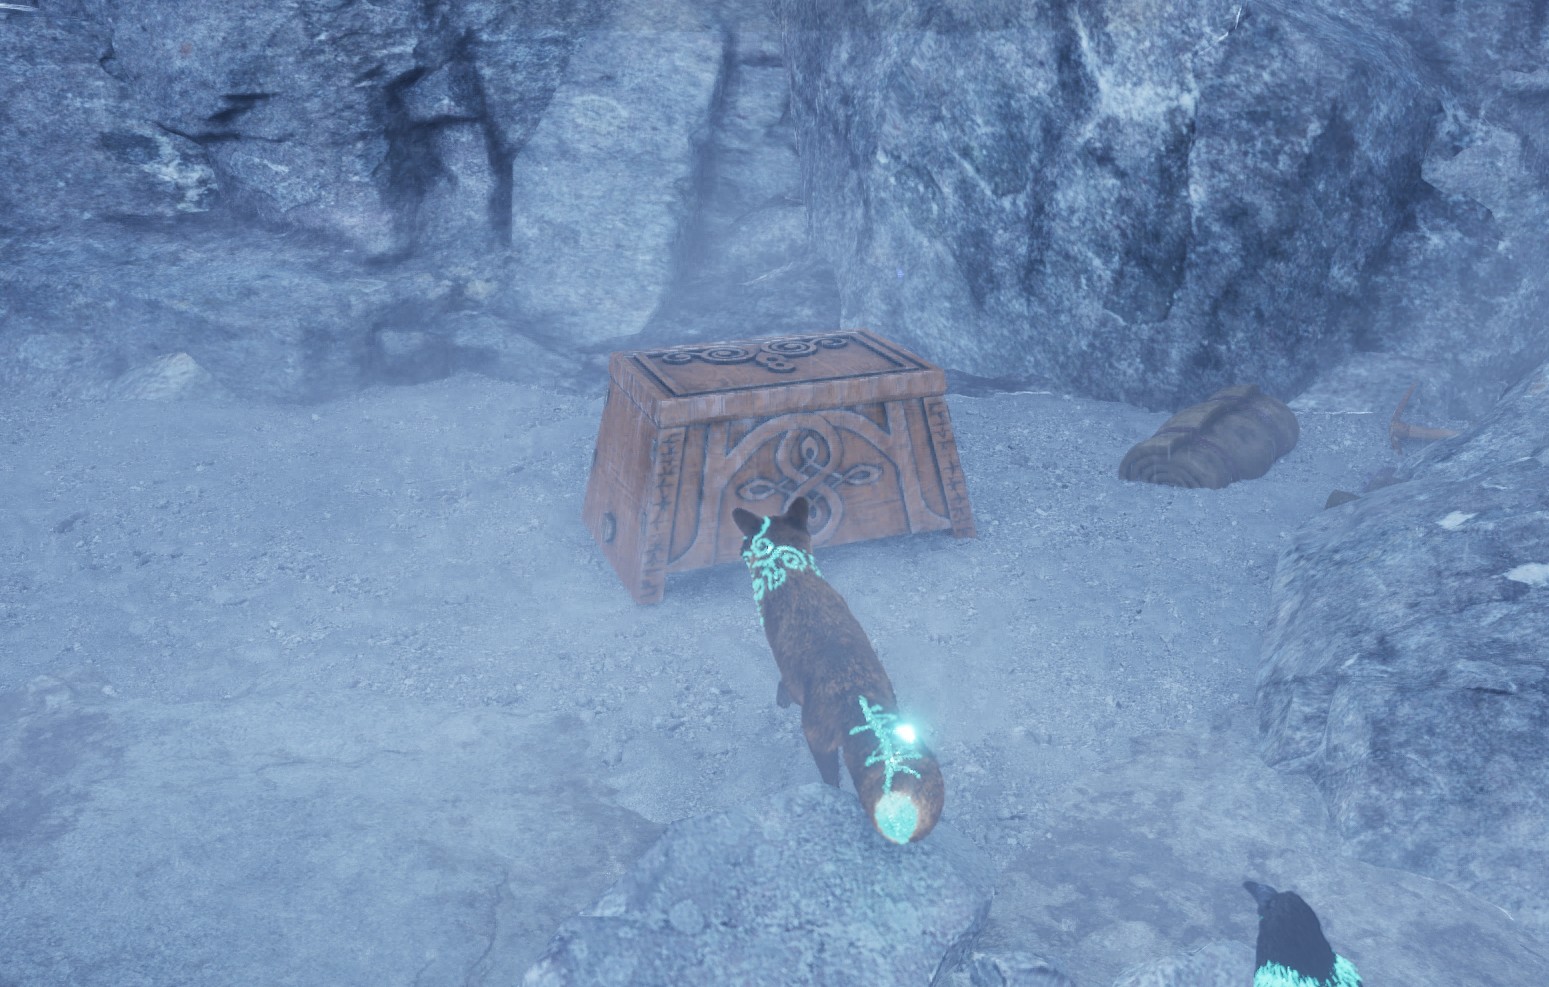
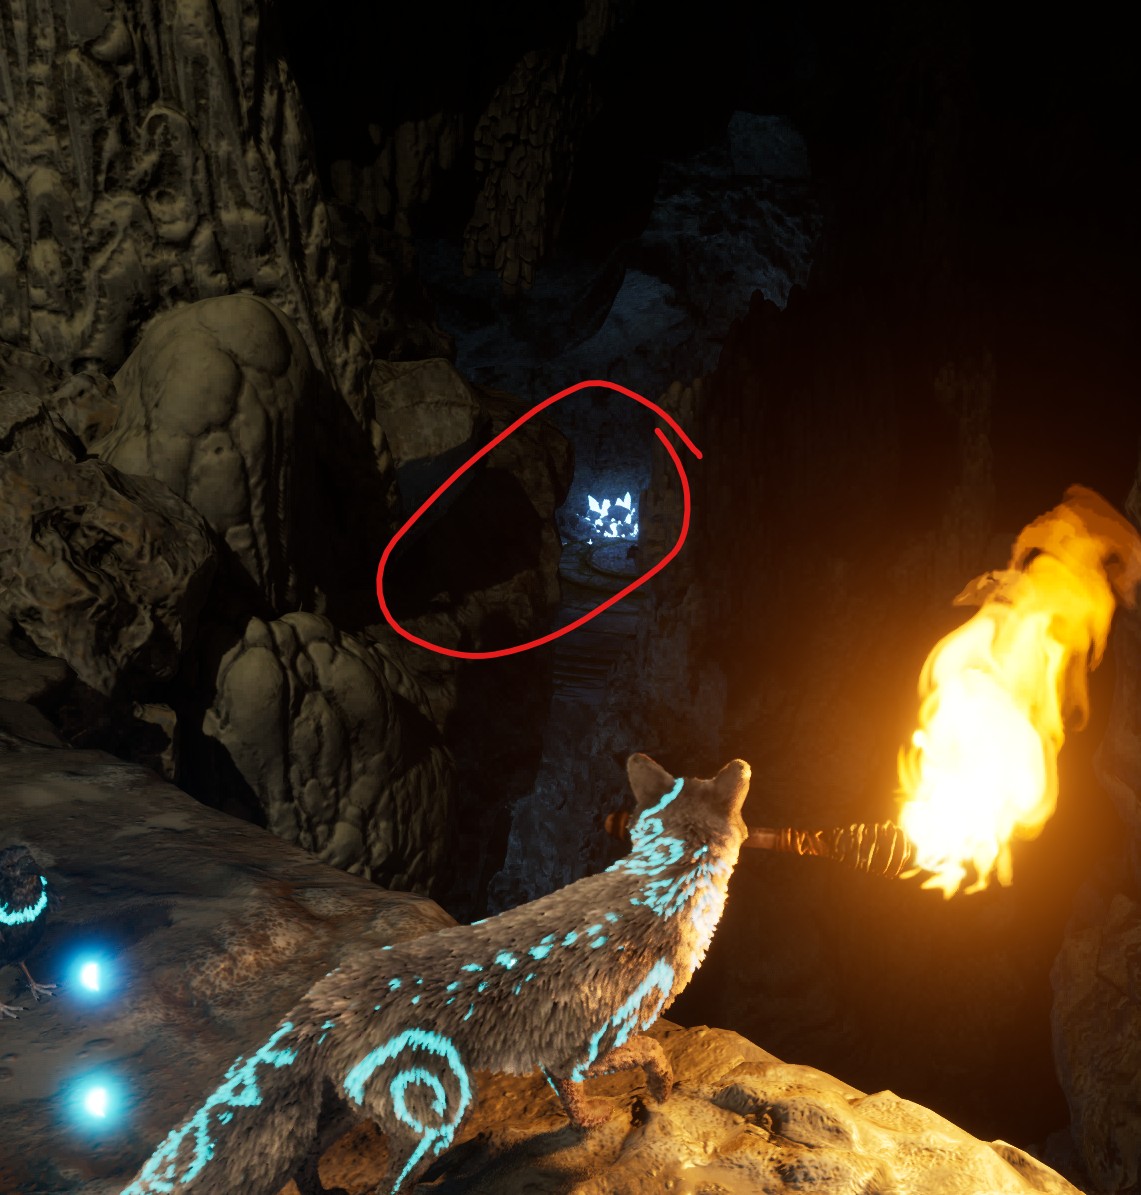
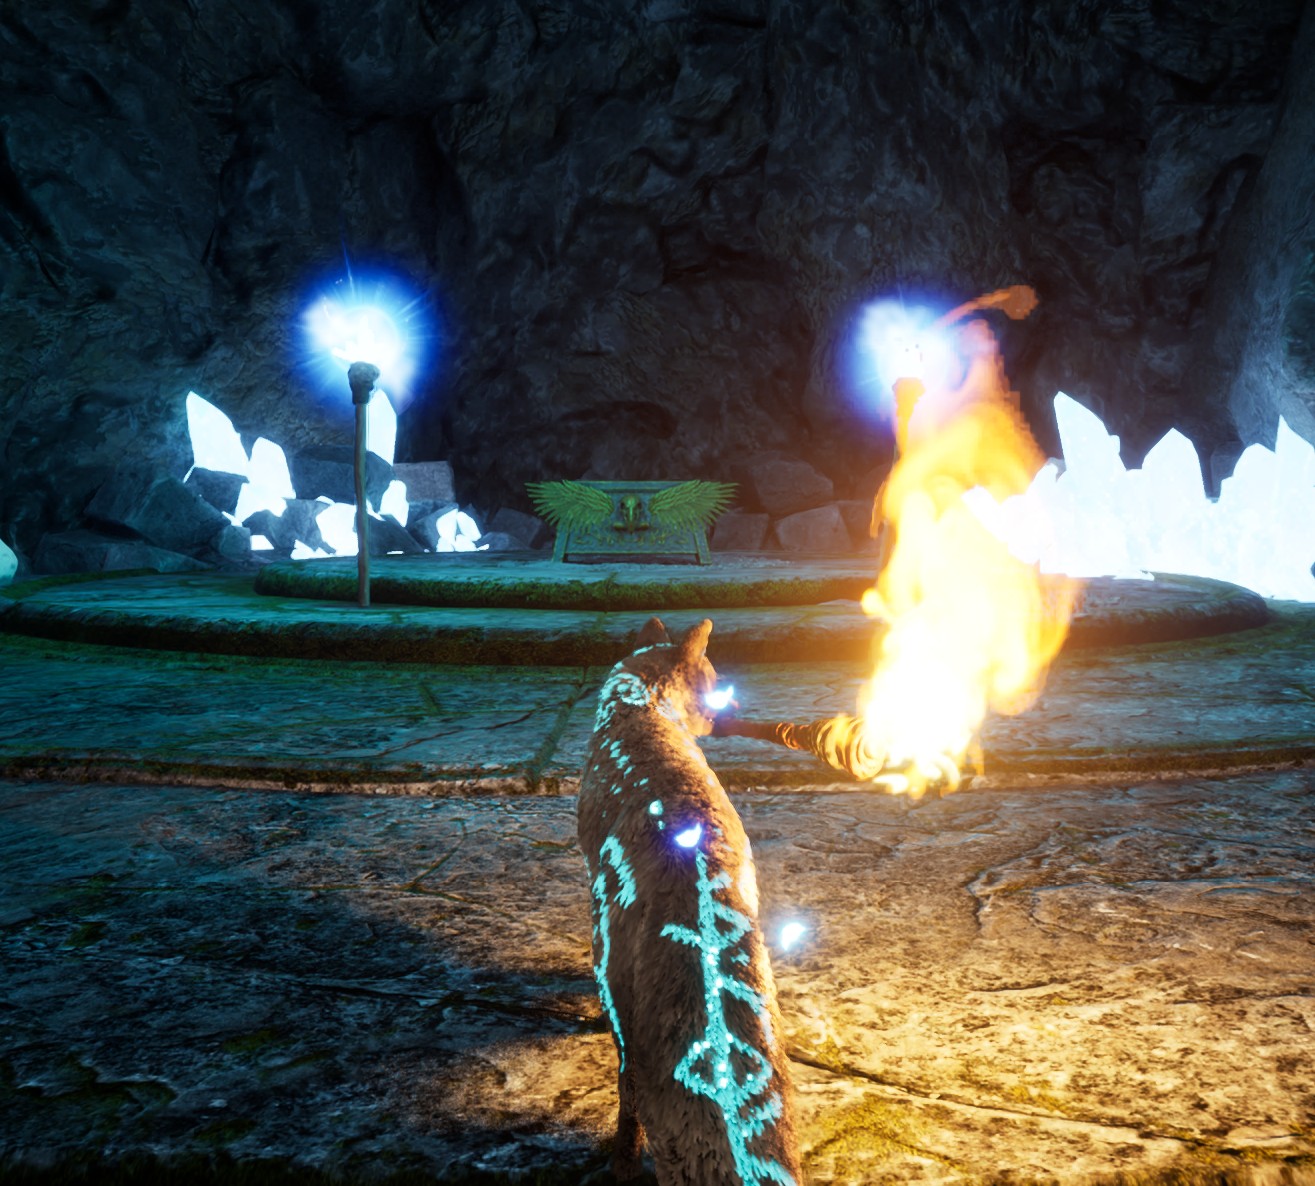
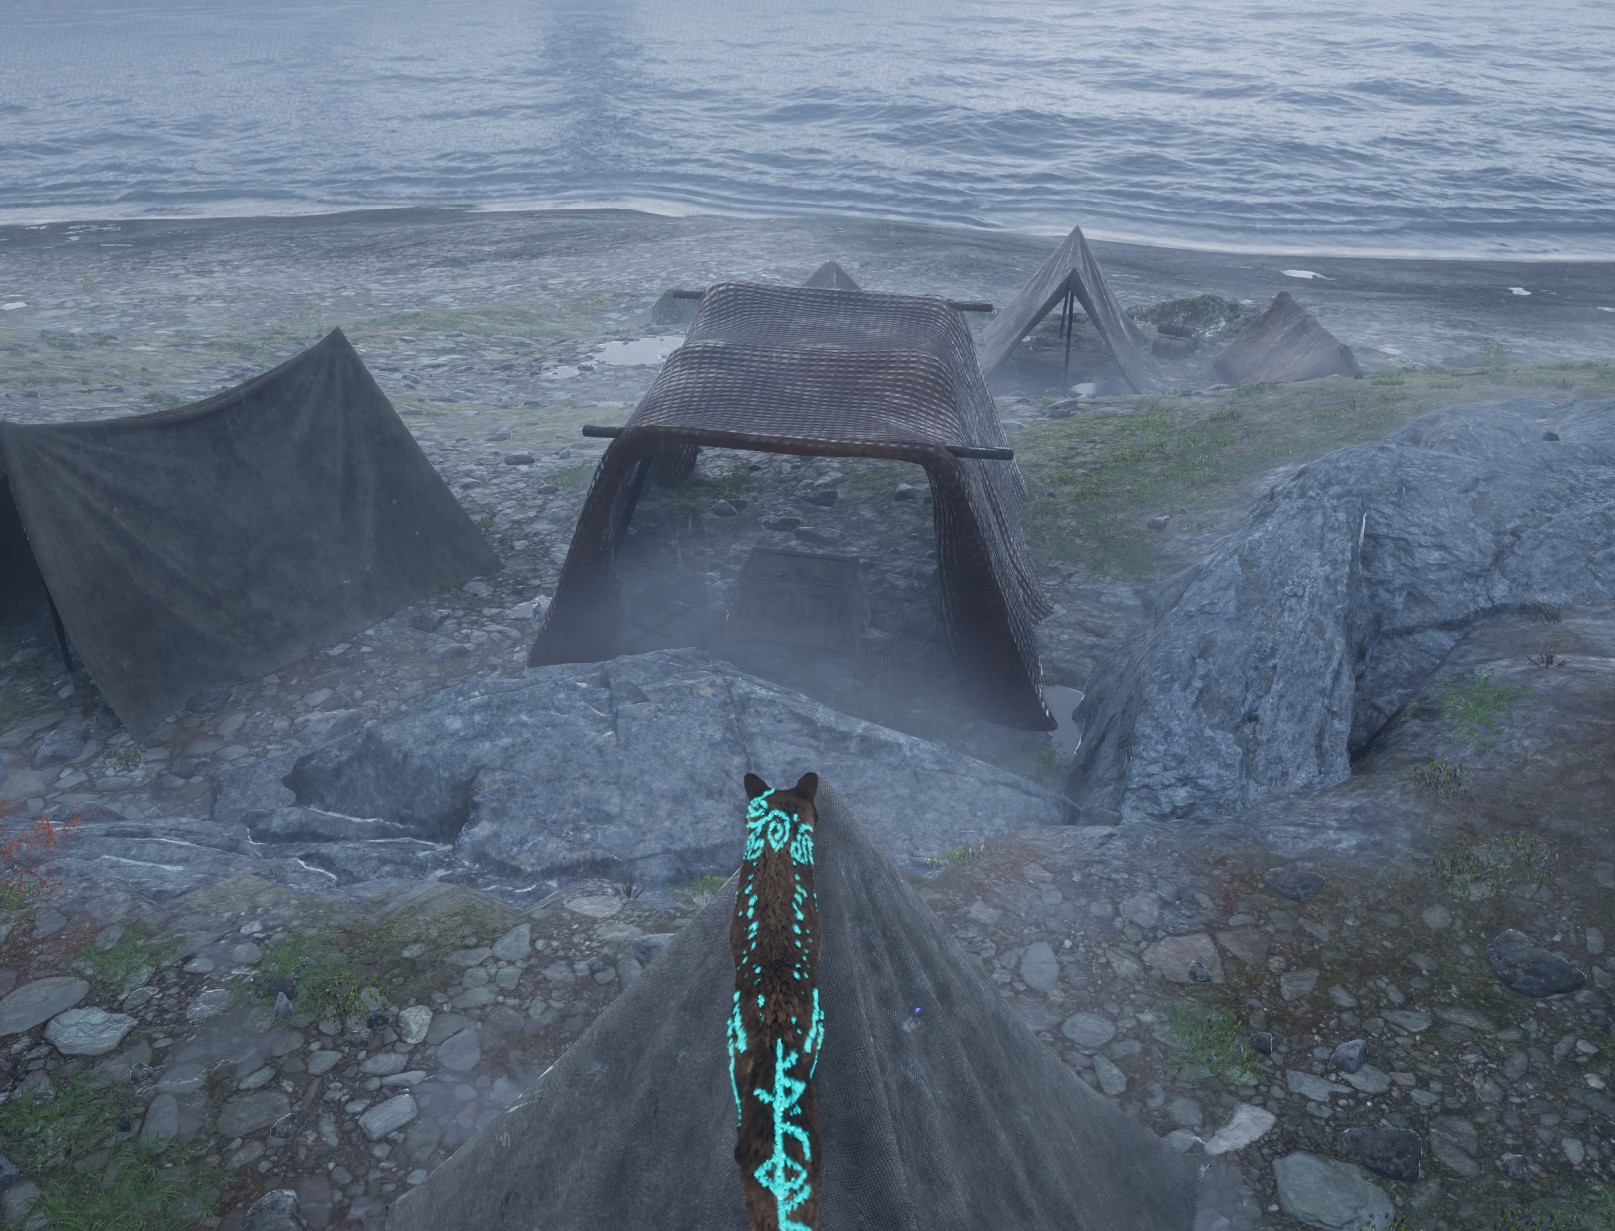
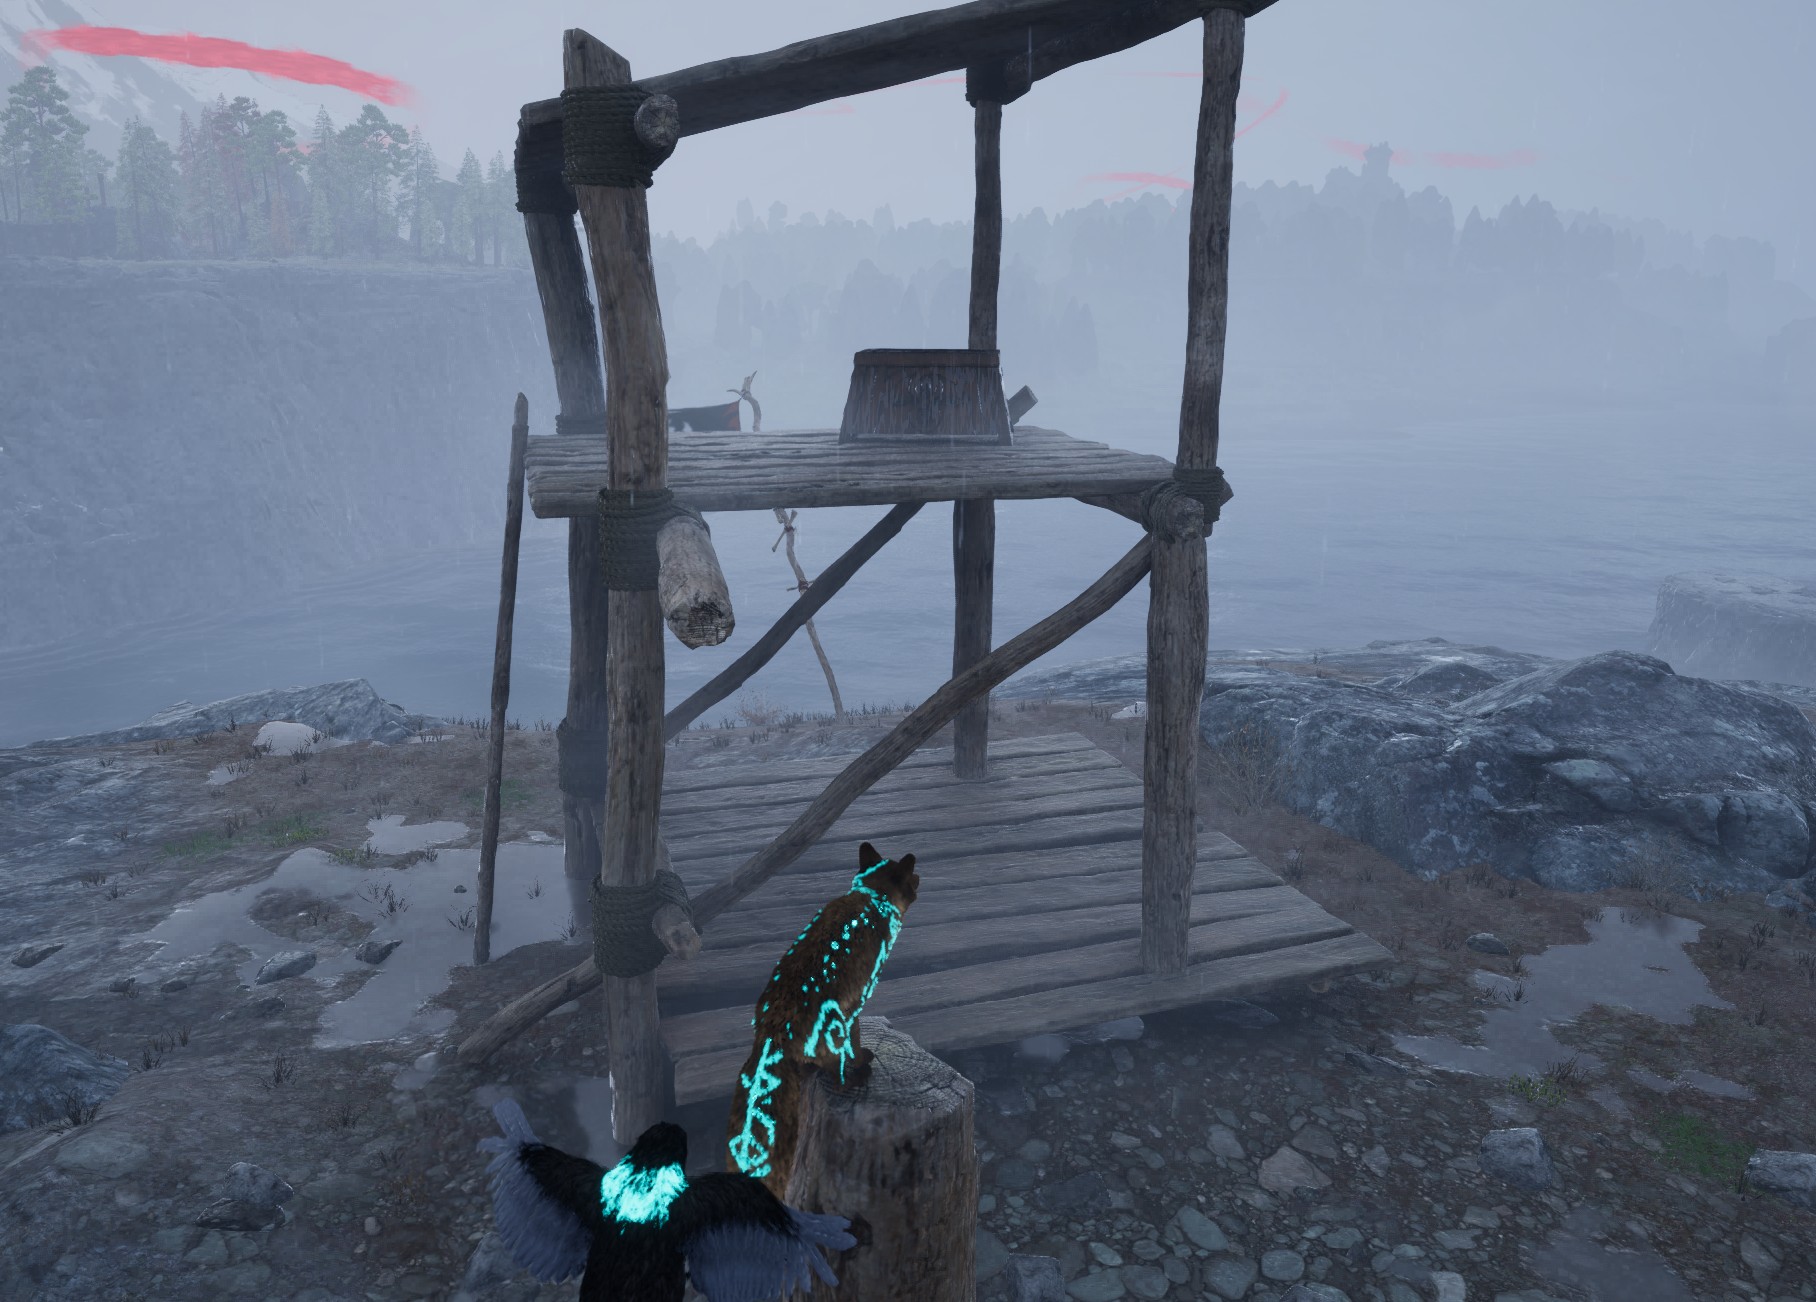
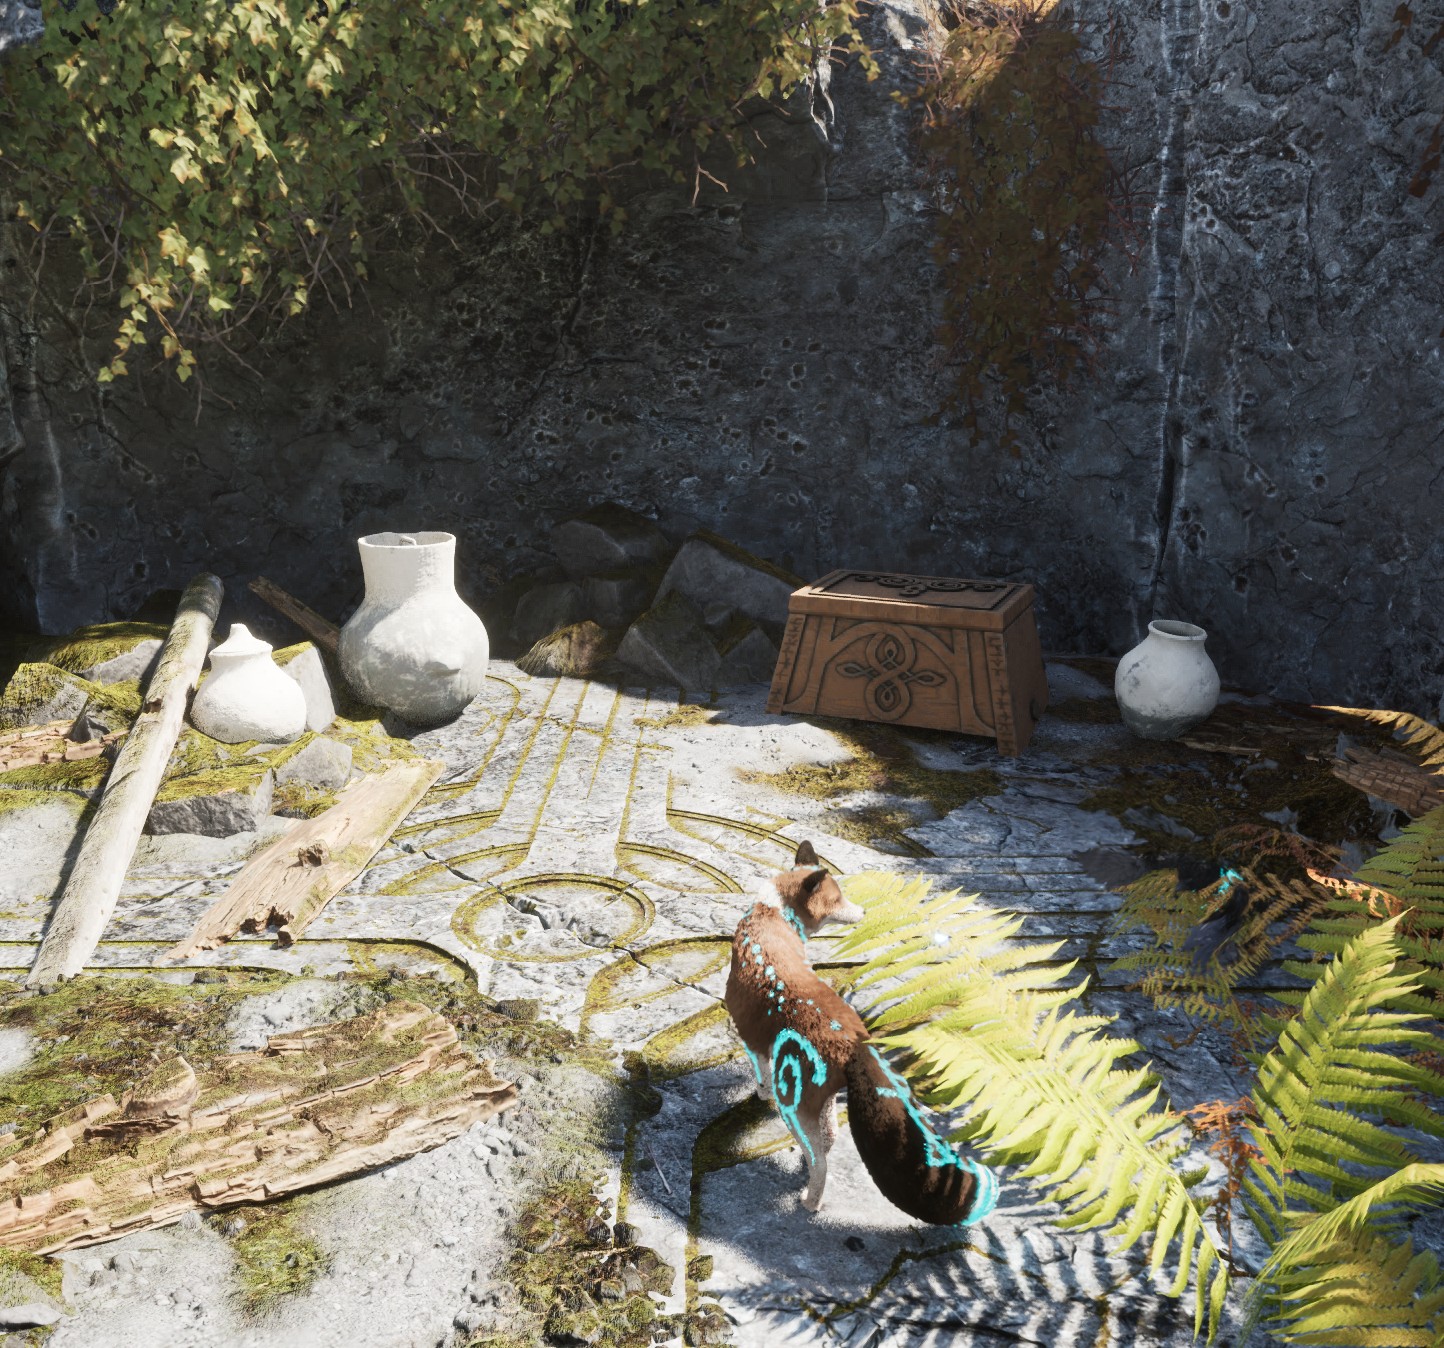
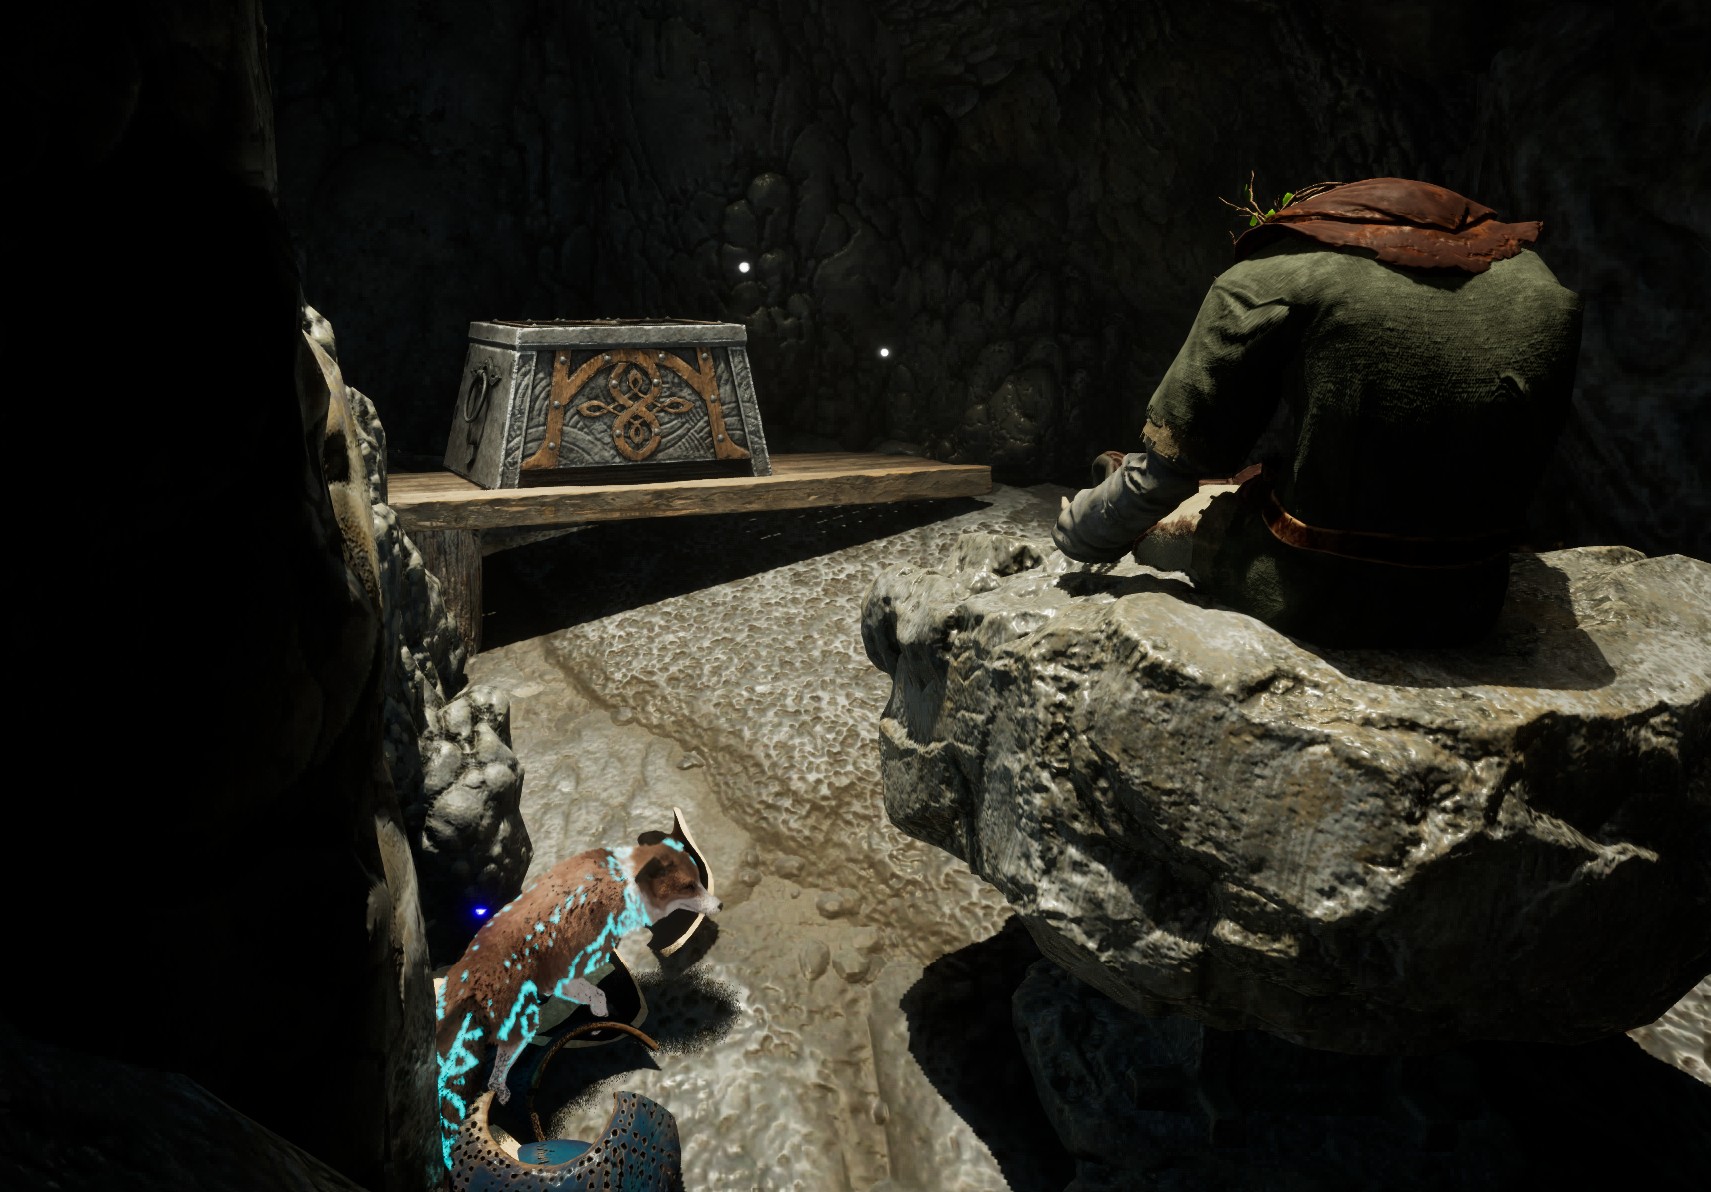
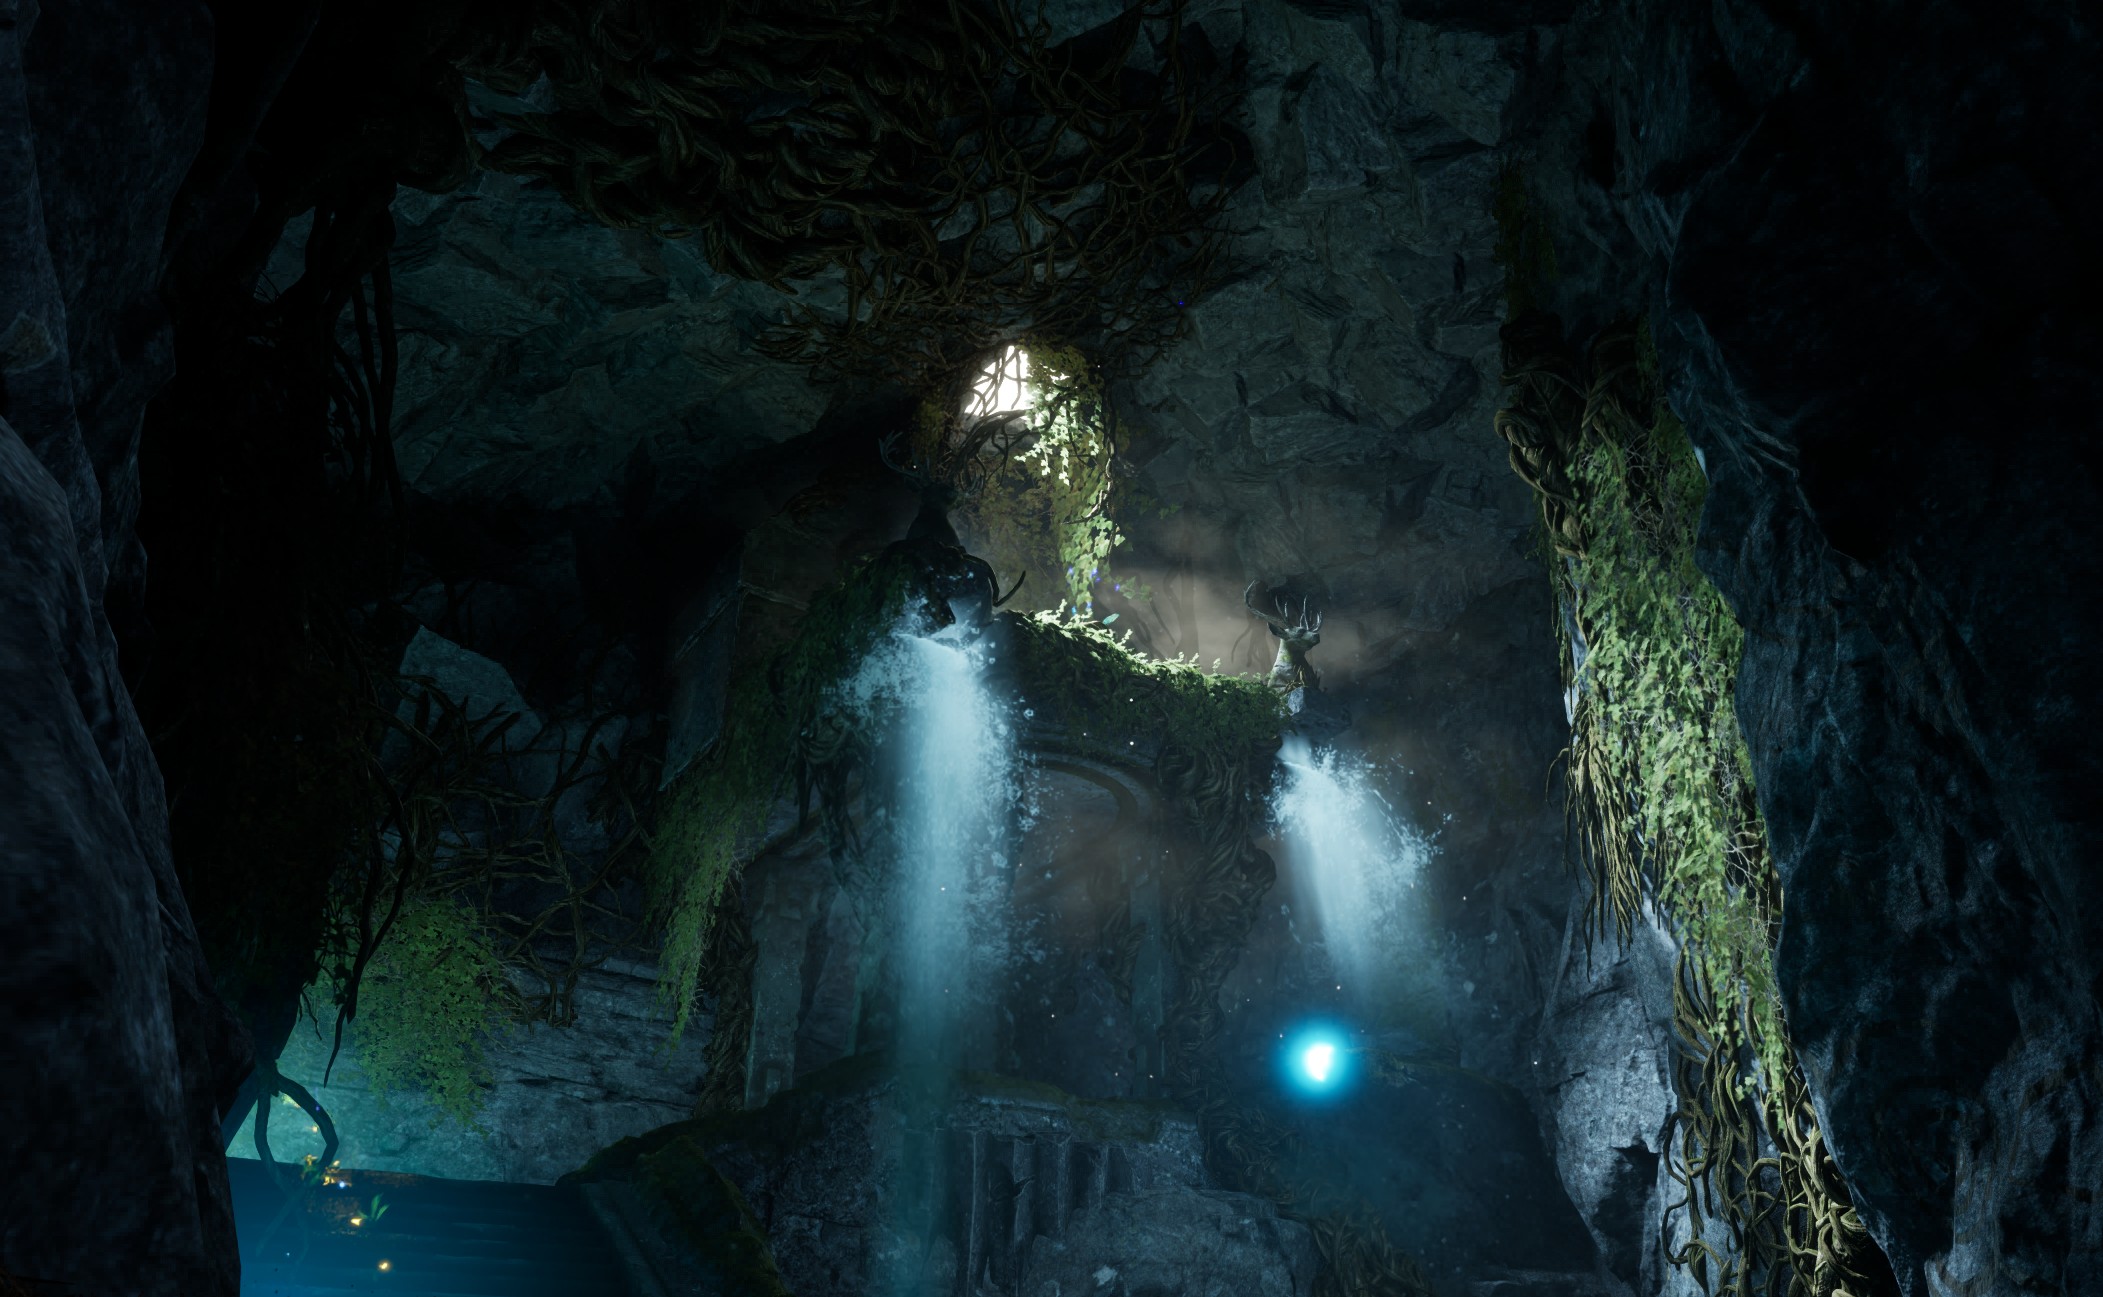
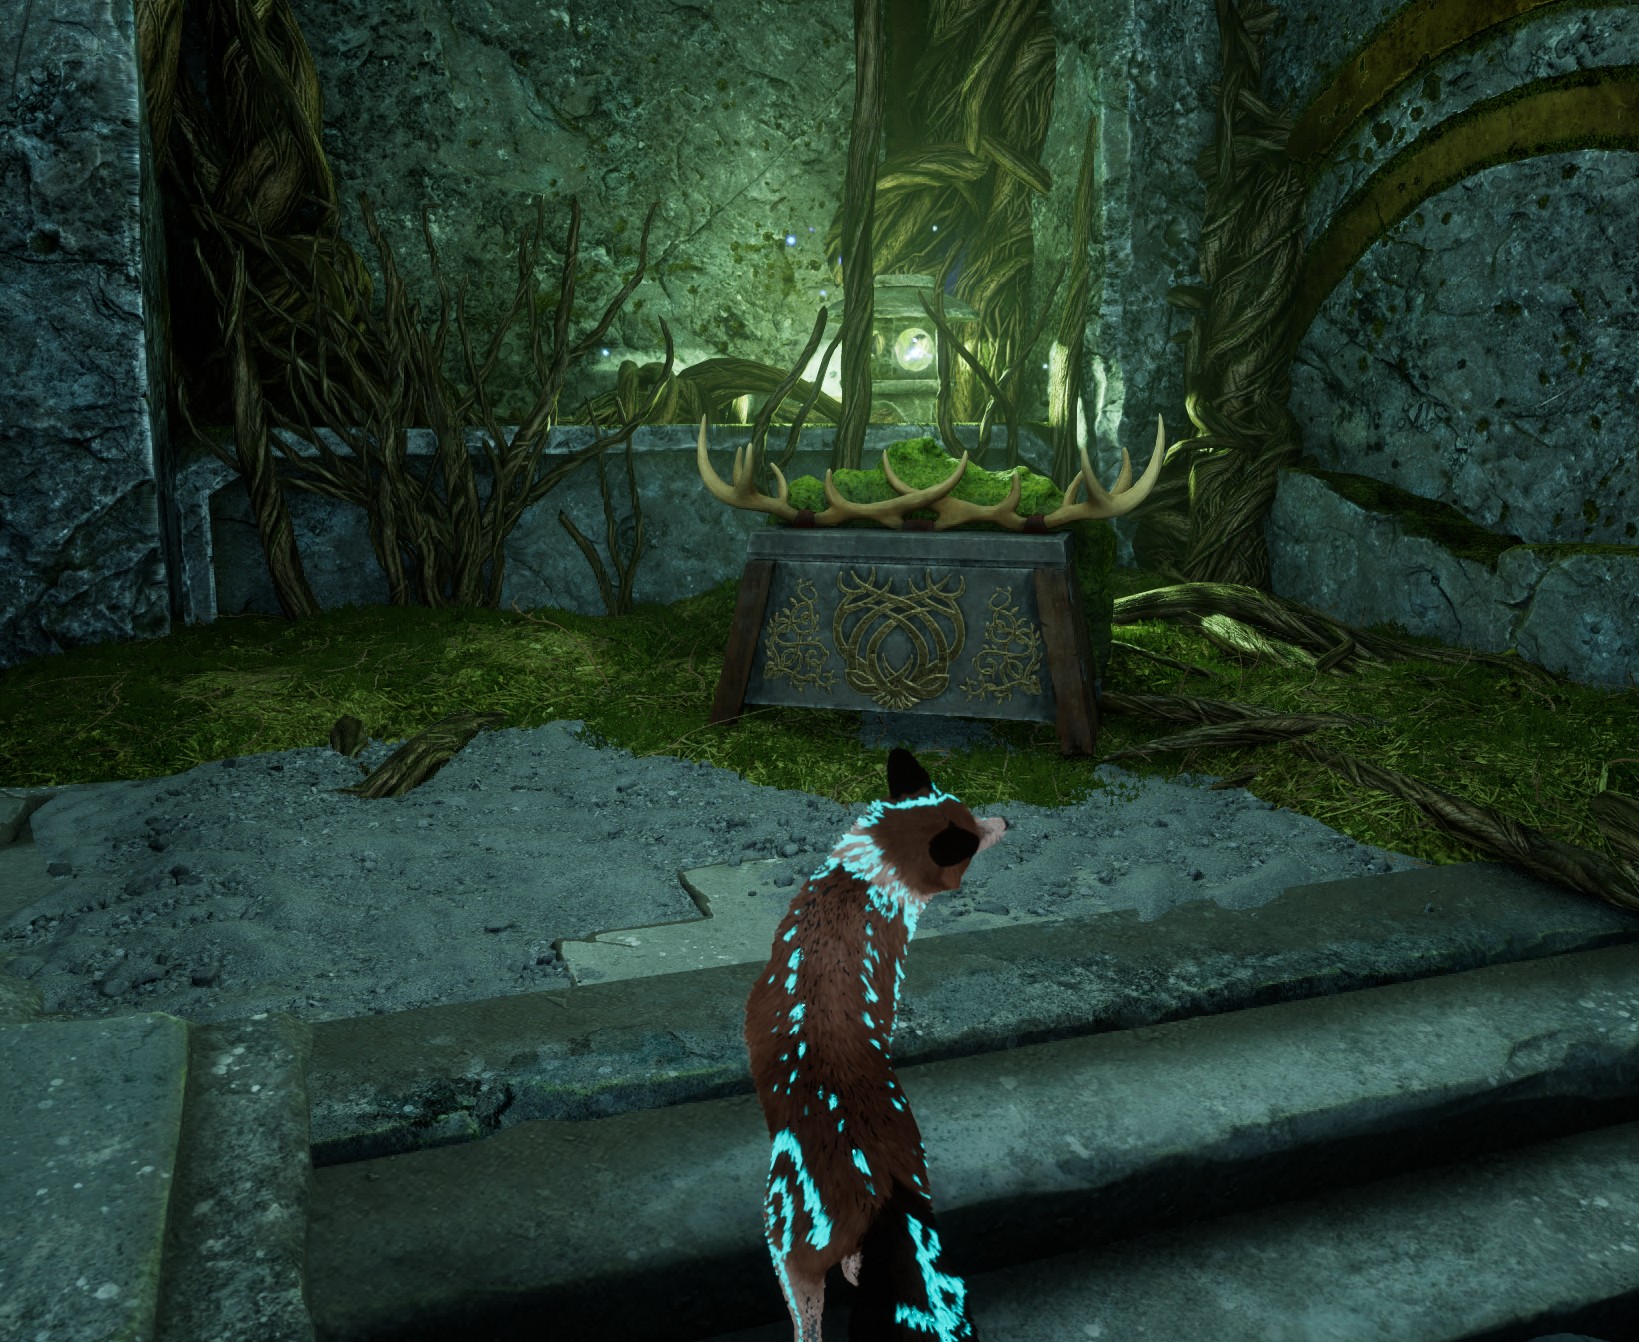
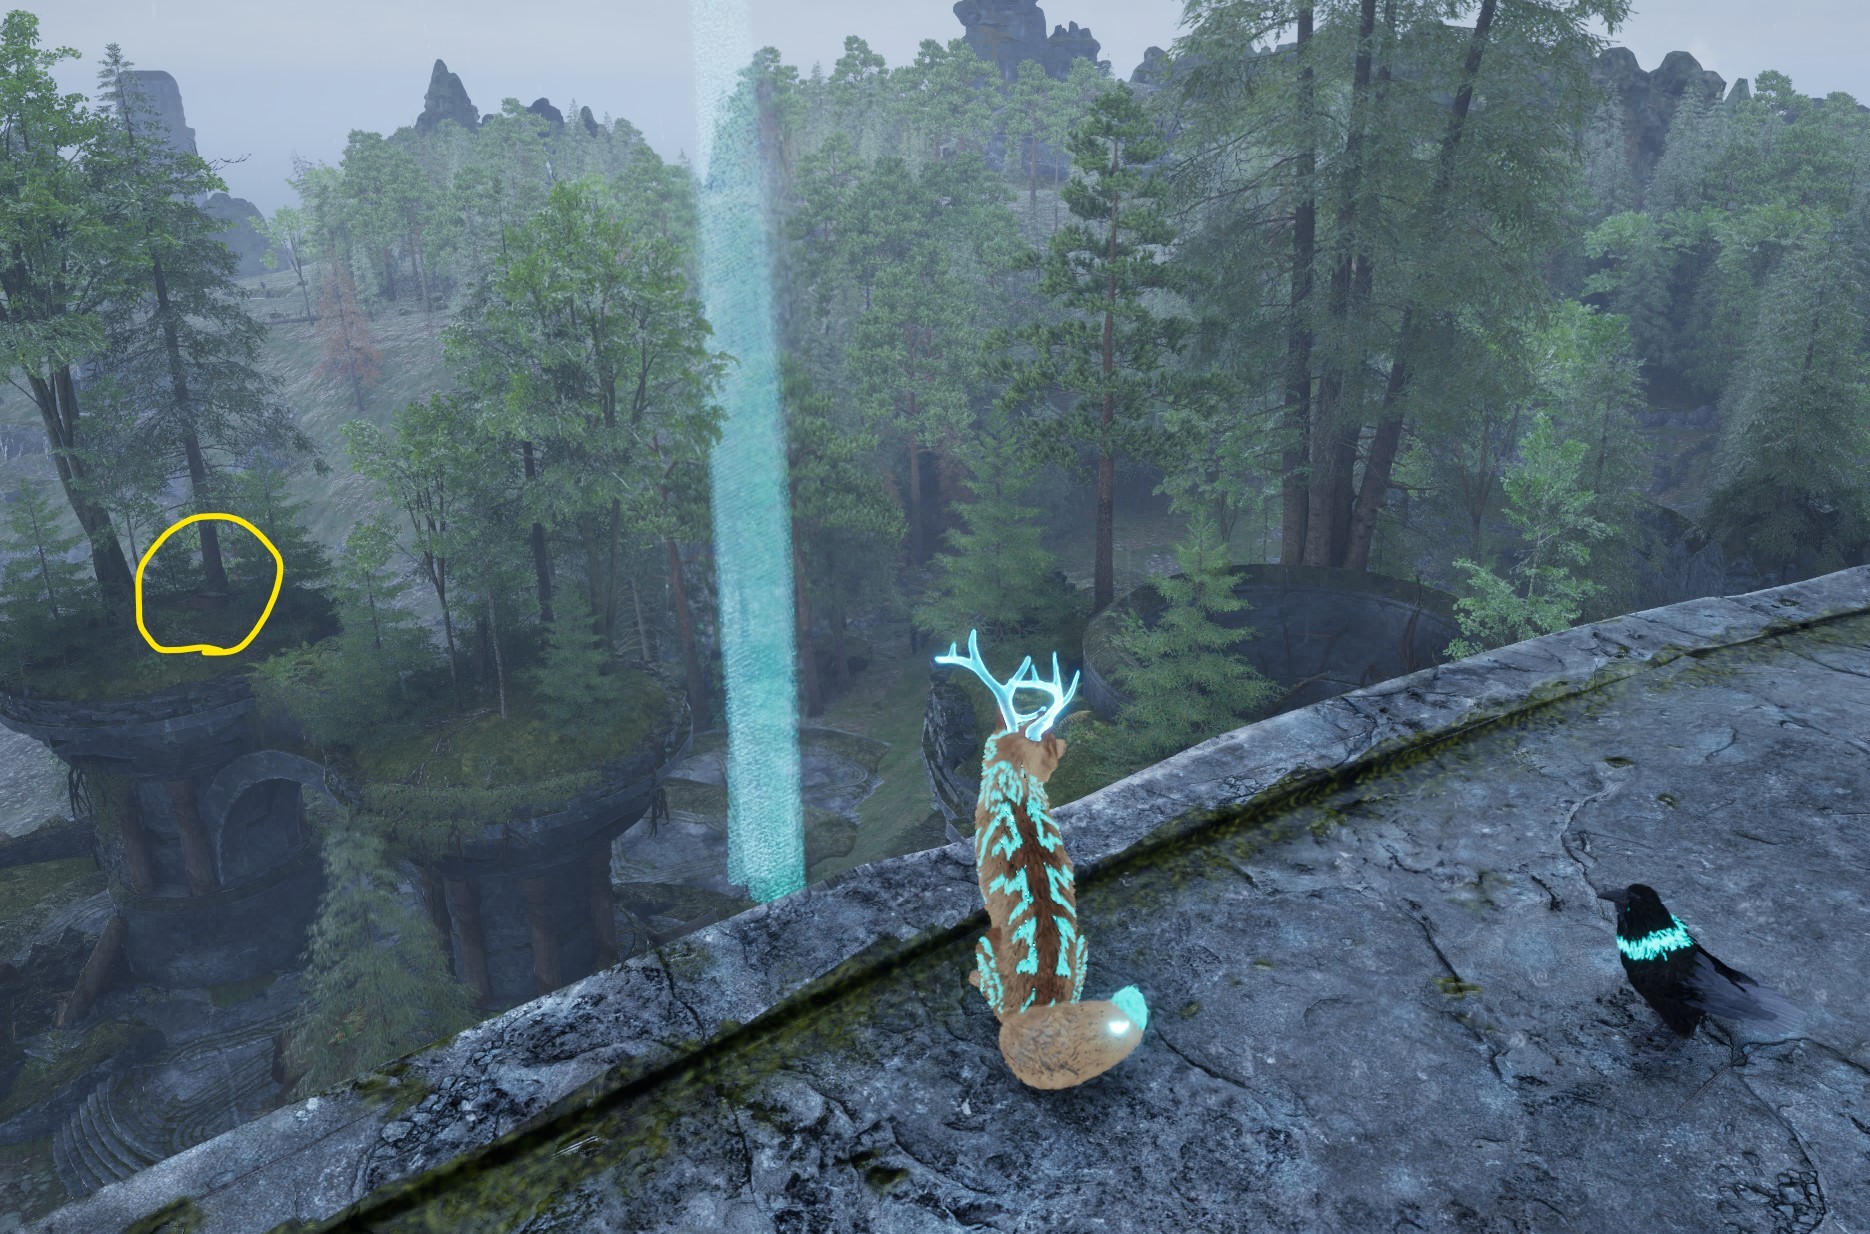
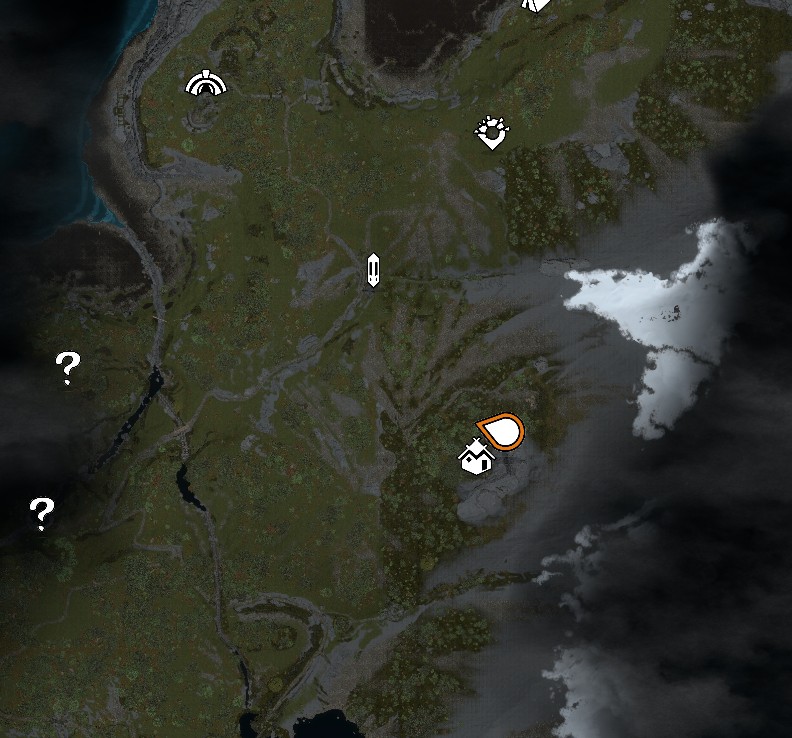
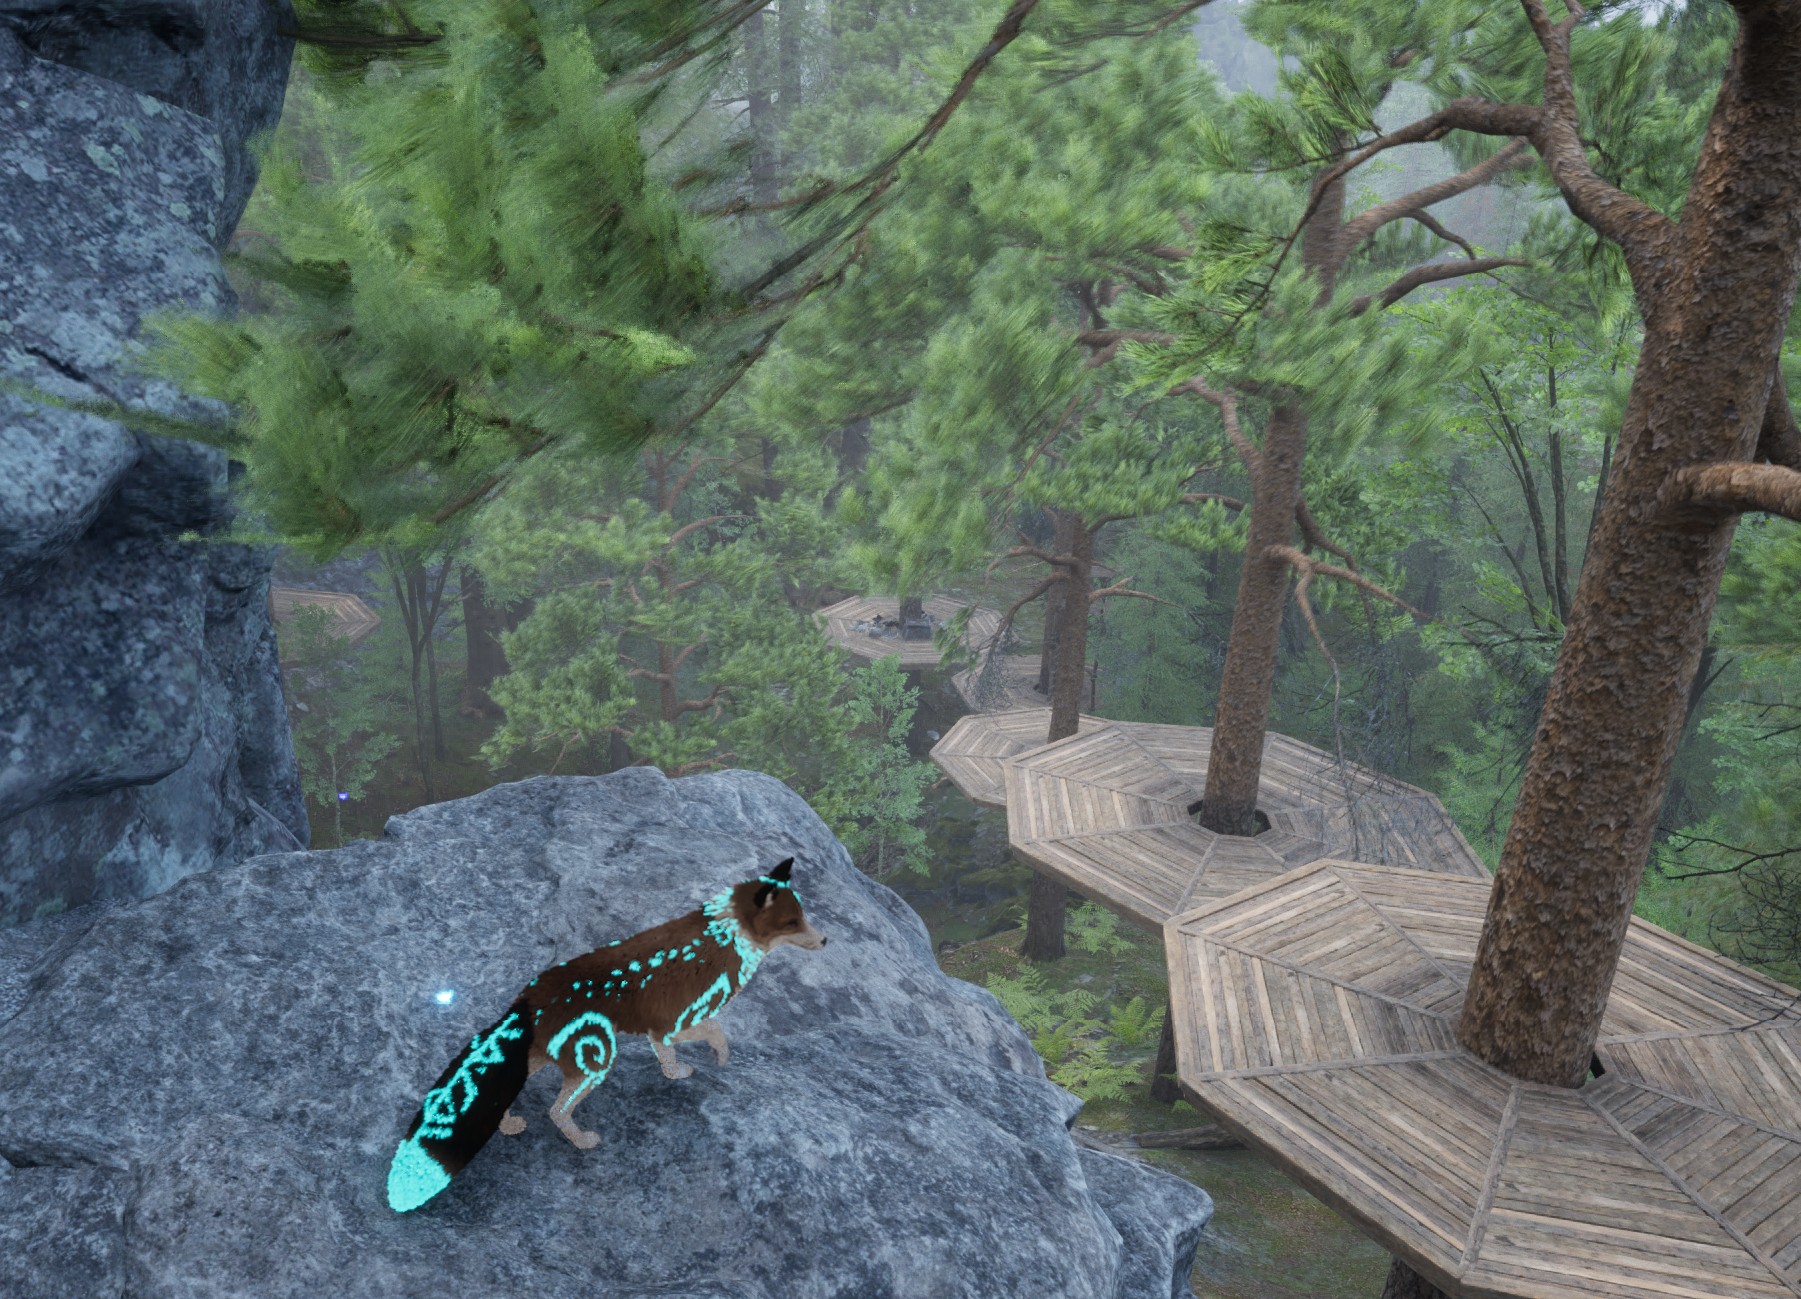
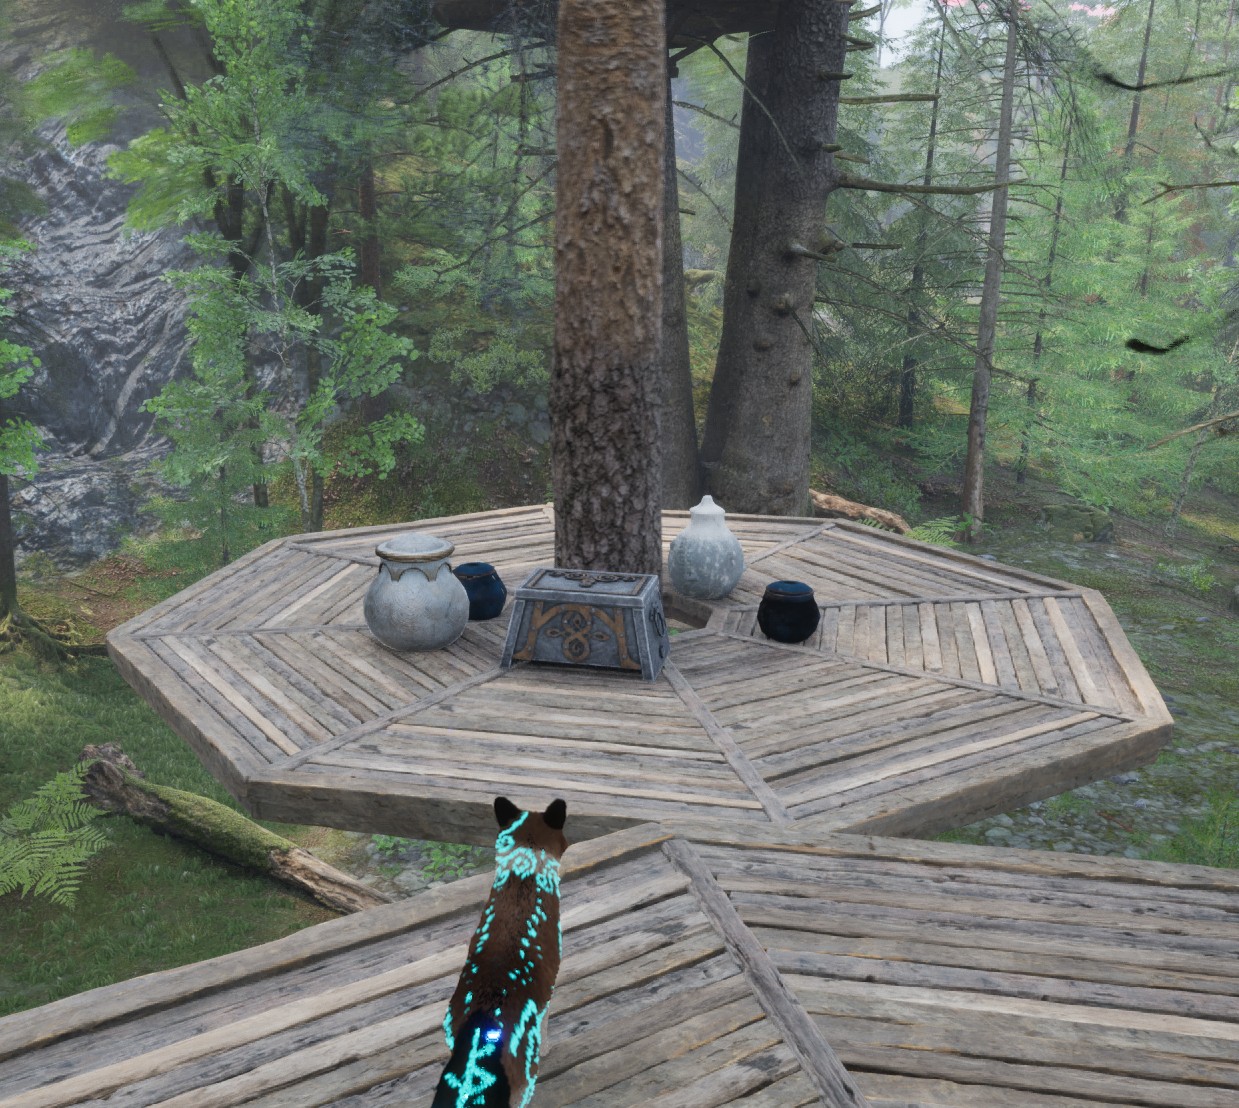
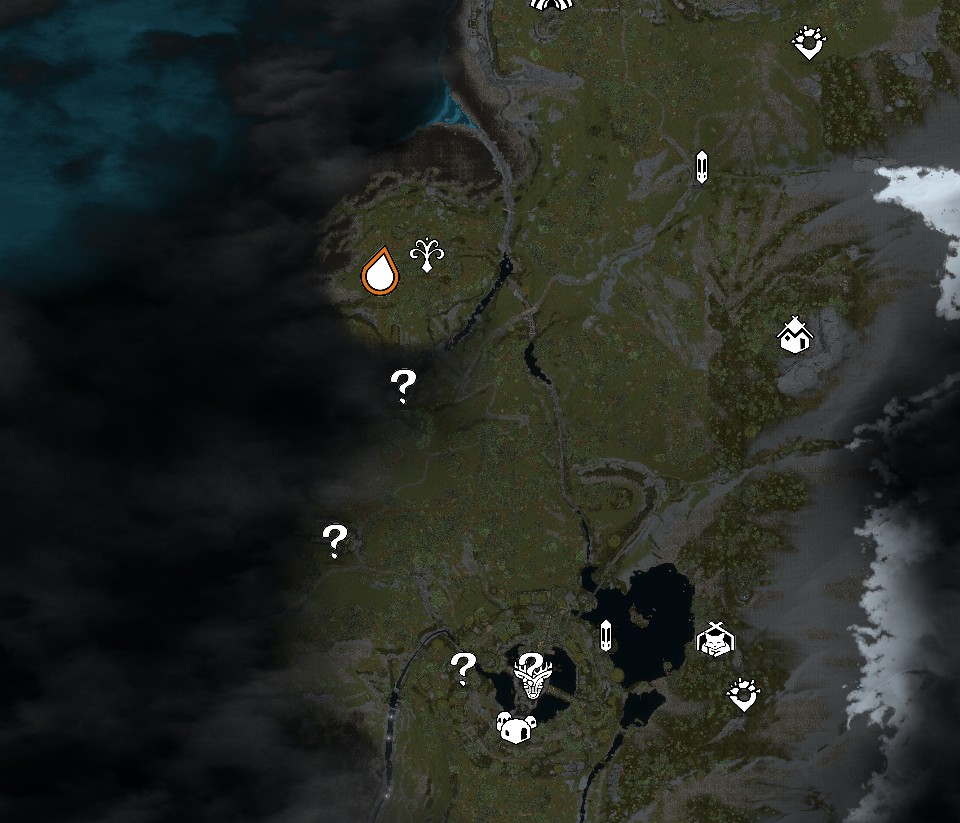
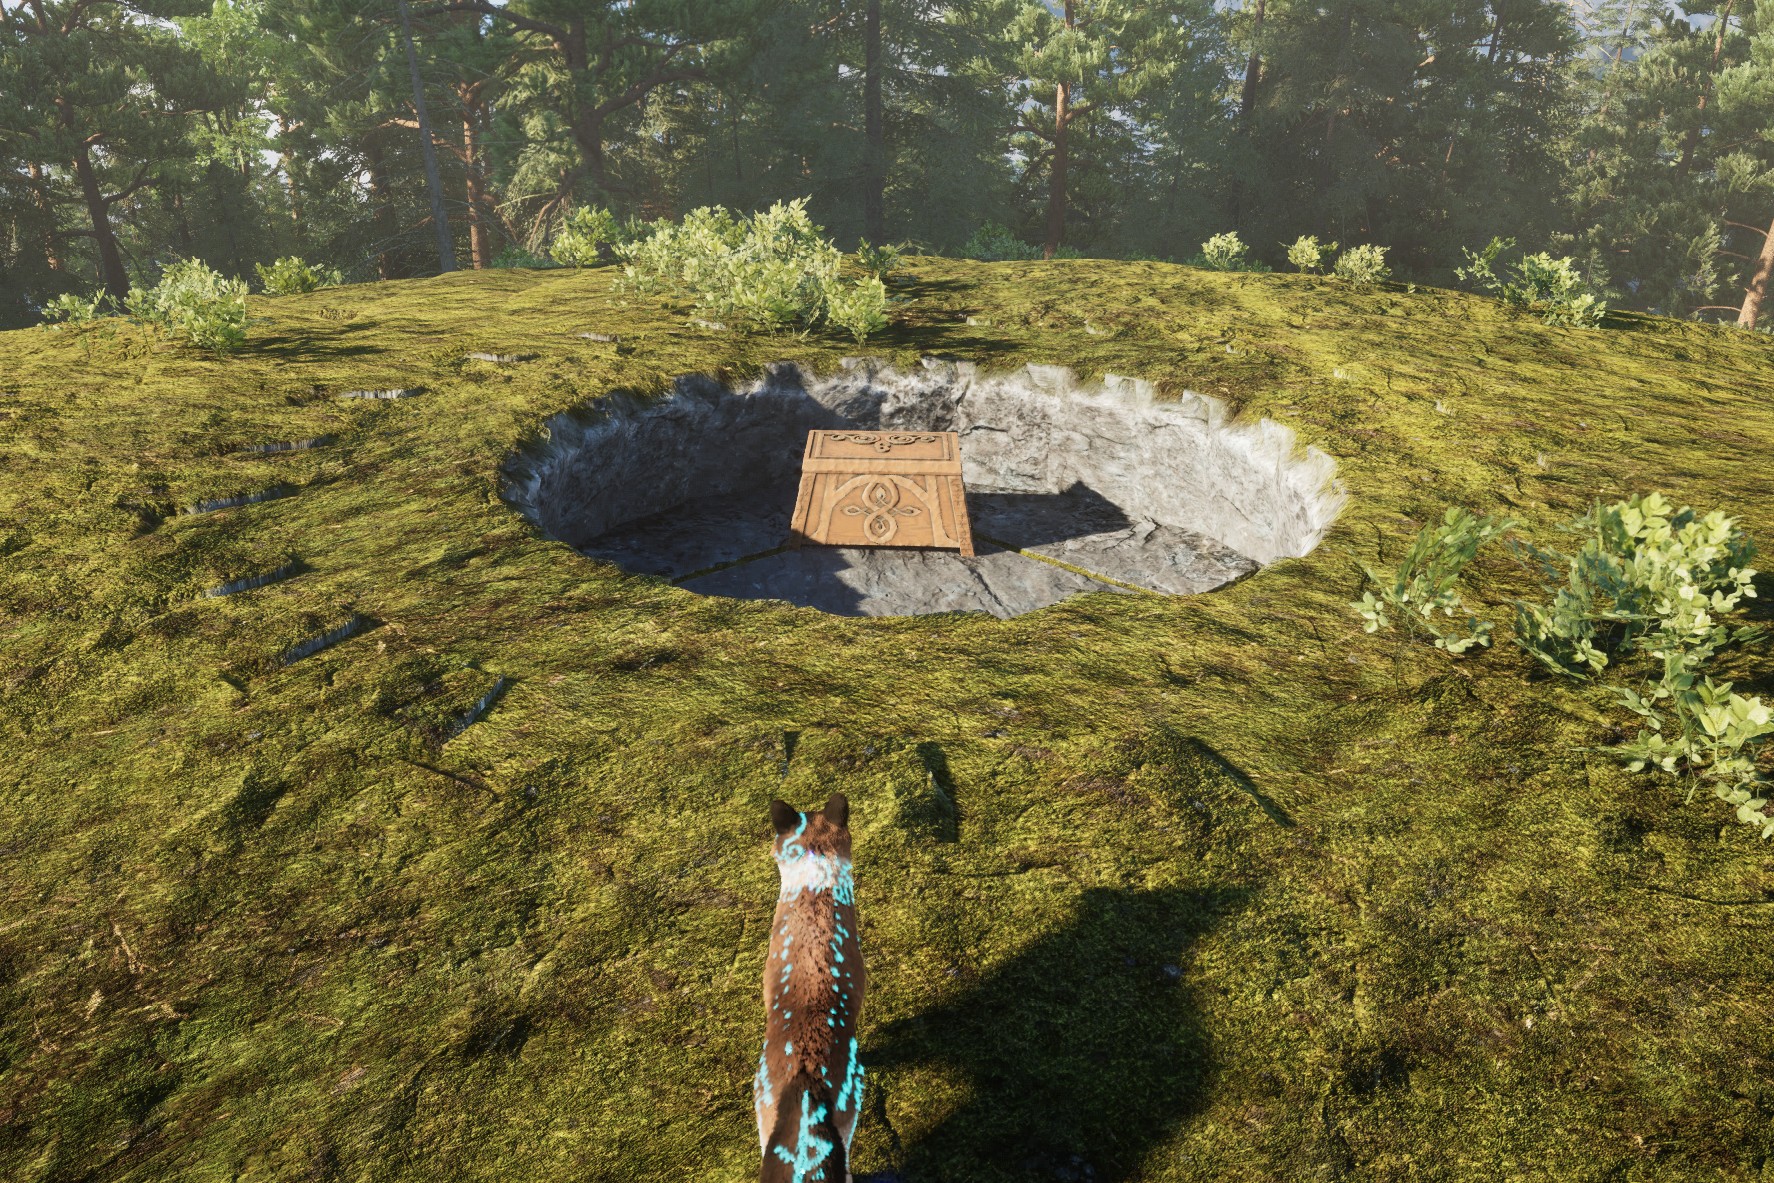
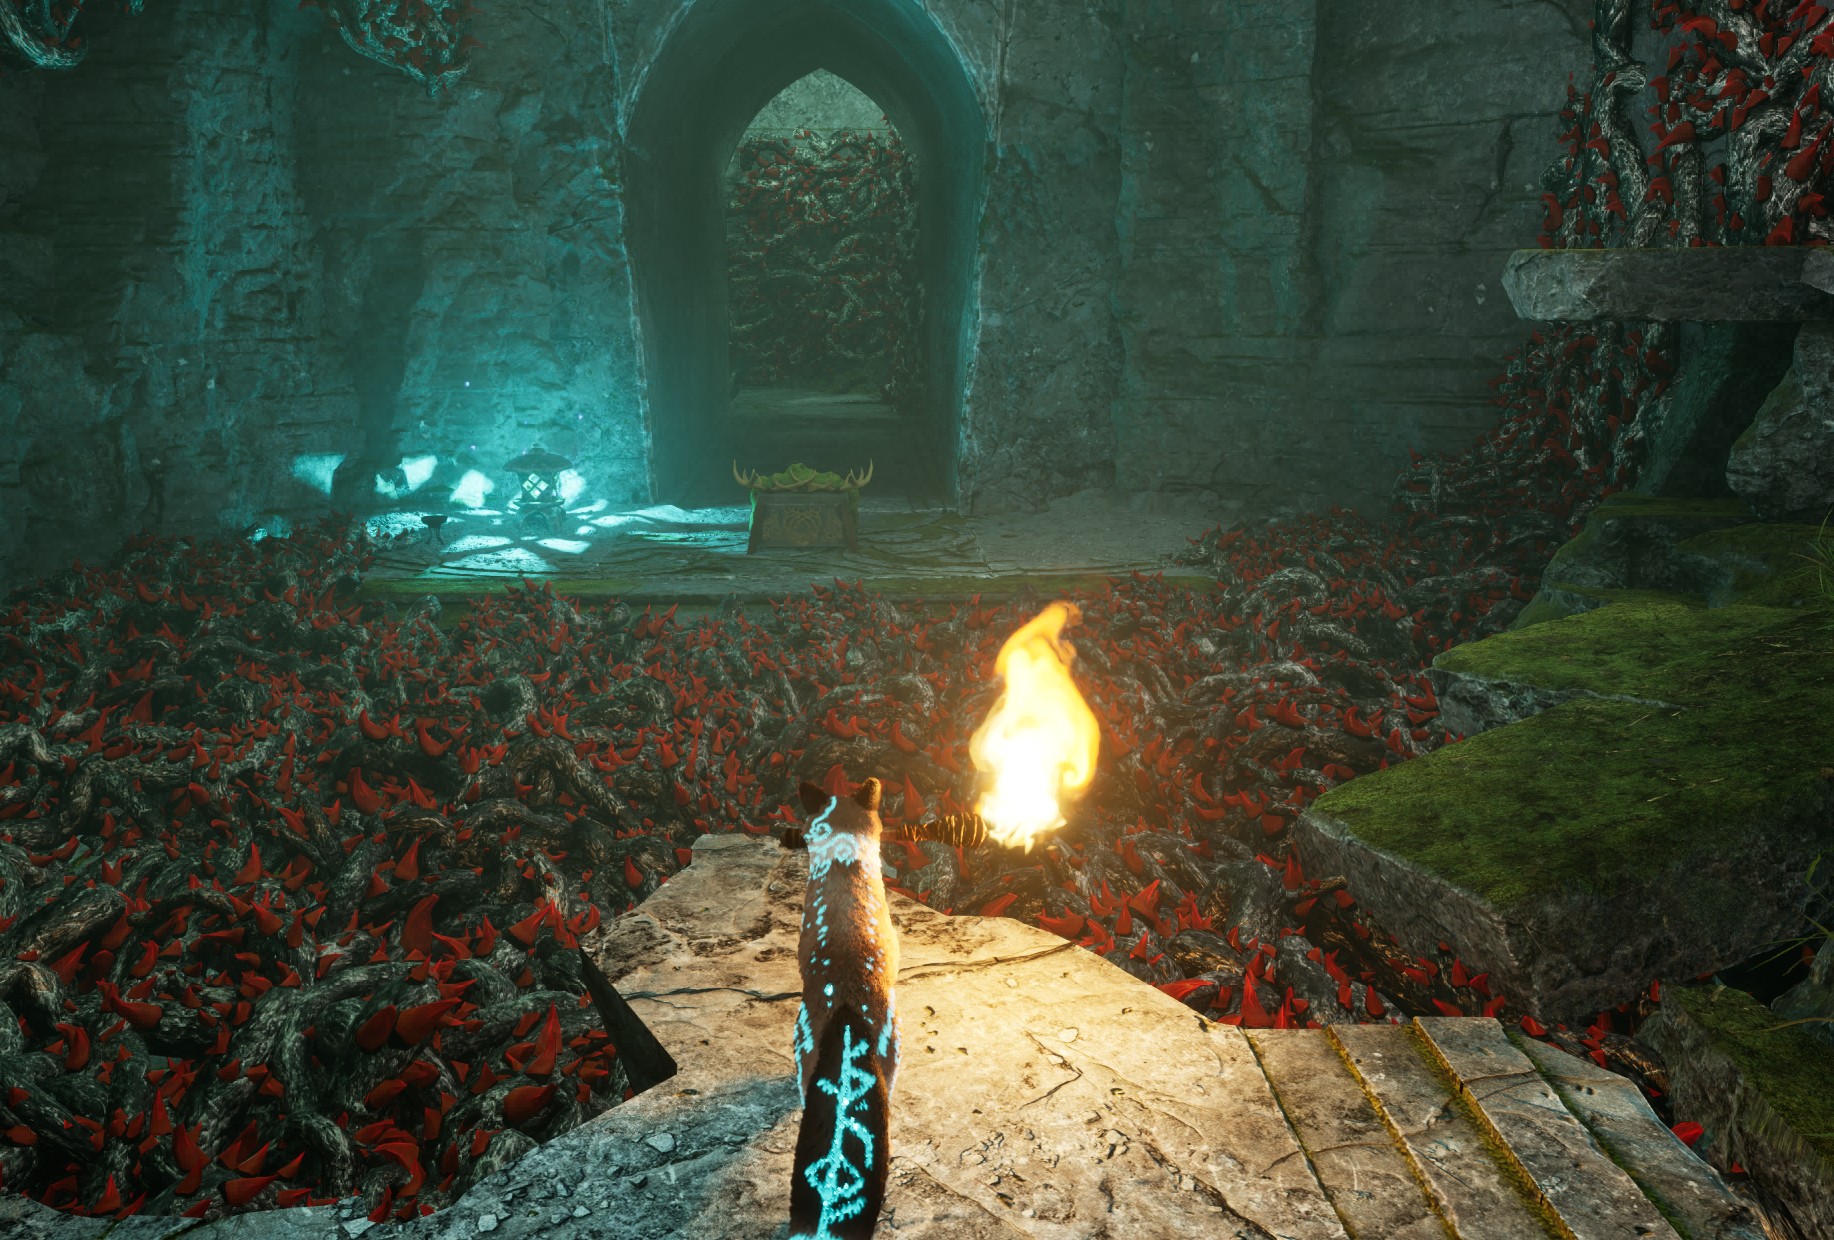
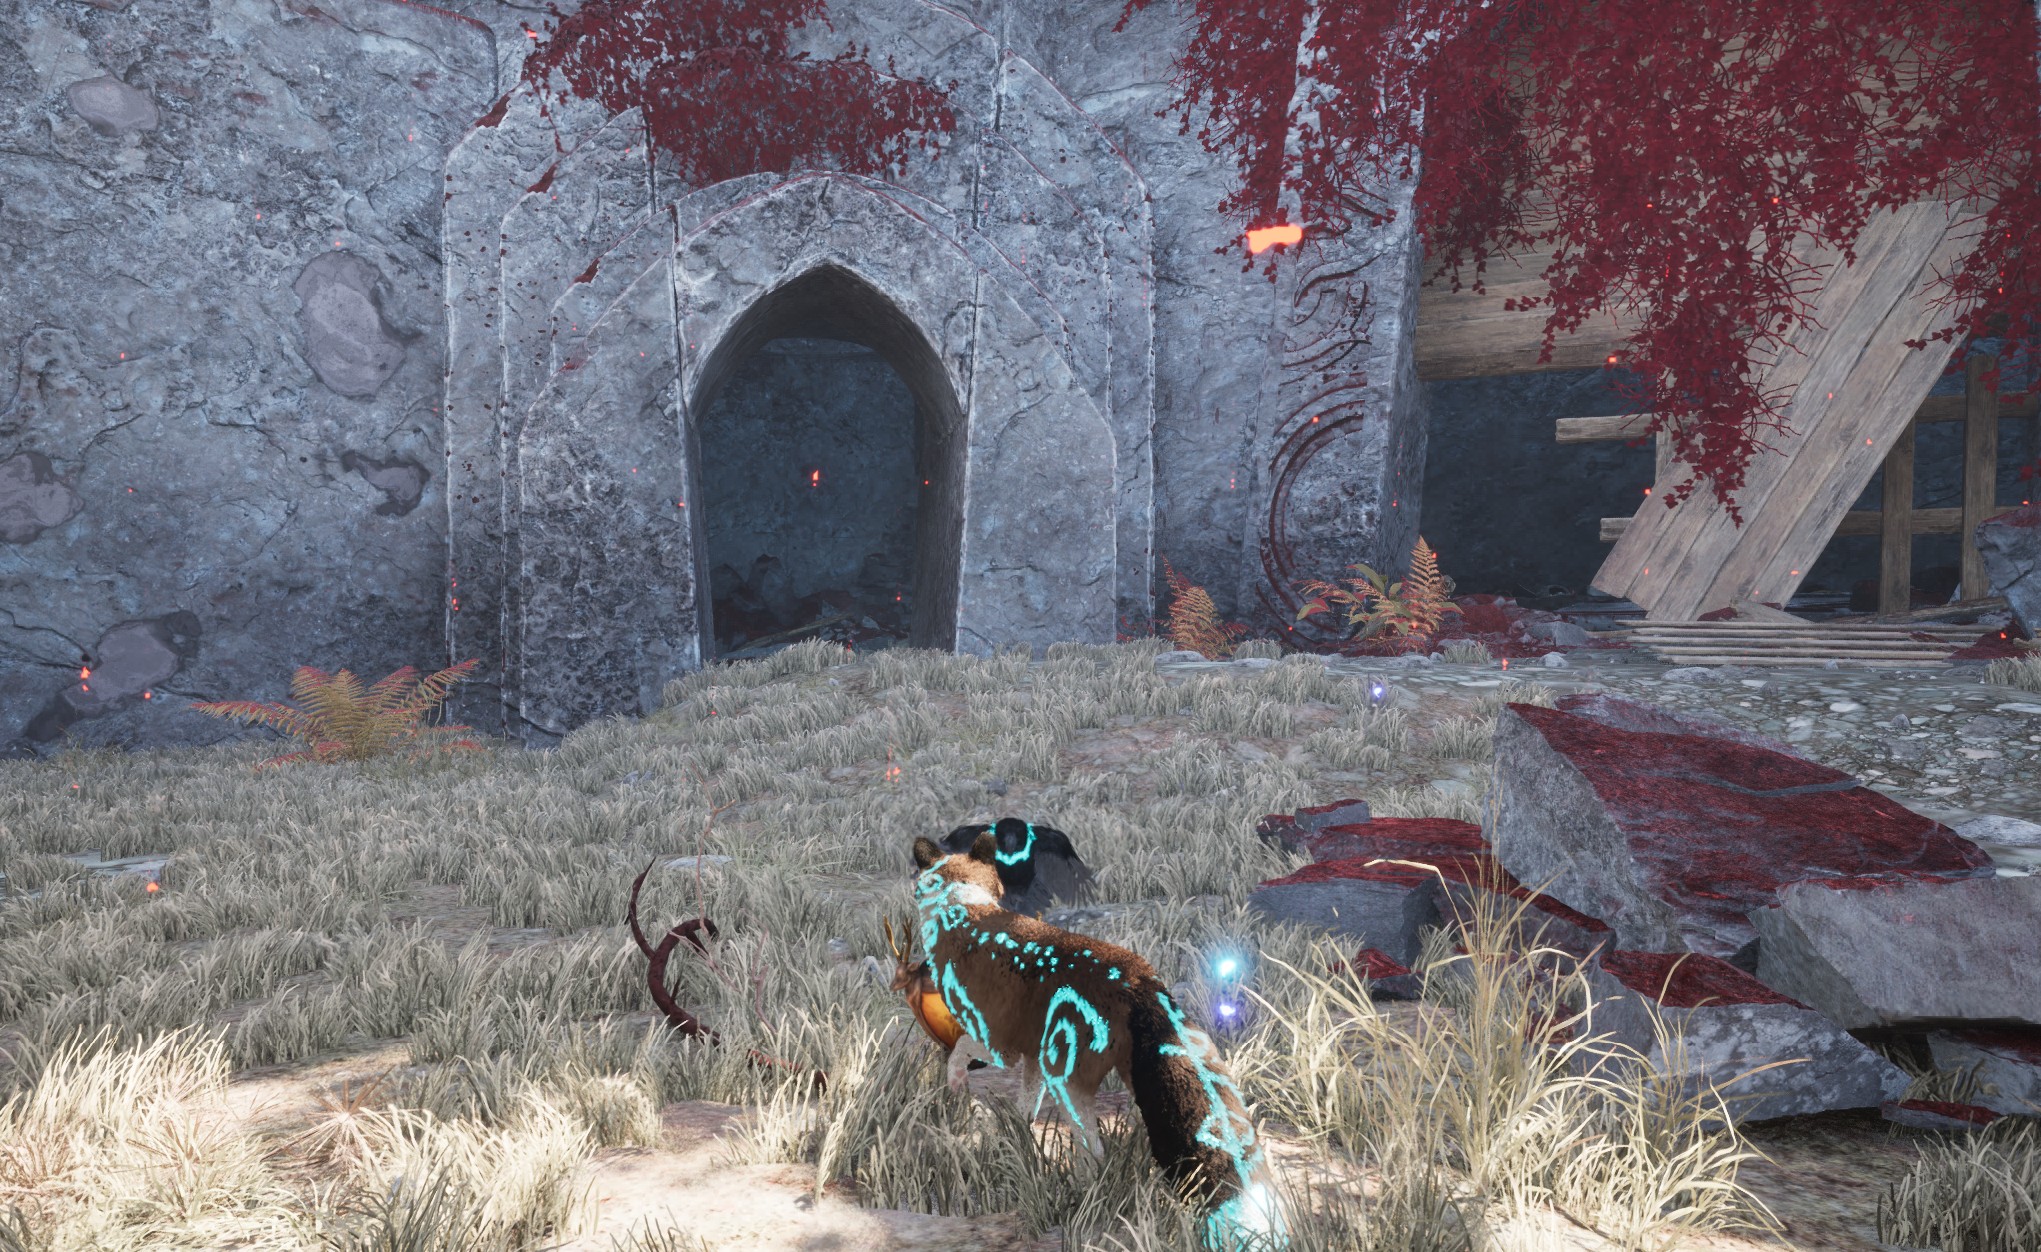
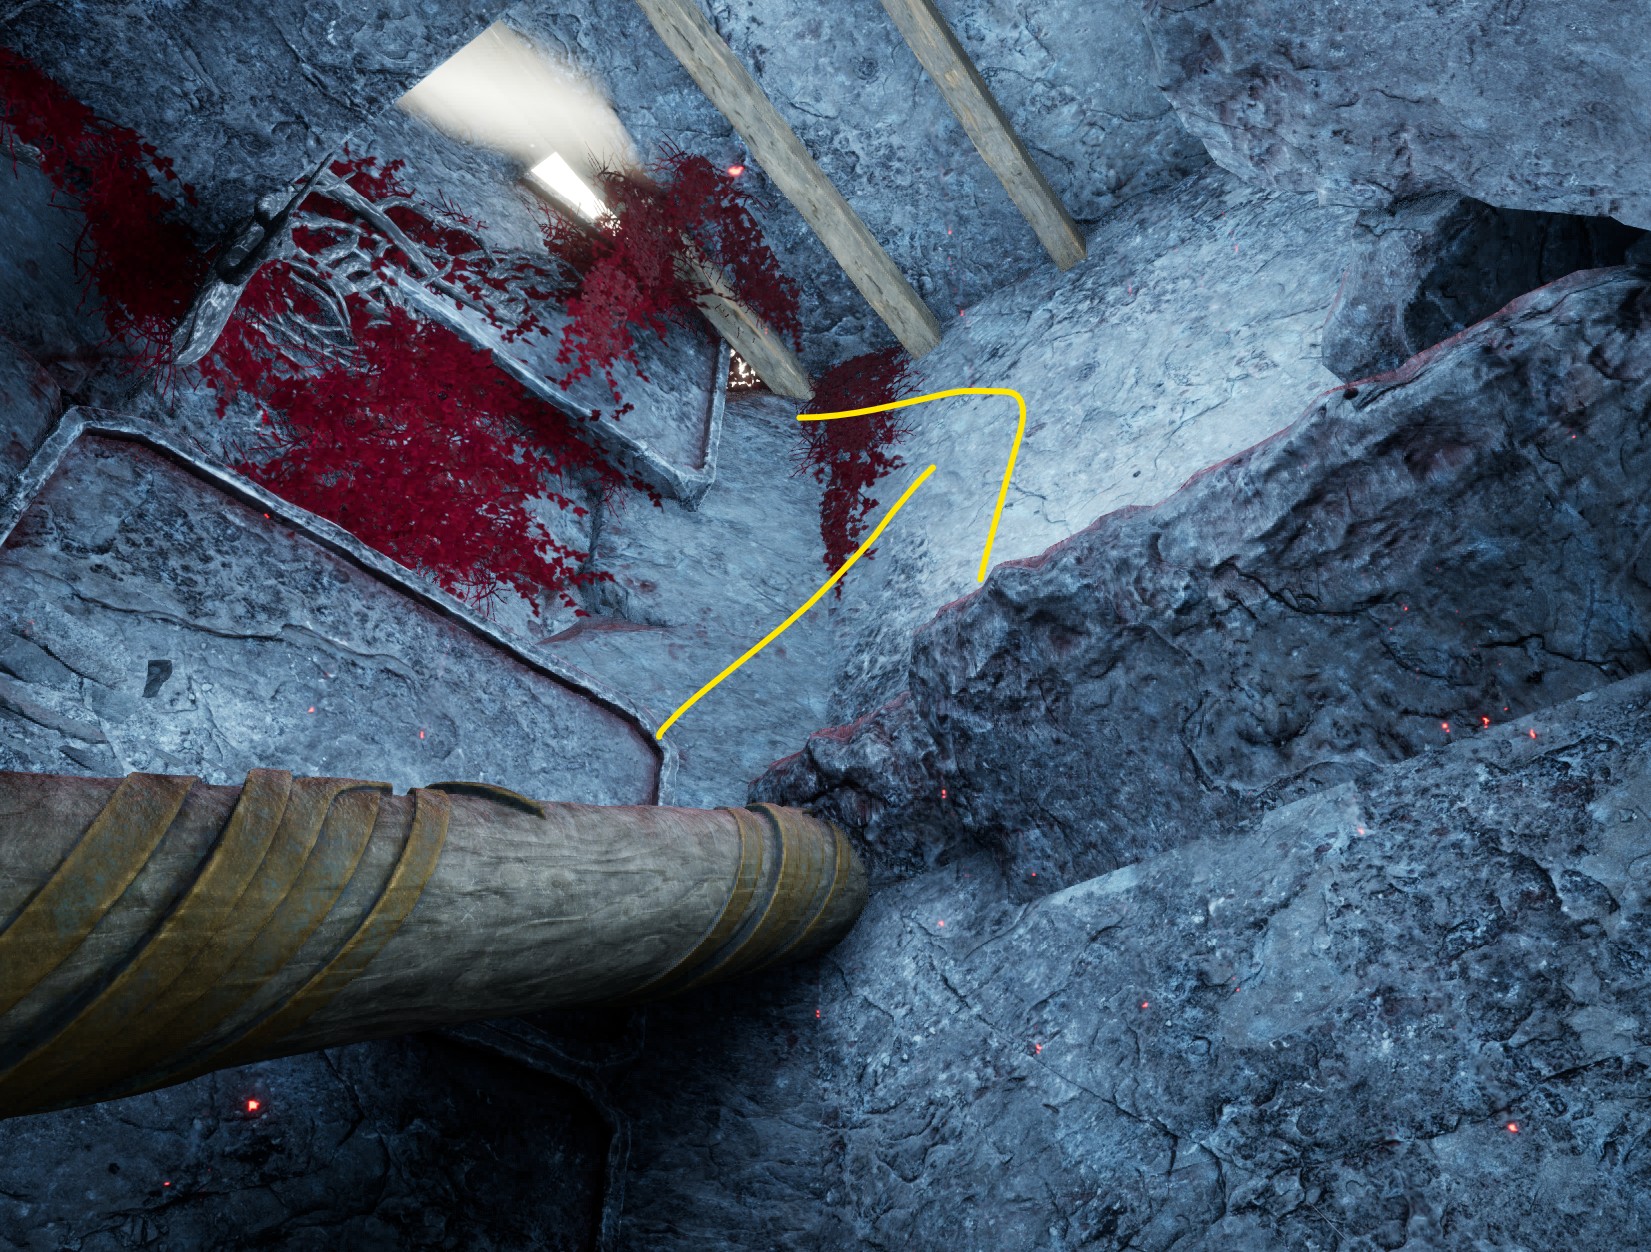
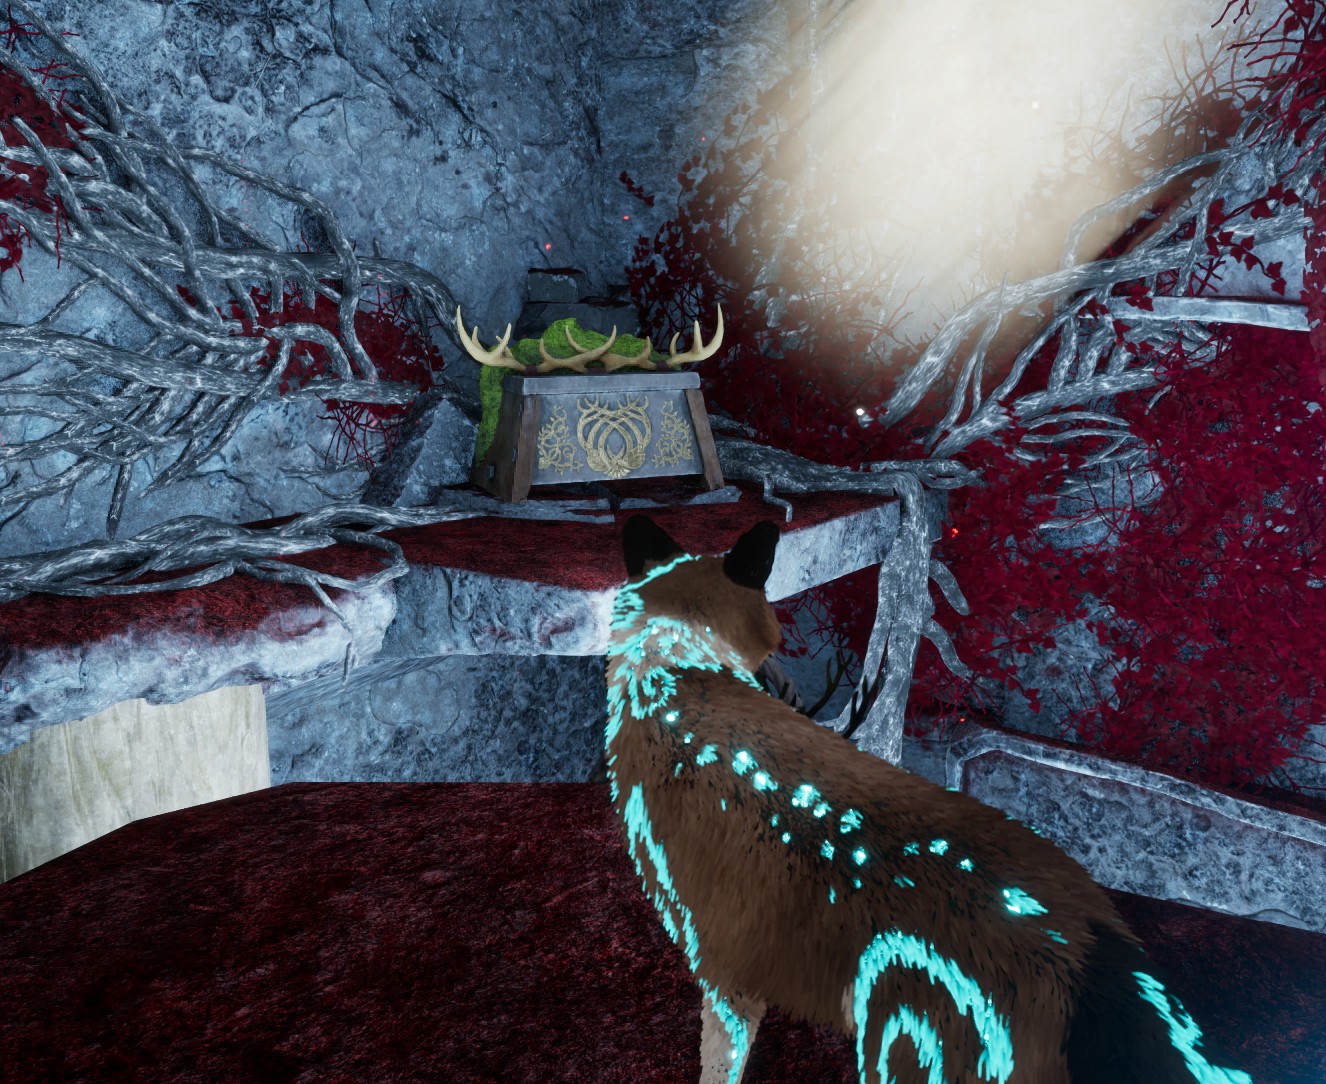
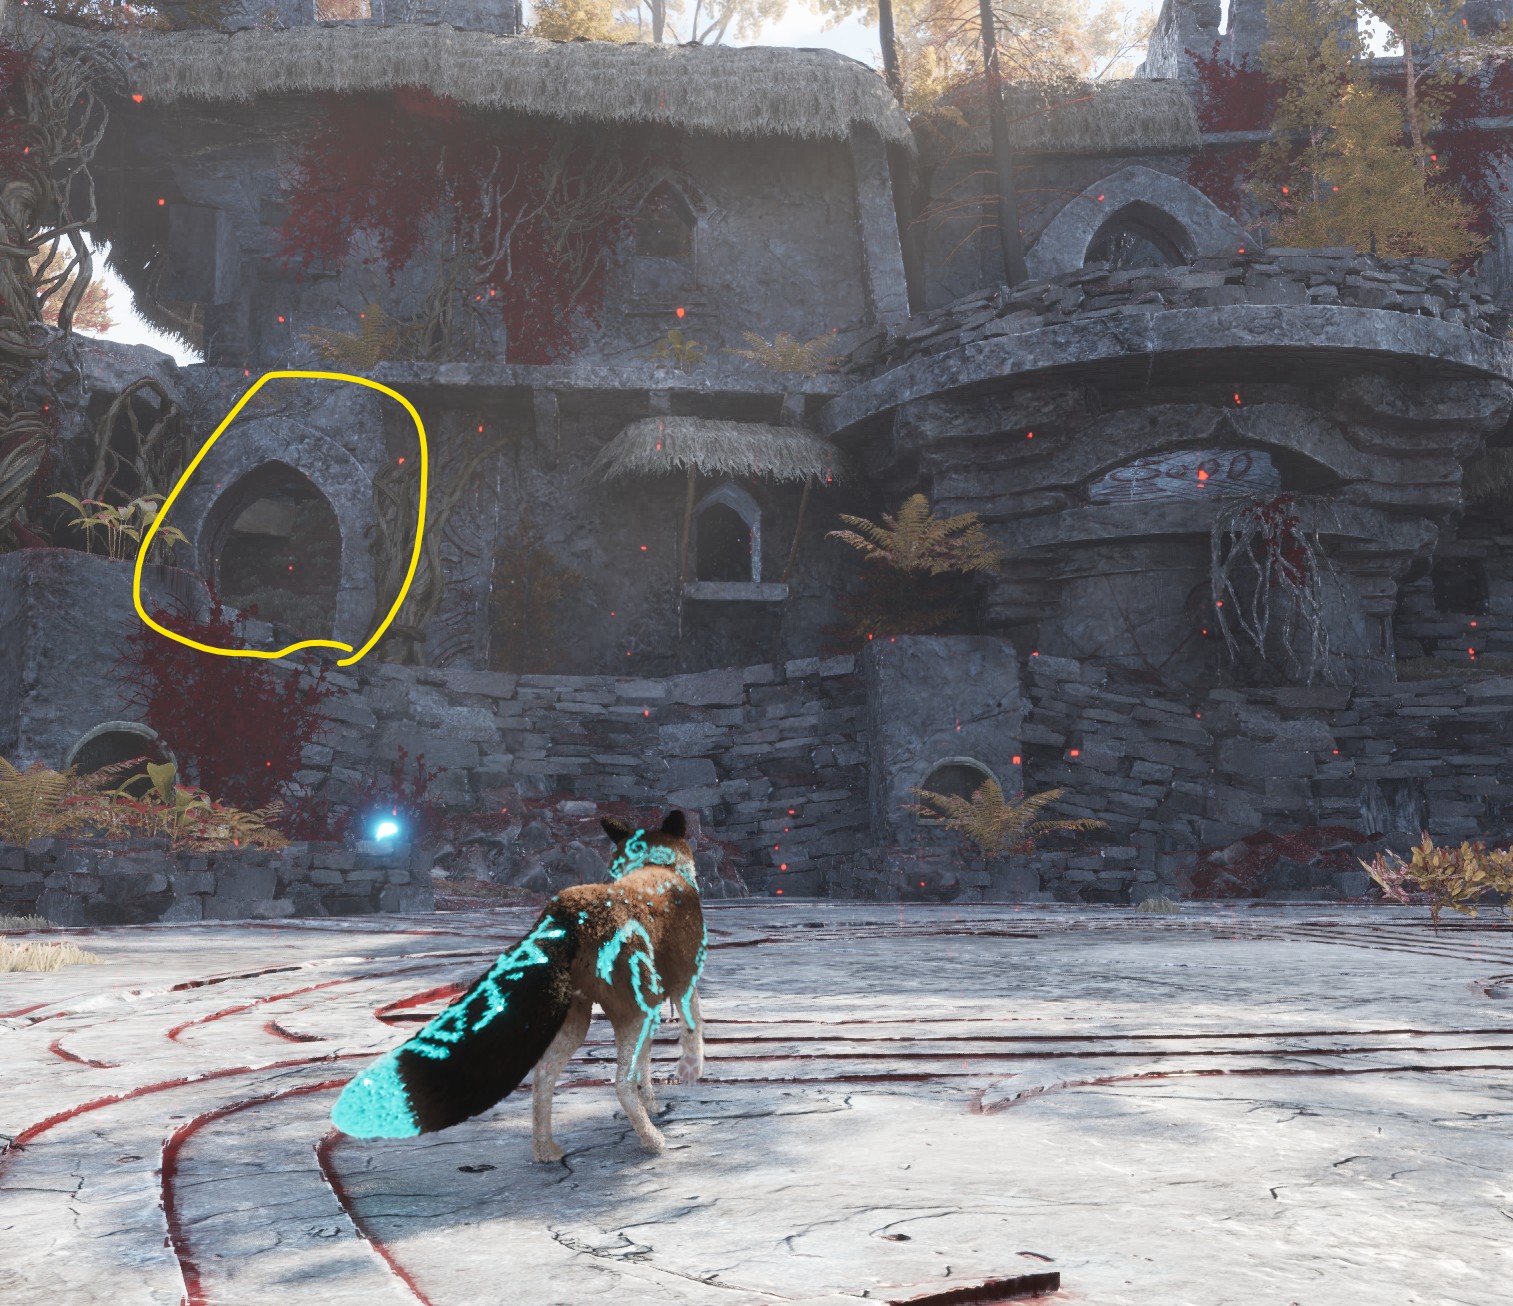
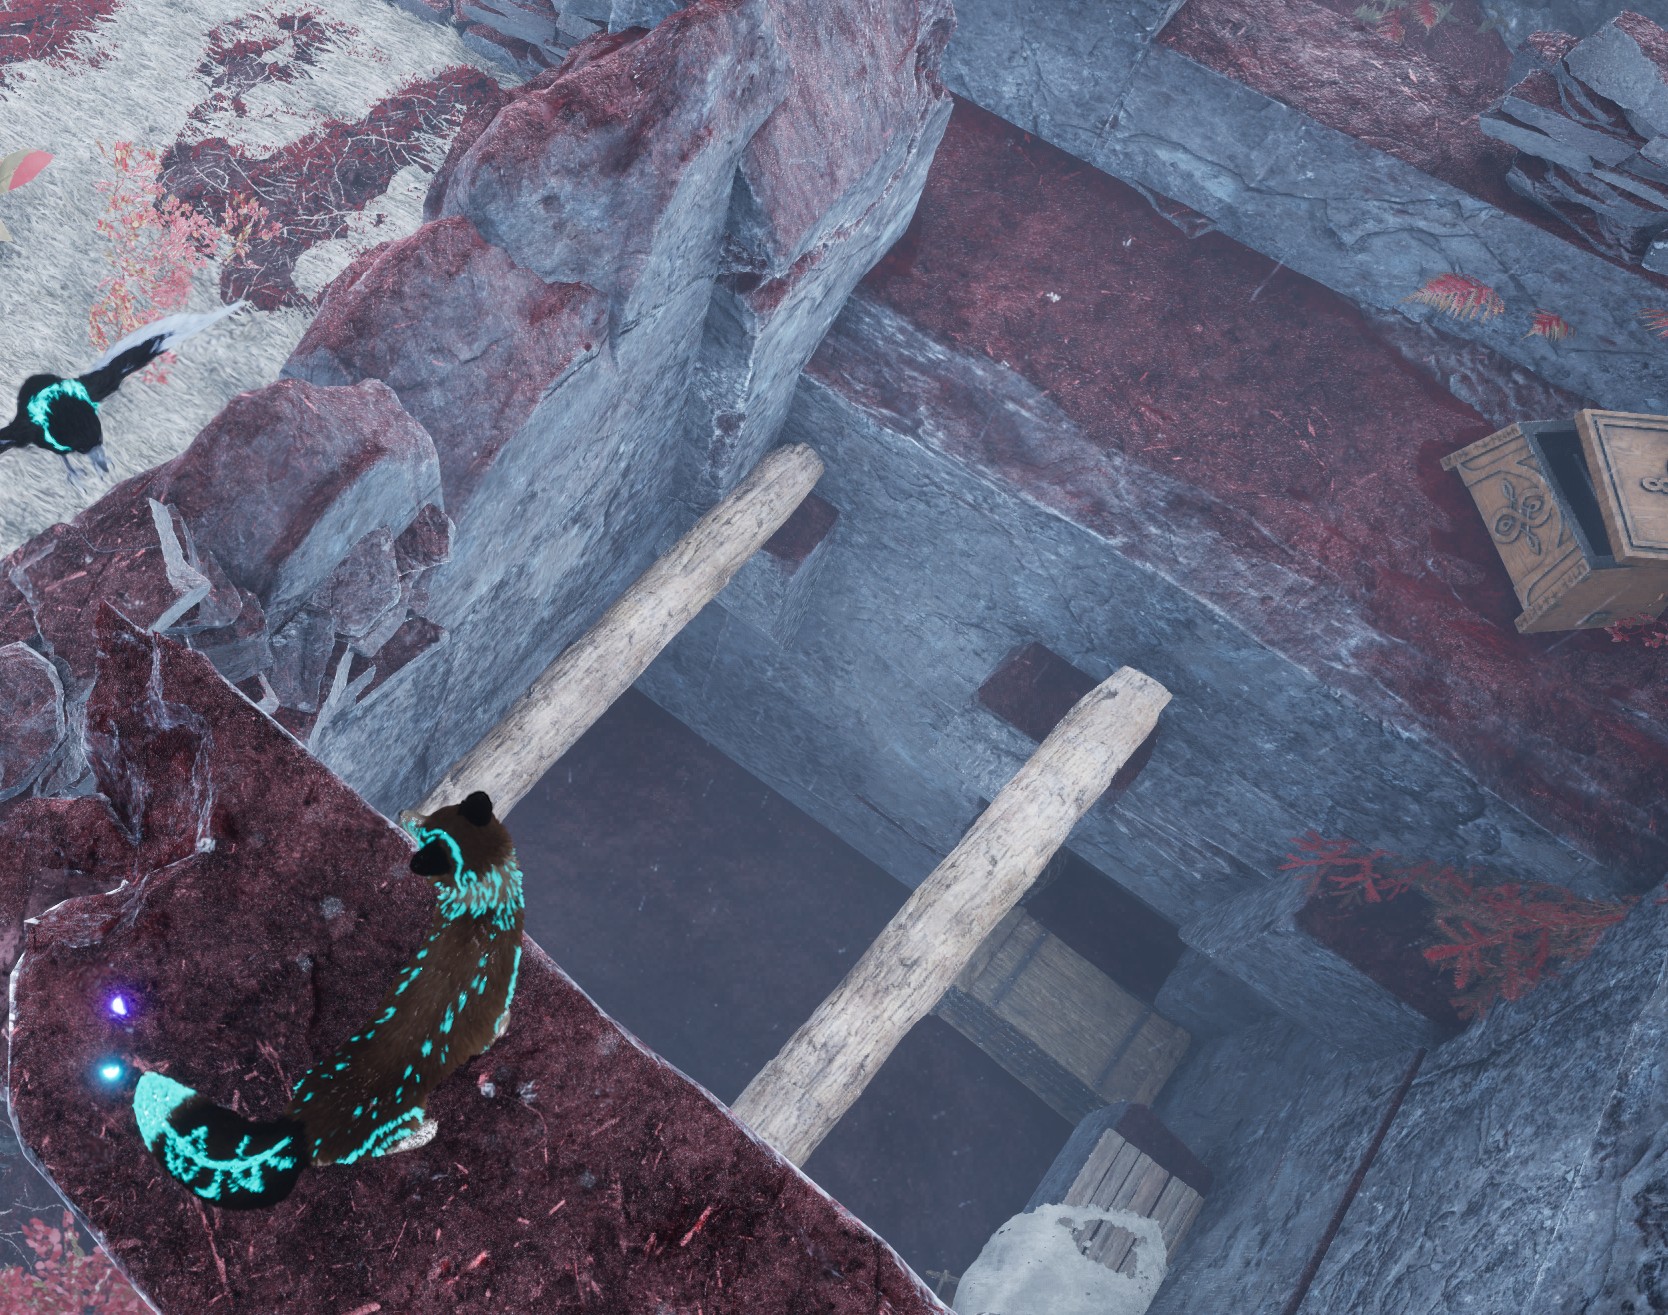
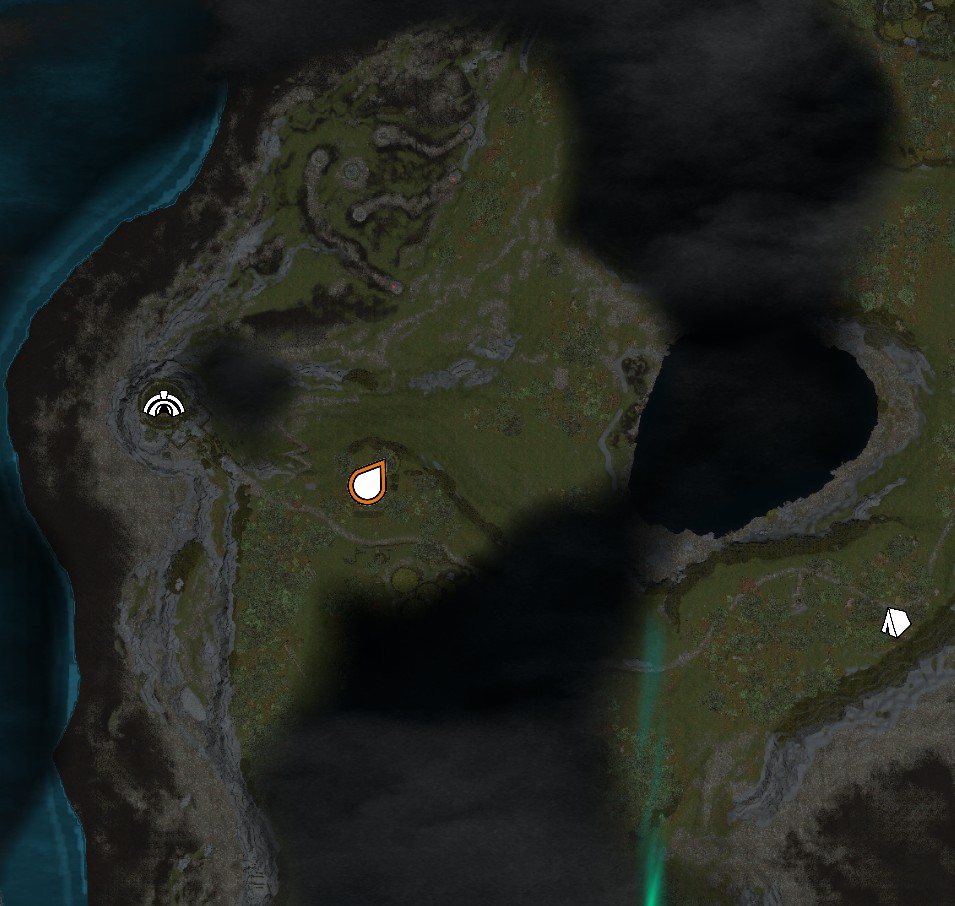
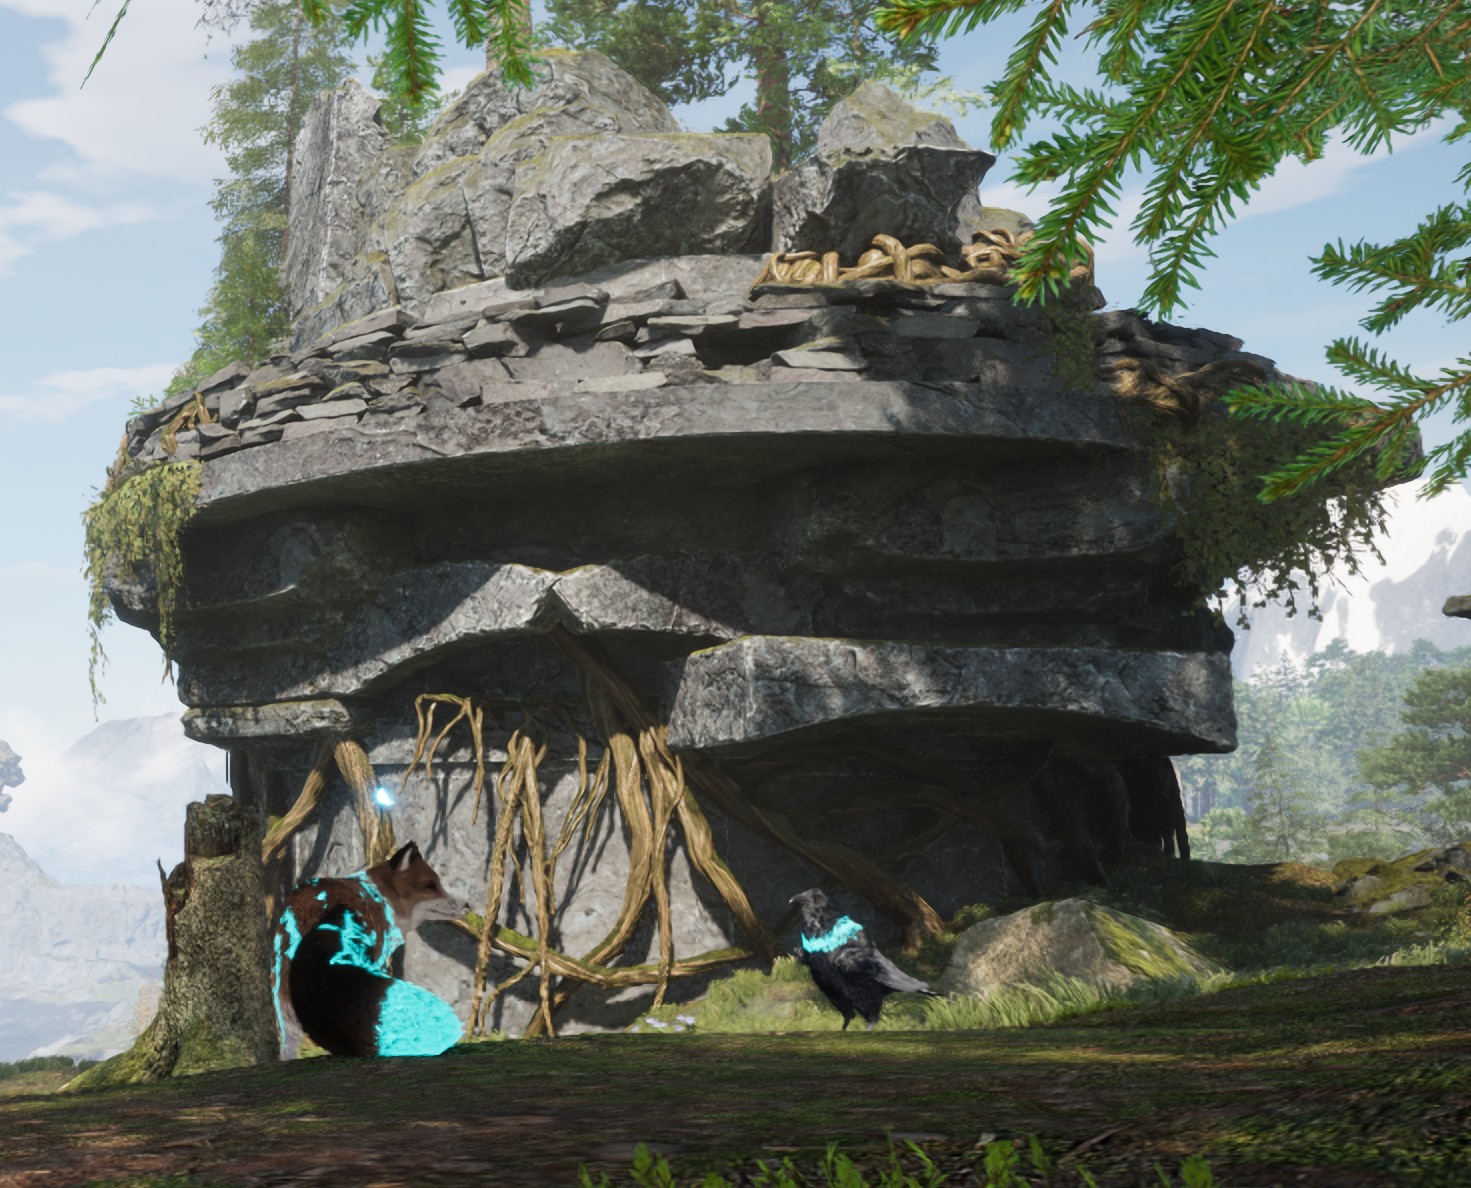
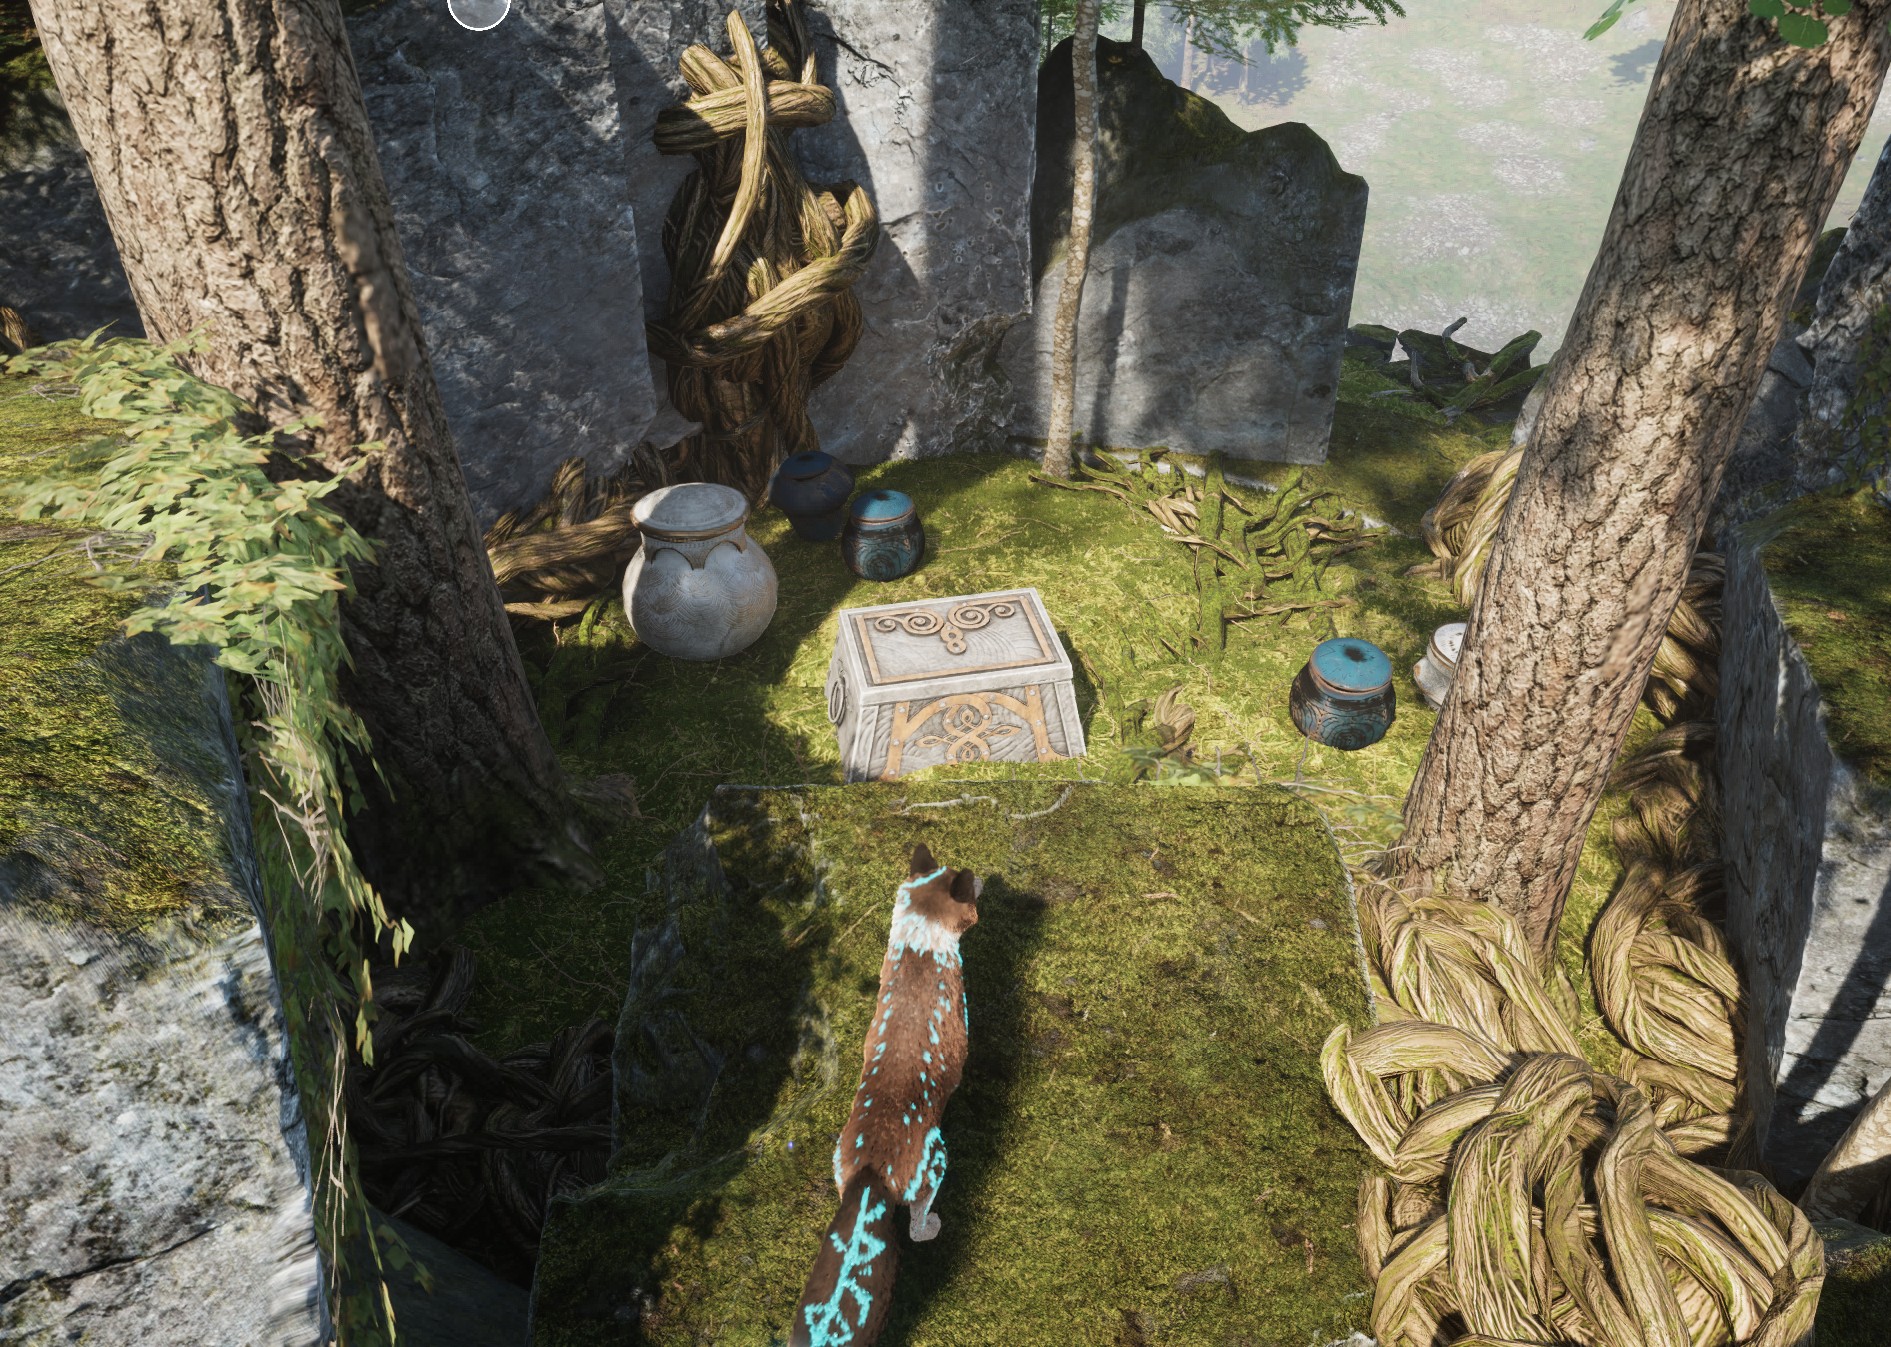
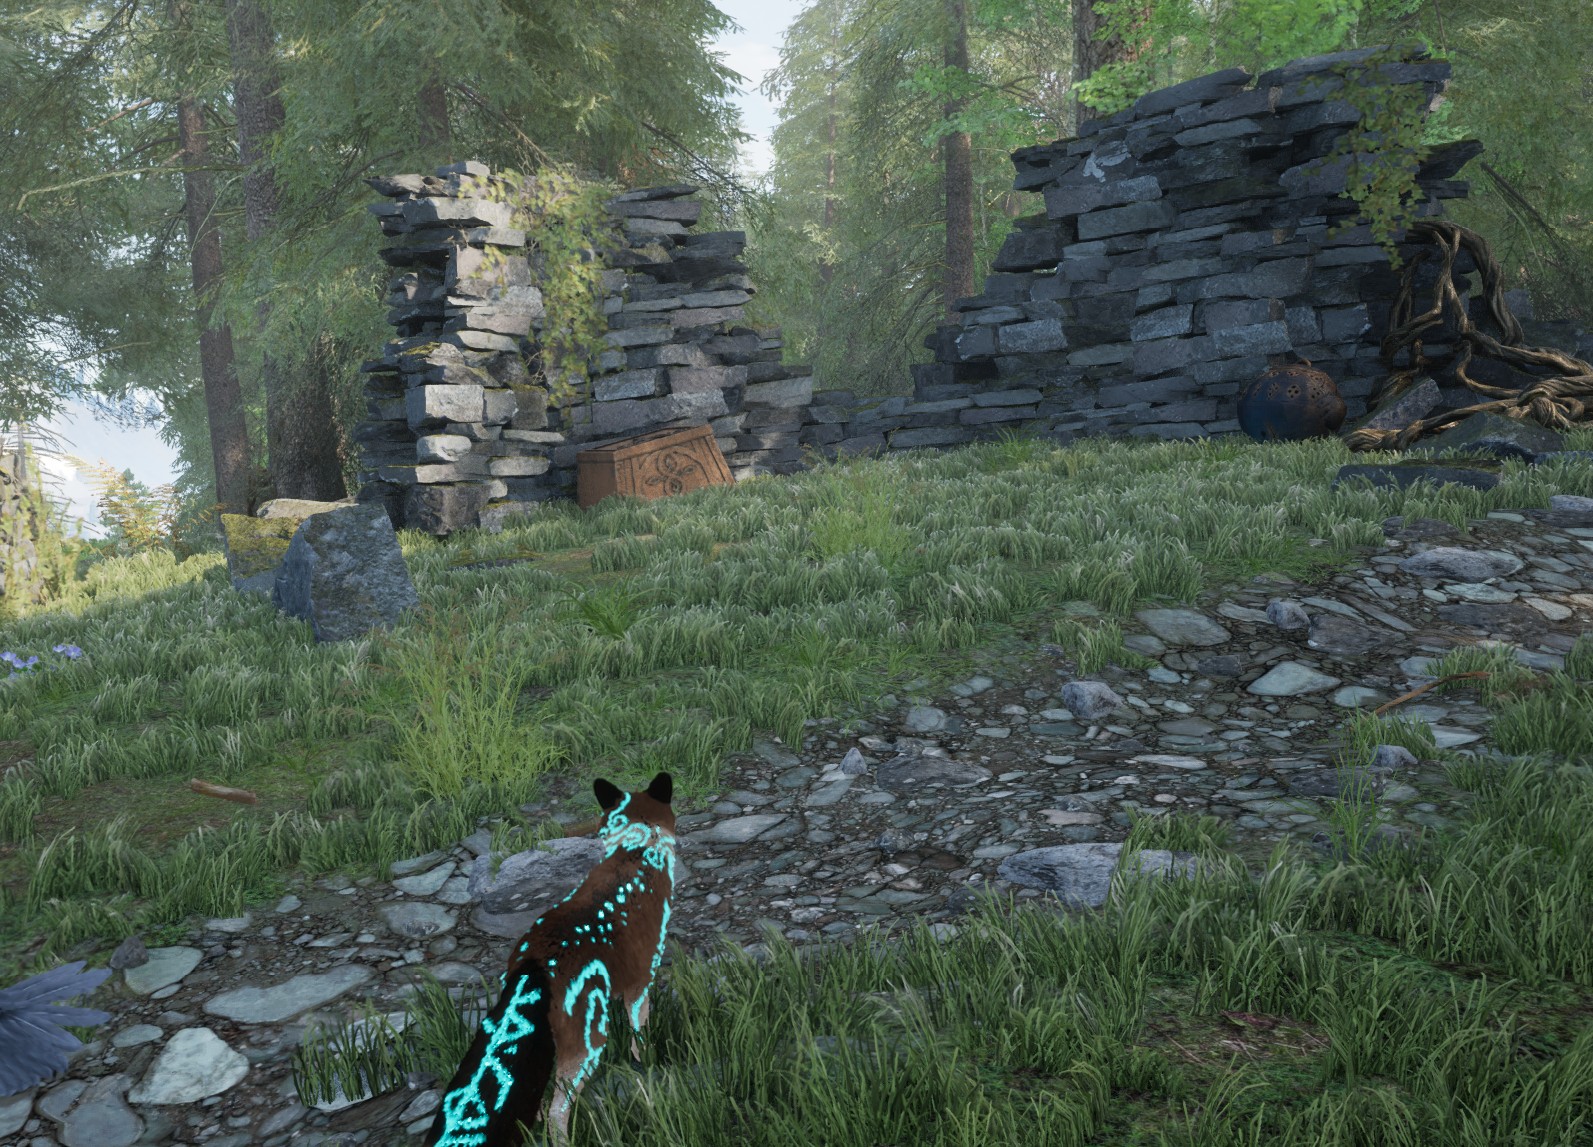
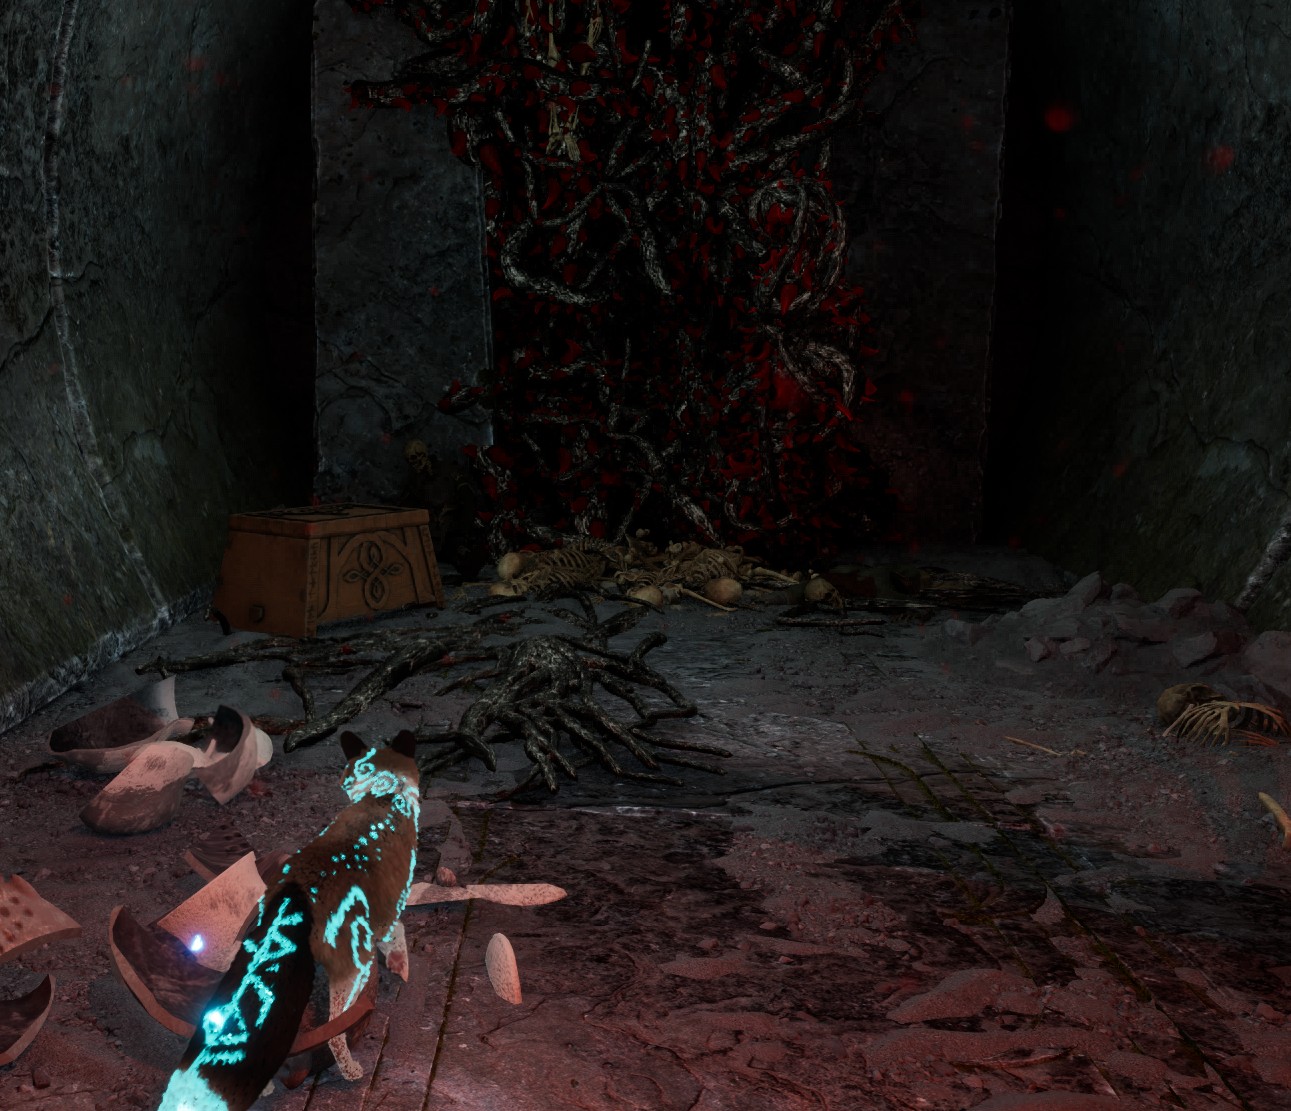
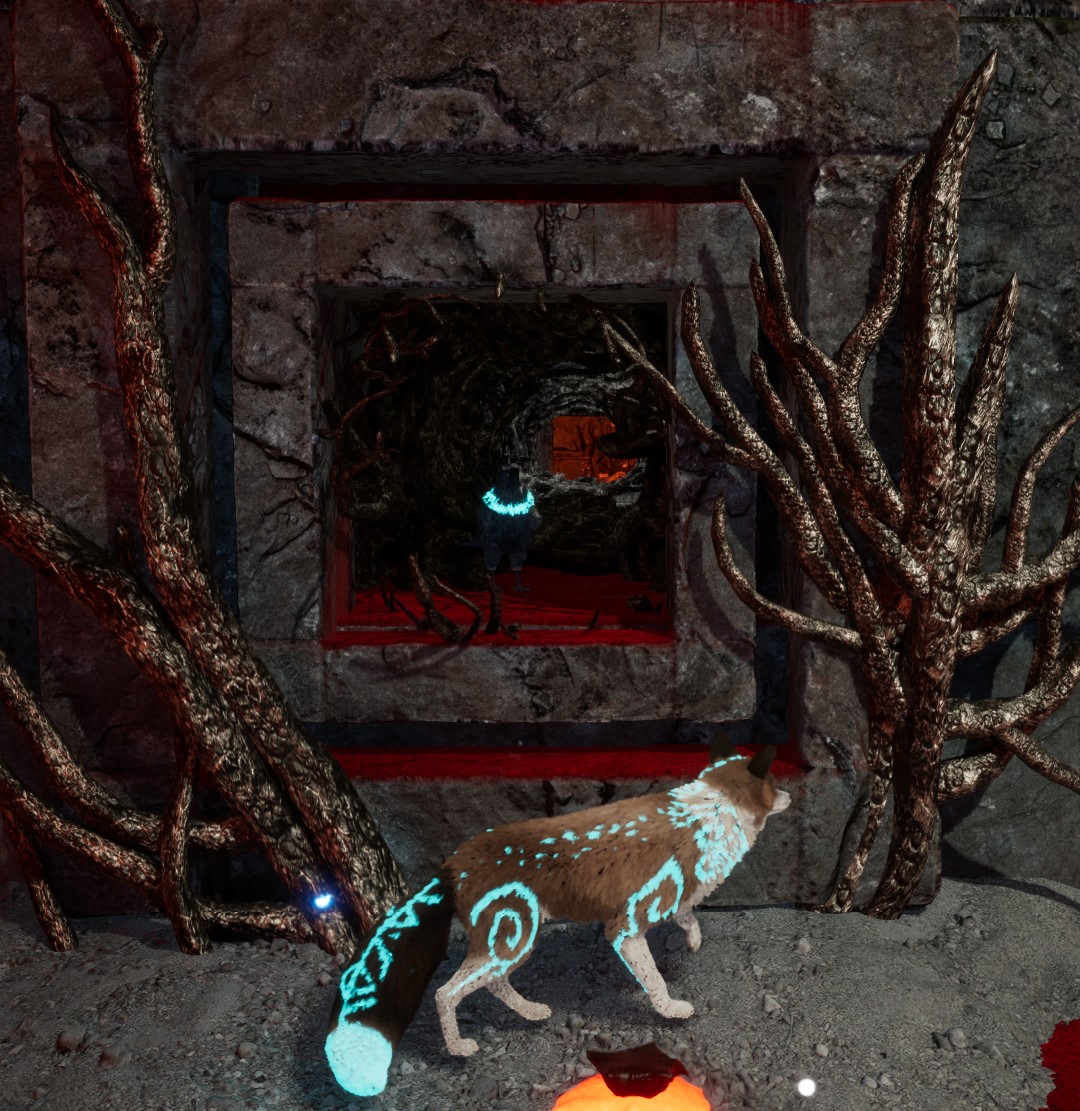
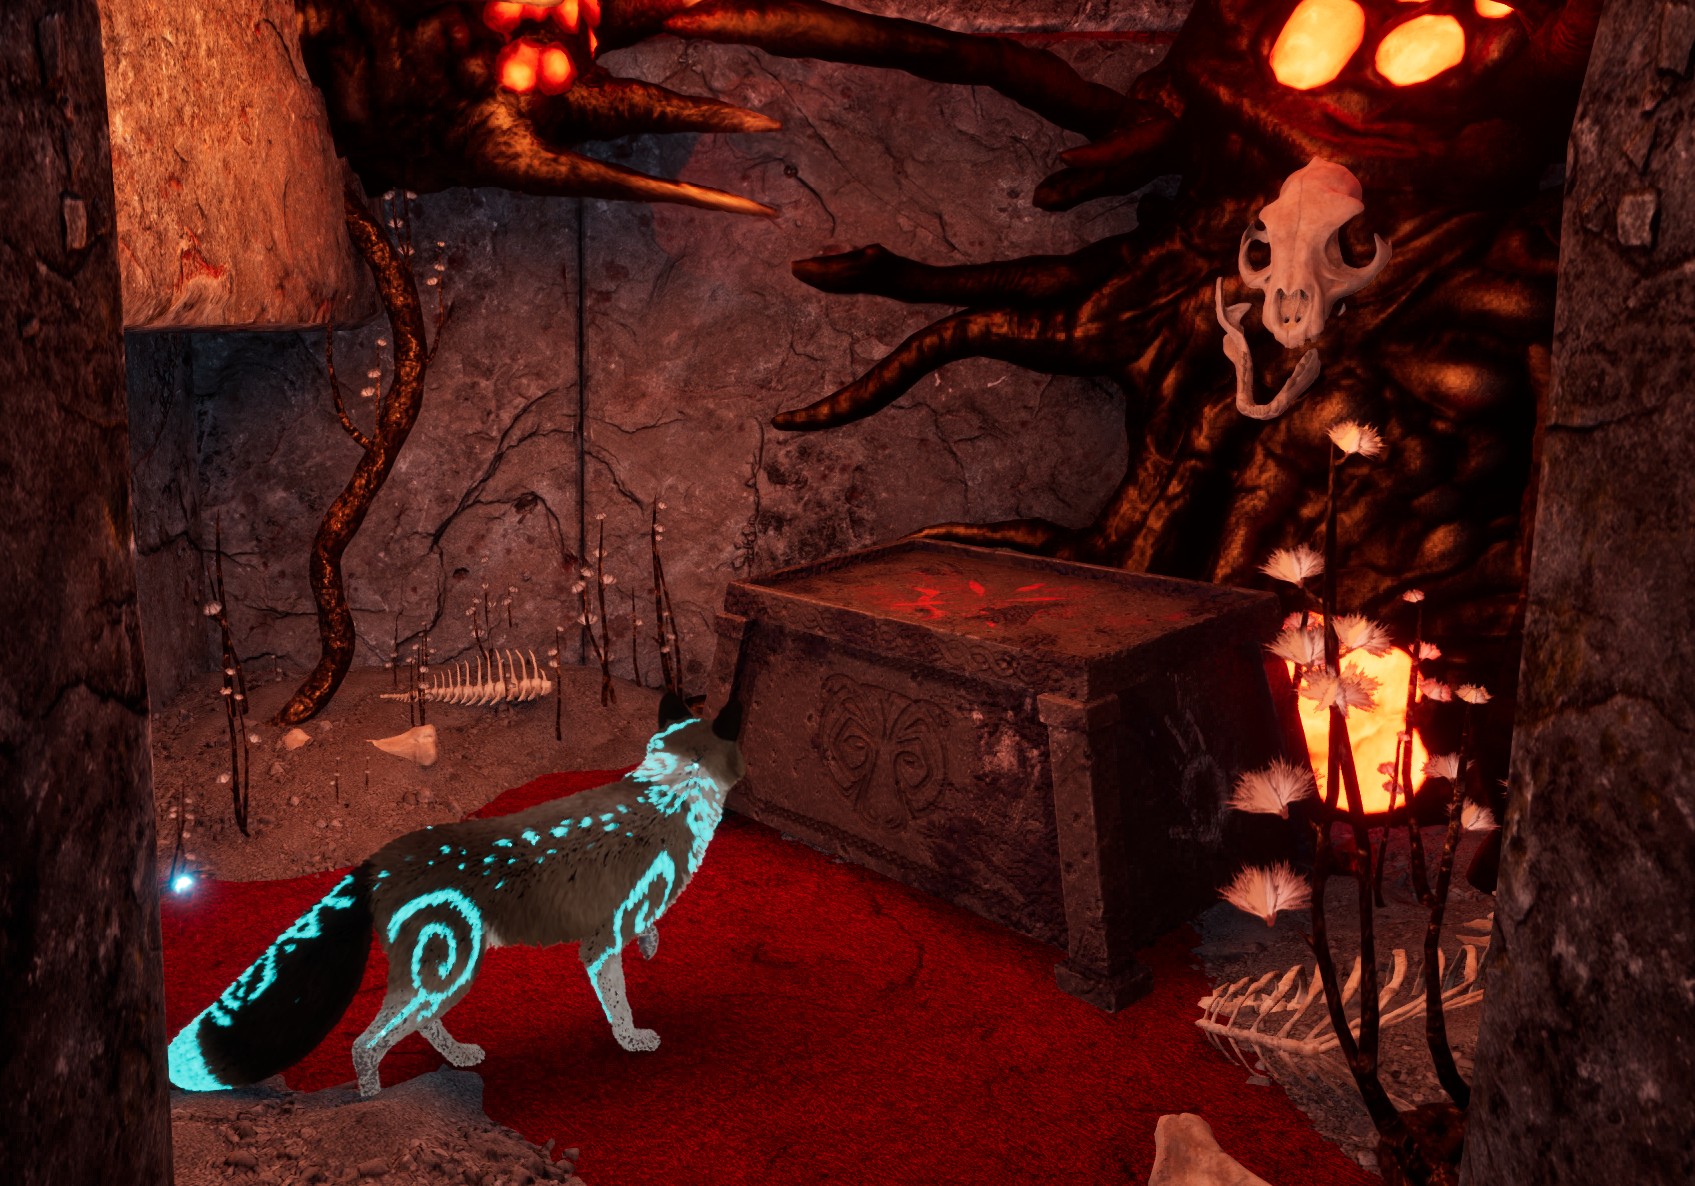
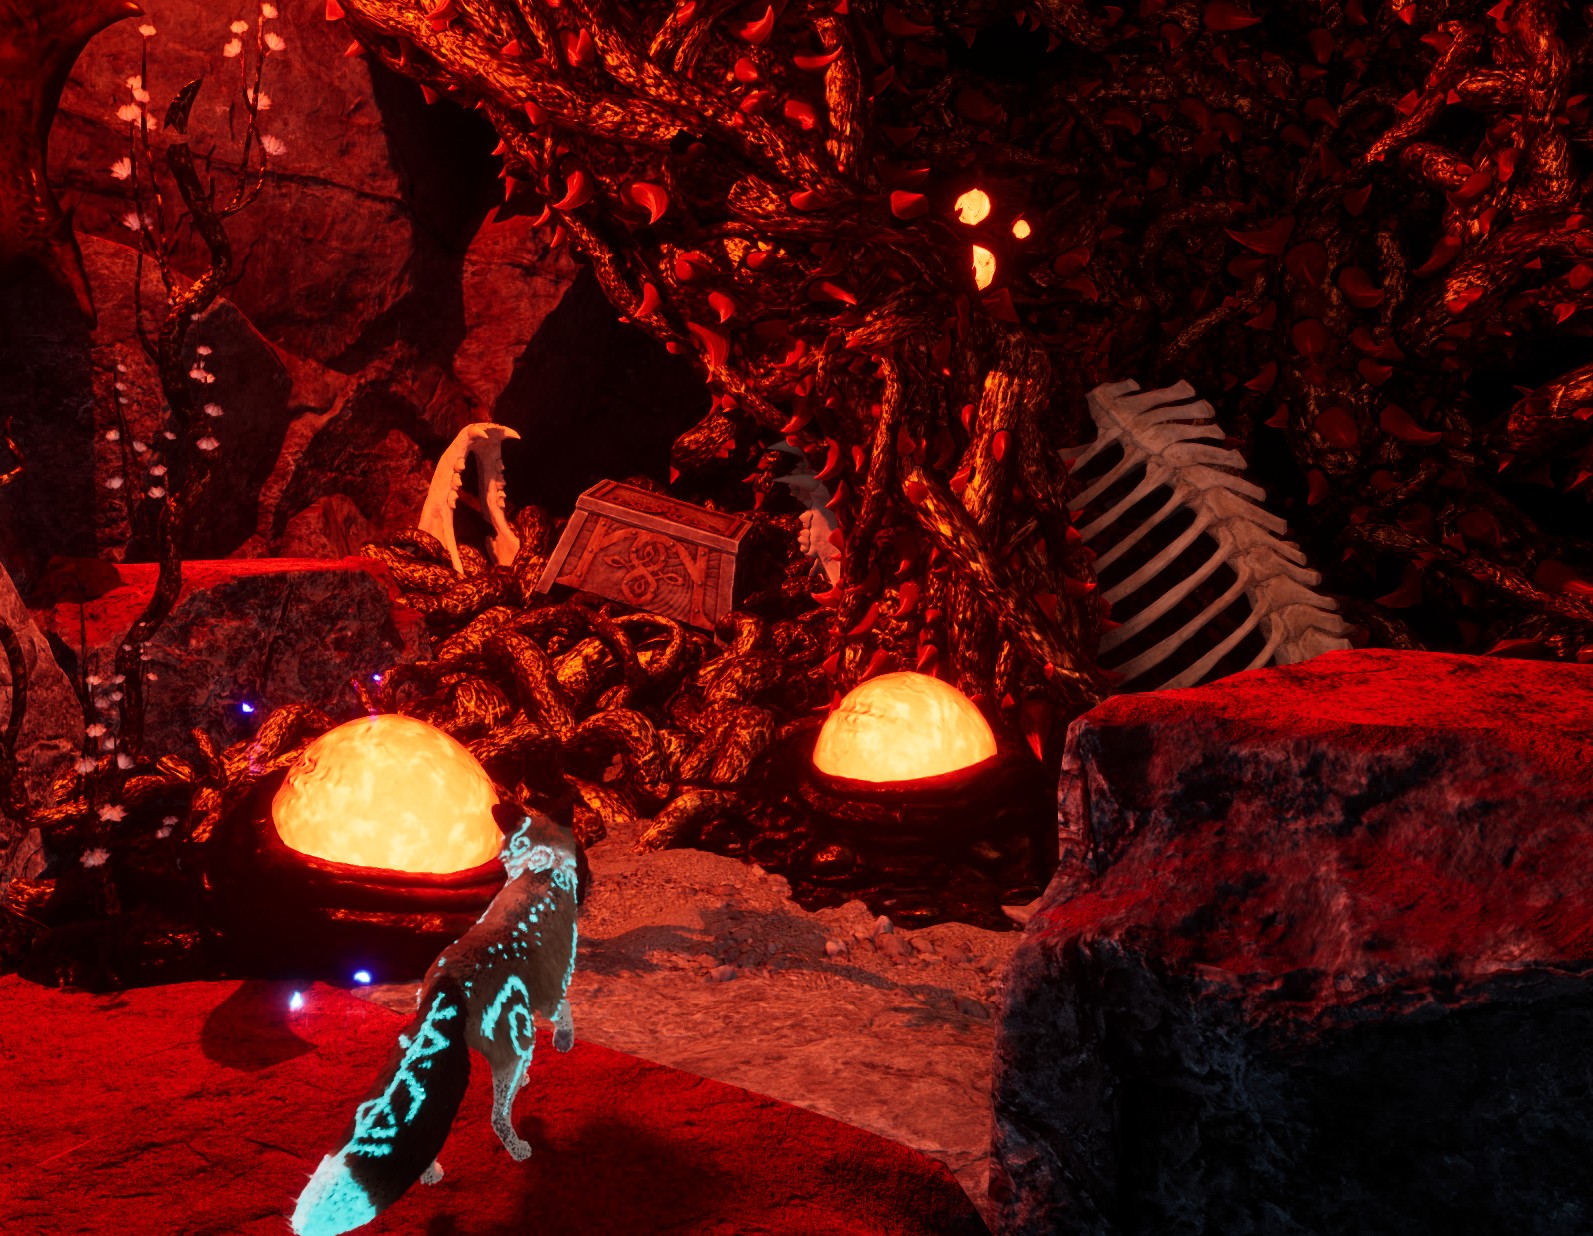
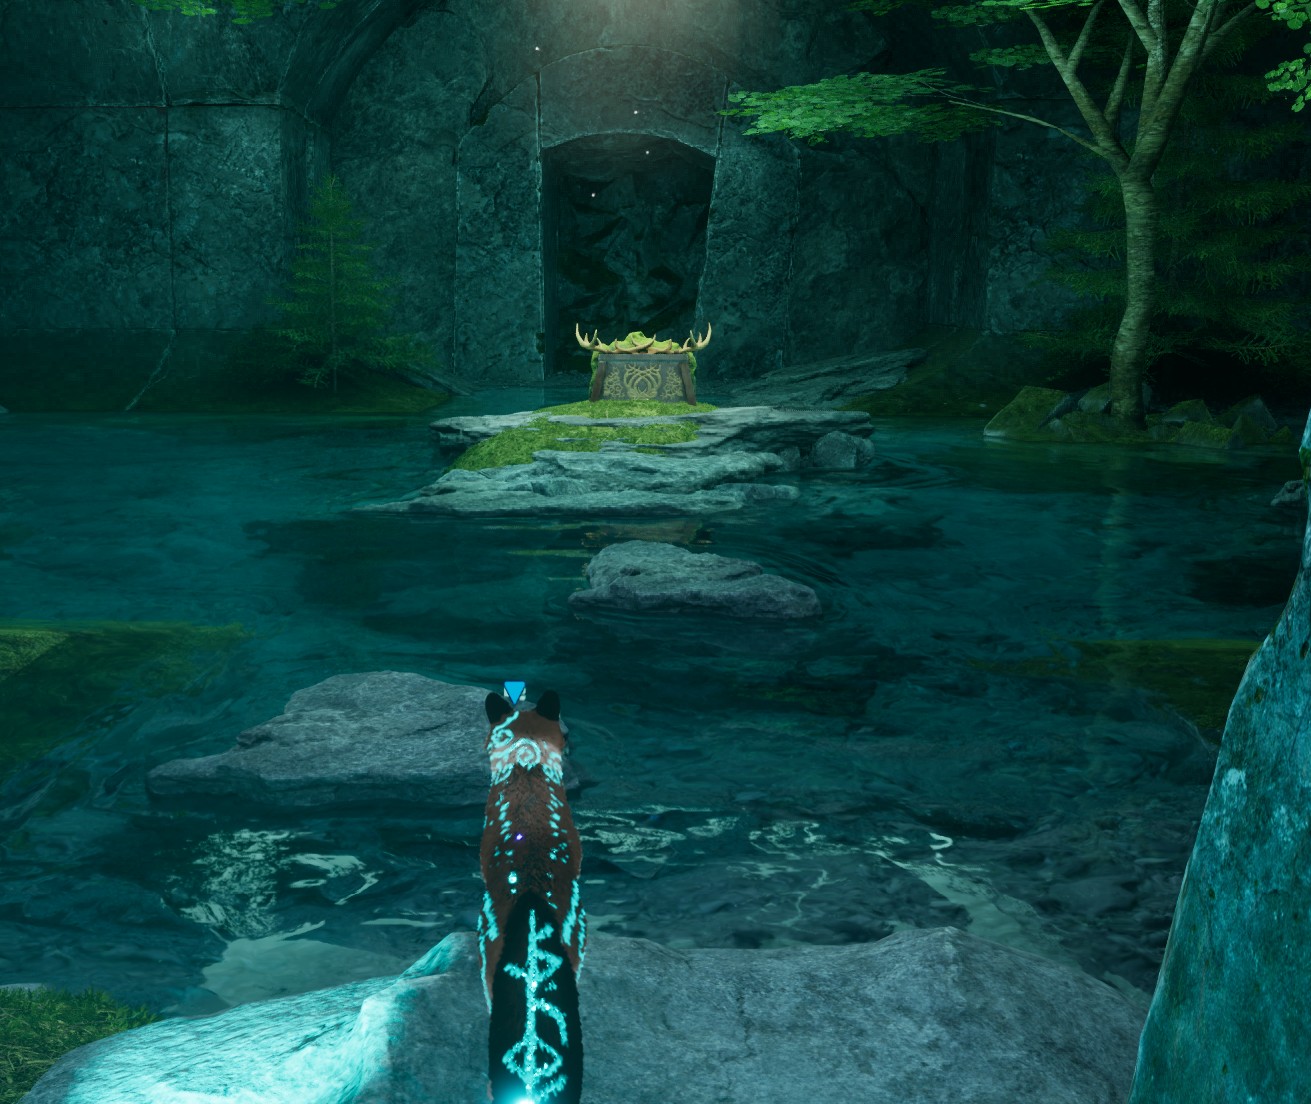
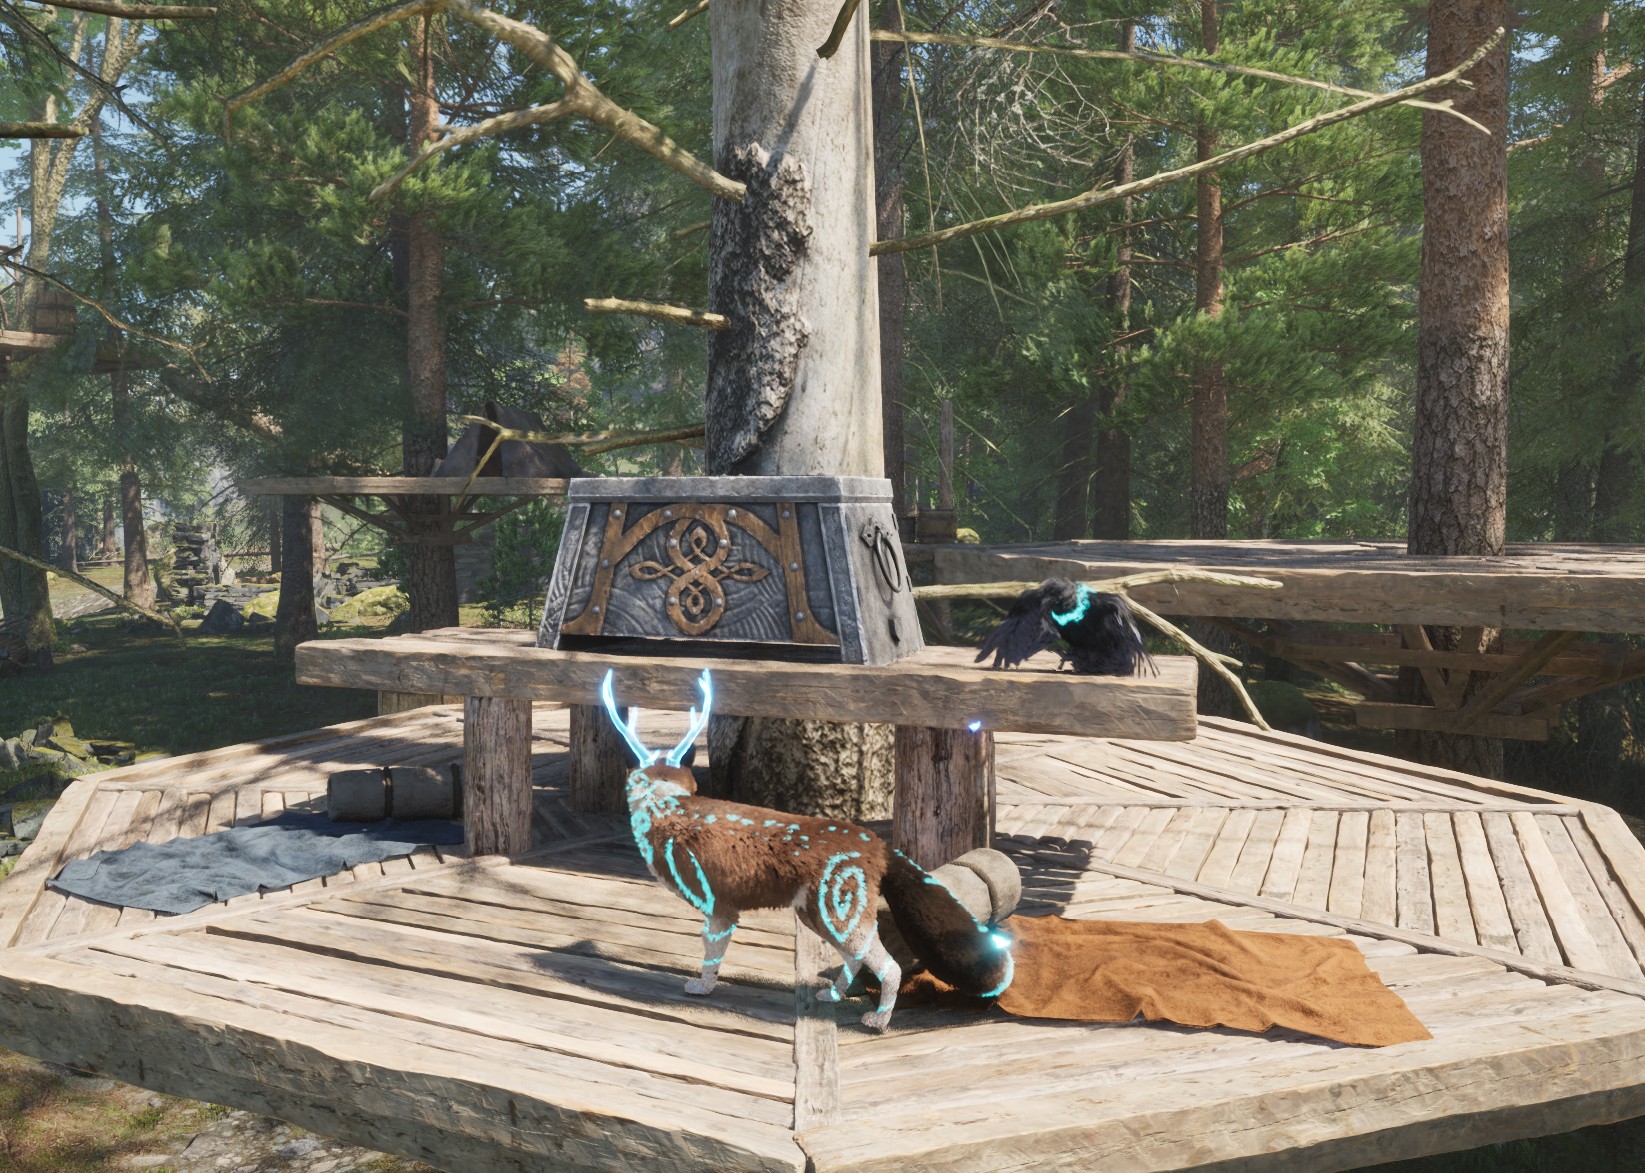
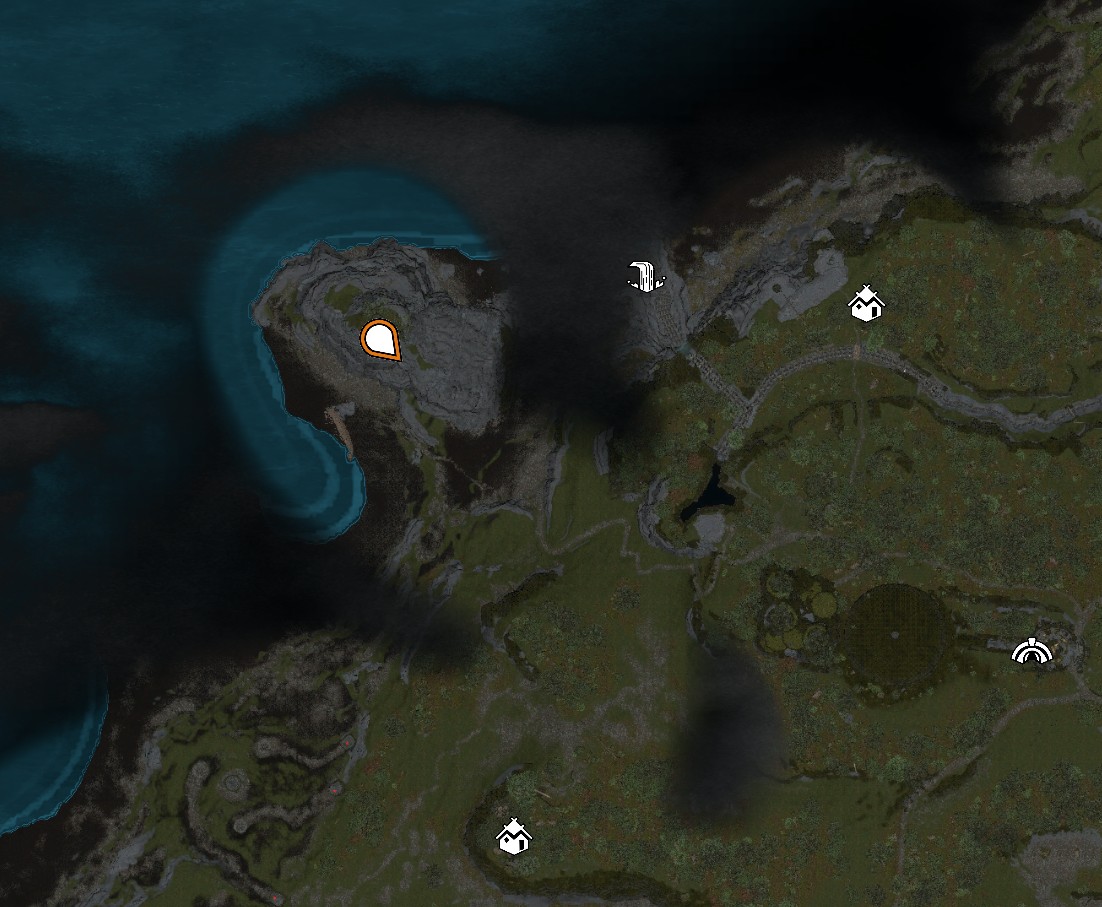
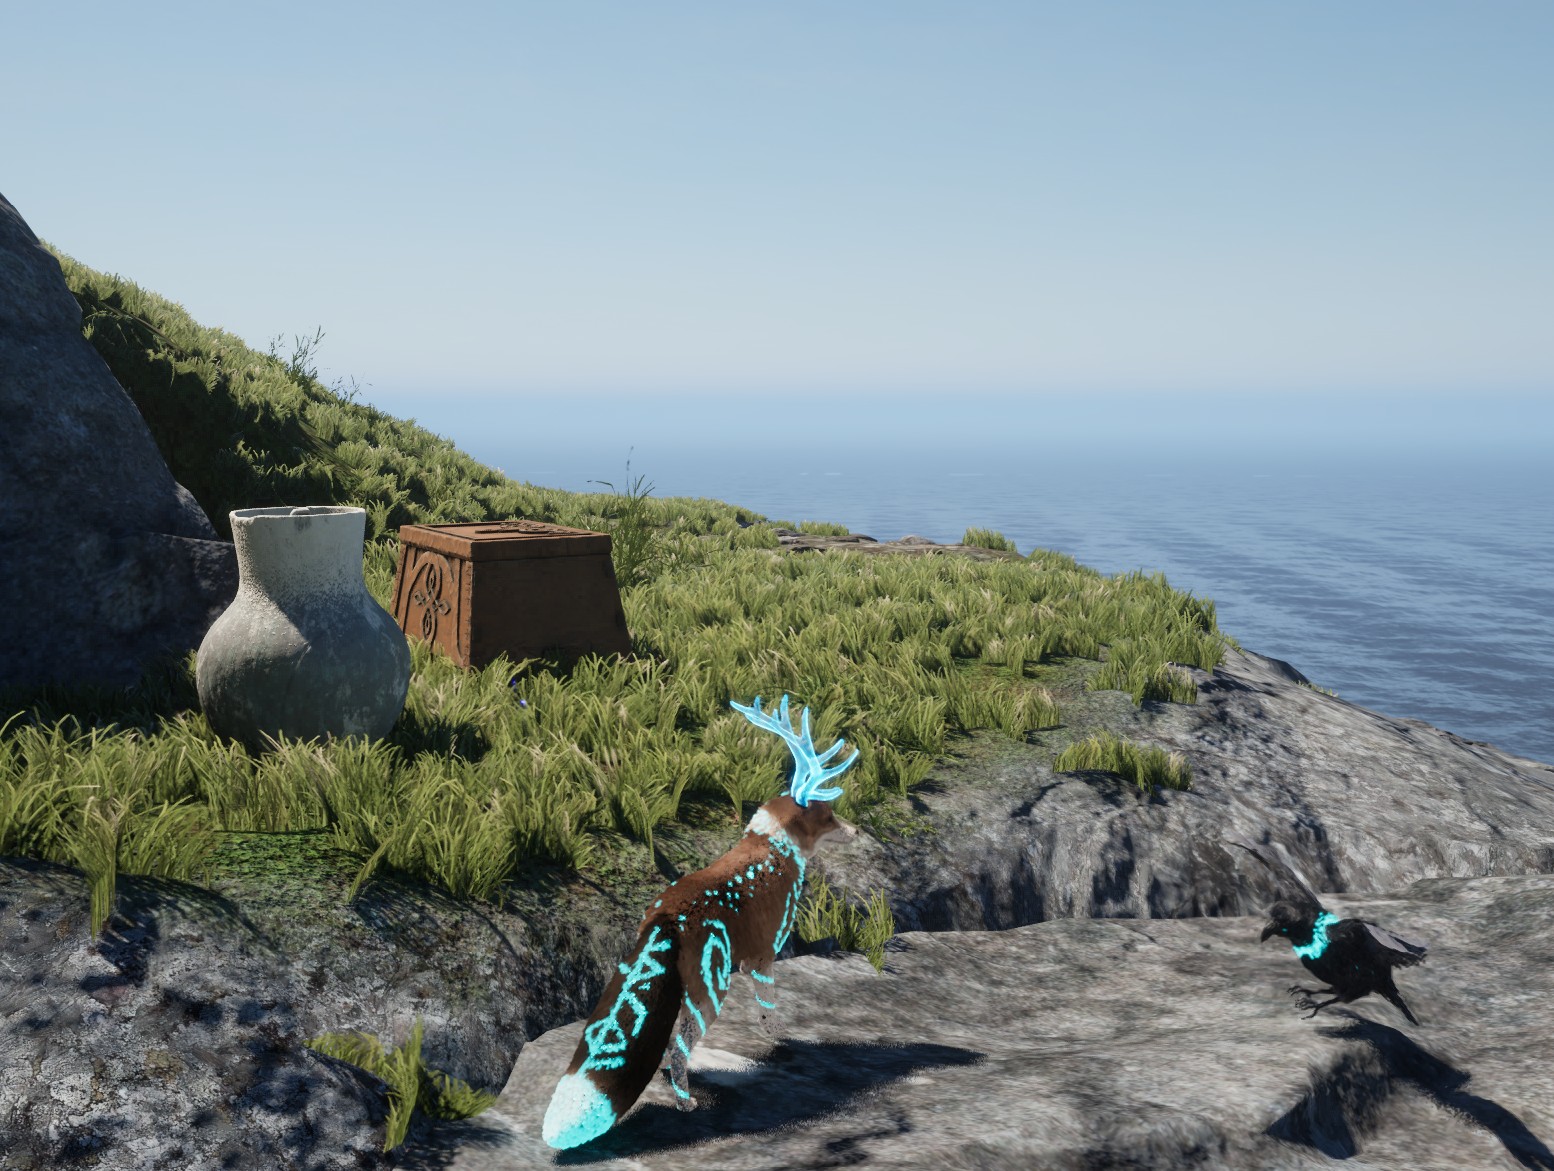
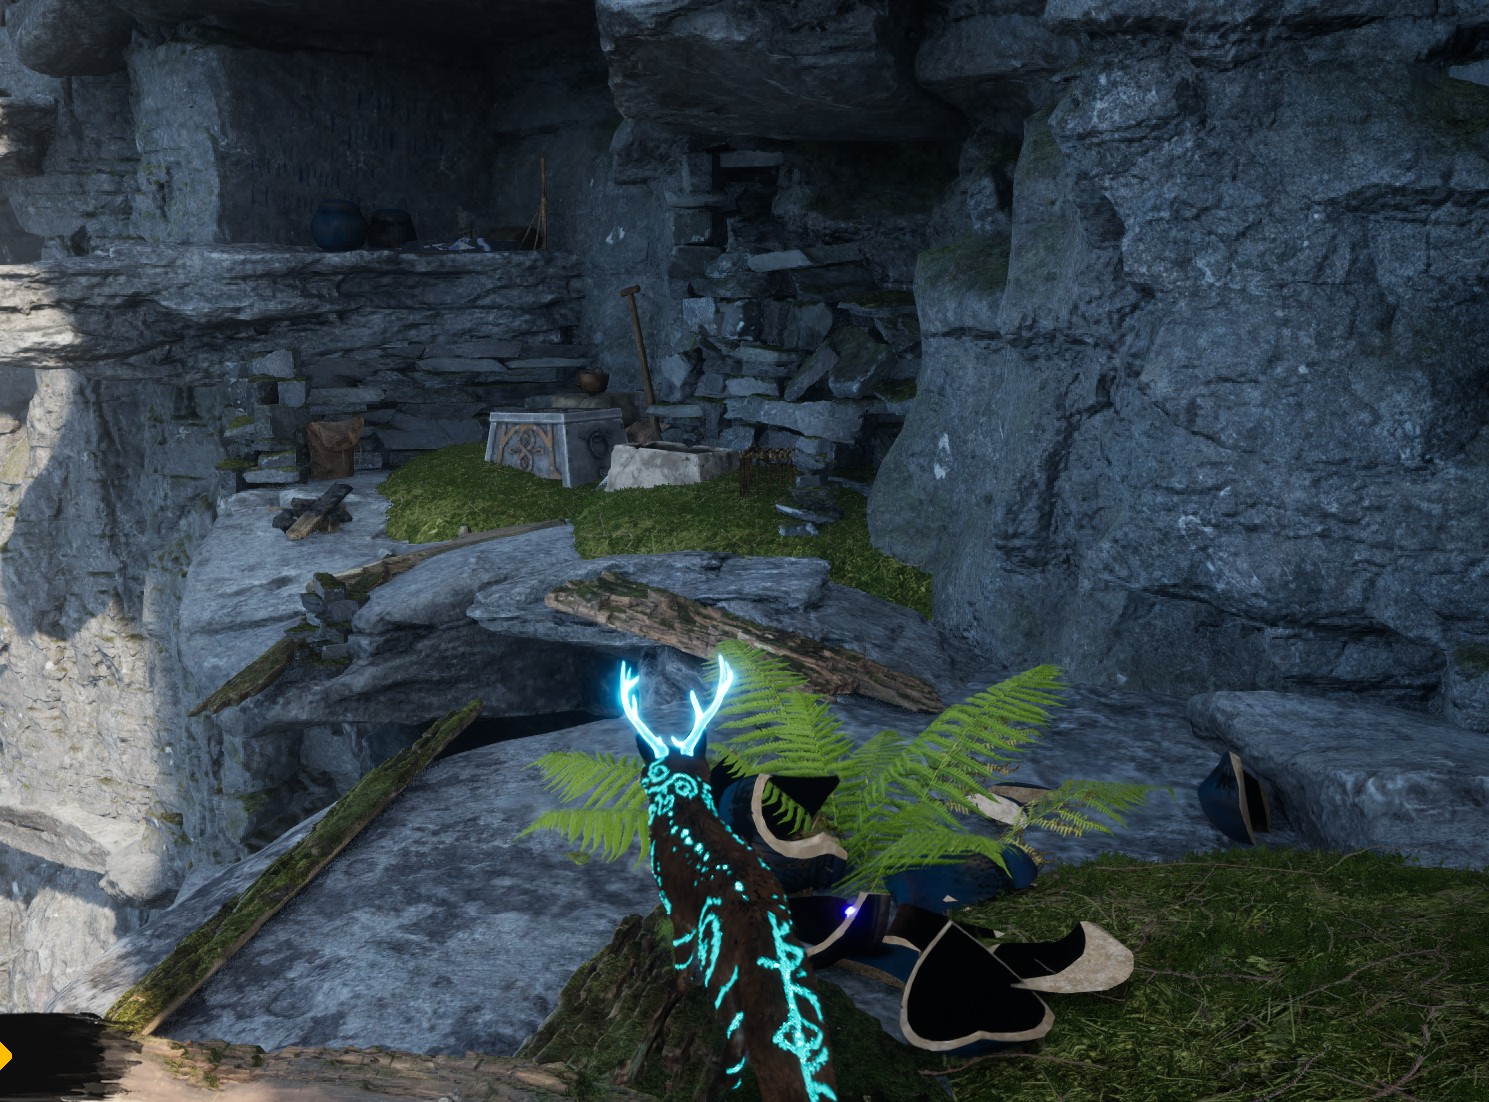
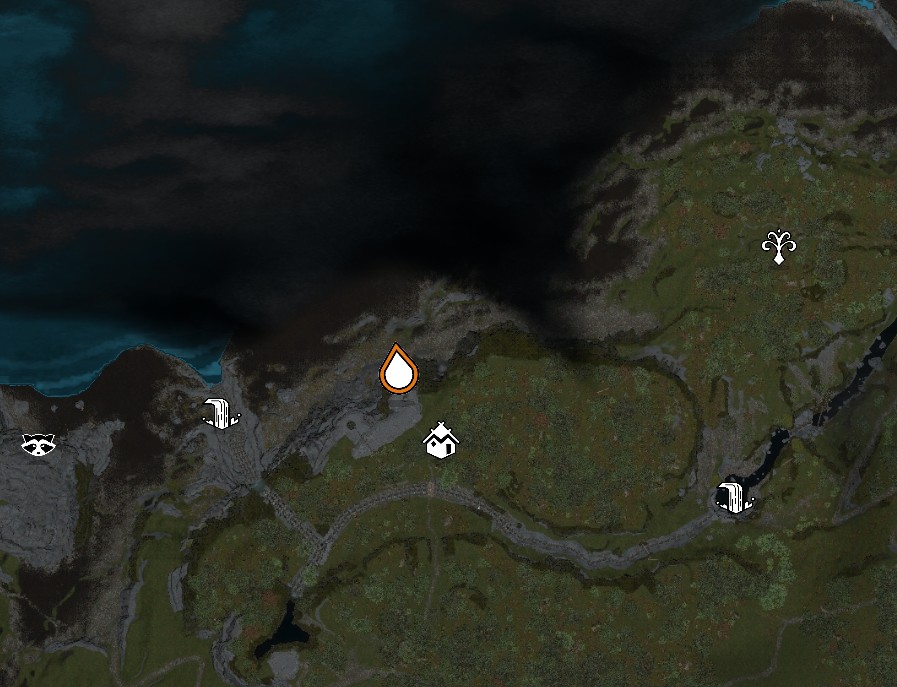
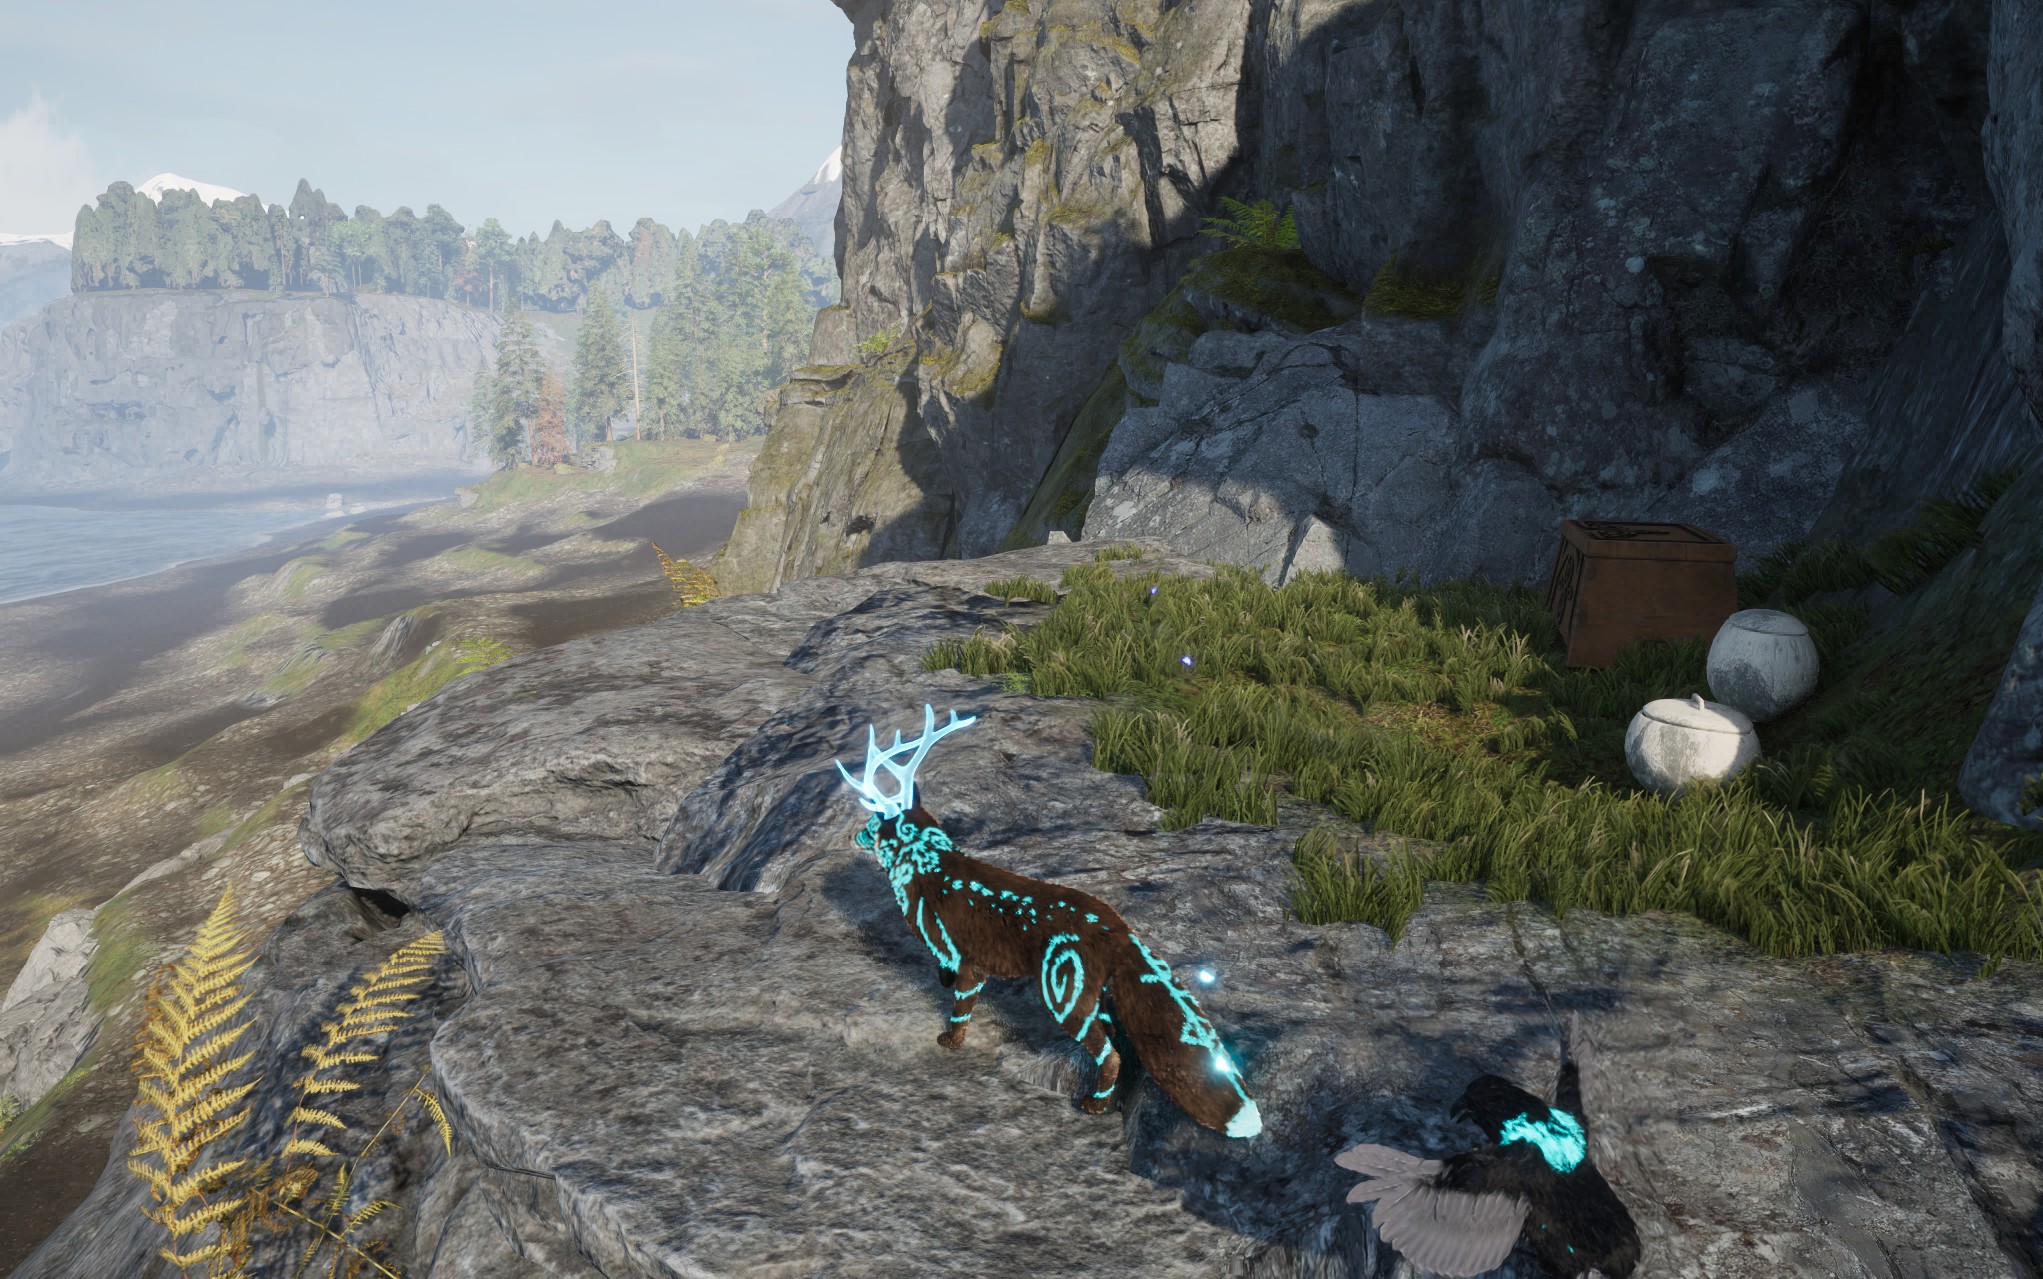
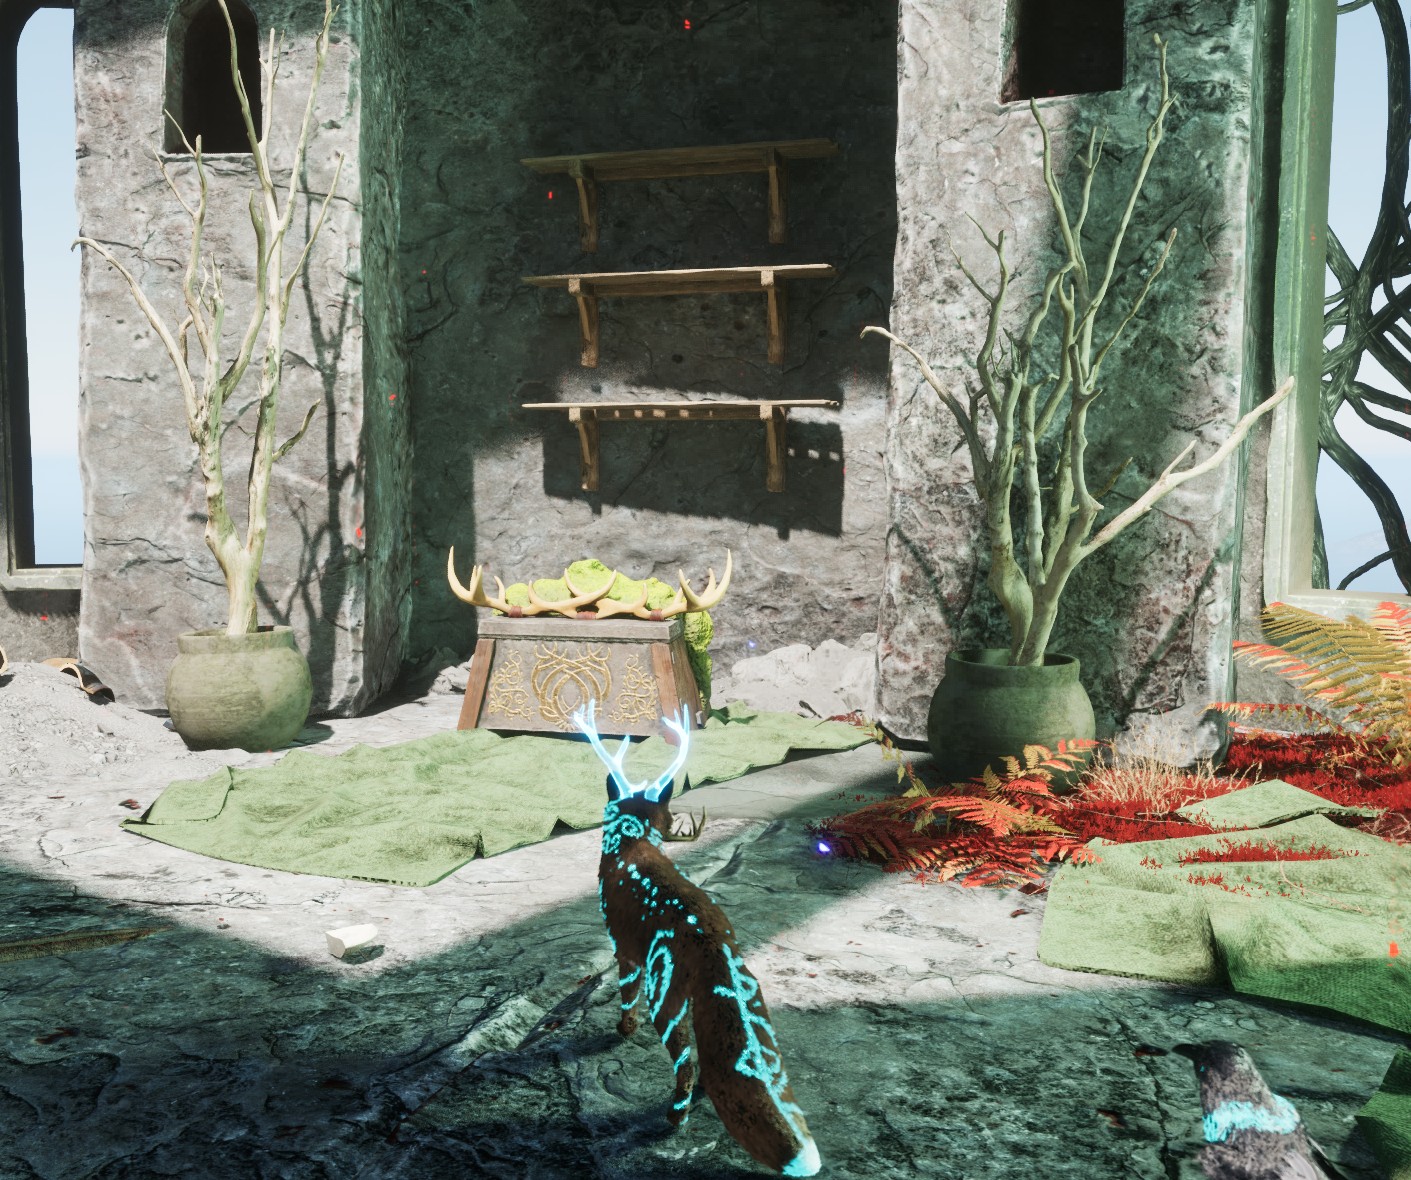
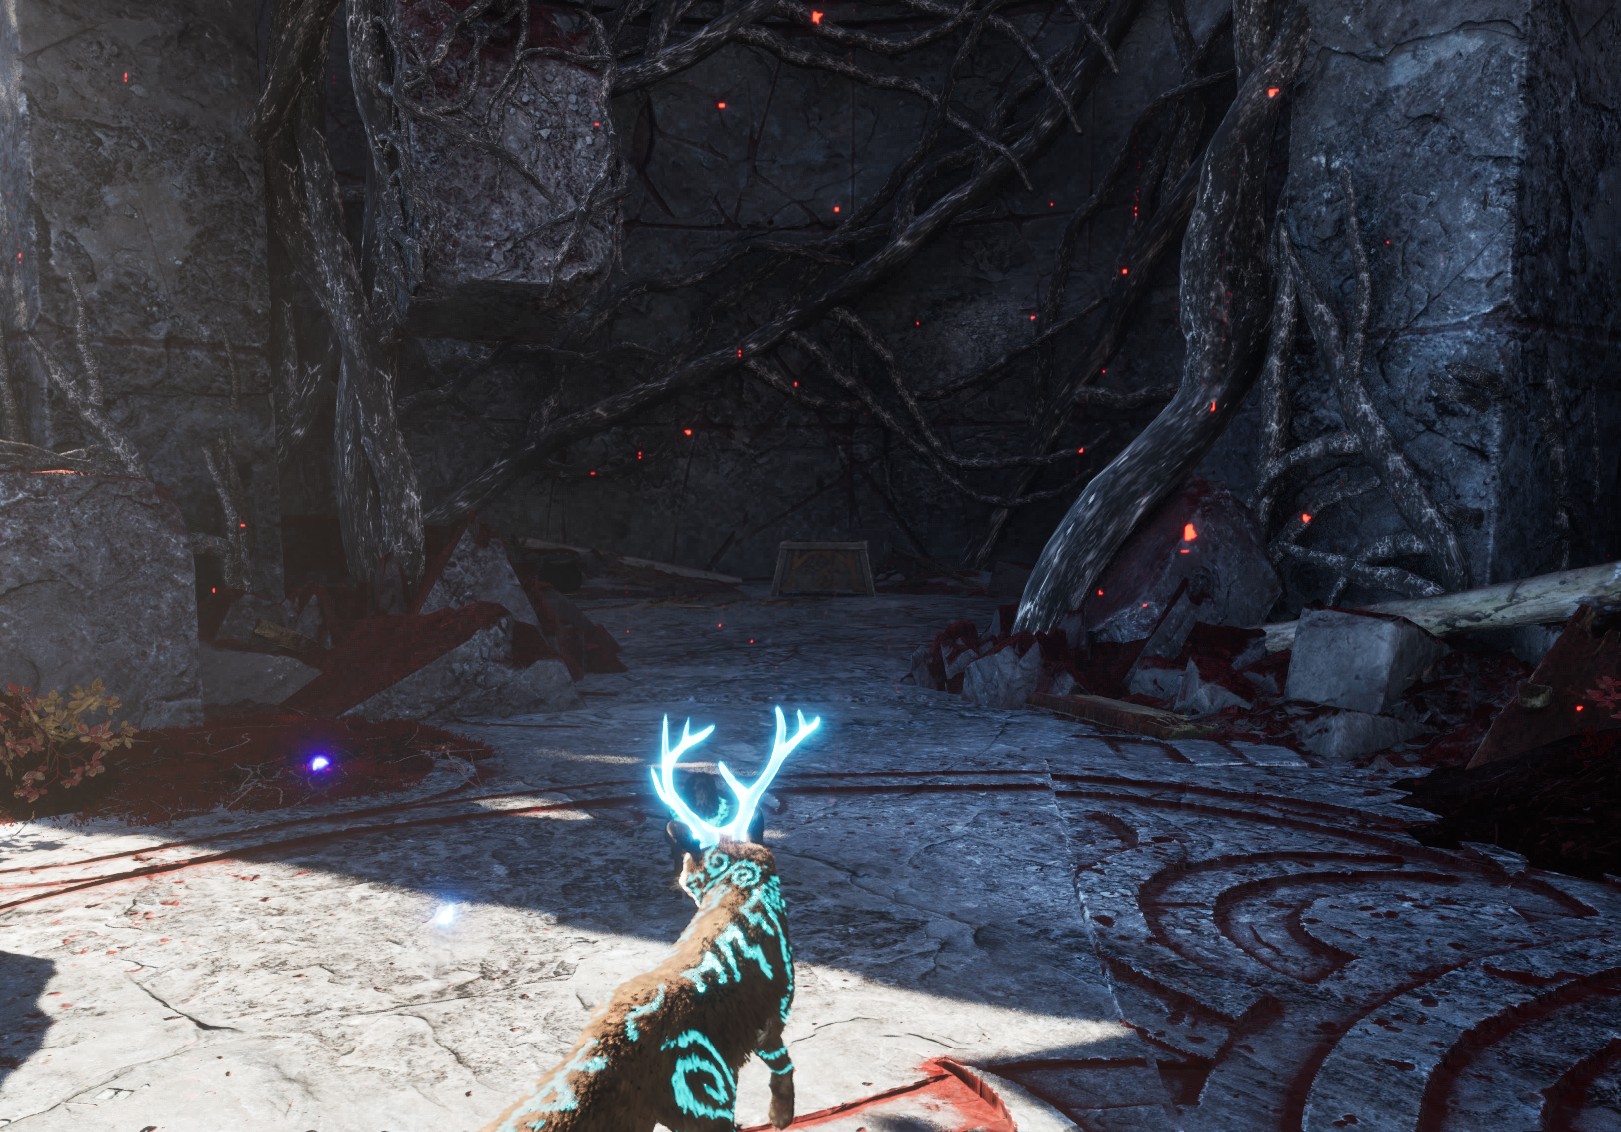
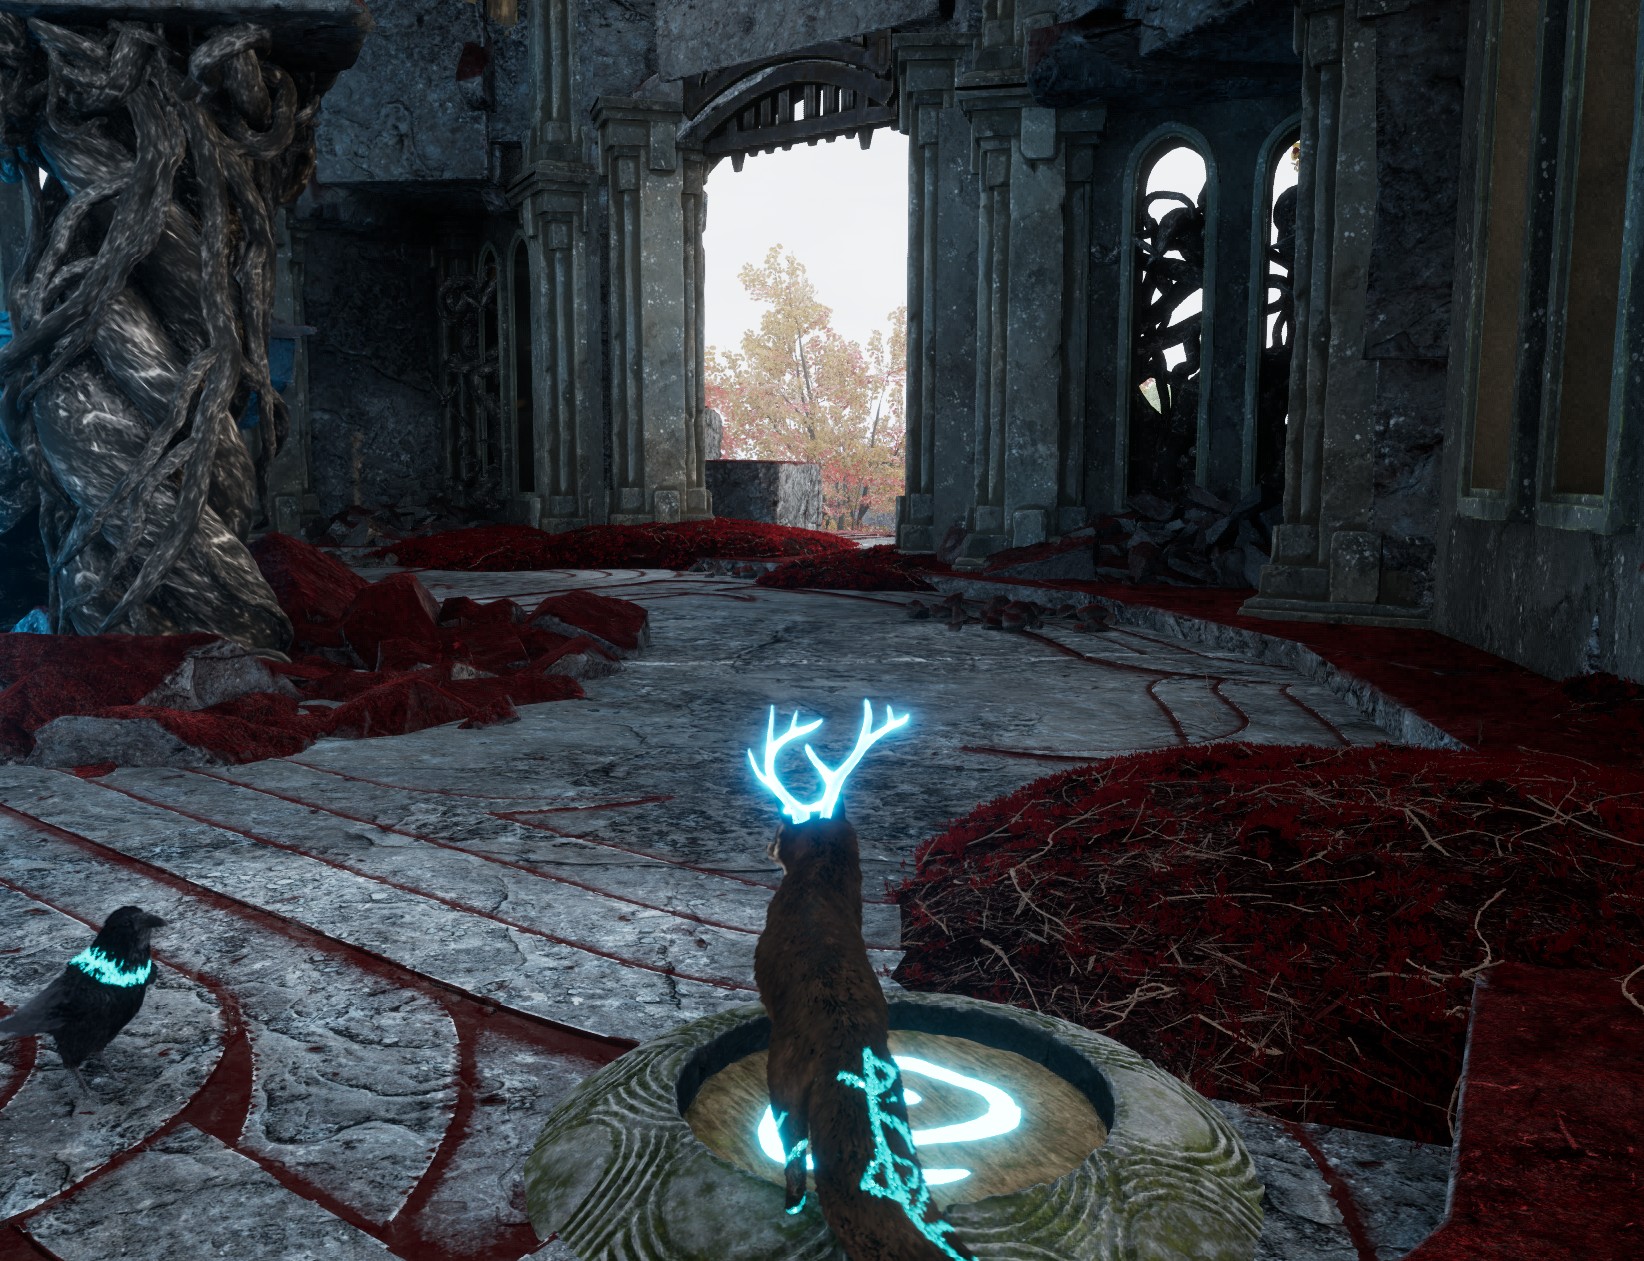
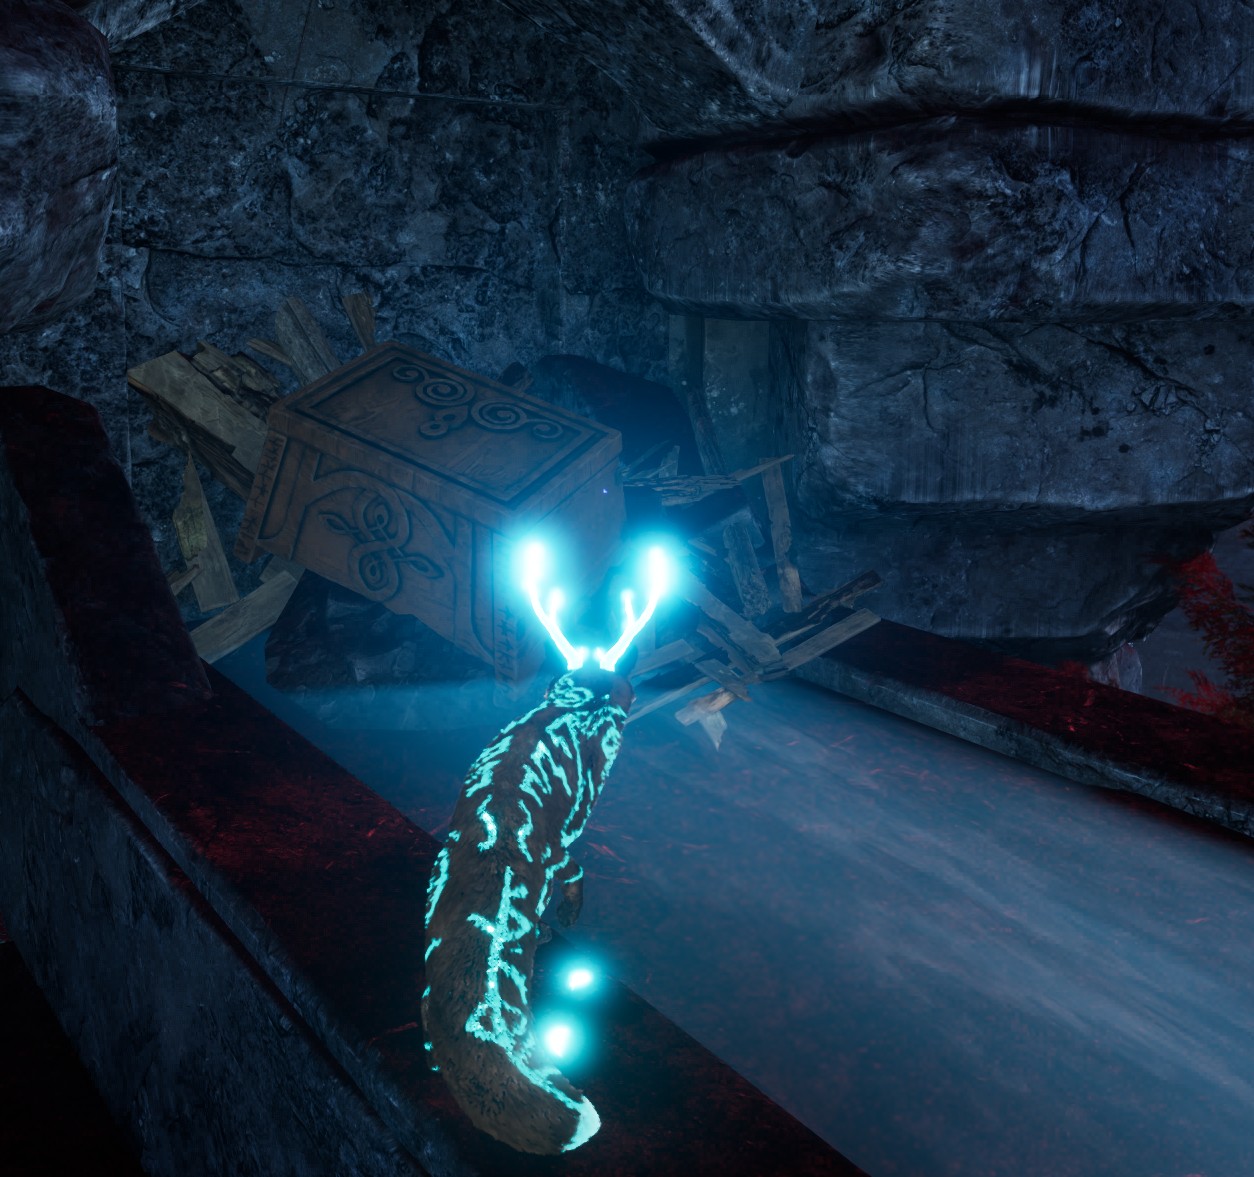
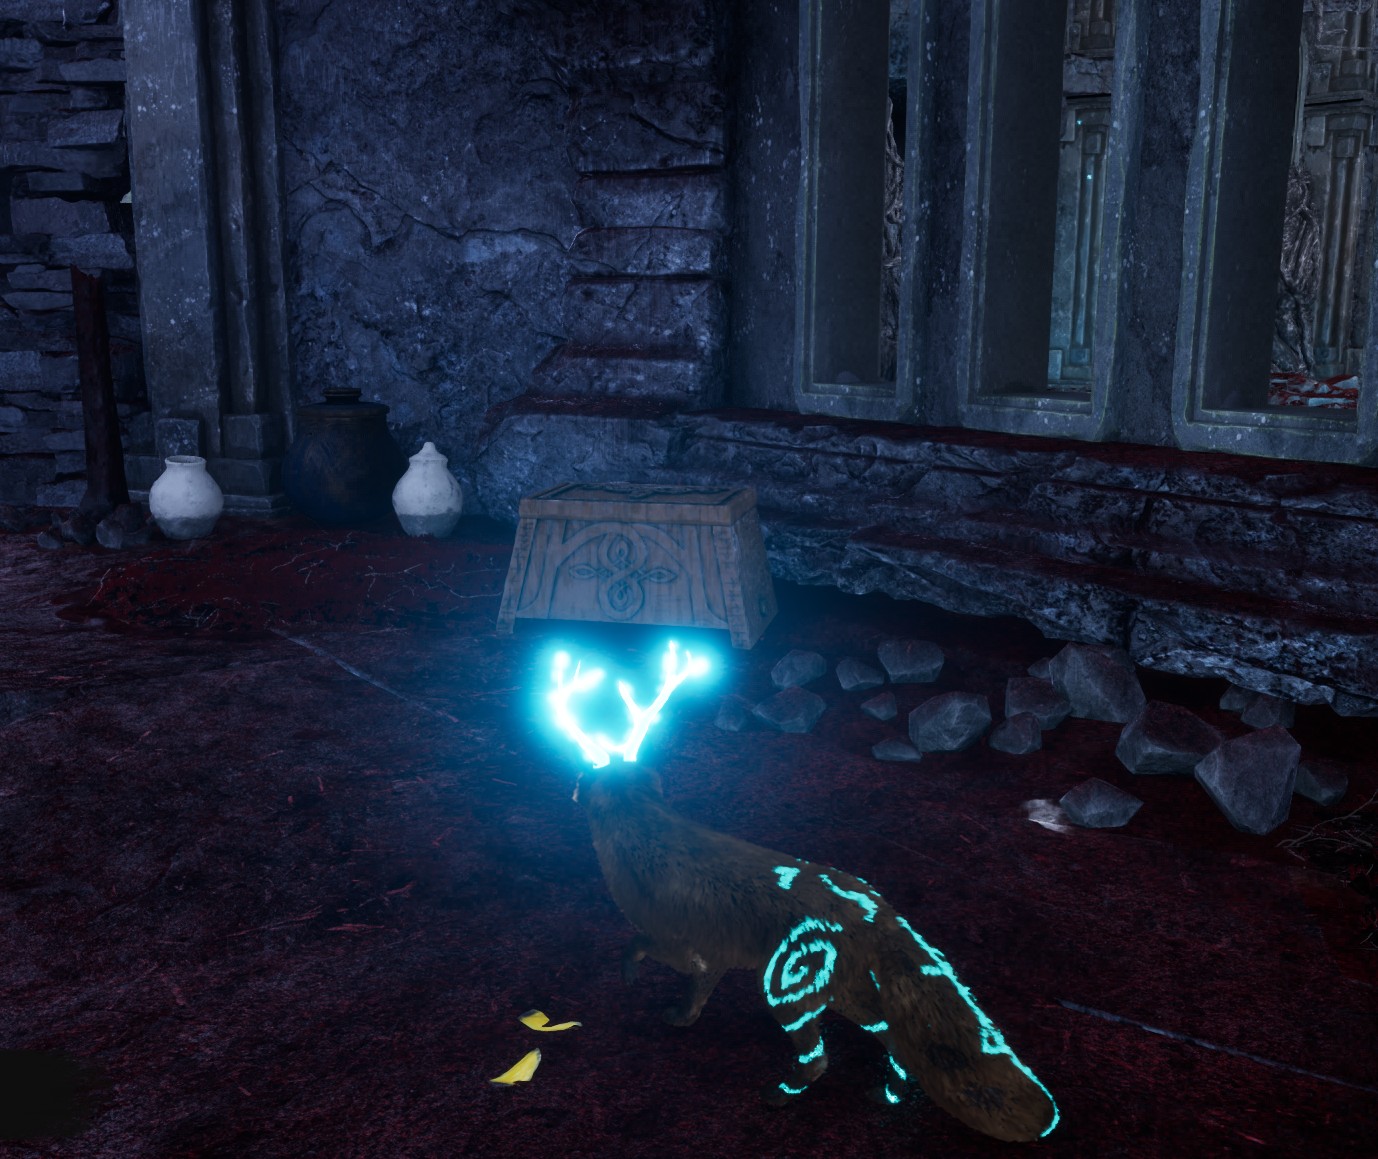
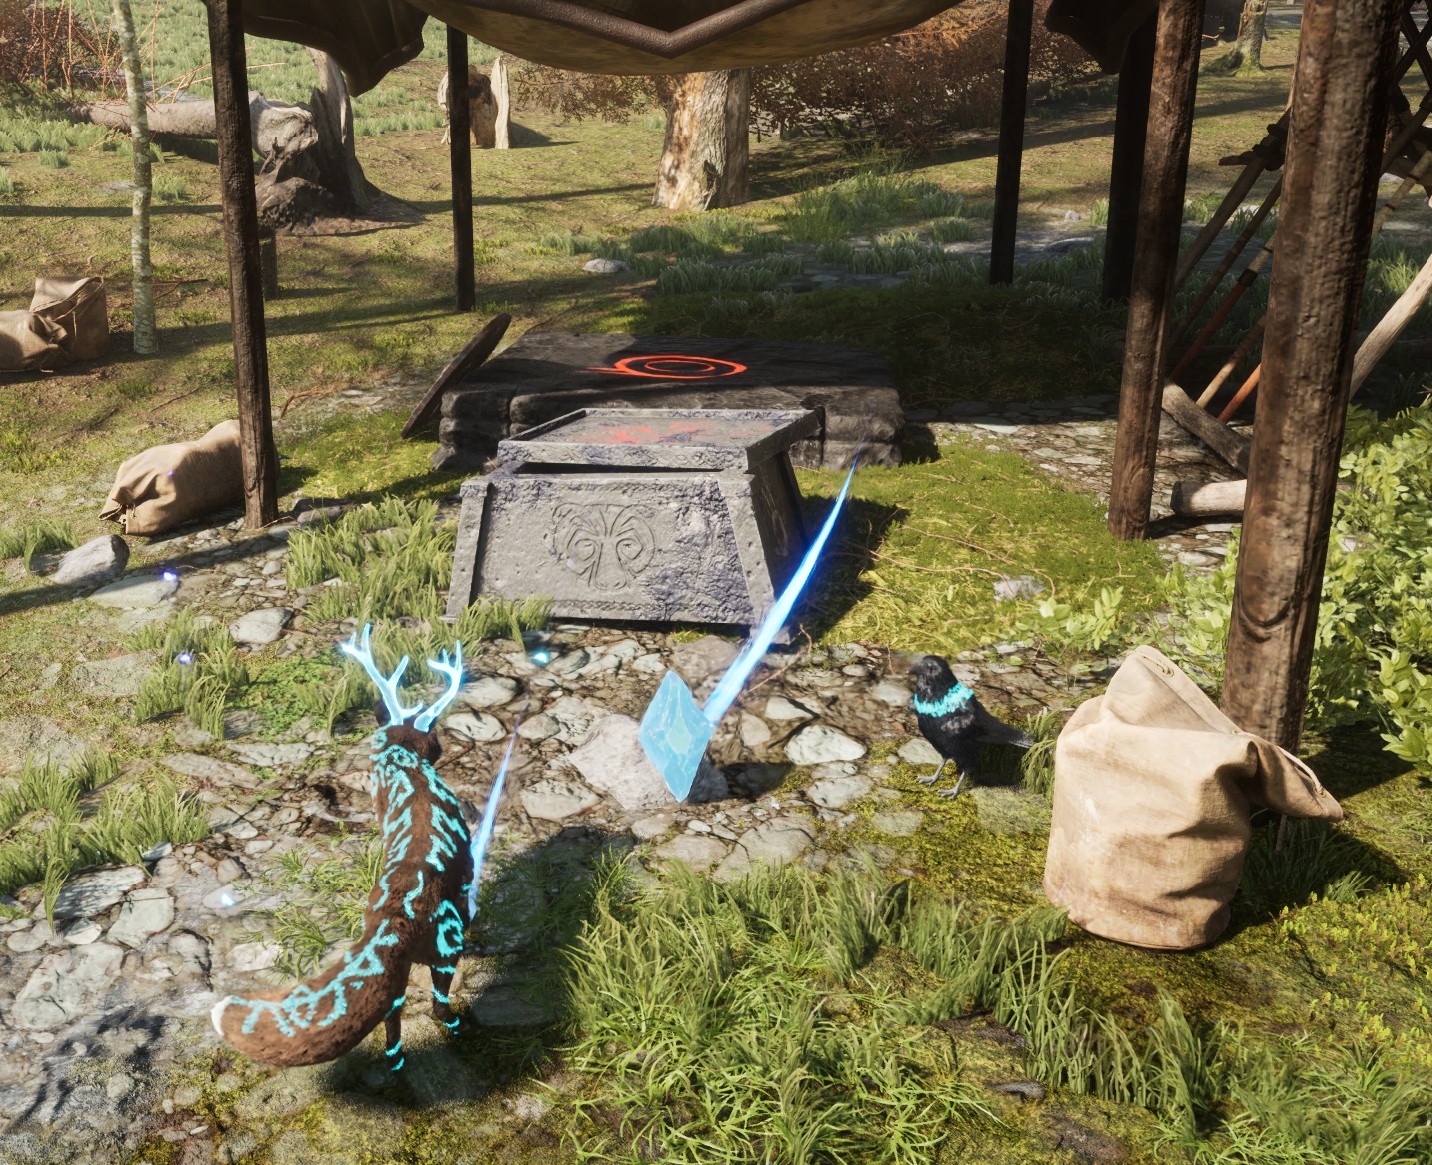
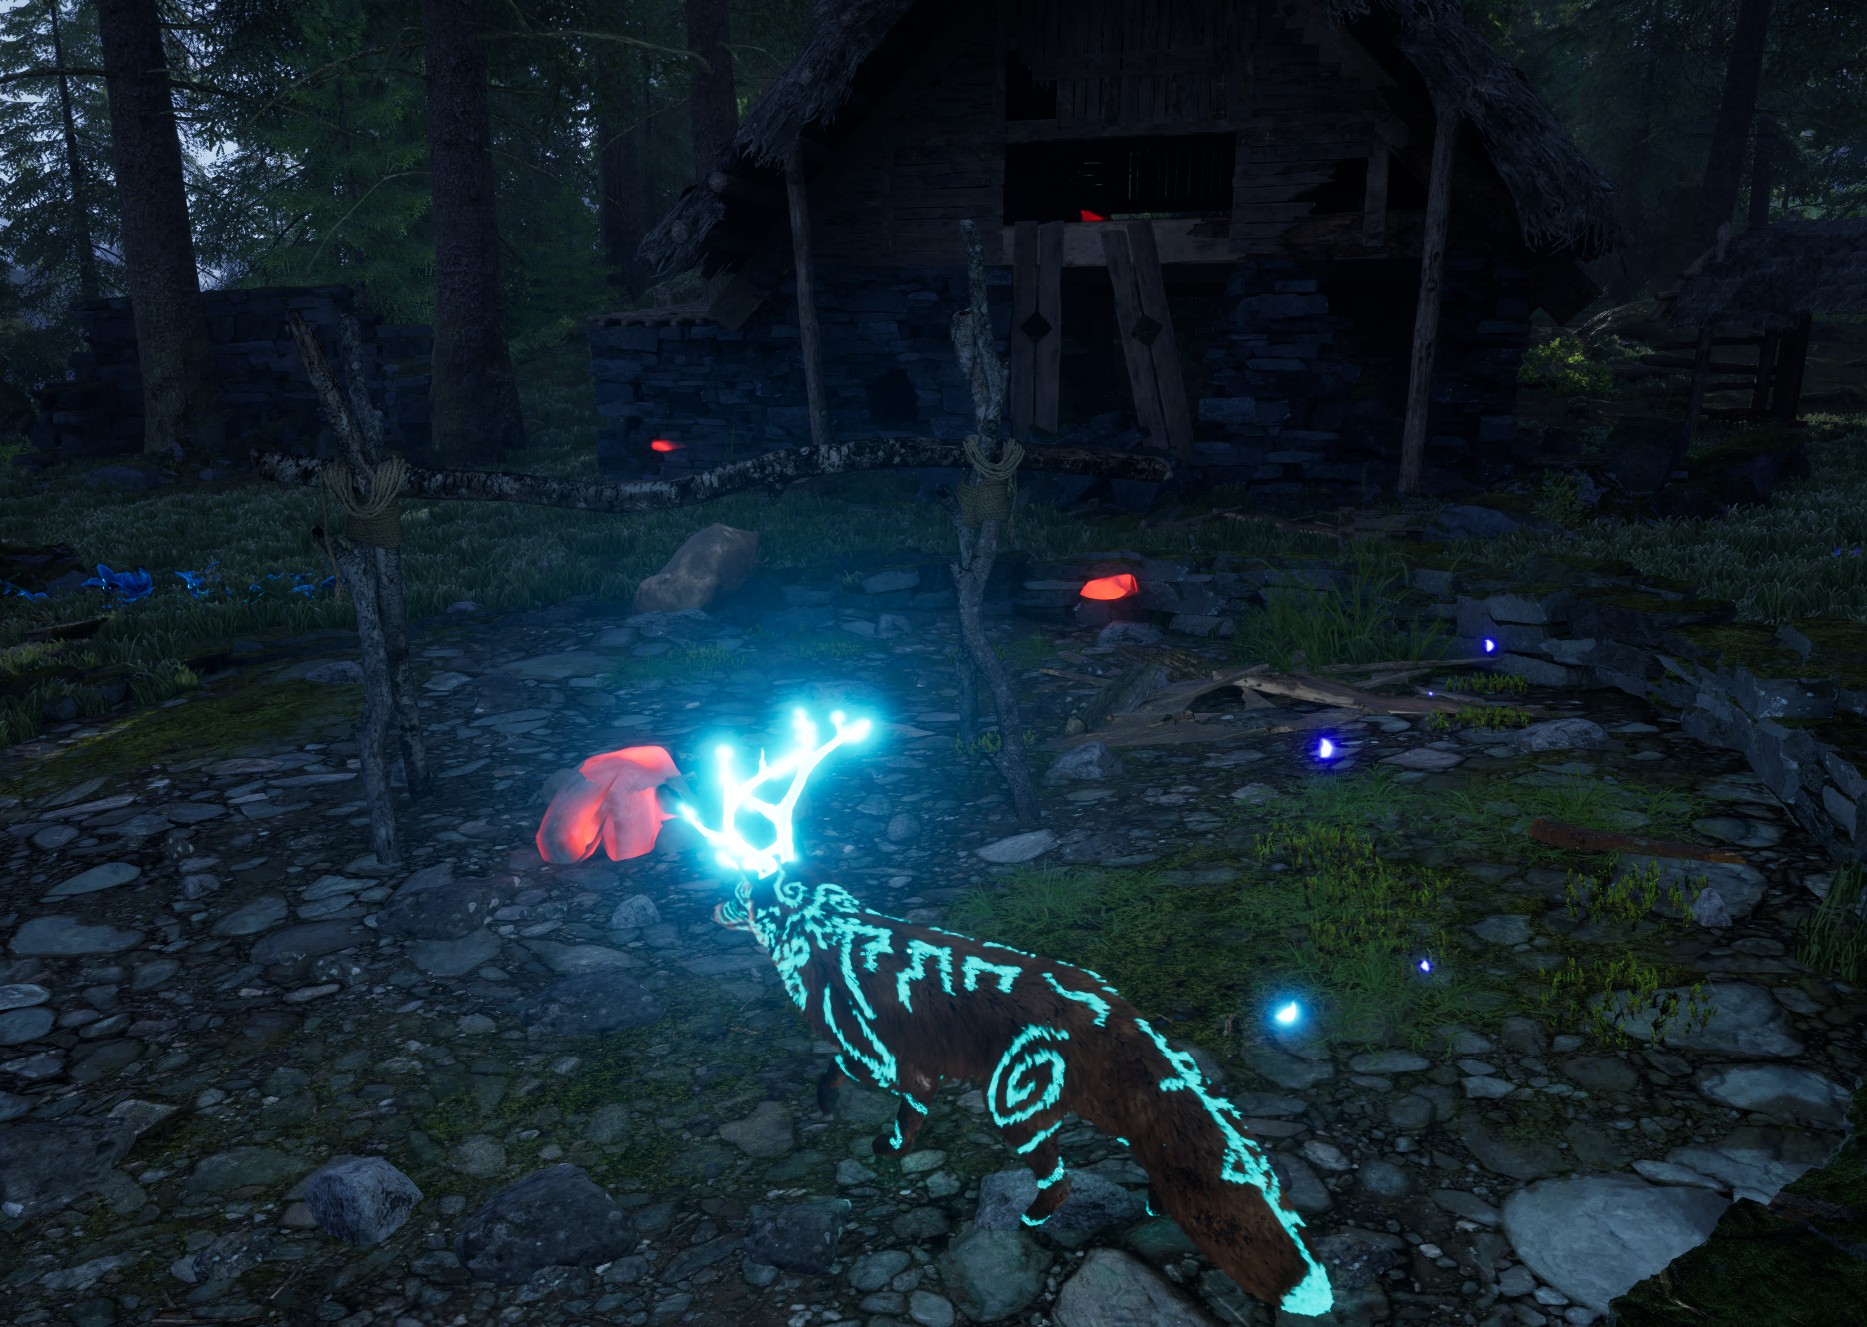
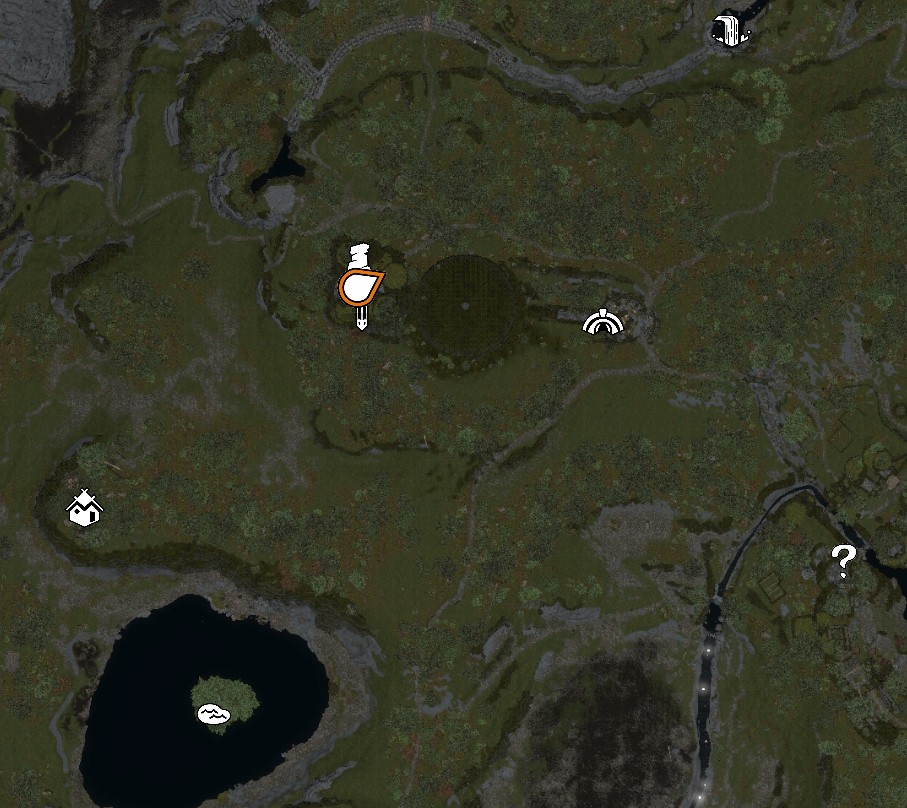
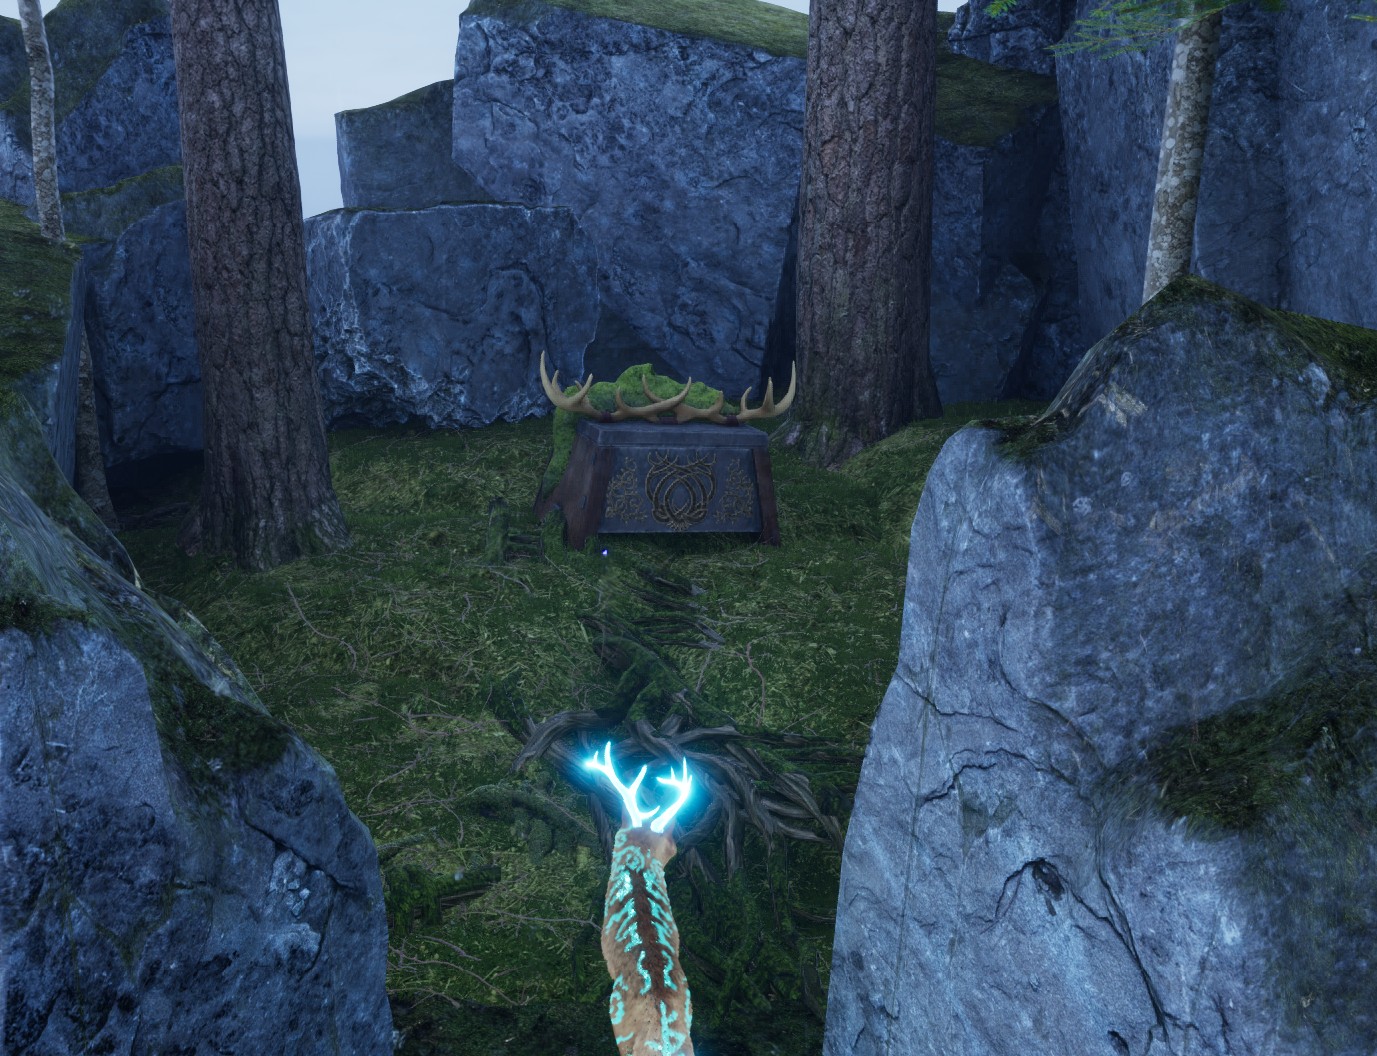
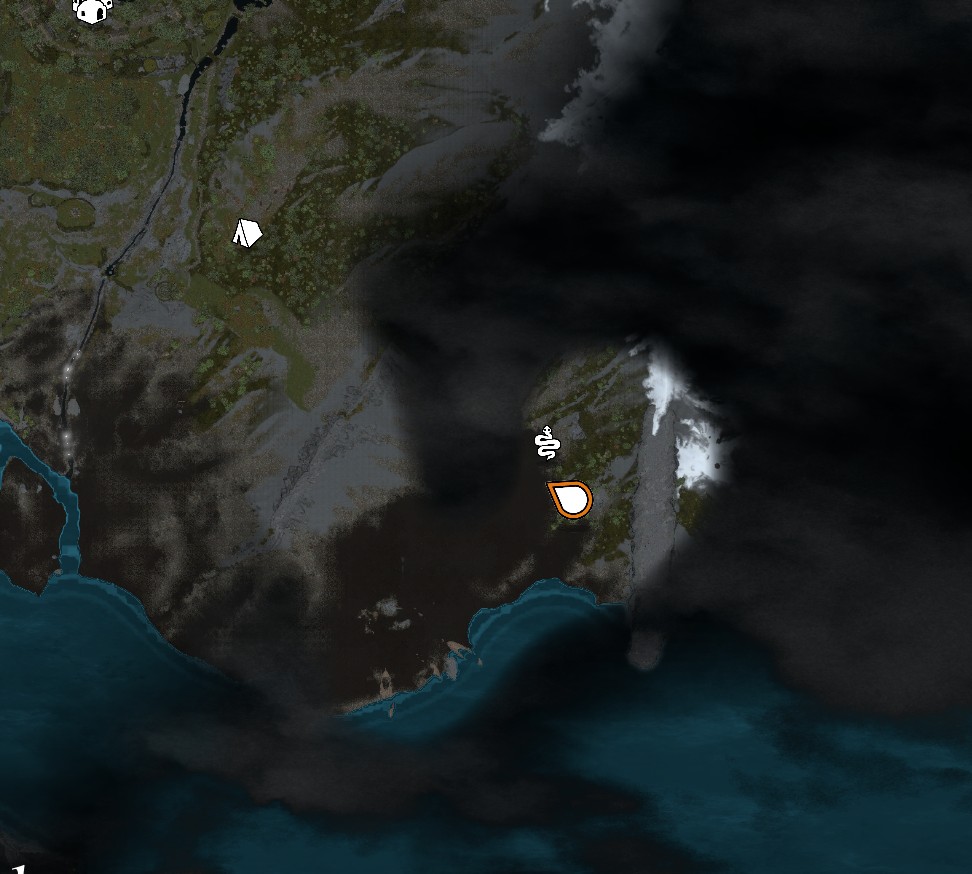
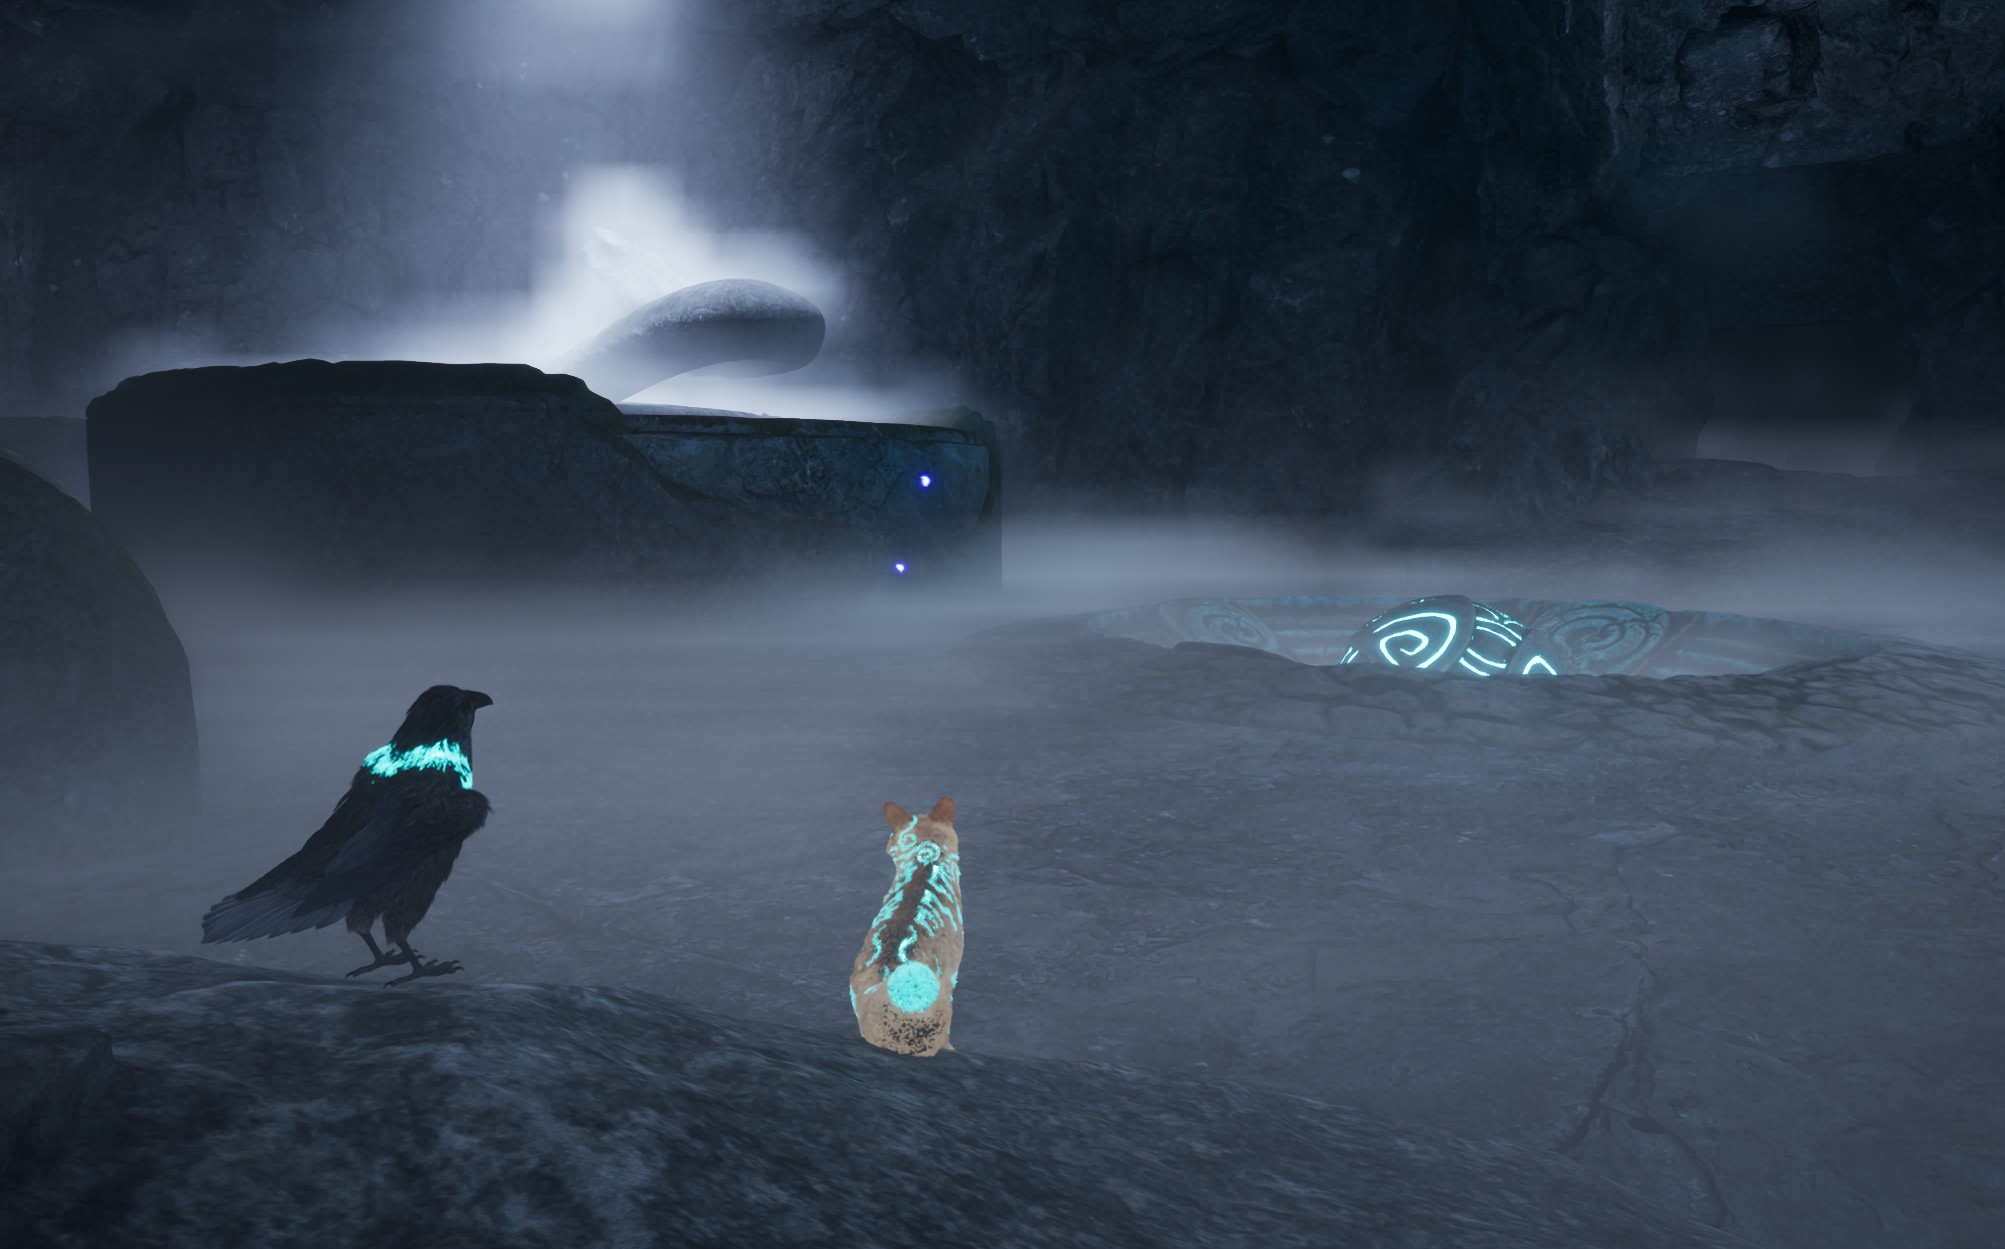
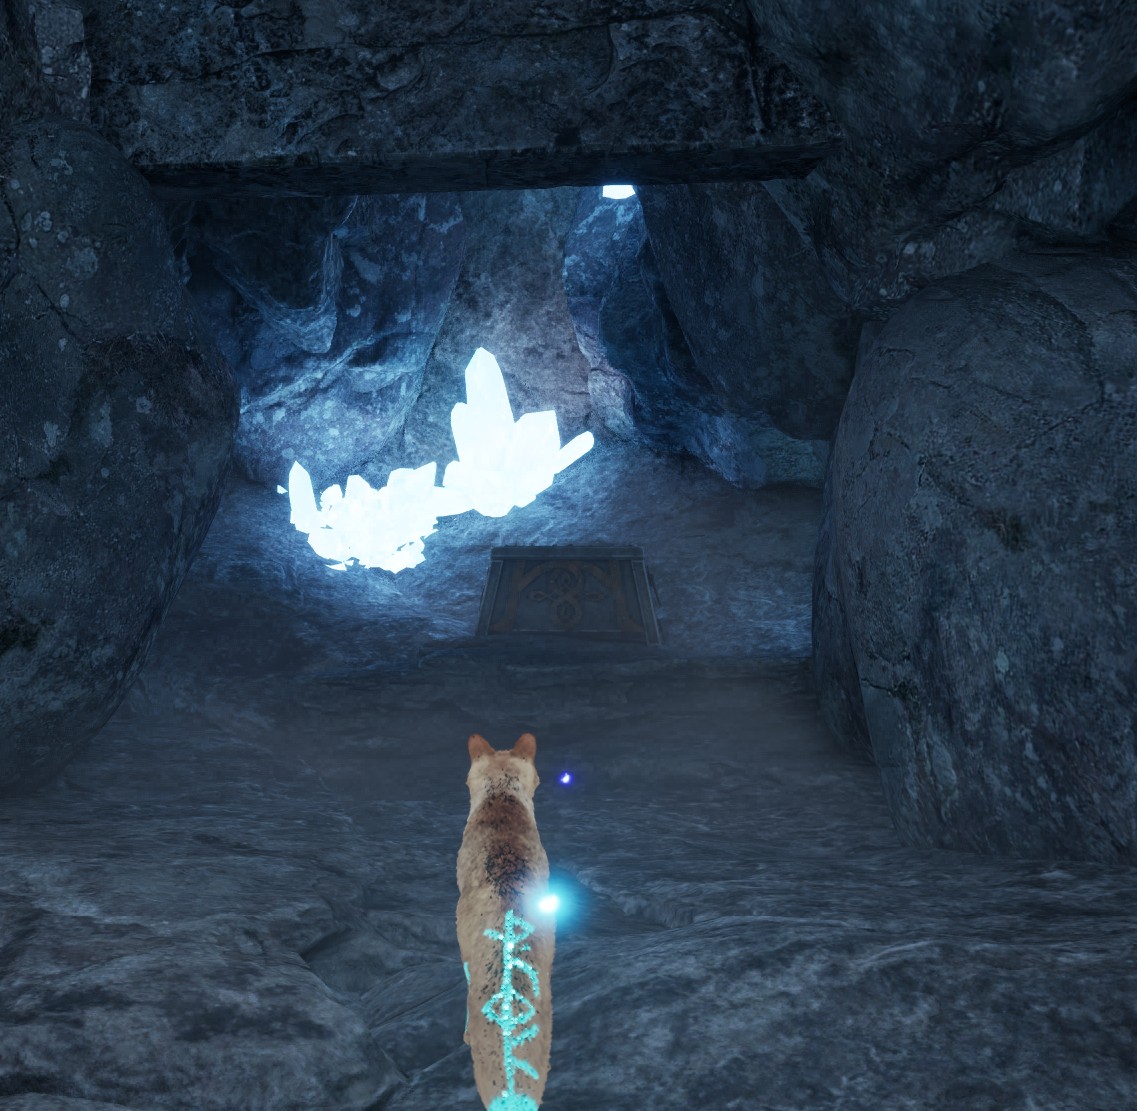
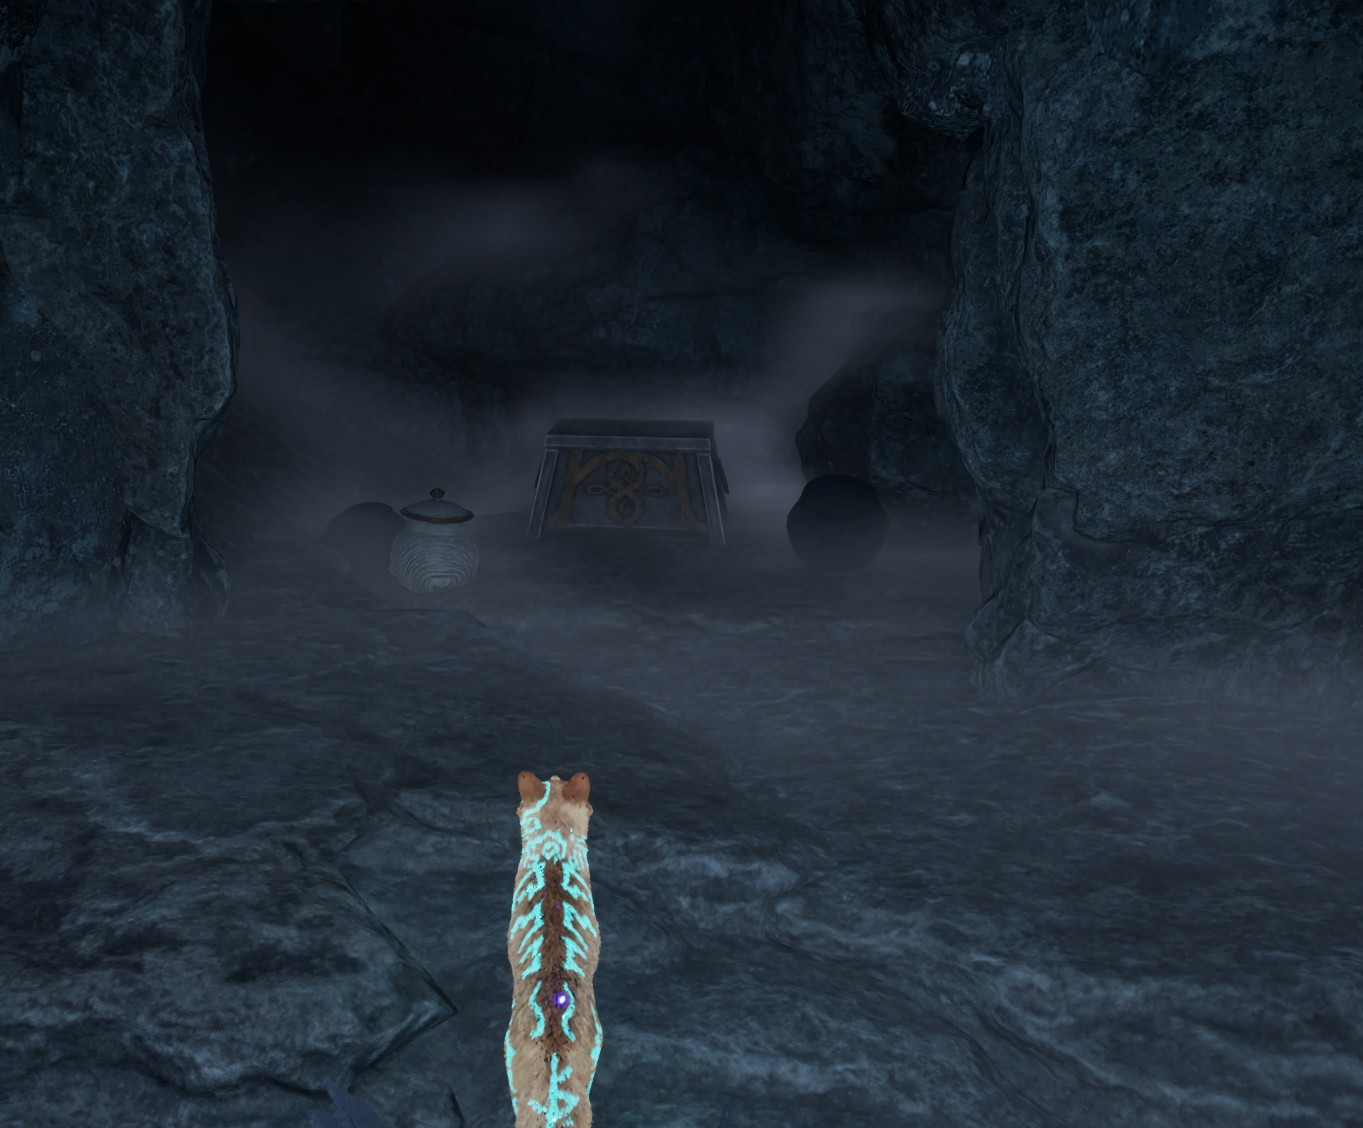
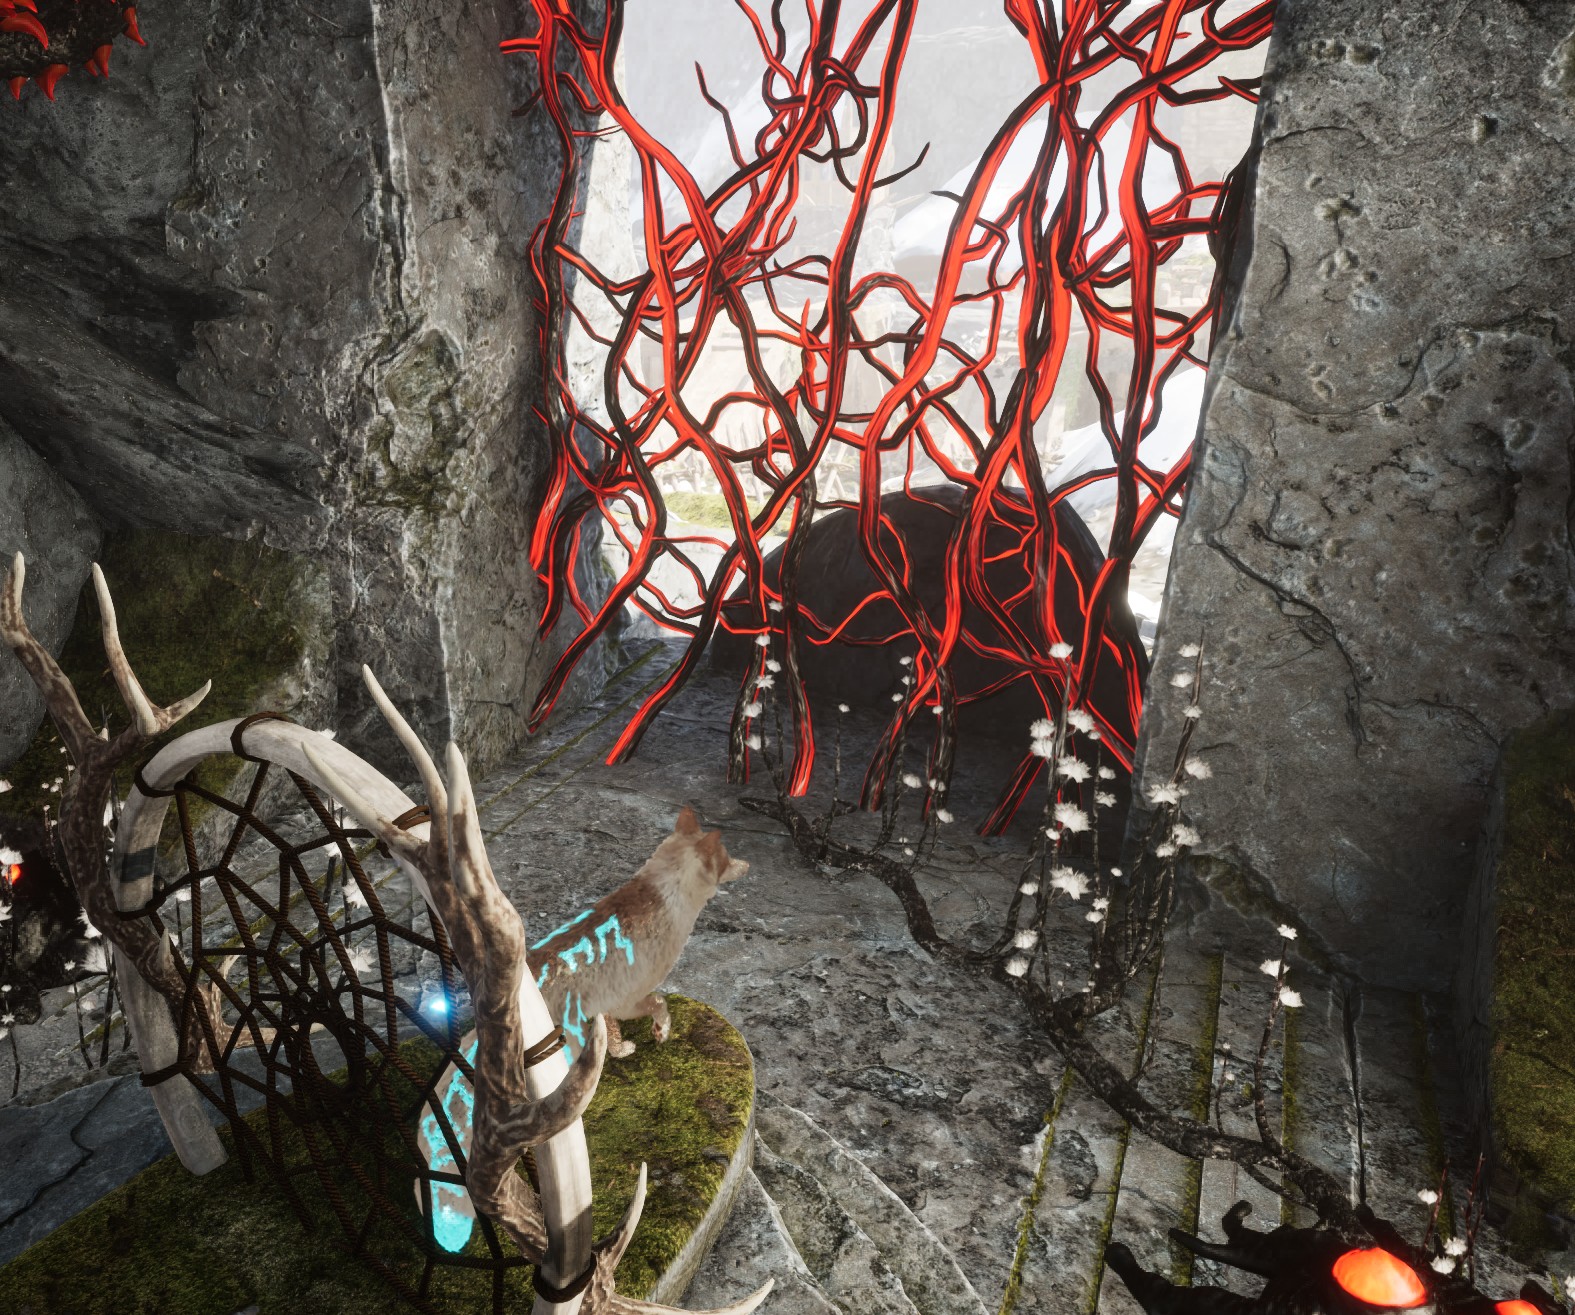
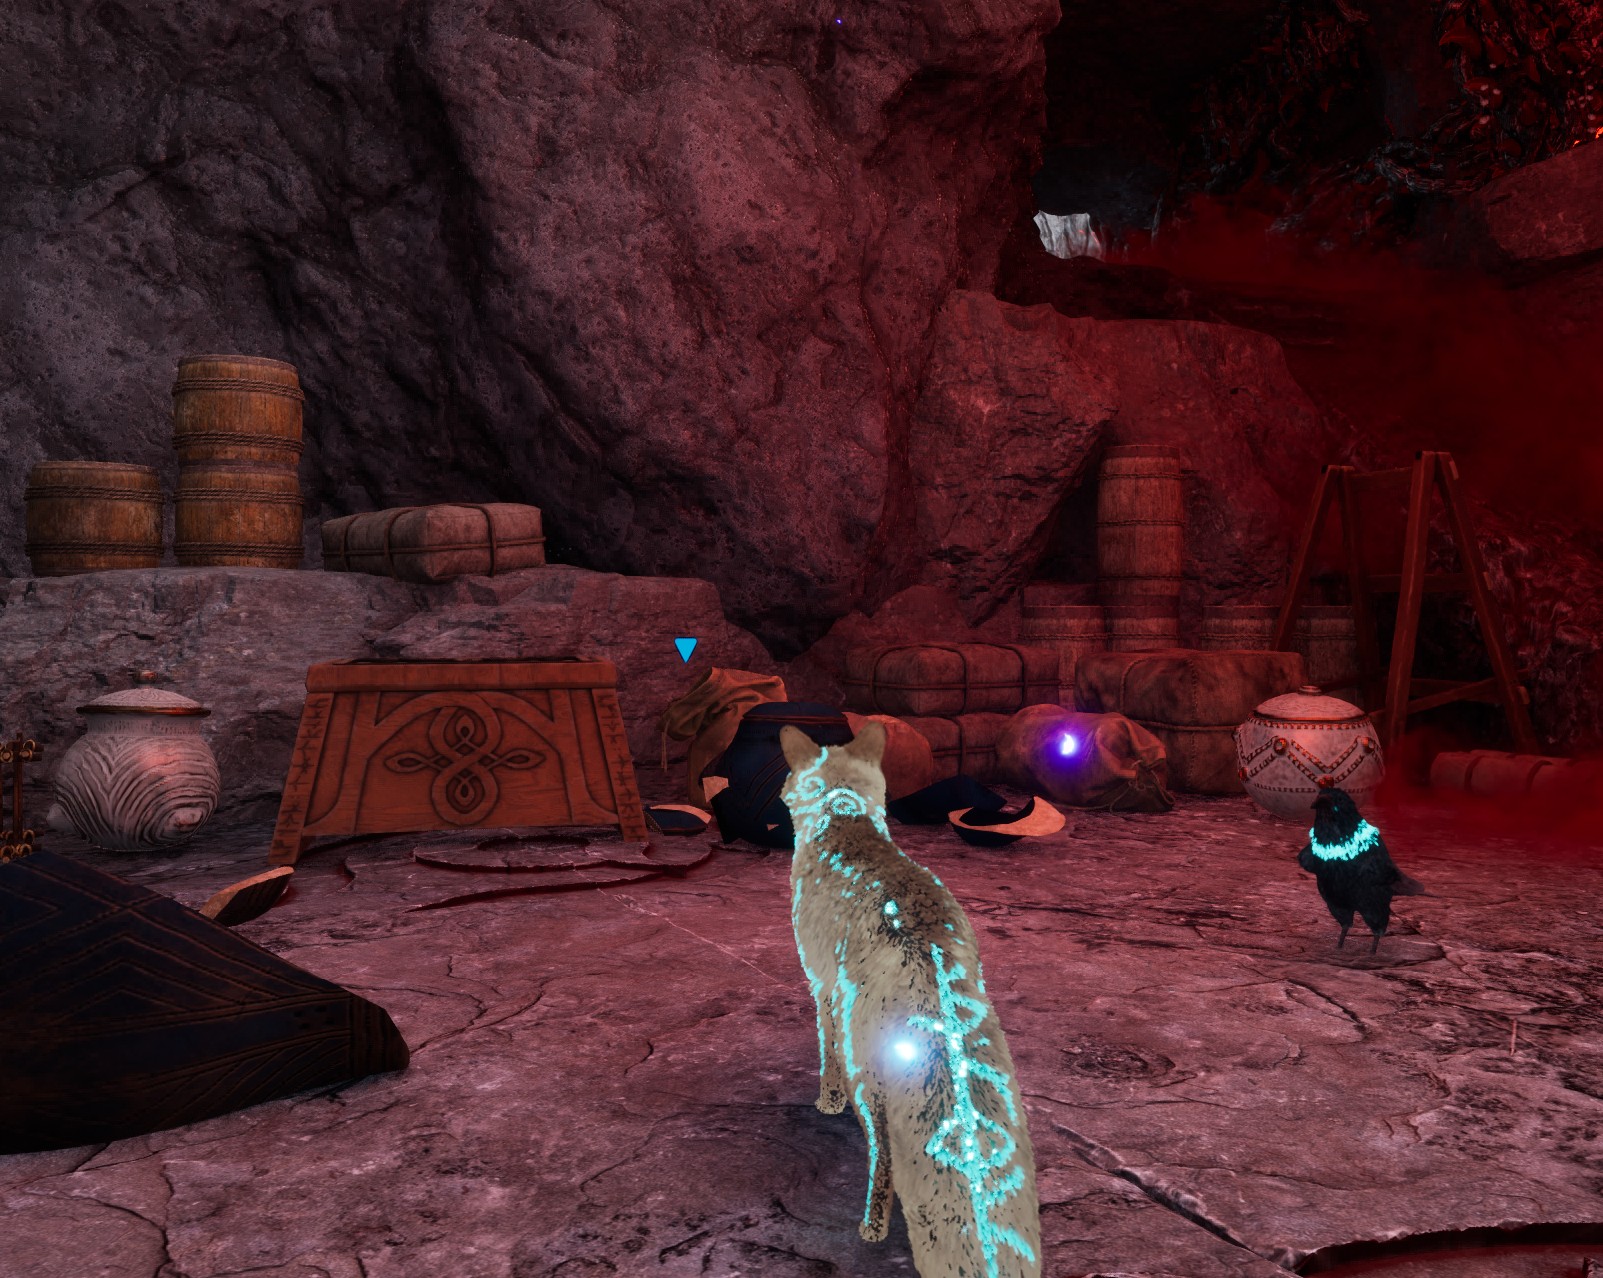
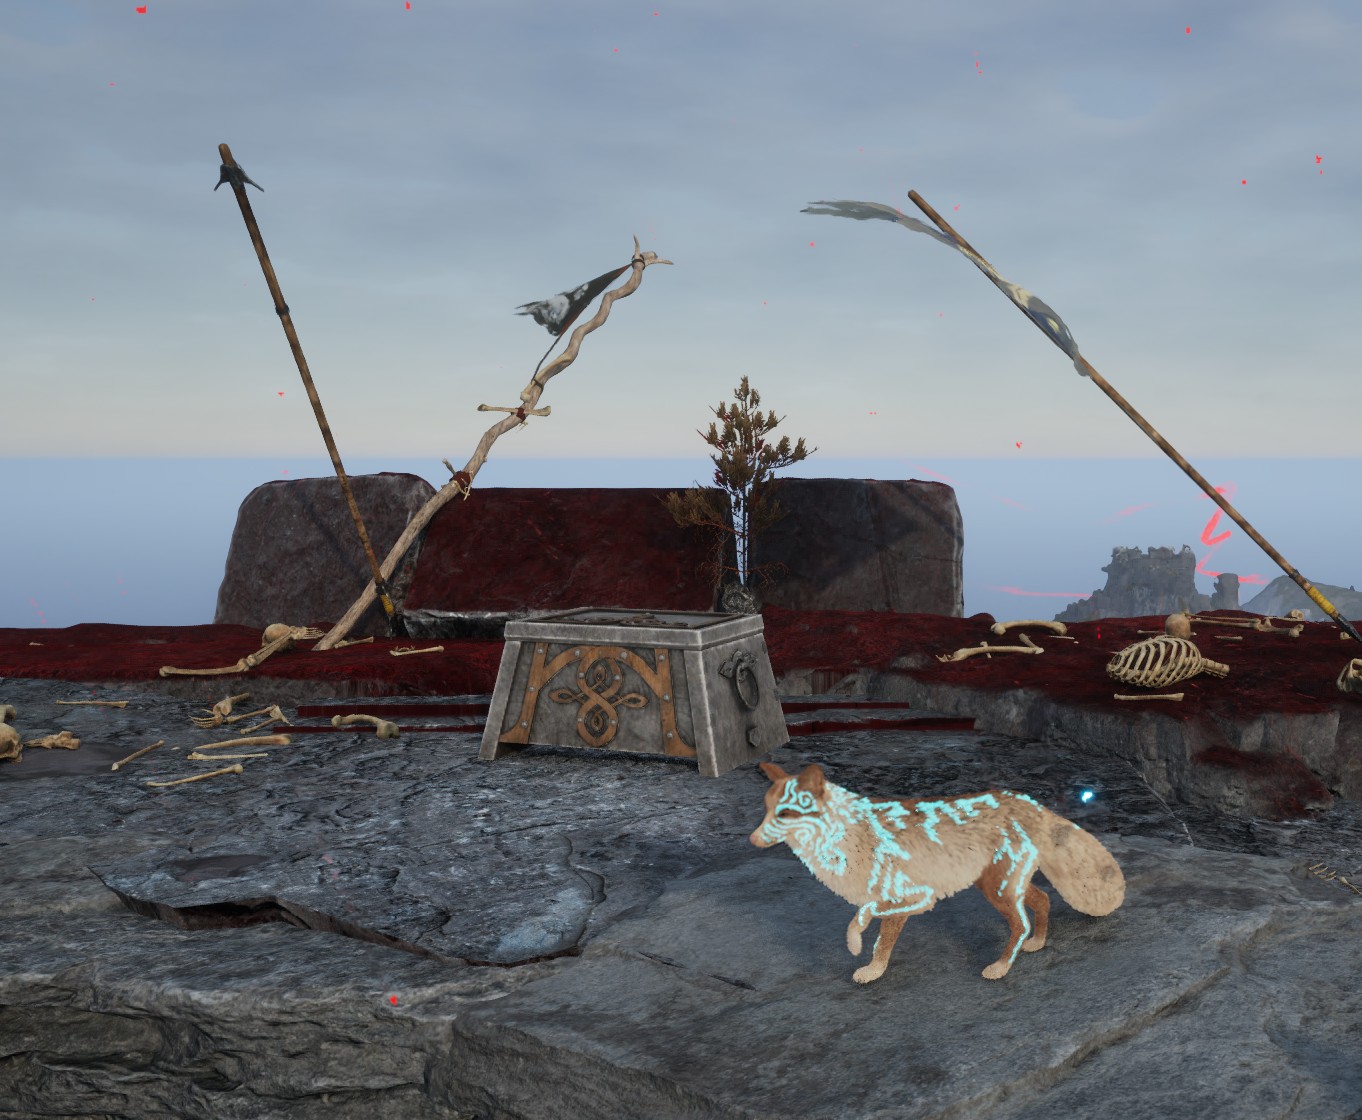
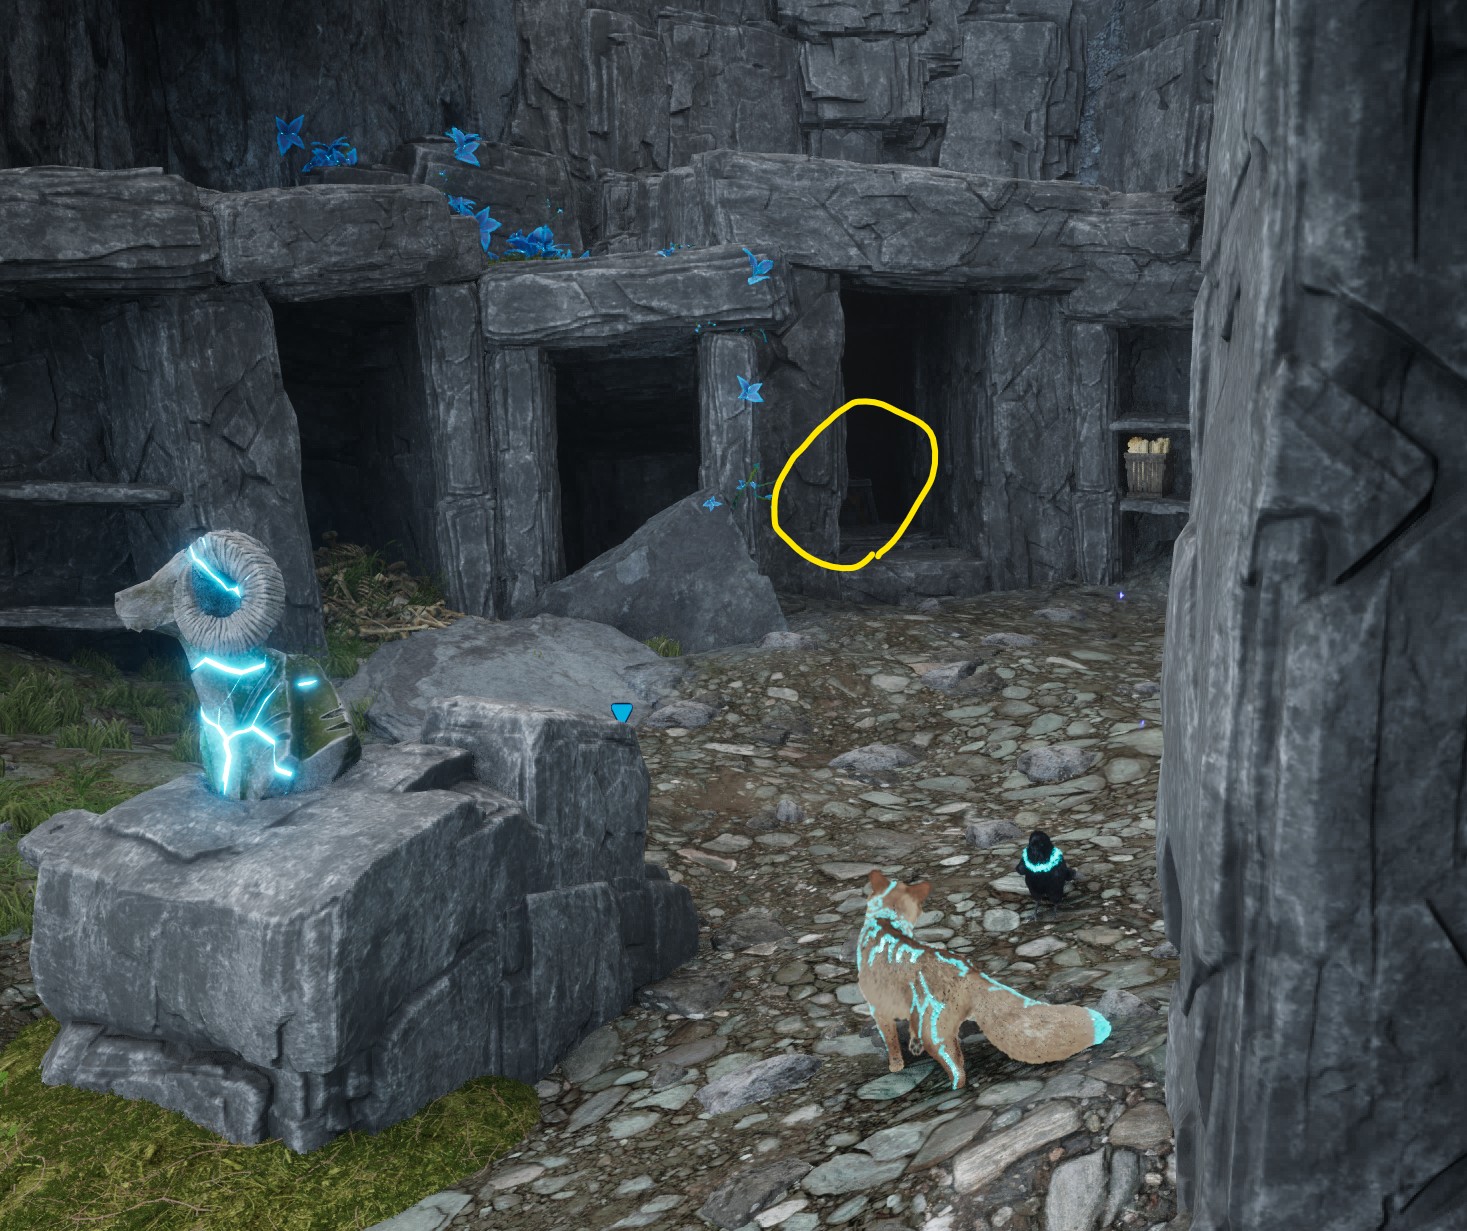
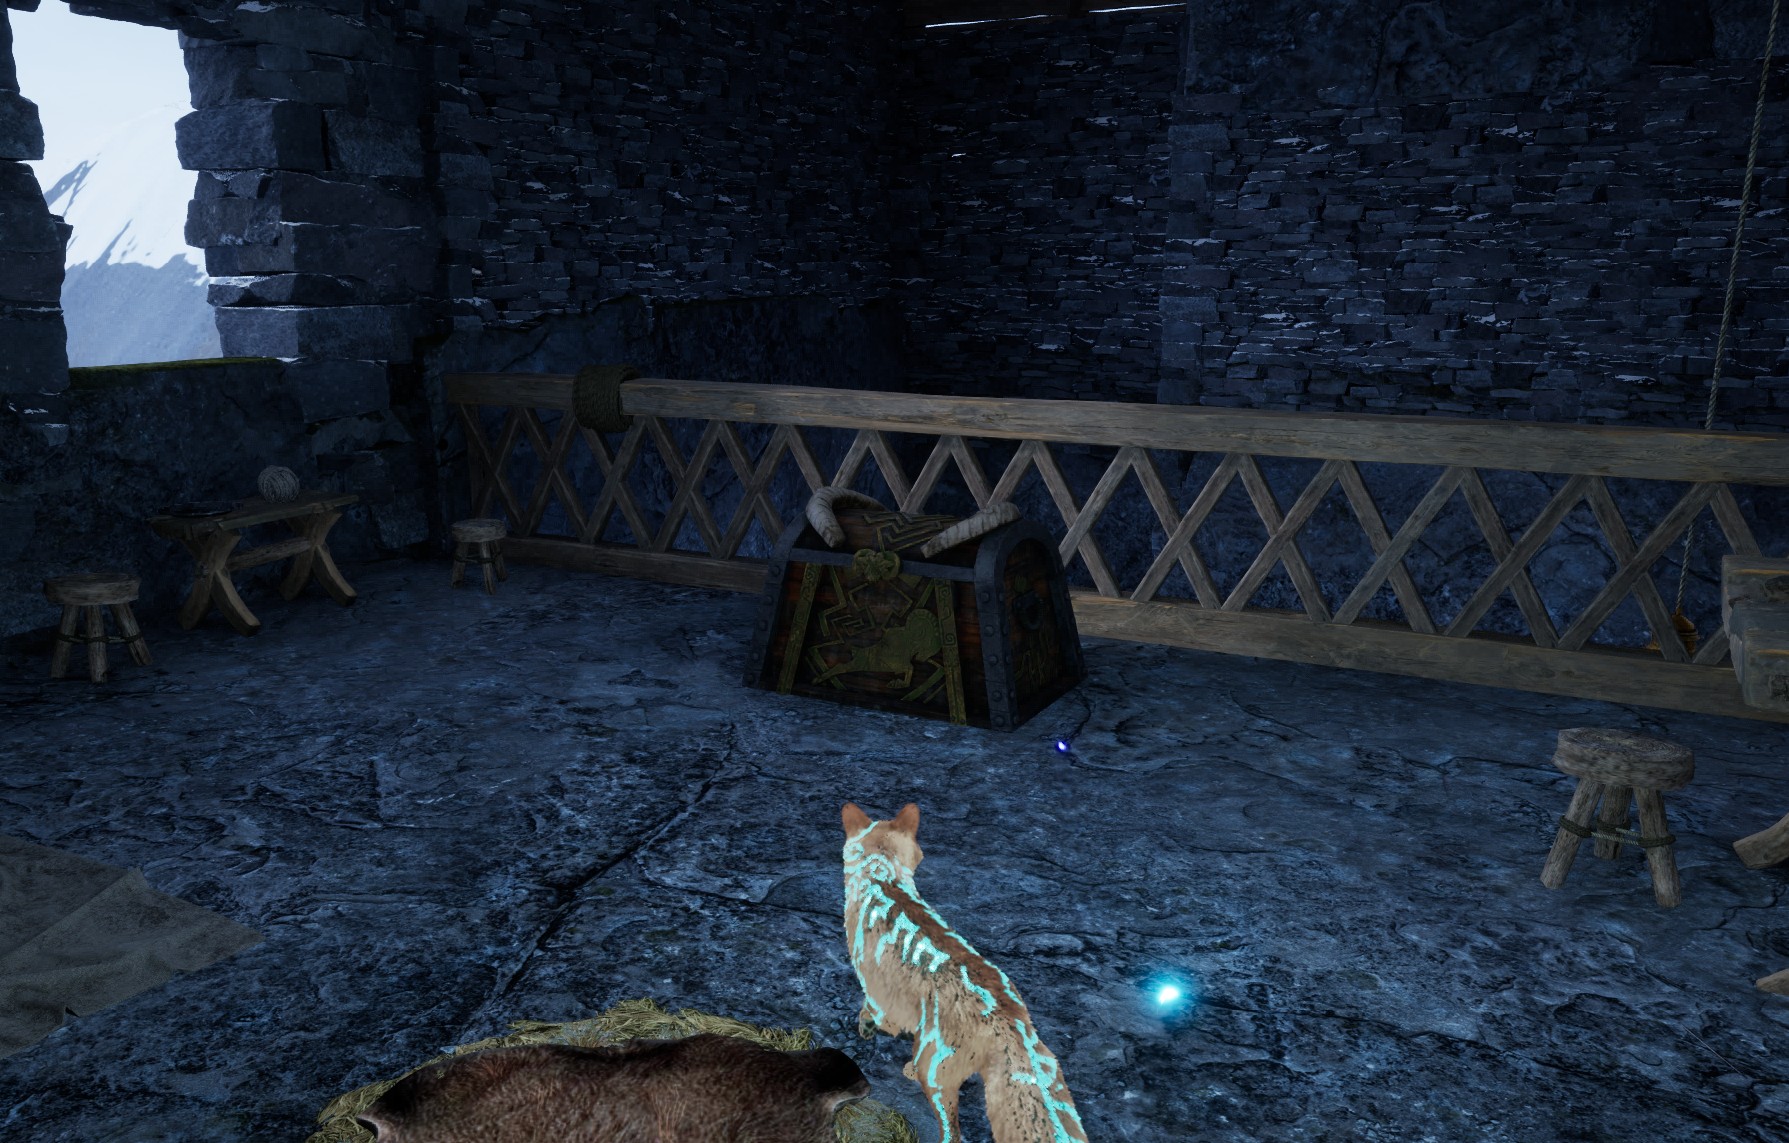
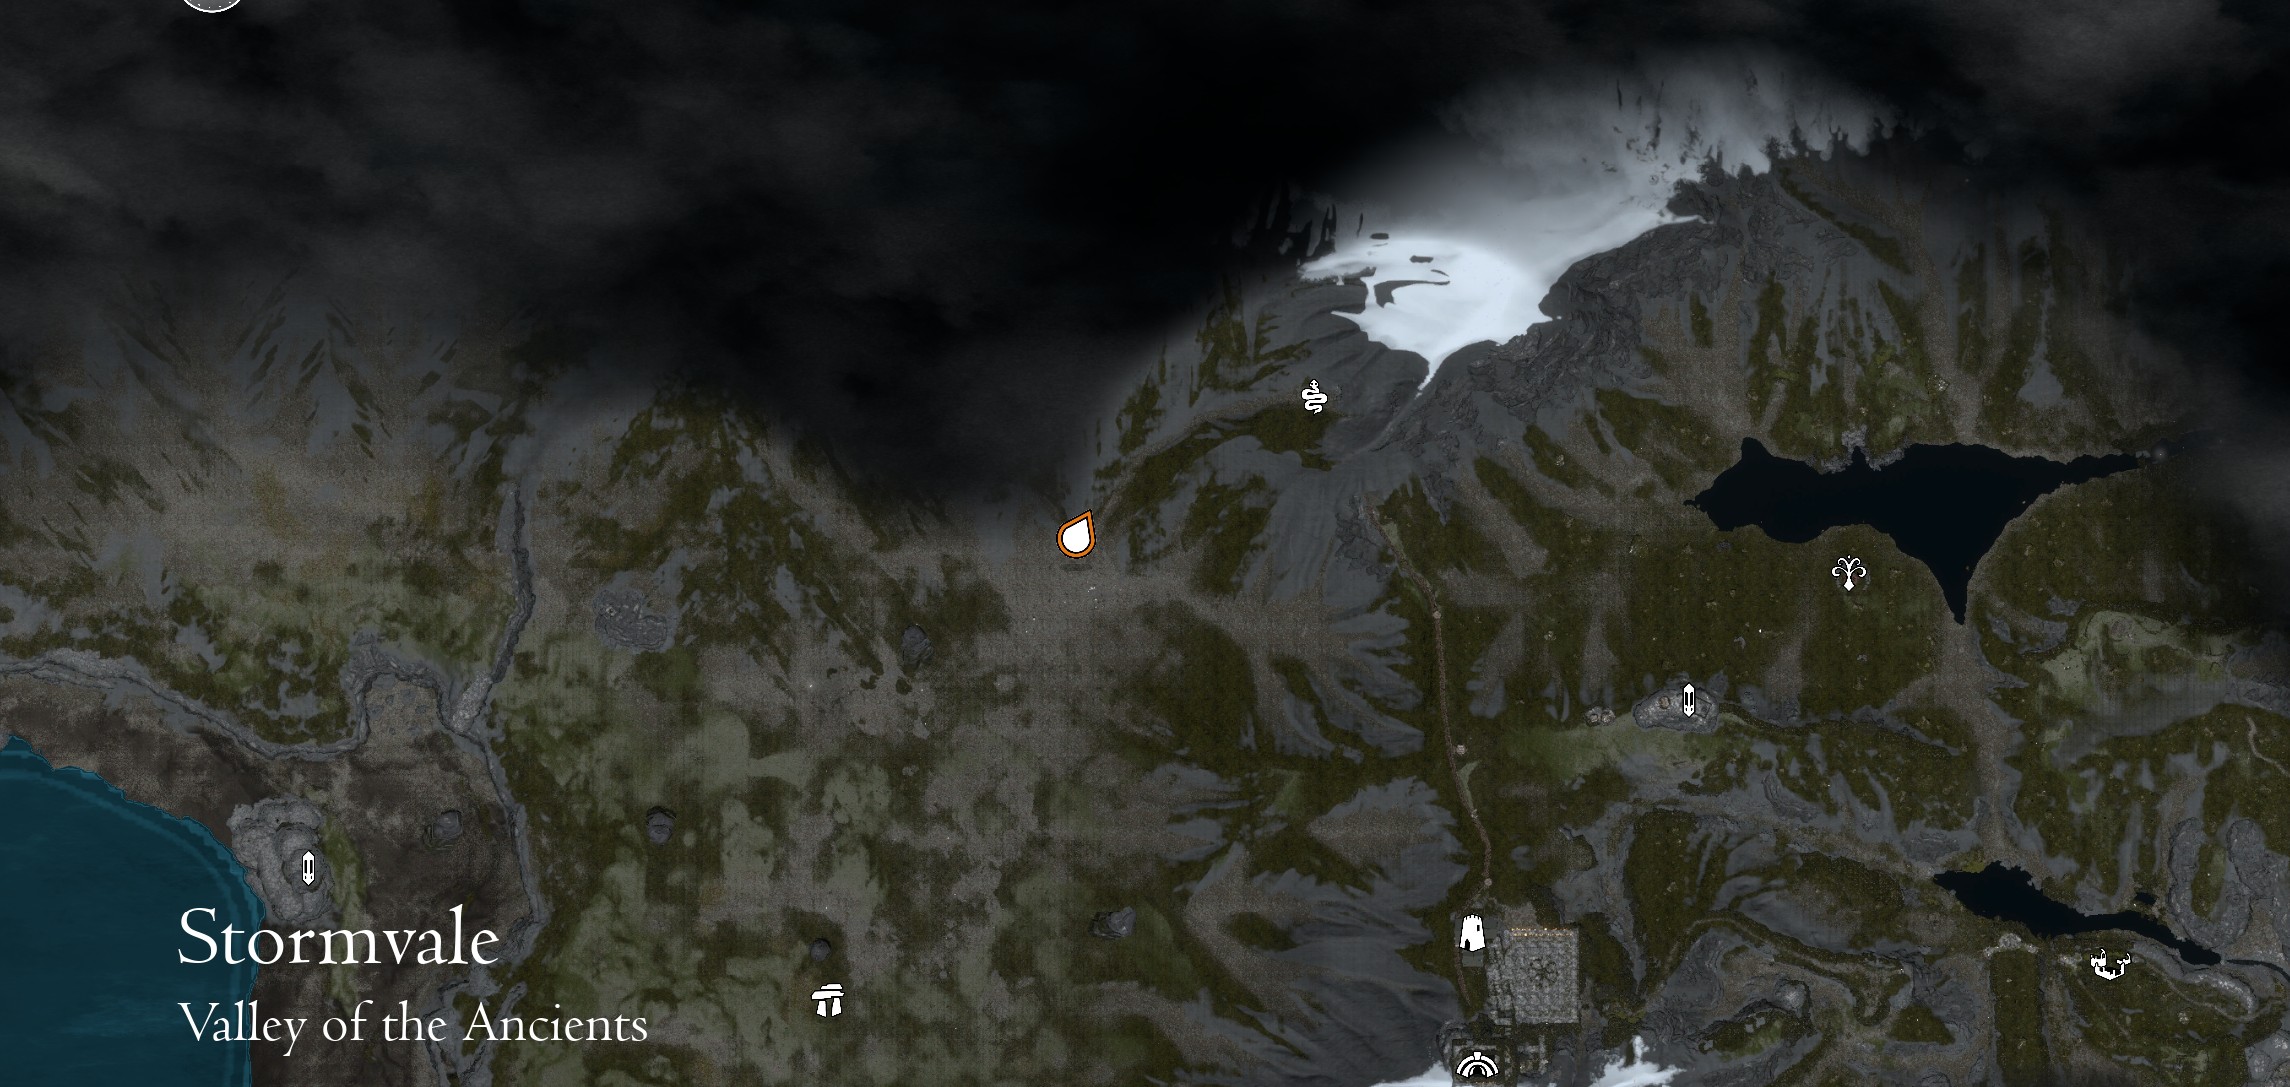
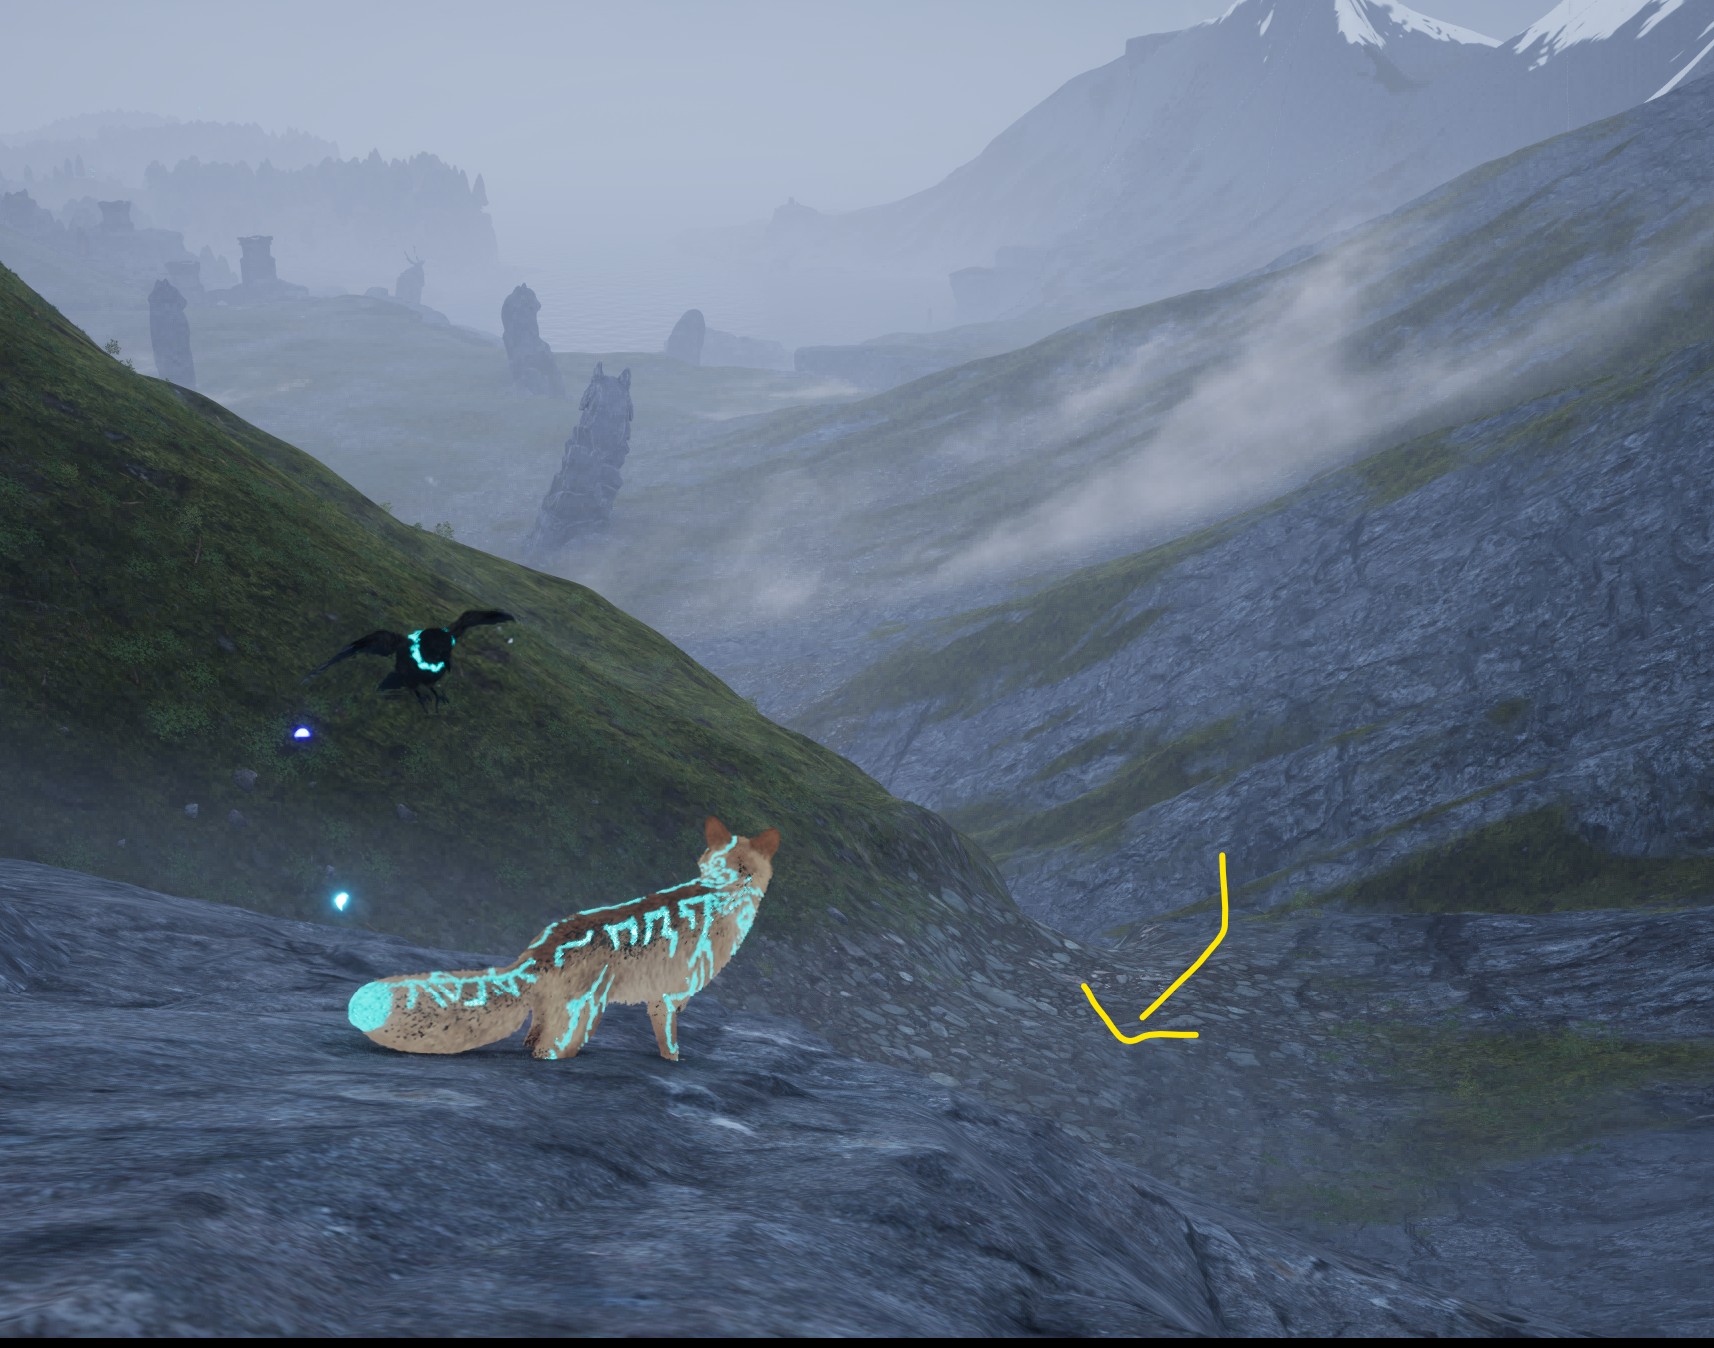
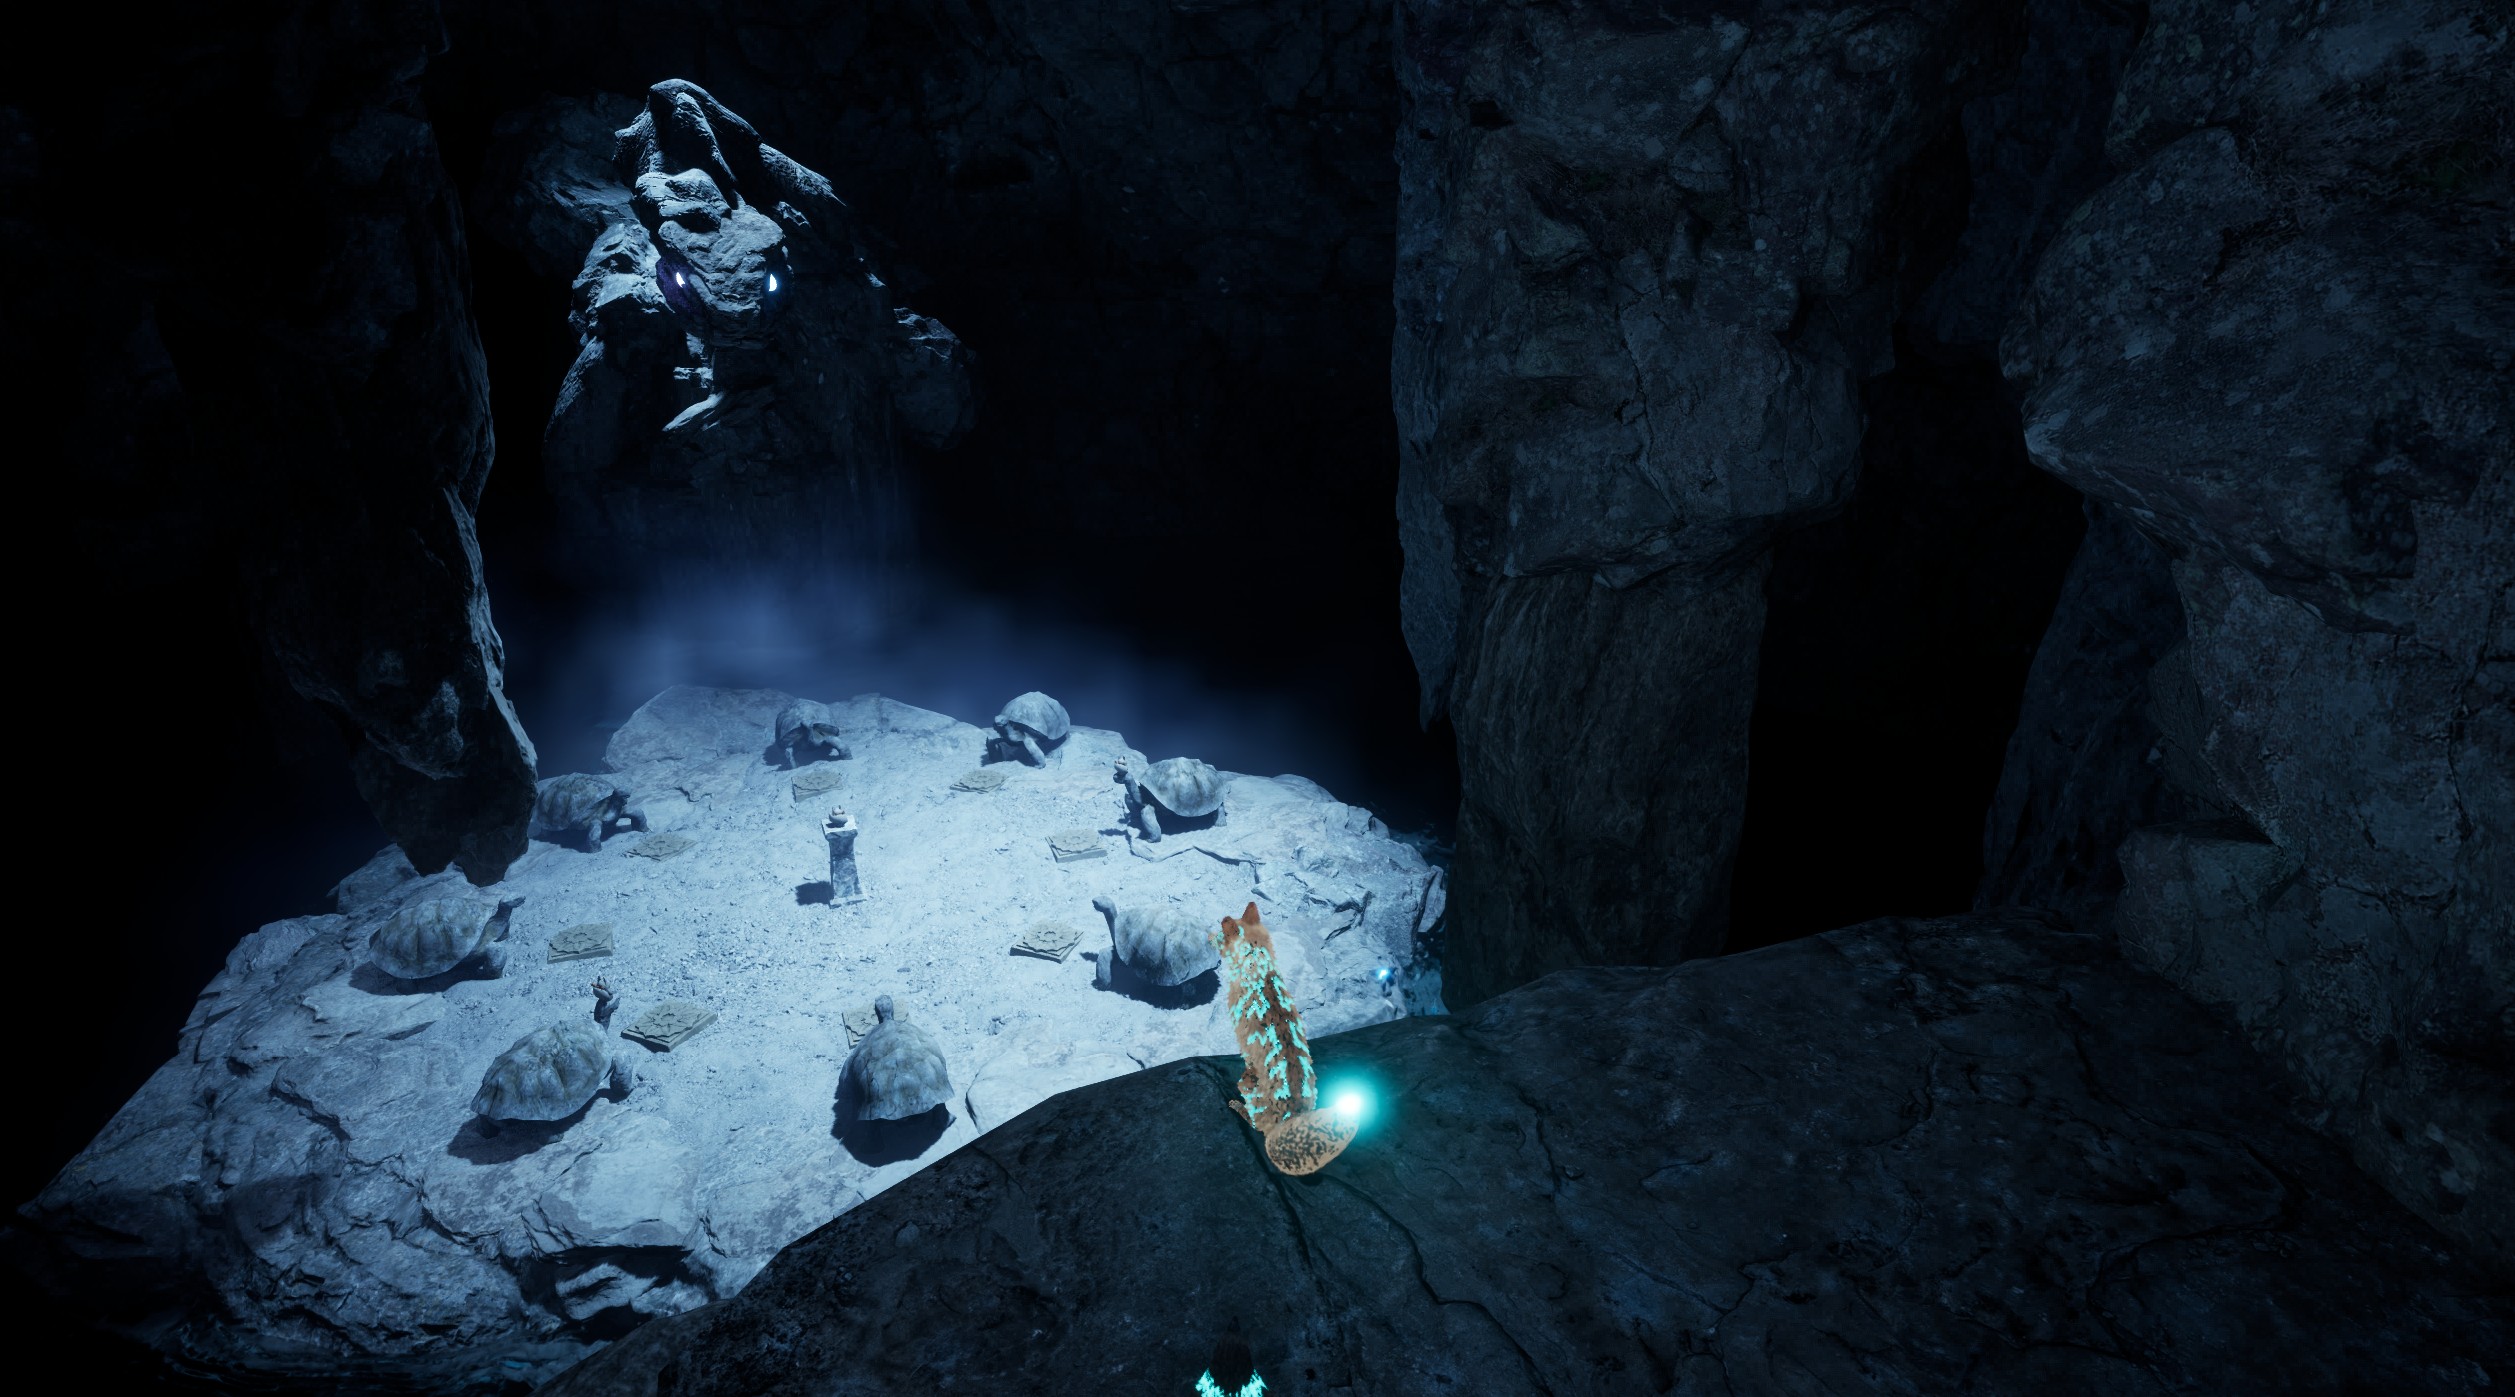
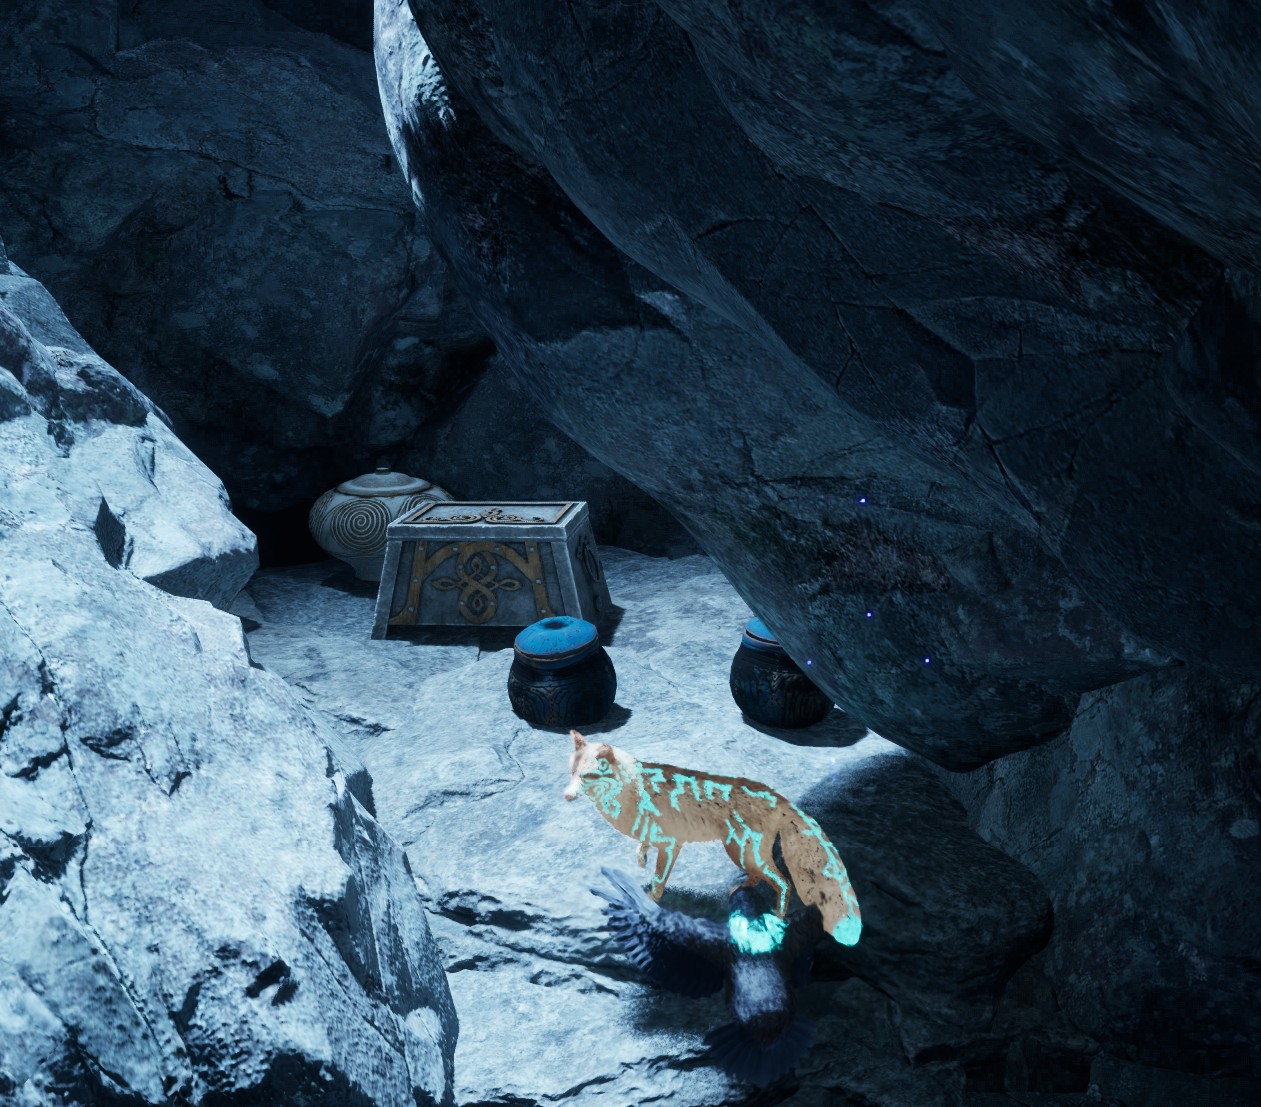
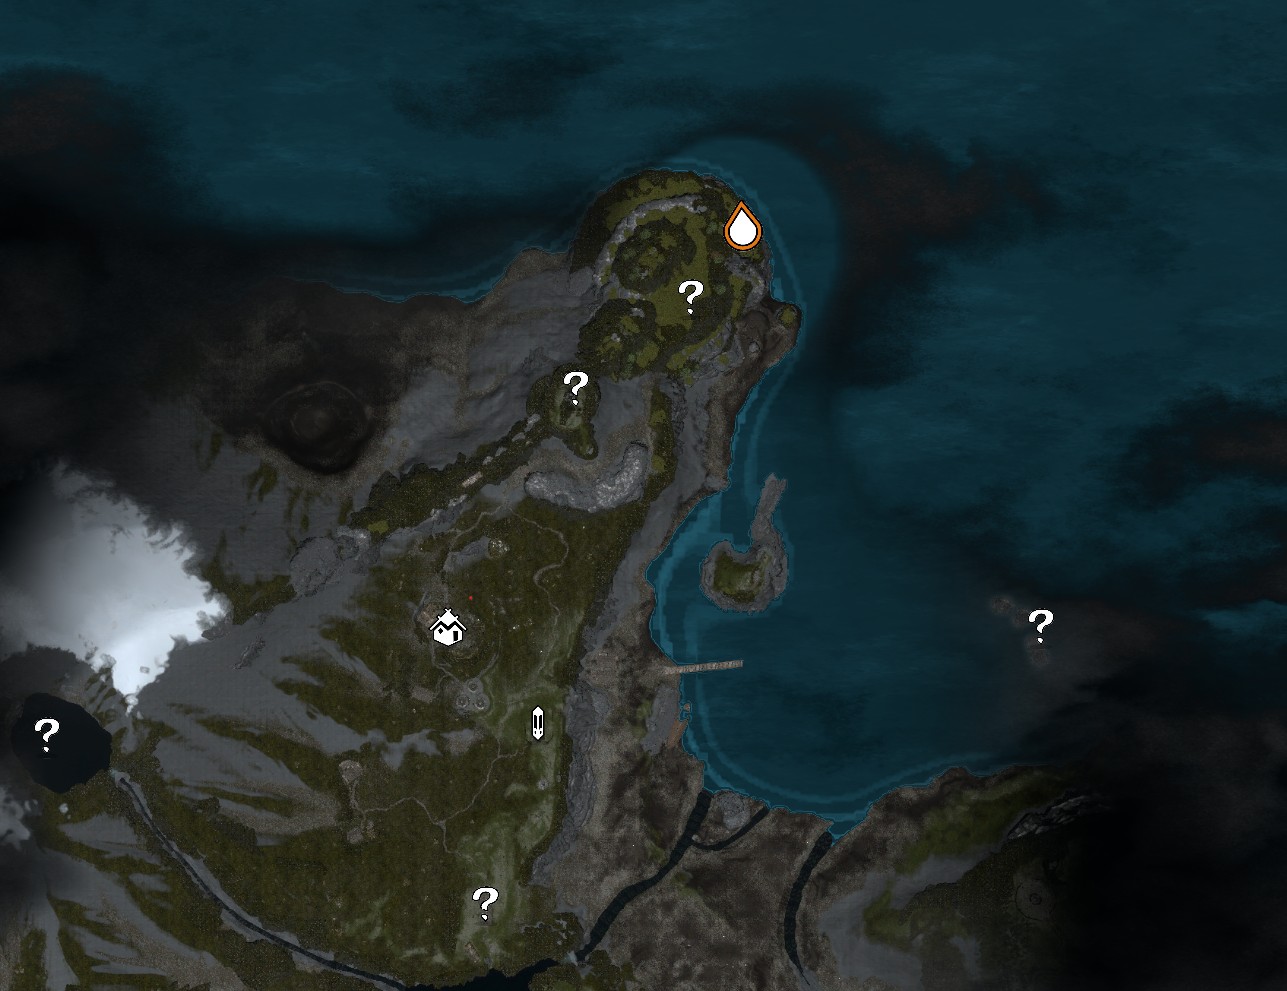
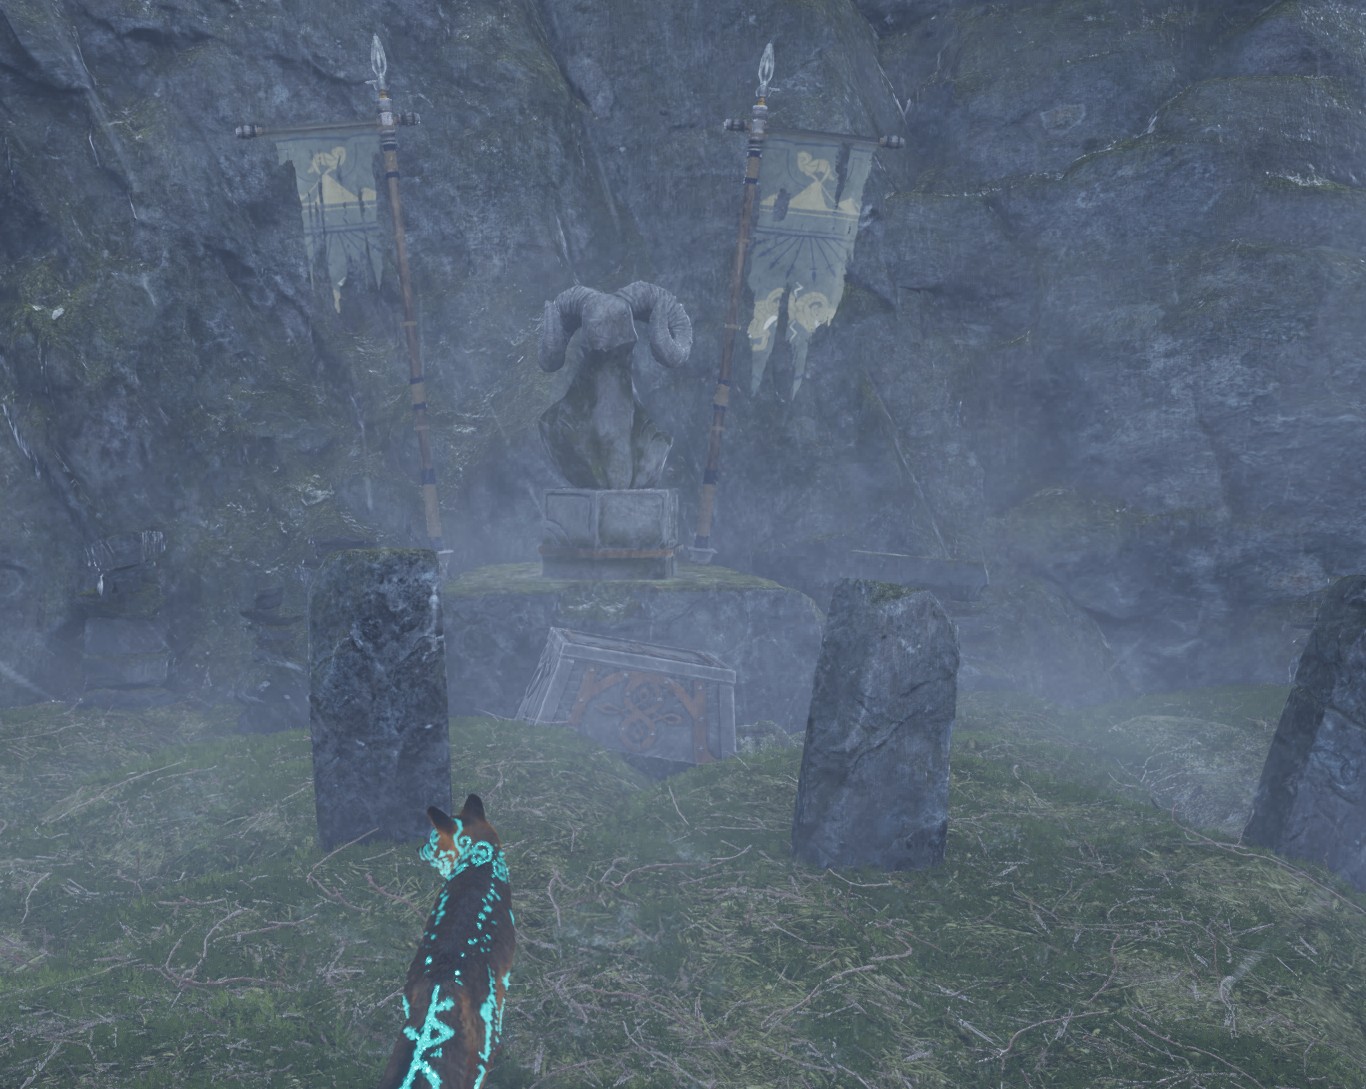
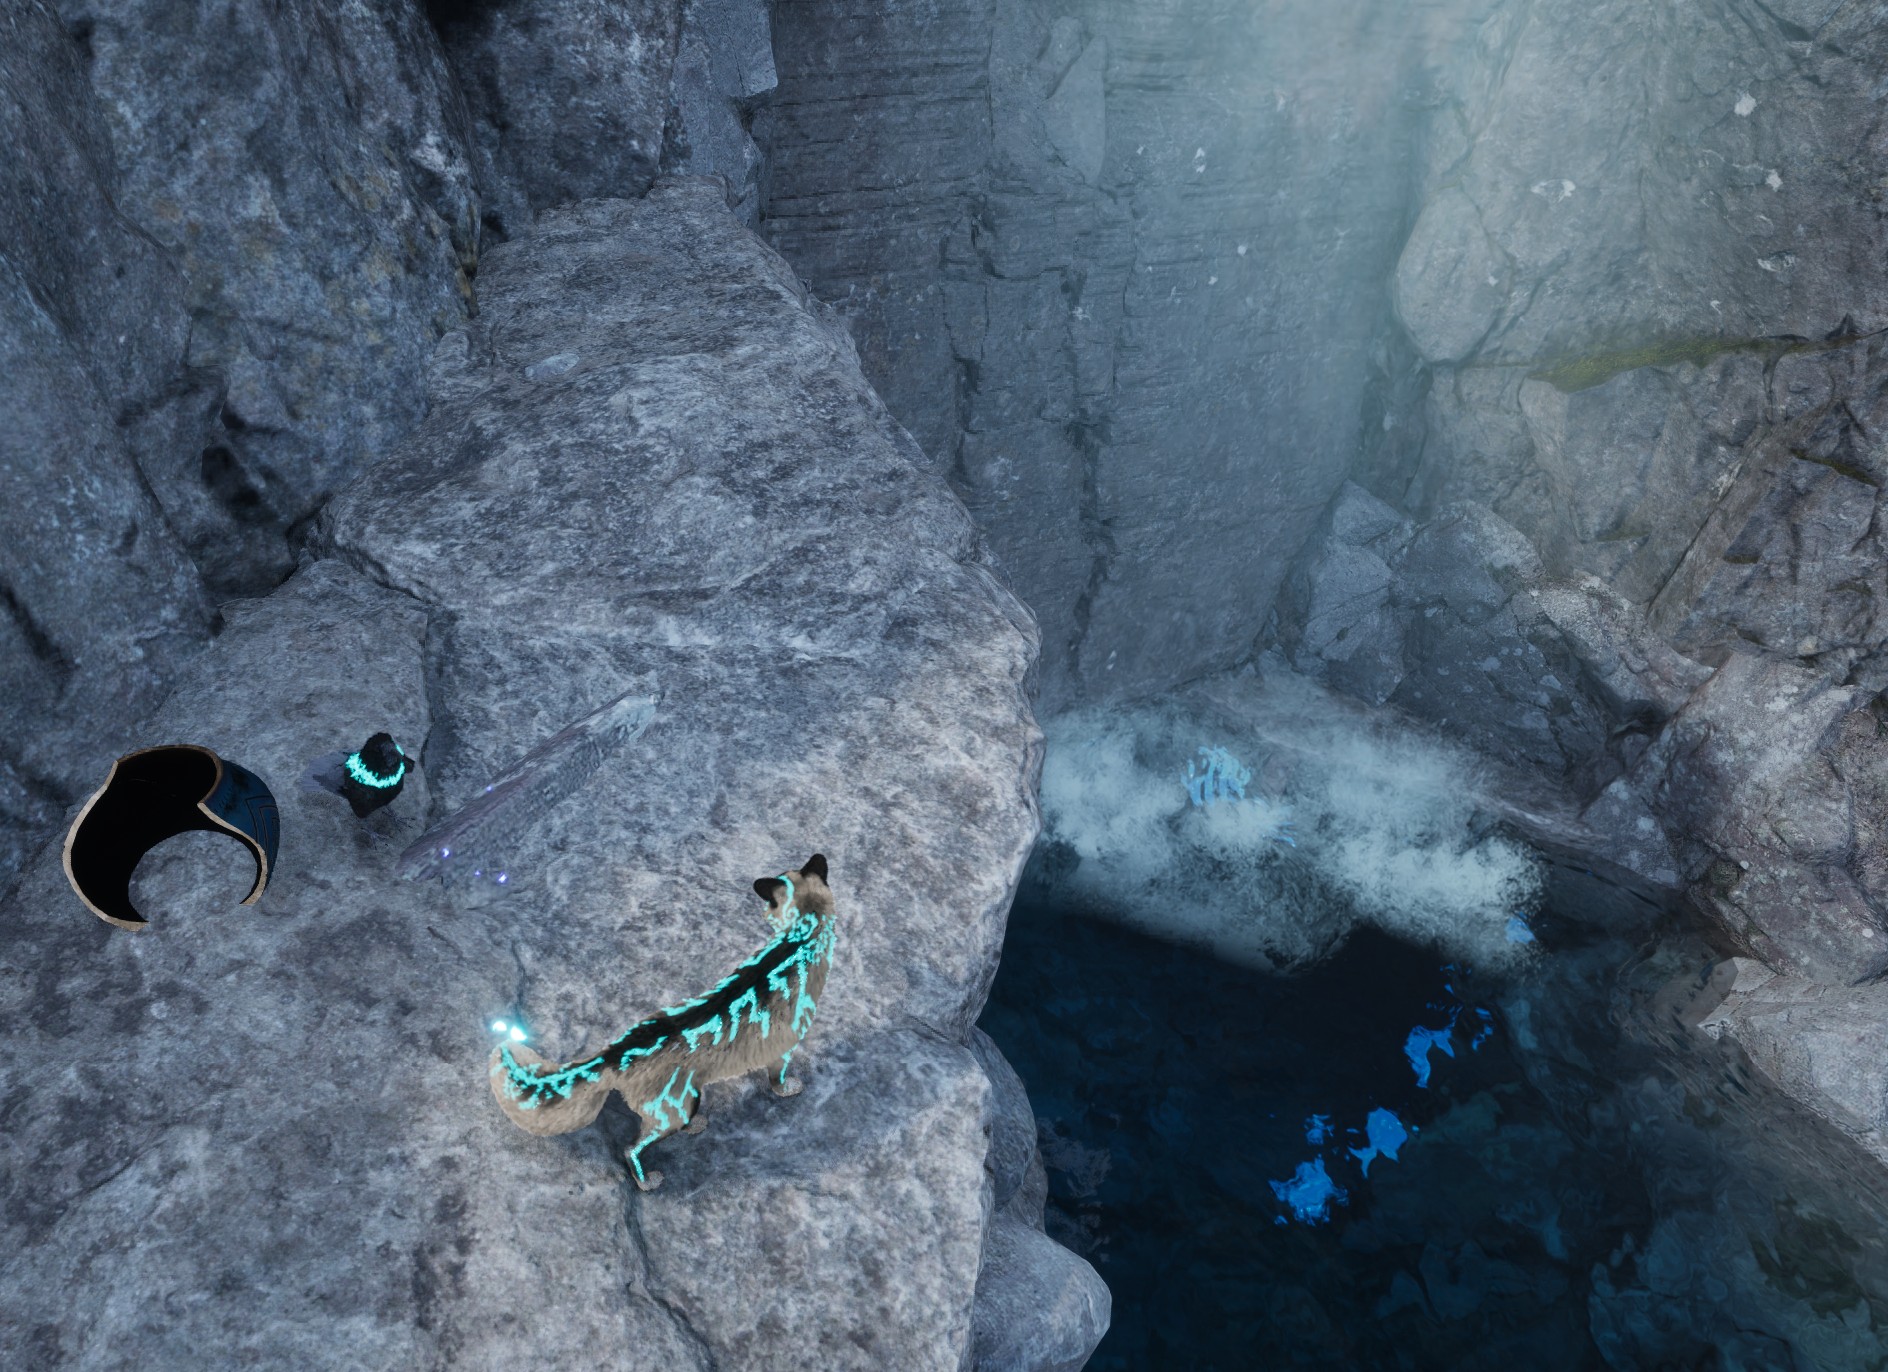
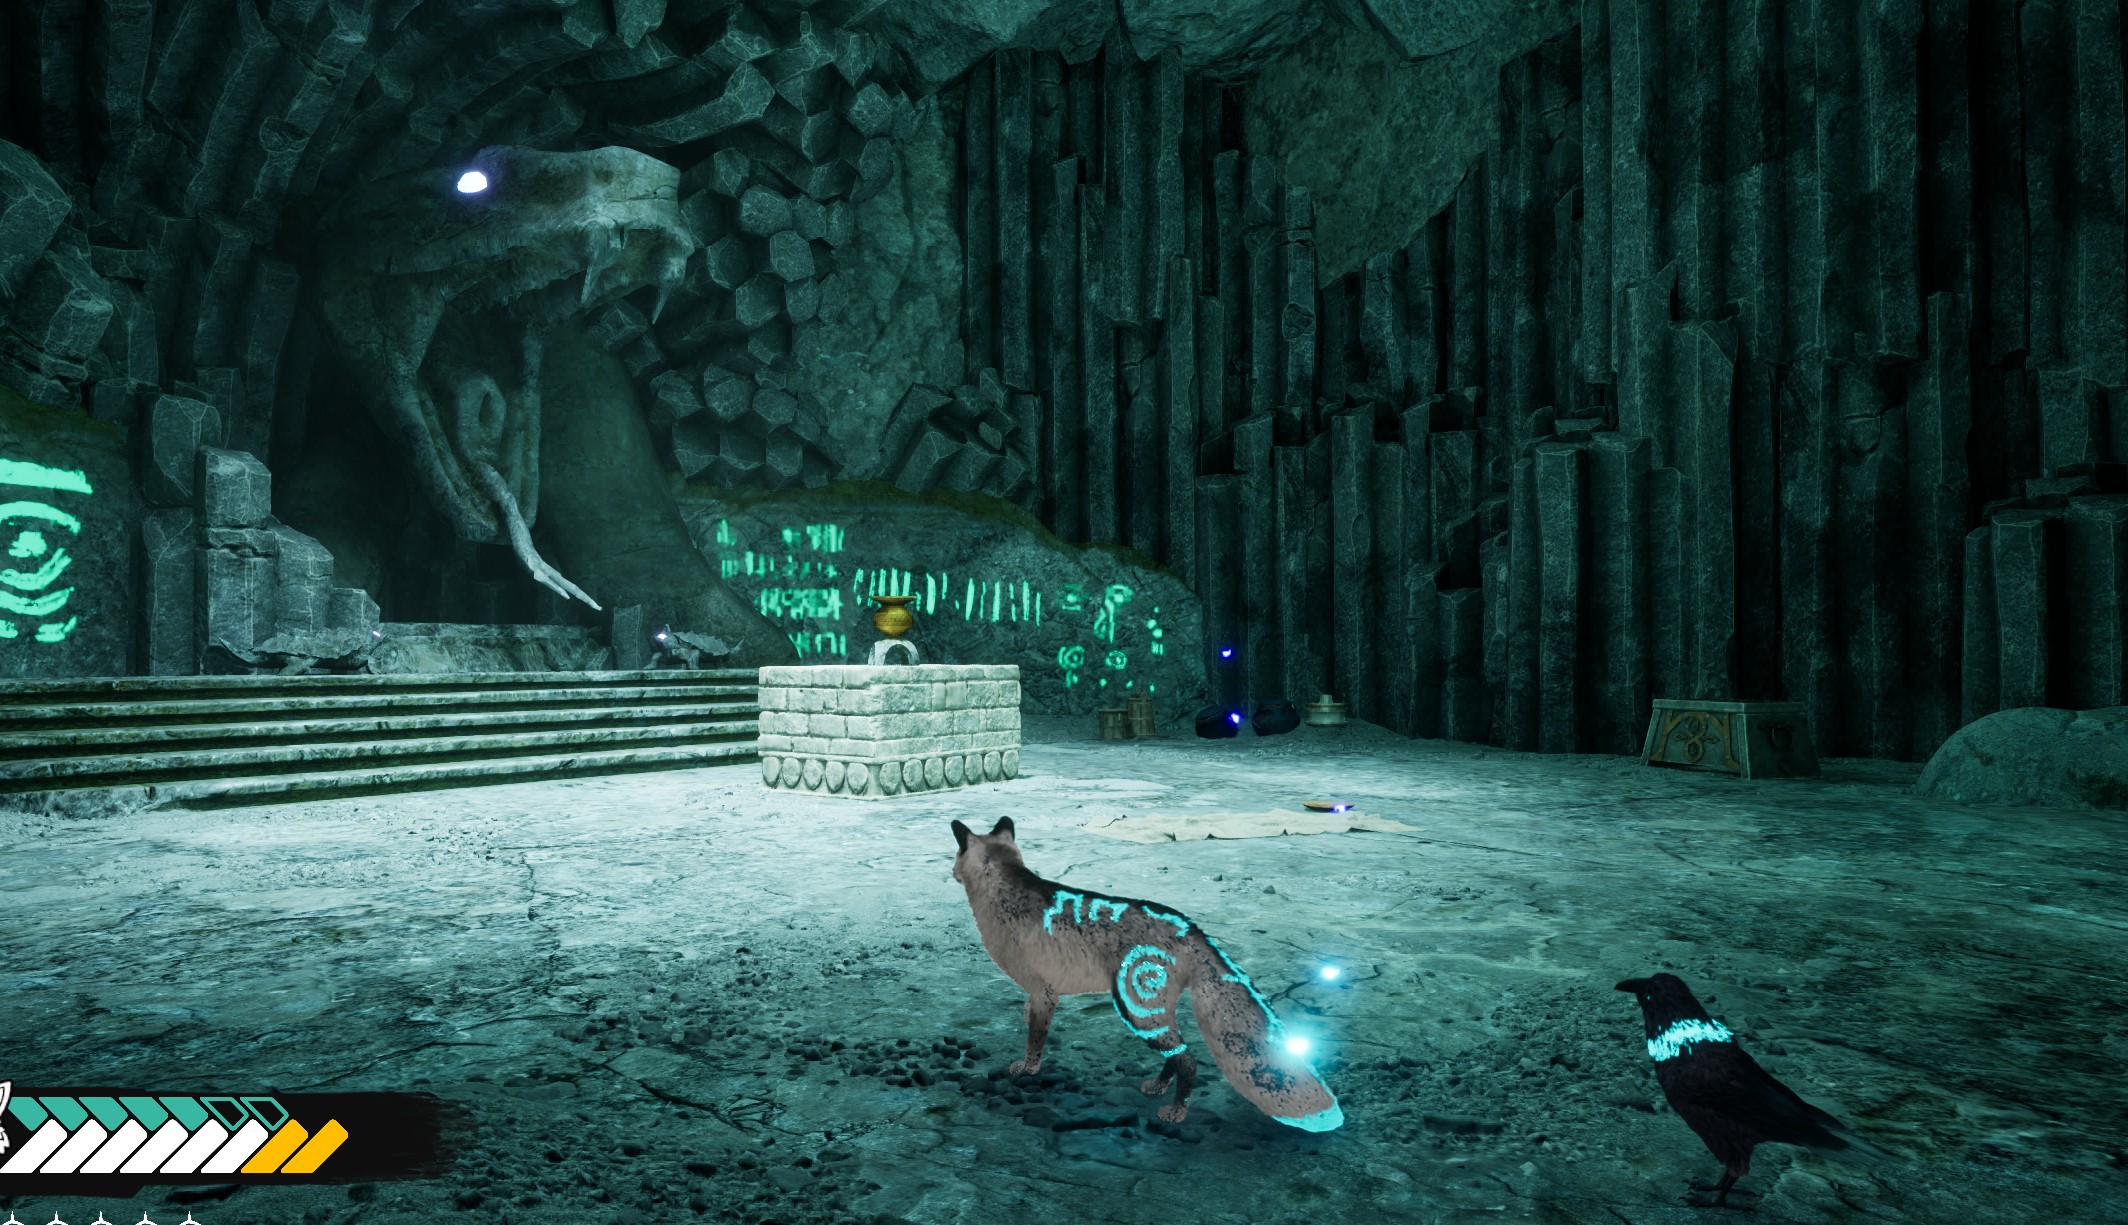
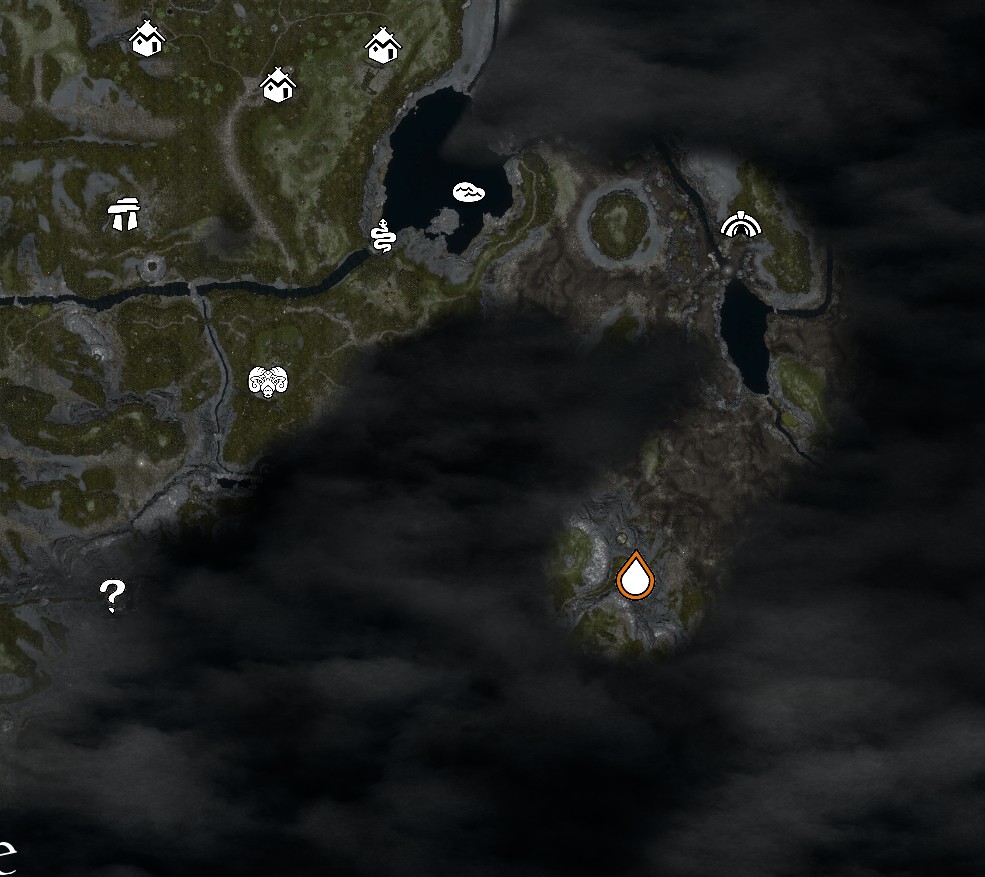
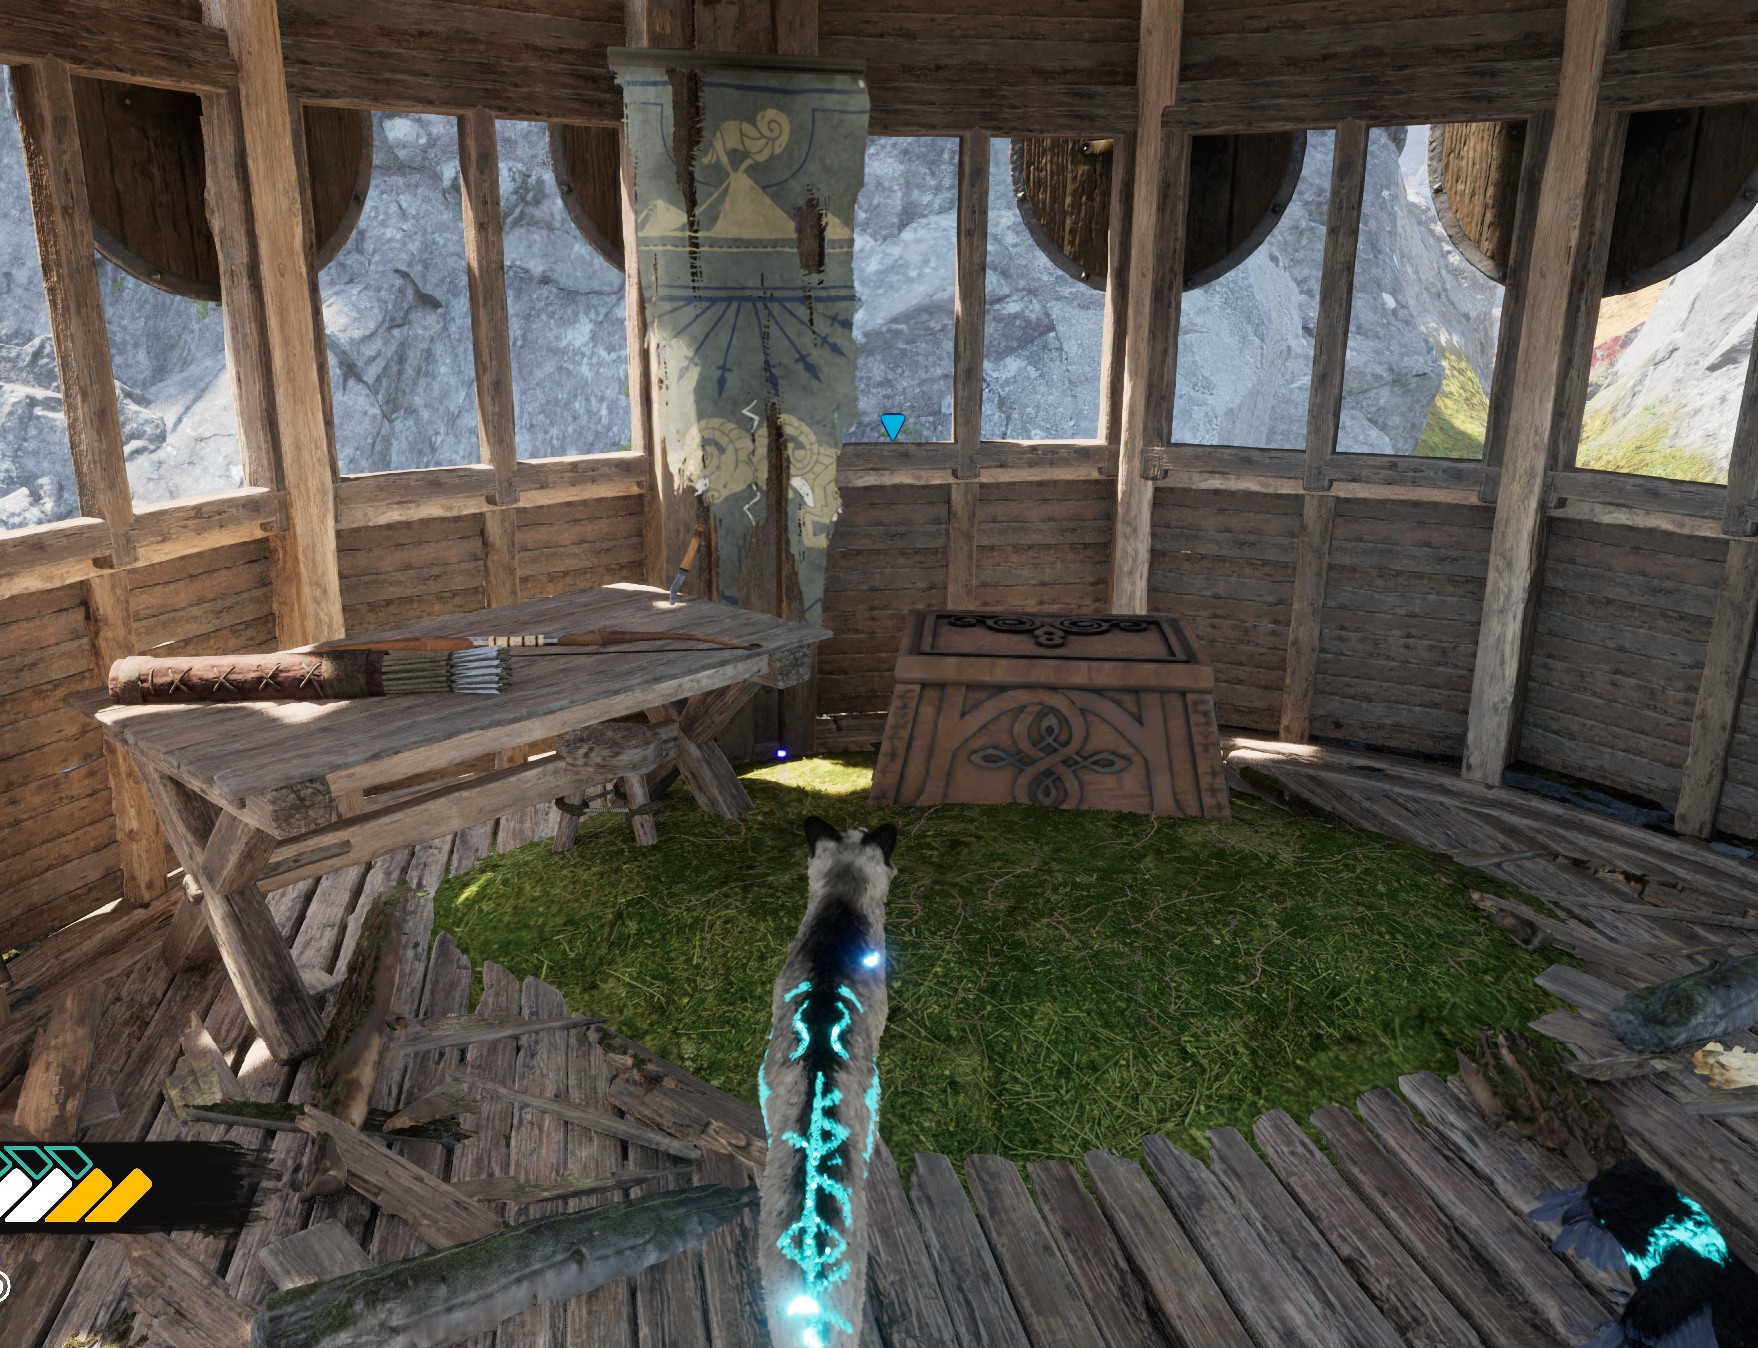
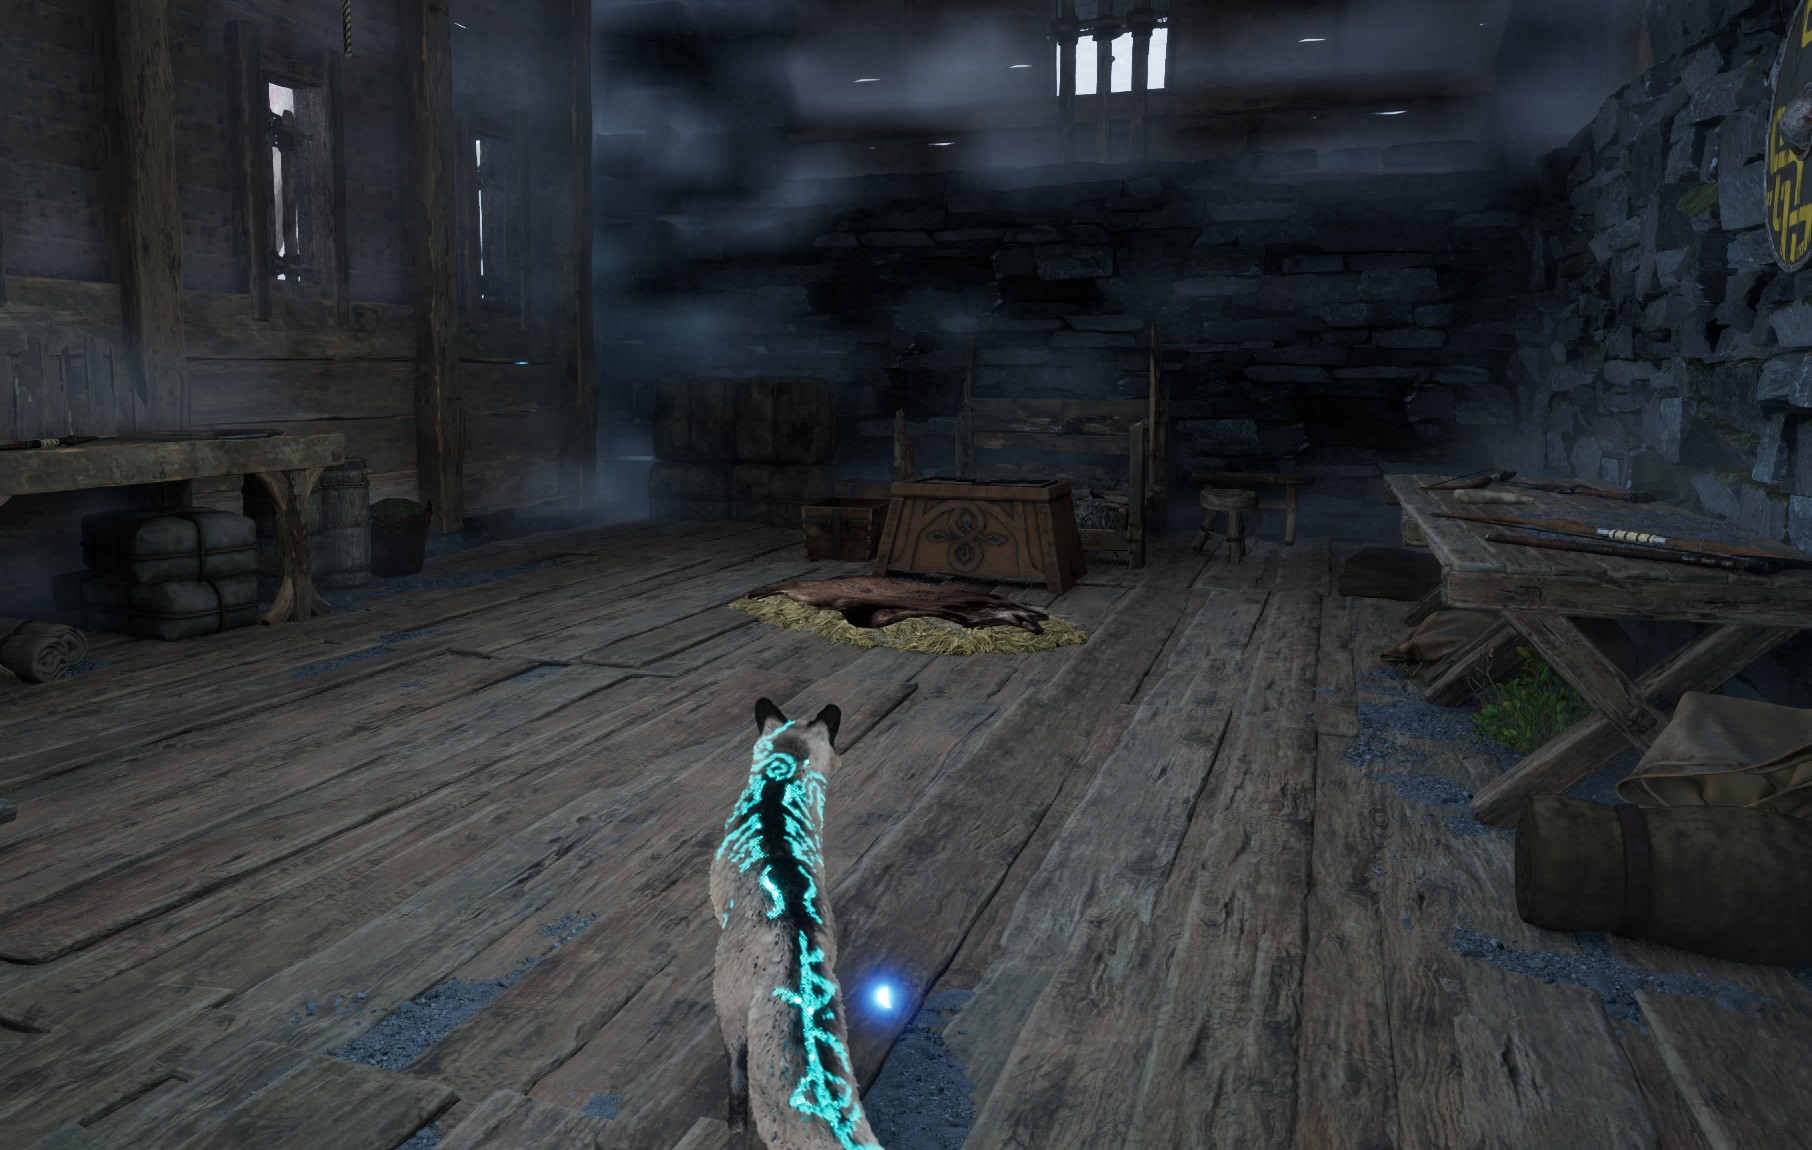
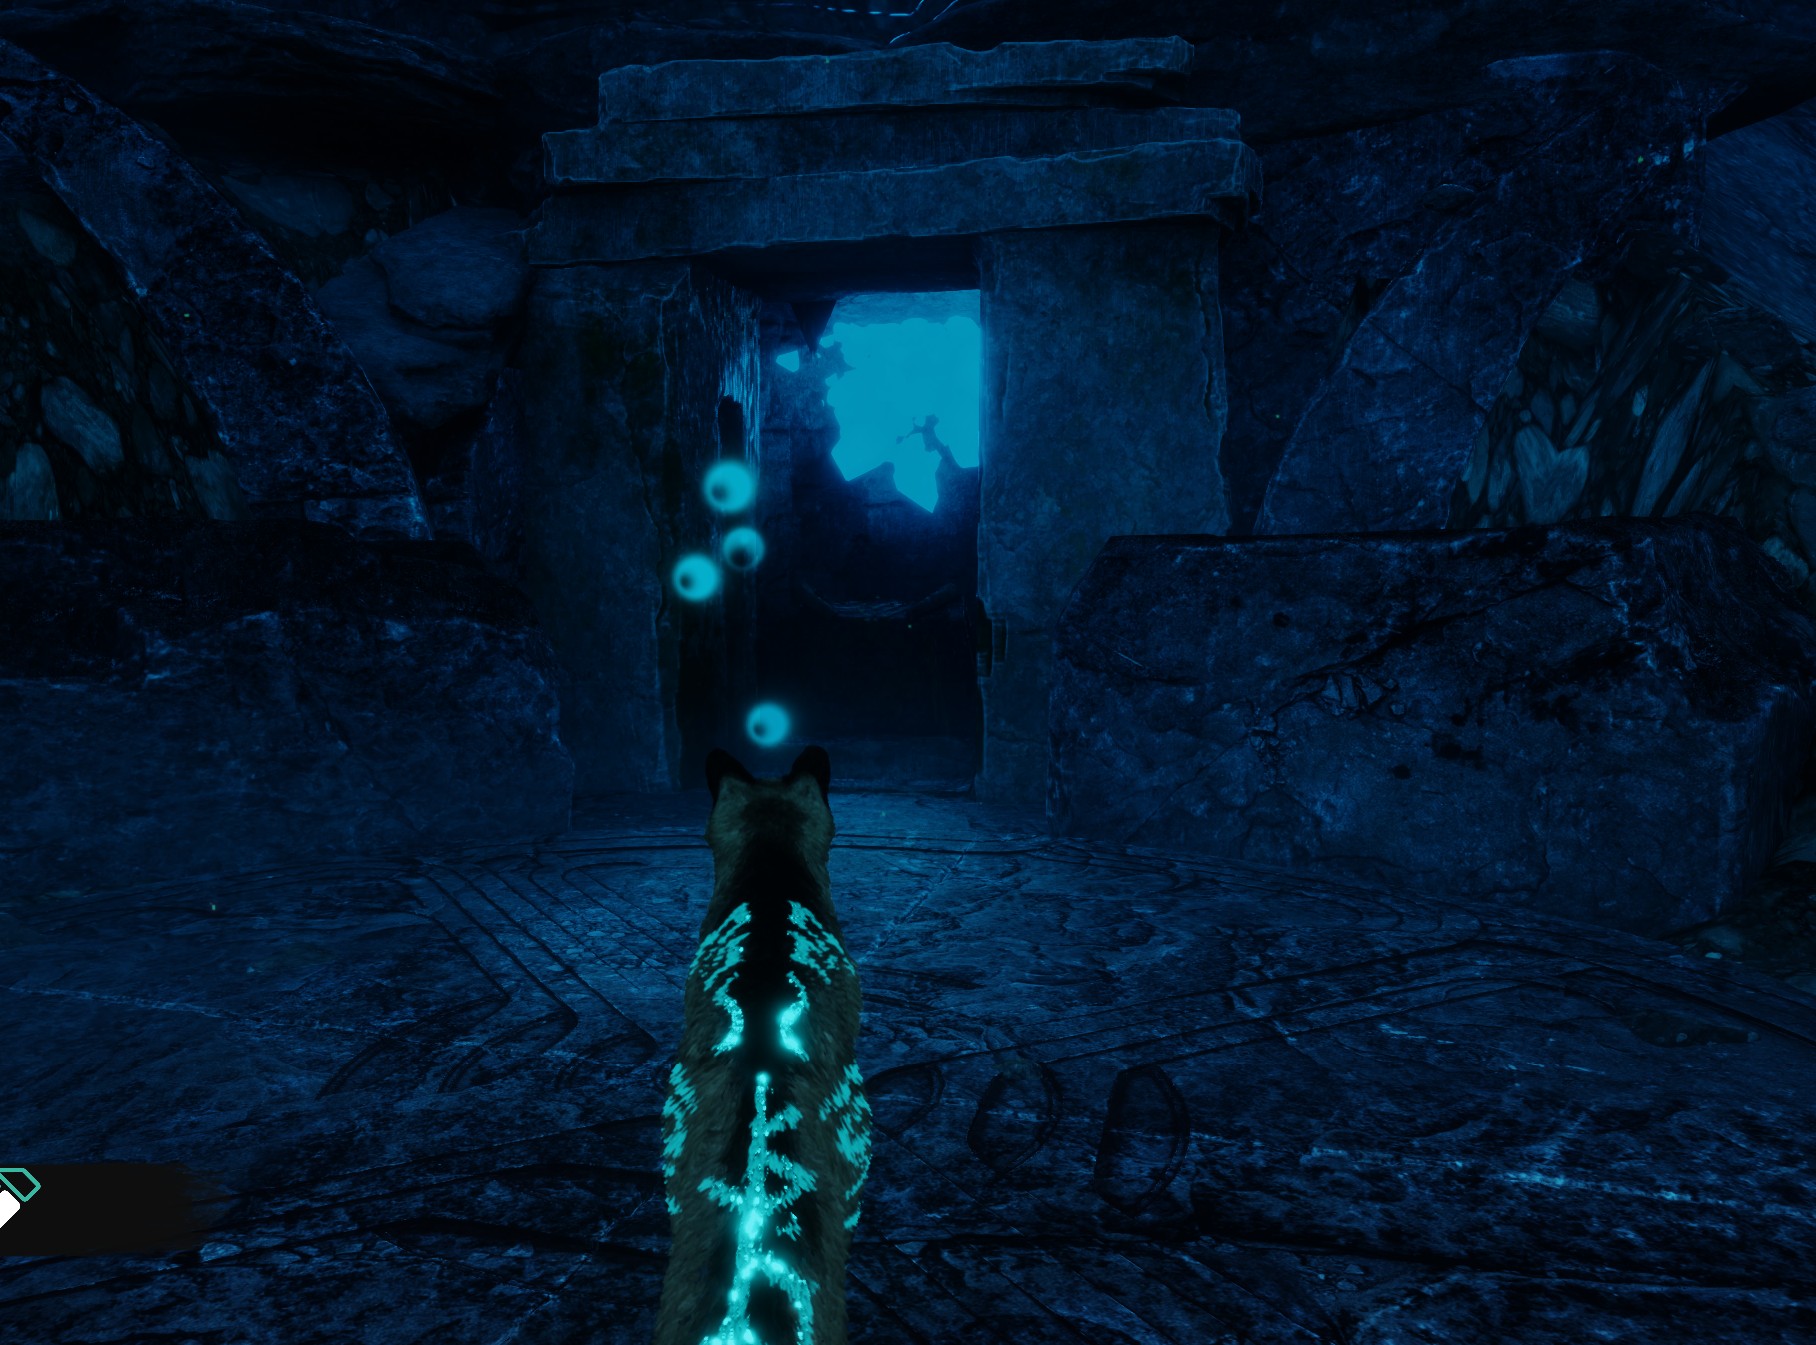
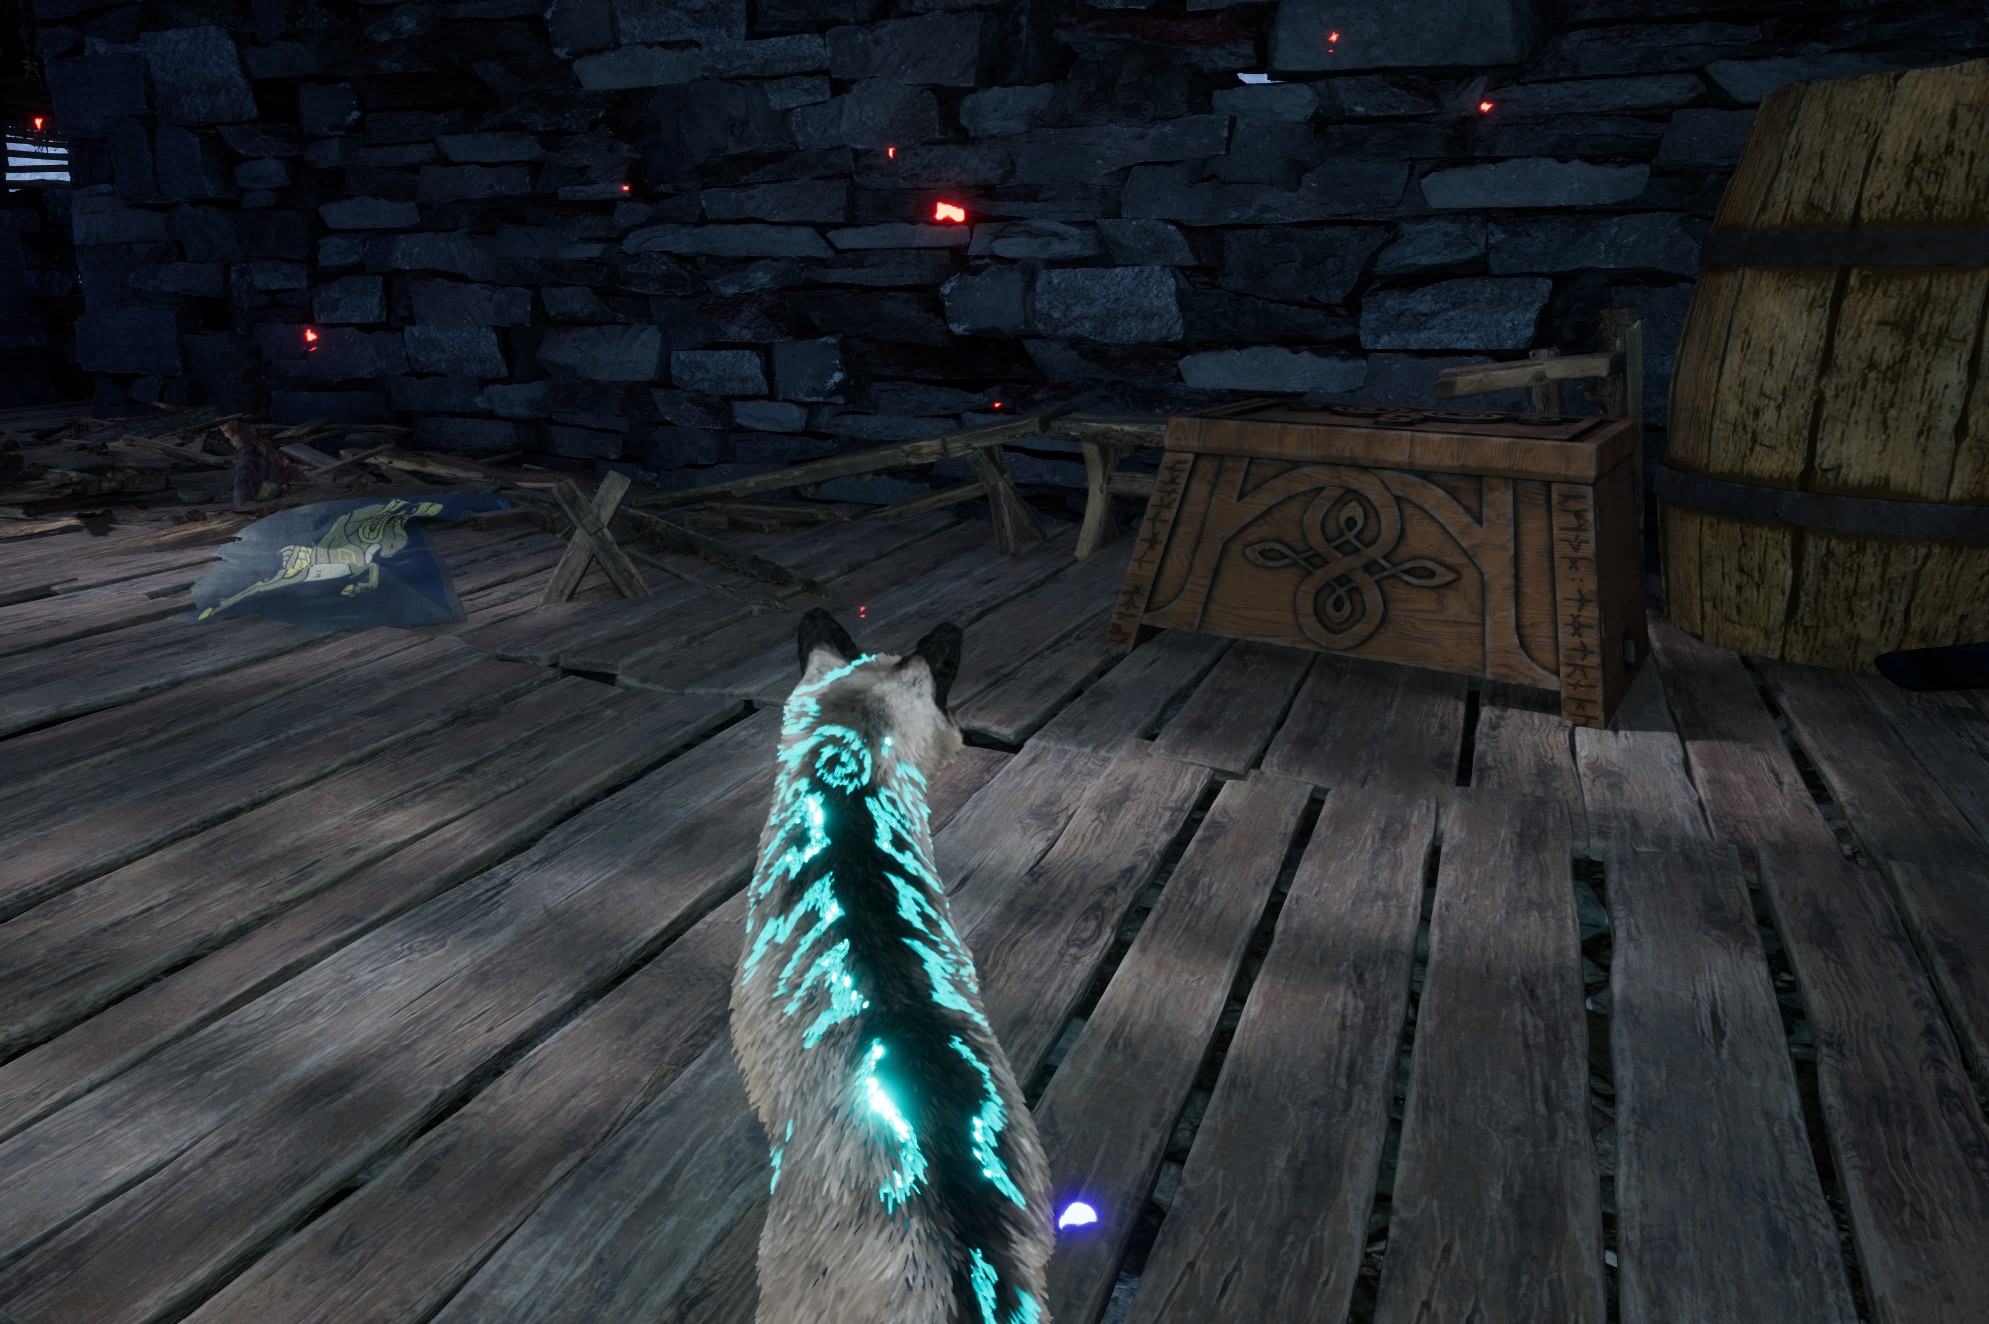
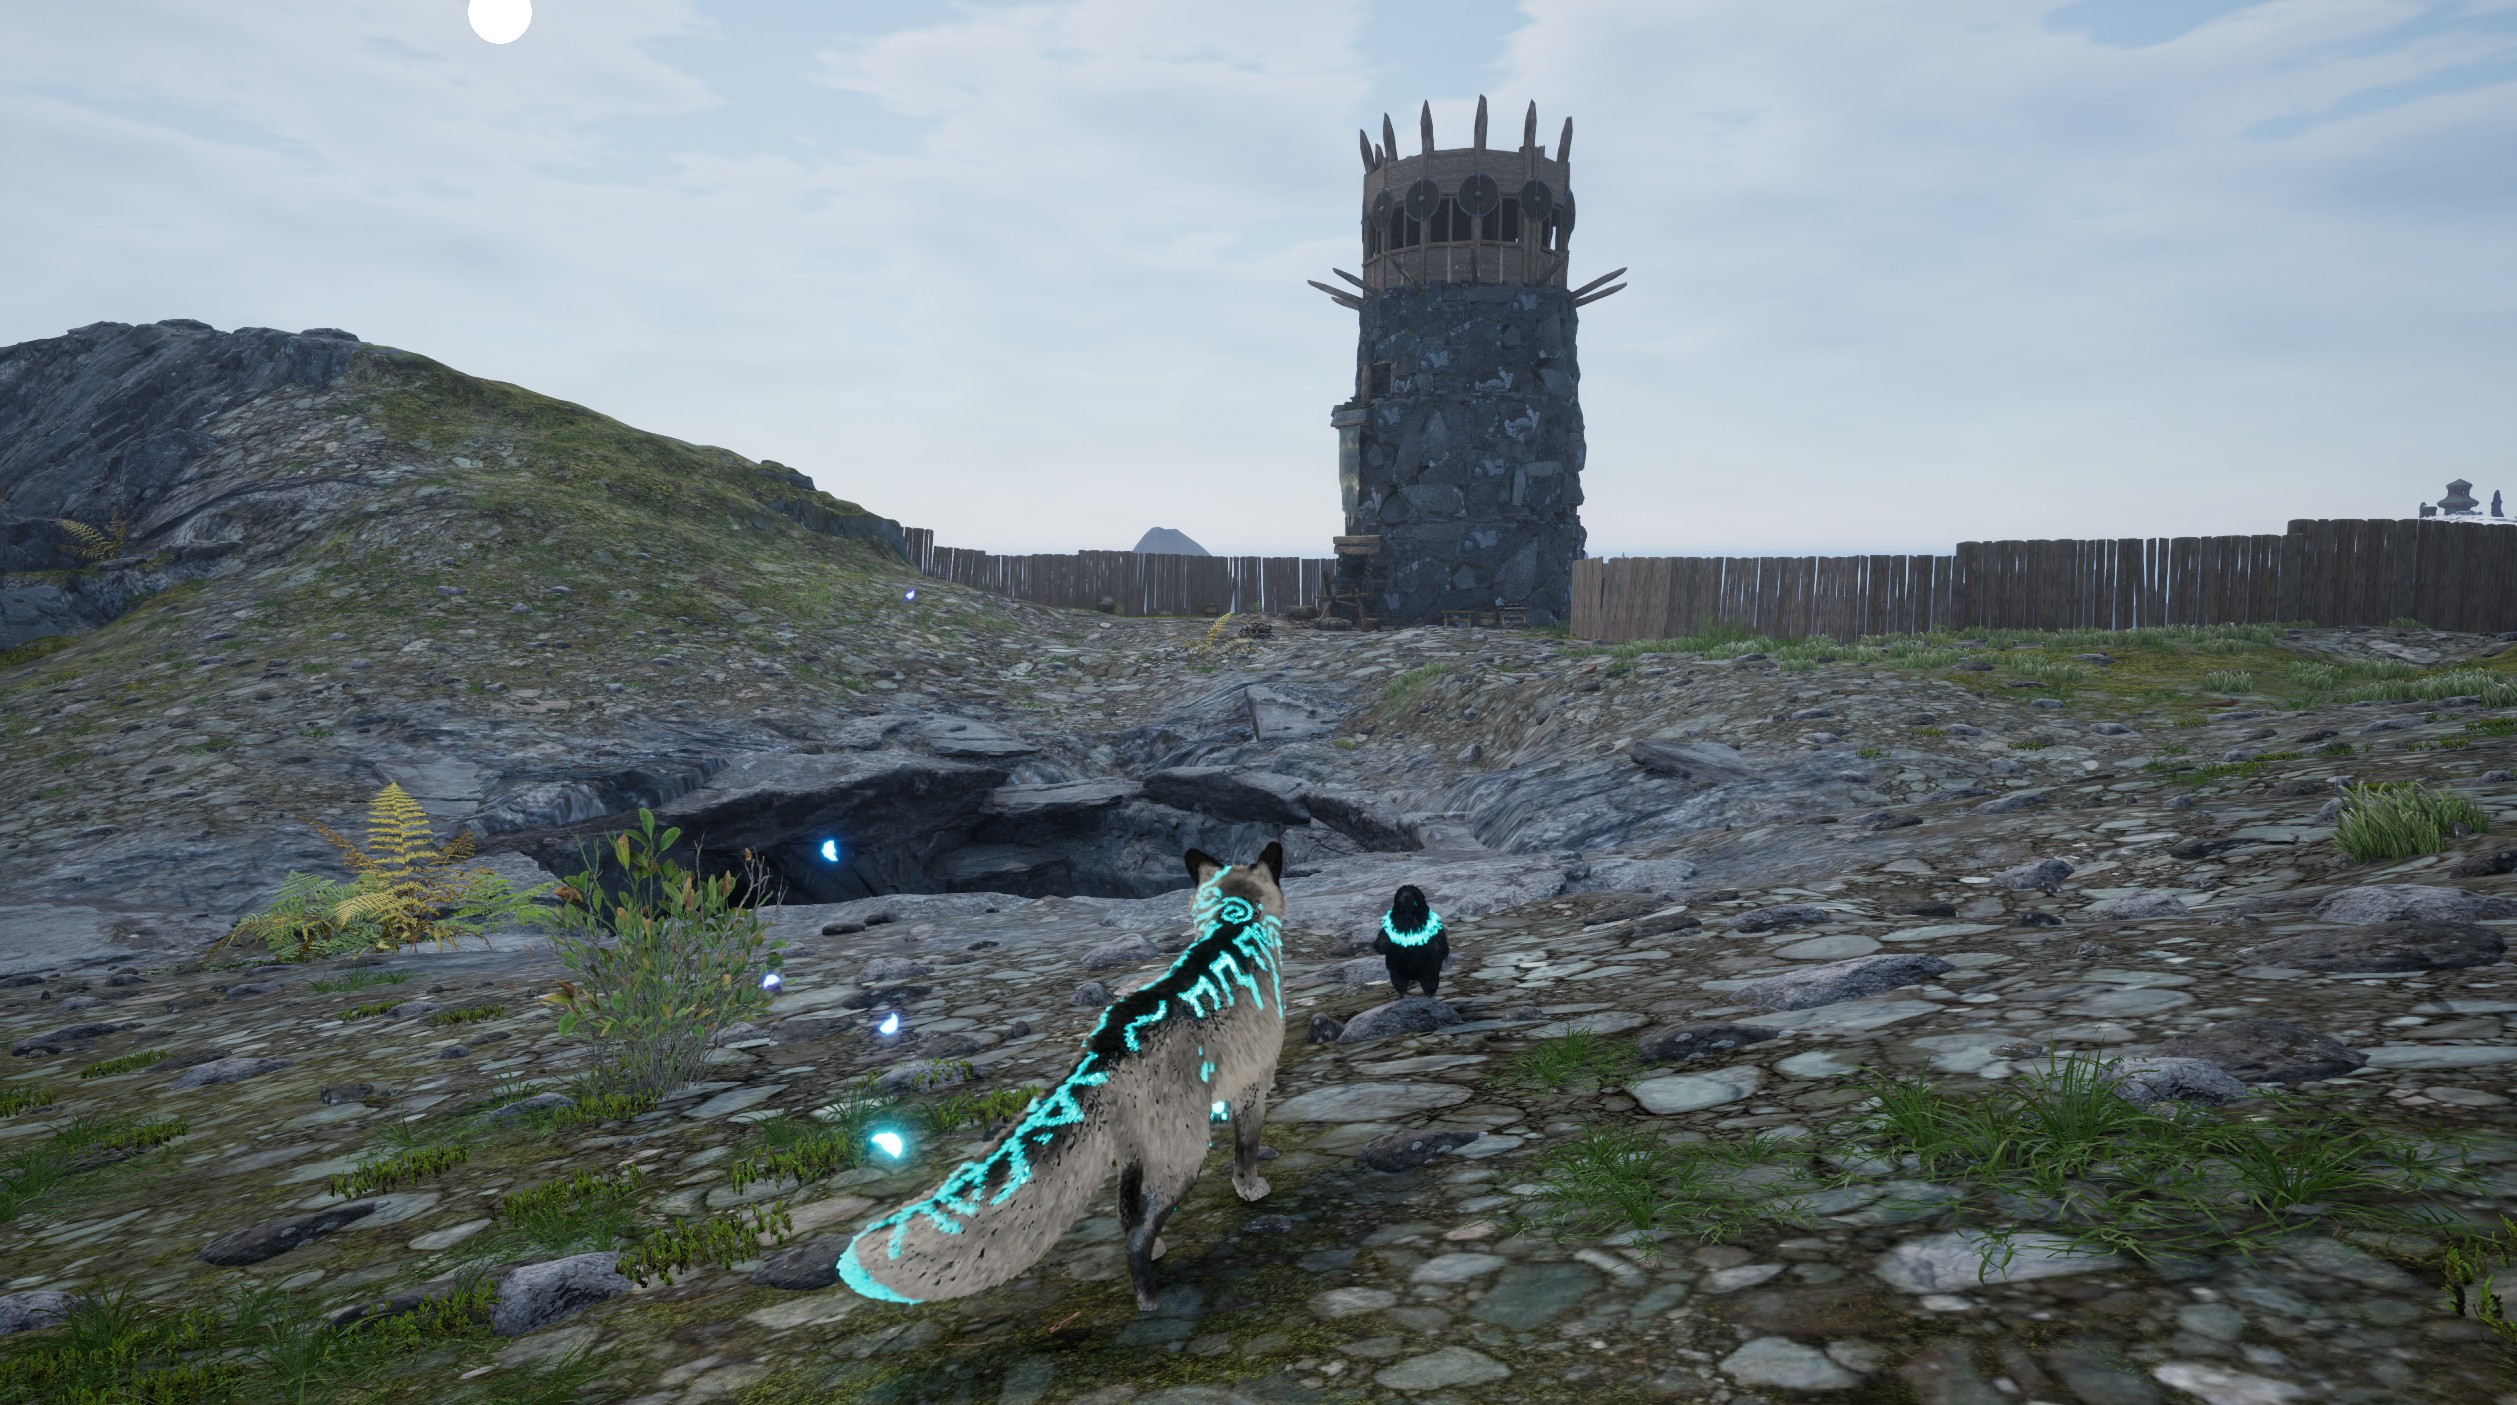
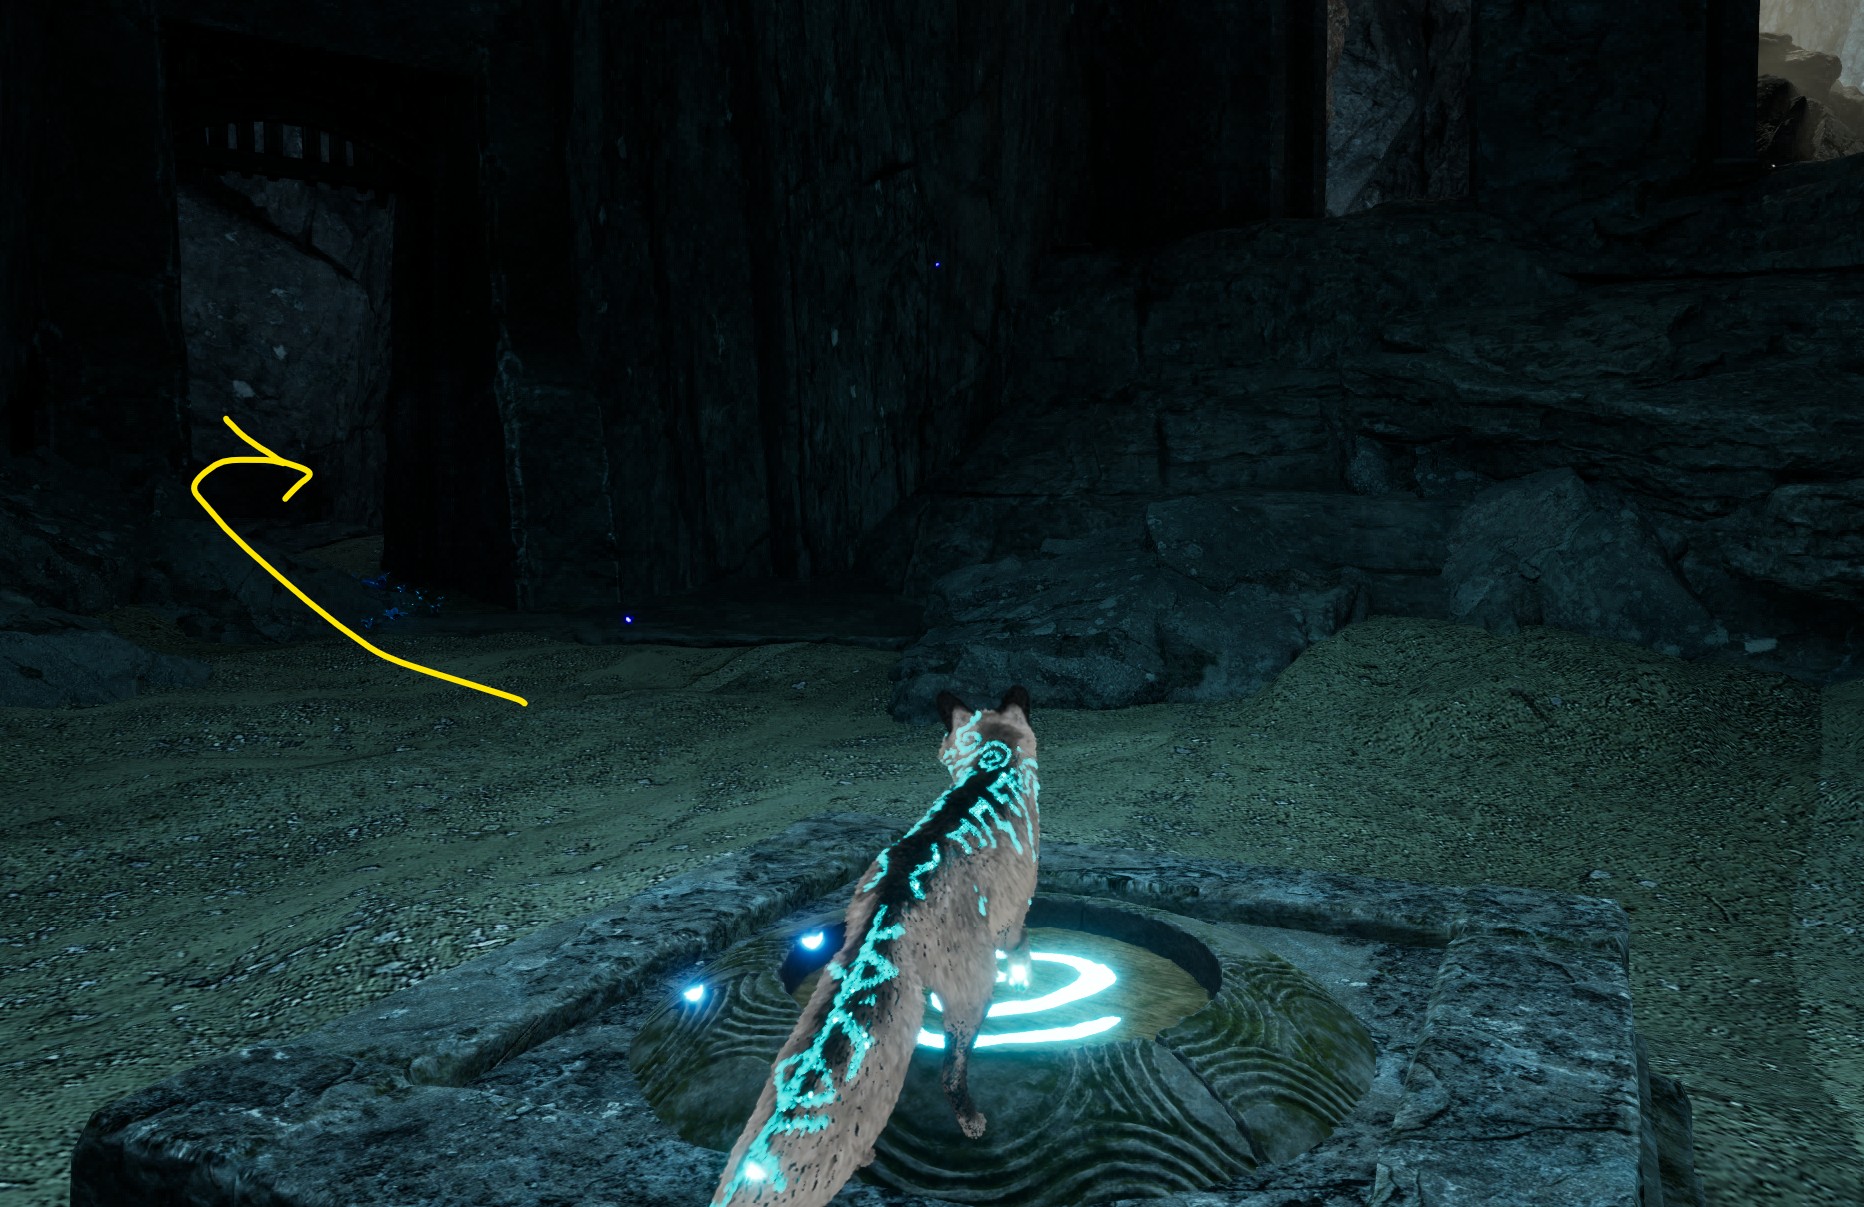
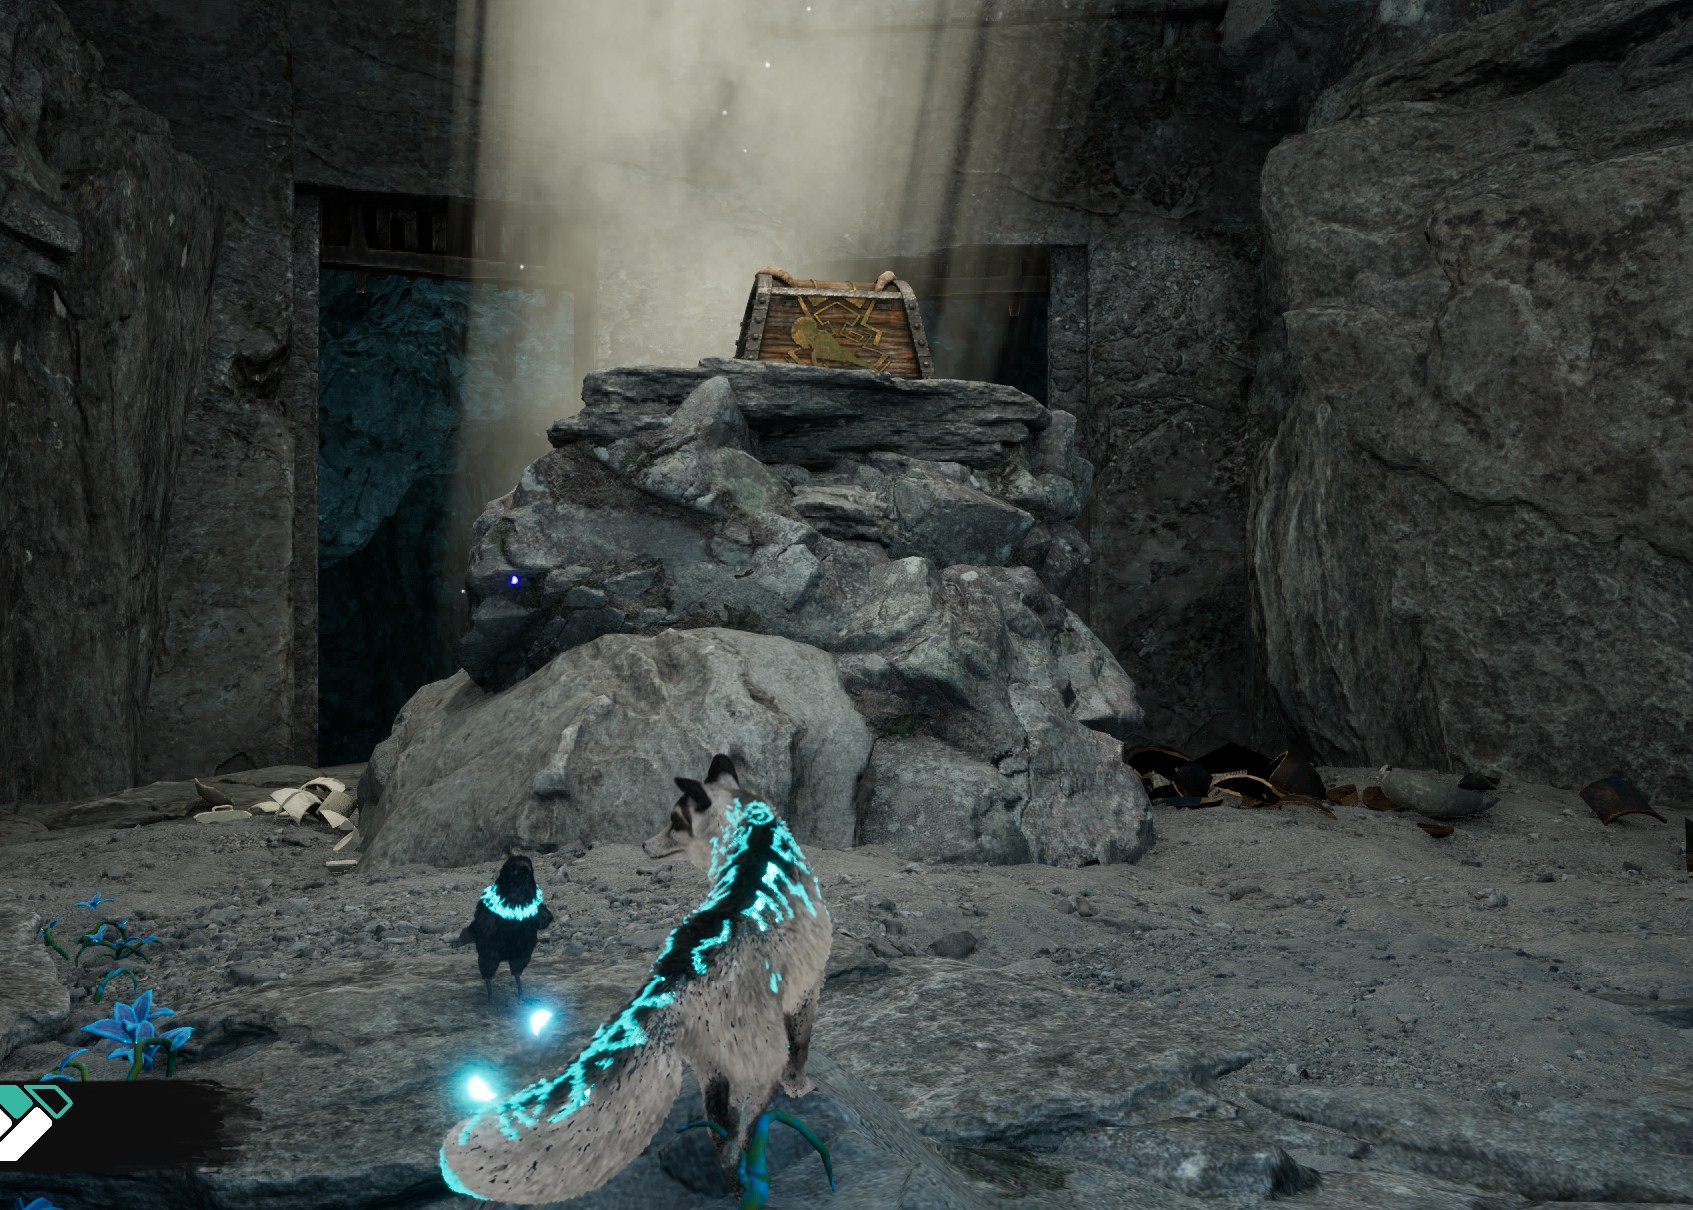
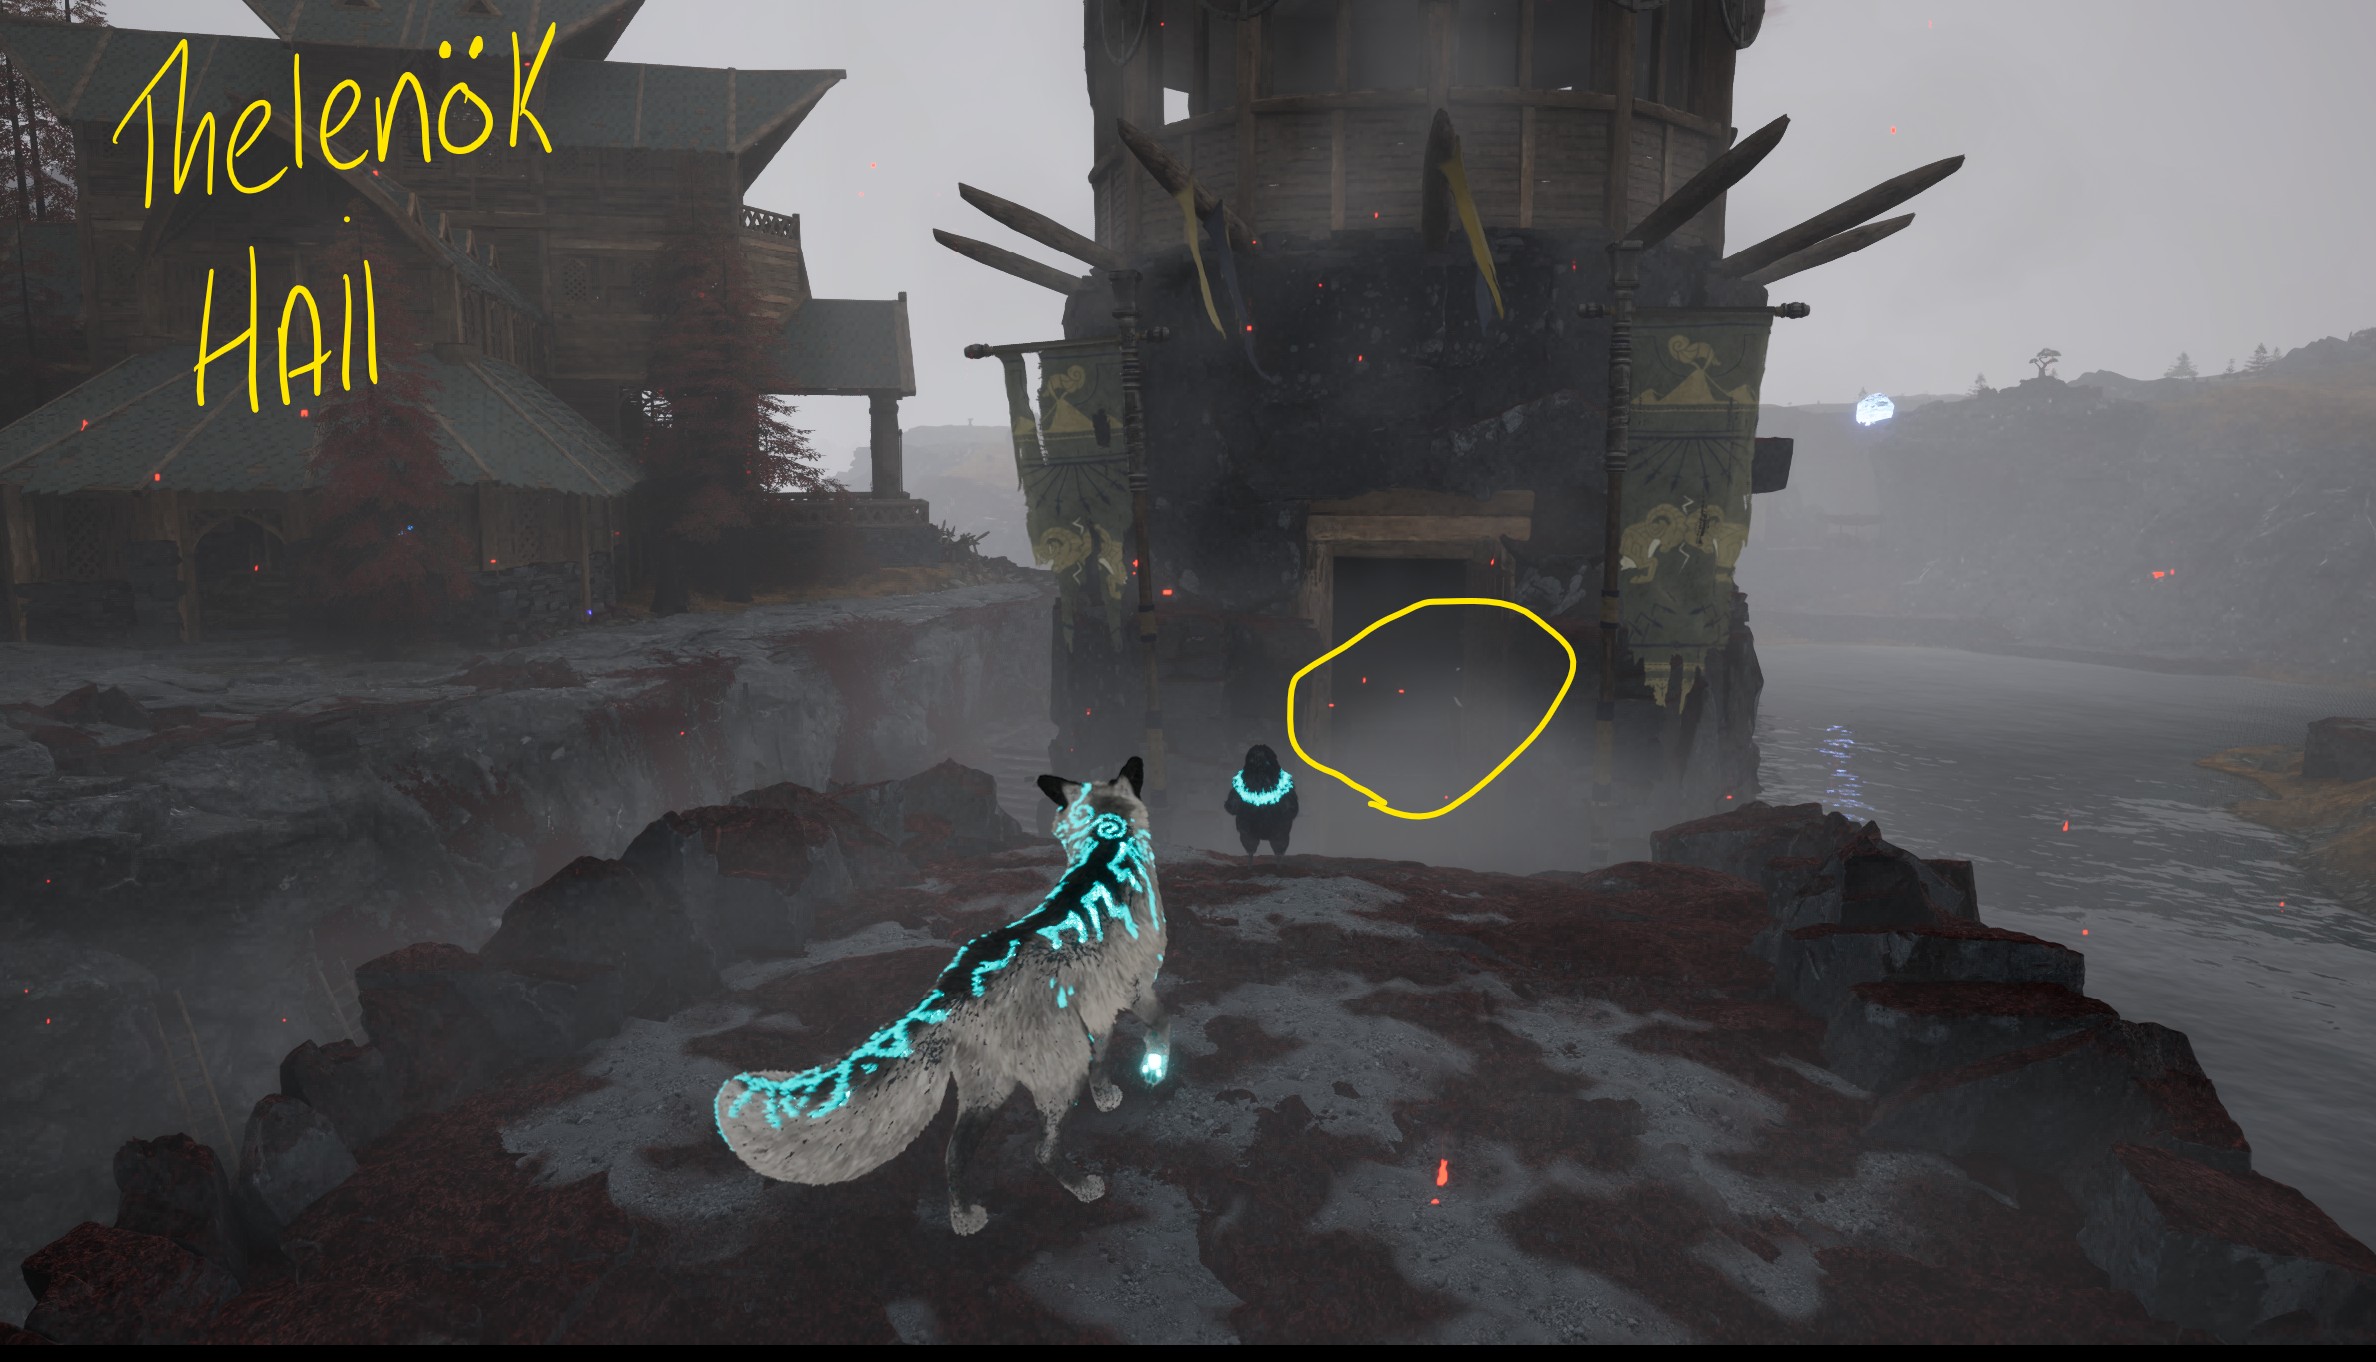
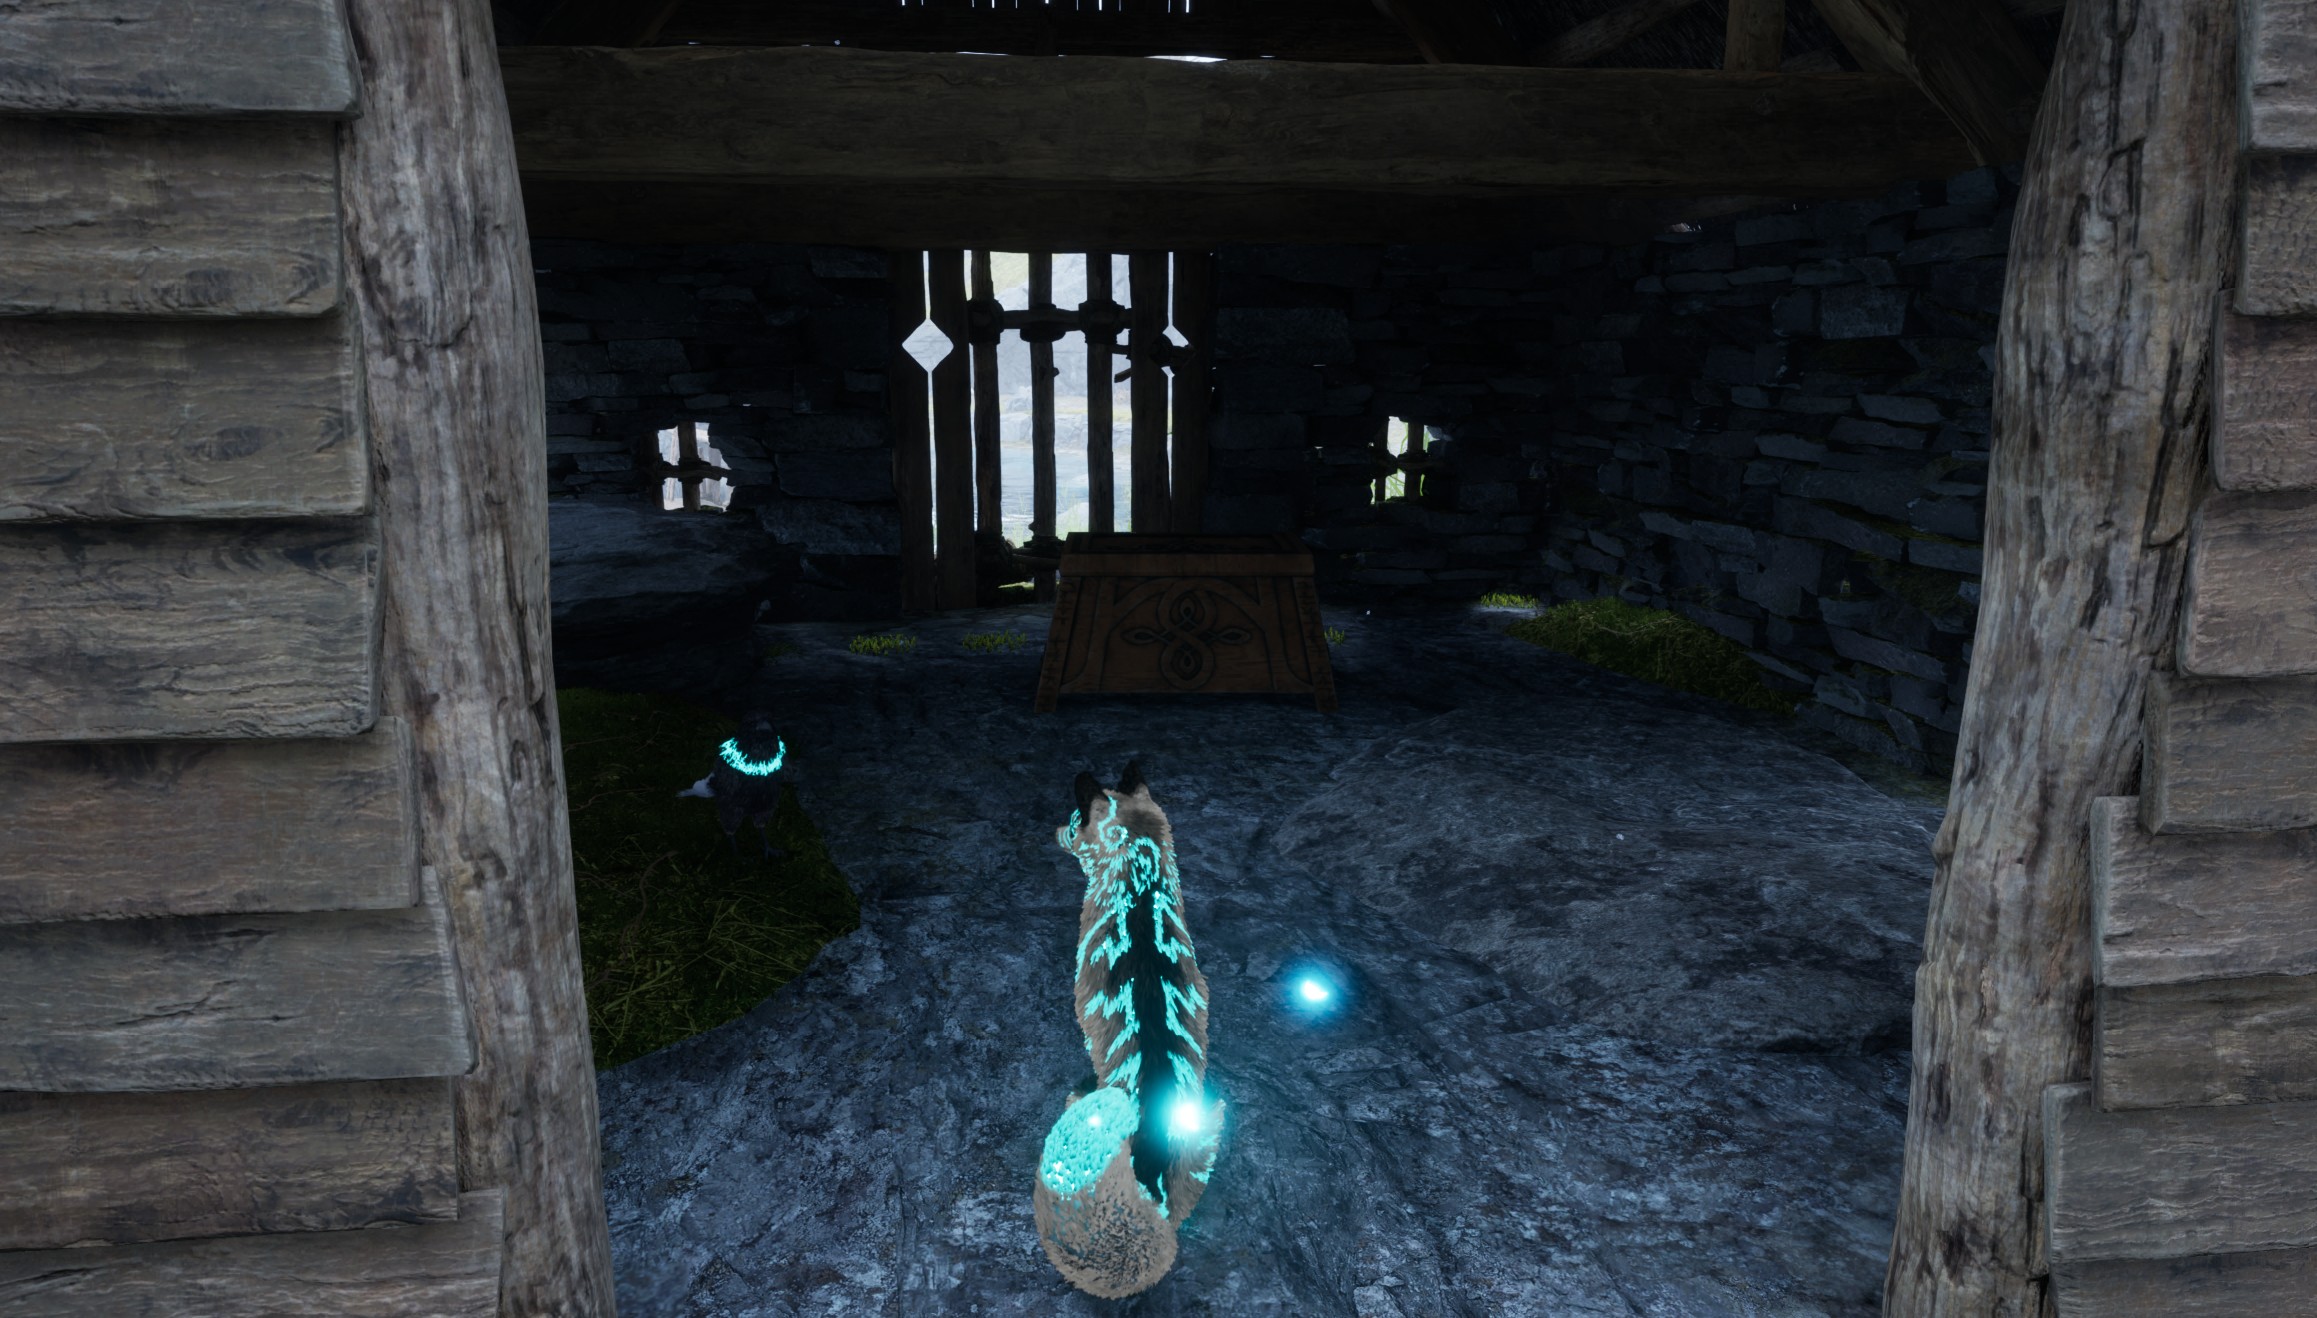
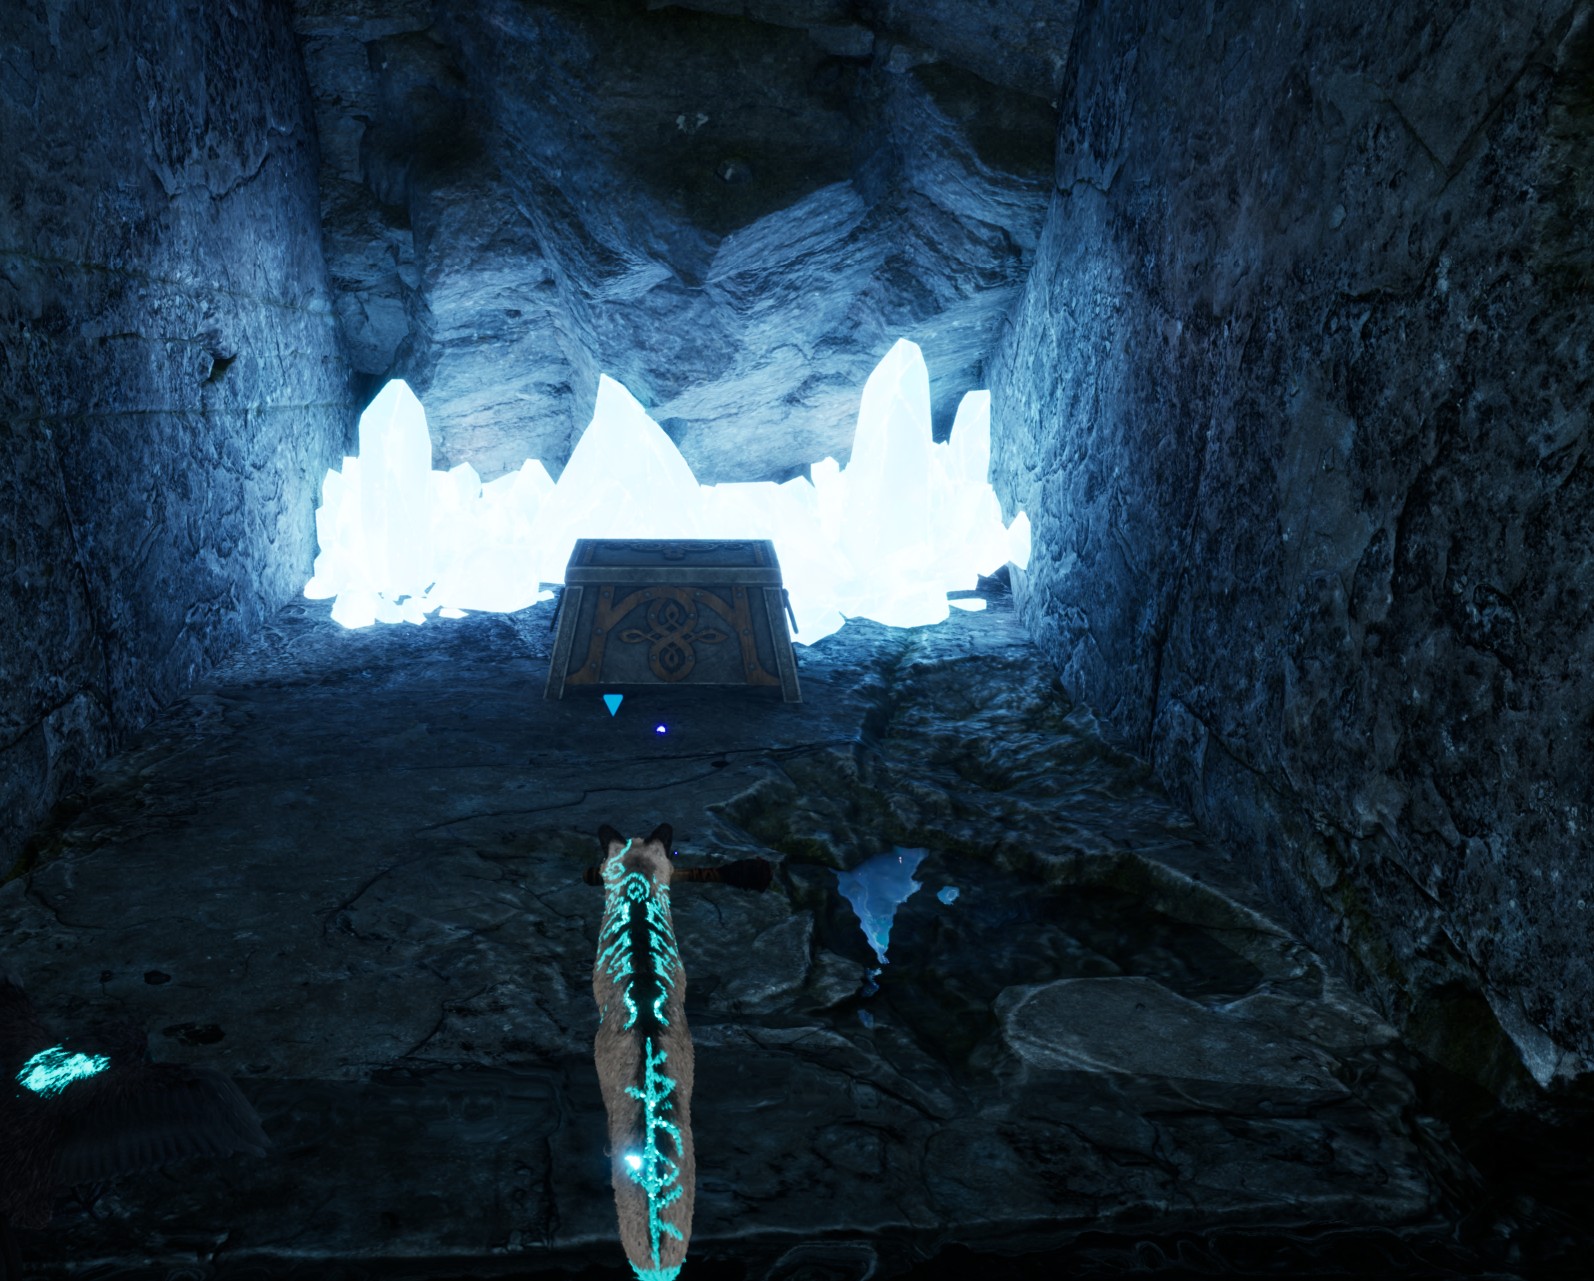
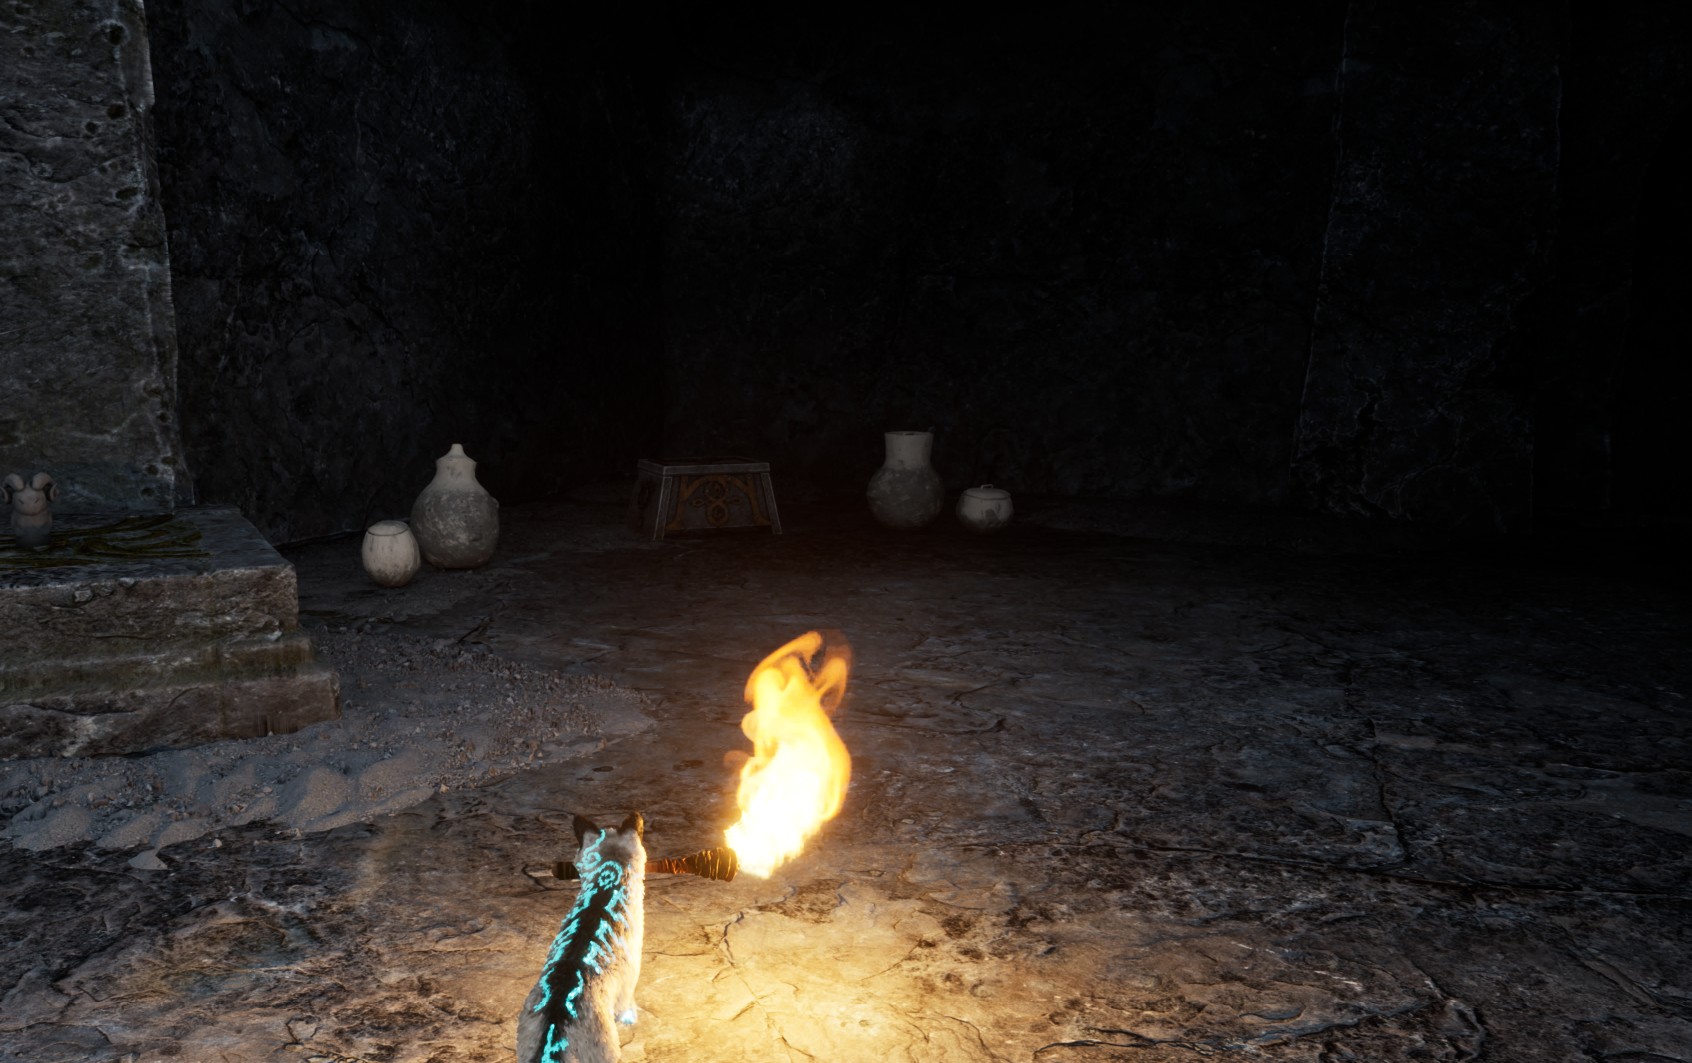
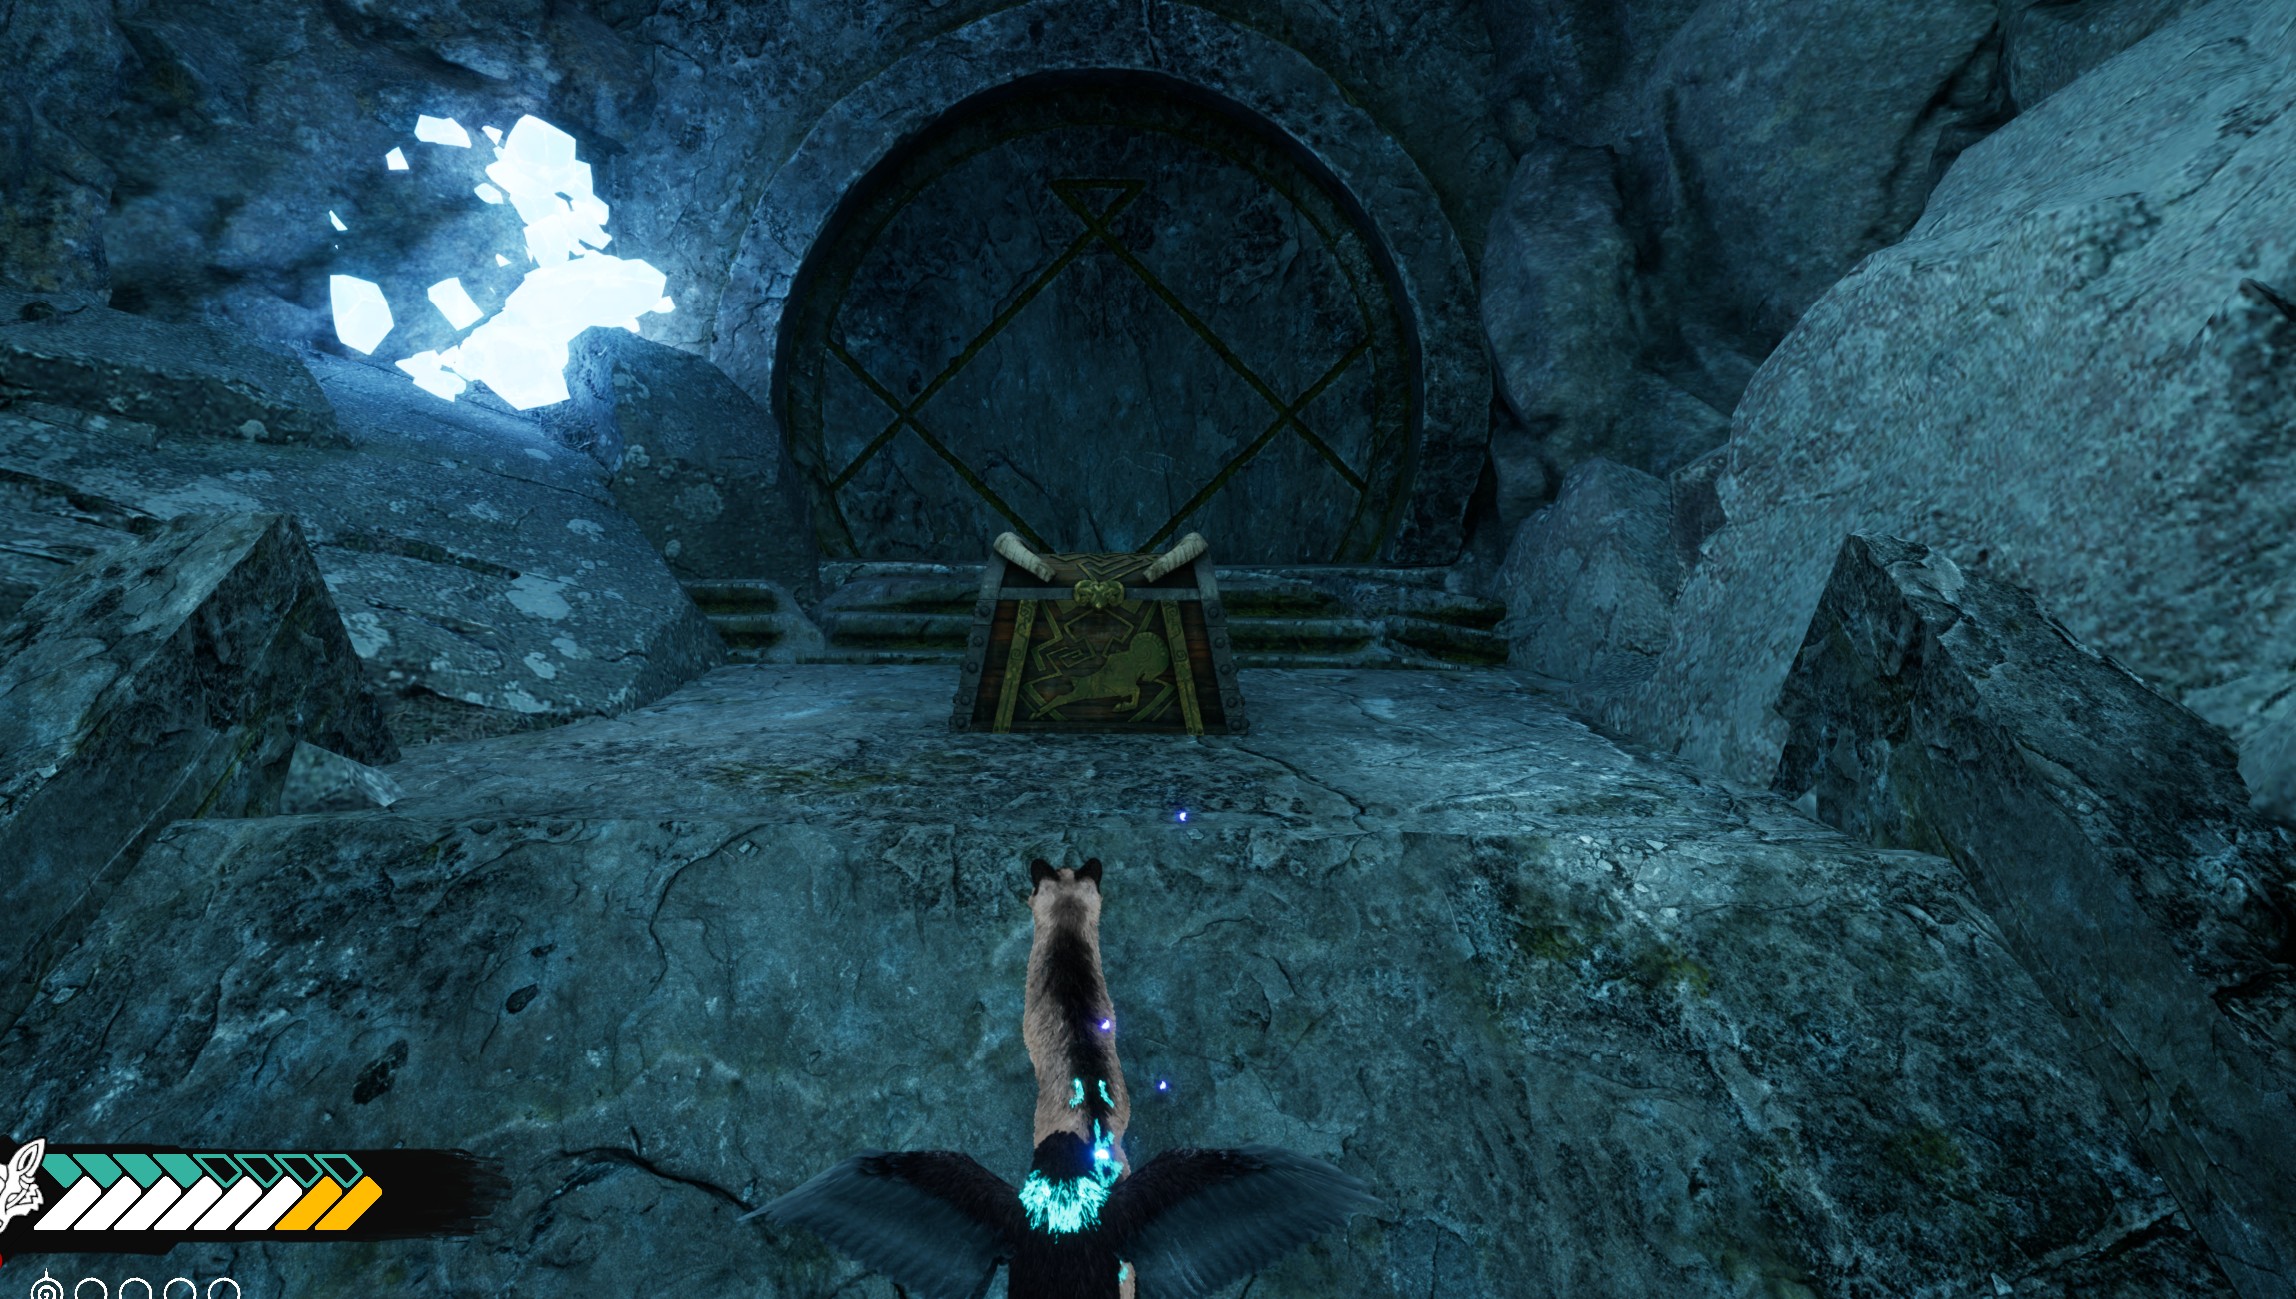
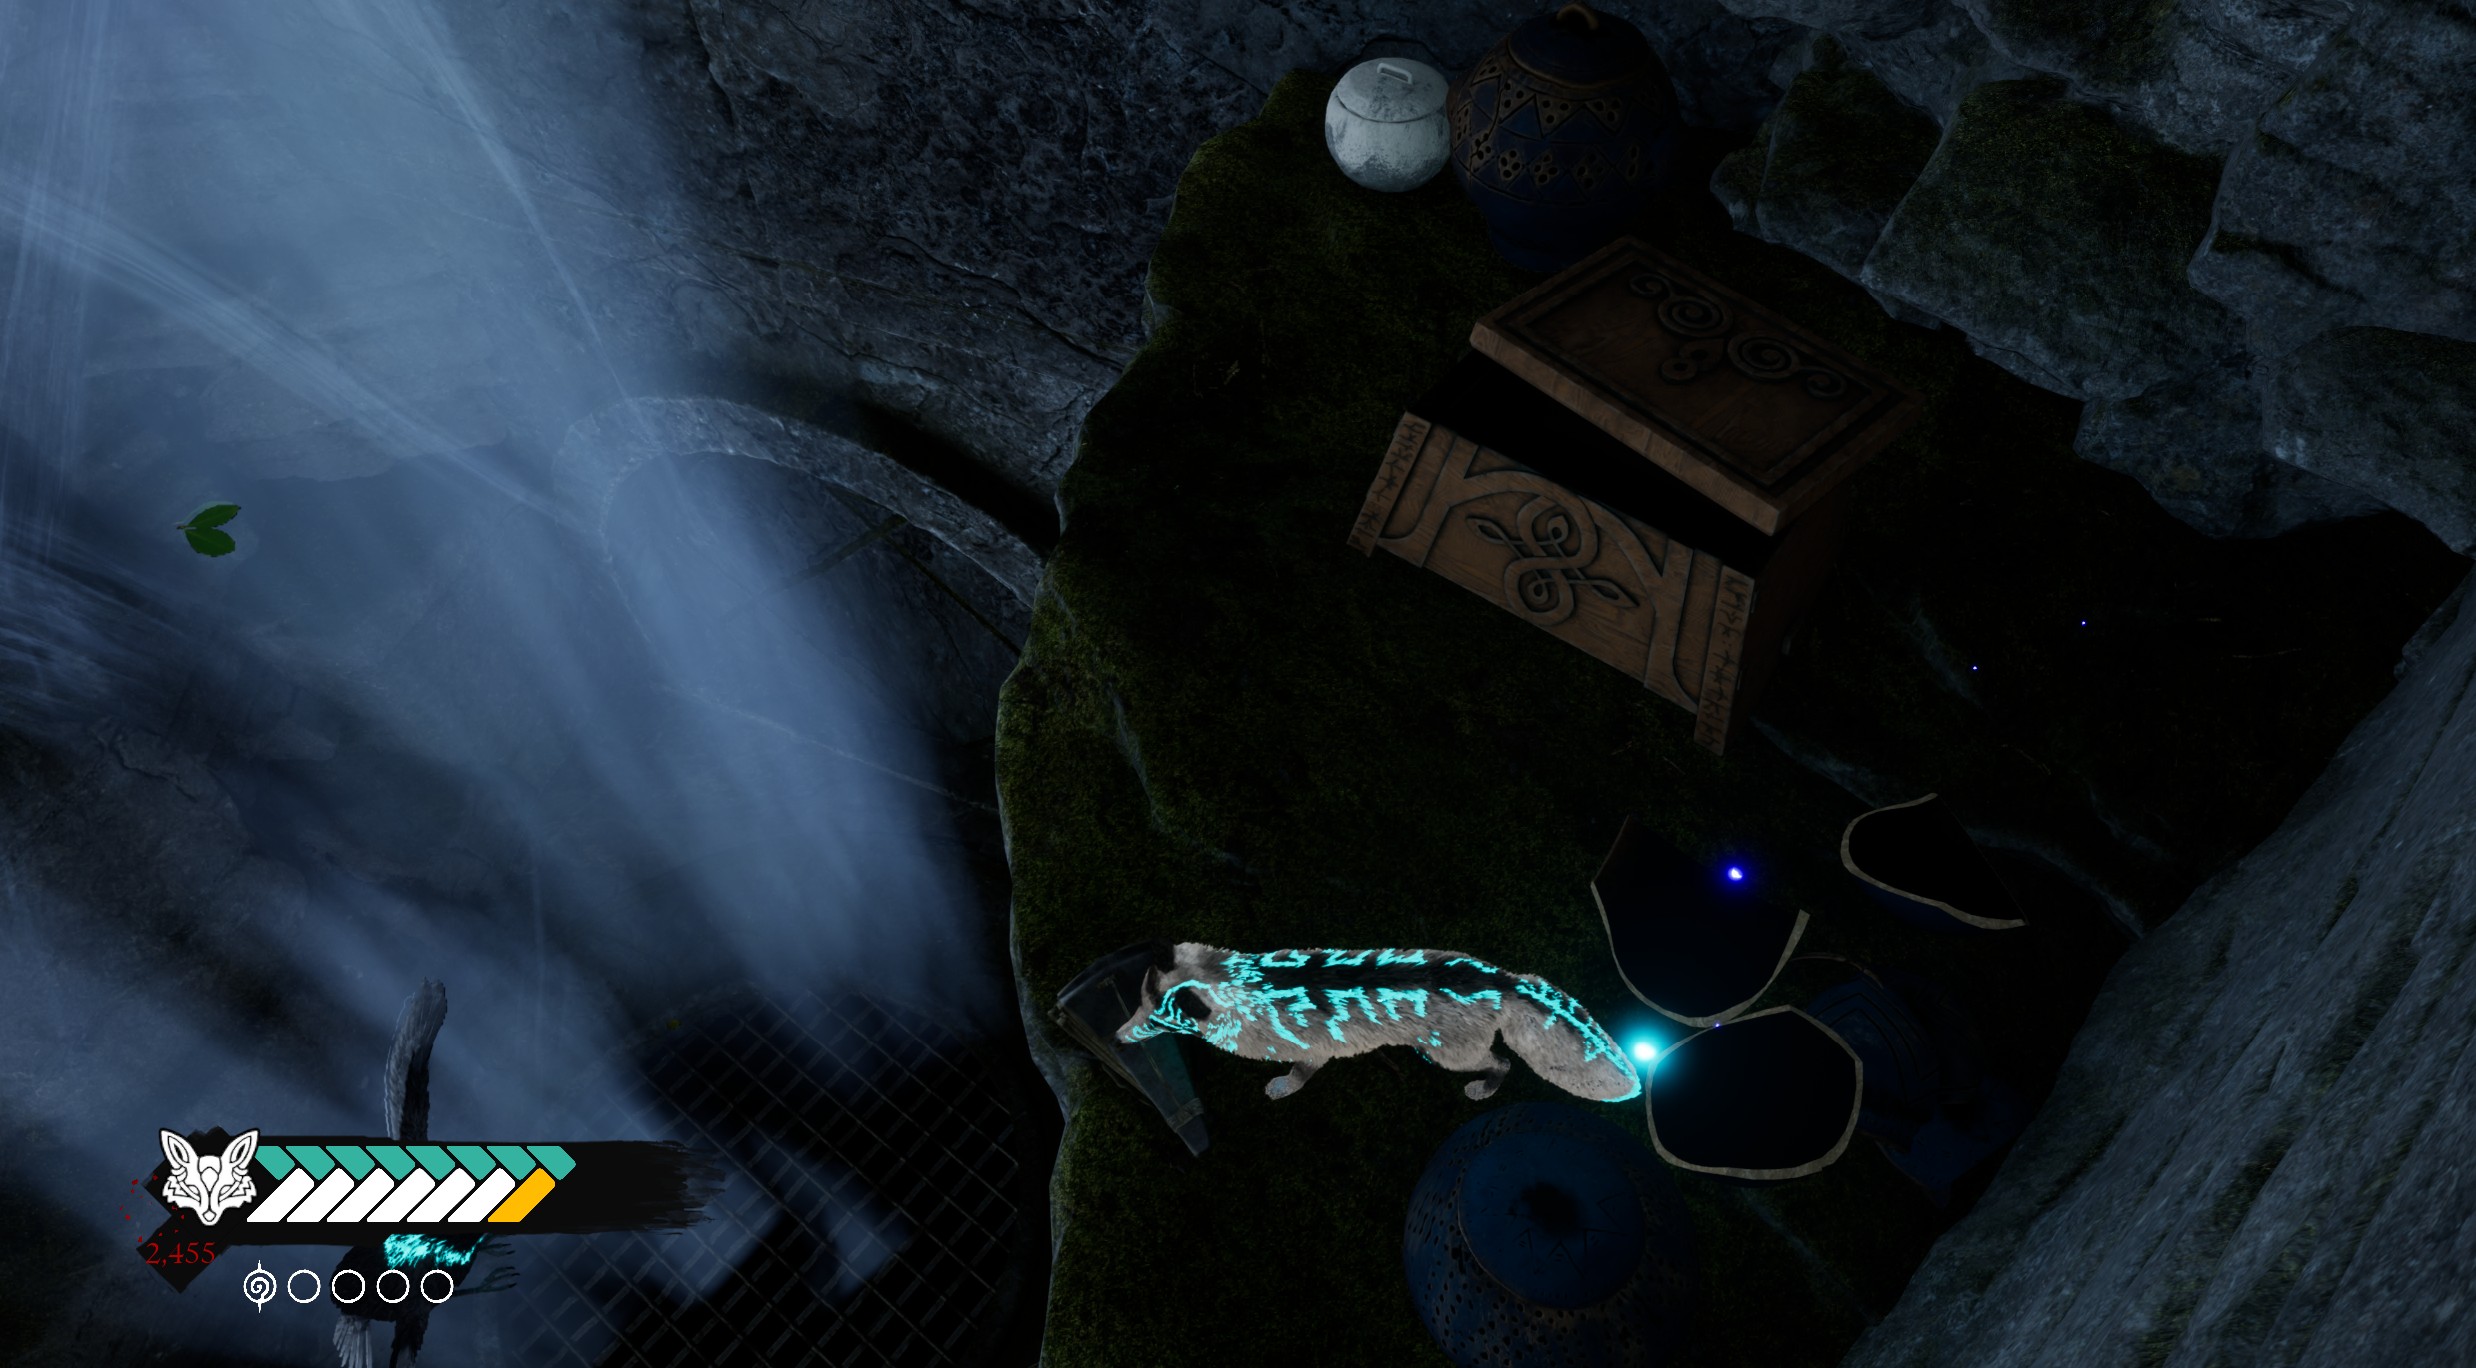
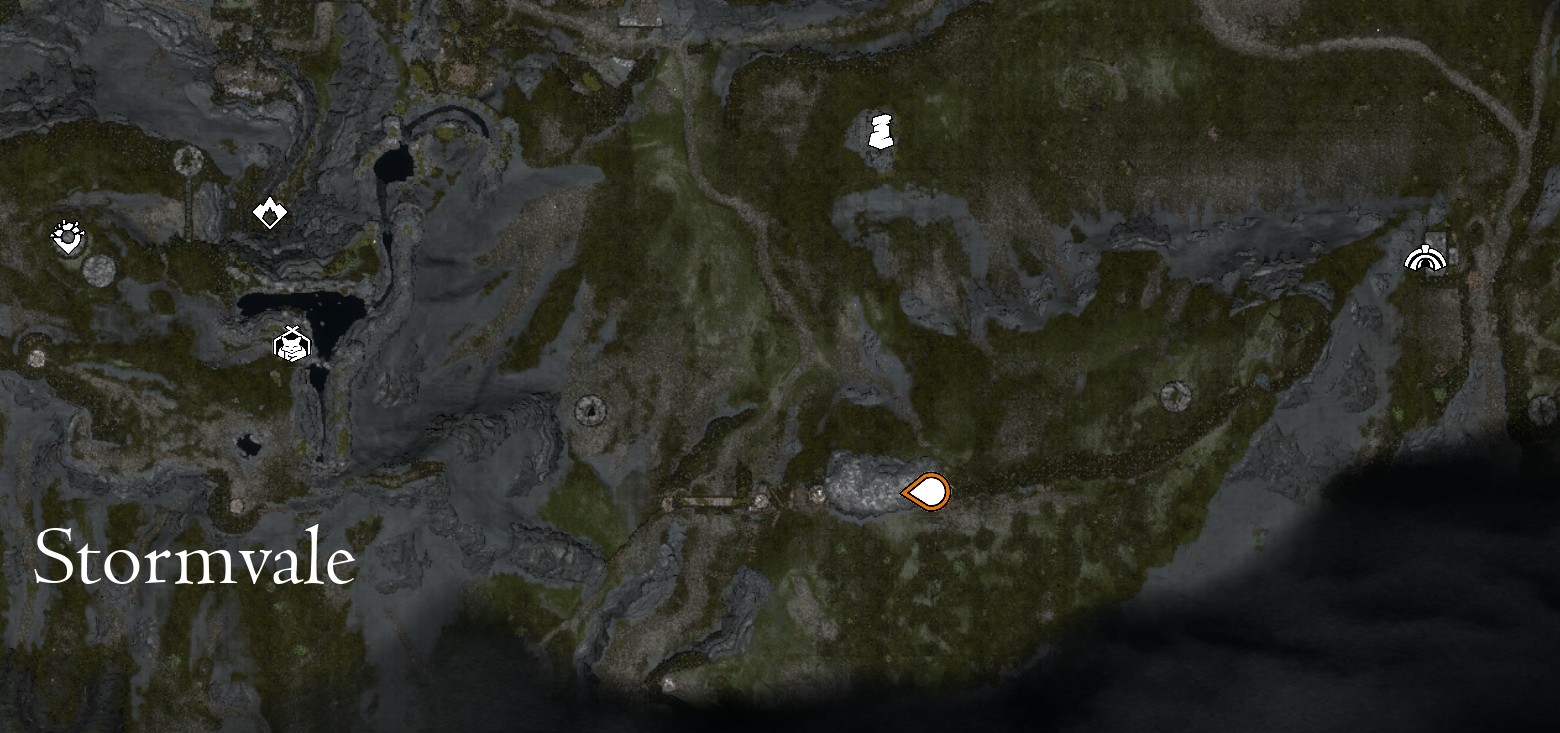
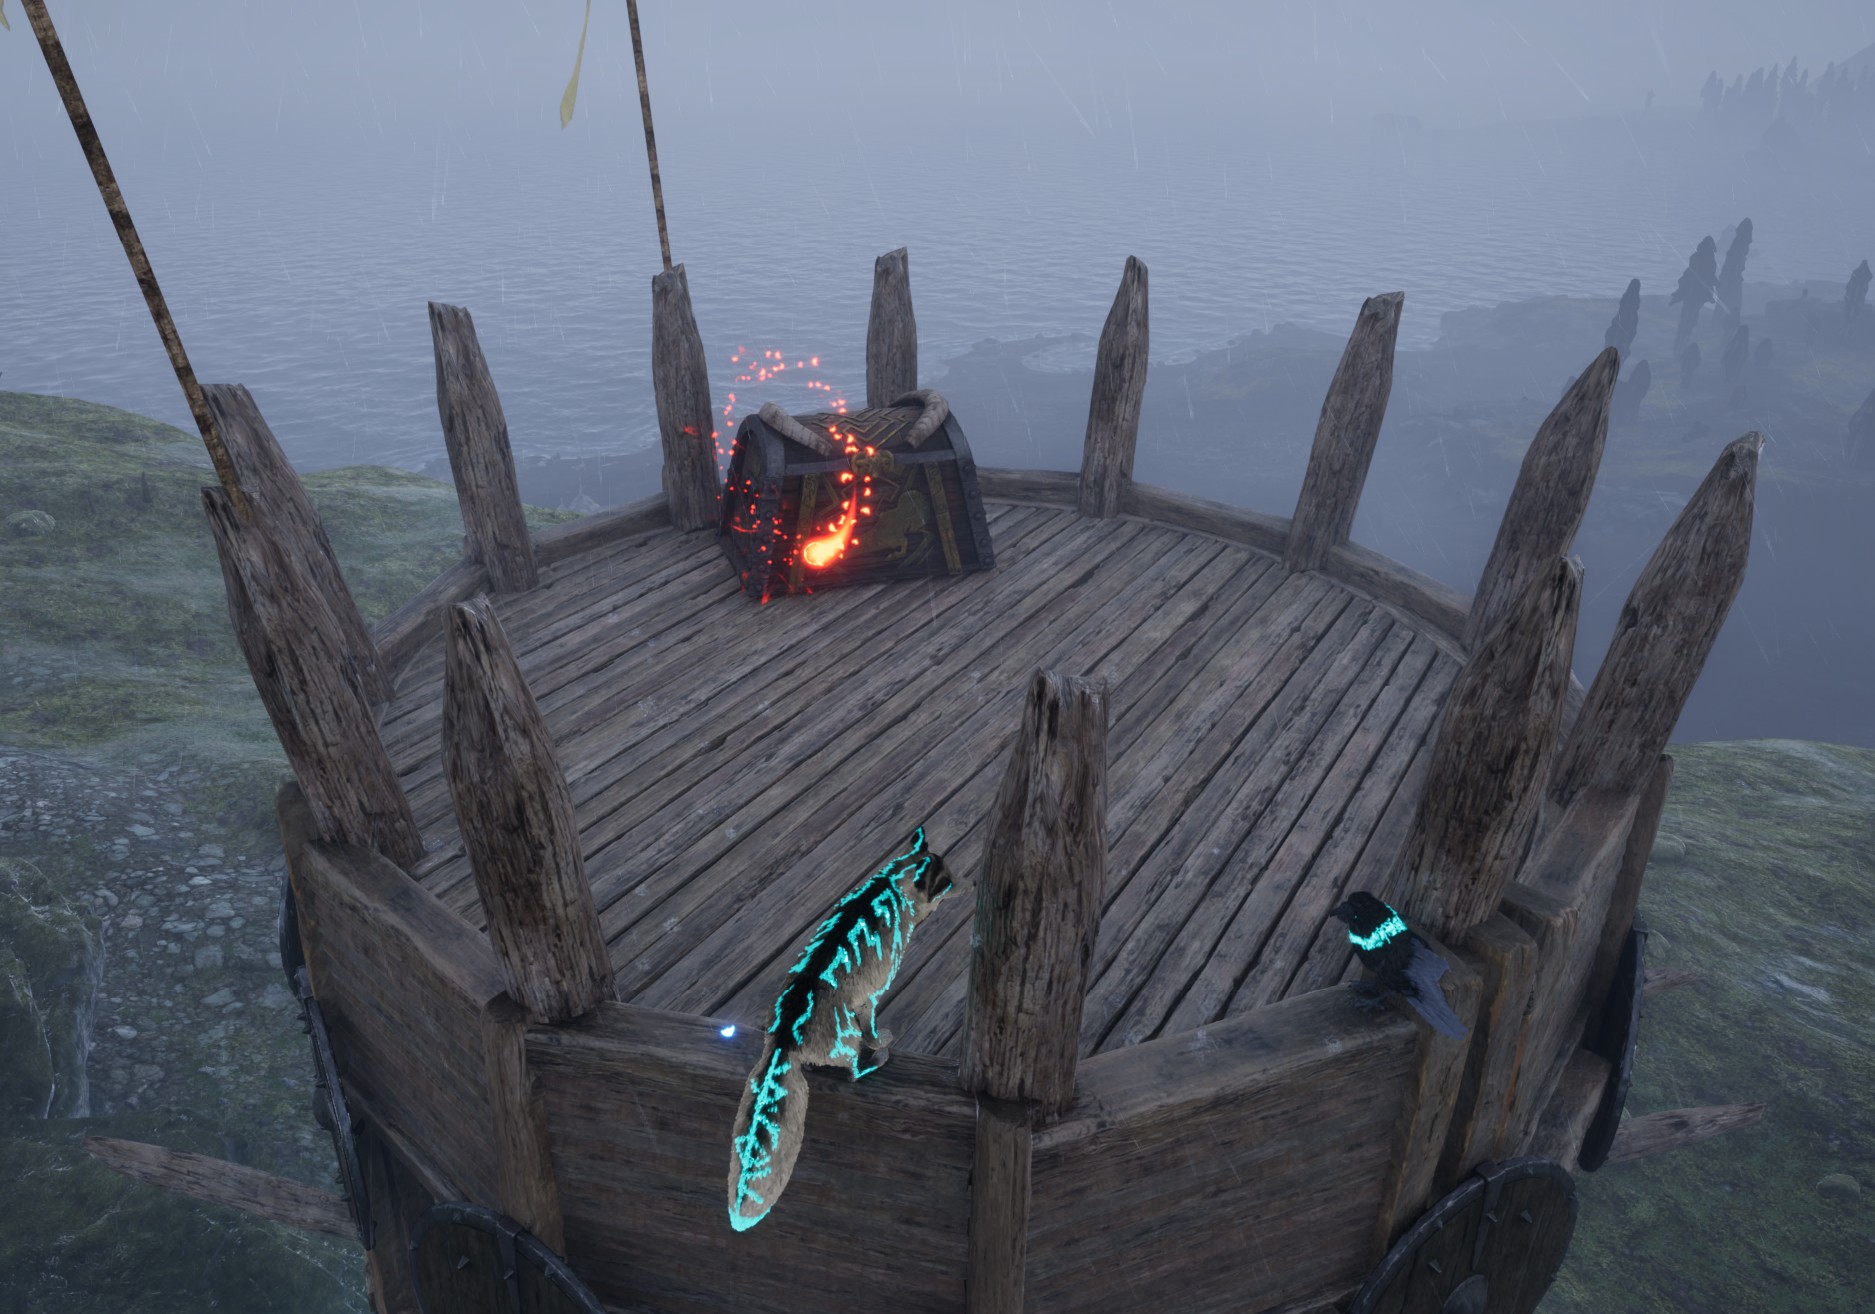
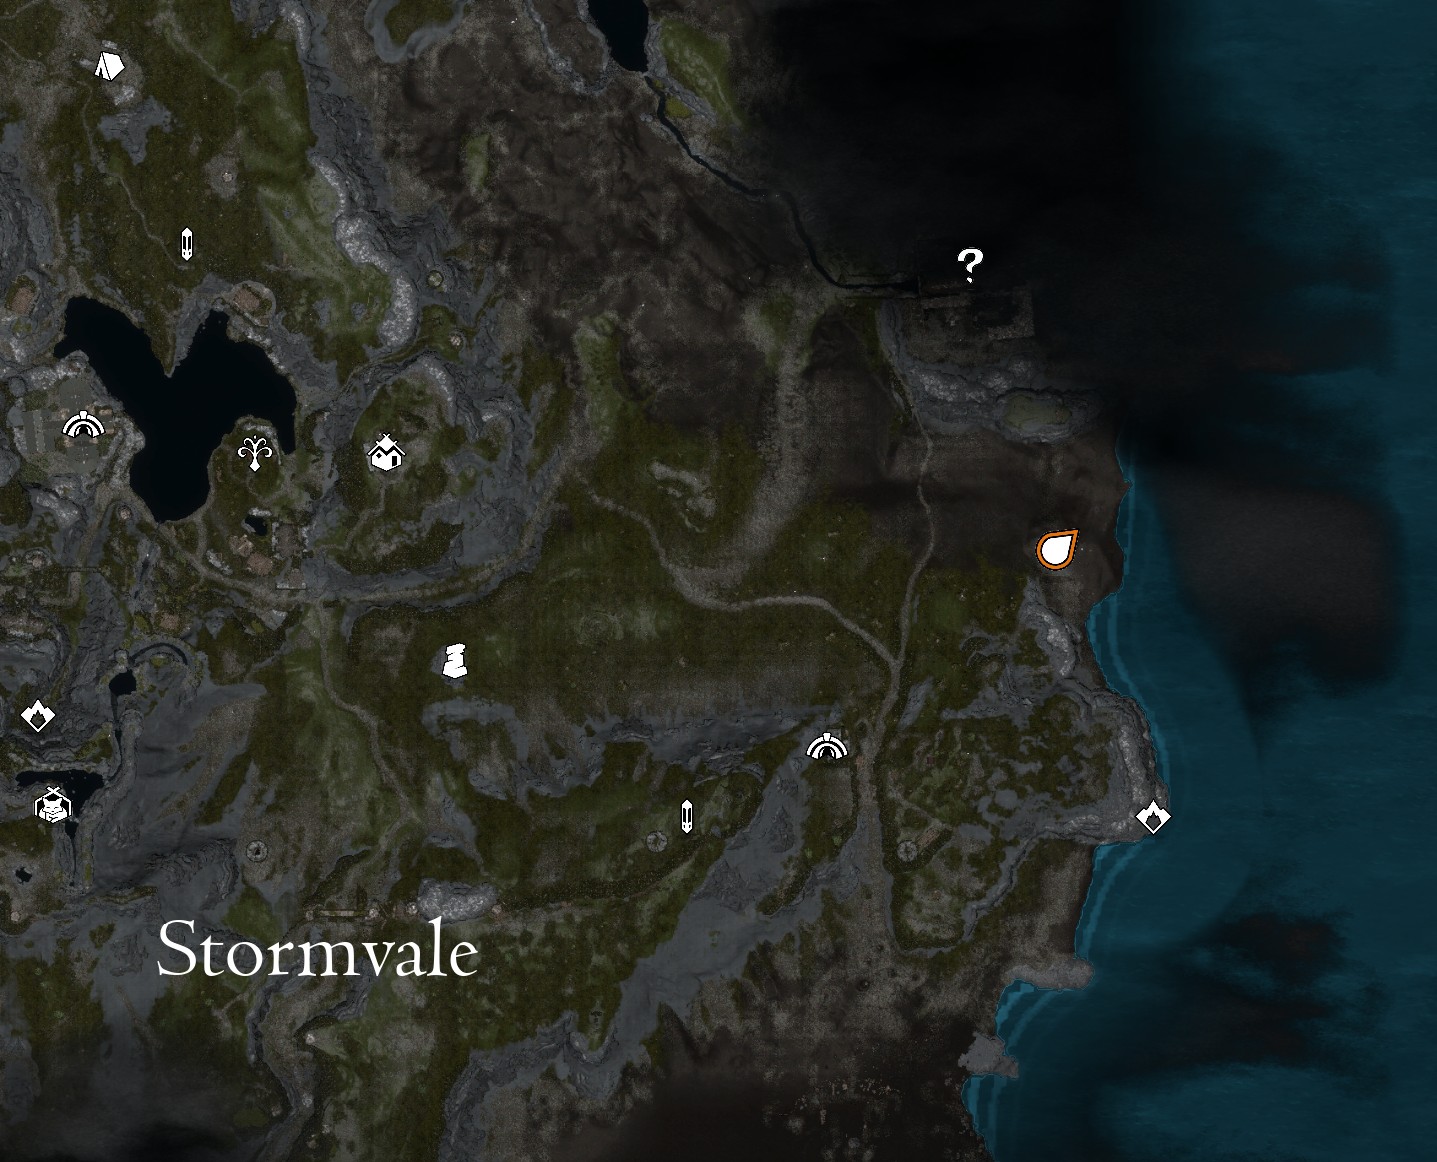
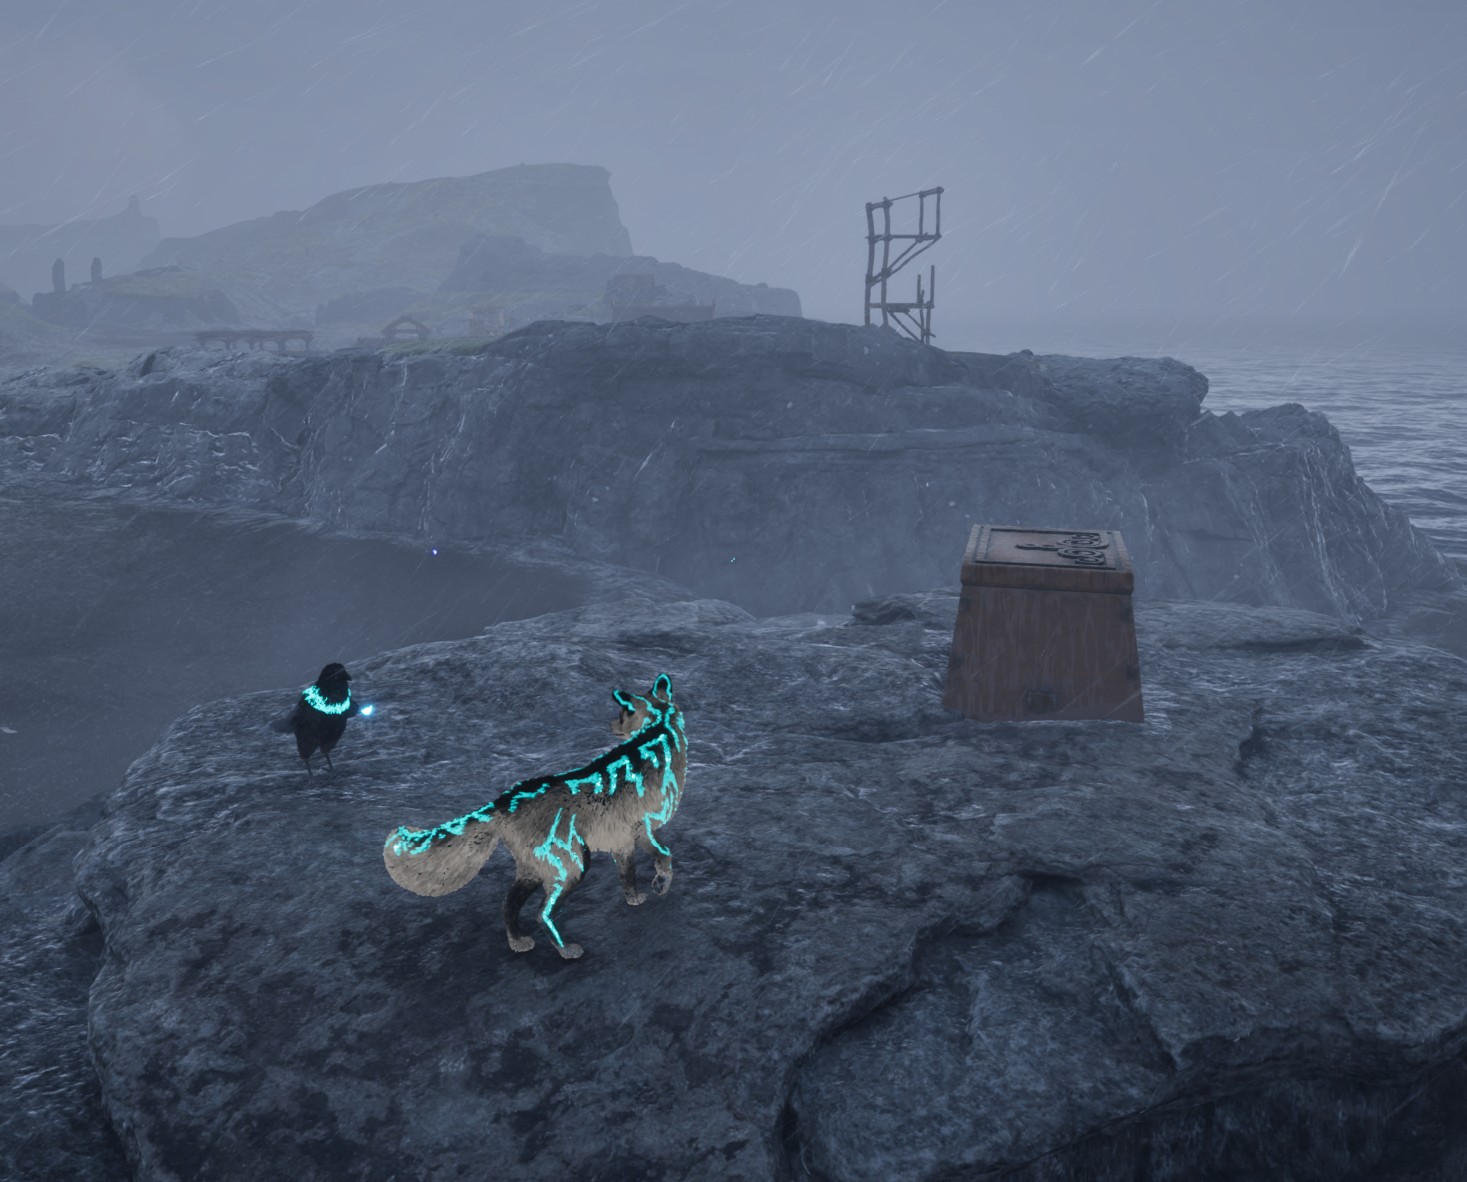
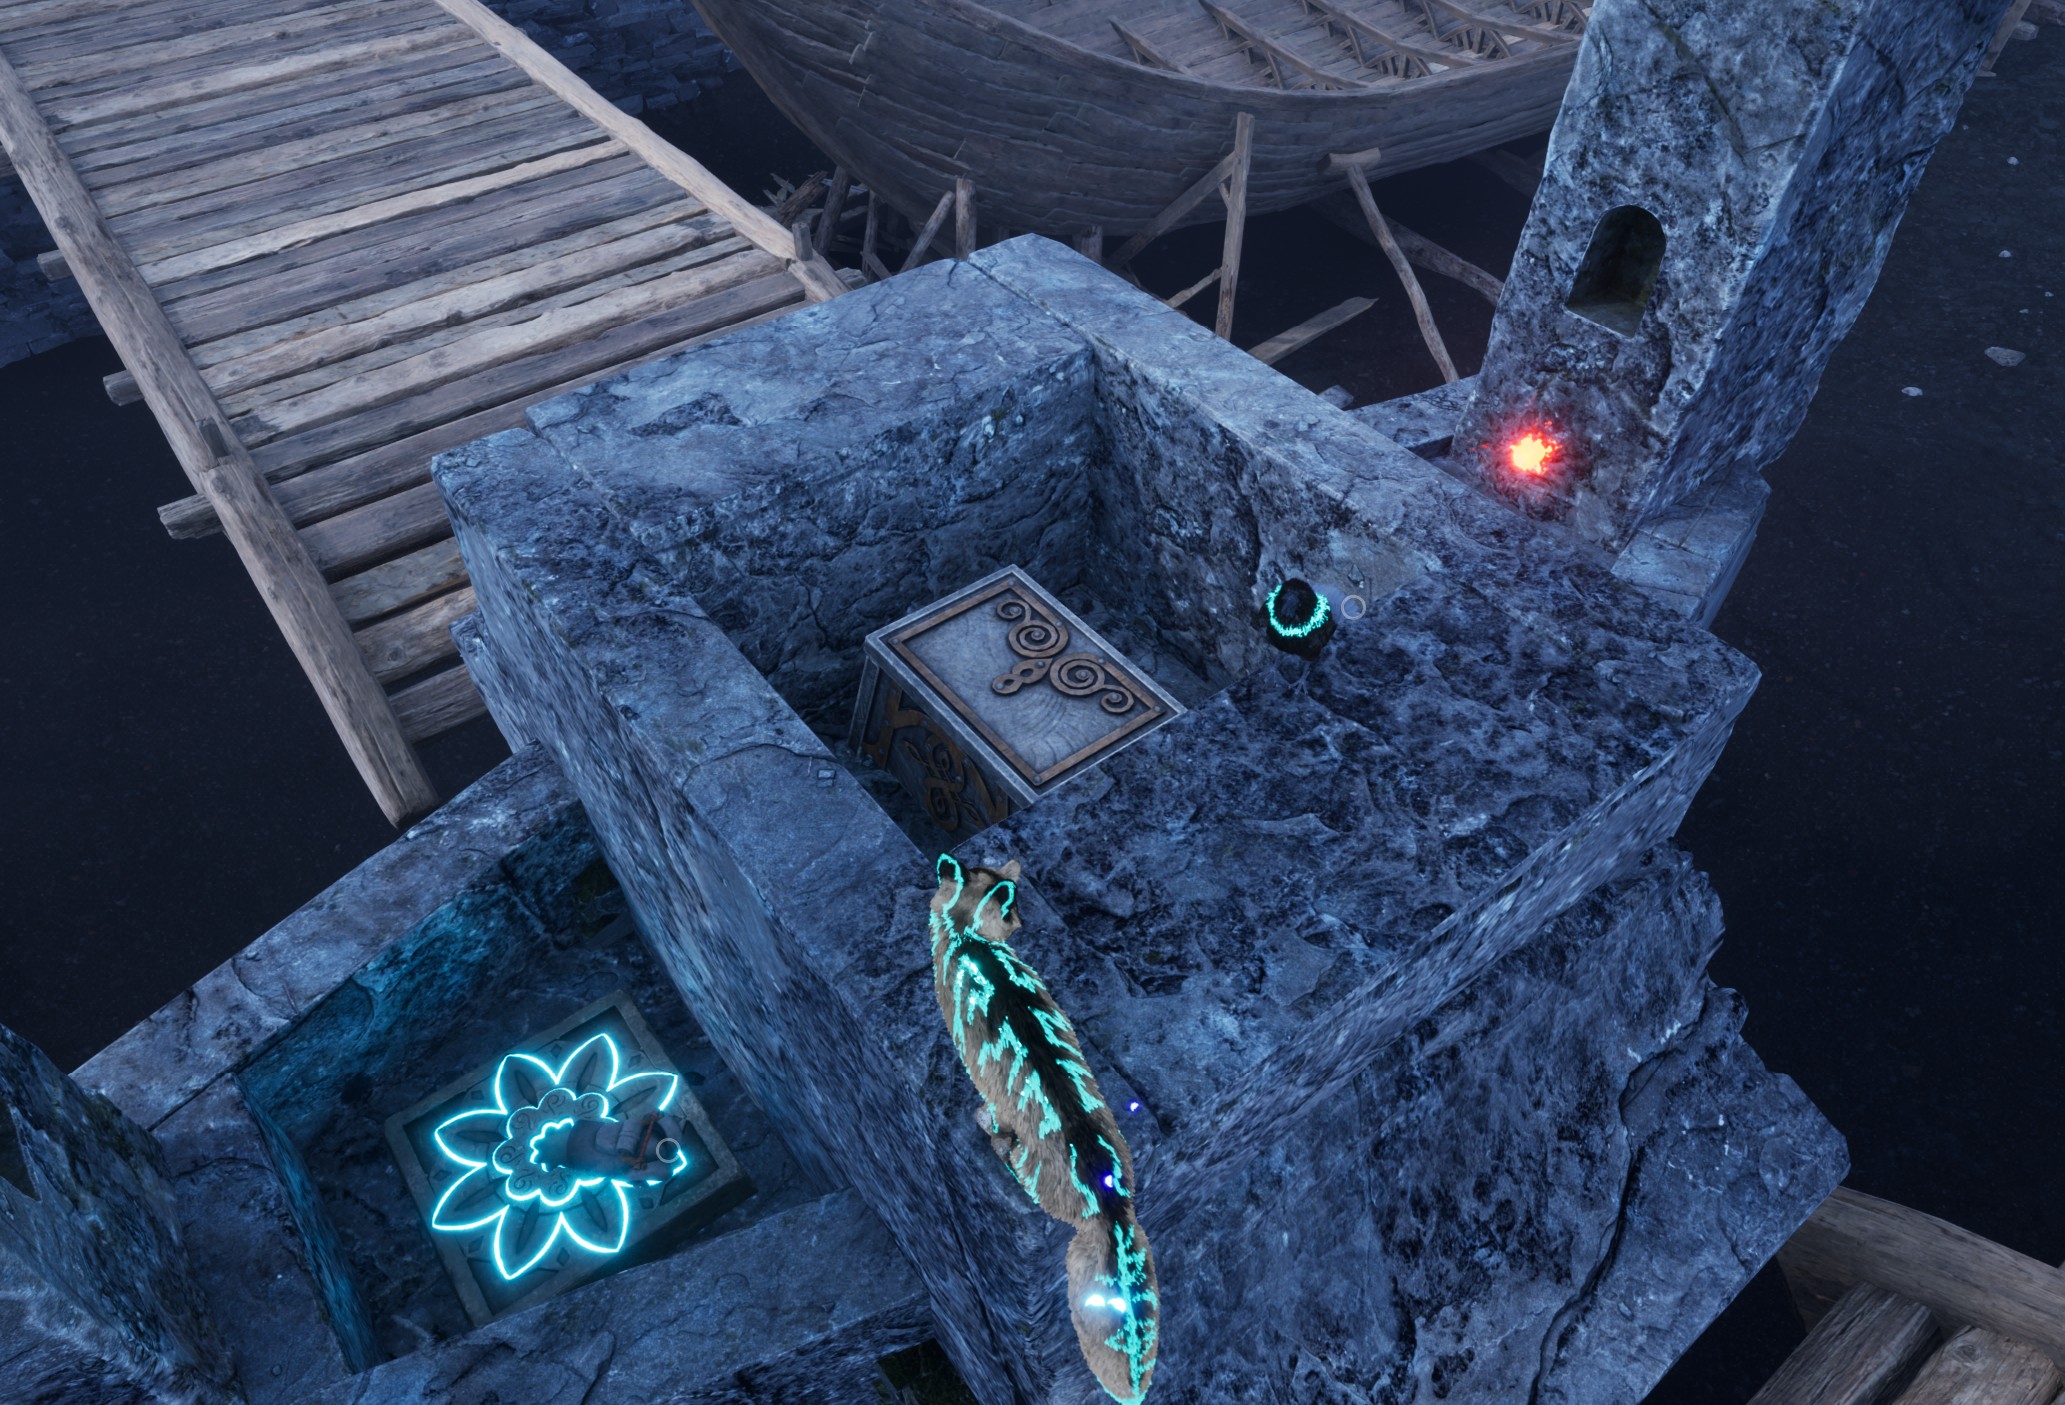
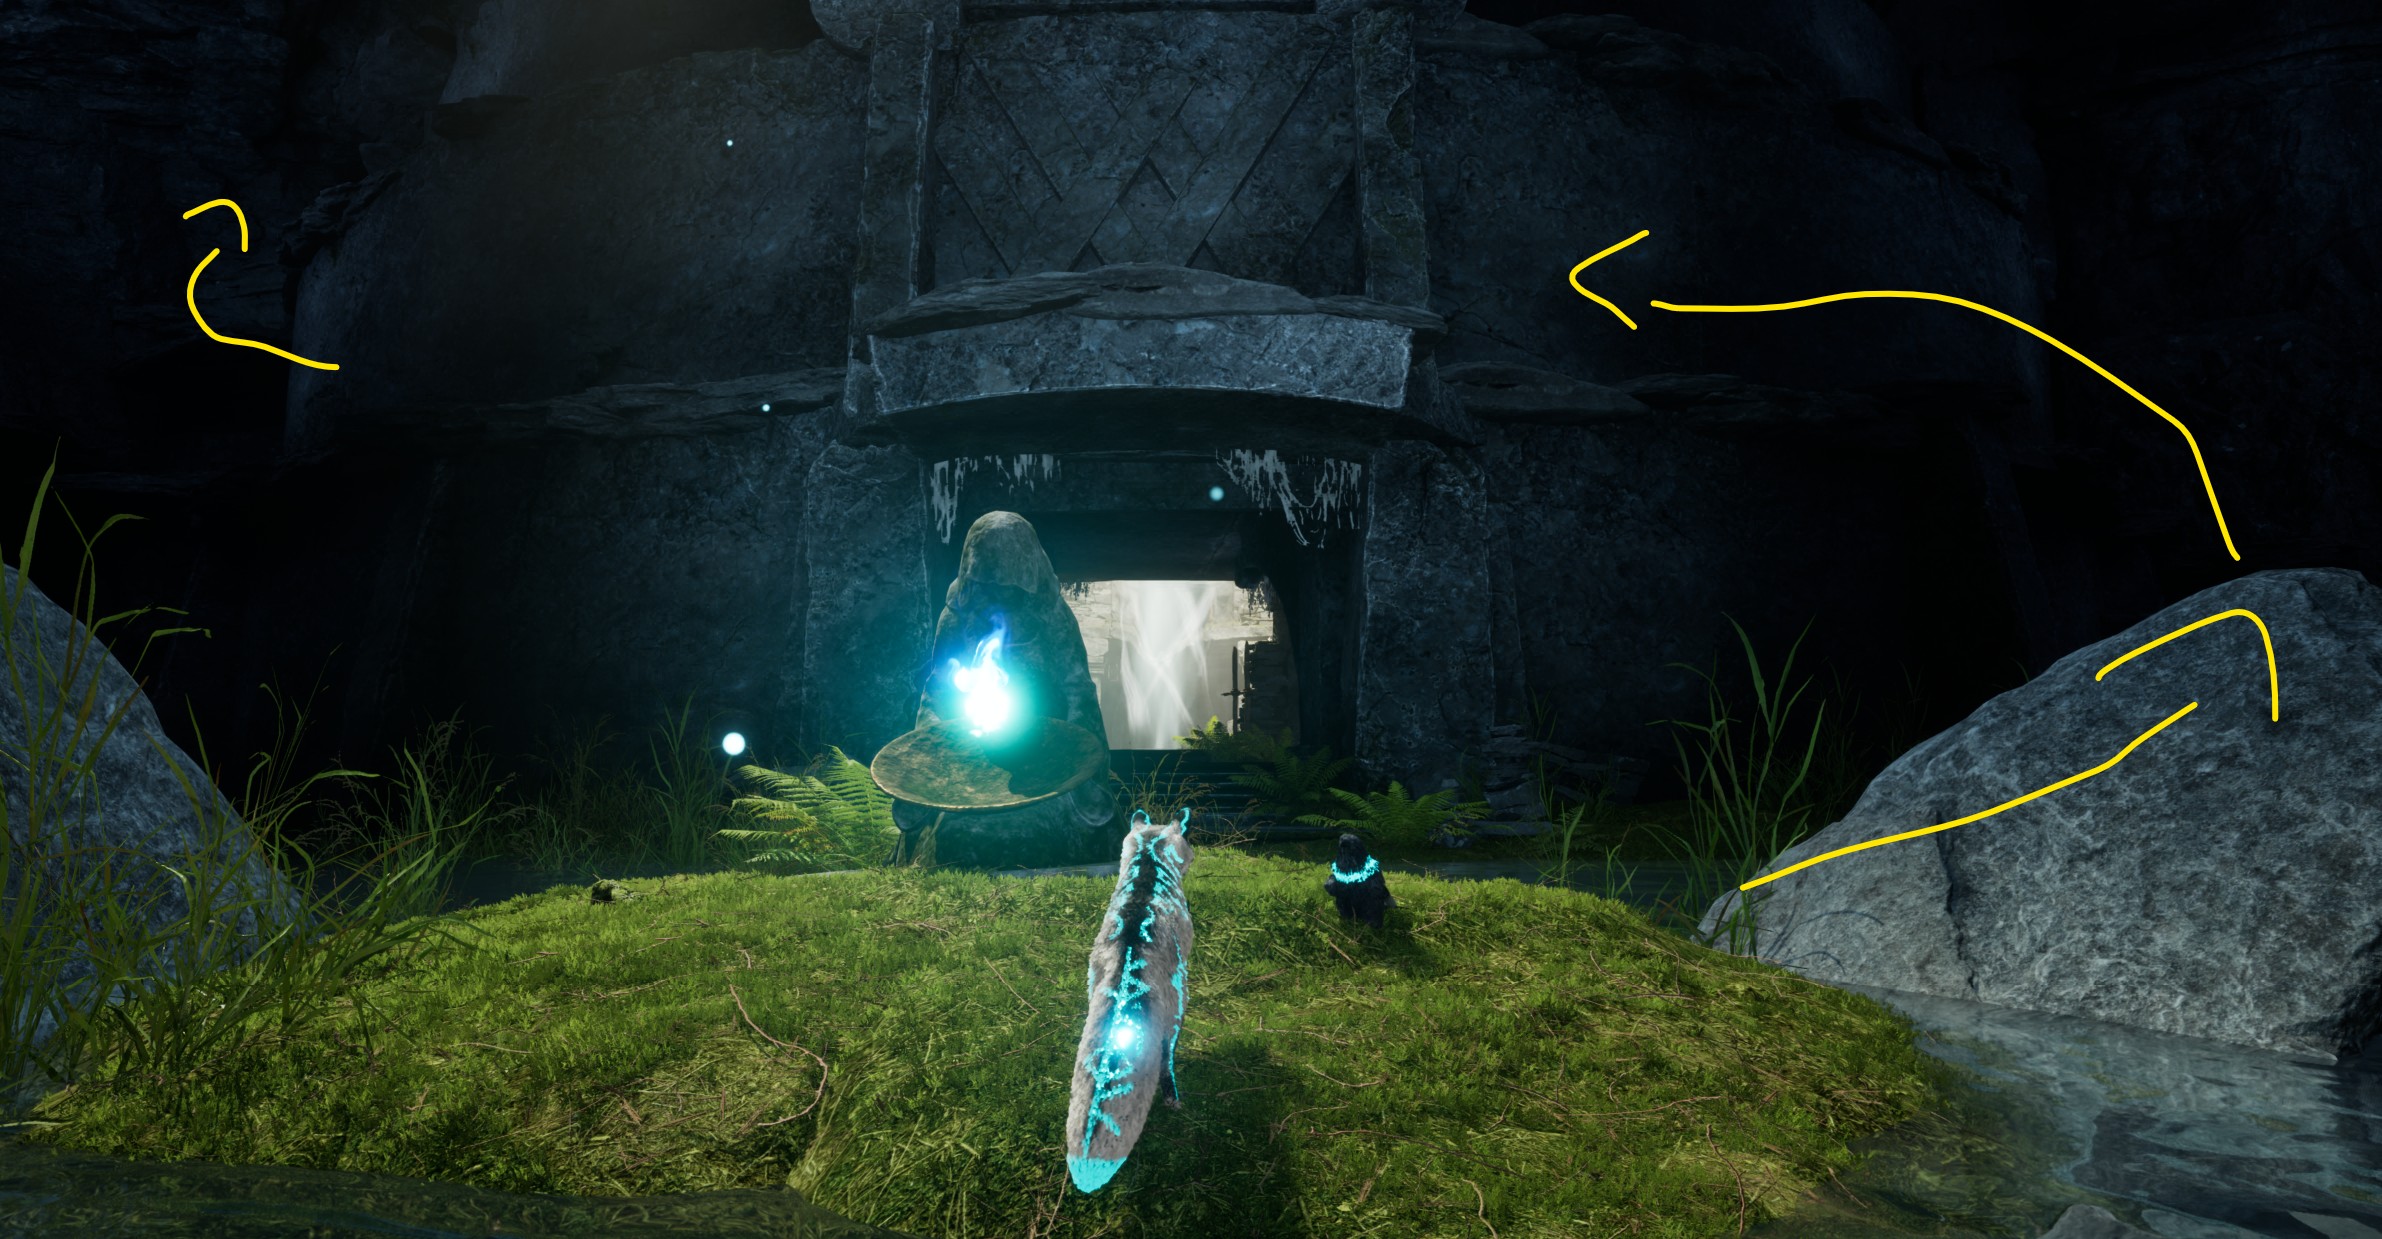
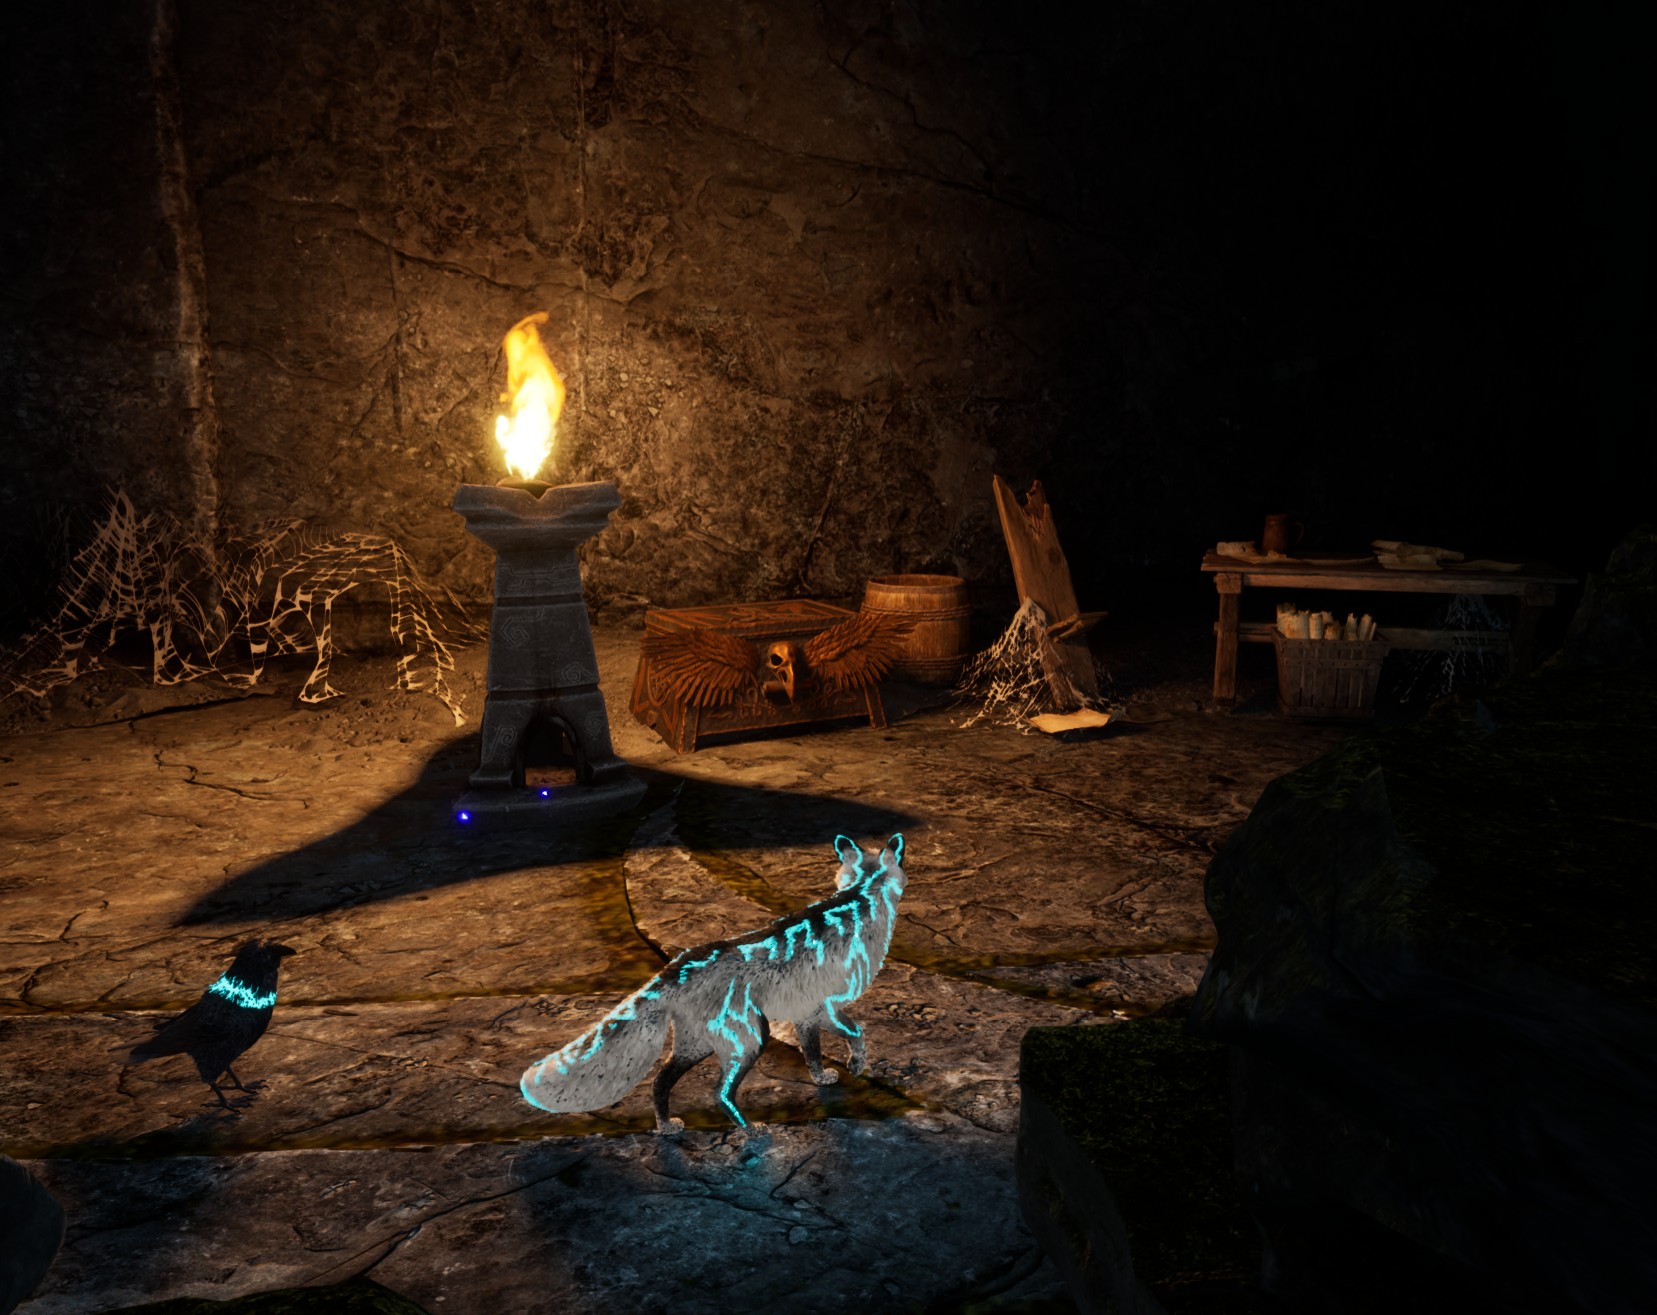
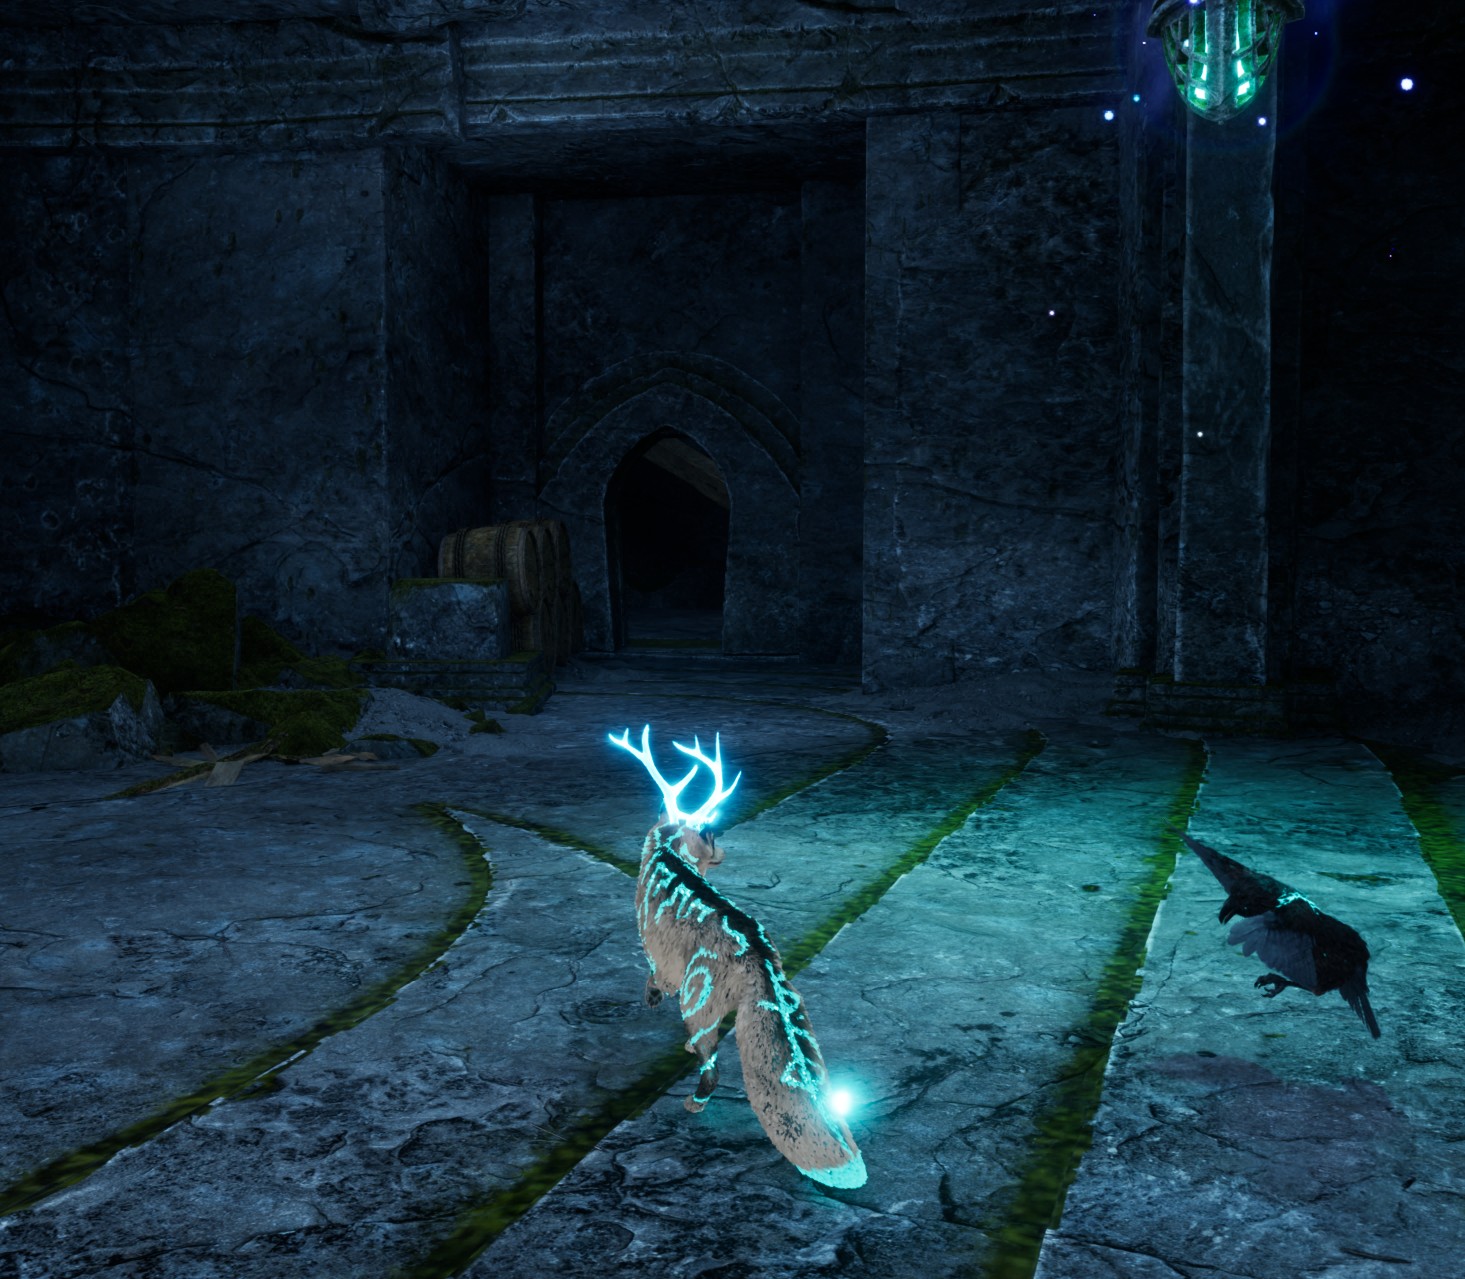
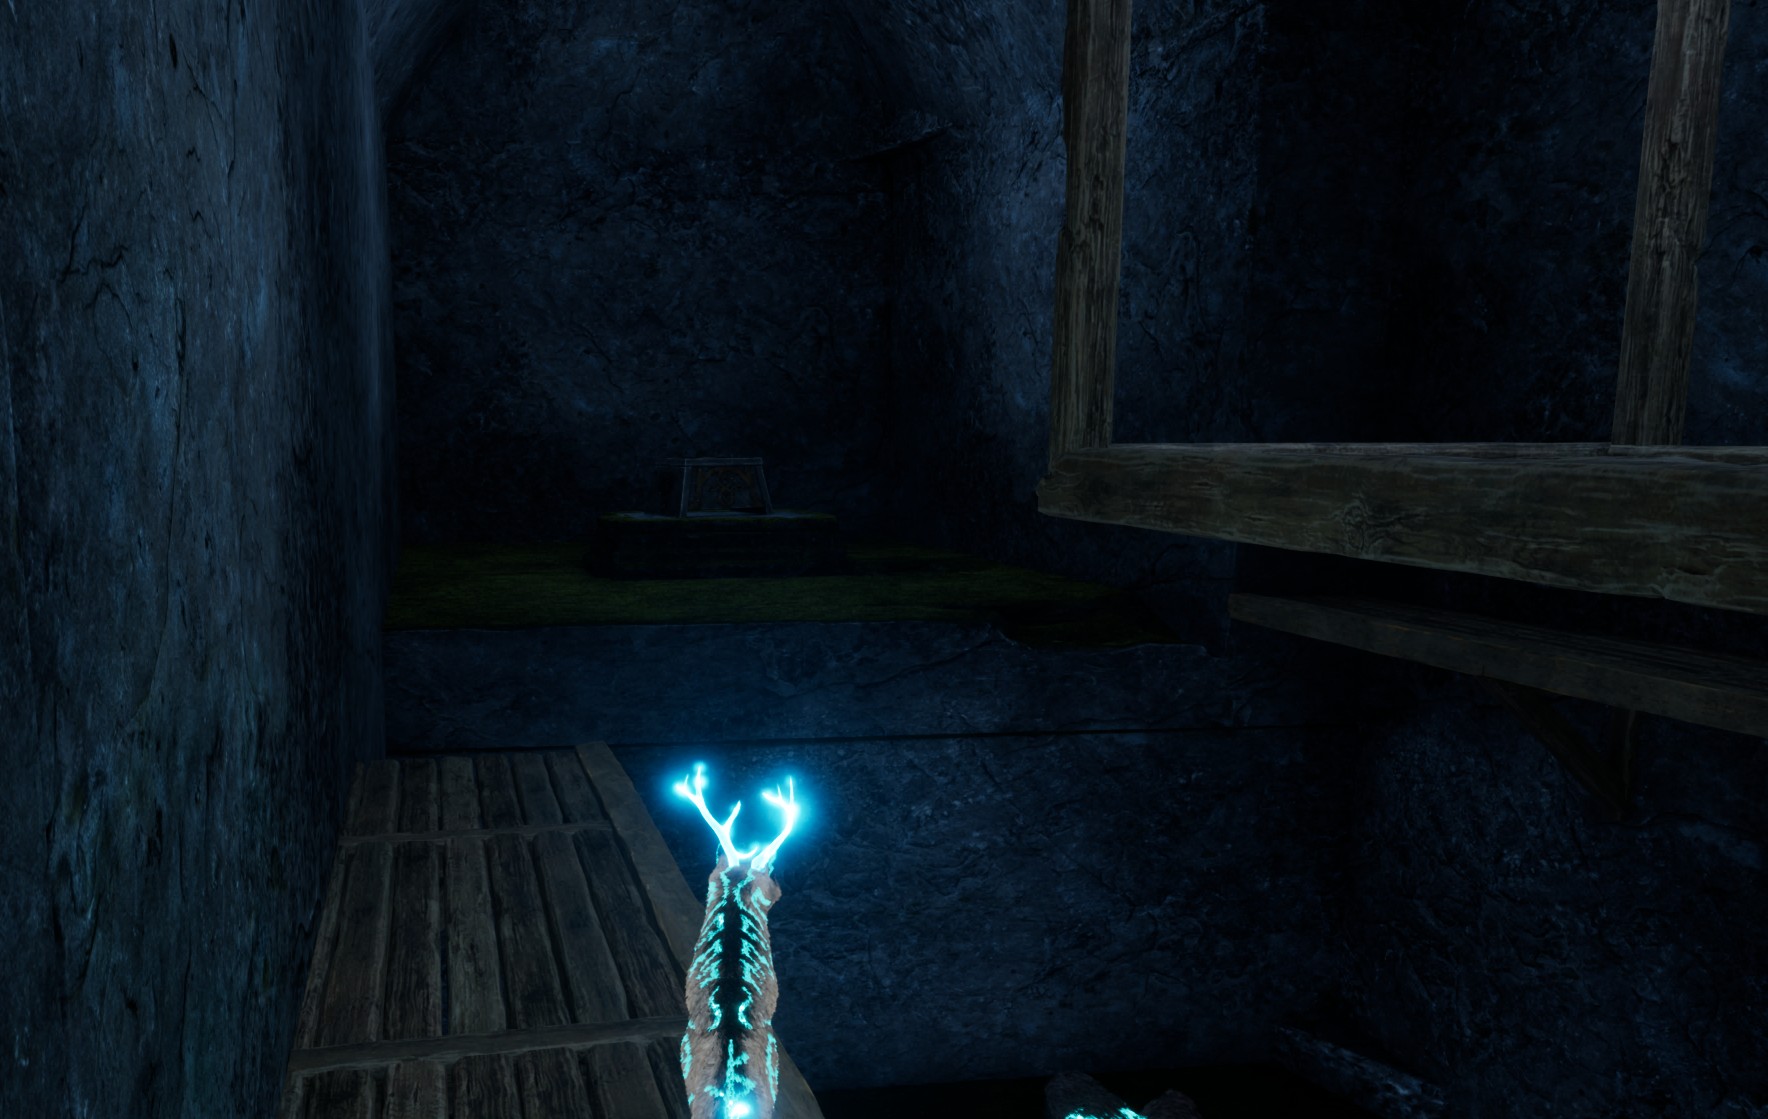
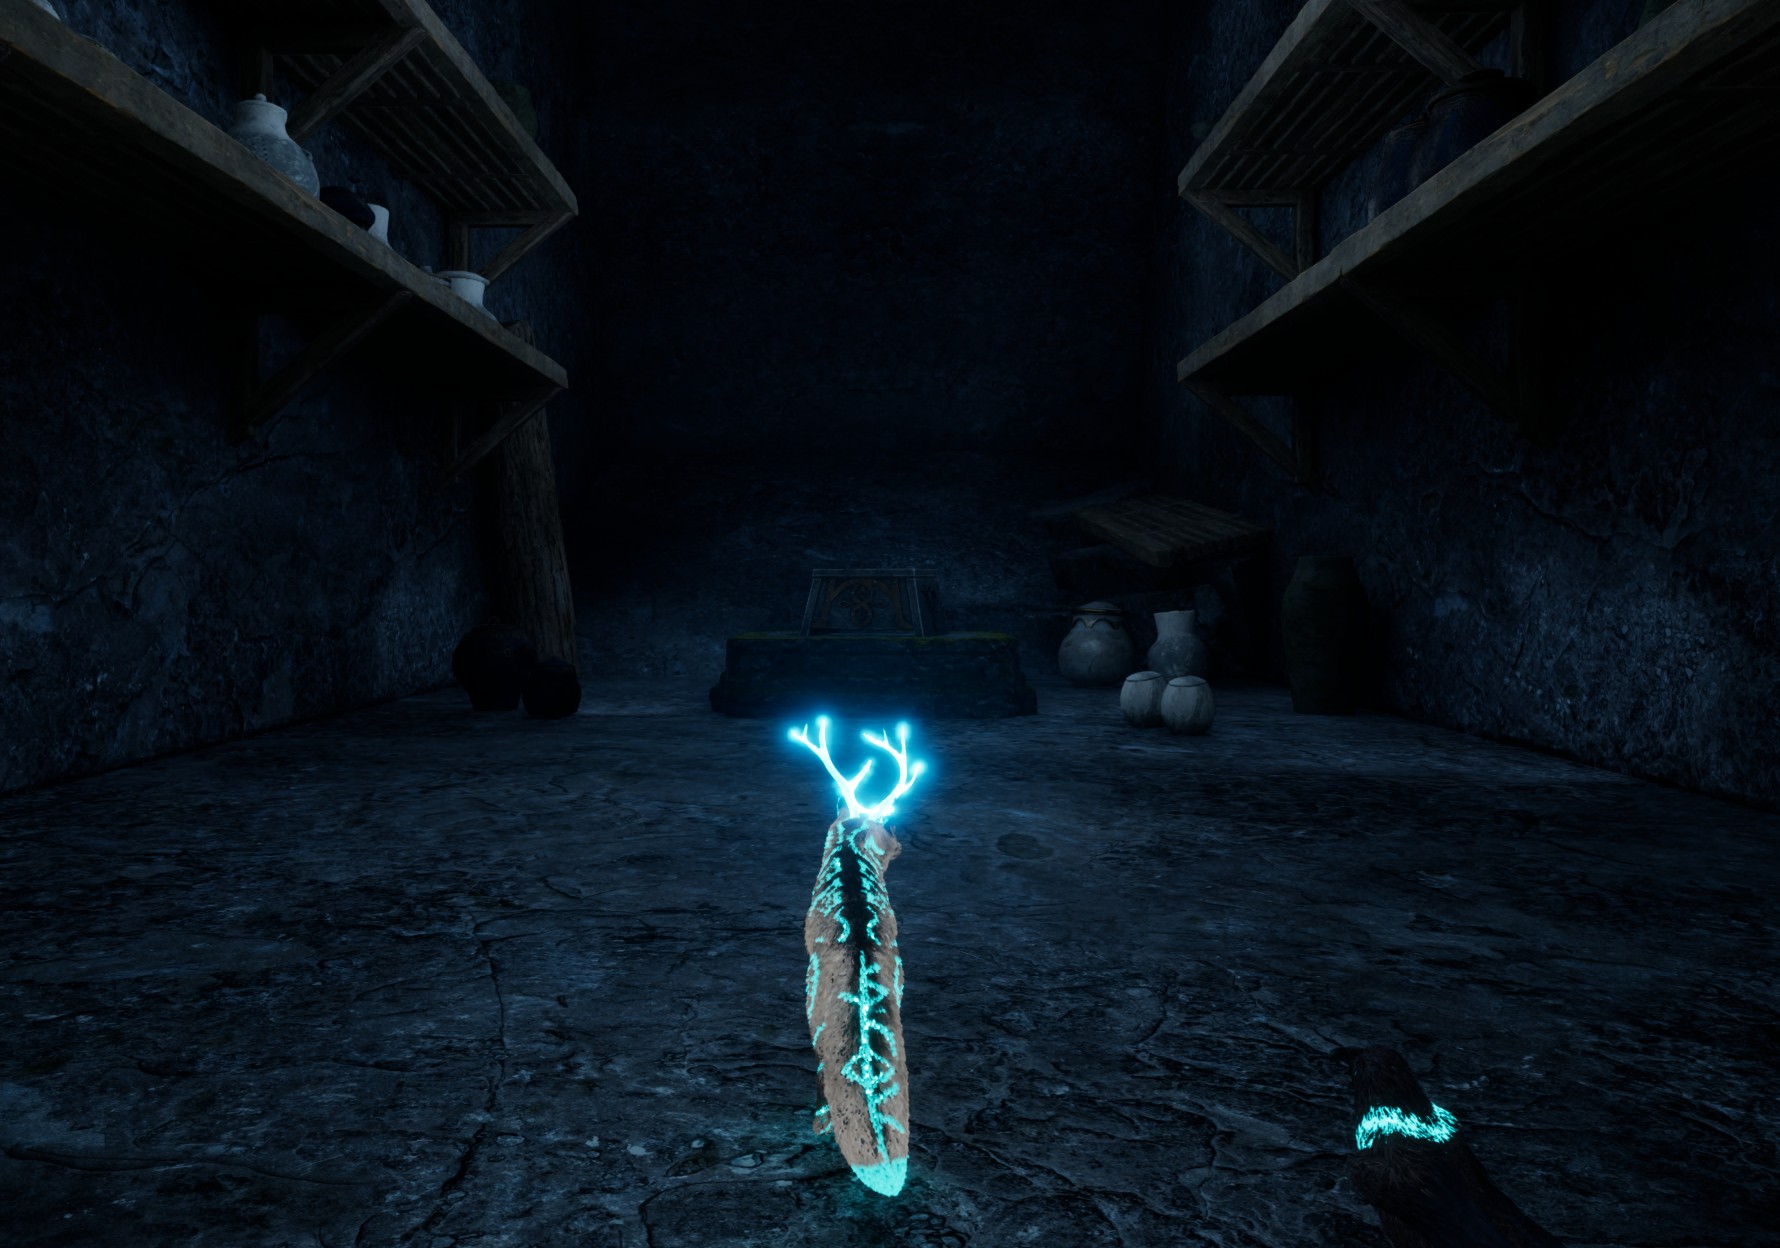
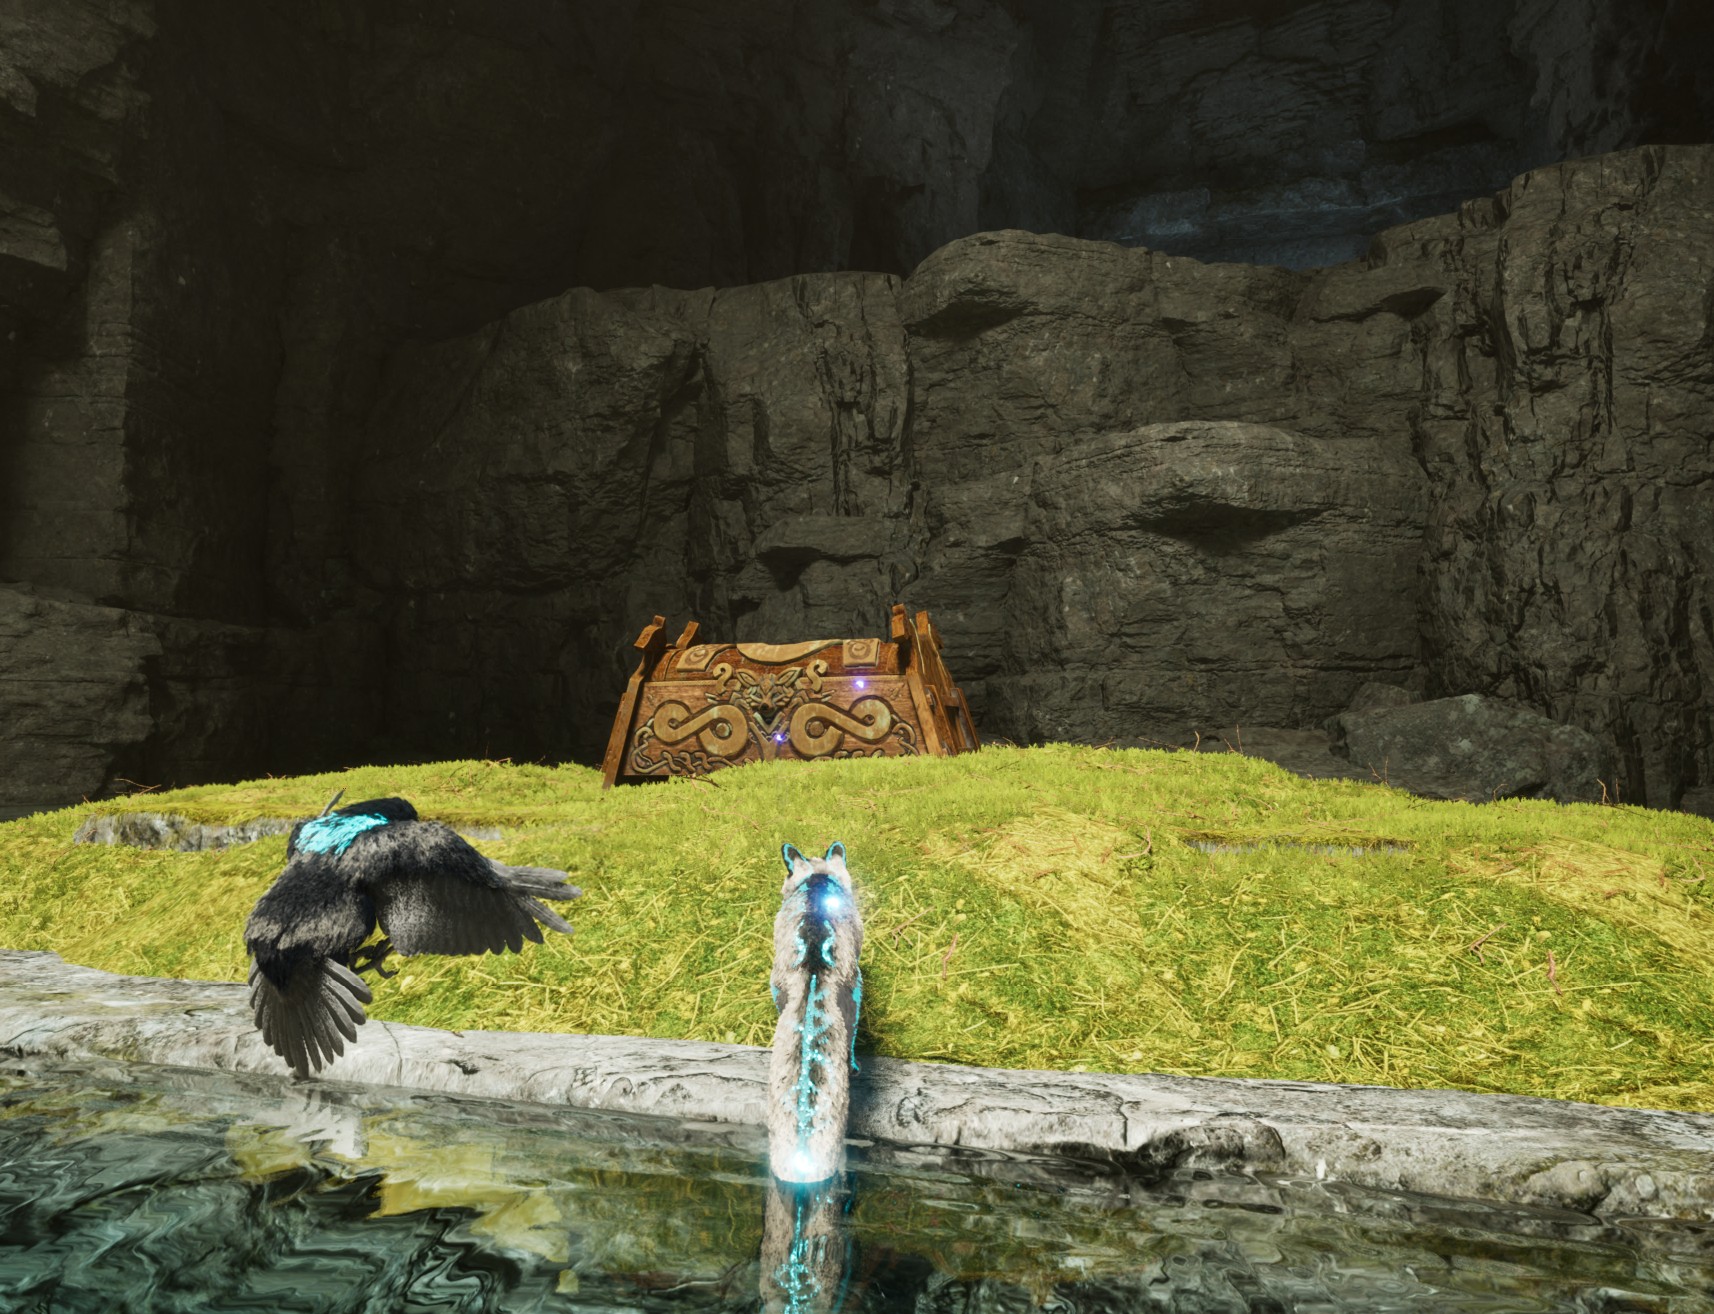
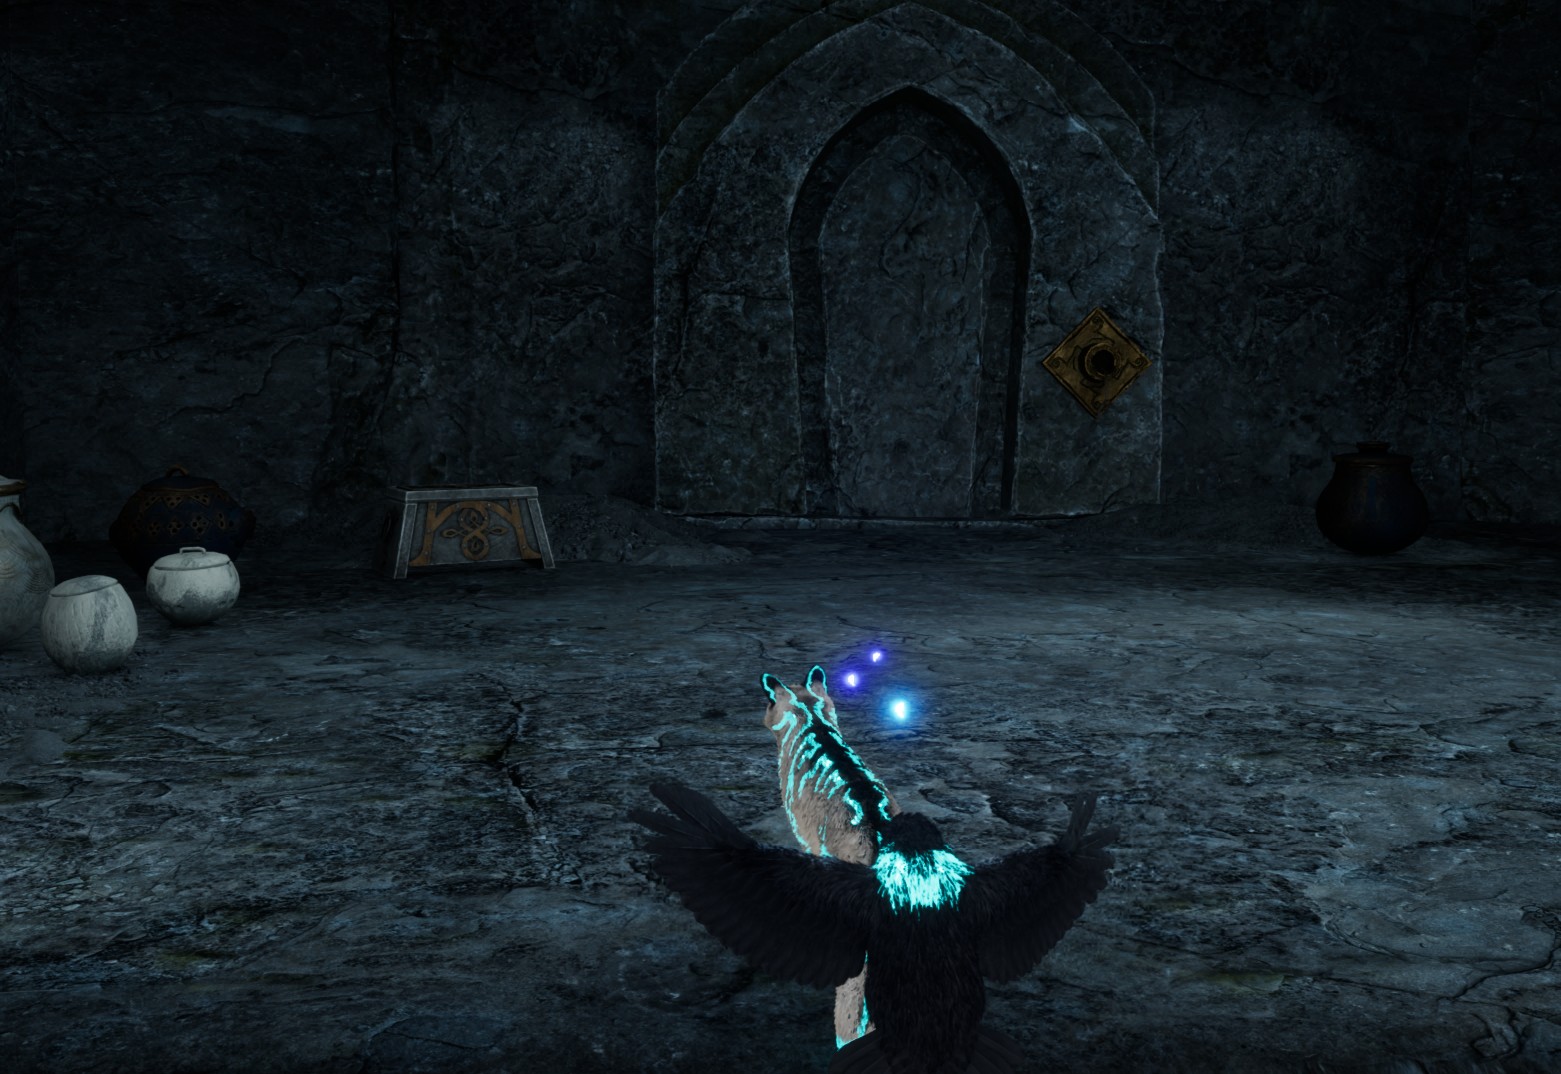
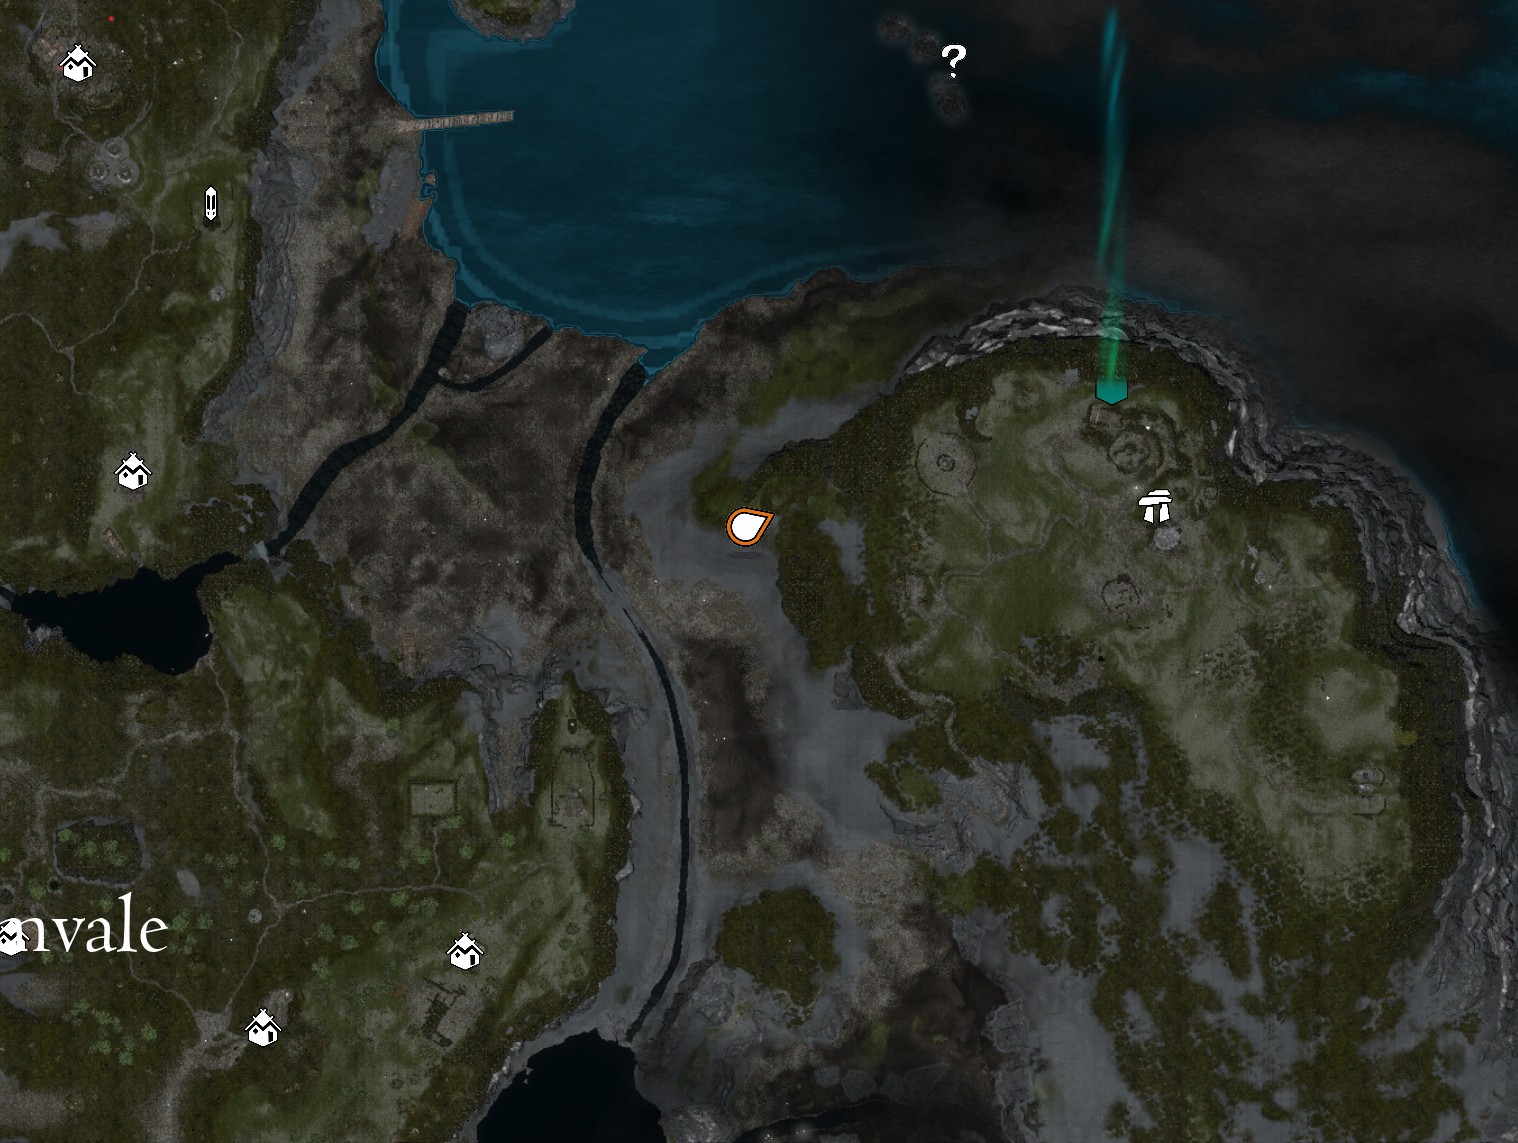
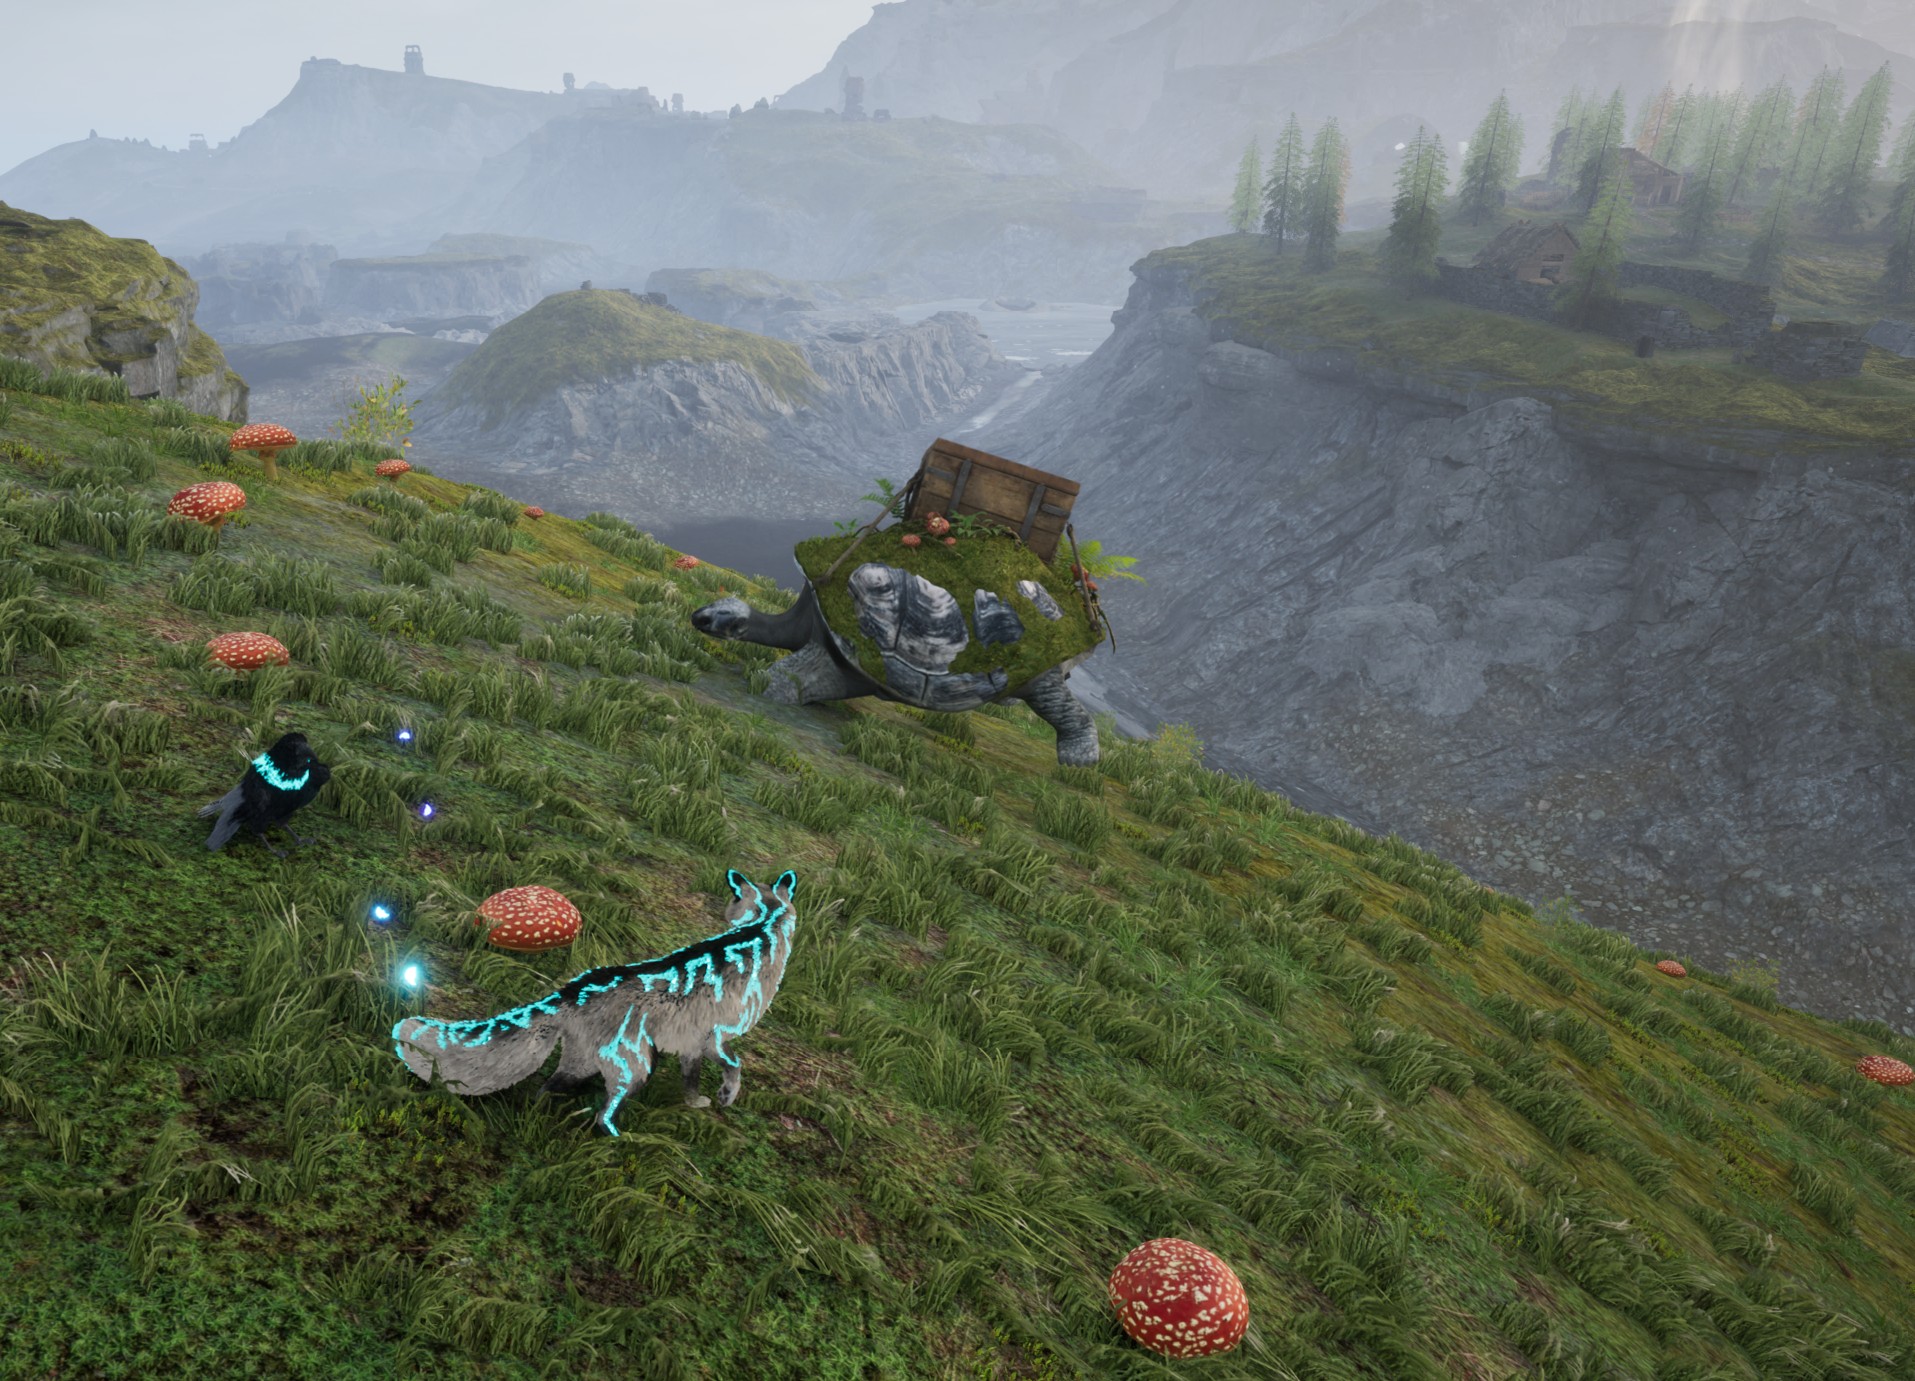
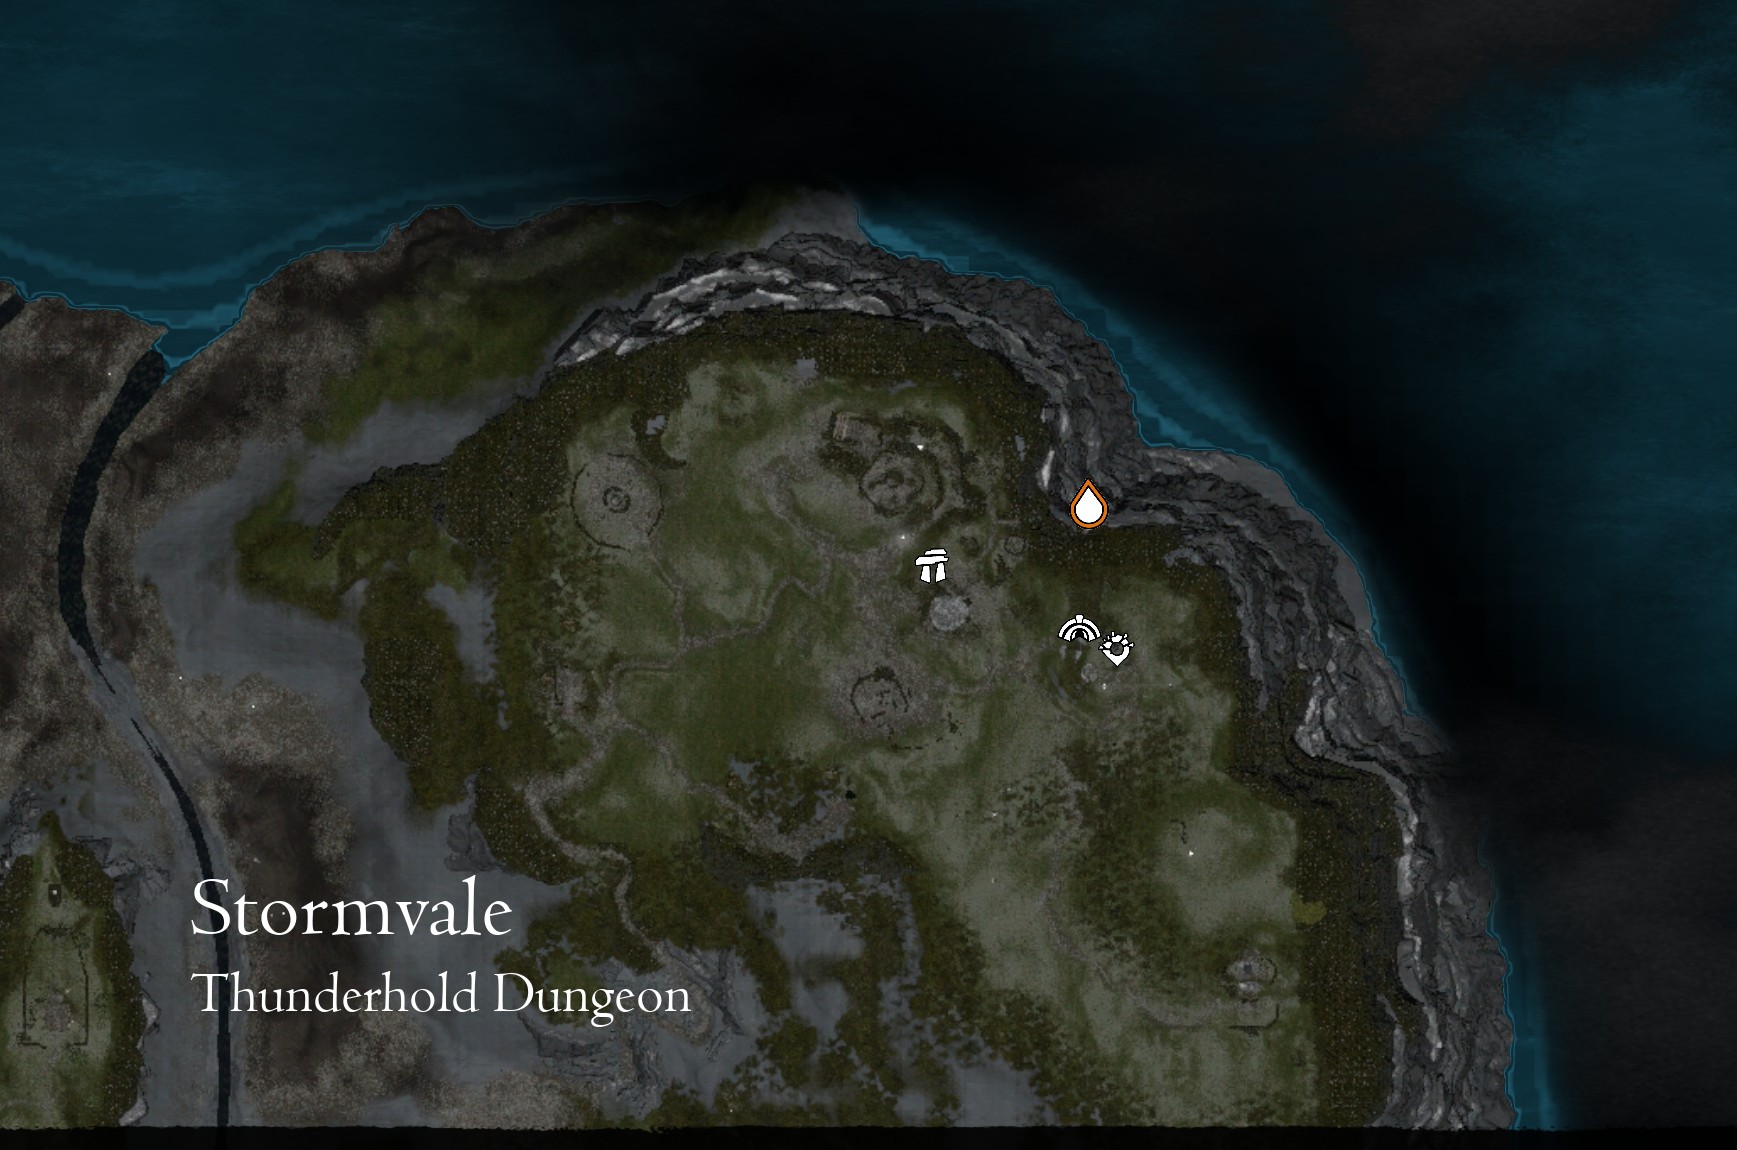
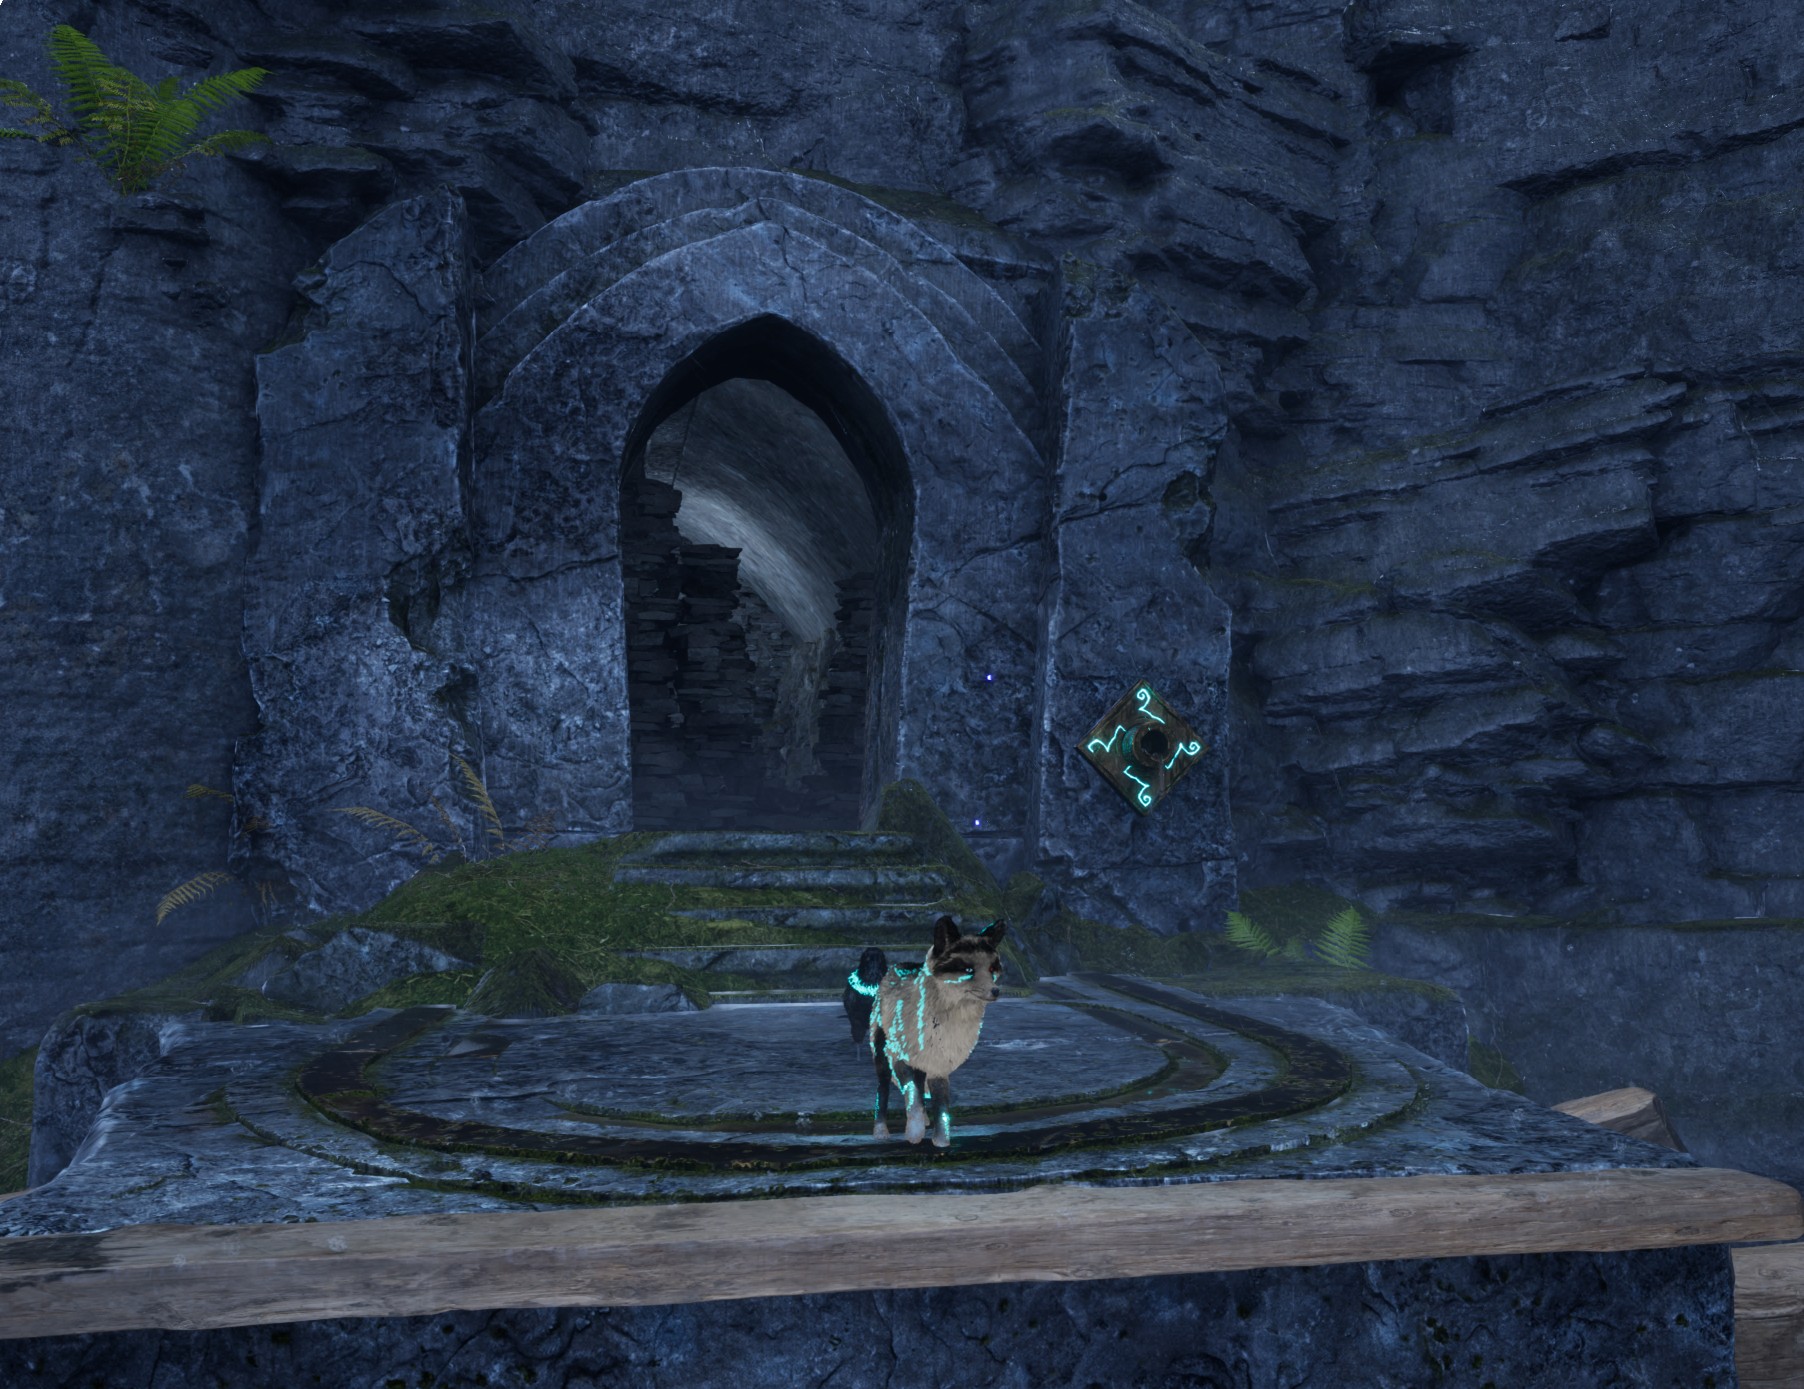
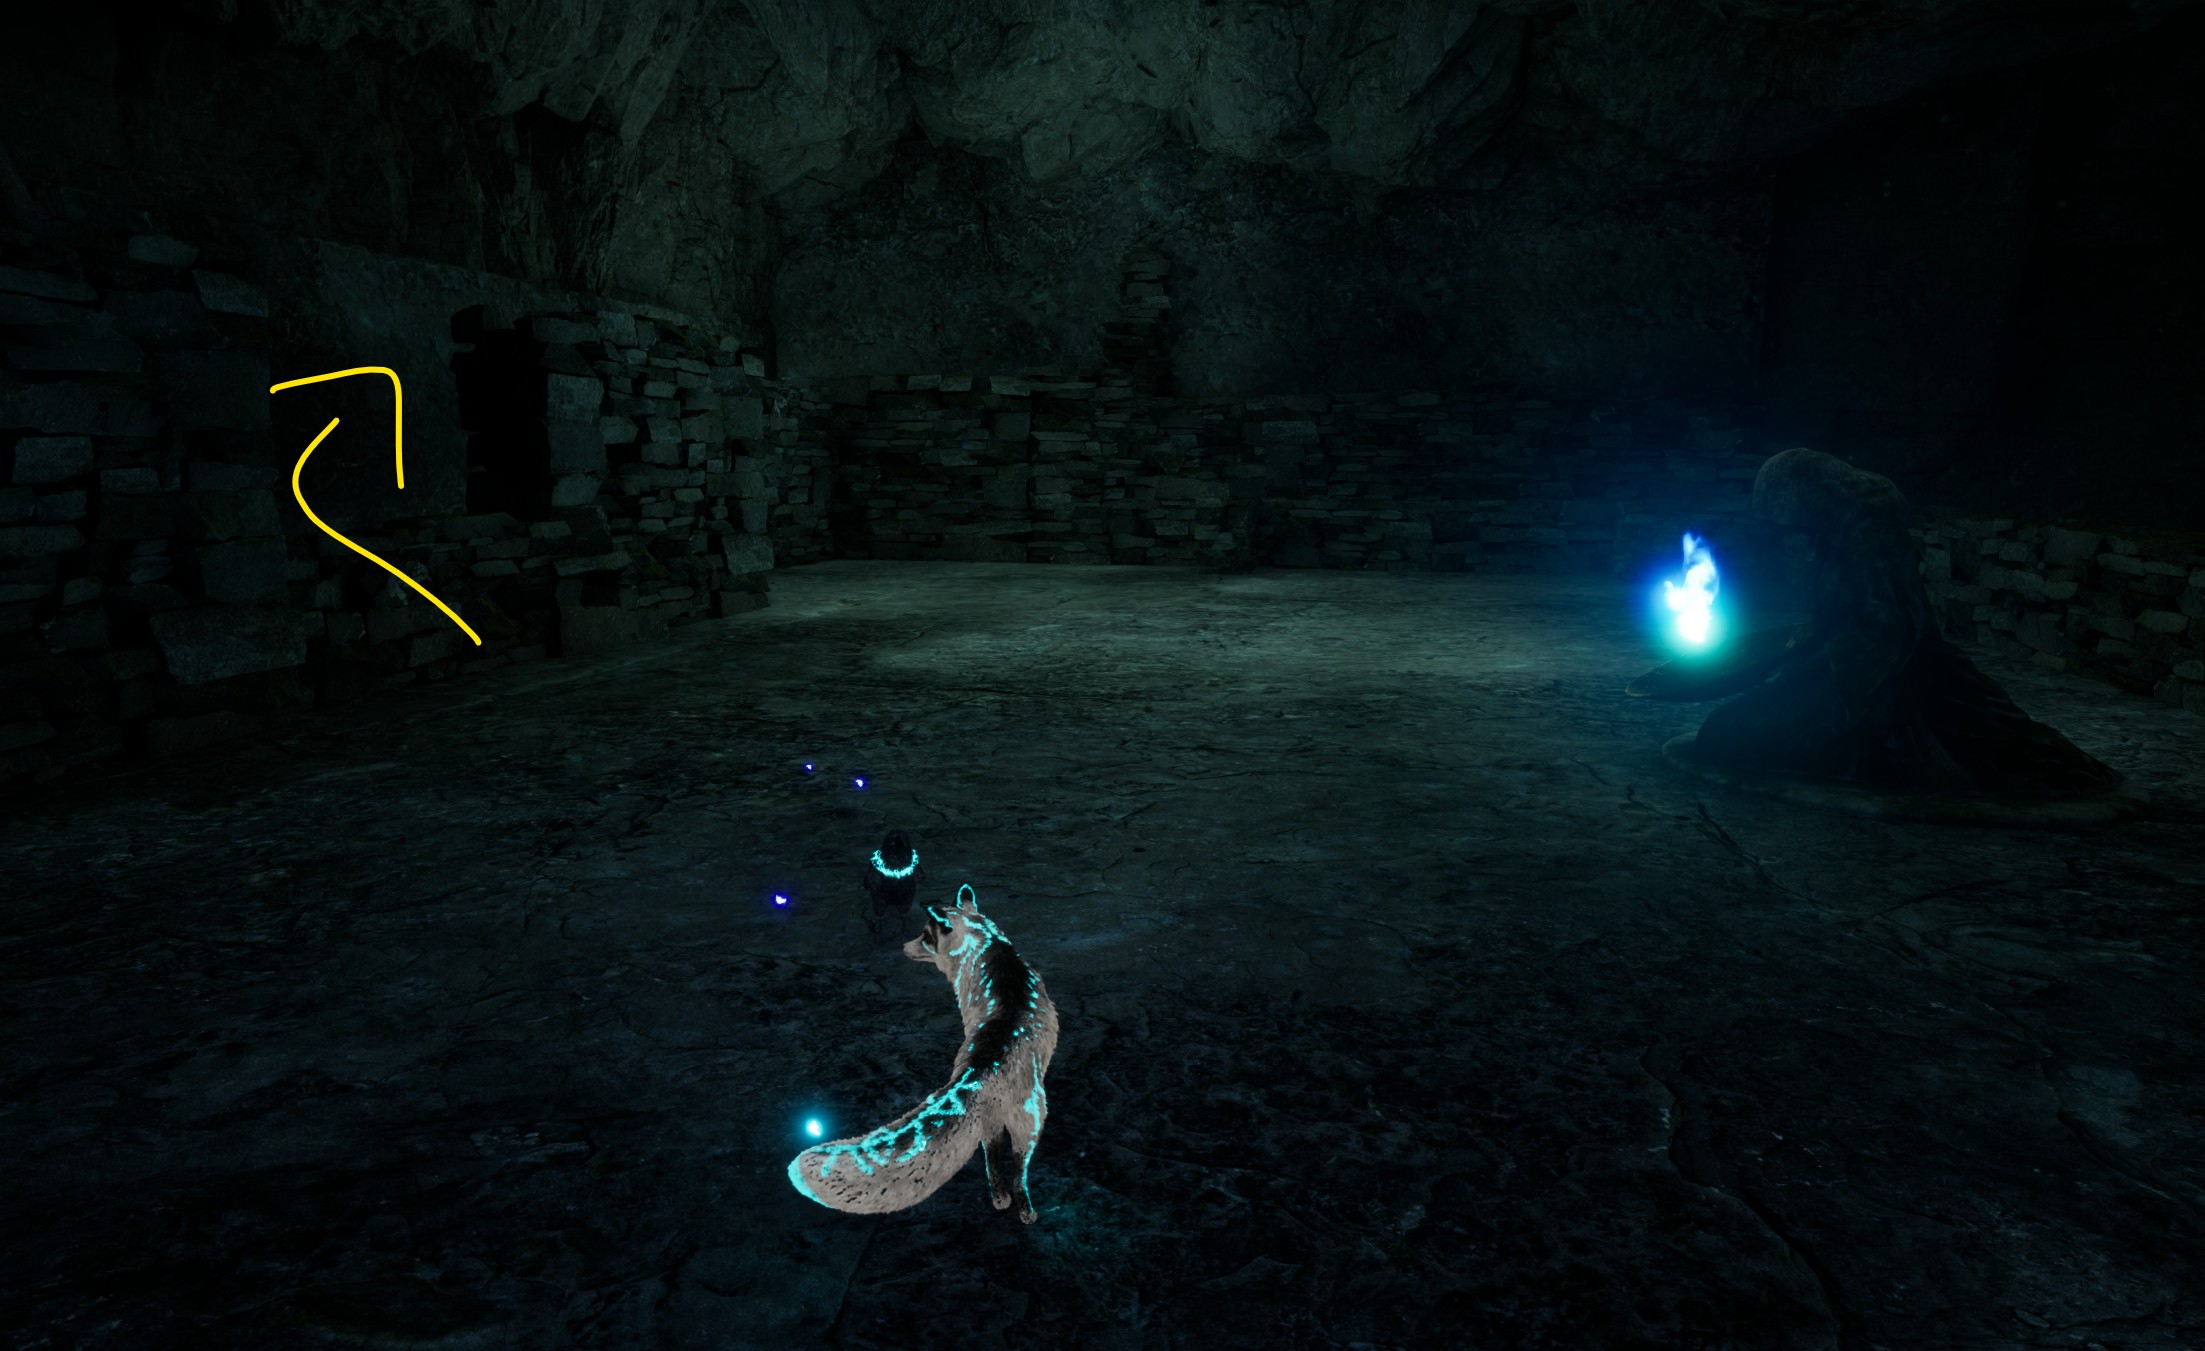
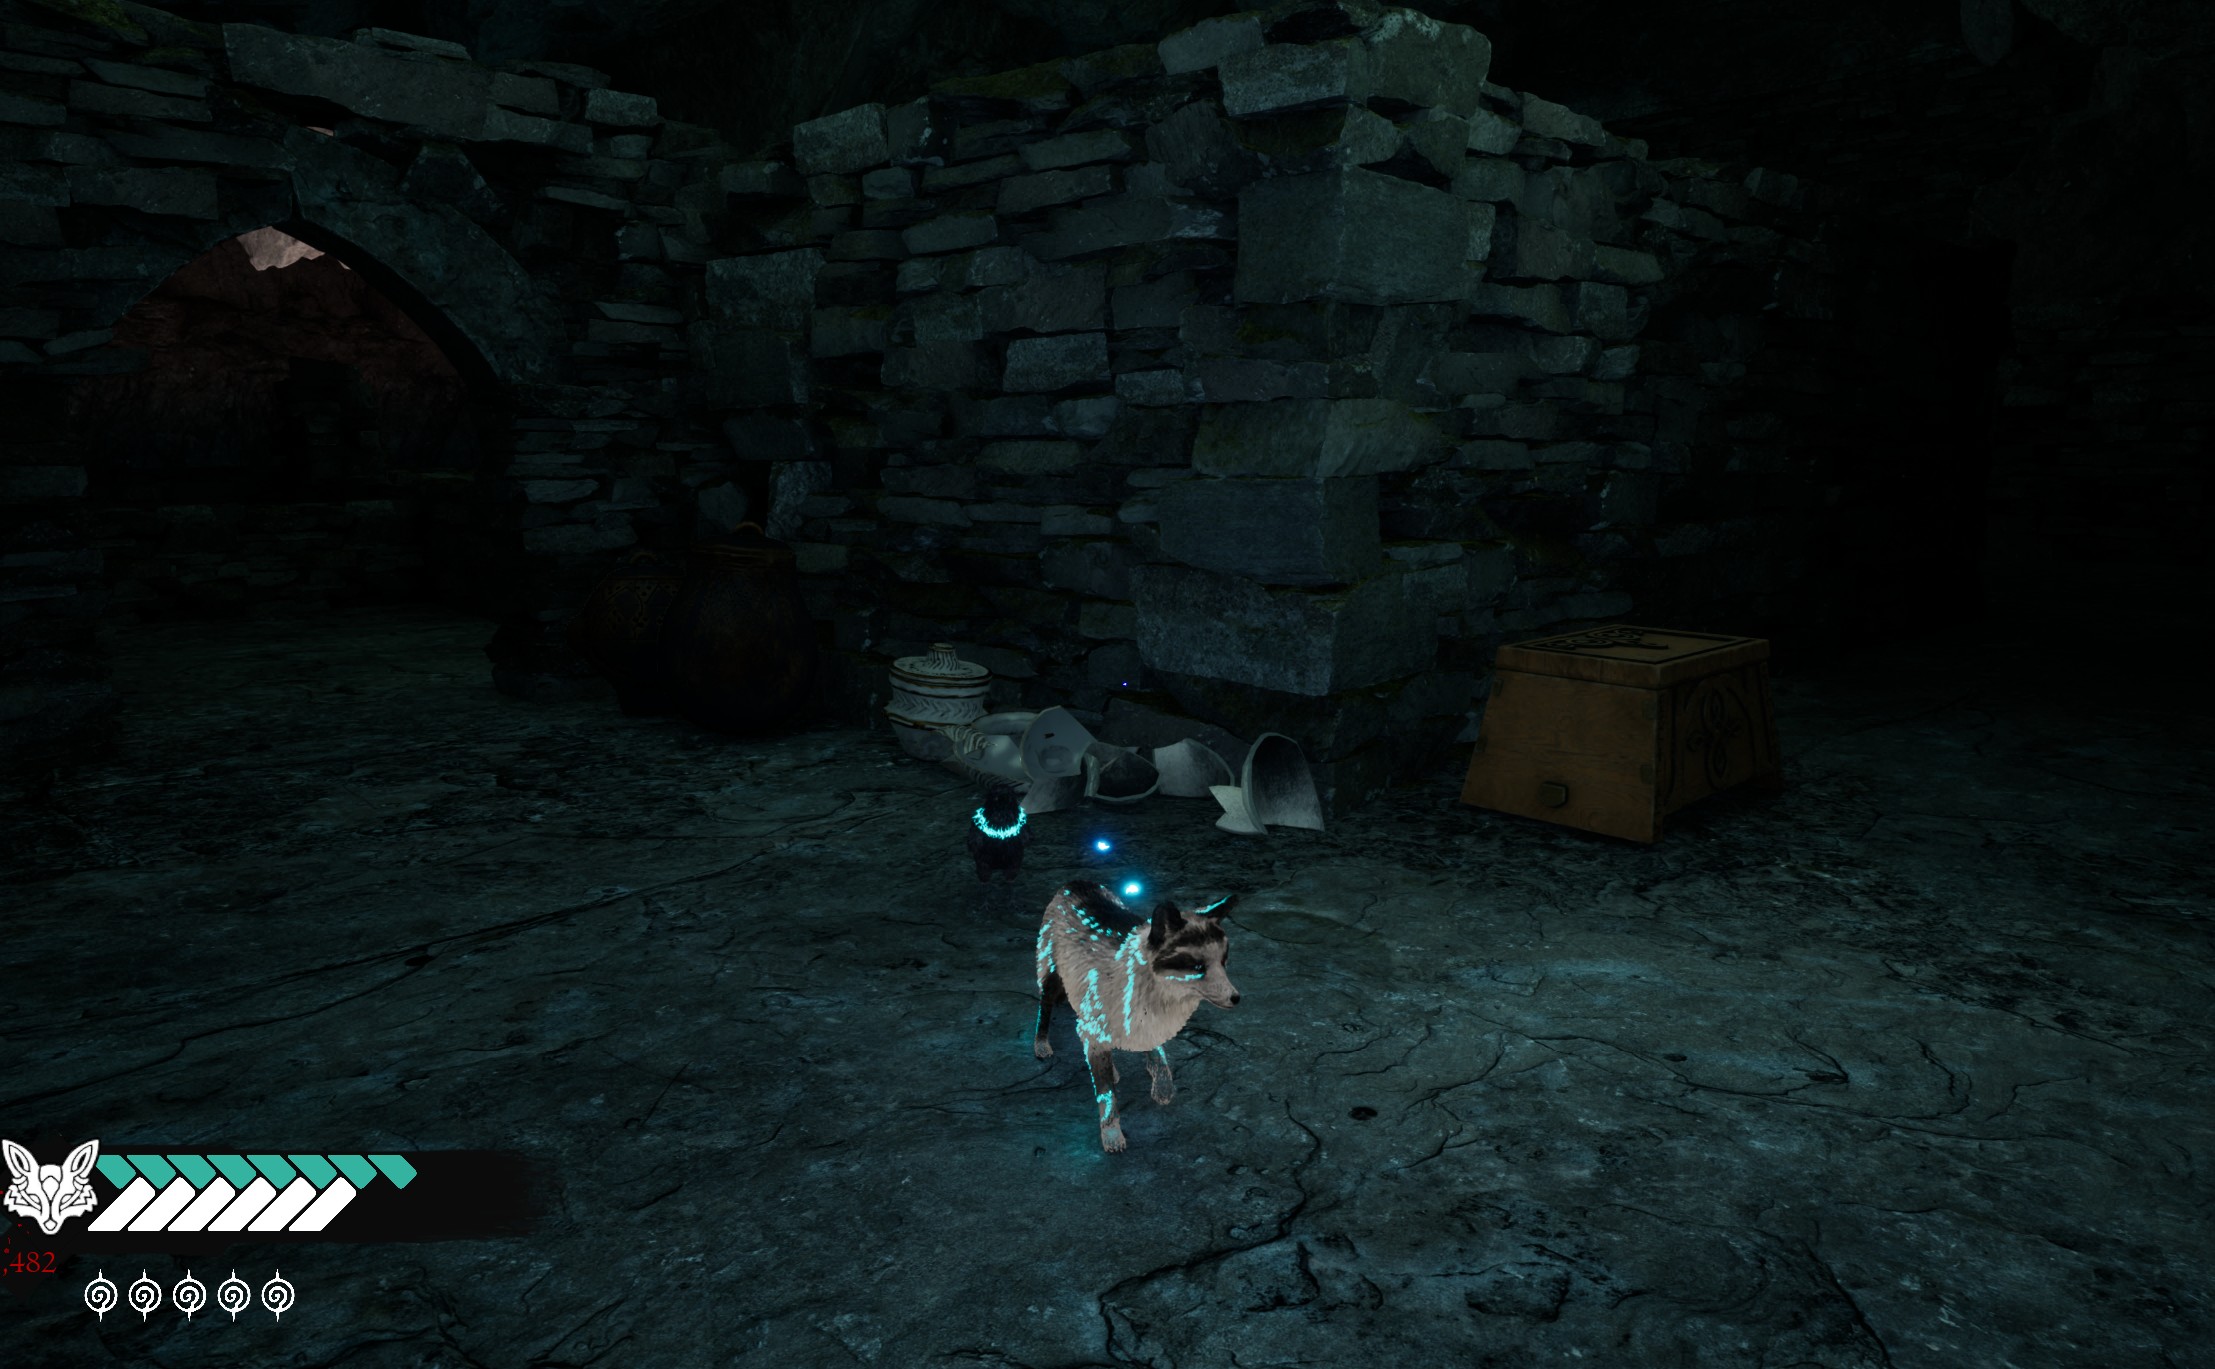
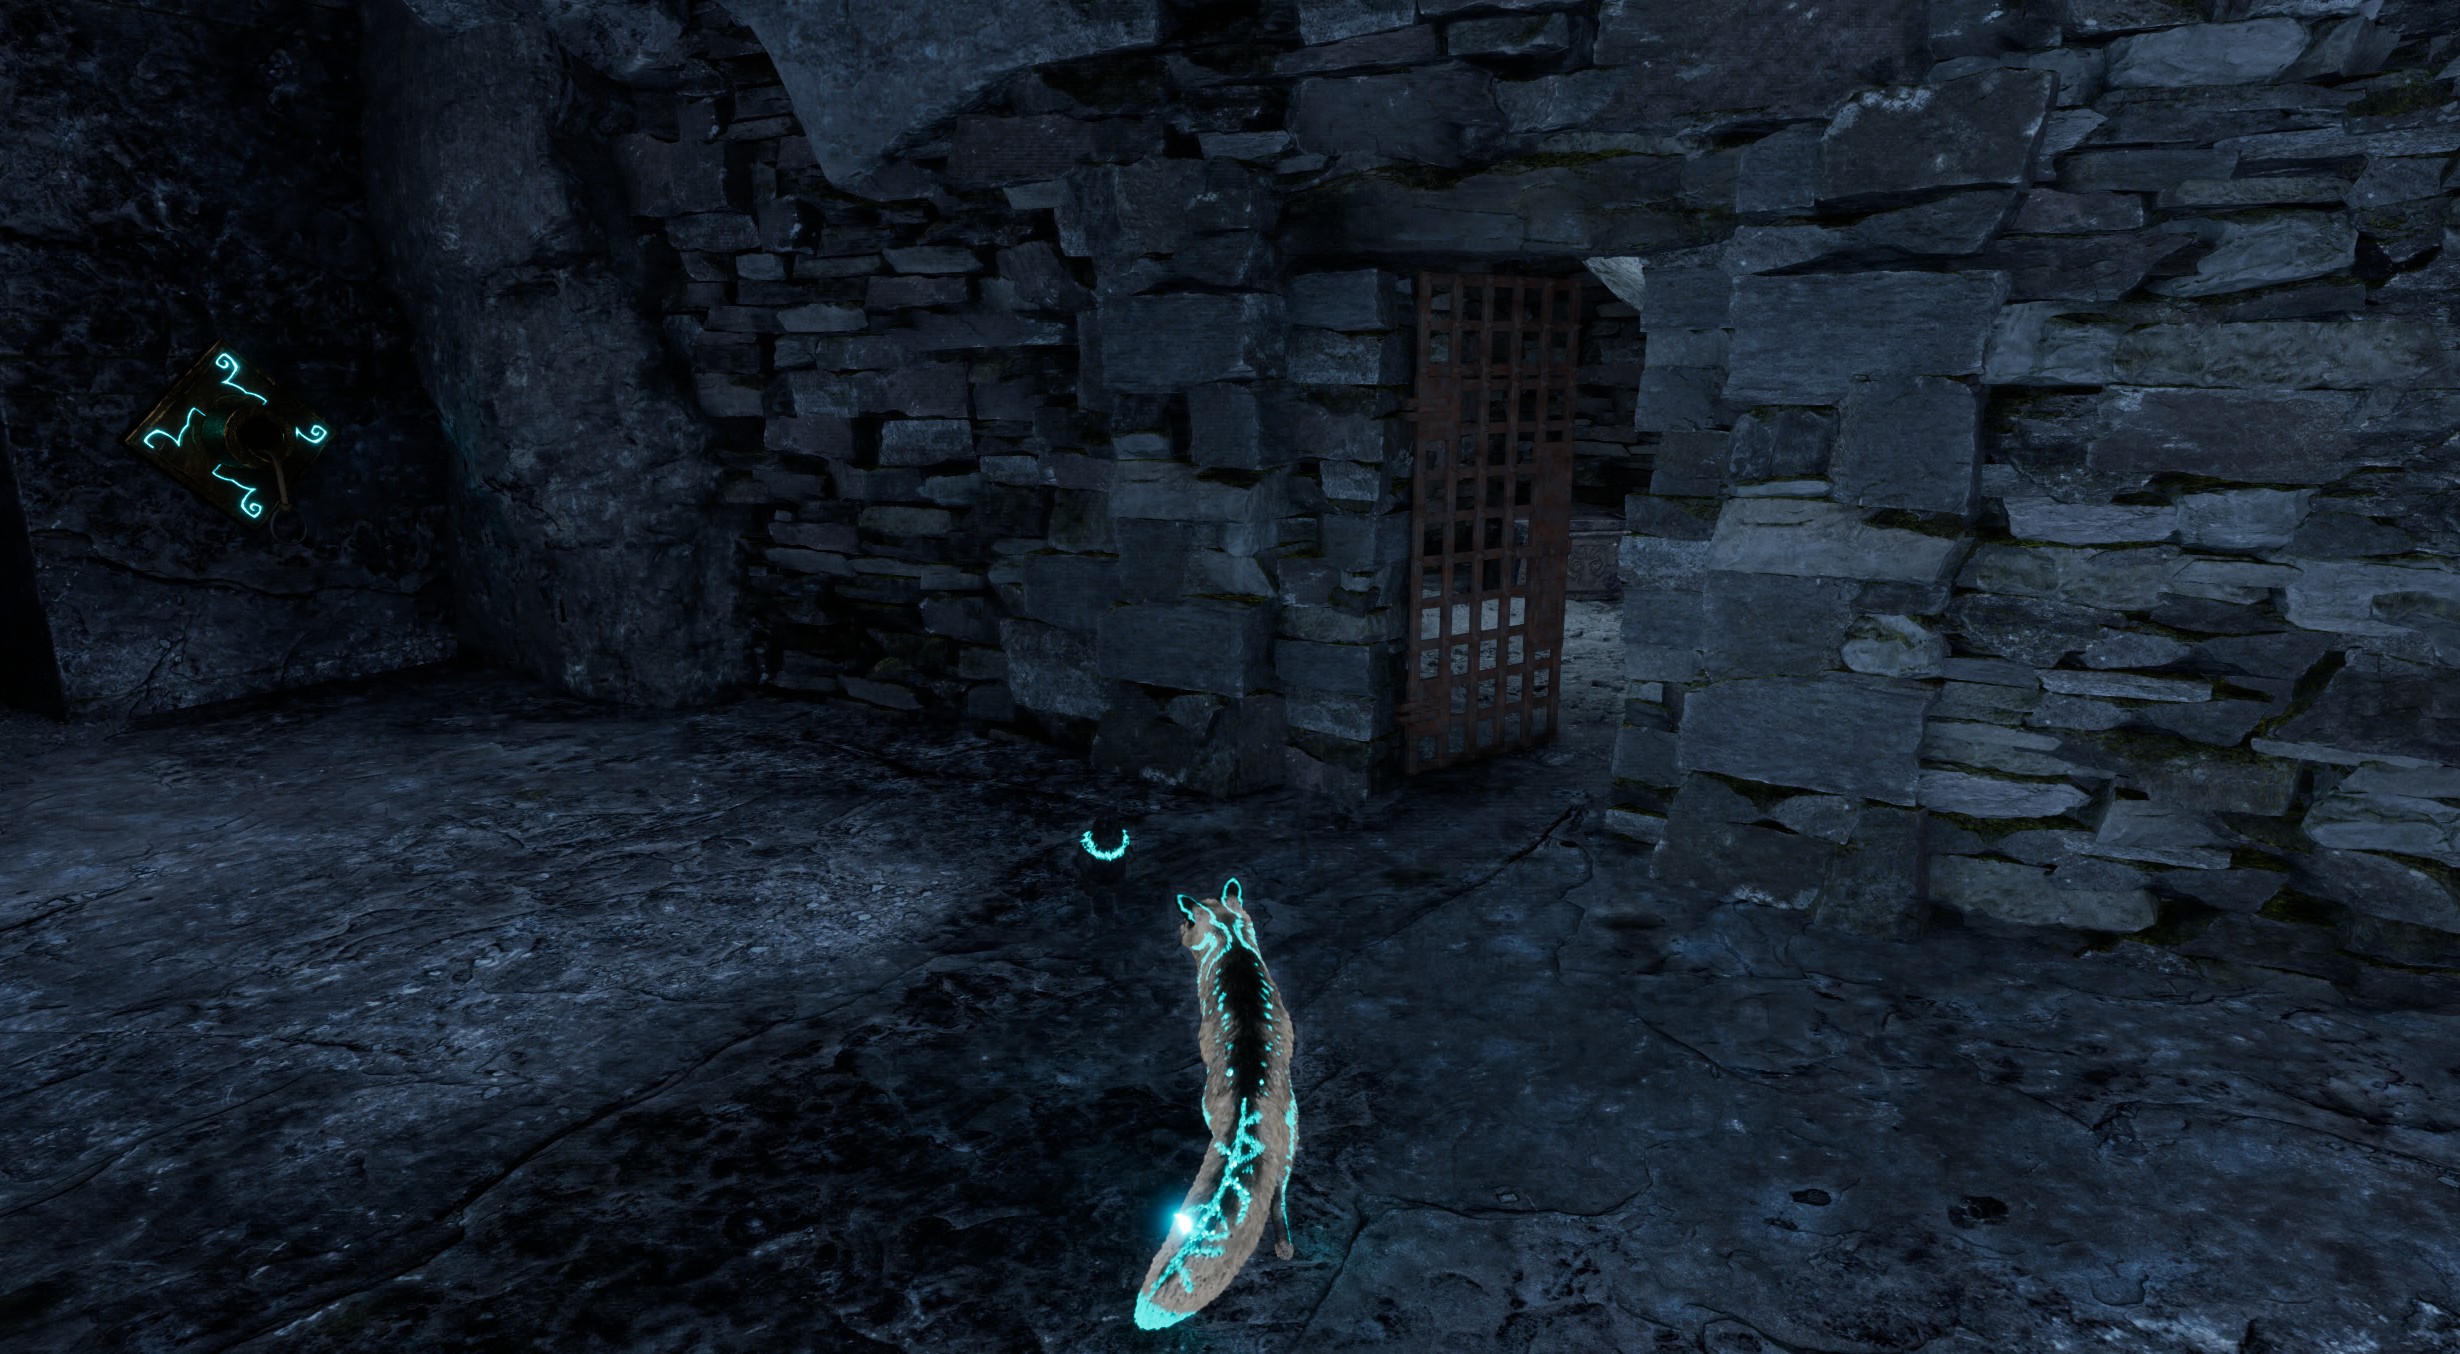
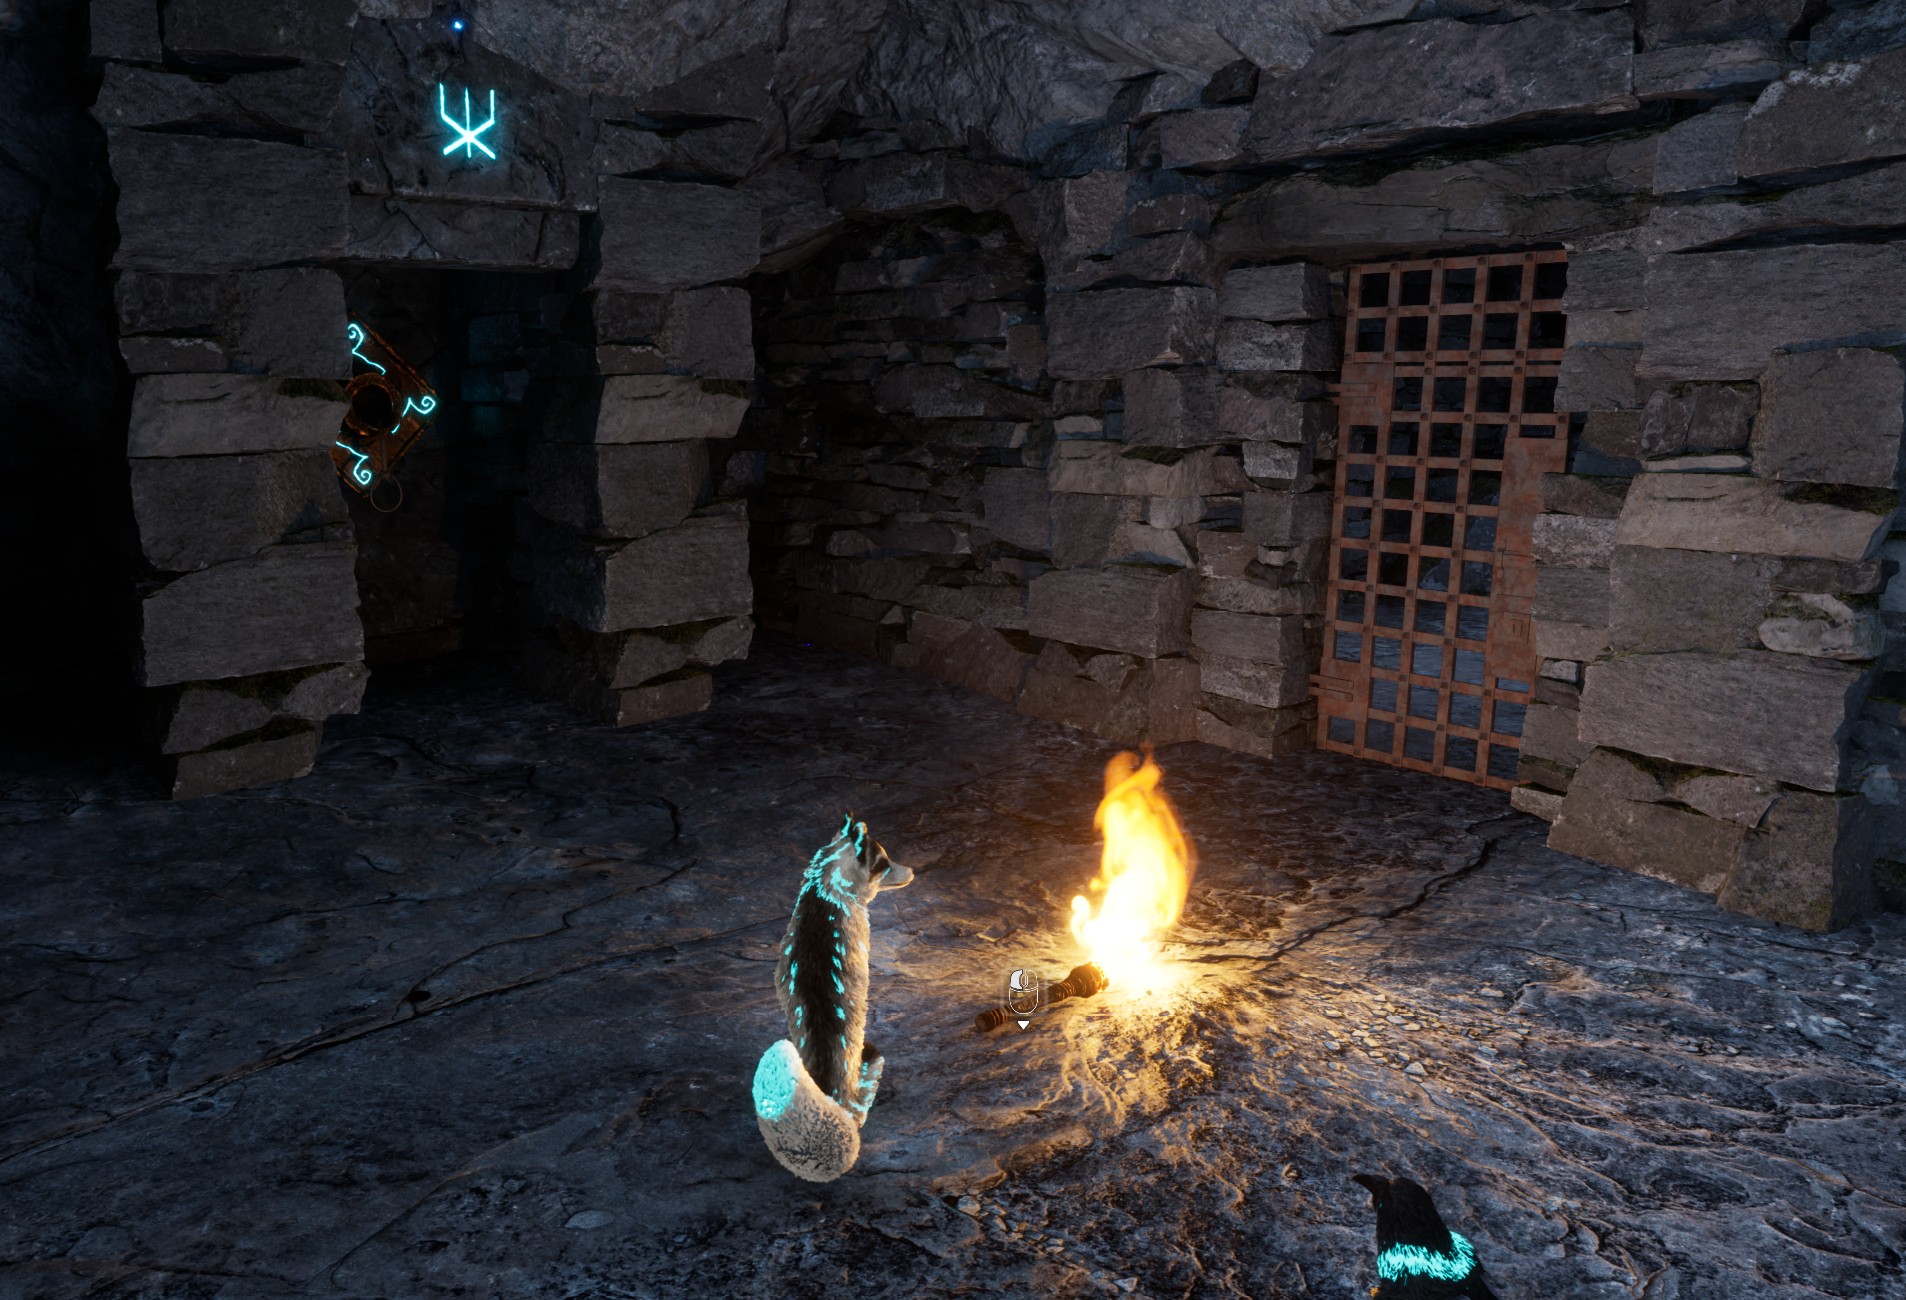
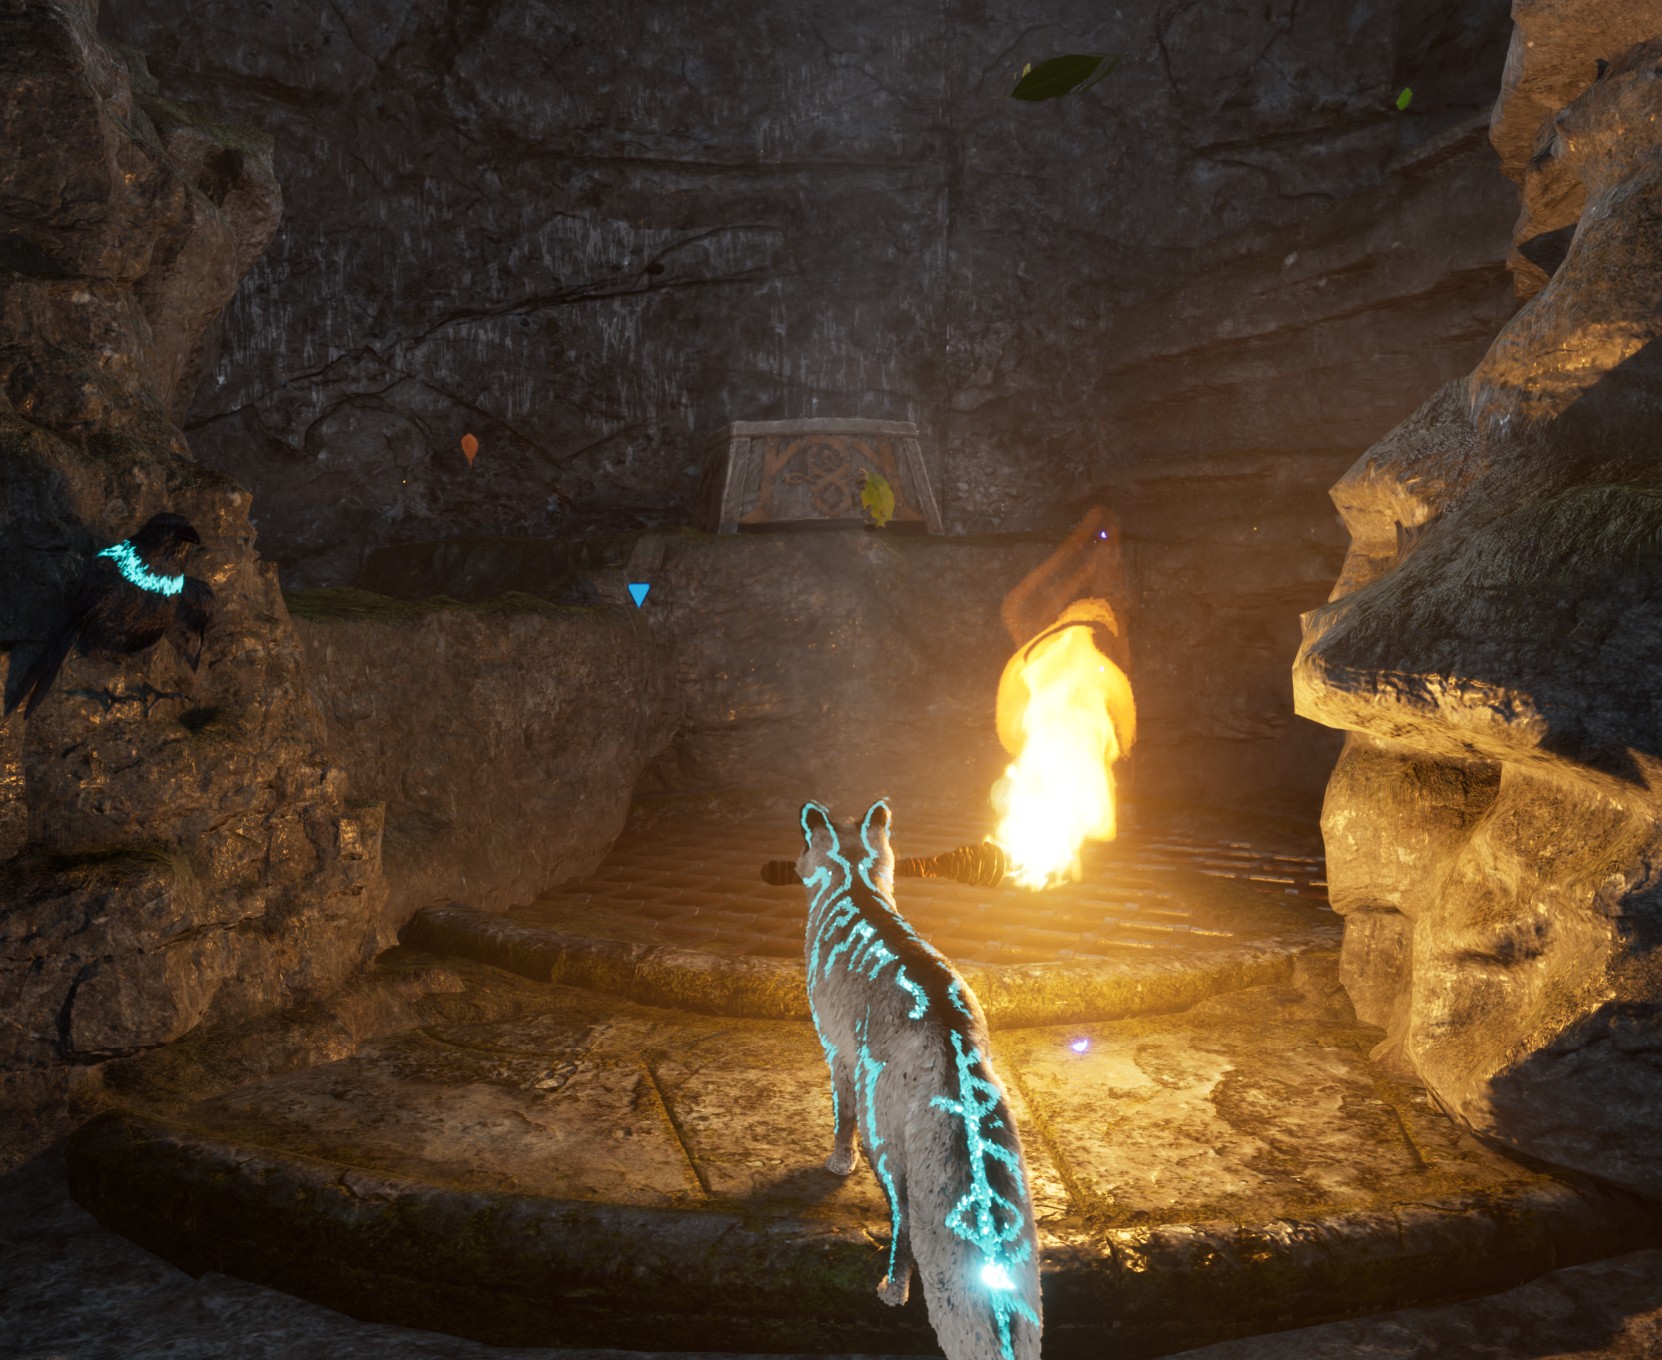
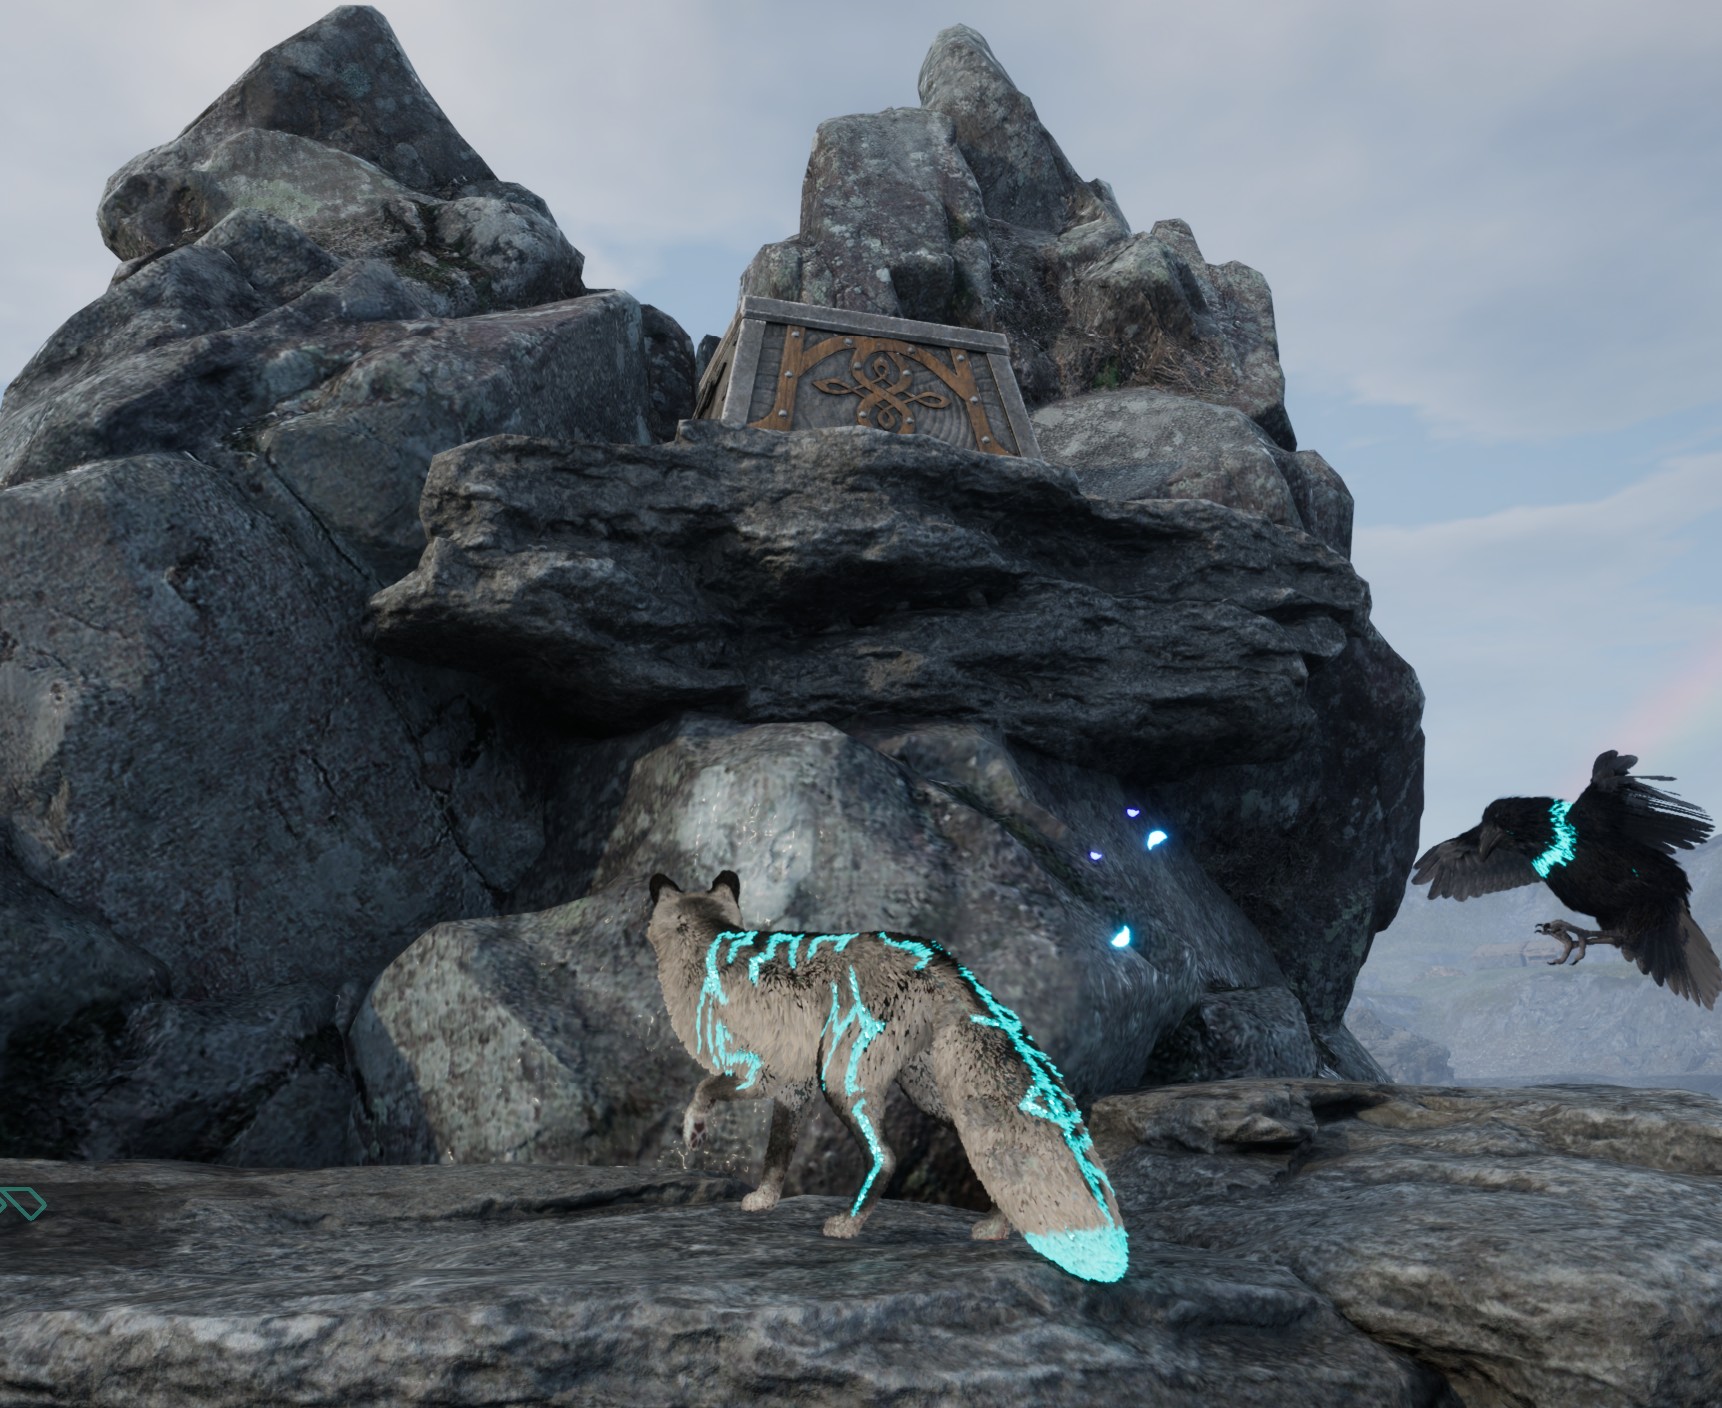
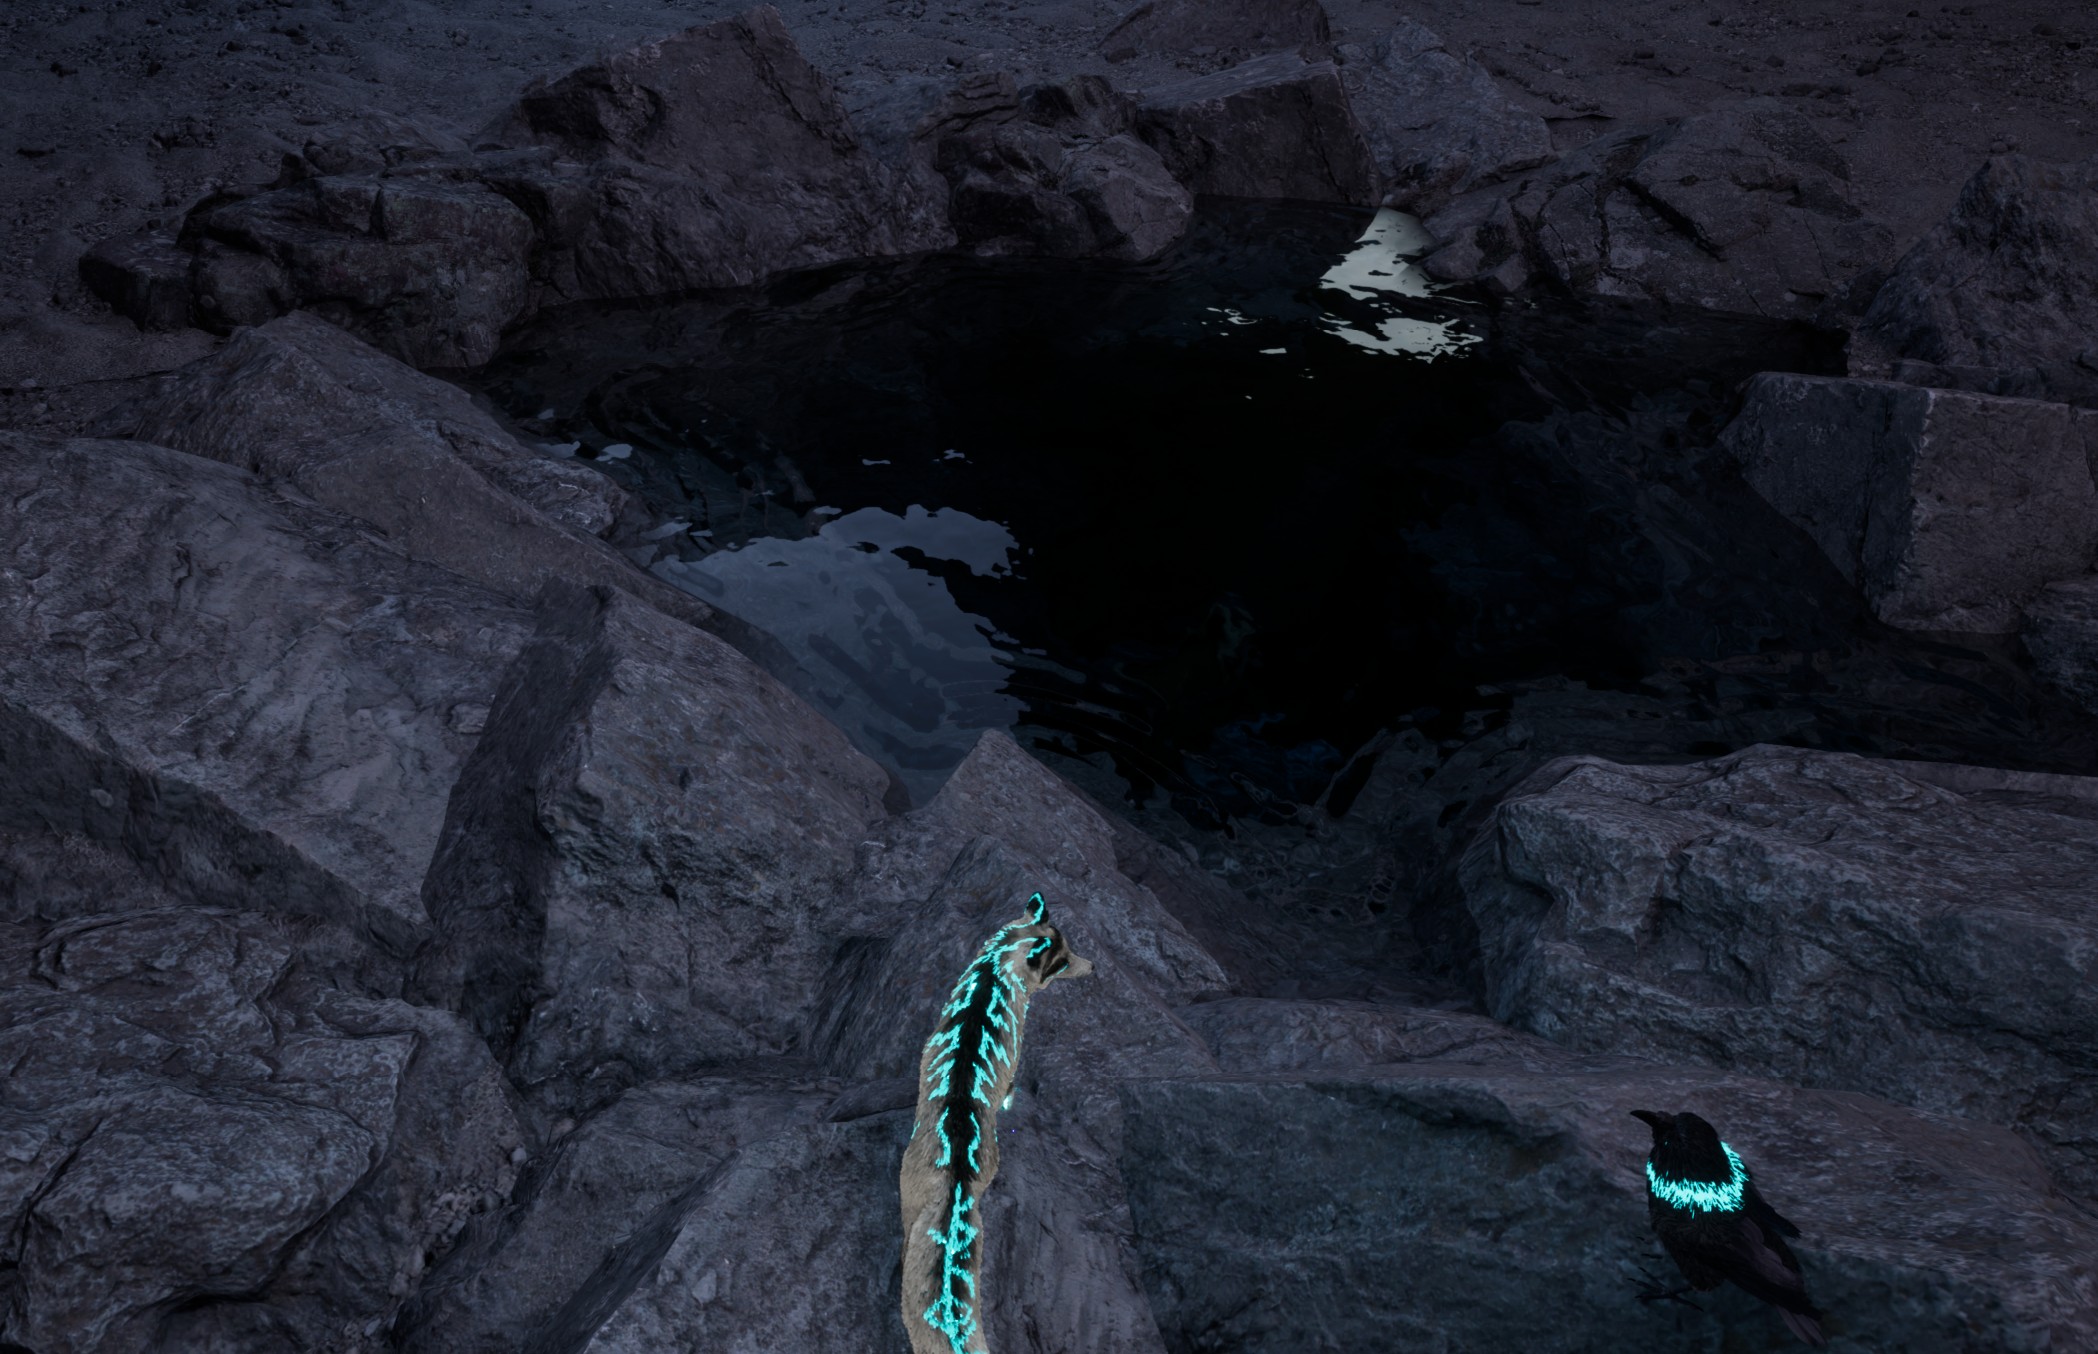
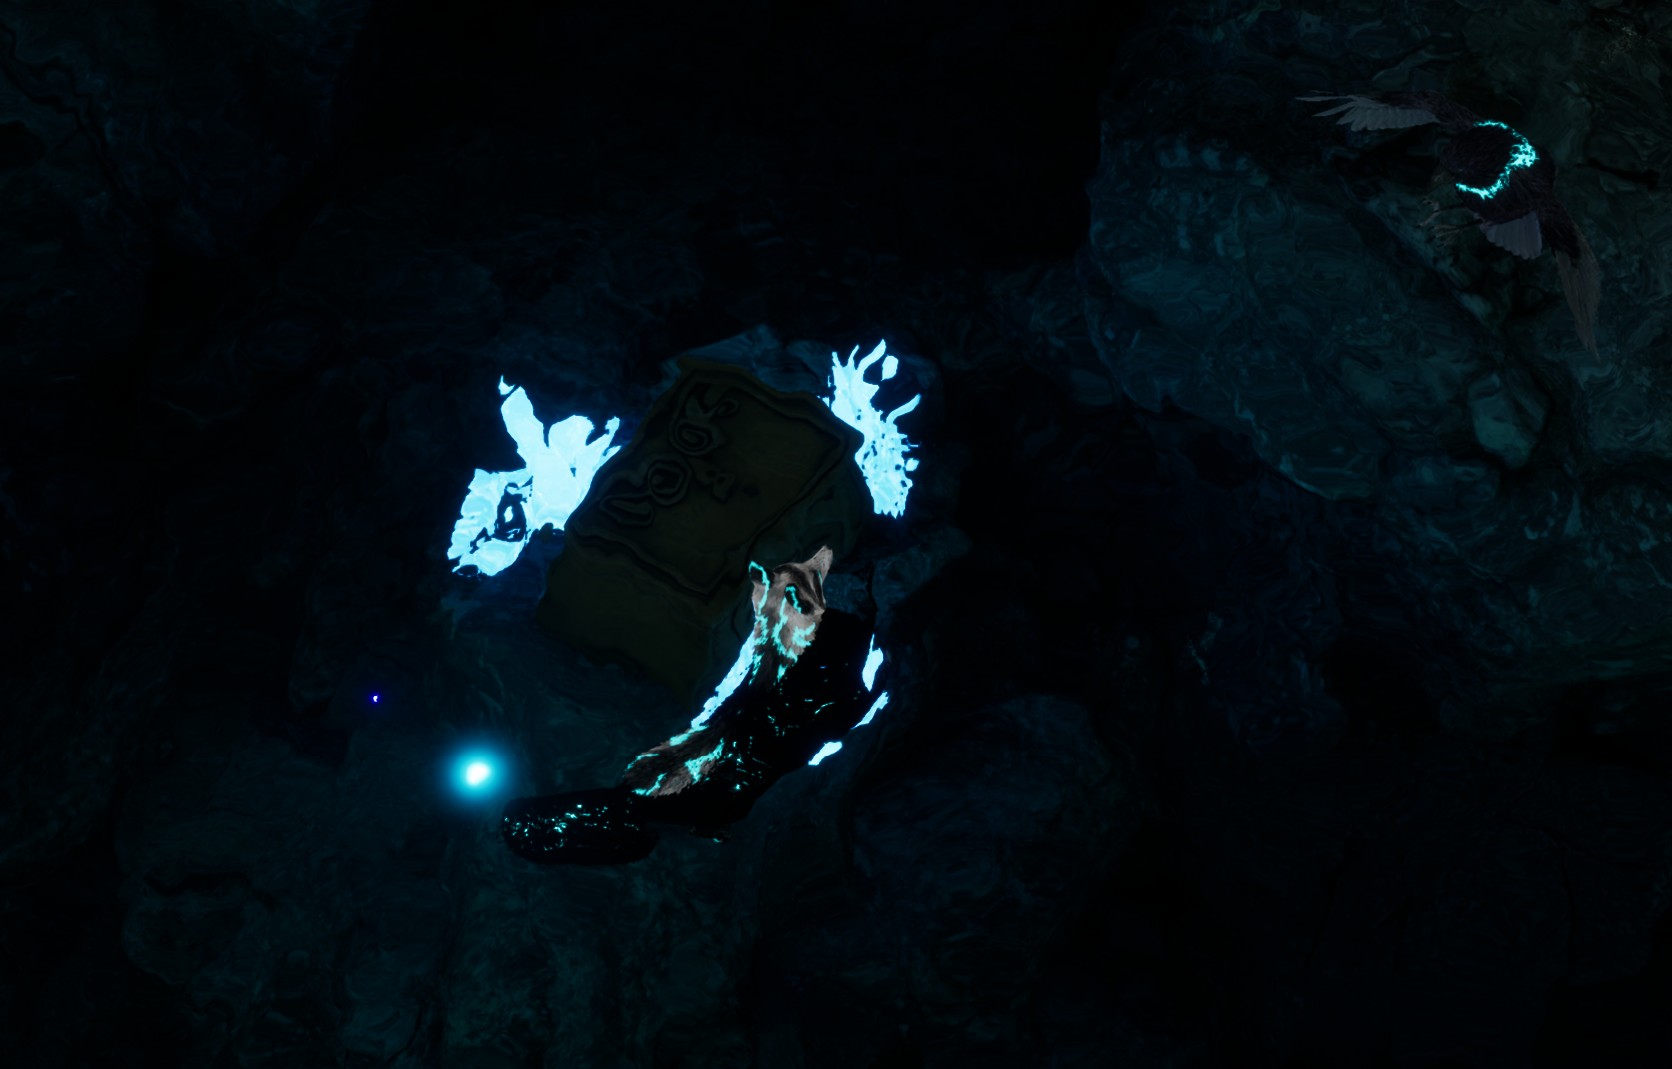
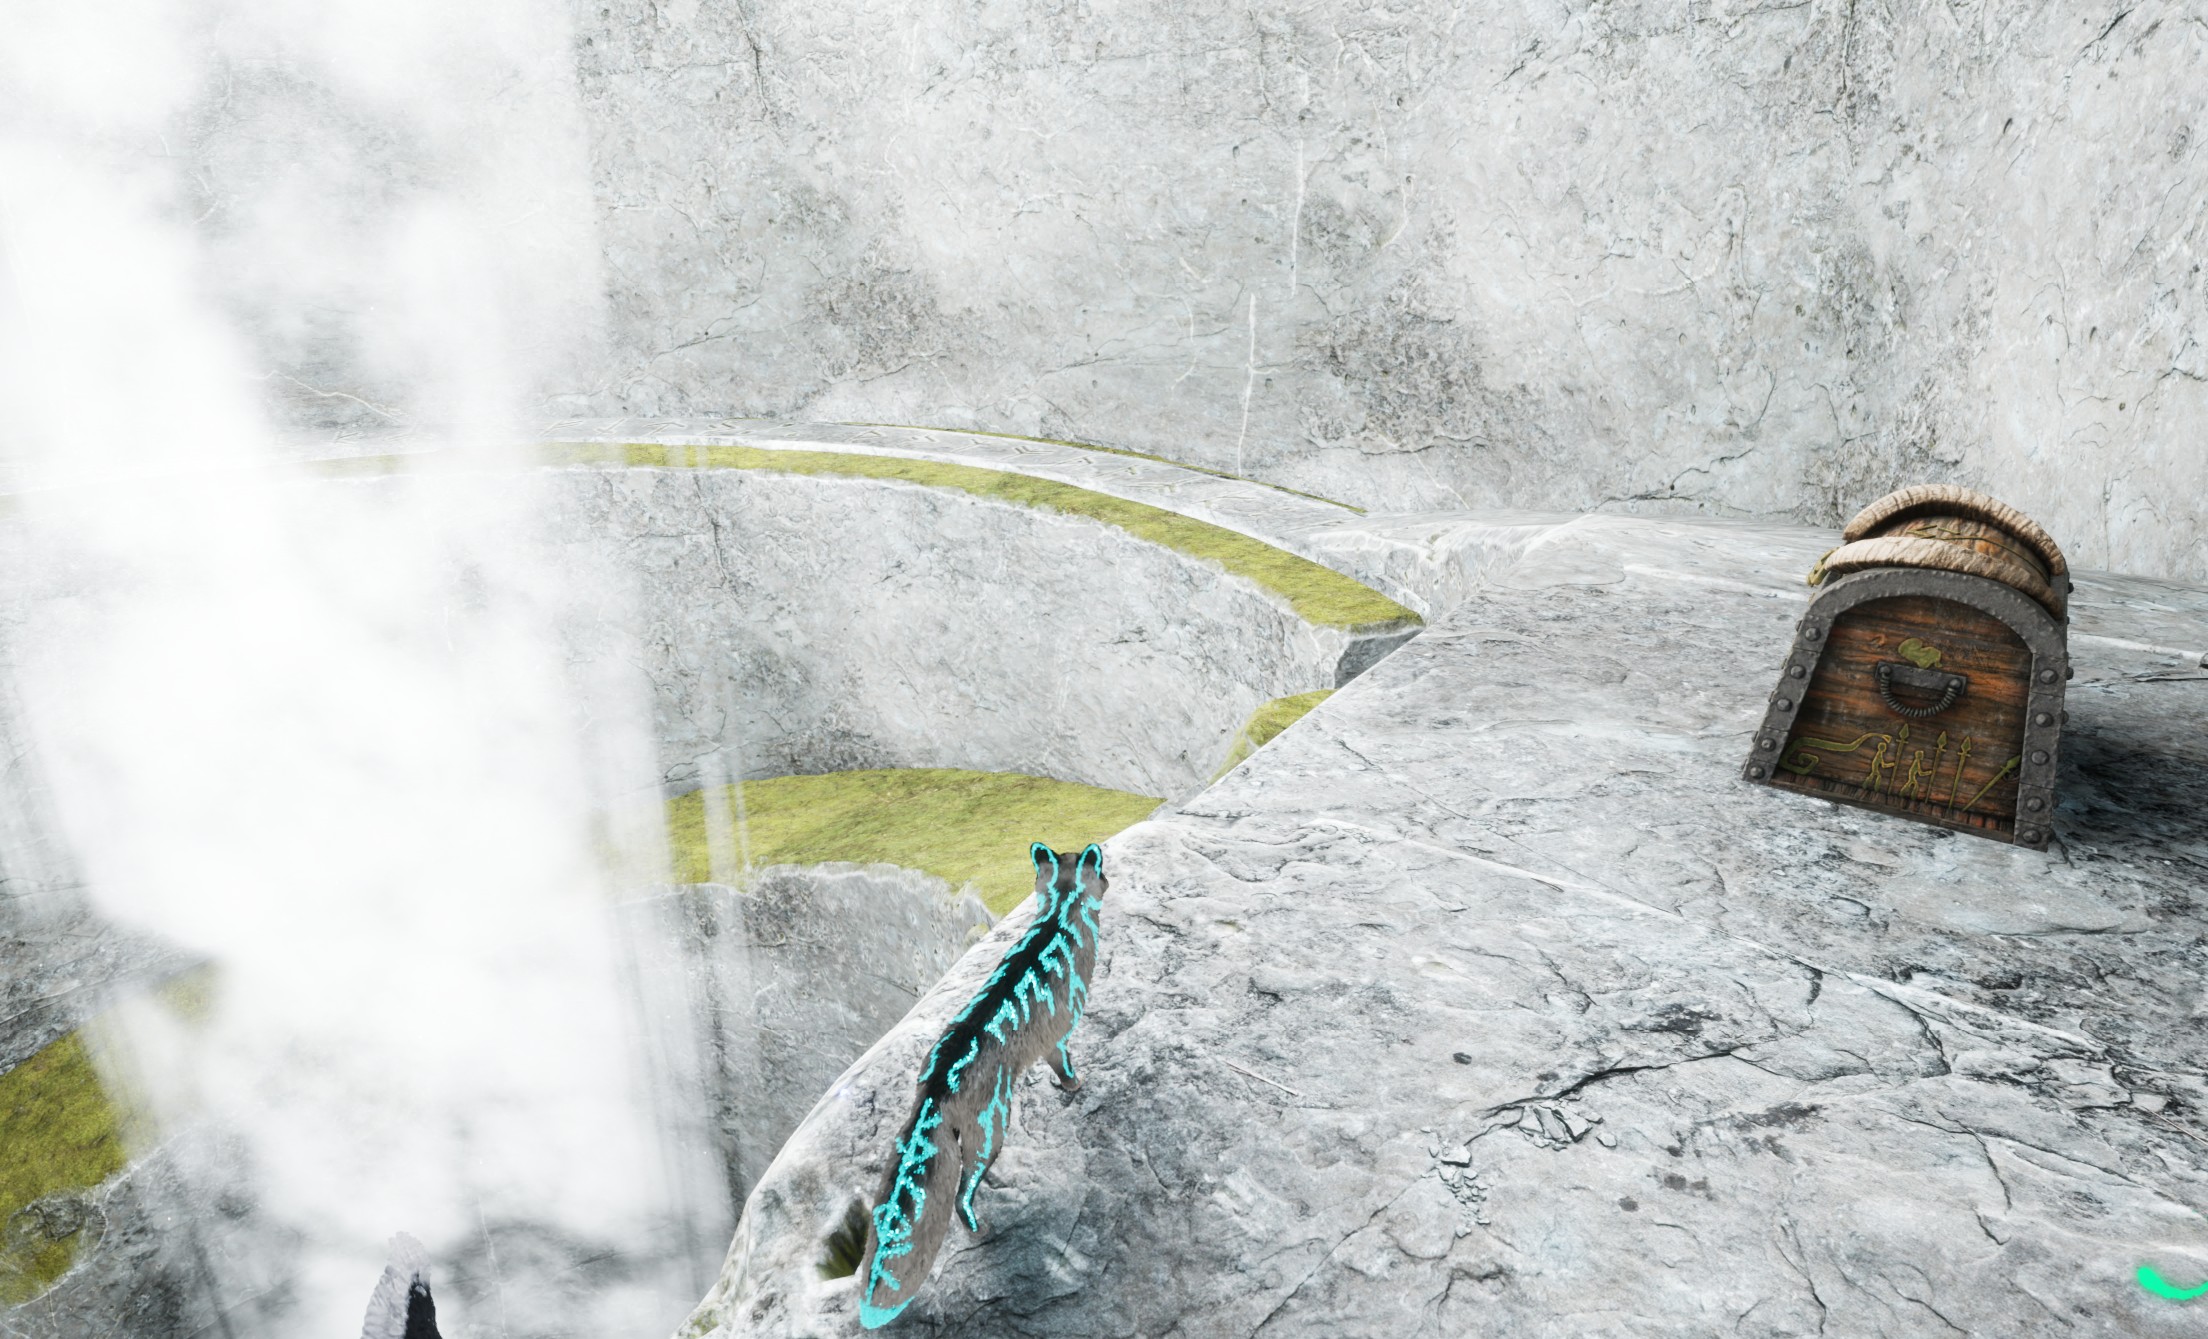
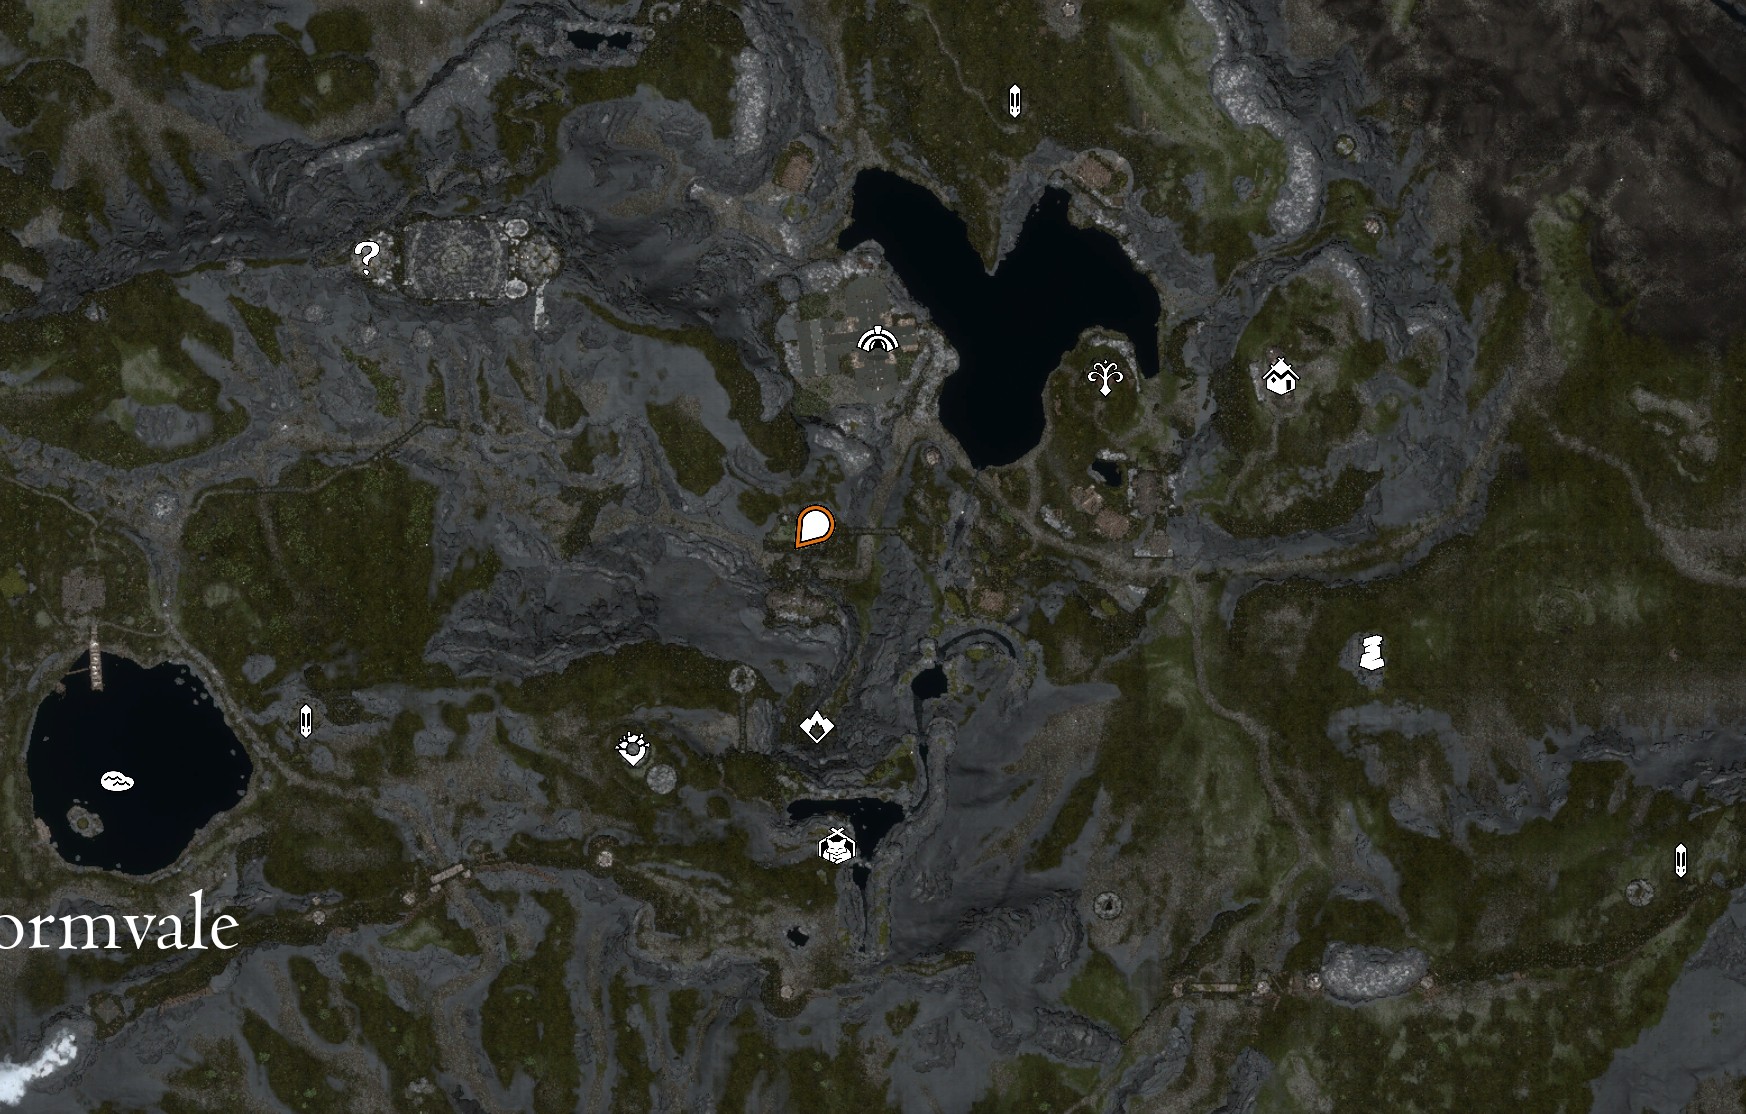
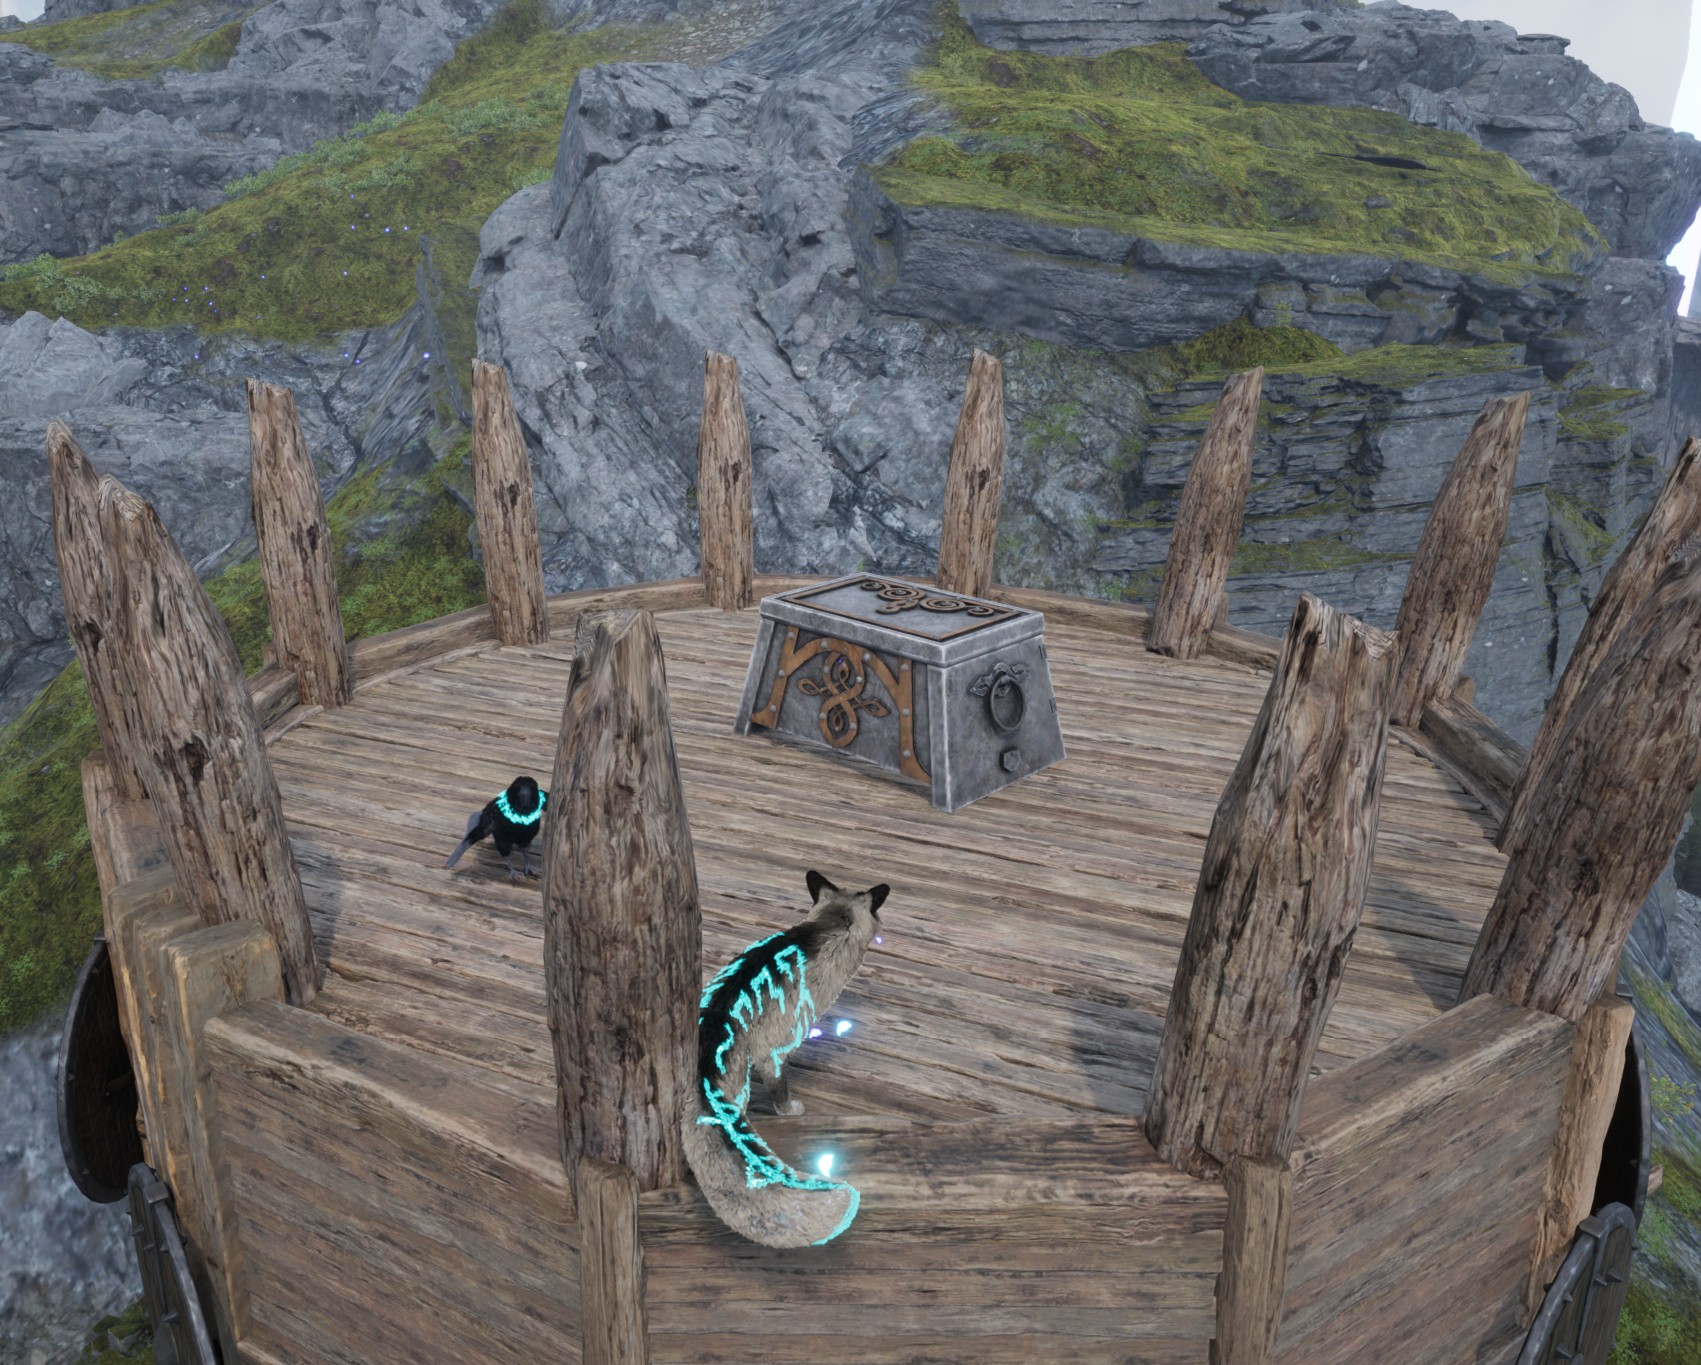
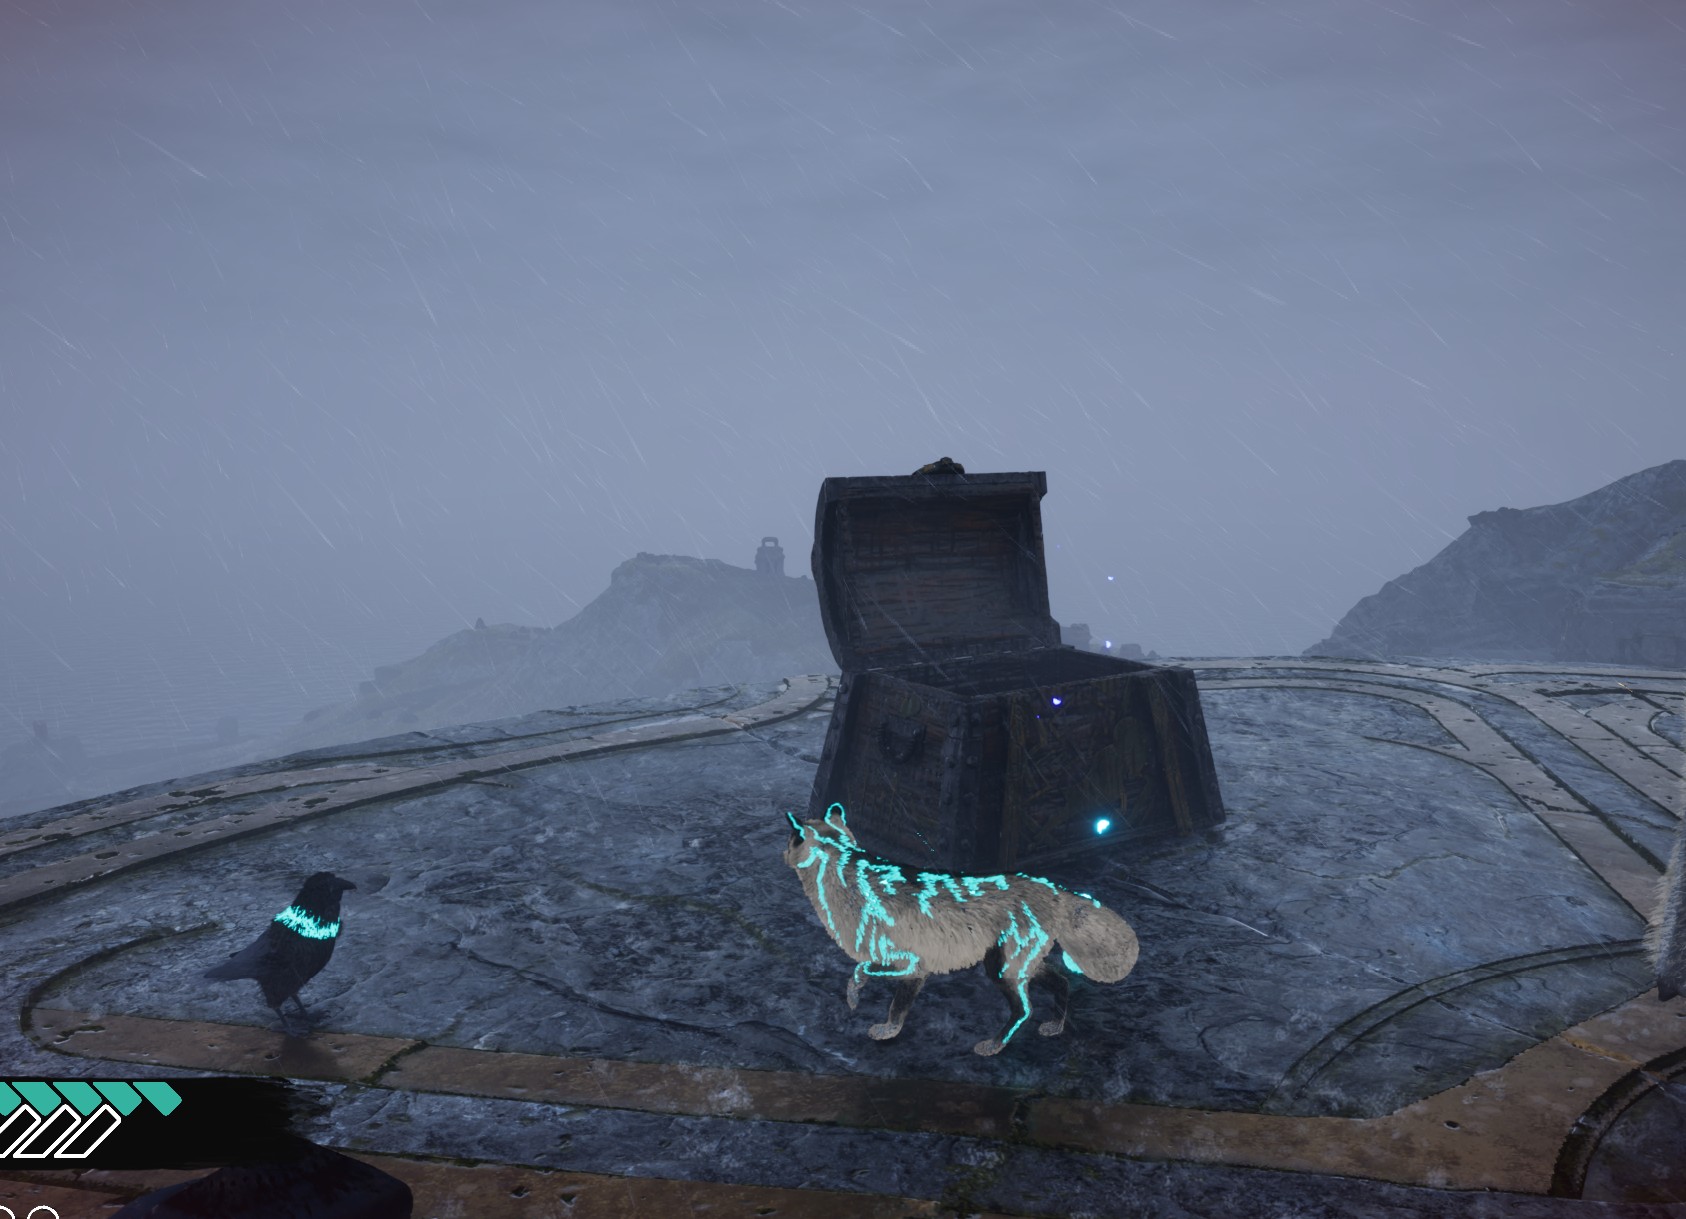
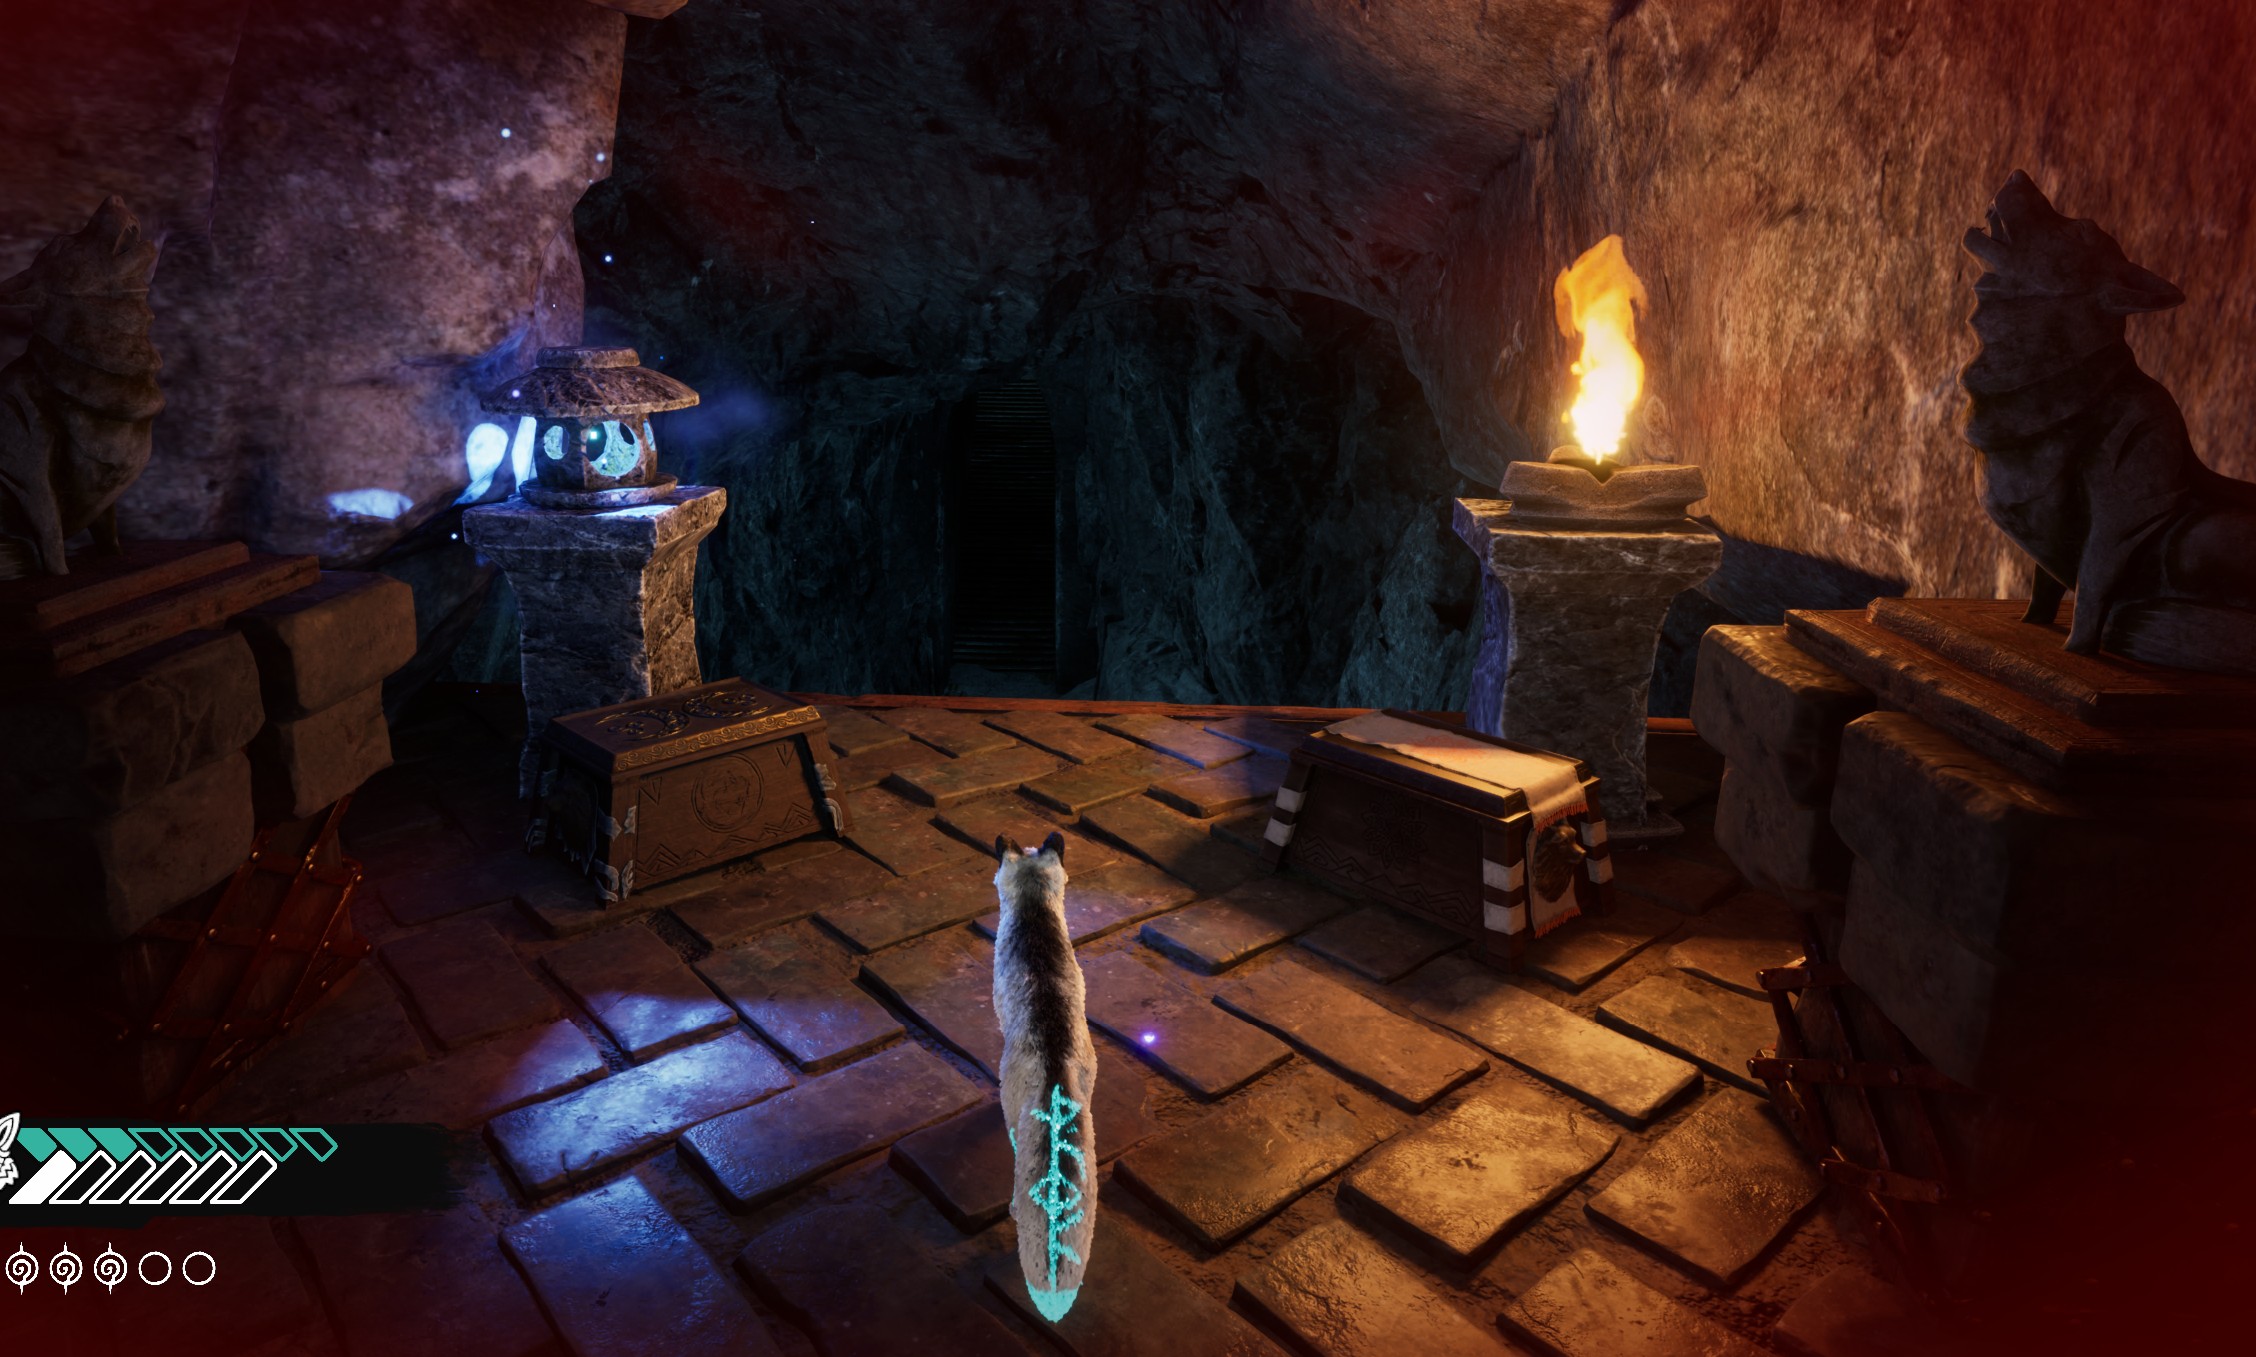
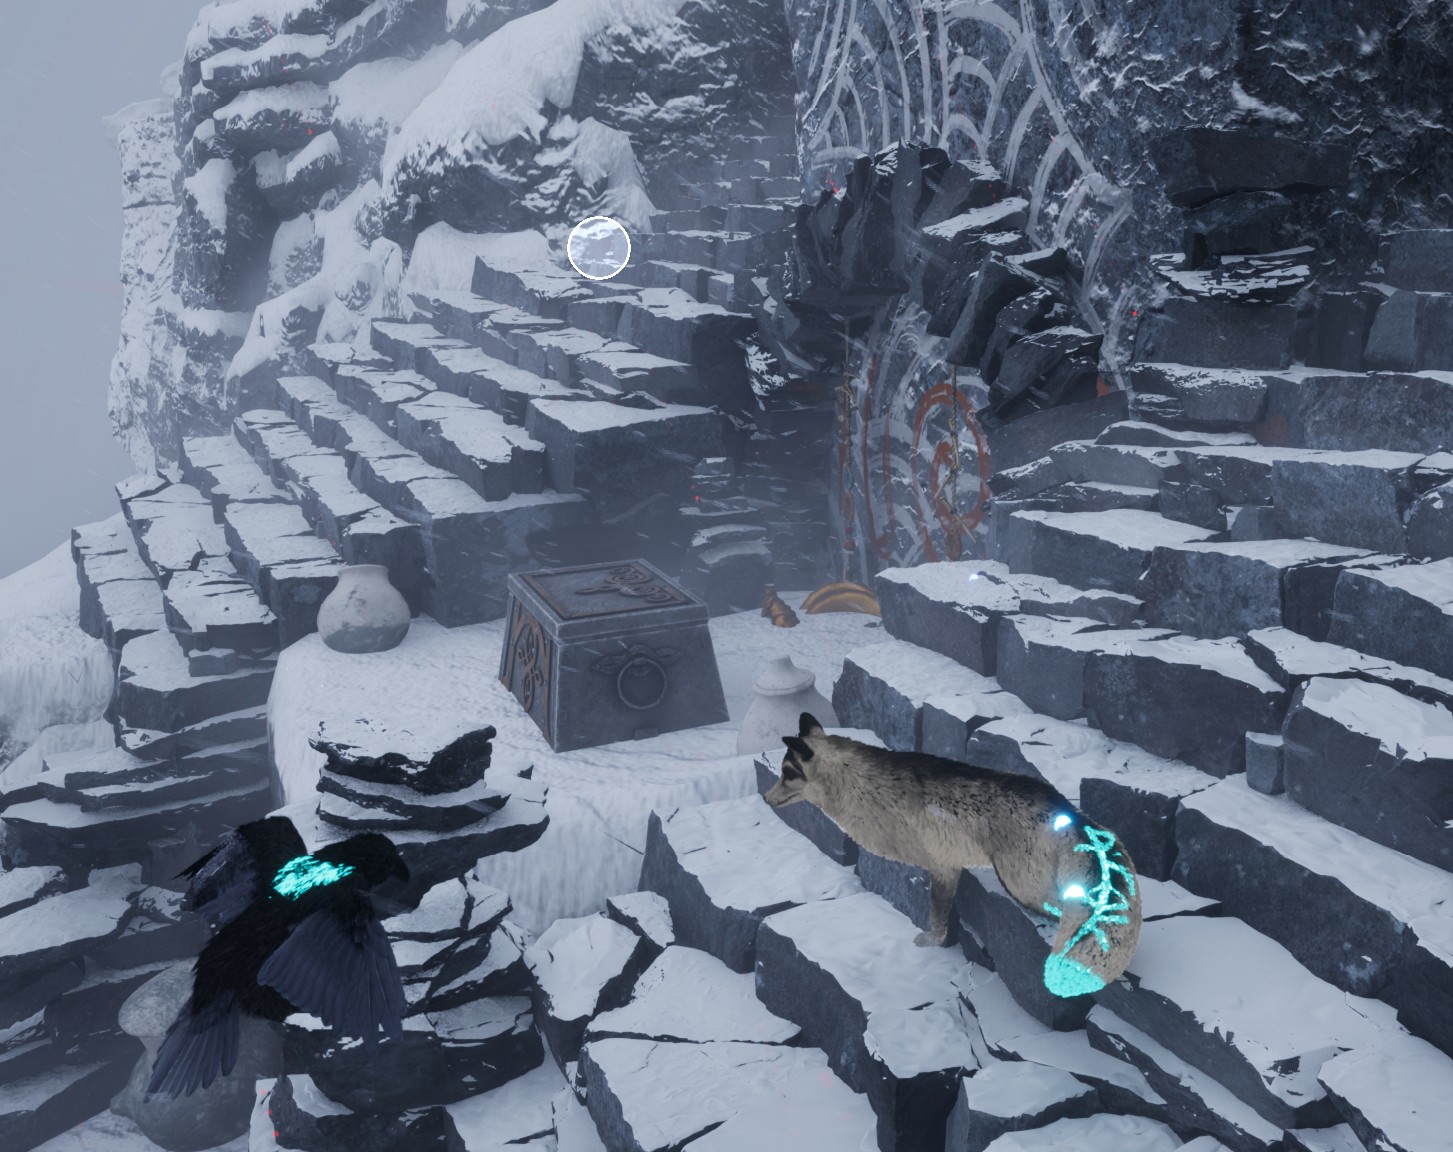
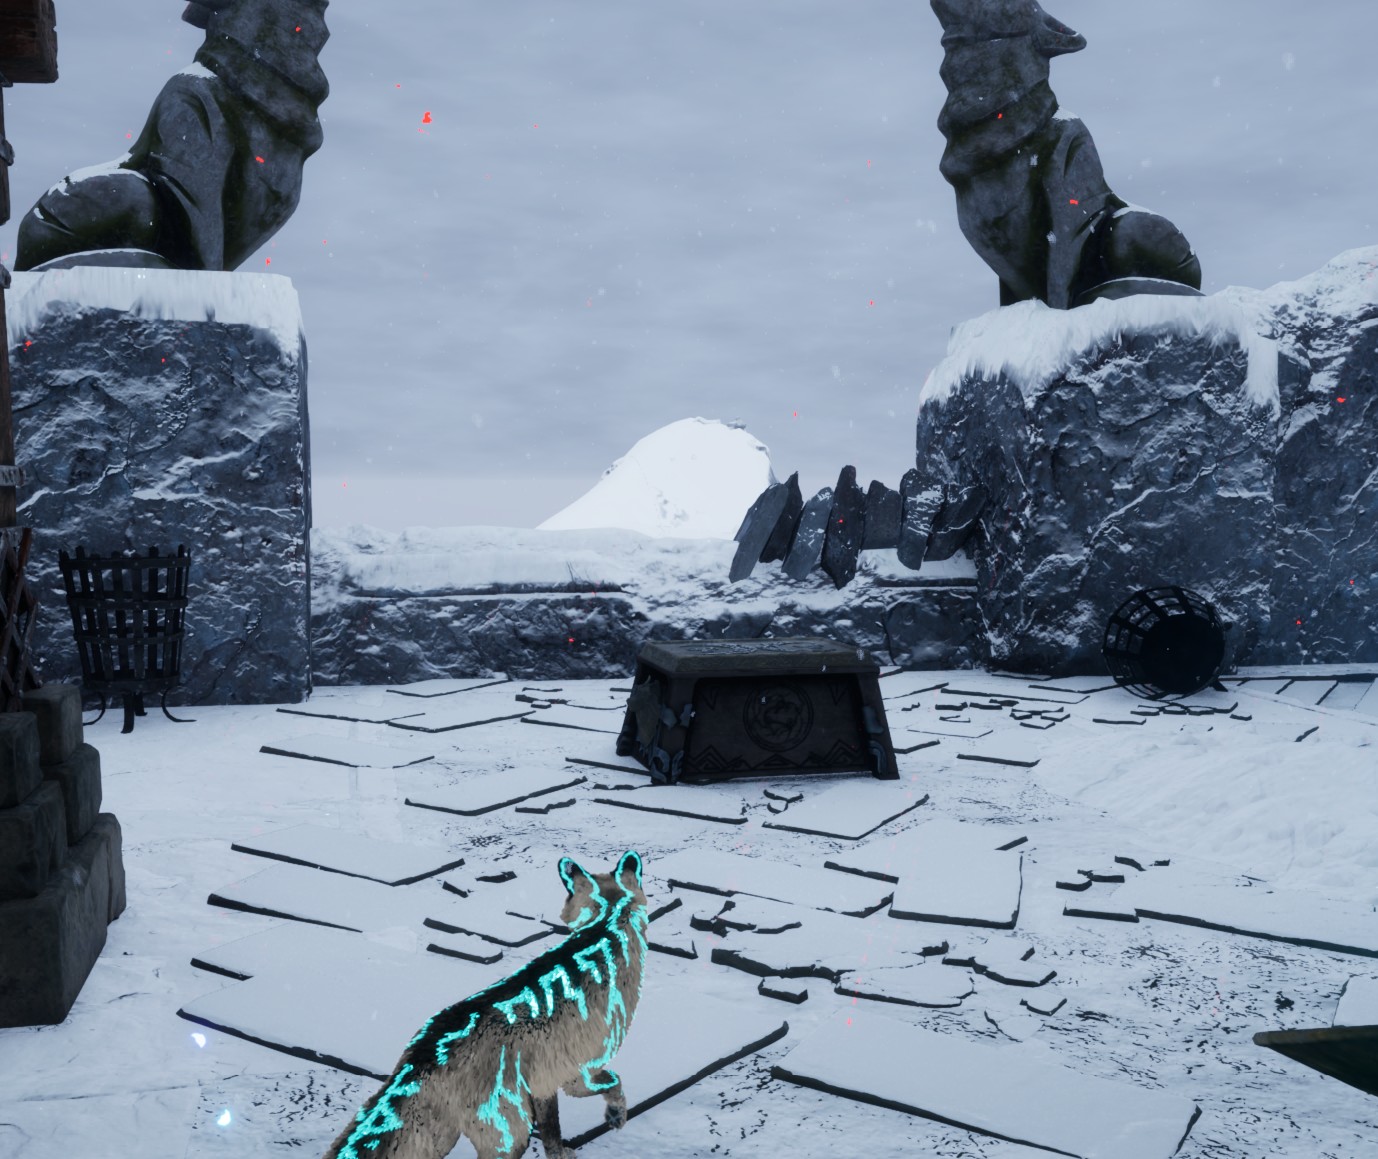
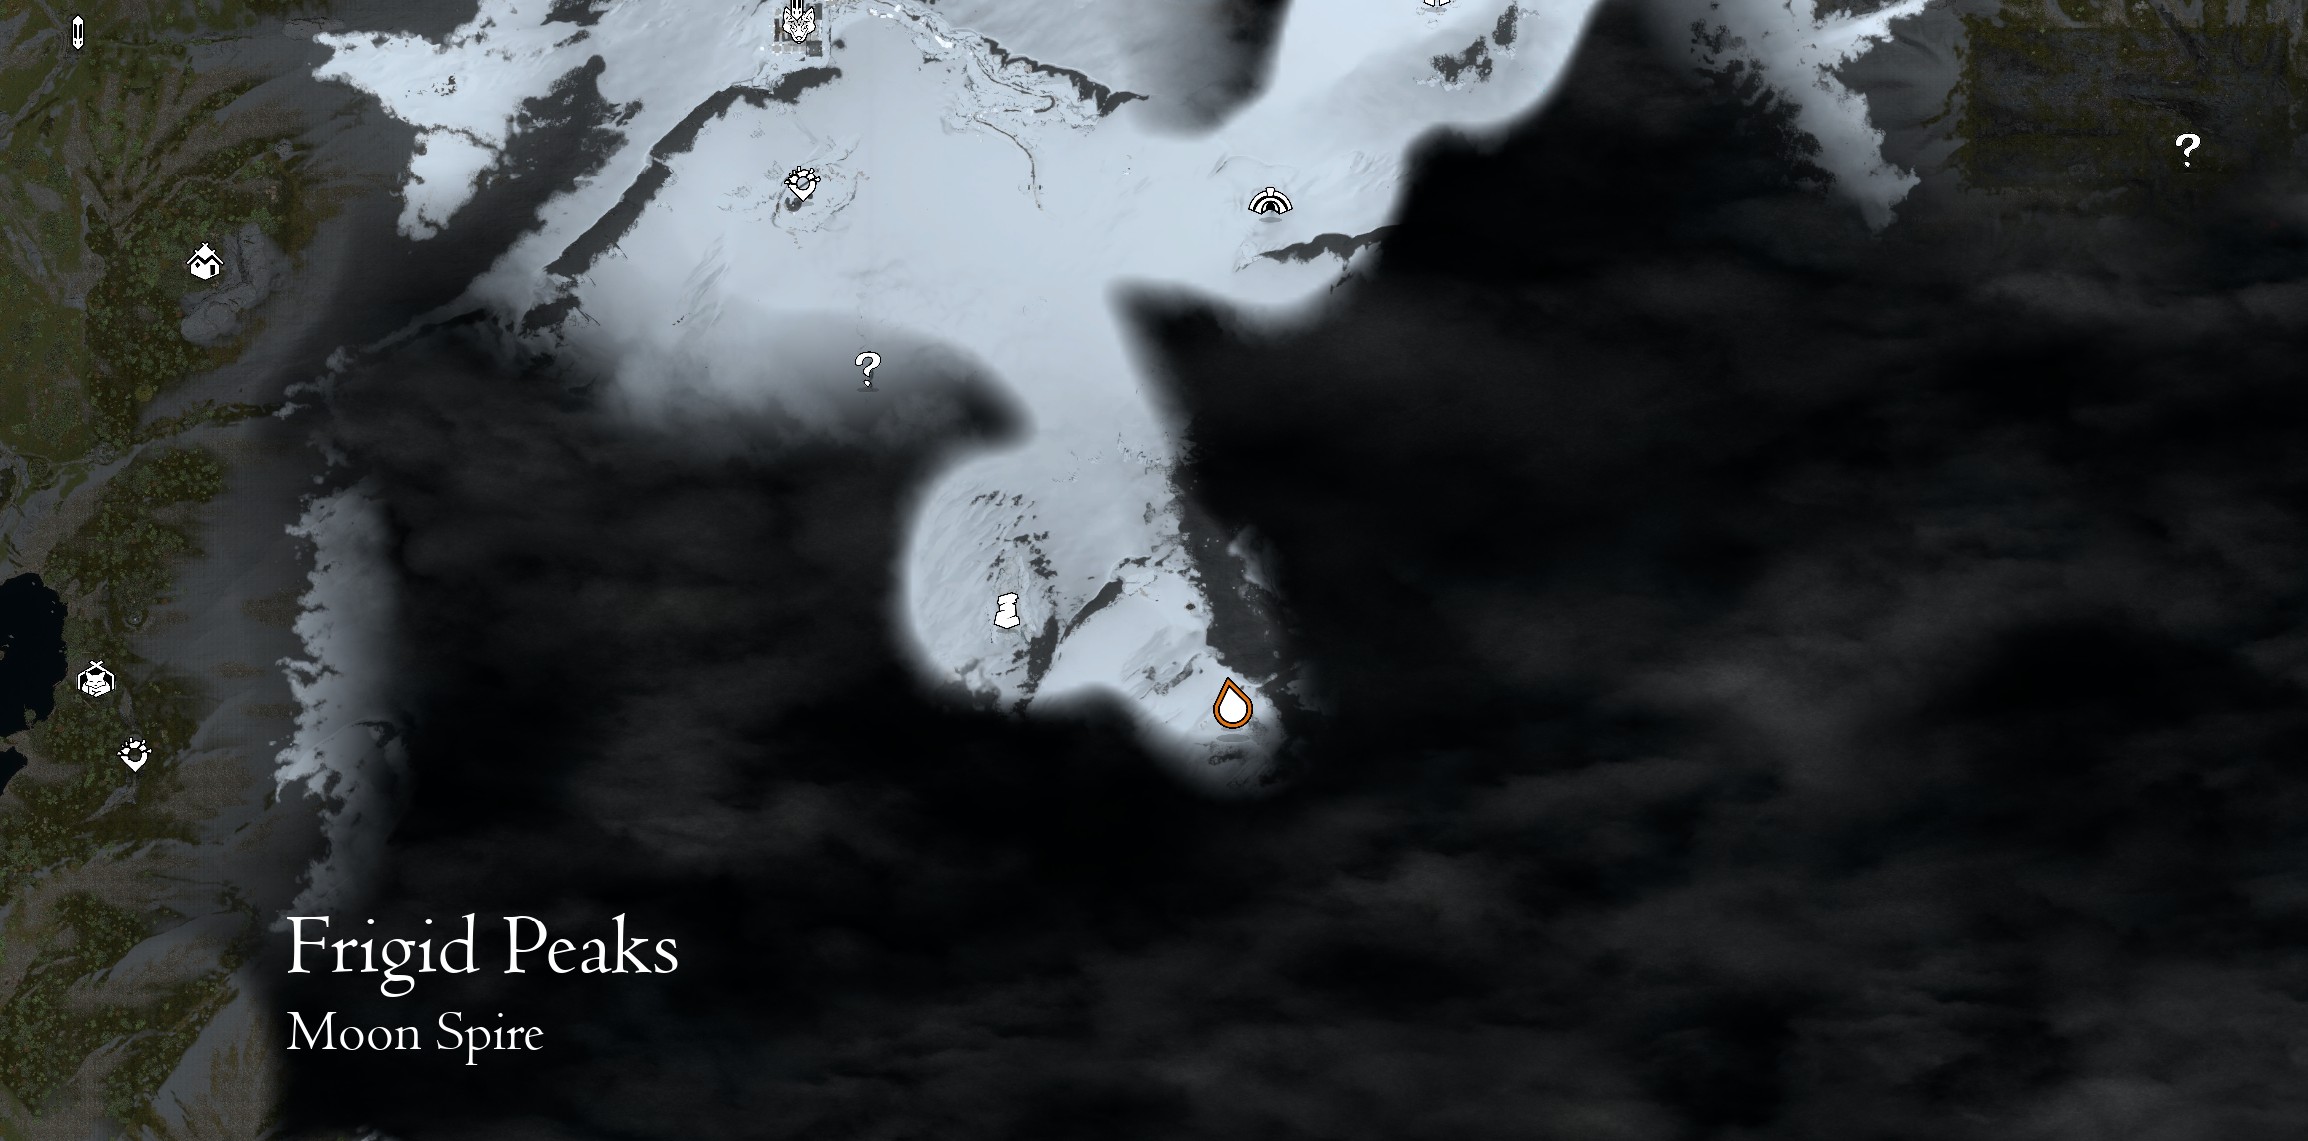
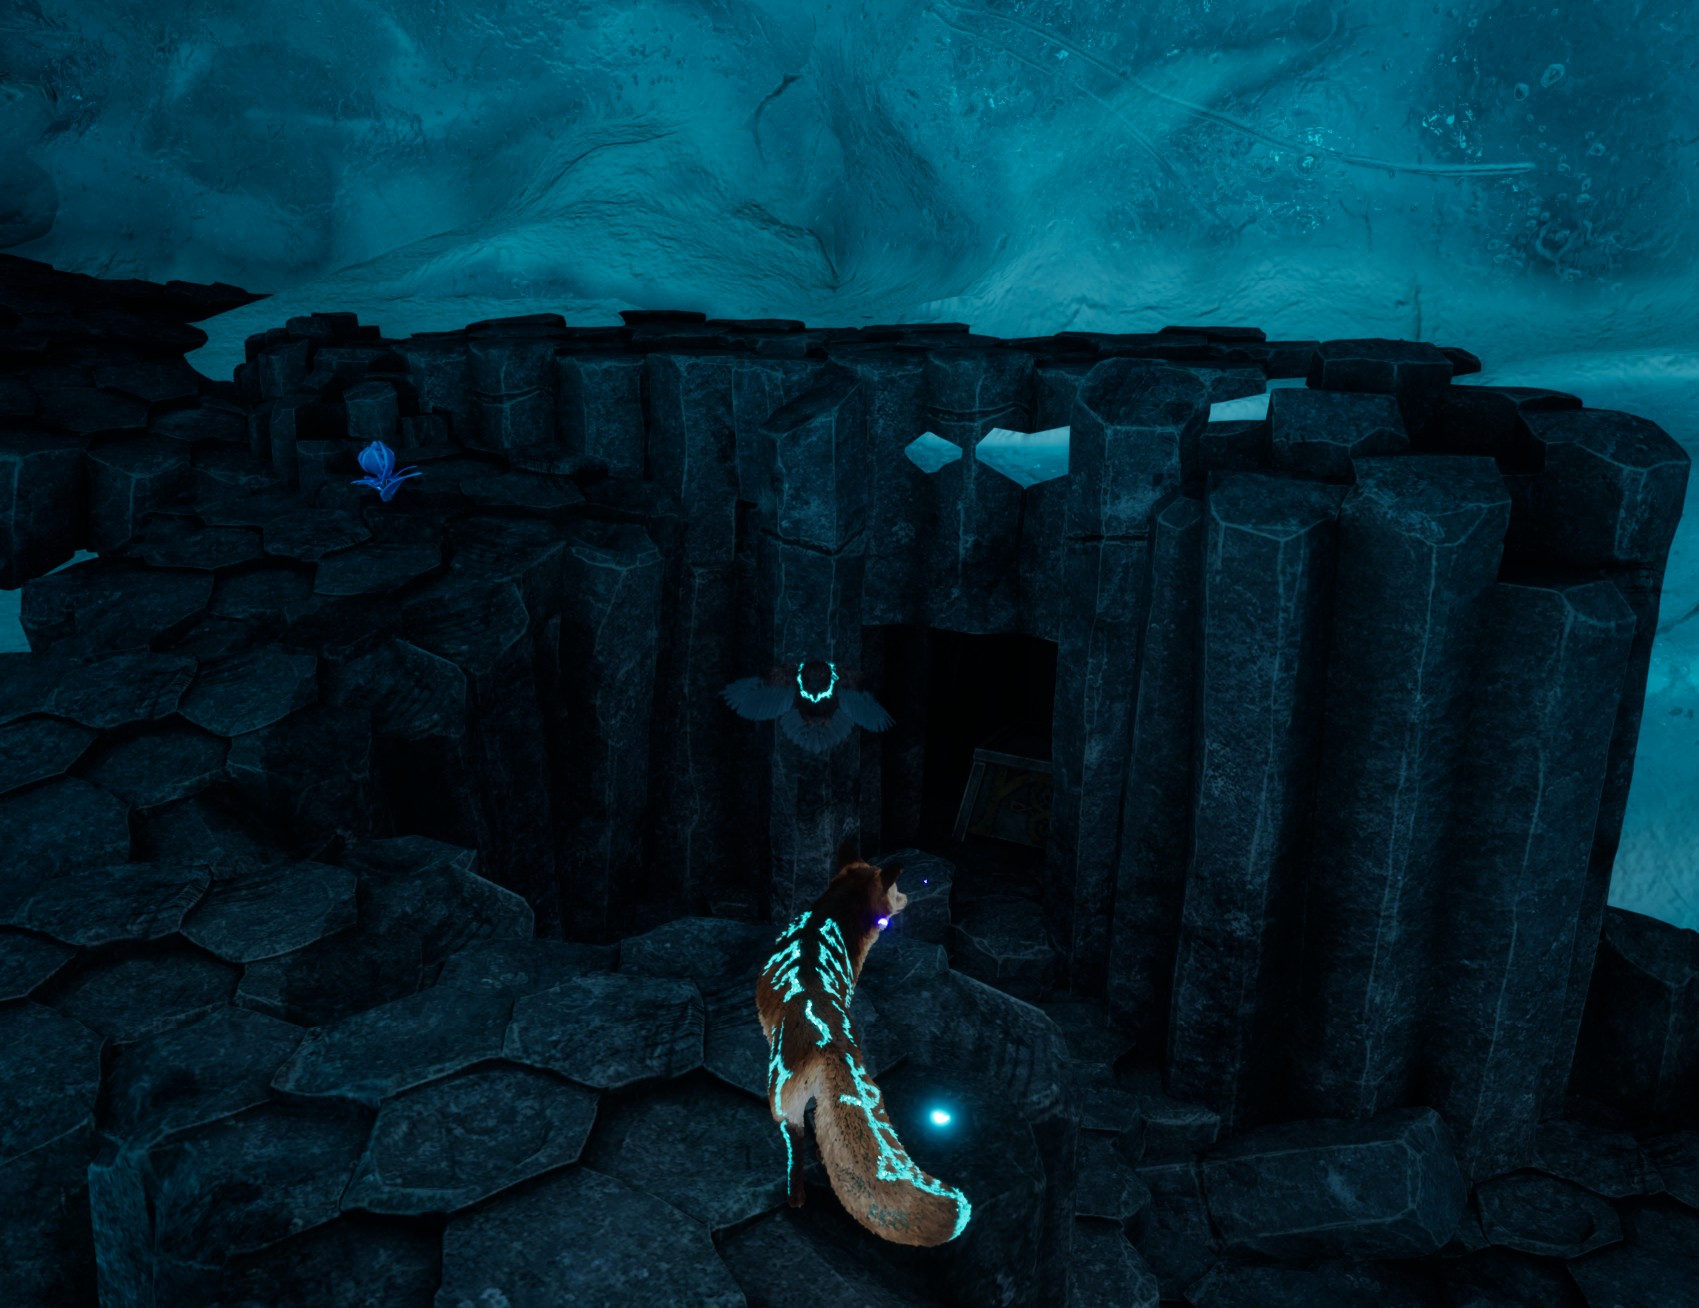
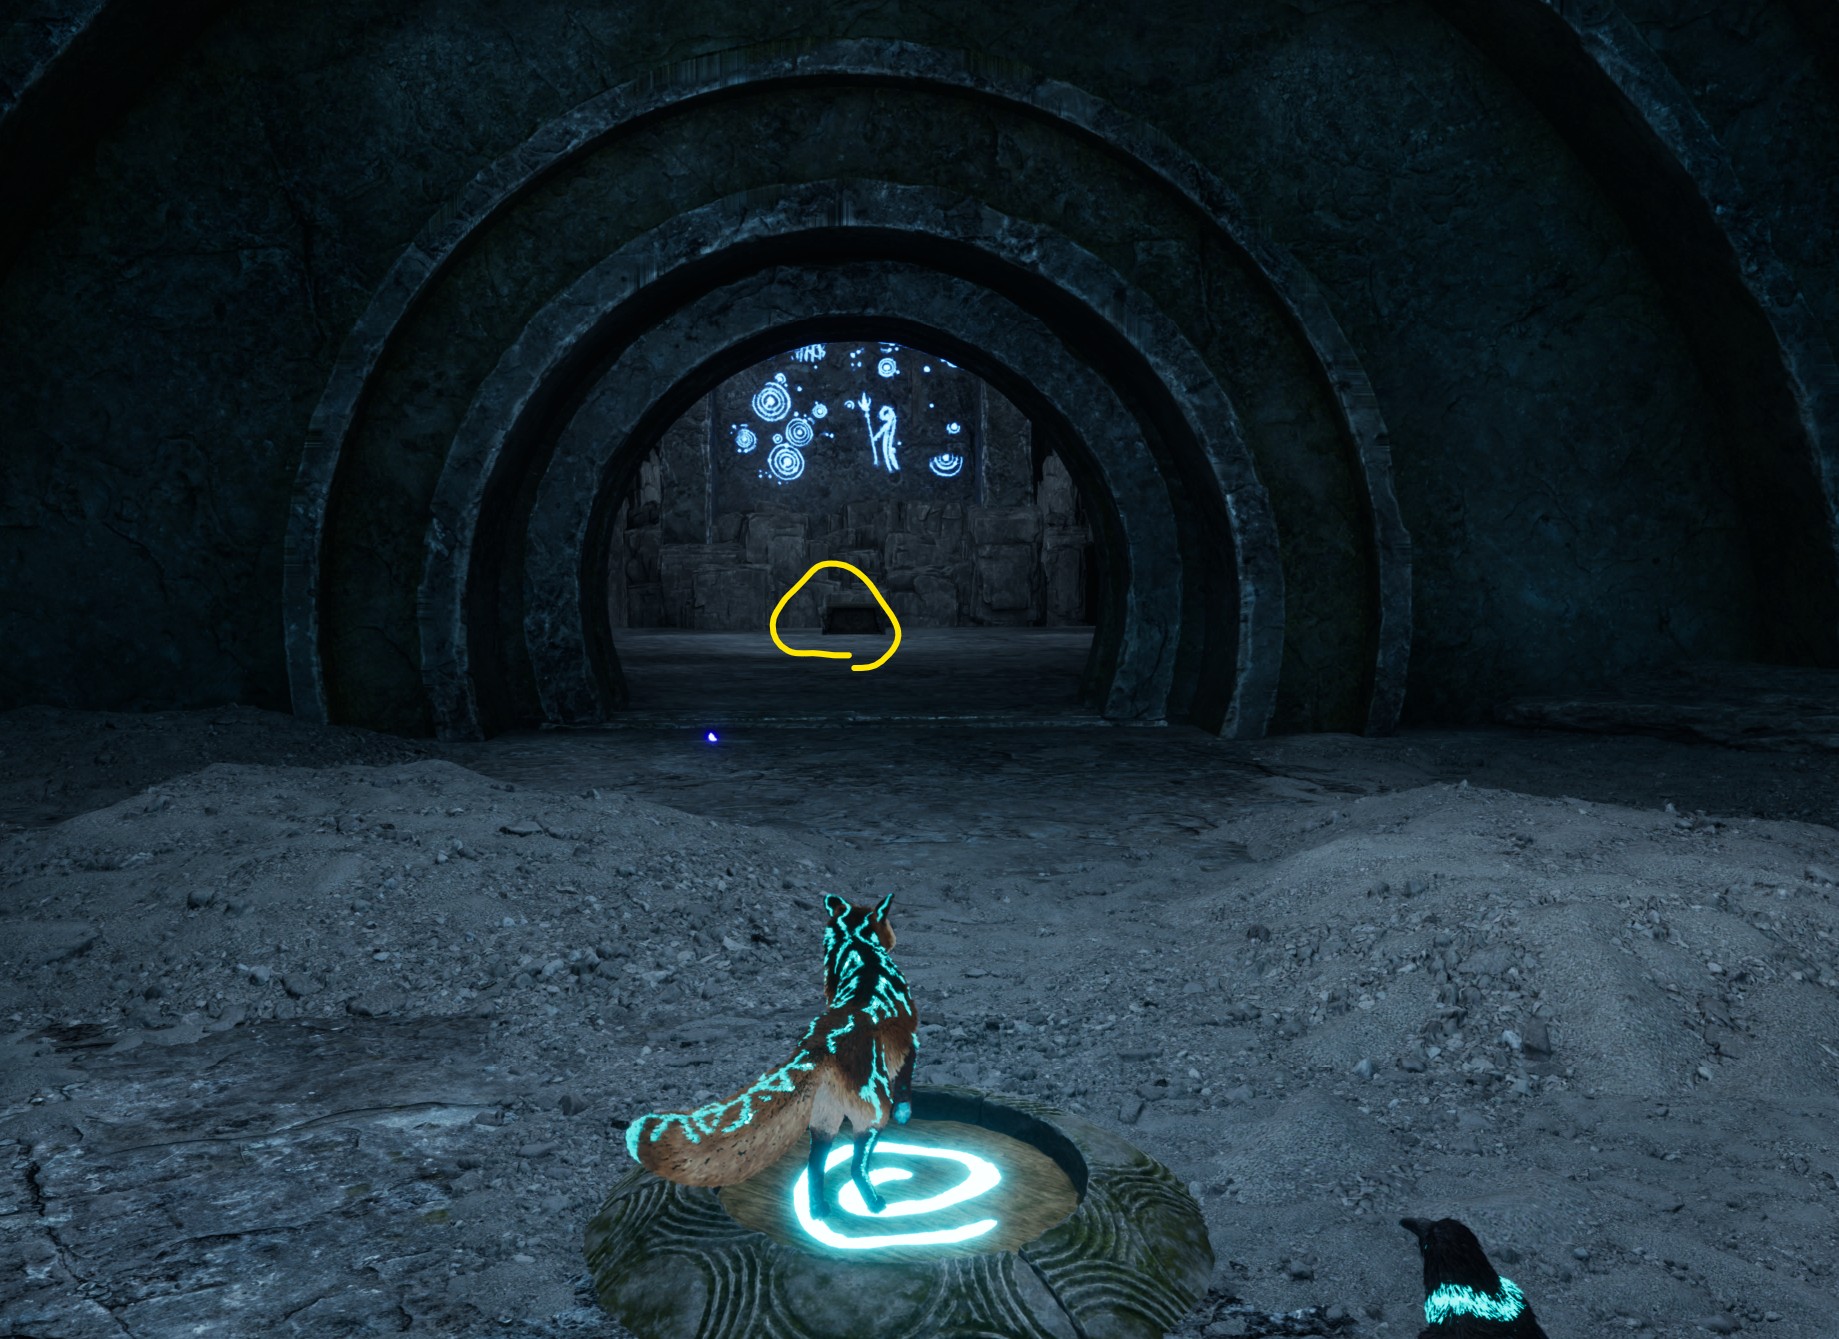
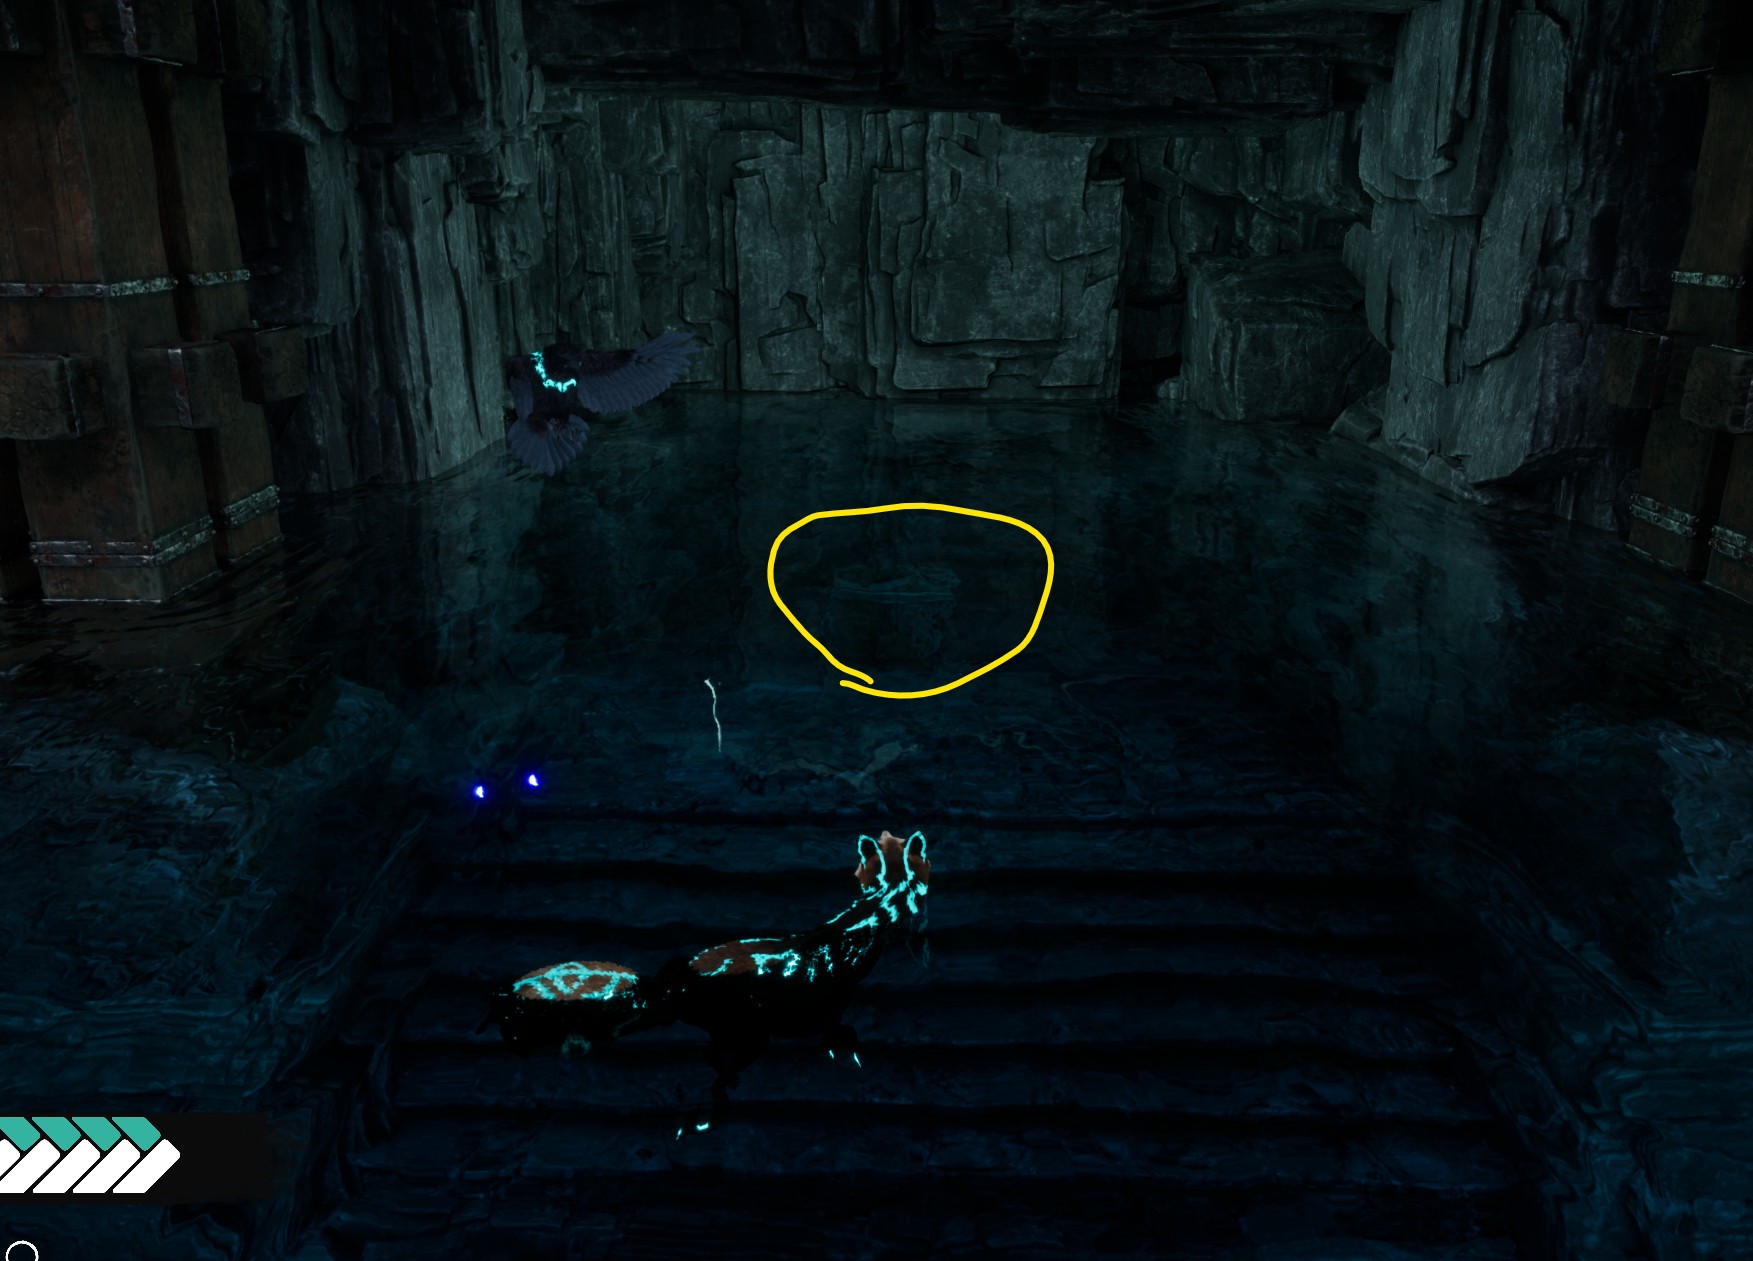
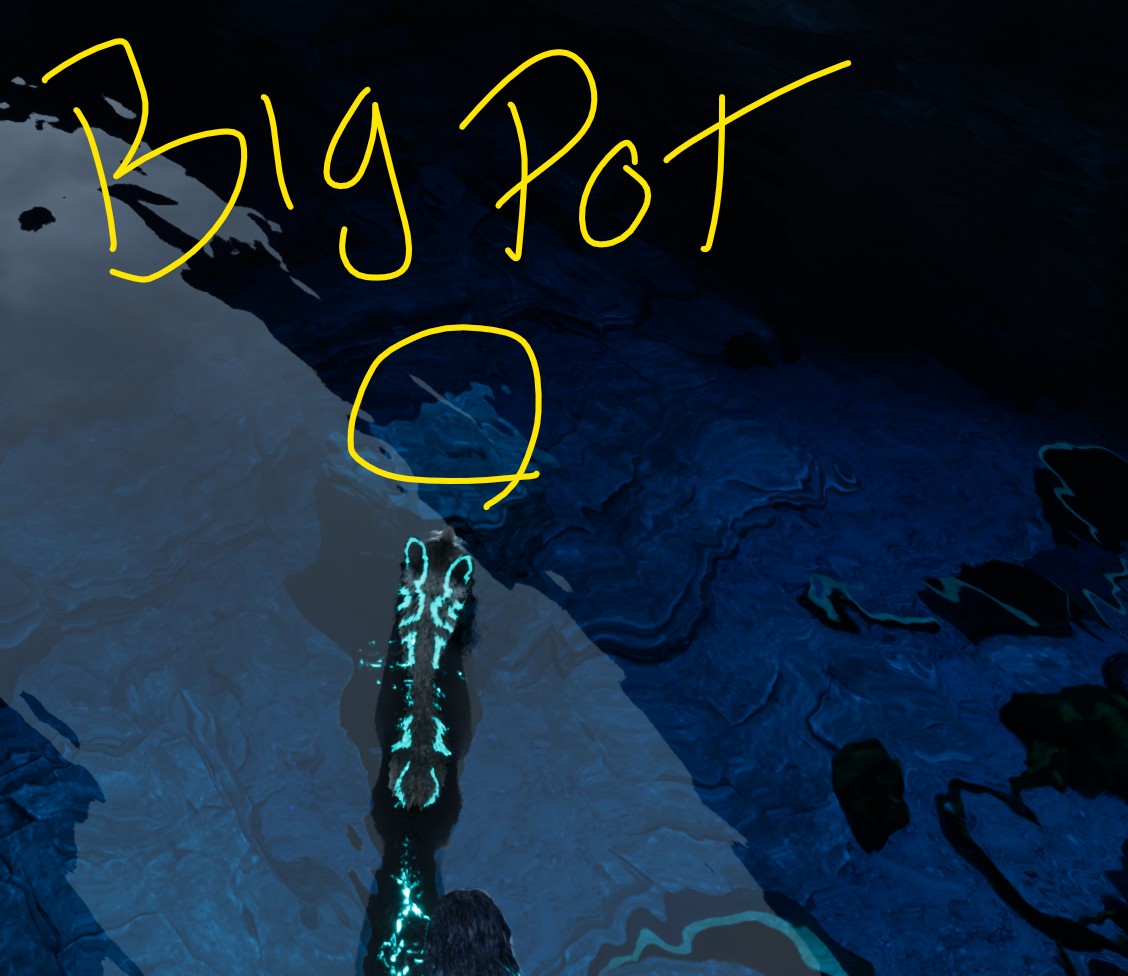
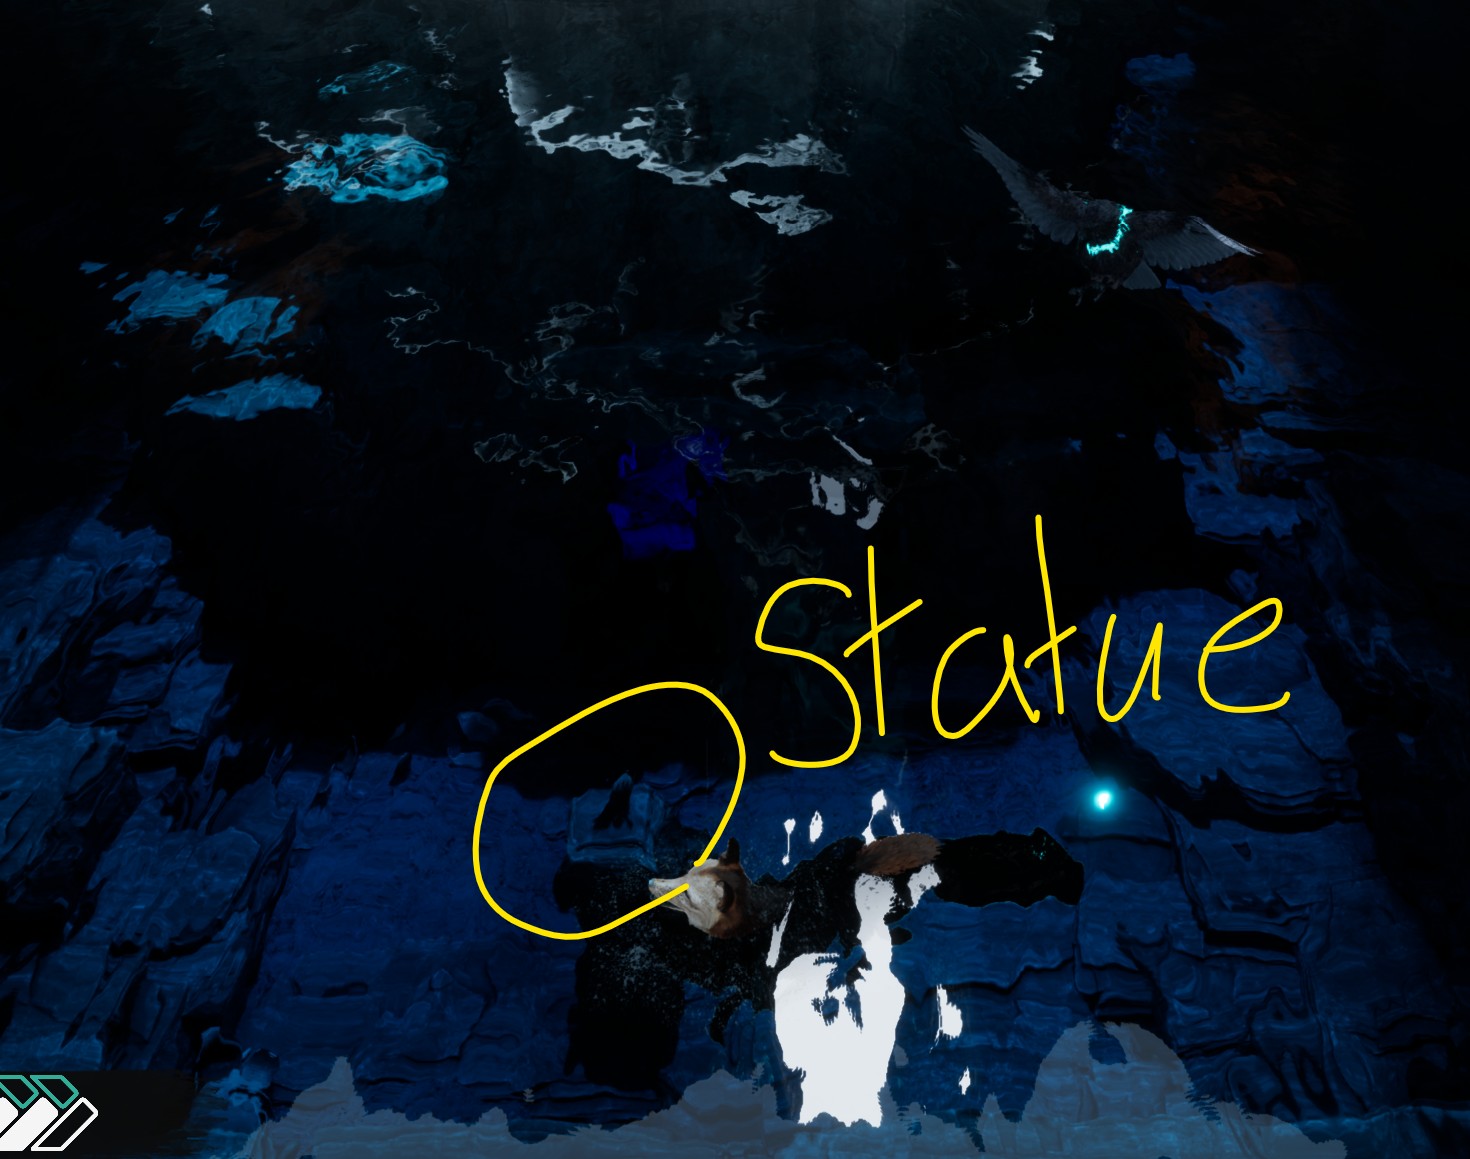
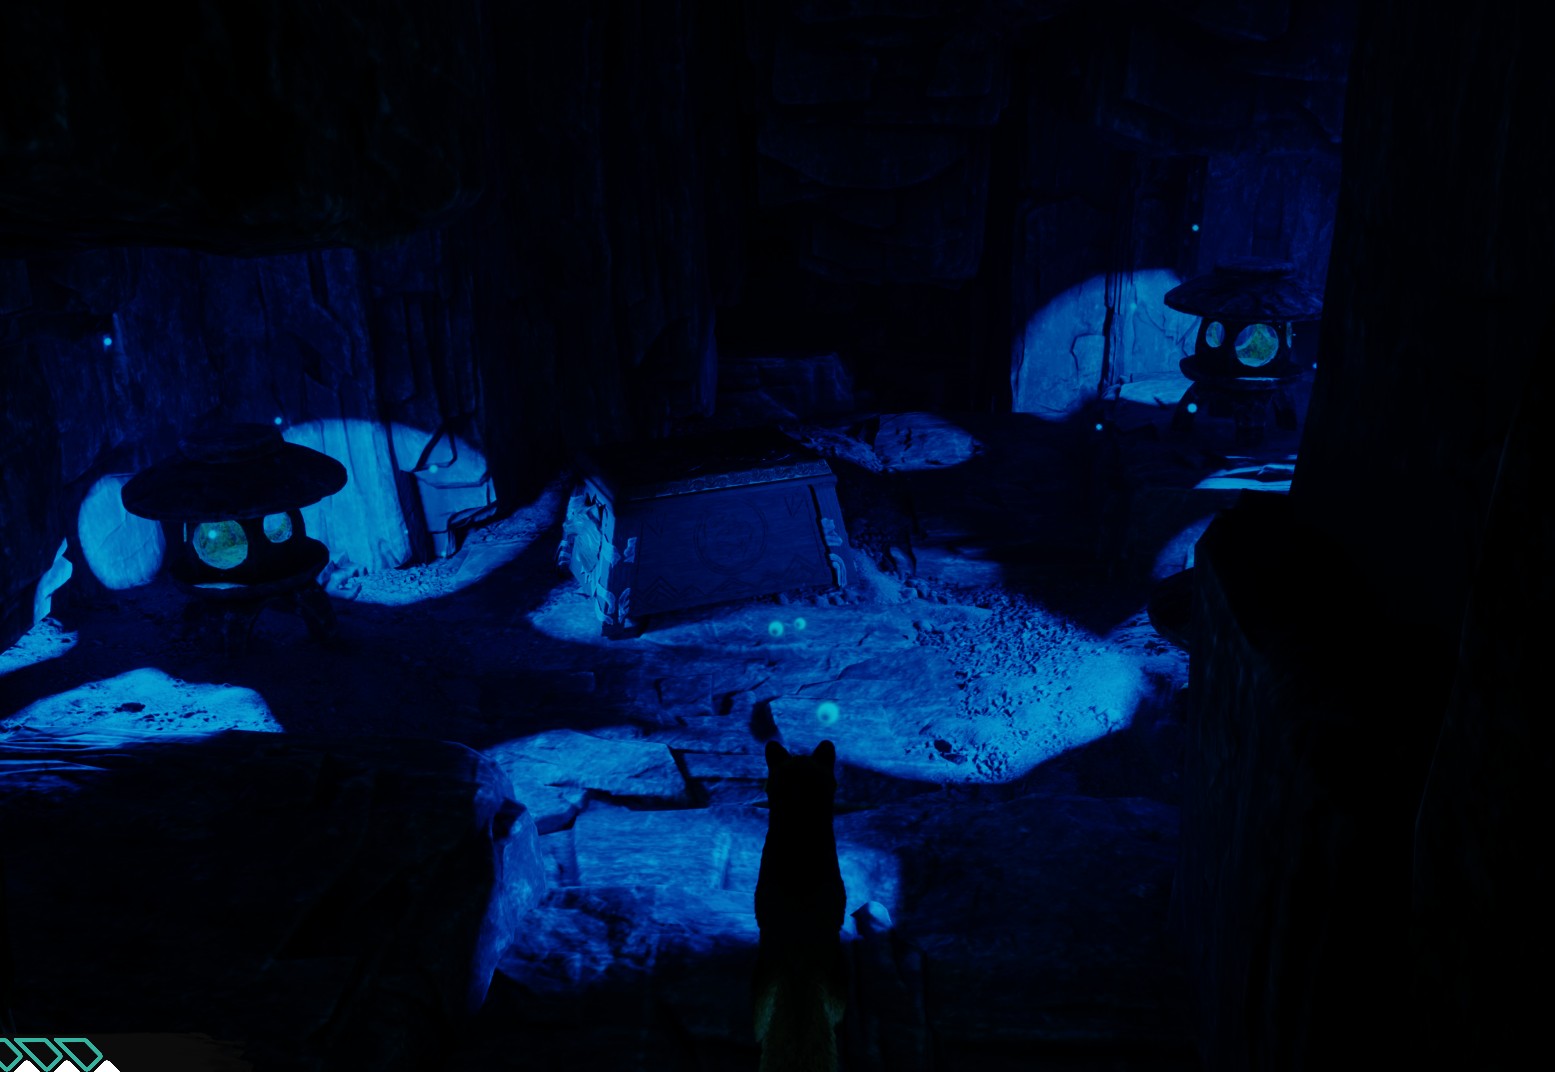
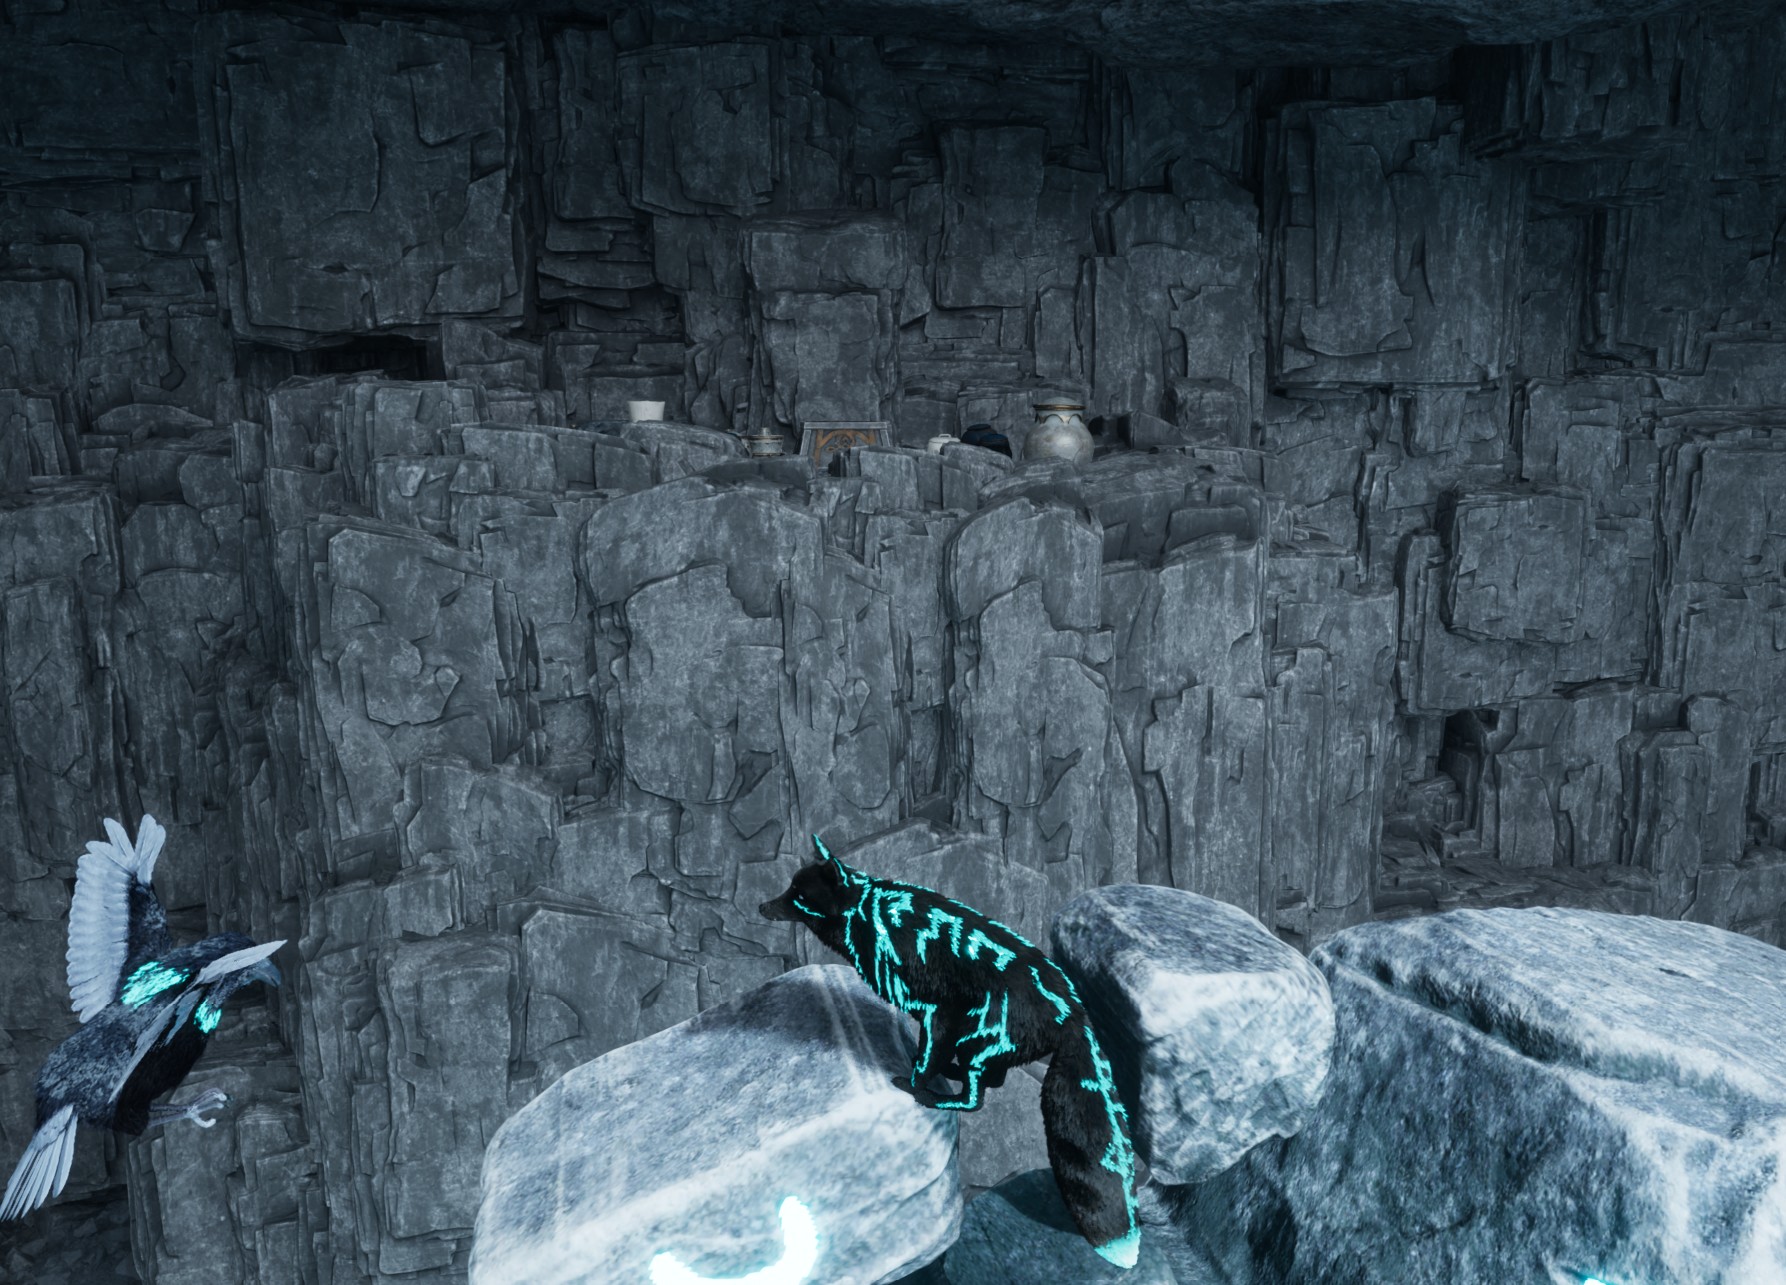
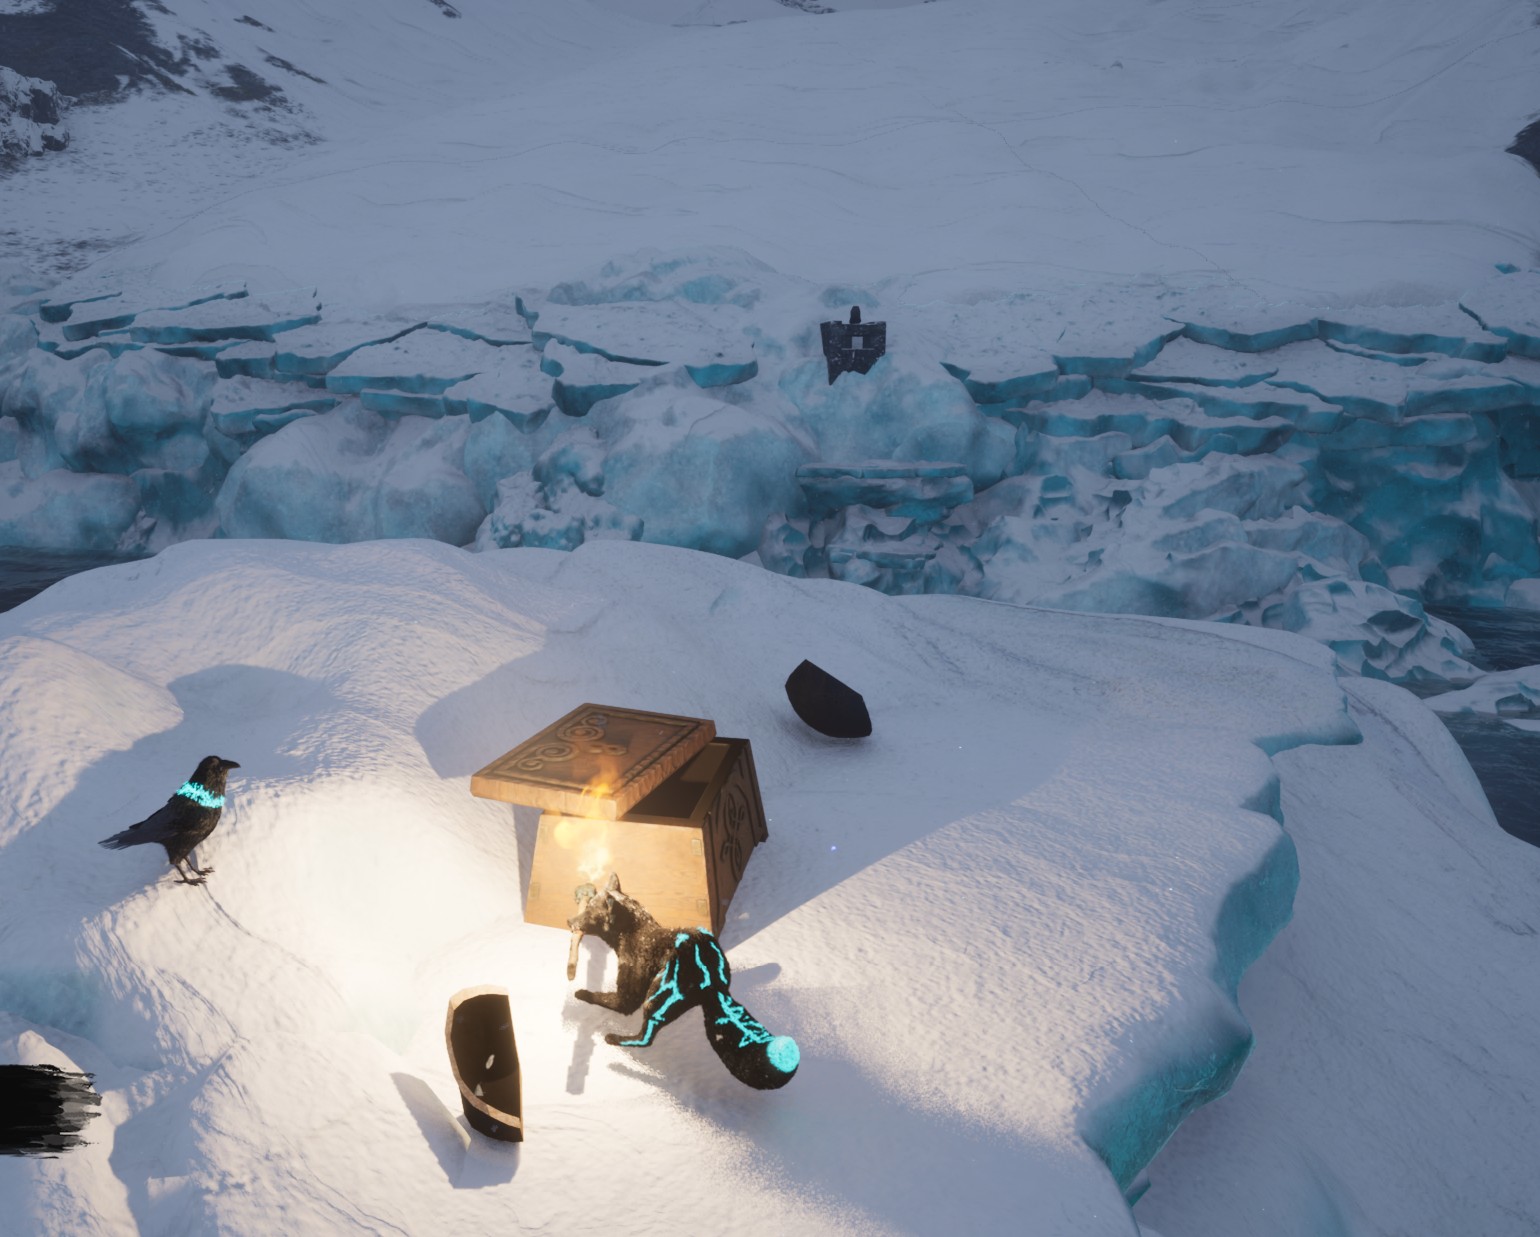
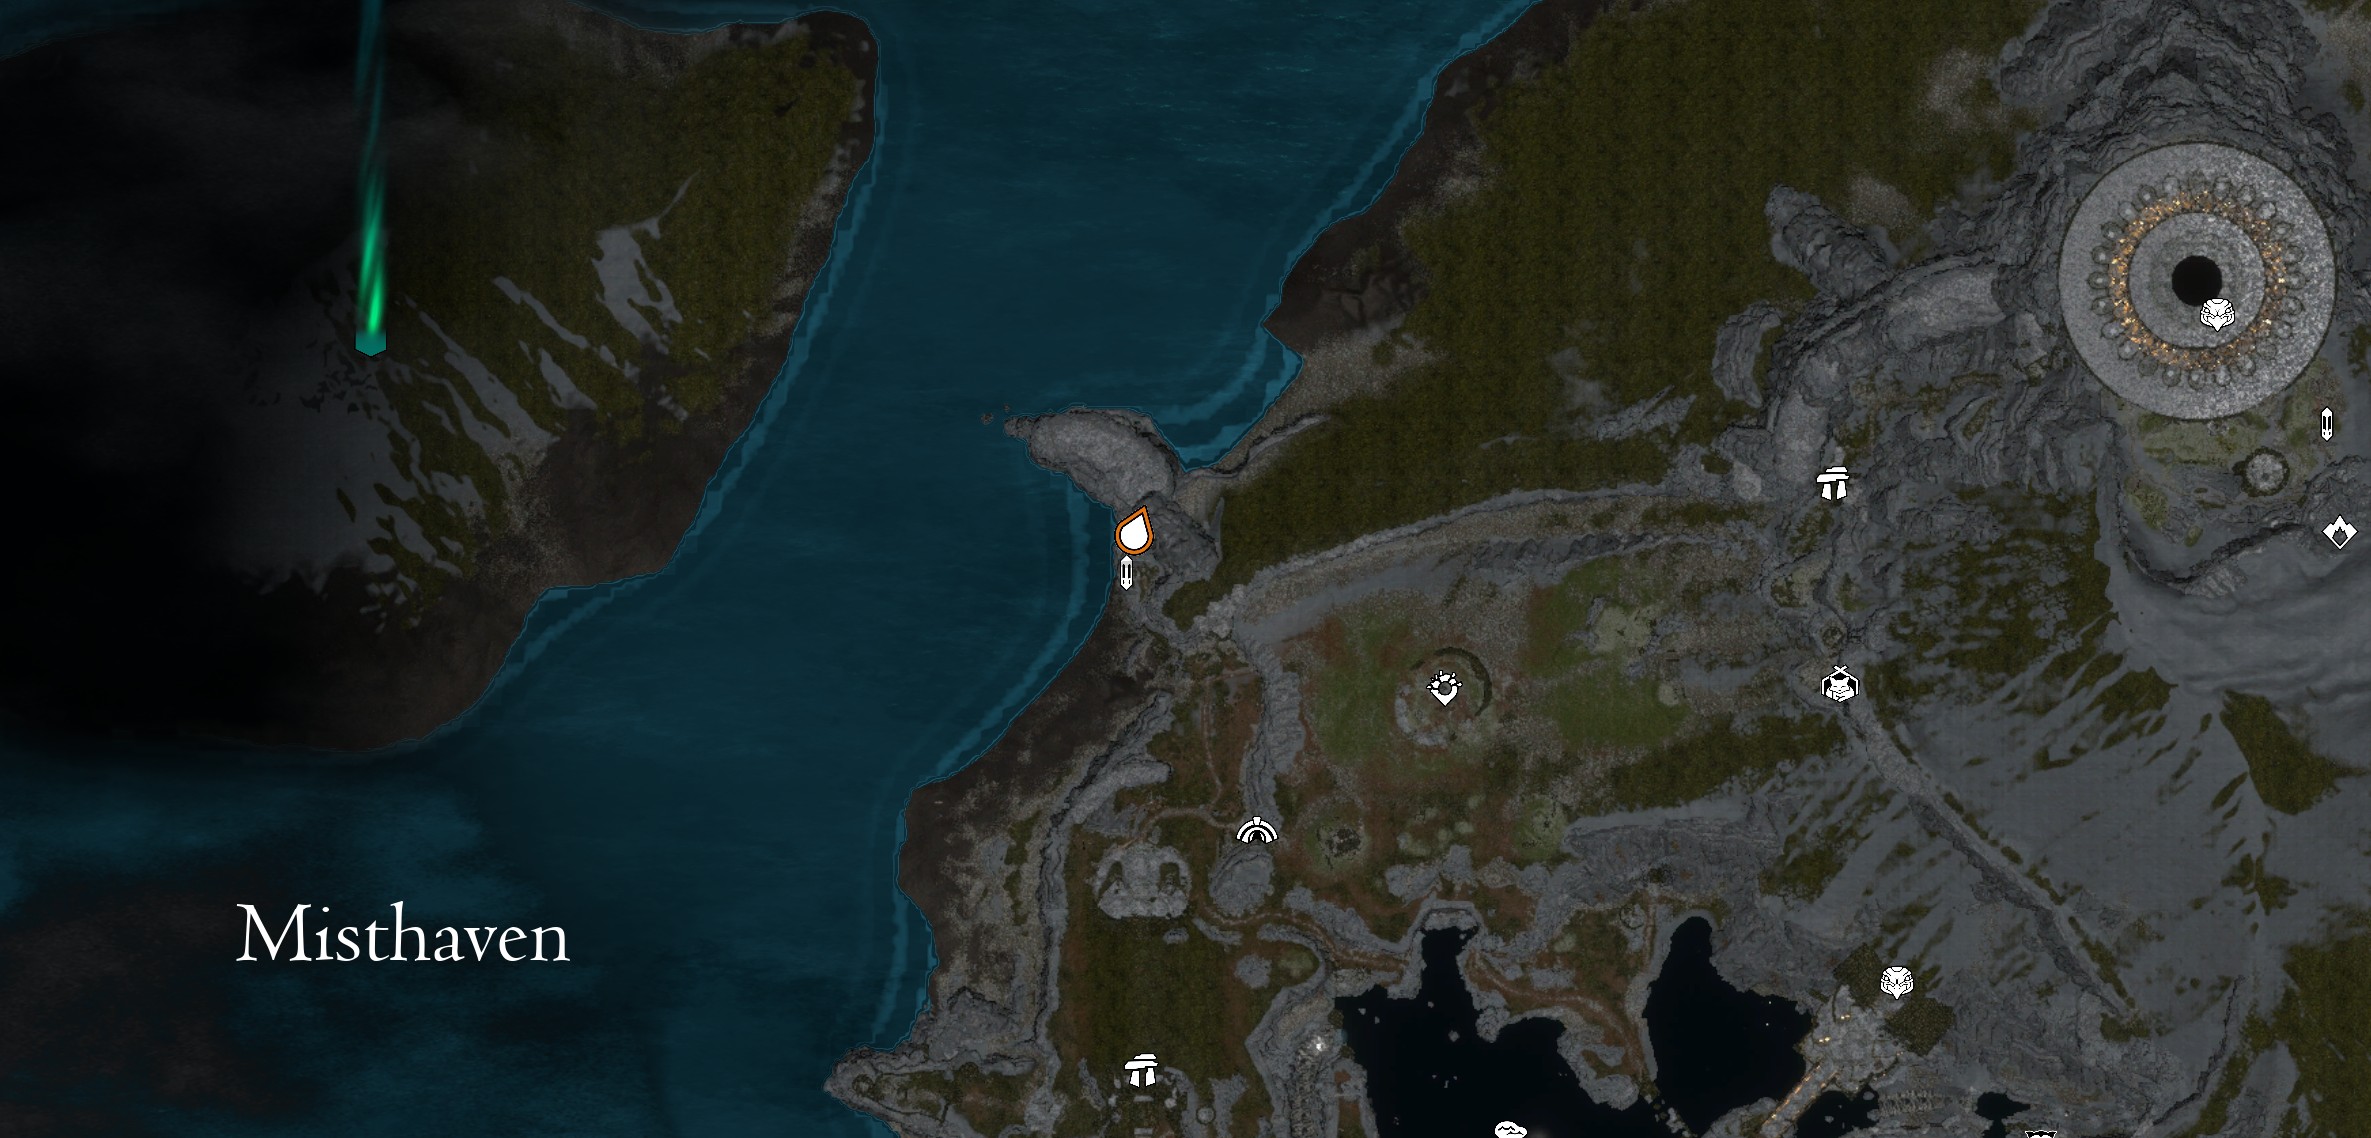
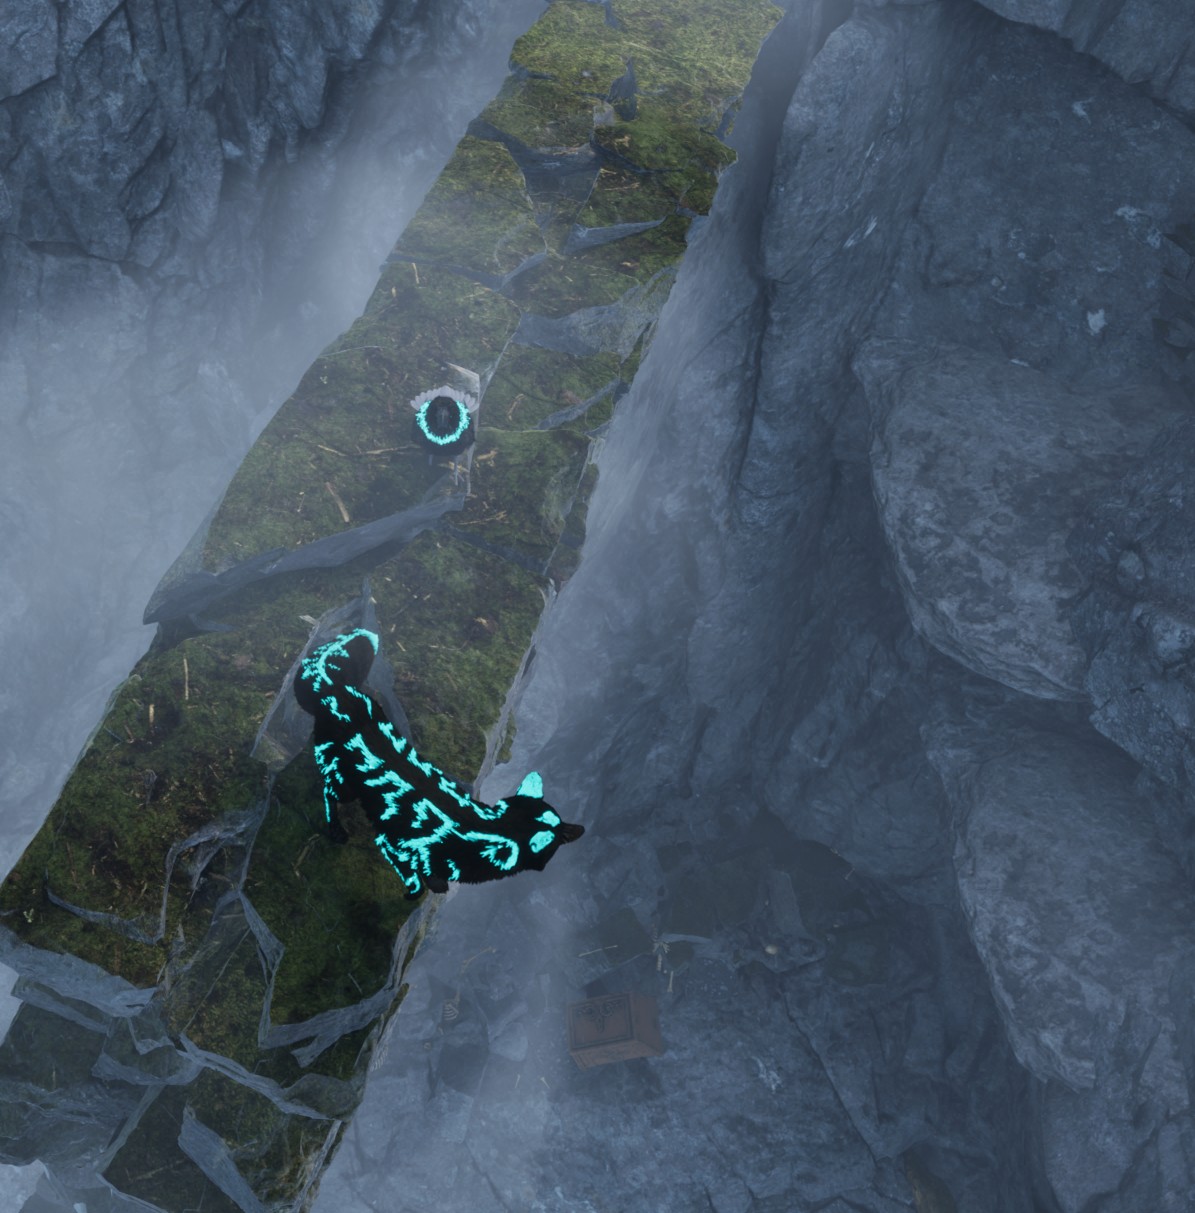
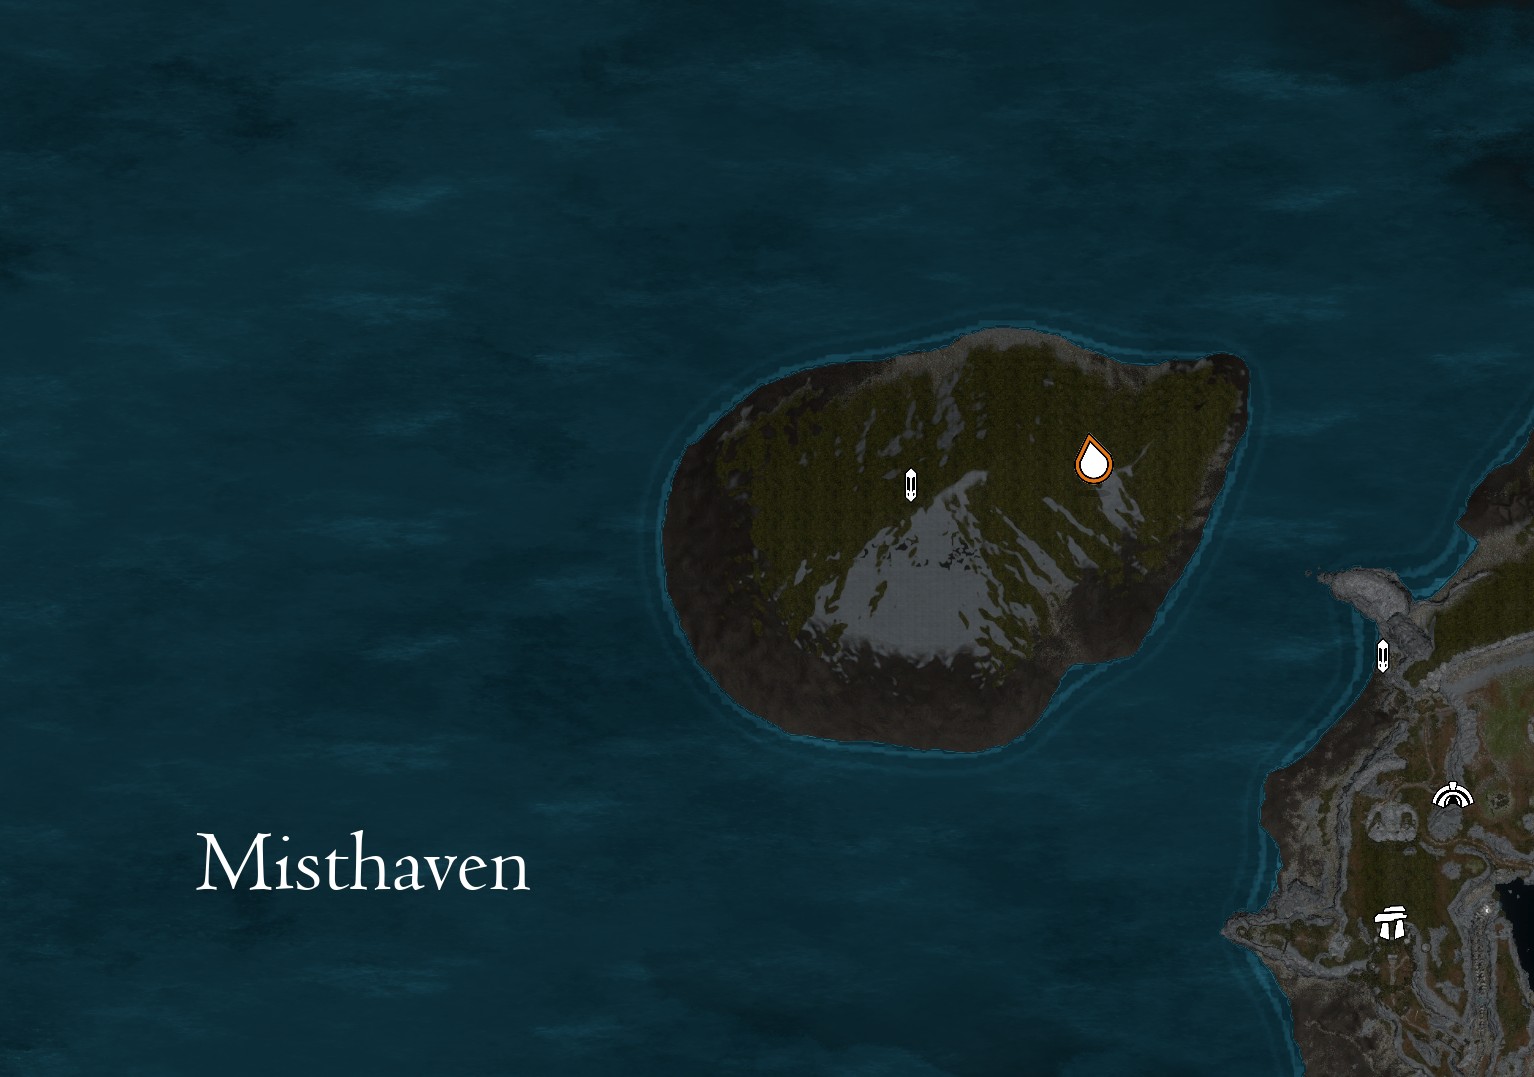
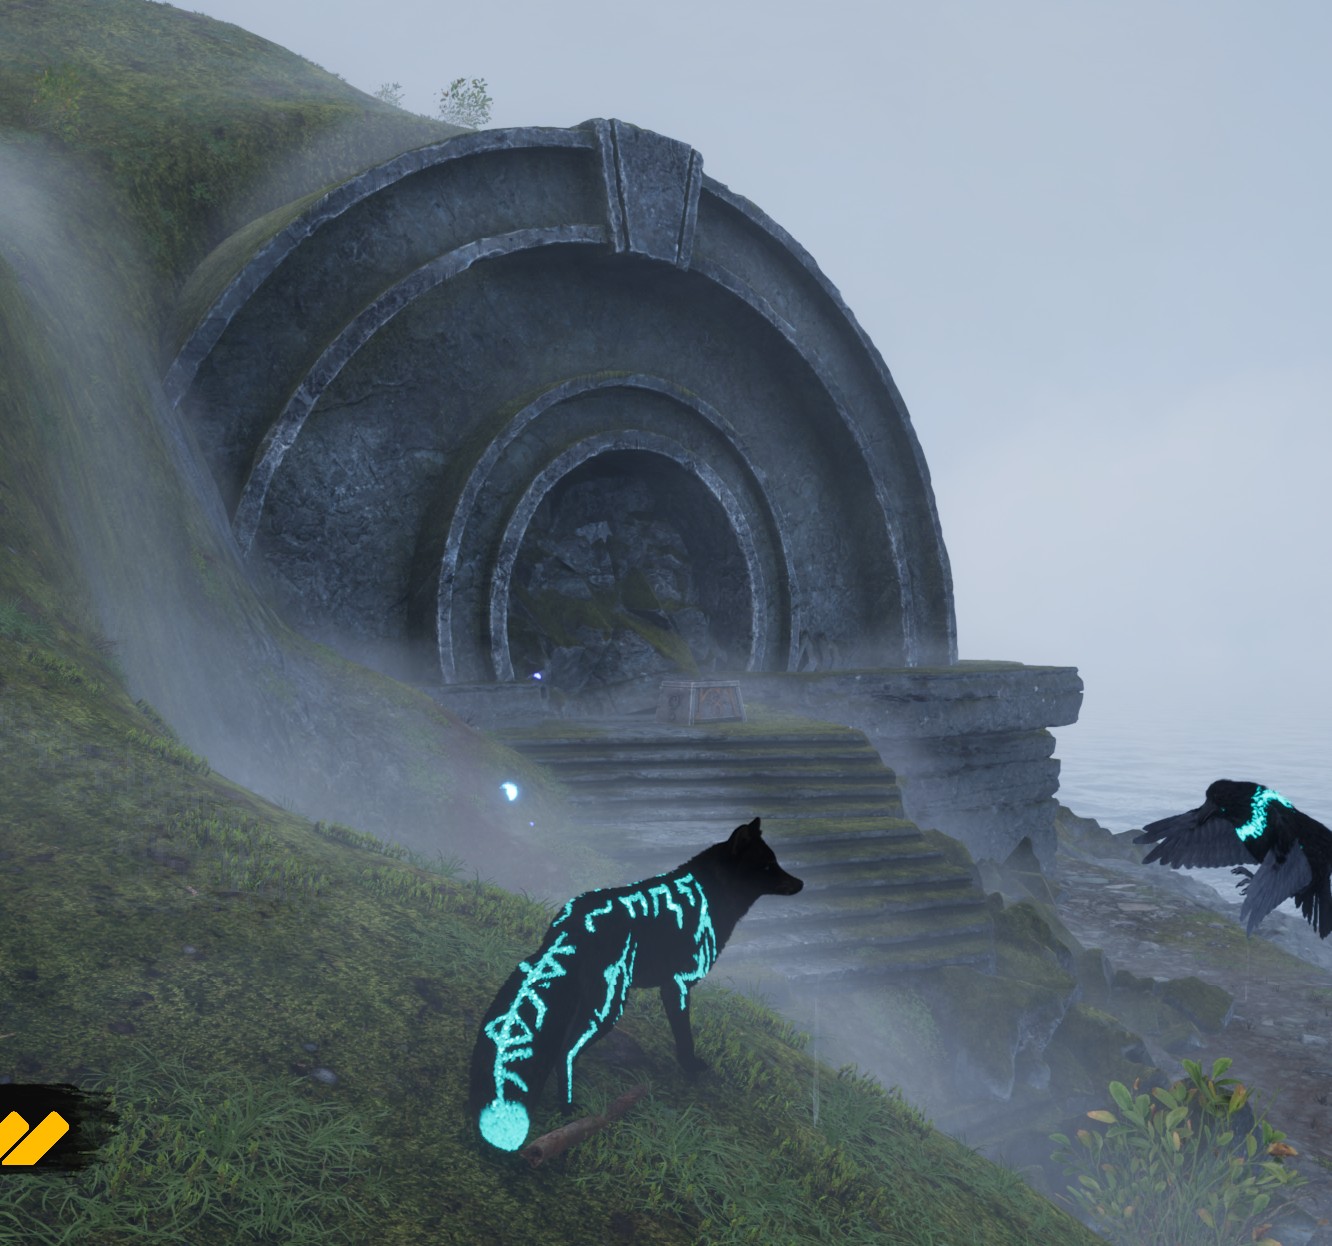
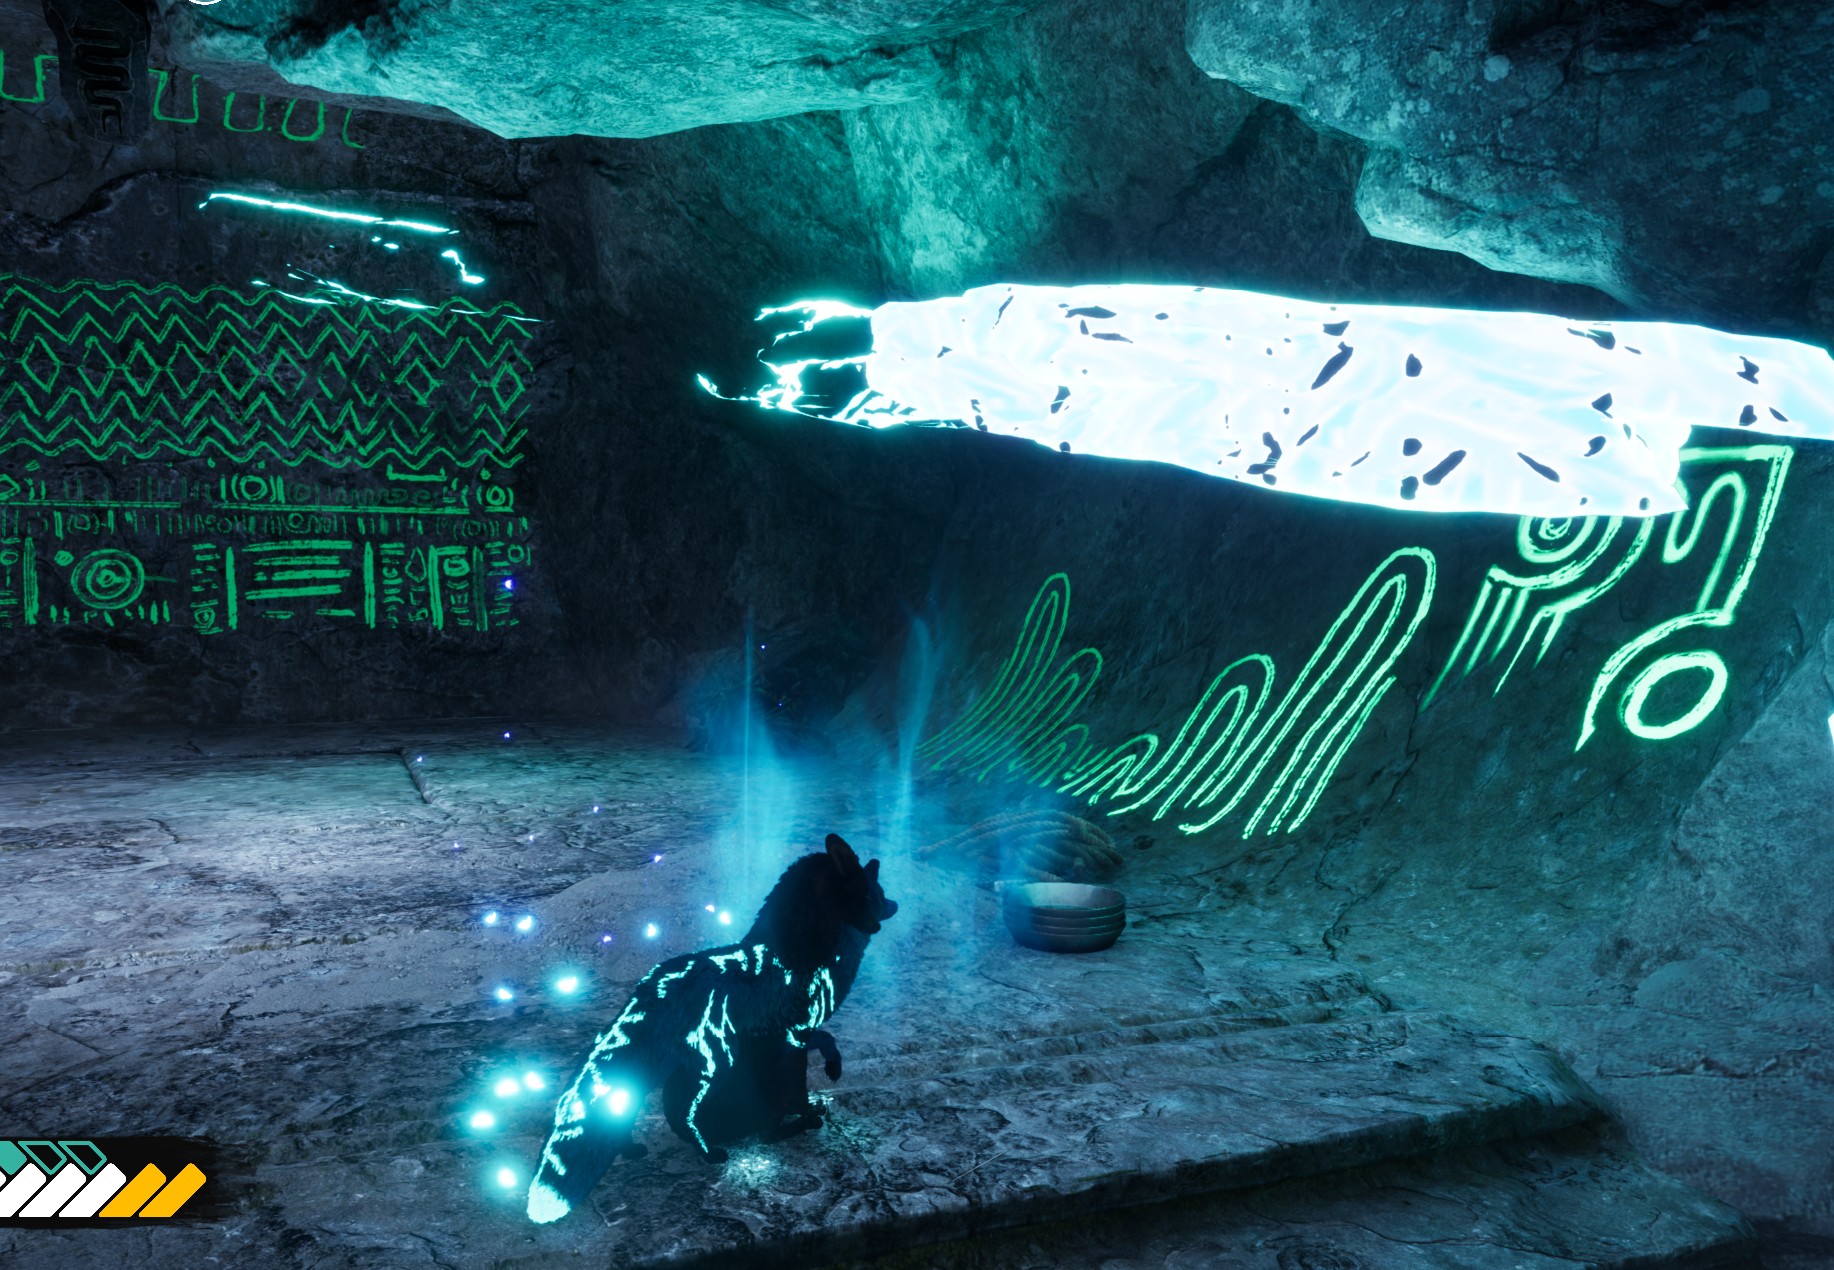
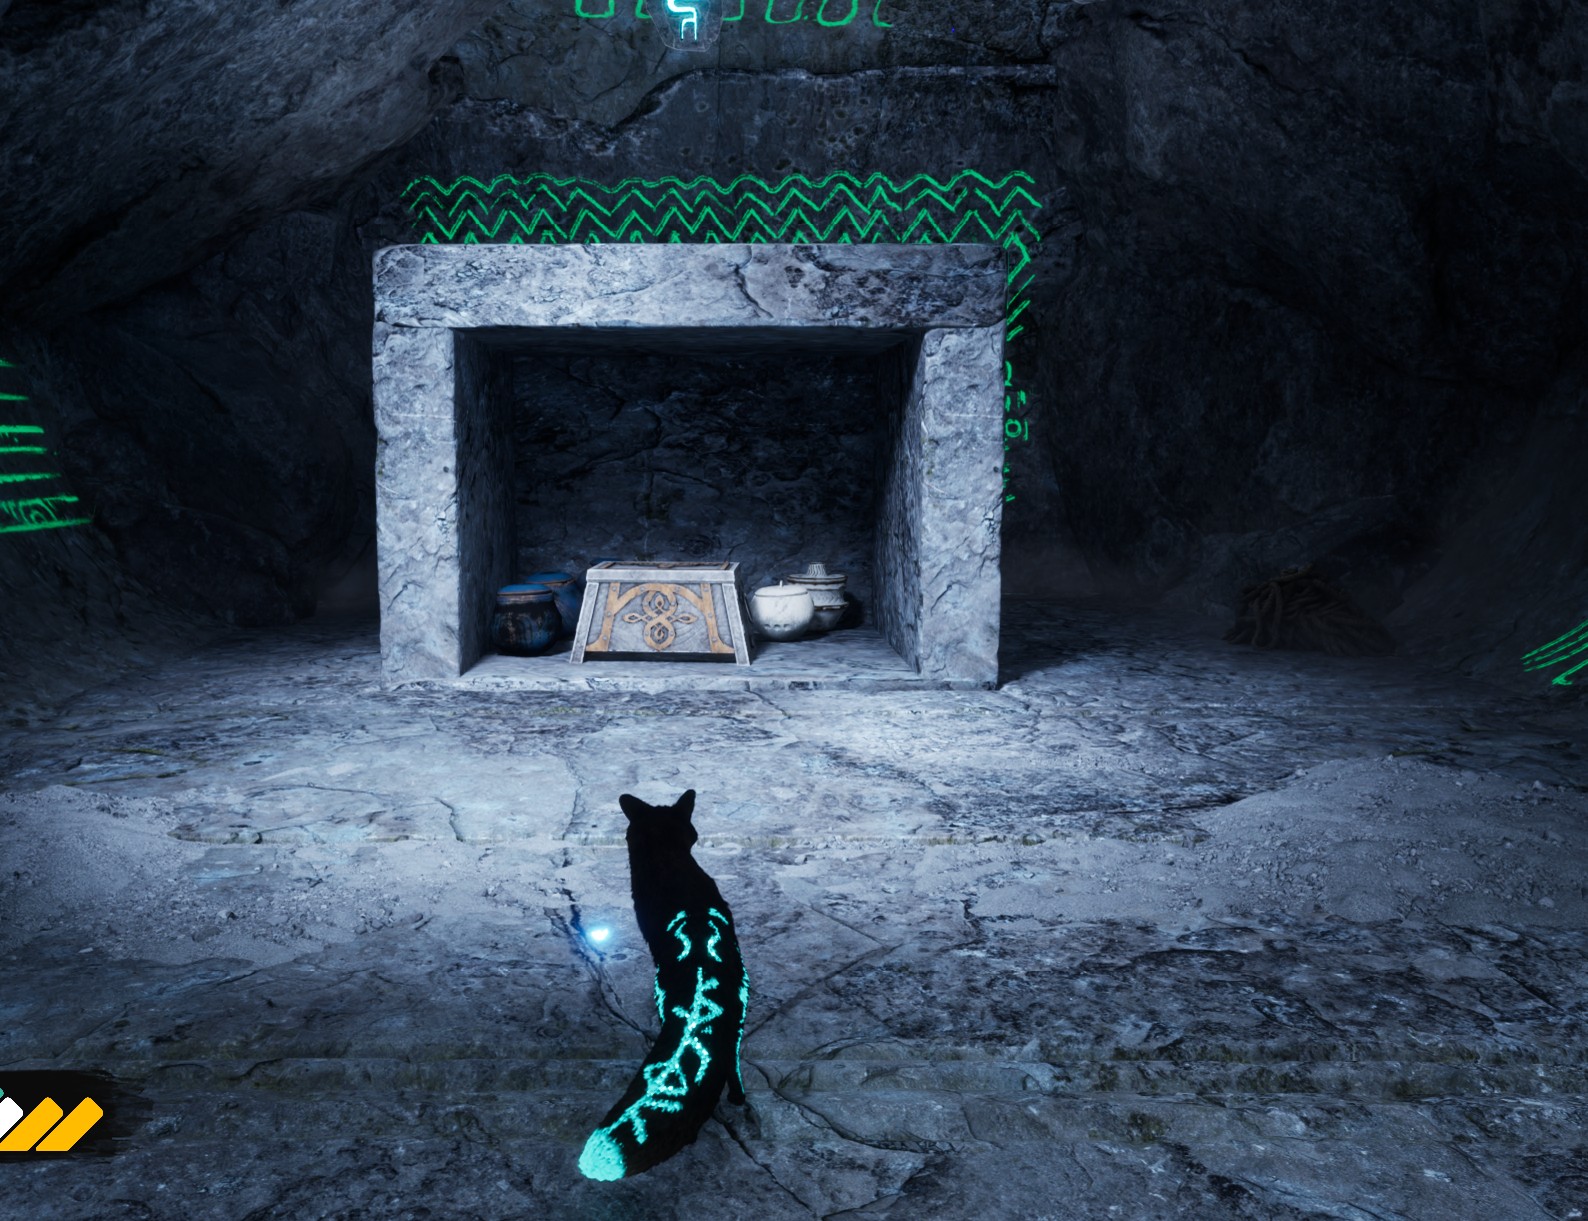
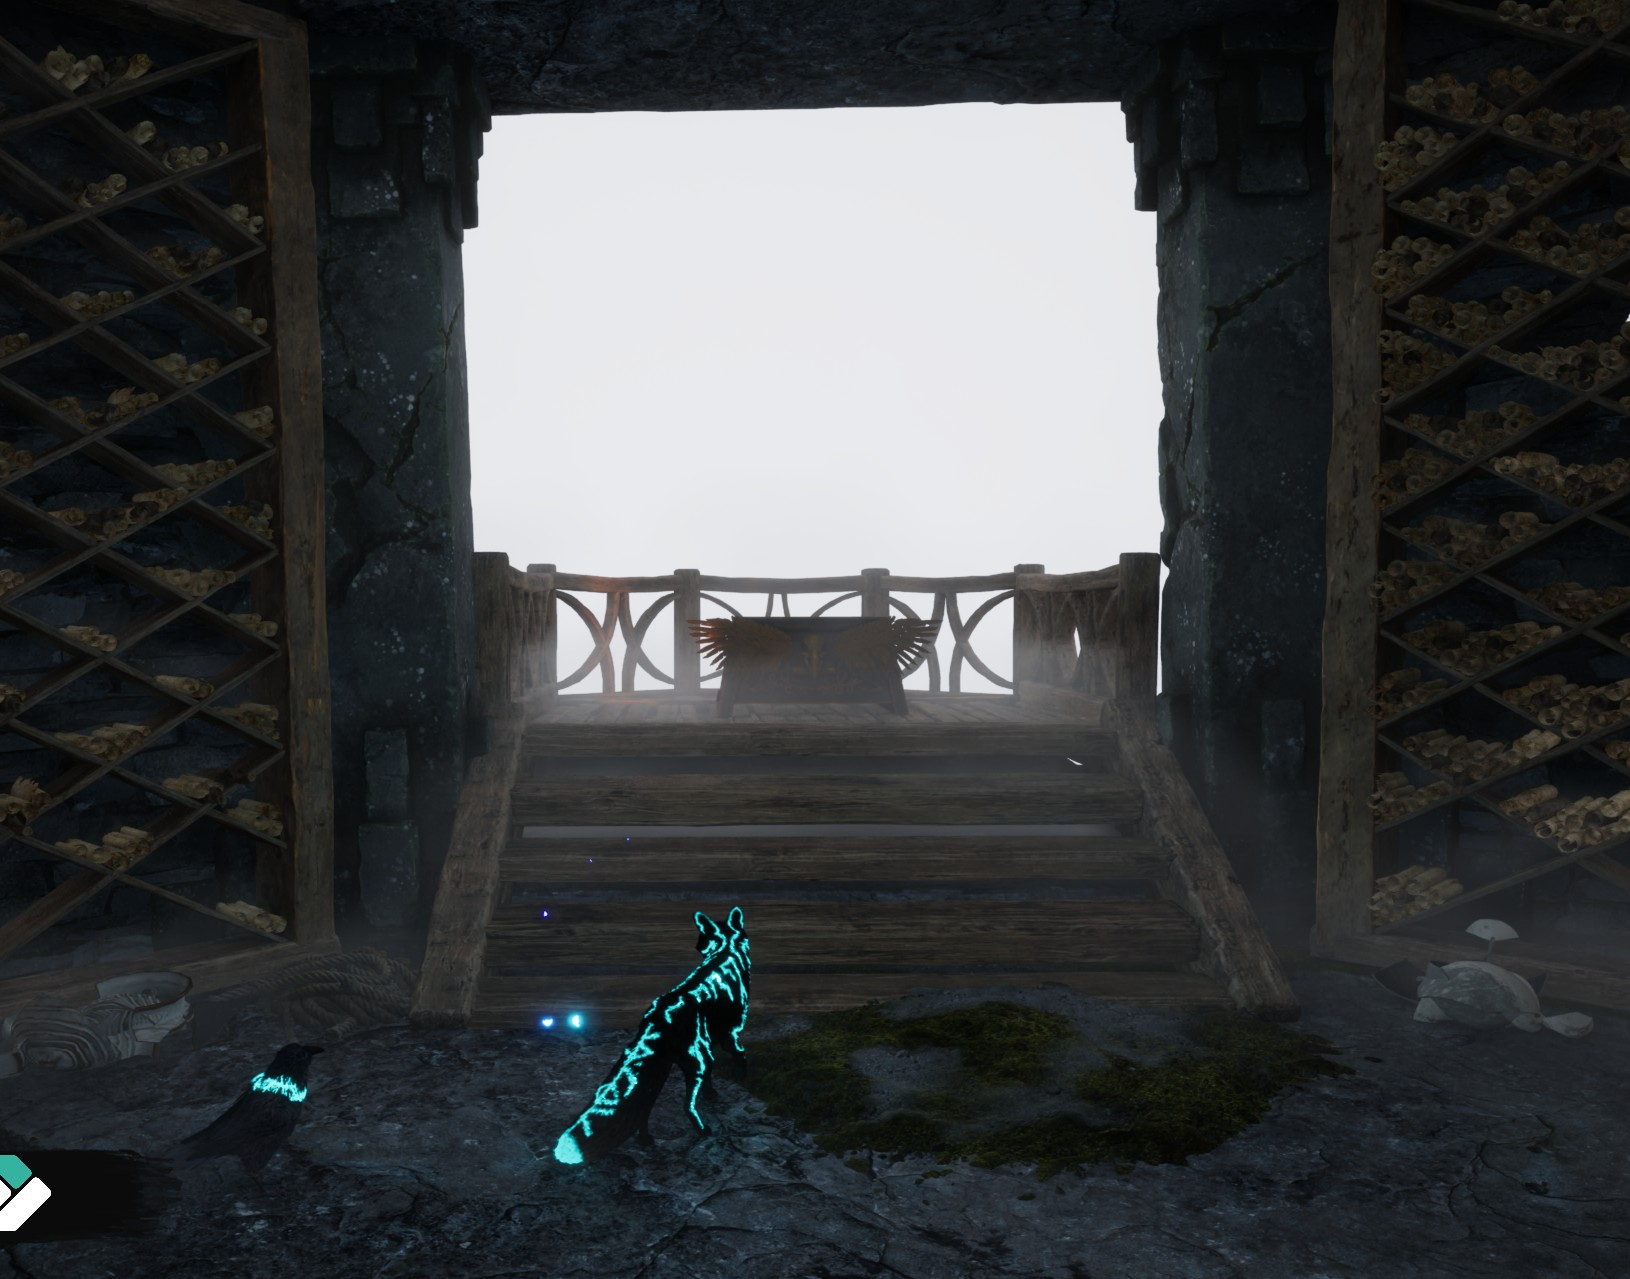
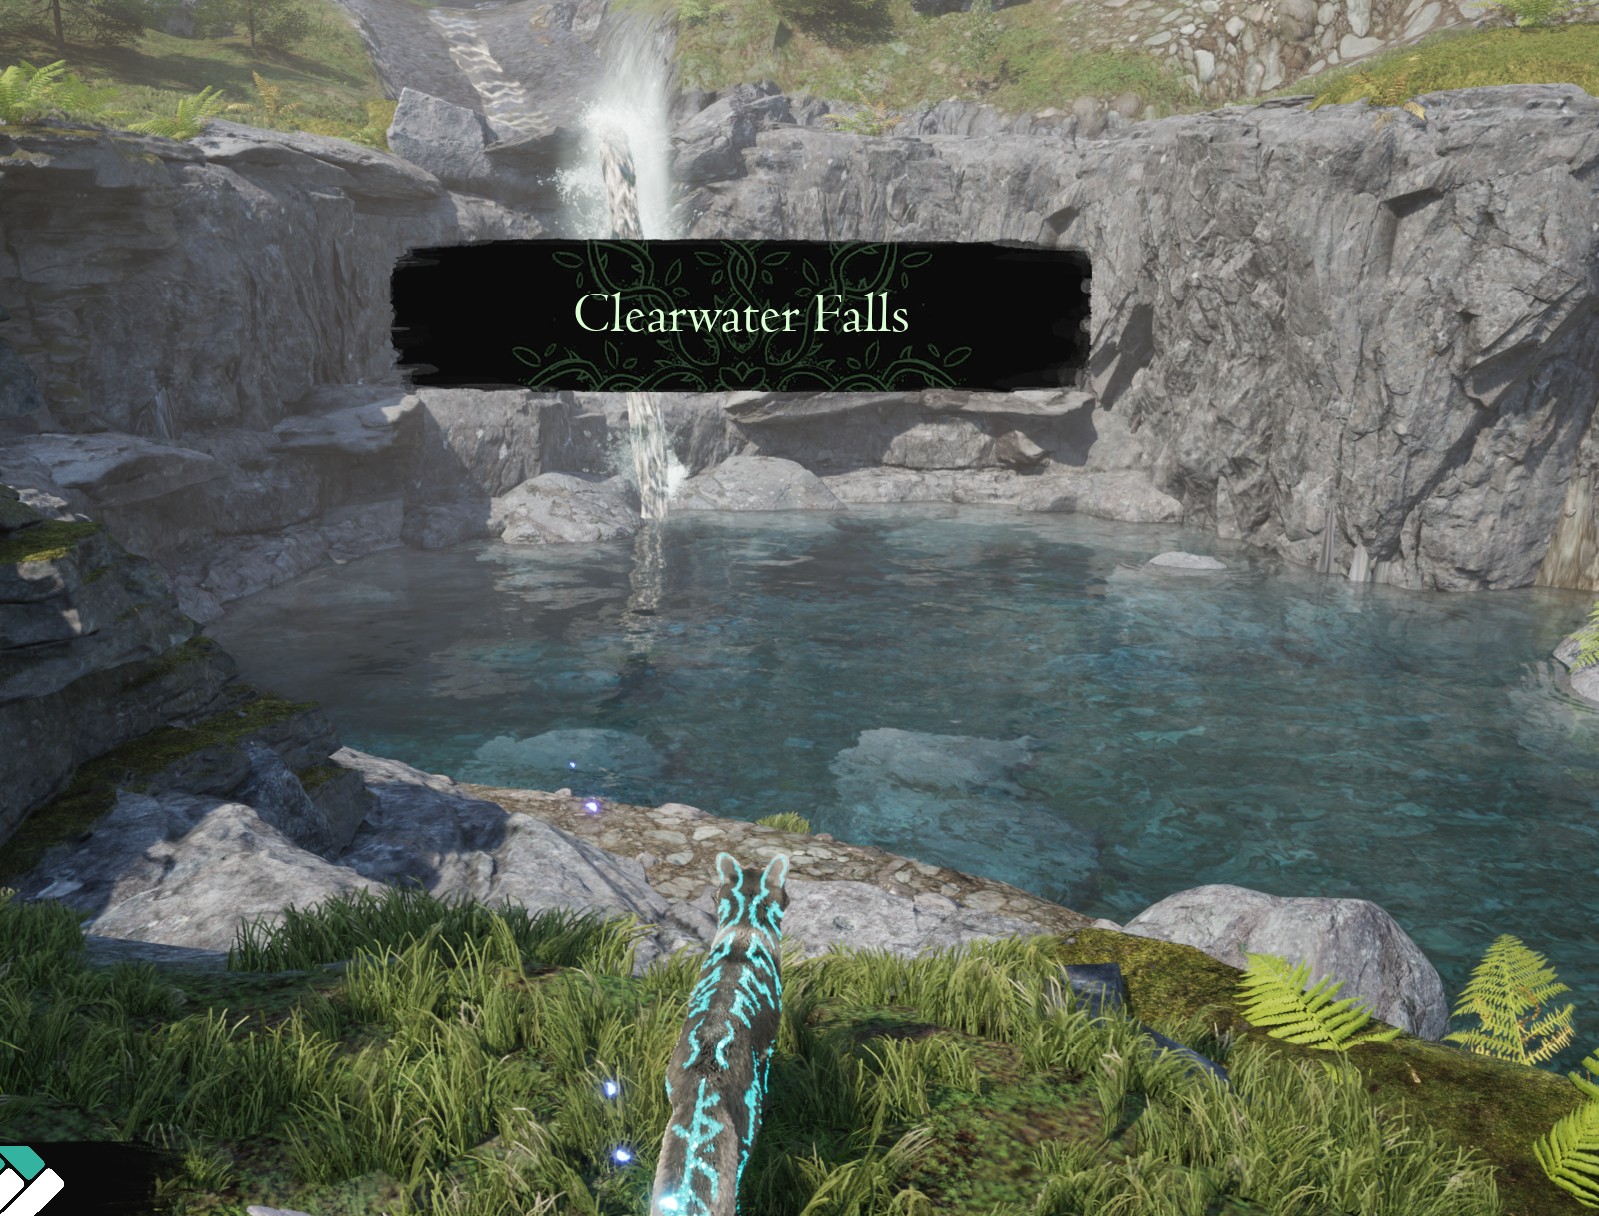
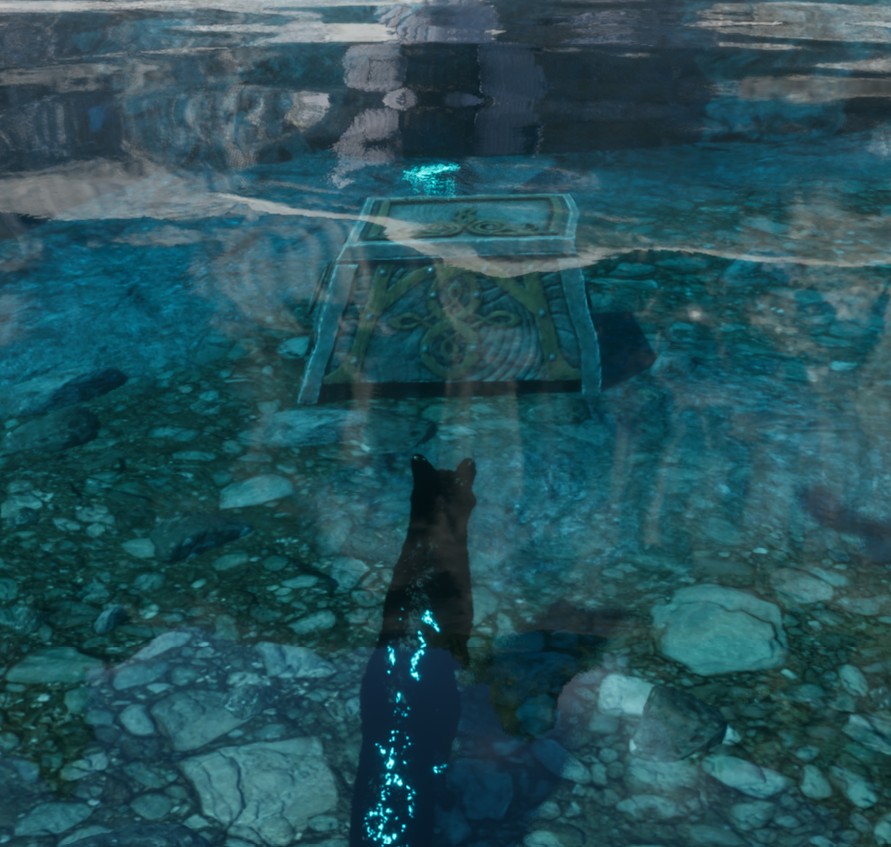
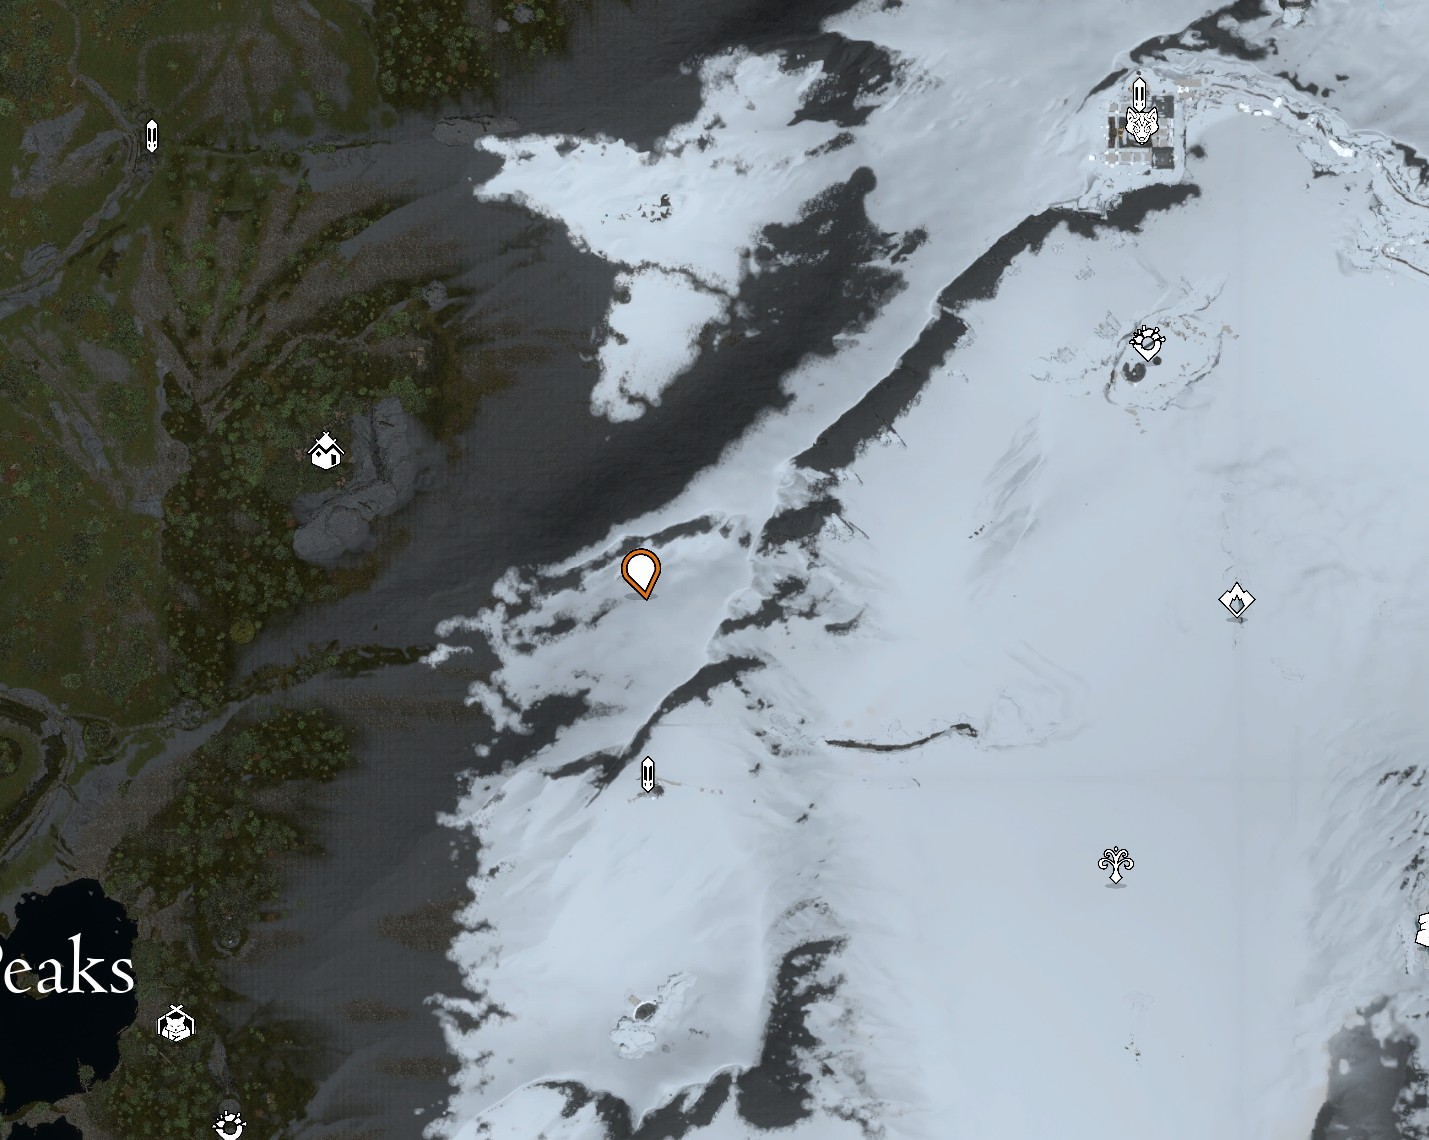
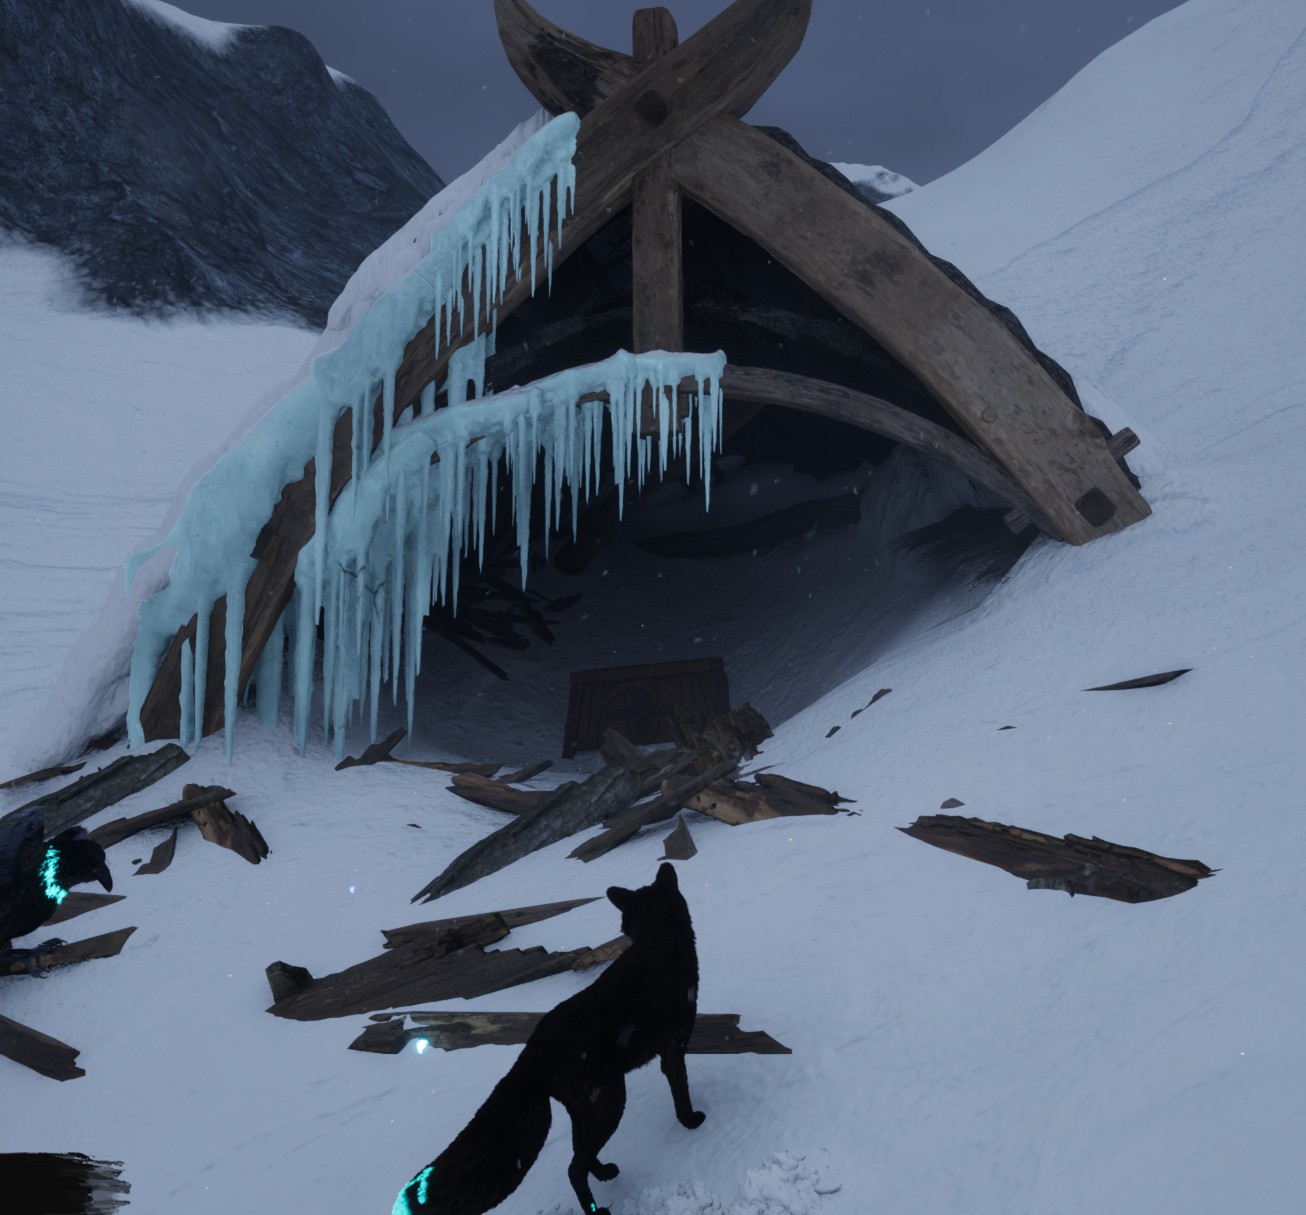
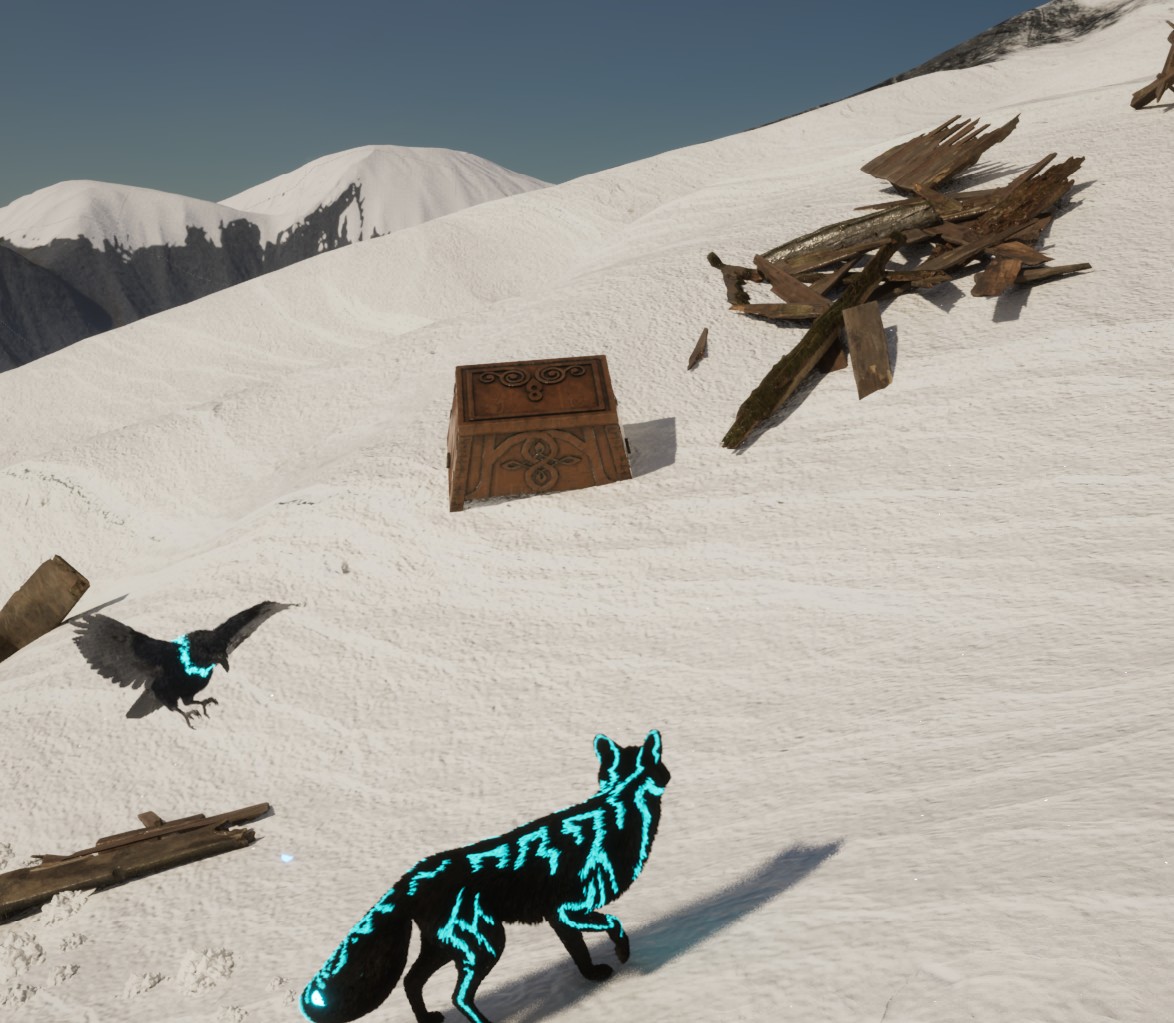
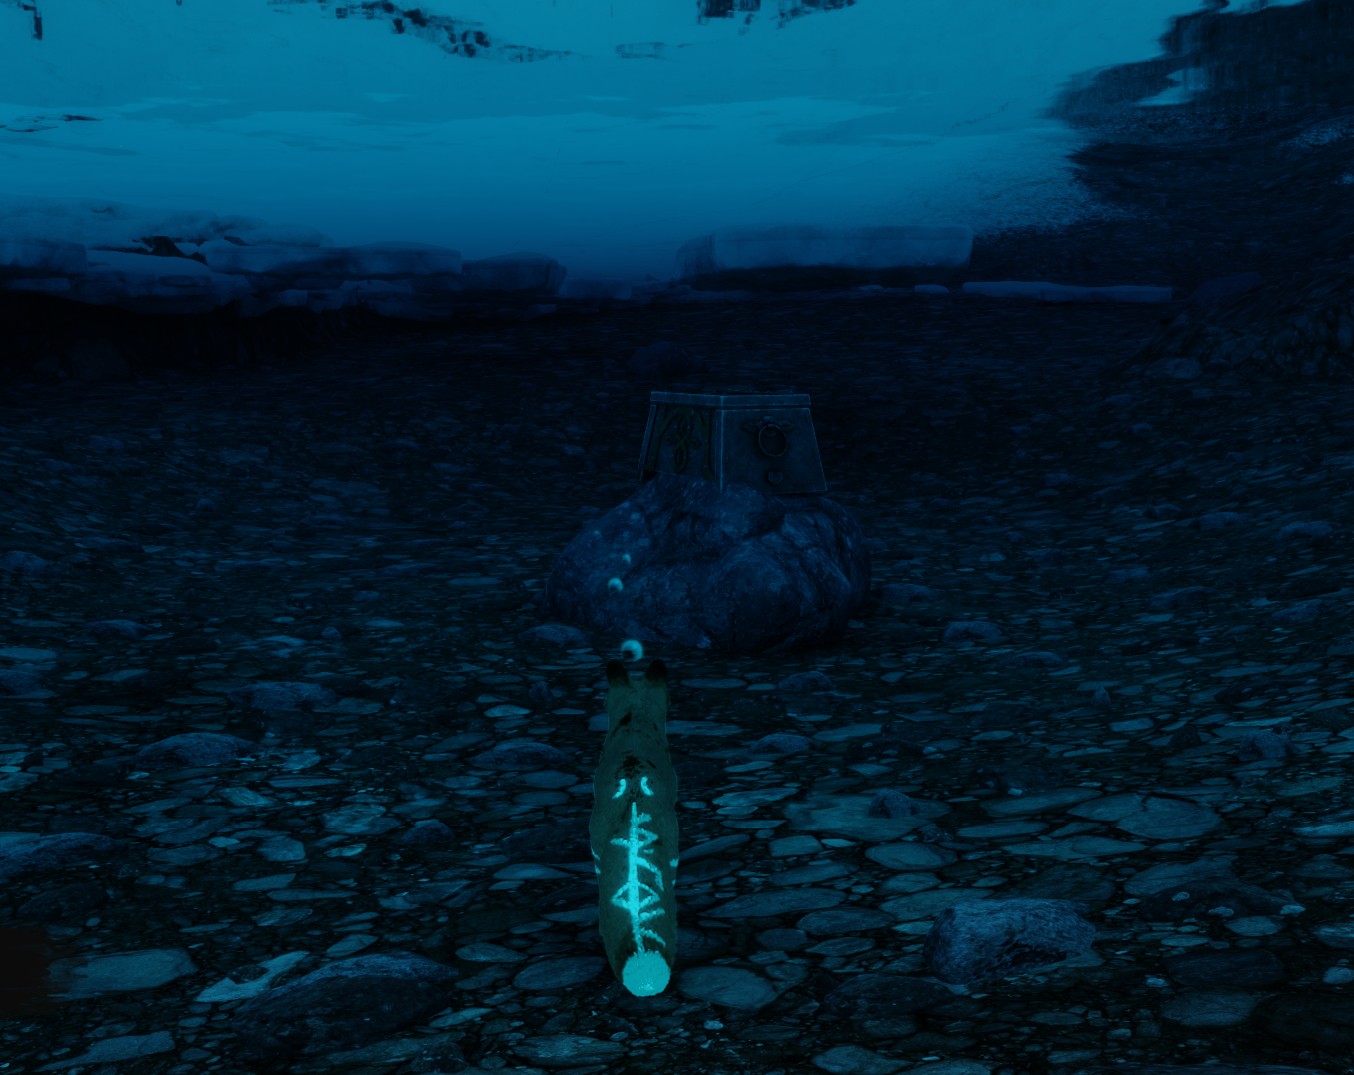
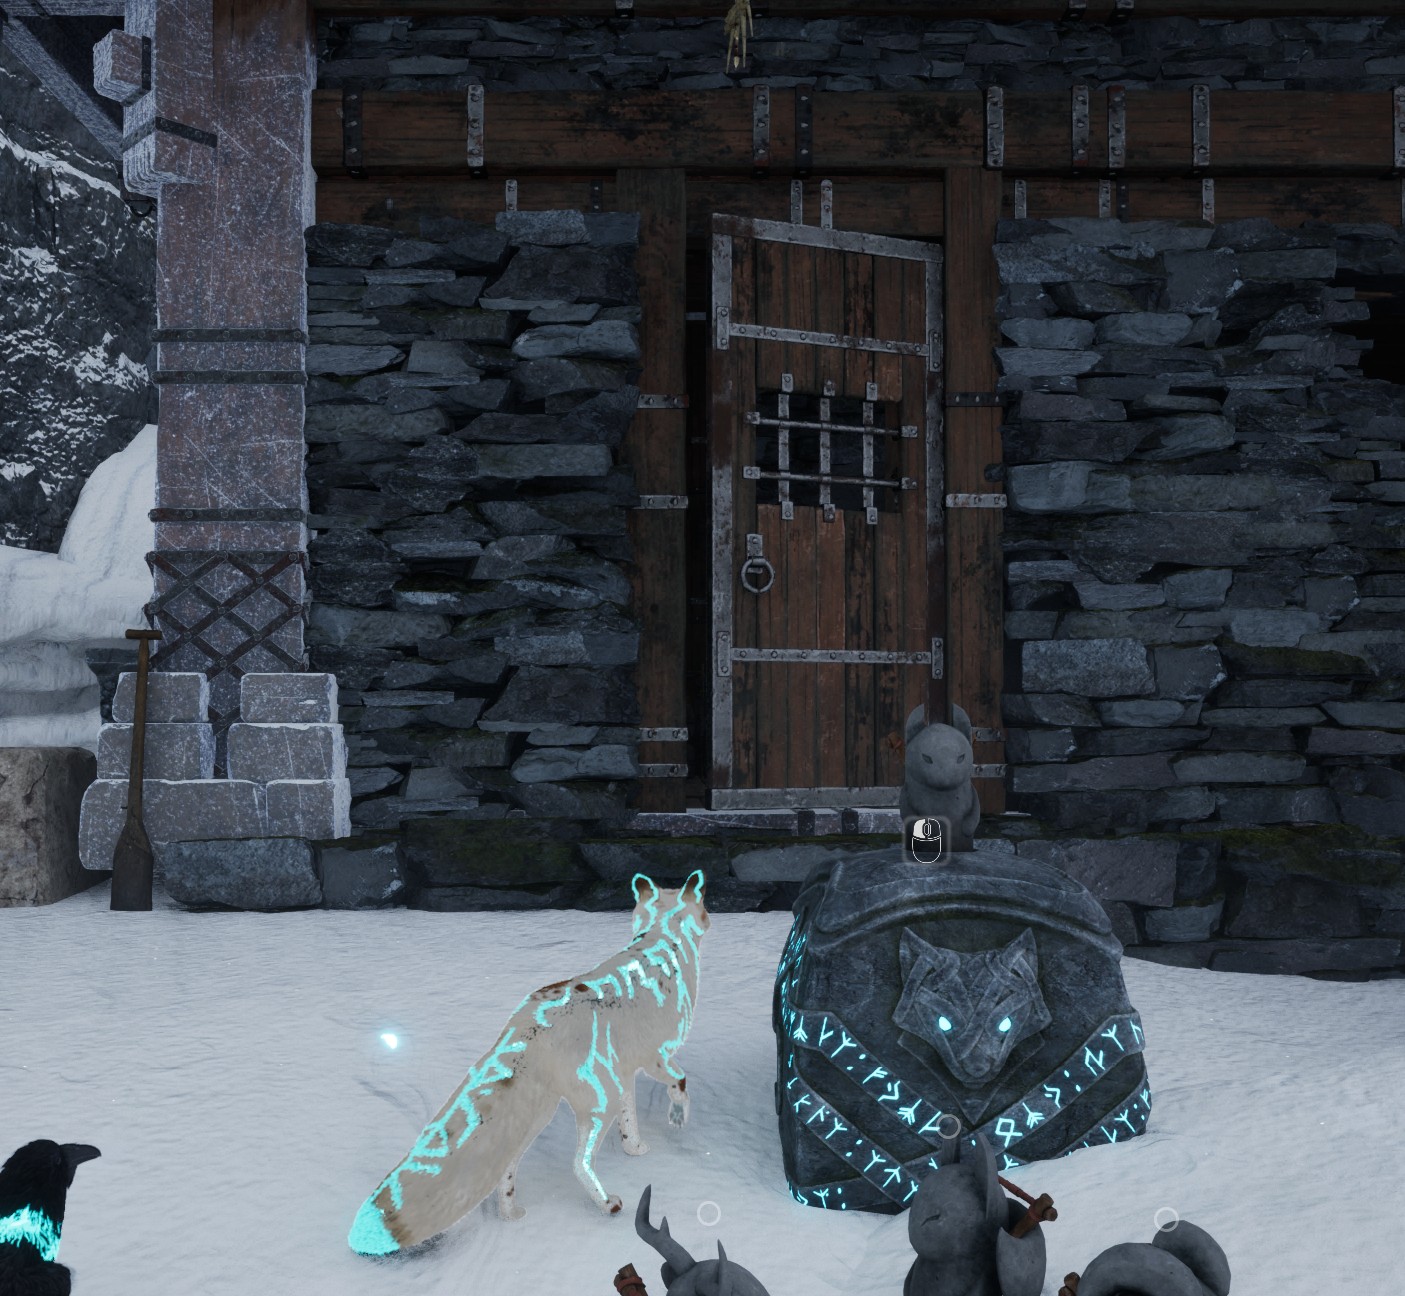
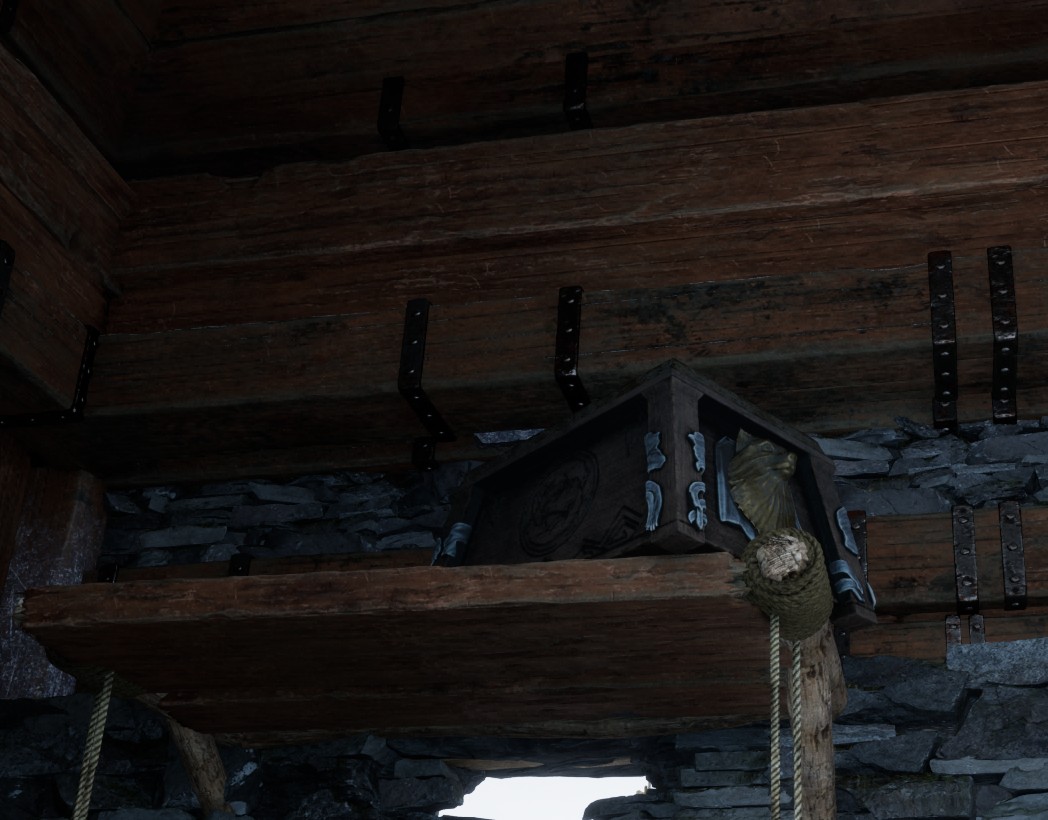
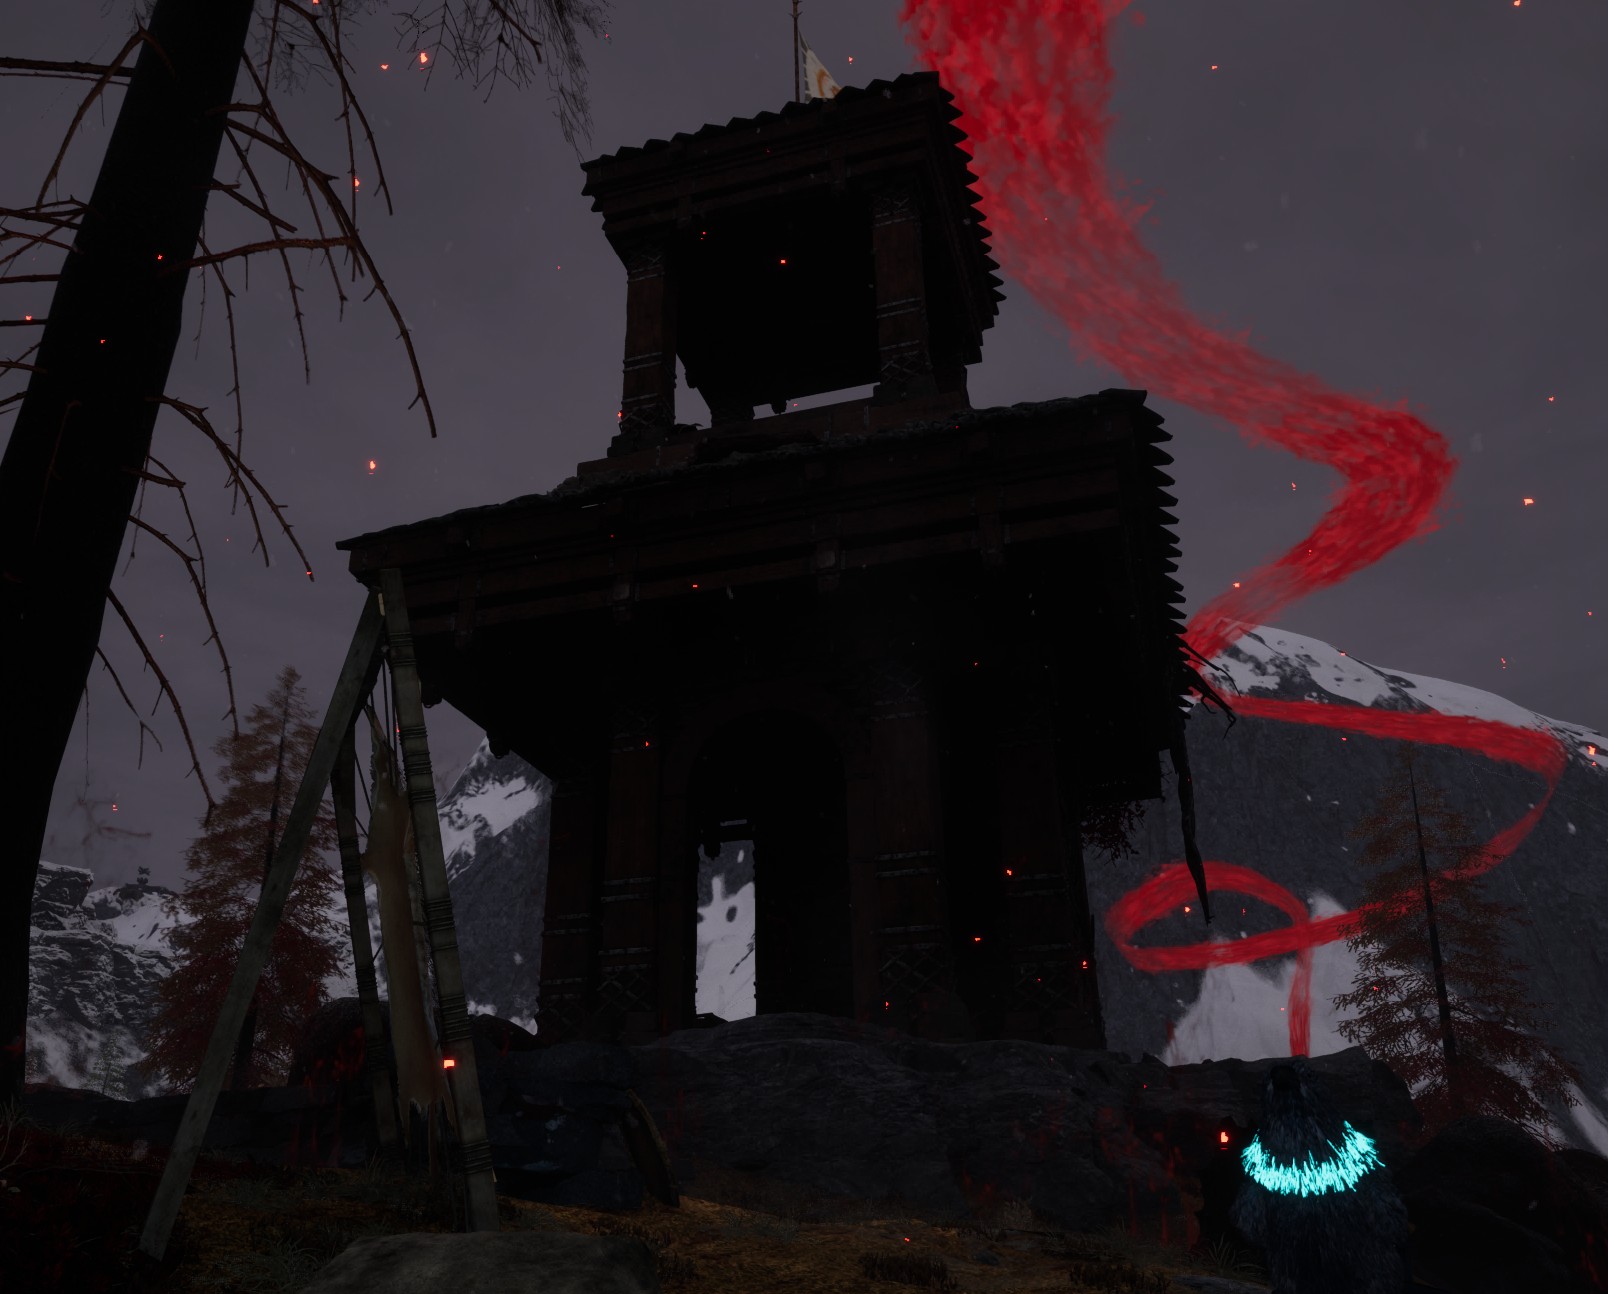
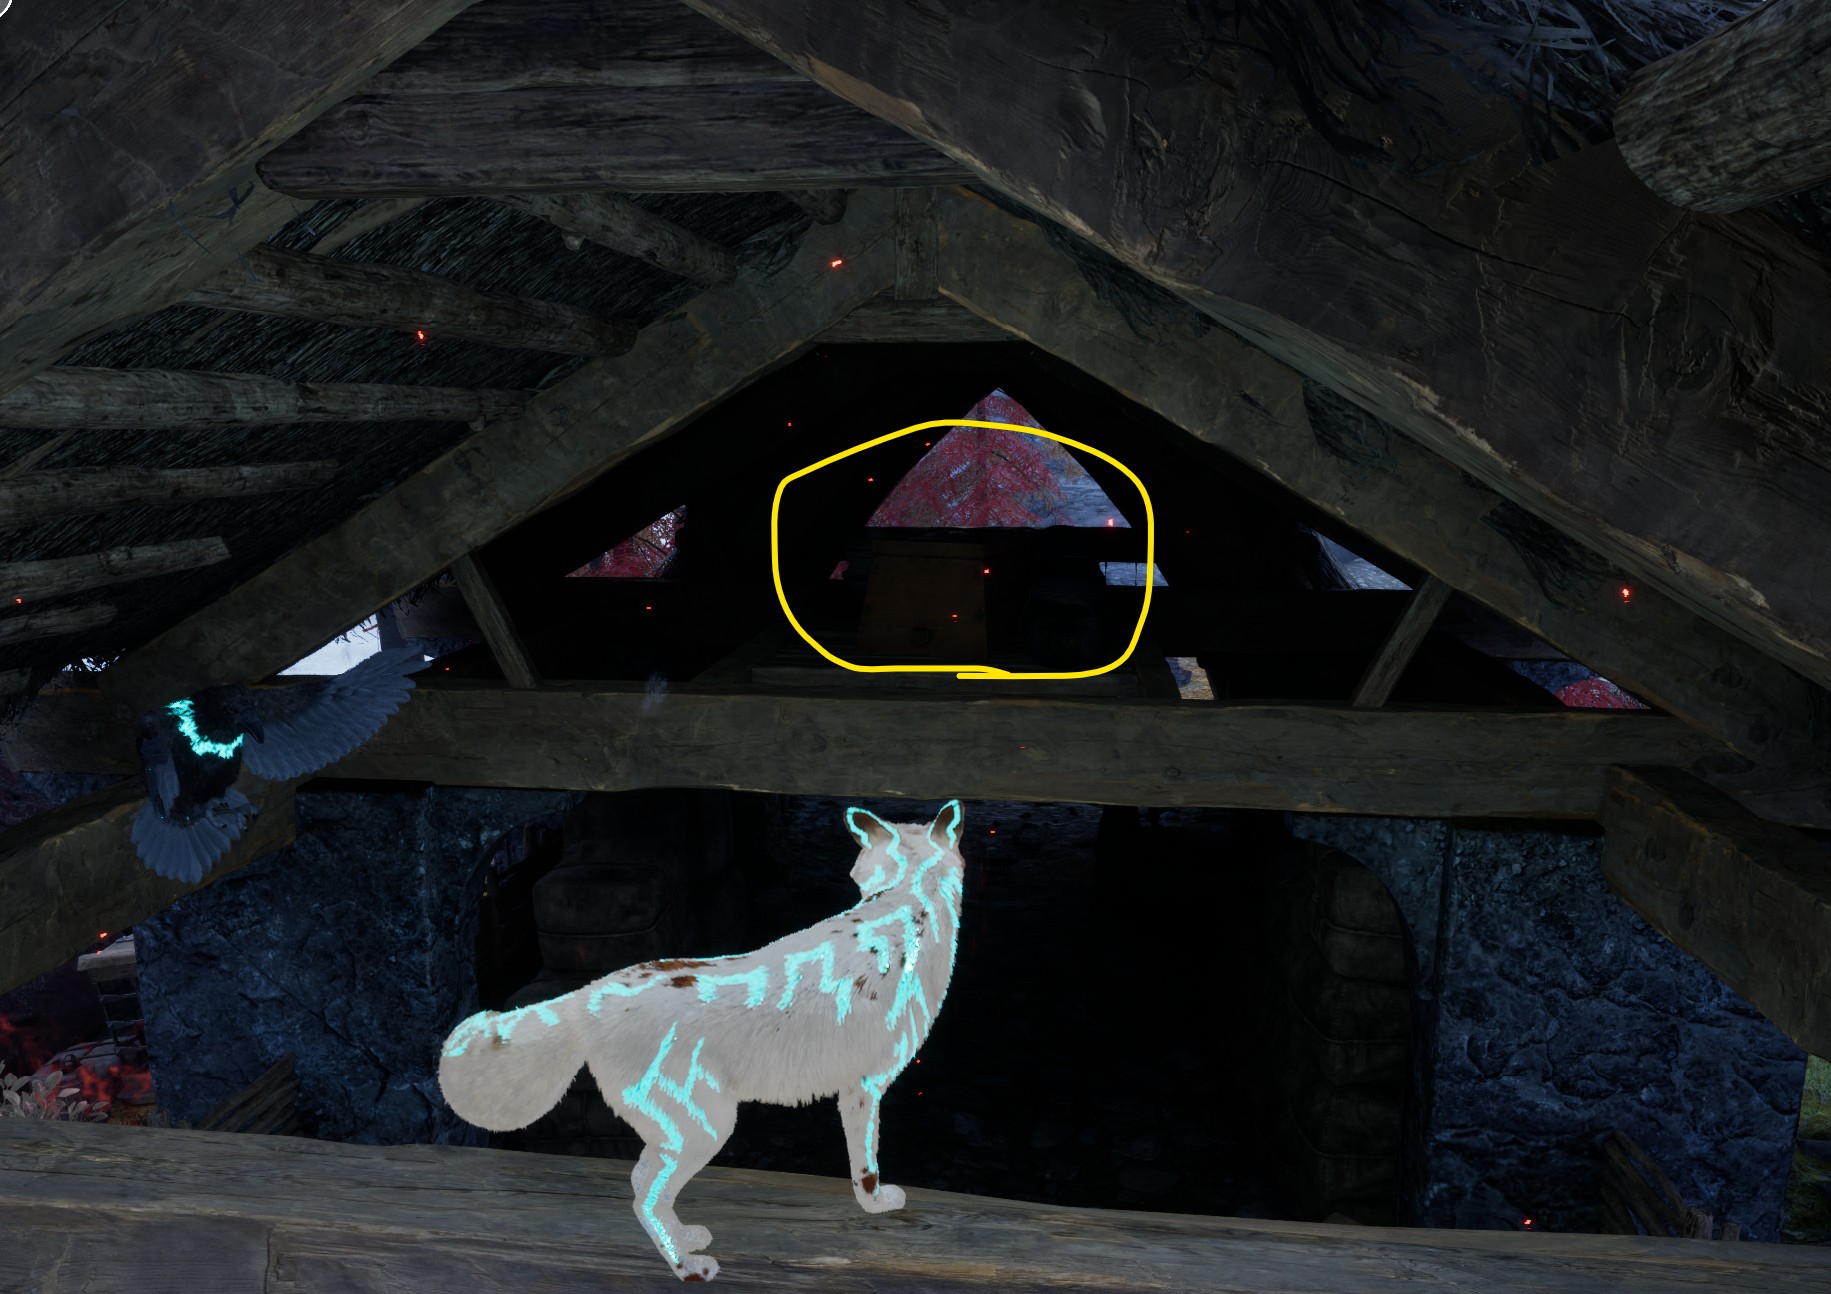
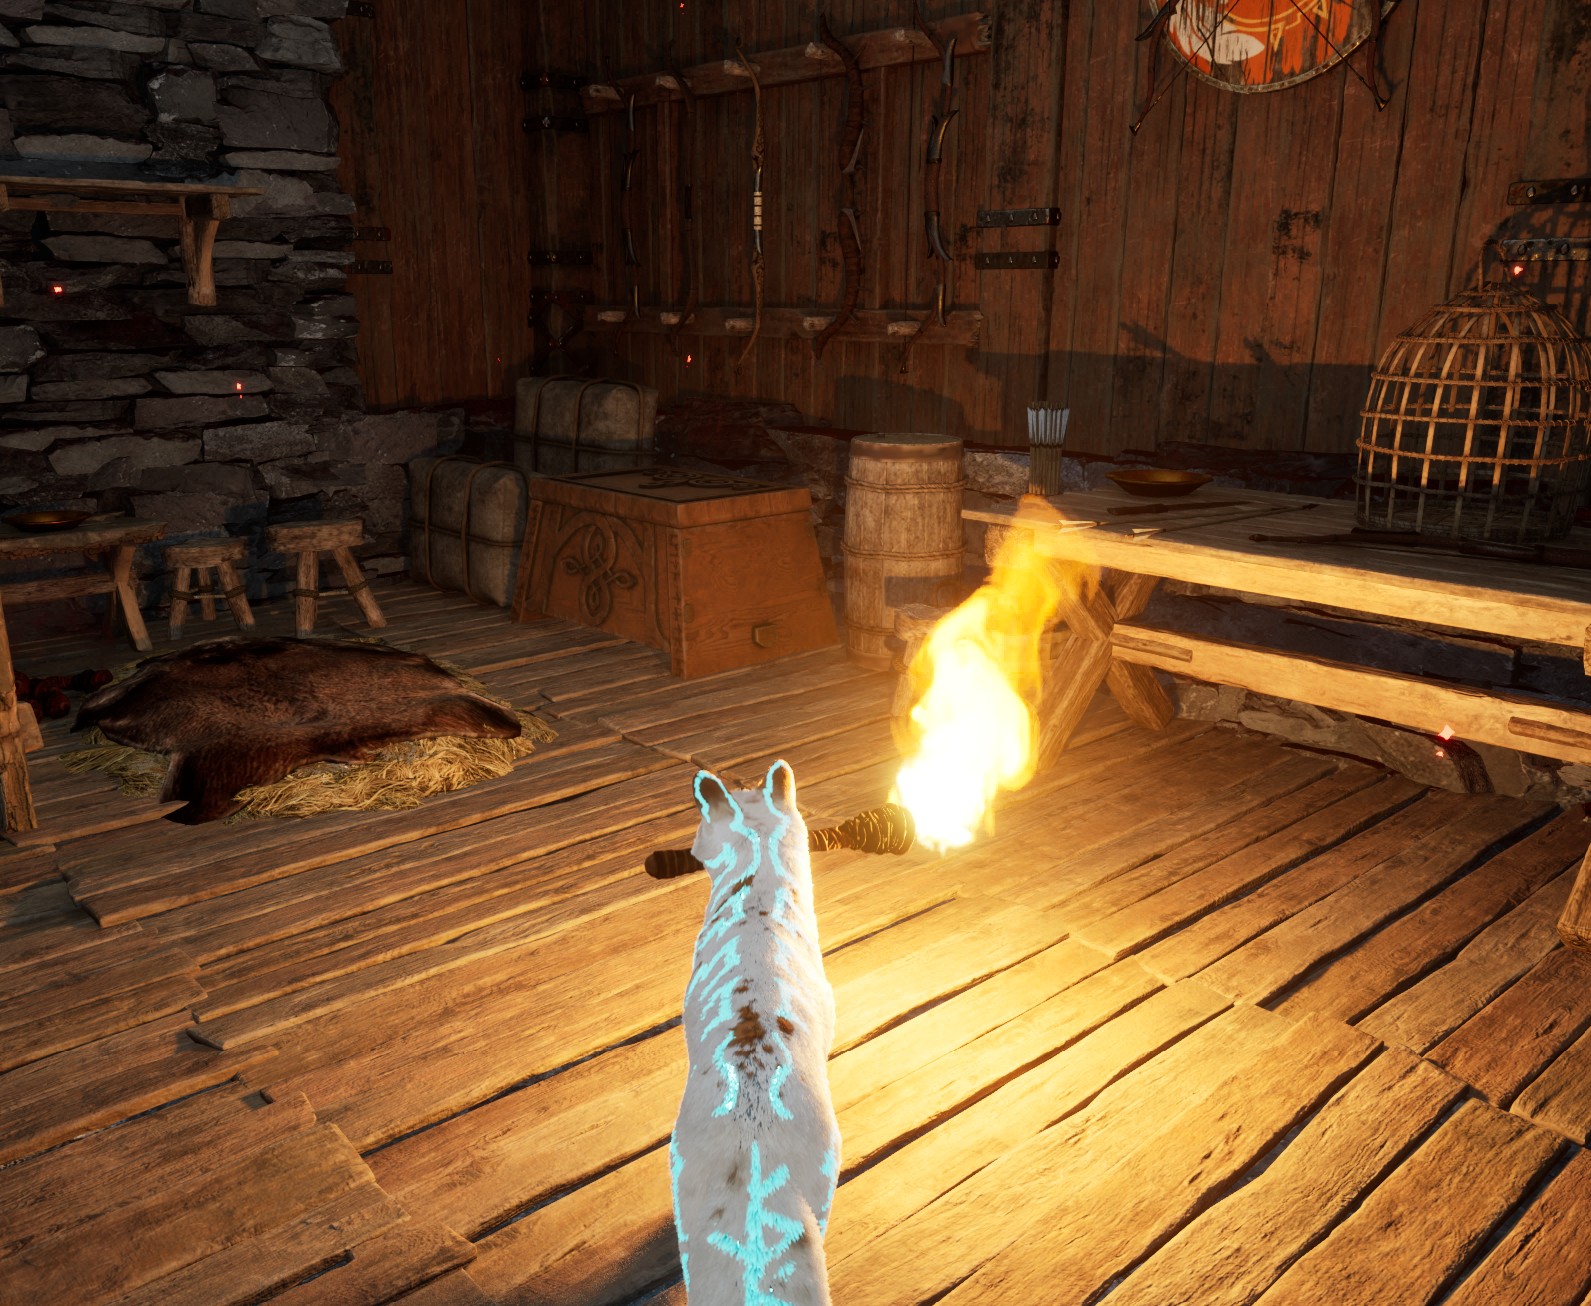
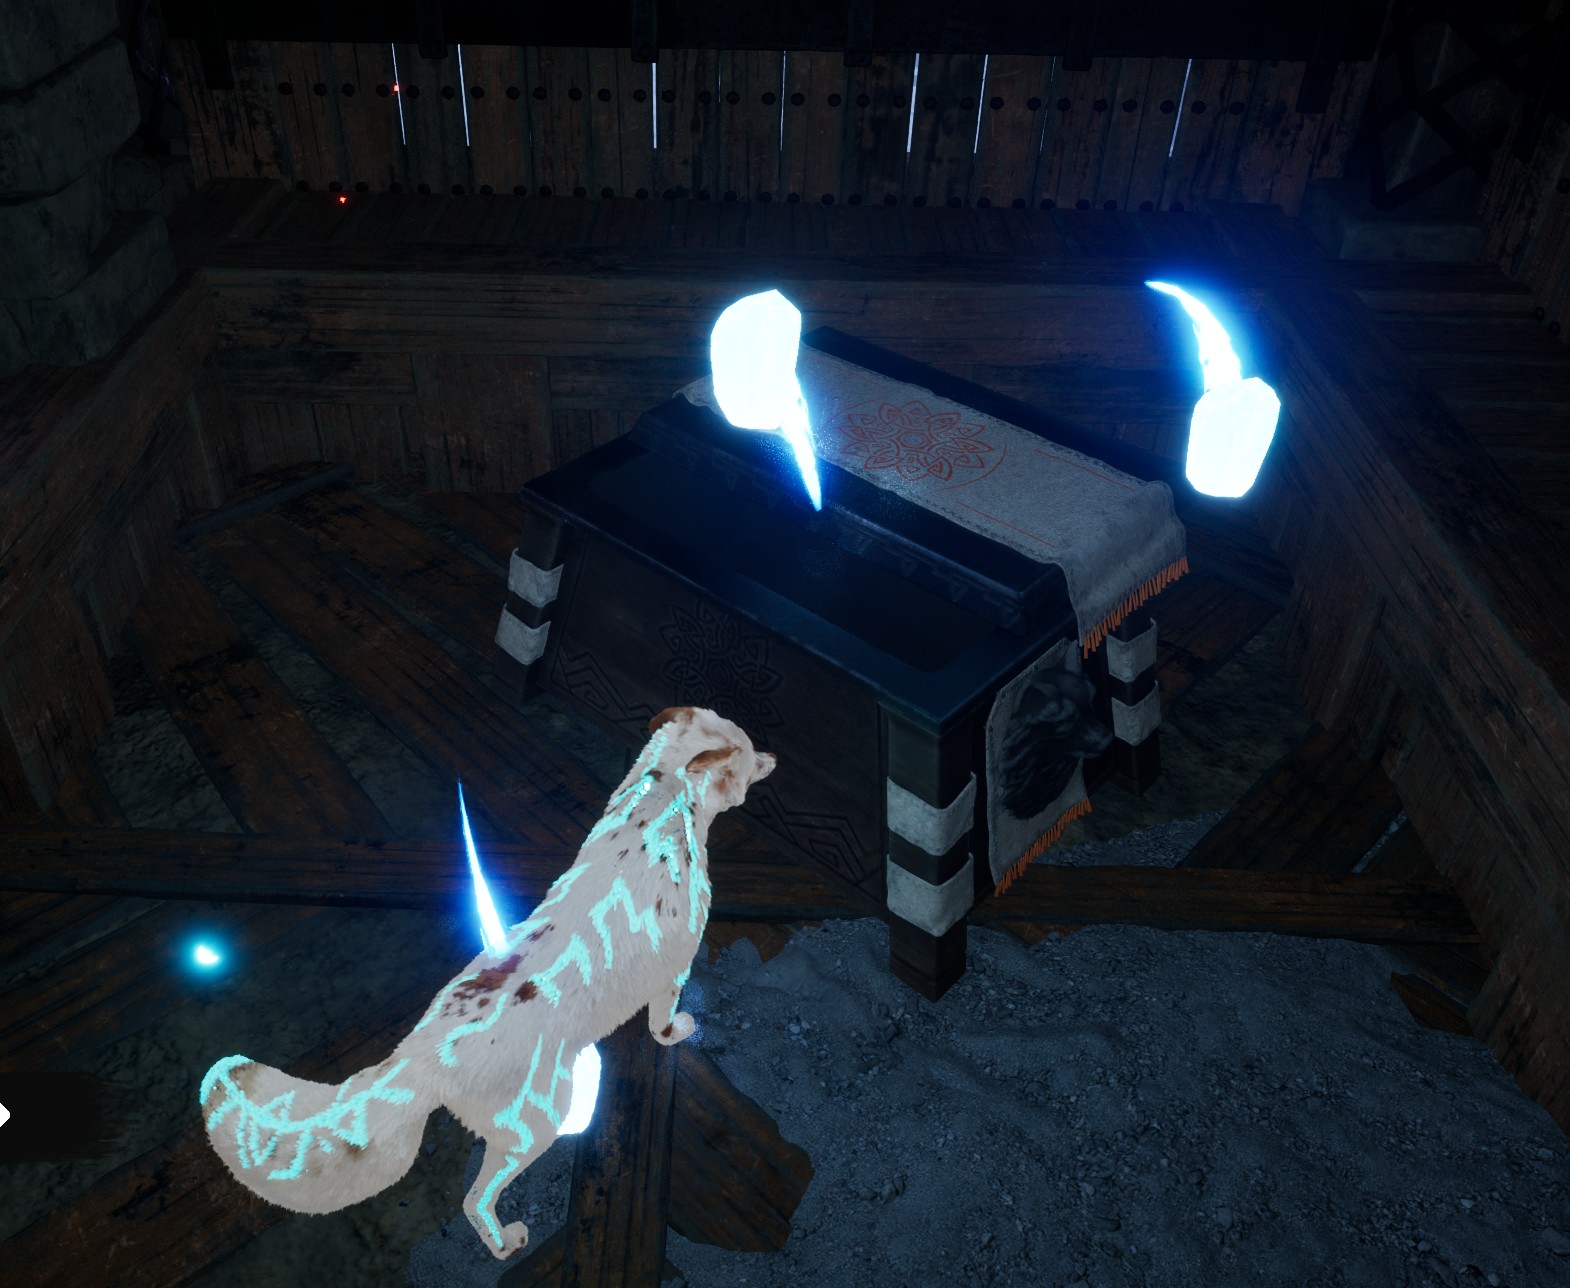
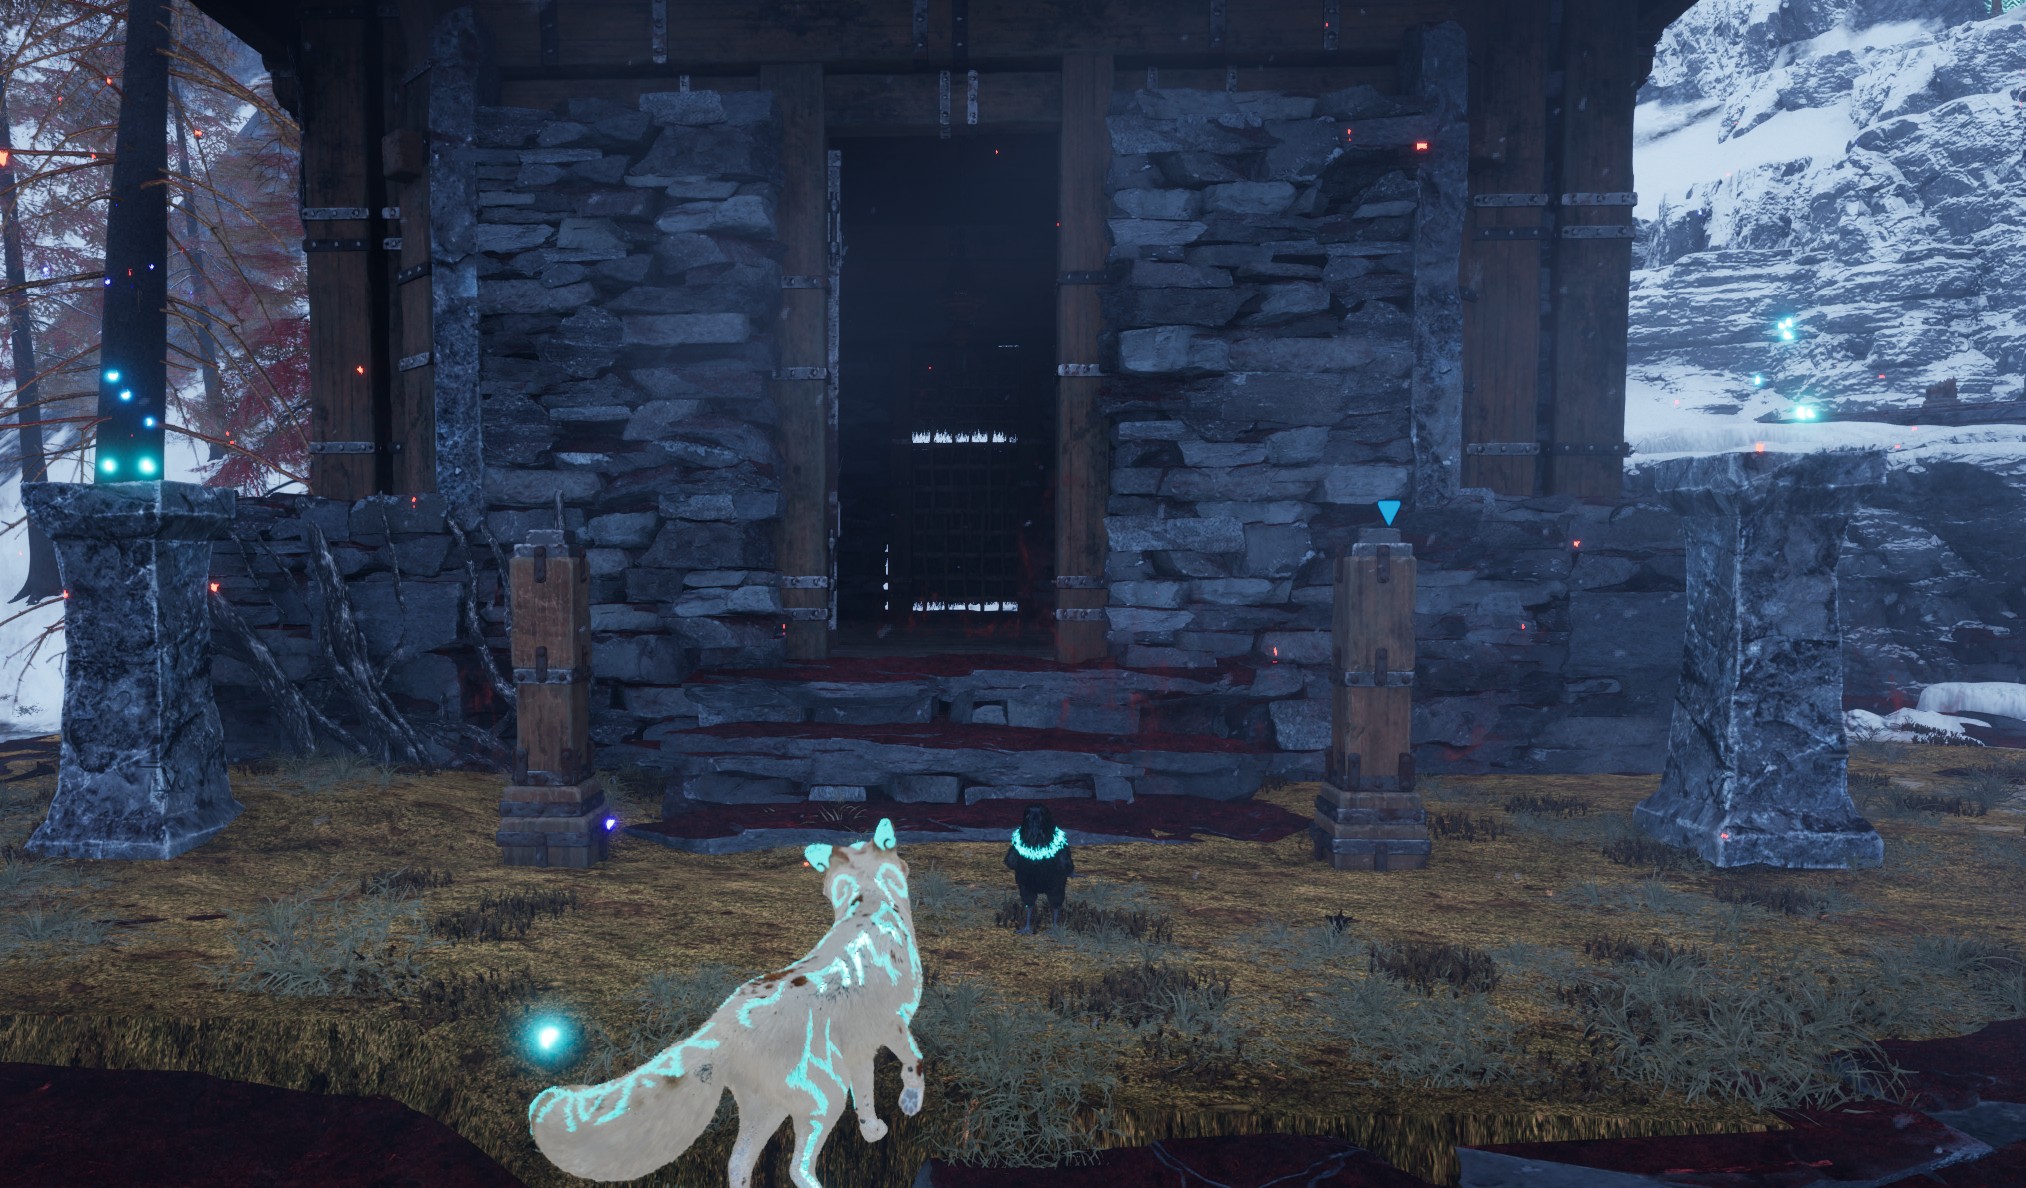
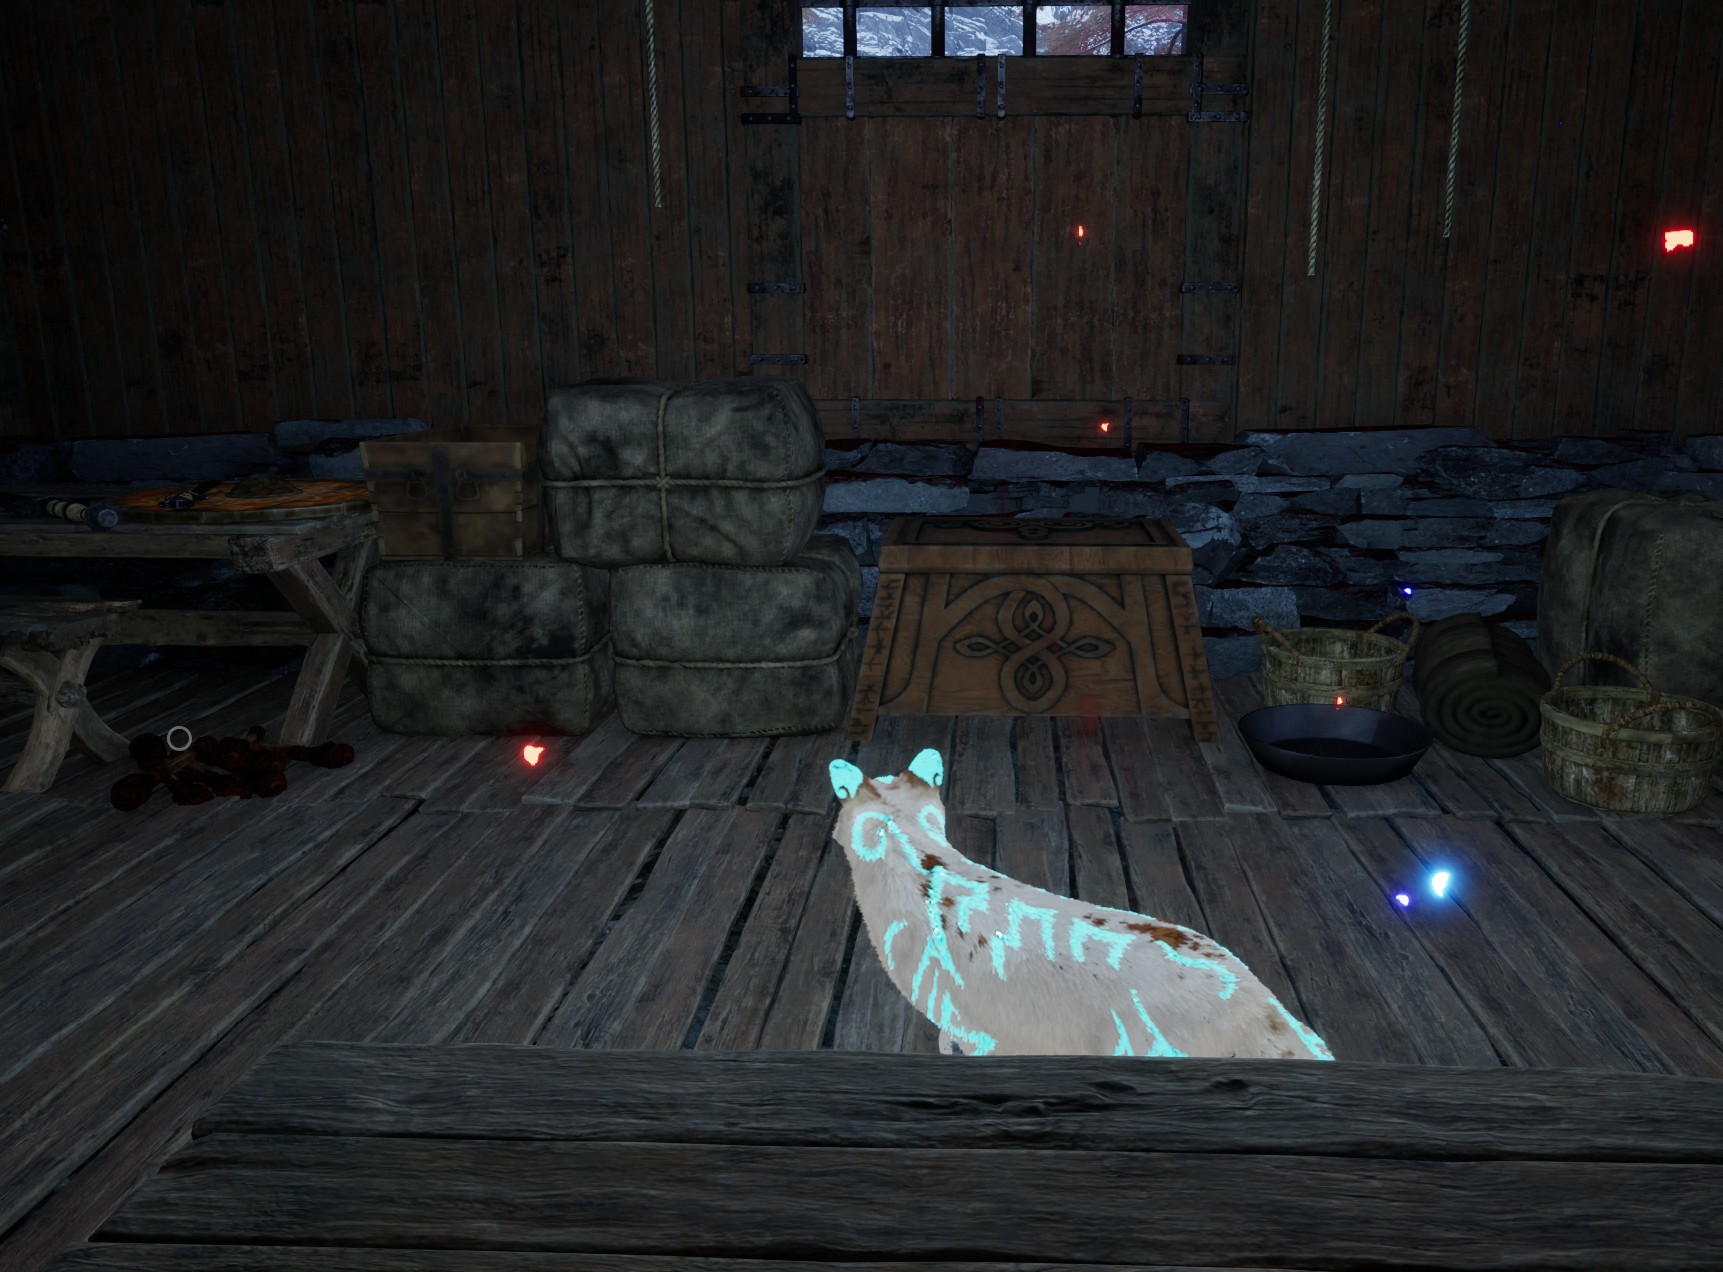
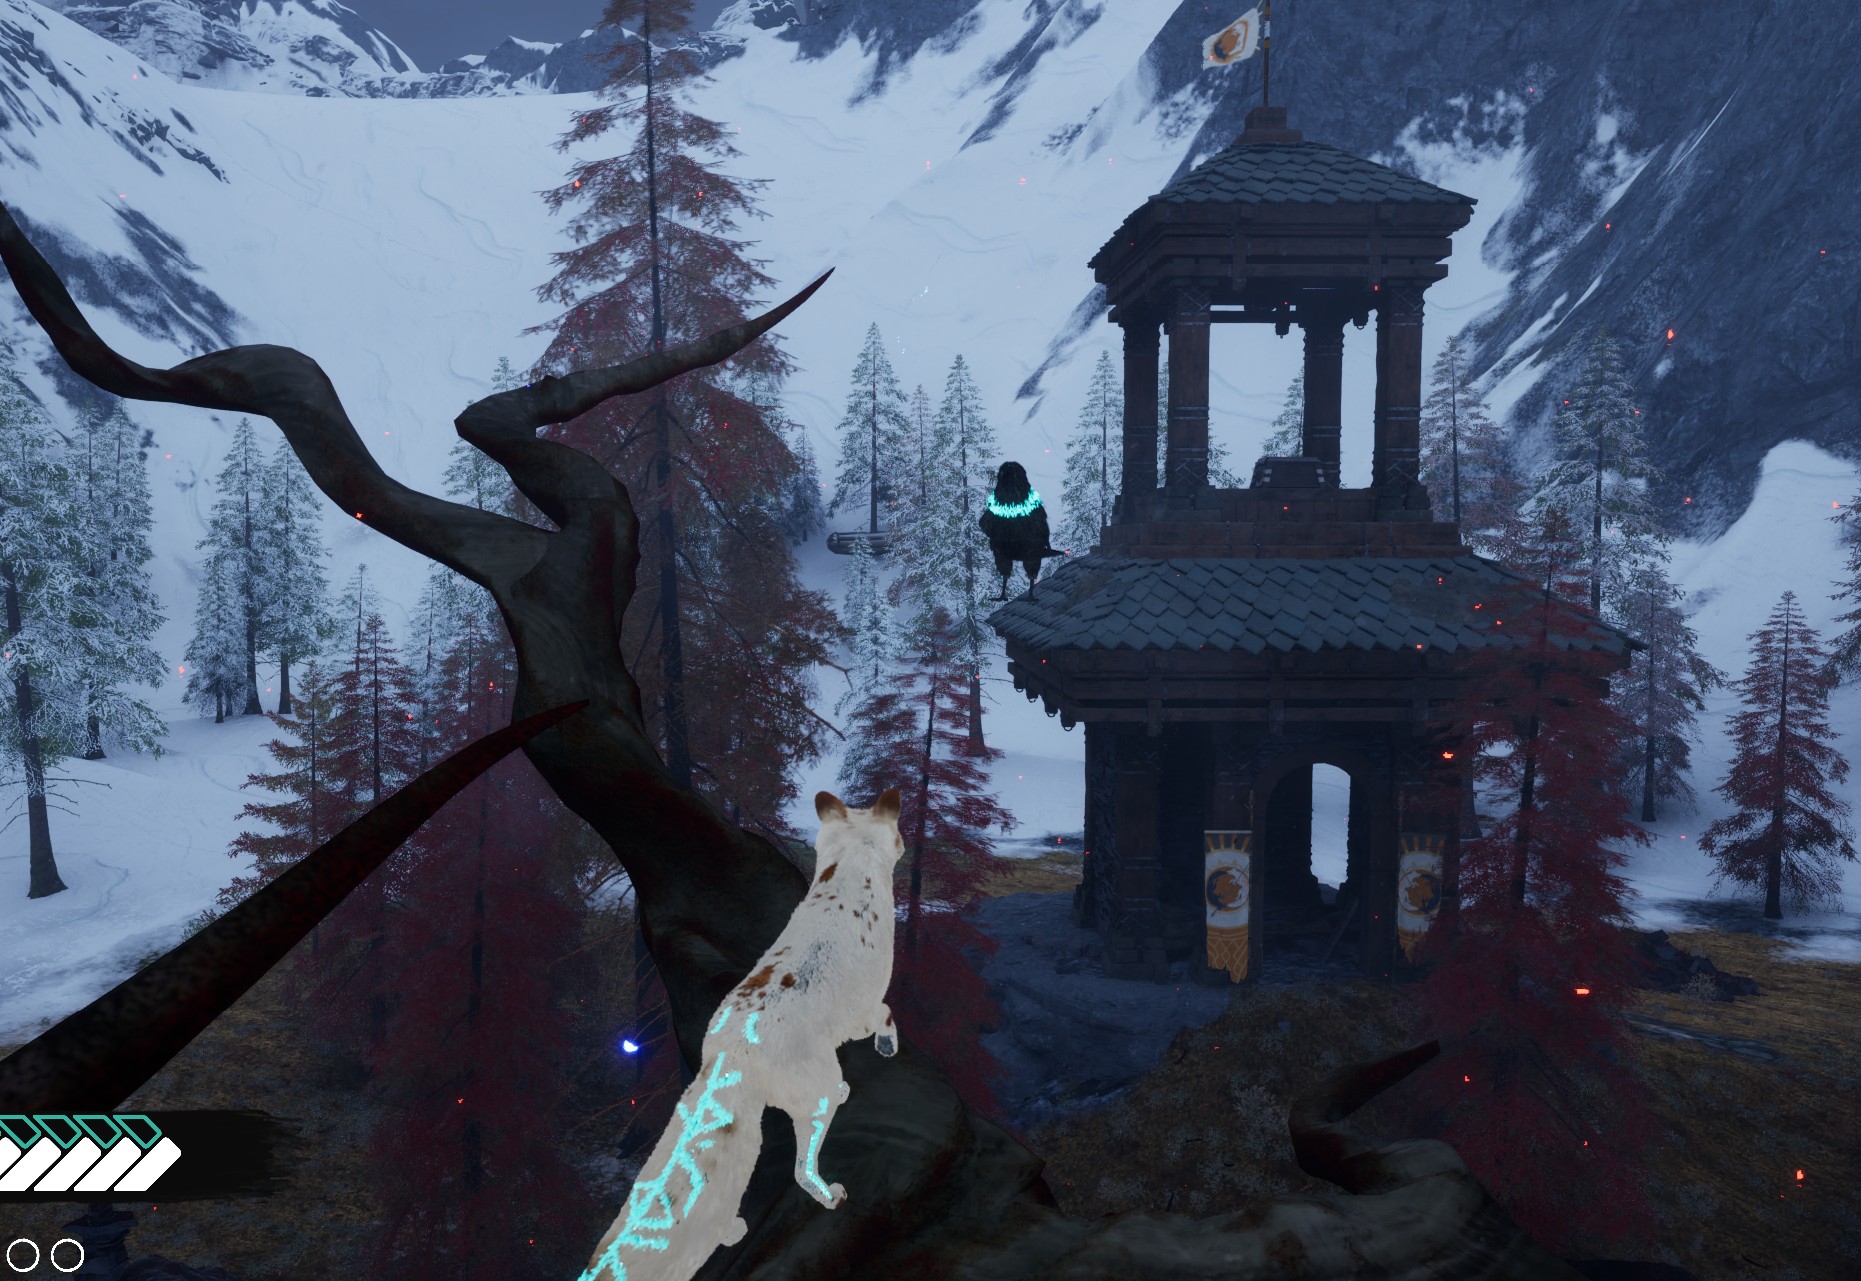
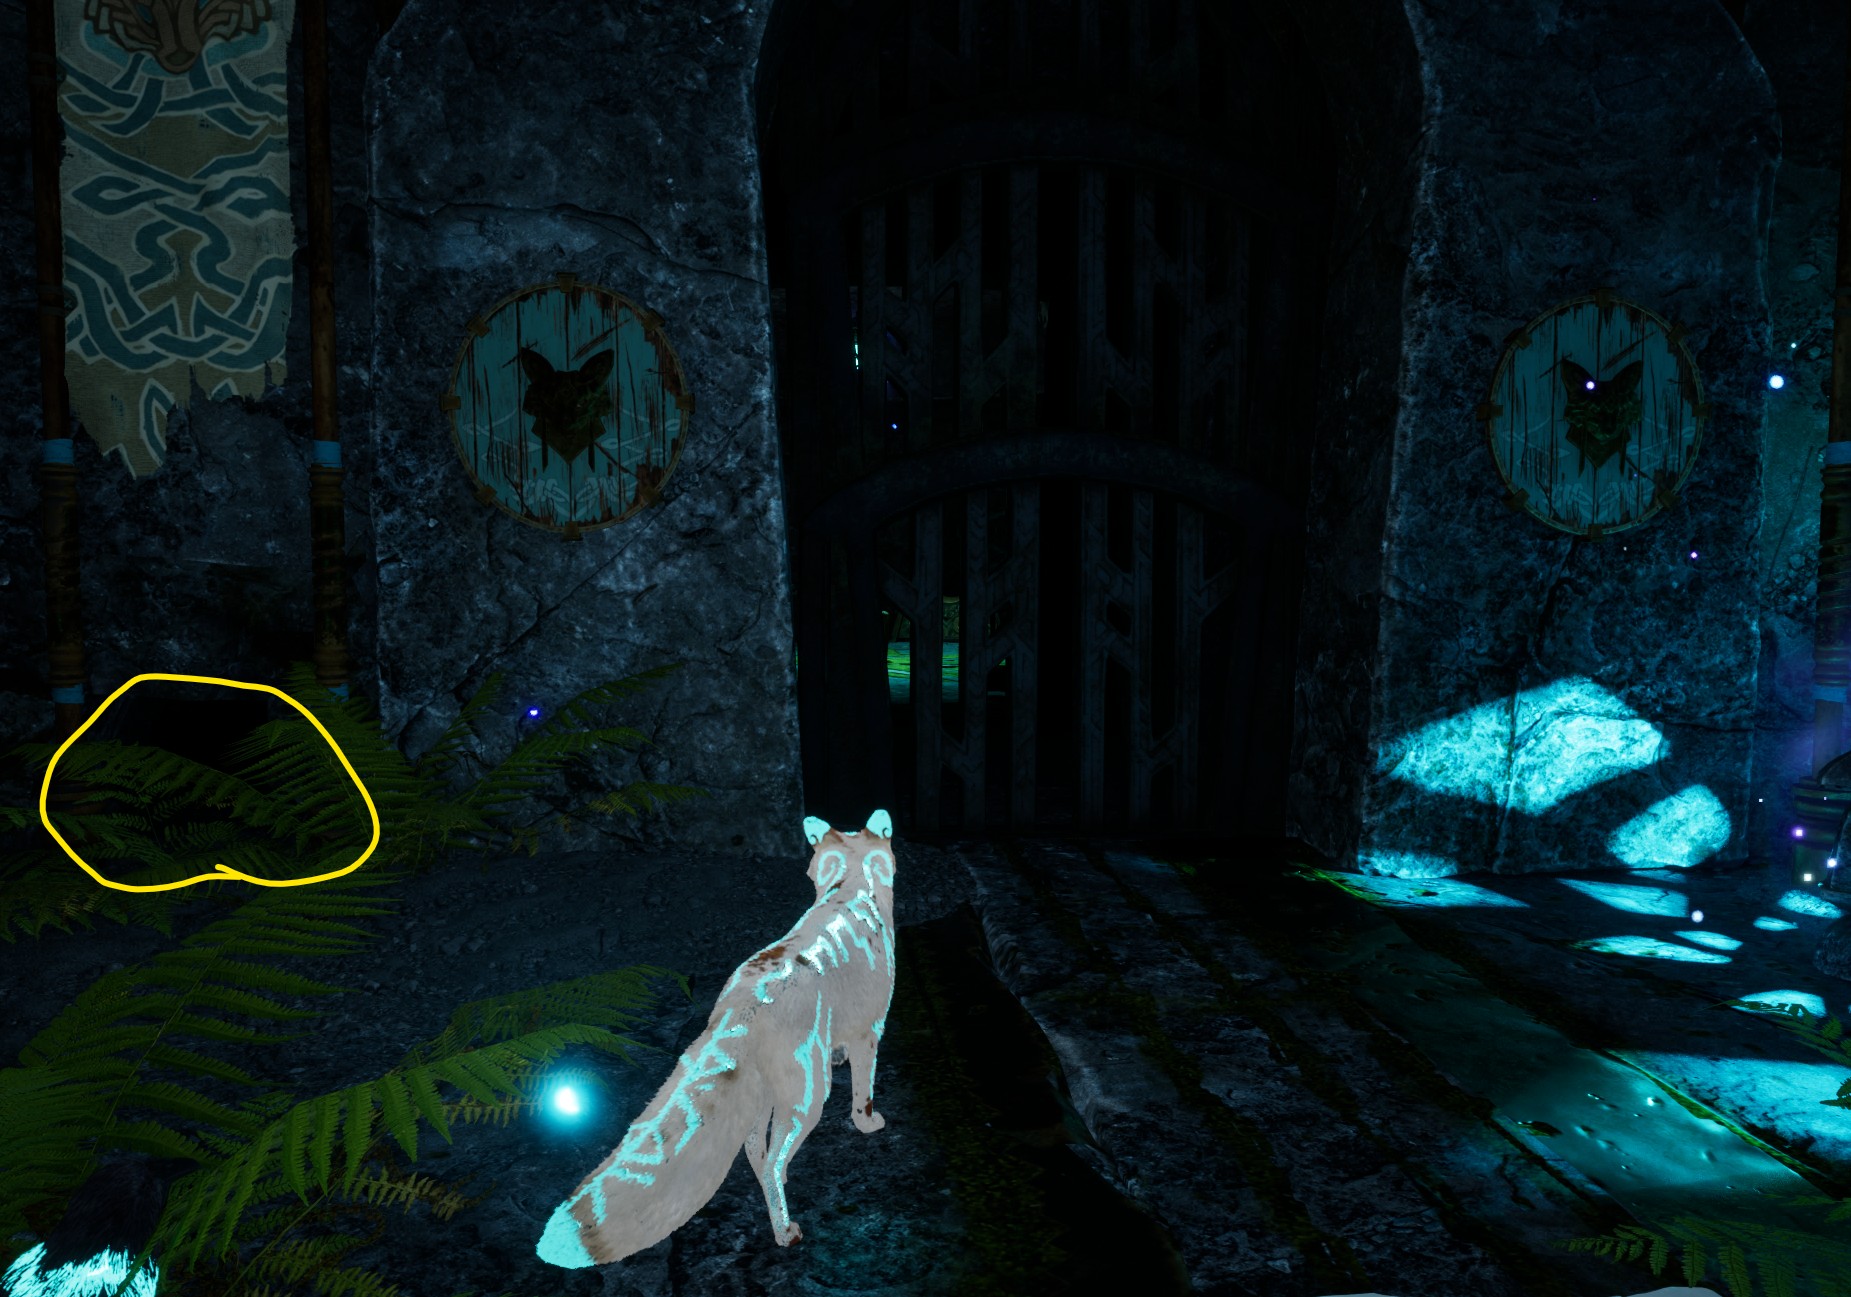
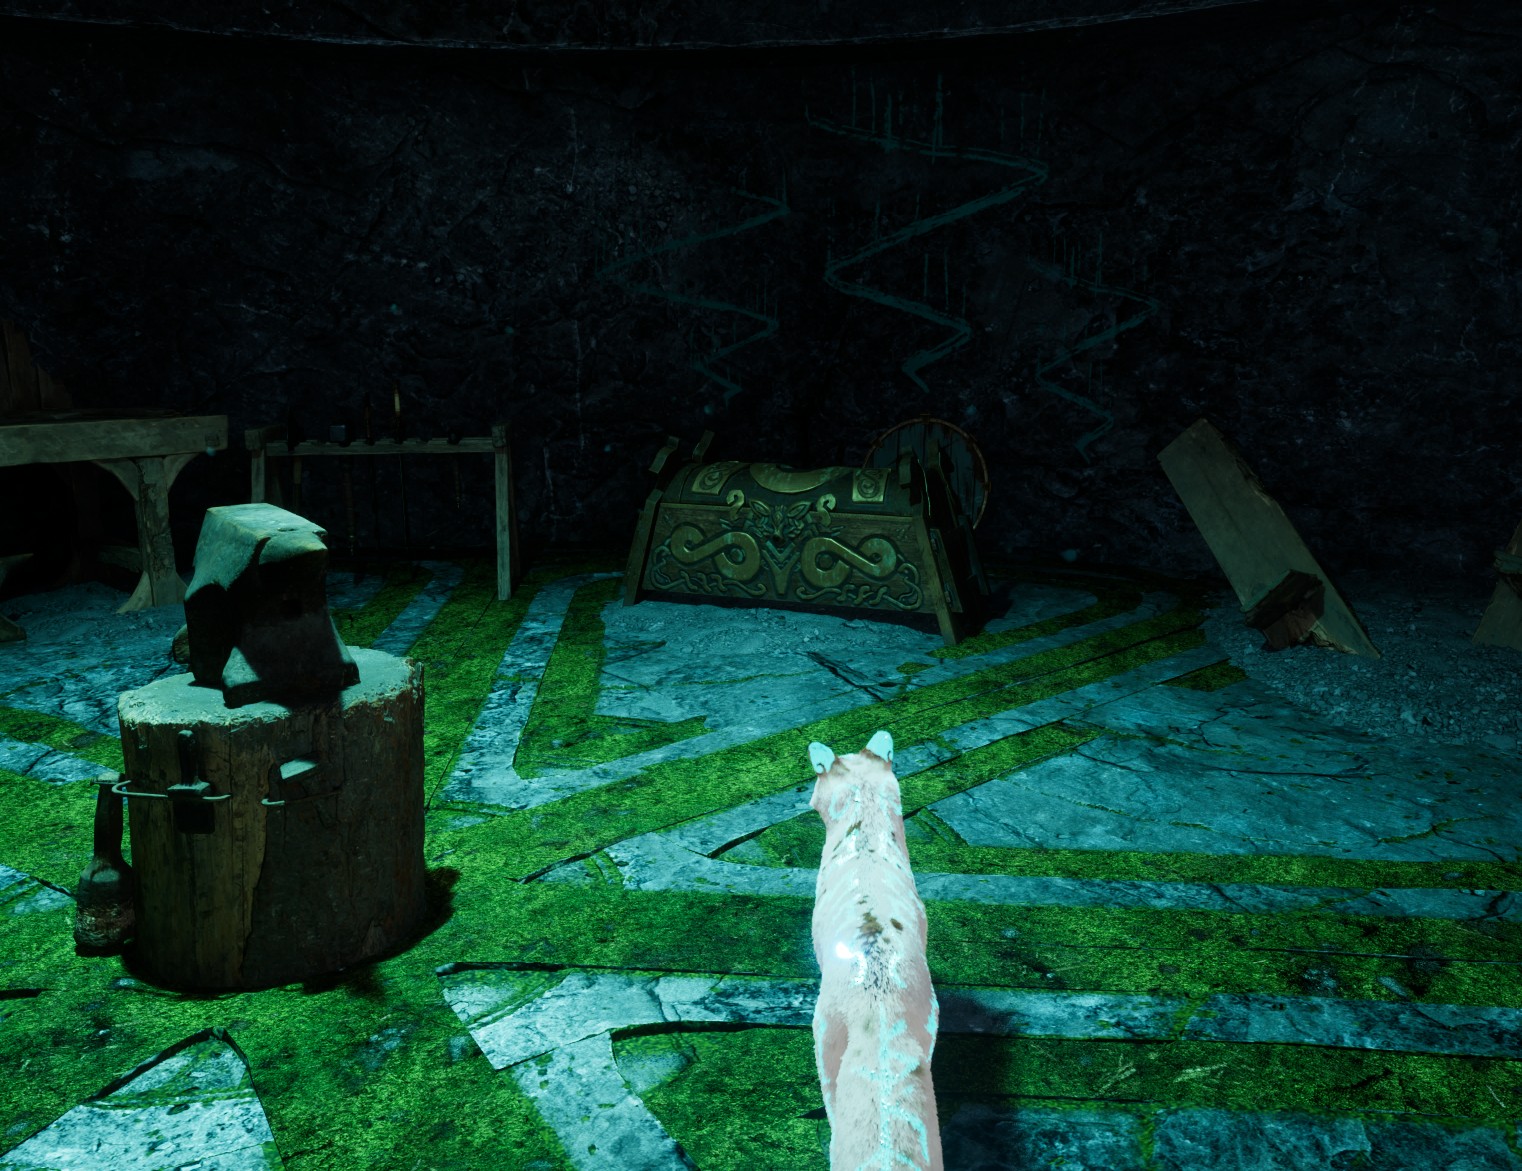
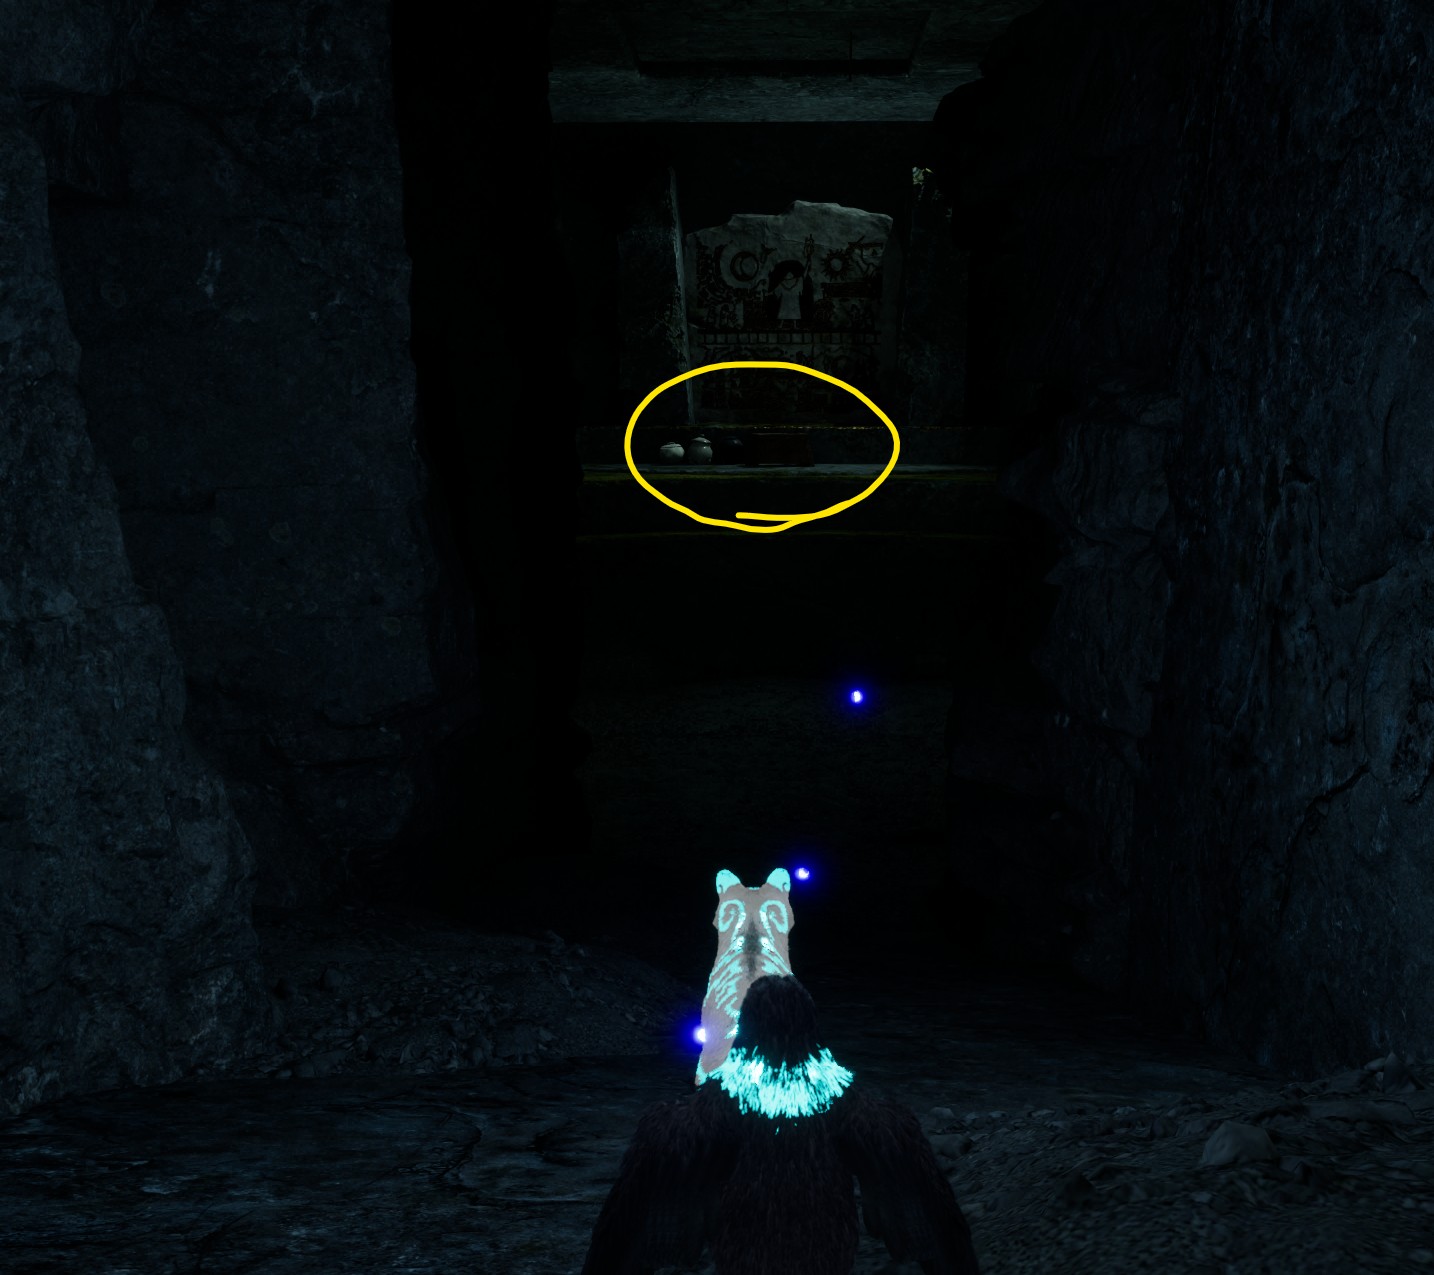
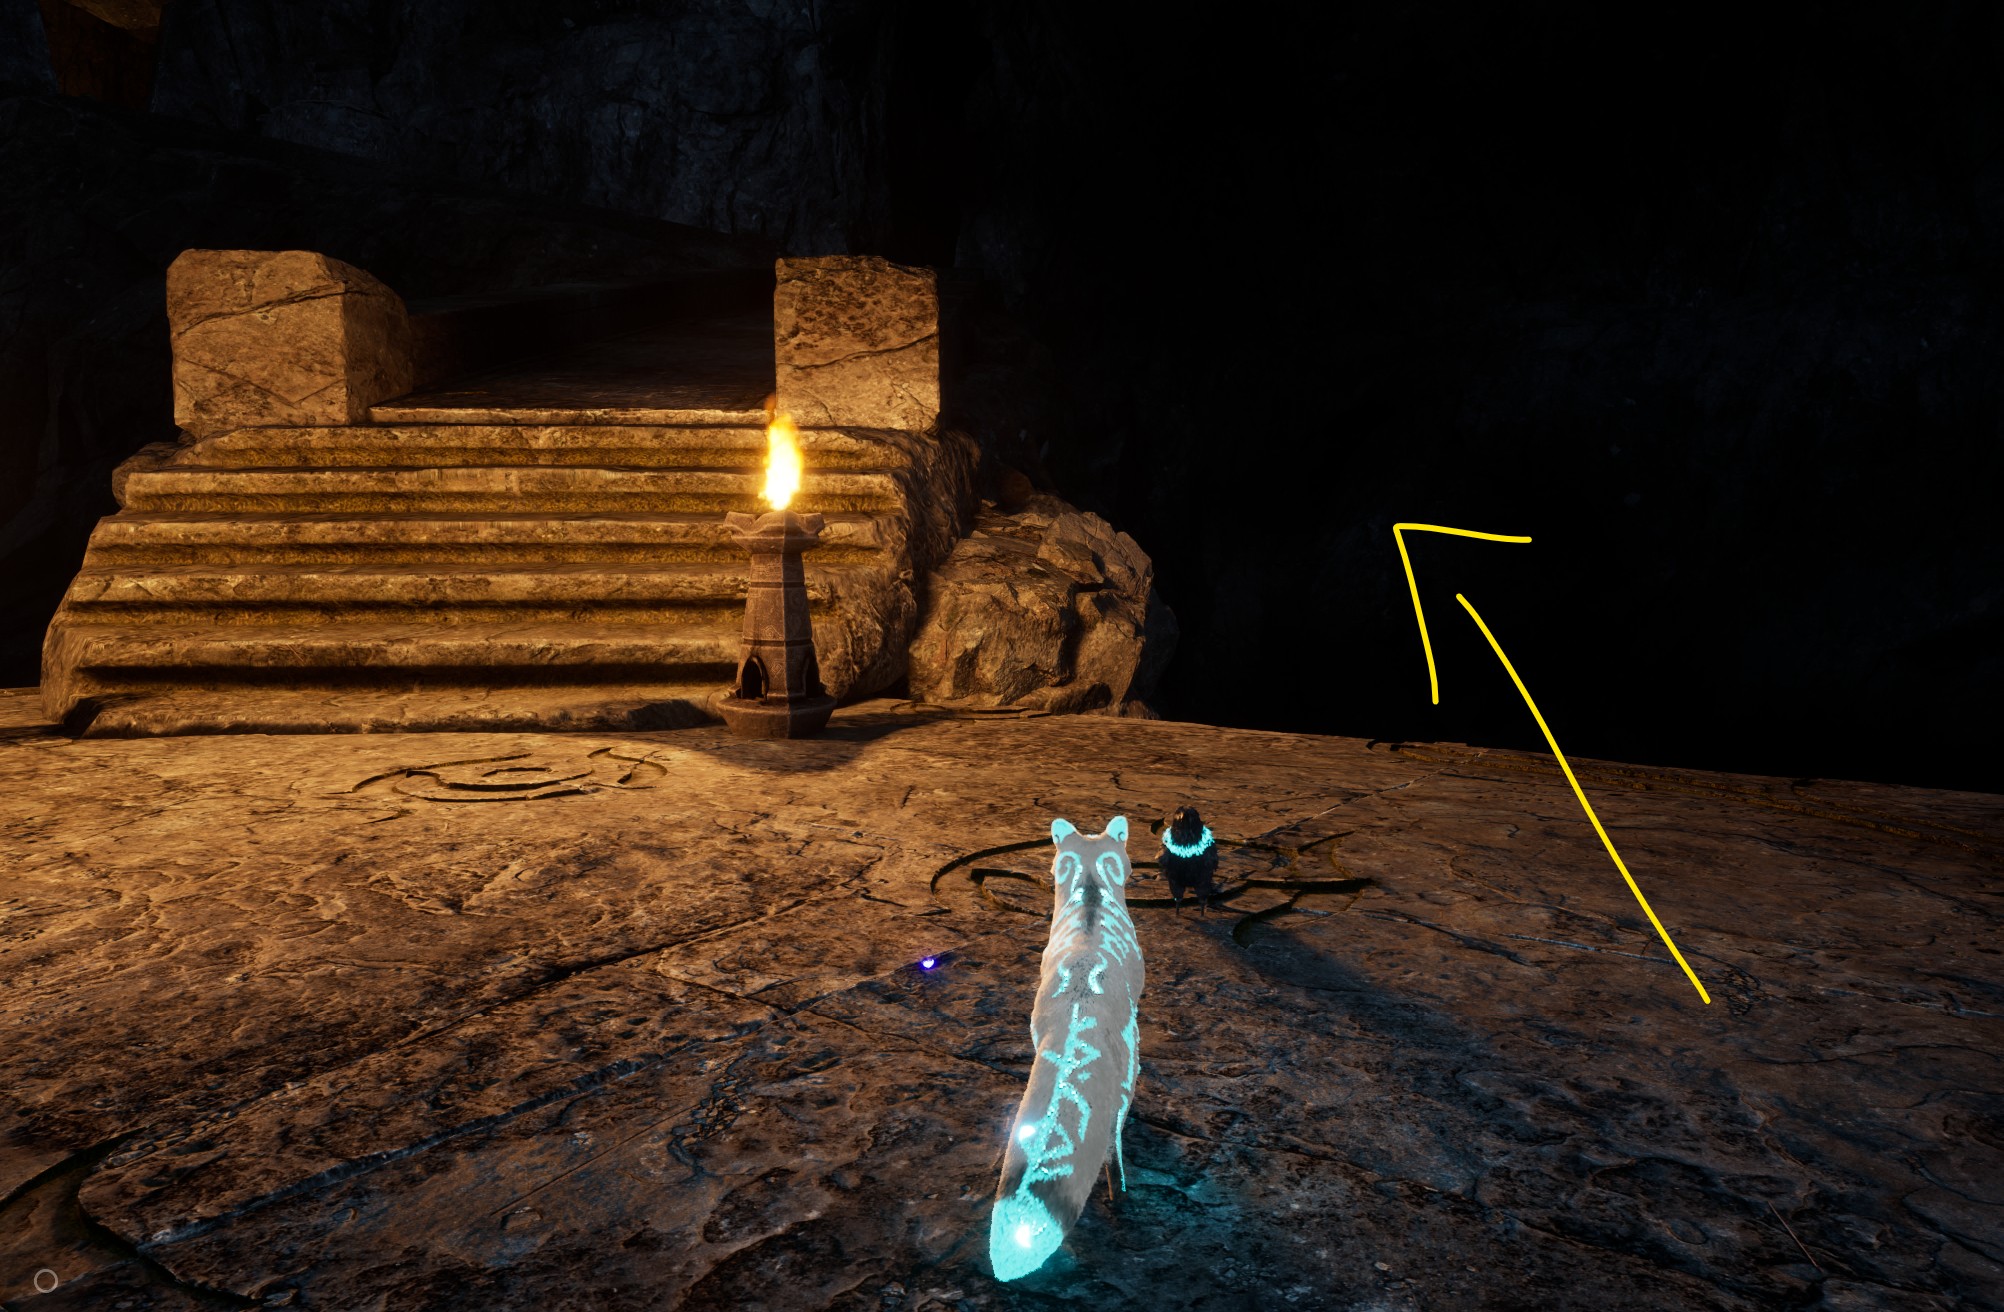
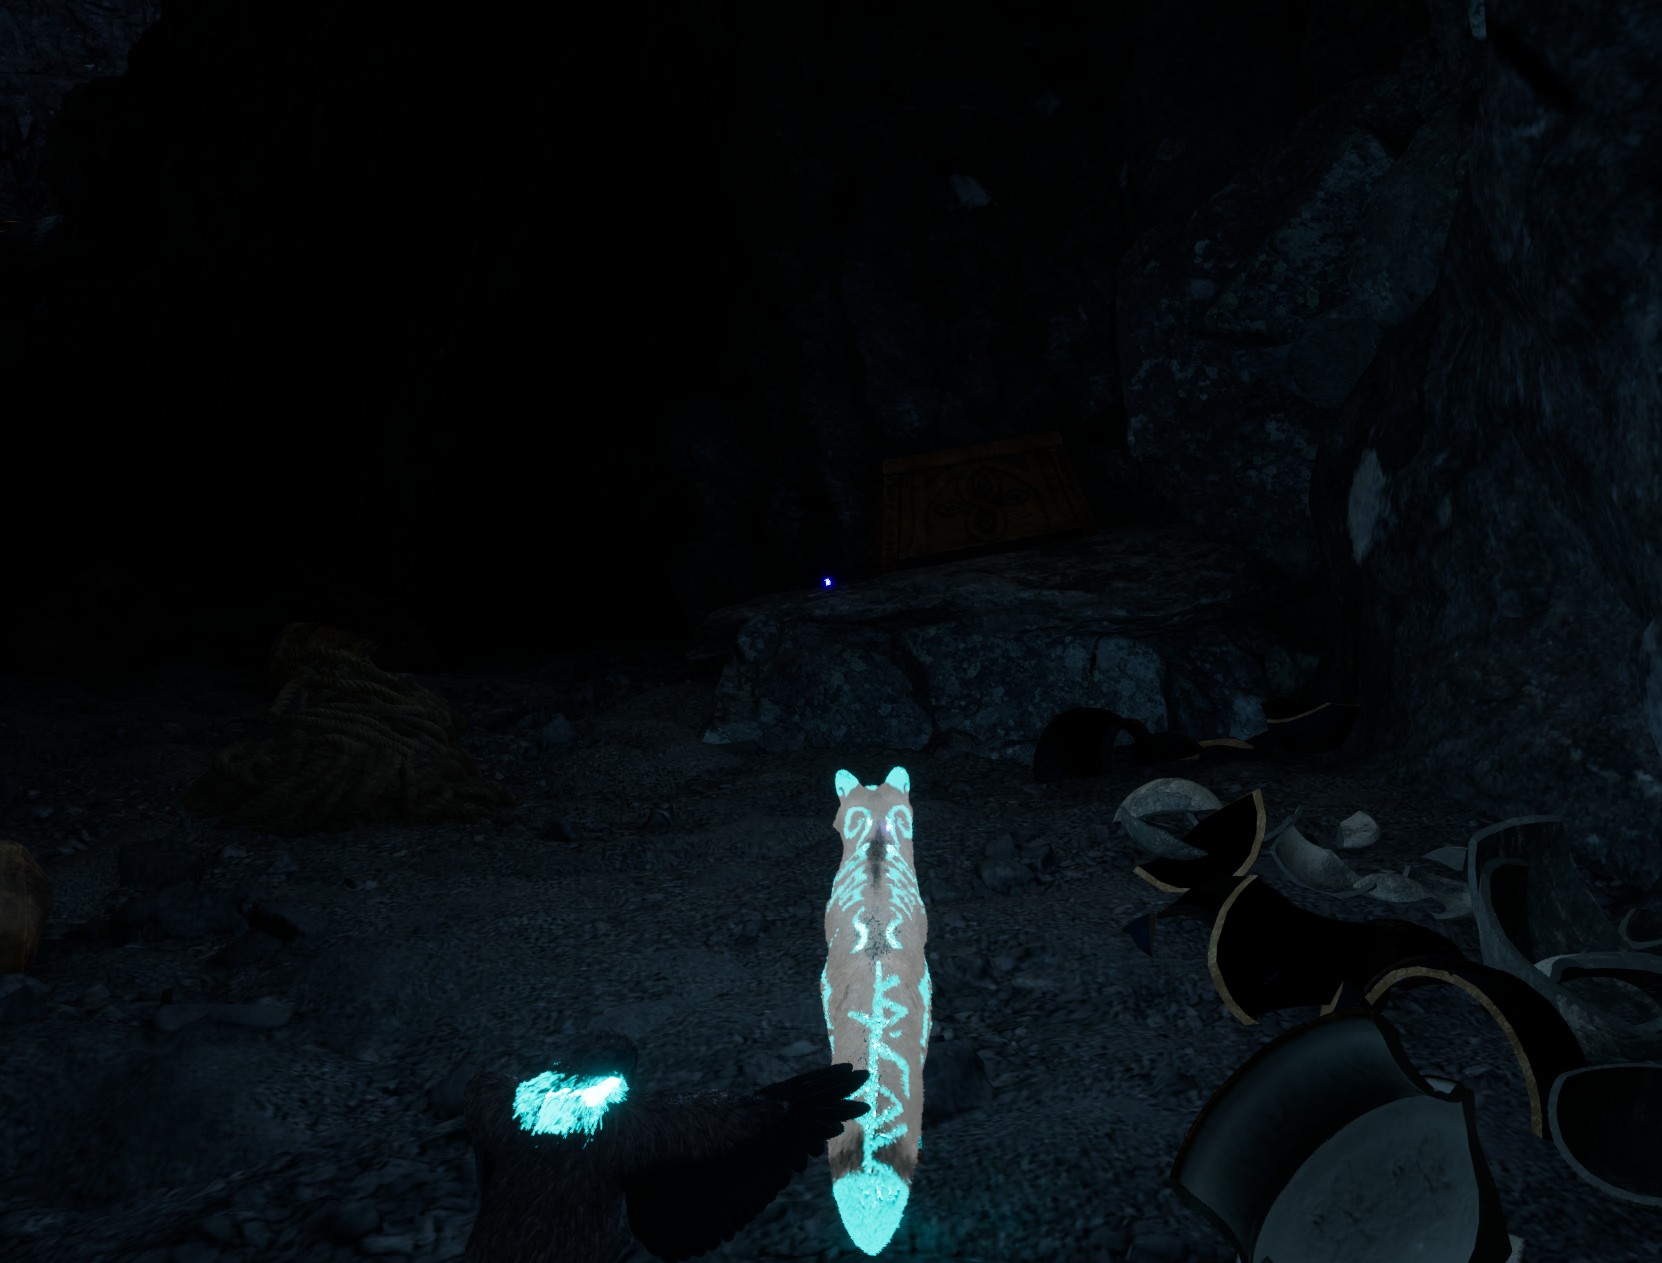
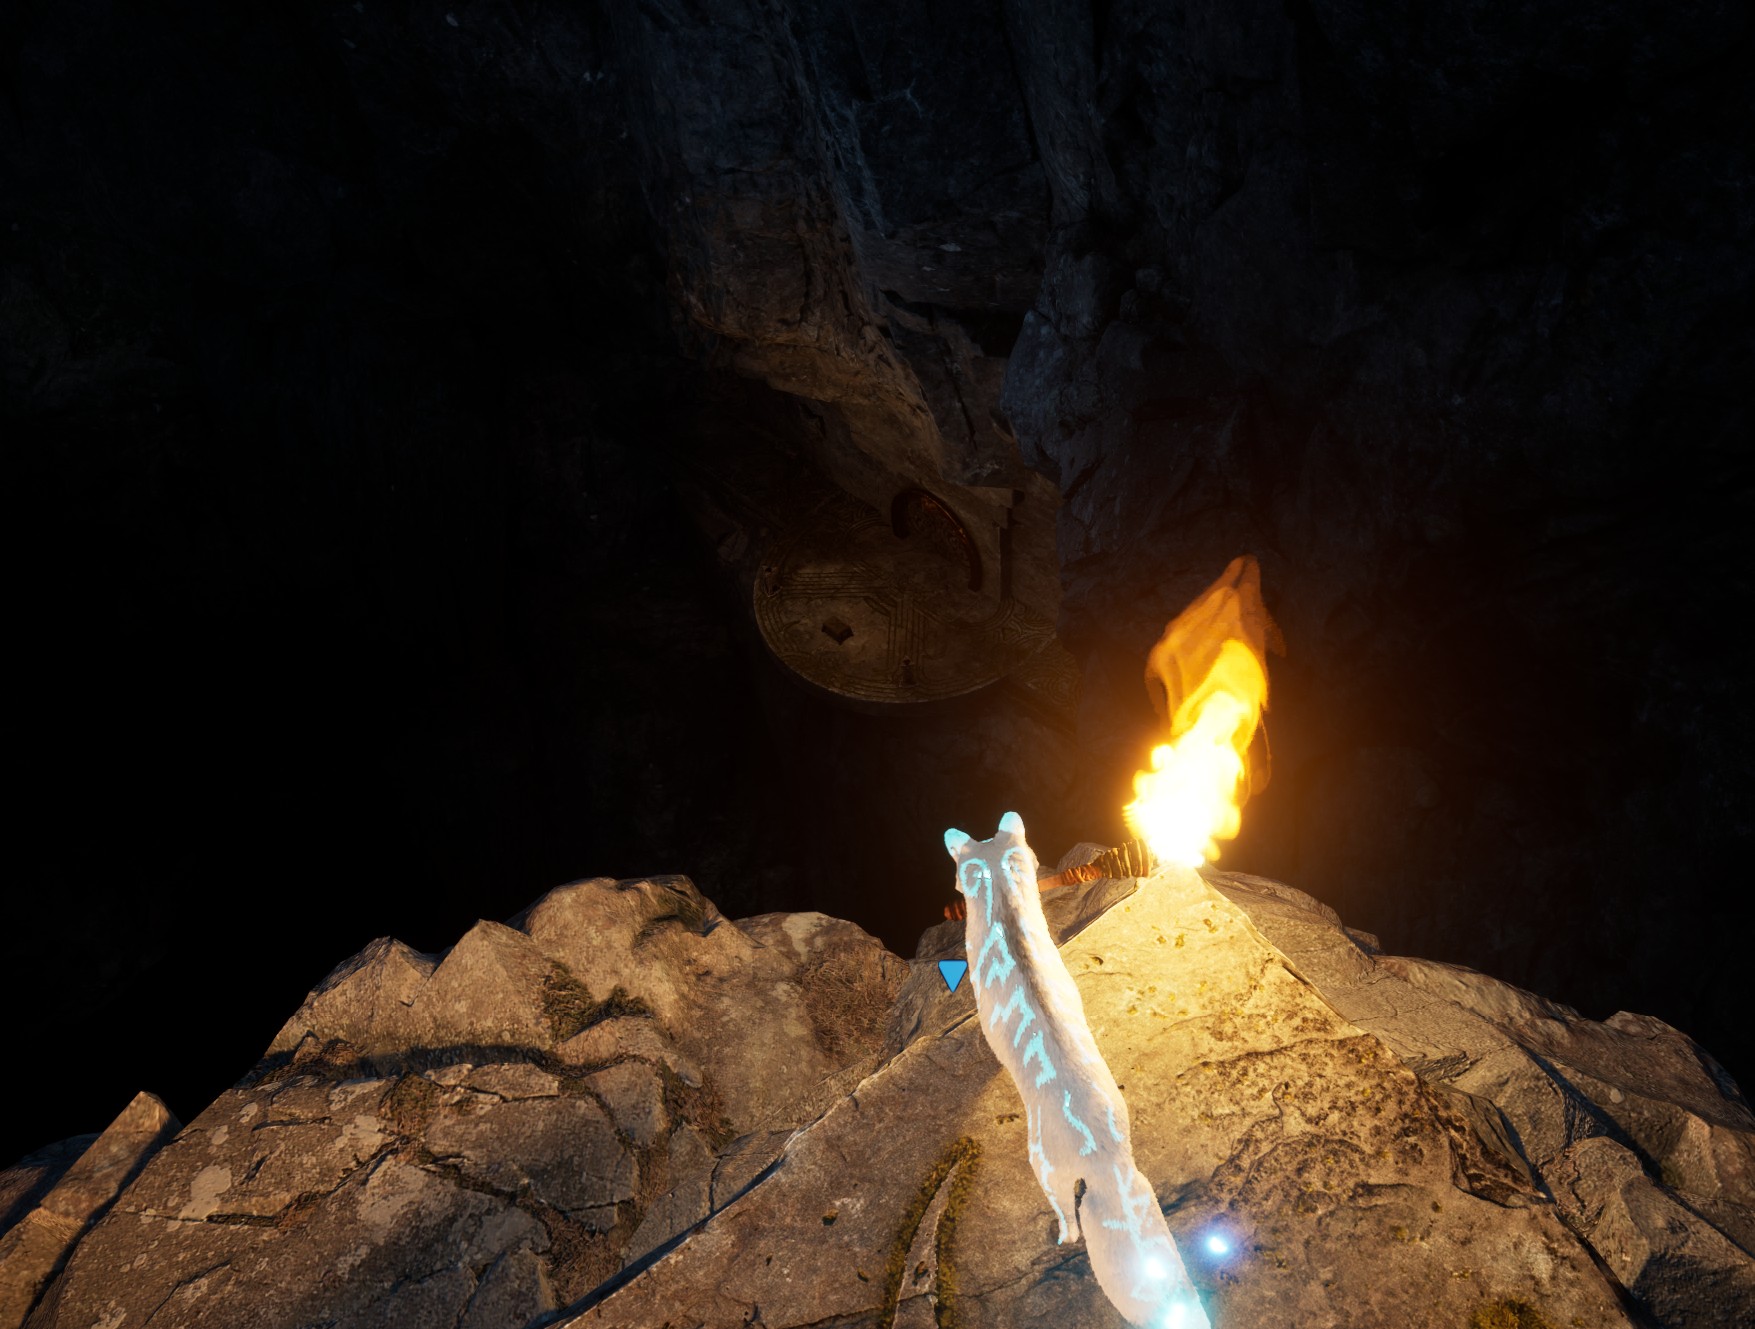
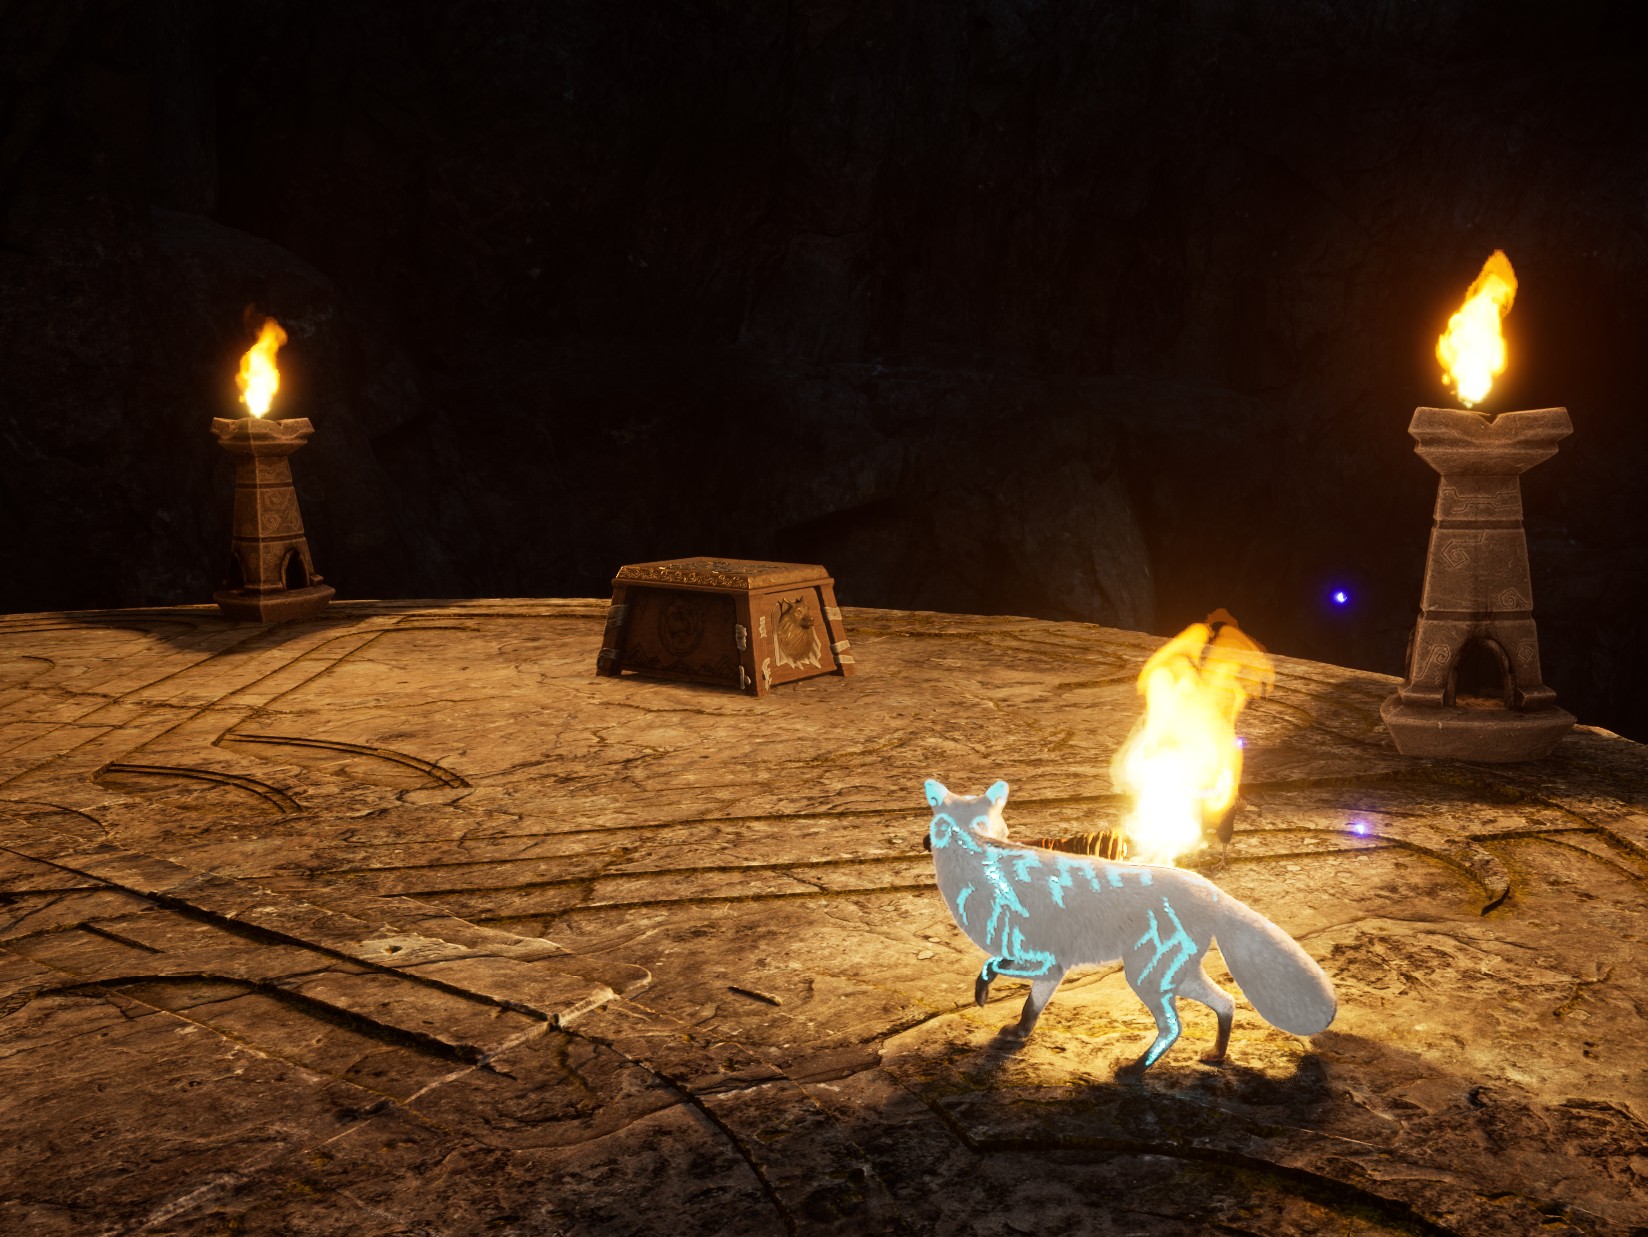
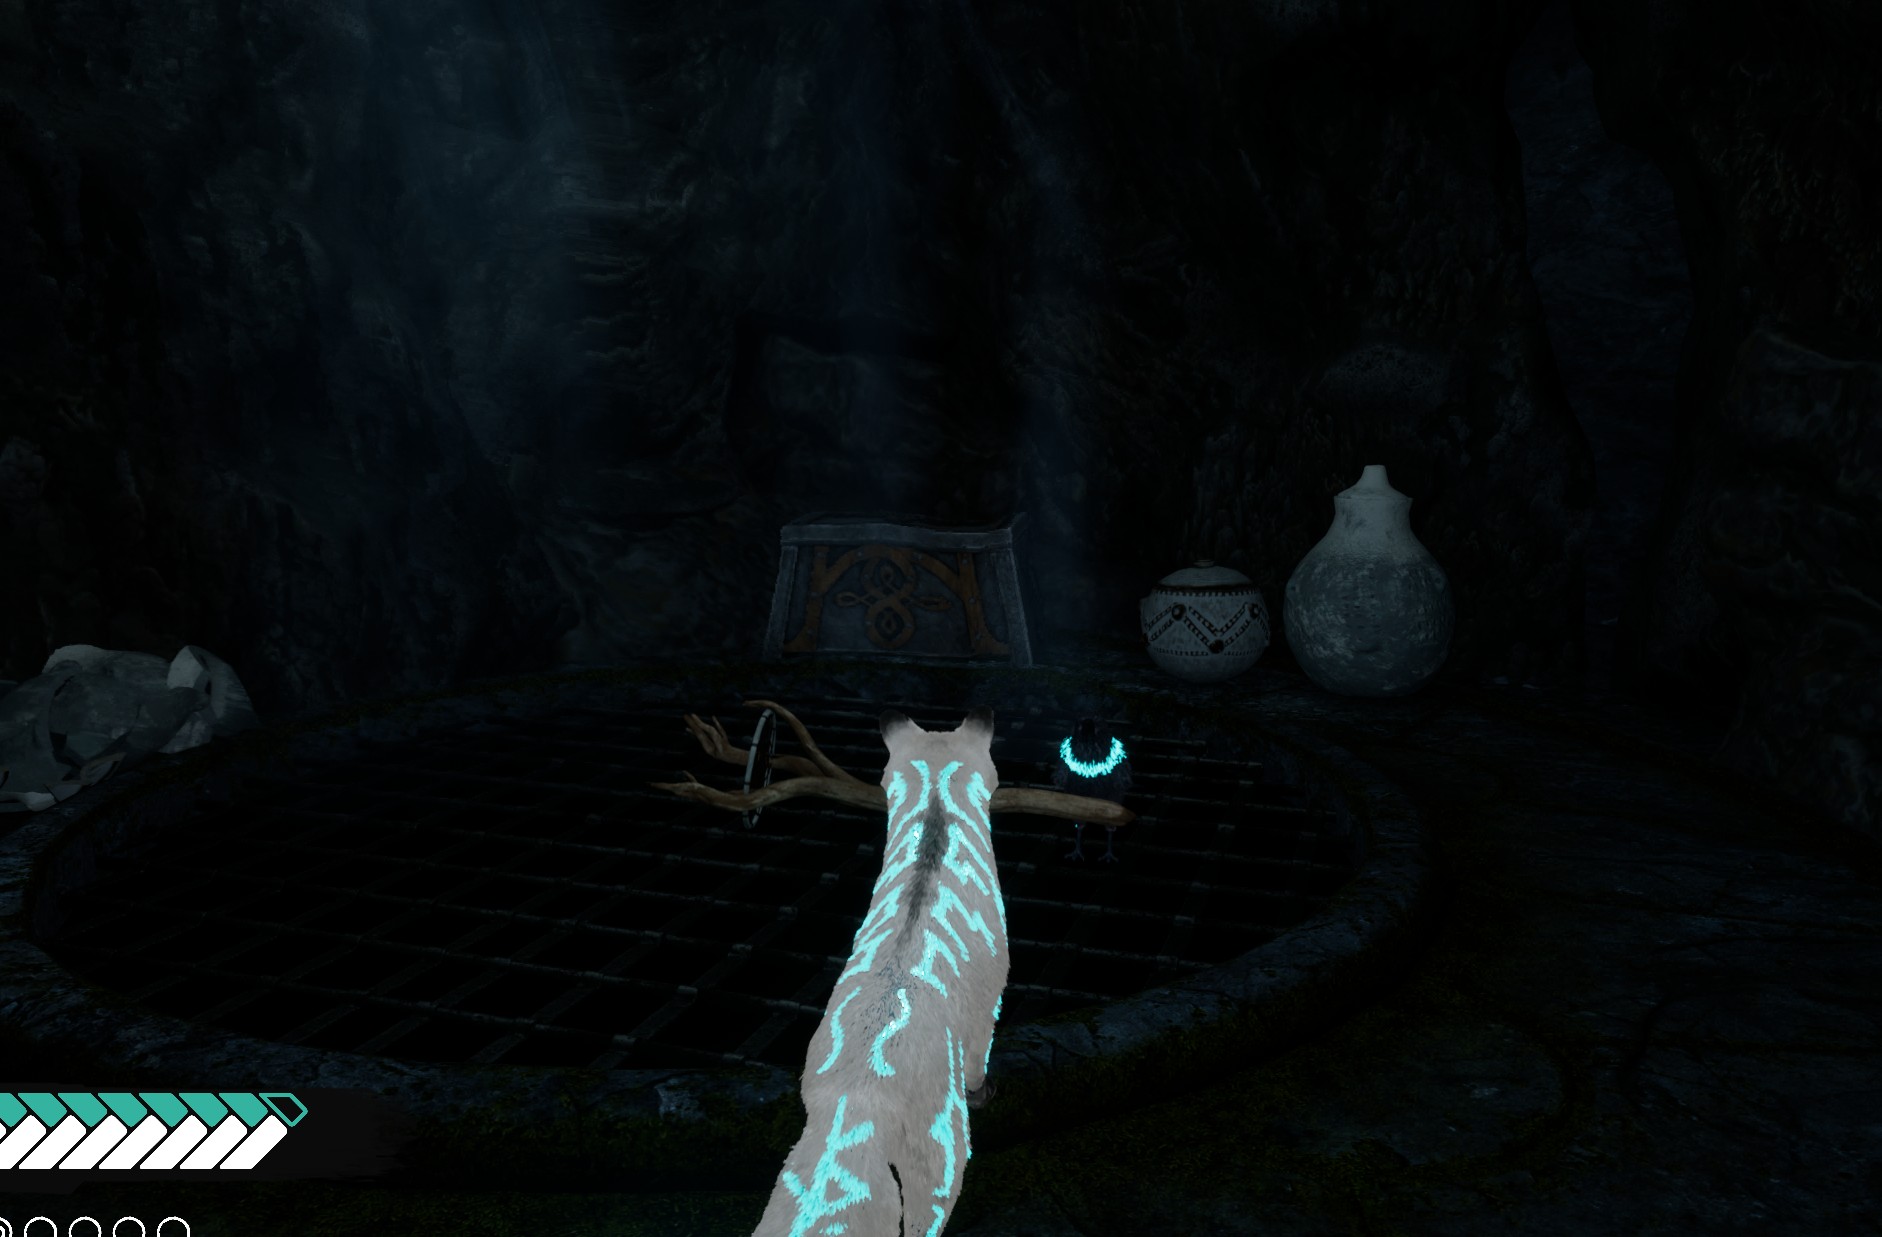
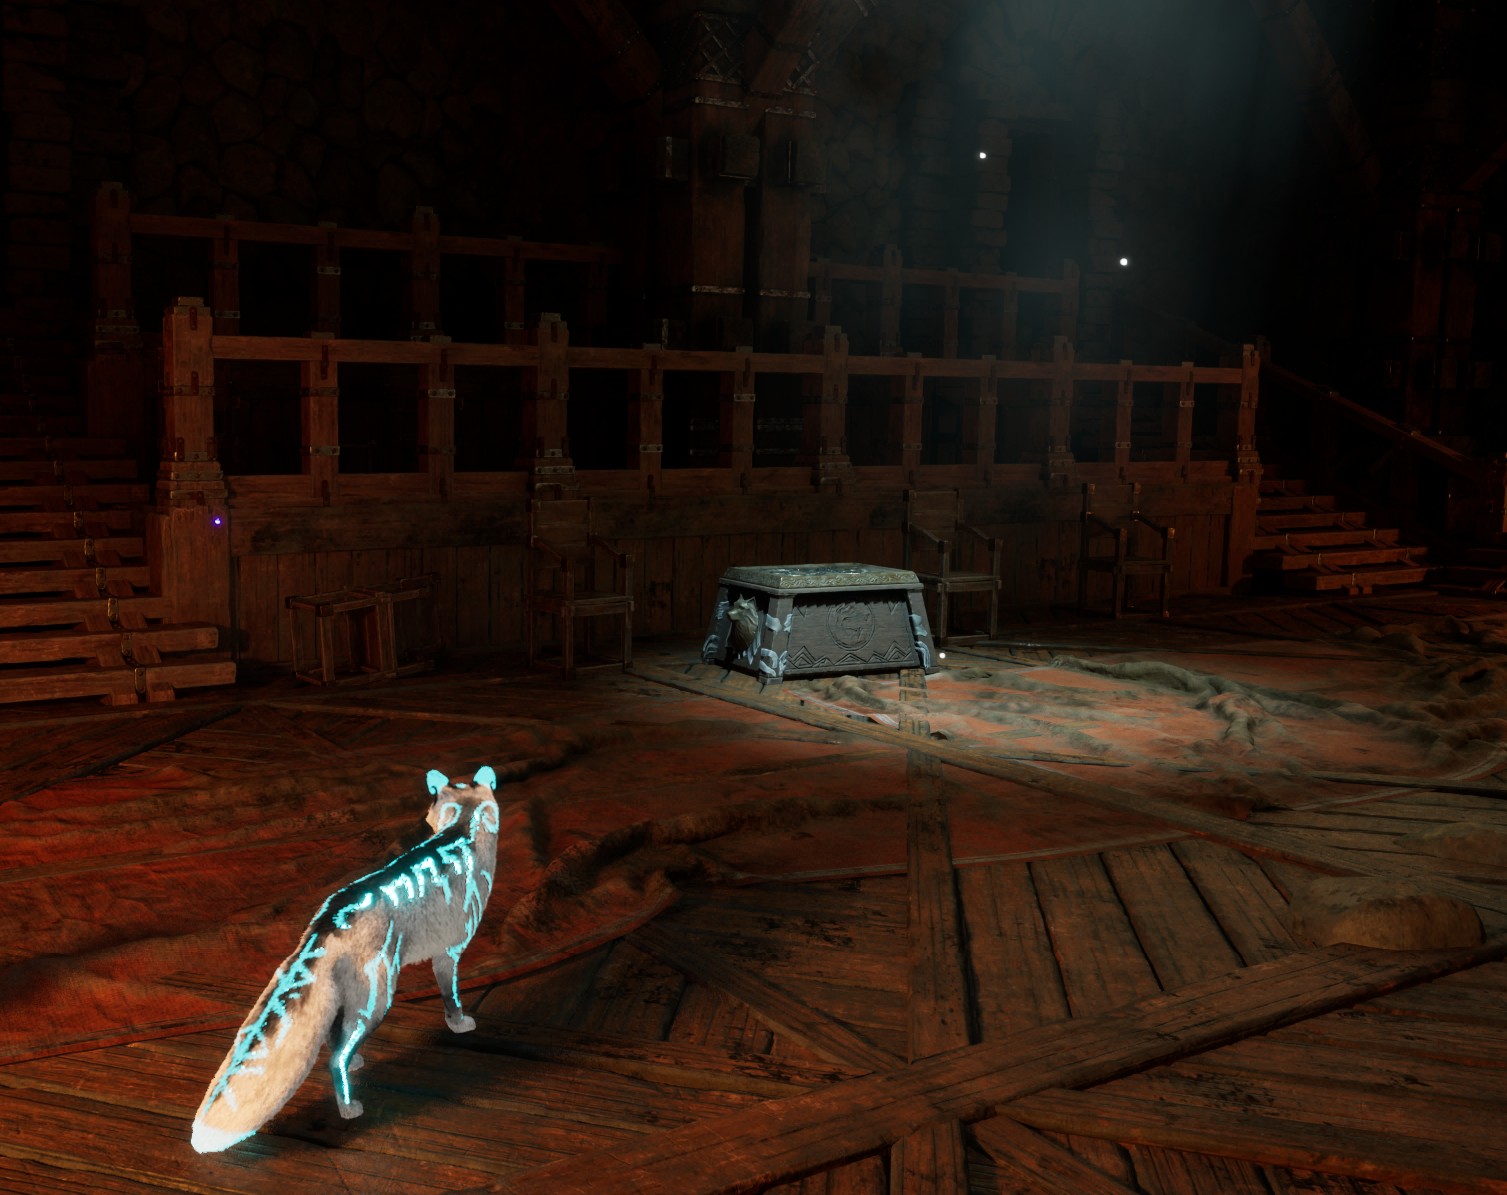
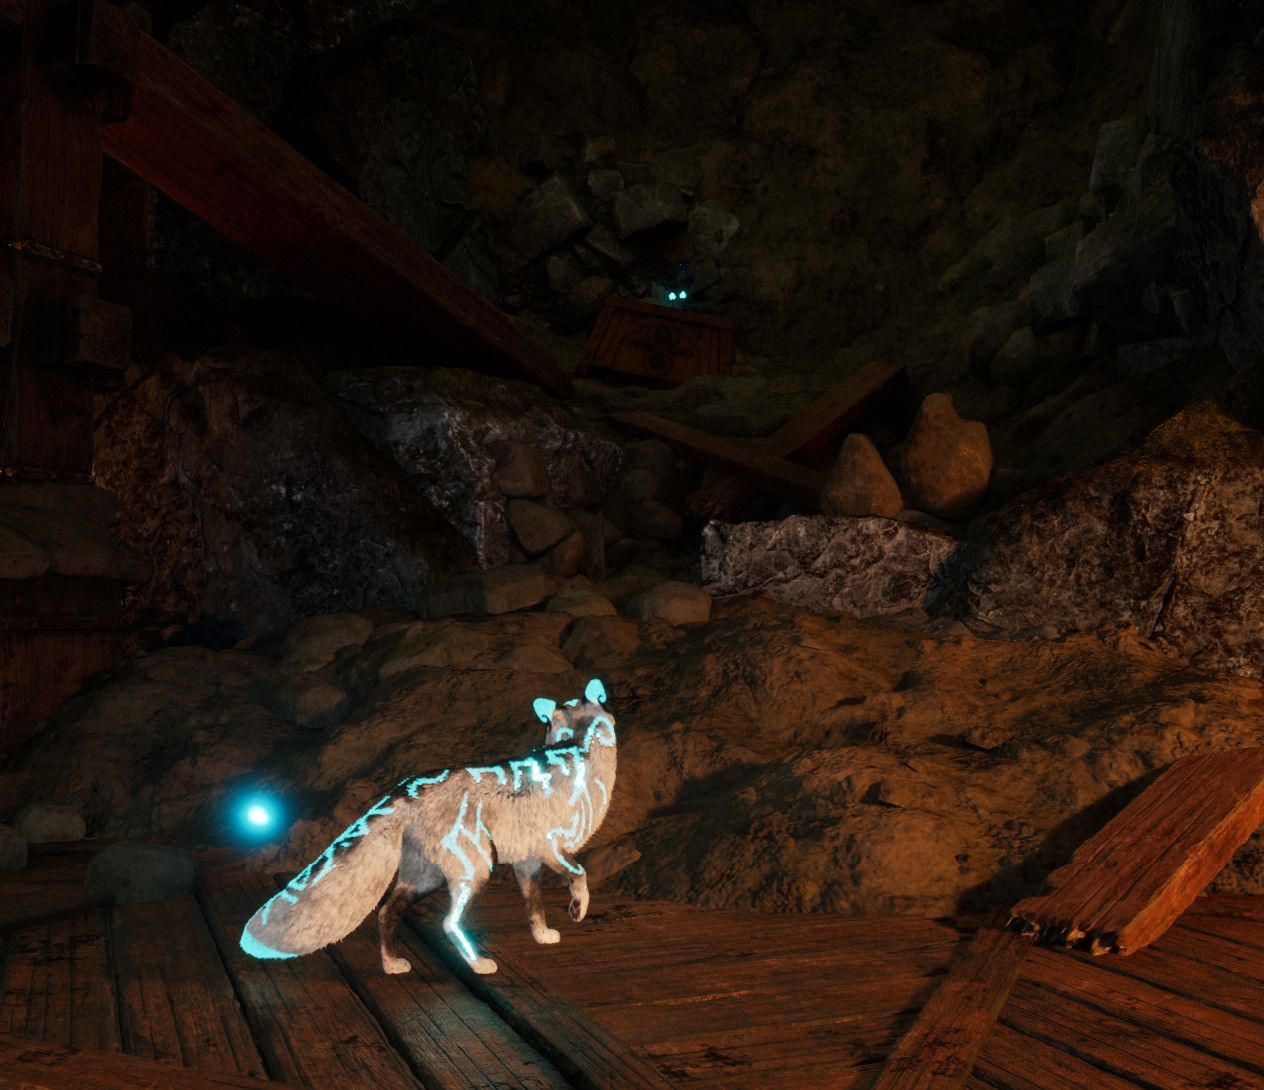
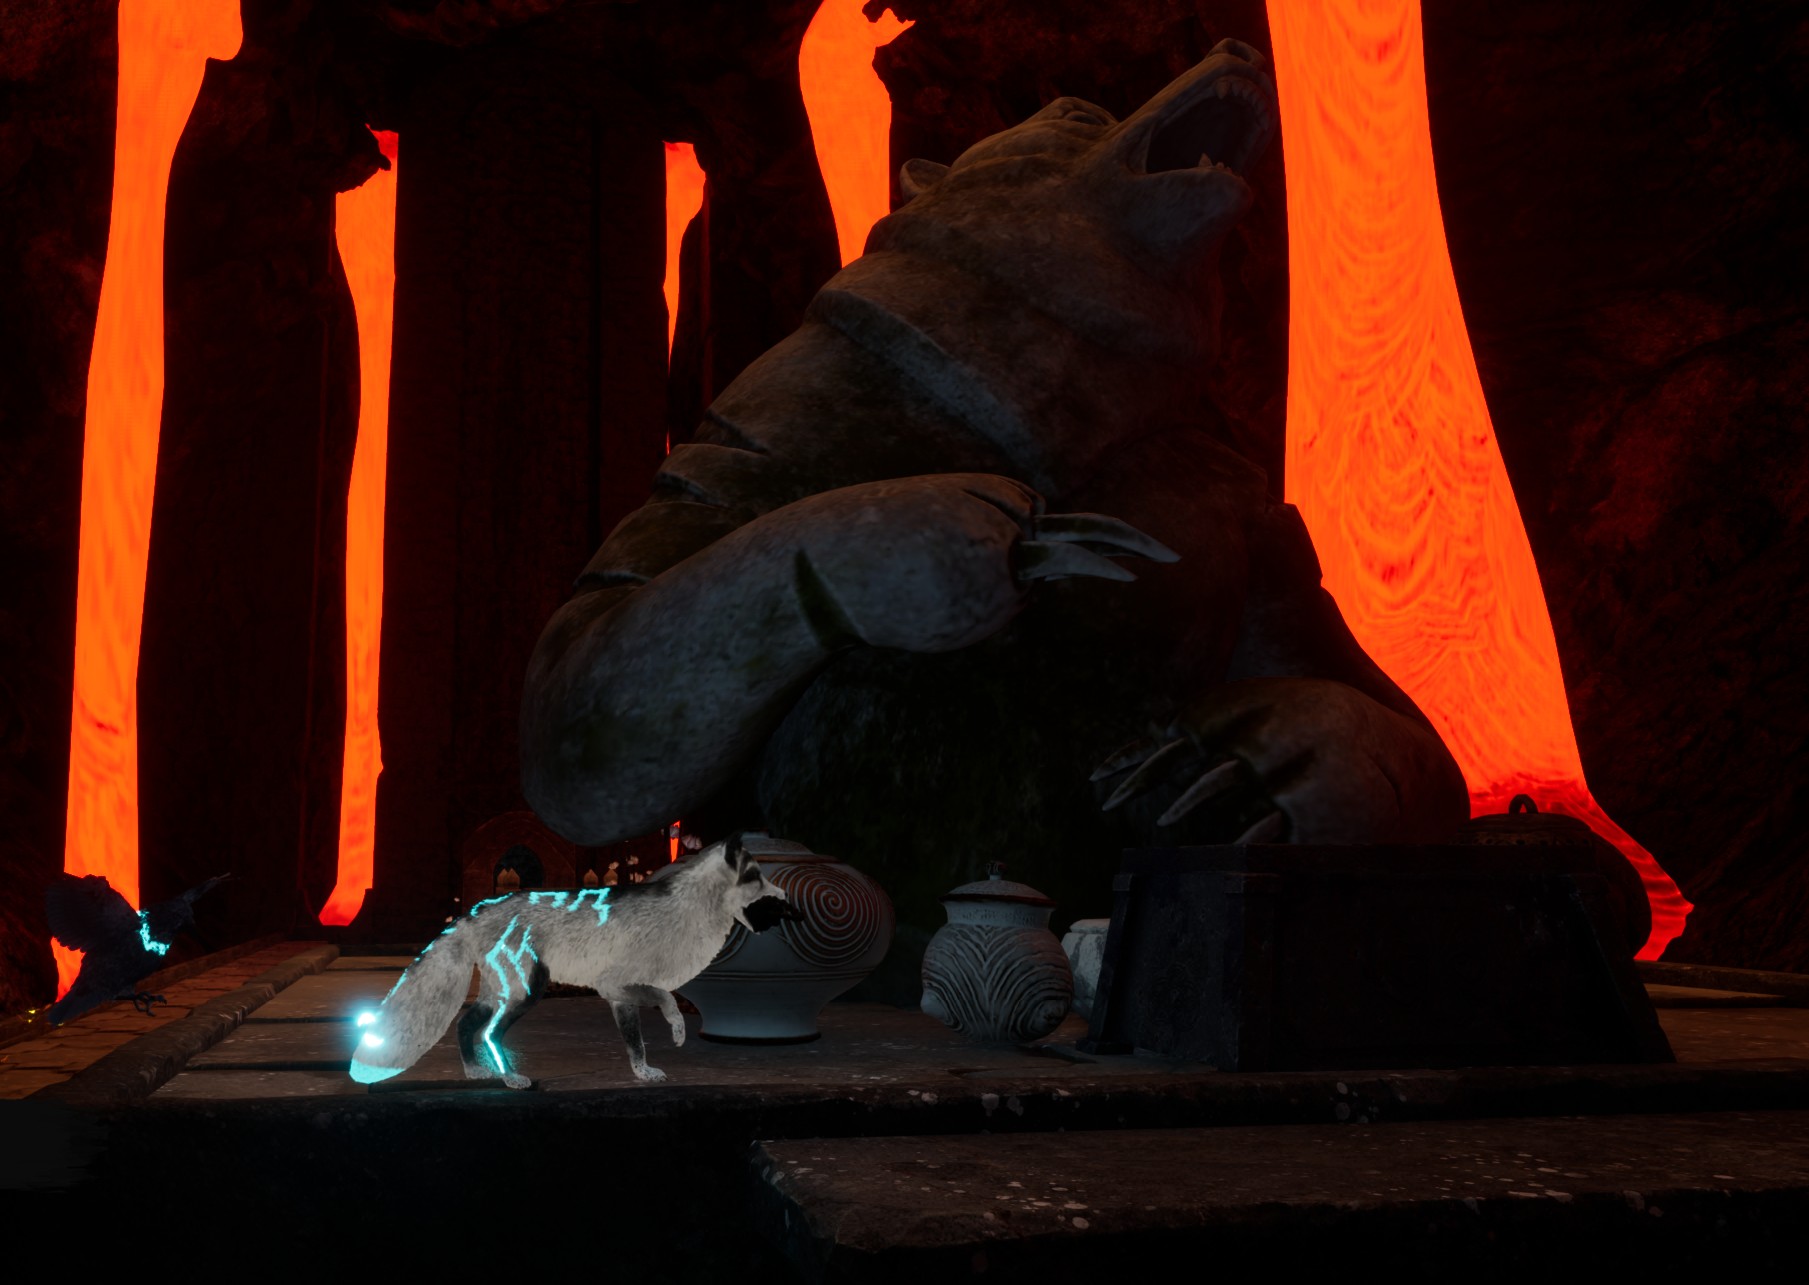
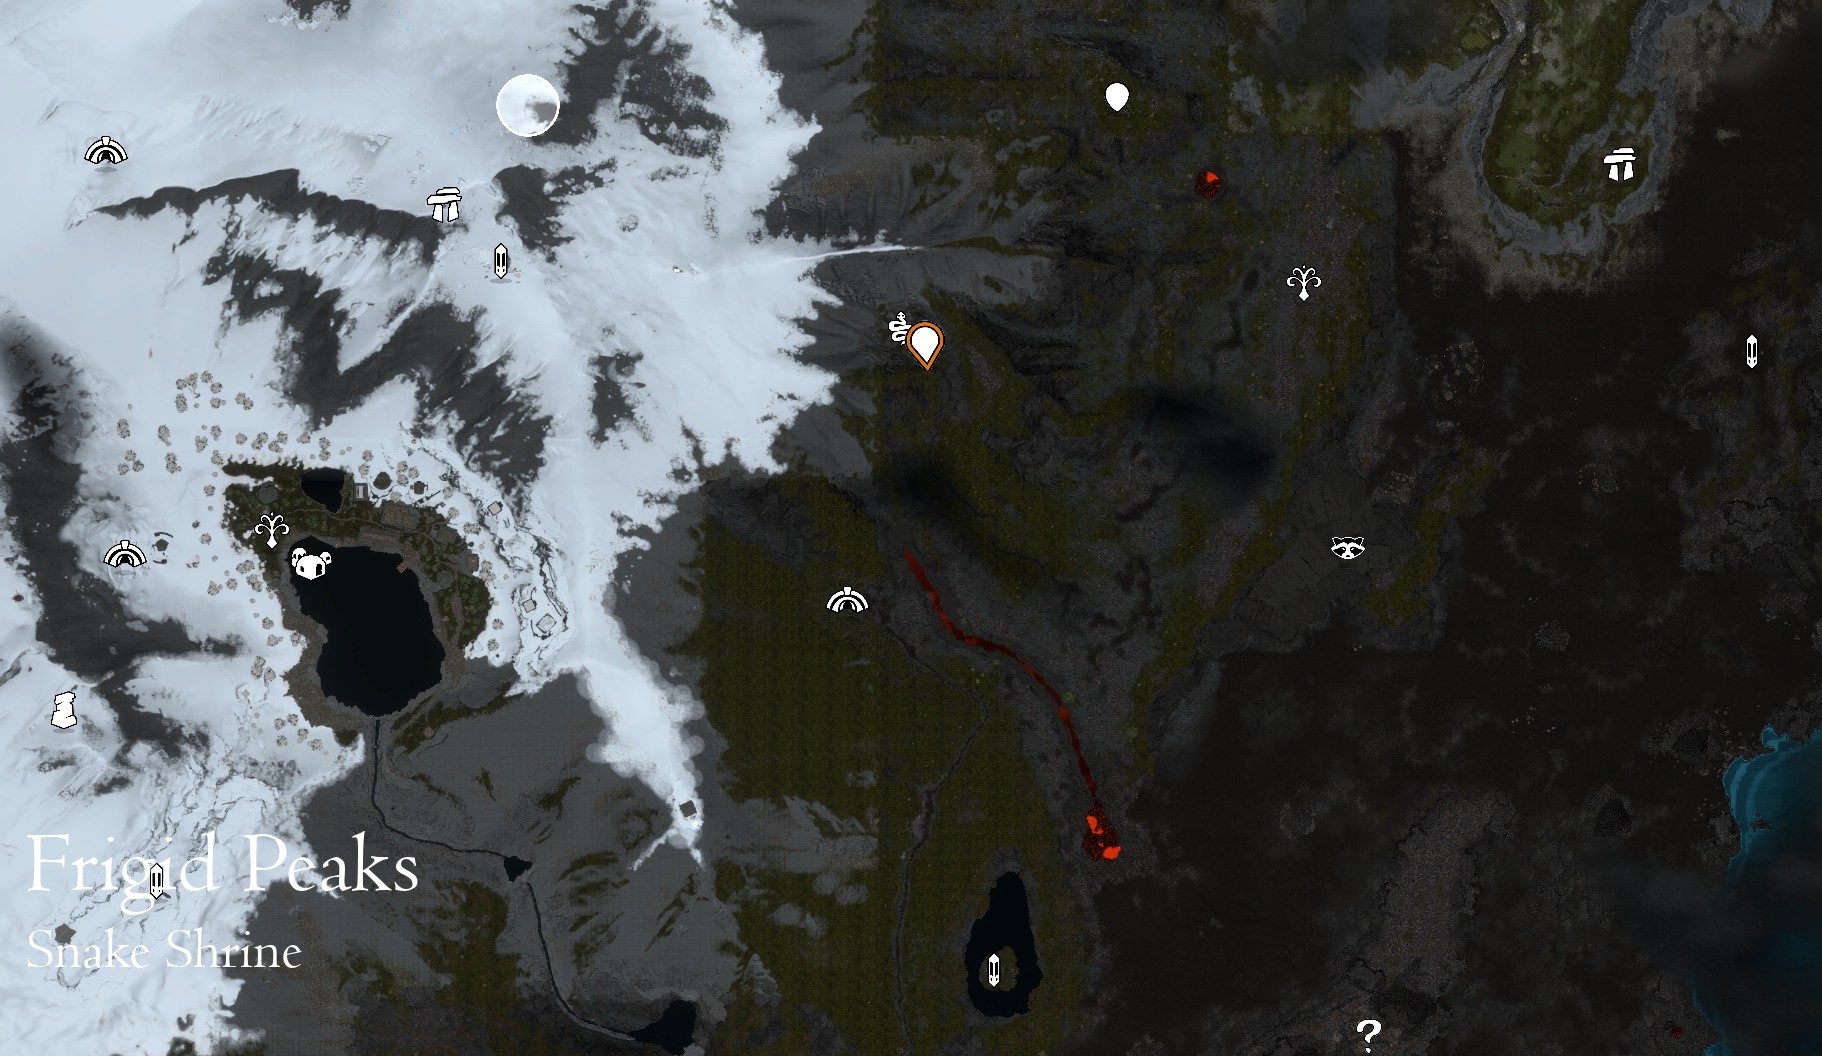
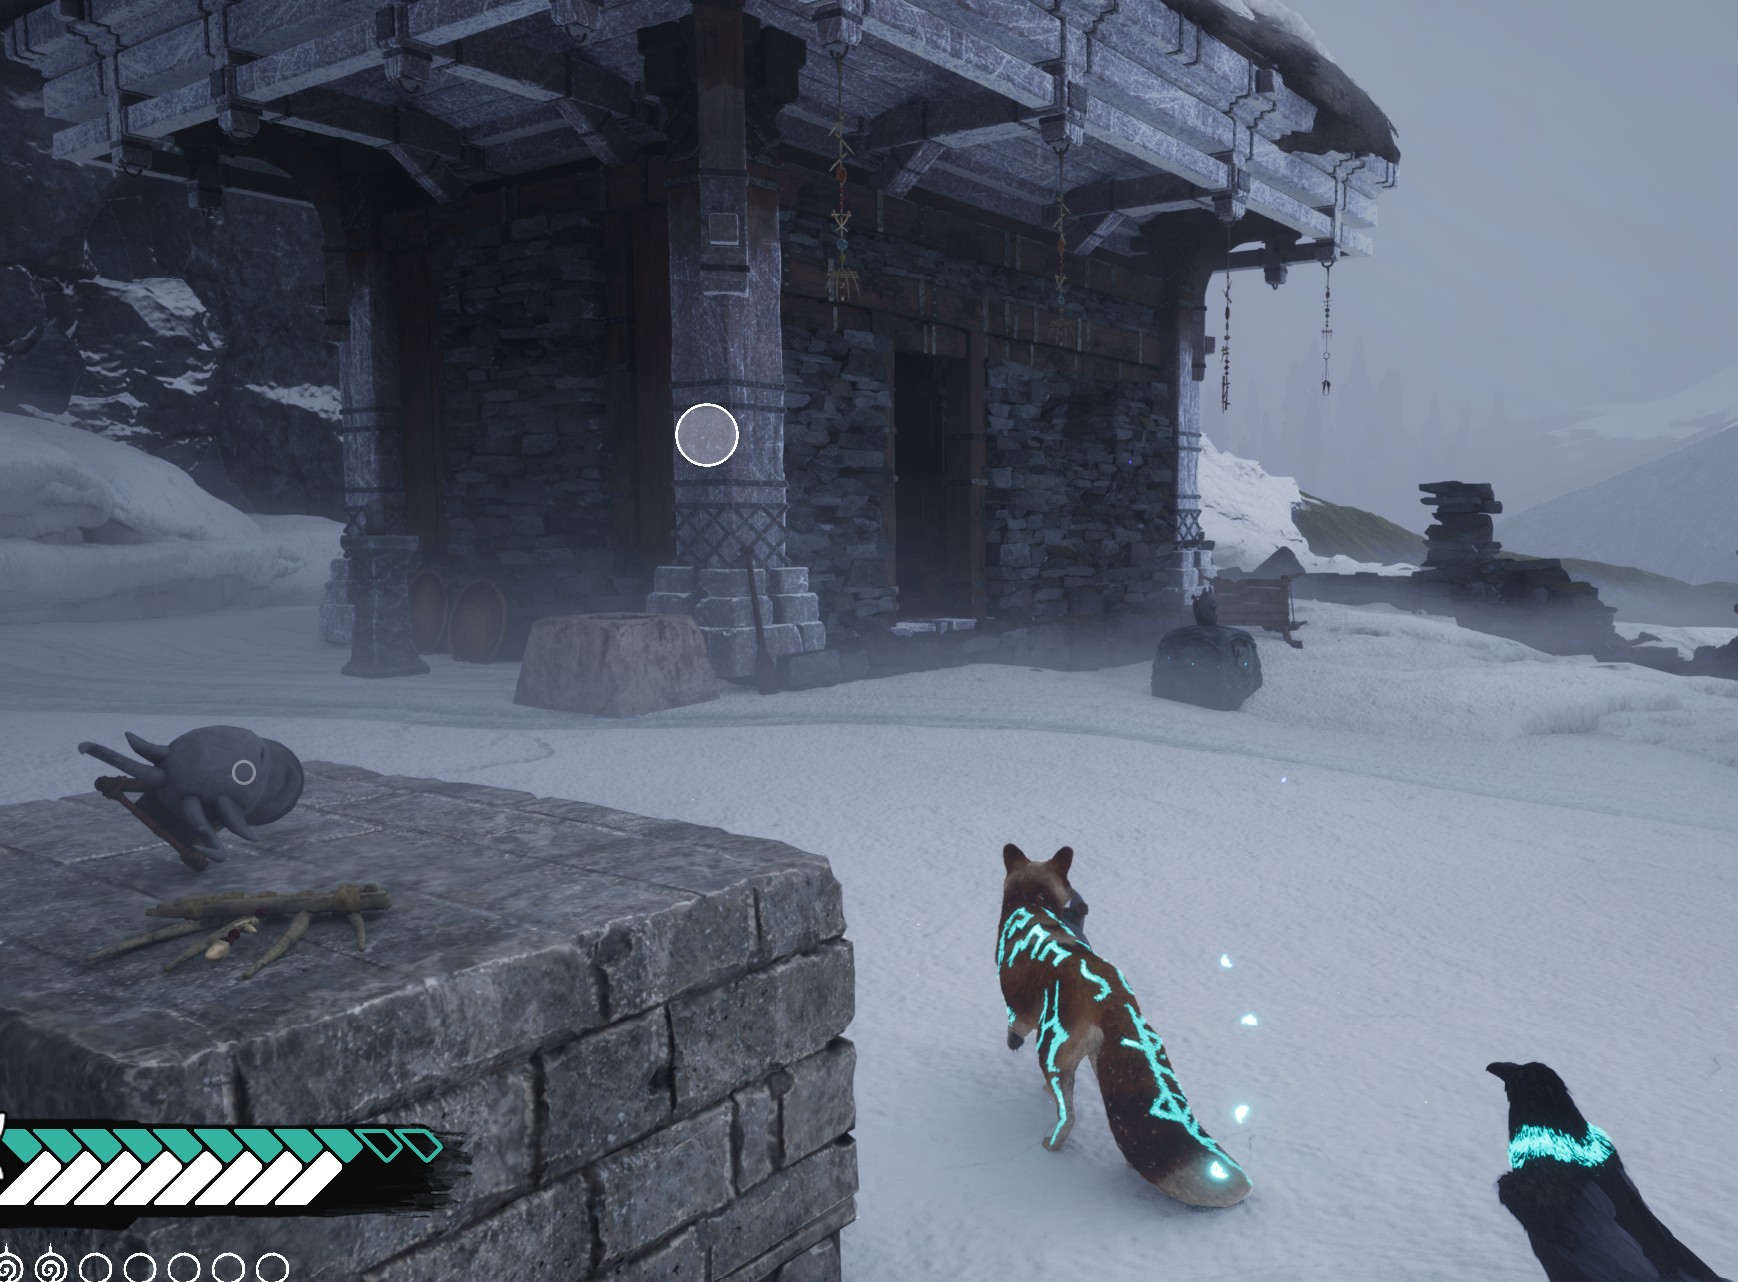
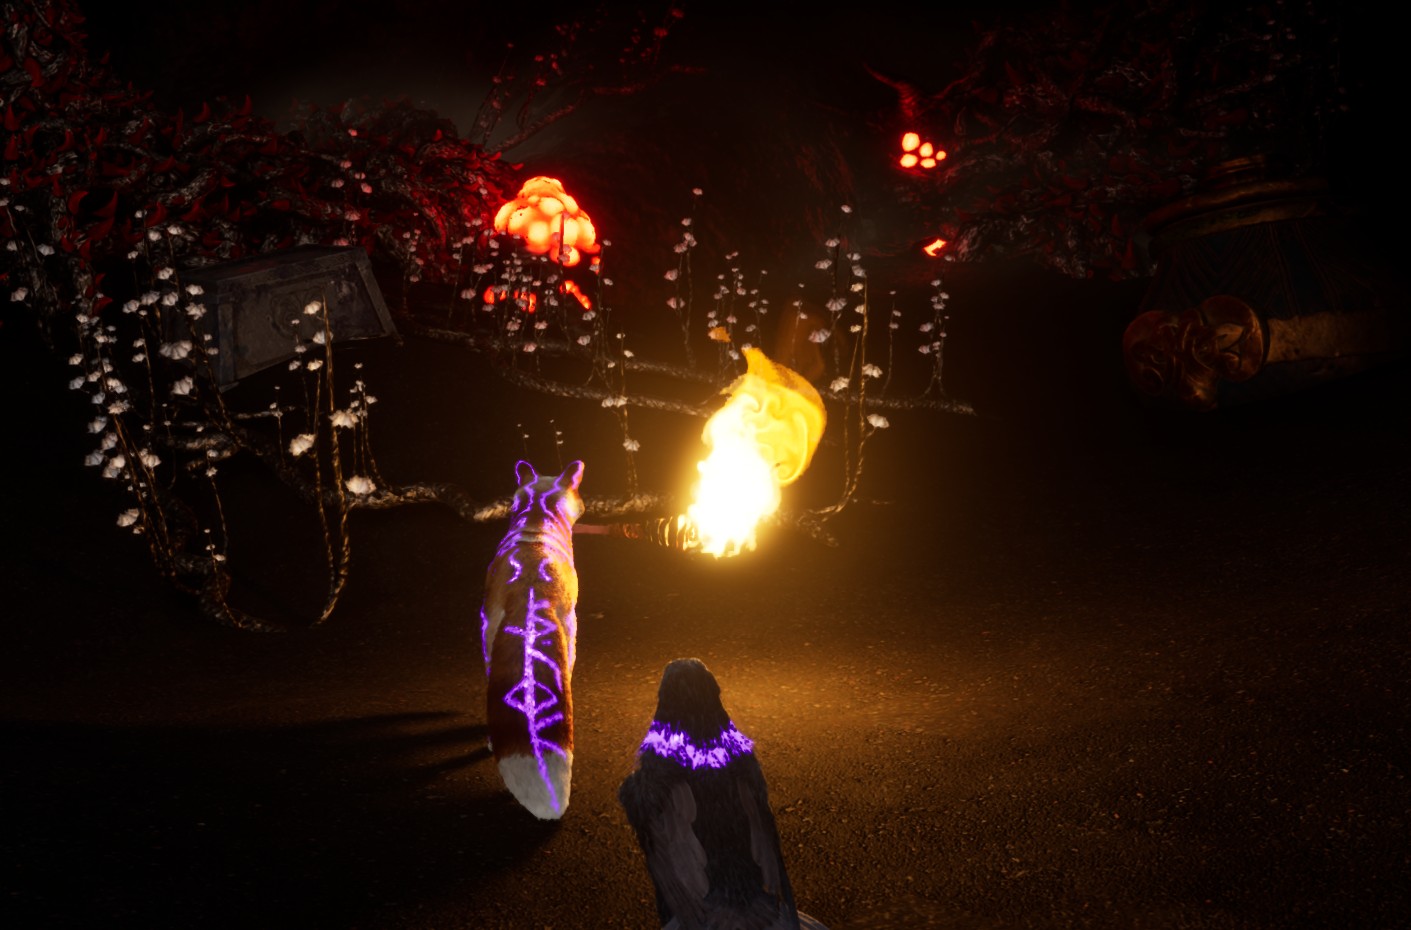
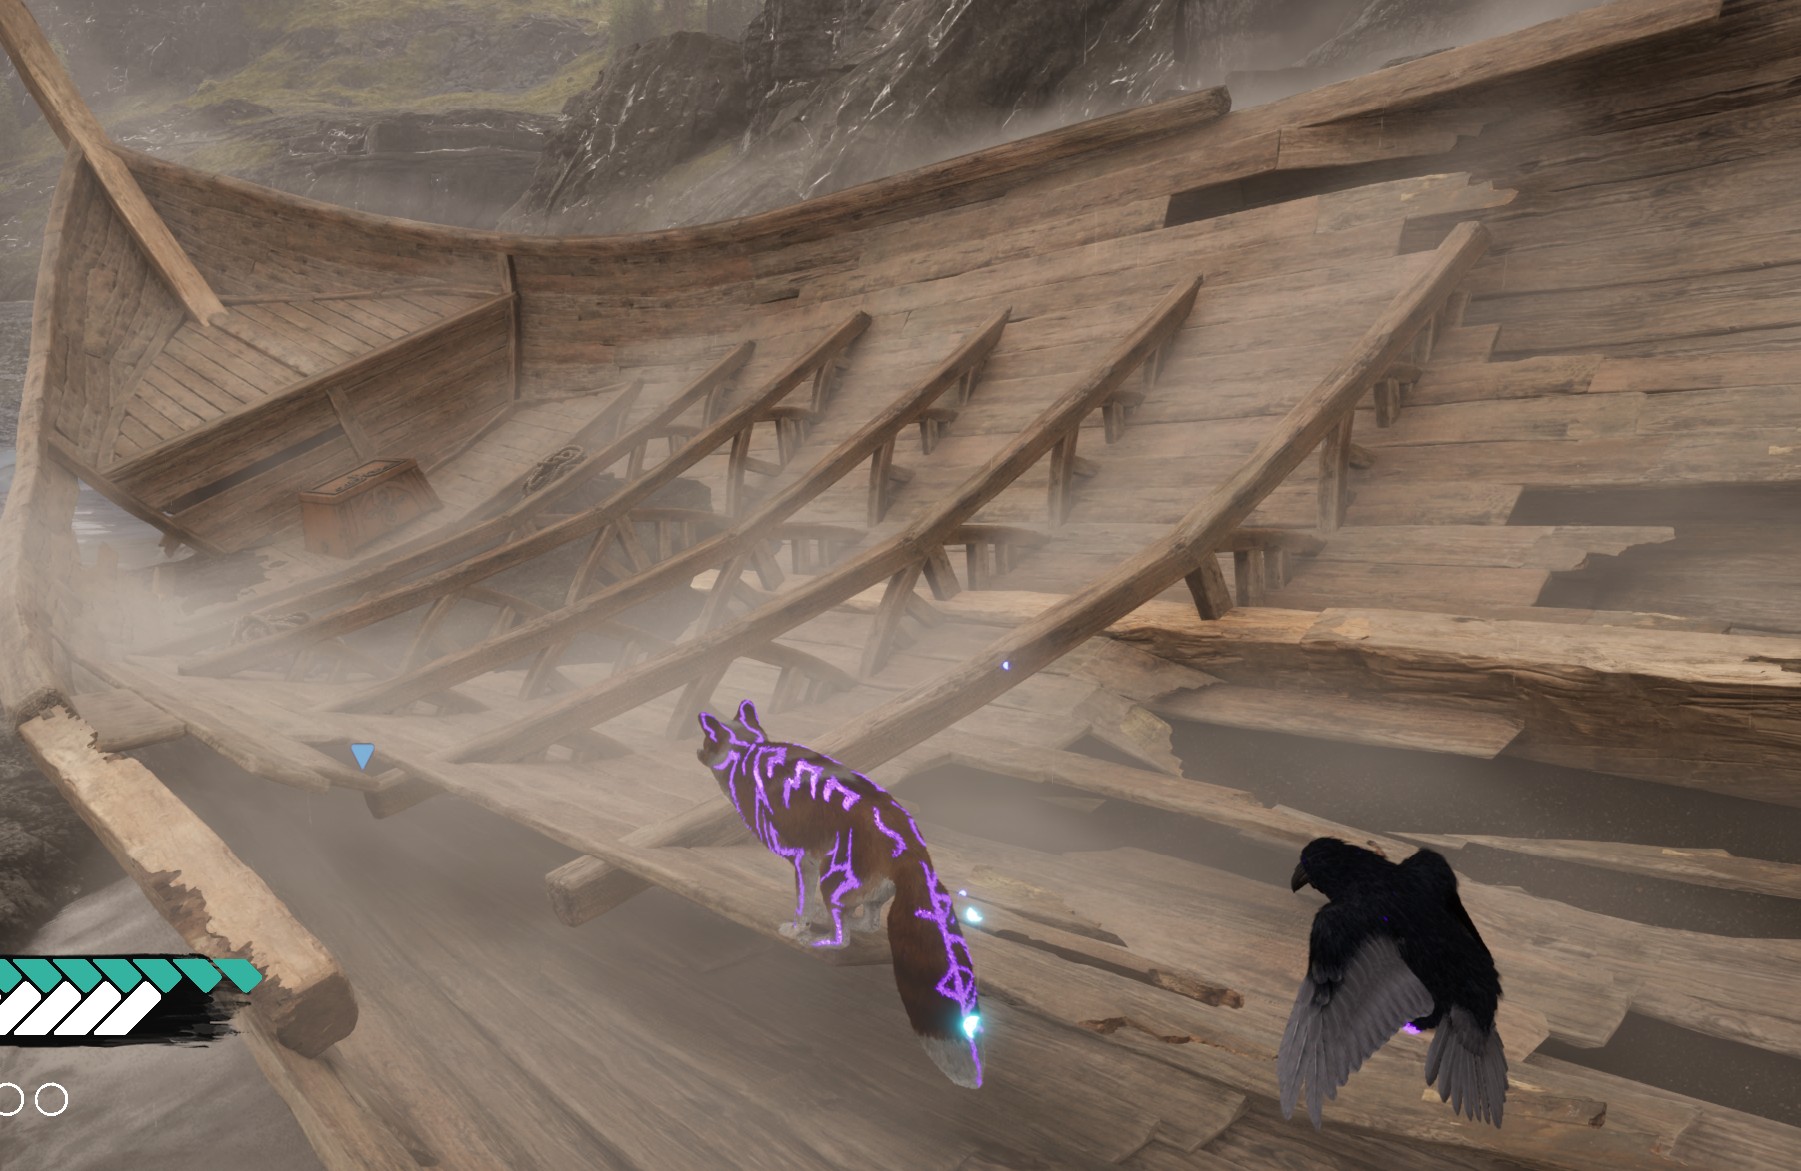
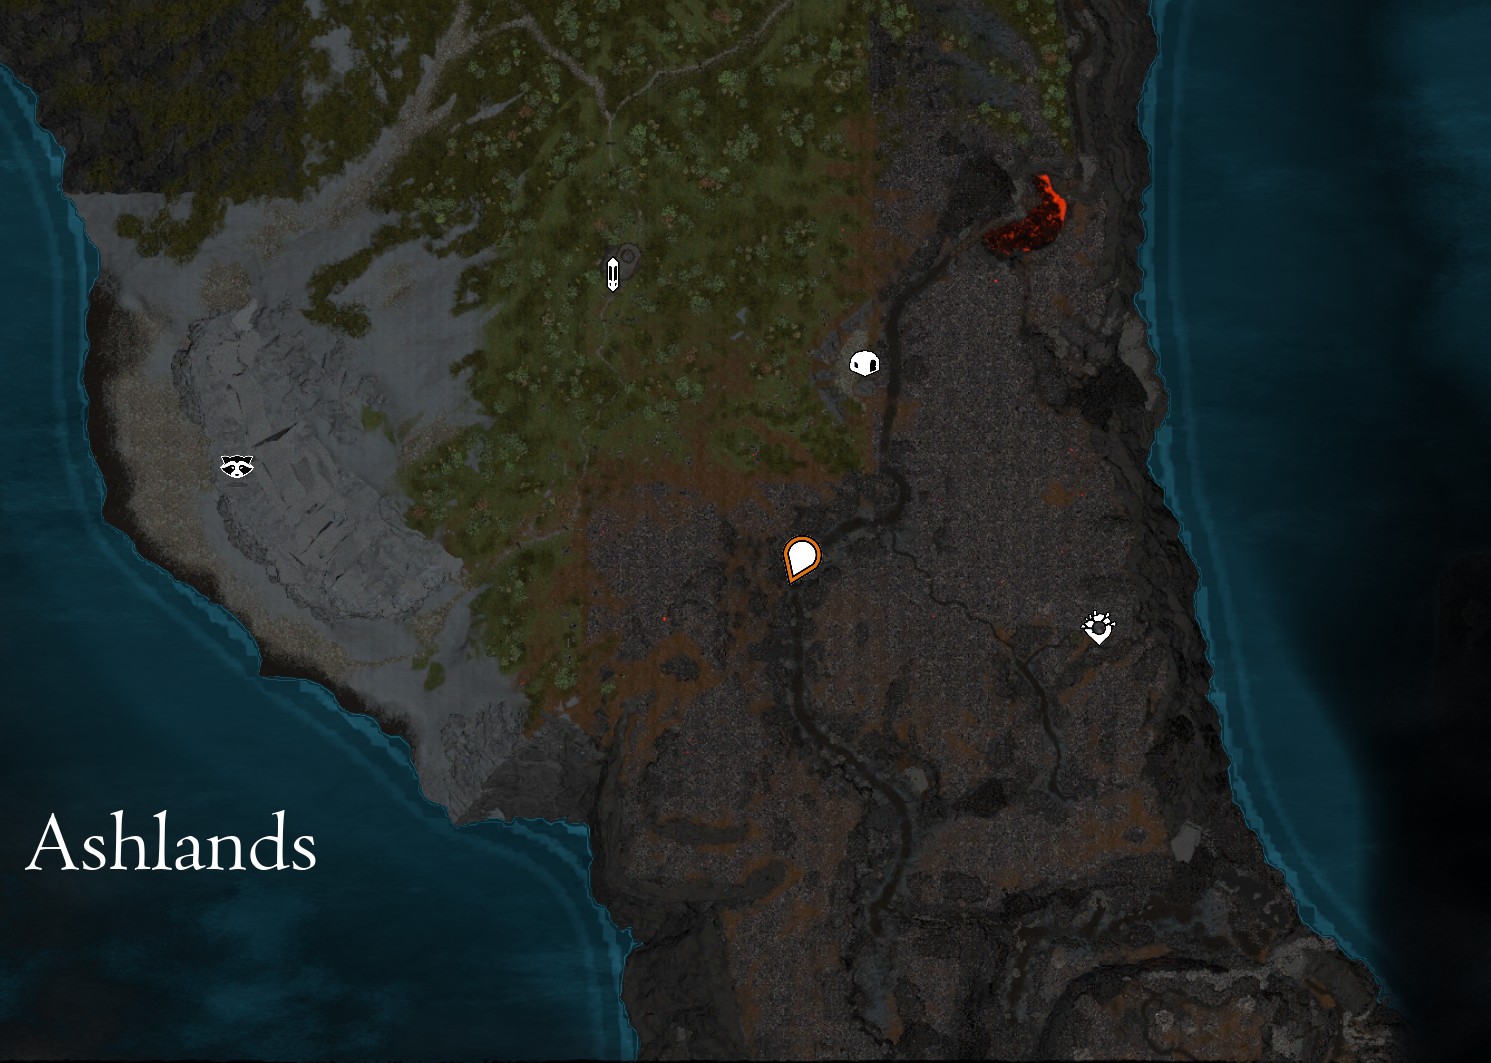
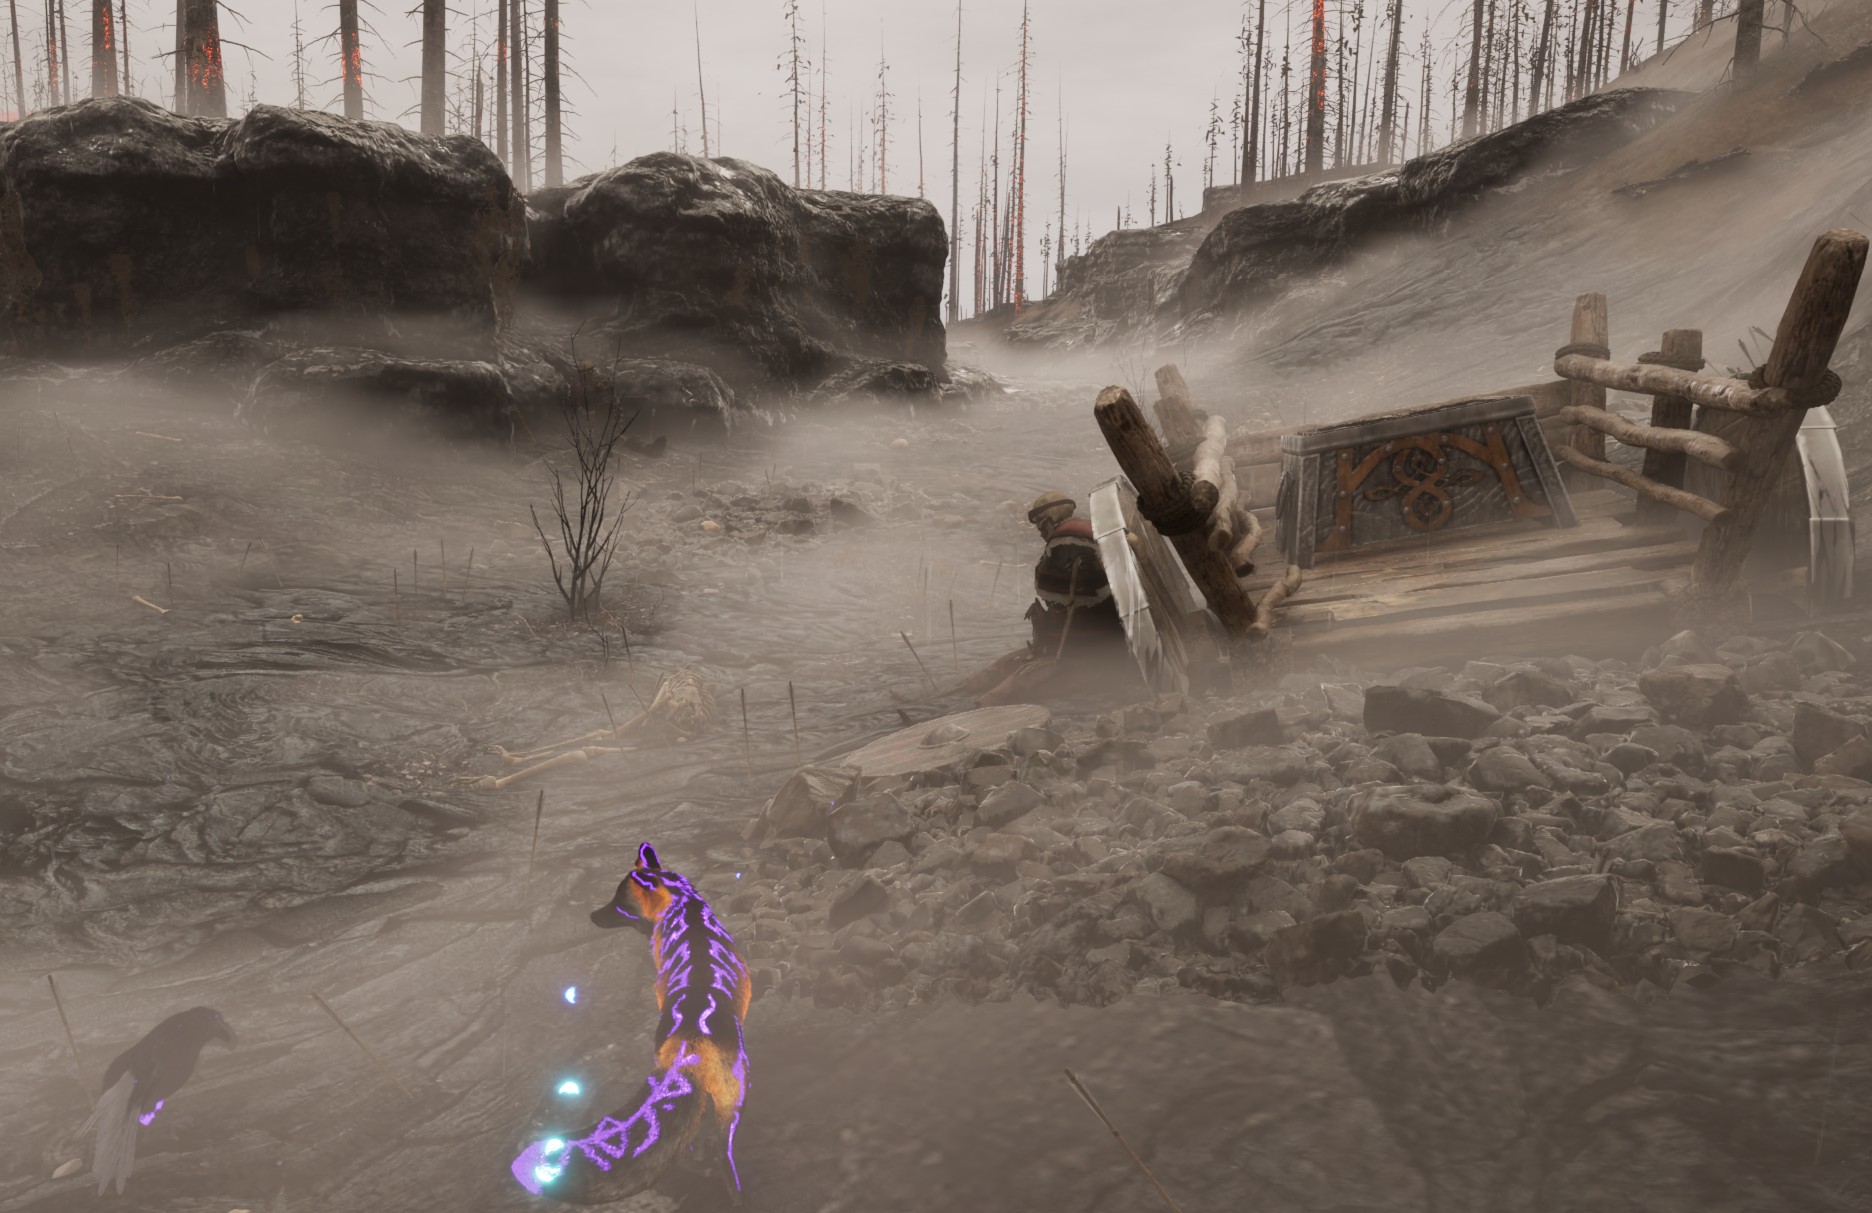
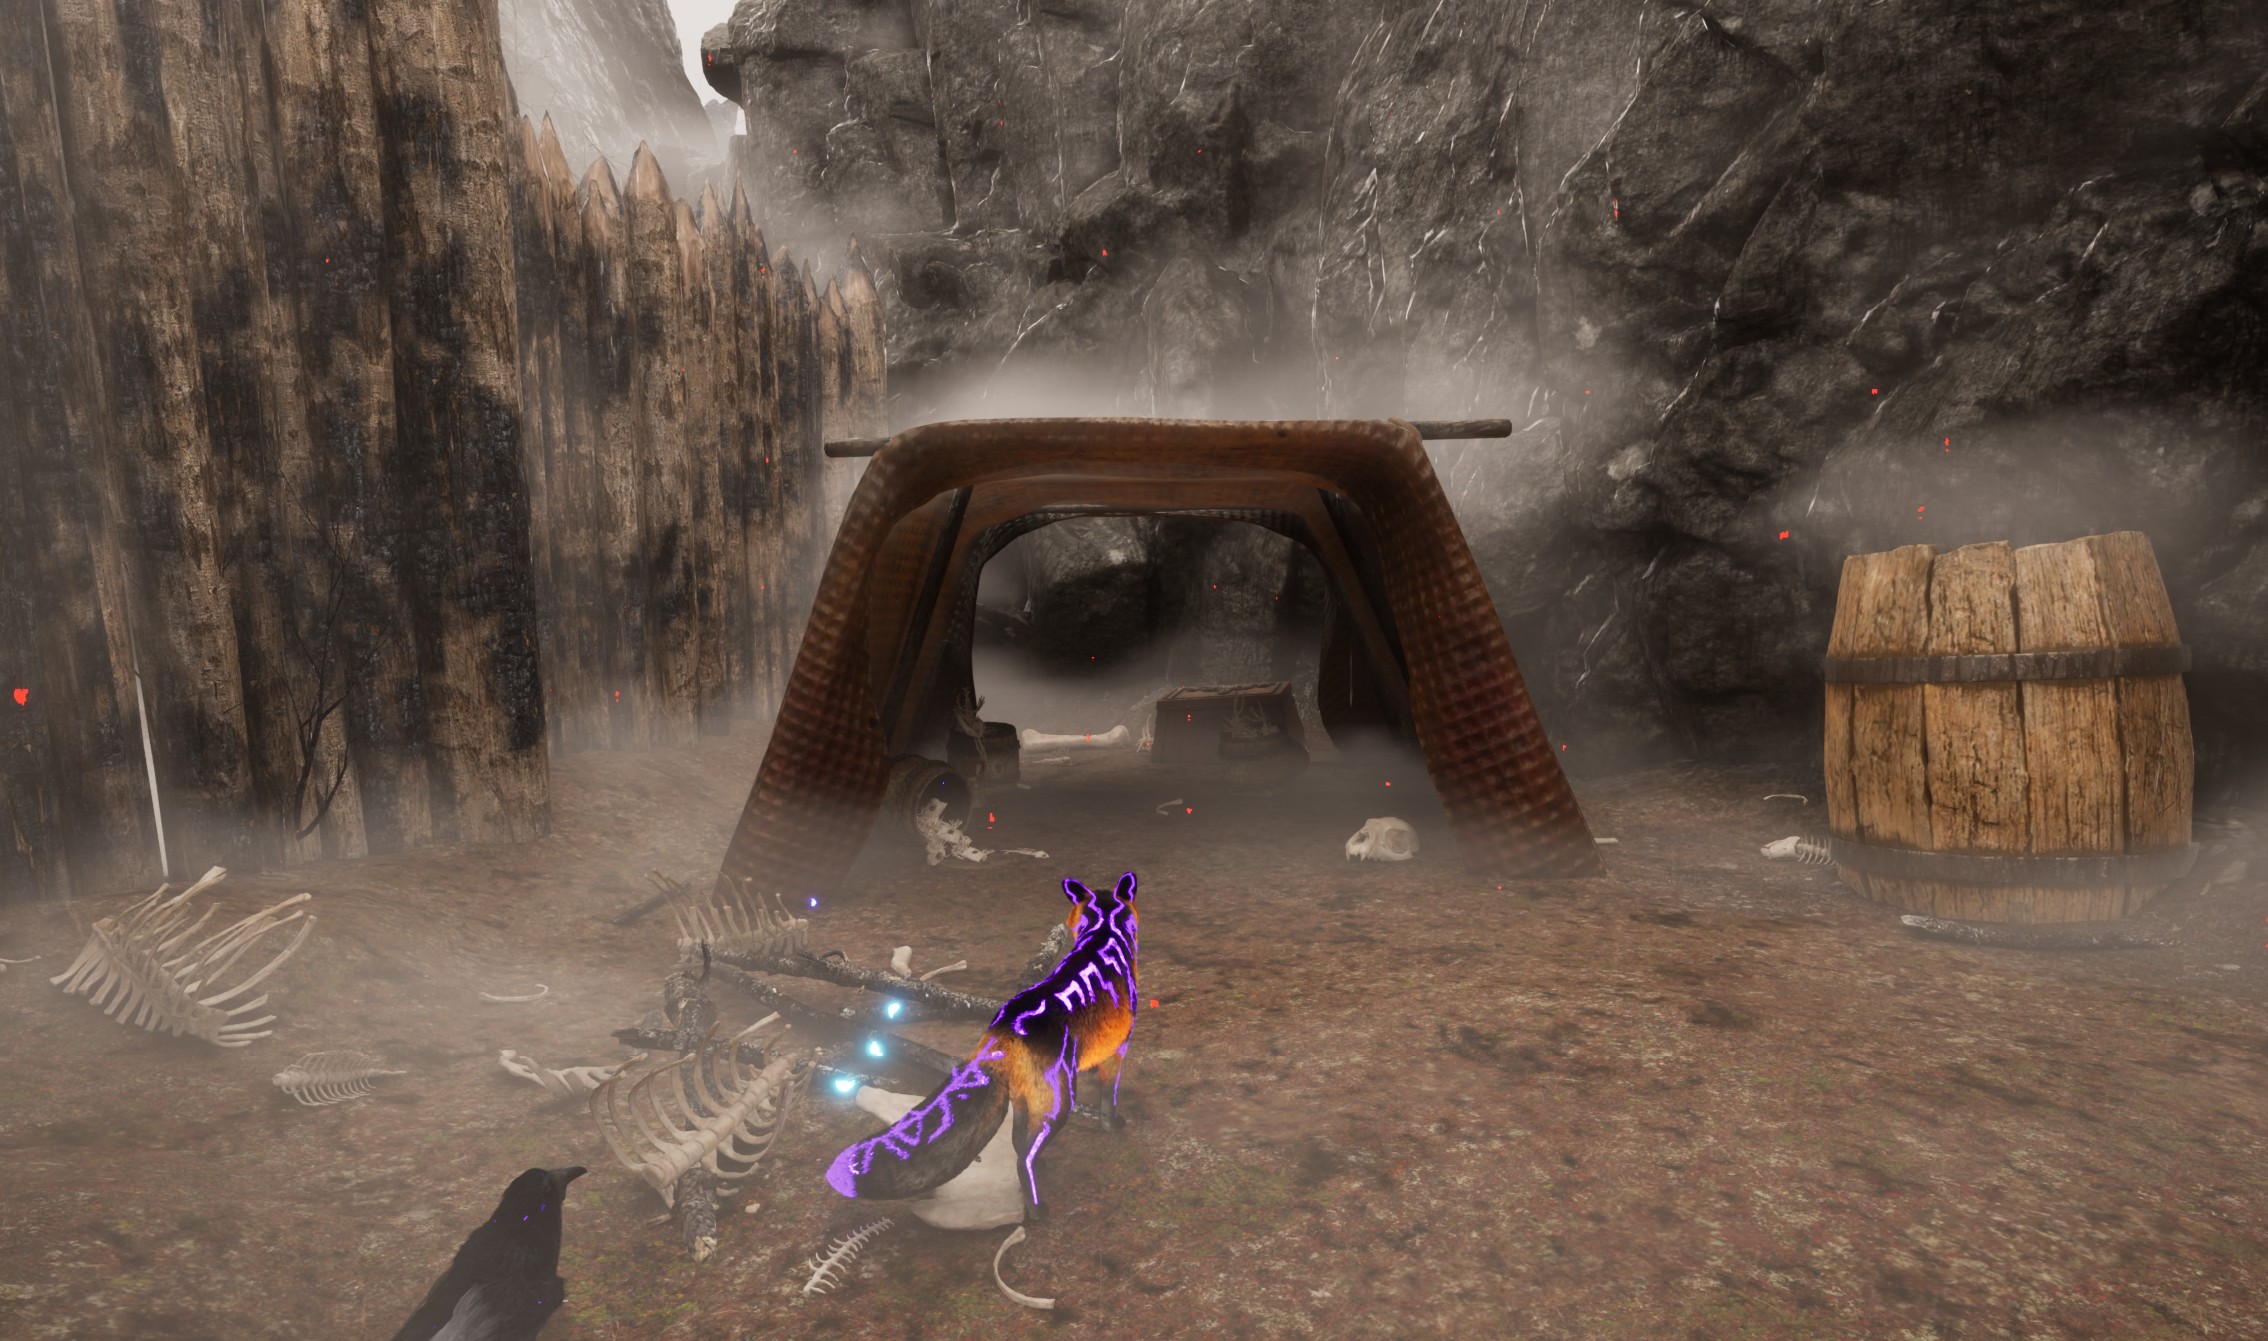
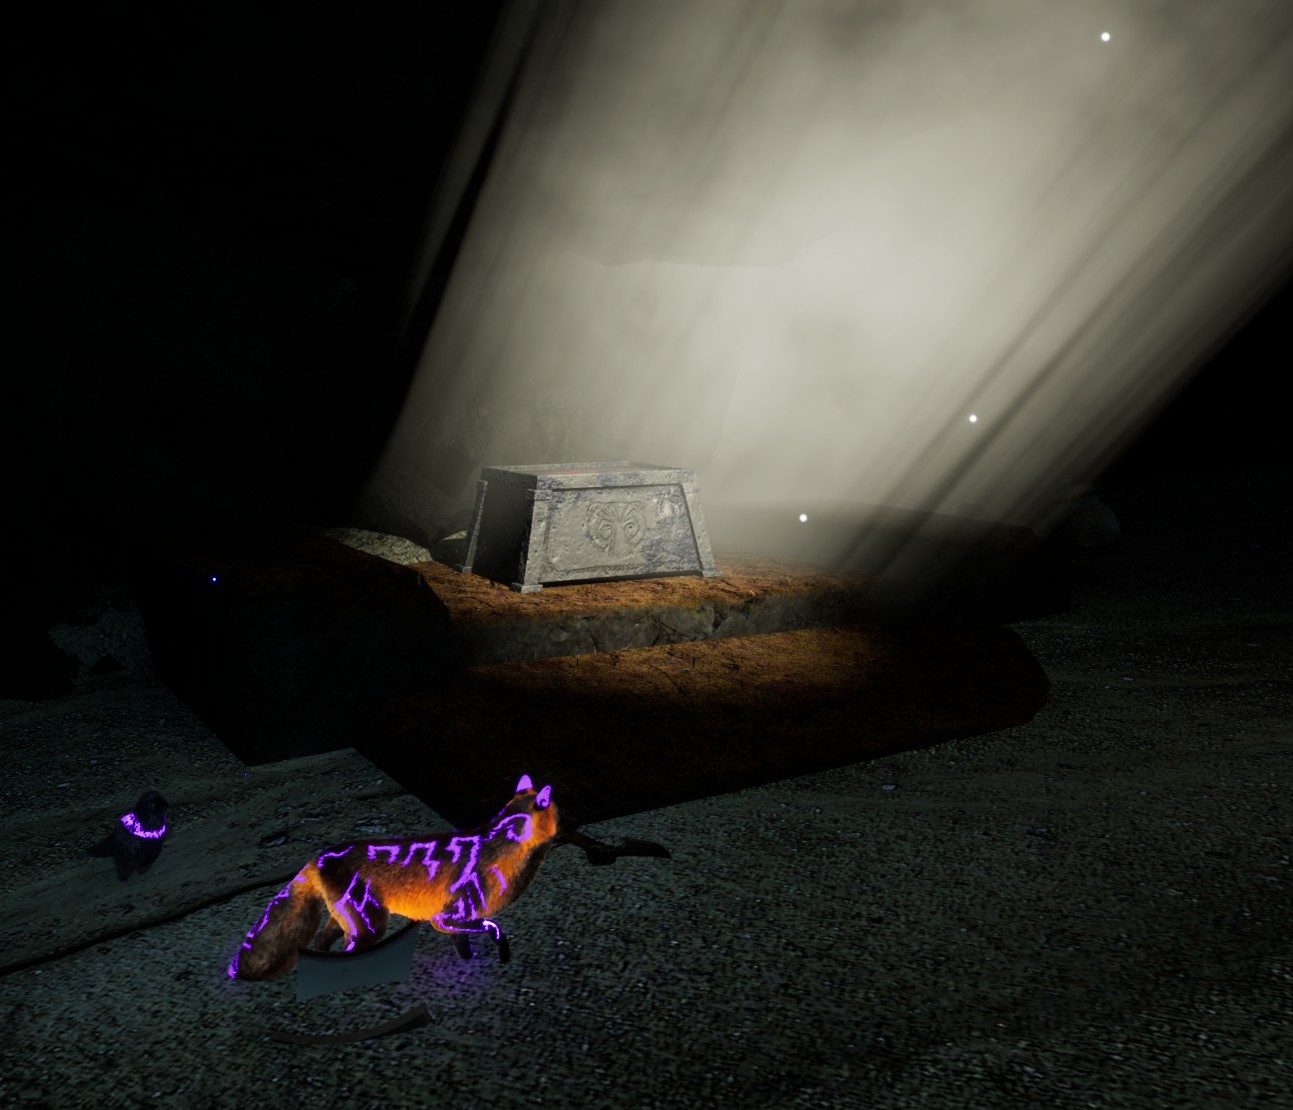
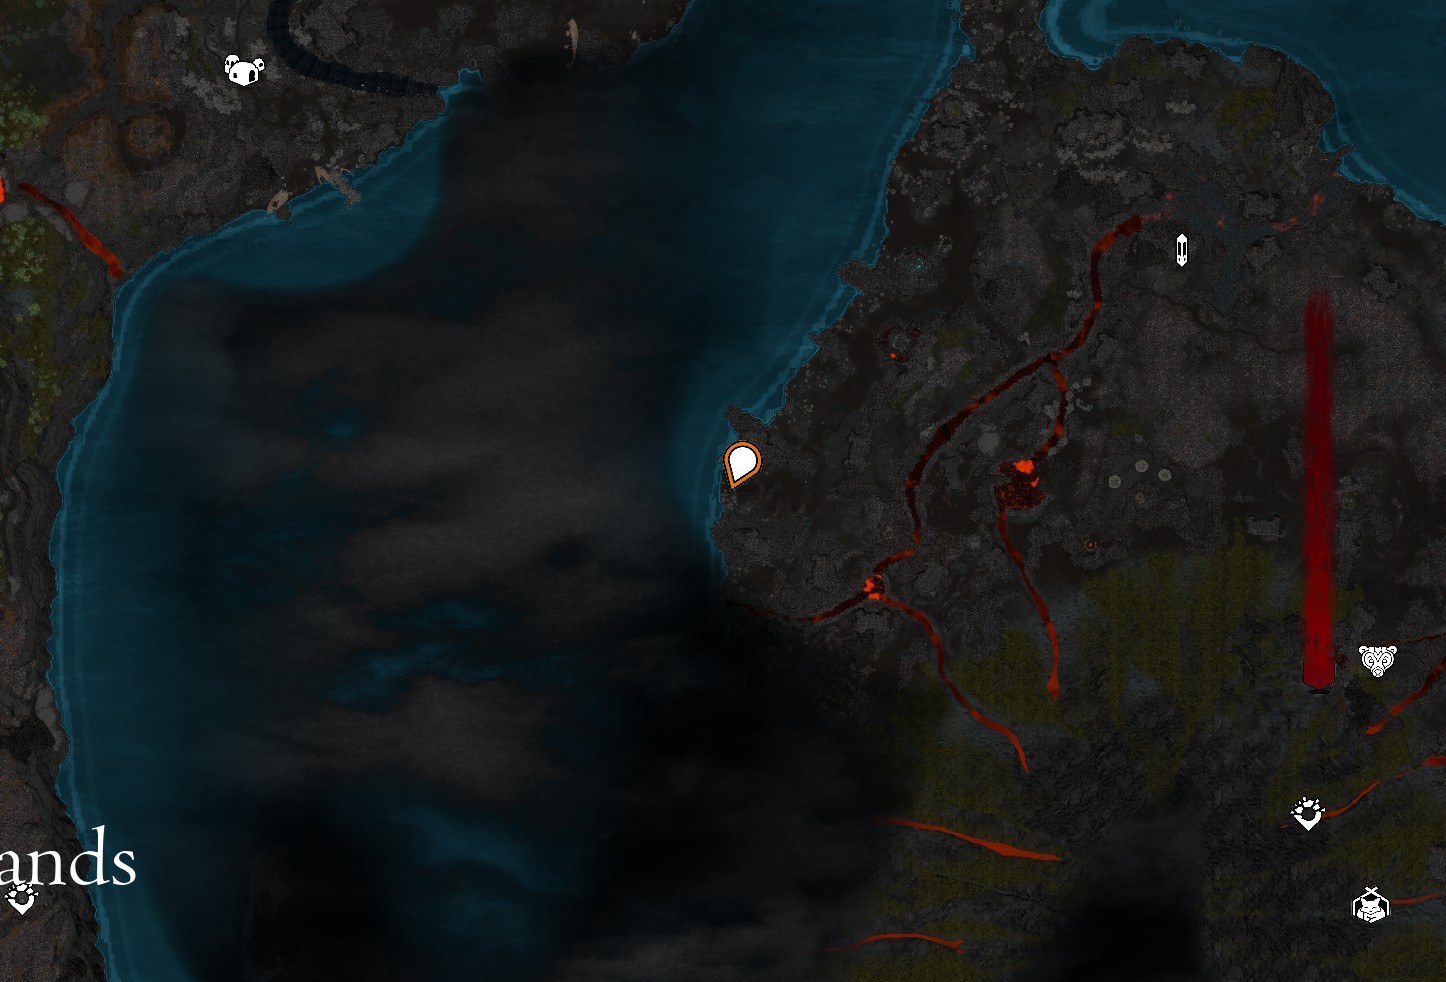
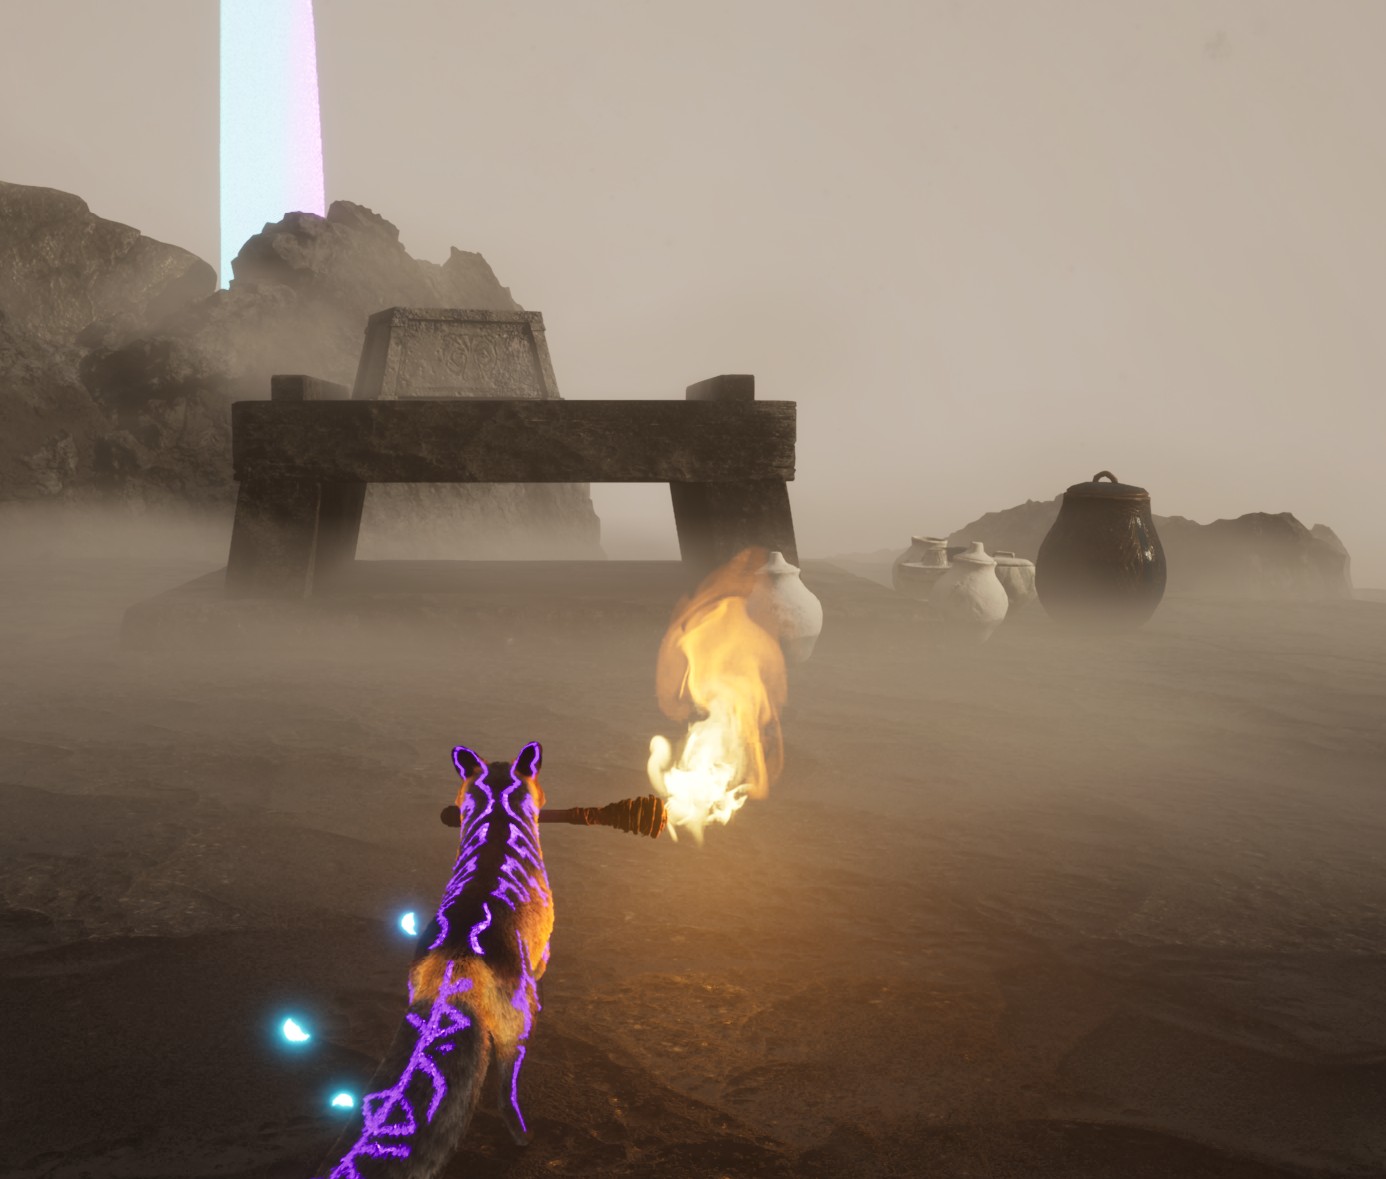
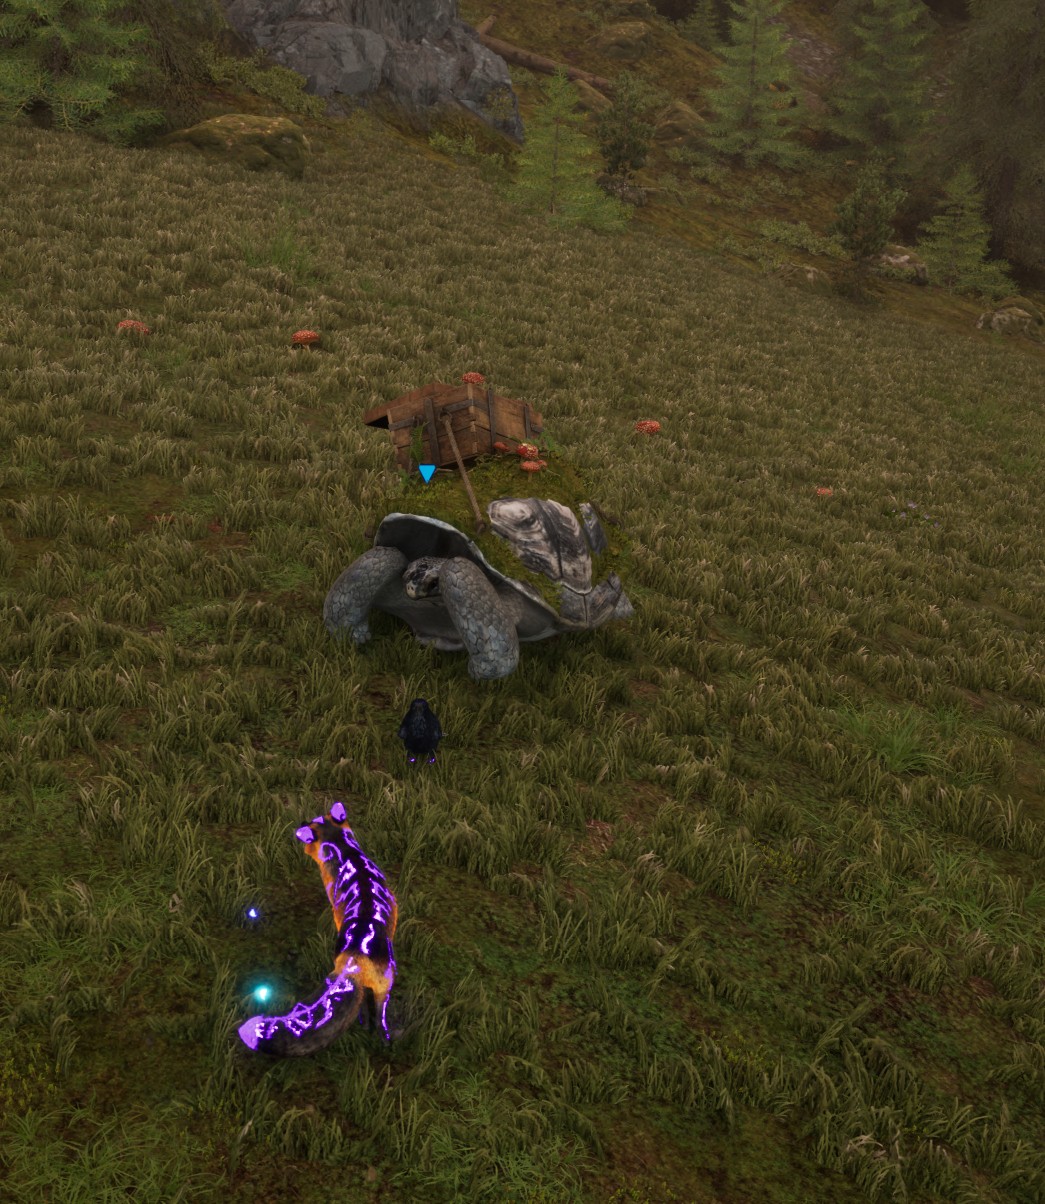
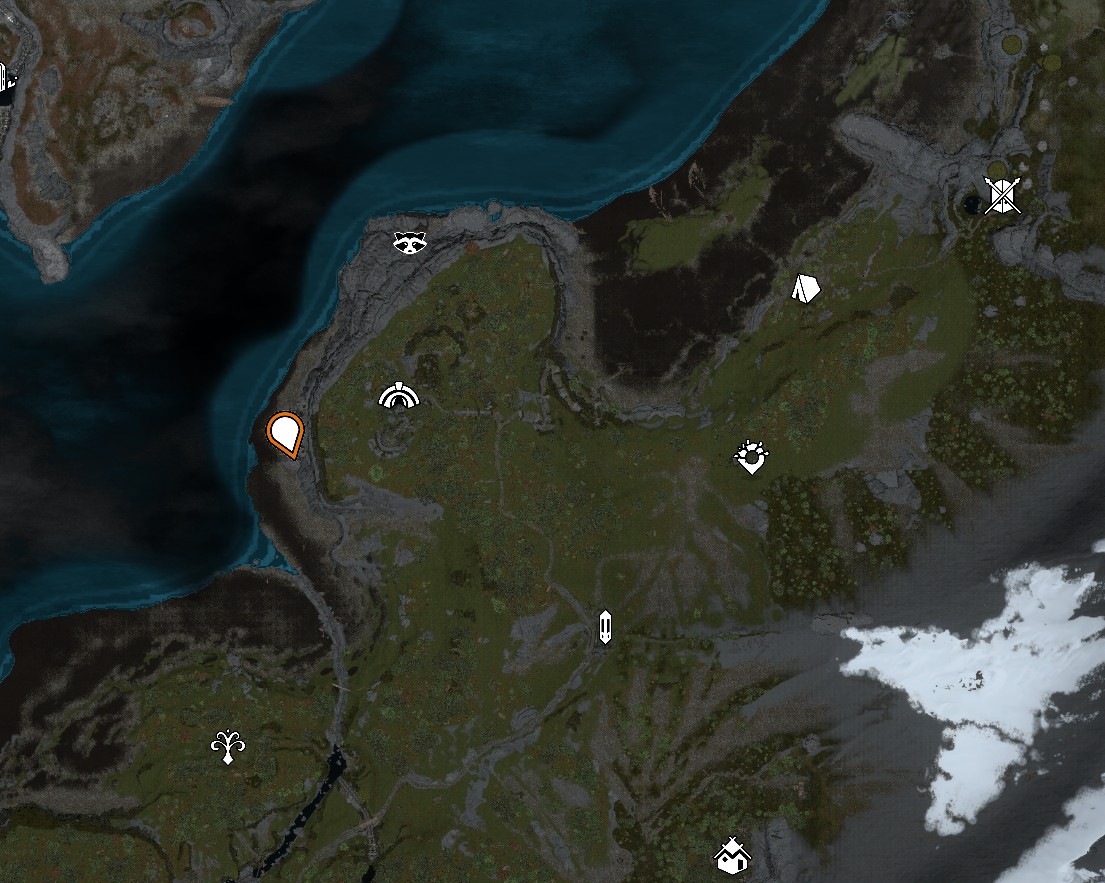
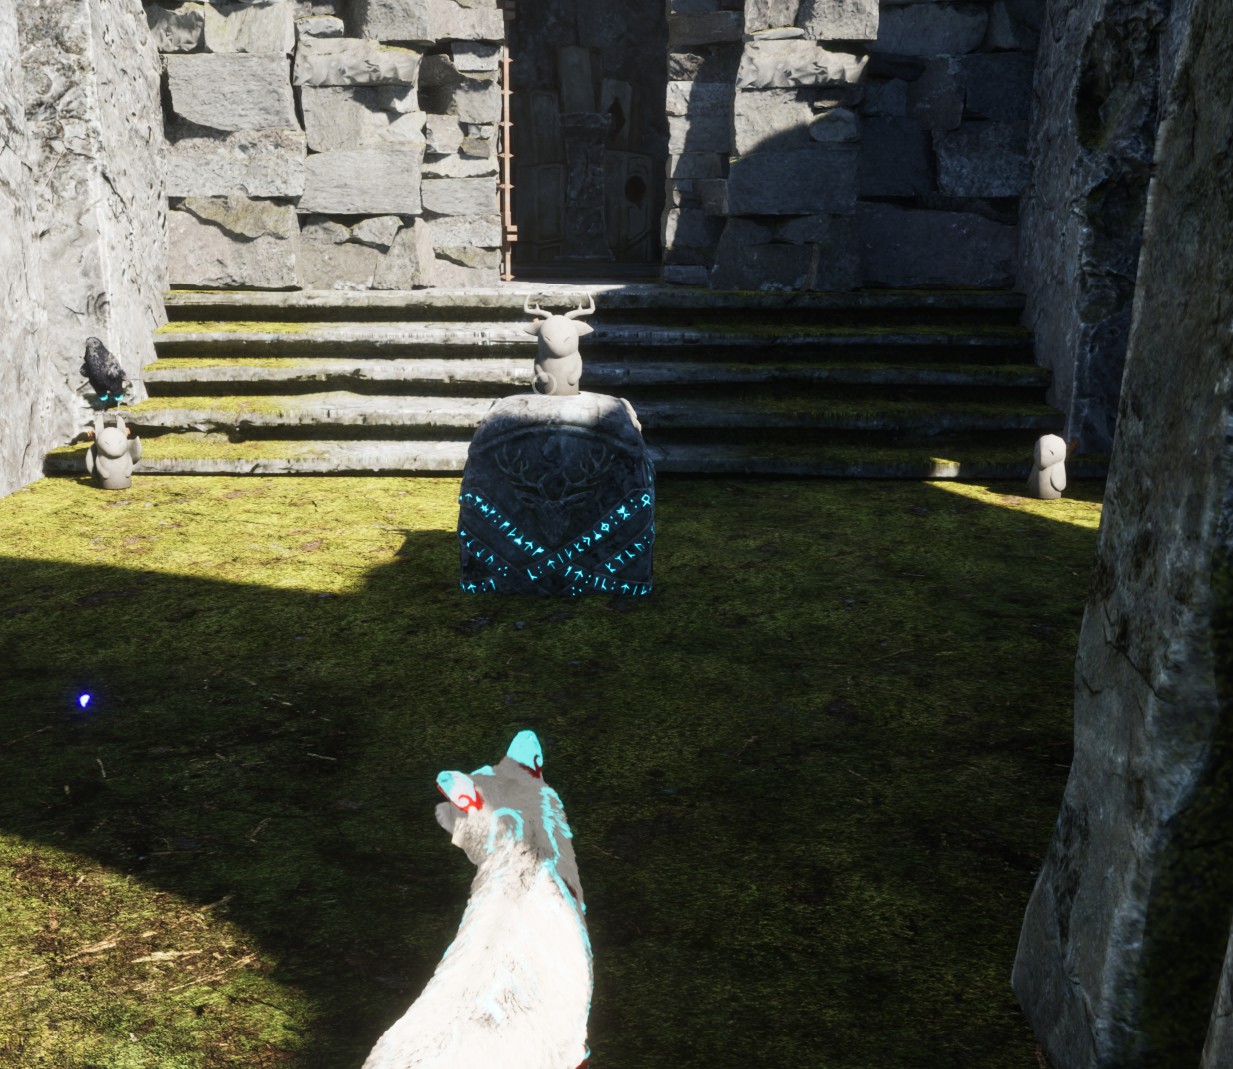
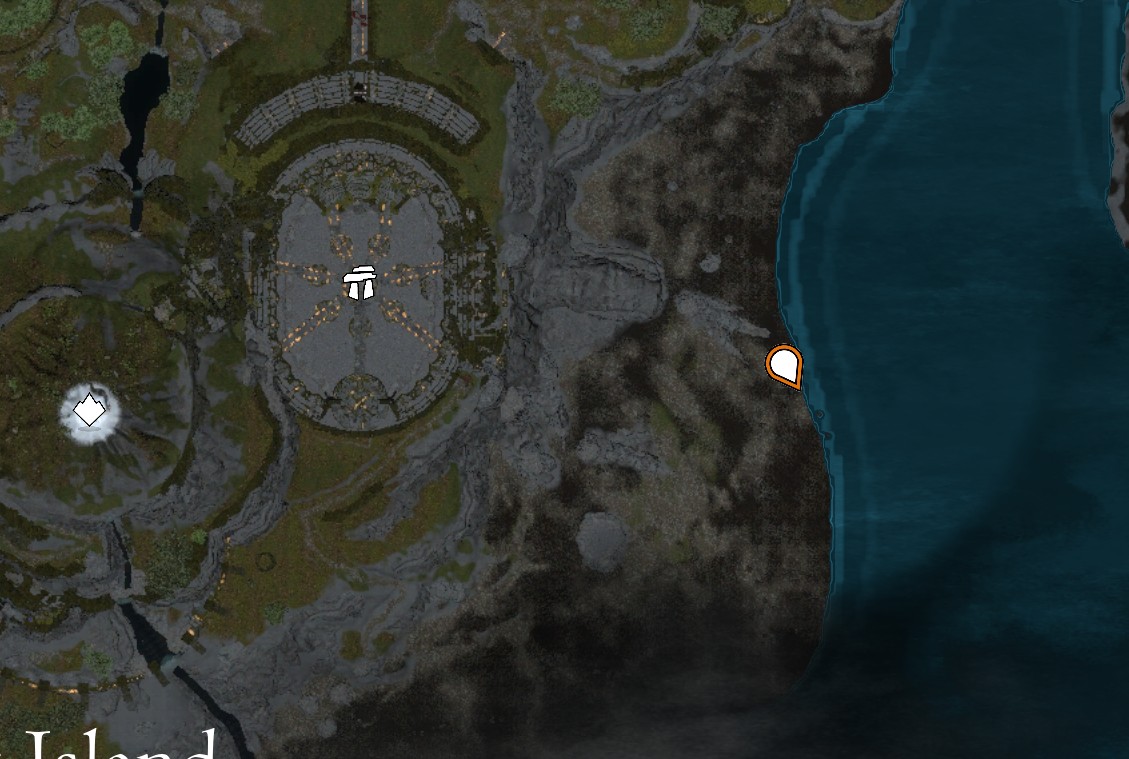
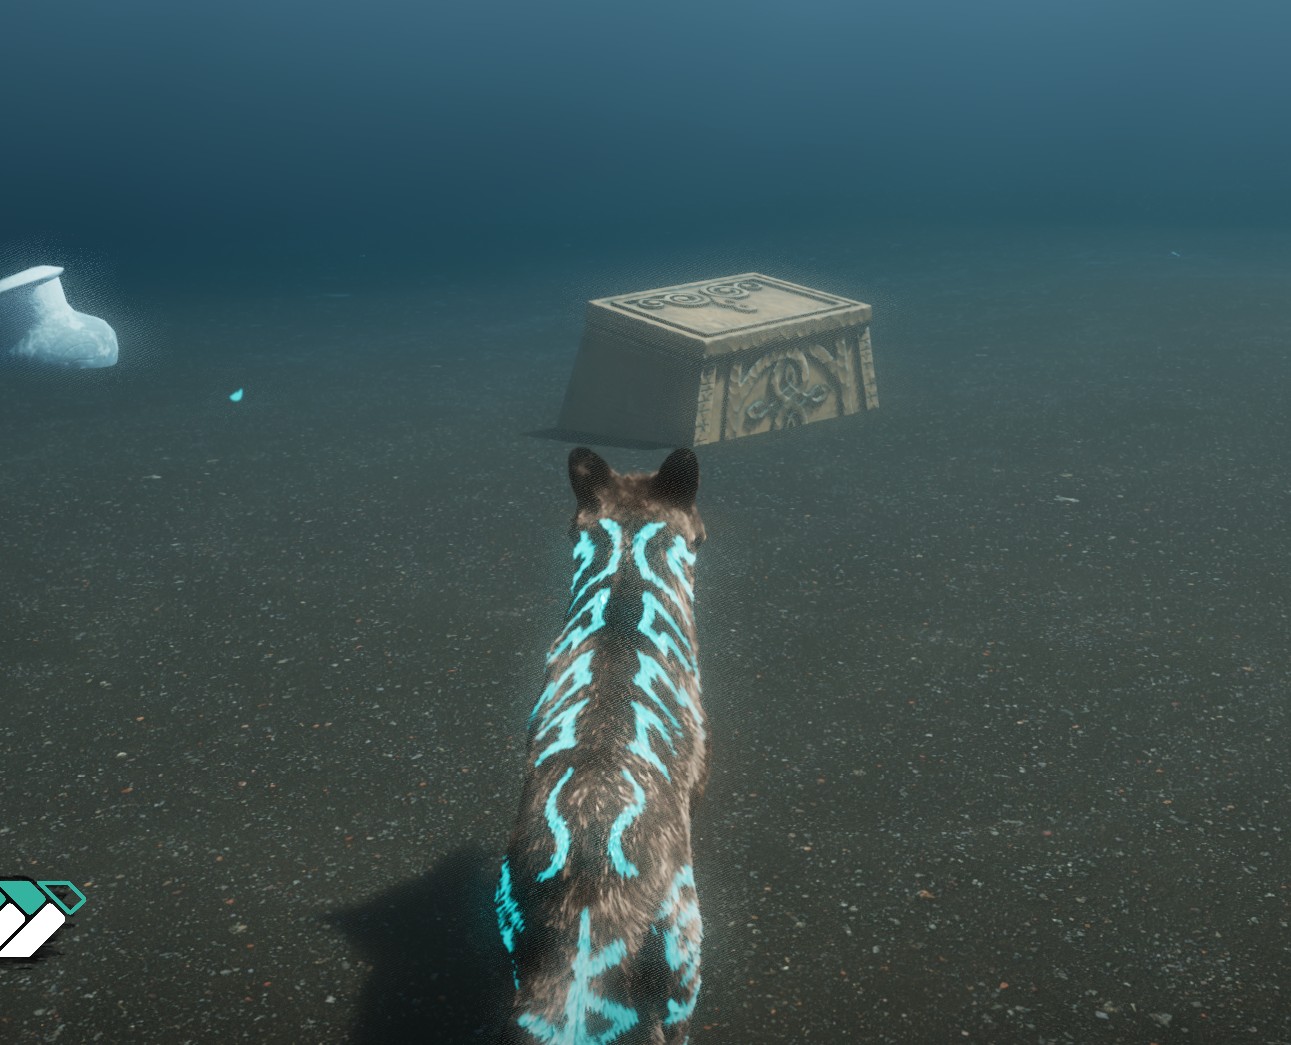
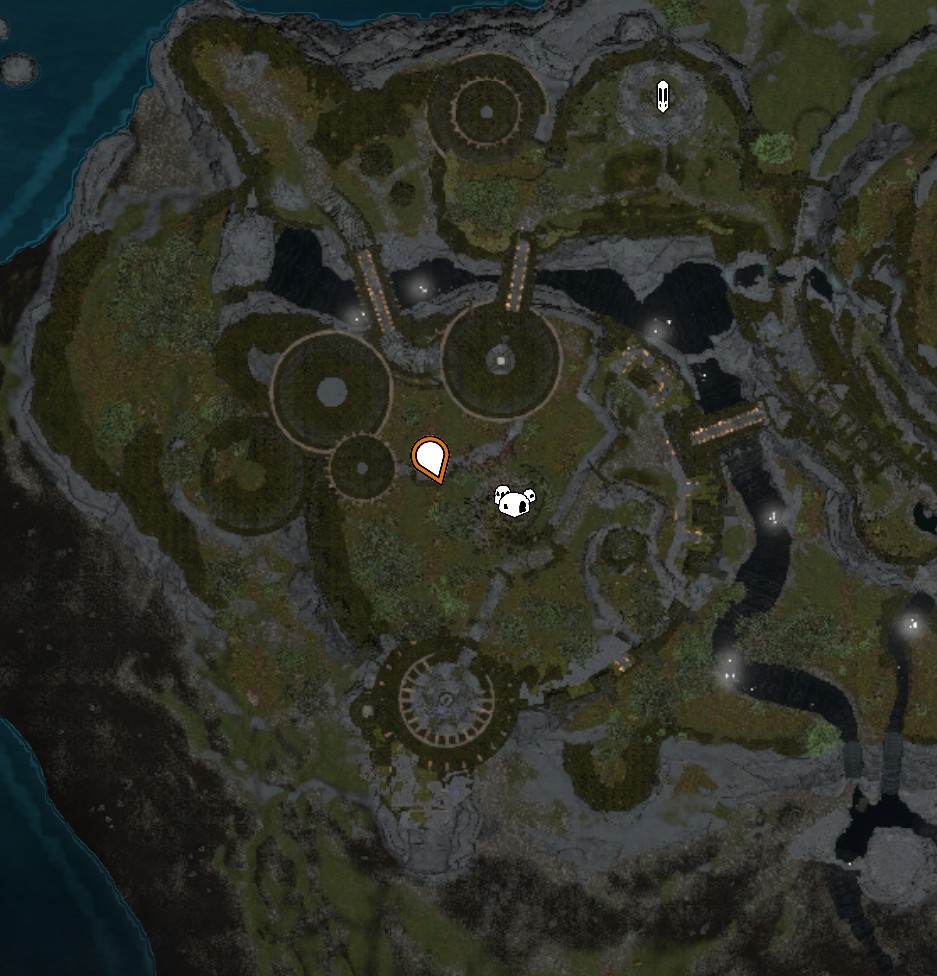
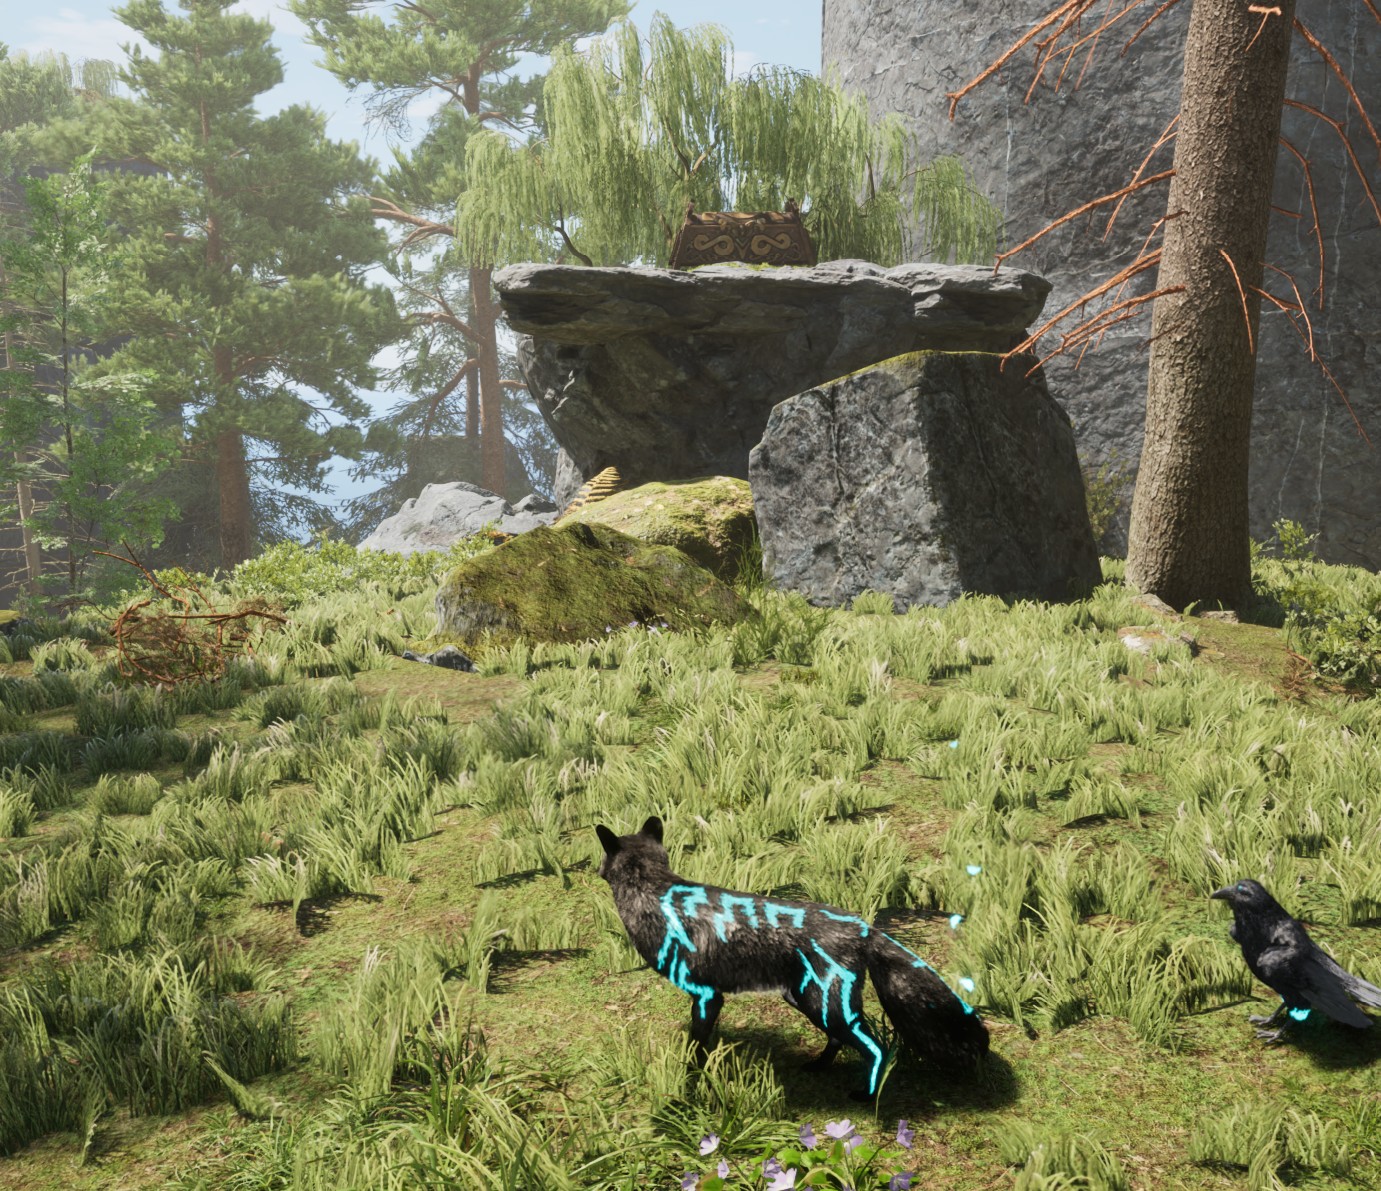
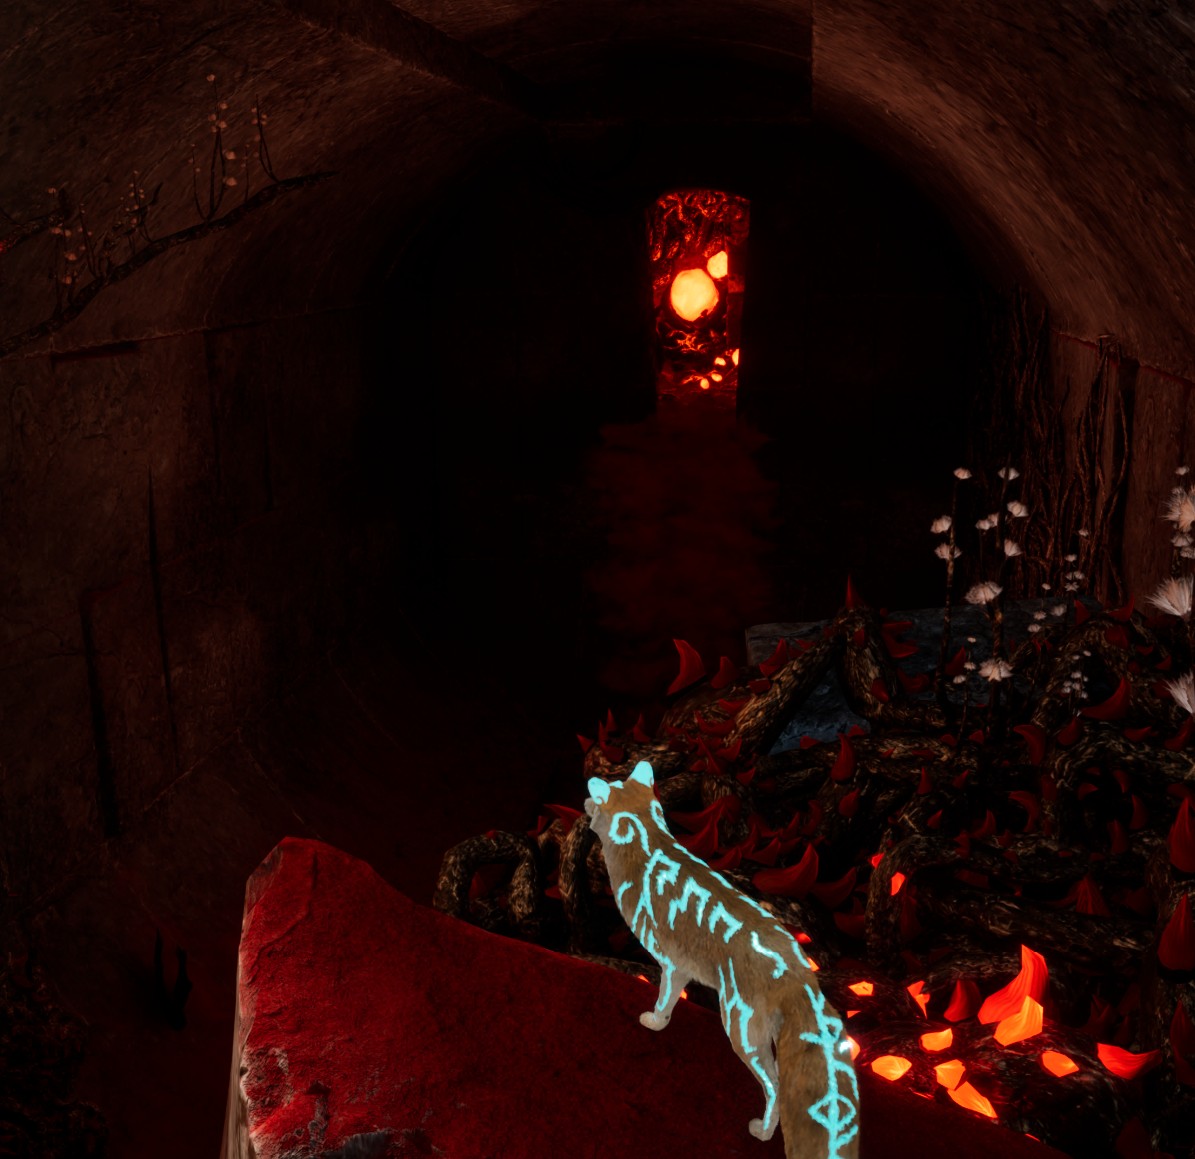
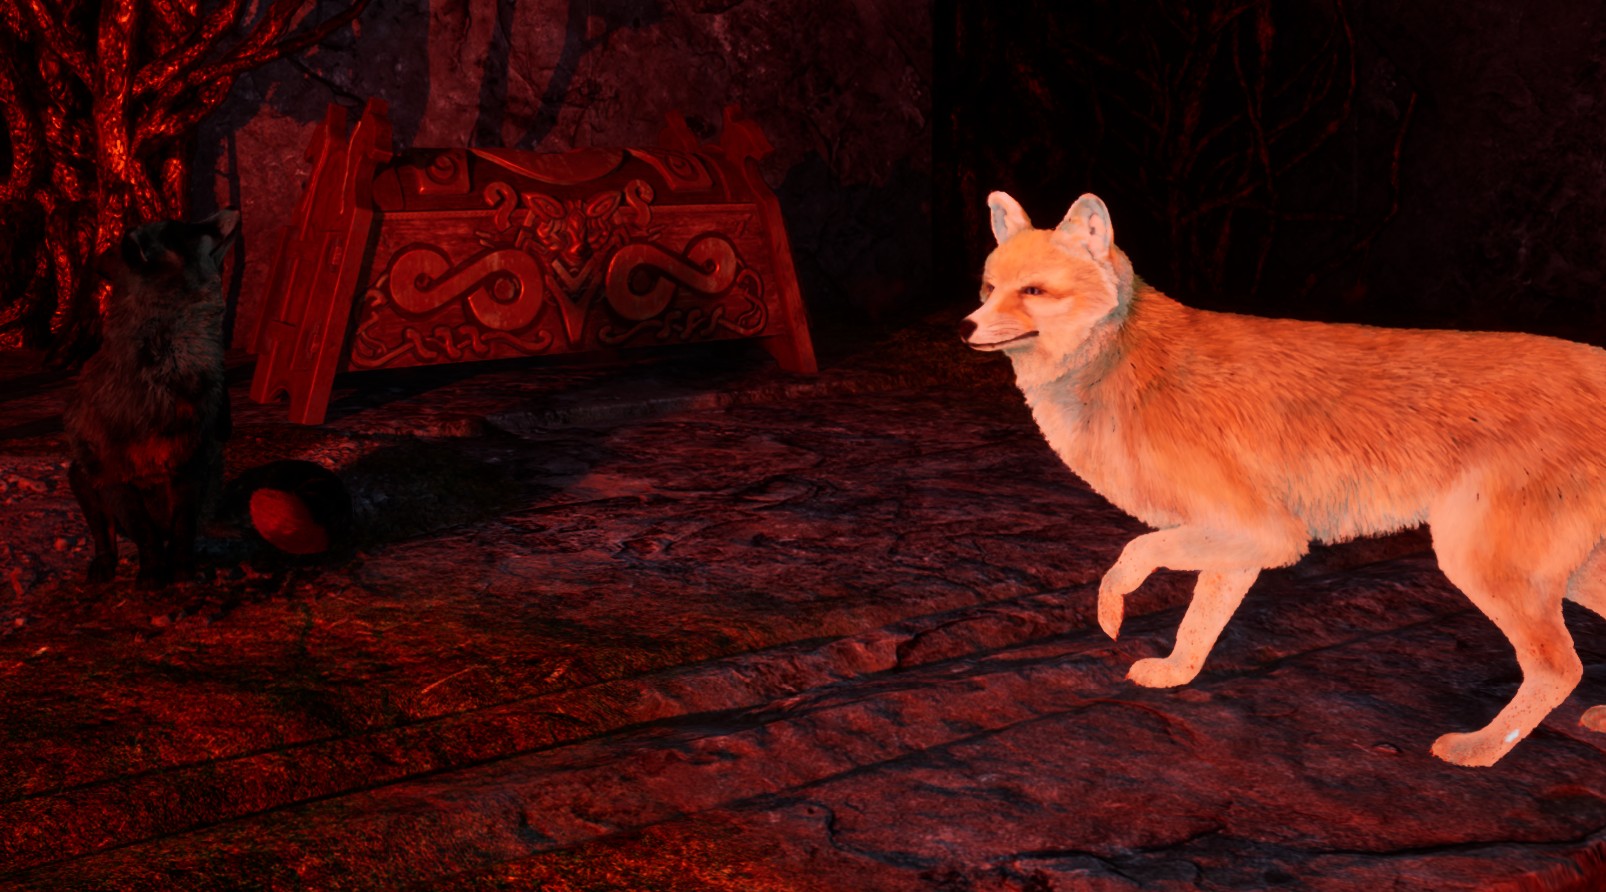
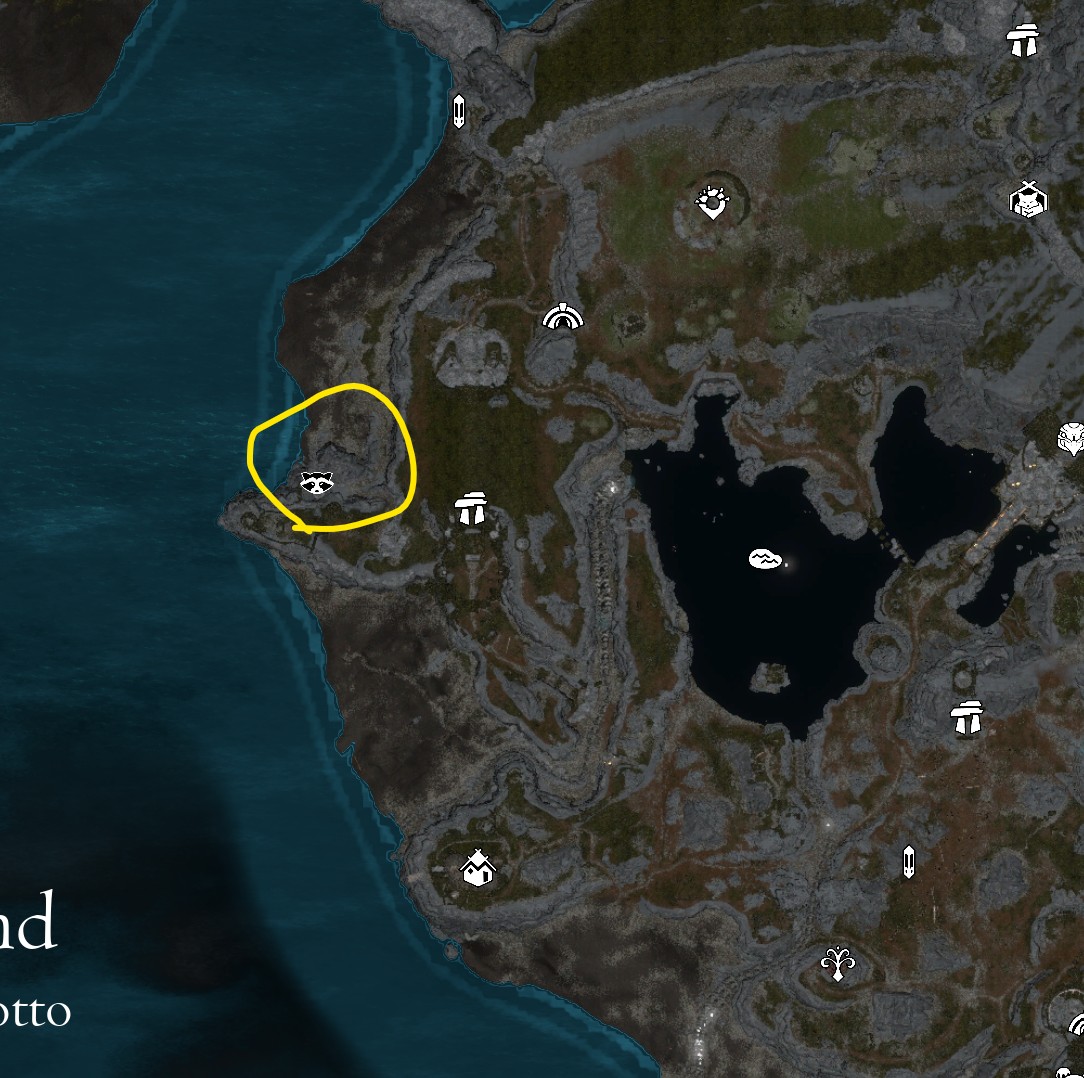
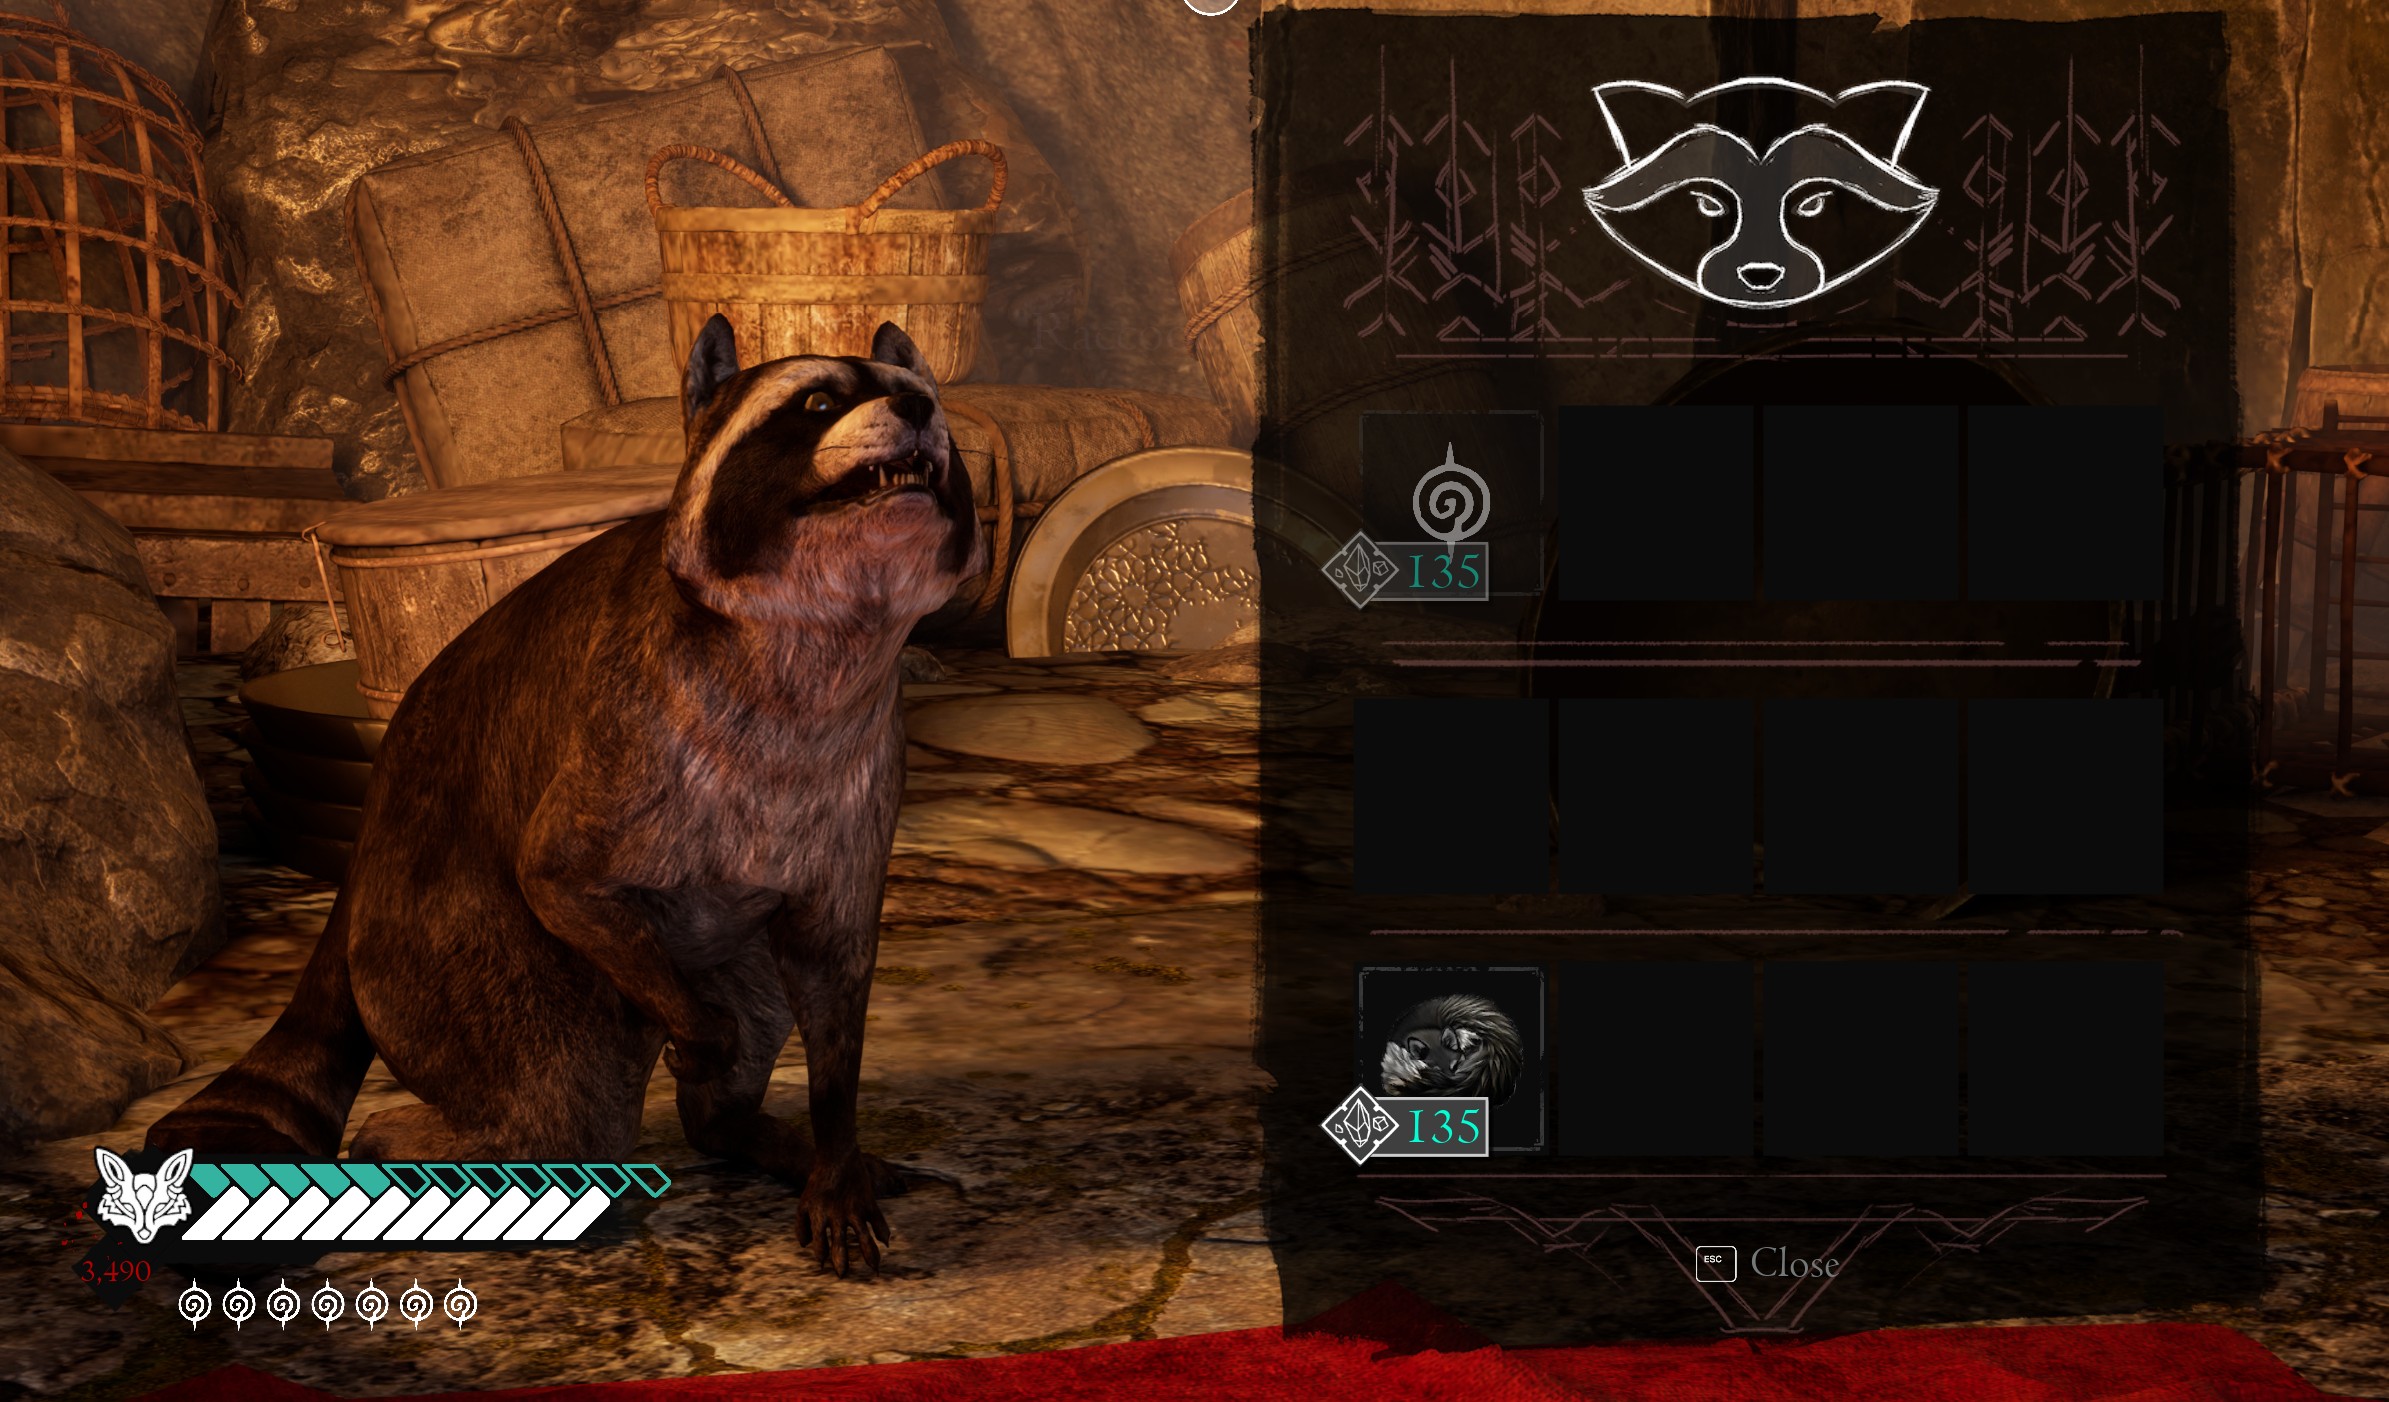
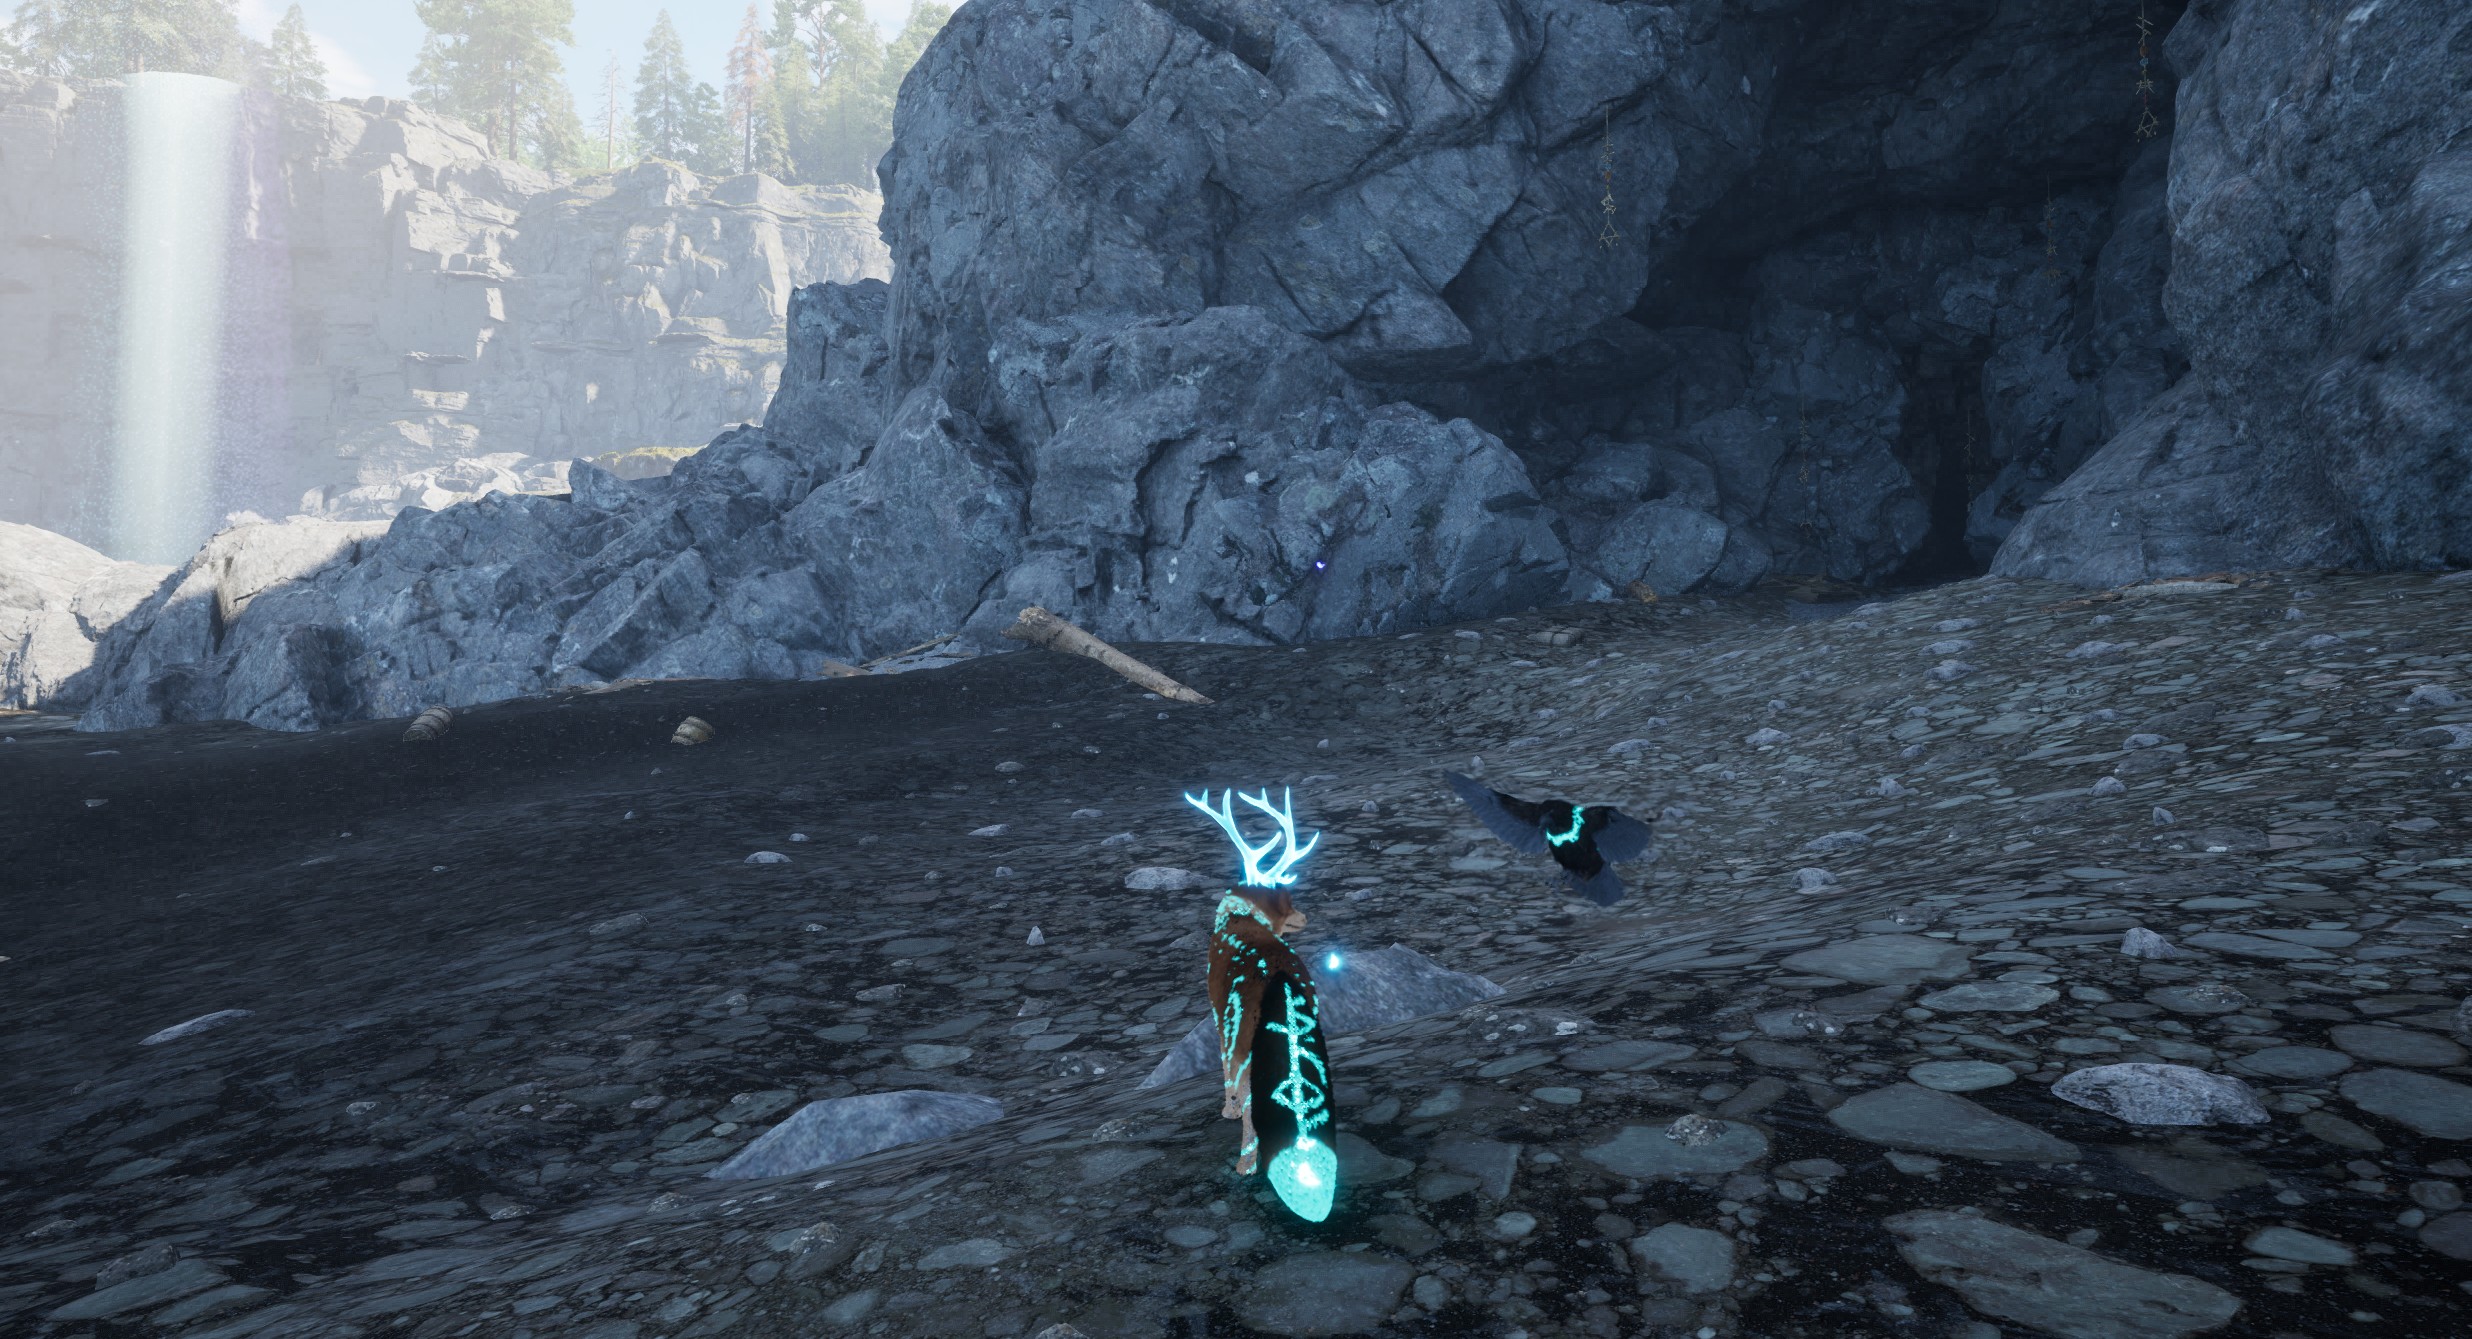
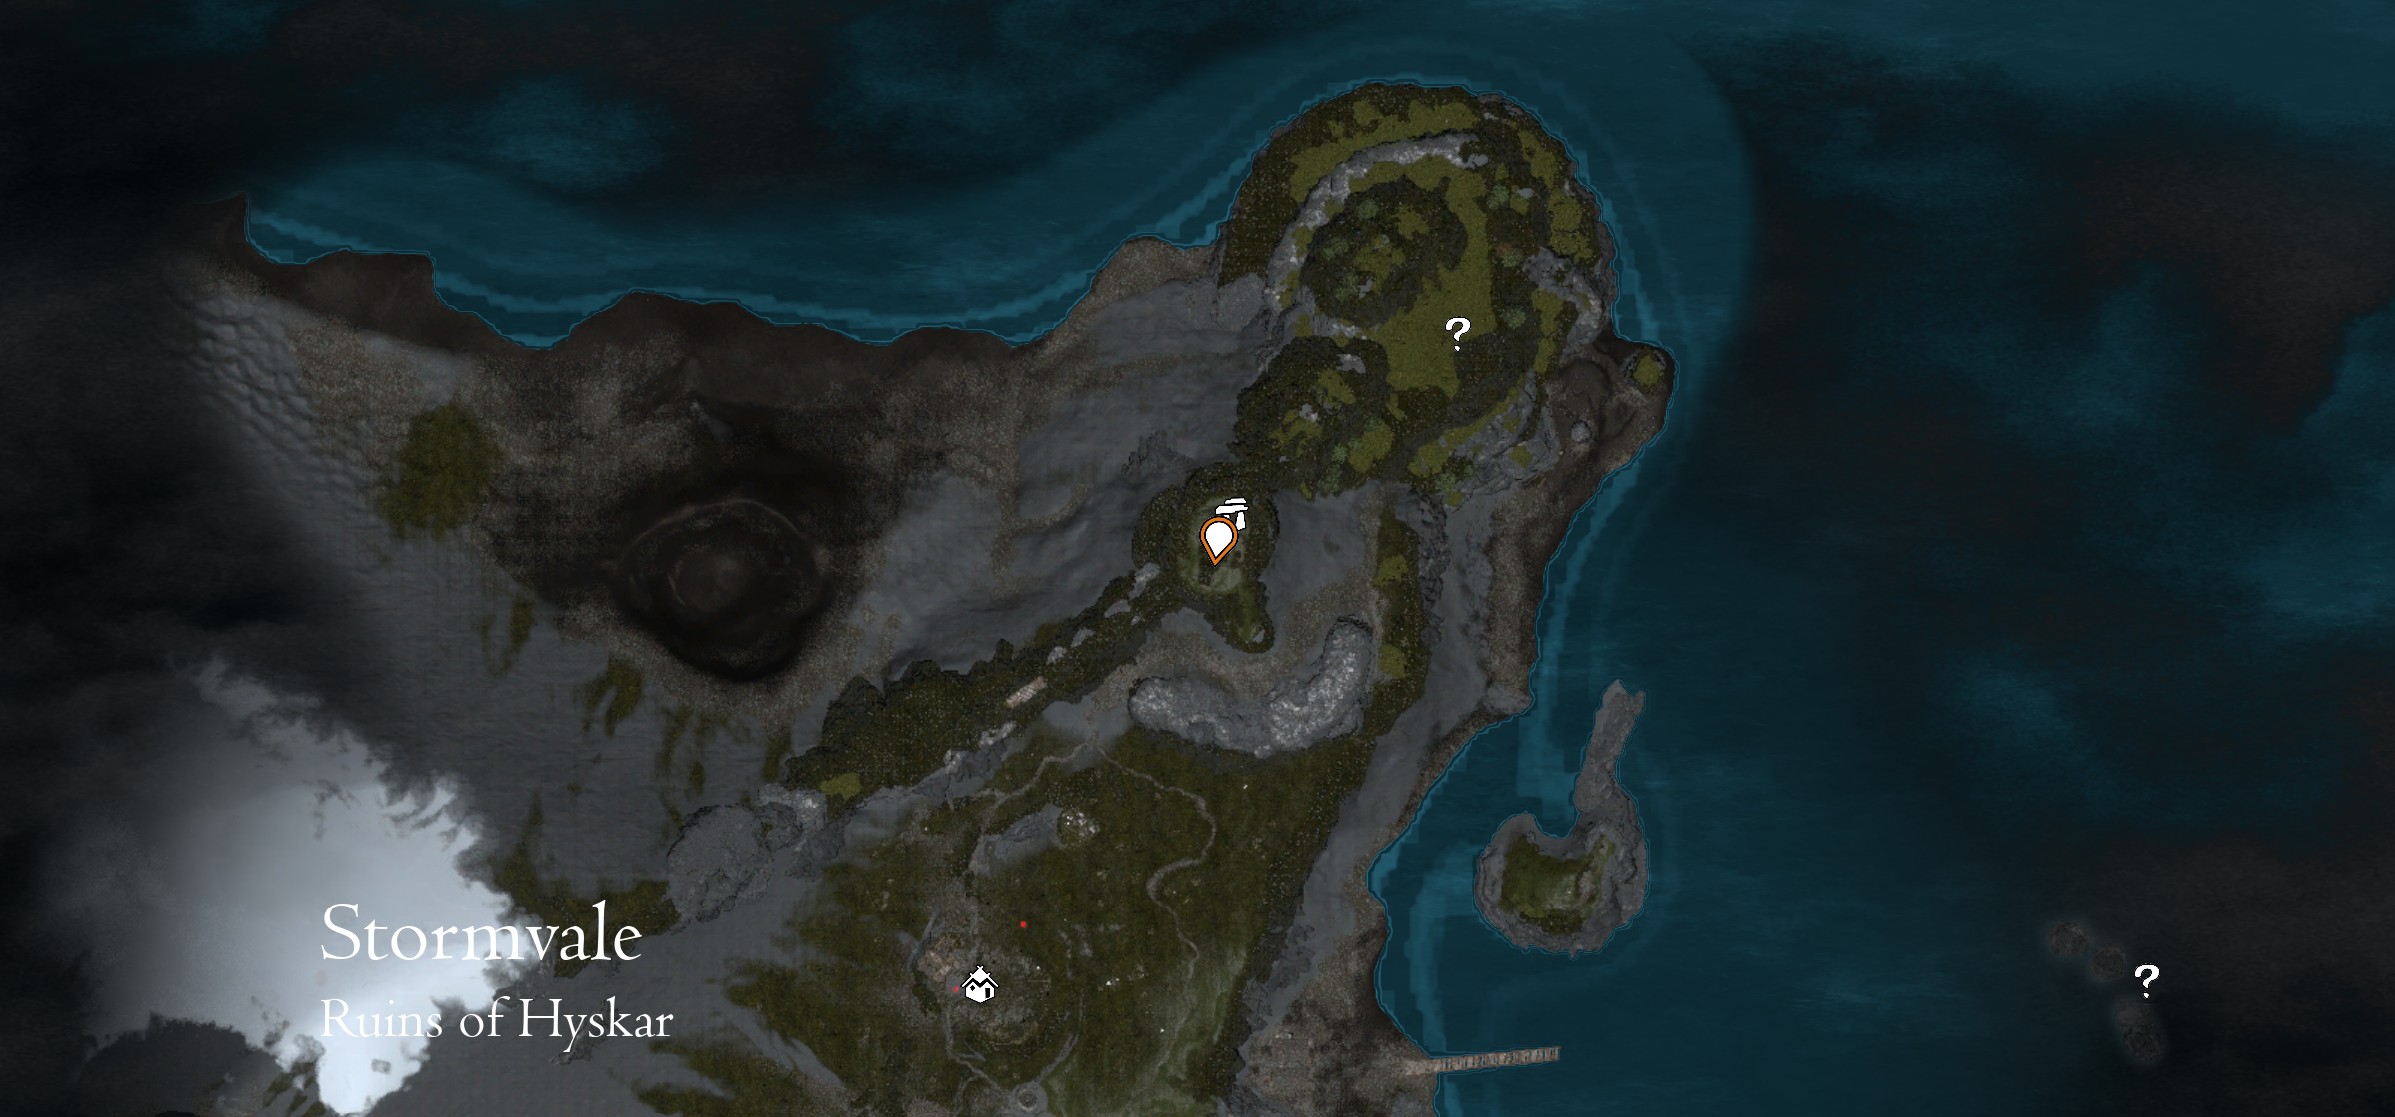
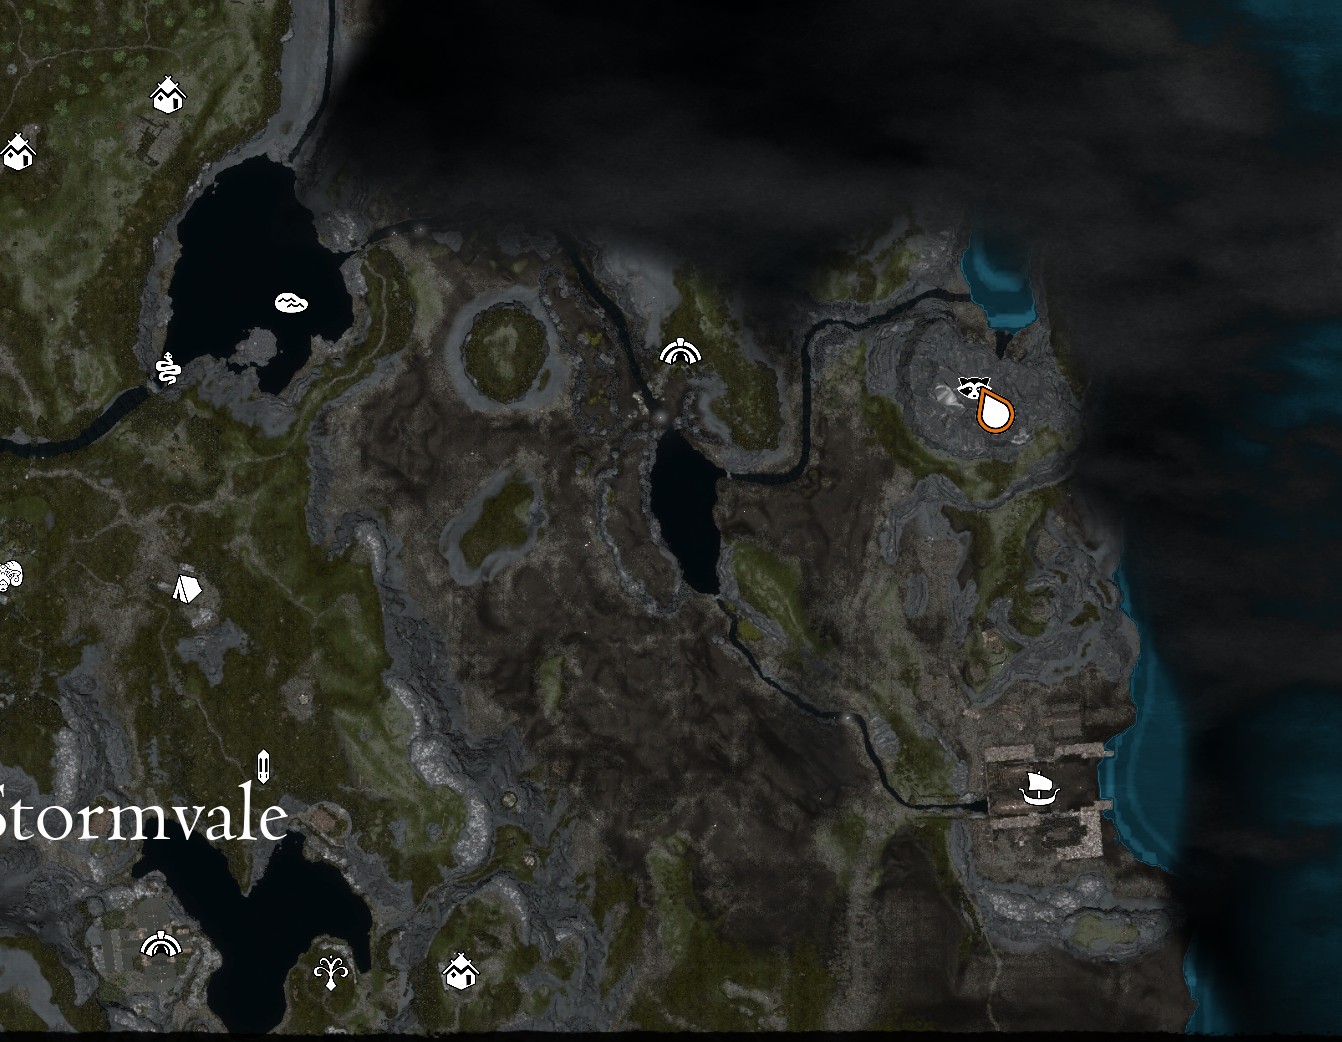
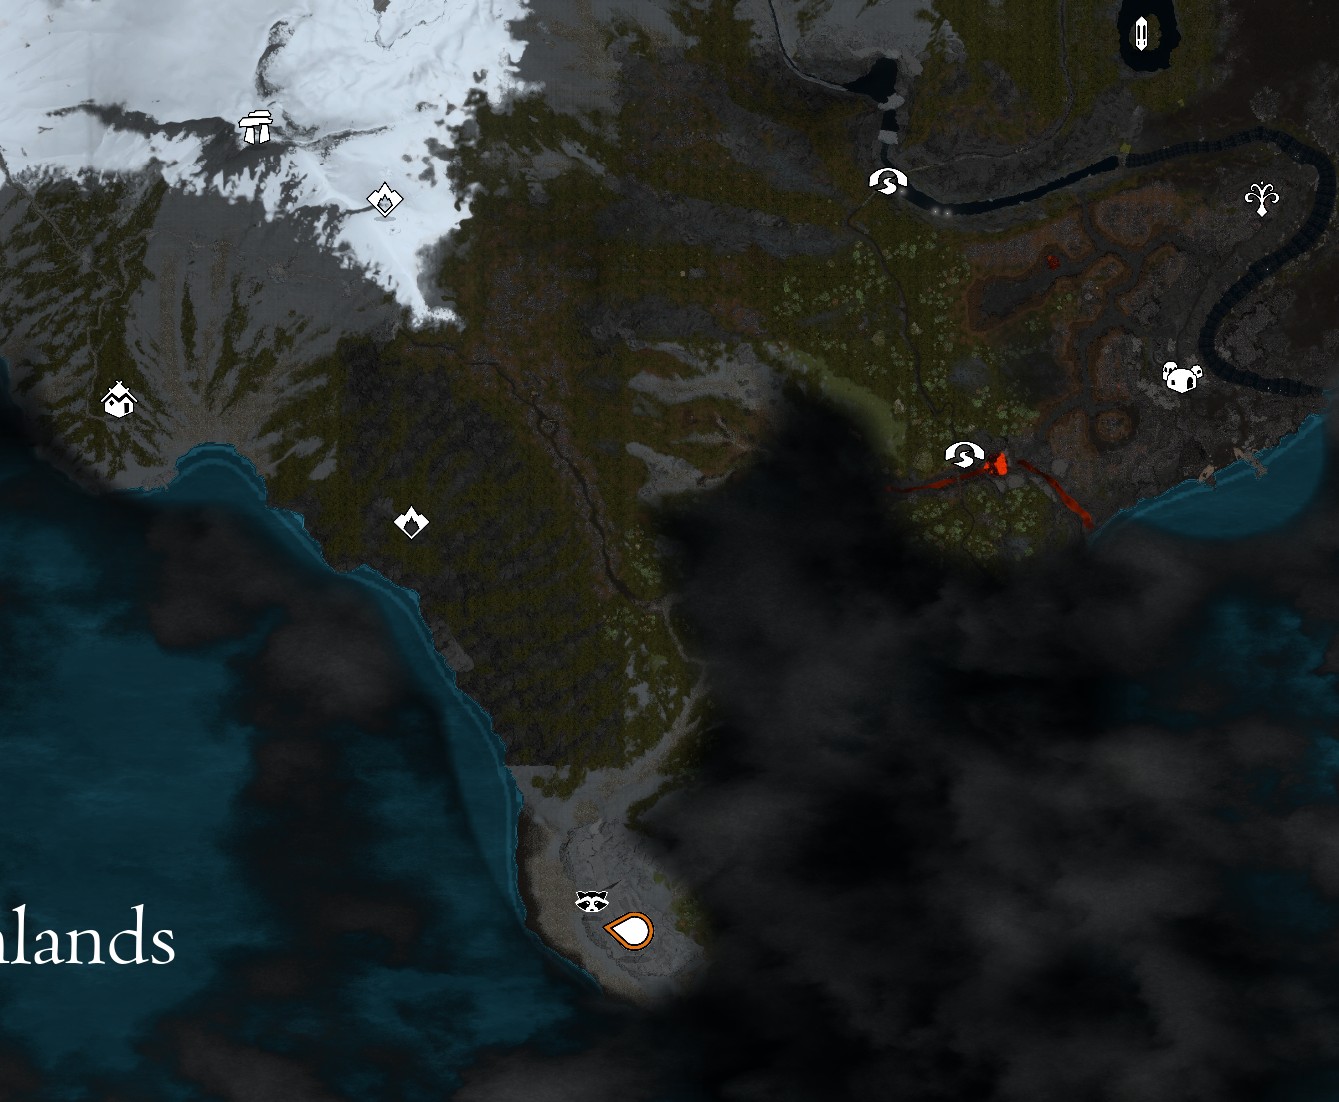
If anyone has any news on the door on the northern shore, between the Tower of Runa and the Ruins of Hyskar, any information would be appreciated. The turtle statues and purple light seem to have something to do with the snake shrines (lights and turtles), maybe the sunken city of outcasts (the same lights can be found there). I was thinking maybe the idea was to activate all the red pressure plates in the snake shrine on the other side of that mountain, but there aren't enough statues, and I couldn't find any other carryables nearby, so I think that might be out the window.
DanMingle 20 May @ 7:15pm 
The mushrooms show up at random points. You run over the first one, and a trail will spawn leading to the next one. You continue to follow the shroom trail until you get a turtle. I've gotten I think 3-4 skins/eyes? I know now when I do them I only get crysals
Nostiel 20 May @ 7:13pm 
Found the kitsune skin by doing some mushrooms I found near Stormwind Shrine, but not sure how mushrooms work. Maybe they're not there all the time, etc?
DanMingle 20 May @ 7:01pm 
Thanks @nostiel. I Only have 2 left to find!
Nostiel 20 May @ 6:48pm 
Mog #6 is at the top of Stormgate Tower. Writing these as I find new stuff, but recall some of the recent stuff I've found, so excuse the many comments.
Nostiel 20 May @ 6:39pm 
The Freckles skin is located in Clearwater Falls in Mosswood, need the dive rune.
Nostiel 20 May @ 6:35pm 
@DanMingle Fennuk 4 is located atop Grimhold Fortress, if I recall correctly. Above Grimnir's throne area.