Left 4 Dead 2

Left 4 Dead 2

188 ratings
How to add custom sounds/music
By _MaZ_TeR_
There are few guides out here that explain how to add custom sounds but a lot of them are outdated or the uploaders haven't explained all the tricks to adding custom sounds.

So I'm going to show you how to do them properly.
2
   
Award
Favorite
Favorited
Unfavorite
Step 1: Programs you need
Audio editing:

I personally use Audacity to edit the sounds.

Download link here:
http://www.audacityteam.org/download/

But you can probably use any audio editing software that can do the things you will be required to do.

Programs:

Left 4 Dead 2 Authoring Tools - available from Steam's tools section
Step 2: Picking the sounds.
Alright, now, you want to choose the sound/sounds you want to edit,

The sounds are located in "\Steam\steamapps\common\Left 4 Dead 2\left4dead2\sound".

For this tutorial, we want to change the Tank main battle theme. The Tank theme is located in "\sound\music\tank" and the theme is called "tank.wav". Here's how it sounds like:
https://www.youtube.com/watch?v=Cu101dw7uc8

For this tutorial, we want to change the theme song to the Brute Necromorph fight theme from Chapter 4 of the first Dead Space, which sounds like this:
https://www.youtube.com/watch?v=j15_NtBb9Bk

This tutorial applies to all the sounds, including the NPC and object ambient sounds.

Now that we have our sounds, we want to replace them. Go to step 3.
Step 3: Editing the sounds
Open up Audacity (or whatever software you are using) and open the tank theme song in the program.

Now, there are two paths of how you can choose to edit the music.

Option 1 (the easiest and laziest part):
You make the music exactly the same lenght as the original one.[/b]

1. In Audacity, drag and drop the original tank theme in the program and wait for it to load the music. It should take a split second unless you have a 2005 wooden pc. It should look like this (mine is in Finnish but you get the point):


Why this is important? You don't have to mess around with the right frequency of the sound if you put the original song in first.

2. Drag and drop the new song to Audacity.


3. Make the song the exact same lenght as the original one.

On Audacity, choose the selector tool, select the area that is too long and move the selection to the point where the original song ends. A yellow line appears on the new track when you hit the end point of the original song. Once you have the right area selected, press the delete button or CTRL+X to remove the selected area.

(Tip: if the song sounds like it ends to a brick wall, you may want to apply a fading effect on the new song. Select the area where you want to apply the fade out effect and the click Effect/Fade out.)

4. Check if the old sound is either in mono or stereo format.

A.
  • If the old song is in mono and the new one is in stereo, you need to split the new track in half.
  • You do this by clicking the arrow pointing downwards next to the name of the track and clicking the "Split Stereo to Mono". This will create two mono tracks of the new song. Remove either one of the new mono tracks.

B.
  • If the old song in stereo and the new one is in mono, you have to add additional copy of the new song to Audacity and fuse them together to create a stereo track. You do this by having the copy moved above or below the original new song, and to do this, press the arrow icon again and click the "Move track up/down", depending on your need. Once they are in a way they are required to be in, click the arrow icon again and click "Create stereotrack". This will fuse the two mono sounds together, making a stereo track.

5. Remove the old song from Audacity by clicking the X-button somewhere on the left side next to the name of the track or press the "Mute" button to silence it completely.. If you leave it in, the old and the new song will play simultaniasly in the final production.


6. Now that the new song is ready, click "File". Then "Bring selected audio" and choose where you want to save the new song.If you added the original song first to Audacity, you do not have to change the name of the file. If you didn't, you have to name it exactly how the original one was called.

Then save it somewhere you find it easily. Then click the format and select "WAV (Microsoft) signed 16-bit PCM". Then click "Save". A new window pops up asking you to name all the artists and what not. This isn't necessary. Just hit "OK" and it begins to create the final production.

7. Finally, another screen pops up saying it is done finishing the song. Just hit "OK" and minize or close Audacity. Listen to the audio file and see that it sounds like how you want it to be. If it does sound like how it is supposed to be, you are done with this step.

Option 2: (more time consuming part):
You make the music as long as you want it to be.[/b]

1. Same as in option 1.

2. Same as in option 1.

3. Don't touch anything if you don't want any additional effects to you new song. Just remove the old track and you're good to go.

4. Now that the new song is ready, click "File". Then "Bring selected audio" and choose where you want to save the new song.If you added the original song first to Audacity, you do not have to change the name of the file. If you didn't, you have to name it exactly how the original one was called.

Then save it somewhere you find it easily. Then click the format and select "WAV (Microsoft) signed 16-bit PCM". Then click "Save". A new window pops up asking you to name all the artists and what not. This isn't necessary. Just hit "OK" and it begins to create the final production.

5. Finally, another screen pops up saying it is done finishing the song. Just hit "OK" and minize or close Audacity. Listen to the audio file and see that it sounds like how you want it to be. If it does sound like how it is supposed to be, you are done with this step.
Step 4: Finalizations
Now that we have our new sound ready, we are ready to add it to Left 4 Dead 2.

If you made the sound the exact same lenght as the original one, do this:

1. Make a new folder anywhere you want. Rename it to whatever you please. Then create sub-folders in the mod folder that look exactly like the original path of the audio you edited. Do not paste it to the game files as it is not necessary for this path of the tutorial. For example "yourfoldername\sound\player\boomer". That's how the modded folder should look like if you don't want custom lenght sounds, of course the names will be different for you.

Note: The audio file has to have the exact same name and file format as the original. Otherwise this will not work. Adding a new sound completely does not work as the game's coding does not recognize it.

Additional note, I will copy and paste it from this guide:
https://steamhost.cn/steamcommunity_com/sharedfiles/filedetails/?id=398938698

A lot of people don't know this, but if you are replacing a sound that is played either in The Passing or Left 4 Dead 1 Campaigns, step 5 will be a little bit different. Say you are replacing the track that plays at the end of No Mercy in L4D2. You would go to the end of your mod's folder chain, and use "themonsterswithin_l4d1" instead of "themonsterswithin." The "_l4d1" at the end of the file name is what tells the game that that track is for a DLC campaign. In the picture below, you will see replaced both the track for both the l4d2 maps and l4d1 maps. If you want to find the file paths or the name of the file for DLC campaign tracks, find them in these directories:

The Passing:
C:\Program Files (x86)\Steam\steamapps\common\Left 4 Dead 2\left4dead2_dlc1\sound

No Mercy & L4D1 Style Music:
C:\Program Files (x86)\Steam\steamapps\common\Left 4 Dead 2\left4dead2_dlc2\sound

All Other L4D1 Campaigns:
C:\Program Files (x86)\Steam\steamapps\common\Left 4 Dead 2\left4dead2_dlc3\sound[/i]


2. Go to the main modded folder where you will see the "sound" folder. Do not go to the sound folder, but stay in the main one and create a text file. Copy and paste this and only edit the parts that are inside the ""-marks except the AddonInfo.

"AddonInfo"
{
addonSteamAppID "550"
addontitle "Title of the mod"
addonversion "1"
addonauthor "Whatever the name of the author"
addonauthorSteamID "LEAVE THIS BLANK"
addonURL0 "Optional URL to outside website"
addonDescription "Description of the mod"
}

If I am certain, if two mods have the same AppID, they will become conflicted that cause some issues. I am not sure how big the ID can be but make sure the two mods will not have the same ID.

Then save it and name is as "addoninfo" minus the ""-marks.

This text file is required in any mod you make so copy and paste it somewhere where you can find it again if you decide to make another mod.

These last steps I will copy and paste from the guide I linked above to save time because I am a lazy basterd, credits go to the other guide's creator
:)

--------------------------------------------------

IMPORTANT:

Once Left 4 Dead 2 Authoring Tools is installed (and assuming Left 4 Dead 2 is installed) navigate to this folder in your computer:
32x System:
C:\Program Files\Steam\steamapps\common\Left 4 Dead 2\bin
64x System:
C:\Program Files (x86)\Steam\steamapps\common\Left 4 Dead 2\bin

*NOTE*: If you have Steam installed anywhere else, just navigate to wherever you have the "Steam" folder and follow the path from there.

In that folder, you should see an application called "vpk" If so, you are on the right track!
*Optional strategy*: To make getting to this application easier for the next section, right click on the application and click "Create Shortcut". Your computer will create a shortcut of the application. Move this shortcut to wherever you intend on putting together the mod folder (as in the next section.) In my case, I place it on my desktop. This is NOT required but can make life a little easier for a future step.

Step 3: Once the addoninfo.txt is all filled out and saved, you are ready to actually create the .vpk. Drag and drop the whole sound mod folder (in my case "Interesting Sound Mod") onto the vpk.exe application created with the Left 4 Dead 2 Authoring Tools (or if you created a shortcut to the application, drag and drop onto the shortcut. Either way is fine). You will see a black box appear for a second on the screen. If you did everything else successfuly, a .vpk file will be created in the same location as the original mod folder.

*IMPORTANT SIDE NOTE*:

You can actually open up a .vpk once it has been created and re-edit the files inside in case you make a mistake using the same way you made it. Simply drag and drop the .vpk file you made onto the vpk.exe program and it will open the .vpk and will show all the folders you put together to make it WITHOUT deleting the .vpk itself. It is basically the opposite of putting the .vpk together. This helps in case it doesn't work and you want to fix it, OR if you need to make an update to the mod itself. Once you are done editing the folder, simply drag and drop the folder back into vpk.exe again to update the .vpk.

Step 4 (Optional but recommended): Congratulations! You have created the .vpk mod. I'd suggest testing it ingame first if you intend to upload the mod to the Steam Workshop or another website. To do this, place the .vpk created into this directory:
32x Systems:
C:\Program Files\Steam\steamapps\common\Left 4 Dead 2\left4dead2\addons
64x Systems:
C:\Program Files (x86)\Steam\steamapps\common\Left 4 Dead 2\left4dead2\addons
Or wherever you "Steam" folder is.


--------------------------------------------------

If you made the sound as long as you wanted it to be, follow this:

Note:

This is not required if you aren't planning to test the mod, however, is required for other people to do if they are to download your mod. So if you did this part, make sure to explain that they are required to do what I say below


1. Go to where you found the original song/sound. Mine was the Tank theme so I go there.

2. Drag and drop the new song to the folder where the old one was located. Just click "Paste and Replace" if the old one is still there.

3. Open up the game and open the console and type in: "snd_rebuildaudiocache" without the ""-marks and hit enter. This will take quite a long time, maybe 2 minutes on an up-to-date 2015-16 PC with an SSD or a good HDD. Once it is ready, some text pops up in the console.

4. Now, run "snd_updateaudiocache" again without the ""-marks. This will take 5 to 30 seconds, depending on the computer. Once it is done, some text pops up again.

5. Now you are ready!

6. Because we made a custom lenght sound -mod, you cannot upload it to workshop. You have to upload it somewhere else where others can download it and then paste it into the game folder.
Example result

An example of my Dead Space addon where this tutorial is used.
More stuff
If you liked this tutorial, consider hitting the favorite and like buttons.

Also check out my Dead Space addon for this game from here:

https://steamhost.cn/steamcommunity_com/sharedfiles/filedetails/?id=2539878035
113 Comments
KRMZNS∆TVRN 16 Dec, 2024 @ 7:45pm 
Wow you guys can actually test your mod? awesome...
lean311200 7 Dec, 2024 @ 4:45pm 
my game freezes or crashes whenever the tank theme replacement mod:
https://steamhost.cn/steamcommunity_com/sharedfiles/filedetails/?id=3380287567
is loaded into the game (main menu, or the loading screen when starting the game), could someone help?
Honnes G. 19 Aug, 2024 @ 4:47pm 
I did this for the main menu music. My custom music does play but it cuts off way early even though I made it precisely the same length as the original music as advised. Any advice?
fresa 2 Jul, 2024 @ 3:25pm 
this was found for Soma modding ?
BLUE_N0VA 24 Nov, 2023 @ 11:06pm 
posting this here just in case i don't figure it out

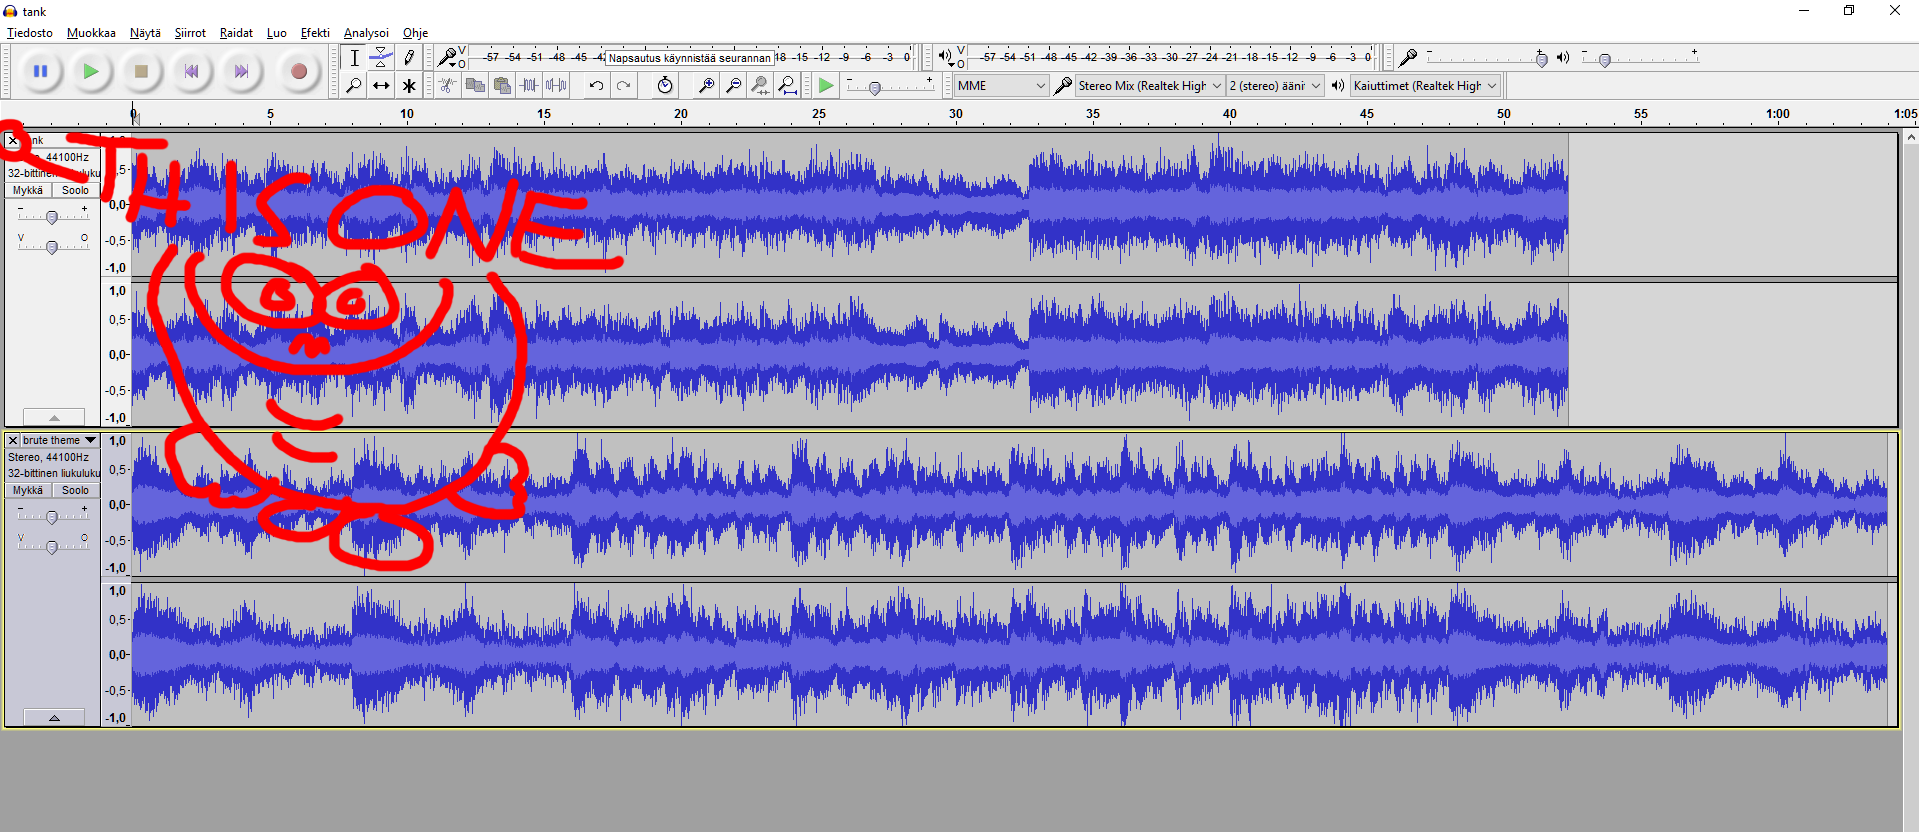
Sorry if i sound dumb, I chose option b and all the songs work perfectly except for when another song plays at the same time, when another one plays on top of the other it just causes the game lag and most sounds (like shooting and reloading) don't play at all.
lildannyz 11 Nov, 2023 @ 11:43am 
Thank you so much for making this guide. You're the best
ChrisTheRedTVHead 16 Sep, 2023 @ 10:17pm 
alright the music works!...now how do i upload it to the workshop?
LJMiranda 28 Jul, 2023 @ 8:33pm 
Done everything. But how to increase the volume of the file? The music volume is low in game.
Girlfriend 12 Jul, 2023 @ 4:06pm 
i know hot to make sound replacement but how do you make it longer in this game
Striking_Alatreon 25 May, 2023 @ 12:41pm 
Thank! This was my first time ever making an add-on. This helped me.