
Install Steam
login
|
language
简体中文 (Simplified Chinese)
繁體中文 (Traditional Chinese)
日本語 (Japanese)
한국어 (Korean)
ไทย (Thai)
Български (Bulgarian)
Čeština (Czech)
Dansk (Danish)
Deutsch (German)
Español - España (Spanish - Spain)
Español - Latinoamérica (Spanish - Latin America)
Ελληνικά (Greek)
Français (French)
Italiano (Italian)
Bahasa Indonesia (Indonesian)
Magyar (Hungarian)
Nederlands (Dutch)
Norsk (Norwegian)
Polski (Polish)
Português (Portuguese - Portugal)
Português - Brasil (Portuguese - Brazil)
Română (Romanian)
Русский (Russian)
Suomi (Finnish)
Svenska (Swedish)
Türkçe (Turkish)
Tiếng Việt (Vietnamese)
Українська (Ukrainian)
Report a translation problem


![Image #1.png]](https://images.steamusercontent.com/ugc/2071133362182502642/4512562F767B65C8AB1A124E9B1A5C6CB364DFD6/ "Image #1.png]")
![Grid #1.png]](https://images.steamusercontent.com/ugc/2477618104246415315/82BBD8D2047DE4C2602A3C9C7AE5FBD8FFE9A7CF/ "Grid #1.png]")


![Flame Hand.jpg]](https://images.steamusercontent.com/ugc/2065508931944994975/A6F331013F5A85BCA290429E26F6BD87C0CED4E0/ "Flame Hand.jpg]")
![Full Pockets.jpg]](https://images.steamusercontent.com/ugc/2065508931945049105/C56D38CD44DBF1FD1CFFD05E44DF9EA201F15338/ "Full Pockets.jpg]")
![Health+.jpg]](https://images.steamusercontent.com/ugc/2065508931945068277/FF916B3CEF4376201D9CCE472181816A59978749/ "Health+.jpg]")
![Thorns.jpg]](https://images.steamusercontent.com/ugc/2065508931945089153/2A089BC01765DFFD2F06F2705D070959D8EB8203/ "Thorns.jpg]")
![Crossbow.jpg]](https://images.steamusercontent.com/ugc/2065508931945102250/CB73B23A8CA4D5EA8764B4245DEA4CD3B1C53A91/ "Crossbow.jpg]")
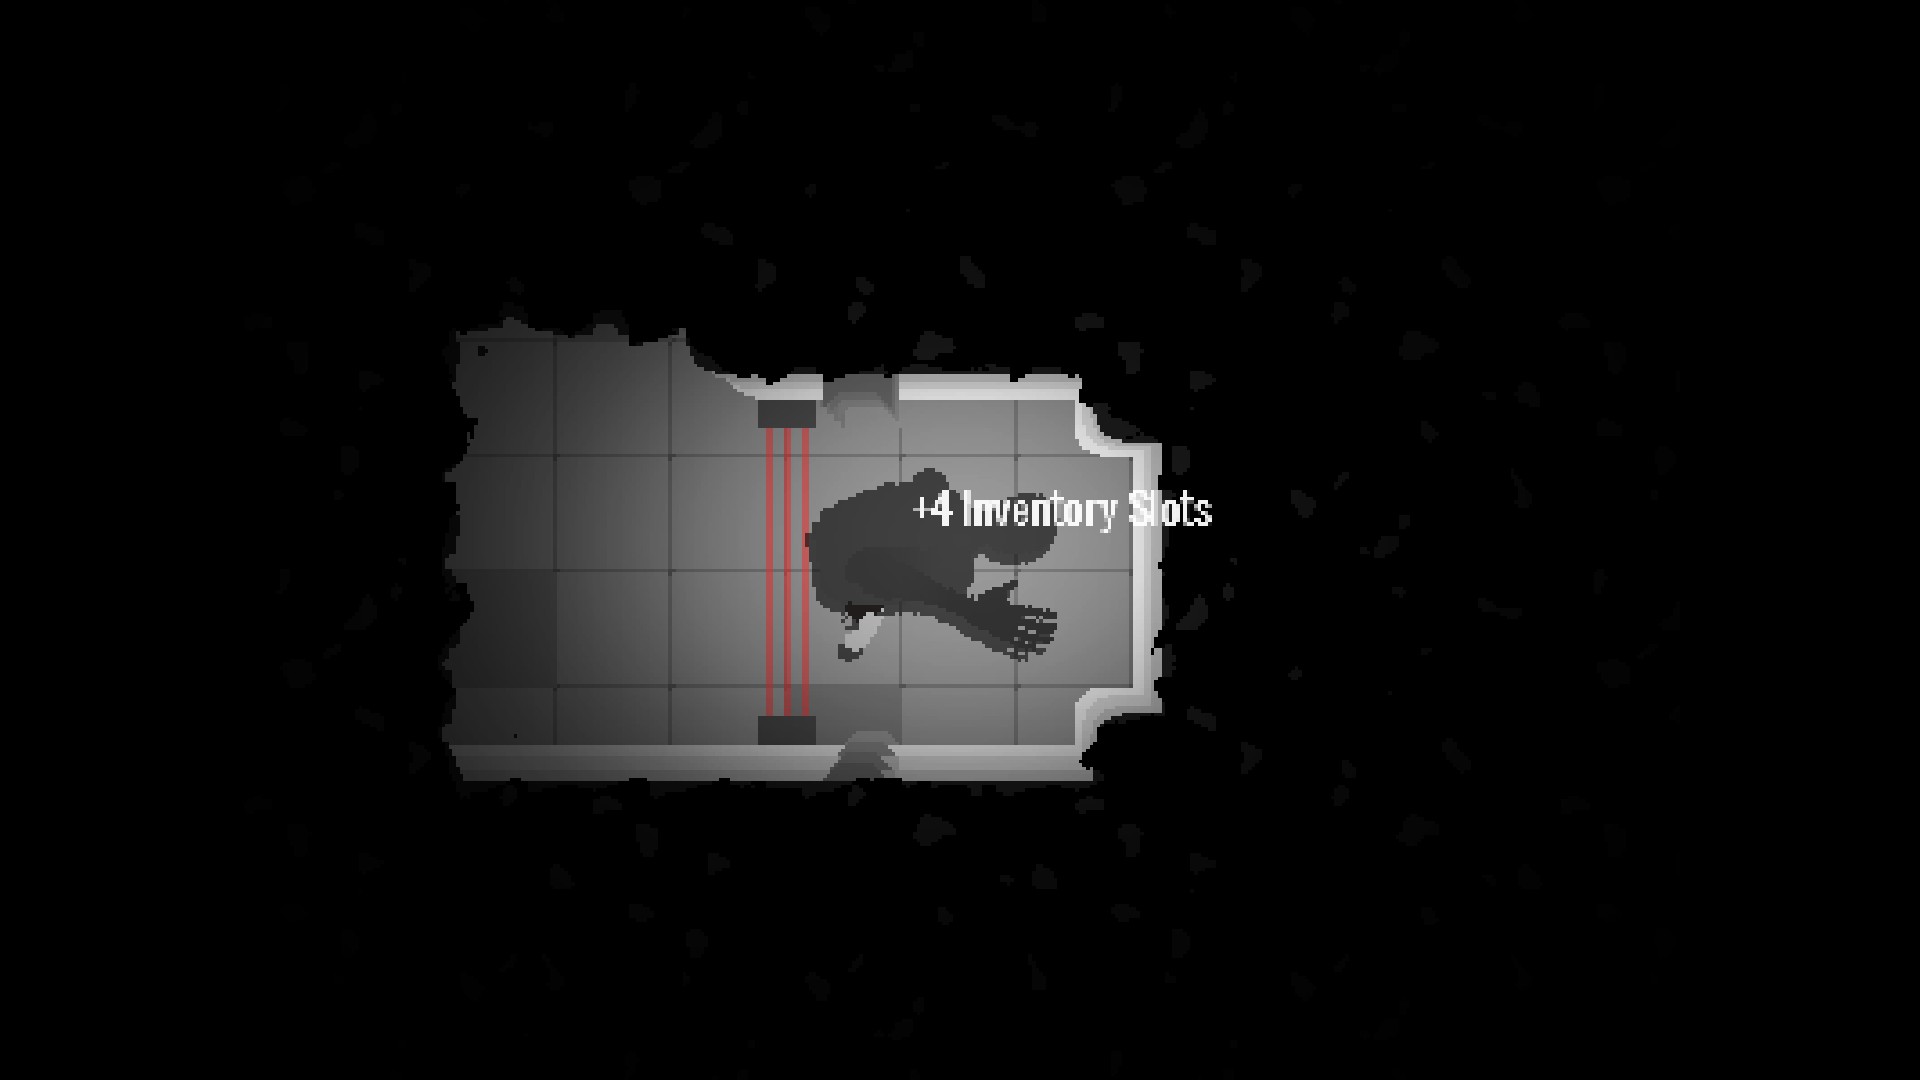
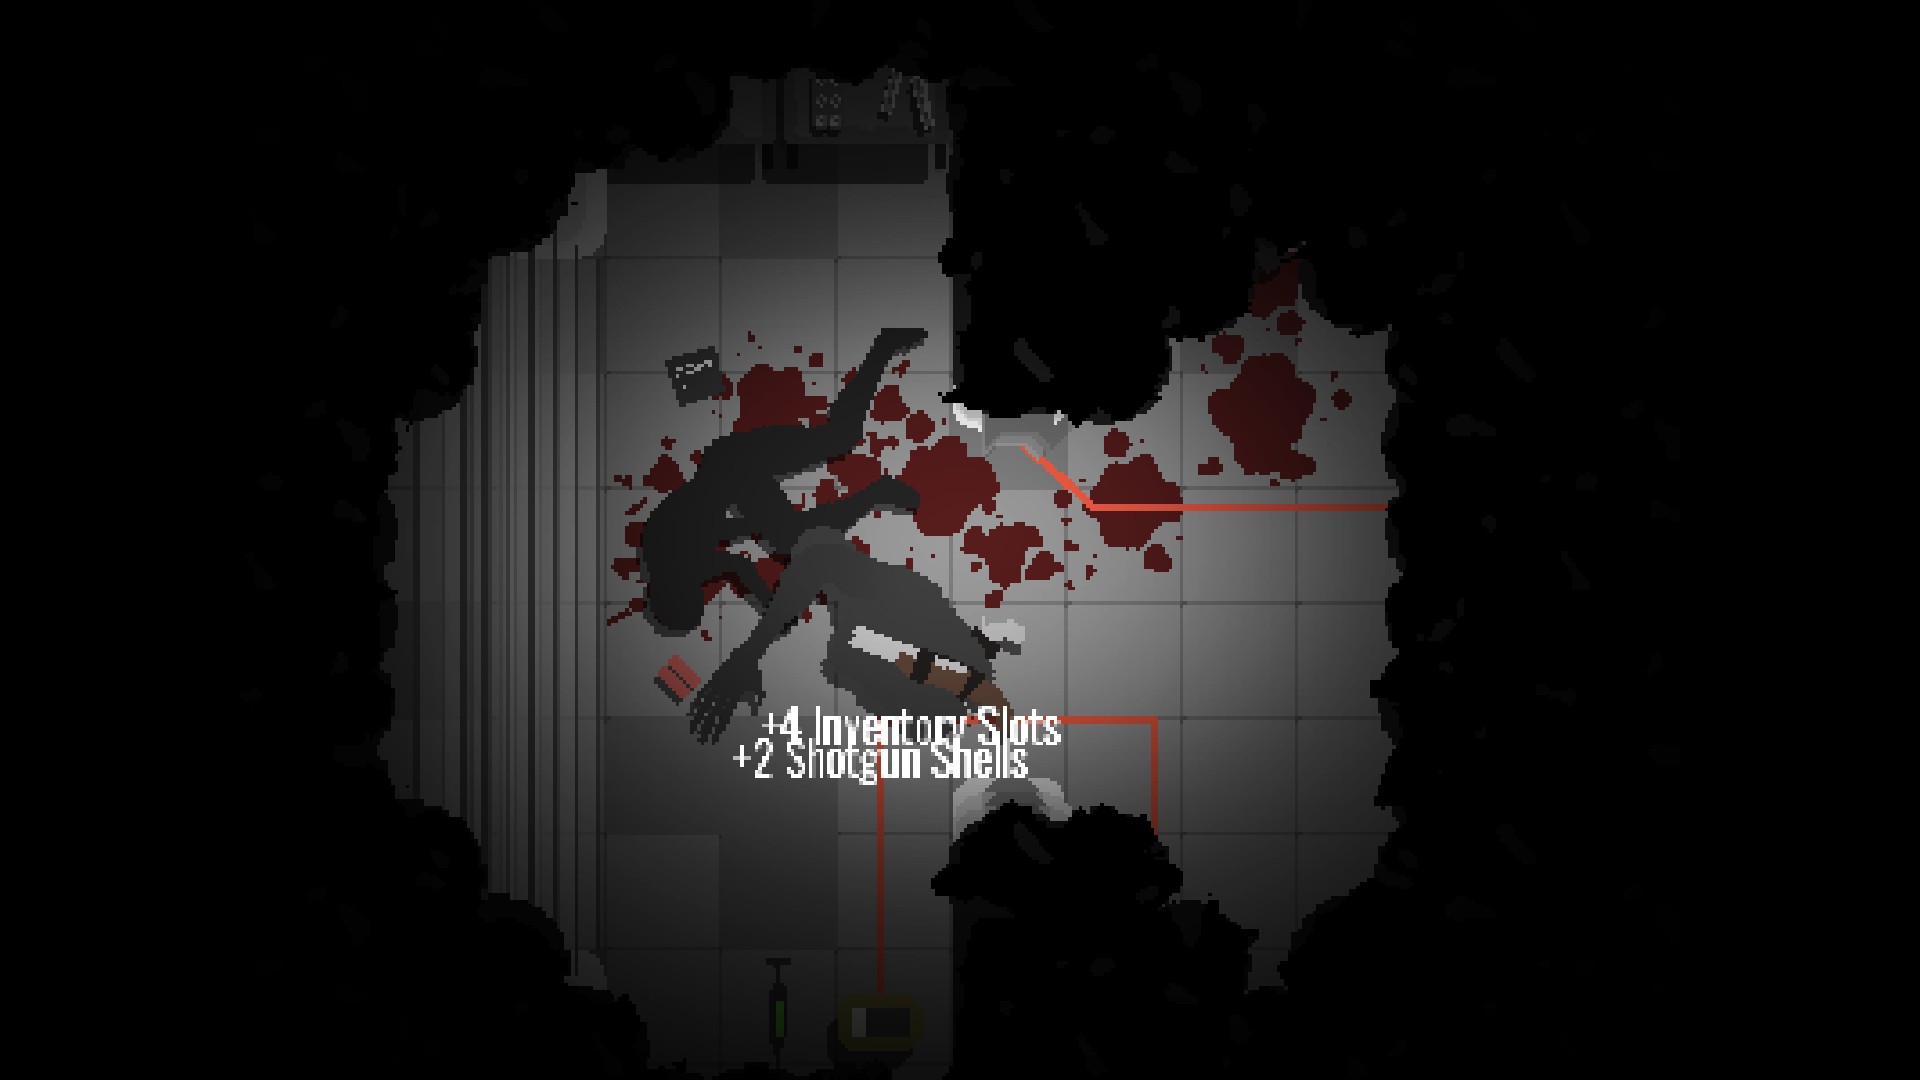
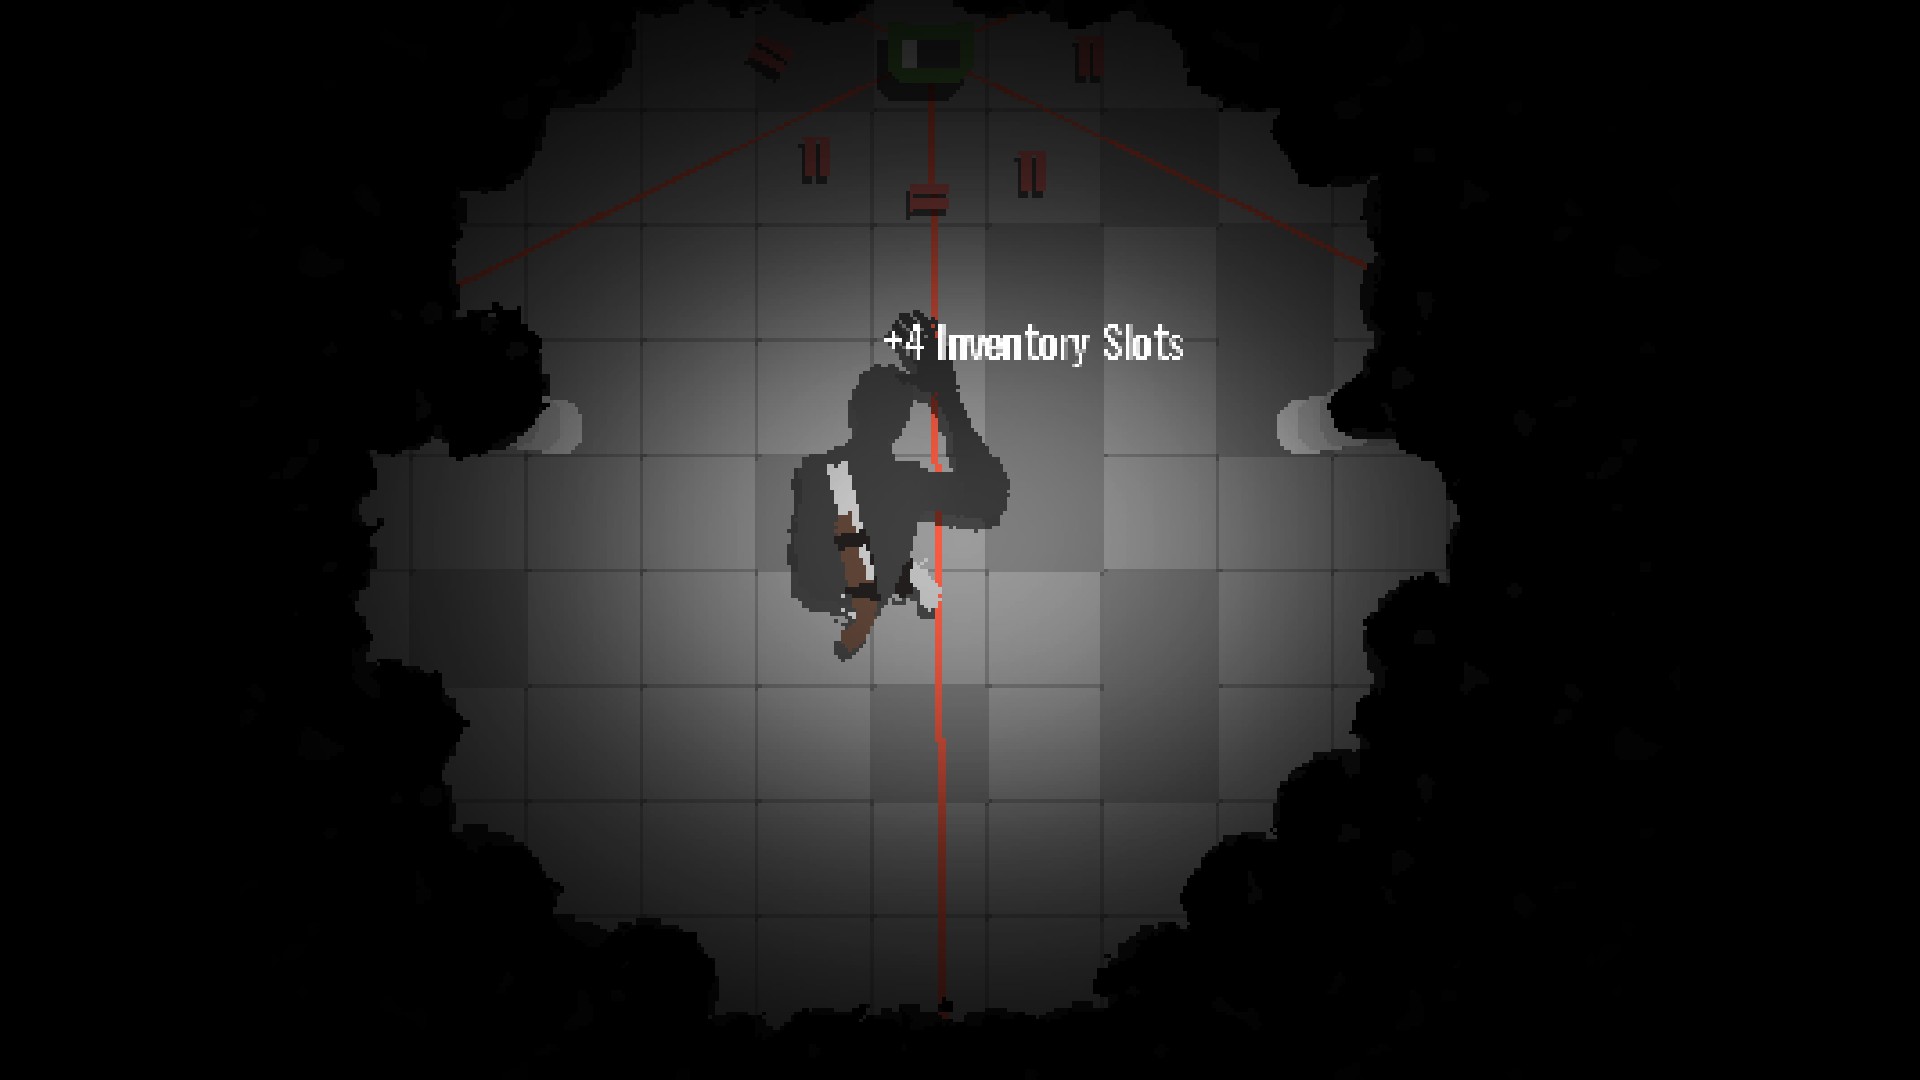
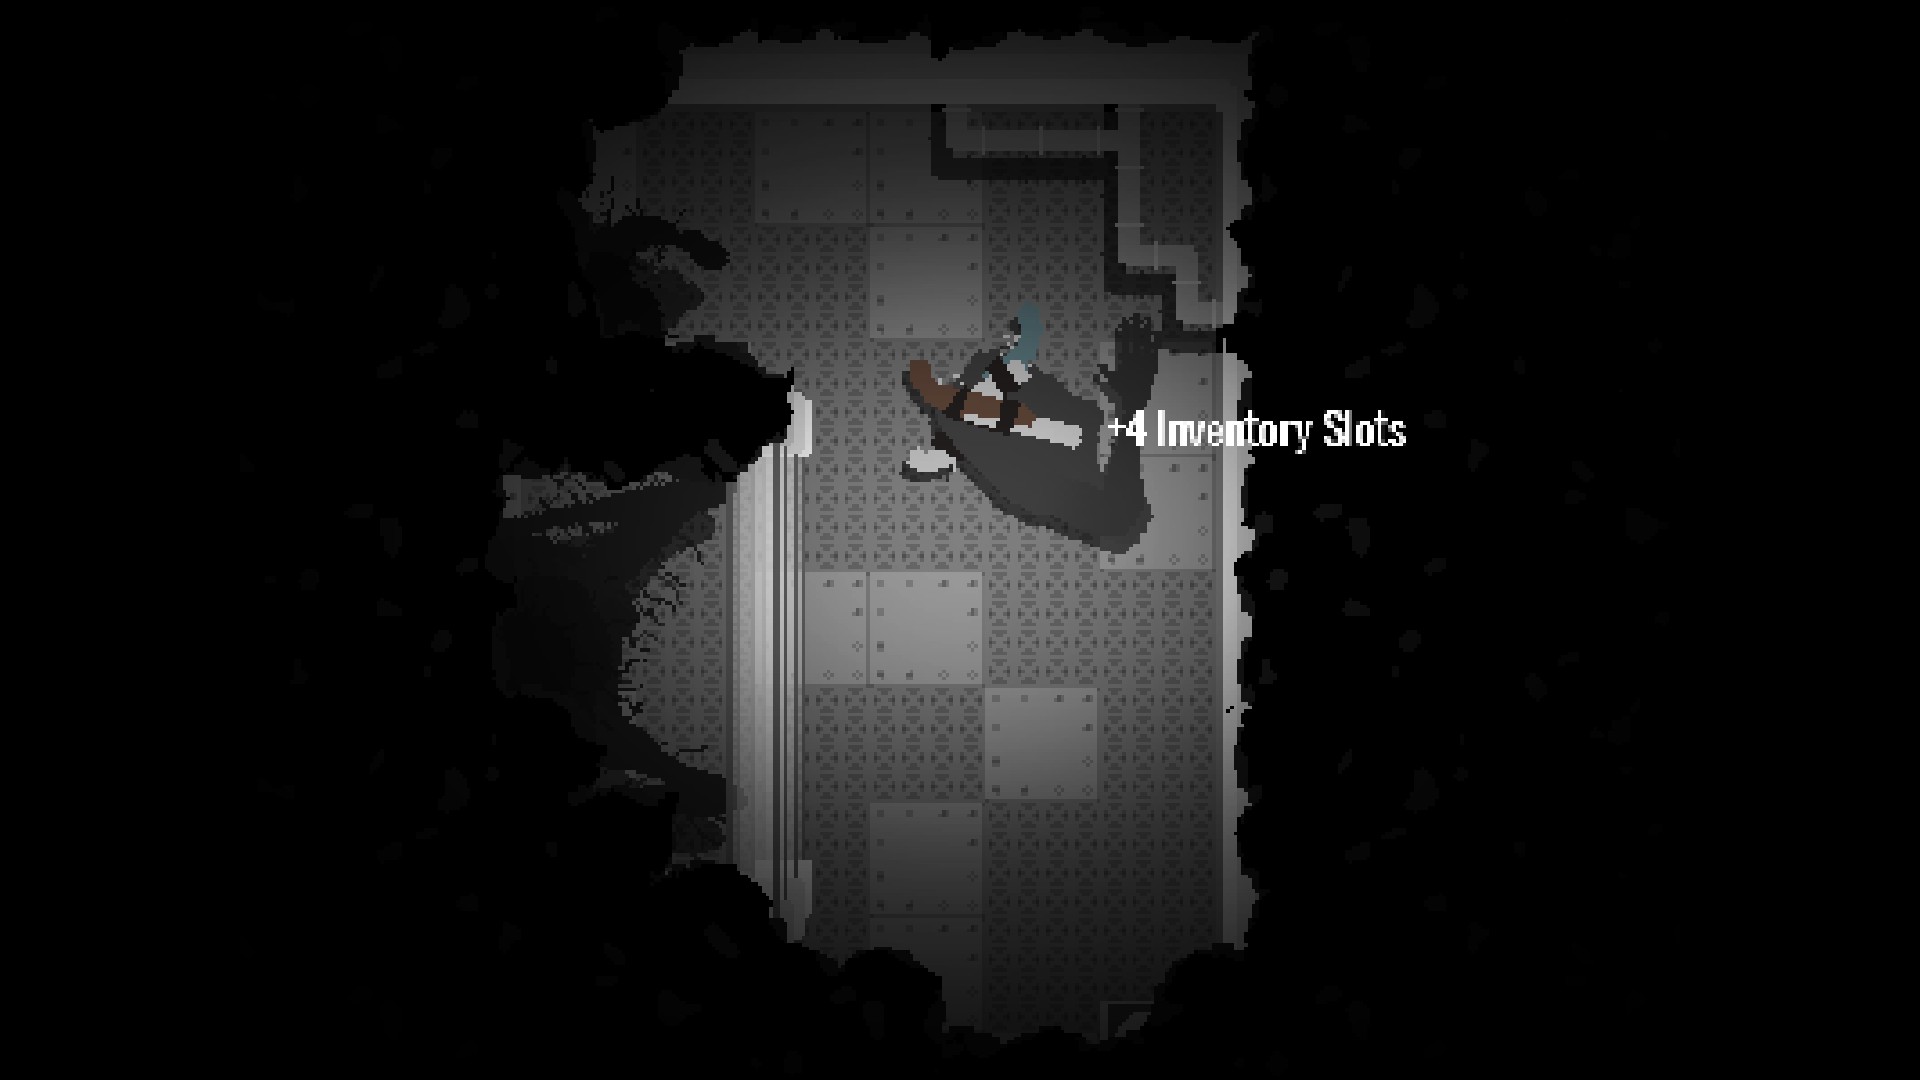
![Inventory+.jpg]](https://images.steamusercontent.com/ugc/2065508931945114783/CE321694E7DF948345D6AD90B5878E41D1501417/ "Inventory+.jpg]")
![Shotgun.jpg]](https://images.steamusercontent.com/ugc/2065508931945127618/38BCBBB249E11E7FF9566591BE25A58388CF42B2/ "Shotgun.jpg]")
![Flare Gun.jpg]](https://images.steamusercontent.com/ugc/2065508931945136438/6B78D8B0065935DBBB100420316D71A3E4FC727B/ "Flare Gun.jpg]")
![Stuffed Shells.jpg]](https://images.steamusercontent.com/ugc/2065508931945148833/CE628C2C023710D45B4EC72F9D58F04D38E4C98B/ "Stuffed Shells.jpg]")
![Quick Wind.jpg]](https://images.steamusercontent.com/ugc/2065508931945165957/9F1ED10D0AED878BB33794940E83B94B72FBE6EE/ "Quick Wind.jpg]")
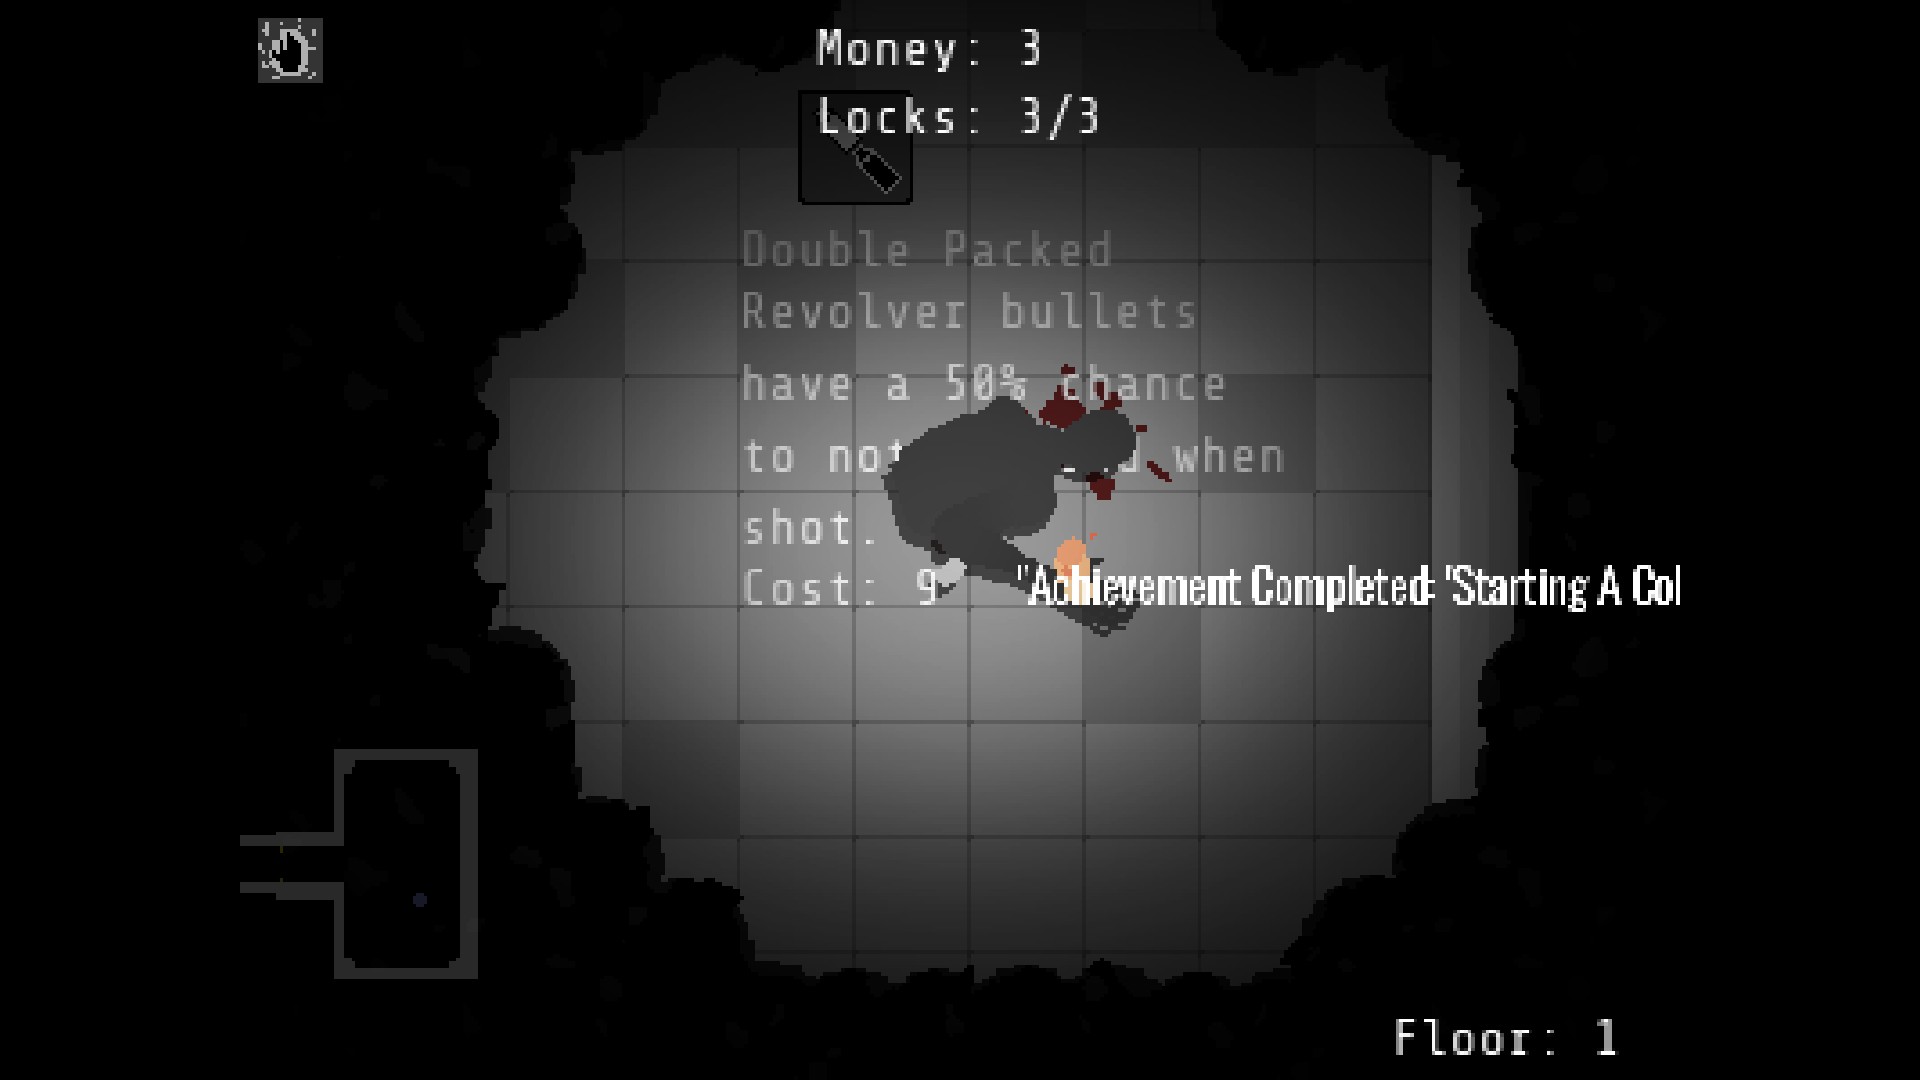
![Double Packed.jpg]](https://images.steamusercontent.com/ugc/2065508931945179882/C02EB094AB550C89FC810546893B3D47544332B3/ "Double Packed.jpg]")
![Flare Net.jpg]](https://images.steamusercontent.com/ugc/2065508931945195238/B533C0E2F6153A2F896E476CFDDE5D2D13F87794/ "Flare Net.jpg]")
![Medical Satchel.jpg]](https://images.steamusercontent.com/ugc/2055380258363667290/C9B08905B4FF7CB26CD1CB6F20CC449C501BB0D4/ "Medical Satchel.jpg]")
![Vampirism.jpg]](https://images.steamusercontent.com/ugc/2055380258363694867/02F79E7F369686792CDEF535CA236357C1F2F472/ "Vampirism.jpg]")
![All upgrades (1).jpg]](https://images.steamusercontent.com/ugc/2065508931945209129/AF71DBCE49DE5F5EA442F3419D249B3CD954D5F9/ "All upgrades (1).jpg]")
![Phase Flicker.jpg]](https://images.steamusercontent.com/ugc/2065508931951452405/C263EA86B454F0051A65E8AA0D787E1596641B74/ "Phase Flicker.jpg]")
![Zombie Damage+.jpg]](https://images.steamusercontent.com/ugc/2065508931951473169/FD1F45C5EB5FBAE8347507A22AE3FE4AD97332CA/ "Zombie Damage+.jpg]")
![Rat Reaction+.jpg]](https://images.steamusercontent.com/ugc/2065508931951542007/438AFBB41850A21D606A5D4567833D84EB02D9F5/ "Rat Reaction+.jpg]")
![Rat Damage+.jpg]](https://images.steamusercontent.com/ugc/2065508931951542194/A10F2F051CD3E67454184438D44AFC721C627E9D/ "Rat Damage+.jpg]")
![Zombie Speed+.jpg]](https://images.steamusercontent.com/ugc/2065508931951572824/AAAB2C3AF2888D12EB98A41F027F16E697F143BB/ "Zombie Speed+.jpg]")
![Bubble Shield.jpg]](https://images.steamusercontent.com/ugc/2065508931951615086/CAC7DDF0A5C042ED5C430CA3FE99F815CFE7DEA4/ "Bubble Shield.jpg]")
![Camo.jpg]](https://images.steamusercontent.com/ugc/2065508931951633585/E0AD20EF877145C497DB600855D85187C7073B84/ "Camo.jpg]")
![Bursters.jpg]](https://images.steamusercontent.com/ugc/2055380258363652440/ECA081439307E17BDAA4212BEA1328220D1E138A/ "Bursters.jpg]")
![More Mass.jpg]](https://images.steamusercontent.com/ugc/2055380258363661059/D69D25F86931961A48FC32346E2DF974F6075DC1/ "More Mass.jpg]")
![Hibernation.jpg]](https://images.steamusercontent.com/ugc/2055380258363677172/AADF9A5F927E55AD7C8656D061412FC2BA84FCA1/ "Hibernation.jpg]")
![All enemy buffs (1).jpg]](https://images.steamusercontent.com/ugc/2065508931951639944/BFF0C58E6260555C0AFFA8CD348F34B6FA385CFD/ "All enemy buffs (1).jpg]")
![Hero (1).jpg]](https://images.steamusercontent.com/ugc/2477618104246415322/CC531ABC7D93F3E0A77C717319C587E6ABCEA8EC/ "Hero (1).jpg]")


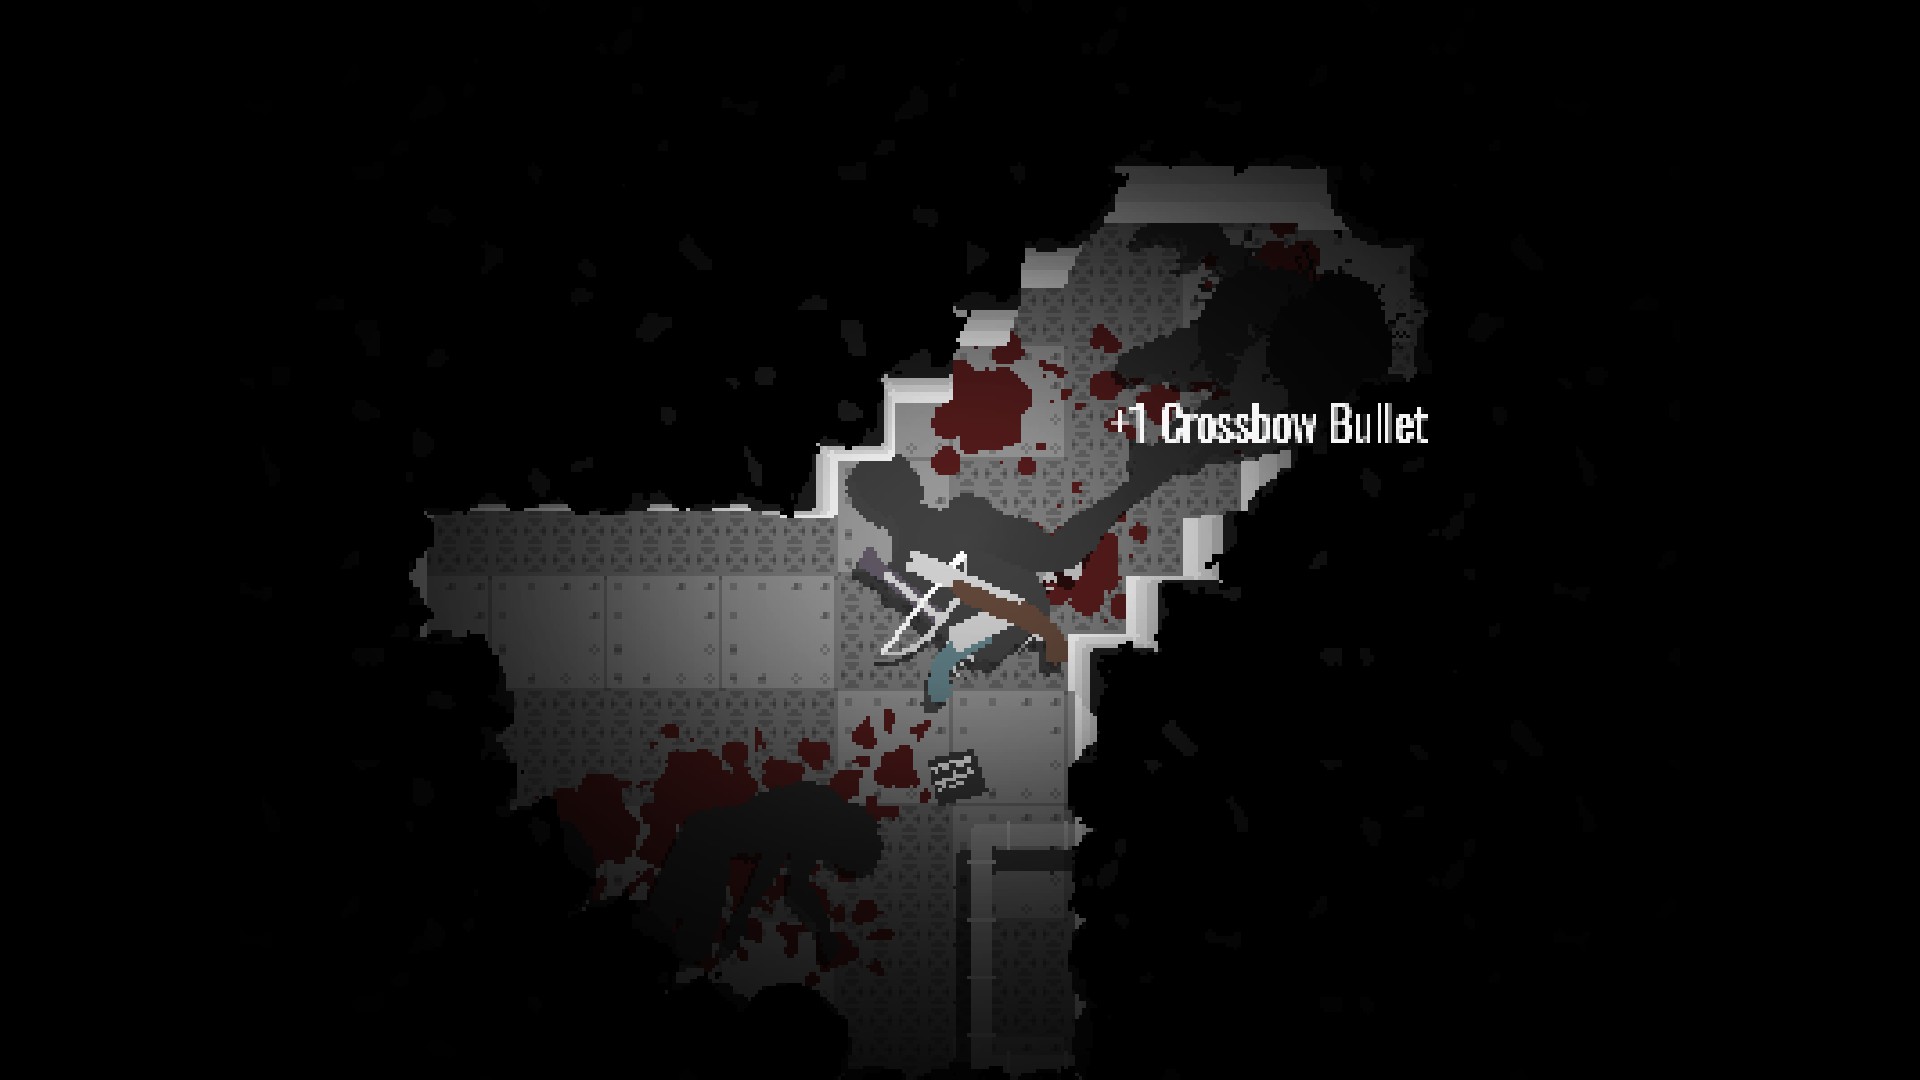
I would rather waste a bullet that I could find dozens more of than try reload my crossbow and pray that the newly spawned enemy doesn't decide to turn around.
Some things to note for anyone playing endemic mode:
-Avoid ever getting More Mass. Crossbow and flaming hand stop being a 1 hit kill.
-Hibernation kills count towards your money.
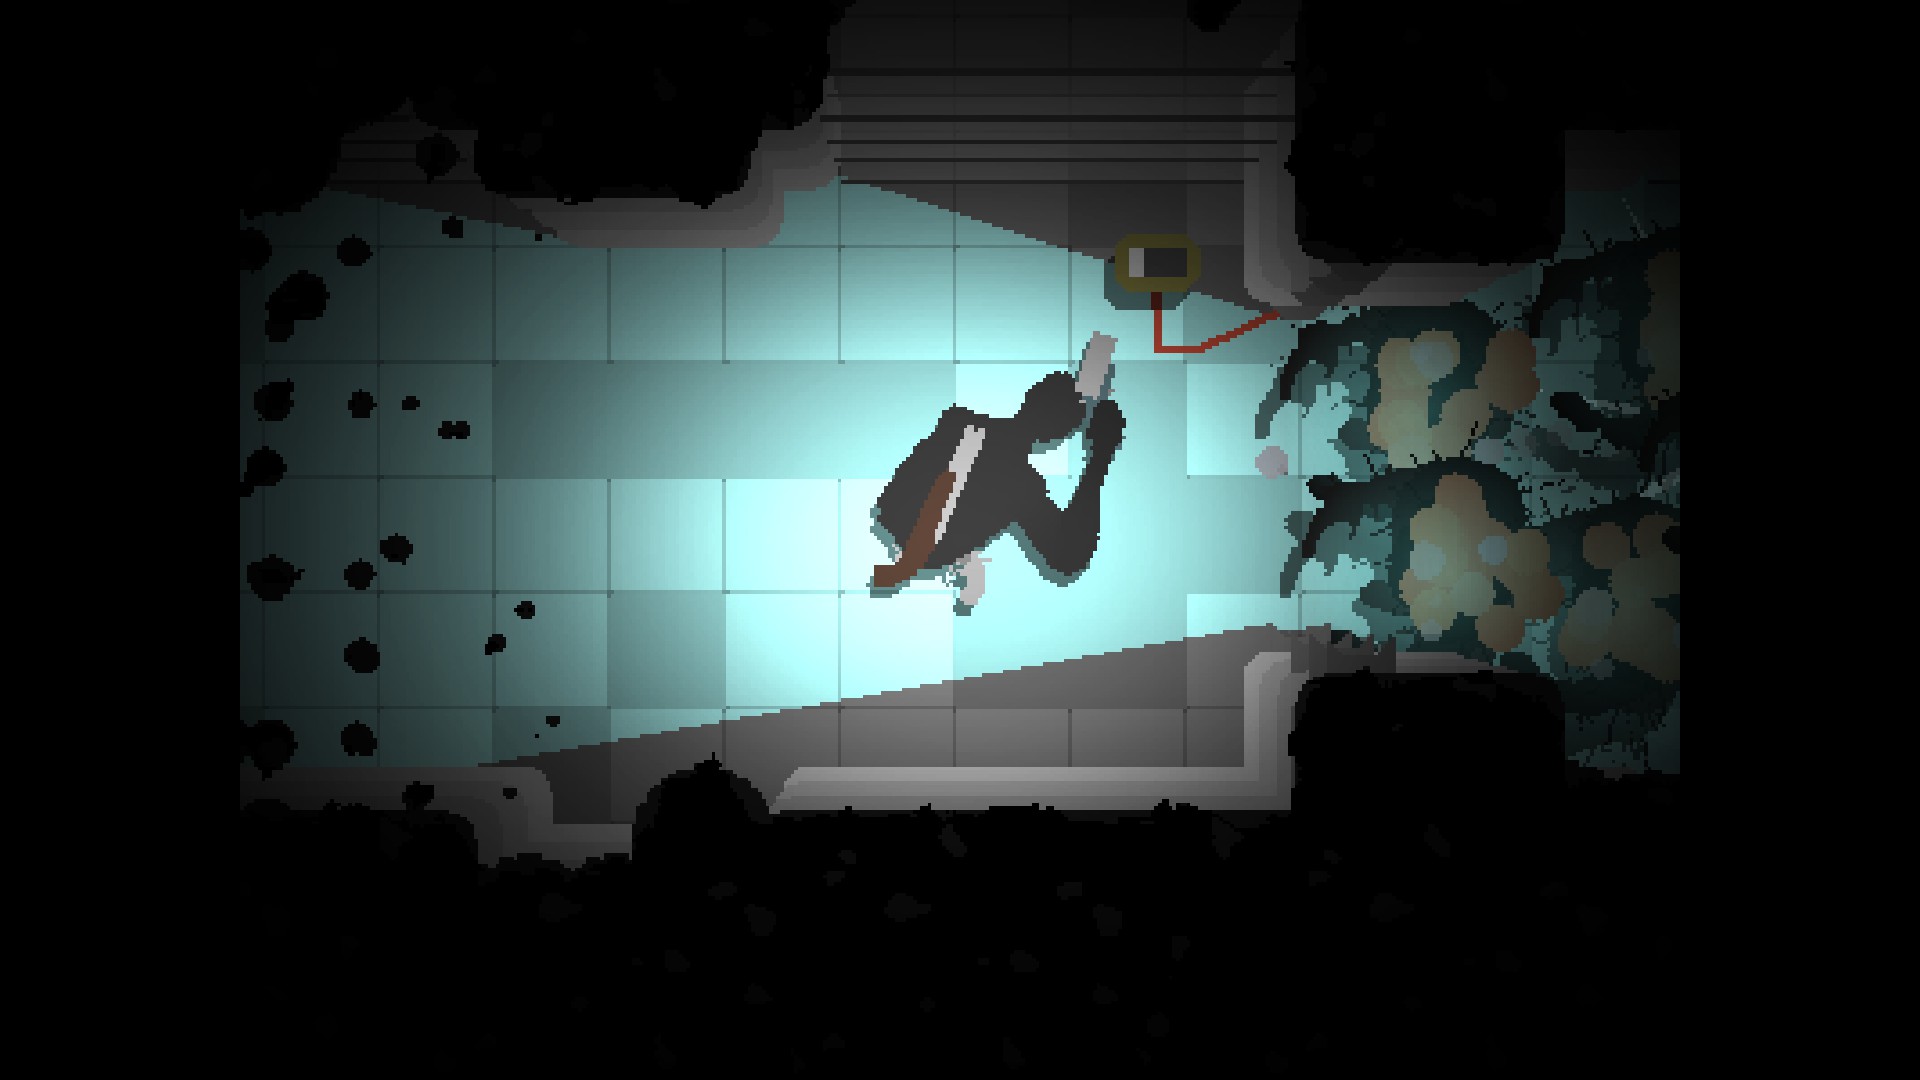
-Grab a crossbow and fast crank asap, it will carry you through almost everything besides bosses.
-Vampirism is extremely weak despite sounding good, go for Medical Satchel over it.
-Remember where you leave ammo and meds, especially on boss floors (3,6,9,12,etc), going back for stuff is what saved my runs.
-Use the revolver on eggs, it's ammo is plentiful and you aren't using up your crossbow shot incase it's an enemy
I hope this helps someone