Space Engineers

Space Engineers

25 ratings
Prototech Wars
By Survival Ready
Strategy and tactics of survival against the Factorum faction. Description of encounters and hints on how to complete them.
   
Award
Favorite
Favorited
Unfavorite
Gameplay Update
On October 14, 2024, Keen Software released update ver.1.205, which introduced a new hostile Faction Factorum, which possesses Prototech technologies. To obtain these technologies, you will have to engage in combat with NPCs of this faction and capture Prototech modules for the large and small grids and use them on your ships or bases for better resistance.

In this update, the developers finally managed to combine all the game content into a single whole and offer a new level of survival based on the existing faction Space Pirates (SPRT) and other NPC factions involved in the economy. Keen Software continues to develop and improve this direction, so I plan to supplement the guide as new content appears.

Here I will describe all types of Encounters, which I call quests, and give some recommendations on tactics for completing them, as well as present several types of ships that you will probably need for the game. All ships were designed and built in survival mode. All true for the game on PC for Windows 7.0 without mods.

P.S. At the moment, I have completed the game 4 times in the content of 1.205 & 1.206 Updates. During the game, the administrator mode (Alt + F10) was not used. Otherwise, what's the point?
Game world settings
To start the game, you need to create a new Solar System and set the conditions for survival in it. I recommend using the maximum settings for inventory and production speed to focus on the game and minimize routine actions associated with normal survival such as ore refinement speed or welding. You will have other things to do and yes, you will have to carry a lot manually.


Pay attention to the Encounter amount parameter. In fact, this is not the number of encounters, but the difficulty level of the game. When setting Highest you will be prompted to fight difficult NPCs right away, regardless of what stage of development you are at. For example, the first quest in the second survival led straight to a clash with Factorum Warship. So I recommend choosing Normal to get more traditional game content that will gradually progress from simple to difficult. This parameter is set only during world generation and then cannot be changed.

The strange slider Global Encounters Cap sets the number of signals that will simultaneously appear in space and indicate the coordinates of the next quest. There can be a maximum of 2 signals at a time. This parameter can be changed. The cooldown between signal updates is 2 hours. All quest content is generated at once, so freezes may occur at this point.

The rest of the settings can be to your taste, but I recommend enabling the options shown in the screenshots to get the same unified game content that I mentioned above.

Planetary encounters
The survival strategy depends on how you prefer to survive — consistently and thoroughly or quickly and on the edge of risk.

The first option involves traditional survival associated with searching and mining large amounts of ore and ice, building a full-fledged base and a large ship ready for any challenges. The second option is more about exploring the world and using what will be found during the game.

I prefer the second path and the Contact update kind of hints at this with a new Enable planetary encounters option, during which you will find various finds from wrecked cargo ships to military outposts of various factions.

Abandoned Colony Ship. Alien planet
Prospecting Station. Pertam
Storage Post. Triton
Crashed hauler. Pertam

The first find will definitely be waiting for you not far from the landing site on the surface in a radius of 5-7 km. The white mark can be constant or flashing. The detection radius is up to 8 km.

Just don't rush to look for it on the jetpack right away — for this quest to spawn, the character needs to be in approximately one place, so explore the progress tree, upgrade the Respawn Pod or do close exploration of ore with a hand drill.

The site is neutral, but may be guarded by turrets that are activated when an attempt is made to penetrate. Therefore, be careful with your Respawn Pod when exploring the object, so that it does not unexpectedly come under fire. In order for the object to become yours, you now need Claim NPC grid of the entire site through the Terminal. Otherwise, it will despawn after 2 hours from the moment of hacking or destruction of any block.

Inside you will find some basic ores, advanced tools, maybe some weapons and, interestingly, a chip for the safe zone. The site will most likely have production blocks for initial survival — Basic Refainery or Assembler. If you are lucky, you will also find Prototech components, but they will clearly not be enough to take advantage of the new technologies. I have never found a Prototrch Frame on the surface, which is the basis of any of their modules.


This find can become the basis for your first base or even a ship (see screenshots above) and will determine your further actions. Do you still want to dig? However, you will have to, but more on that later.

Hint: hacking an object can hopelessly ruin your reputation with one of the neutral factions it belongs to. So before hacking enough blocks to reach the negative threshold, make sure there is no trading post of that faction nearby. Trading can also affect your further survival.

More planetary encounters!
Such requests regularly appear on the forum or in the Reddit community. What can I say?

Firstly, according to my observations, the more difficult the survival conditions on the planet, the more often these quests appear. In half an hour on Pertam I found 3 sites within a radius of 30 km, and on Titan I found only one site and that was by accident — its mark appeared in the list of beacon selection for a jump during the battle in orbit and only then I noticed the mark.


Secondly, the developers most likely intended this game content to be one component of the entire survival process, and at the initial stage there shouldn’t be much of it, otherwise it will be too easy.
Unidentified signals
Signals appear almost immediately after the game starts and never appear within a simple flight distance. The minimum distance from the player that I observed was just under 1000 km, and the maximum was up to 12,000 km. This is the only source of Prototech technology where you can capture ready-made blocks or find frames to craft them.

Gold
The only way to get to the signal is a jump drive, which you will need gold to build. There are three ways to get gold:

1. Find, mine and refine ore — you will need at least 456 gold ingots or 23 tons of ore for a Refinery with 4 Yield Modules

2. Buy, if you are lucky, at NPC trading stations — you will find the coordinates of the nearest station in the Notepad in the Respawn Pod

3. Capture a ship with ion thrusters and disassemble the Thruster components

Planetary encounters may contain a small amount of components that include gold, but you still have to dig. I warned you! The good thing is that you don't need much gold and you can get by with a hand drill. You'll also need cobalt, some silver, and a lot of magnesium. Fighting NPCs can be quite expensive.

If you prefer the traditional method of survival associated with finding and mining ore, then I can offer you a quick survival guide so that you can meet Factorum sooner.
https://steamhost.cn/steamcommunity_com/sharedfiles/filedetails/?id=3006240789
Uranium
It is possible to reach Unidentified signals without uranium, using a hydrogen generator to charge a jump drive, but you will not be able to succeed in combat with Factorum ships unless you have long-range artillery weapons to produce shells that require uranium.

The sources of uranium are the same as for gold, but:

1. There are very few trading stations where you can buy uranium in bars, and you can spend as much time searching for them as you do exploring a deposit. Therefore, I advise you to take a closer look at ready-made ships, which are sold much more often and some of them have some uranium on board immediately after purchase.

2. Some pirate Mayday signals can also be a source of uranium. Previously, the best loot among pirate ships was the R.U.S.T Freighter, which had 4 small reactors with 5 units of uranium in each, but now you will not find them.

3. You can find uranium deposits on asteroids or in boulders on the surface of planets, but it can take a long time and be fruitless.

Take a closer look at ion and atmospheric ships
There are 10 uranium ingots somewhere around here

During my second survival I used only the uranium that could be found on signals to evaluate the balance of the changes made. Believe me, even 10 uranium bars are not bad loot and worth the time spent. Uranium is another level of the game and there is no such thing as too much of it.

Ice
Another important element in the game, because only hydrogen engines will give you a slight advantage over Factorum ion ships.

Hydrogen is an alternative energy source for charging the jump engine in case of a uranium shortage and will greatly increase your chances of survival in battle, if of course you can protect the hydrogen tanks.

Ice is easy to find everywhere, perhaps except Pertam, but in order to fill one large hydrogen tank you will need 1000 tons of ice, which you must first mine, and then wait for the tank to be filled by O2 / H2 Generators. This is long and boring. And here again the economy and pirates will come to your aid:

1. Hydrogen can be bought from NPCs, just do not forget to dock the ship to the station and select its tank in the inventory list.

2. Some Mayday signals will lead you to wrecked ships or stations that have surviving hydrogen tanks, you will only have to capture them and pump hydrogen to your ship. It's not hard to do and one assault turret with an AI Offensive/Defensive block will be enough to shoot down enemy turrets from a safe distance, but try not to damage the tanks or you'll be left with nothing.

Here you can buy half a tank of hydrogen
And here you will find 7 full tanks

As you can see, the old game content has perfectly complemented survival in the new conditions, and the balance changes that have begun give hope that the developers will not stop with this update.
Ship, Battle Ship, Warship
Just looking at the Factorum's main ship makes you want to build something similar, or even bigger, so that you have no doubt about the outcome of the battle.
https://steamhost.cn/steamcommunity_com/sharedfiles/filedetails/?id=3346010994
However, in a survival situation, it will take a long time before you can manufacture the necessary components, build a welding wall, and then load, fuel, and arm your big gunship and send it out to meet the enemy. So you will likely have several steps to get what you want.

Starter ship
In the first stage of survival, you will need to create the necessary stock of ingots and hydrogen. The design of the starter ship depends on which survival path you choose: aggressive, associated with finding and capturing NPC ground stations, or traditional, based on exploration, mining and processing of ore.
https://steamhost.cn/steamcommunity_com/sharedfiles/filedetails/?id=3484516876
This is a small and easily modifiable ship on hydrogen propulsion, which can combine both methods of survival. In civilian equipment, it can be equipped with a basic refiner, an ore detector and a drill for its extraction, and in military - an accelerated assembler and an AI block that expands the action of automatic turrets. In either version, less than 120 blocks are used.

The ship is so simple that it can be welded from basic components without a blueprint, simply from memory. In military equipment, it will allow you to confront space pirates and aggressive NPCs, as well as capture static Factorum bases to research Prototech technology.

New SPRT Mining Carriage is a difficult goal
A small ship has its advantages

The main disadvantage of this ship is fragility, but if the subtank has not exploded and the assembler is not damaged, then you can easily restore it in 5 minutes without using a projector. At the initial stage of survival, it is better to avoid fights with a more equipped enemy or against several drones.

Battle Ship
In the second stage, you will need a ship with Jump Drive to get to Unidentified signals and engage in battle with Factorum for the possession of Prototech technologies.
https://steamhost.cn/steamcommunity_com/sharedfiles/filedetails/?id=3364307845
40 meter light artillery corvette for 360 blocks allows you to fight any enemy without inflicting crushing losses on them, so that you have something left to capture.

The direct fight ended in a draw. Nothing remained
Result of the battle using a decoy drone

The ship can be welded manually in half an hour from a blueprint of basic ore bars, but for Jump Drive you will need gold. If you have not found it on the planet or do not want to mine it at great depths discarding unnecessary stone, then you can postpone the construction of Jump Drive and try your luck in space, where gold is often found on asteroids in the form of open deposits. Sometimes gold bars can be found in Ground Encounters, but most likely it will not be enough.

My answer to Factorum BumbleBee missiles
Drone does not interfere with the course fire

The basis of the success of this ship is the drone decoy, which allows you to distract enemy turrets and hit enemy ships with artillery from a distant station. Installing and programming the drone decoy may take some time, but it is not difficult and completely pays for itself.
https://youtu.be/fjwsc_8Szjg
The ship has practically no drawbacks except for the small striking power of weapons and a short jump range of 2000 km. Therefore, for comfortable play on Unidentified signals he needs an auxiliary ship — Jumper.

Warship
Your combat experience, turrets and welders against the Factorum AI, its warships, escort drones and homing missiles.

To build a ship for a direct fight with the Factorum Warship, you will need a full base, a welding wall and another ship that can pull your Warship out of it. It is advisable to immediately provide a place for installing the Prototrch Jump Drive and Prototech Battery in the ship's design to take advantage of new technologies.
https://steamhost.cn/steamcommunity_com/sharedfiles/filedetails/?id=3485026103
The 70-meter frigate made of 640 blocks has firepower comparable to the Factor Warship and composite armor that can withstand several hits from heavy artillery shells and a frontal shot from a railgun. Gatlings and Interior Close Combat Turrets create a fairly dense barrage of fire for Guided Missiles, which are the main threat and are effective in close combat. Welders restore Artillery Turrets during combat and protect the ship's critical blocks — Hydrogen Tanks, Jump Drive, Assemblers and cruise engines.

To capture less dangerous targets, two Assault Turrets mounted on the bow are used. It is better to turn off Artillery Turrets — this will save loot and Hydrogen Tanks for refueling your ship. Building a combat ship using Prototech technology and capable of withstanding any challenges can be considered the ultimate goal of survival.


General remark
To successfully encounter Factorum ships, your ship must have maximum maneuverability and good braking thrust to maintain distance and avoid being hit by a group of guard ships. The developers are constantly improving the tactics of NPC drone combat and it is not easy to dodge or escape from them. A good solution is a short jump of 5-7 km or a distraction target in the form of a decoy drone or Jumper covered by a Safe Zone, but this complicates the game.
Jumper & Jumps
To deliver a combat ship to an Unidentified Signal, I recommend using a special ship equipped with several Jump Drives. Signals usually appear at a distance of 7000-9000 km from the player, so a range of 6000 km for a jumper will be quite enough. For this, you will need 3 vanilla or one Prototech Jump Drive.

To reduce the waiting time for Jump Drives to charge, it is best to first make a short jump, which will reduce the distance to the maximum range limit, and then make a jump to the maximum range.

For example, if the Unidentified Signal is 8200 km away from you, then first make a jump to 2300 km, and then to 5900 km, since at the final point you will need time to get into position and activate the Safe Zone.

The ship's energy must be sufficient so that when jumping to the maximum distance and activating the Jump Drives' charge, you do not experience overload.

Jumper can be a full-fledged base
Or it could be a special auxiliary ship

Jumper is an important tactical element and helps not only to accurately deliver the main ship to the battlefield, but also to distract the escort or Factorum defense ships.

Zone Chips and entire Safe Zone modules can be found on some Signals — Factorum also uses them. Apparently for this reason, there was a certain deficit of Zone Chips in the economy and prices doubled!

Jump to Unidentified Signal
In the list of choosing the destination point of the jump drive, there is a list of GPS coordinates available for the jump, among which Unidentified signals appears. This allows you to immediately jump to the signal without having to select the jump range value in percent for a long time.


However, this method has one significant drawback - your ship will appear too close to the target and can be attacked immediately after the jump, when your turrets have not yet had time to target the enemy. In the case of an escort armed with railguns, this is almost always fatal.

Therefore, to avoid damage to the ship when exiting the jump, I recommend:
  1. Set the ship's nose to the Signal
  2. Select Unidentified Signal in the GPS list
  3. Accelerate backward to maximum speed
  4. Disable the dampers and jump to the Signal
In this case, there is a 90% chance that your ship will survive, and the guards will miss and will not have time to organize pursuit. So do not forget to save before the jump.

By the way, my Jumper modification is related to this after the first survival, where the acceleration backward was performed by it. At one unfortunate moment, the Factorum Listen Outpost's security and combat platforms managed to destroy it, and I had to get to the base using only the main ship's jump engine.

After which I abandoned this solution in favor of towing the Jamper on a connector, when the main ship accelerates, and when exiting the jump, the main ship covers the Jumper with its hull.
Factorum Quests
Each Unidentified signal is essentially a separate quest that you will need to complete to get to the Prototech modules installed on it. Depending on the number of battles, the difficulty of the quests will increase if you have selected the Normal value for the Encounter amount parameter in the world settings. If you are playing at the maximum level, then the difficulty for each signal is probably chosen randomly and does not depend on your development.

There are 7 quests in total, which I divided into three categories in order of increasing difficulty:

Capture a base on an asteroid — 3 types
Capture an object in space — 2 types
Capture the Factorum ship — 2 types

If you have completed one quest, this does not mean that everything will go exactly the same next time. So be vigilant!

The hardest quest I've encountered is Factorum Warship with a 6 ship escort and a spawn of 3 hydrogen-powered homing missiles, after which the two hour cooldown between signals no longer seemed too much to me.

Capture a Prototech module
After capturing an object, you can usually find a couple of Prototech modules on it. Assembler, Refinery, Jump Drive and Traster of the large grid are most often found on asteroid bases. Batteries — on ships and space stations, and the drill is only in one quest on an asteroid. Small grid blocks usually complement large ones and are found everywhere.

To capture a Prototech module, you need to carefully cut it with a grinder to the point of breaking, then repair it with a welder, and then Claim NPC Grid through the Terminal. If the module does not have an access panel, for example on small batteries, then you can access the Terminal by installing a buttom panel on it.

To capture only a module installed on a base or ship, it is better to first cut it out of the grid and only then claim the NPC grid, otherwise it will despawn along with the grid. The time until despawn is indicated every time you point a welder or cutter at the module.


Next, I will describe all the quests and give some tips on how to complete them, but without a detailed description, so that you do not lose interest in the game.
Factorum Storage Facility
The base is located among a cluster of asteroids and the wreckage of combat spaceships that probably remained after the battle that took place here. A very atmospheric sight, especially when you see it for the first time.


It can be guarded by one or two Factorum drones, but most often the danger comes from the wreckage of ships that still have functioning weapons. Be careful when approaching, but you most likely will not encounter strong resistance. You can find some useful things in the wreckage, but not all wreckage is safe.

Here you can most often find the most useful Prototech module — a large grid Jump Drive, which can be used for the Jumper. A Prototech Assembler or Industrial Assembler can be installed inside. So I recommend using this base for yourself, as it is well protected from meteor storms.

Factorum Outpost
The base is located on a single asteroid that is usually unguarded, but you shouldn't relax. Only the entrance is free, so if you go alone, you should take measures to protect the ship while you are inside.


The base is mined and after the invasion you are given three minutes to find and saw all the warheads. You are unlikely to succeed the first time, but you will definitely find one and this will allow you not to be left empty-handed. The main thing is not to be inside during the explosion.

The most common ones on the Outpost are Prototech Refinery and Thruster large and small grid. The base is powered by a small reactor where you can find some uranium. So it is better to take it before the explosion occurs.


You can remember the coordinates of the asteroid and then return to it to analyze the consequences of the explosion, which will allow you to draw a conclusion about the approximate location of the mines. Only the structure itself will despawn, and the asteroid remains in the game.
Factorum Research Facility
The most atmospheric and the last of the asteroid quests. The base is covered by a Safe Zone, the settings of which block the operation of the drills — this is in case you have an idea to drill another entrance. Explosives experts also do not need to worry. To create a directed explosion, you need to plant a warhead in a pit, and the radius of the Safe Zone reaches 200 m.

It will take time to find the entrance from outside
But you will find the entrance to the mine right away

Inside you will find a labyrinth in which an alien dangerous life form has bred, contact with which will not lead to anything good, so to pass through the labyrinth you will need a rocket launcher and a dozen rockets. Turrets will also prevent you from moving forward, so go carefully.


At the end of the path, you will definitely find a drill that is controlled from a button console, but for it to work you will need to change the Safe Zone settings. Additionally, you will most likely find Prototech Refinery here, but not always. Do not be discouraged, because in the barrels on the platform you will find a set of ores, among which uranium ore is often found, and this will compensate for the time spent on the quest.


The Safe Zone itself and Large Reactor will also not be superfluous, it remains to solve the last task — how to take all this out of the mine?

And I came to the mine on foot...
Factorum Listen Outpost
The first quest to capture a station in space, where you will again encounter the use of Safe Zone by Factorum. Moreover, the settings will be such that the station's artillery turrets will inflict damage on you, but you will not be able to do this.


As you can see, the Outpost is guarded by three stationary platforms, the name of which hints that it is all about them, although there is also a mobile guard, which will be strengthened as the difficulty increases, but that's not all. The station itself has a very well-organized defense, which does not allow either a frontal attack on a small ship like mine, or, as usual, flying up with a grinder and capturing the site from the inside. However, there is a way to get close to the station.

It's good to have a small ship
The result of my first encounter with Outpost

In addition to the Safe Zone, the station will have Large Prototech Batteries and, as a rule, Jump Drive or Small Grid Batteries, with the small blocks not being placed inside, but outside on the upper platform of the station, so if you need them, try not to damage them.

There are three options for this quest: the first is the one you see in the screenshot, the second is with three platforms but without asteroids, and the third is a single station without protection.

In the latter case, you shouldn't relax. The thing is that the Outpost is not a static structure, but a ship without thrusters and gyroscopes. Therefore, your hits will spin the station in different directions and give it acceleration, so you'll have to tinker with it to first destroy the turrets with the course weapon, and then catch it in space.


There's not much to take here except hydrogen and Zone Chips. This is the only Factorum structure with a hydrogen tank installed. So if your ship is hydrogen powered, try not to destroy the hydrogen.
Factorum Logistics Facility
The second and, in my opinion, the most difficult quest in the entire line is to capture a space station. I'll start with the fact that jumping directly to this Signal is one of those 10% when you might be unlucky, so I strongly recommend saving before jumping to static signals.

Next, when approaching the station at a distance closer than 2500 m, a self-destruct protocol is initiated and you have only 15 minutes to eliminate the mobile guard, static defensive platforms and shipyards that are located around the station. The platforms are armed with artillery turrets, and the shipyards are unfinished but armed fighters.

A shower of sparks indicates that the station's self-destruct has been activated

The platform is mined with several warheads that blow it to dust, so I don't even know where they are, although I've completed this quest several times. As you probably guessed, the tactic is to deal with the guards in 15 minutes and shoot the warheads before they detonate.

However, after a while I realized that the station itself is of no value, but the containers located around it are not damaged by the explosion and simply fly apart in different directions. So after the explosion you can simply track where they are heading and manage to intercept several of them and take the contents.

Yellow arrows are containers with Prototech modules, white ones are with ore and components.

Containers usually contain either large grid gyros or some small Prototech blocks. The goal of my first survival was to collect all the Prototech modules, so I found the small grid Refainery missing from my collection right here.
Factorum Hiprofile Transport
This is the first of two dynamic quests in which you have to capture a moving target, or more precisely a transport ship, which unfortunately did not live up to my expectations. I only have one screenshot of it and in it you can see a couple of large industrial containers in the front of the ship.


The containers are not covered by armor, so they are easy to damage, so you need to shoot selectively. The main feature of this quest is the large Prototech thruster installed at the back. Therefore, I did not shoot at the accelerators. You can also find large gyroscopes on board and, traditionally, something from the small grid.

Hiprofile Transport is covered by an escort and can spawn one homing missile, although in the second survival I encountered three and therefore did not immediately realize that this was not a Warship, but overall this is a good training for meeting him.
Factorum Warship
The second dynamic quest and the last quest of the entire line is presented by the main star of the Contact update — the heavy combat ship Factorum Warship. The developers posted its blueprint in the workshop in advance, so I had the opportunity to get to know it better to assess the strengths and weaknesses of the Warship.


I'm unlikely to reveal a big secret if I say that success in a battle with the Factorum Warship is choosing Power Modules as a target for artillery turrets, since the main vulnerable spot of the ship is a large reactor, which, however, is well protected by heavy armor and, combined with constant movement and turns in battle, is a difficult target, especially for my corvette armed with only two artillery turrets and one forward artillery gun.

Compared to the version from the Warship workshop, it still has some differences, the main one being the warhead in the rear of the ship. Probably when a certain level of damage is reached, the event controller is triggered, which causes detonation and the ship almost always falls apart in two, destroying all the most valuable things on board - the vanilla jump engine and large ion thrusters. I only managed to damage this controller once and the warhead did not detonate, although I fought more than 10 battles.

Don't trust the chat until your turrets stop shooting
The chat about self-destruction can be trusted
The crew was dead before the battle
This may be the last thing you see on camera

The Prototech modules on board the Warship include large Gyros and, if you're unlucky, large batteries, which will also be a target for turrets, but have a very low destruction threshold and greatly prolong the fight. If it weren't for the design features of my ship, I would have installed them even taking into account some repair issues. So large batteries, along with a large Jump Drive, can be considered the second useful Prototech module for PvE.

The escort of the Factorum Warship can reach up to 6 support ships armed with course railguns, artillery guns and turrets of all types, but the main trouble is caused by homing missiles, which spawn three at a time and the closer you get to the ship, the shorter their range.

The missiles clearly aim at the largest target and are not distracted by bait, so in the design of your ship I advise you to pay attention to PDC turrets. I use interior turrets, which were strengthened in this update and create a fairly dense fire curtain, slowing down missiles and knocking them off course. The main problem is to notice the attack in time and have time to gain speed to evade.


P.S. Factorum Warship fully met my PvE expectations and is an excellent example of stylish design combined with the functionality necessary for a ship of this type. I think that the developers deliberately slightly underestimated its combat capabilities, since the ship's artillery turrets begin to fire only from a distance of 800 meters, although there are AI Offensive / Defensive blocks on board with quite normal settings because the assault turrets have a range of 1400 m.

On the one hand, this is unexpected, and at first I fell for this trick, but on the other hand, it reduces the ship's firepower at long range. If you capture the ship, you can see that the ammunition of the artillery turrets is almost not spent.

You can test your ship in combat with Factorum Warship
https://steamhost.cn/steamcommunity_com/sharedfiles/filedetails/?id=3365228468
Quick Survival Strategy
Before the Contact update, everyone defined their own survival goal before deciding that the game was over. With the advent of Prototech, the game now has an obvious goal — to obtain this technology and build a combat ship that will use it to gain dominance in the Star System.

Quick start
So, the goal of the game is to possess a Prototech Assembler and install advanced modules on your ship: Prototech Jump Drive, Prototech Gyroscopes, Prototech Batteries. I think in the future, the game developers will also create Prototech weapons, without which it will be very difficult to win a battle with the Factorum Warship.

So, since Unidentified signals appear in space, it is better to start the game right away in space.


If you start on the Space Pad, you can easily modify it by installing the necessary production modules at the bottom: Assembler and Basic Refinery, as well as an ore detector to search for ice. The easiest way is not to mine stone, but to disassemble the found components into ingots, so that you can then make what you need. Therefore, I advise you to install two speed modules for the Assembler. Do not forget to immediately make an elite hand tool for the character, for this it is enough to disassemble several Thruster Components in the Assembler to get cobalt, gold and platinum.

Space Pod Modification
Just enjoy the view until the ship appears

If you start in the Space Suit, the only correct decision is to not move, so as not to waste energy. All you can do is wait for a spaceship or Mayday signal to appear that you can capture. The suit's energy lasts for 15 minutes, so you'll likely have to die a few times before something suitable appears to continue the game. I also recommend disabling Enable progression and enabling Spawn with tools in the world settings, otherwise surviving in the Space Suit becomes almost impossible.

Resource extraction
You can search, extract and process ore in the usual way, but it will be much faster to capture some neutral ship and disassemble it in the Assembler, and if you are lucky, then immediately build a mobile base on its basis.

Encounter Mobile Utilite Platform
Encounter OR3-Puller

The main advantage of these ships is that they are great for a mobile base and the presence of Assault Turrets, which, together with the AI ​​Defensive block, will allow you to easily capture old-style pirate stations and investigate Mayday signals. Until you have Assault Turrets, any armed ships will be too much of a risk for you.

Two or three captures will provide you with enough resources to build an entry-level combat ship and try to fight pirates or not very friendly NPCs for richer loot - large ion thrusters. It is enough to disassemble two of these thrusters to get the necessary resources to build a Jump Drive.

Now you will have to provide yourself with hydrogen. If you are lucky, you can immediately find it on Mayday signals, and if not, you can do ice reconnaissance on asteroids, but the easiest way is to send the ship at maximum speed with the dampers turned off towards the nearest moon and go have a coffee. There is a small risk that in such an uncontrolled flight you will collide with a random asteroid. To avoid it I use the script Grand Cruise 2.0, which allows you to bypass such obstacles.

Prototech Assembler
Once you have built the Jump Drive, you will have access to Unidentified signals and can begin the fight for Prototech technology against the Factorum faction. If you want to lay the foundation for your Warship's supply base in advance, I recommend settling on Europa. The endless ice, low gravity, and atmosphere are well suited for a stationary base on which you can build your Shipyard, although a mobile base is a faster solution.

The Prototech Assembler can be obtained in two ways — by capturing one of the Factorum stations or ships, or by finding enough components to build it. The basis of any Prototech module is a frame, which can be found by exploring abandoned ships on Distress Signals or by capturing ships and stations of pirates and other factions. There are no Prototech components on Mayday signals yet, but they will probably appear in future updates.

Be watchful to distress signals
Now I have everything I need

It took me about 36 hours of play to find all the components to build an assembler: 1 frame, 20 Machinery, 2 Cooling Units and 240 Panels, but I still haven't found the Prototech Assembler. If you're lucky, I'd advise you not to appropriate it, but to produce the required number of Prototech components on it and saw it up, so that you can then build the Assembler on your base.

You can see what I got in the end. Warship with Prototech modules installed is already printed.
https://steamhost.cn/steamcommunity_com/sharedfiles/filedetails/?id=3485032493
Known issues
All of the above applies to the SE Contact update ver.1.205.026beta in the implementation for PC running Windows.

Despawn unclaimed grid
Unclimed grid despawns correctly, with the exception of blocks built by you during the capture.


Reputation loss with neutral factions
Old problem. When capturing the structure of neutral factions, hacking each block reduces their reputation and increases the reputation of the Space Pirates (SPRT) faction. If you add your blocks to the grid (see the screenshot above), then despite the fact that you are the owner, when sawing them, the reputation with the factions will also decrease.

Non-existent obstacle when jumping
Old problem. If you get this message when transporting a structure attached via magnetic plates or a connector, you should turn the ship so that the structure does not interfere with the jump.


This works when jumping by coordinates, but if you need to jump in a specific direction, you will have to re-park the ship so that this message disappears.

PCU limit message when capturing SPRT Mayday
If you play on Mayday signals, you may encounter the inability to capture the next block due to restrictions on the PCU limit. If you get this message, you will have to delete some of the previously captured structures via Administrator mode (Alt+F10 -> Entities) even if you did not perform Clime NPC grid for them. This limitation does not apply to Factorum structures.

Clang is still watching you!
23 Comments
Survival Ready  [author] 9 Jul @ 9:26am 
Prototech modules spawn usually randomly, but yes, Prototech Reifaneries are always available at the Logistics Station.
shimotsuki_haruka 9 Jul @ 8:44am 
and for the prototech outpost(the one with the large refinery),
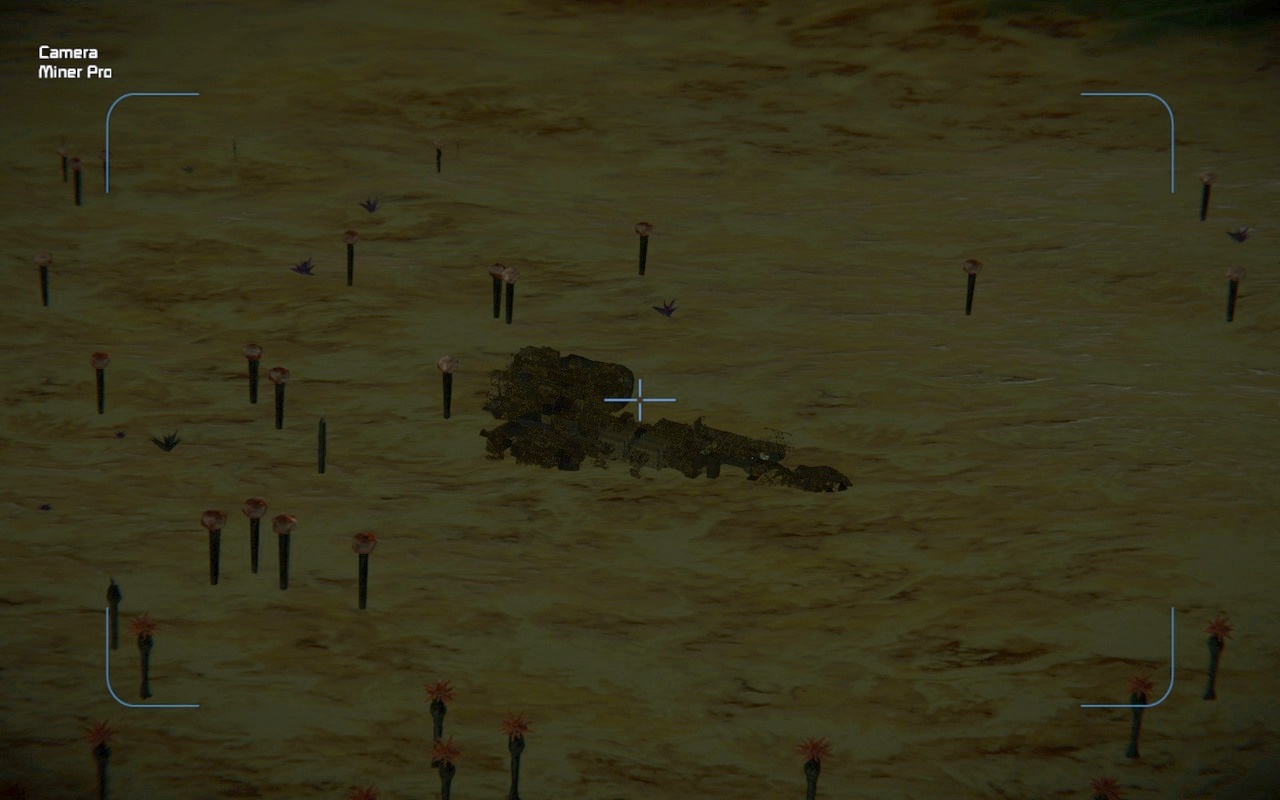
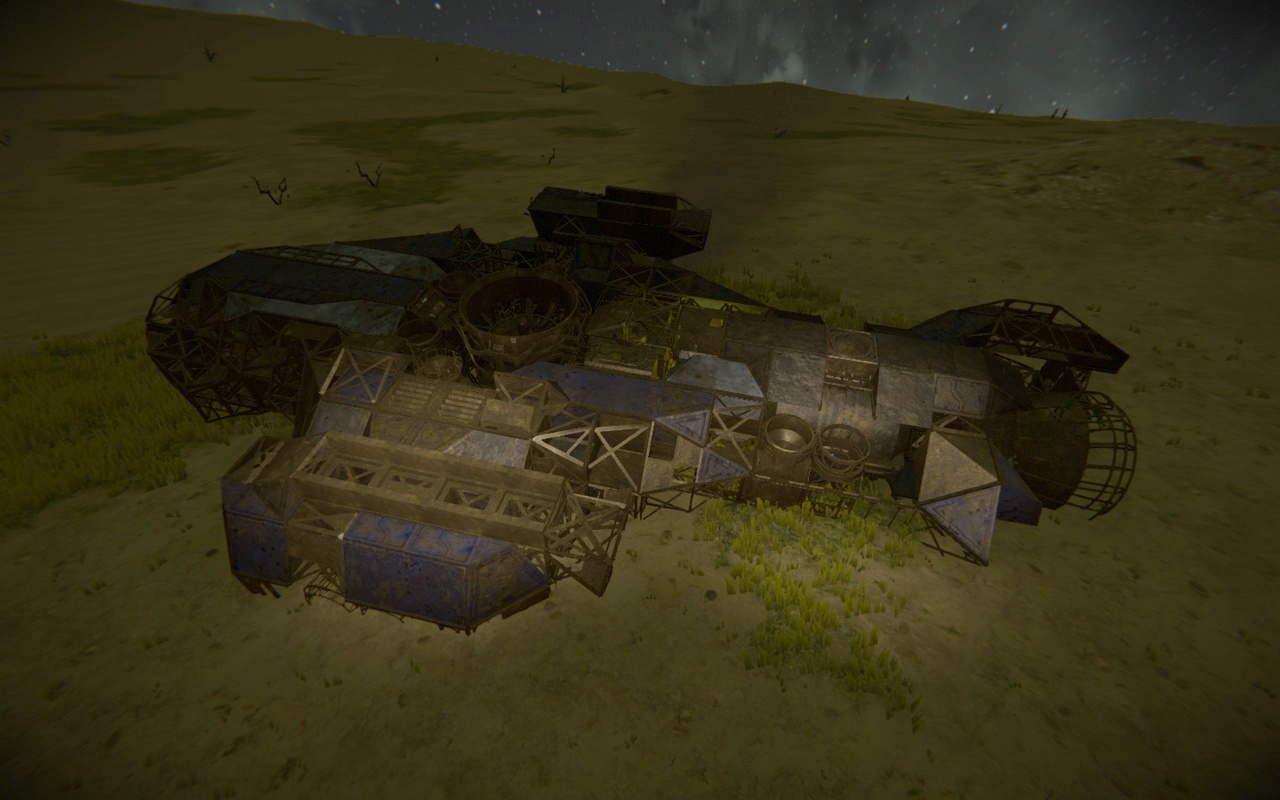
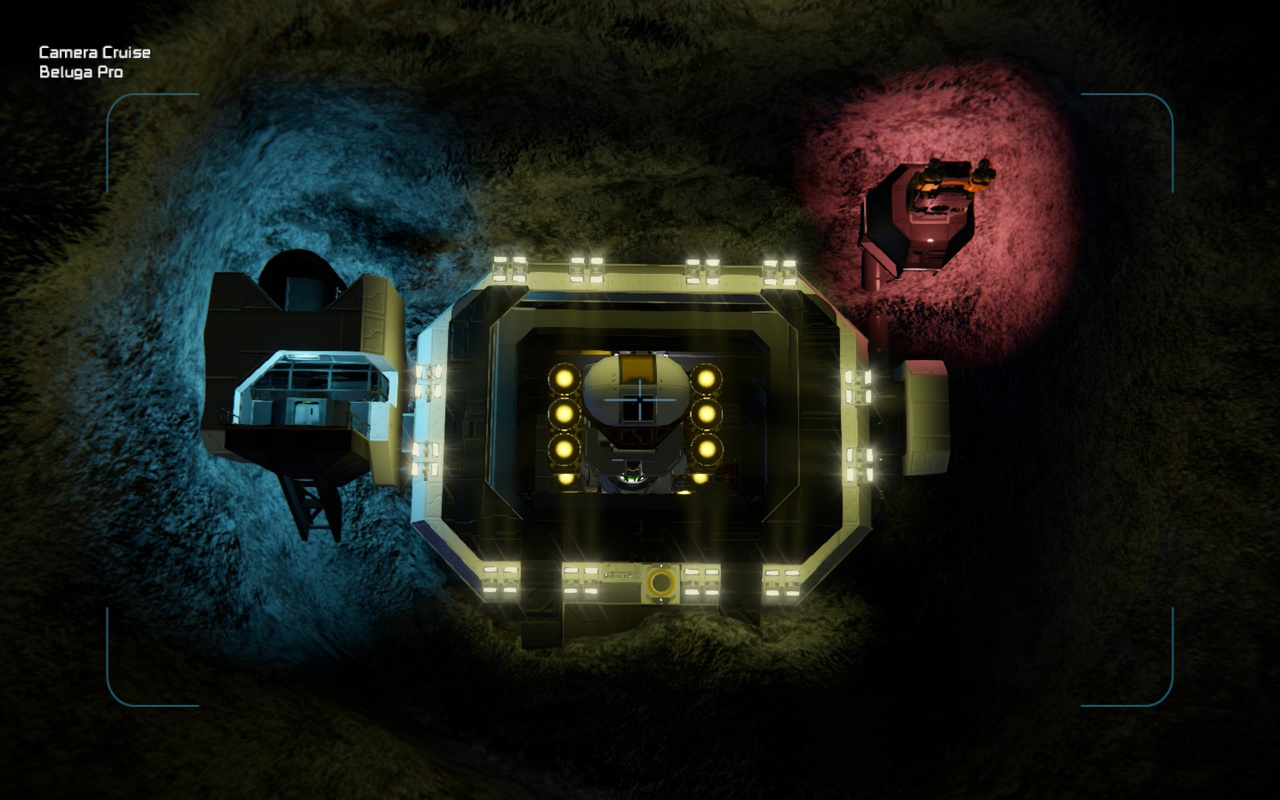
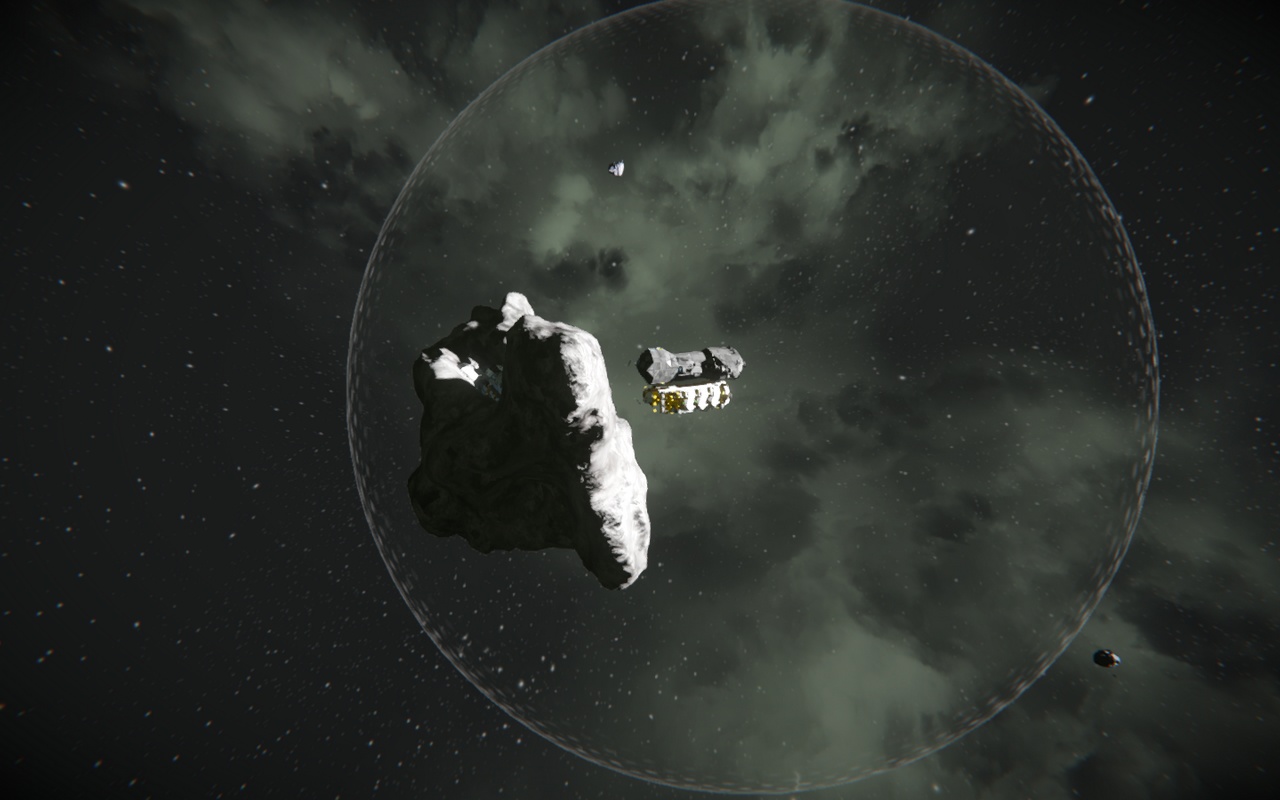
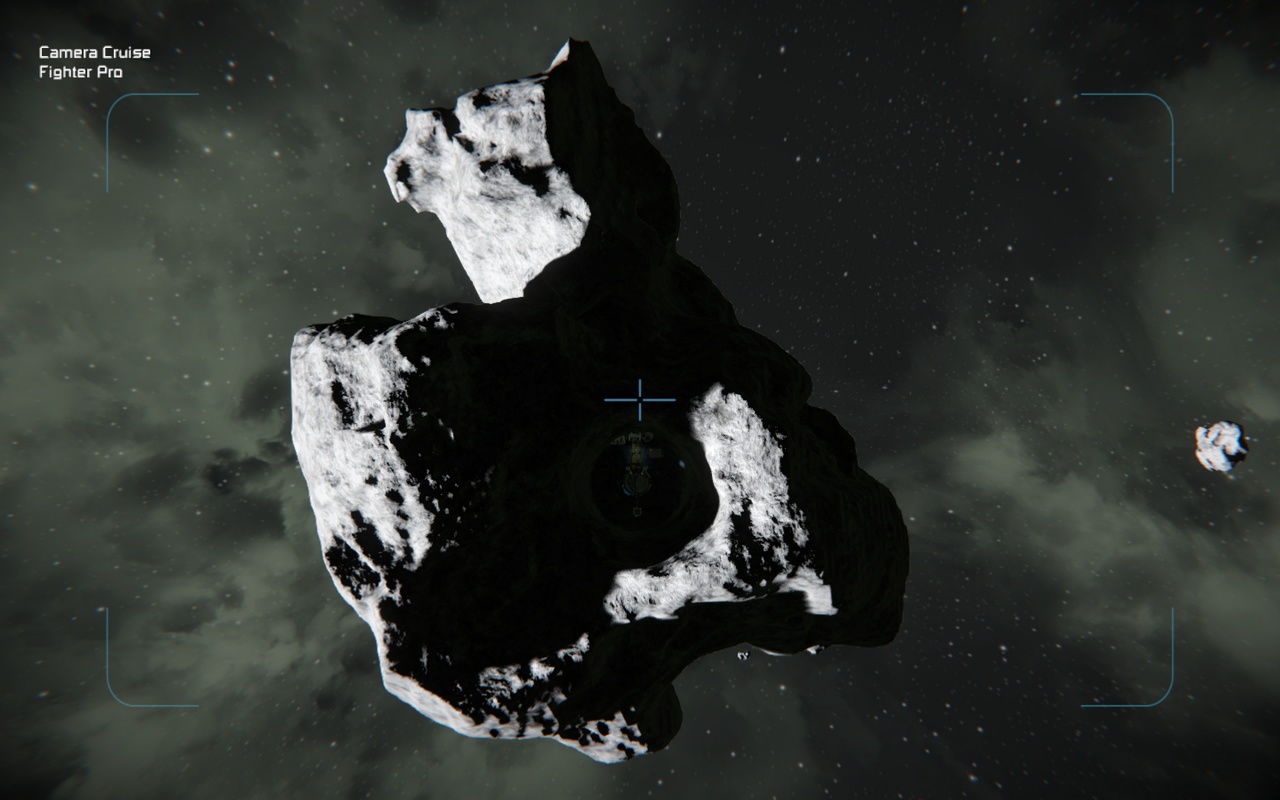
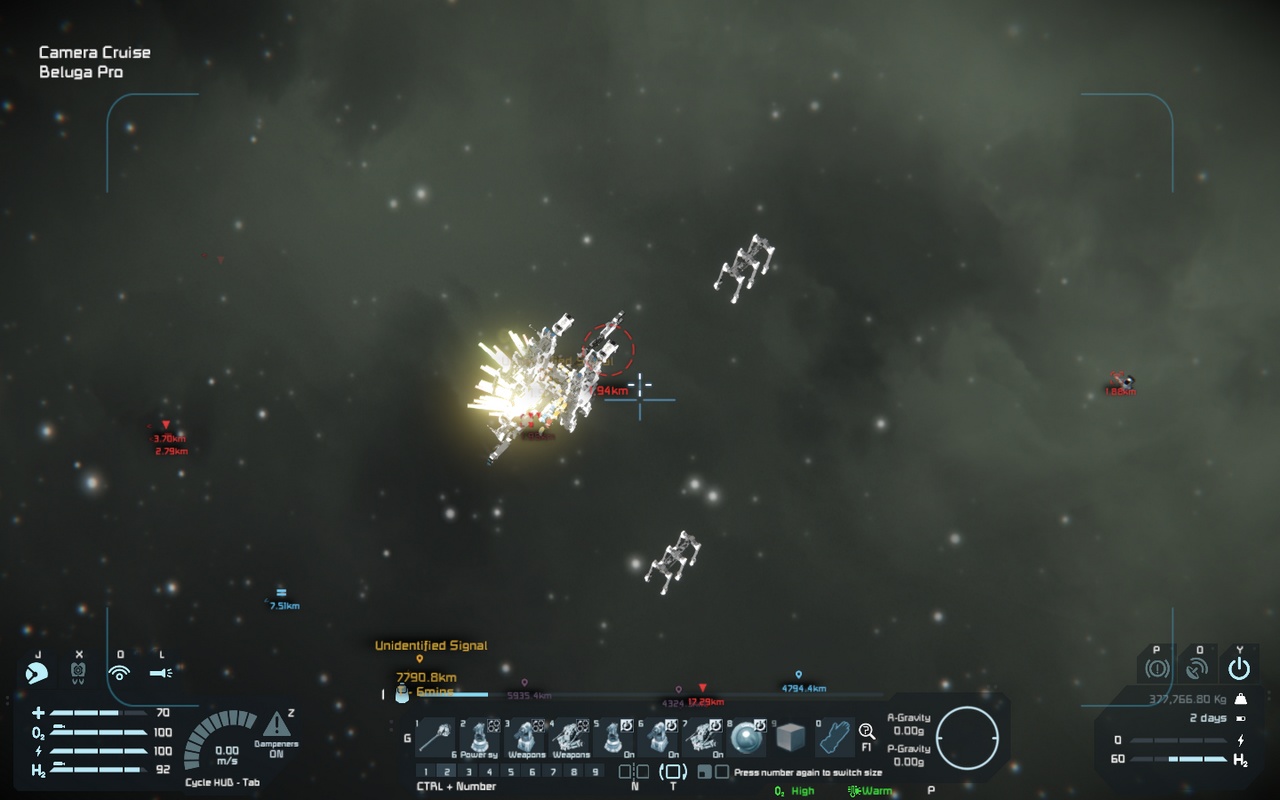
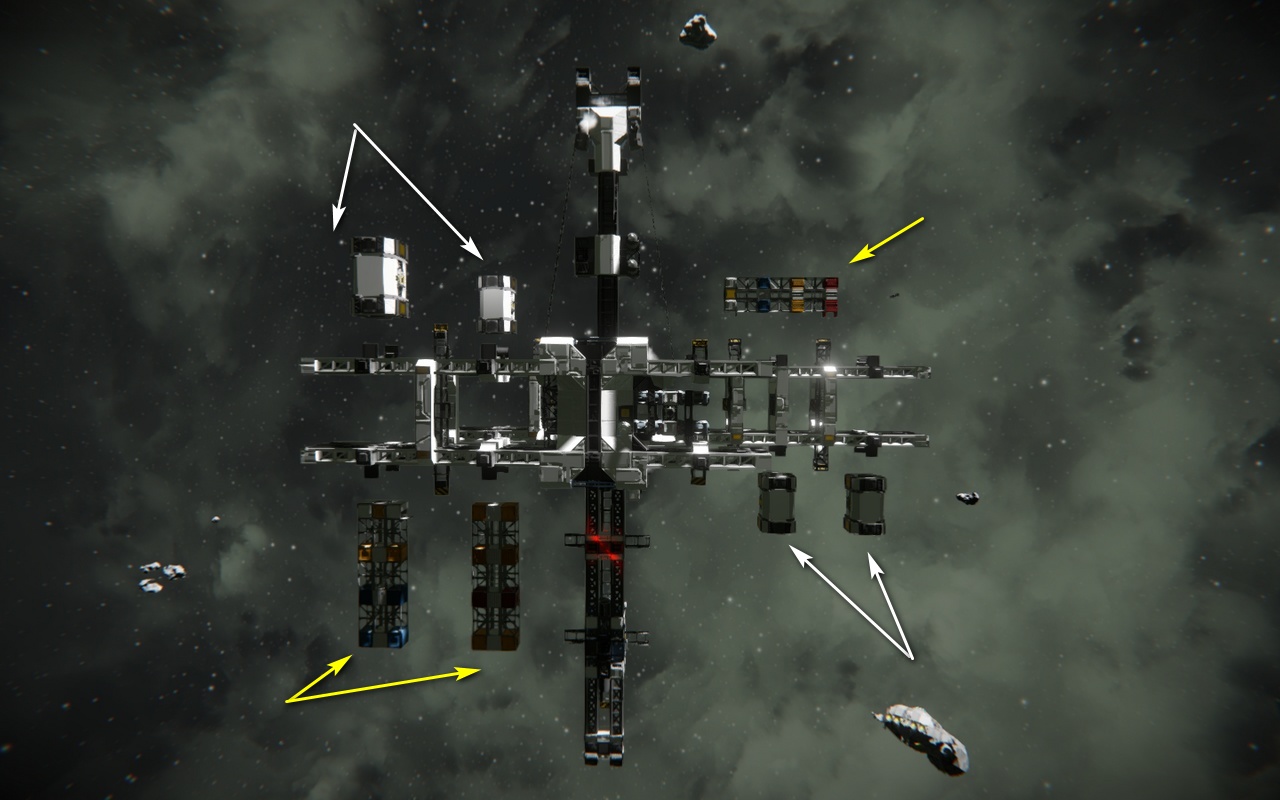
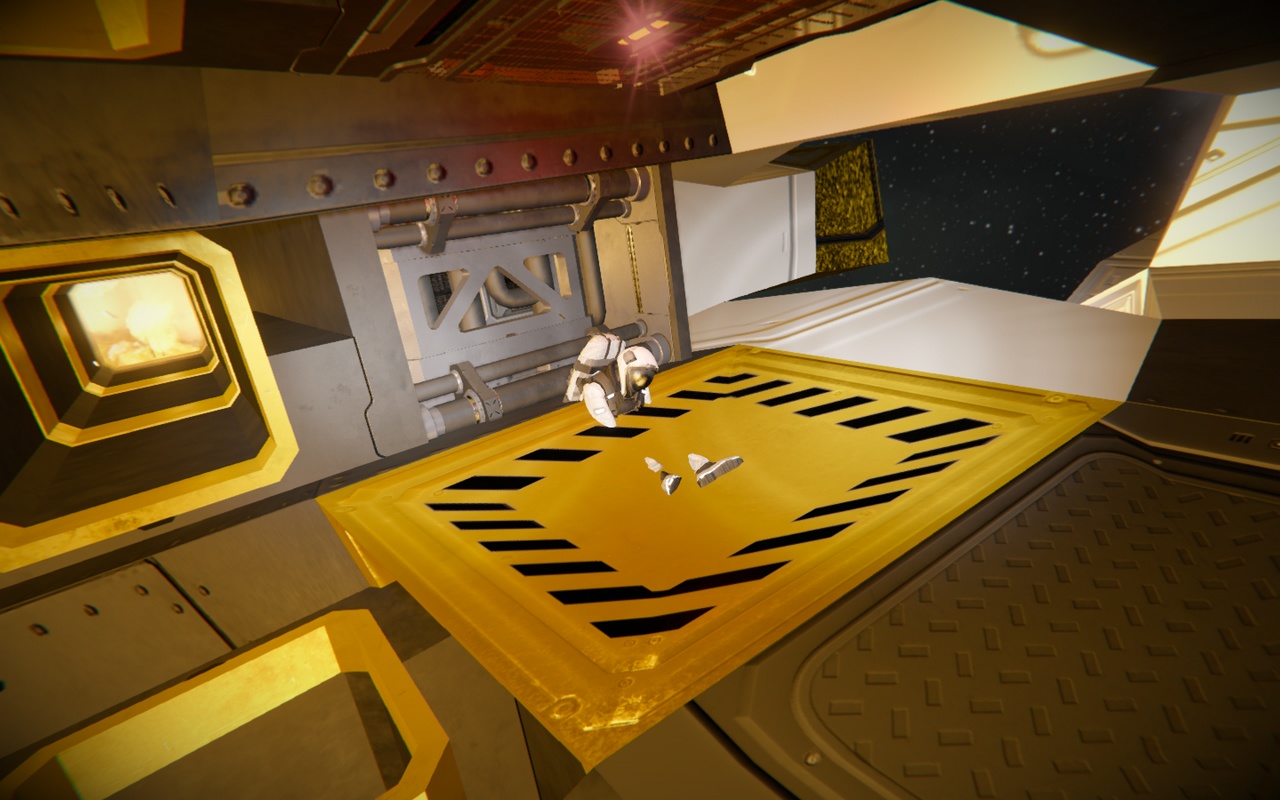
you can place warheads to blow up the antenna and the event controllers simultaneously
after that the station will not respond or spawn drones

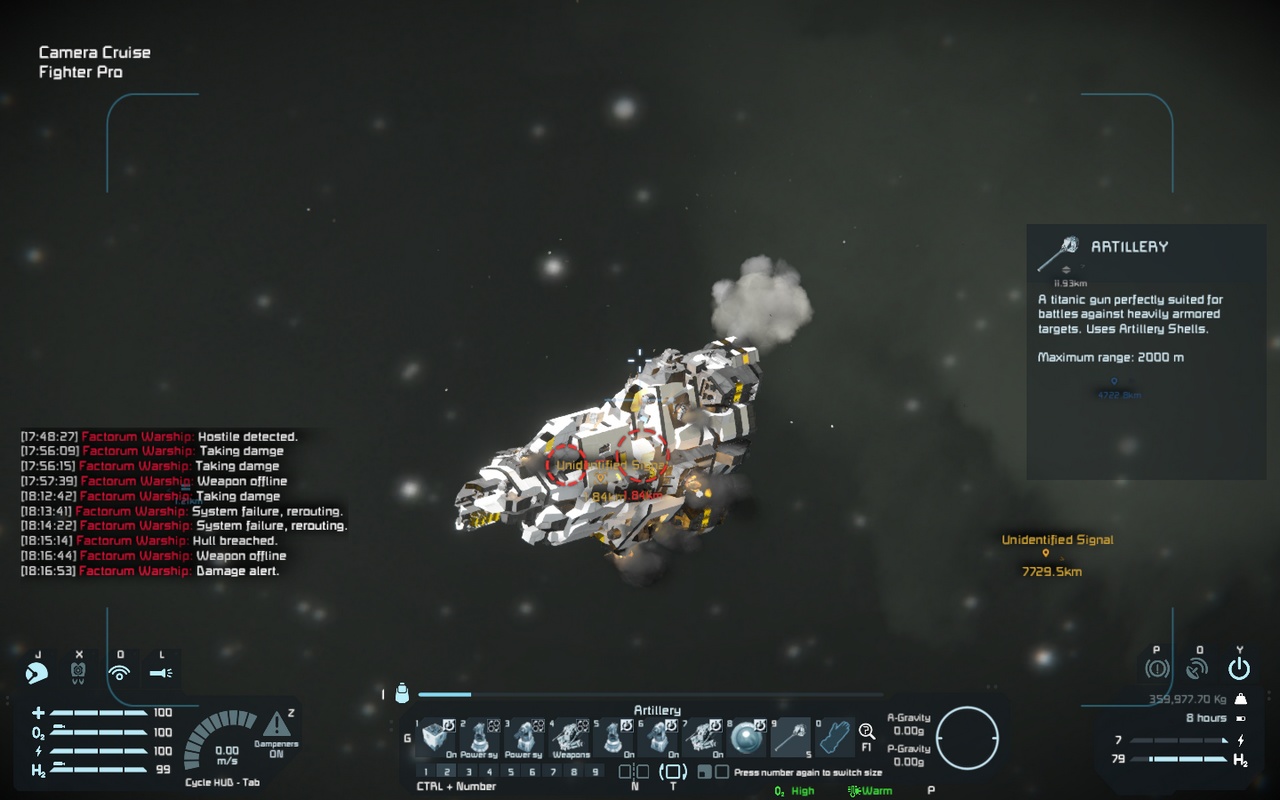
i think the designers got us an ester egg here, if you blow up the controllers but leave the antenna intact, a factorum warship will spawn immediately, really interesting
shimotsuki_haruka 8 Jul @ 7:05am 
i eventually found a prototech assembler in the logistics facility,surrounded by a explosive barrel,which also counted as a warhead counting down
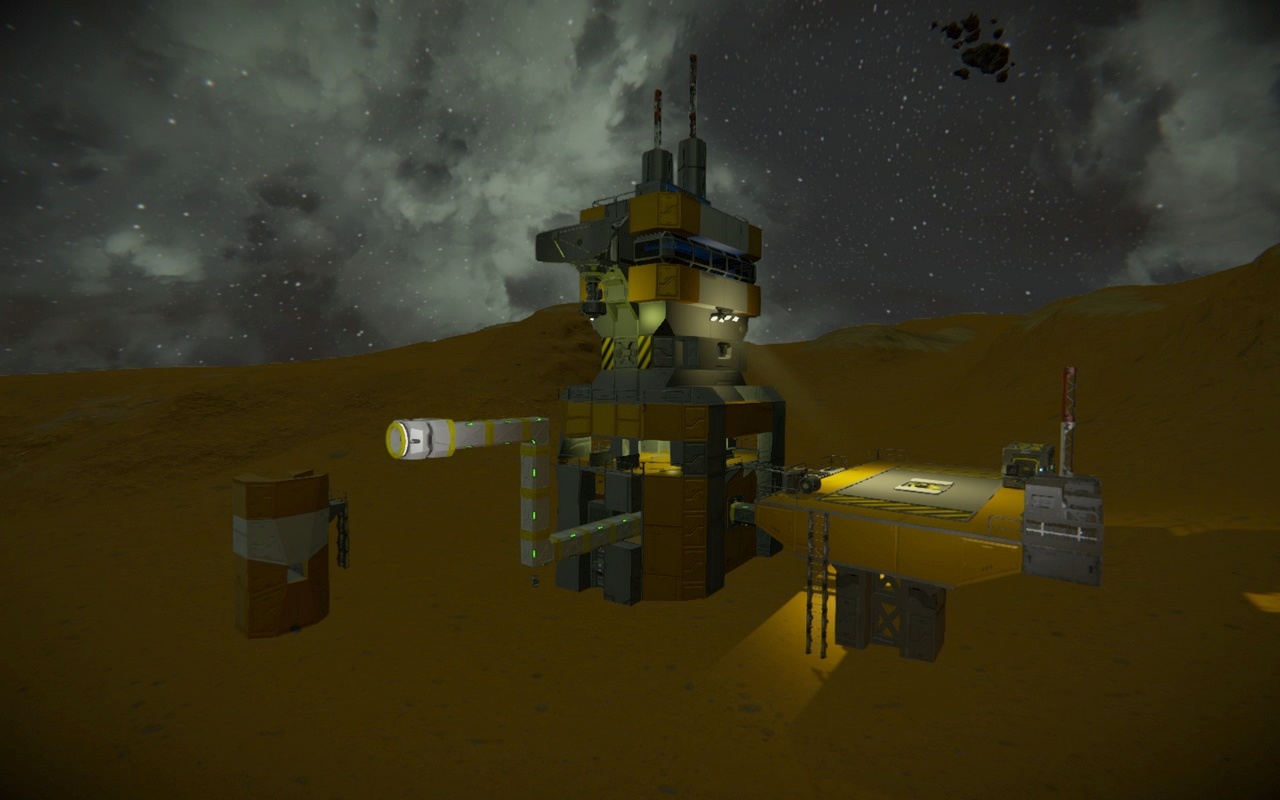
so the station is not useless though i think
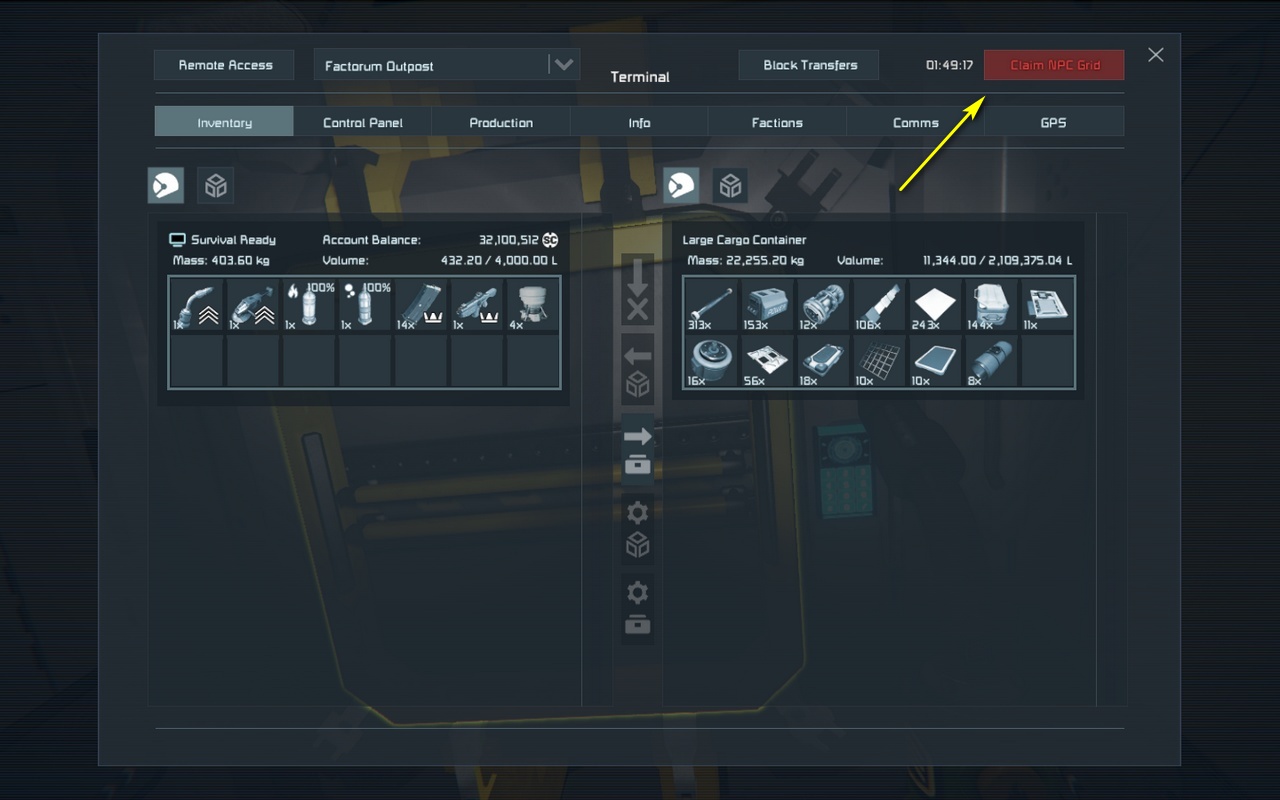
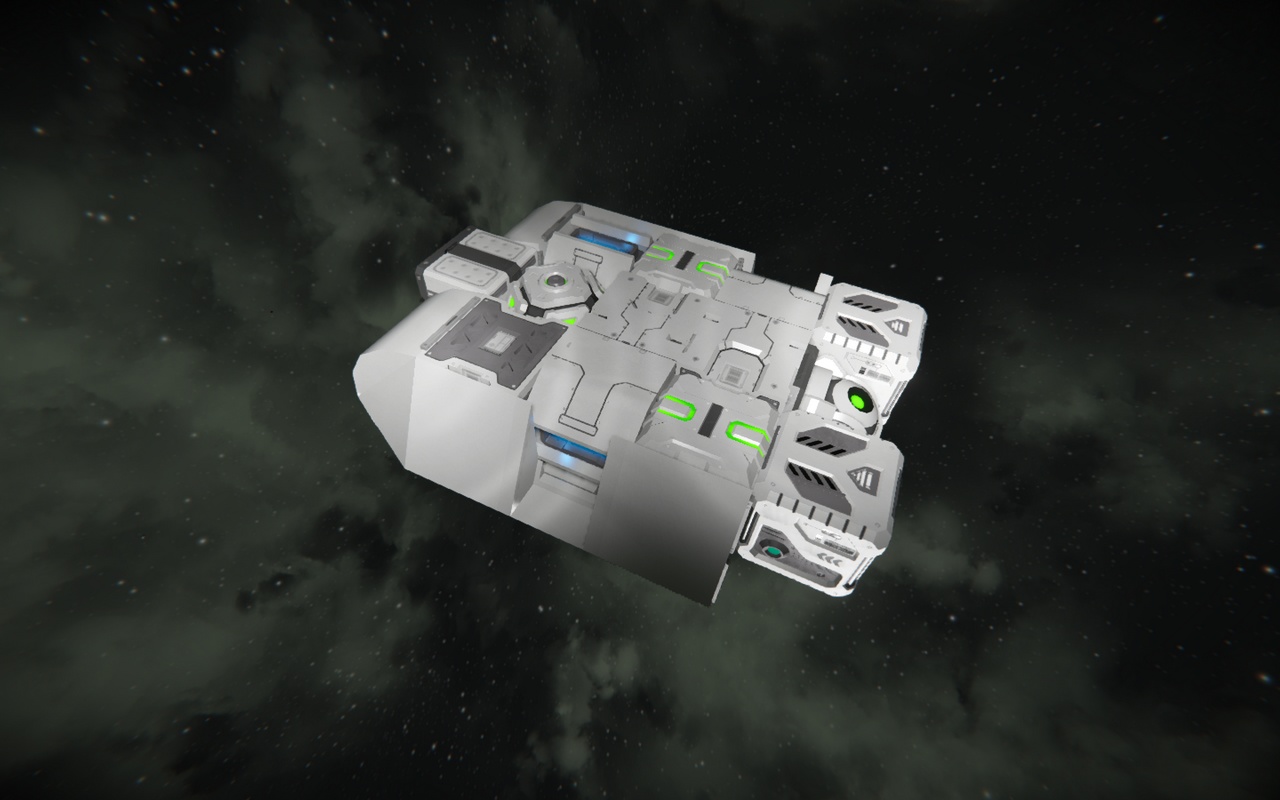
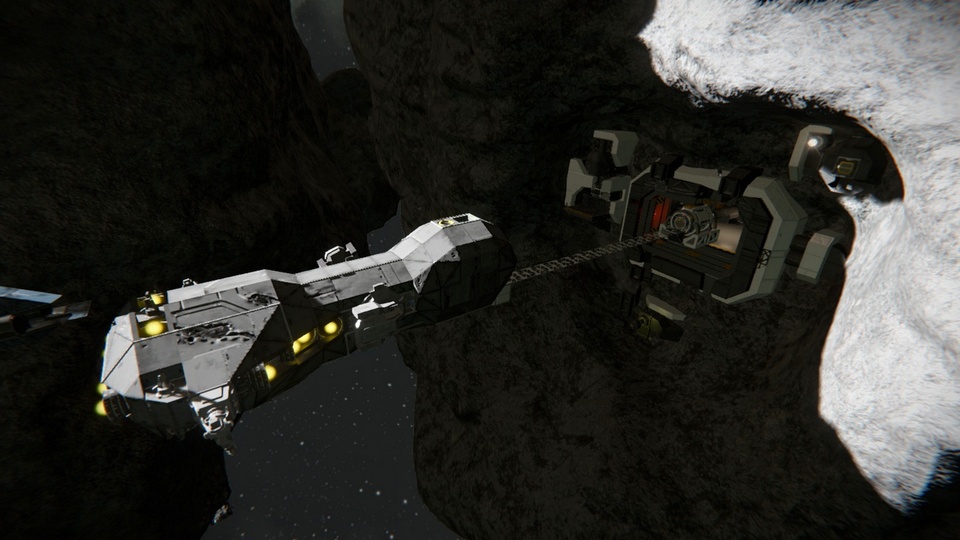
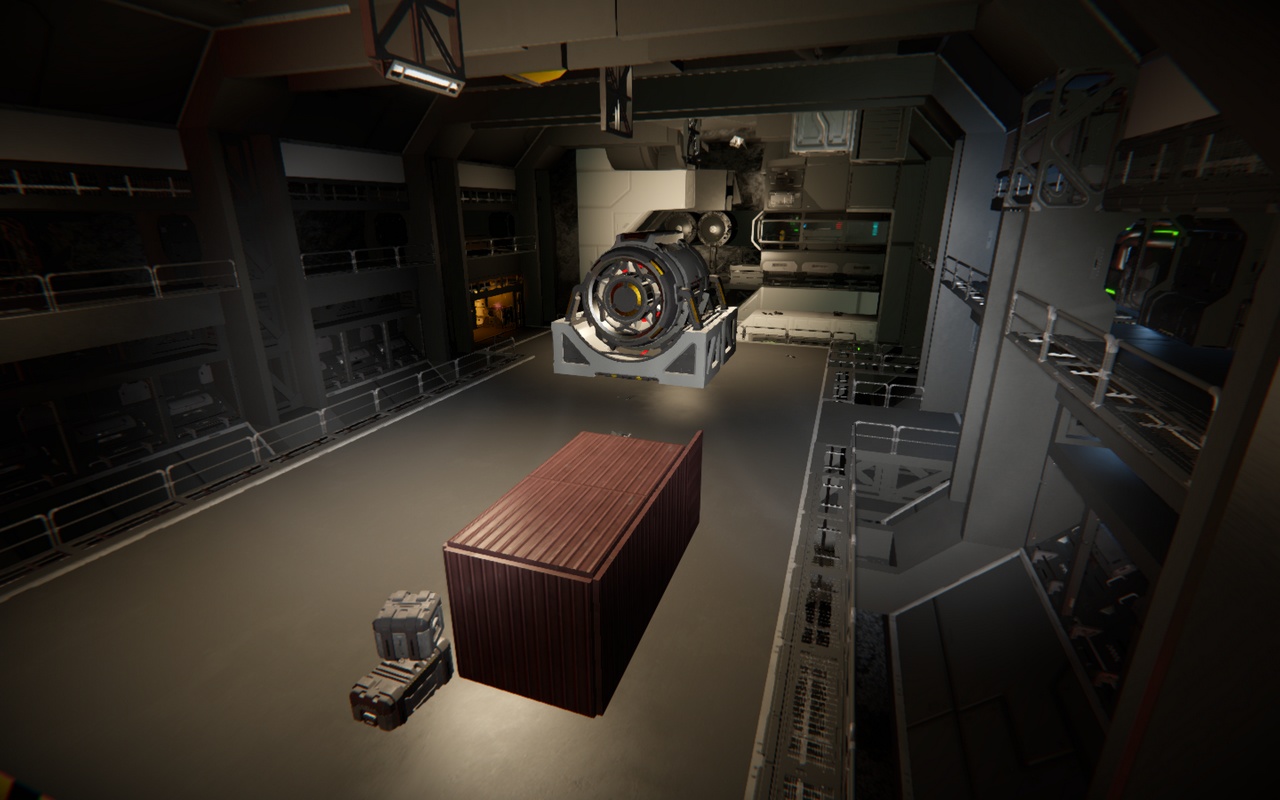
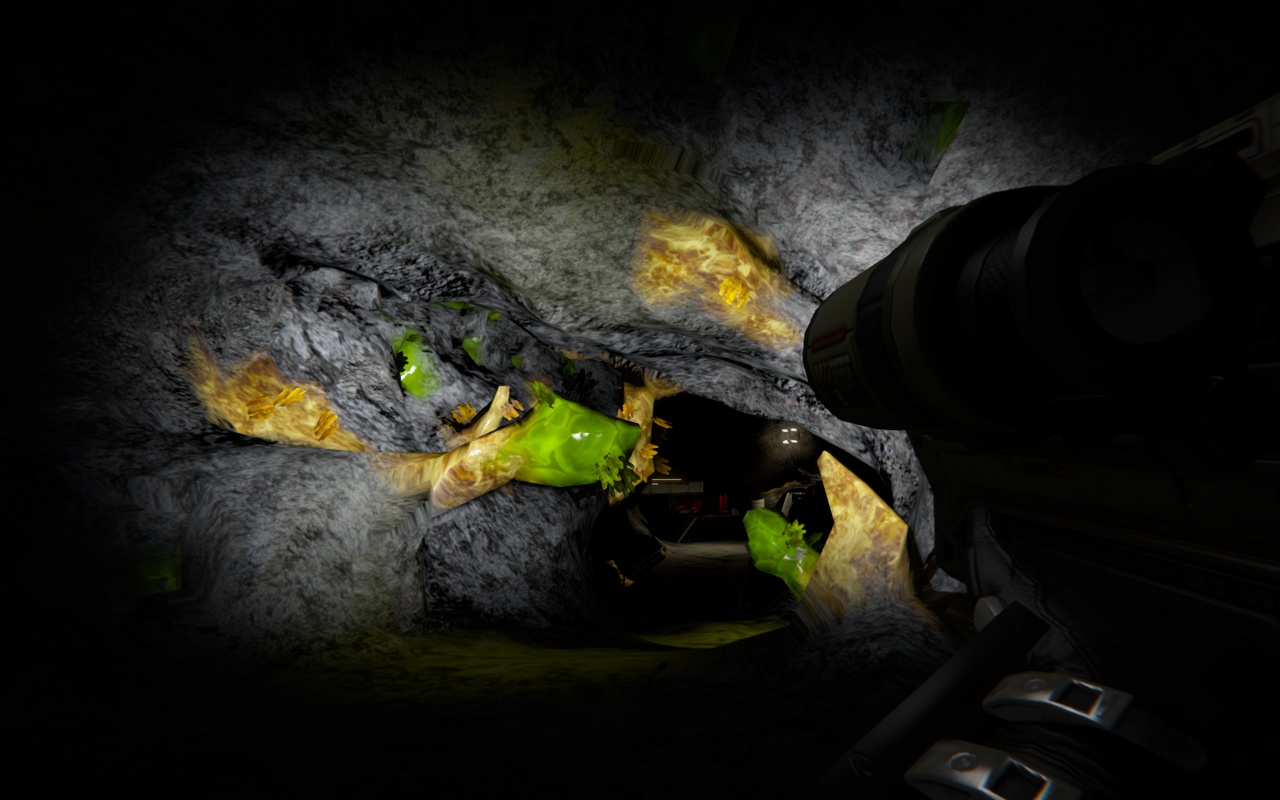
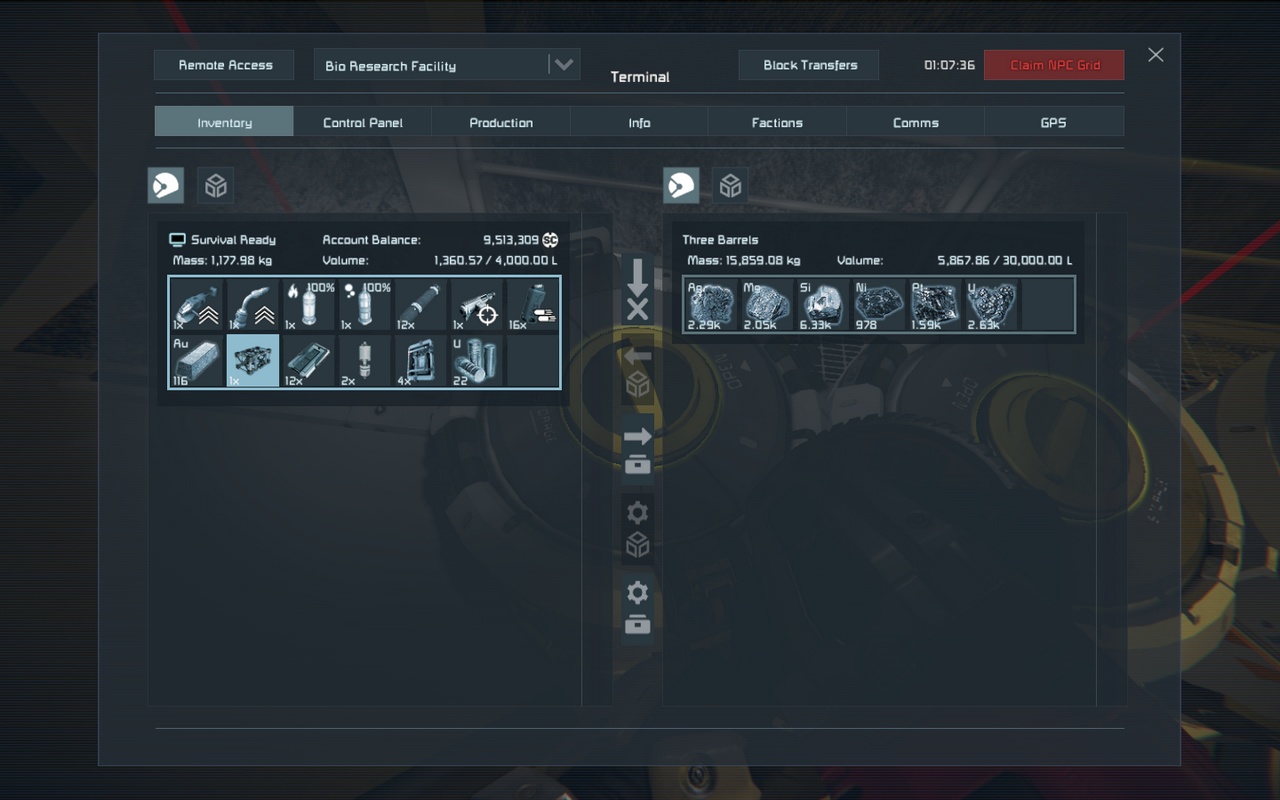
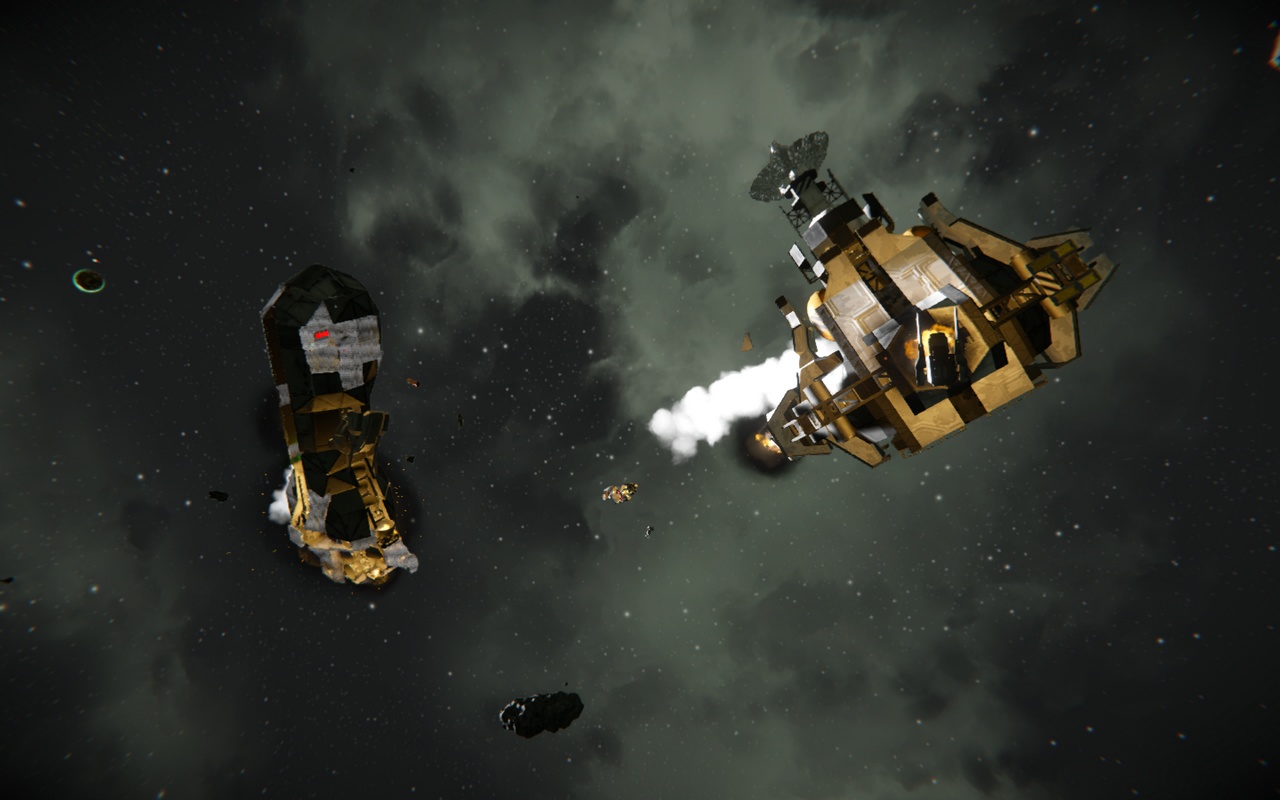
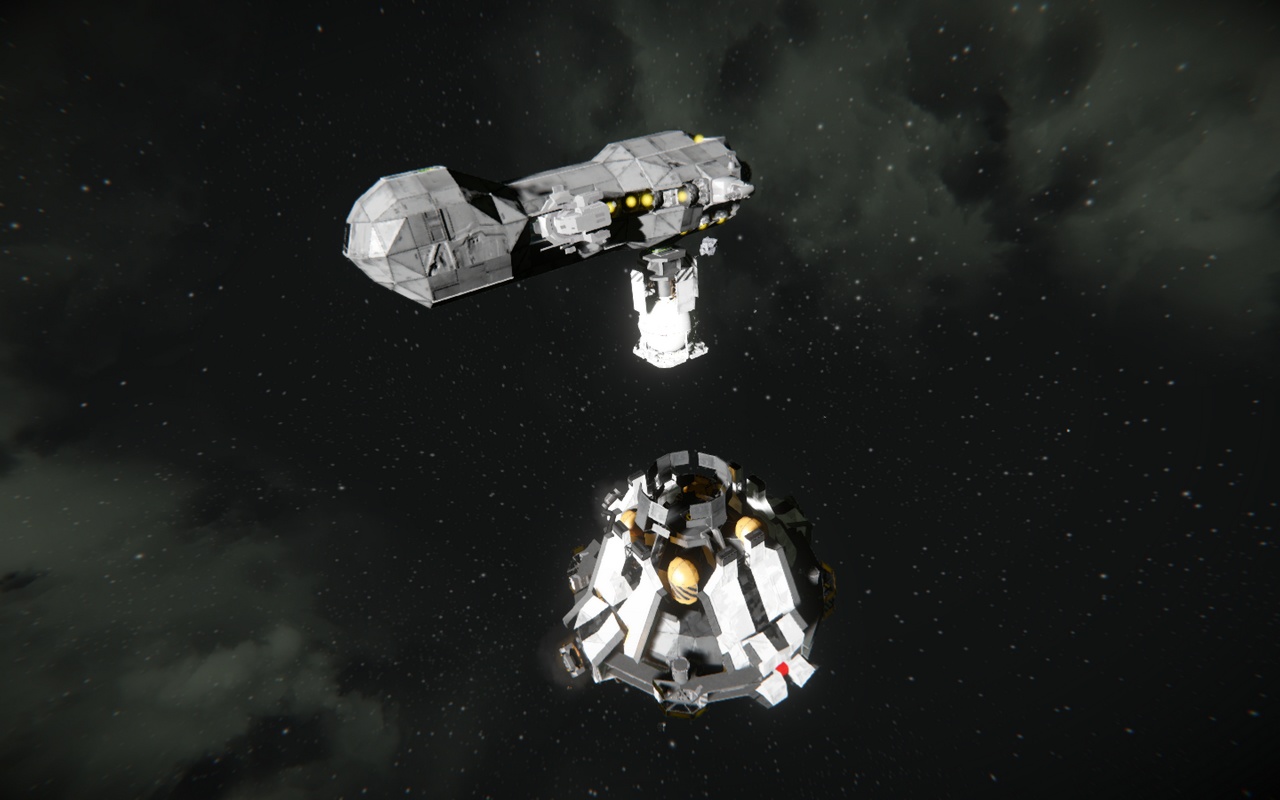
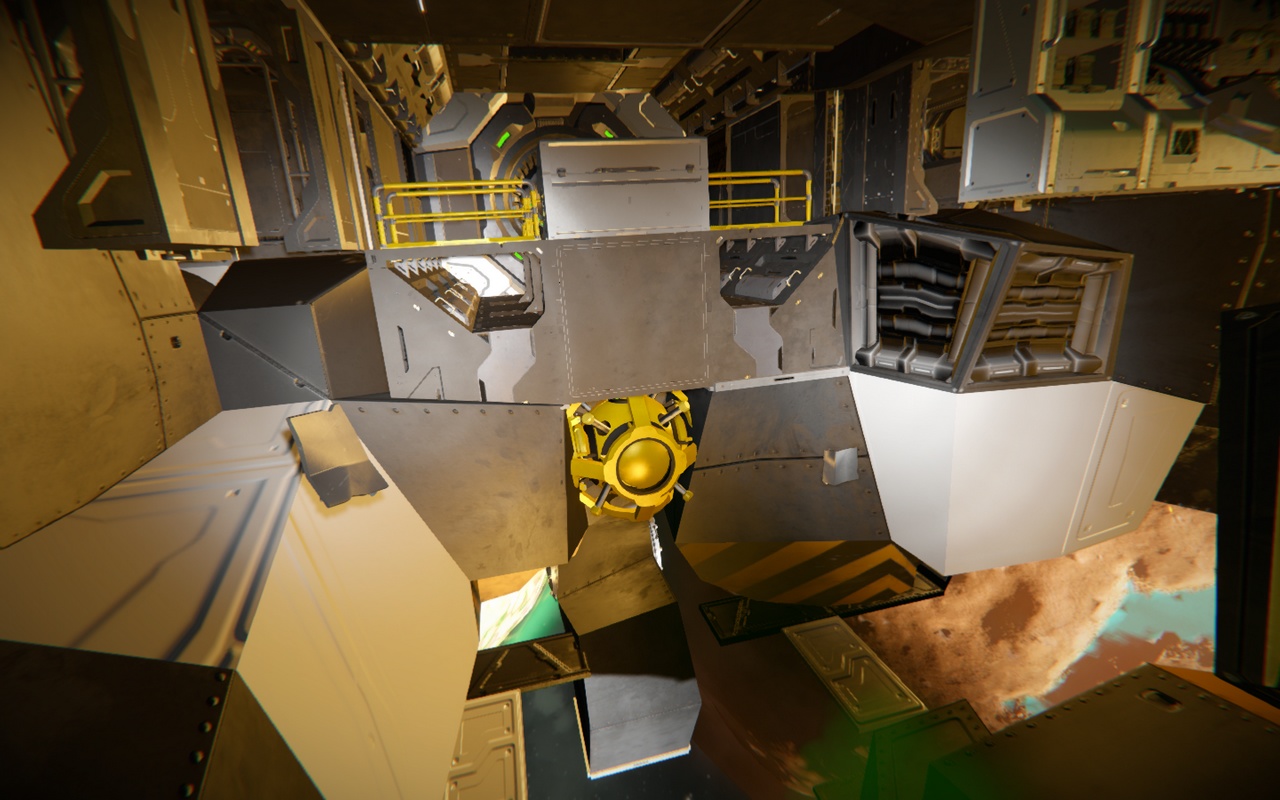
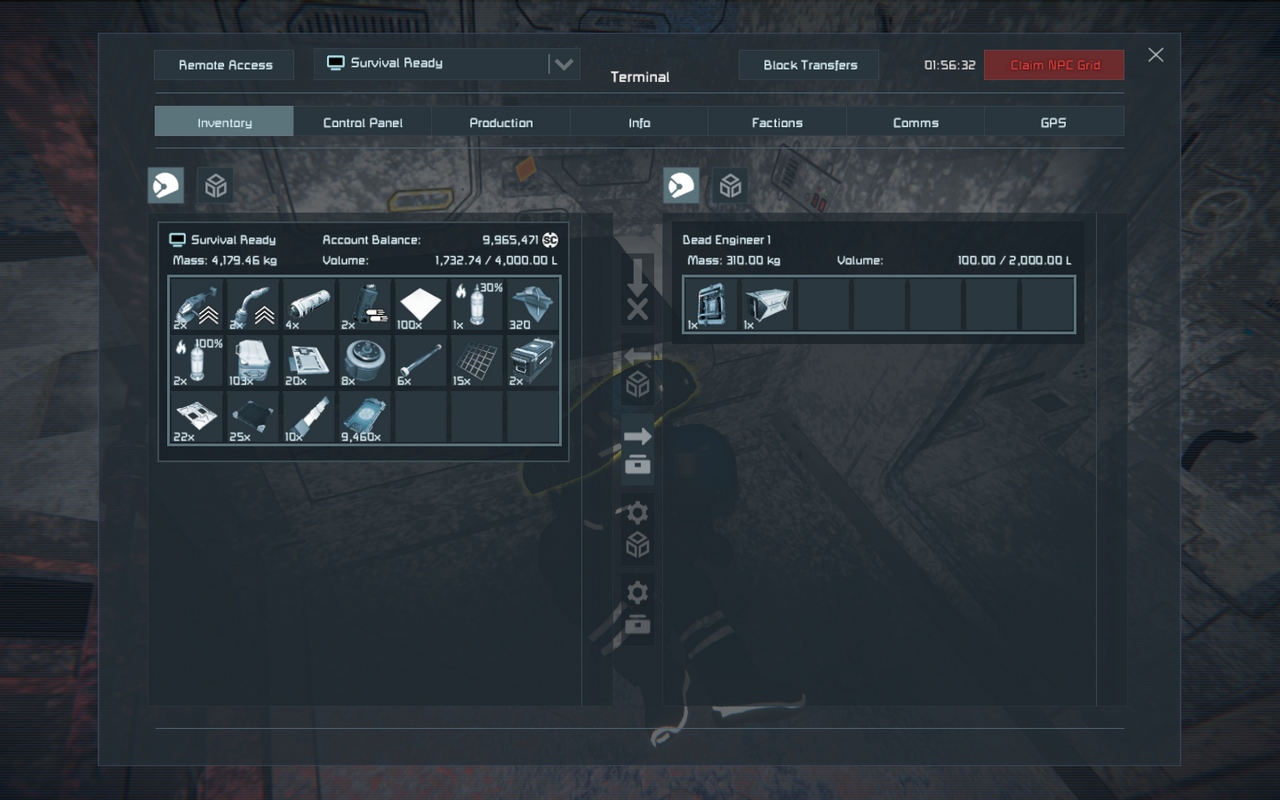
btw a small grid refinery is inside one of the colored container
Survival Ready  [author] 25 Feb @ 11:55am 
Prototech objects are captured separately. They need to be sawed down to the hacking limit and restored back, but you need to saw carefully so that the Prototech components remain intact. There is no point in capturing drills, so I just saw them up and get plates and scrap metal.
=OLG= Commander Reaver 24 Feb @ 2:36pm 
Any idea on how to claim the prototech objects? or do we just need to scrap them... ive raided 2 bio labs and gotten 2 drills, both of which i cant keep since it just says access denied every time...
Survival Ready  [author] 10 Feb @ 2:43pm 
To get a drone blueprint from a ship, you need to do the following in creative mode :

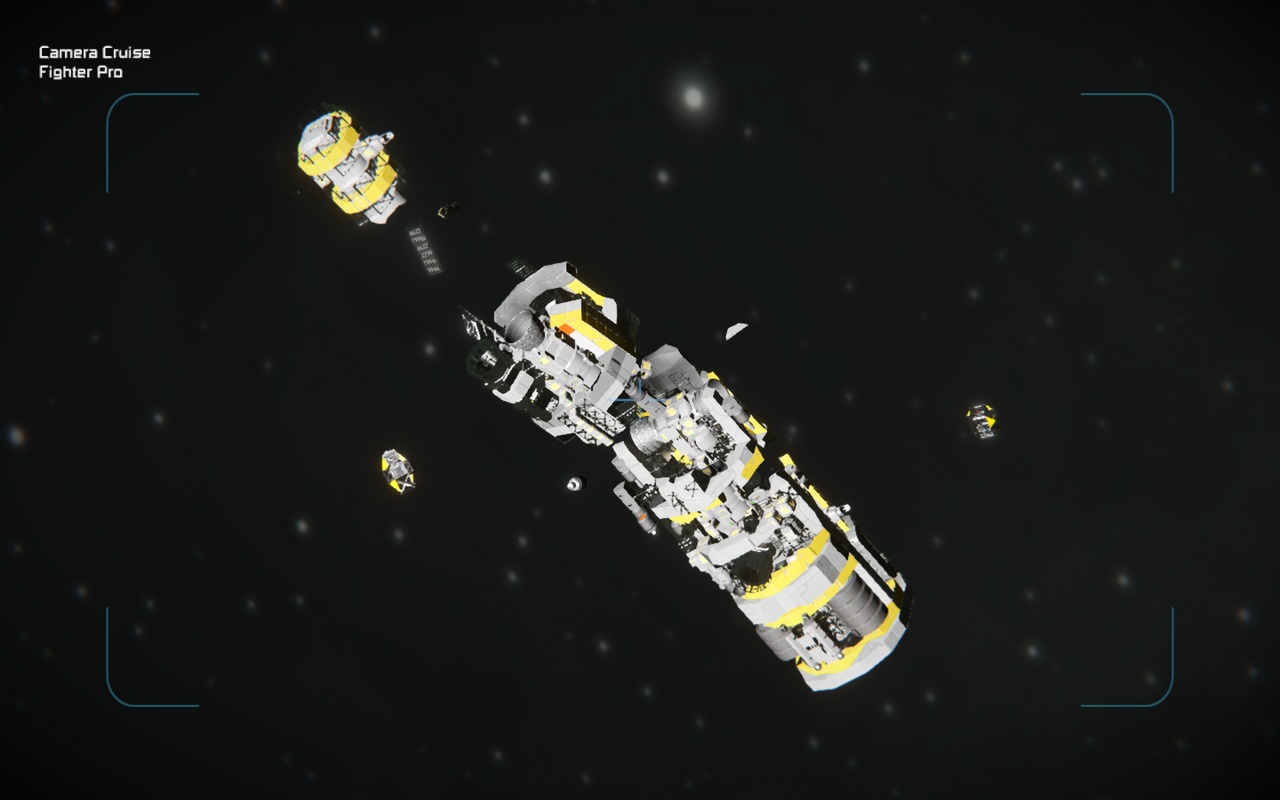
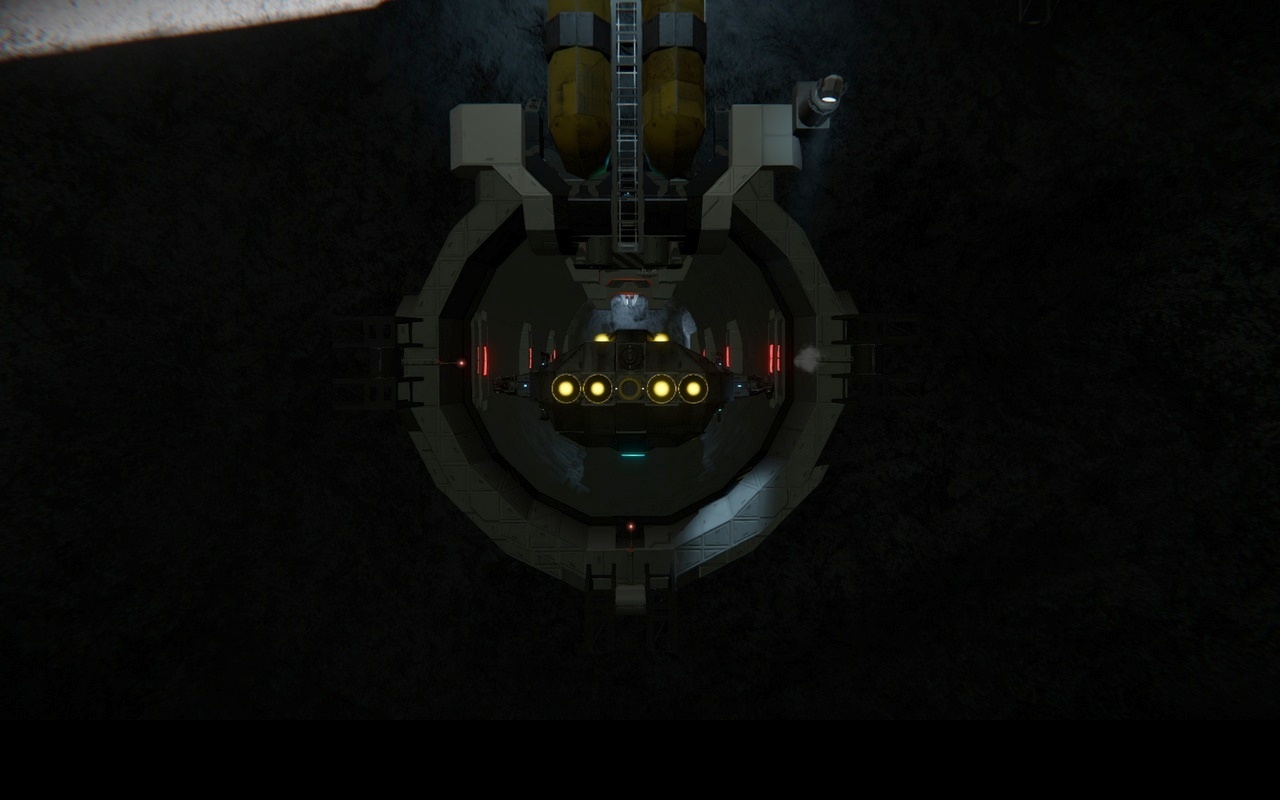
1. Insert the Fighter Pro into the world by selecting it in the menu using the F10 button
2. Perform a Detach for the "Drone Hinge" hinge throught Terminal -> Control Panel
3. Hover the cursor over the any large block on Fighter Pro and press Ctrl+Del

After that, you will have a small grid structure that you can save as a blueprint using Ctrl+B (this is what you need).

To print the entire ship in survival mode, you will need to print the ship using a large projector, which will be printed without a subgrid. Then, using a small projector, print the blueprint that you saved earlier. Then you need to attach this structure through the hinge to the ship.
Mack87 10 Feb @ 11:18am 
Thank you for the response. I know it is published with the drone but now that SE1 doesn't allow subgrids the game says "only the largest grid items will be kept" when I project it using a large projector so it only projects the big ship and will not show the small drone at all. I tried getting the small grid components by instead projecting with a small projector but it will still not project the small grid, it just will not project from the small projector at all. If you detach the large parts from the drone and just make a blueprint of the drone only without any large grid parts and with the programming and publish it then I can download it and from there I think I know how to mix large and small grids because I've done that when I put a big ore detector on a small grid ship. Any chance you can make a blueprint of the small drone with small grid parts only and upload that?
Survival Ready  [author] 10 Feb @ 4:47am 
The ship is published with the drone. Just detach it and look at the control units settings. You can also modify the drone and use a warhead instead of a decoy to get a strike missile, but then the AI ​​blocks will need to be reconfigured.
Mack87 9 Feb @ 7:56pm 
Okay thank you, that makes sense. Do you mind putting up the blueprint of just the small drone with the programming? I've not done drones but once I have one to dissect and see how they are setup I can reverse engineer and that's how I usually learn the system so afterword I can build my own. Thanks!
Survival Ready  [author] 9 Feb @ 2:54pm 
Thanks for the feedback. SE1 can't print subgrids in one blueprint. To print a drone, you need to detach the hinge in creative mode and save the blueprint of the small grid, which has a projector and other control blocks. After printing Fighter Pro in survival mode, you need to remove the hinge head on the ship, print a separately saved blueprint of the small grid and then attach it to the ship. You can build your own ship with which this can be done or use my solution https://steamhost.cn/steamcommunity_com/sharedfiles/filedetails/?id=3164376887 The image gallery shows the principle of operation of connecting two subgrids. The easiest way to attach a subgrid is in space.