XCOM 2
Not enough ratings
Making a UI Font Mod
By Eric Kotato
This guide explains how to make UI font mod for XCOM 2 and XCOM 2: War of the Chosen. It covers only details, specific for font mods, not generic mod topics.
   
Award
Favorite
Favorited
Unfavorite
Prerequisites
Locating original fonts
UI fonts use fontlib mechanism: packing all fonts to a single flash file. For XCOM 2 WotC it's the following file for non-asian languages:
XCOM 2 War of the Chosen SDK\XComGame\Content\XCOM_2\Packages\GFx\gfxCommon.upk

Asian languages use other font files:
XCOM 2 War of the Chosen SDK\XComGame\Content\XCOM_2\Packages\GFx\gfxfonts_chn.upk XCOM 2 War of the Chosen SDK\XComGame\Content\XCOM_2\Packages\GFx\gfxfonts_cht.upk XCOM 2 War of the Chosen SDK\XComGame\Content\XCOM_2\Packages\GFx\gfxfonts_jpn.upk XCOM 2 War of the Chosen SDK\XComGame\Content\XCOM_2\Packages\GFx\gfxfonts_kor.upk

Note: for vanilla version of the game path will be through XCOM 2 SDK folder, not XCOM 2 War of the Chosen SDK. It's probably obvious, but I'm noting that to avoid questions.

Caution: I urge you to backup file that you will work with in case if something goes wrong. Of course, you can re-validate game files, but it would be long.
Extracting the fonts
Fairly simple step. You need to extract your font package file with Gildor's Unreal Package Extractor.

After downloading and extracting Gildor's Unreal Package Extractor, fire up command line in extractor path and run:
extract.exe -extract "path\to\your\package.upk"

A folder with extracted files will be created. You will need a file with .SwfMovie extension from it.

For example, for non-asian languages it would be:
gfxCommon\gfxfontlib.SwfMovie
Cleaning extracted file
Before opening extracted .SwfMovie file in FFDec, there is one extra step that we need to do: clean first bytes that refer to internal asset type, not file type.

Open extracted .SwfMovie file in your hex editor and delete bytes from 00 to D9 included. Or, more simply, you need to delete all bytes up until "GFX" chars.


After deleting, save the file with .gfx extension. Even though FFDec will open this file regardless of extension, changing it serves two purposes:
  1. You will have a backup of original extracted file in case if you did something wrong.
  2. It will be used when re-importing file.

After saving, you can open saved .gfx file with FFDec.
Replacing a font
If you want to add a new font instead of replacing, refer to the next section instead.

In View > Resources (should be opened by default), in "fonts" folder, find and select the font you want to replace. For example, Alpha (should be shown as "DefineFont3 (3: Alpha)").


To replace characters, click "Embed..." button. It should open "Font embedding" window.


Select installed font, or any font file you want.

Note: even though it says "TTF file", it perfectly works with OTF files too (maybe some other too, haven't tested it). Just select "All Files" in "Files of type" list and point it to your .otf file.

After that, you can do the following options:
  • Select character ranges you need (or select "All characters" if you want to import the whole font).
  • Enter individual characters you want to embed.

If you embedding the character that already exist, a warning will be prompted with question on whether to replace or not.

Also you could be prompted to update existing texts. Shouldn't do much, since font is what matters, not texts, but it's still better to update it, just in case.
Adding a new font
If you want to replace existing font instead, refer to the previous section.

In View > Resources (should be opened by default), right click on the "fonts" folder, select Add tag > DefineFont3Tag. A new font should be added.


Right click it in list, and select "Raw edit". A tree of parameters should be shown.


Press "Edit" and enable fontFlagsHasLayout flag. It's important, because font metrics won't work without it. After enabling and switching to other parameter (or saving), six new parameters will be added.


You can also change font name in fontName string.

For asian languages you'll probably need to enable fontFlagsShiftJIS, fontFlagsWideOffsets and fontFlagsWideCodes, though it's not tested. Feedback is appreciated.

You must also set fontAscent and fontDescent metrics to get correct line height. Don't bother with fontLeading option, since it does nothing in-game.

You can take fontAscent and fontDescent values from other fonts, or you can count it yourself by multiplying value by 20 (for ascent) or by -20 (for descent).

Example:
Roboto Condensed Regular has 1946 as WinAscent value and -512 as WinDescent value. So you should set fontAscent as 38920 (1946 * 20) and fontDescent as 10240 (-512 * -20). You can get font WinAscent and WinDescent values from any font editor.

After setting and saving it, click "Embed..." button. It should open "Font embedding" window.


Select installed font, or any font file you want.

Note: even though it says "TTF file", it perfectly works with OTF files too (maybe some other too, haven't tested it). Just select "All Files" in "Files of type" list and point it to your .otf file.

After that, you can do the following options:
  • Select character ranges you need (or select "All characters" if you want to import the whole font).
  • Enter individual characters you want to embed.

Press OK to embed selected characters, and it's almost done. There is one little detail left.

Right click the "others" folder, then Add tag > ExportAssetsTag.


Click "Edit", right click on "assets" parameter, and then select "Insert asset at the beginning".

Set the font ID as tag[0] and set variable name you want (without spaces, starting with $) as name[0].

Package fonts
After adding or/and replacing the fonts and saving .gfx file you'll need to reimport it or create a new package with it.

Reimporting fonts
Copy your gfxCommon.upk or gfxfonts_*.upk and rename it. It's crucial that name of modded package differs from original one.

Open XCOM 2 Editor, then open renamed package in Content Browser, right click SwfMovie asset from this package (for gfxCommon it's called gfxfontlib) and select "Reimport". You will be prompted to select file. In future, it will try to reimport file from same path as before.

After this, save the package and move/copy it to your Content mod folder.

Making a new package
Open XCOM 2 Editor, click "Import" in Content Browser, then select your .gfx file. After this, initial settings will be opened.

Set the package name (without spaces) and asset name (without spaces) to what you want, but it's crucial that name of modded package differs from original one.

You also need to change Texture Rescale to FlashTextureScale_High.

After this, save the package and move/copy it to your Content mod folder.
Making fonts work
Finally, to make this work, you'll need to change GFxUI.int (or your localized GFxUI file, like GFxUI.jpn). Copy it to your Localization folder. If you have no file for your language, simply copy GFxUI.int and change it's extension for your language (like GFxUI.rus).

In [Fontlib] section replace the value of Fontlib parameter to YourPackageName.yourAssetName. If you have added any fonts, you should add them in fonts section by exporter variable name (without $) and font name. For example, if you have added font that is called Roboto Condensed in DefineFont3 tag and refered as $MyRobotoFont in ExportAssets tag, then you should define it like this:

MyRobotoFont=Roboto Condensed,Normal
Afterword
I hope this guide will give you at least good start in making your own font mods.

About poster fonts: I'd like to make a separate guide on this topic when I'll have time. But even though I did not yet, there is still something I can share.

I've made photobooth font mod template. ReadMe.txt contains all info you need, which is currently duplicated to mod description.
https://steamhost.cn/steamcommunity_com/sharedfiles/filedetails/?id=2625345994
Need mod examples? See my mods.
https://steamhost.cn/steamcommunity_com/sharedfiles/filedetails/?id=2123679298 https://steamhost.cn/steamcommunity_com/sharedfiles/filedetails/?id=2129974349
7 Comments
Eric Kotato  [author] 7 Jul, 2020 @ 9:54pm 
@dotvhs
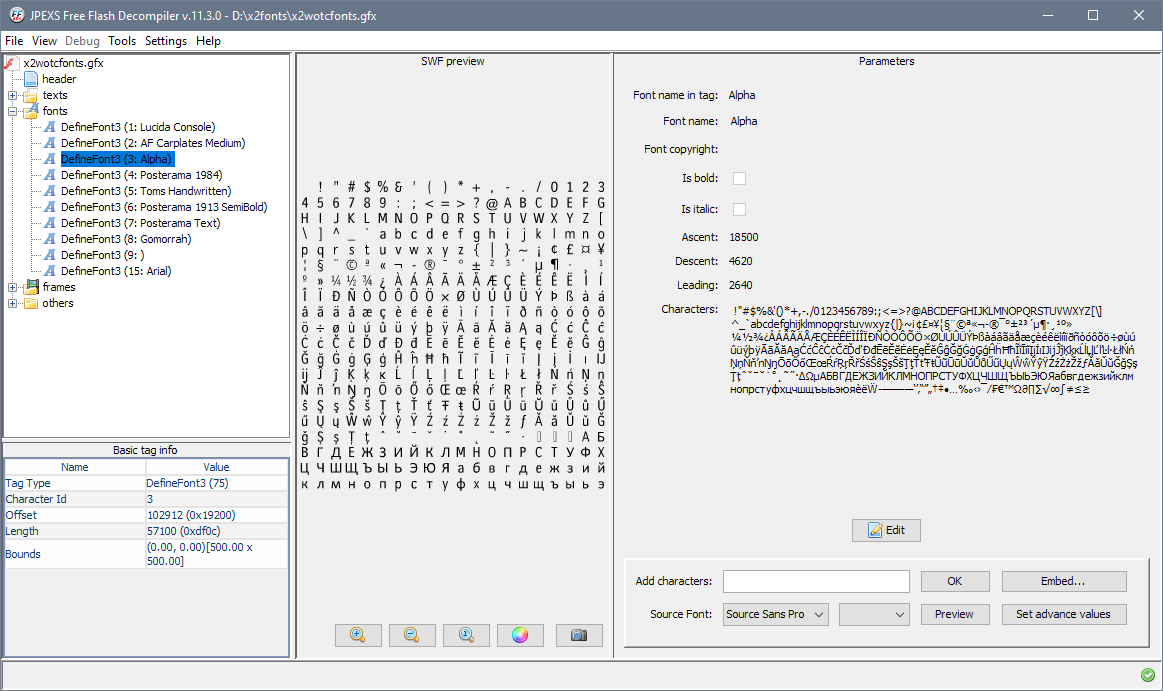
Sorry for the long answer. Sadly, I haven't tried it, so I can't say for sure. I saw that photobooth mods are using X2DownloadableContentInfo, but I'm not sure if it will work for fonts. And, as I said, full fontlib replacement is needed even if you're adding new fonts.

It would be great to find a way to load multiple fontlibs (if there are any) but I haven't succeded yet.
dotvhs 1 Jul, 2020 @ 1:22am 
@RadRussianRus
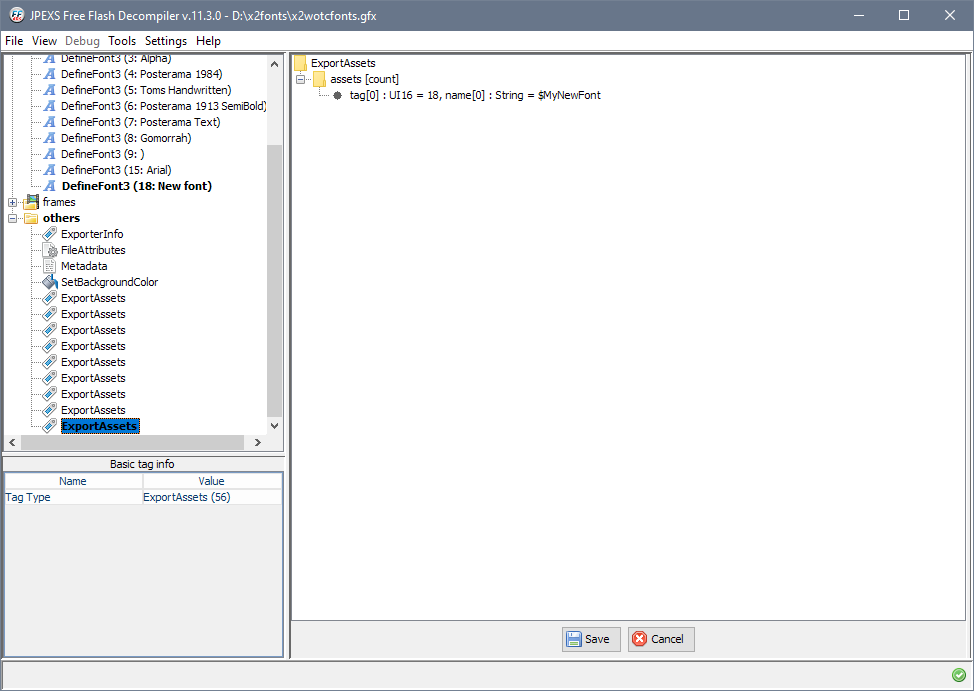
Oh yeah, the file replacement, yes, but adding fonts to it and not replacing existing fonts, that's what I meant, sorry for unclear message.
Eric Kotato  [author] 30 Jun, 2020 @ 4:51pm 
@dotvhs
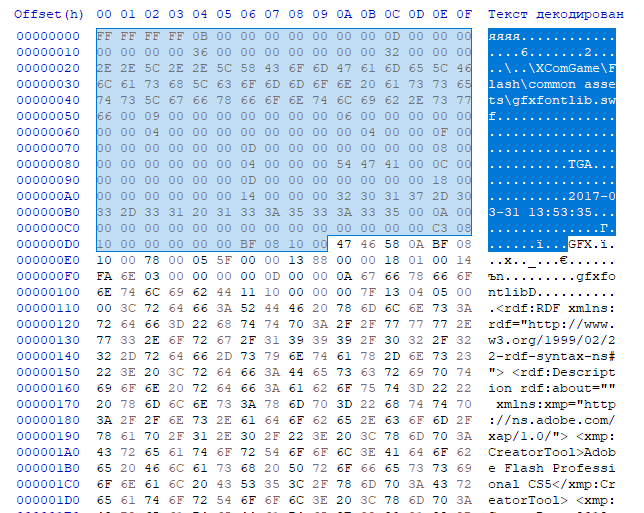
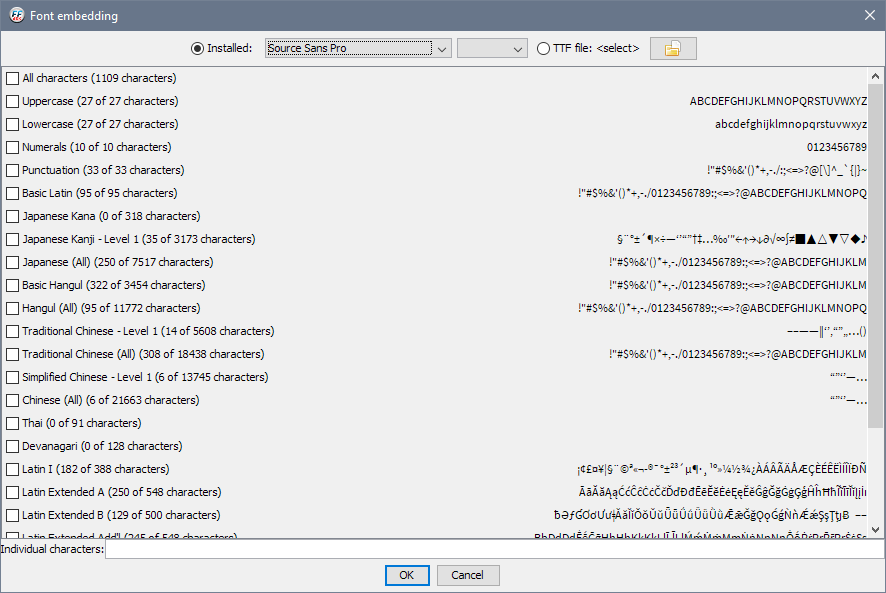
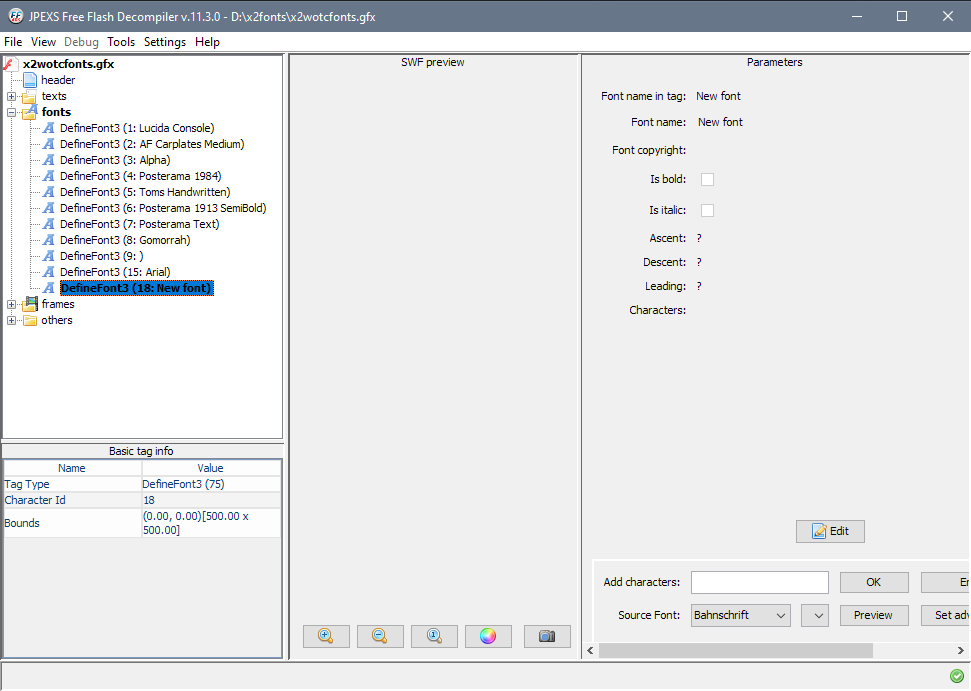
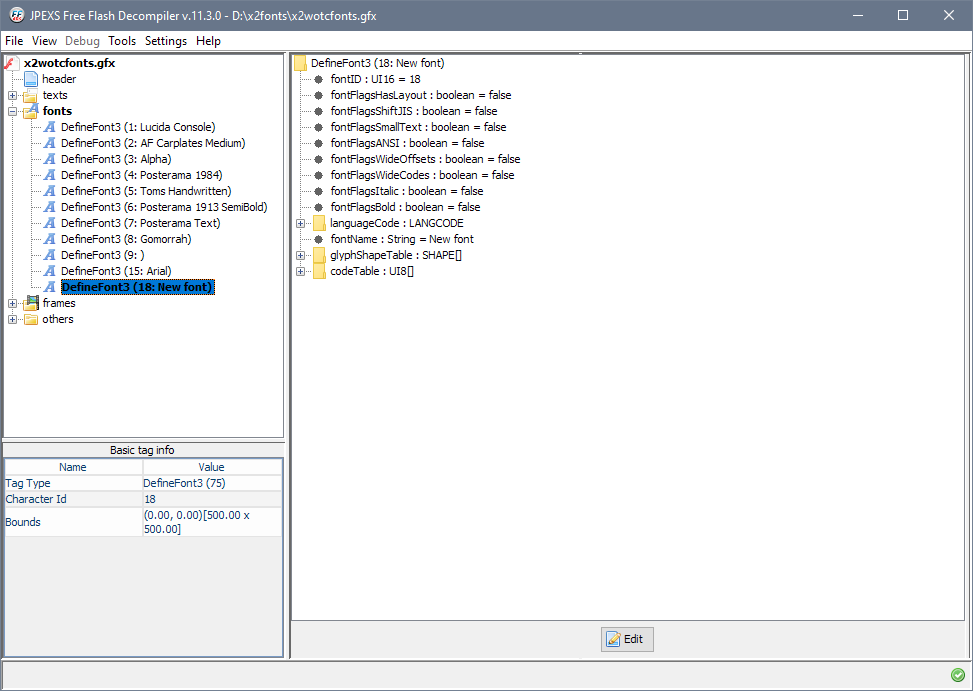
Replacement is the only way AFAIK, since you need full fontlib replacement.
dotvhs 30 Jun, 2020 @ 12:31pm 
@RadRussianRus
Replacement yes, but adding new ones?
Eric Kotato  [author] 30 Jun, 2020 @ 8:59am 
@dotvhs
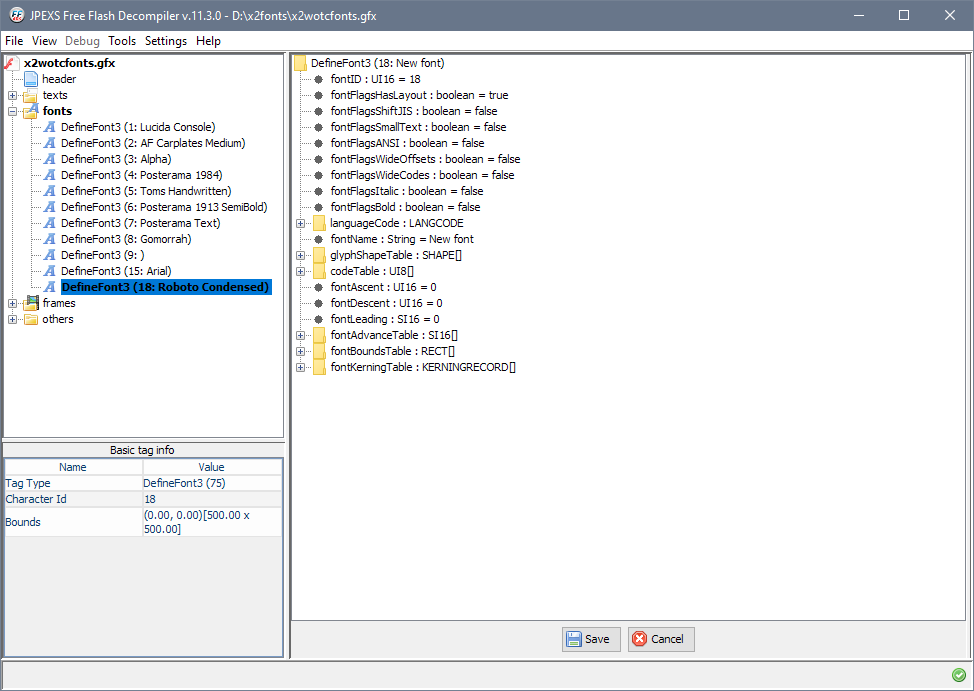
Last time I tried it worked partially, with replacement of fonts in XComContent.ini in save folder. But font names weren't shown, so I'm kinda stuck here.
dotvhs 30 Jun, 2020 @ 12:32am 
I'm trying to get fonts to display in the Photobooth, did you have any progress on that? I know you pointed in tutorial that you couldn't make it, I'm working on it myself too but... yeah. No success yet.
DaBeast 21 Jun, 2020 @ 8:16am 
nice